Vintage Kids Desk Redo
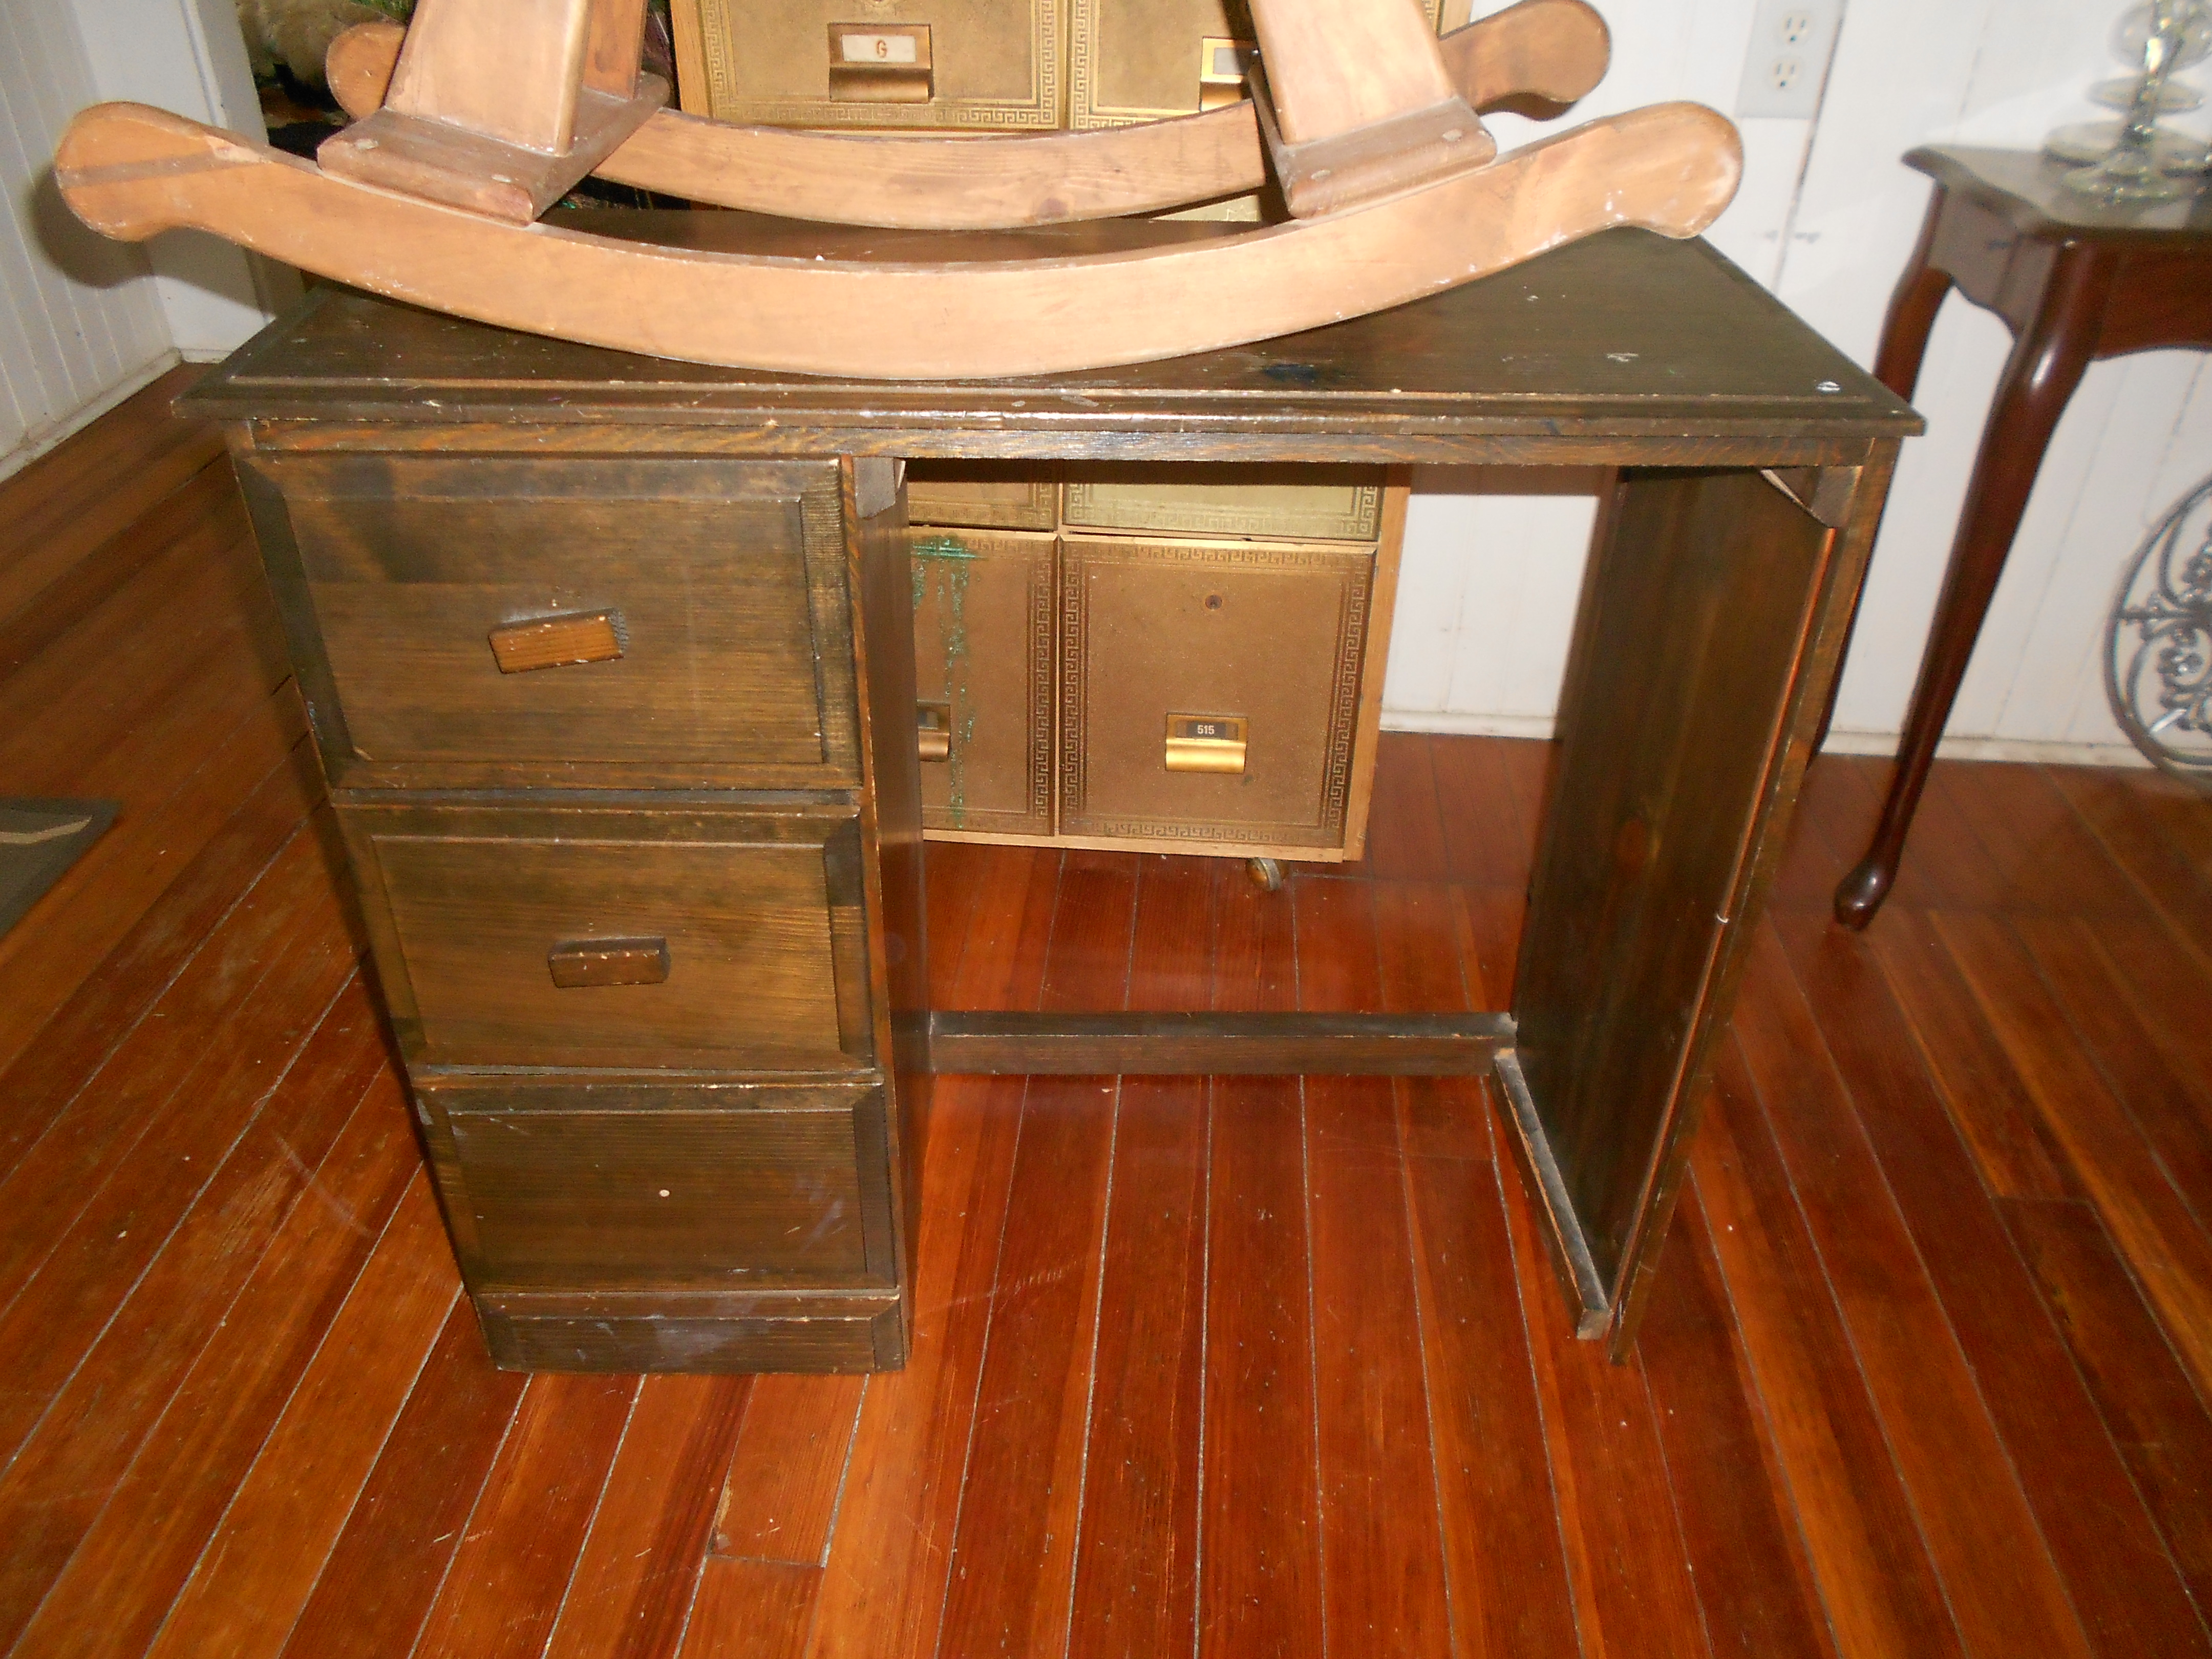
Over the summer we found an old kids desk for $2 at a garage sale. Jeremy might have thought I was crazy, but I knew this baby had potential.
Before:
I sanded her down, and painted a few coats of this lovely grey. Then roughed it up with some distressing. The finishing touch was the adorable new yellow knobs! Here is how she turned out:

Adorable, no?


I’m pretty proud of this little baby and hope that someone else loves it and wants to give it a new home too! 🙂
Toy Box
A project done! The abused vintage toy box started out like this:
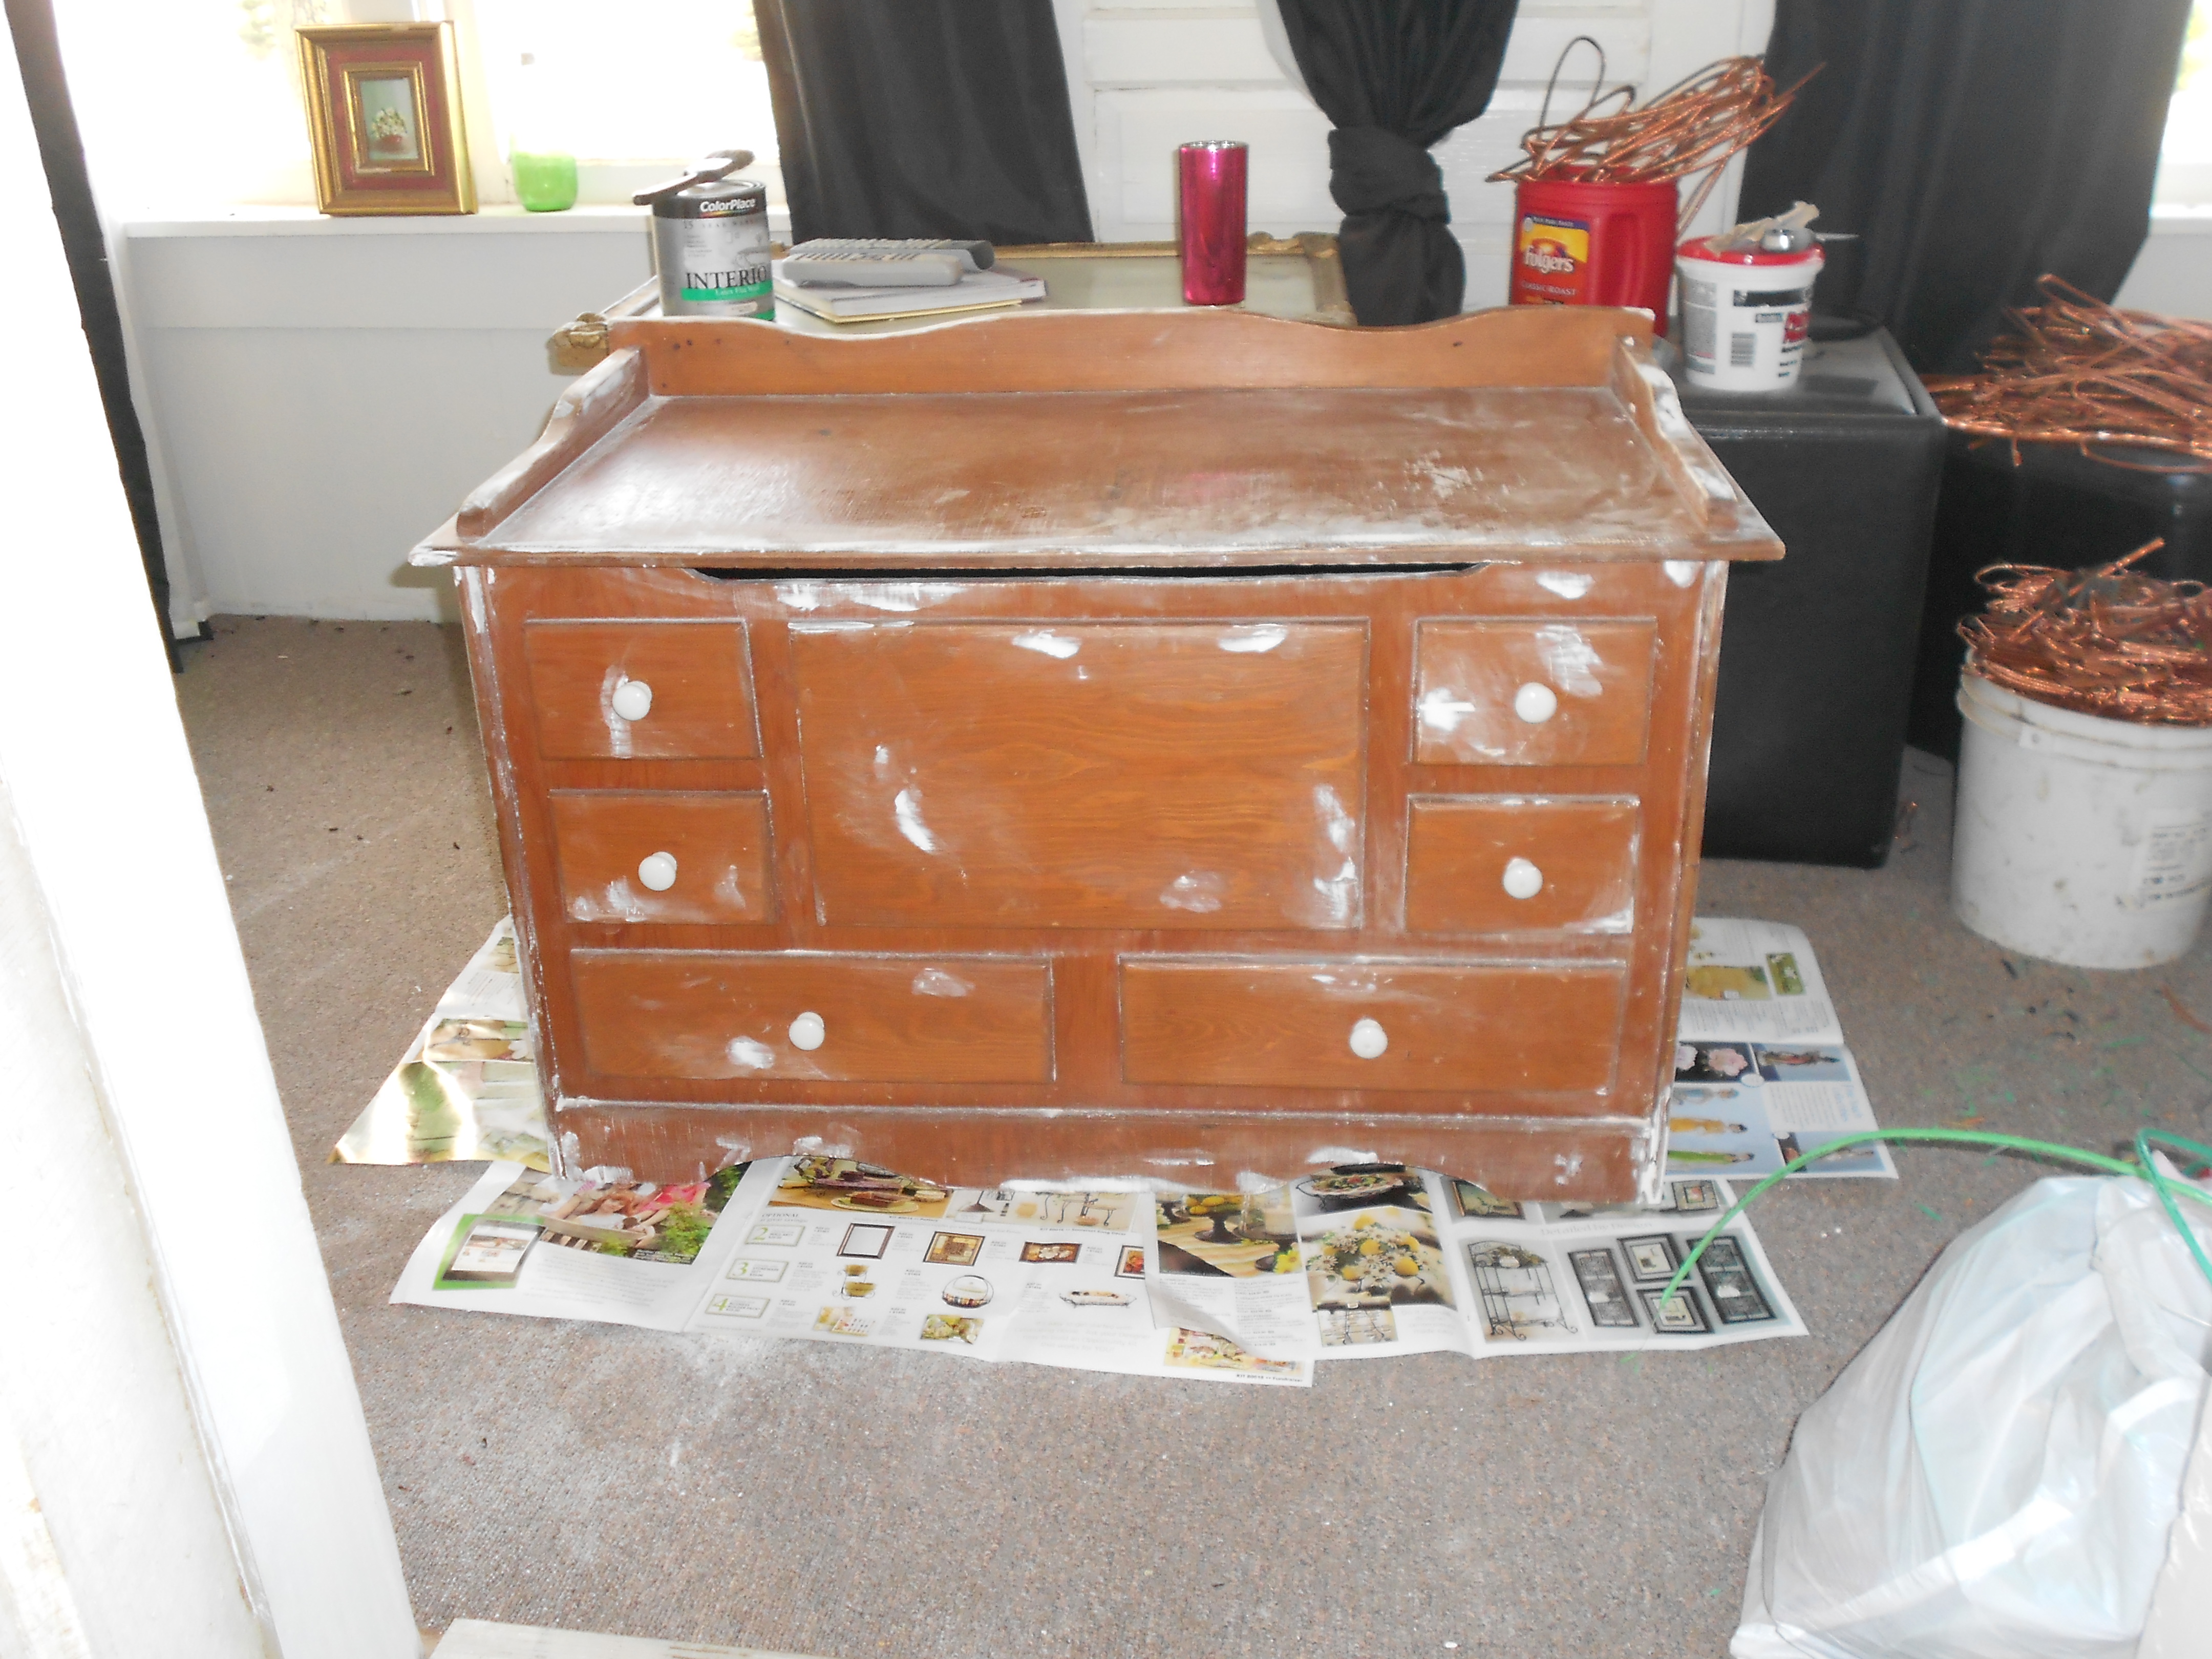
The white is actually wood filler, added by me. But, you get the picture. It was old, and rough, and needed lots of wood filler and love. I sanded and filled and sanded some more. Finally I chose turquoise paint and white for the inside. Not as creative as I originally sought out to be, but it turned out fun so I left it there. I antiqued the edges a bit and roughed up the “wear spots”. I like how it turned out simple and fun!
After:
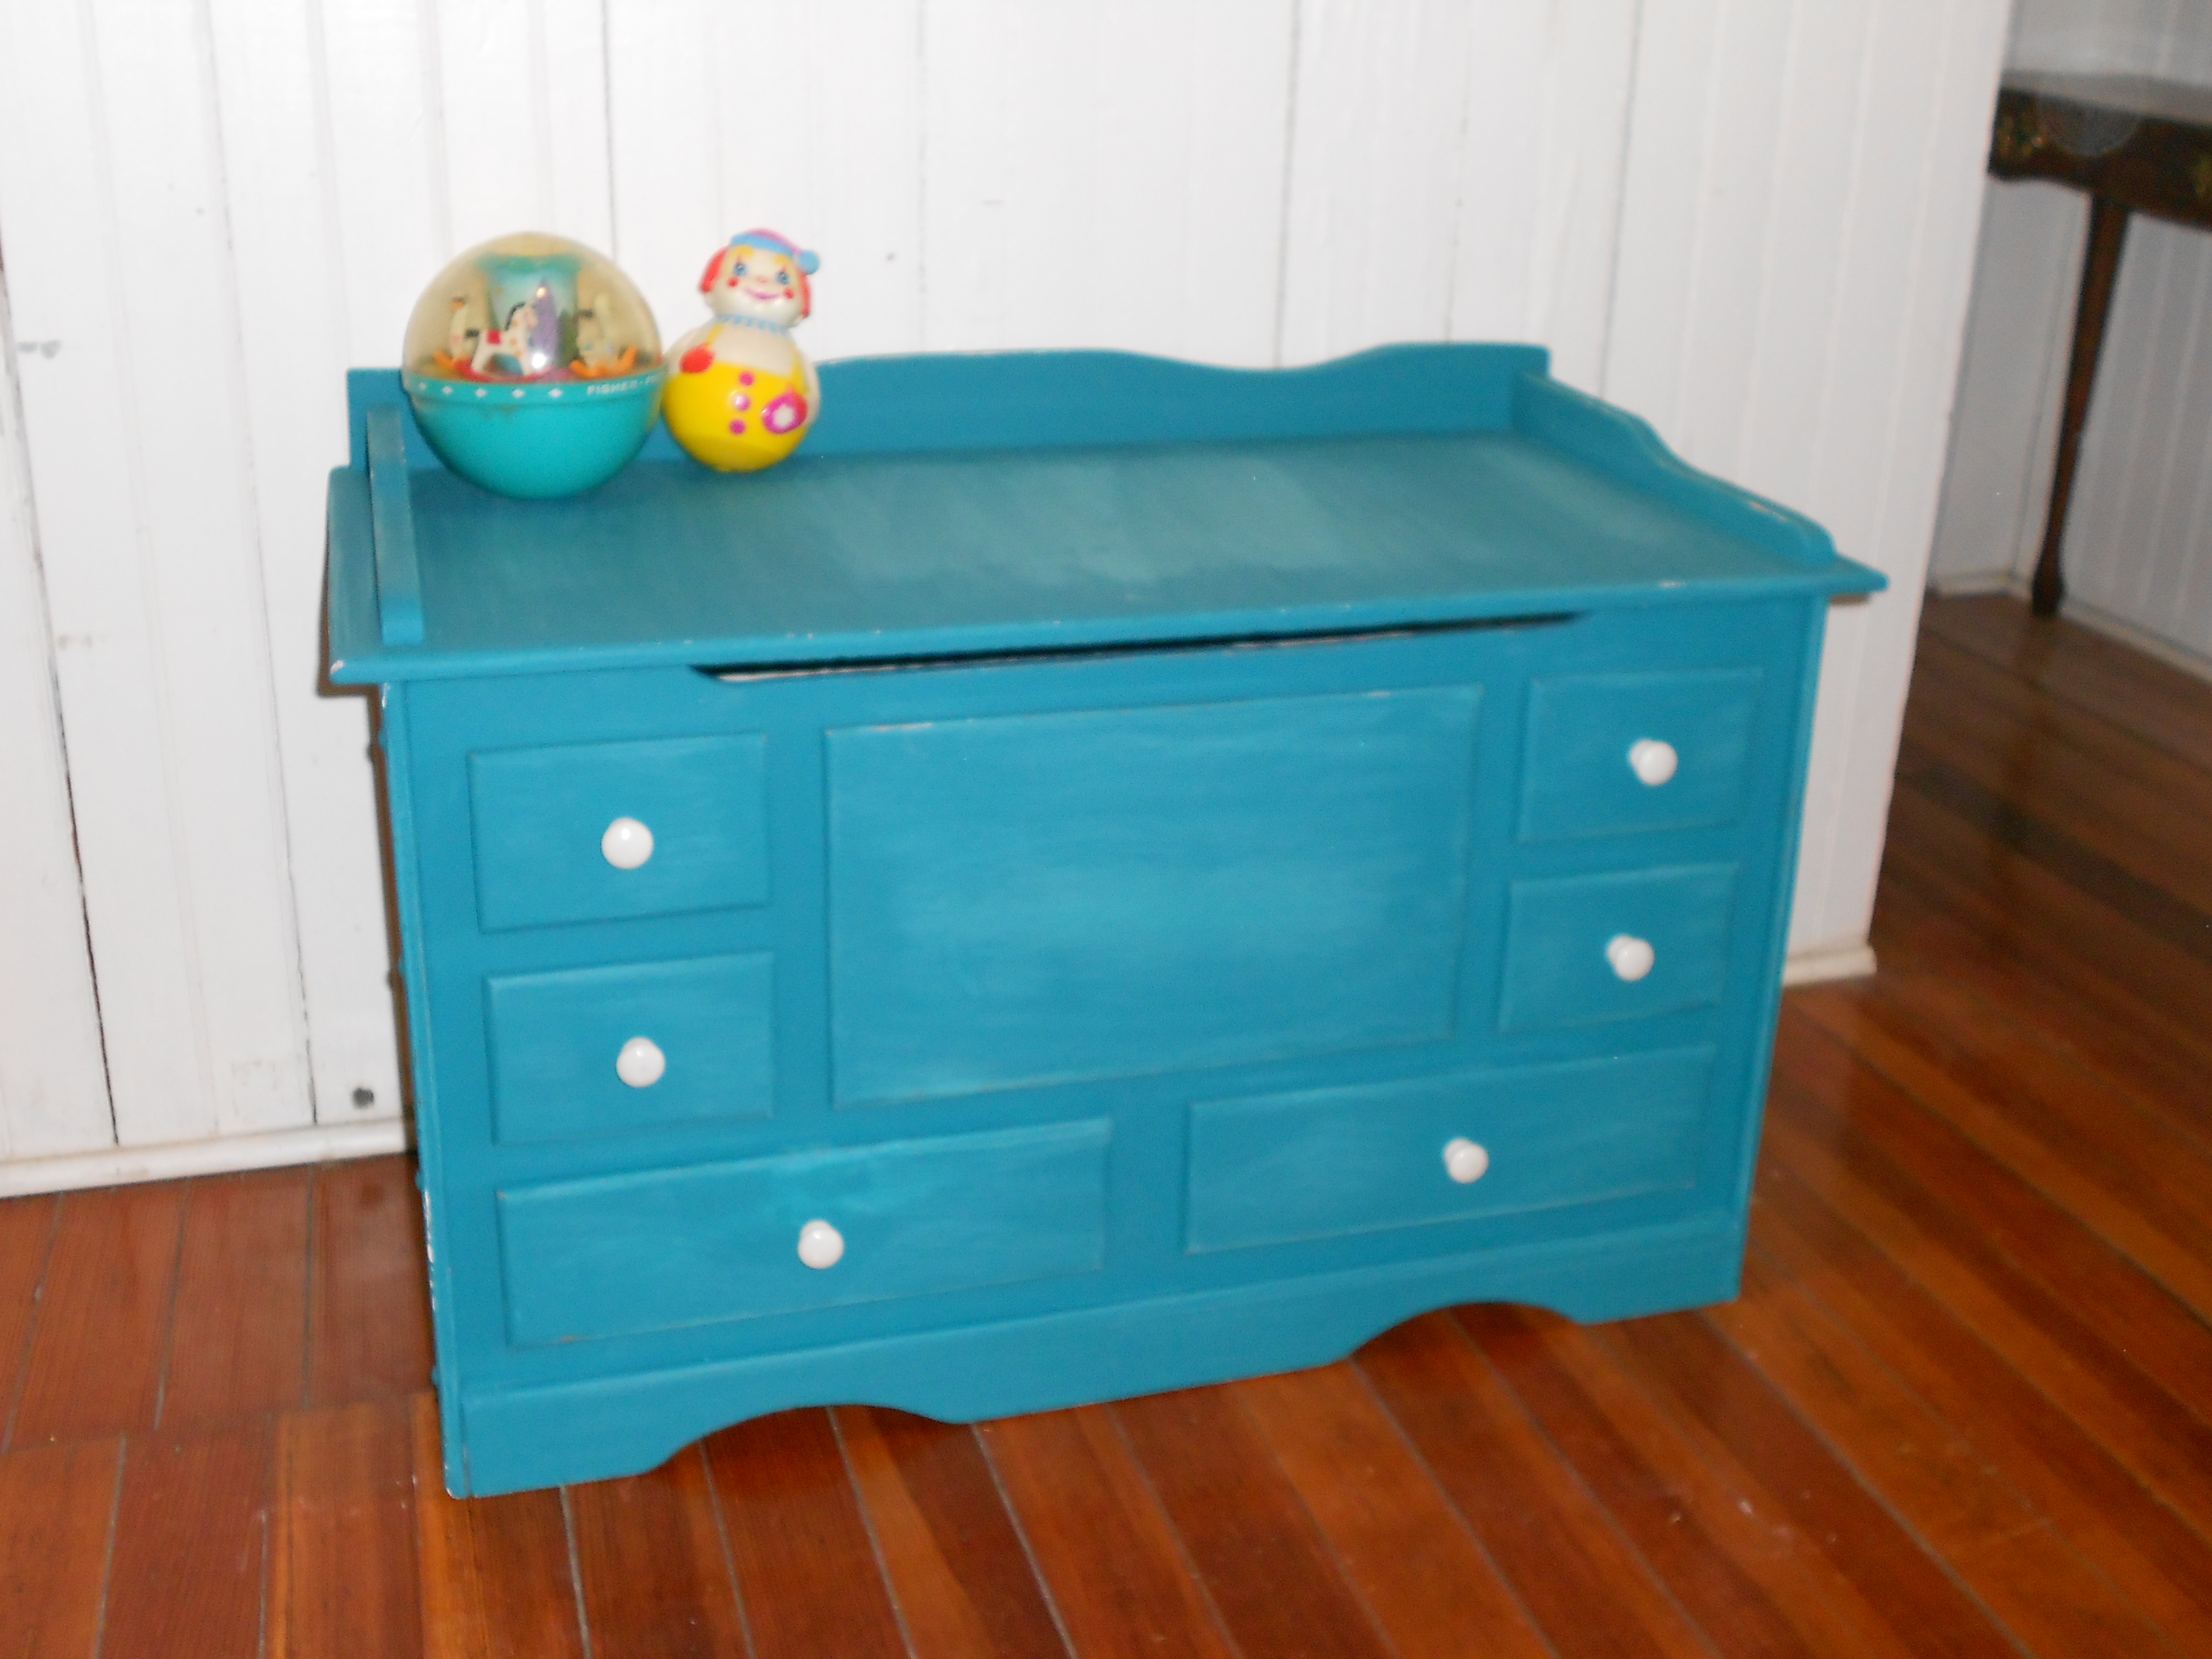

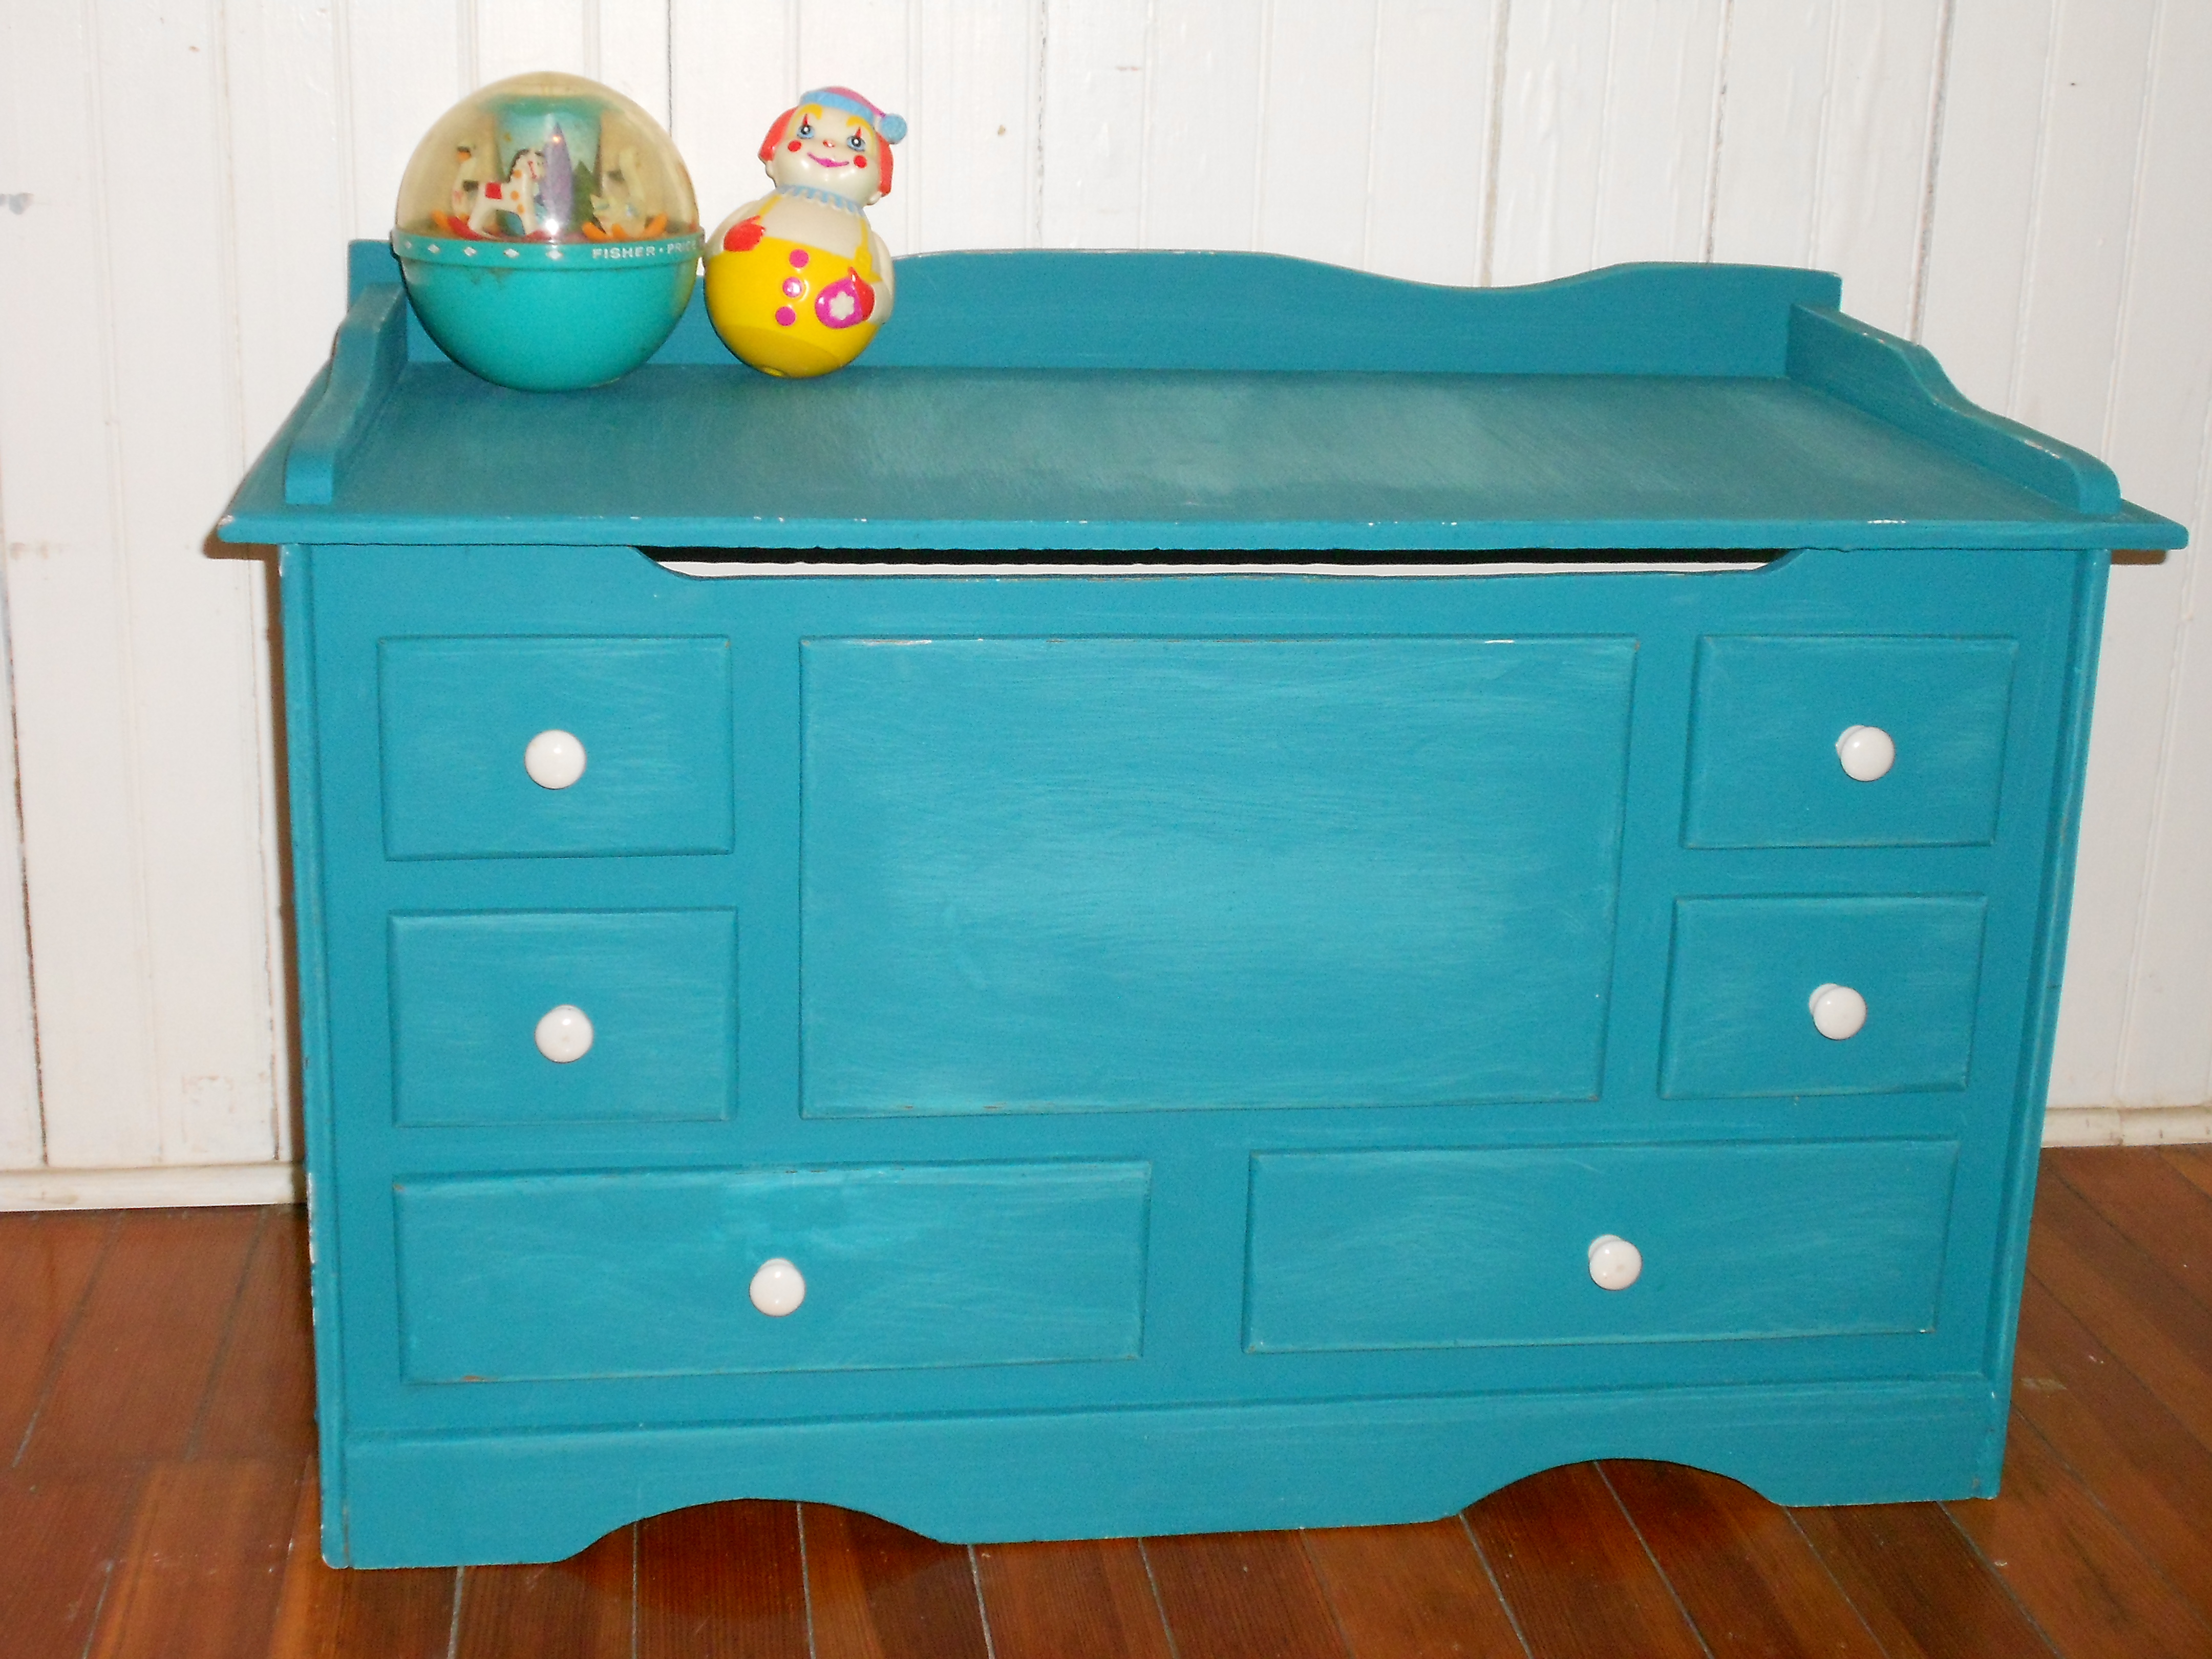
What do you think? I think it turned out super adorable. I was going to replace the handles, but the old ones are vintage ceramic and actually cleaned up nicely. I’m even tempted to keep this one! Why keep a toy box? … more news to come! 😉
Mini Paint Project
I have finally completed a tiny project that has bugging me on my to-do list forever now!
Remember the little downstairs bathroom with the cute antique cupboard… (tiny room = bad photos, sorry!)

Well, here is the very sad, and a little scary inside of this cupboard…

So, a little paint and some pretty things to make the cupboard useful, and… viola!

The cupboard is antique, and therefore has many bumps and cracks, so it will never be “perfect,” but now its not such an eyesore. When company is over I will not be so embarrassed to let them reach in for another roll of toilet paper or necessity!

I even did a bit of decorating to the necessities in the cupboard. These antique jars got new fun lids. And a small box got a bright cover to hold small things.


Aah, much better! What do you think? More projects on the way too! 🙂
Some Handmade Gifts
Hi there! I wanted to do a quick post to show you what we made for our family members for Christmas (and an upcoming wedding!). I started with a few simple stone tiles from Menard’s. I used a flat round brush, a stencil, and some solid paint pots. I dabbed the paint on over the stencil without wiping. I then added some clear coat and some felt pads to the bottom corners. Now…we have personalized coasters! I know I have seen this done before, but I had to share because they turned out so sweet and simple. And, they didn’t break the bank!
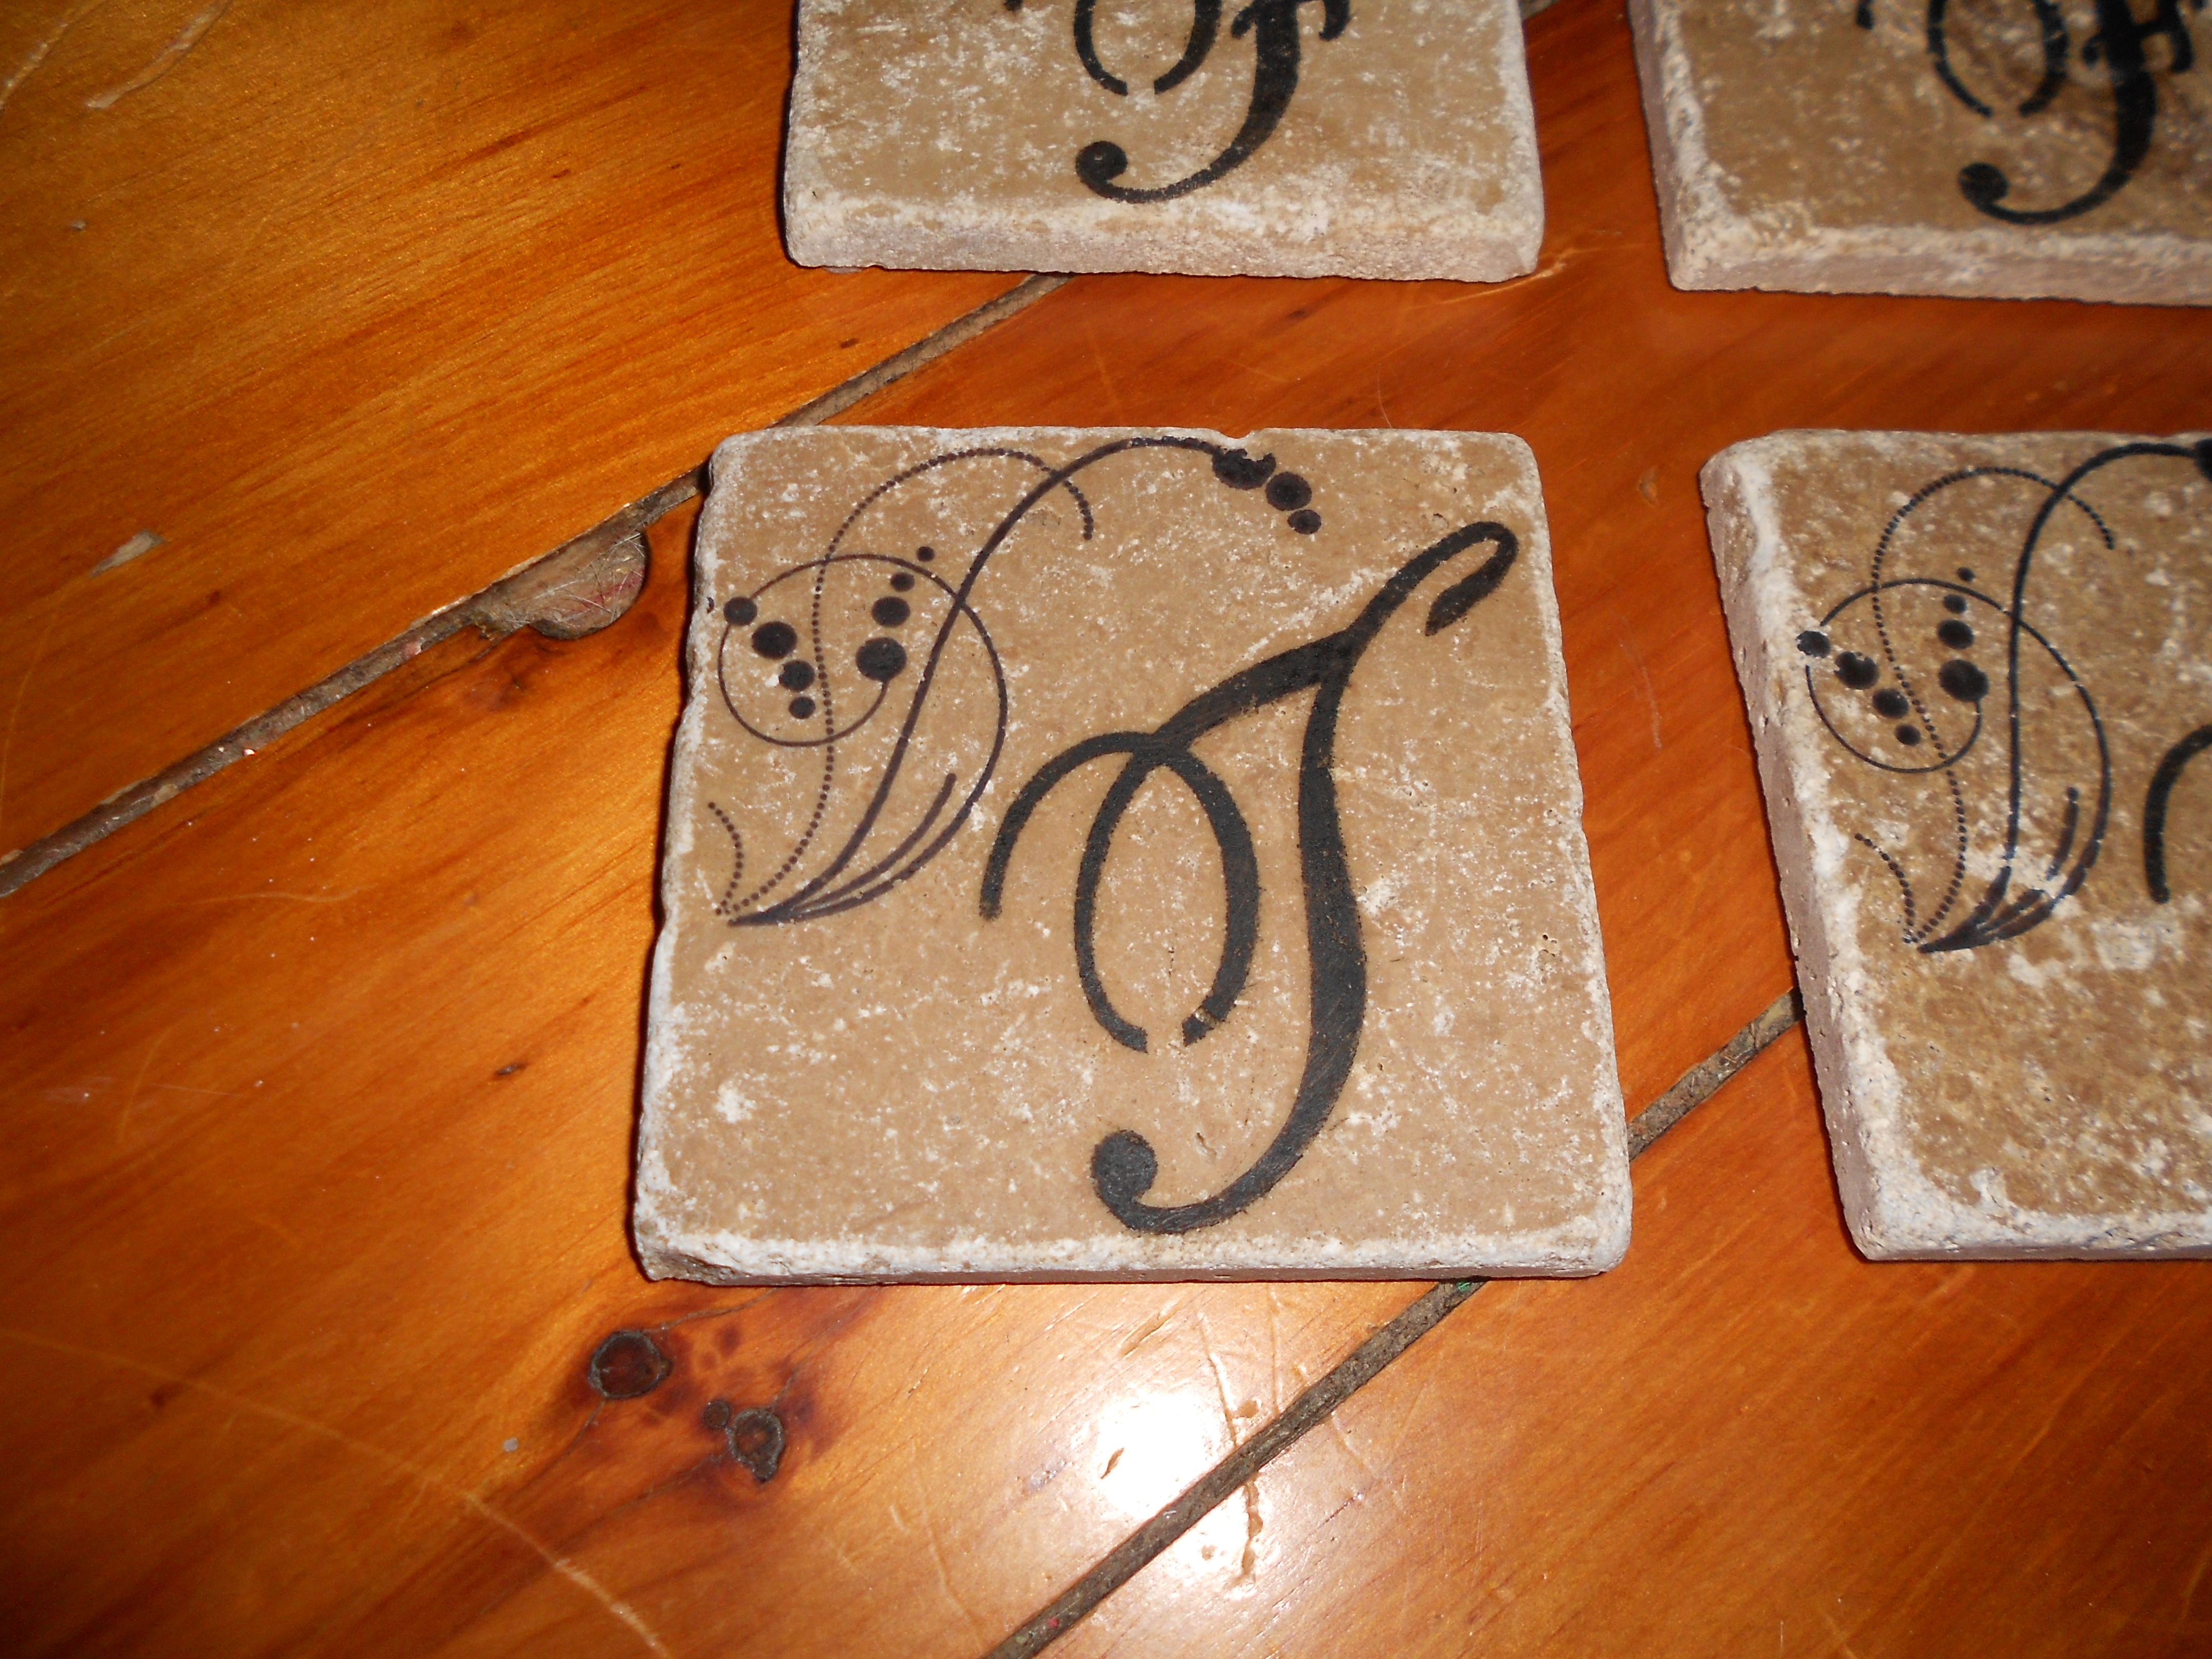

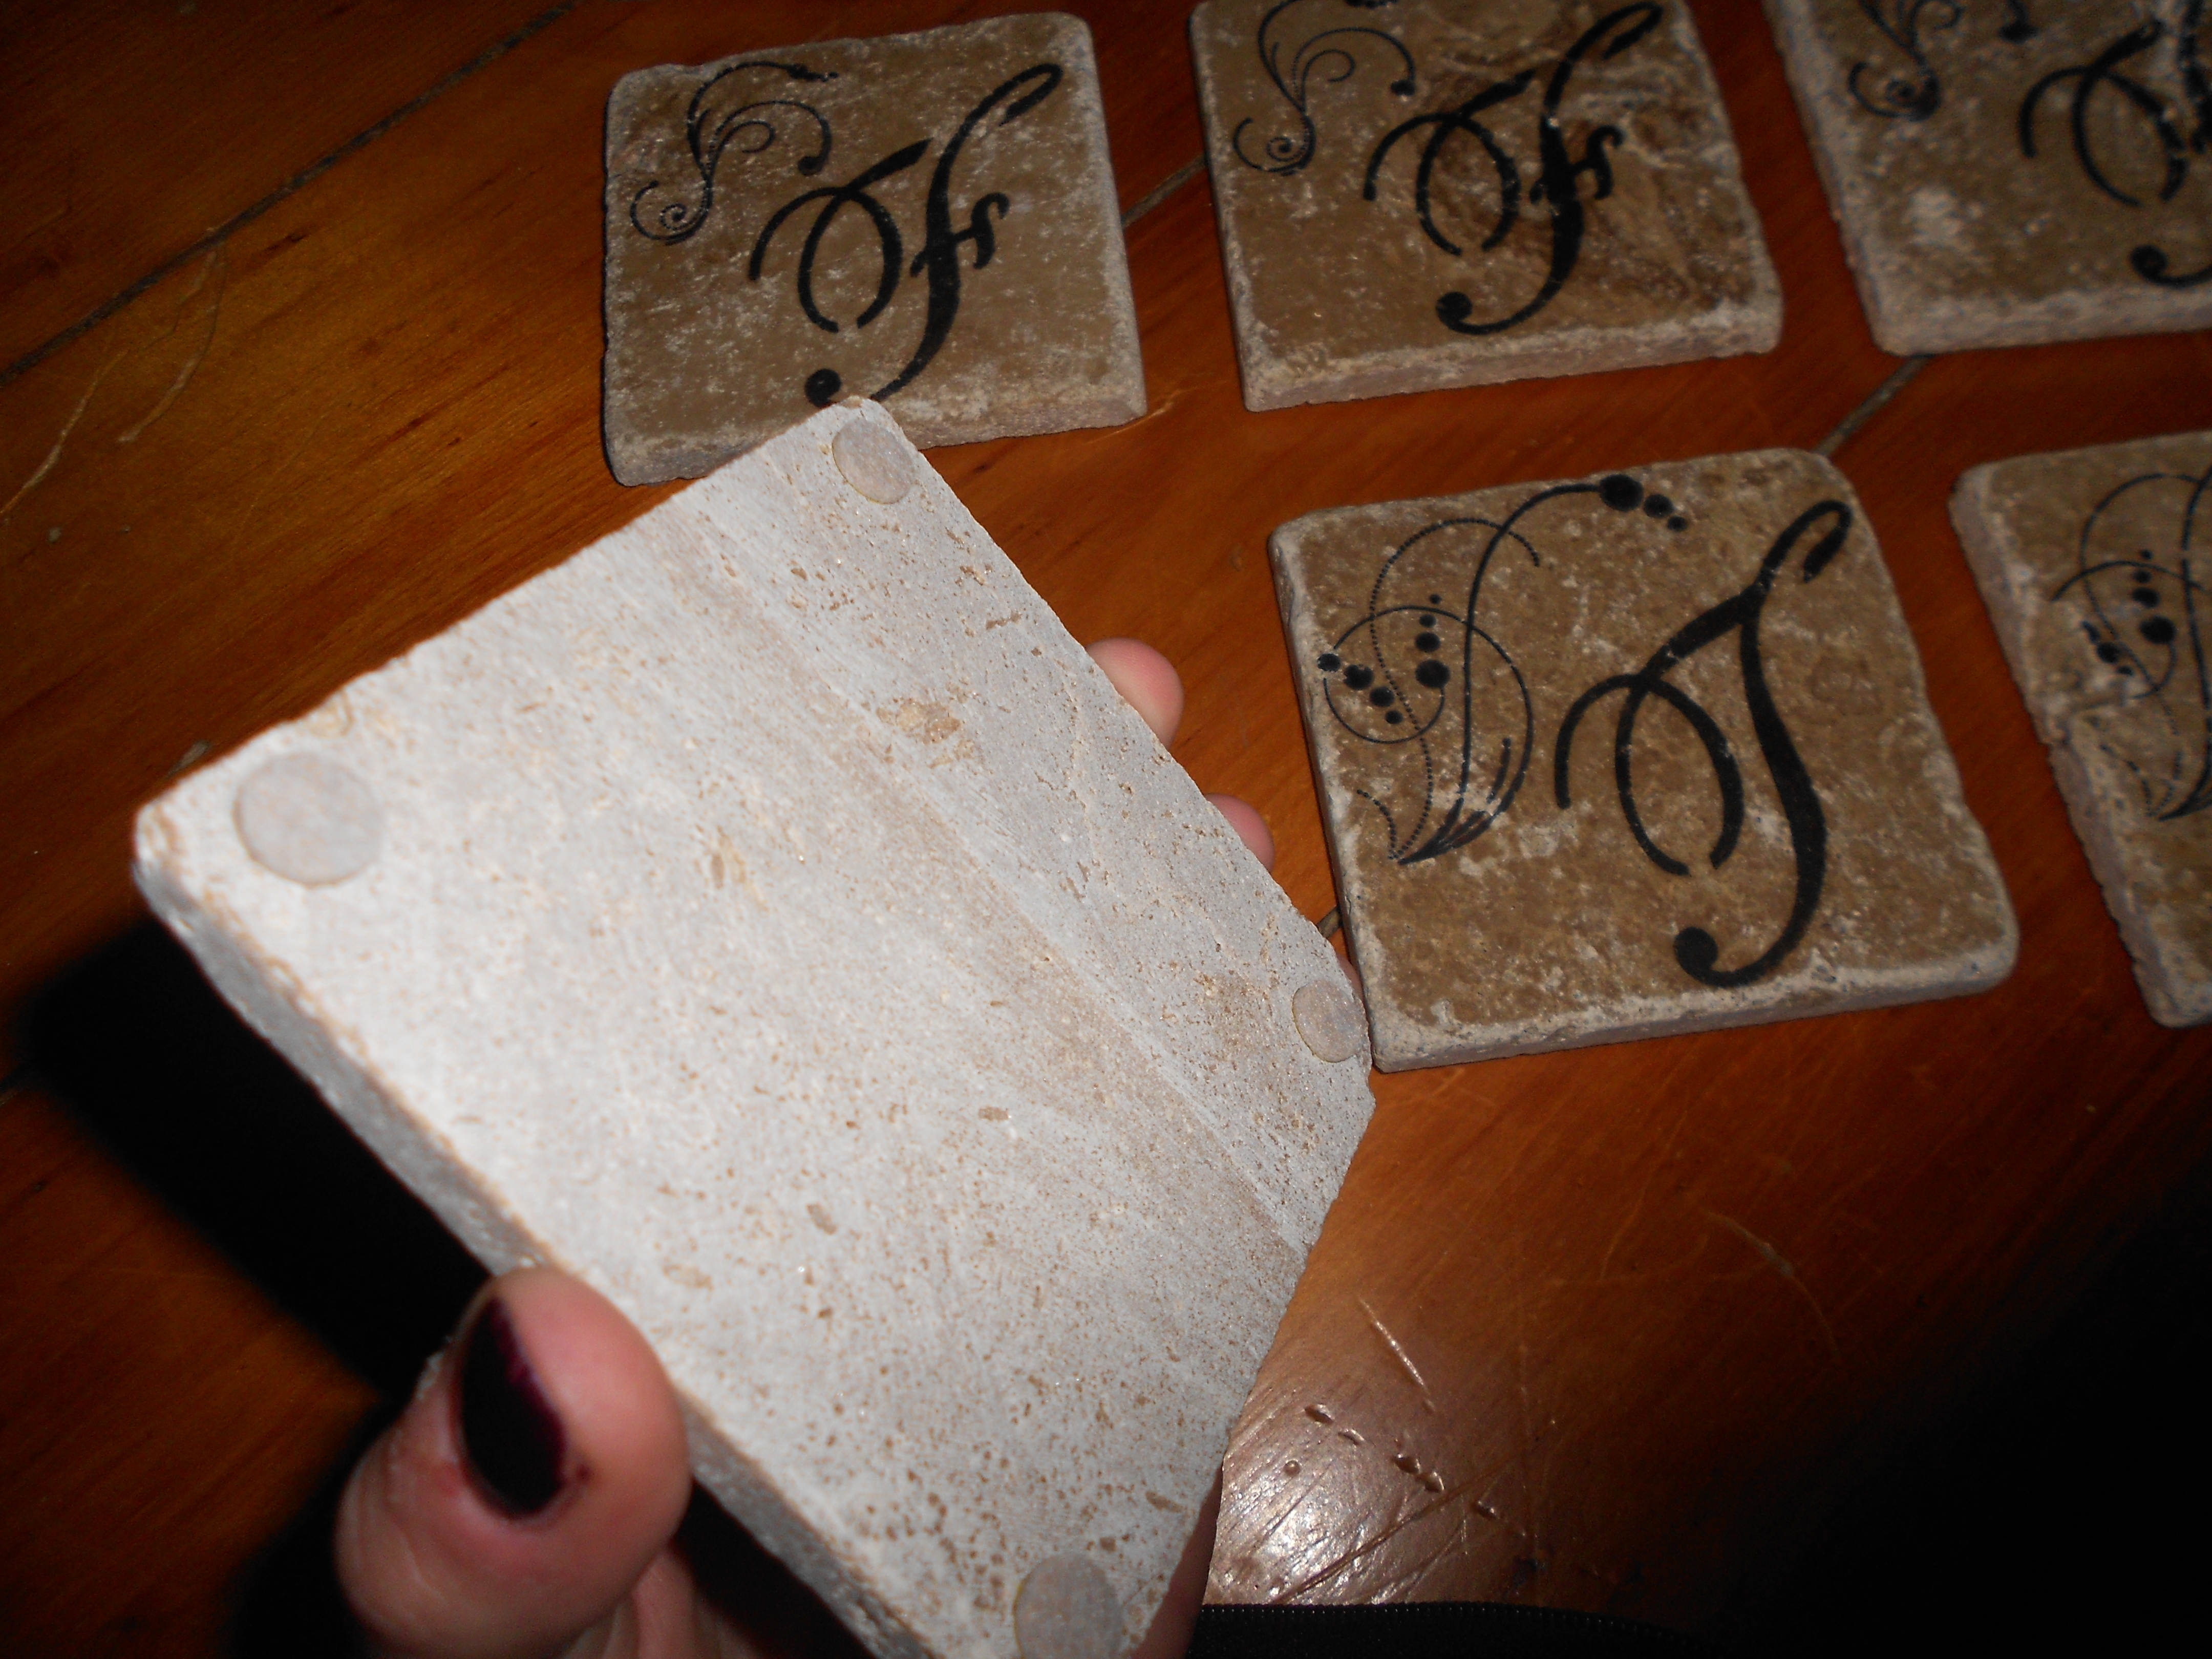
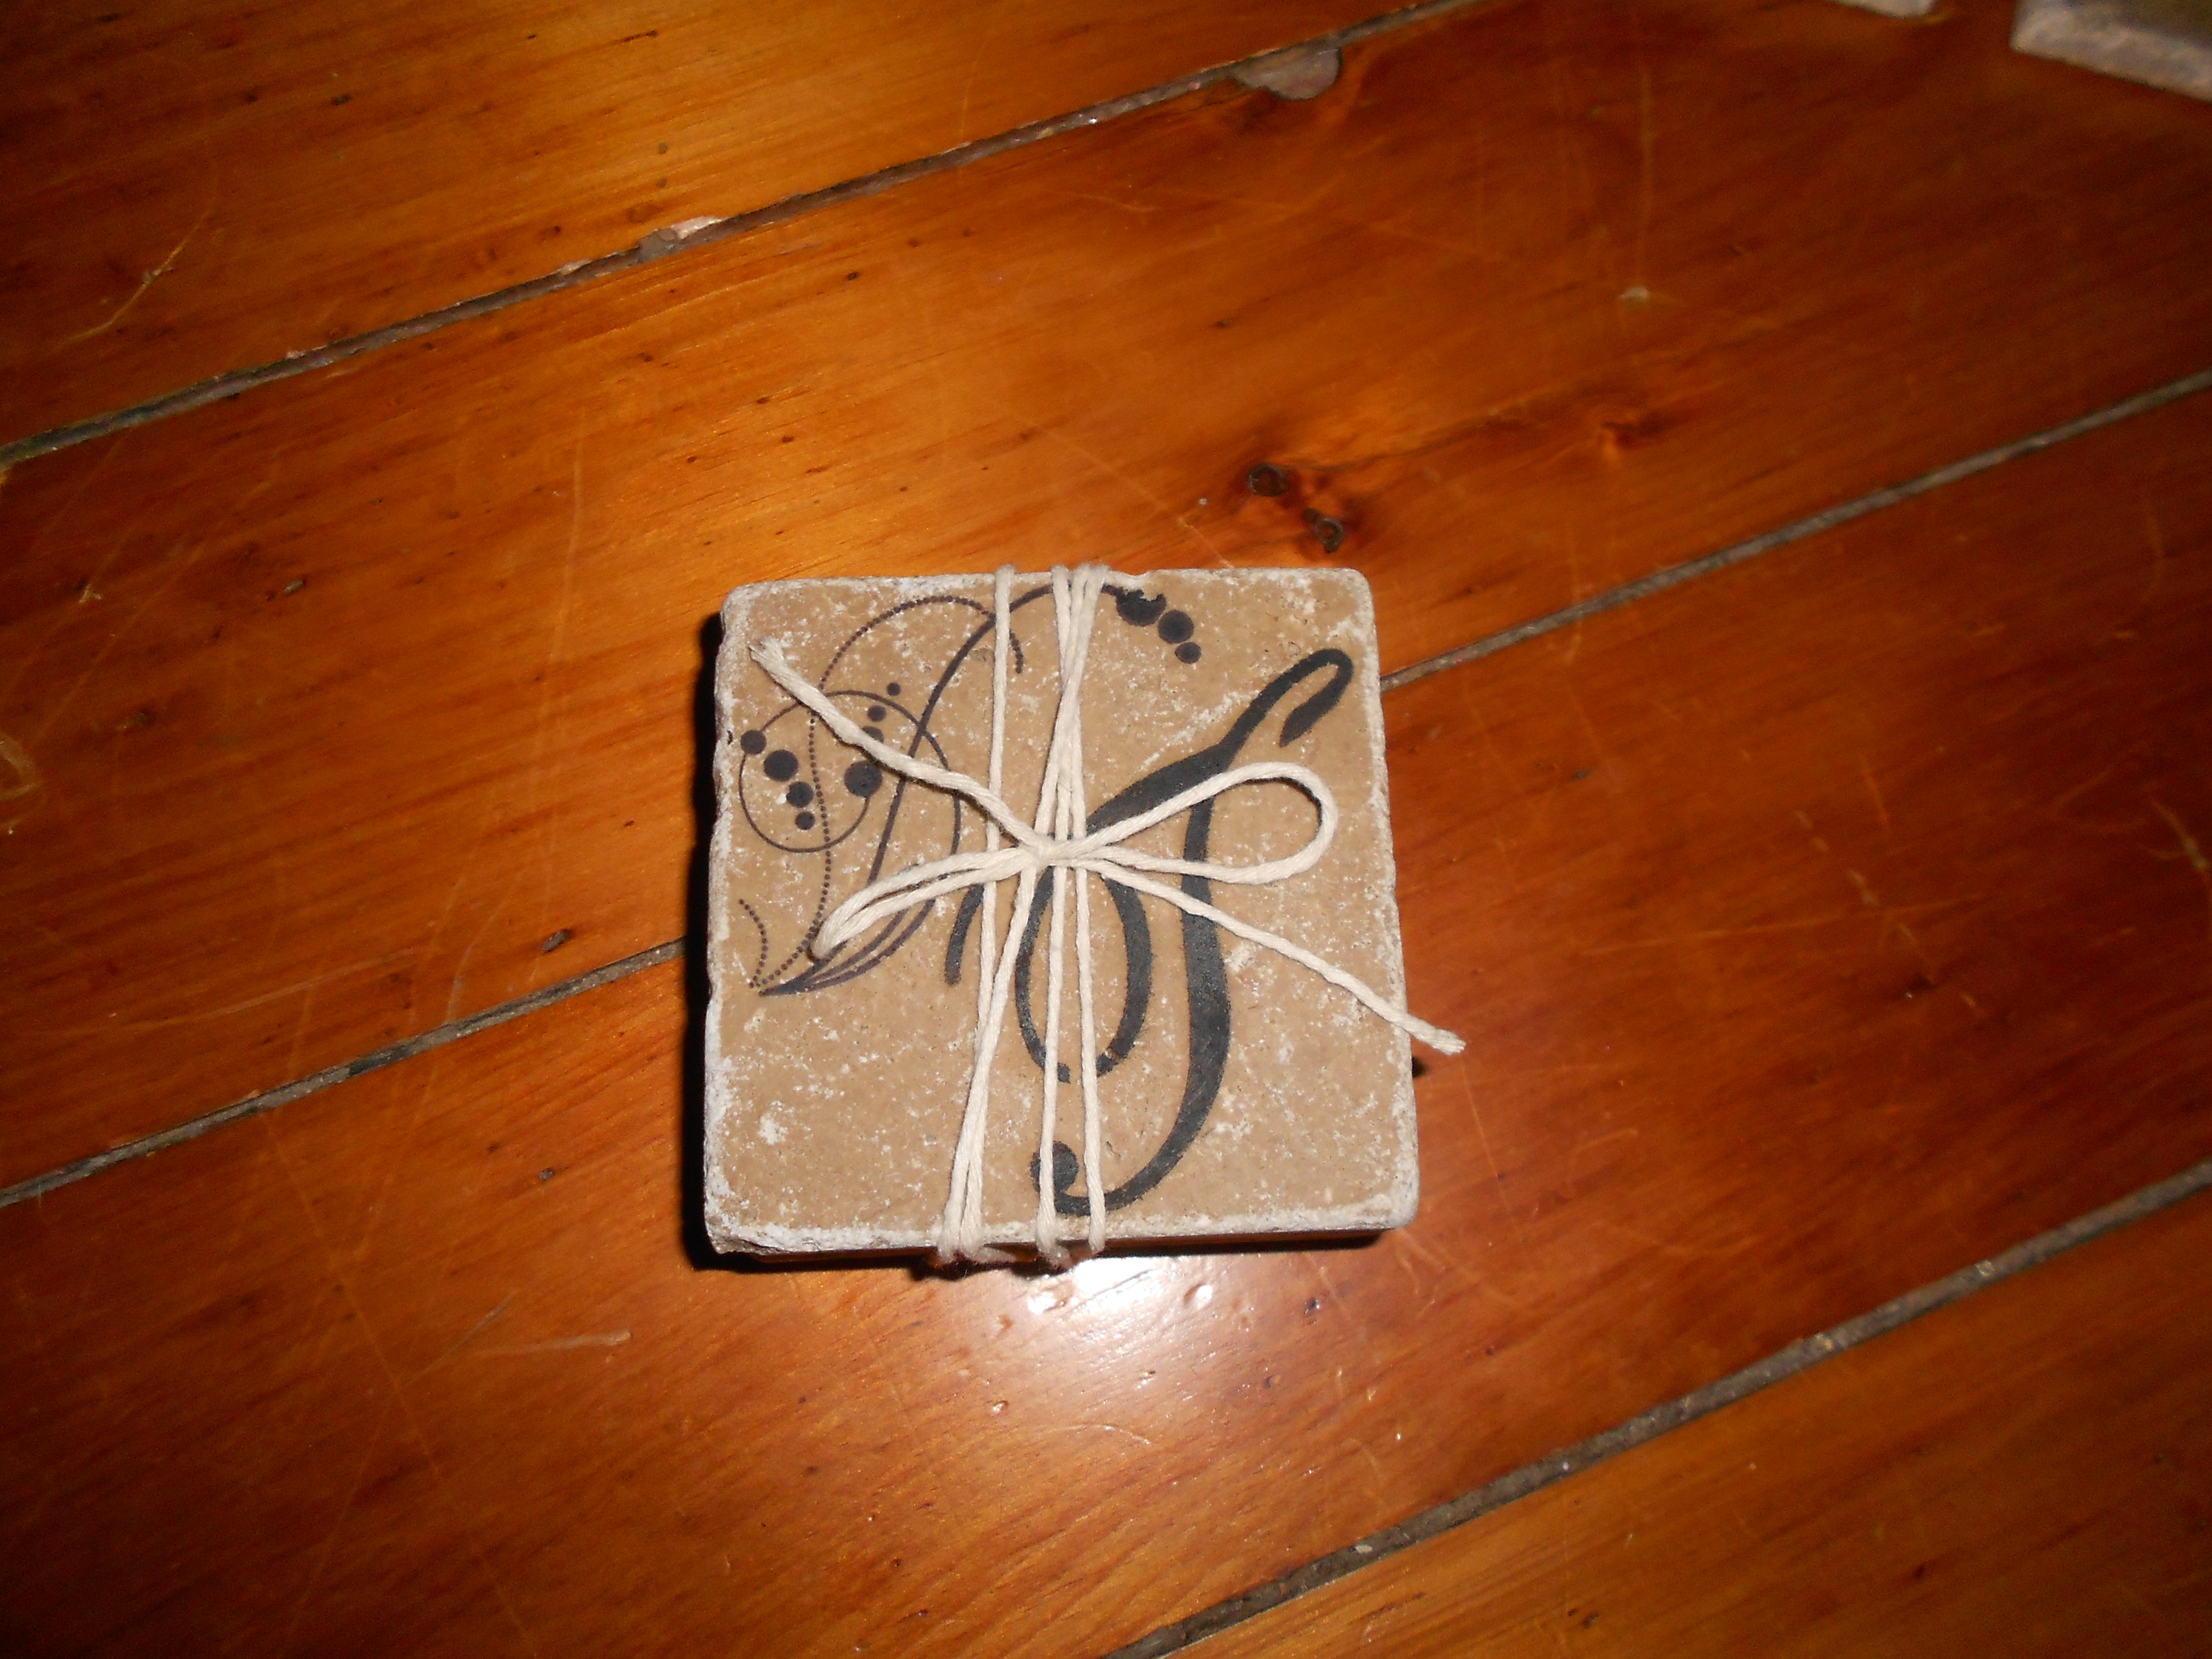
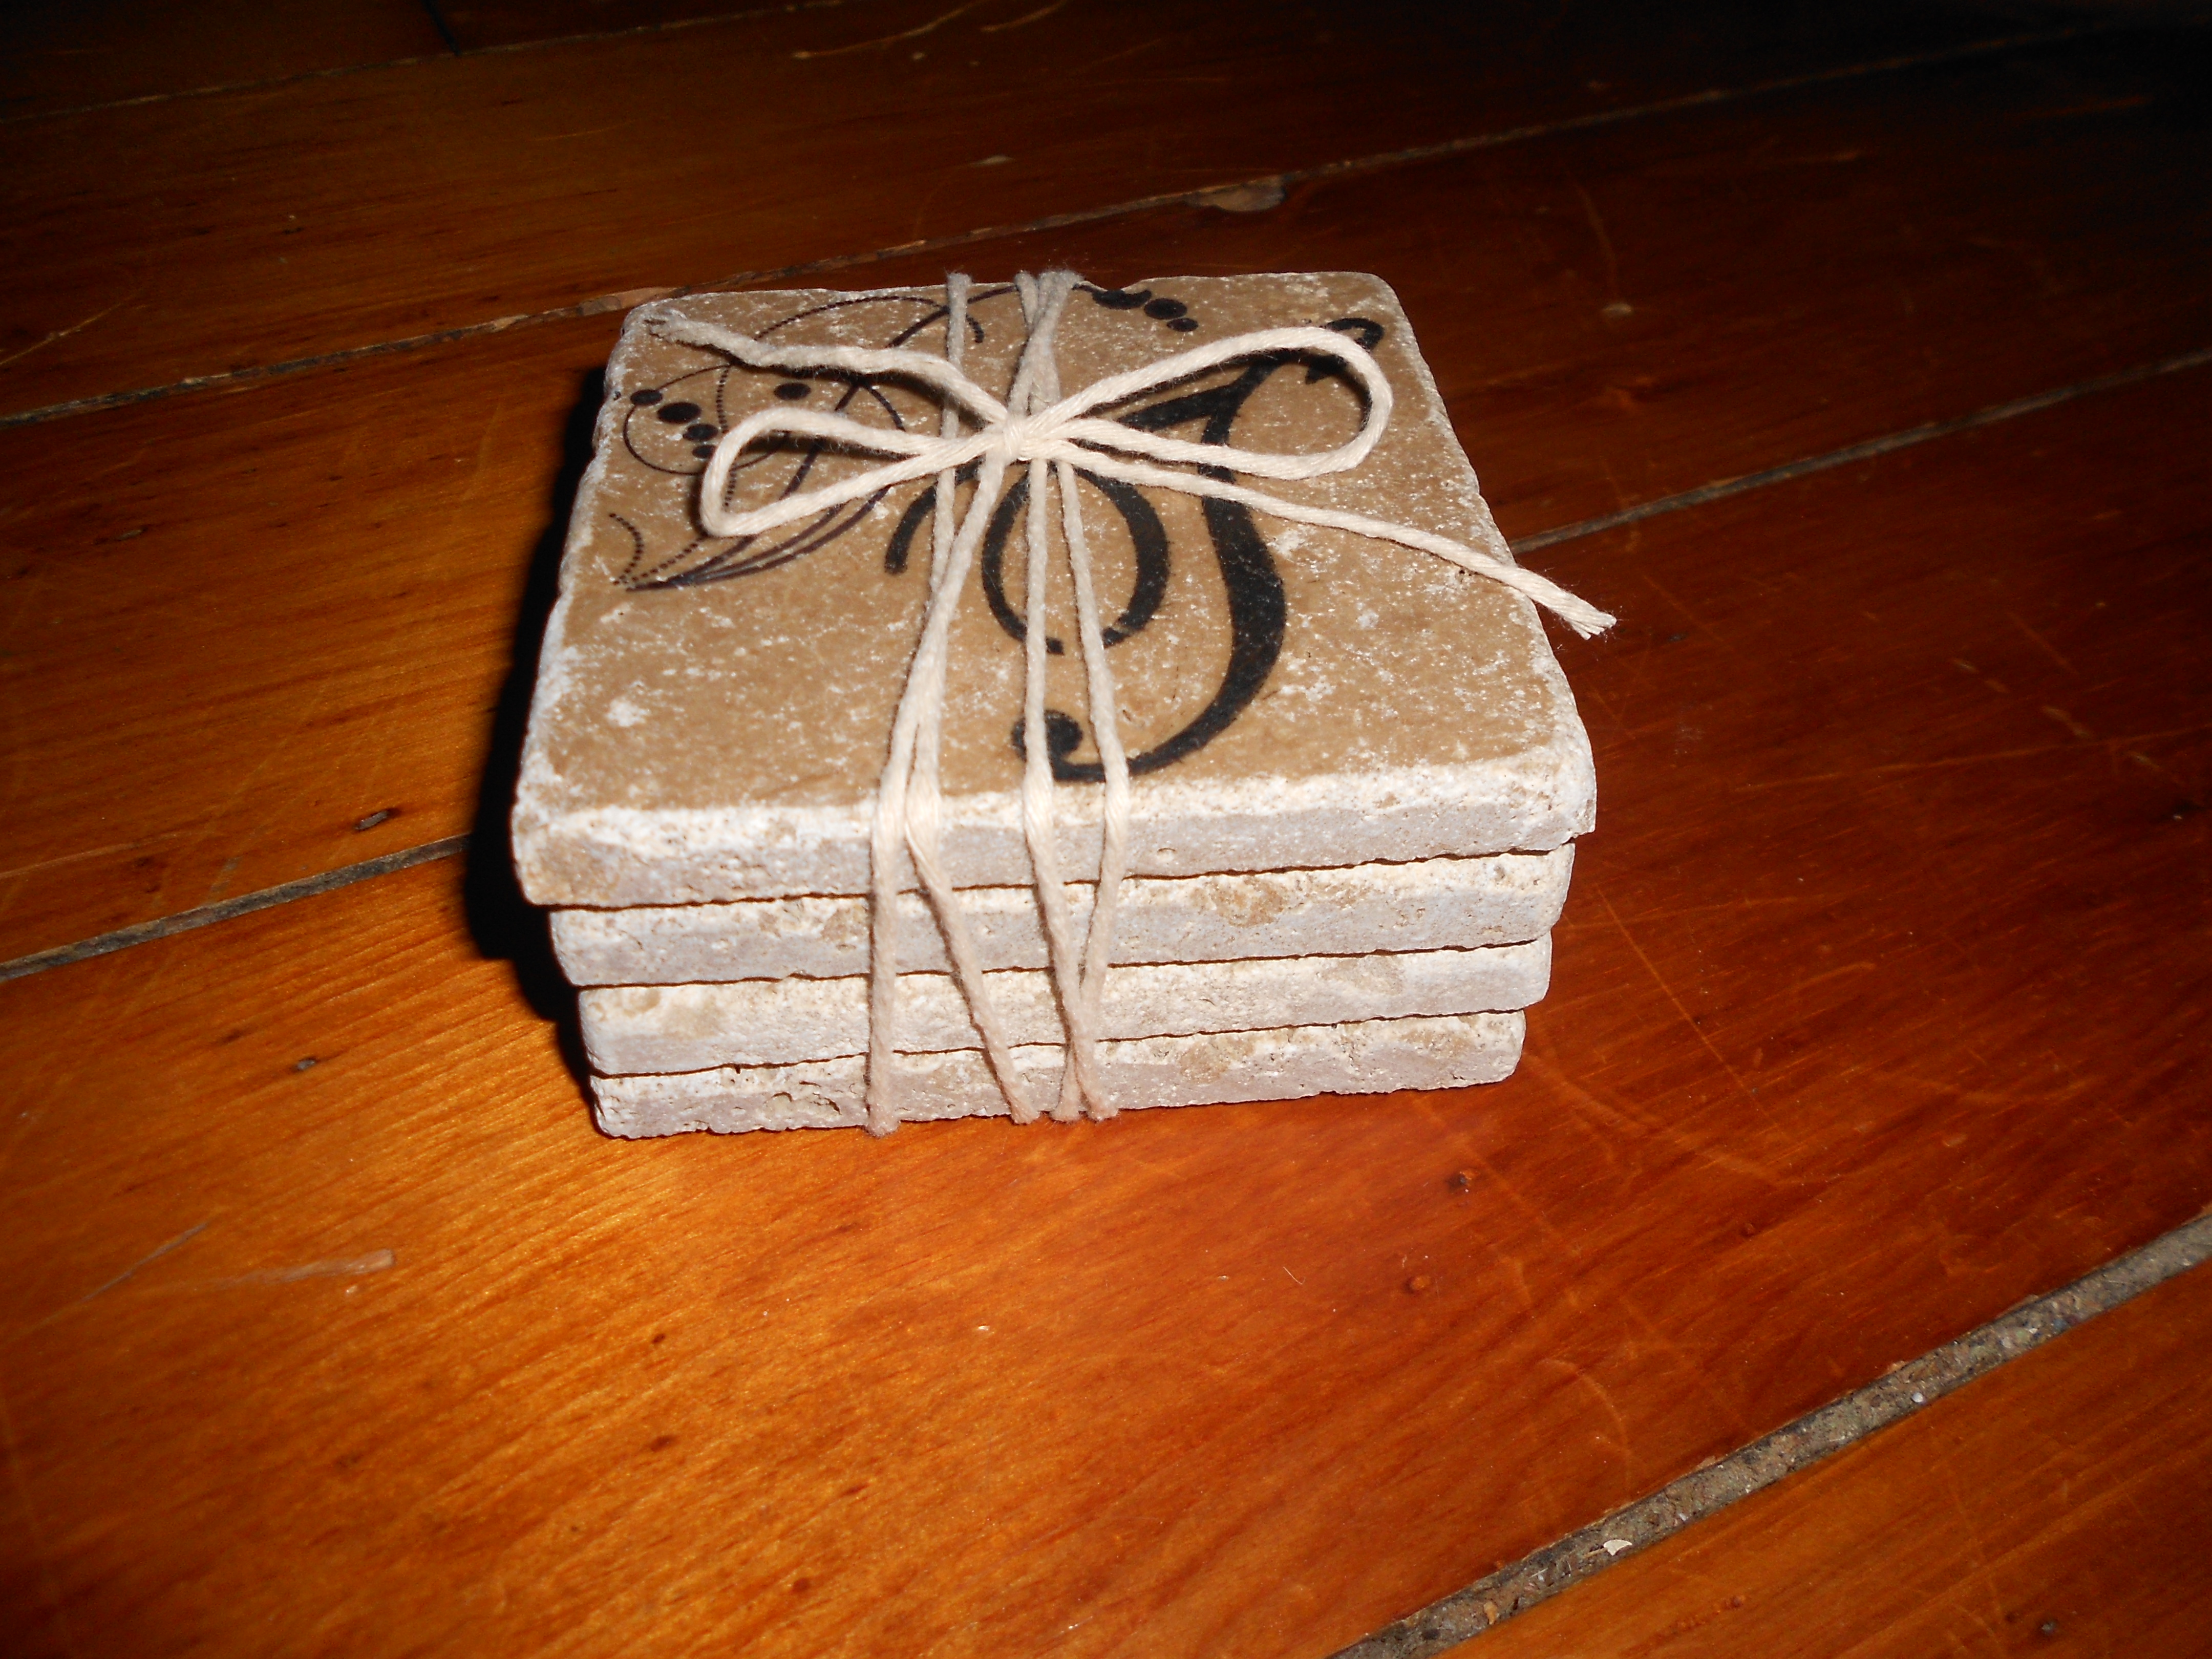
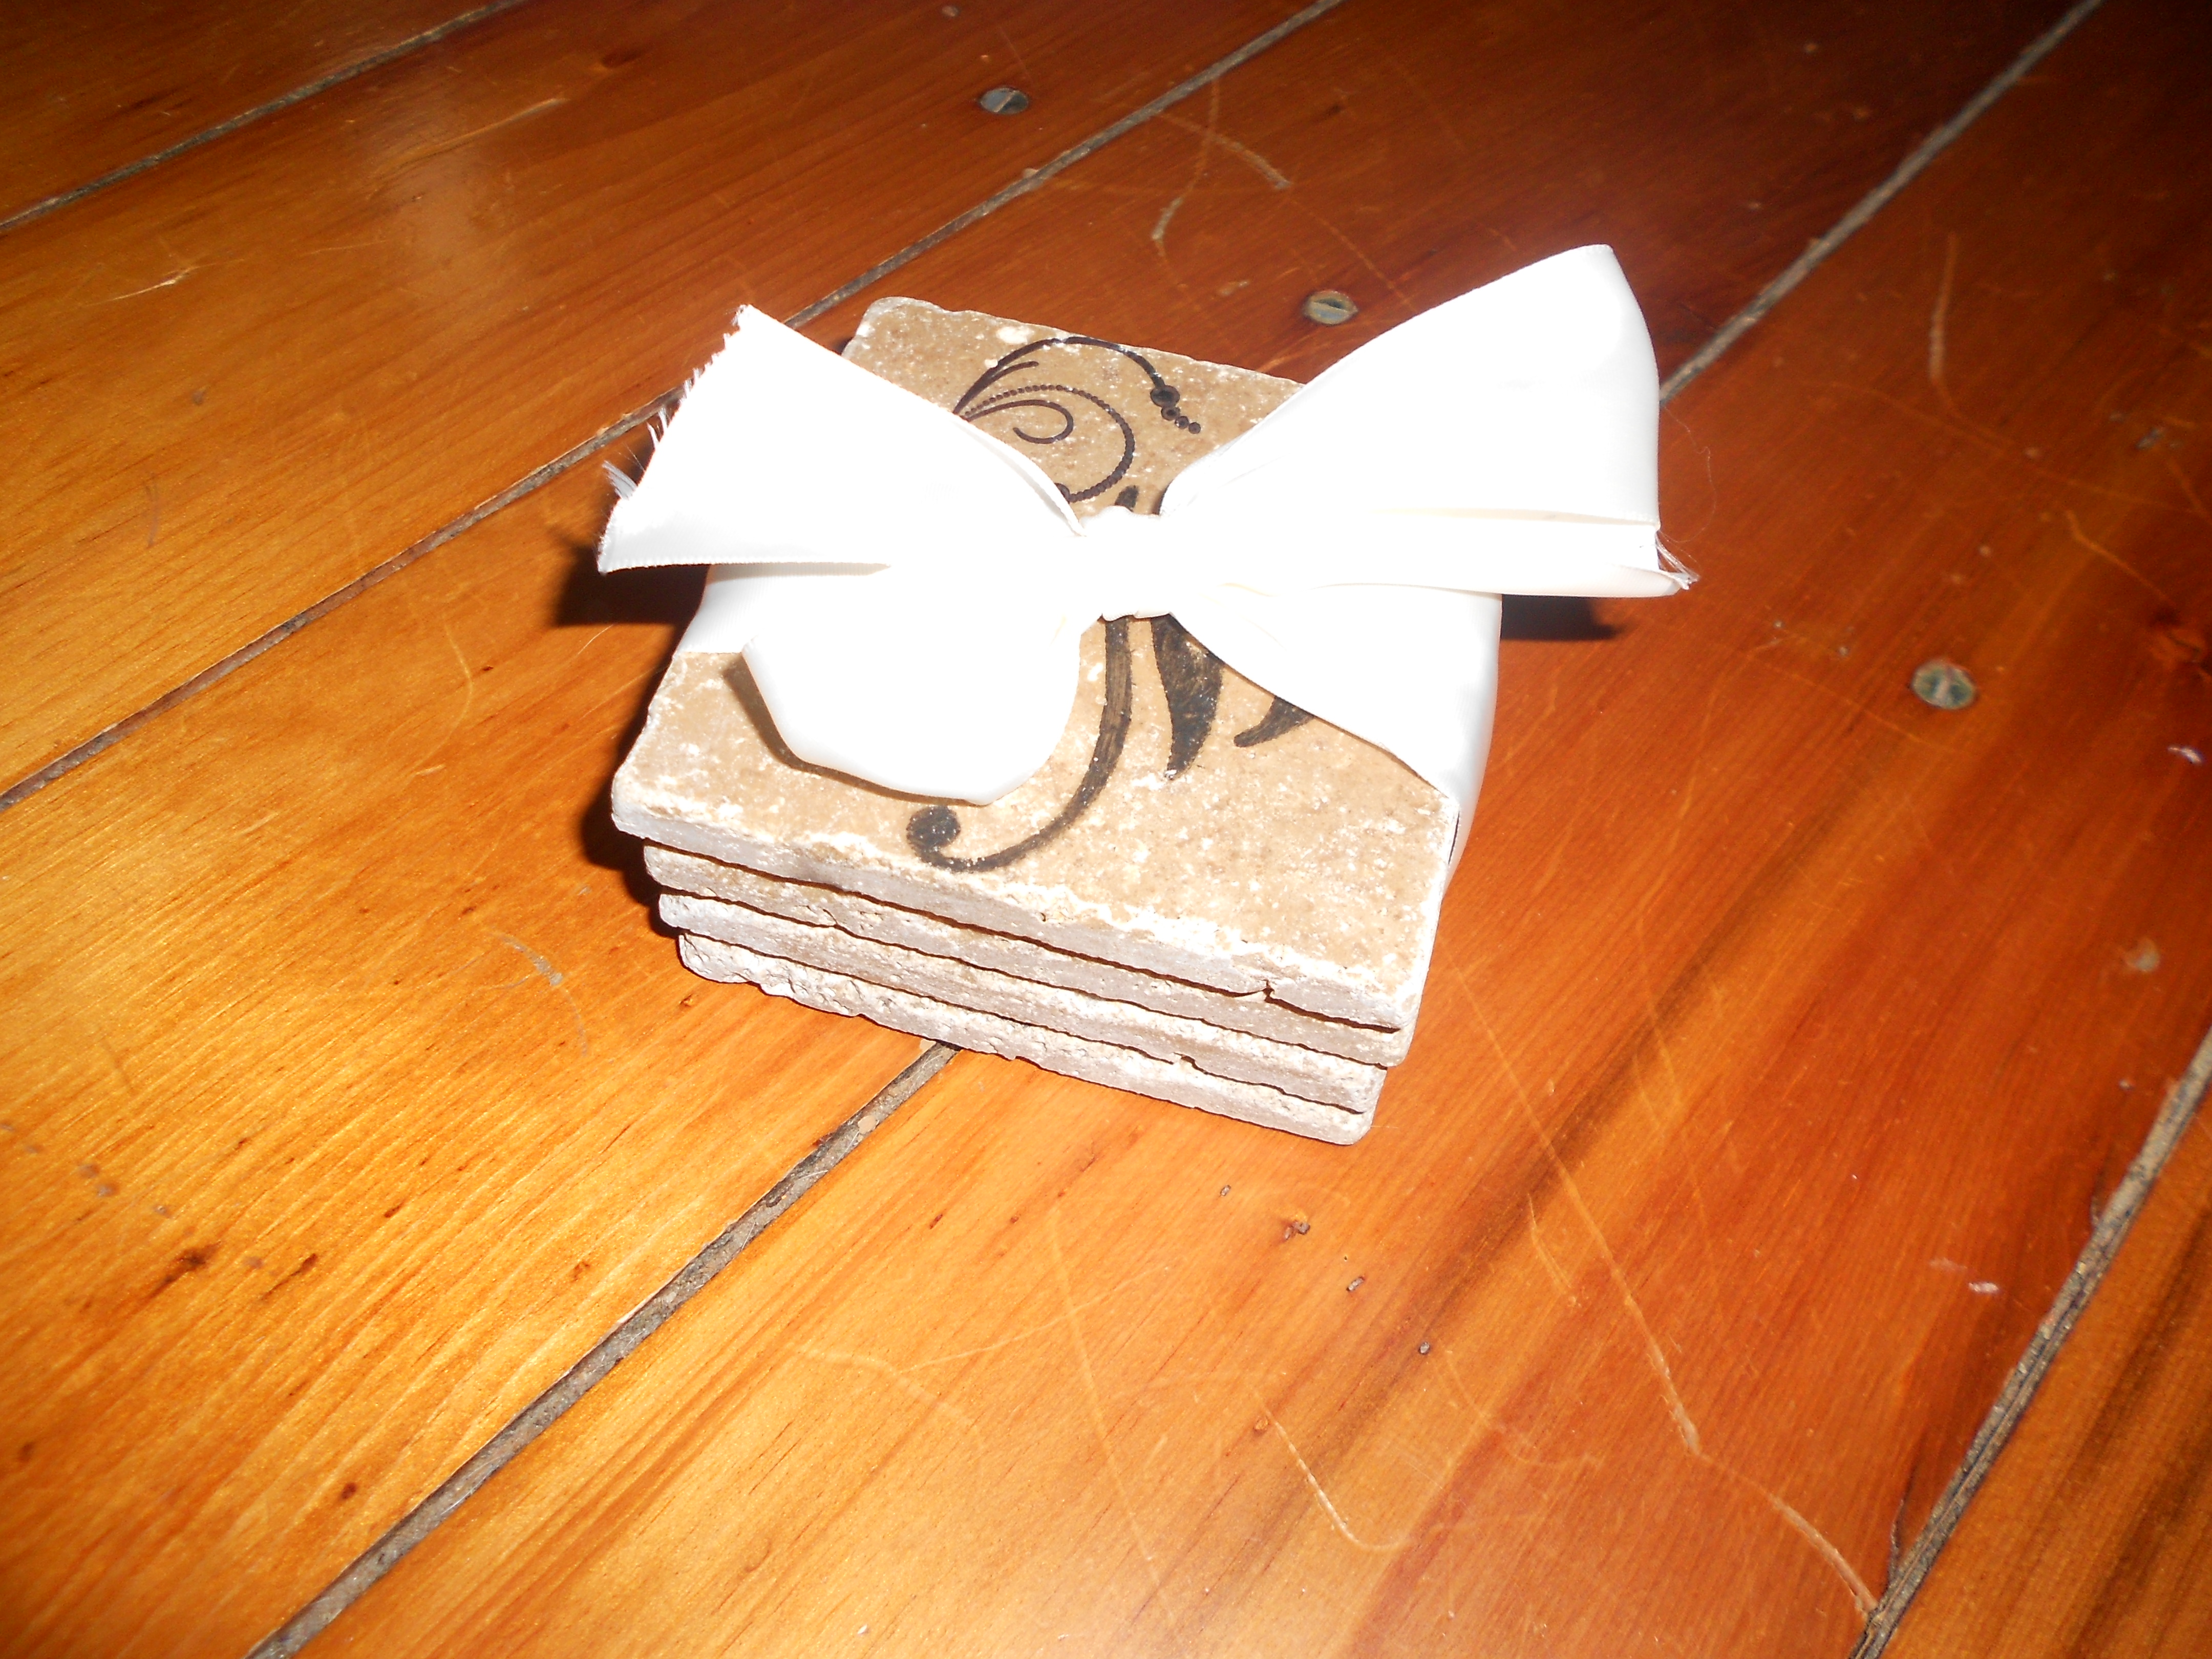
What do you think? I think they turned out great and it was a lot of fun making gifts this year instead of buying something no one needs! 🙂
