Make Stuffed Iowa Pork Loin With Us!

We got a new grill and have been trying out all kinds of new recipes and brushing up old favorites around here!
Let me tell you, Pit Boss is the ultimate grill, and we are in love!
We got the Sportsman 1230 Wood Pellet Gas Grill combo. This beauty can smoke, bake, braise, roast, grill, barbecue, char-grill and sear, all in one machine!
So, on to one of our favorite family recipes!
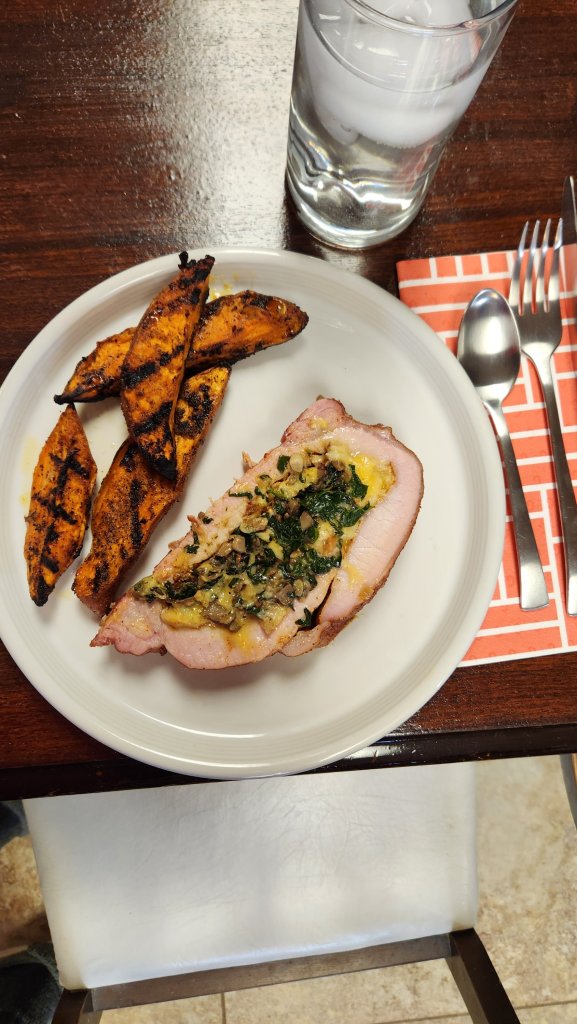
Stuffed Iowa Pork Loin
Ingredients
Vegetables
• 2 tablespoons olive oil (extra virgin)
• 1 small onion (or half of a large onion – chopped in small pieces)
• 1 teaspoon sea salt
• 4 garlic cloves (crushed)
• 1/4 teaspoon ground black pepper
• 6 mushrooms (baby portobello – chopped small)
• 2 cups baby spinach (chopped medium/small)
Pork and layering the filling
• 3.25 pounds pork loin (blot dry with paper towels)
• 1 tablespoon dijon mustard
• 1/2 cup crumbled bacon or bits
• 1/4 cup shredded cheddar cheese
• 1/4 large apple (chopped small)
• Meat seasoning or rub (we use Rufus Teague)
Instructions
• As you cook the onion, use that time to chop the other vegetables to save time.
• Heat a large sauté pan on medium heat, add olive oil, then add chopped onion and sauté for 7 minutes or until translucent. Stirring occasionally.
• Add salt, pepper, crushed garlic, stir and cook for 1 minute.
• Add mushrooms, stir and cook for 2 minutes.
• Add chopped spinach, stir and cook for 1 minute or until the spinach wilts. Set aside.
• Preheat smoker to 250 degrees.
• Butterfly the meat
• Spread the mustard evenly on the pork.
• Sprinkle on the shredded cheese, bacon and apple chunks.
• Spread on the vegetable mixture.
• Refold pork and sprinkle with grill seasoning or rub.
• Place the pork on the grill, add the meat thermometer, and smoke for roughly 3 hours or until inside temp reaches 145 degrees.
Viola!
We love ours with grilled sweat potato wedges!
Let me know what you think of the recipe!
And if you have any questions on the grill, ask away!
XO,
Jess
Guest/Playroom Update
We finally have an official guest space in this guest/playroom!!

What is the best way to keep the space usable for playing while also functional for housing guests?! A sleeper sofa, of course!
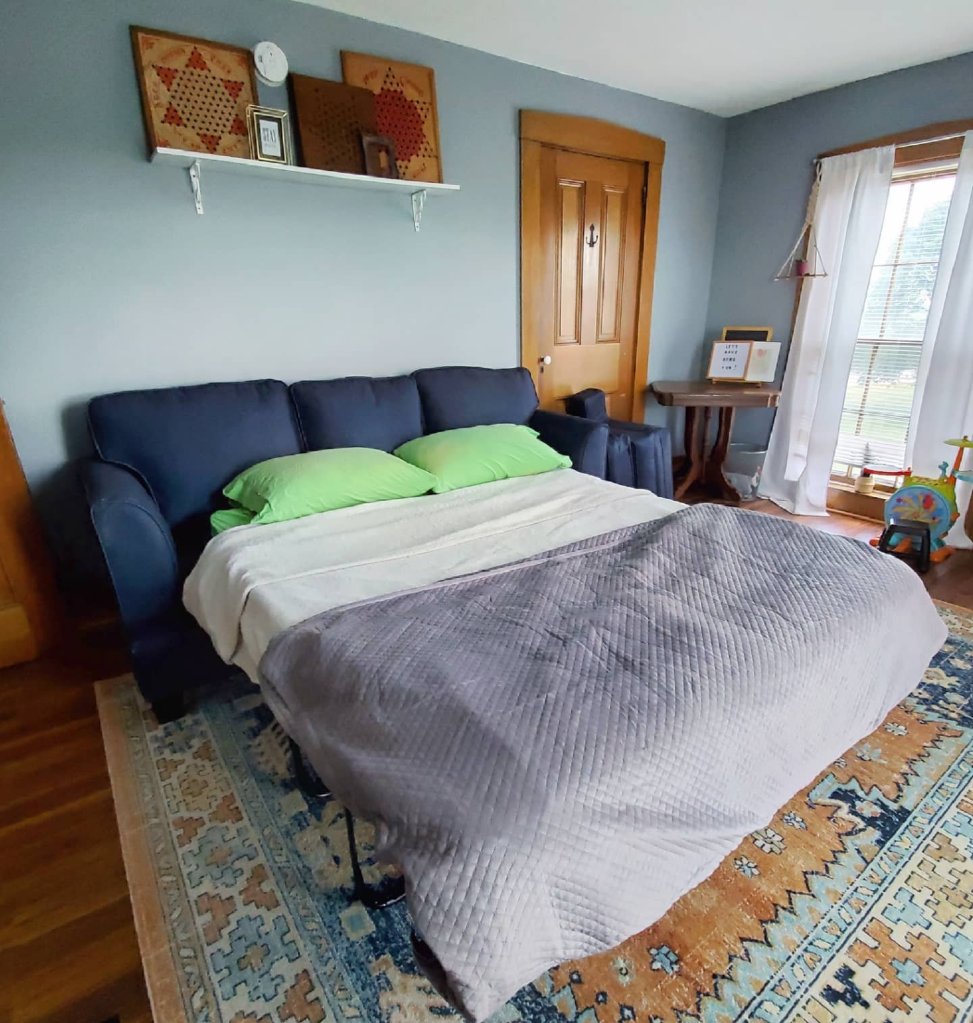
We found just the one at Slumberland Furniture too!
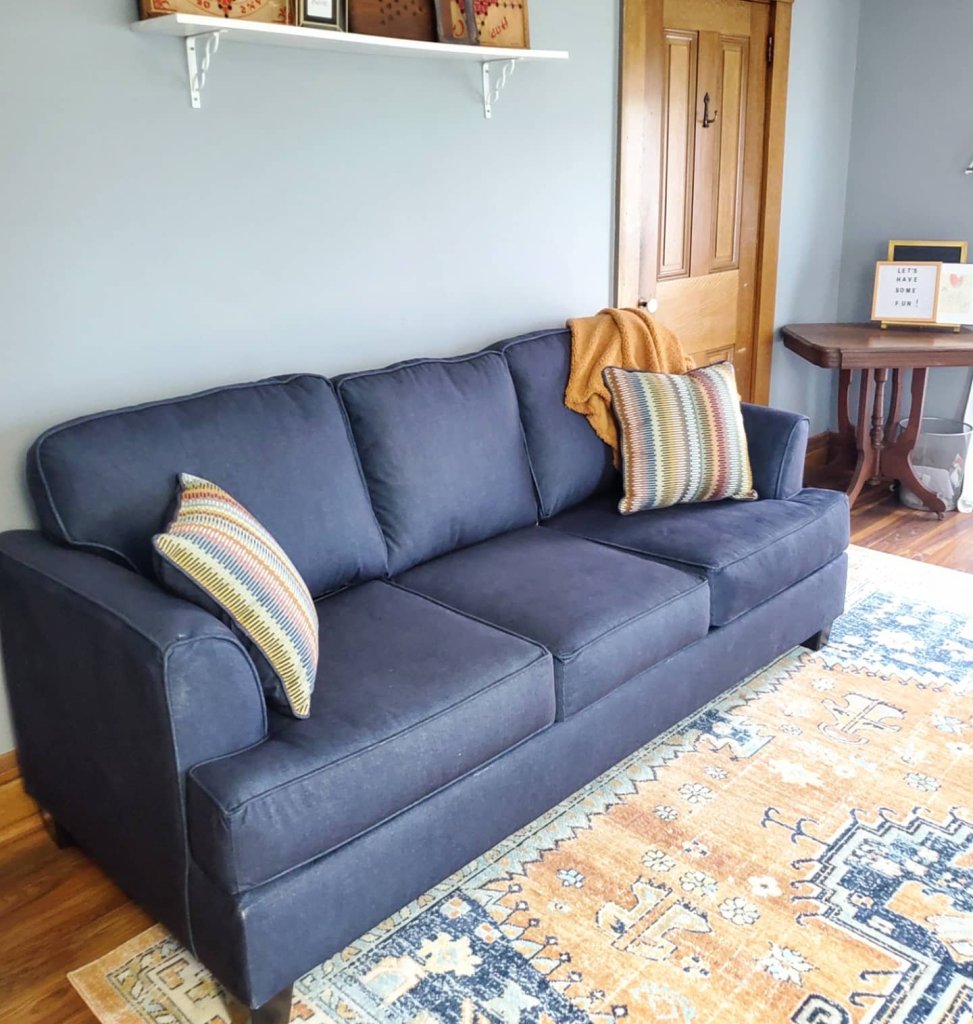
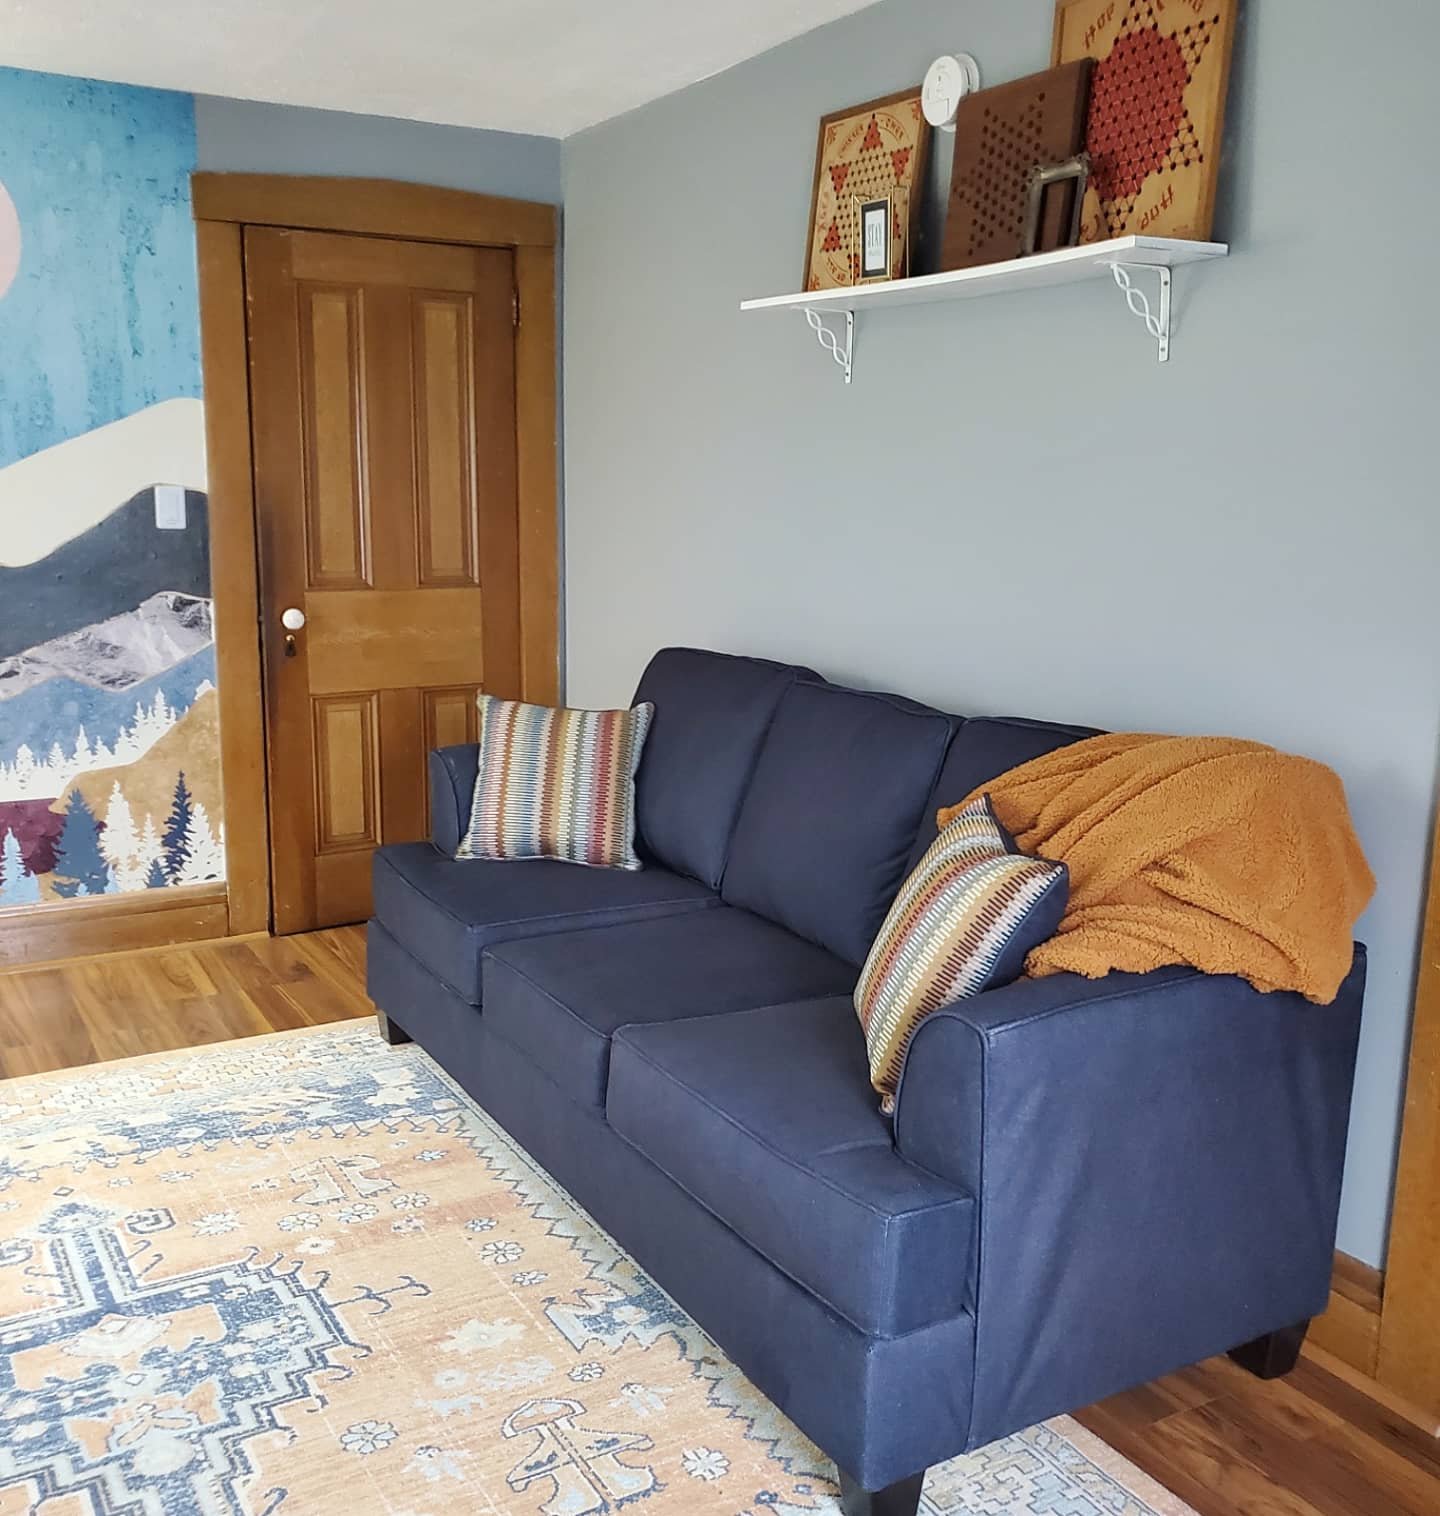
This one is not only comfy and gorgeous, but is the perfect color to be stylish and playful, and has a hidden bed!! Win!
Plus, Slumberland is having a big Anniverary event right now with a HUGE Travel Giveaway!! When you spend $1000, get 10% off Slumberland Low Prices + 2 complimentary Hotel Nights. When you spend $2000, get 15% off Slumberland Low Prices + 3 complimentary Hotel Nights. And when you spend $3000+, get 20% off Slumberland Low Prices + 4 complimentary Hotel Nights!! Check them out for details!
So what do you think of the room progress?!
XX,
Jess
A New Mud Room
Check out this horrible mud room!

I know it doesn’t show it well, but behind the open back door is a small closet and then a sink. Yuck.
It is an old farm house, so once upon a time the sink had a purpose. Now it was just wasting space. Valuable space. We knew this room could be better utilized. Little did we know, we would, as usual, open a giant can of worms…
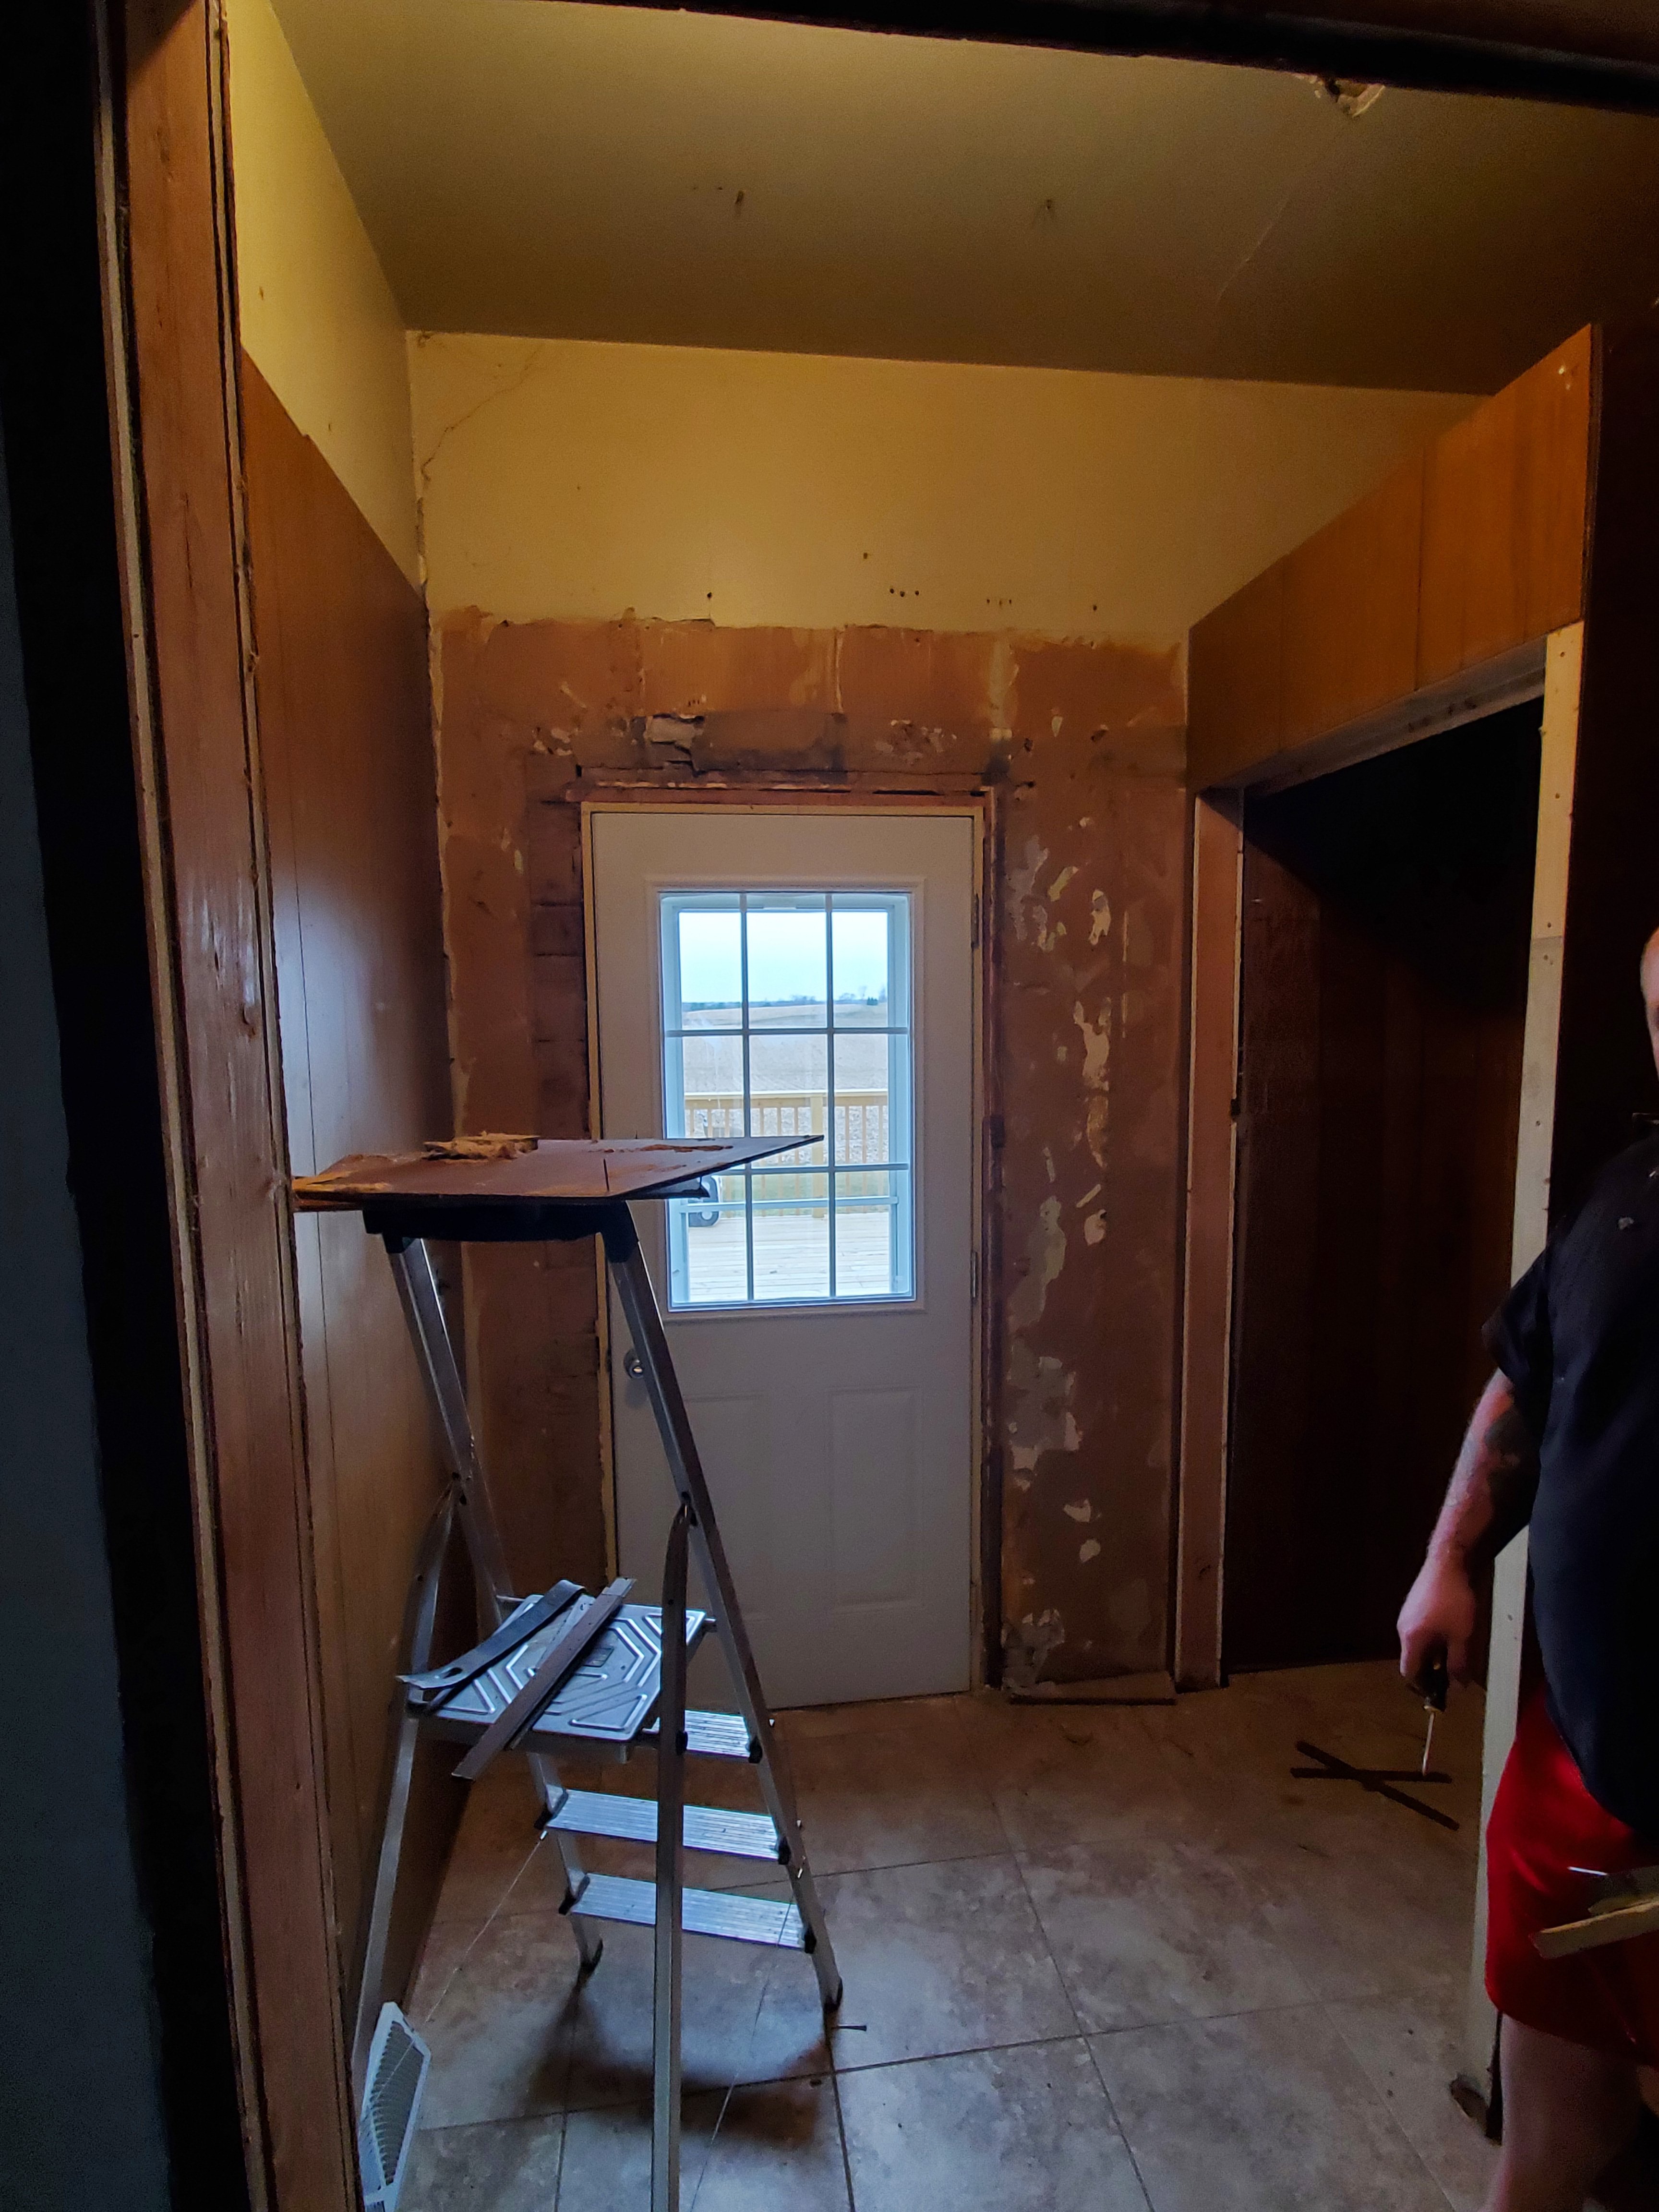
We thought we’d tear out the sink and old paneling, paint, add barn doors and call it a day. No.
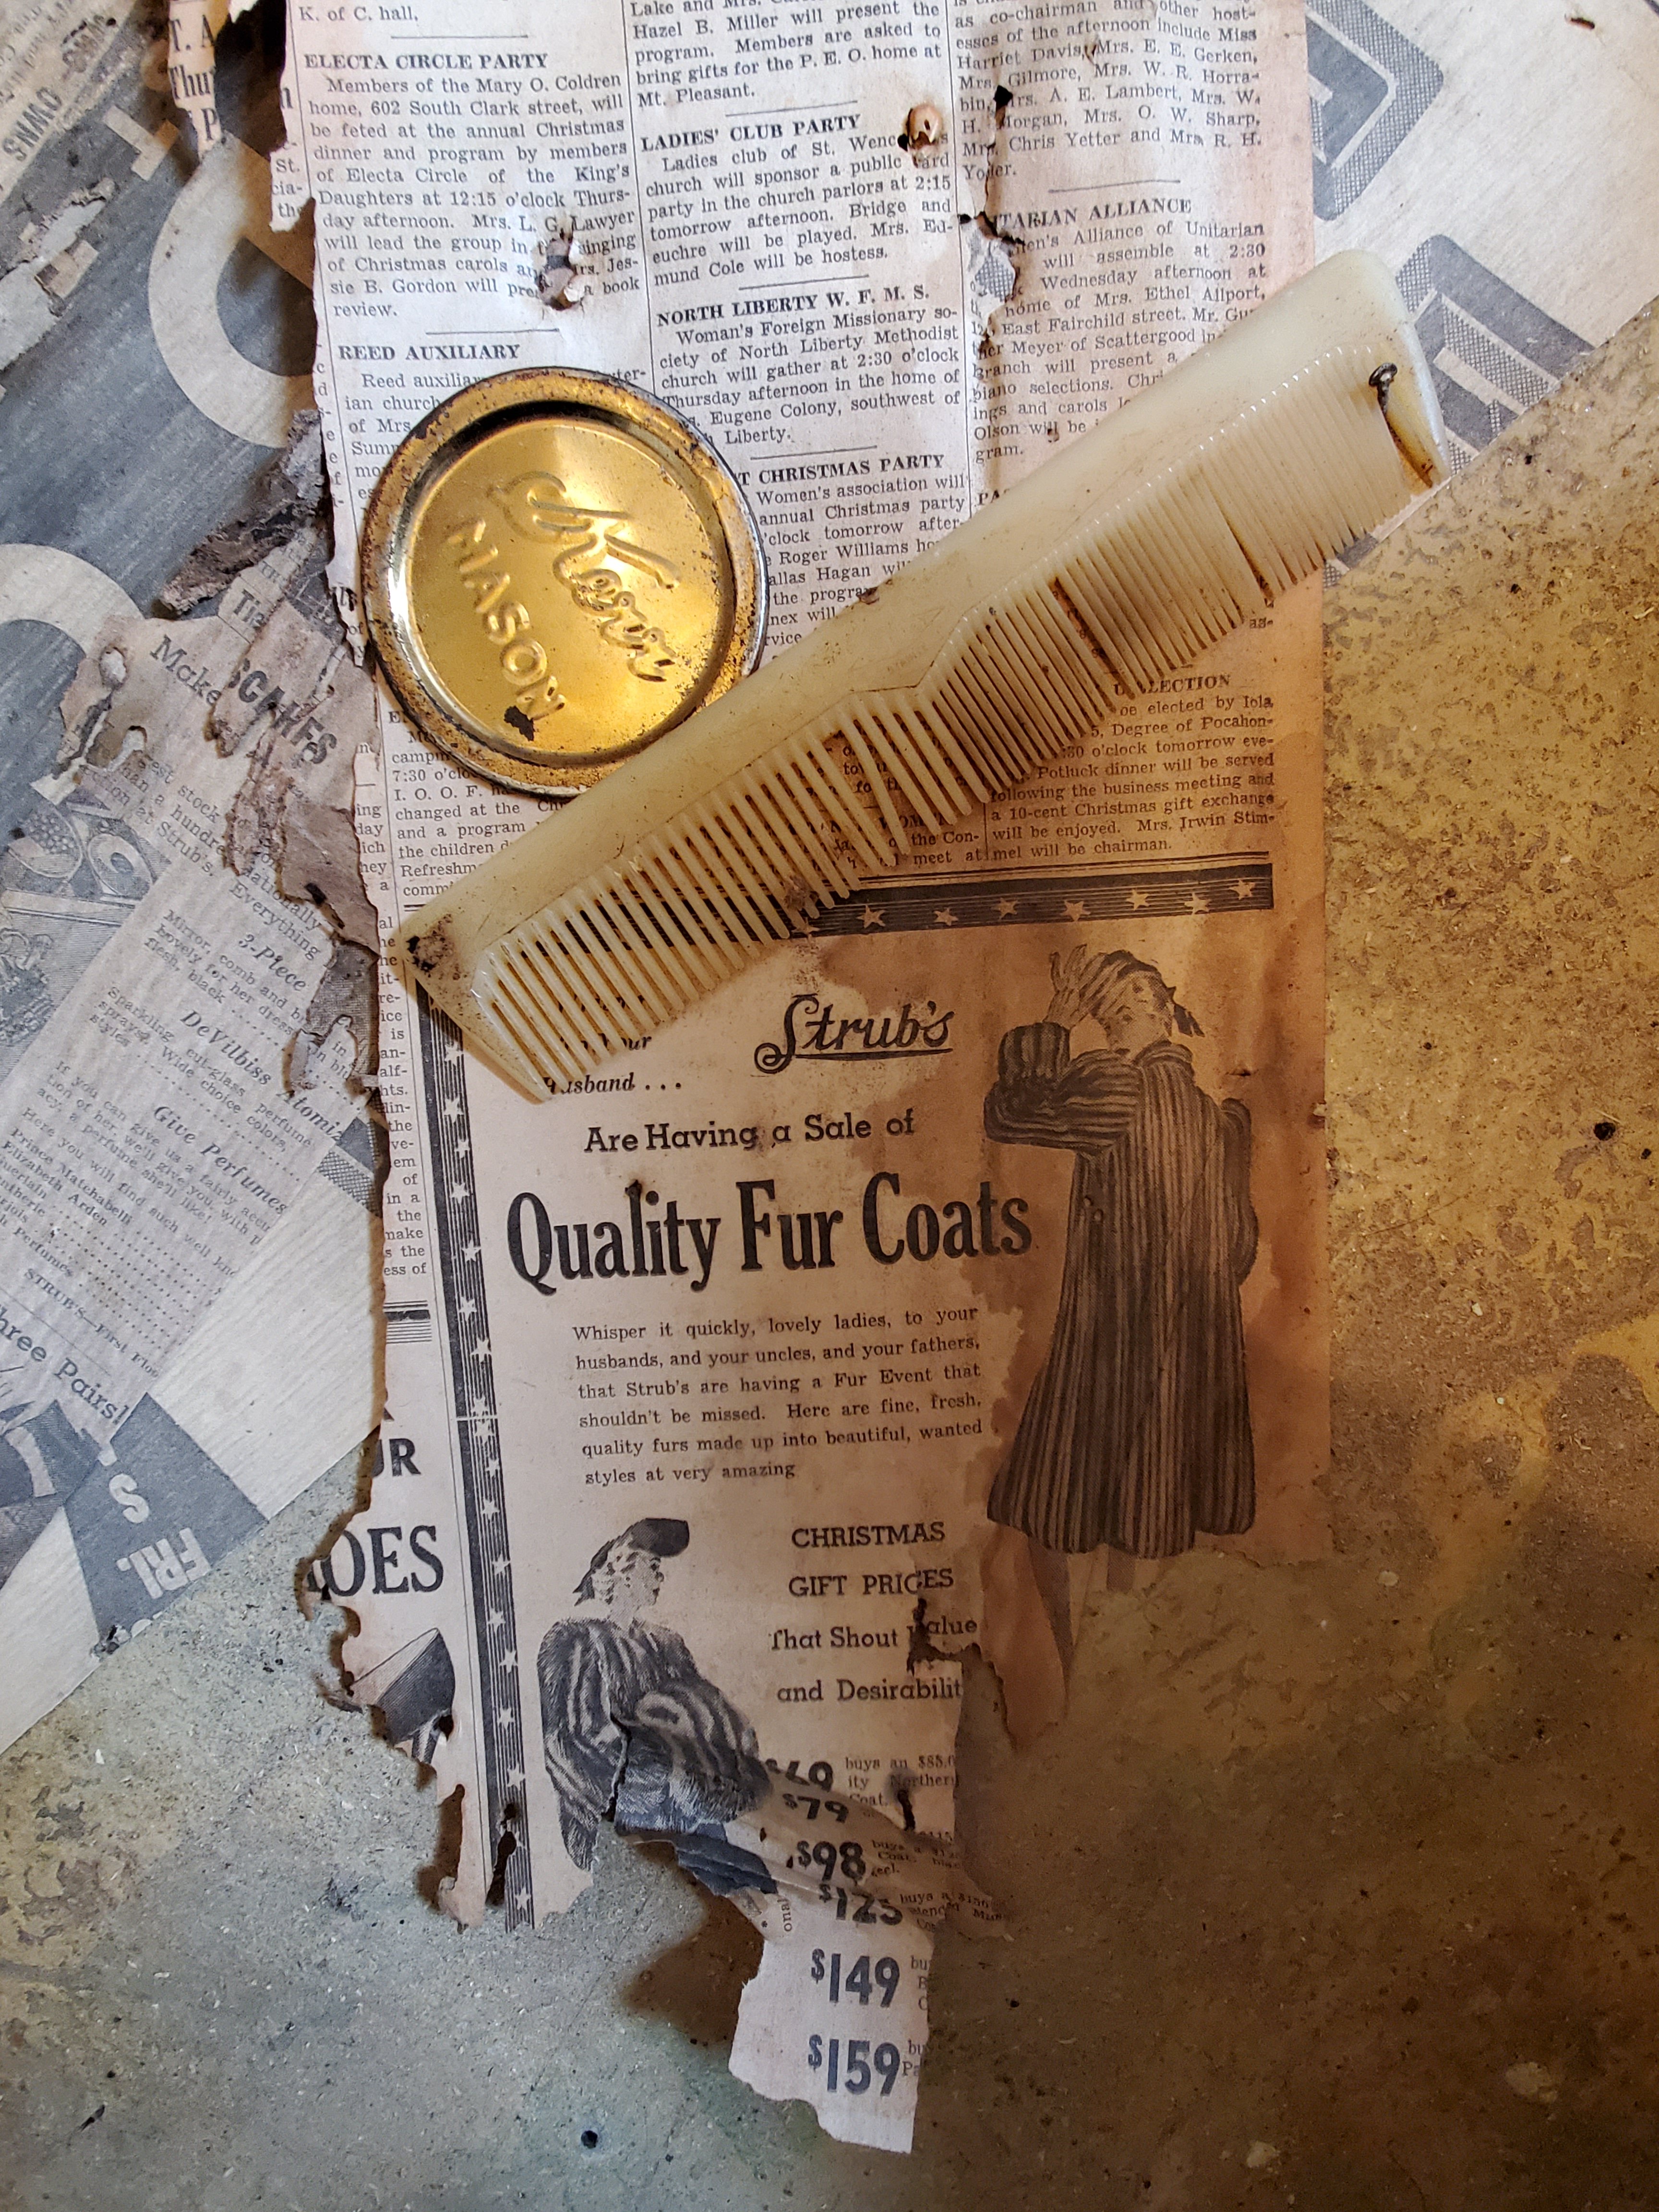
The walls had to be redone down to the studs. A new false wall had to be added above the closet, since we were taking out the drop ceiling. Then we found that the paneling went behind the flooring. This removal ruined the flooring (not sad about it) and in removing the tile we found we had a rotten spot and needed to even replace subflooring. The house is 1862, but still, whew!

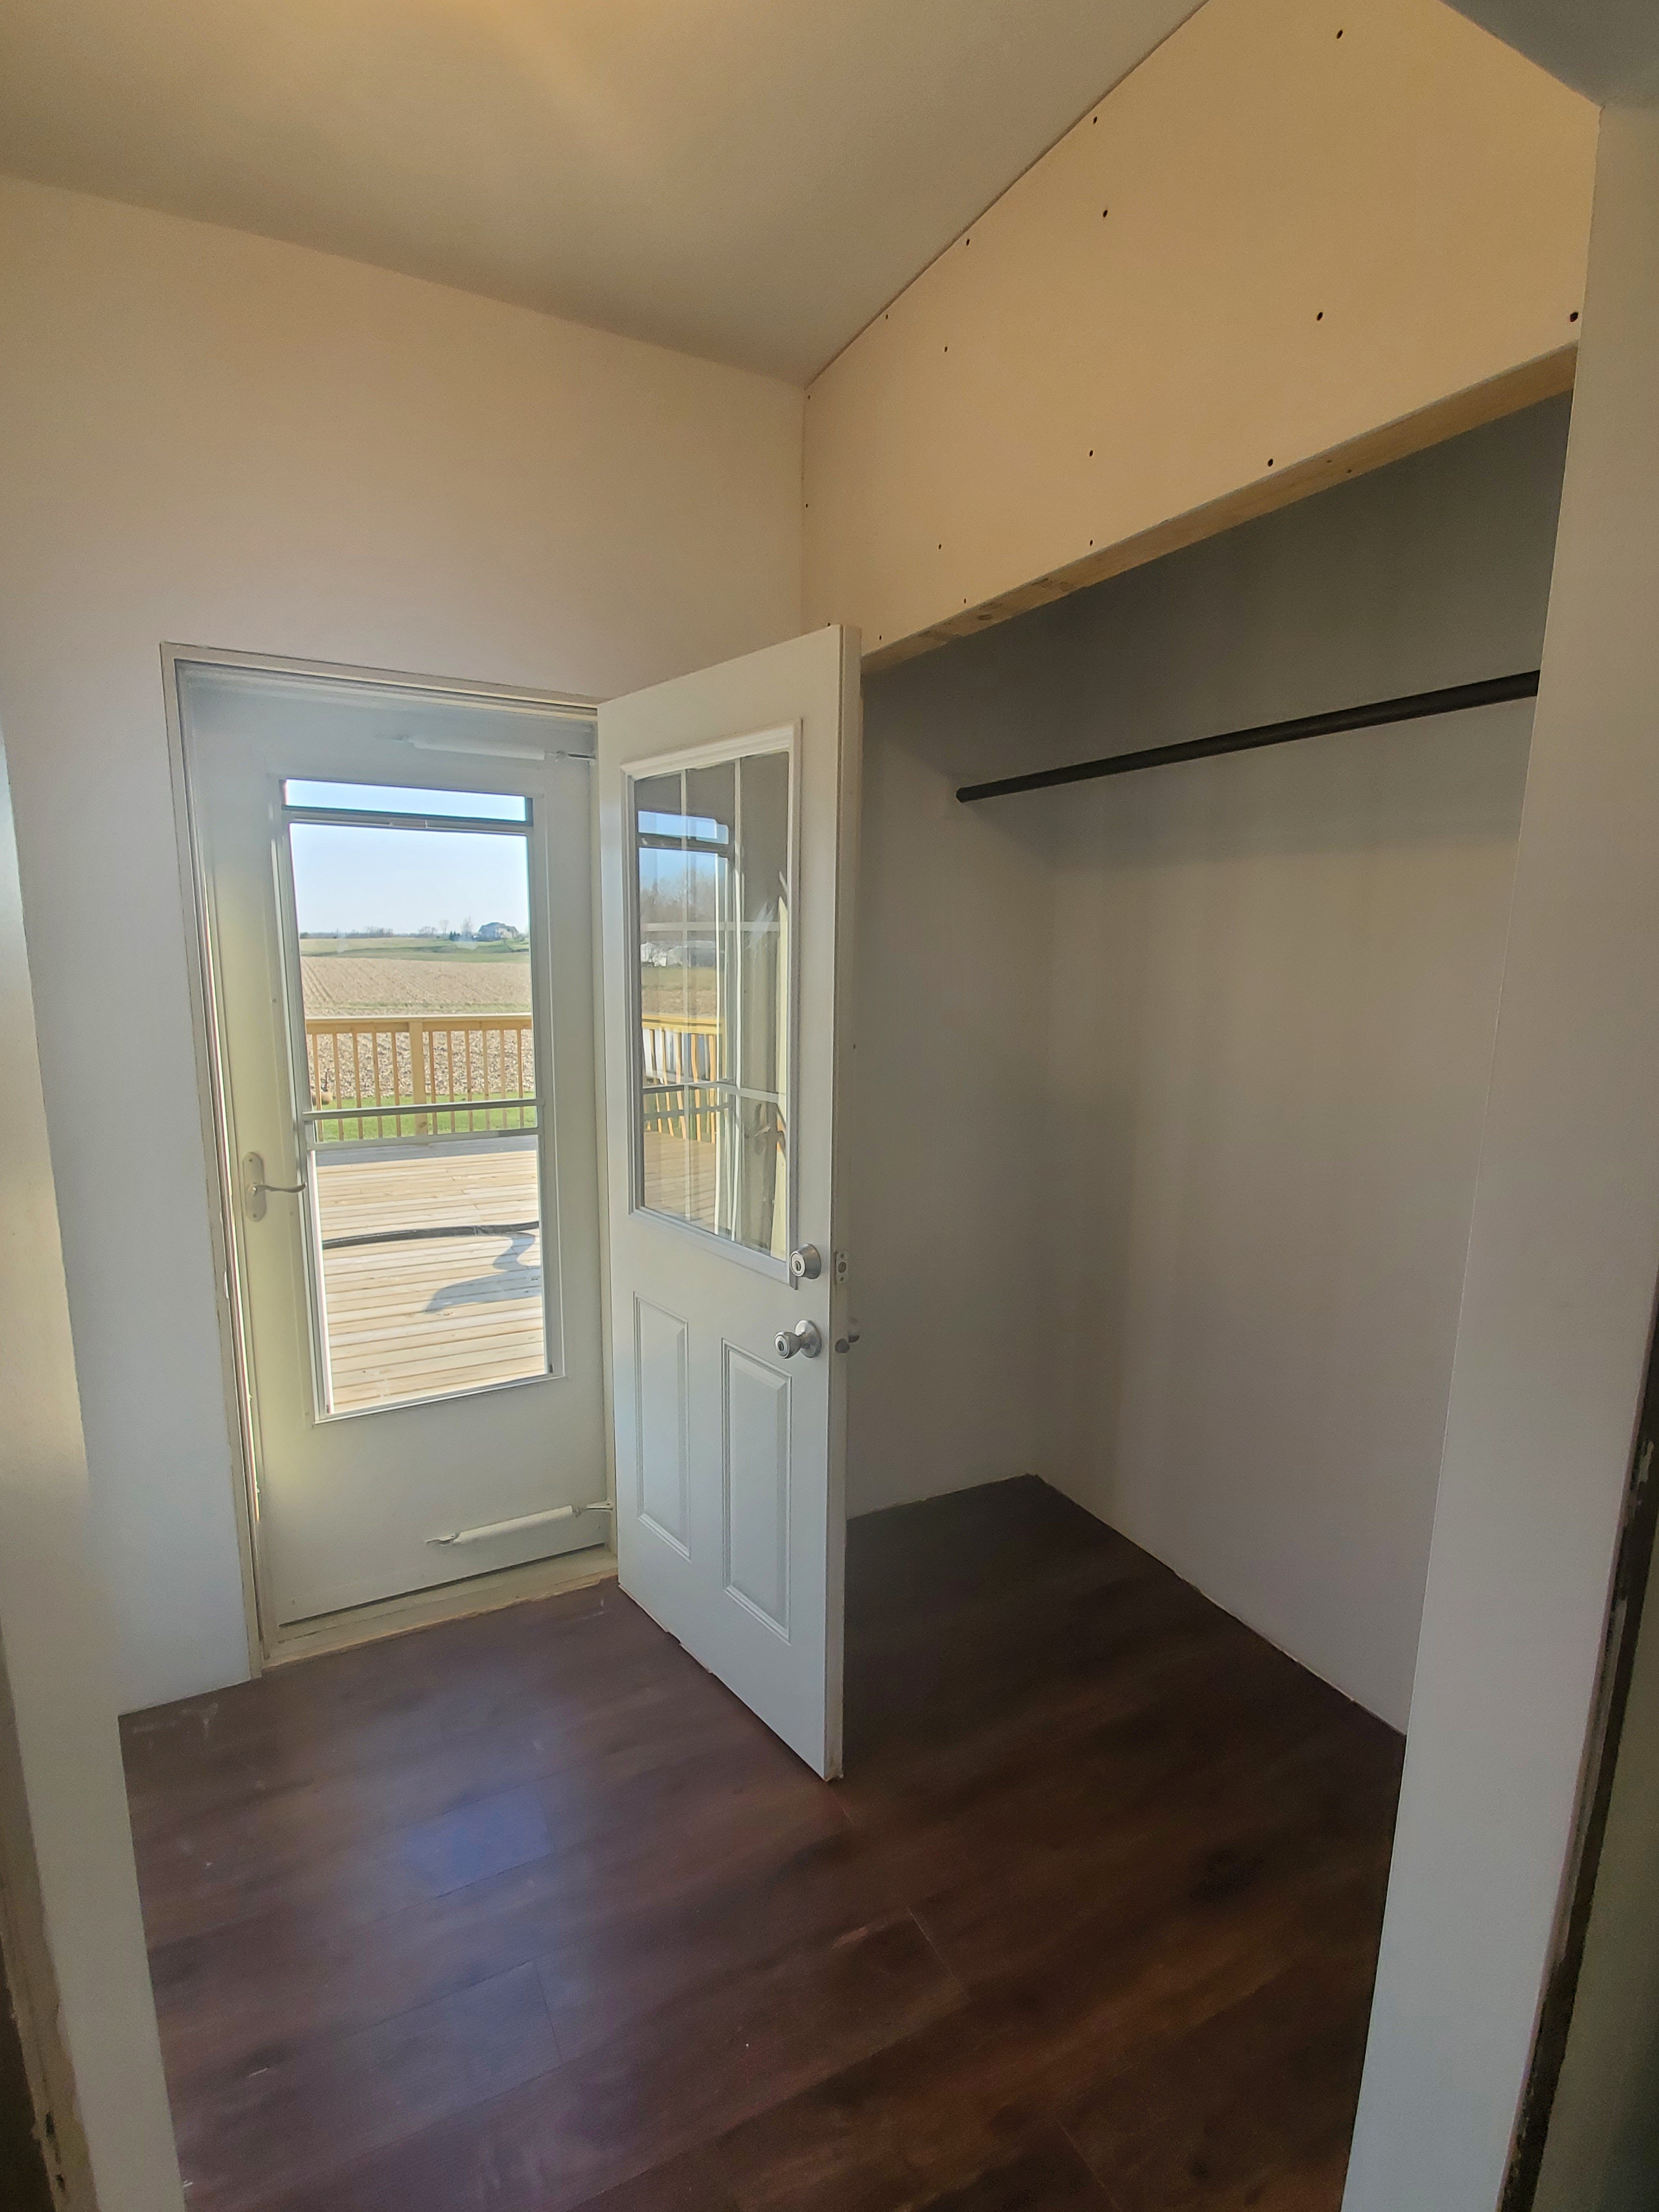

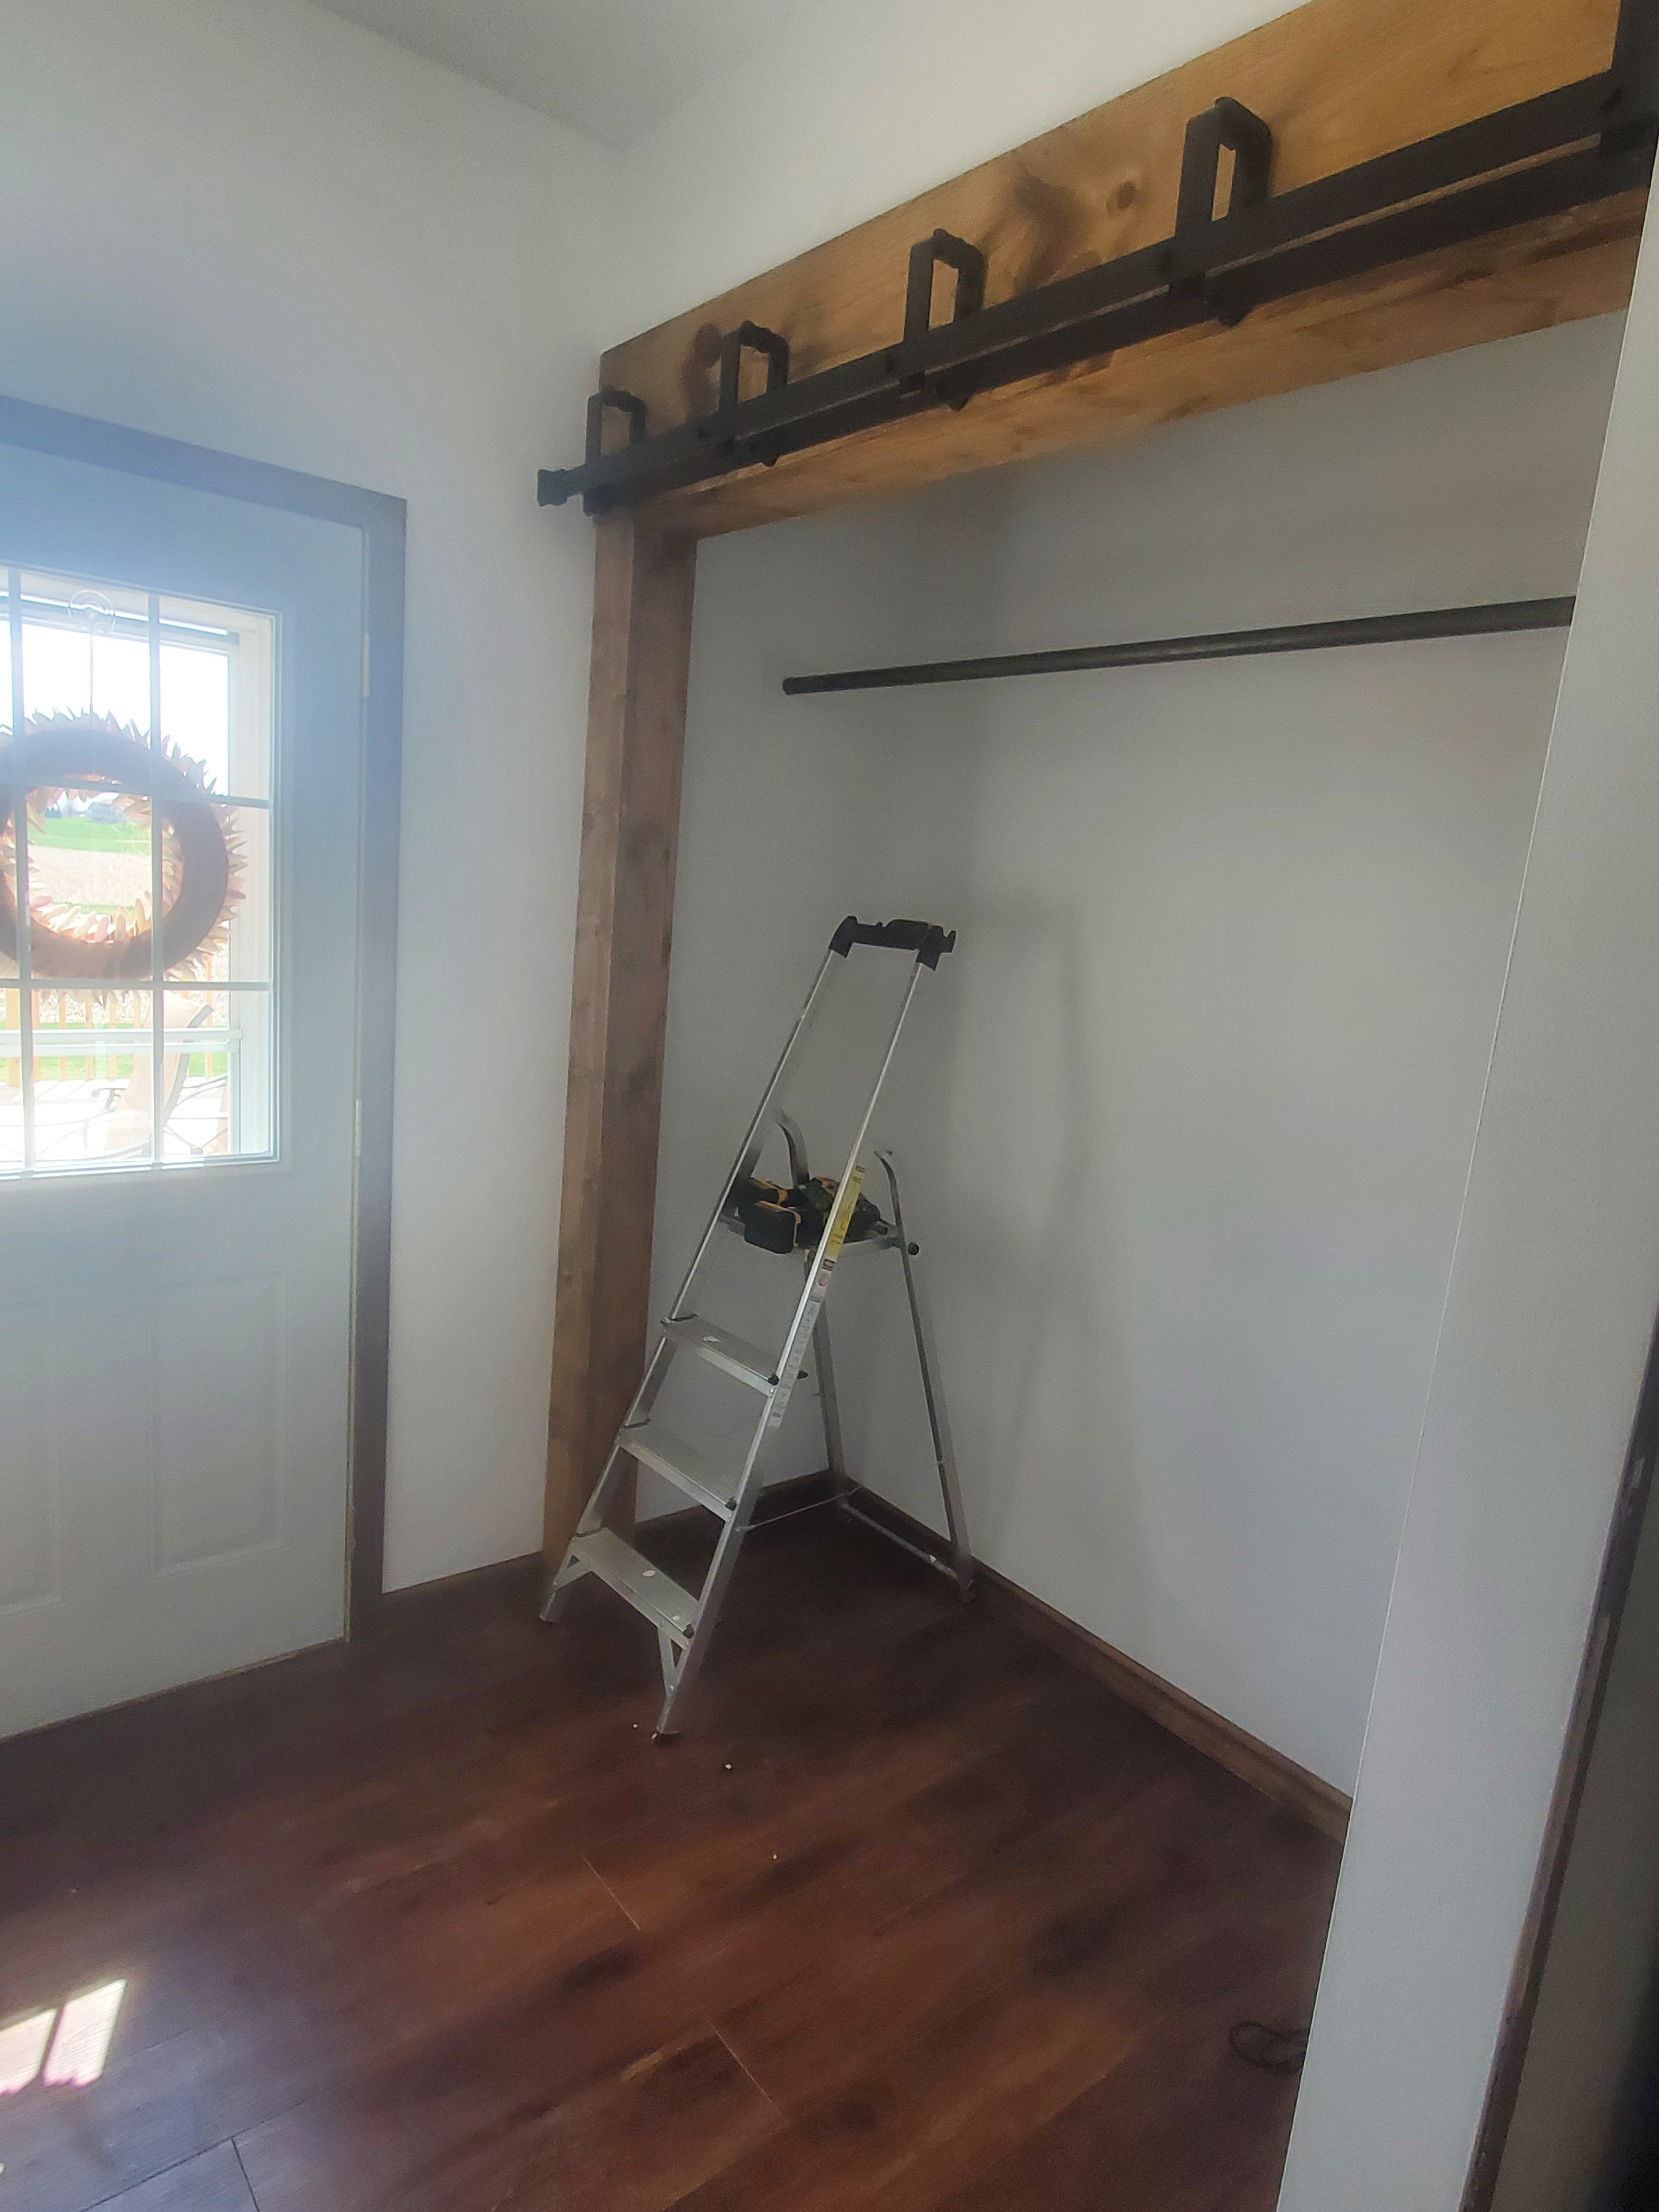
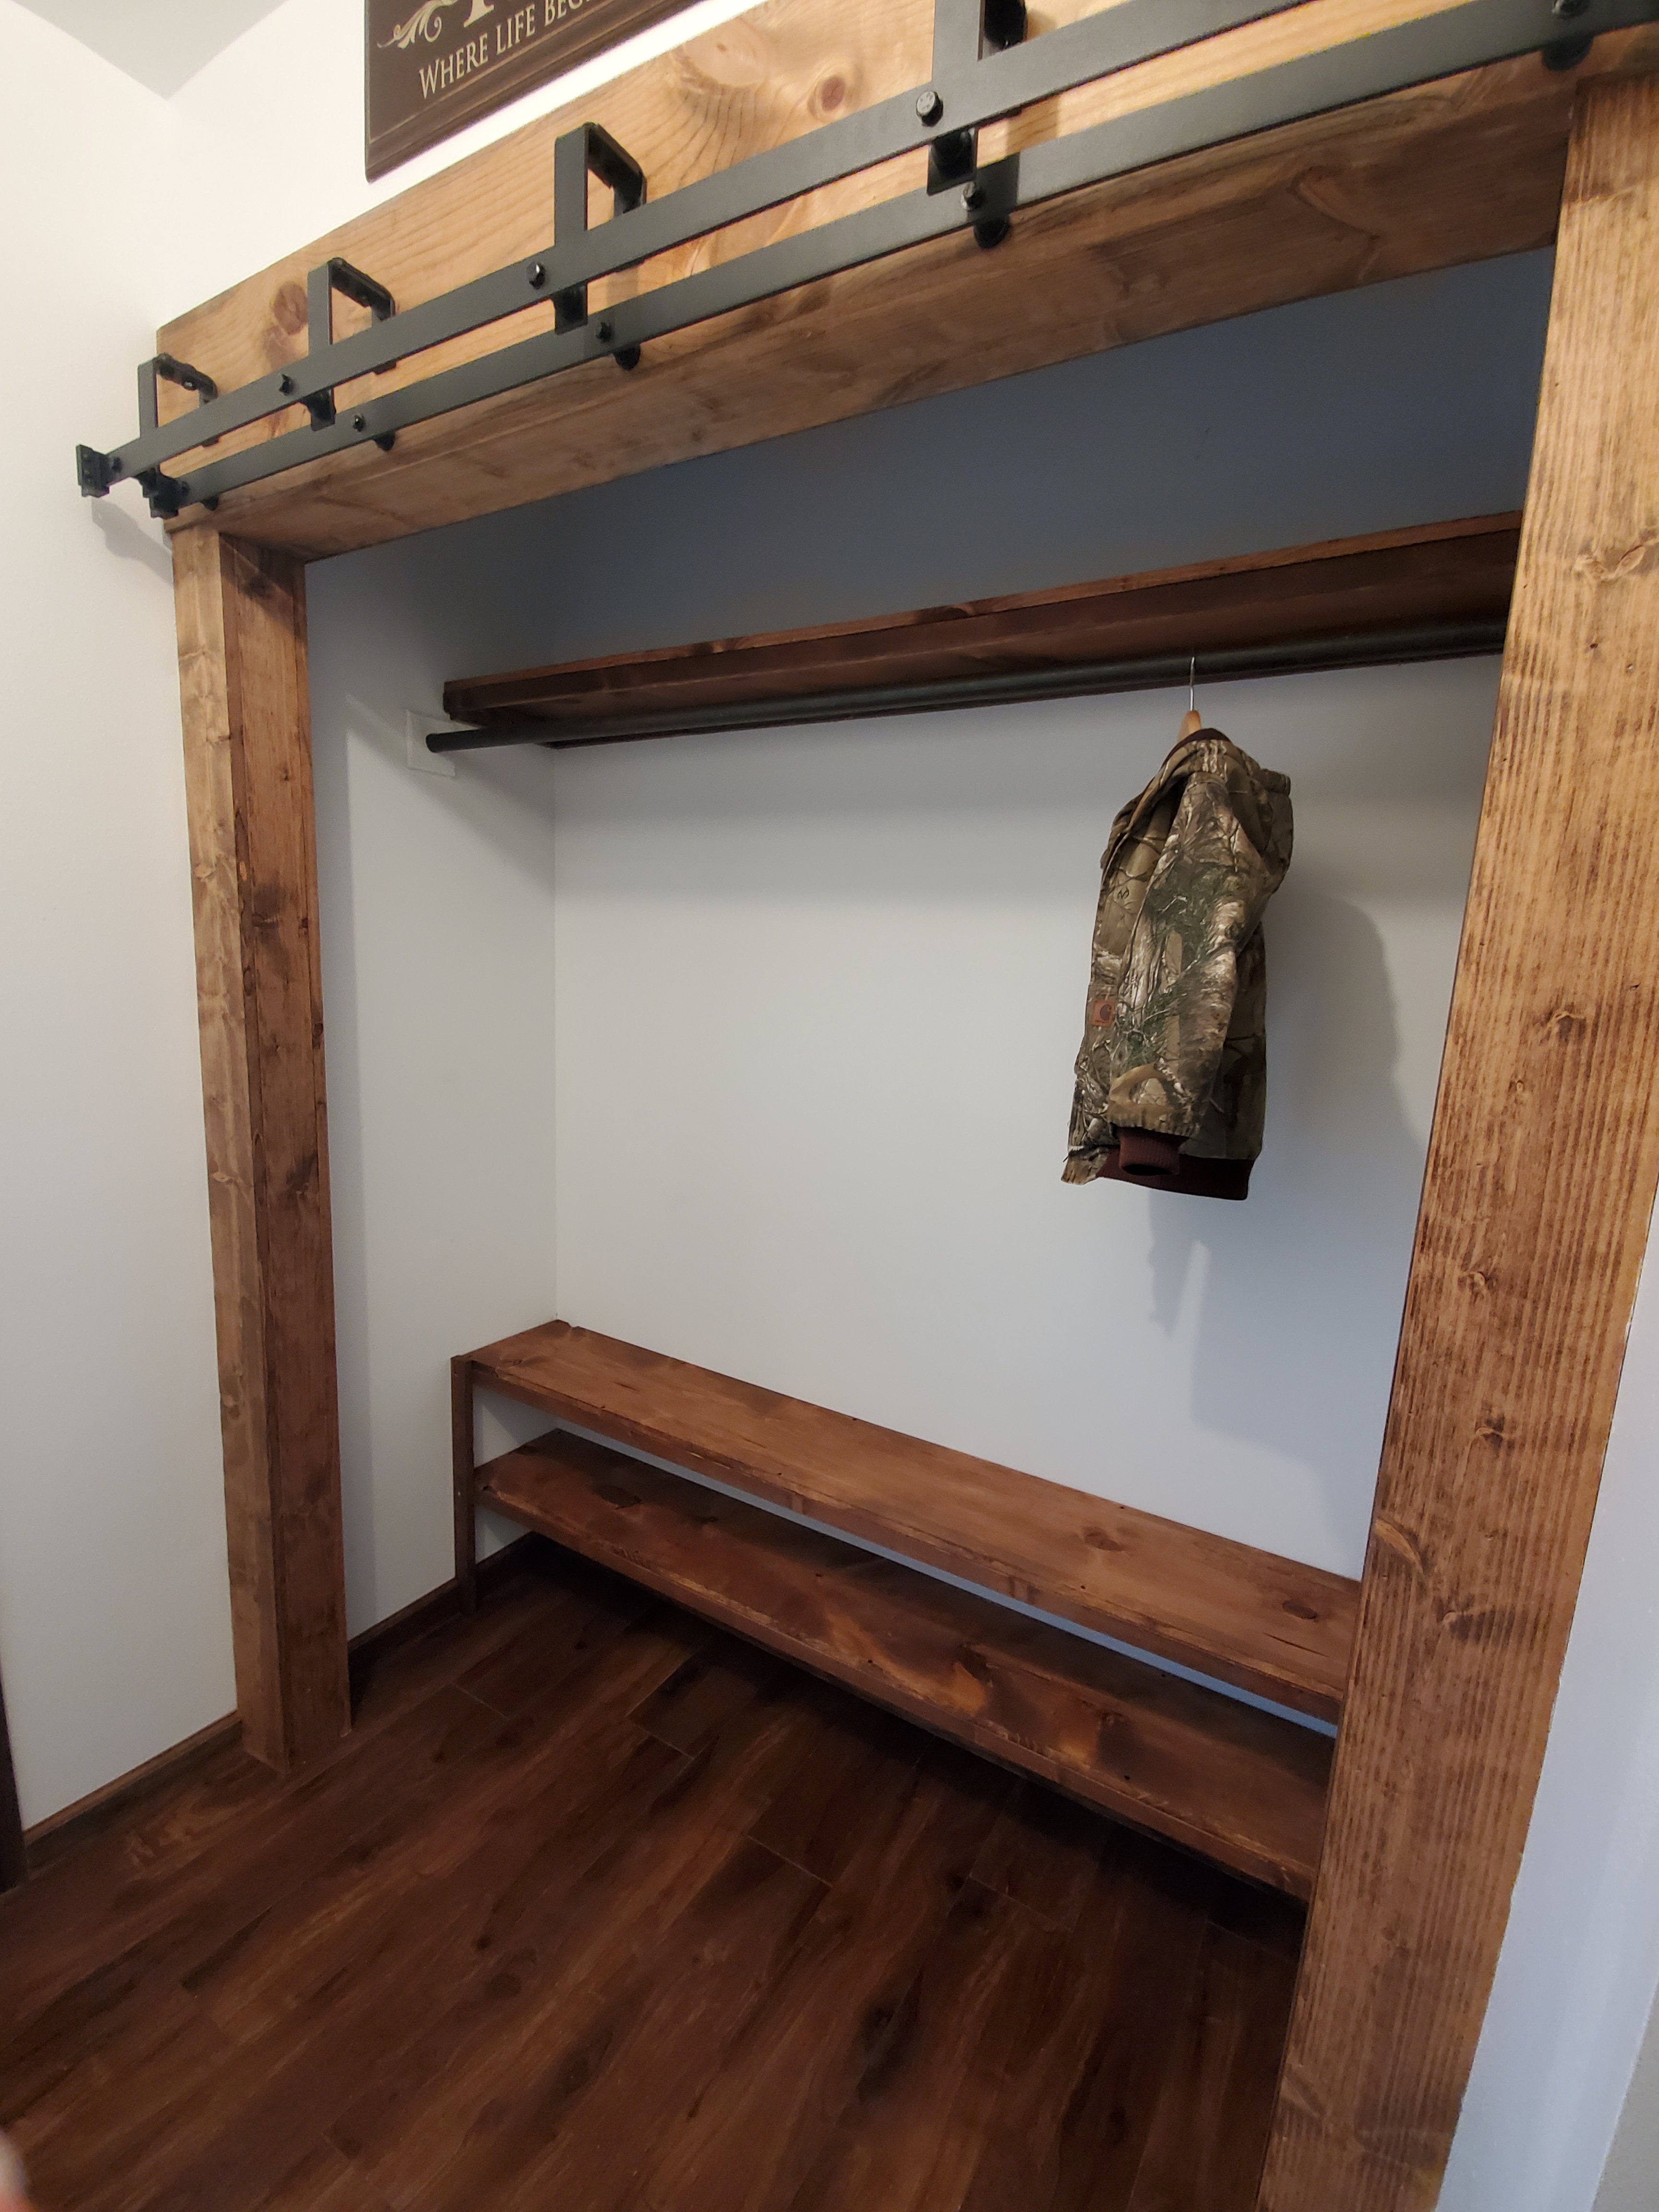
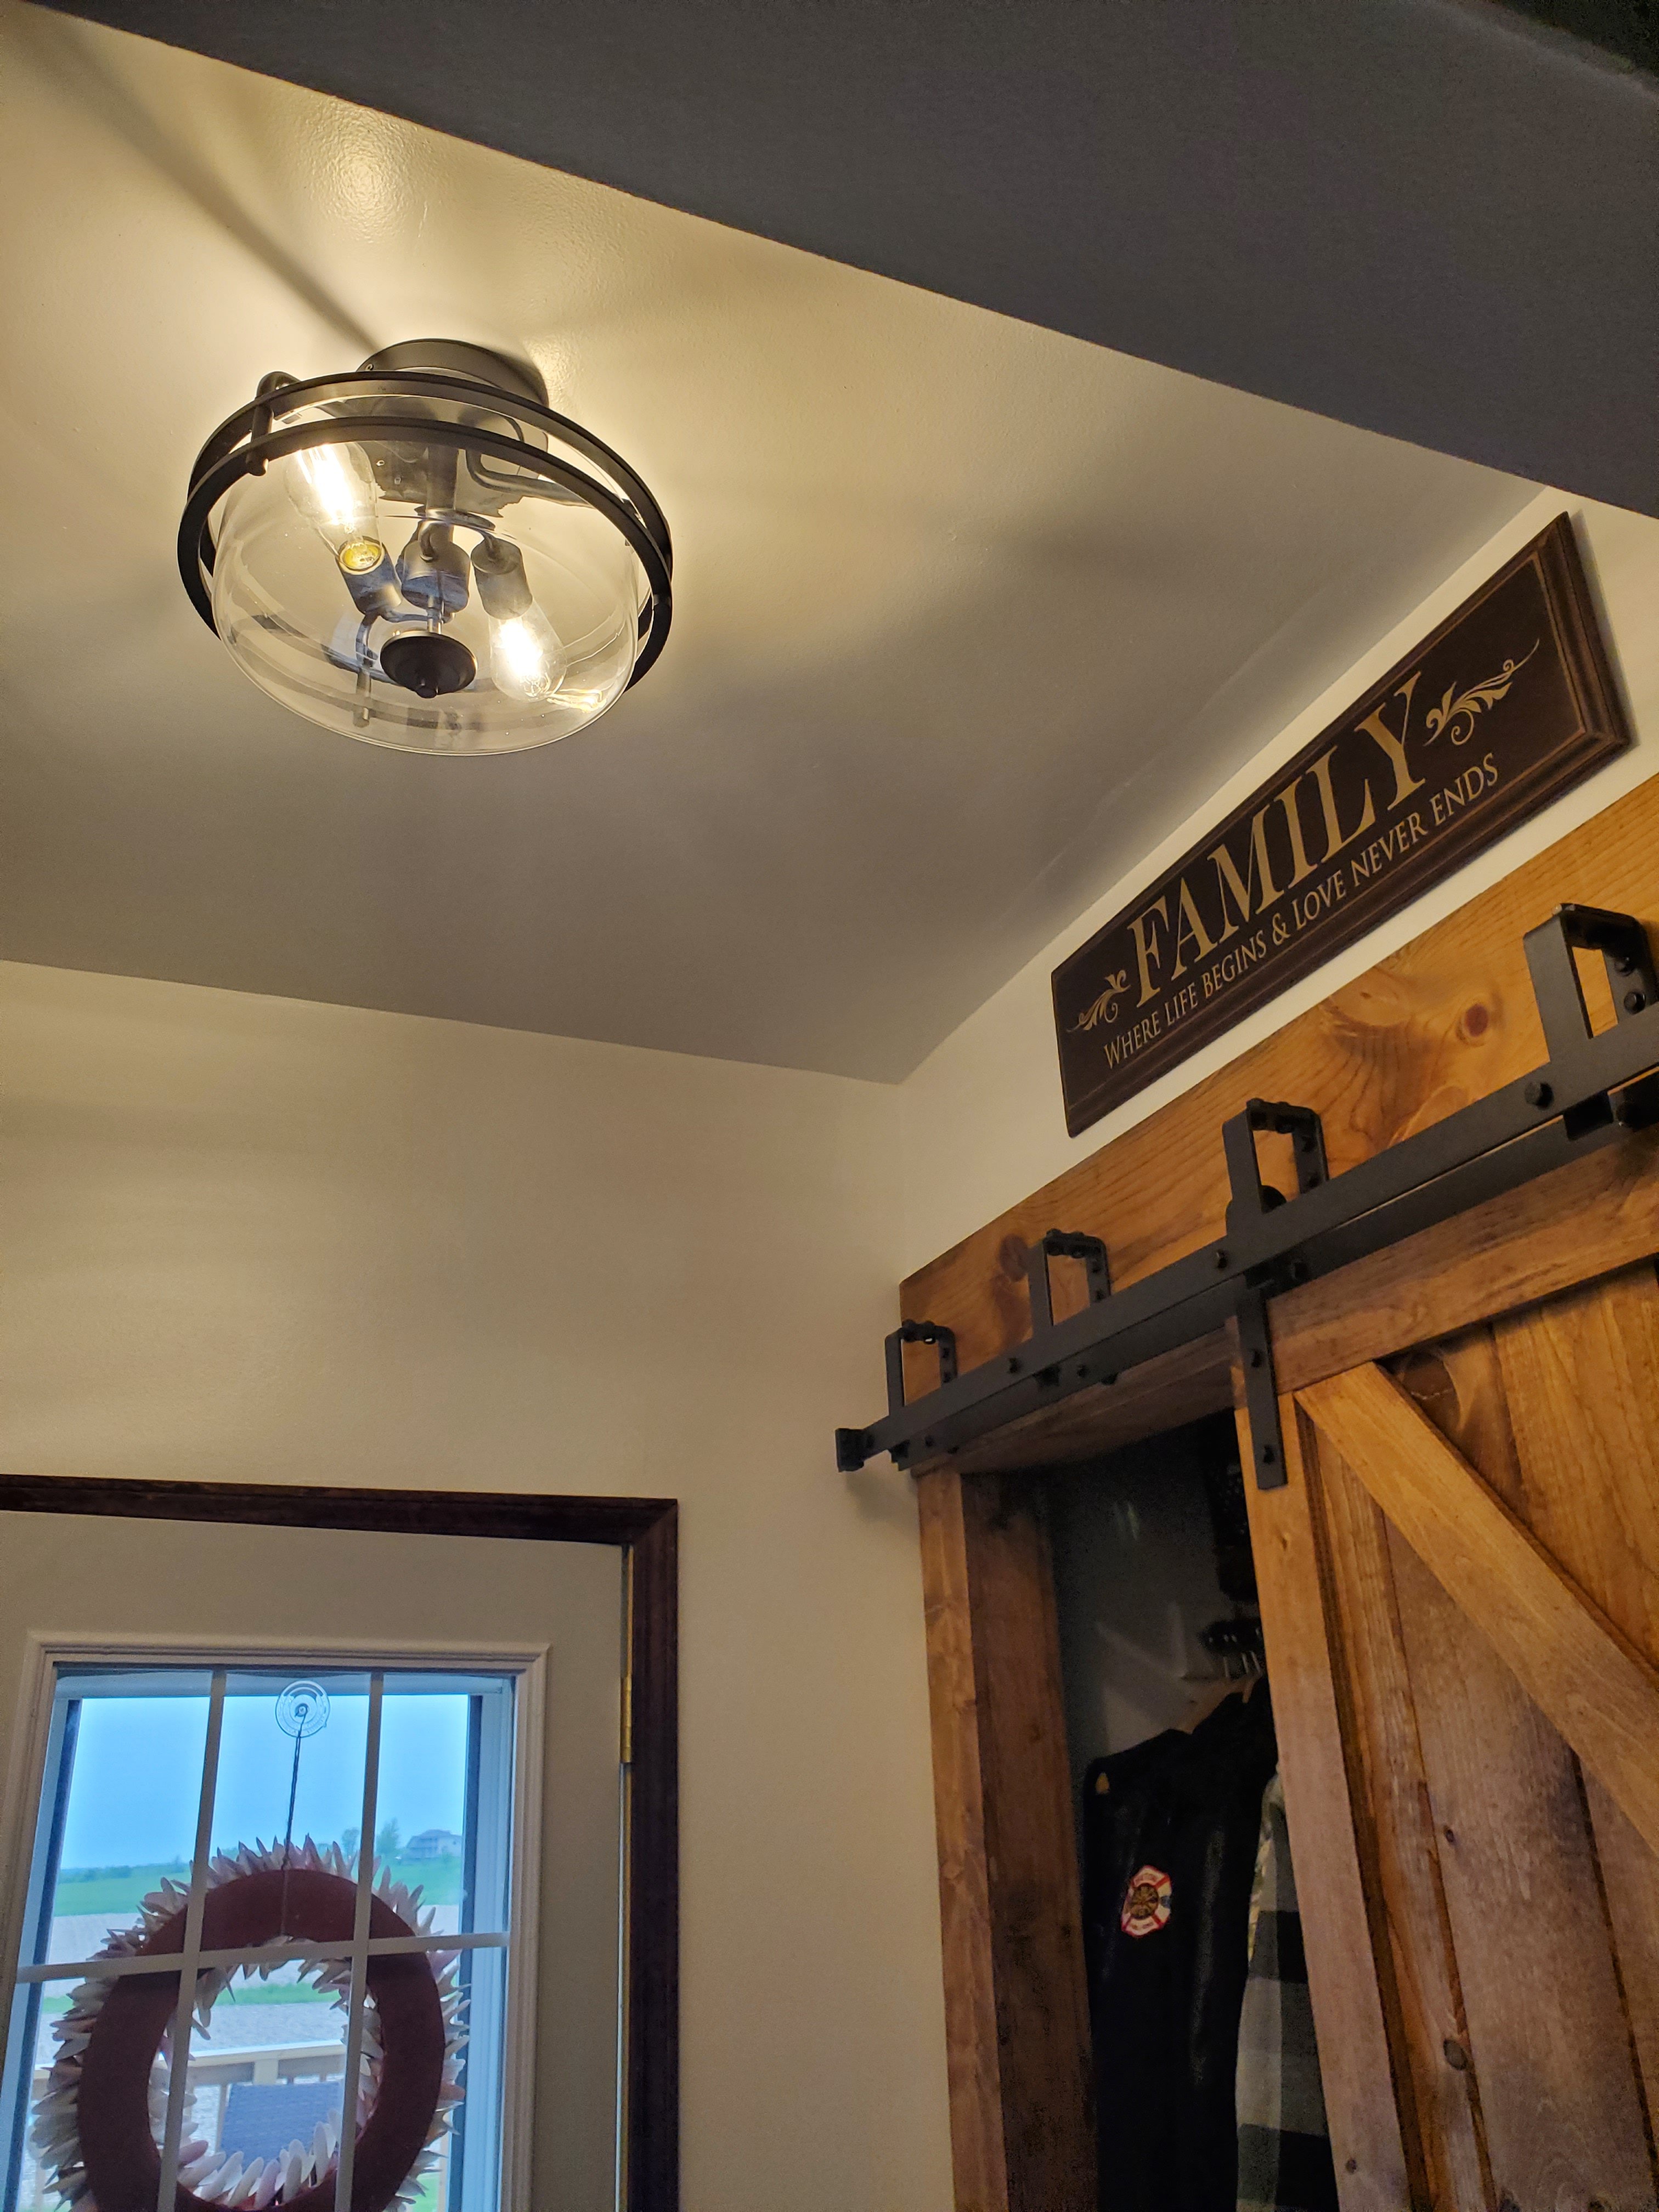
We did make the closet go all the way across the space and Jason built custom barn doors and trim. Gorgeous!
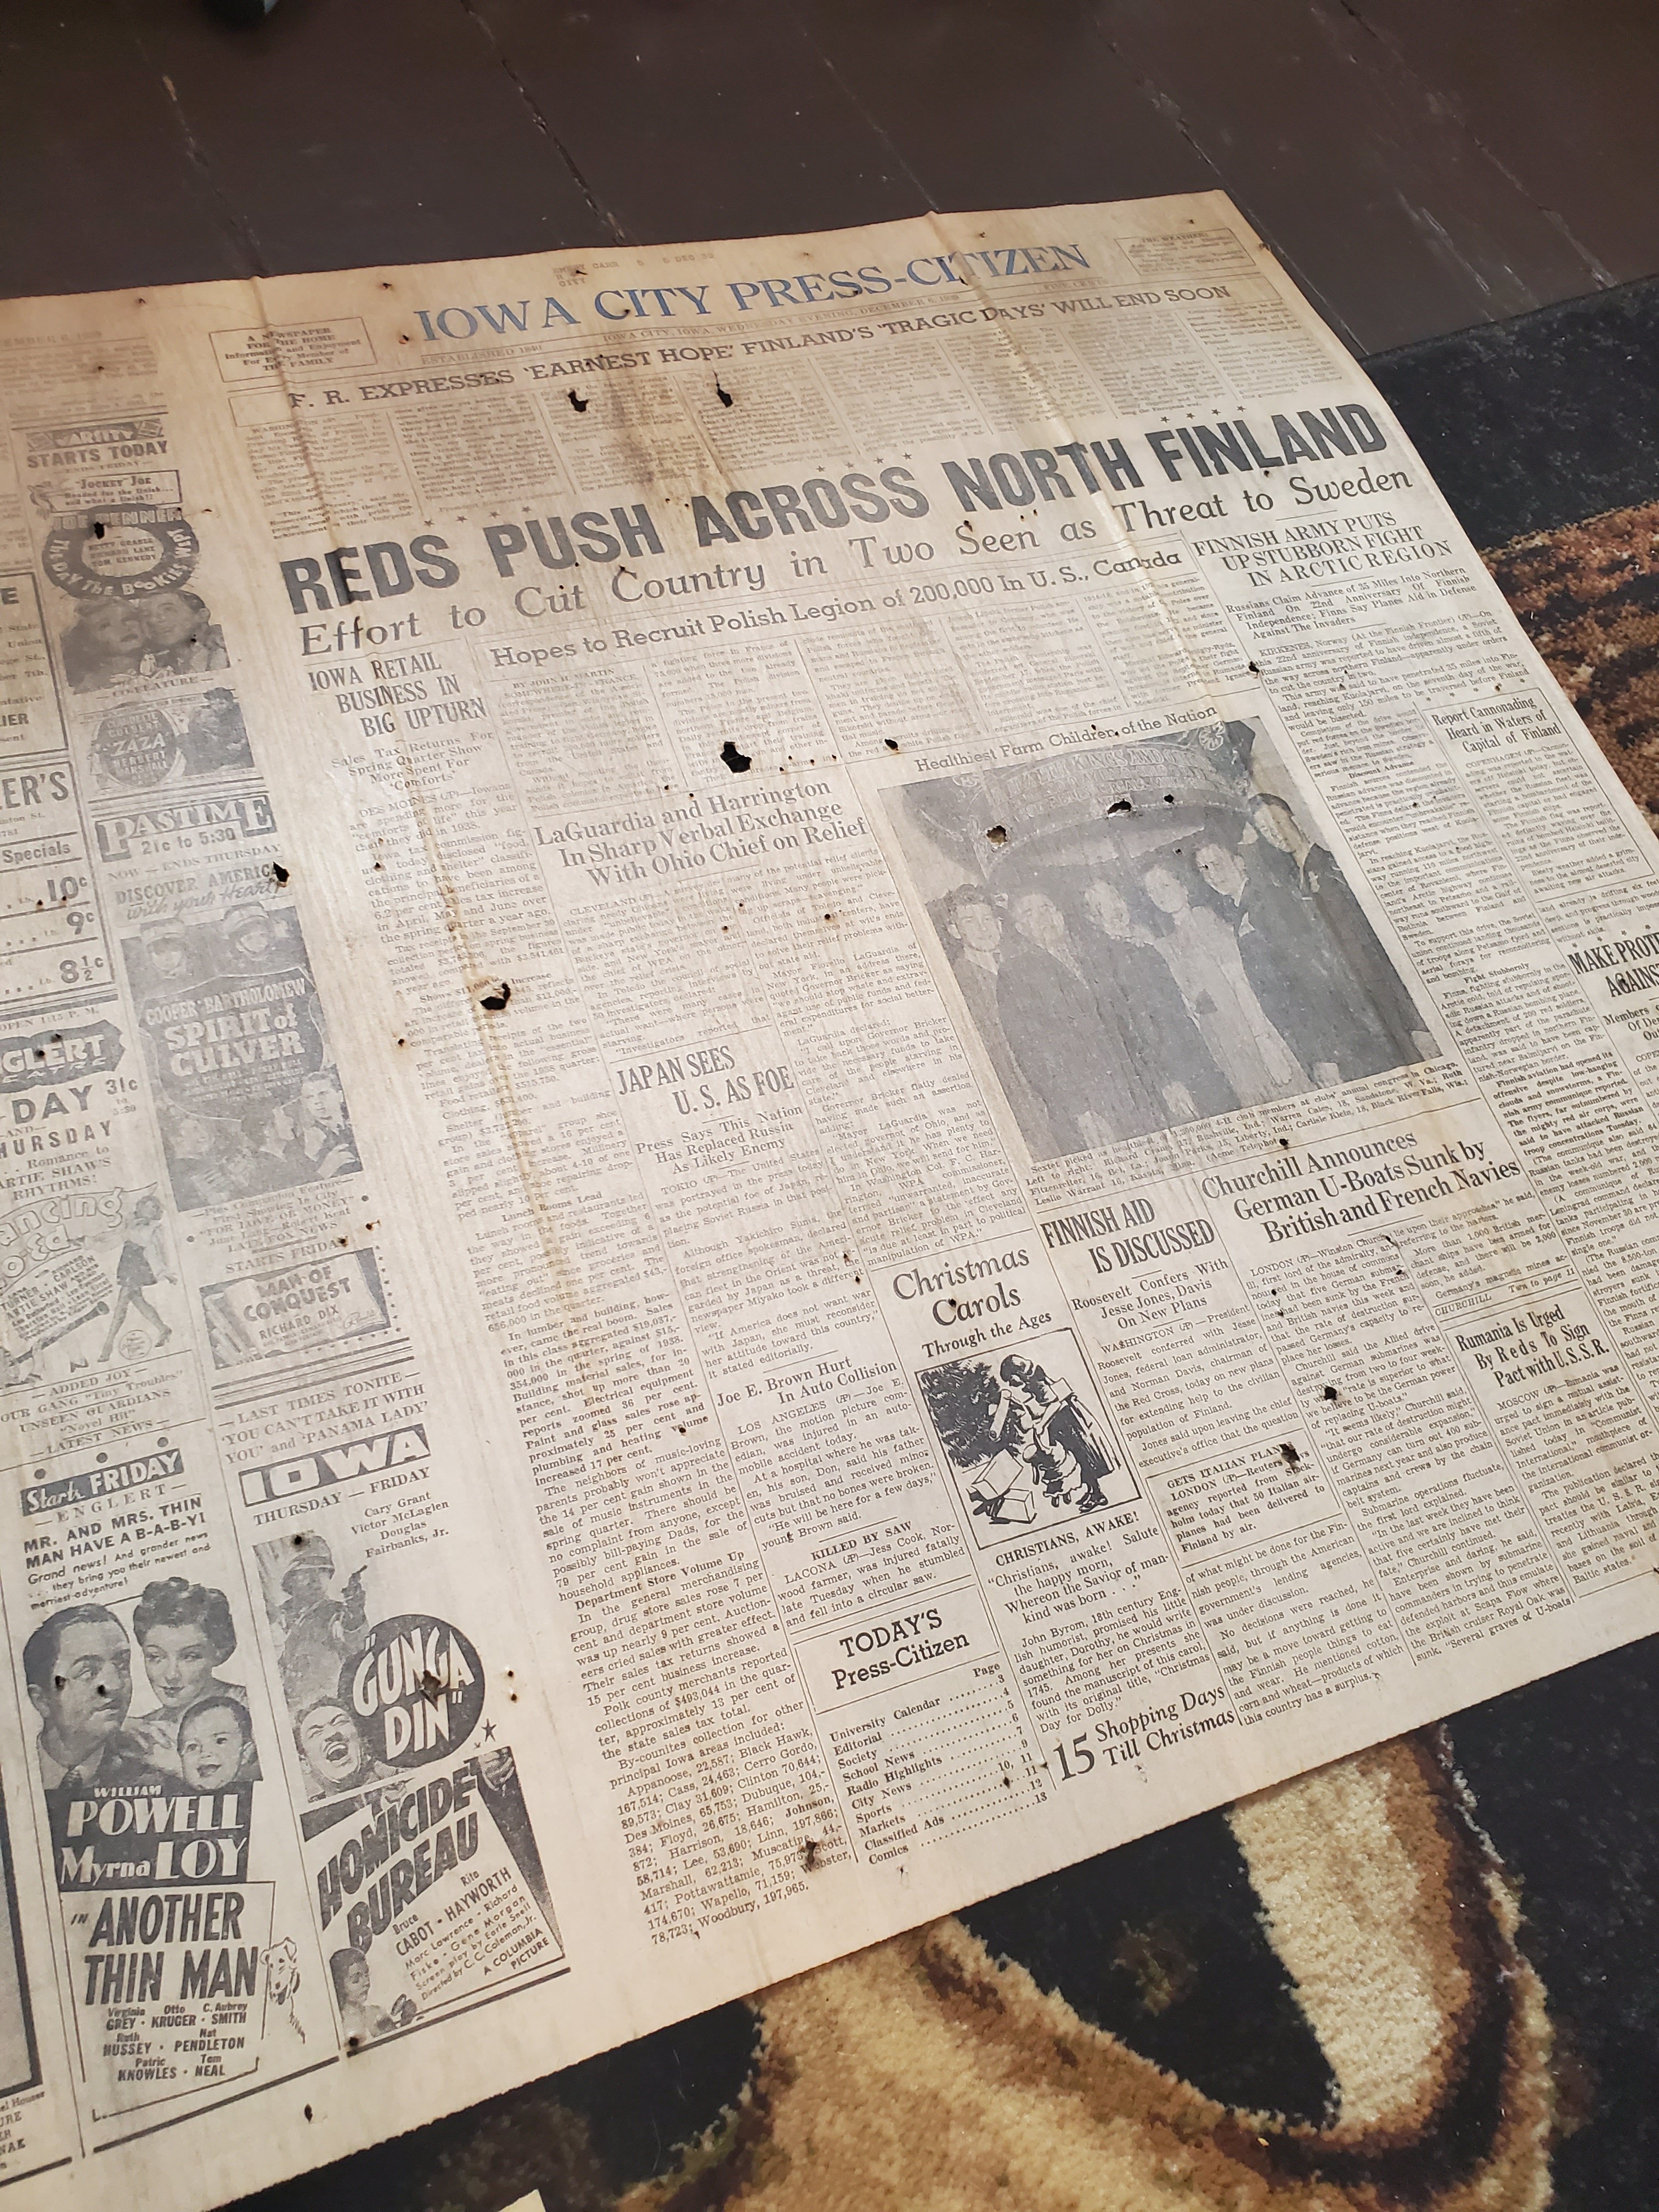
Look what we found under the flooring! Lots of these old papers from the 40s!
But now… she’s about done. (I say about, because we do still have an antique flag we are making a custom frame for to hang about the coat rack, but still, very close)


What do you think?! I think I love it so much that I need to add a chair for company. Come in further and you will see the dining room and hallway that we need to do the same too. 🤣
XX,
Jess
Gift Ideas for Her!
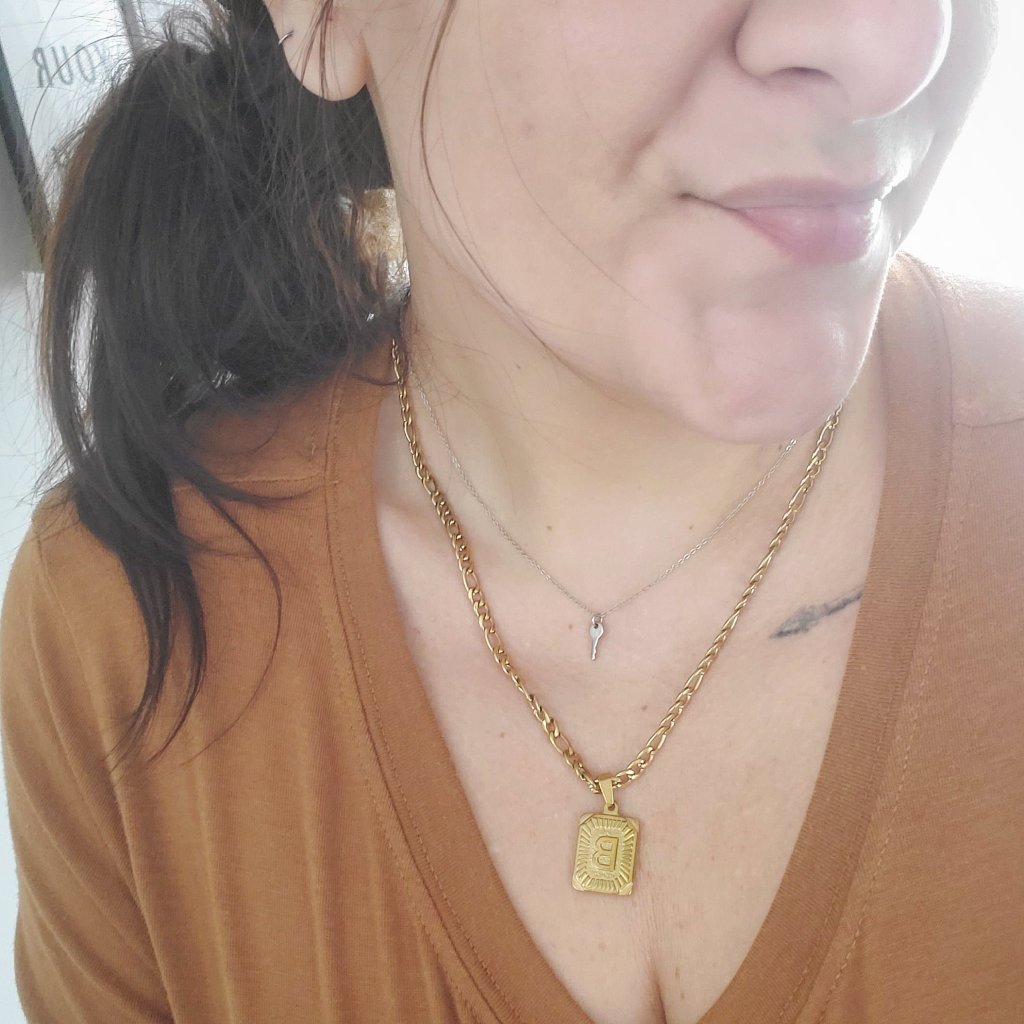
I’ve found the cutest, affordable jewelry, perfect for sentimental gifting! JoyCuff!
JoyCuff has such cute pieces! Check out this 18k gold initial necklace!

I love how you can choose an initial, making it a sentimental gift for yourself or someone you love!

I completely adore anything customized with my boys’ names or initials and this momento gives me all the feels! I think this would be an amazing gift for a mama (hello Mother’s Day!), your bestie, a grad, or even yourself!
I also adore their Morse code bracelets! They have the cutest sayings coded in the beads! This one says “badass”!


Yup, mamas are badasses. Another perfect mama gift for that BA chick in your life. My gal pals are all getting one for Mother’s Day!

They even have sayings and mantra bracelets that are super cute!
Use code 20JESS01 at this link on all your purchases too!
AND, if you want to win a Badass Morse code bracelets, check out my giveaway on Instagram, here!!
XX,
Jess
Guest/Play Room Update
Added a new rug! Small update, but so gorgeous I had to share!


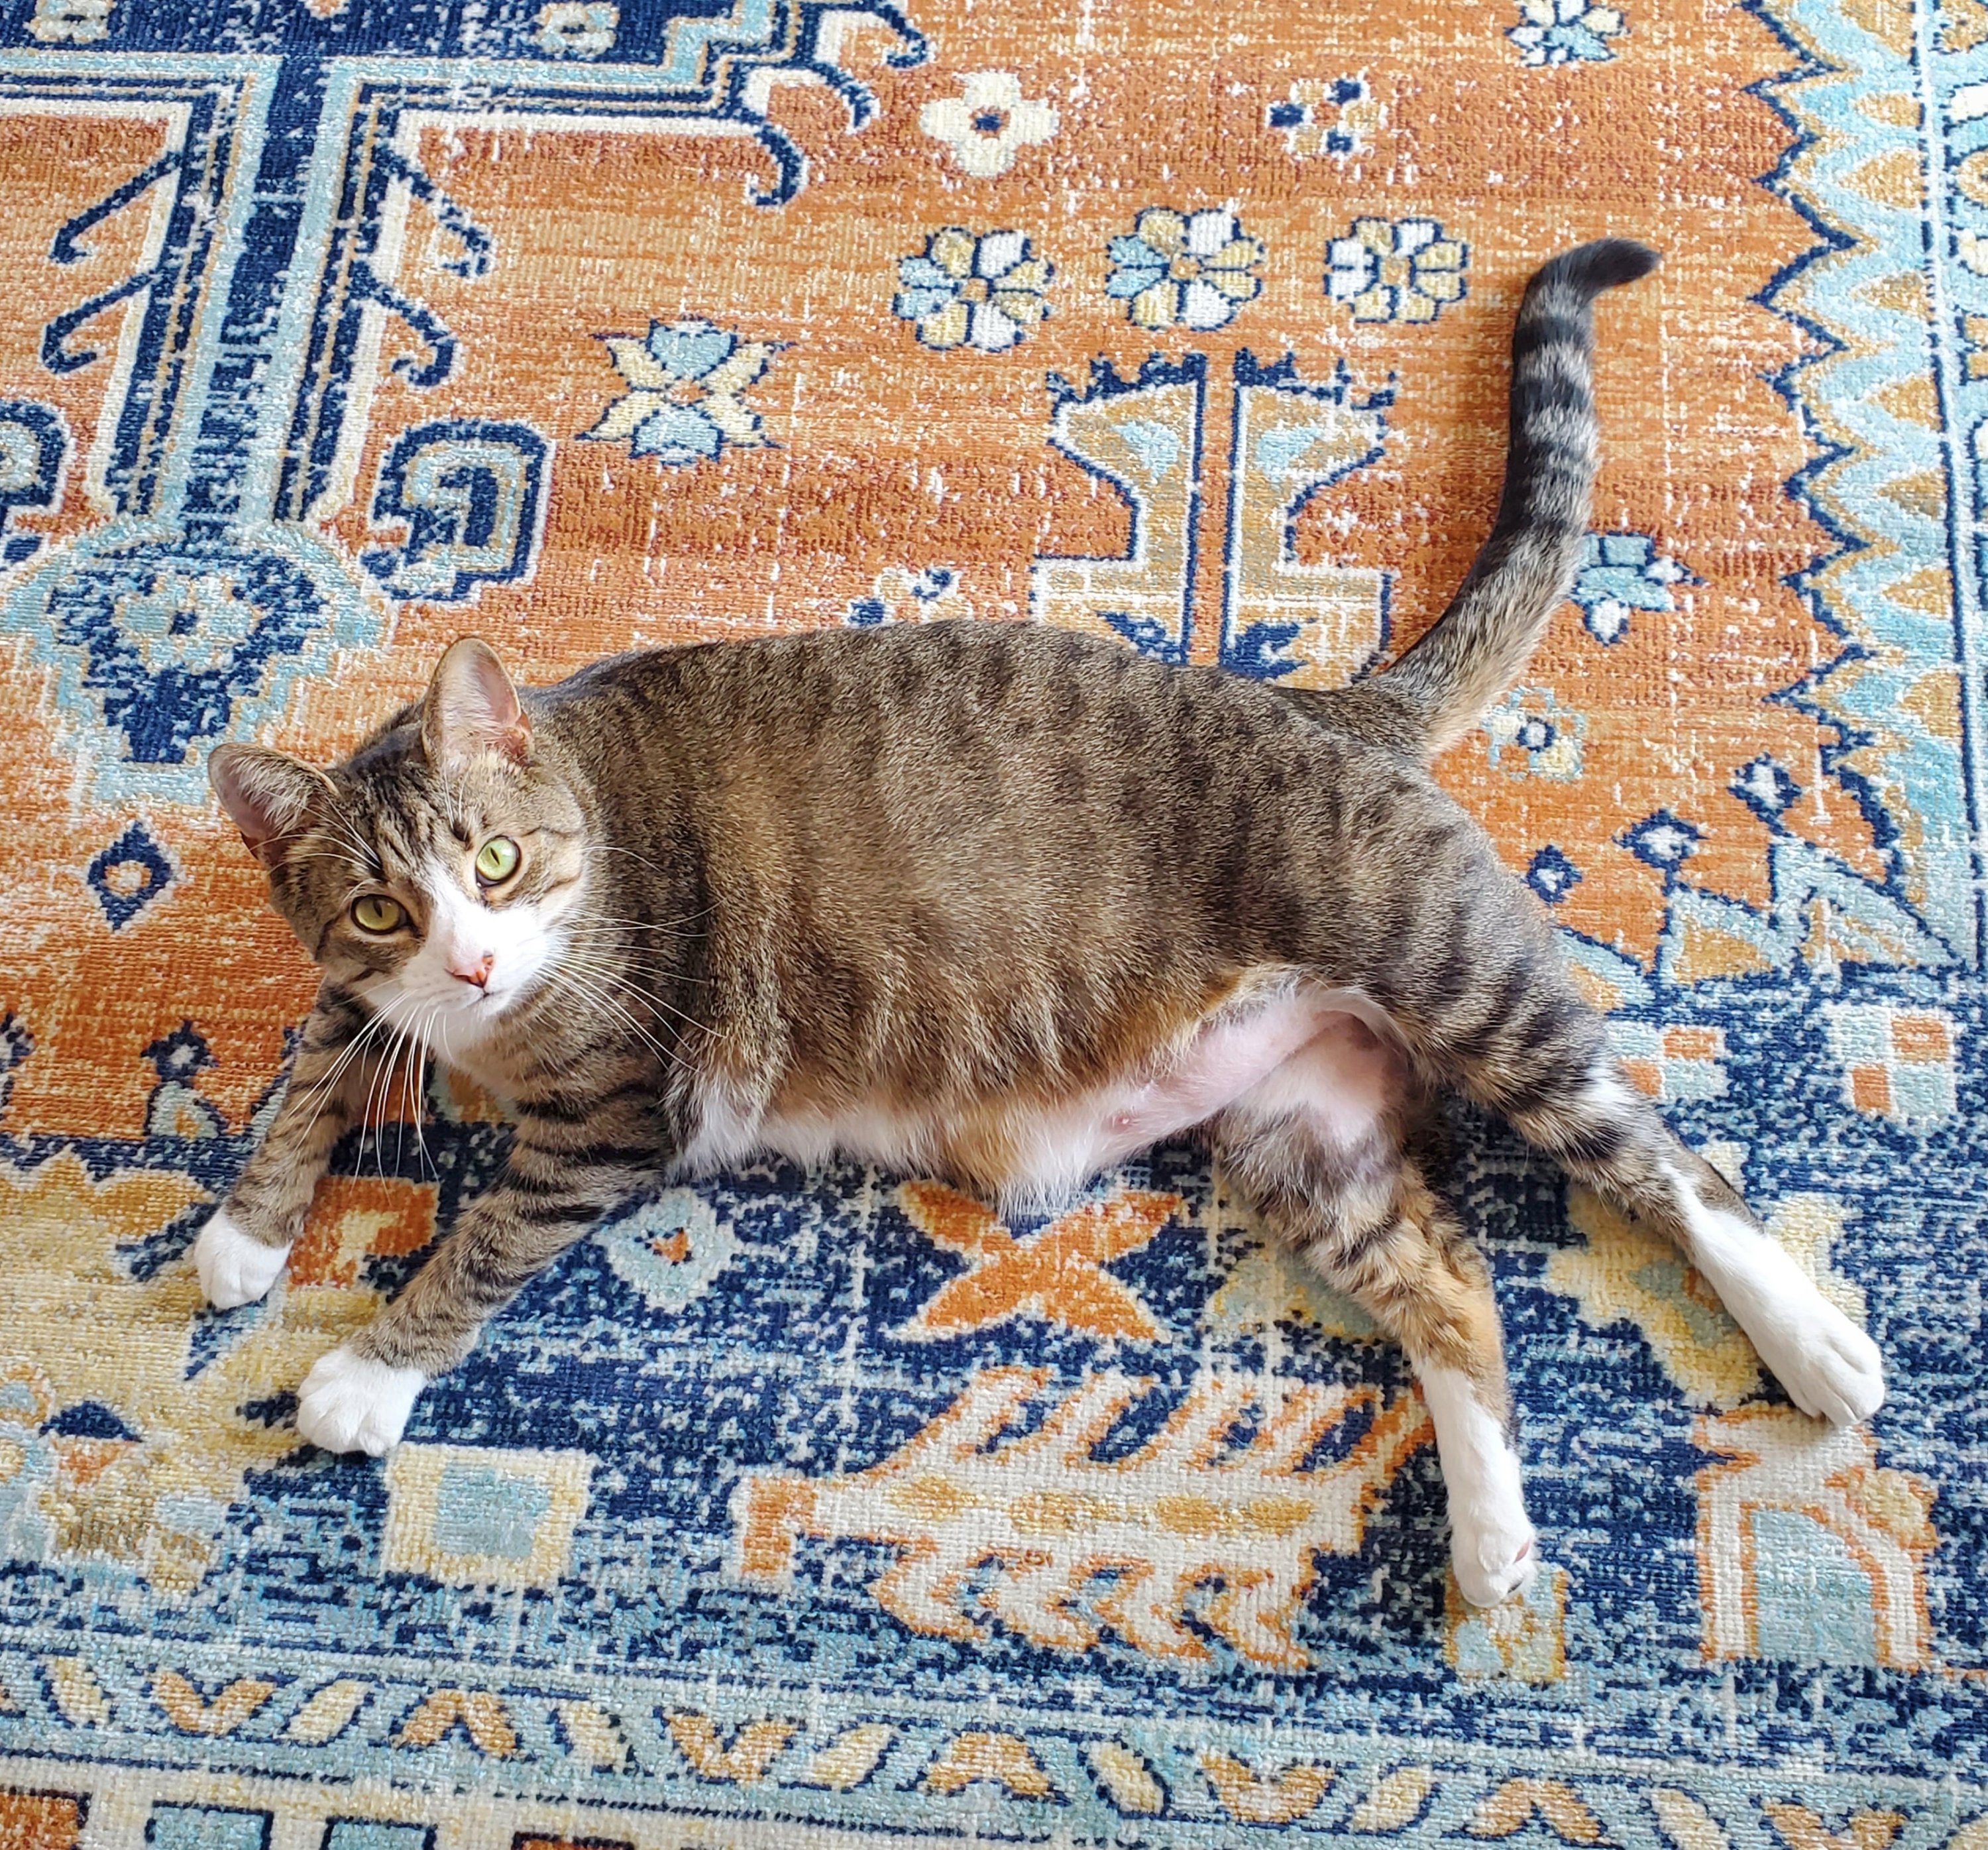


Rug is from Mark and Day, and I LOVE their selection and prices! Highly recommend! AND, you can use that link and save 10% 😍
Wall hangings, shelves and a couch coming soon…
Plus, a total gut of our mudroom in process to share soon! 😉
Jess
XX
Sensory Play Part 2
I wanted to follow up with some more sensory play ideas we have found since getting our table. If you are new here, here is the first post on sensory play, where we talk about our table and some items that are super helpful!
First, get a funnel. These come in a pack of three and are collapsible silicone. Makes putting it all back SO much easier!


Another thing we’ve fallen in love with are these super cute jars from Busy Littles! You can even customize your jar with her, just message her on Instagram to order!
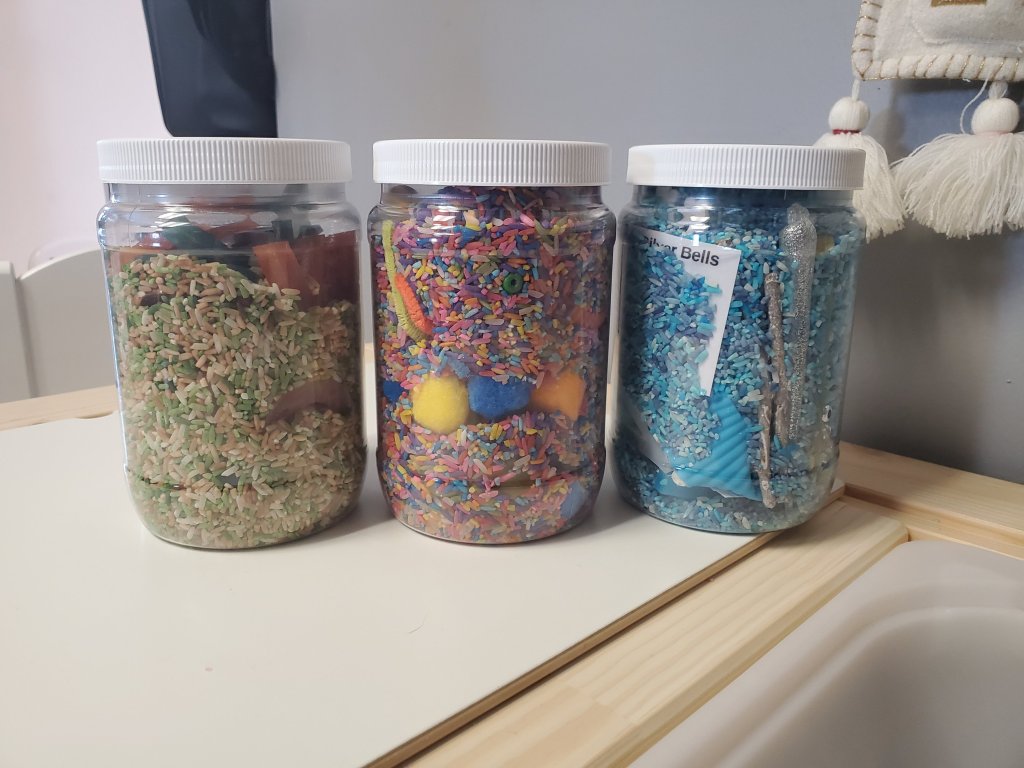

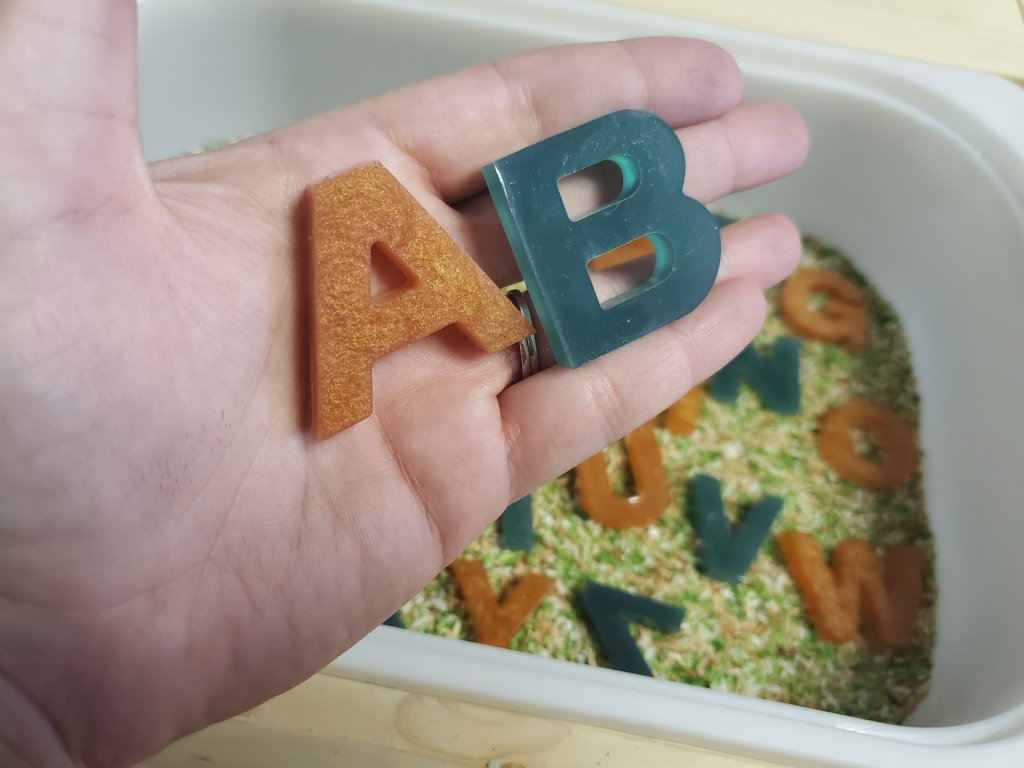
These are so fun because she adds acrylic letters and numbers that she makes! We got an alphabet that she customized to a camo theme! We also got one of her winter jars and a rainbow number jar. The boys LOVE them all!
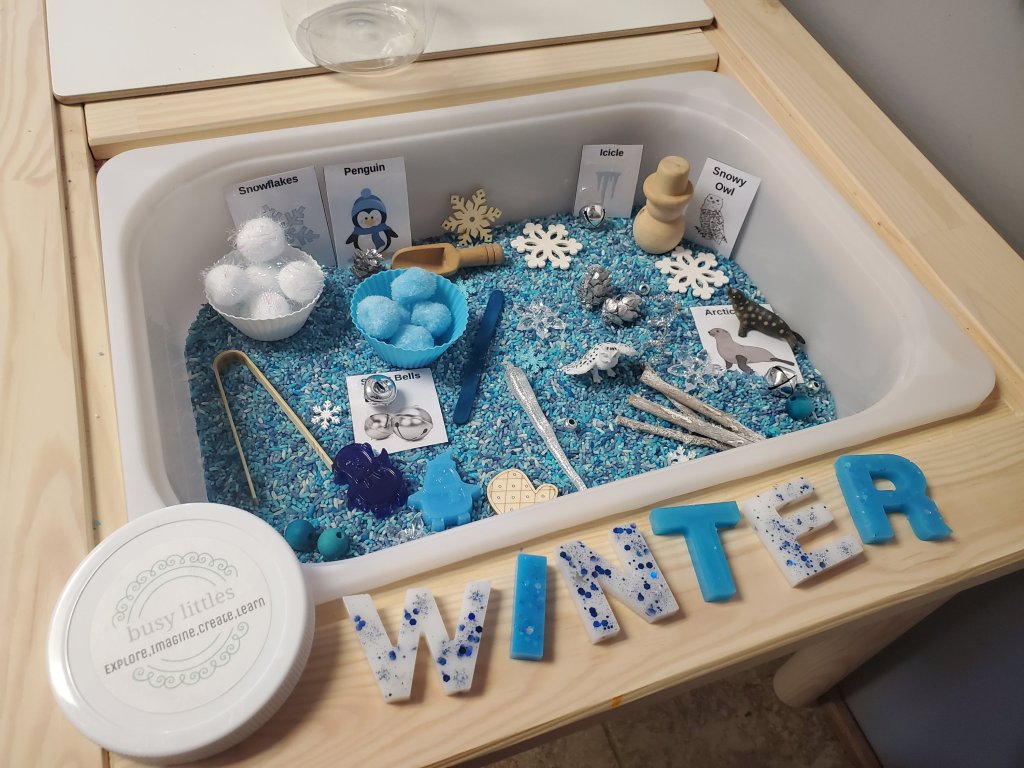
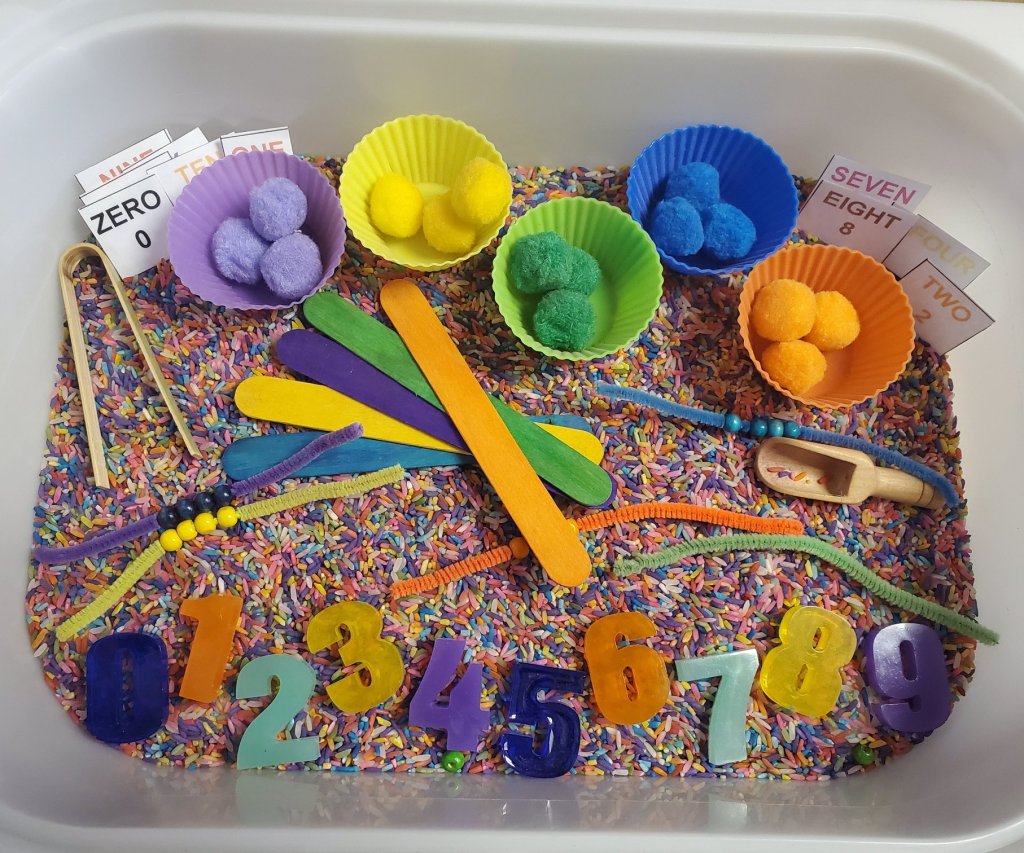

So, what have we learned? That ANYTHING can be added to a sensory bin! The boys love that they can mix, stir, explore, dump, and keep the fun going for hours. Ok, minutes. They are kids. But still, its impressive. And anything that entertains both a 7 year old and a 2 year old is impressive in my book!
Also, here’s a peak at the Christmas box from Little Creators Texas too! We still love these also!

Have you tried sensory play yet?!
Jess,
XX
Sensory Play
I have been working hard to make Barrett’s time while Brantley is in study time more educational and interactive (and Brantley’s breaks too) and include less cartoons.
So I’ve added some sensory play! And its going SO well over here that I thought I would share some of the things we are using and loving!
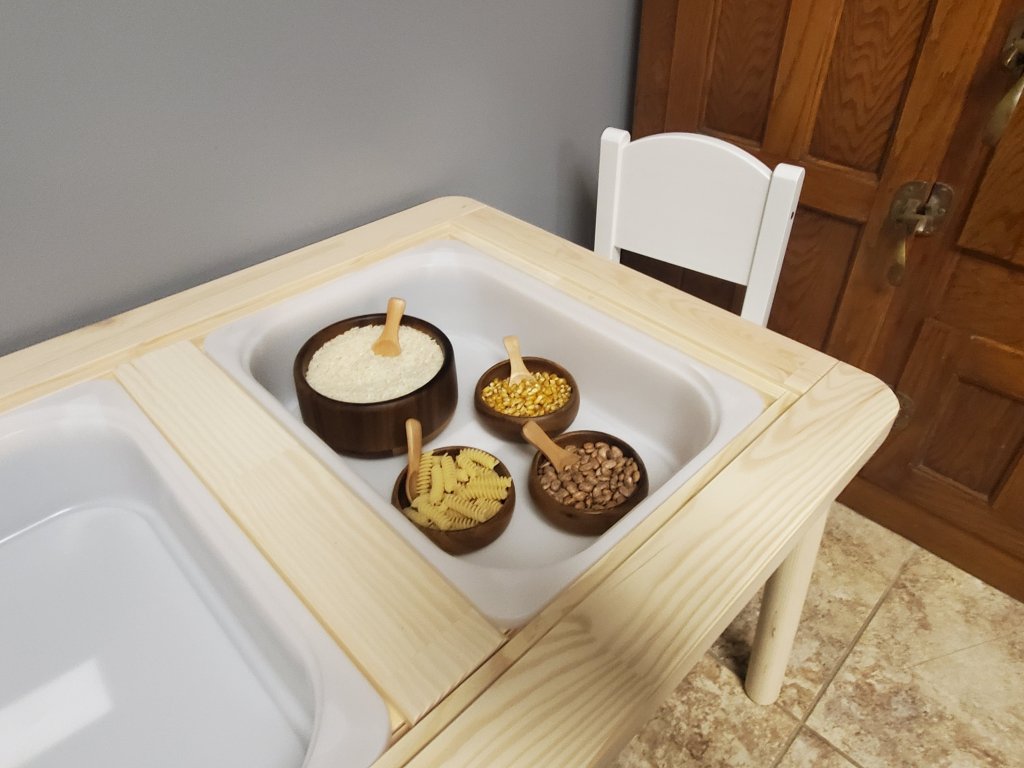
First, it’s totally not necessary, but the table we got it super handy! I got the boys the Ikea Flisat table. Its under $50 and is great quality. The two tops are removable and their Trofast bins hang from underneath. This concept is awesome! I can take the bins out to wash them, refill them, or even store things in them. The table tops are wipeable and not the type that get crud caught in the vinyl edge, these are solid! I also added the Sundvik chairs, as opposed to the stools they recommend with the table.
We now use this area for all kinds of crafts, coloring, sensory bins, and even snacks.
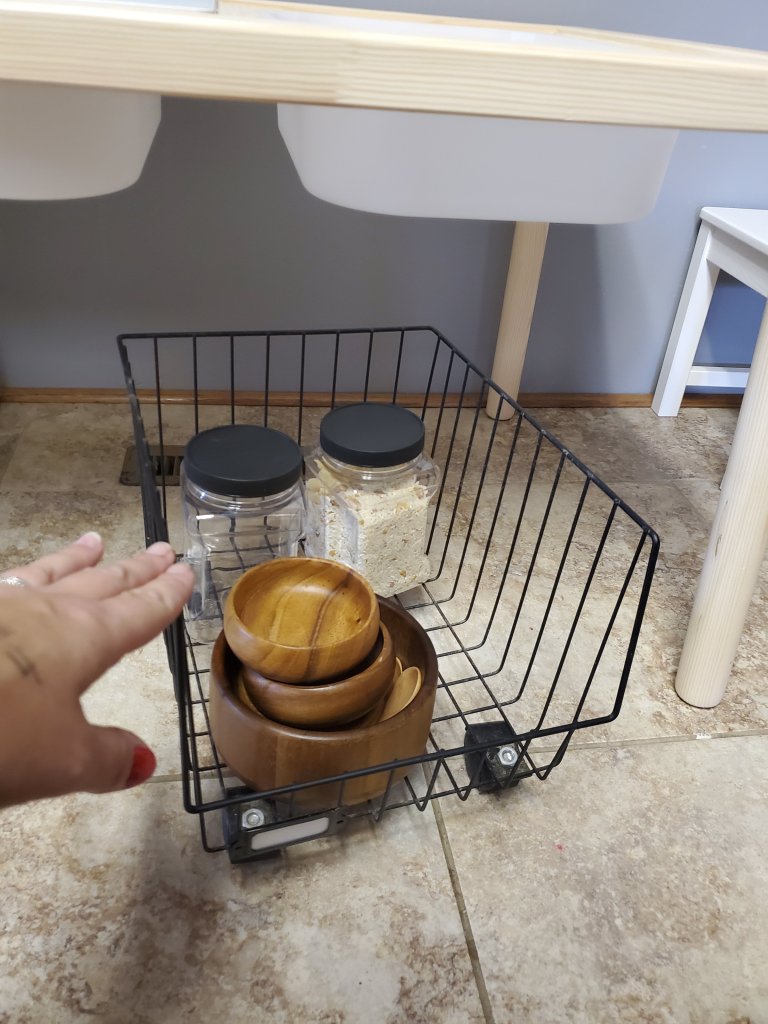
The large wooden bowl is from Walmart for about $7. The small set is 4 from Amazon. I also added the set of wooden spoons from Amazon. I even have my own set of wood bowls for charcuterie boards because they were so cute. 😂

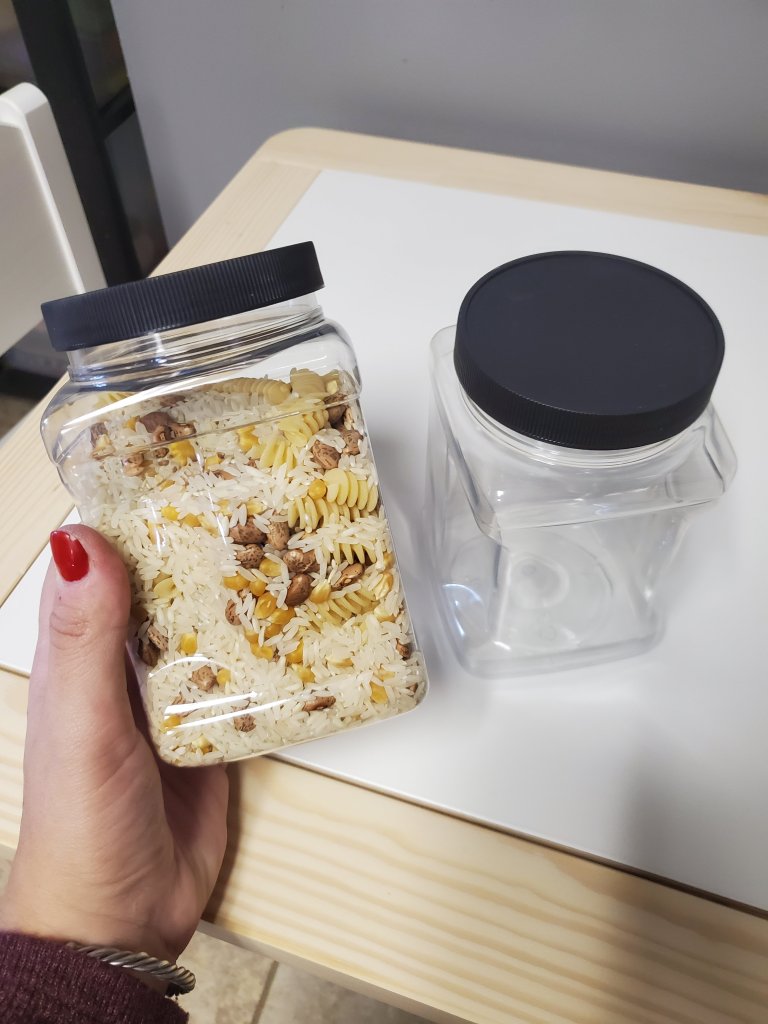
Sometimes we add things like rice, beans, popcorn kernels, and pastas to the dishes. This is a huge hit. Albeit a little messy. 😉
I highly recommend some Magic Erasers (these things are like mom gold!) and a little broom like this one for clean up.

These plastic jars are awesome for saving some of the fillers or kids’ creations for a while to use again.
And this wire bin (similar) actually has two more that stack on top, but the bottom one on wheels fits perfectly under the table to corral some things.
You don’t need a ton of stuff and can definitely wrangle some things from around the house. These are just the items we started with to keep organized in making sensory fun.
One thing I’m loving so that I don’t have to think up all the ideas on my own is the premade and themed kits from Little Creators Texas. Her play dough kits are so fun! Here the boys are playing with the fall themed kit. They LOVE it and keep coming back to play again!


I also have some kinetic sand, fake snow, and water beads that we can switch into the tubs. And you can add in any little bits like pinecones, blocks, wooden people,, letters,, shapes… the list is endless. This set up has already given these two hours of entertainment. I am impressed. And I can say that I see their wheels spinning and them learning from this kind of interactive play already. I highly recommend.
We already have lots of ideas for new things to try too, so if this kind of thing interests you, be sure to follow me on Instagram, where I will show more things we use for interactive and sensory play!
Have you made any sensory bins yourself? What did you use?
Xx,
Jess
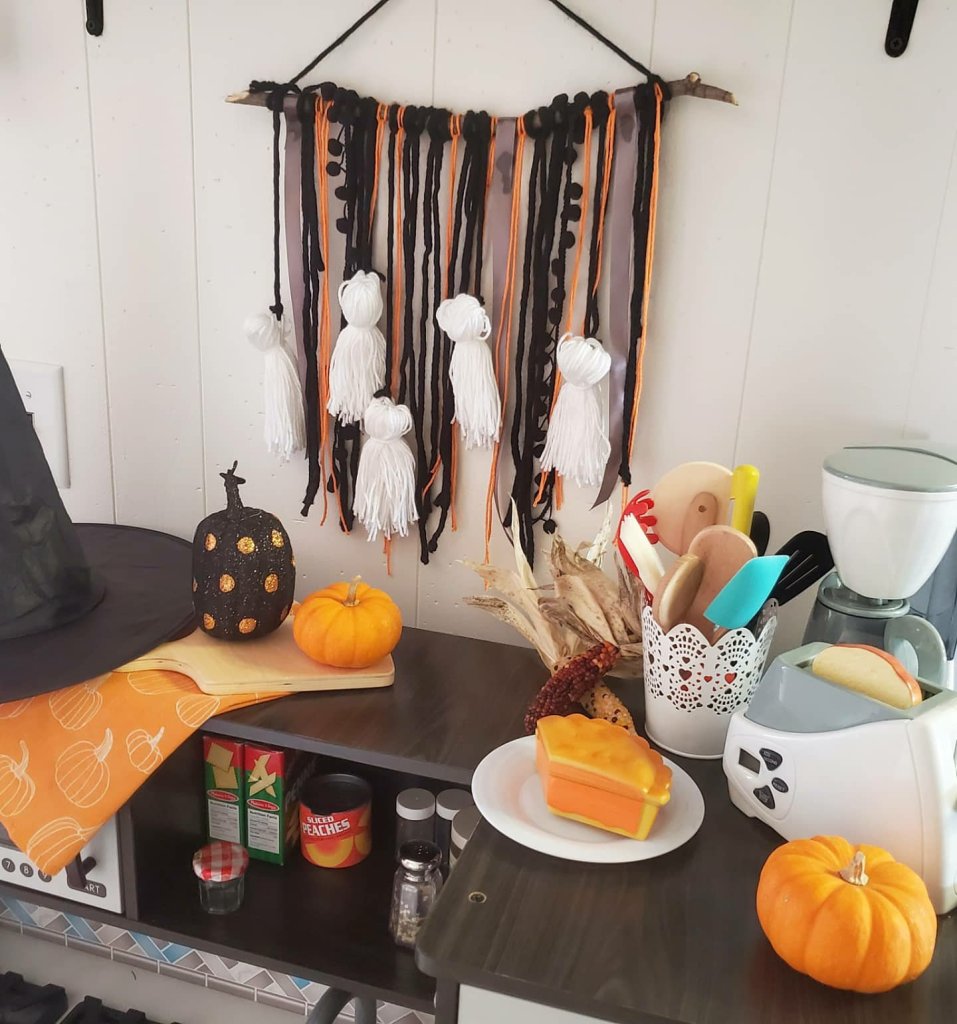
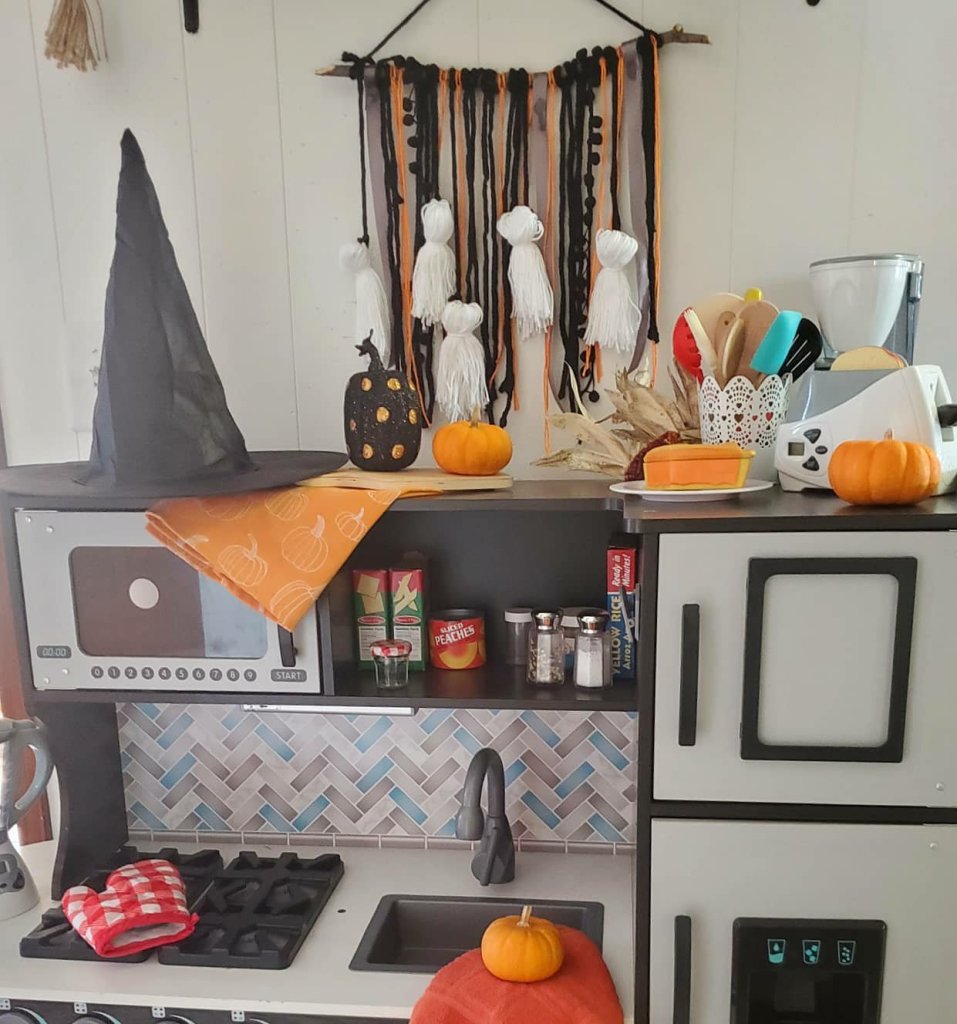
Quick and Easy Halloween DIY
Happy Spooky Season!
Maybe its that we’ve been cooped up way too long and missed too many “normal” things, I don’t know, but we are going all out extra for Halloween this year. Our house, or yard, our decor, even our snacks, have all gone completely spooky. I’m loving it!
If Halloween time is your thing, or even if it’s not so much, but you want to show the kiddos just a little festive fun, then I have a super easy and cute DIY project for you!
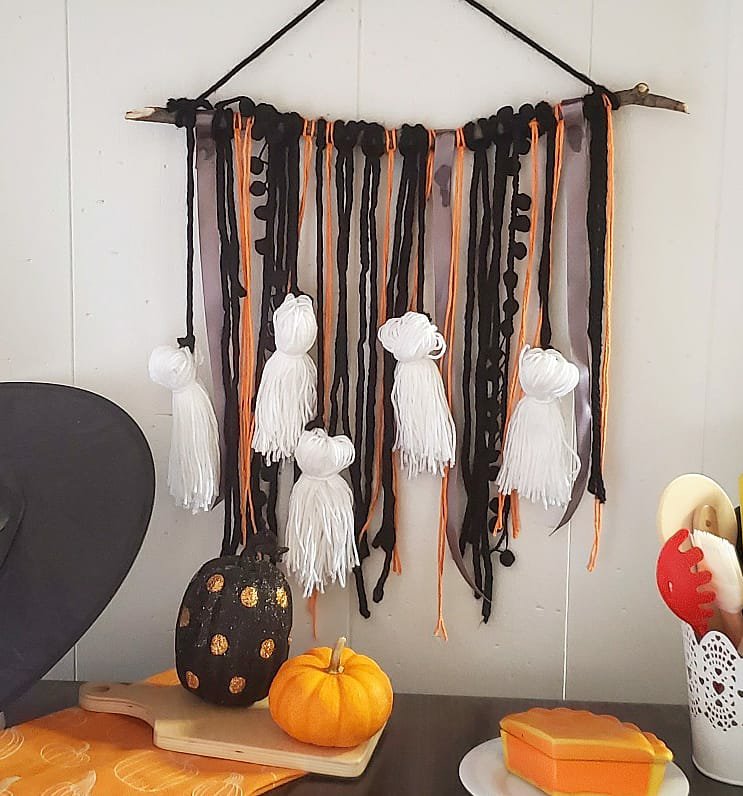
Faux Ghost Macrame Wall Hanging!
Supplies: -stick
-yarn and ribbons in various colors and textures
That’s it! Super easy, but such a cute payoff.
I cut the branch from a tree in the yard, even a dowel would work. Mine is a bit over a foot long. I started with it longer and then cut it off as I worked to make sure I knew I liked it. Decide how long you want things to hang. Mine is all random lengths, but around 14-16 inches. When you cut your pieces of yard, double this. You will fold them in half. I eyeball all of this and er on the long side. You can trim them down later.

With the piece of yarn folded in half, lay it over the stick. Bring your looped end under the stick, then stick the ends back through the loop and pull tight. Viola! I glued the ribbon together in the back around the stick instead of this method so as not to crease it. I love the ball tassel ribbon to give texture too and tied these in a knot around the stick.
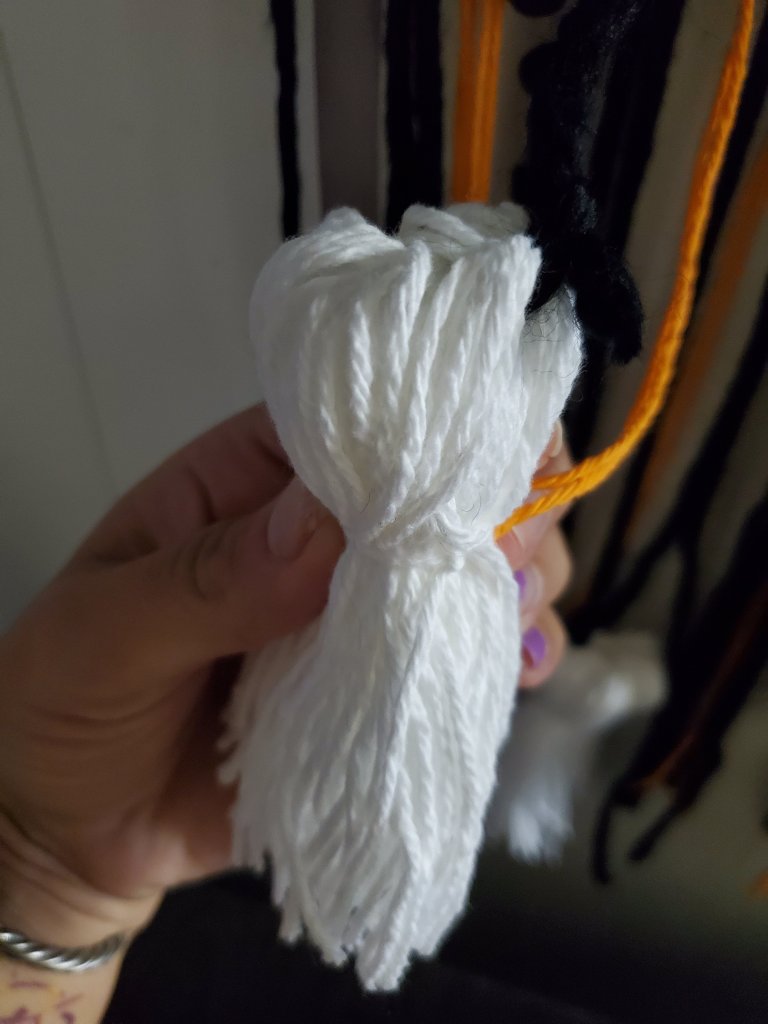
The ghosts. Also simple. Wrap white yarn around a book about 50 times. Cut the strings on each end of the book and keep them in a bunch. Fold the bunch over and tie a piece of yarn around it. I took black yarn through a small chunk of the white ghost head yarn on each side and tied this together in back and then tied the black to the stick.
There is no right or wrong with any of this! Keep it fun and super simple. You could glue eyes and mouth on the ghosts too if you want! You can add more or less pieces to the stick too.
Enjoy! 😉
Xx,
Jess
Why I Love My Cricut
This is a sponsored post written by me on behalf of <a href=”Cricuthttps://lnk2.io/wjcWg2L”>Cricut</a>. All opinions are 100% mine.
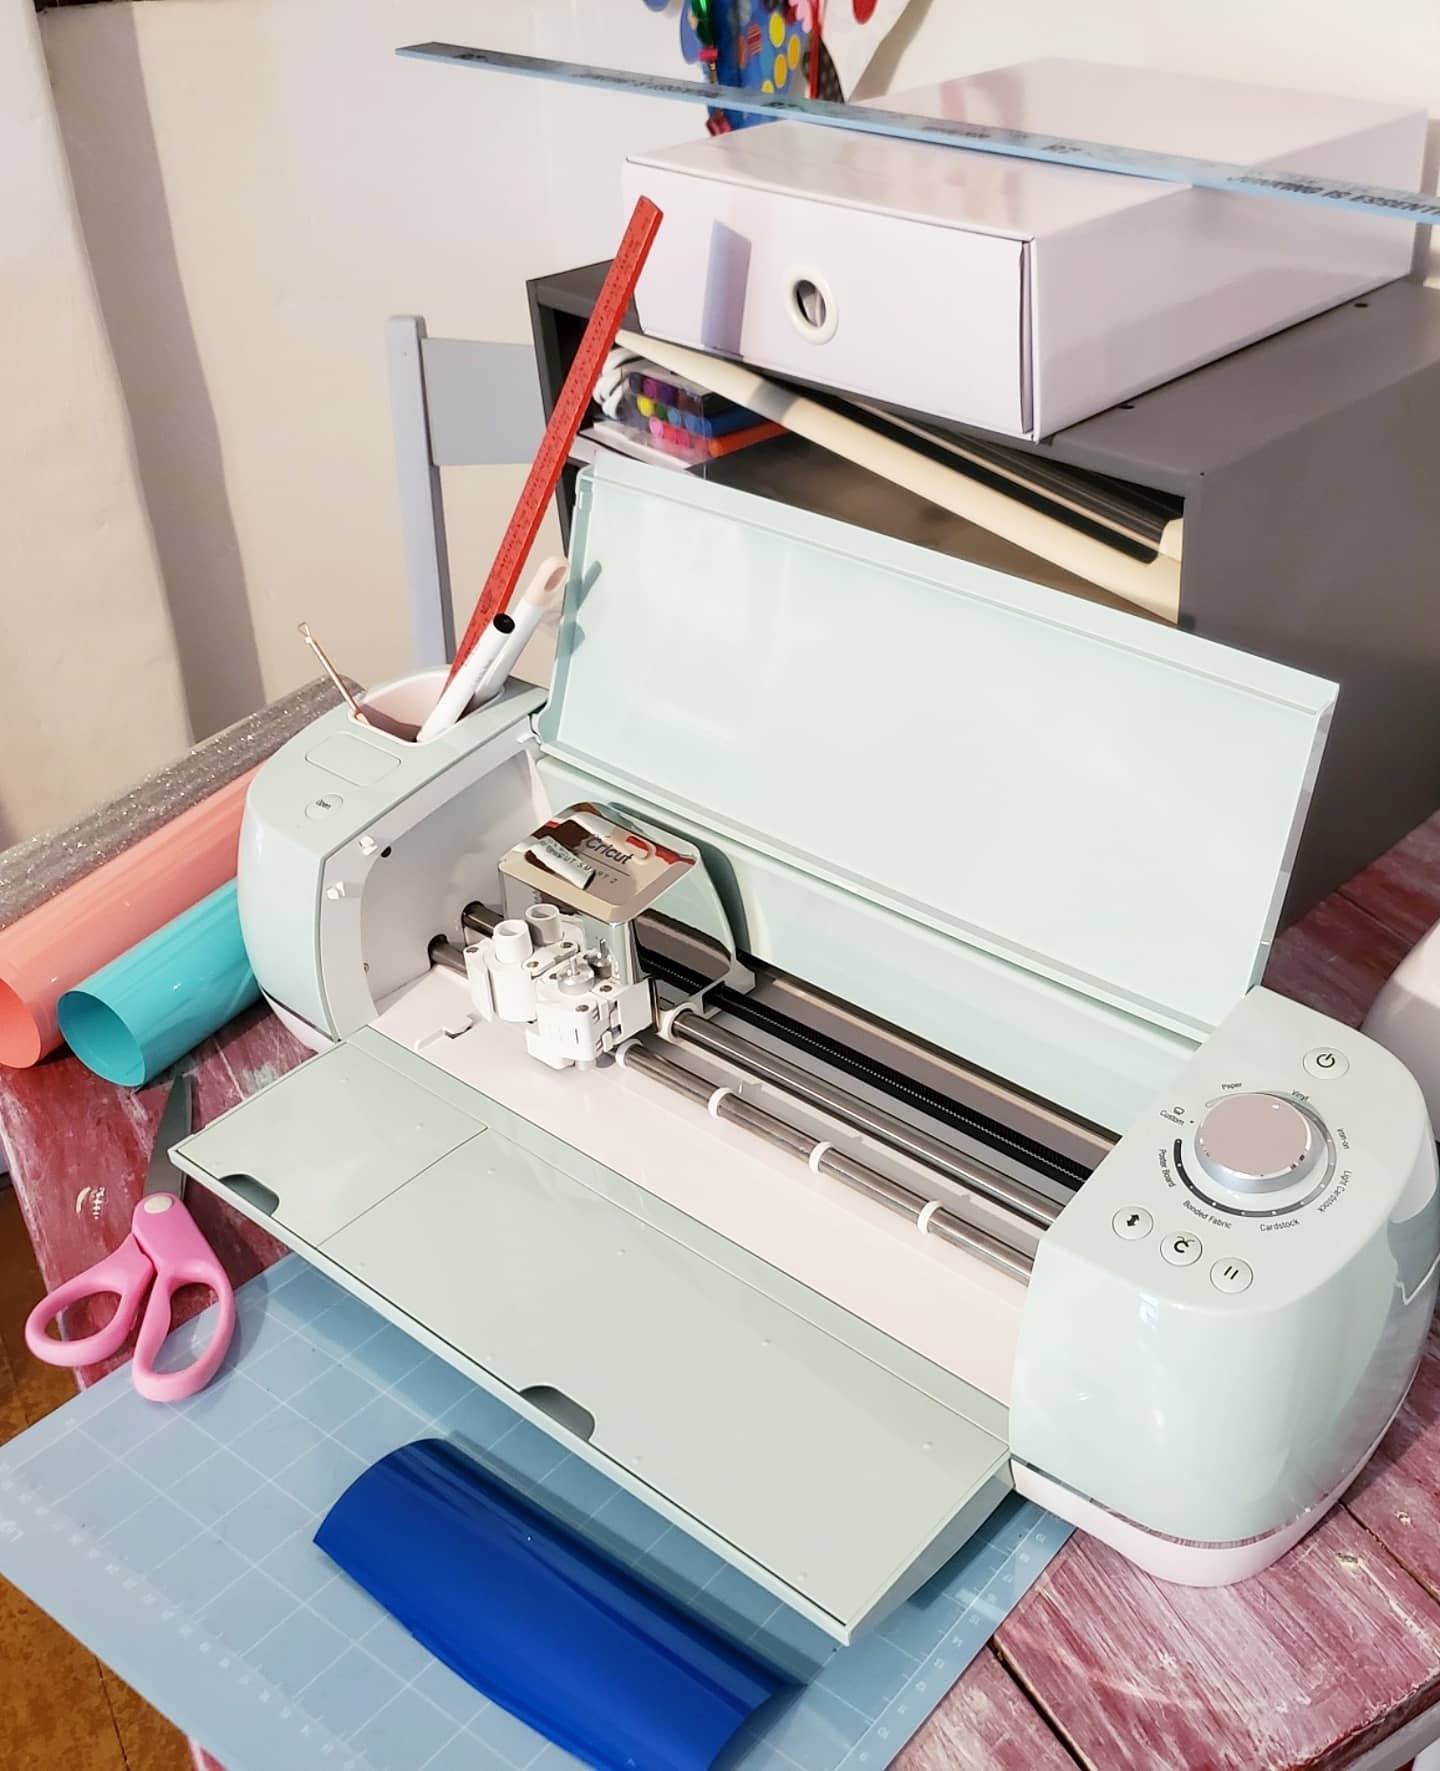
I have had my Cricut Explore Air 2 for a few months now, and to say I’m in love is an understatement! I’ve always been a crafter, but this things really helps me step up my game! Here I am going to talk about the 5 things that I love about my Cricut!
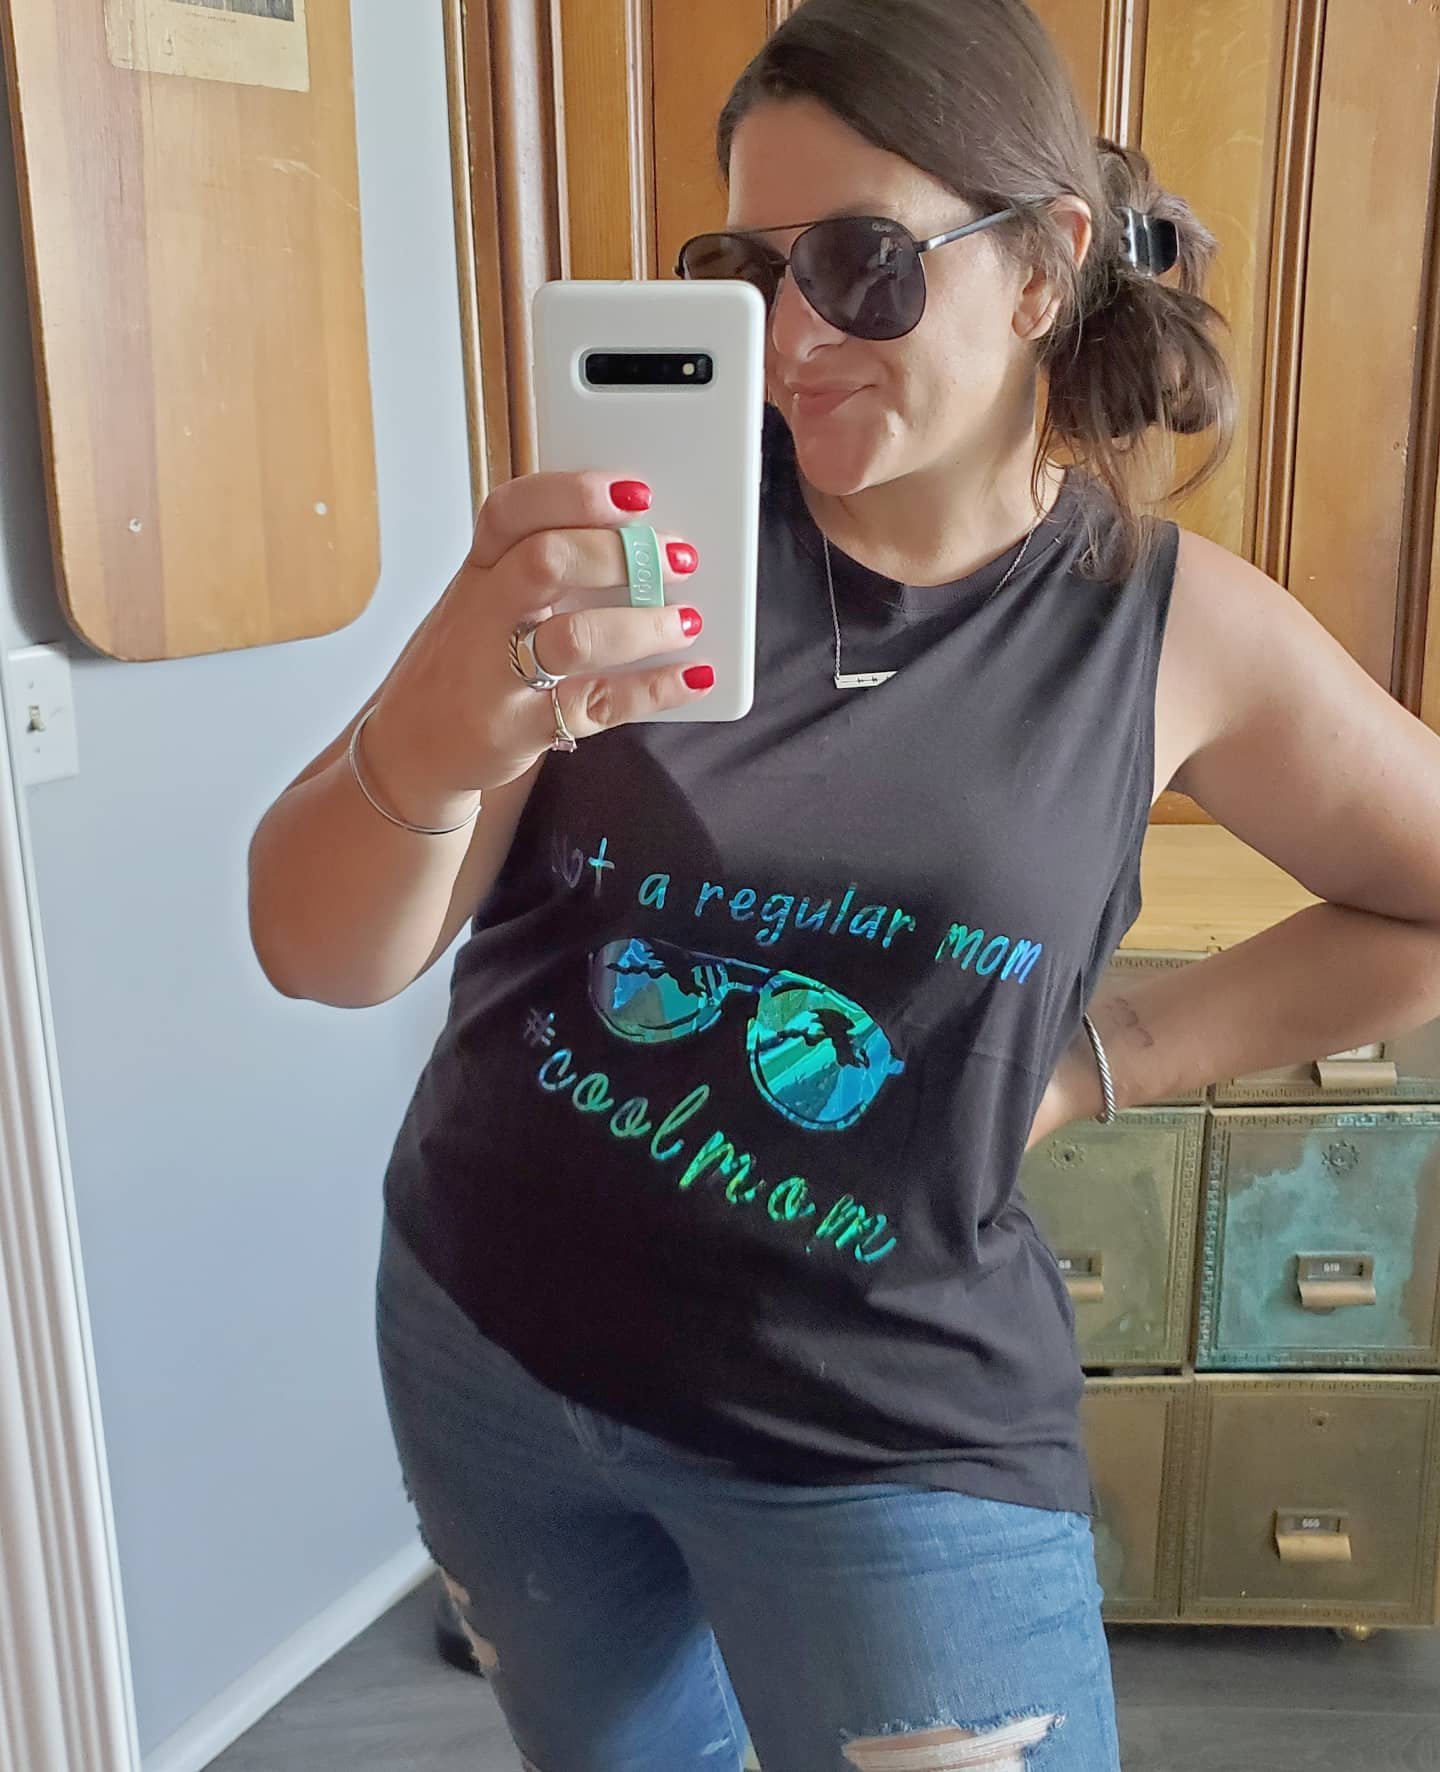
1. Its easy to use! I was truly shocked at how easy this machine is! Not going to lie, I was intimidated at first. I worried where to start and if I would be able to figure it all out. Yup. I was. Best place to start? Pick a project and jump in. They really mean it when they say their motto is “beginners luck every time.” I learn tricks and get braver each time I use my machine, but I definitely agree that picking a beginner level project and diving in head first is a great way to start and will prove to you how easy it is! Check out this shirt I made as one of my very first projects:
2. Support! That brings me to the second thing I love about my Cricut. Its like having a whole community of creators to support you. Have a question? Worried about where to begin or which type of project to do? They’ve got an answer! Not only does Cricut have a team you can email or chat with, but they have numerous pages where you can reach out to their pros or other crafters with tons of experience. They’ve all started somewhere and learned lots and are at the ready to make sure you love your machine and projects. I would know. I wasn’t sure how to customize the design I wanted to make myself for this bag, and the Facebook page group had almost immediate answers for me!

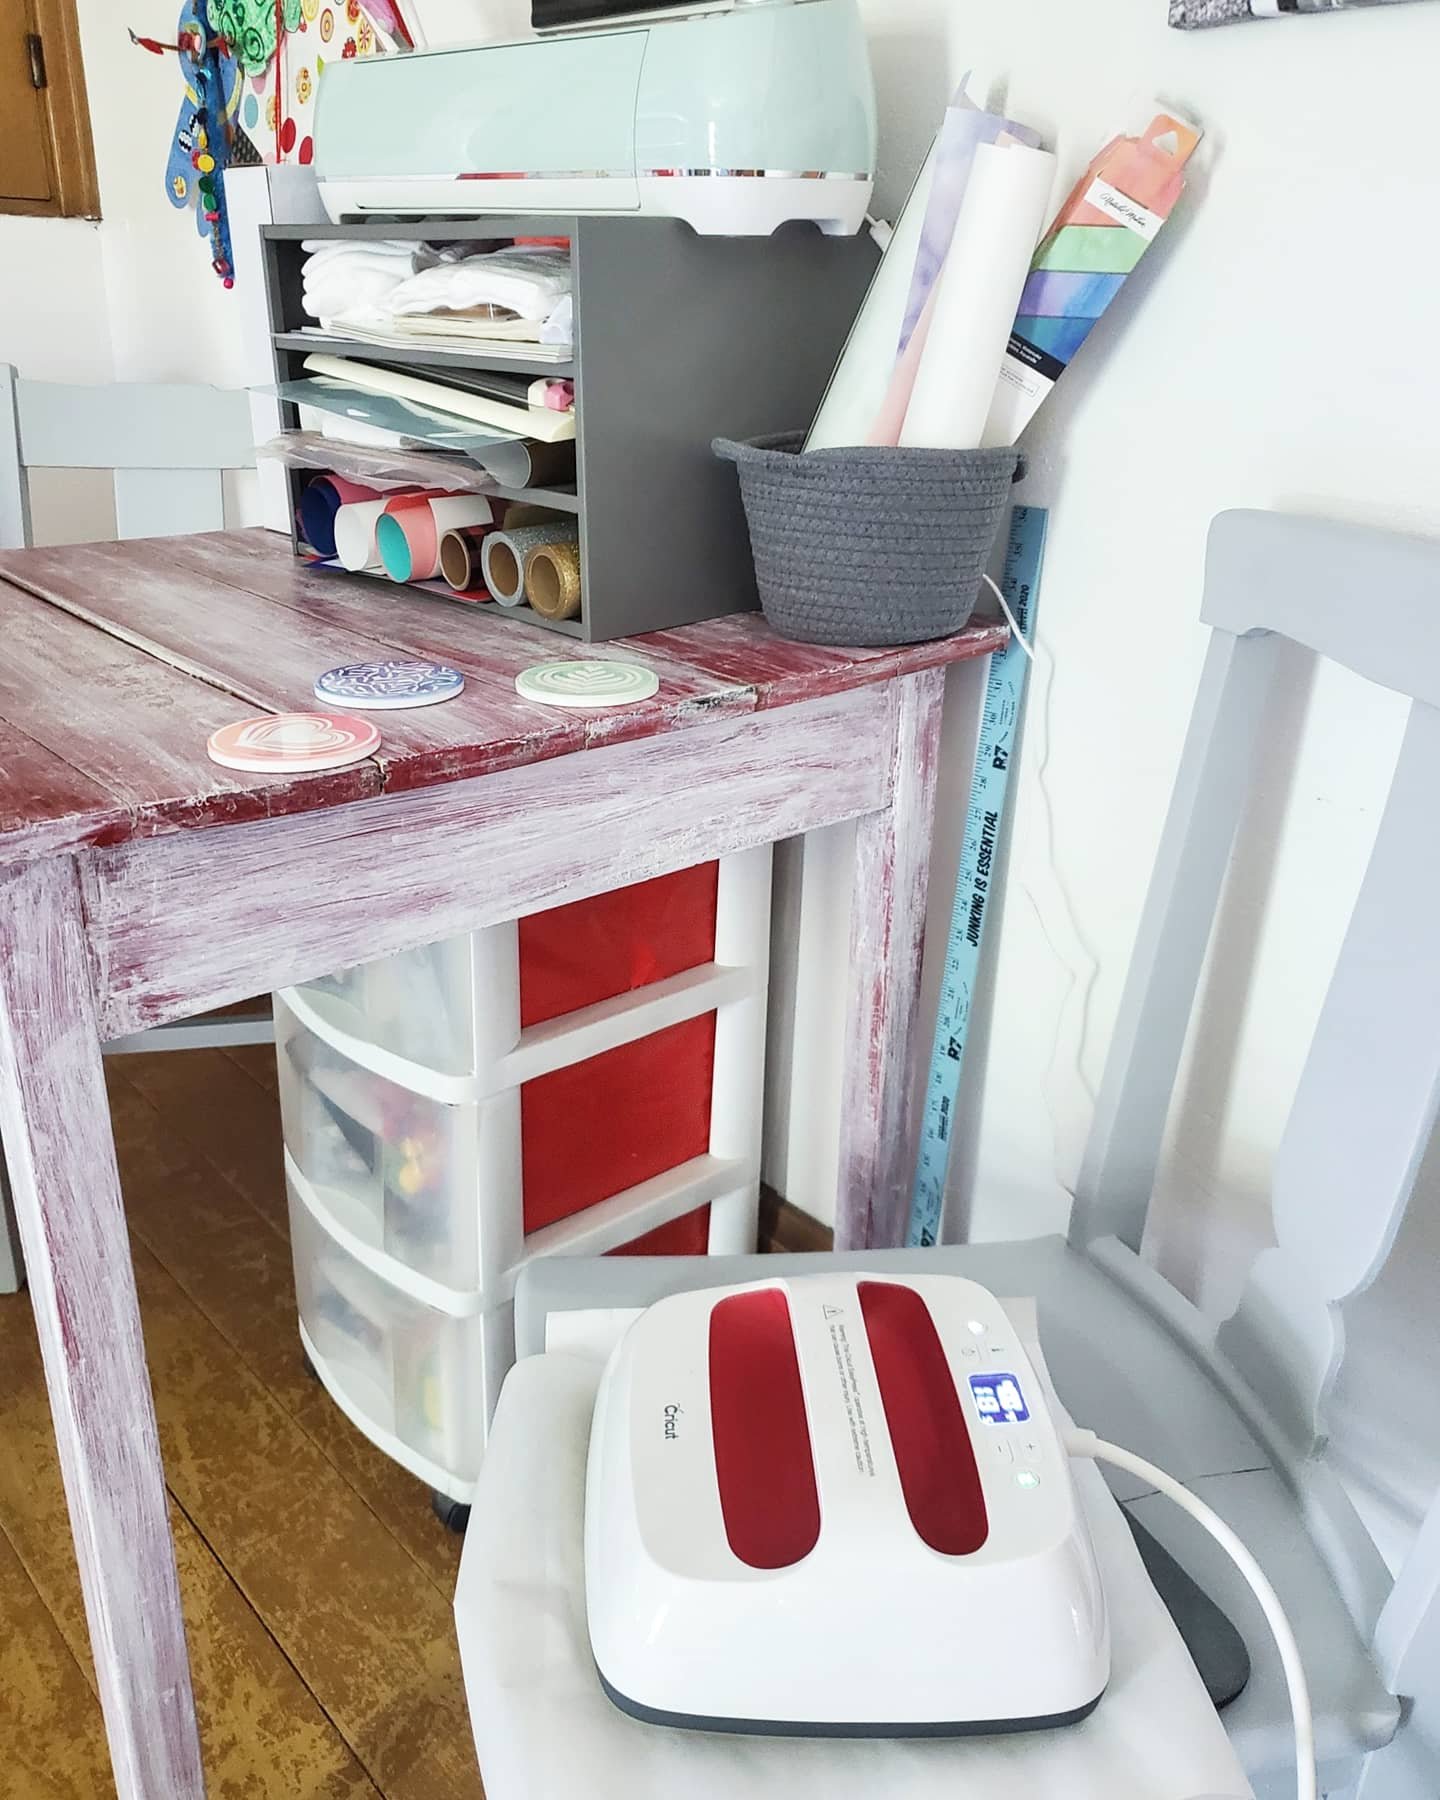
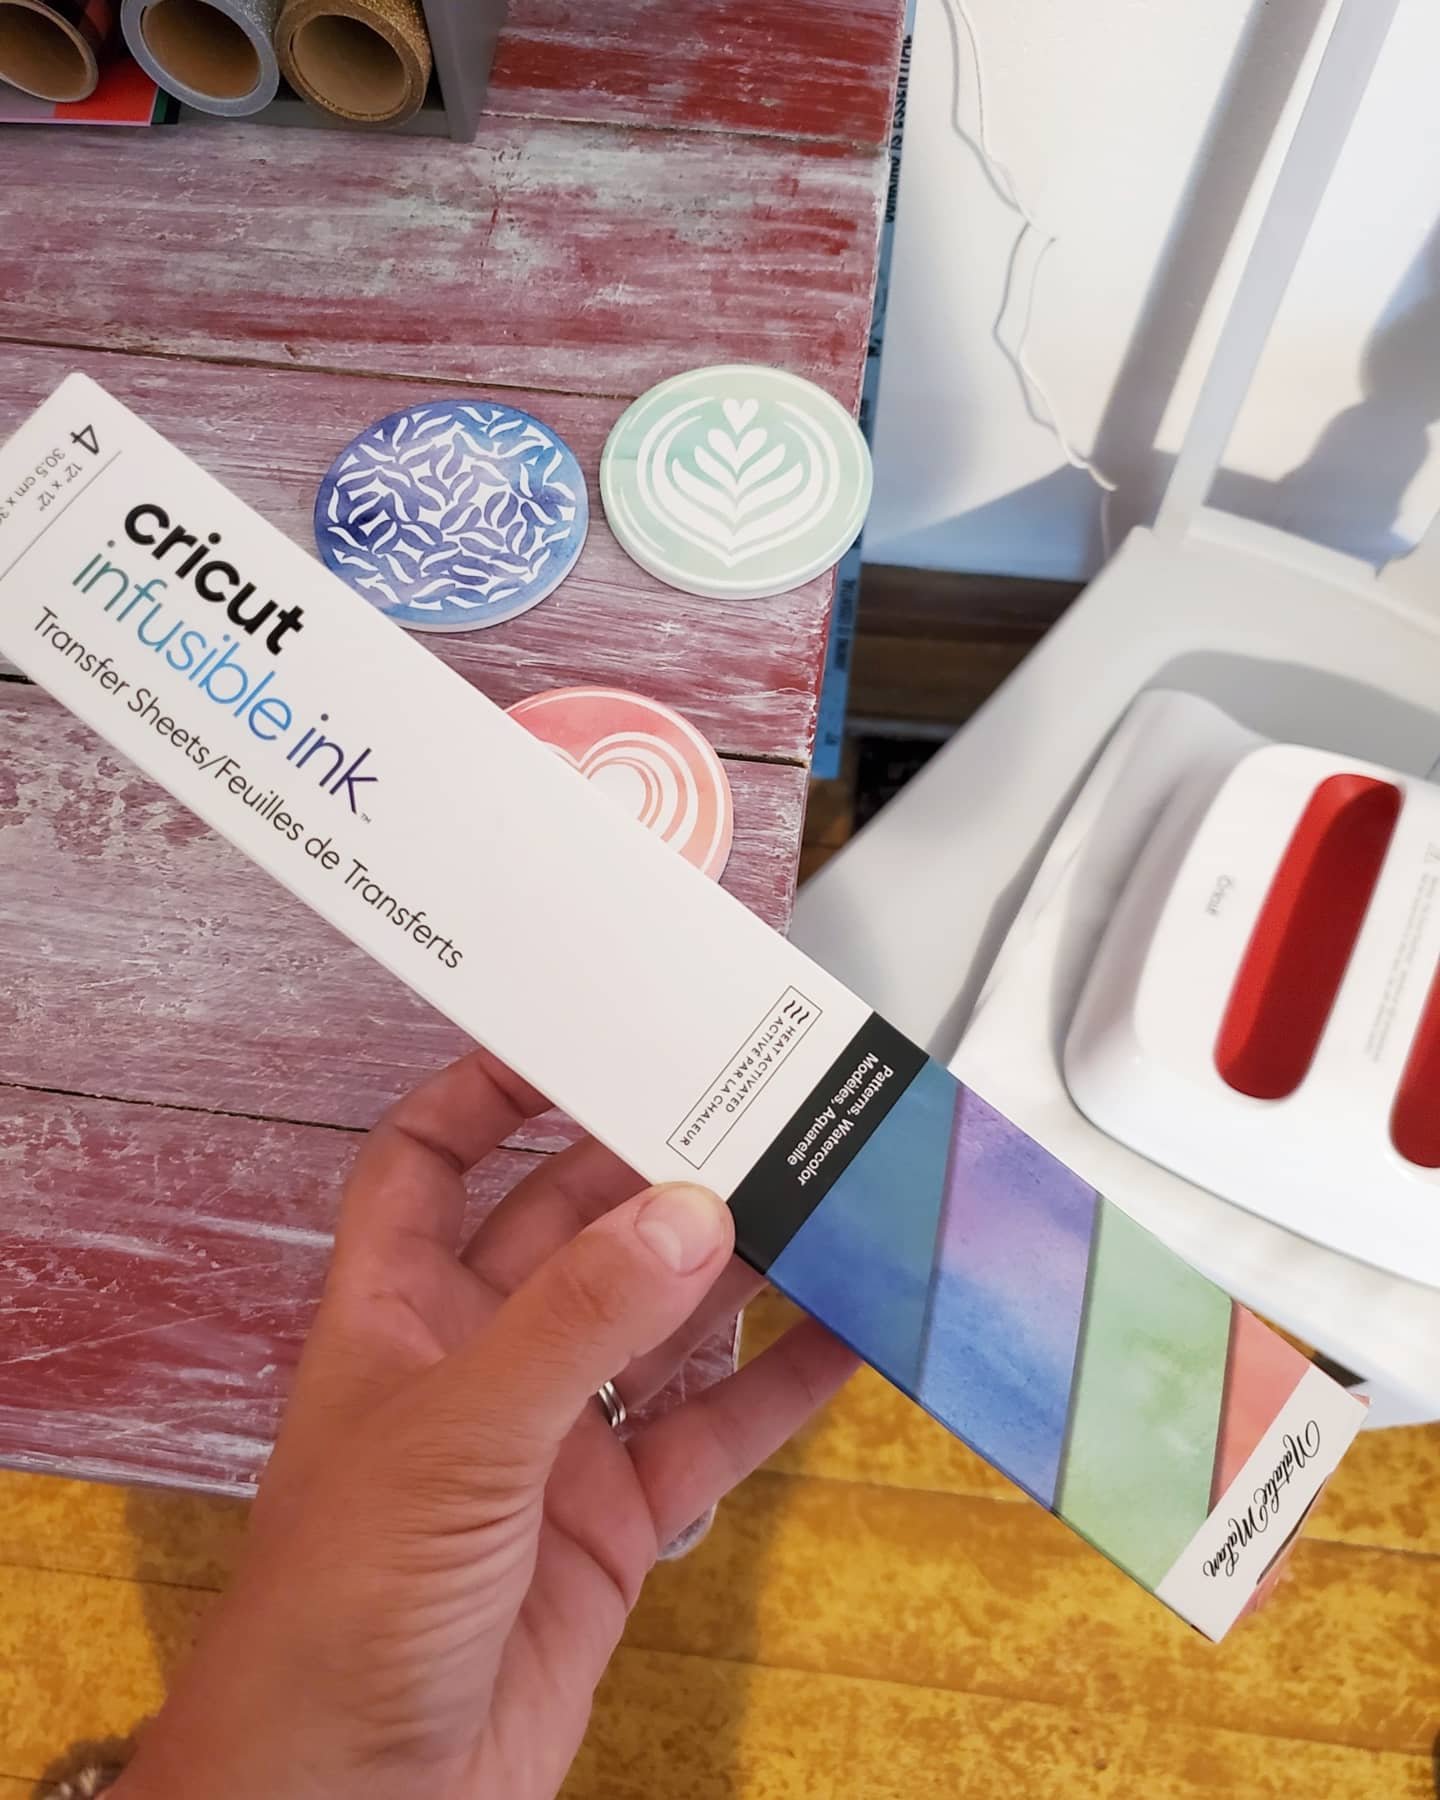
3. Ideas! This also leads me to another thing I love about Cricut, the ideas! I never worry about having a creative block. There’s no way. The ideas of projects to make are endless, for every single occasion you cak dream of. Really. You can find ideas galore on Pinterest, and Instagram, or Cricuts’s Facebook page. And my favorite place for inspiration? The Cricut emails! They send seasonal emails showing the new ideas and templates added to Design Space, their app for making. How did I know about the new infusible ink and coaster blanks to make these? One of their idea emails! Light bulb!

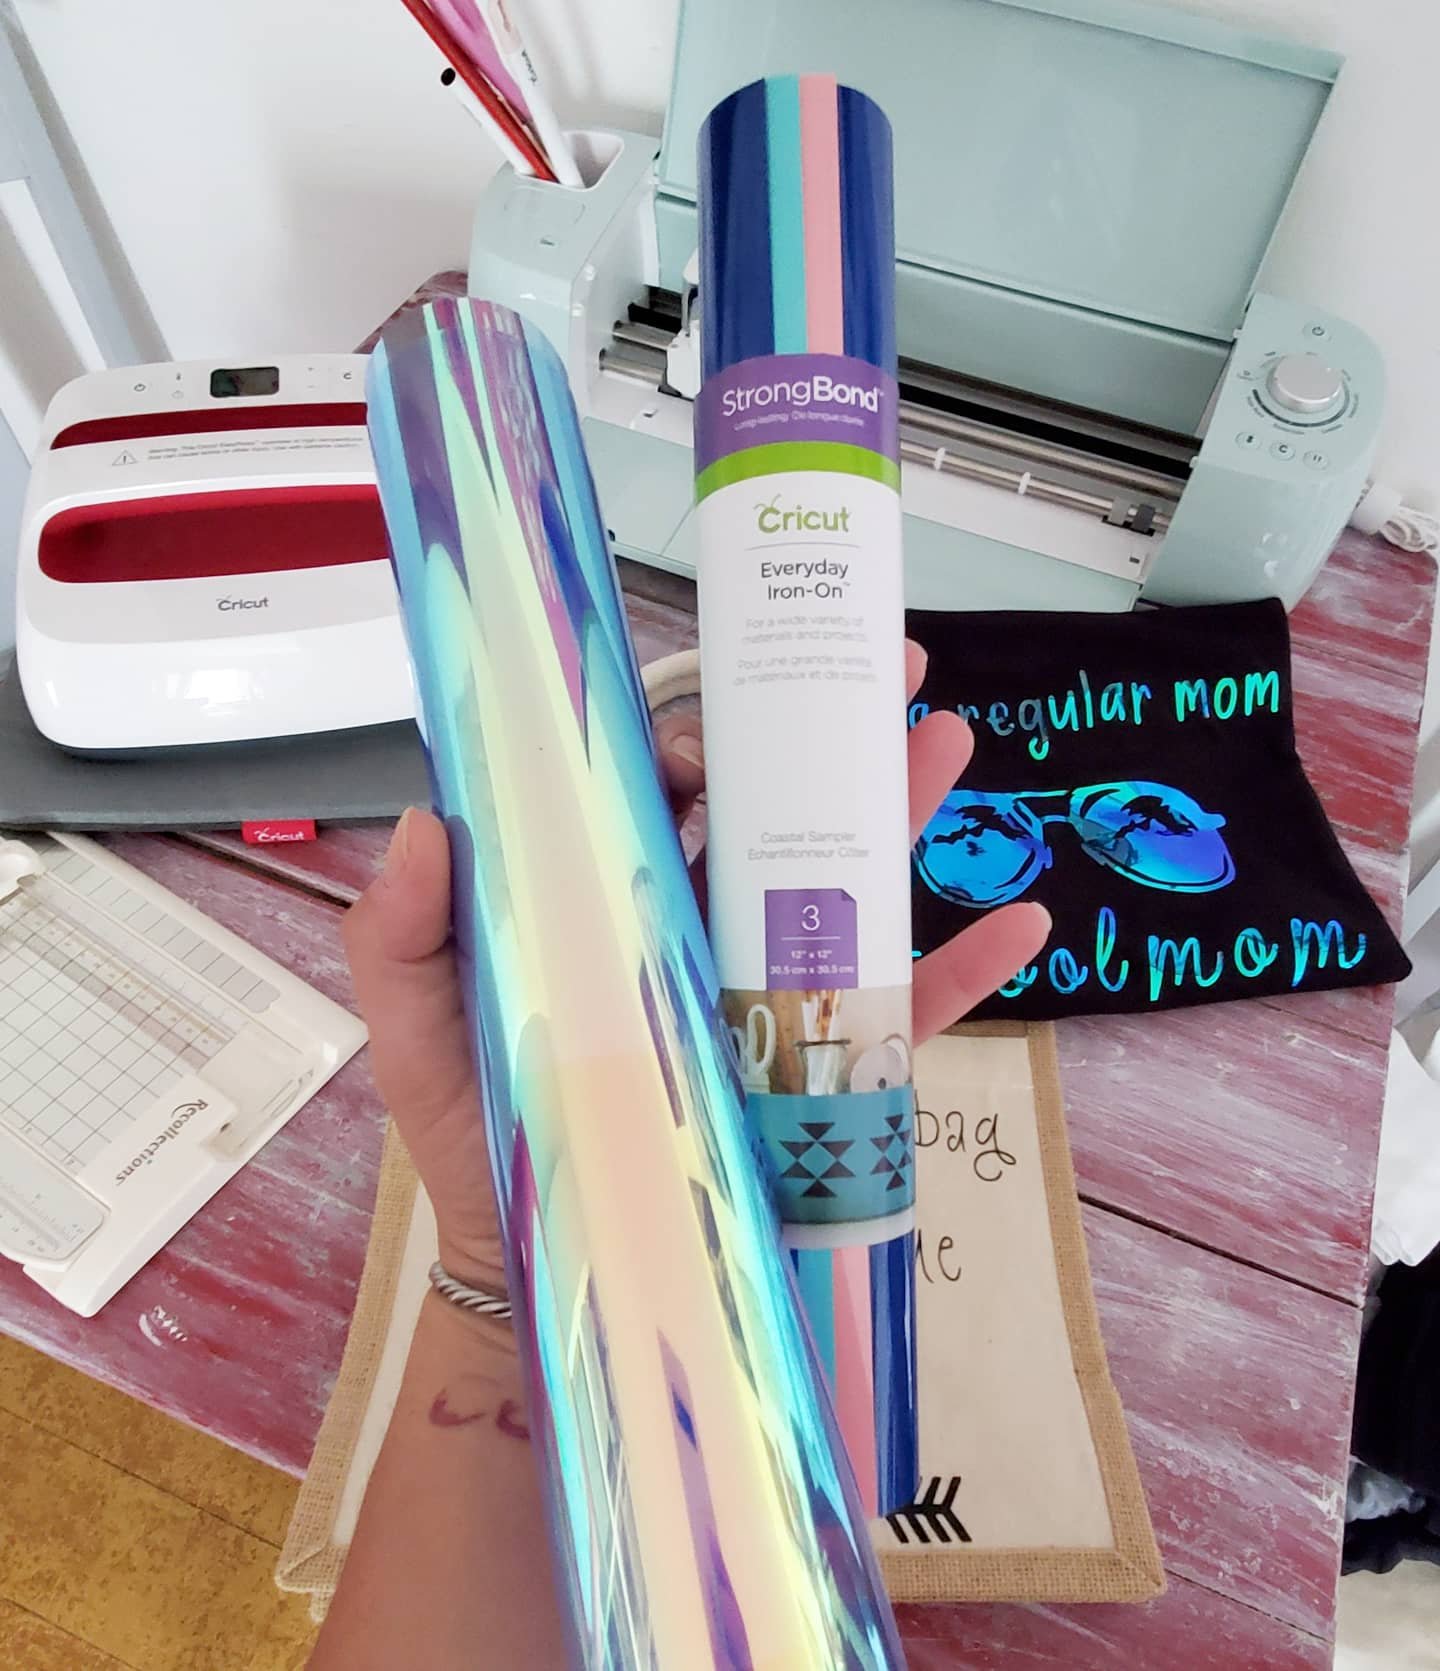
4. The options! Got a bright idea to make? You can! And Cricut can help you do it! The options they supply for you is endless. Or almost. Not only do they help with the ideas, but they make it easy to find all of the supplies you need to make visions come to fruition. They have coasters, bags, shirts, materials, pens, markers, vinyls, decals, iron ons, and the widest variety of patterns in their supplies you could imagine! Sparkles, holographics, leopard, wood grain…their possibilities are never ending! Not to mention, cricut has other machines like the EasyPress, and tools like mats, cutters, Nd weeders, to make all of the options come to life!

5. Capabilities! This machine not only cuts paper and vinyls. I was shocked to learn what all it really can do. Like blown away. It can cut leather, poster board, felt, fabric and even wood. But it doesn’t just cut, it can score. And it can draw! Yup! Shocked?! Me too. You can insert pens and markers into the blade holder and it can draw or write, making handmade cards, letters, signs… mind blown.
The capabilities combined with the Cricut options alone shows you that the possibilities are truly endless. I cannot wait to do another project every time I finish one! And now all of my gifts will be one of a kind made by yours truly!
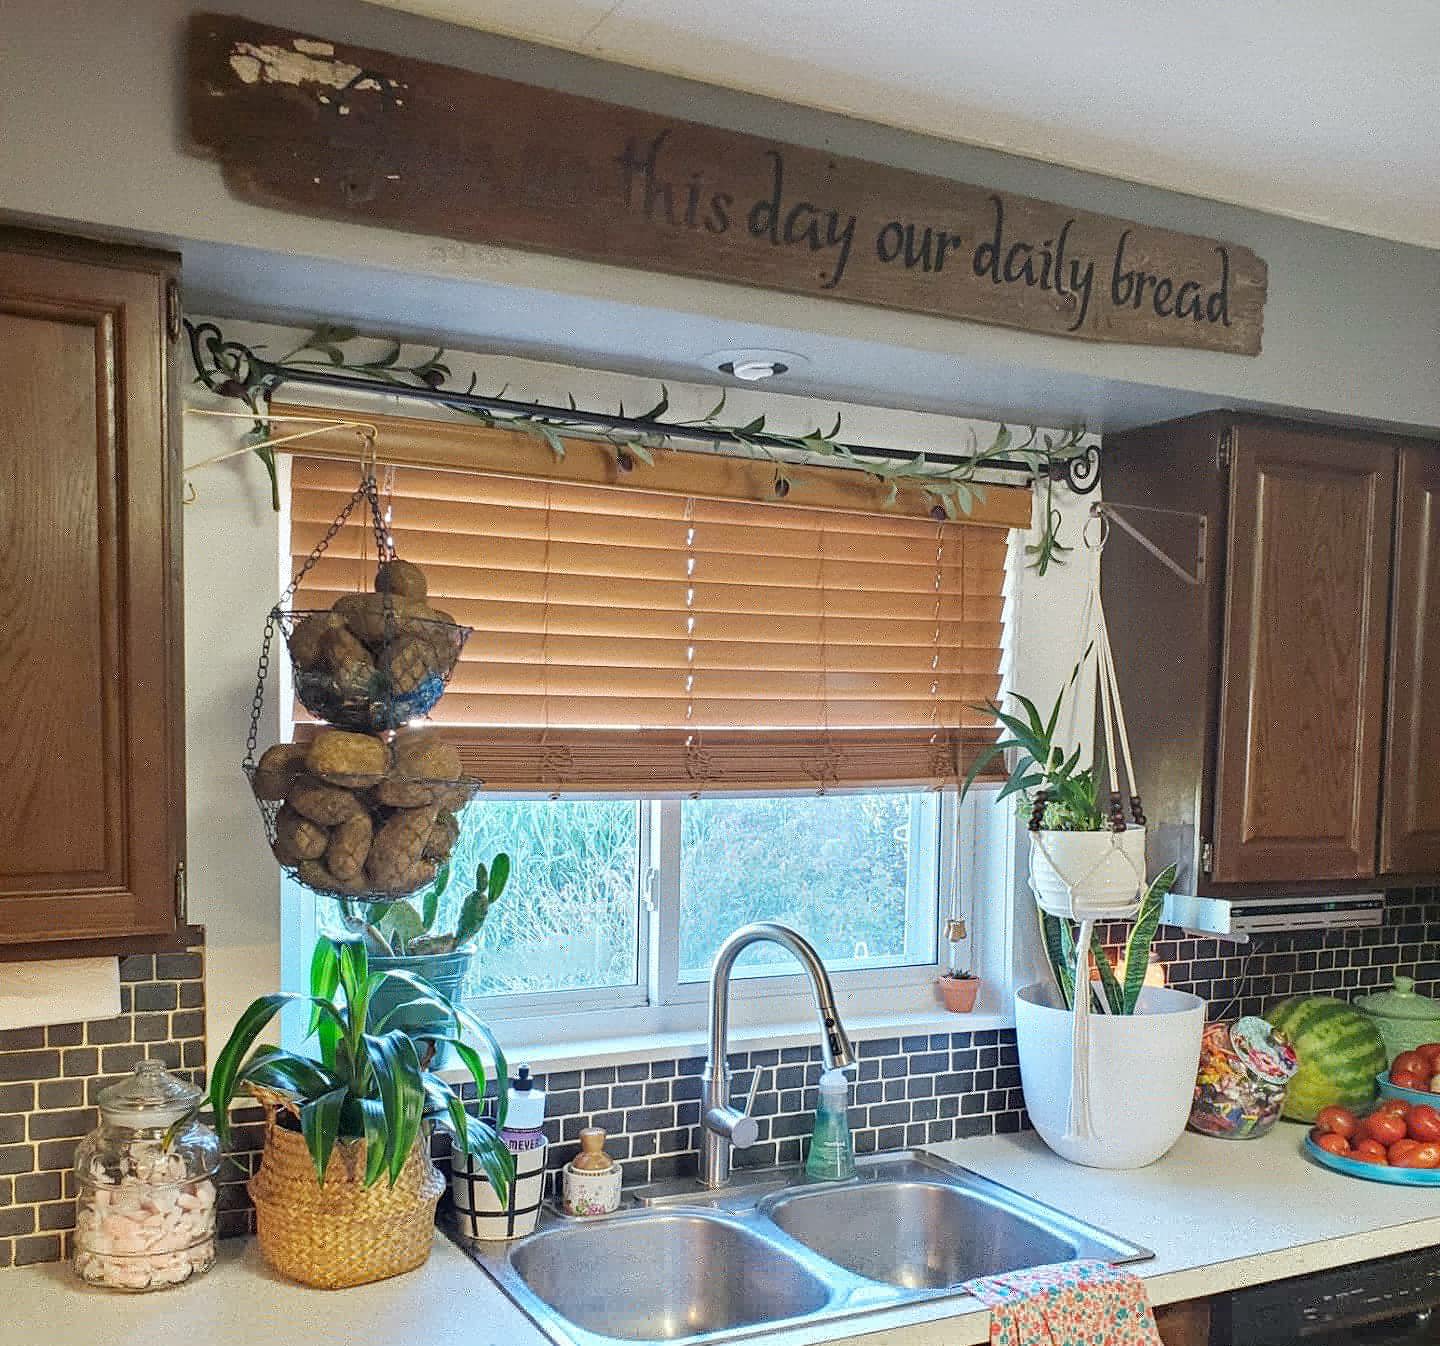
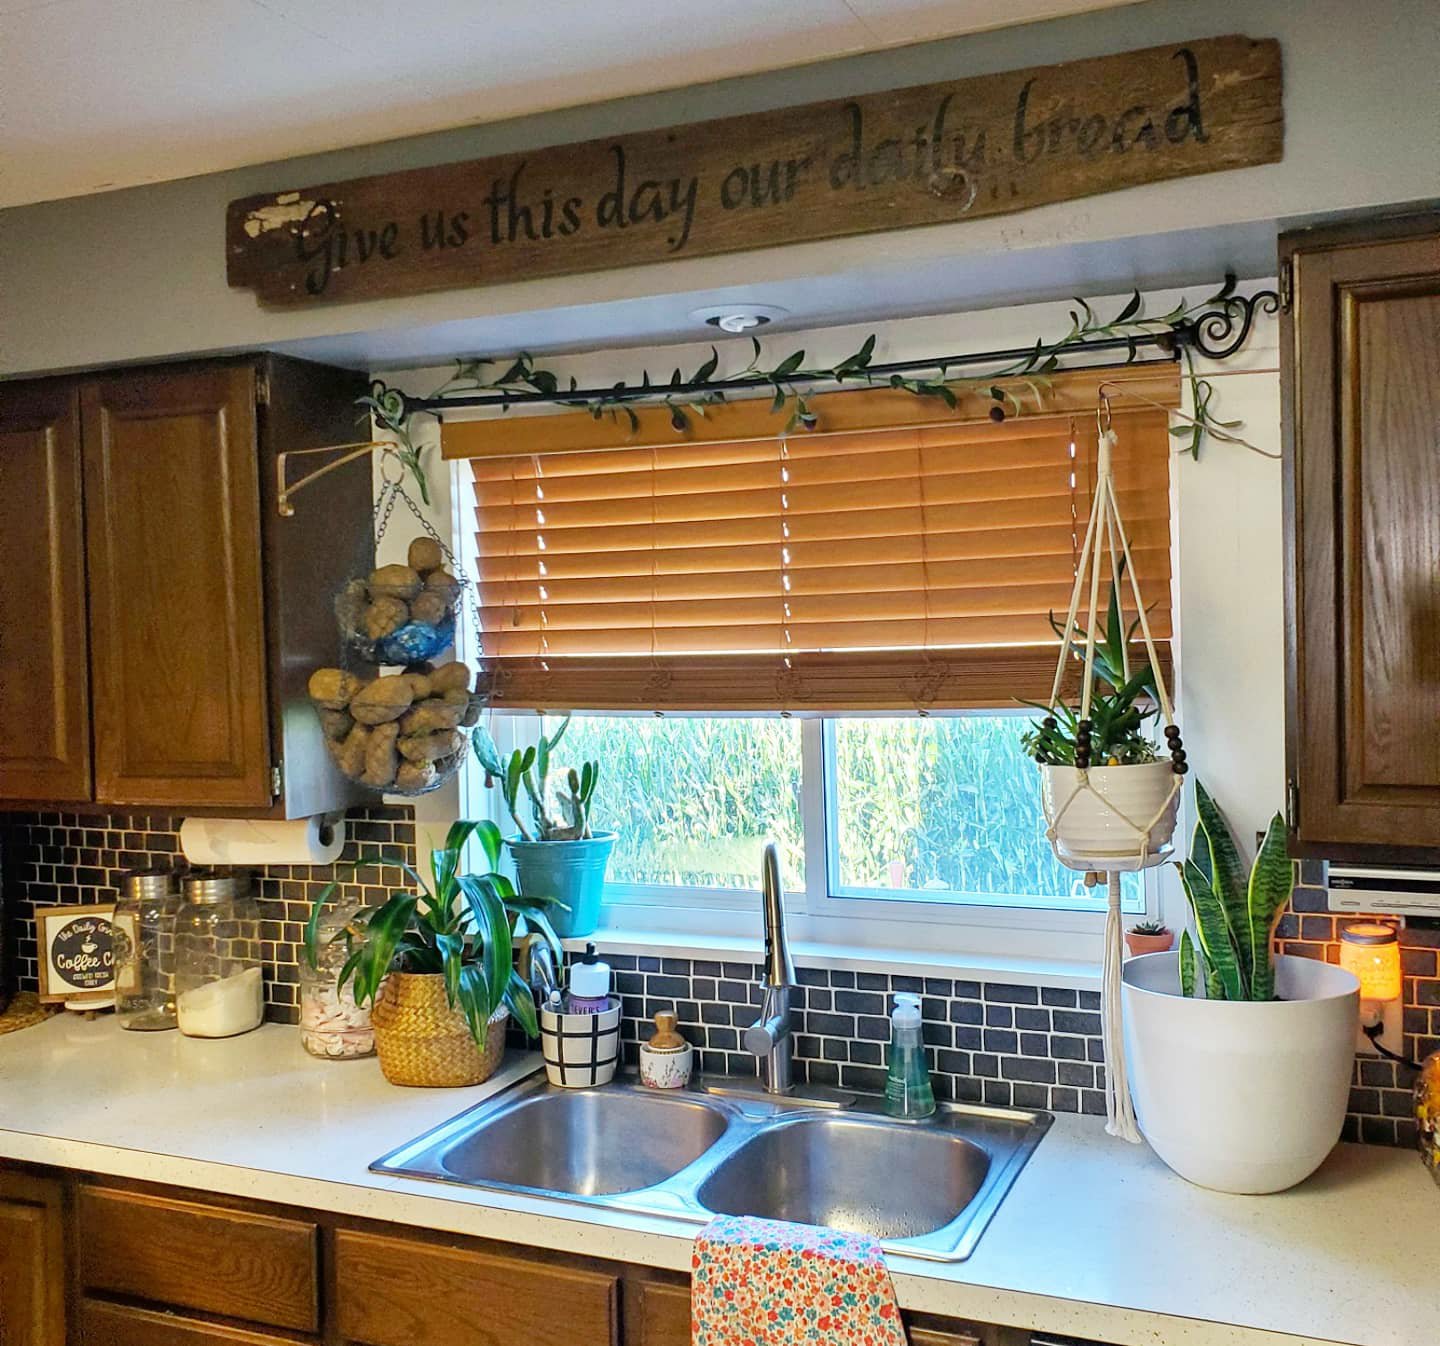
Here’s a quick breakdown of my latest project, a sign for our kitchen.
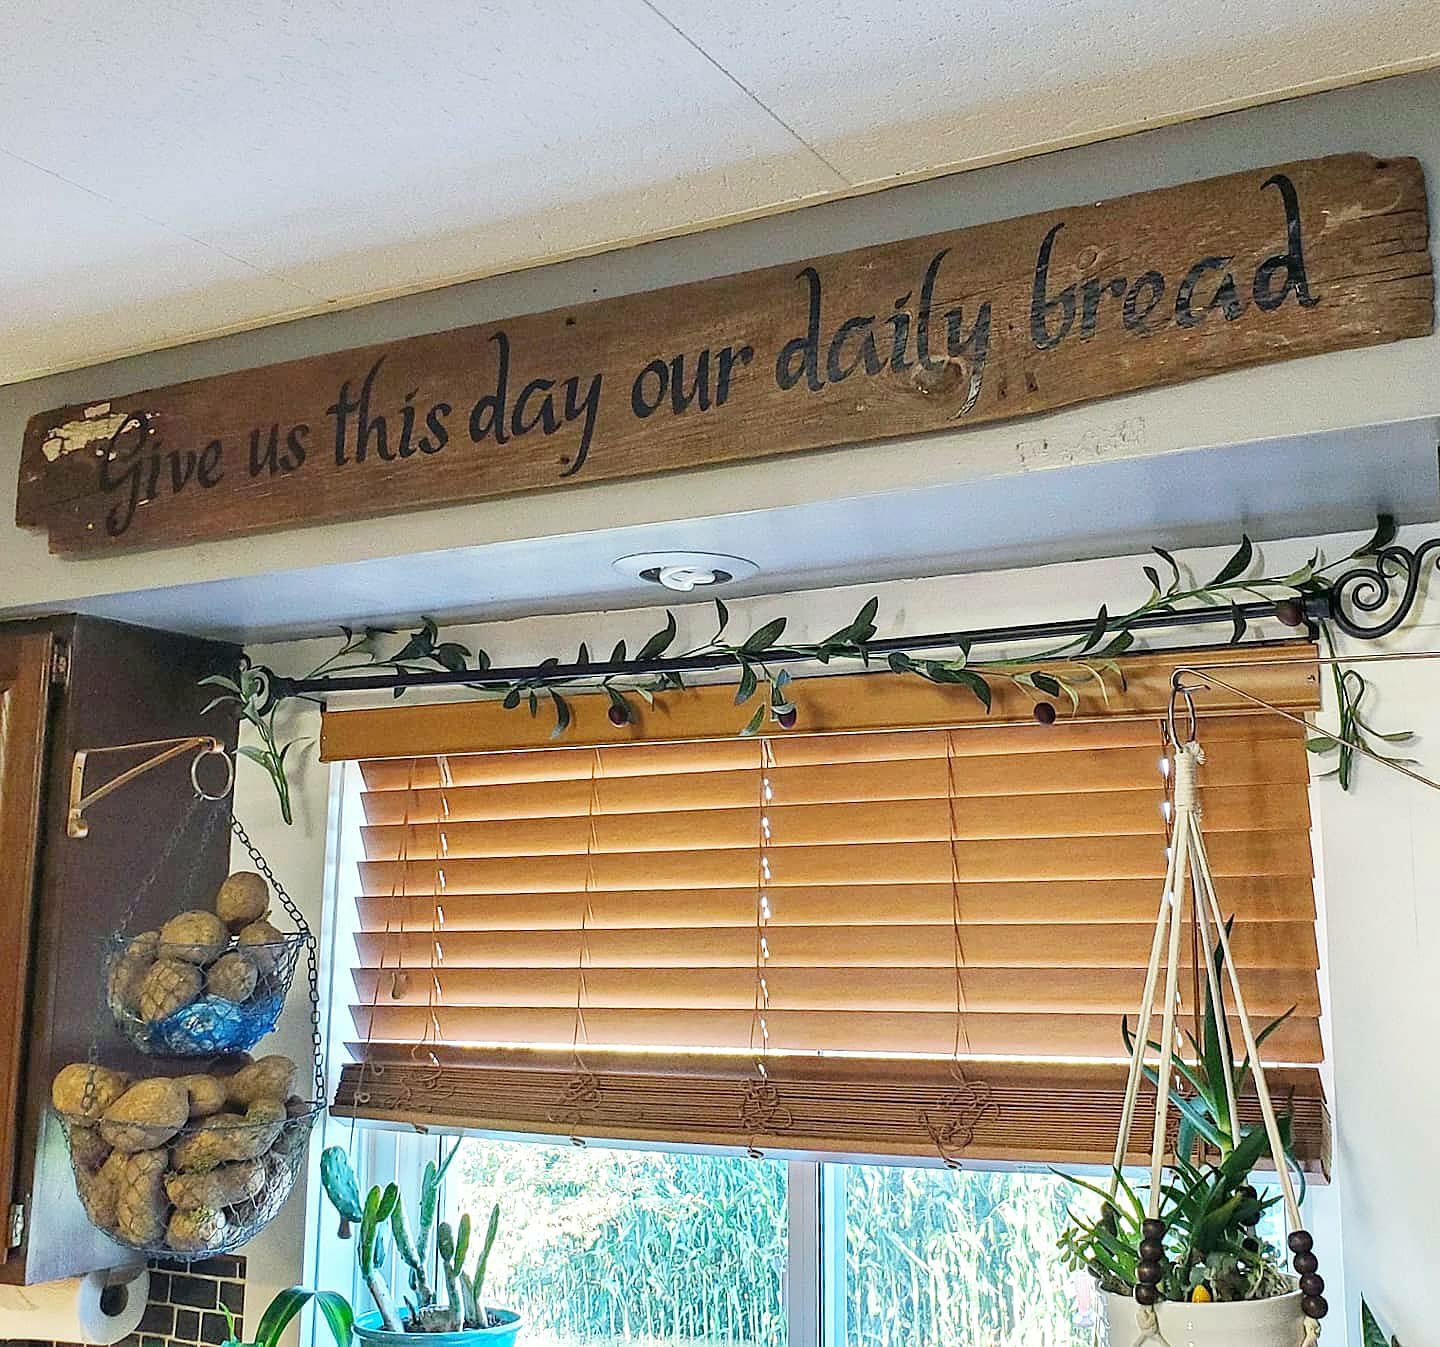
Choose a board and a quote. My board is a faded, chipped, barn board from our barn. (I’m sure to some the white paint left on one corner and the odd shape caused by years of cattle wear are not pretty, but we loved this board! 😉
Then, start on the Design Space app, and find my design template here. My board is 5ft long, but you can edit the design to adjust measurements. Once you send the design to the machine and it cuts it on vinyl, weed the excess pieces out. Use transfer tape to pick up your design and stick it down in place on your board. You could add flourishes to the ends of your quote too! You can change this design and even choose your own color vinyl. I used matte clear coat over the board to ensure no edges lift since I chose an old, rippled barn board for my project. Add a hanger or two on the back and hang. Easy peasy and a great one-of-a-kind, beginner-friendly project!
Have questions? Need help or ideas? Just ask! 😘
XX,
Jess
Frame Hanger Project
I love old picture frames. All kinds. I’ve got a hallway of empty ones upstairs. Sometimes I fill them. Sometimes I paint them. And sometimes I do something fun with them…

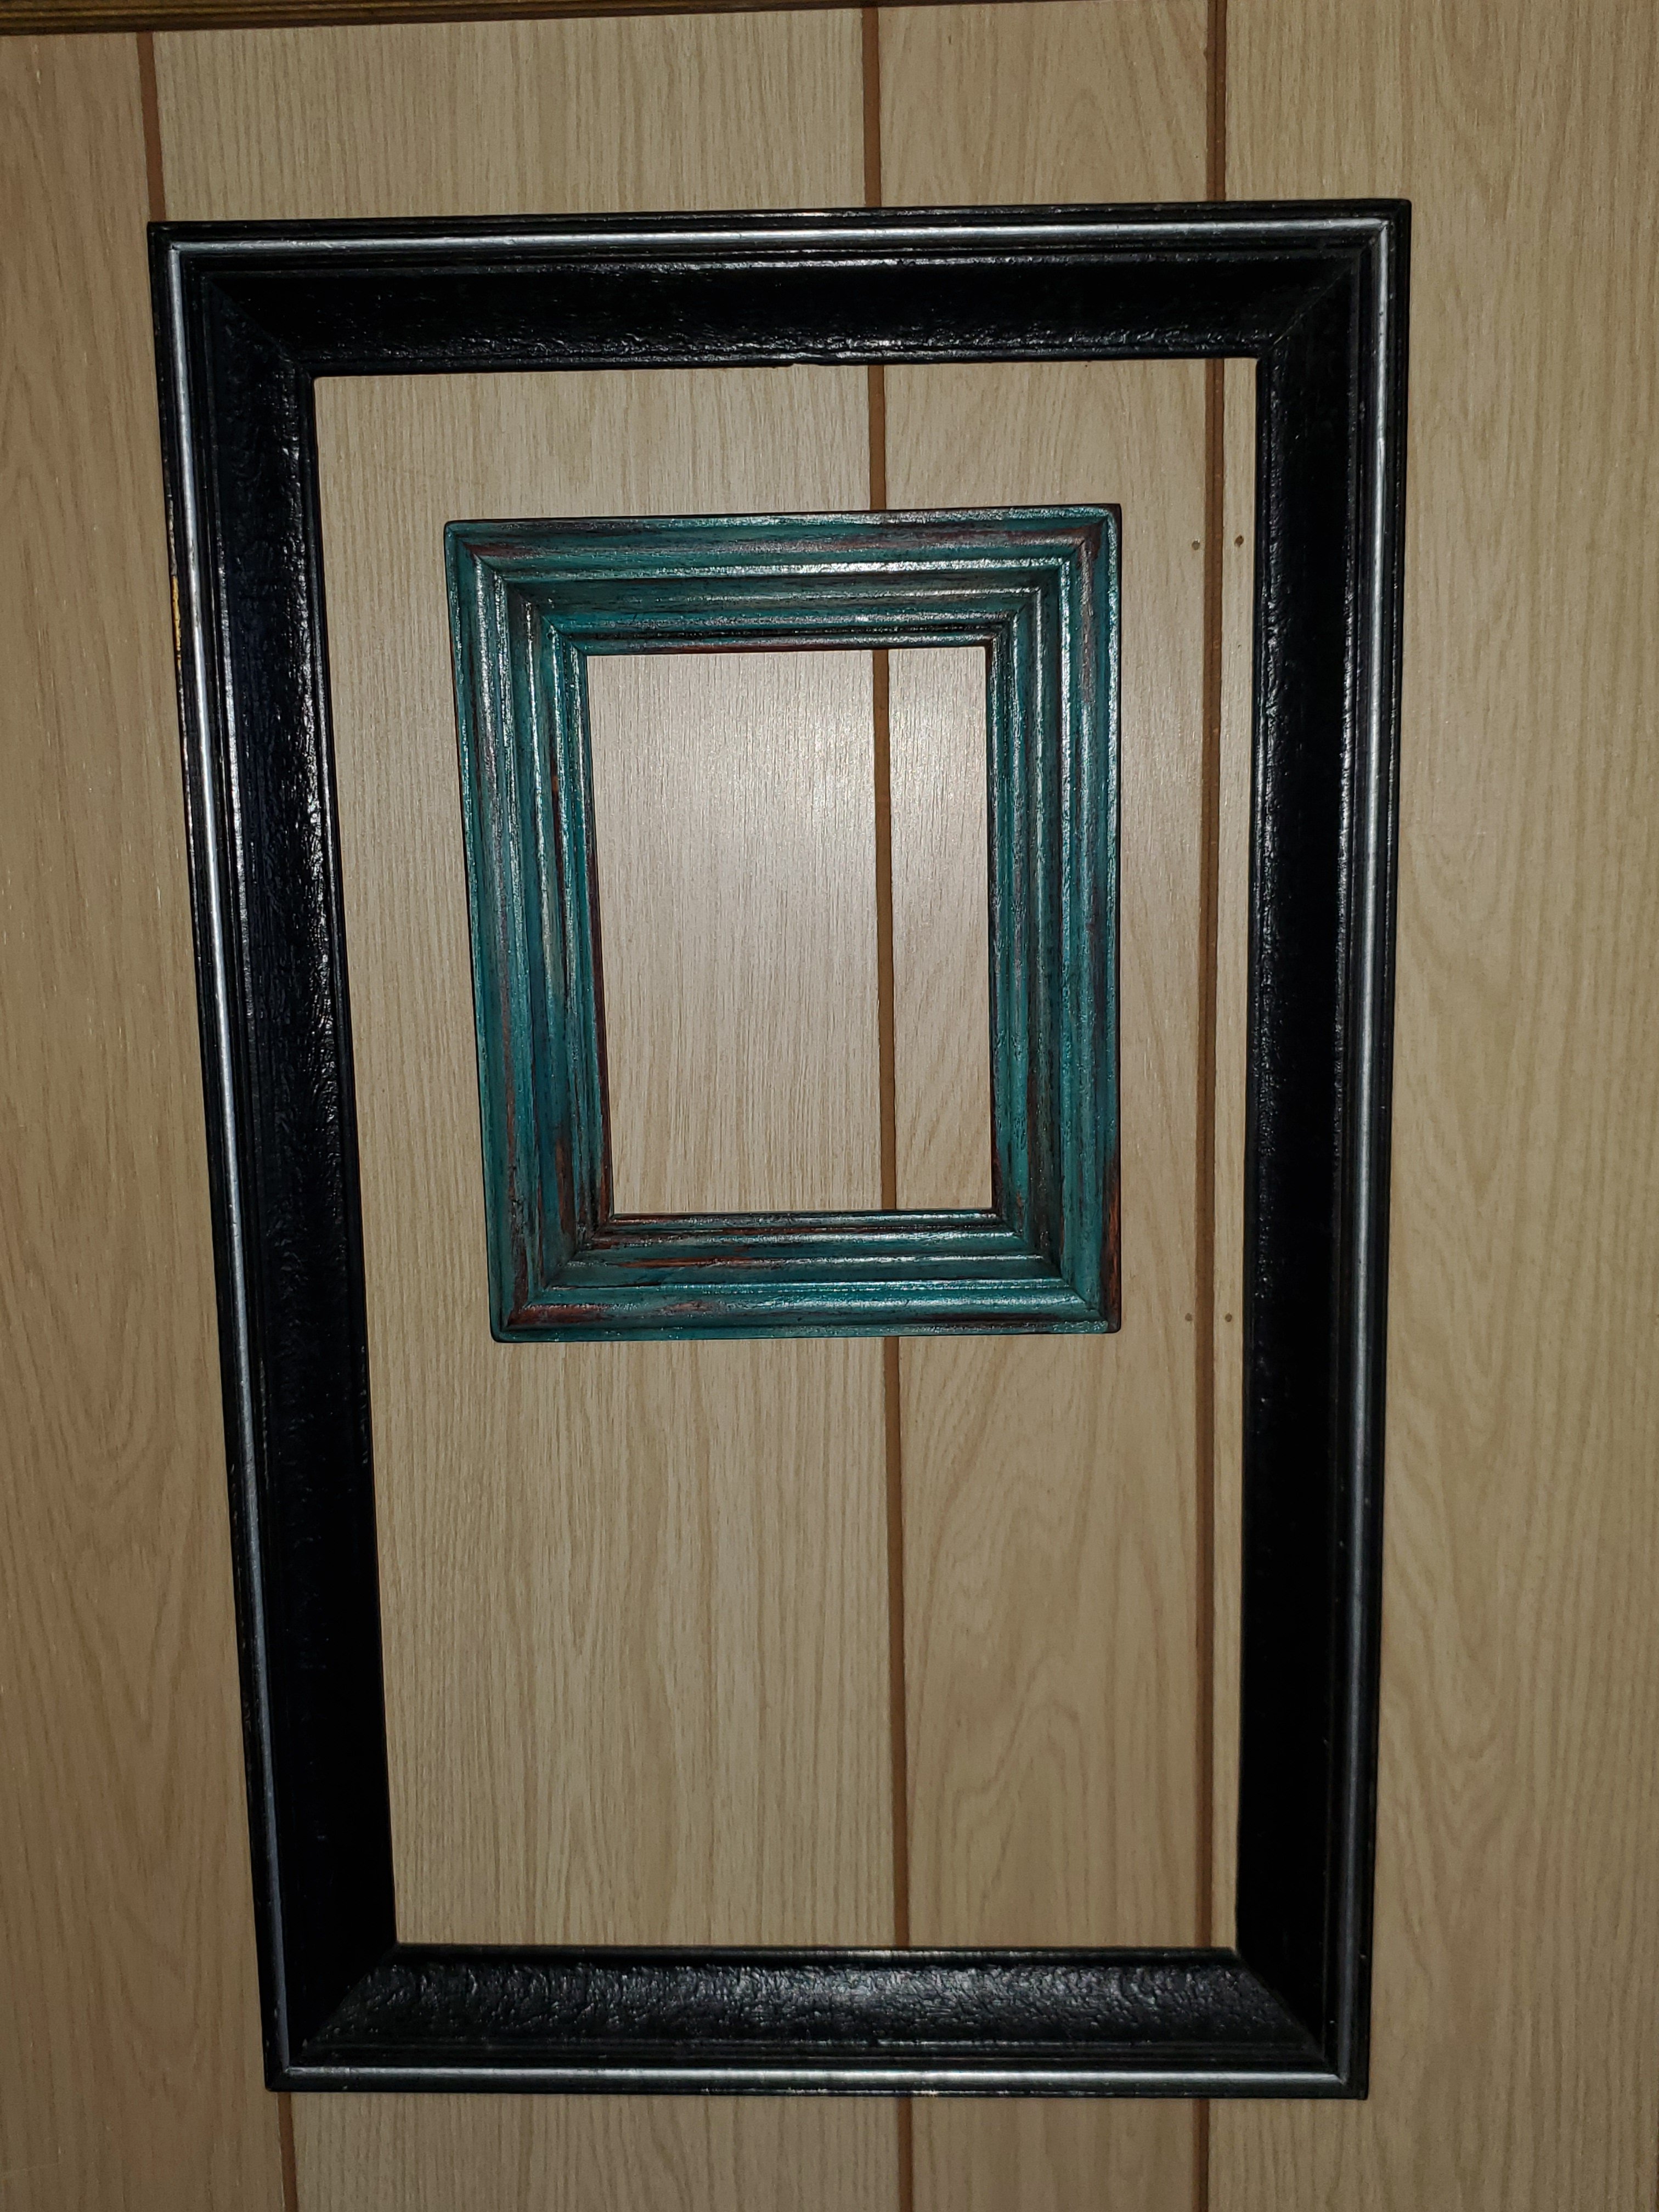
This frame I once painted black with a silver line. Years ago. I was over it. (Ignore the ugly paneling in the upstairs hall we hope to rip out soon)
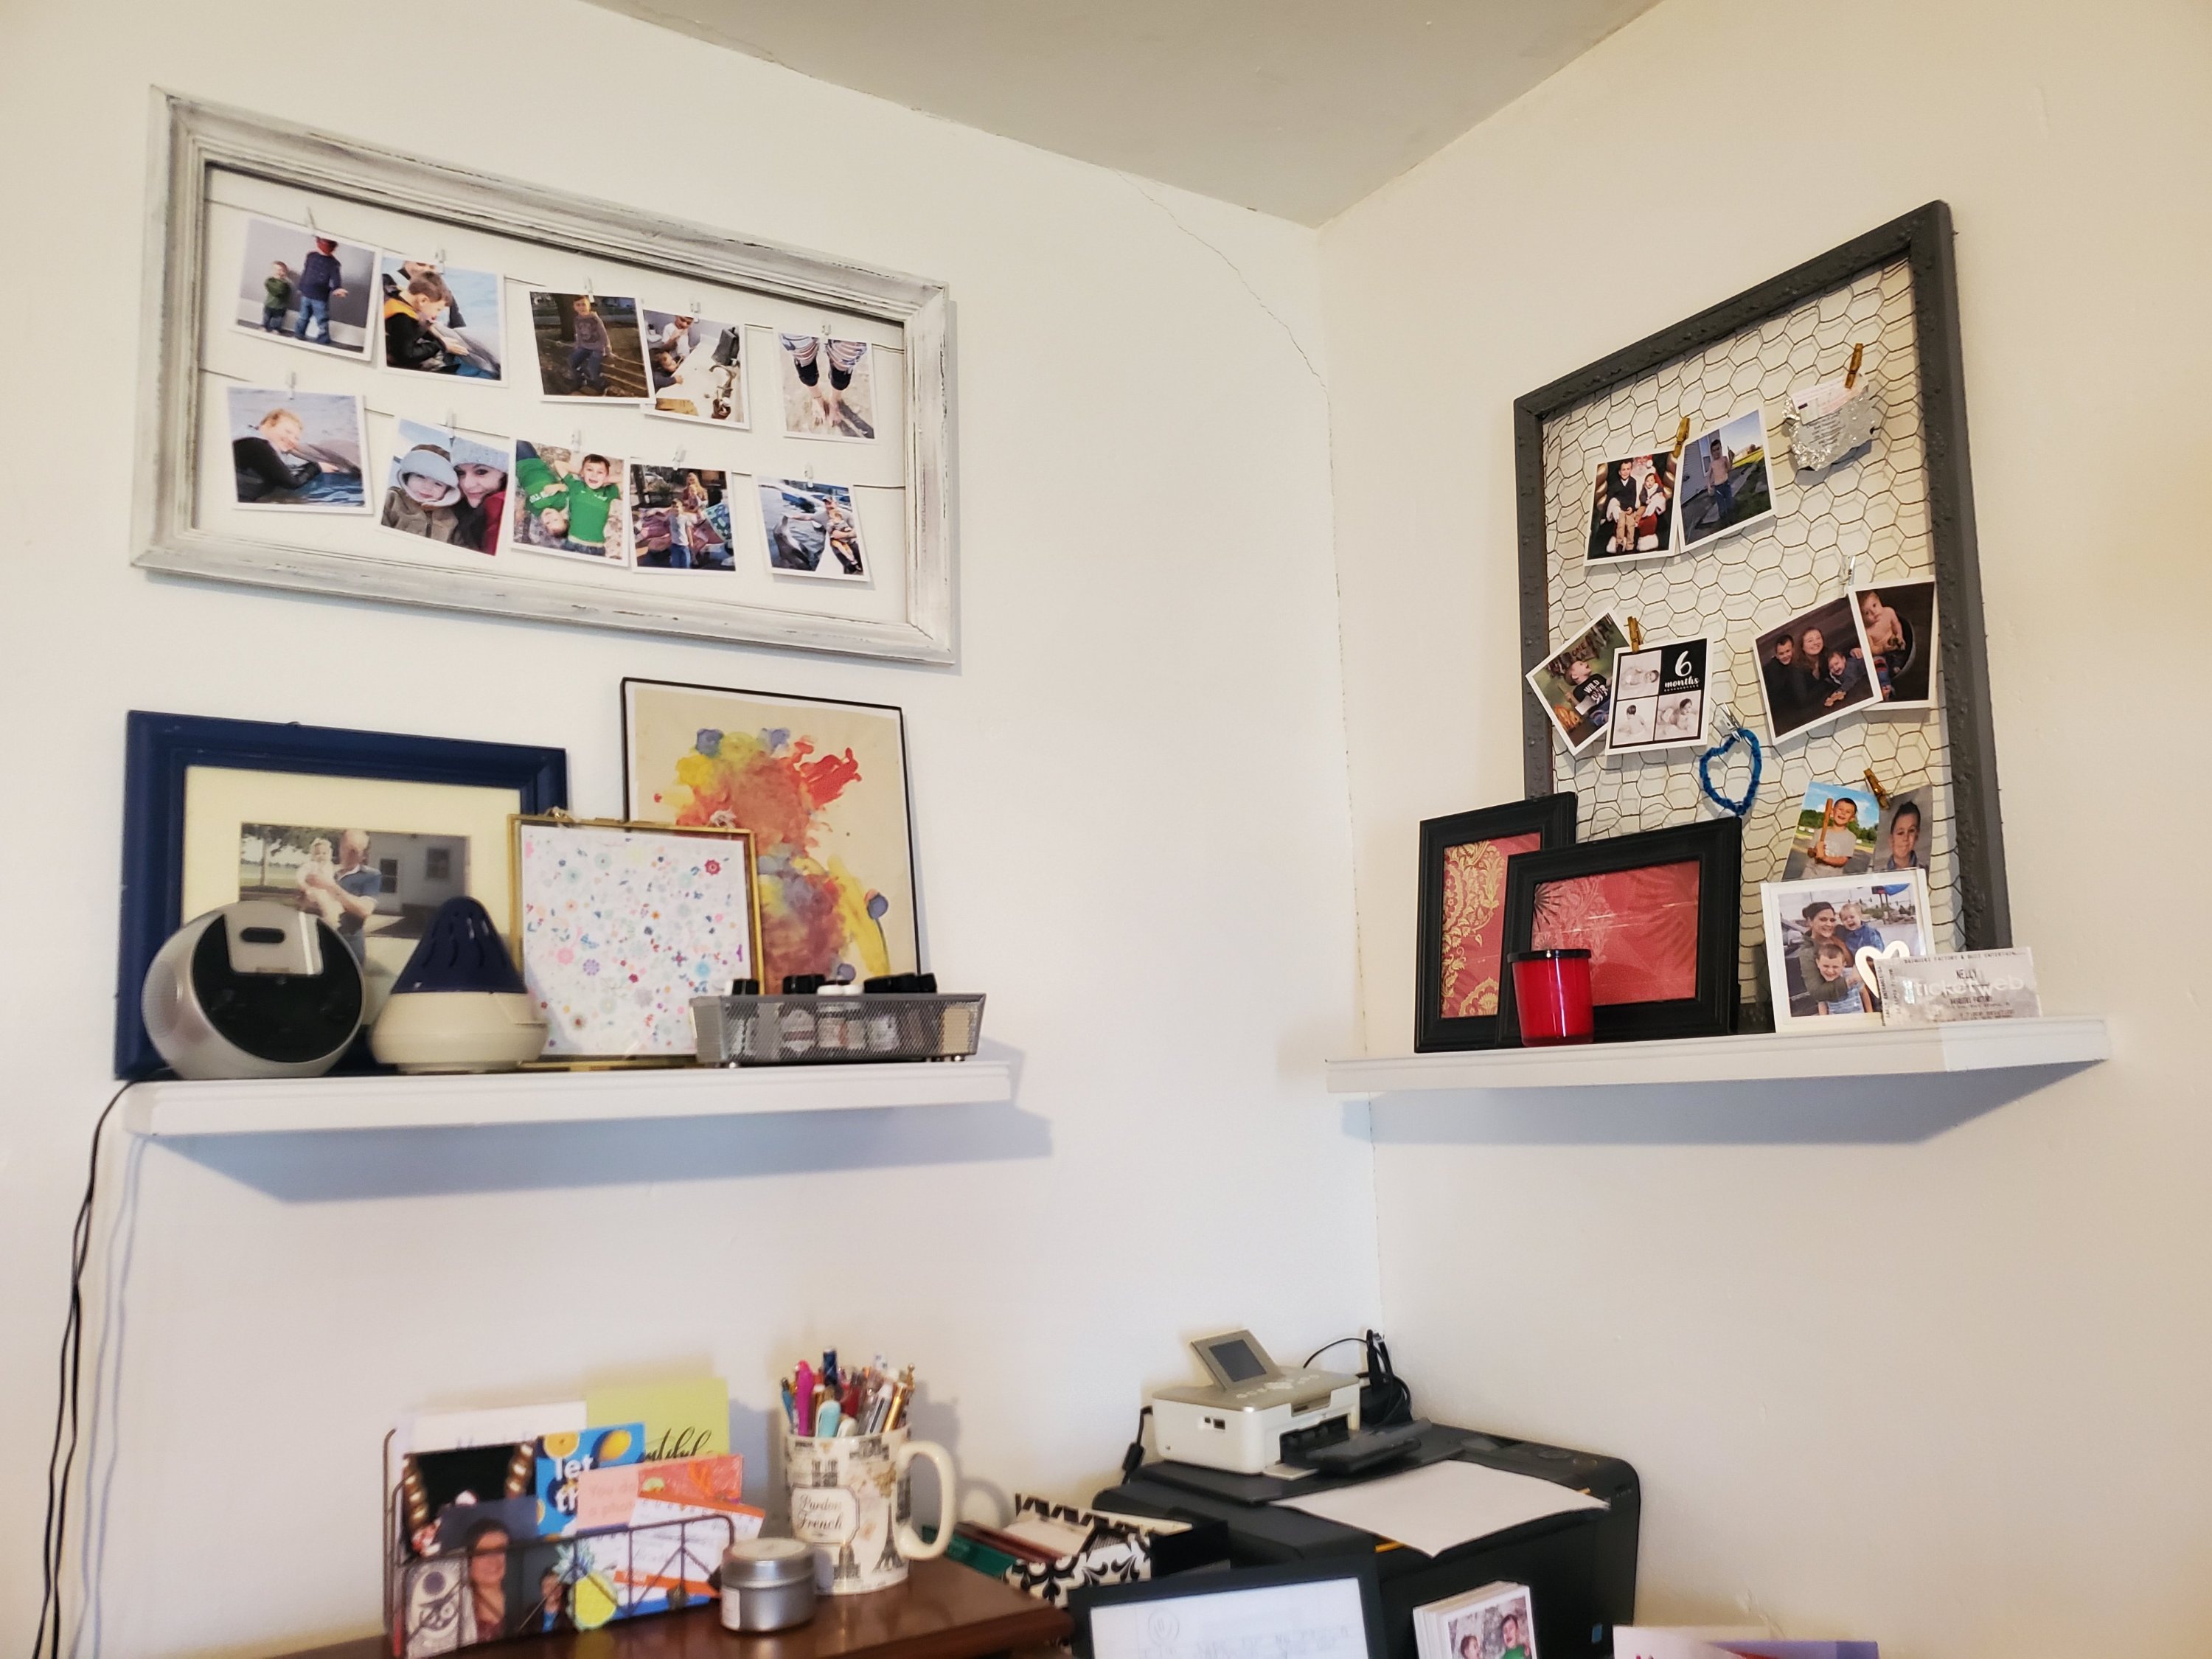
I wanted something lighter and brighter for my office. And I needed a place to hang some of my beautiful Parabo Press photos. (If you haven’t ordered from them, you must. They are gorgeous)
So first I lightly sanded the frame. Then I painted it white. I used wall paint for this project because it’s what I had. And its quarantine. And this step wasn’t super important for this project. It took 2-3 coats, but doesn’t need to be perfect.
Then I sanded with a foam sanding block. I scraped the edges and roughed up the centers. Go slowly and start lightly. Keep going until you love it.
Then, because I wanted just a little something more for this one, I used a small brush and “dry brushed” on some charcoal gray paint. This means I dipped a tiny amount on the brush and then swiped most of it off onto a paper plate. When the brush is almost dry, wipe it on the frame. It will give you just a tiny bit of paint and give a smudge-y look. I used a paper towel to rub this in as I added it too. It came out nice and weathered.
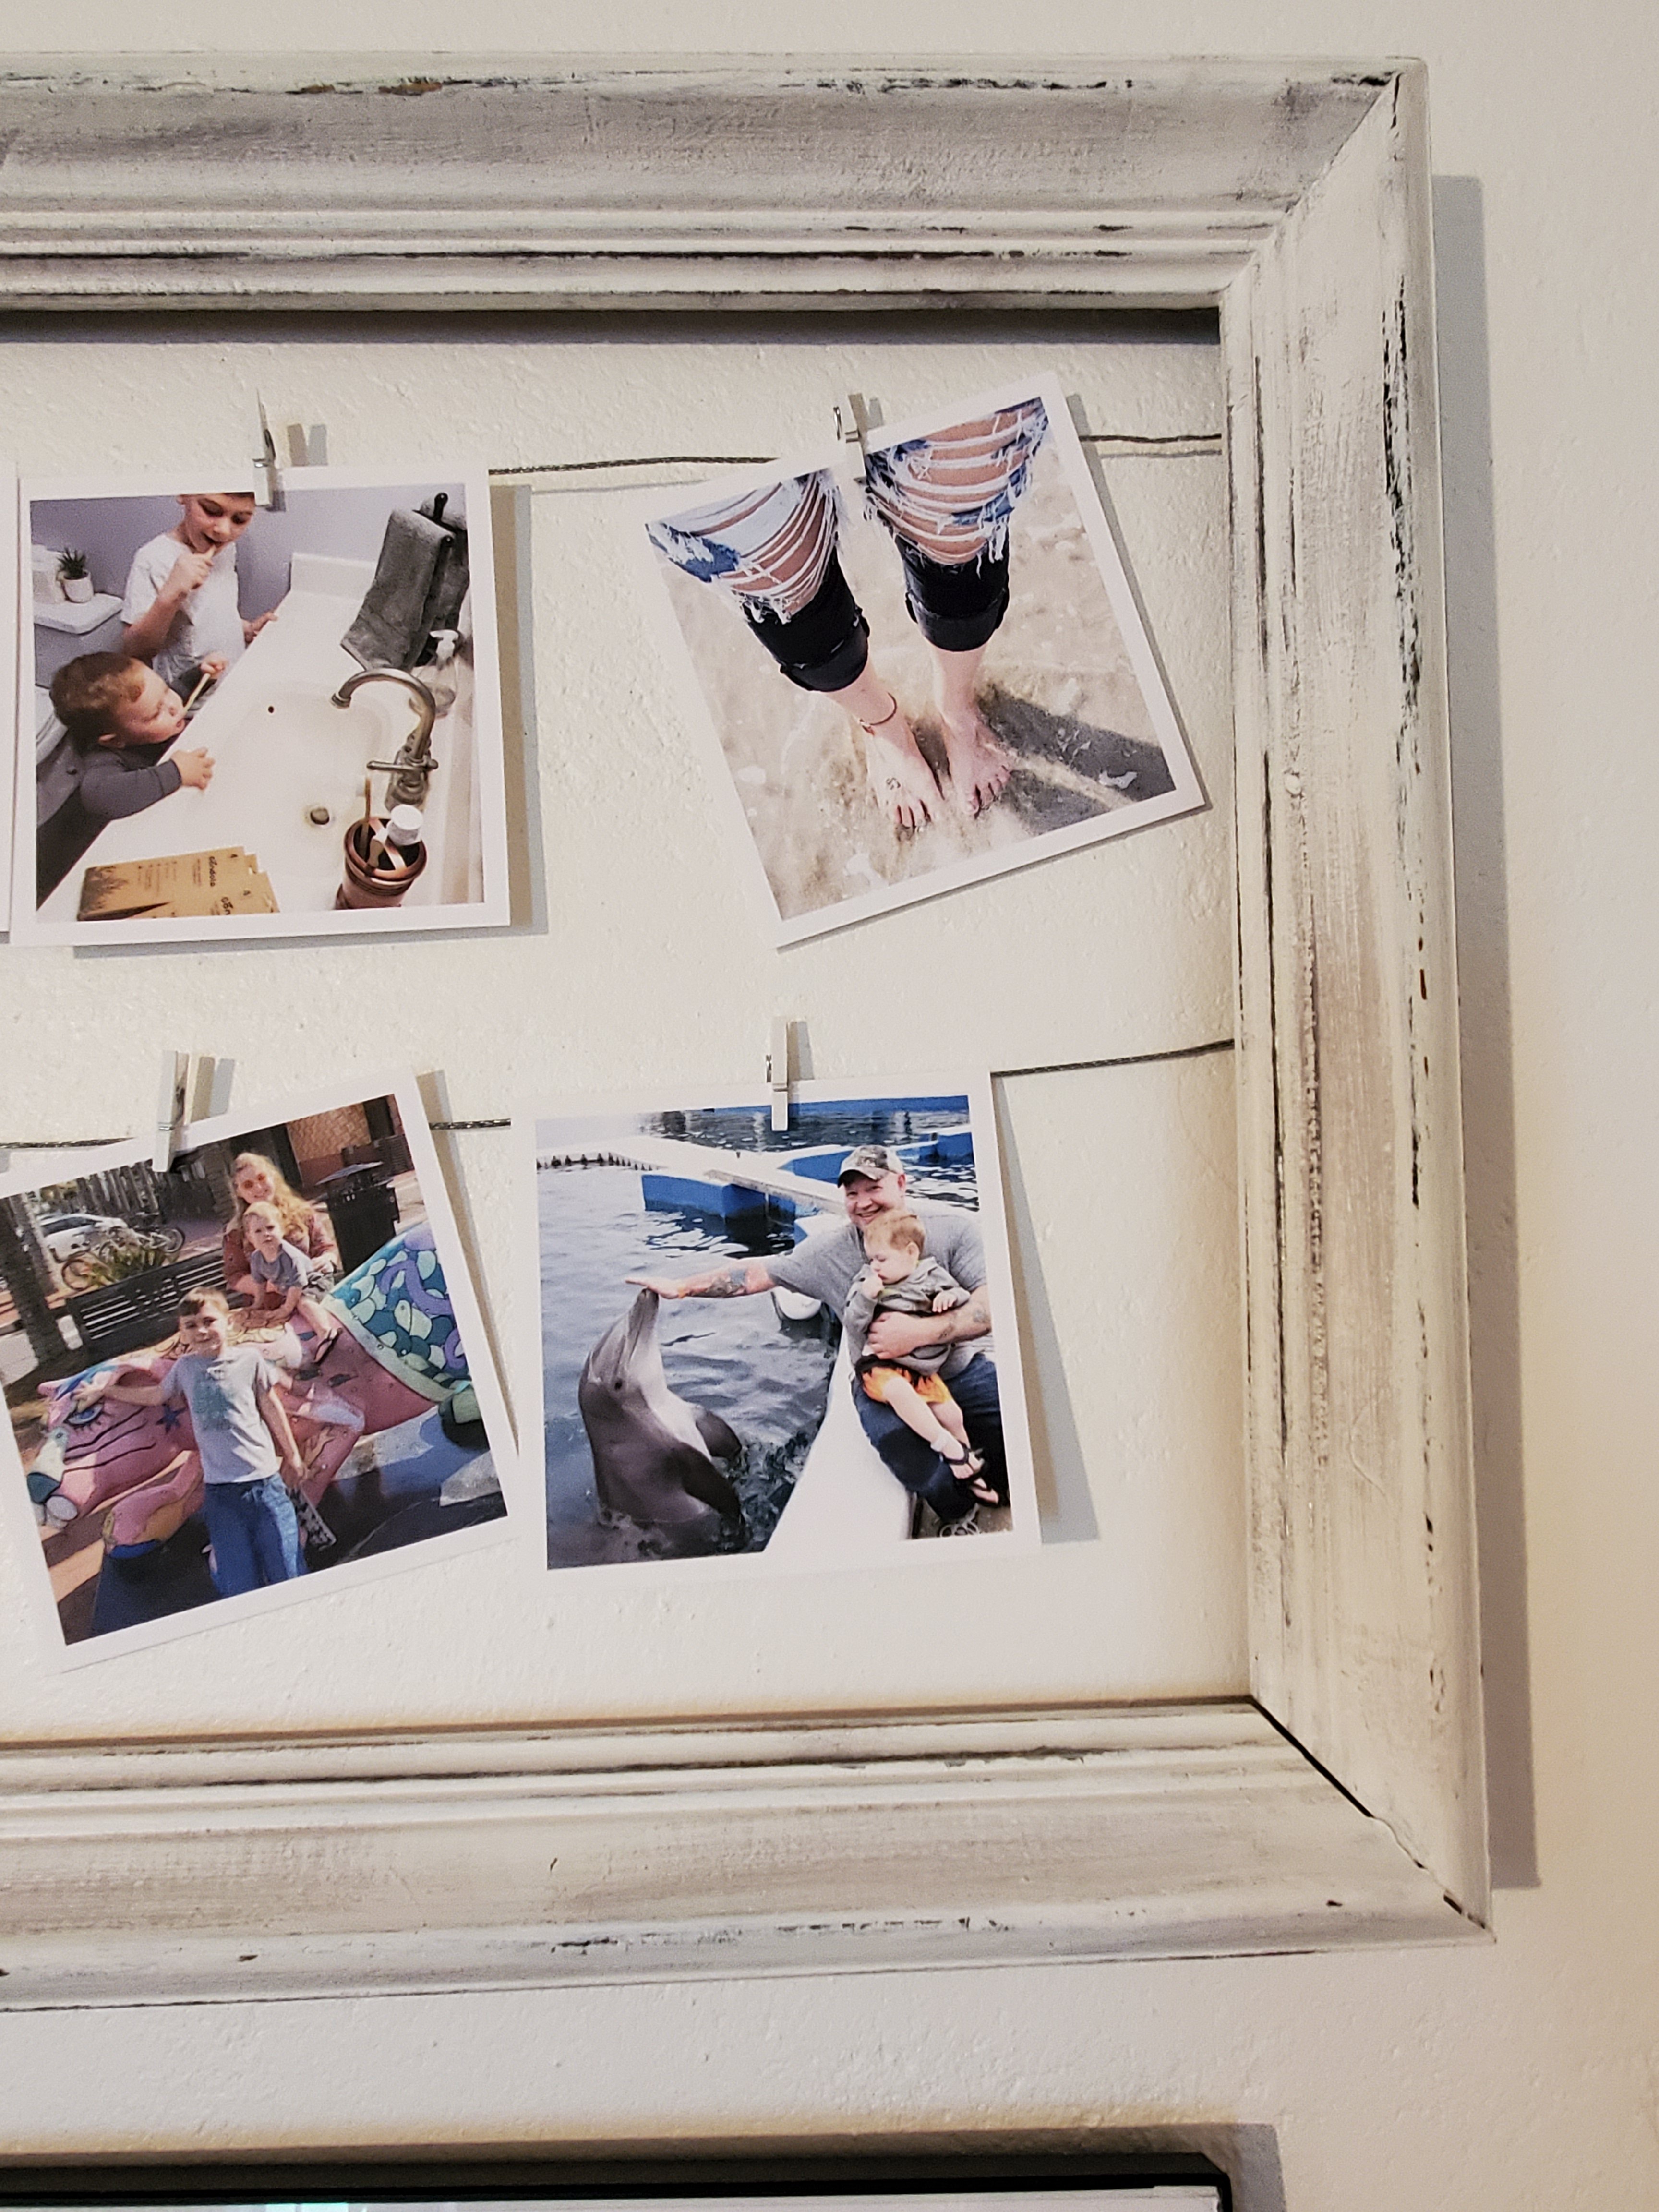
Then to add some wire. You could use twine or ribbon, or whatever you have. I had some picture hanging wire from a hanging kit. I cut it slightly longer than the width of the frame, maybe a half inch extra on each side. Then I pulled it tight across the frame and used a staple fun to staple it in place. I twisted the extra ends into a little ball to help keep it in place.
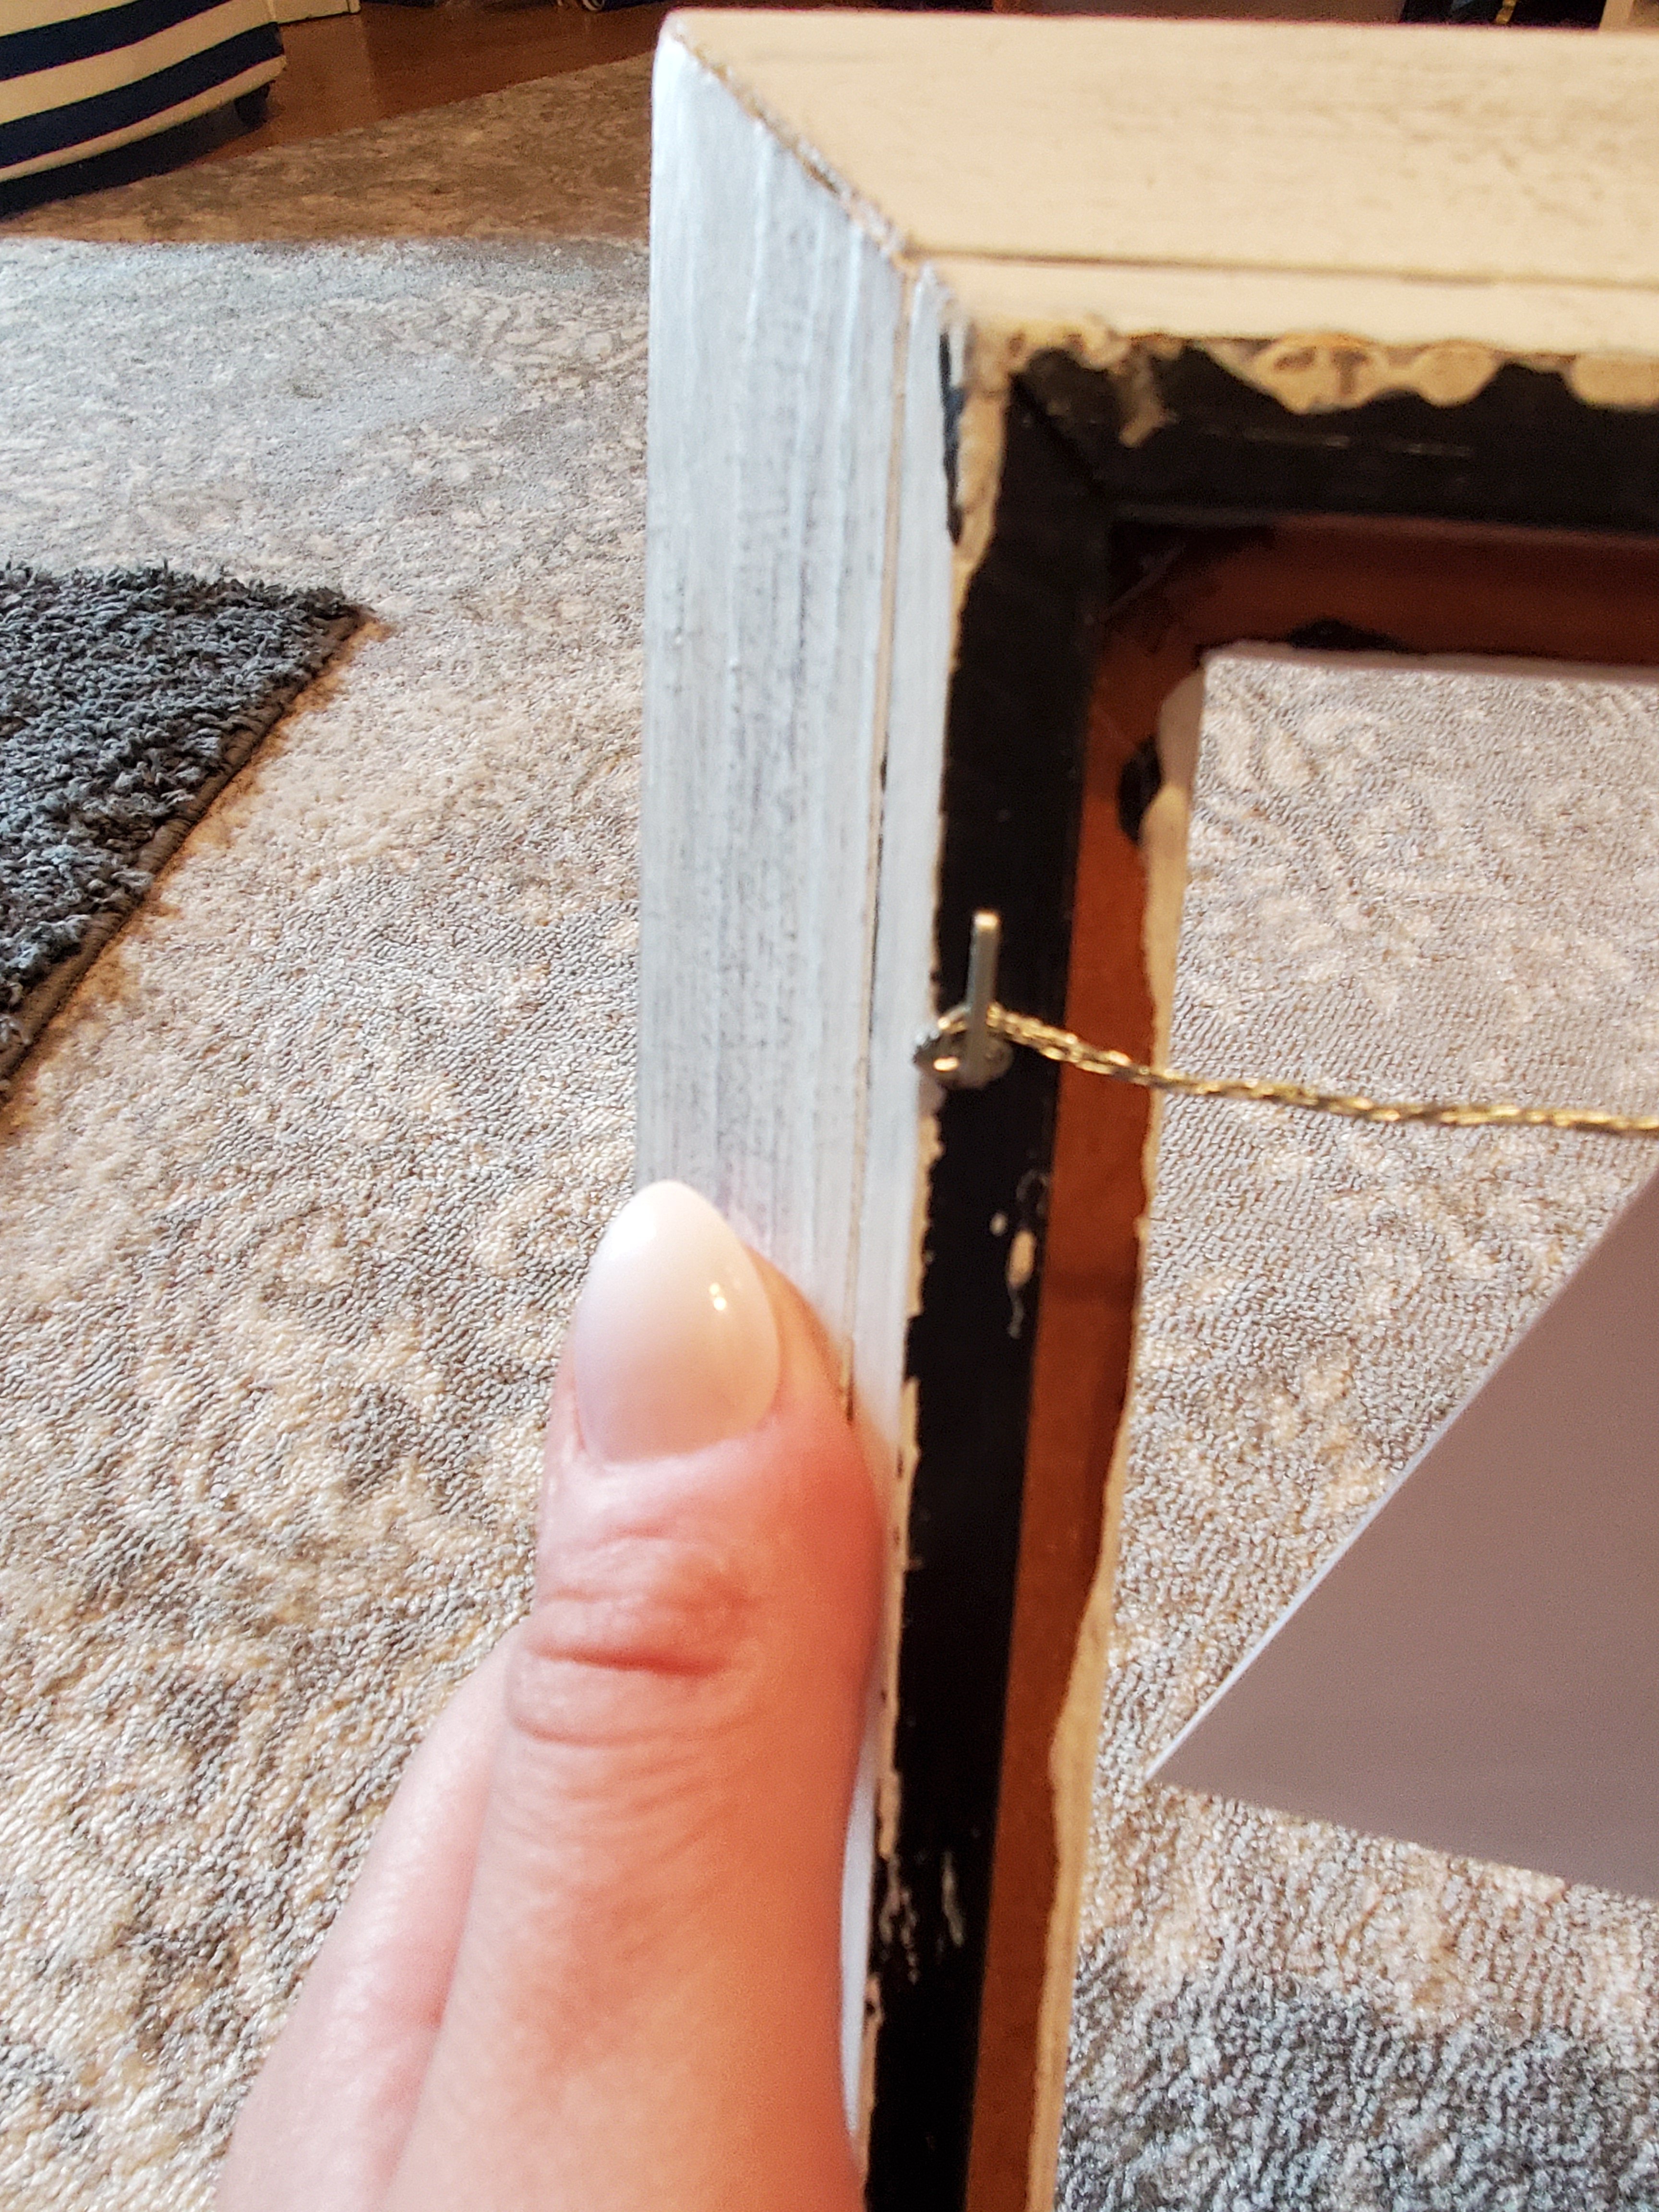
You can get tiny clothes pins on Amazon.
And viola!

I’ve also done this before with chicken wire…
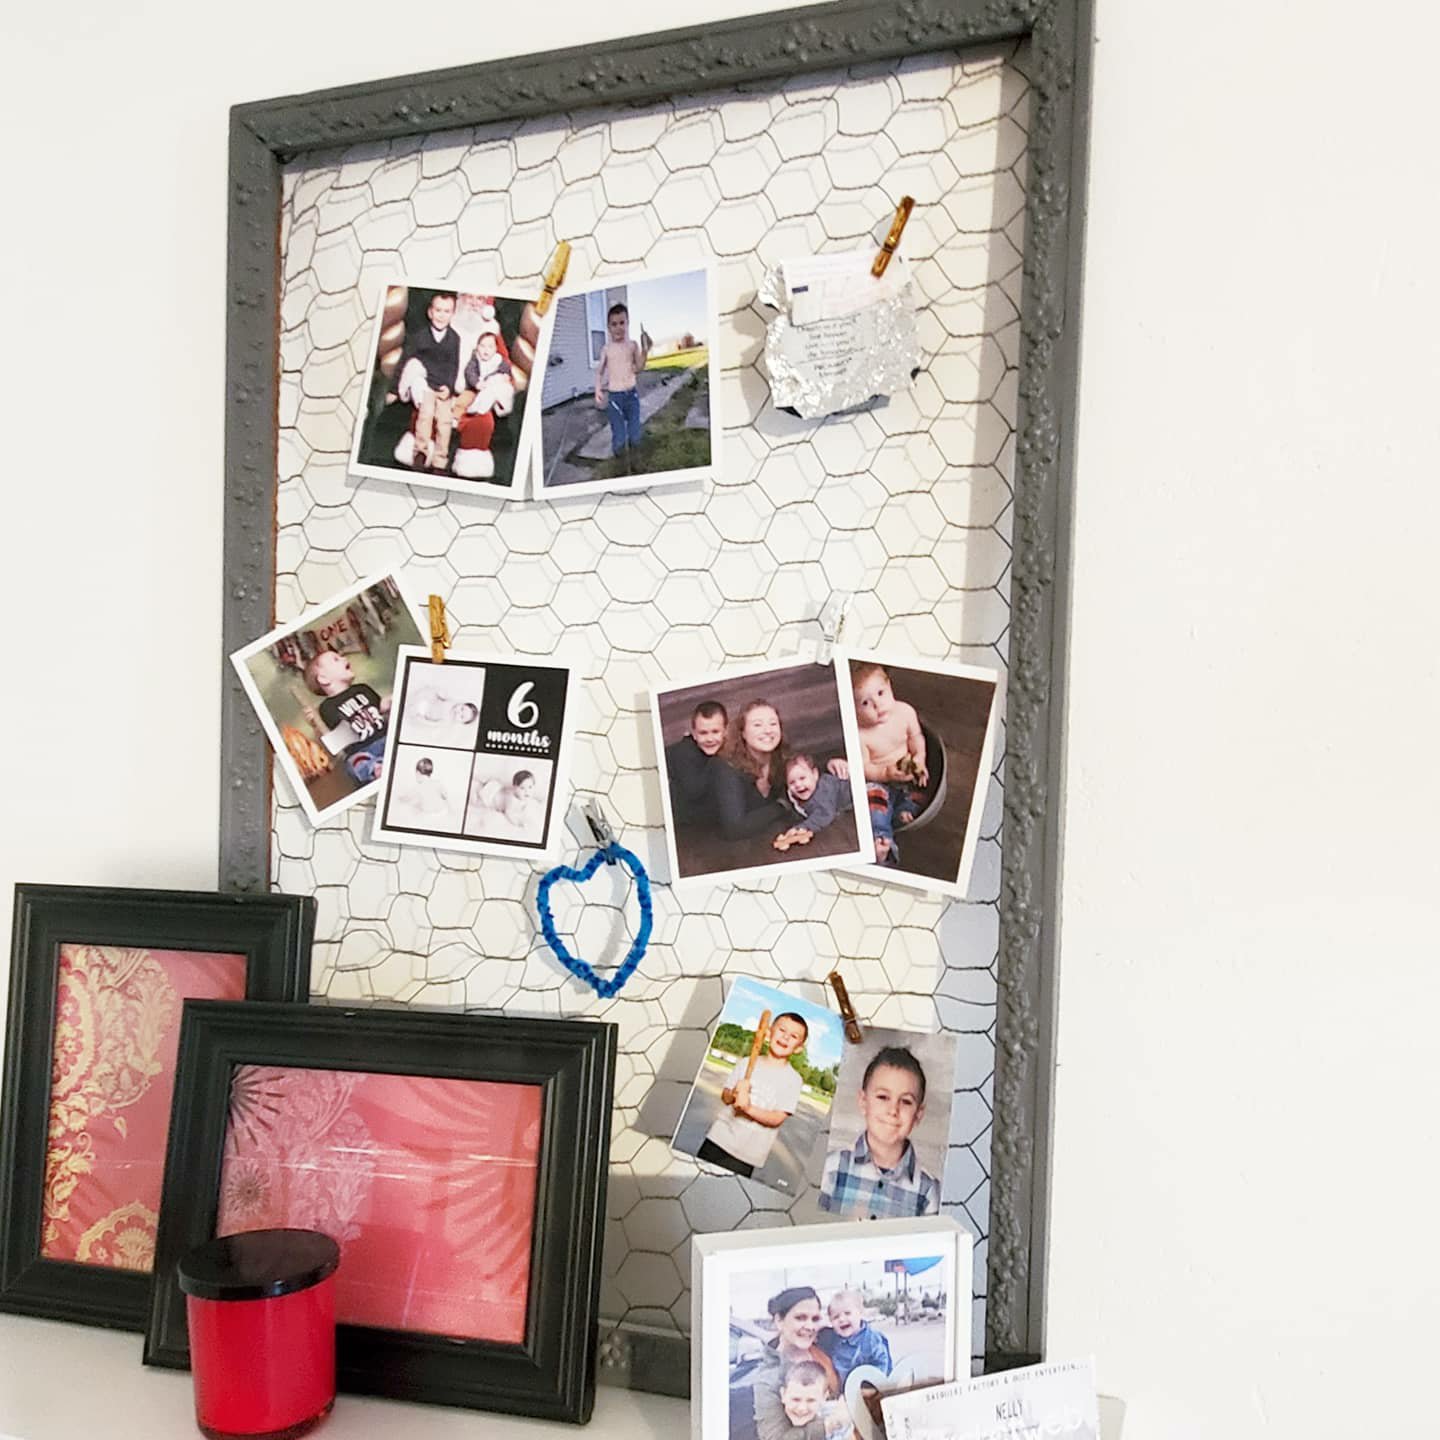
What do you think?
Doing any quarantine projects?!
XX,
Jess
Permalink Comments Off on Frame Hanger Project
