Deck Reveal
Its been a two year wait since moving into this house and several weeks of work this summer… but she’s finally done! We have a deck!!
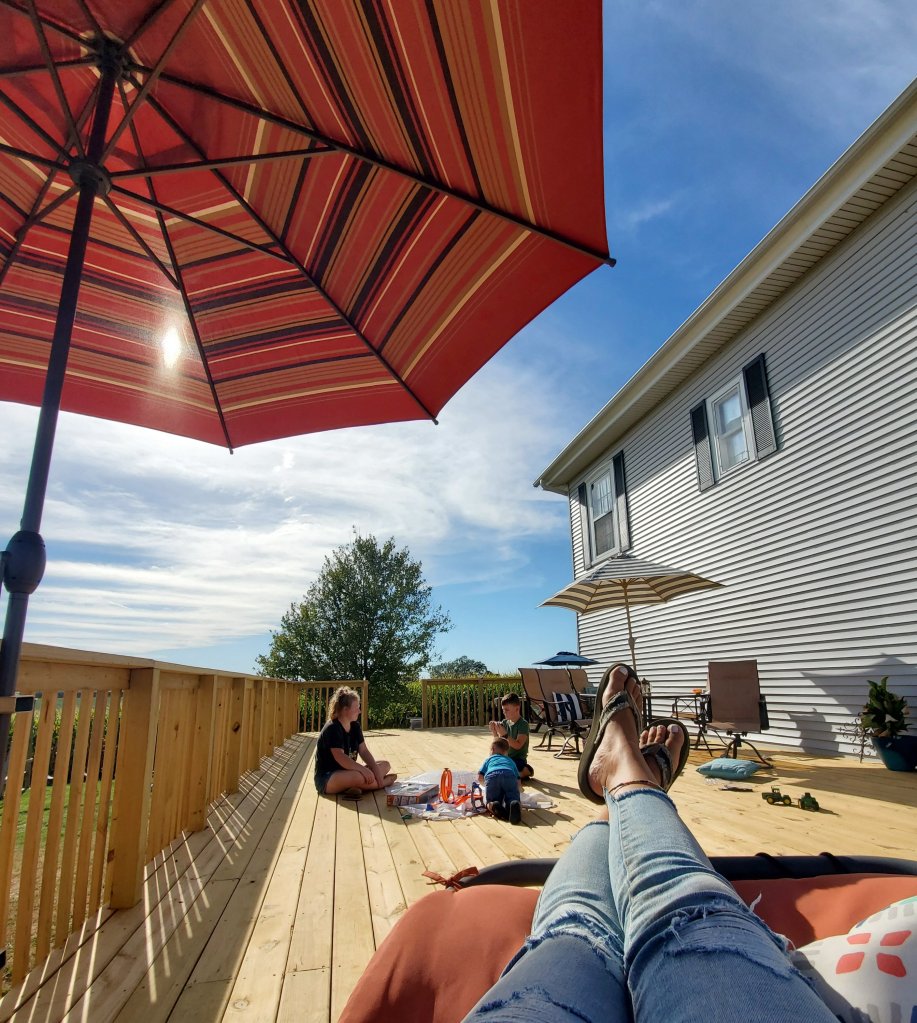
Now mom has a spot to relax and watch the family magic happen! 😉
Yes, its huge! The land directly behind the house used to be another house attached. This left the ground hilly, dead, full of bricks and glass, and in general, useless. So, cover it up we did. We filled in two giant cisterns and started a deck slab. Next year we will add a pergola to the blank spot of house where the table is now. We will put a pool in down below and then the following year add another piece of deck to half wrap around the pool. It will be the ultimate dream area when we are finished.
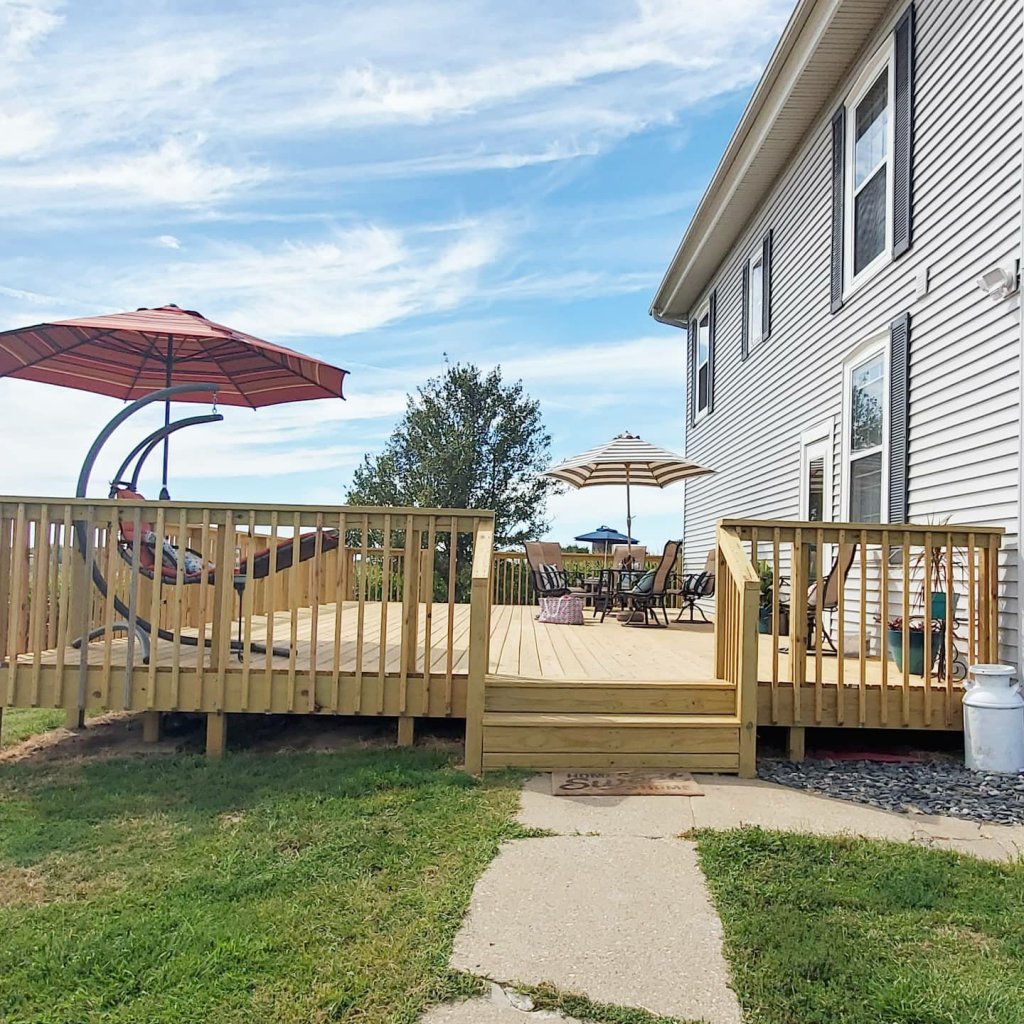

We do still want to add trellis to the bottom to keep everything out, but that will happen this fall.
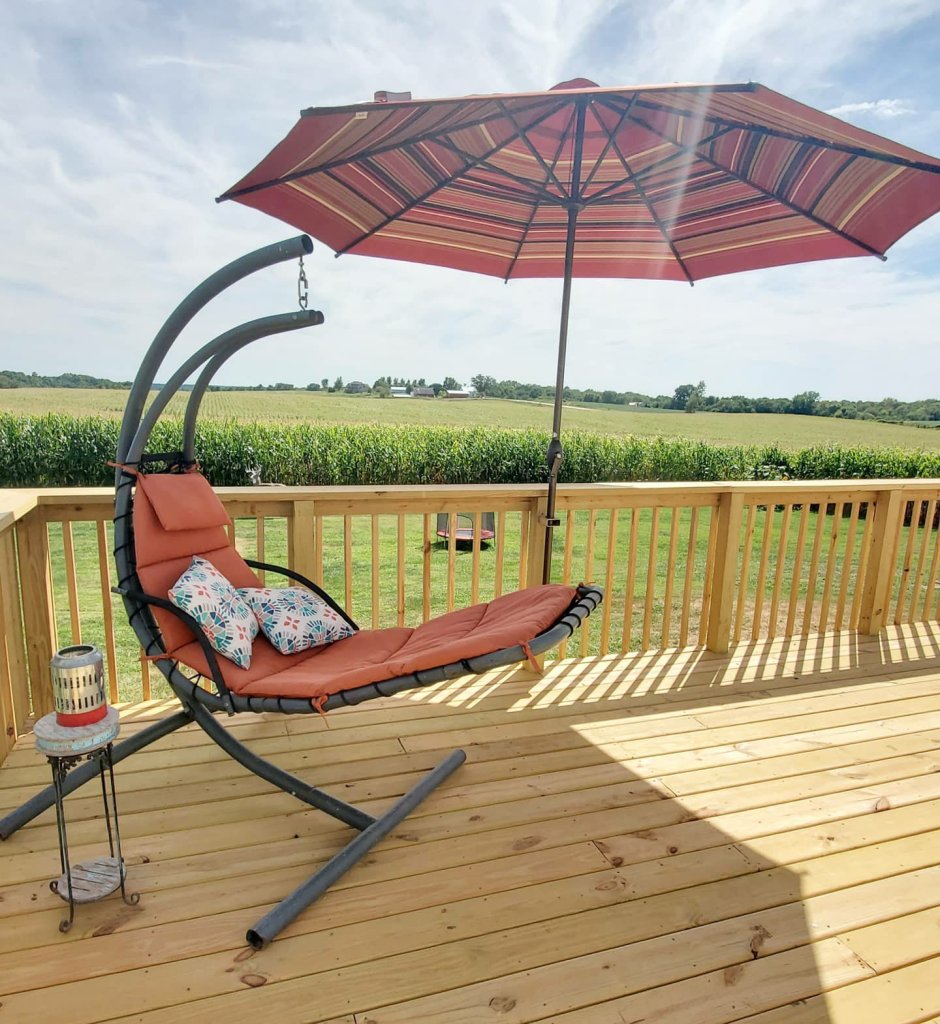
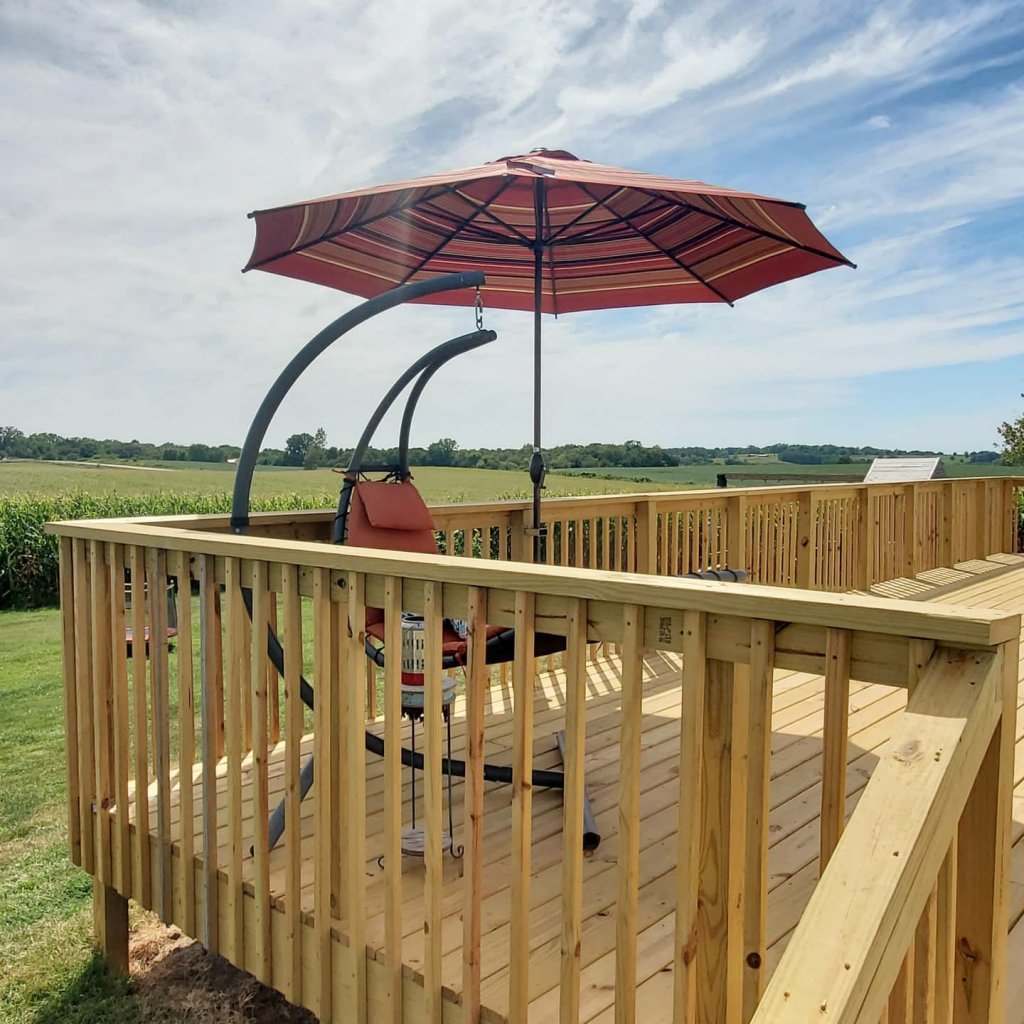
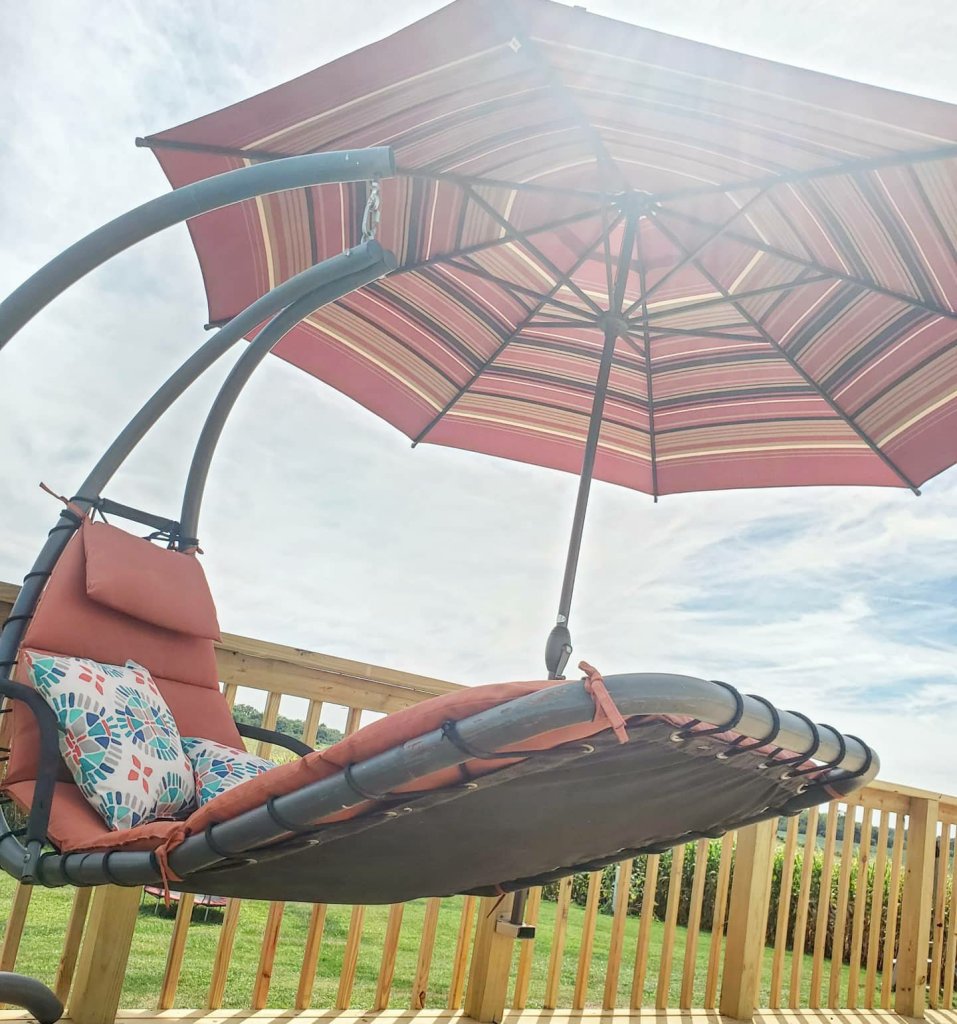
One thing that was super important to us when adding the deck was having some shade, as we have very little from the one small existing tree.
My favorite umbrellas?! From Abba Patio! (You can use code La10 on your order with them too!) The 11 foot red stripe is gorgeous! And so easy to use. We custom installed it with brackets we made, but it can go on a table or a base as well. This keep it so much cooler in the shaded areas!!

Next I need to find some outdoor rugs to tie in the different areas. Suggestions?? I’m being so indecisive!
Also, looking for an outdoor sectional. Maybe a hot tub?! 😜
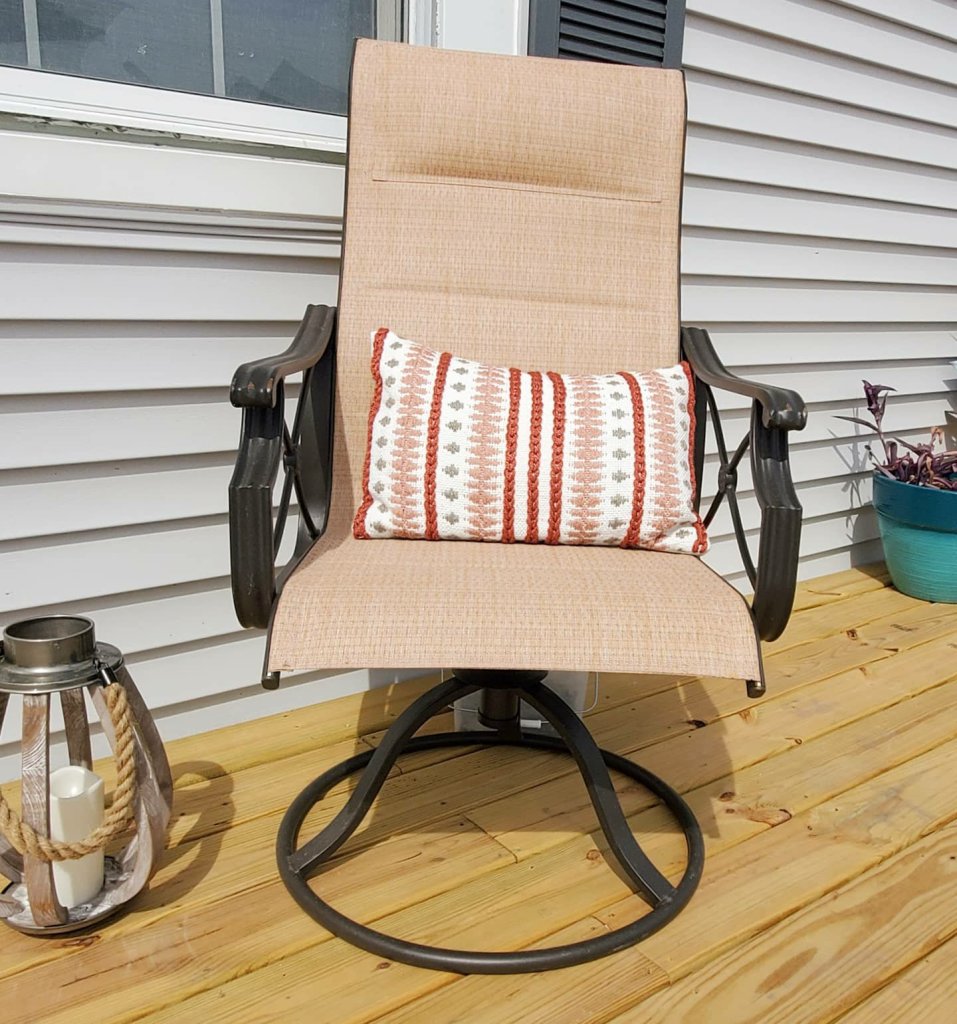
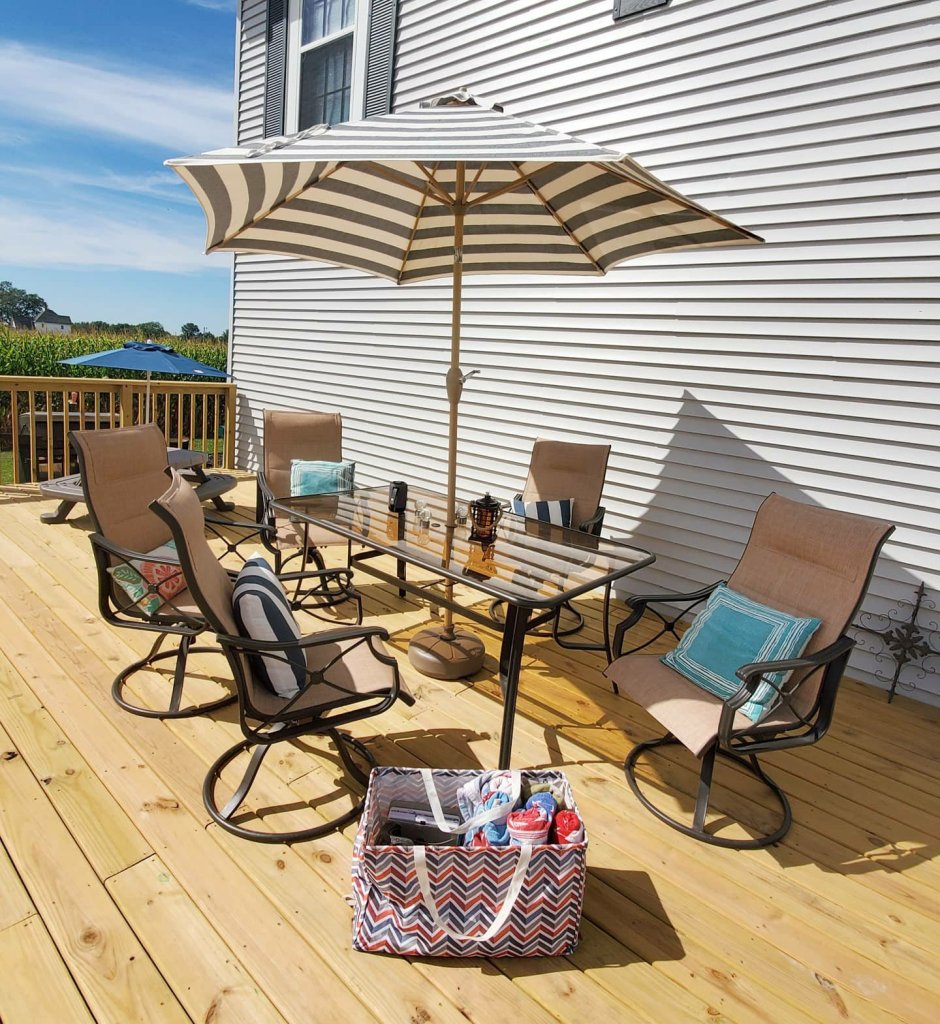
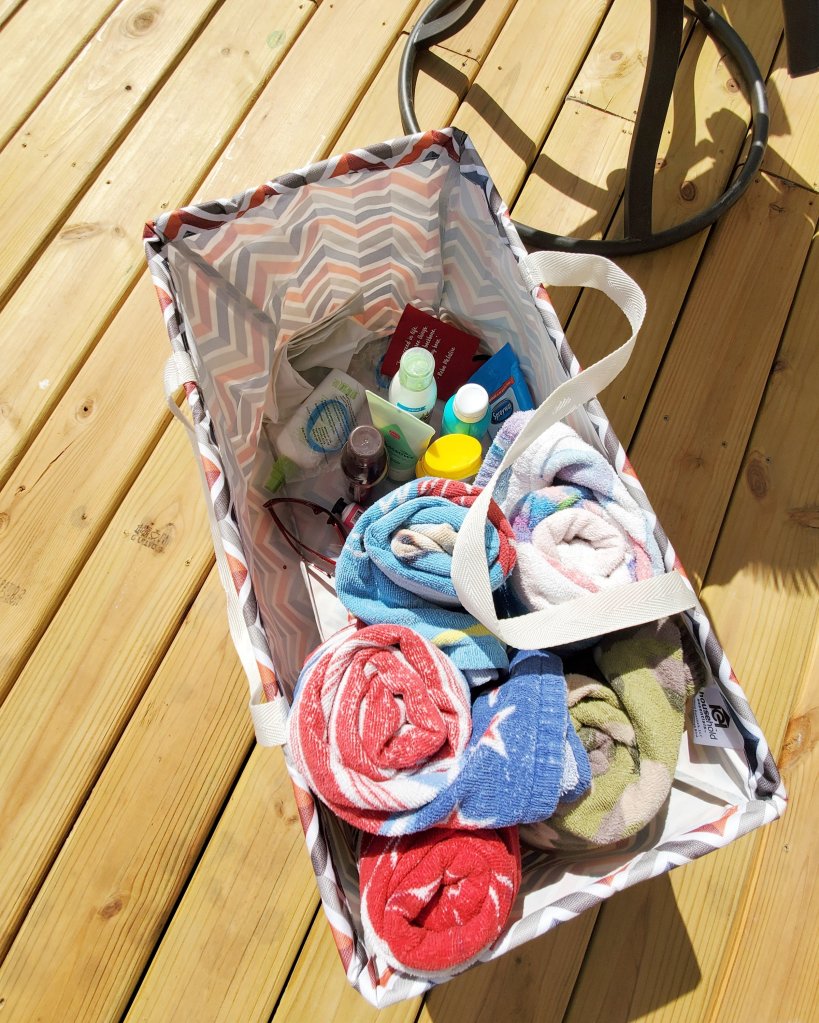
The table and chairs are from Menards. The wood lantern is from Walmart, along with the orange striped pillow and turquoise planters. The beach bag below is from Amazon.

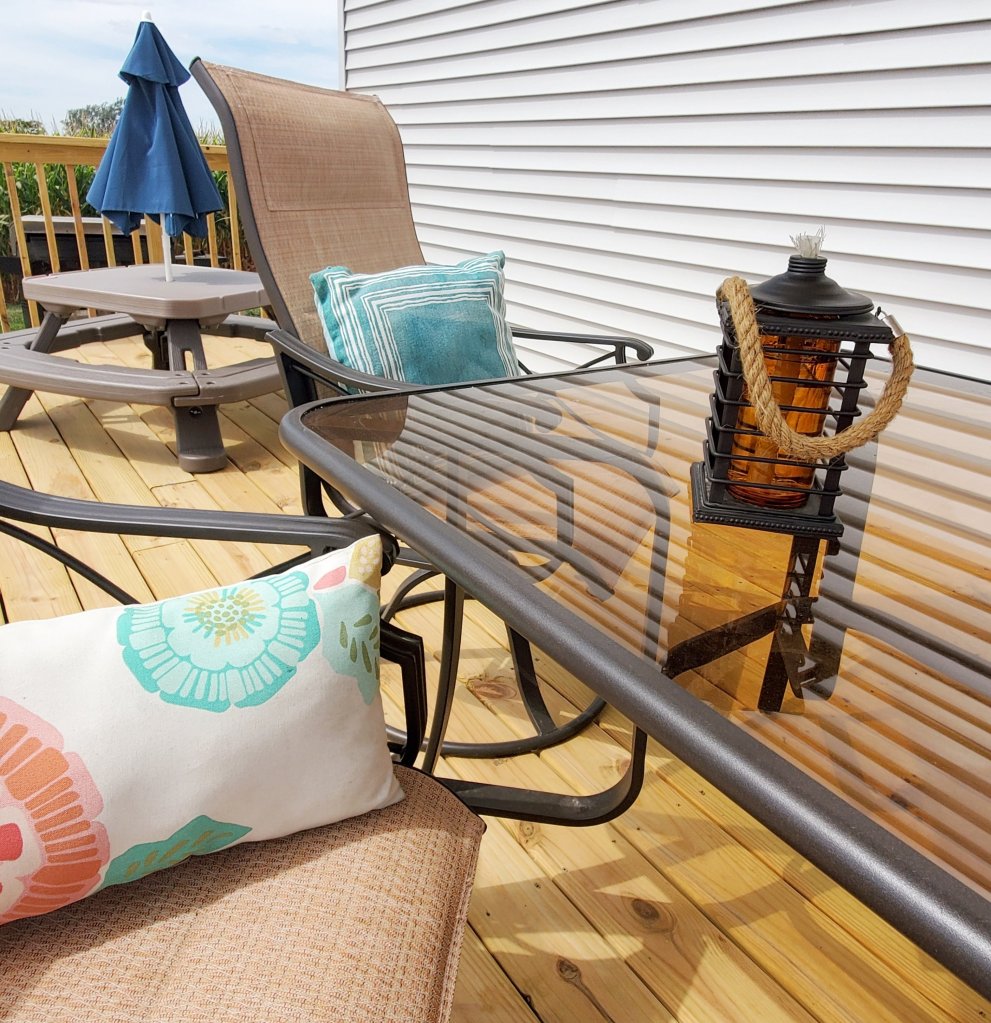
The kids table is Step 2 and an awesome thing to have if you have littles. We use it all the time!
Tip- use a beach bag or tote like the one below to hold your deck or patio essentials. We take it in at night and bring out each day. Super helpful to keep things corralled while not getting ruined being left outside. We keep sunscreen, bug spray, santizer, sunglasses, beach towels, a speaker, and anything we want for the day inside. So handy!!
XX,
Jess
Why I Love My Cricut
This is a sponsored post written by me on behalf of <a href=”Cricuthttps://lnk2.io/wjcWg2L”>Cricut</a>. All opinions are 100% mine.
I have had my Cricut Explore Air 2 for a few months now, and to say I’m in love is an understatement! I’ve always been a crafter, but this things really helps me step up my game! Here I am going to talk about the 5 things that I love about my Cricut!
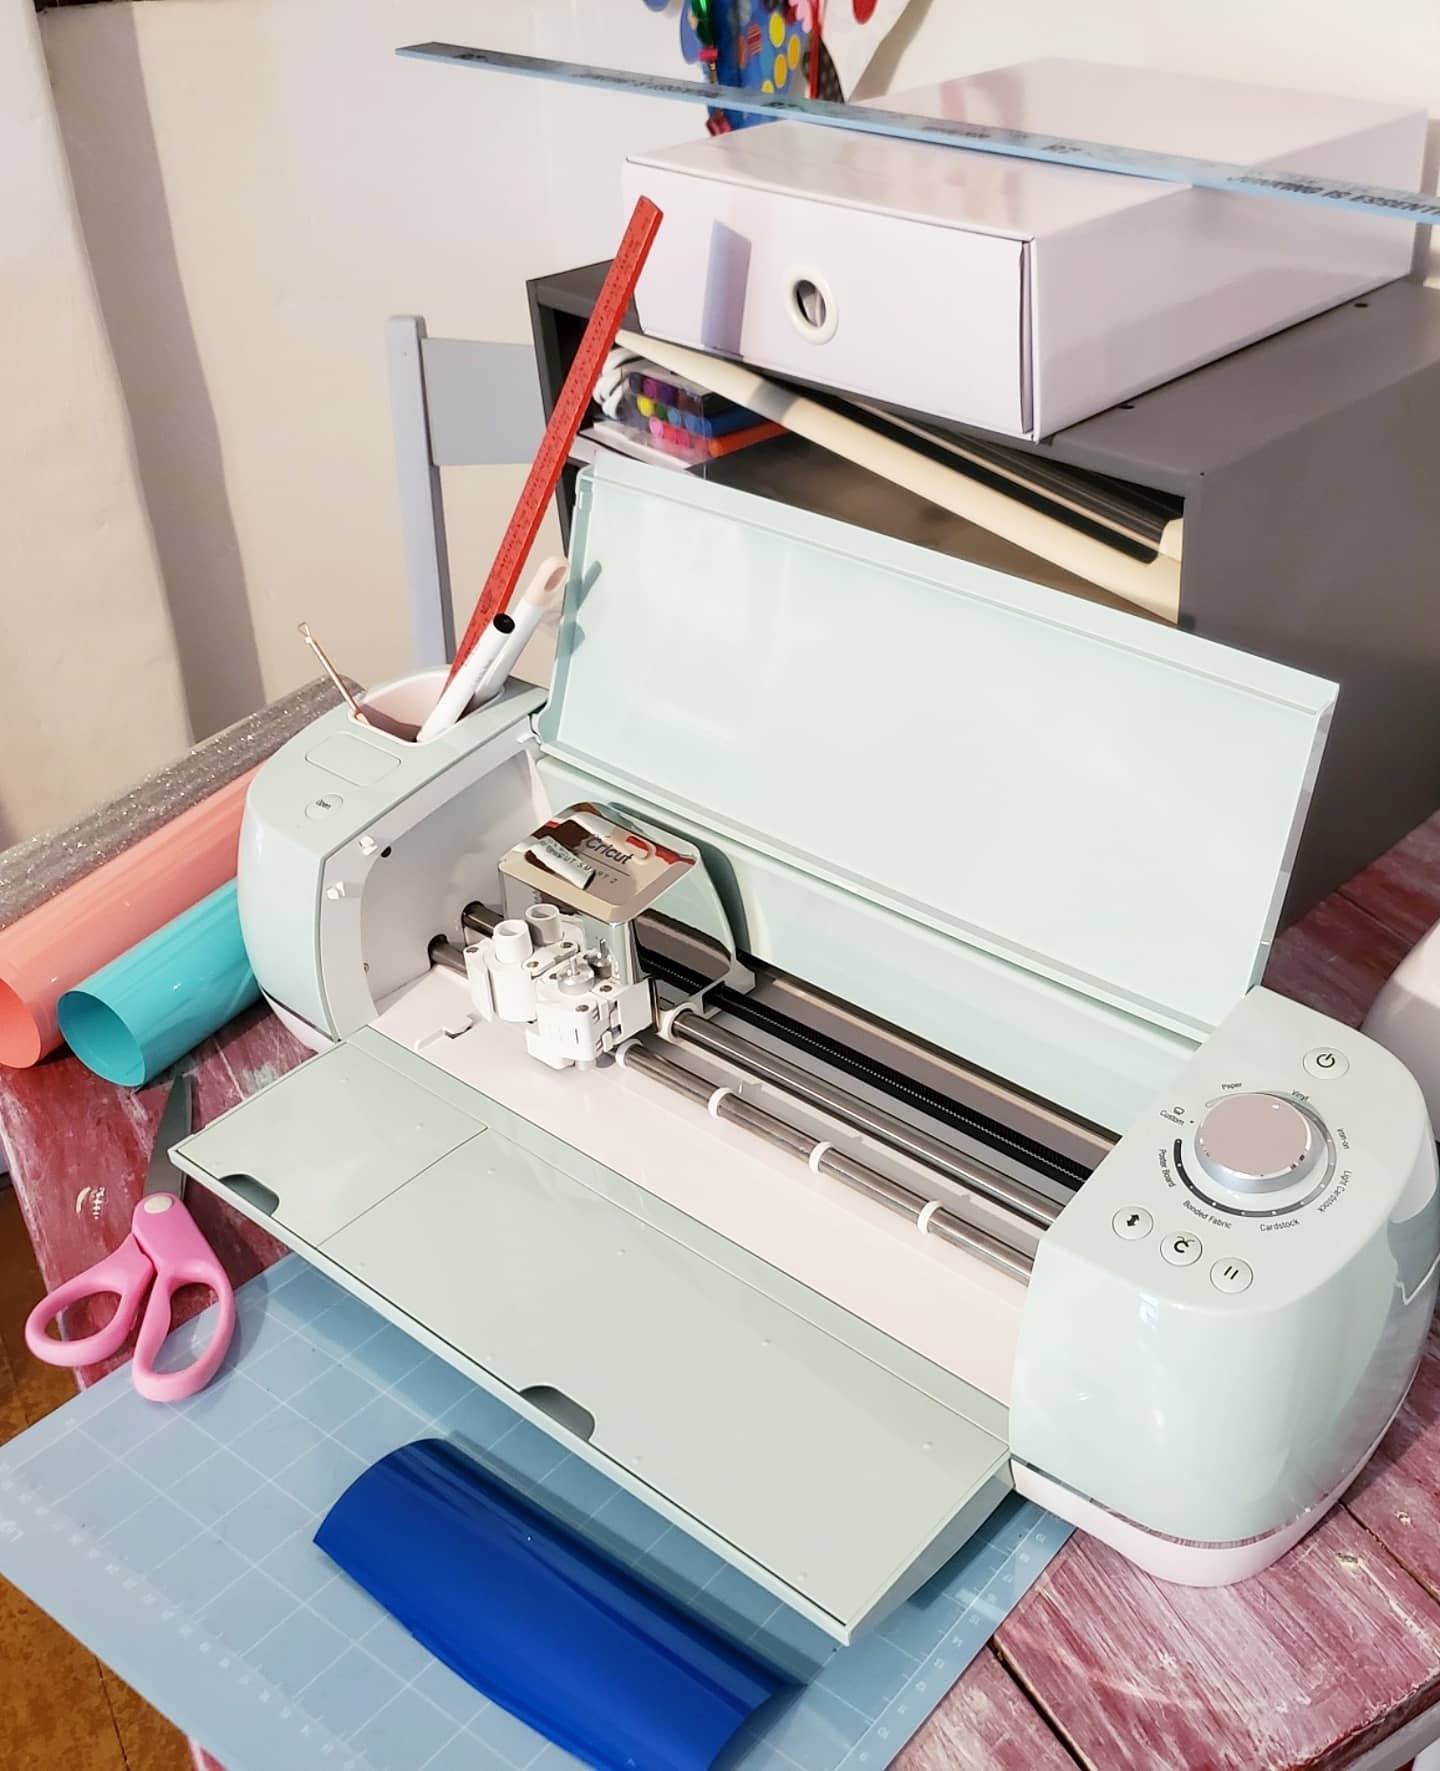
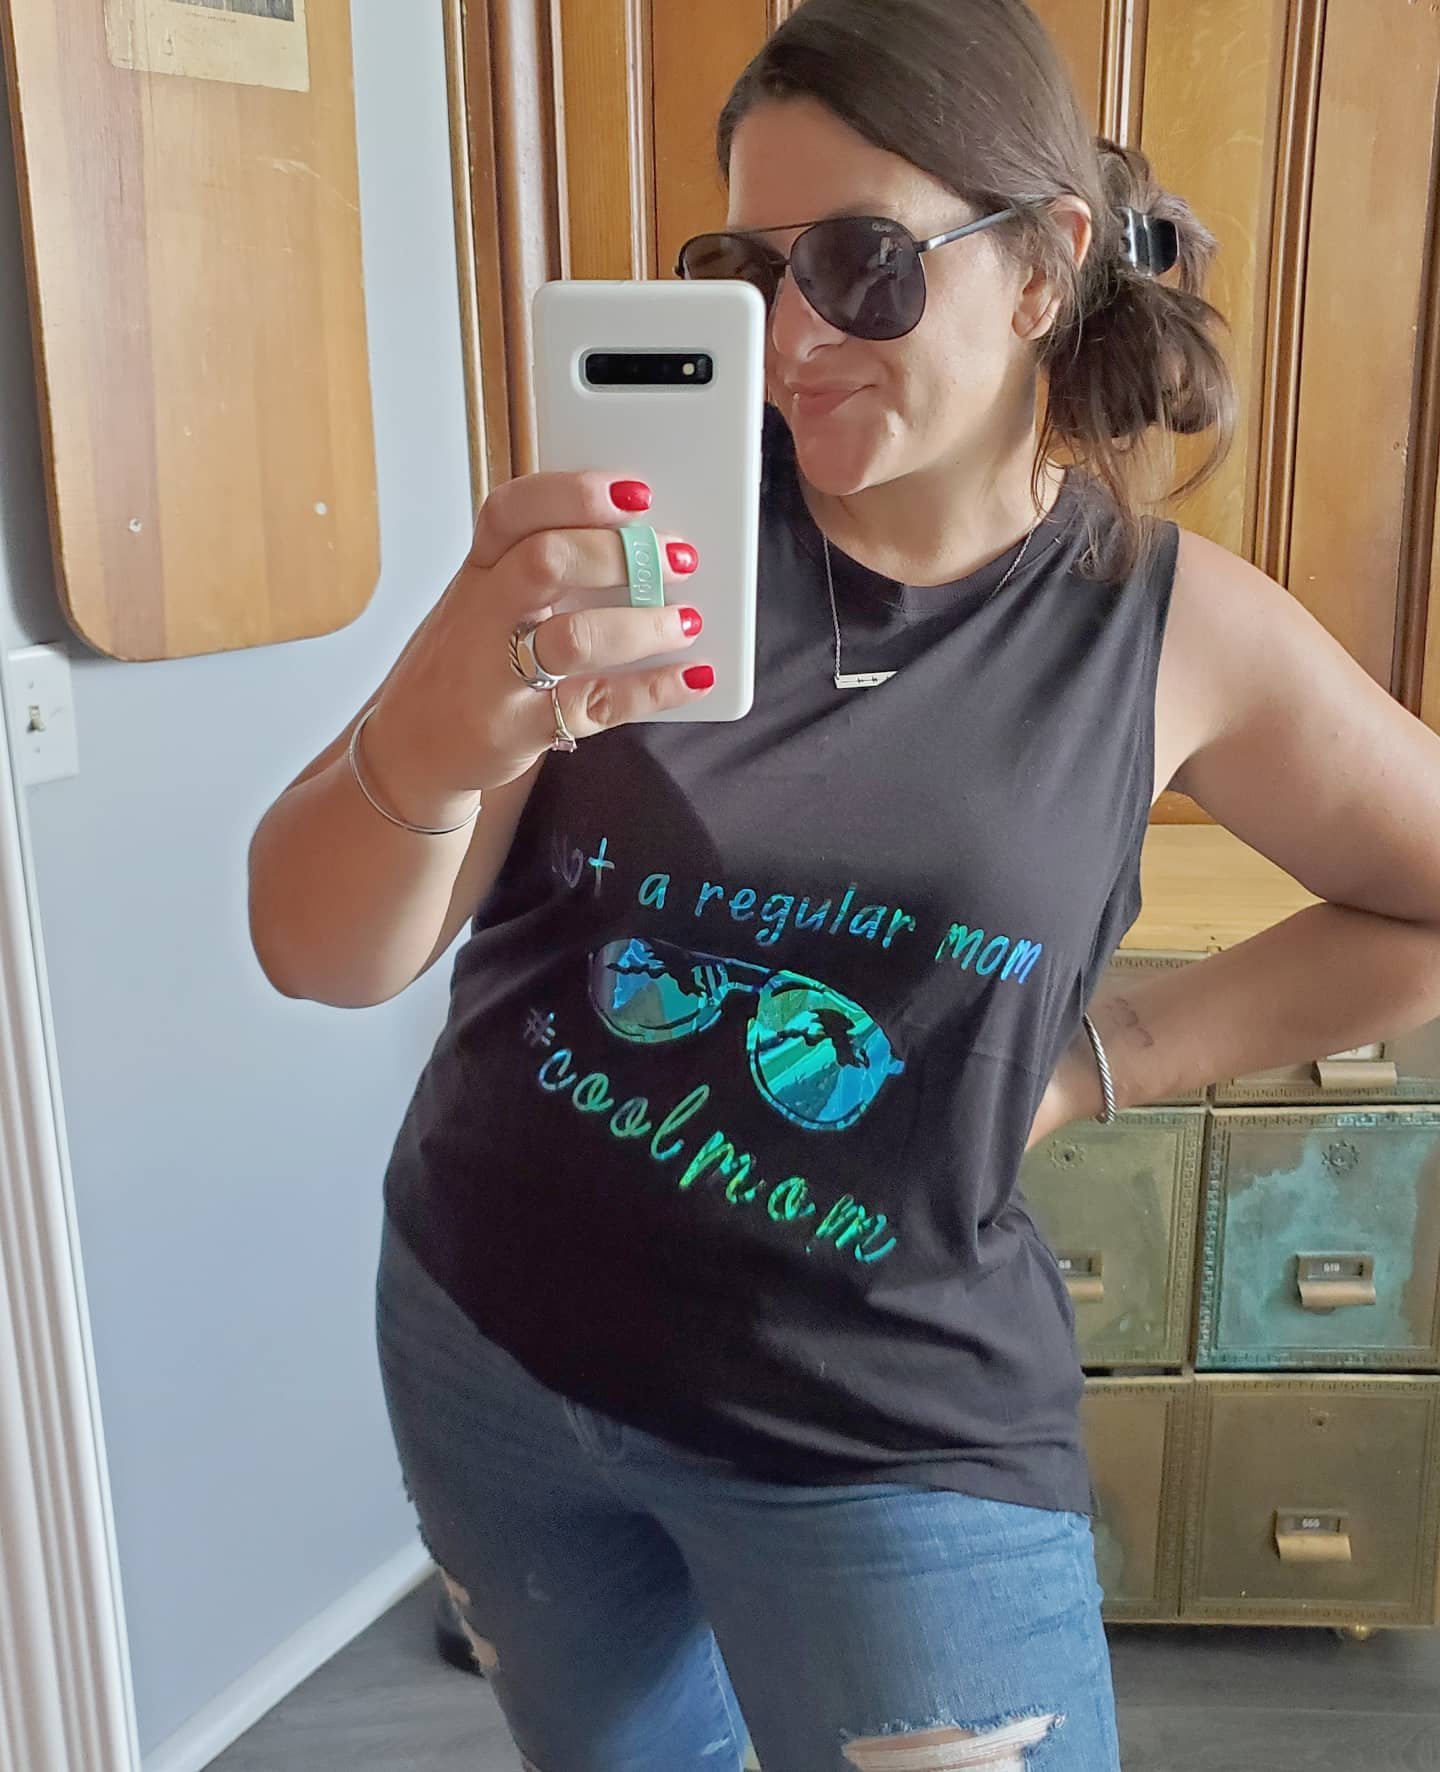
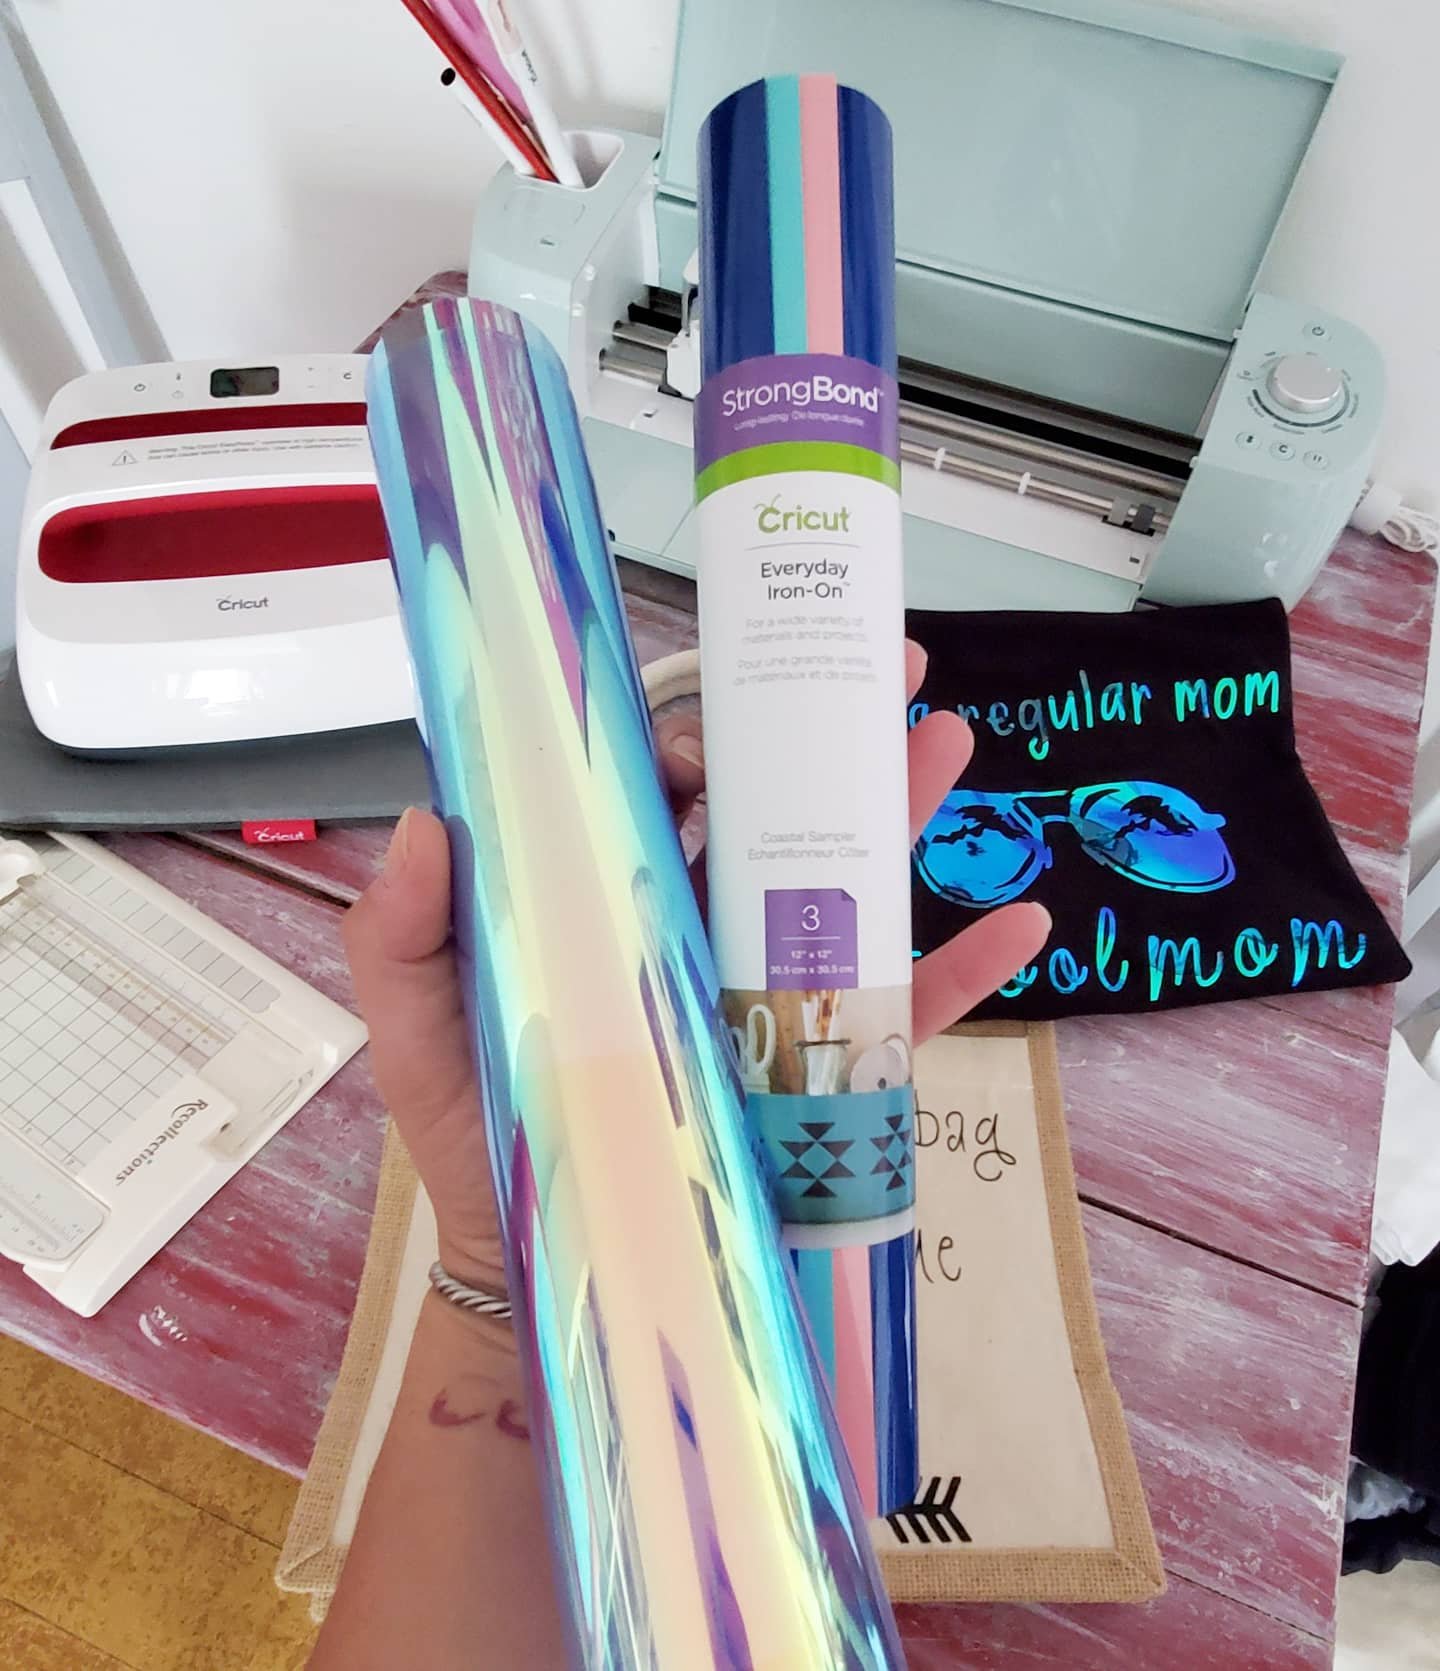
1. Its easy to use! I was truly shocked at how easy this machine is! Not going to lie, I was intimidated at first. I worried where to start and if I would be able to figure it all out. Yup. I was. Best place to start? Pick a project and jump in. They really mean it when they say their motto is “beginners luck every time.” I learn tricks and get braver each time I use my machine, but I definitely agree that picking a beginner level project and diving in head first is a great way to start and will prove to you how easy it is! Check out this shirt I made as one of my very first projects:
2. Support! That brings me to the second thing I love about my Cricut. Its like having a whole community of creators to support you. Have a question? Worried about where to begin or which type of project to do? They’ve got an answer! Not only does Cricut have a team you can email or chat with, but they have numerous pages where you can reach out to their pros or other crafters with tons of experience. They’ve all started somewhere and learned lots and are at the ready to make sure you love your machine and projects. I would know. I wasn’t sure how to customize the design I wanted to make myself for this bag, and the Facebook page group had almost immediate answers for me!

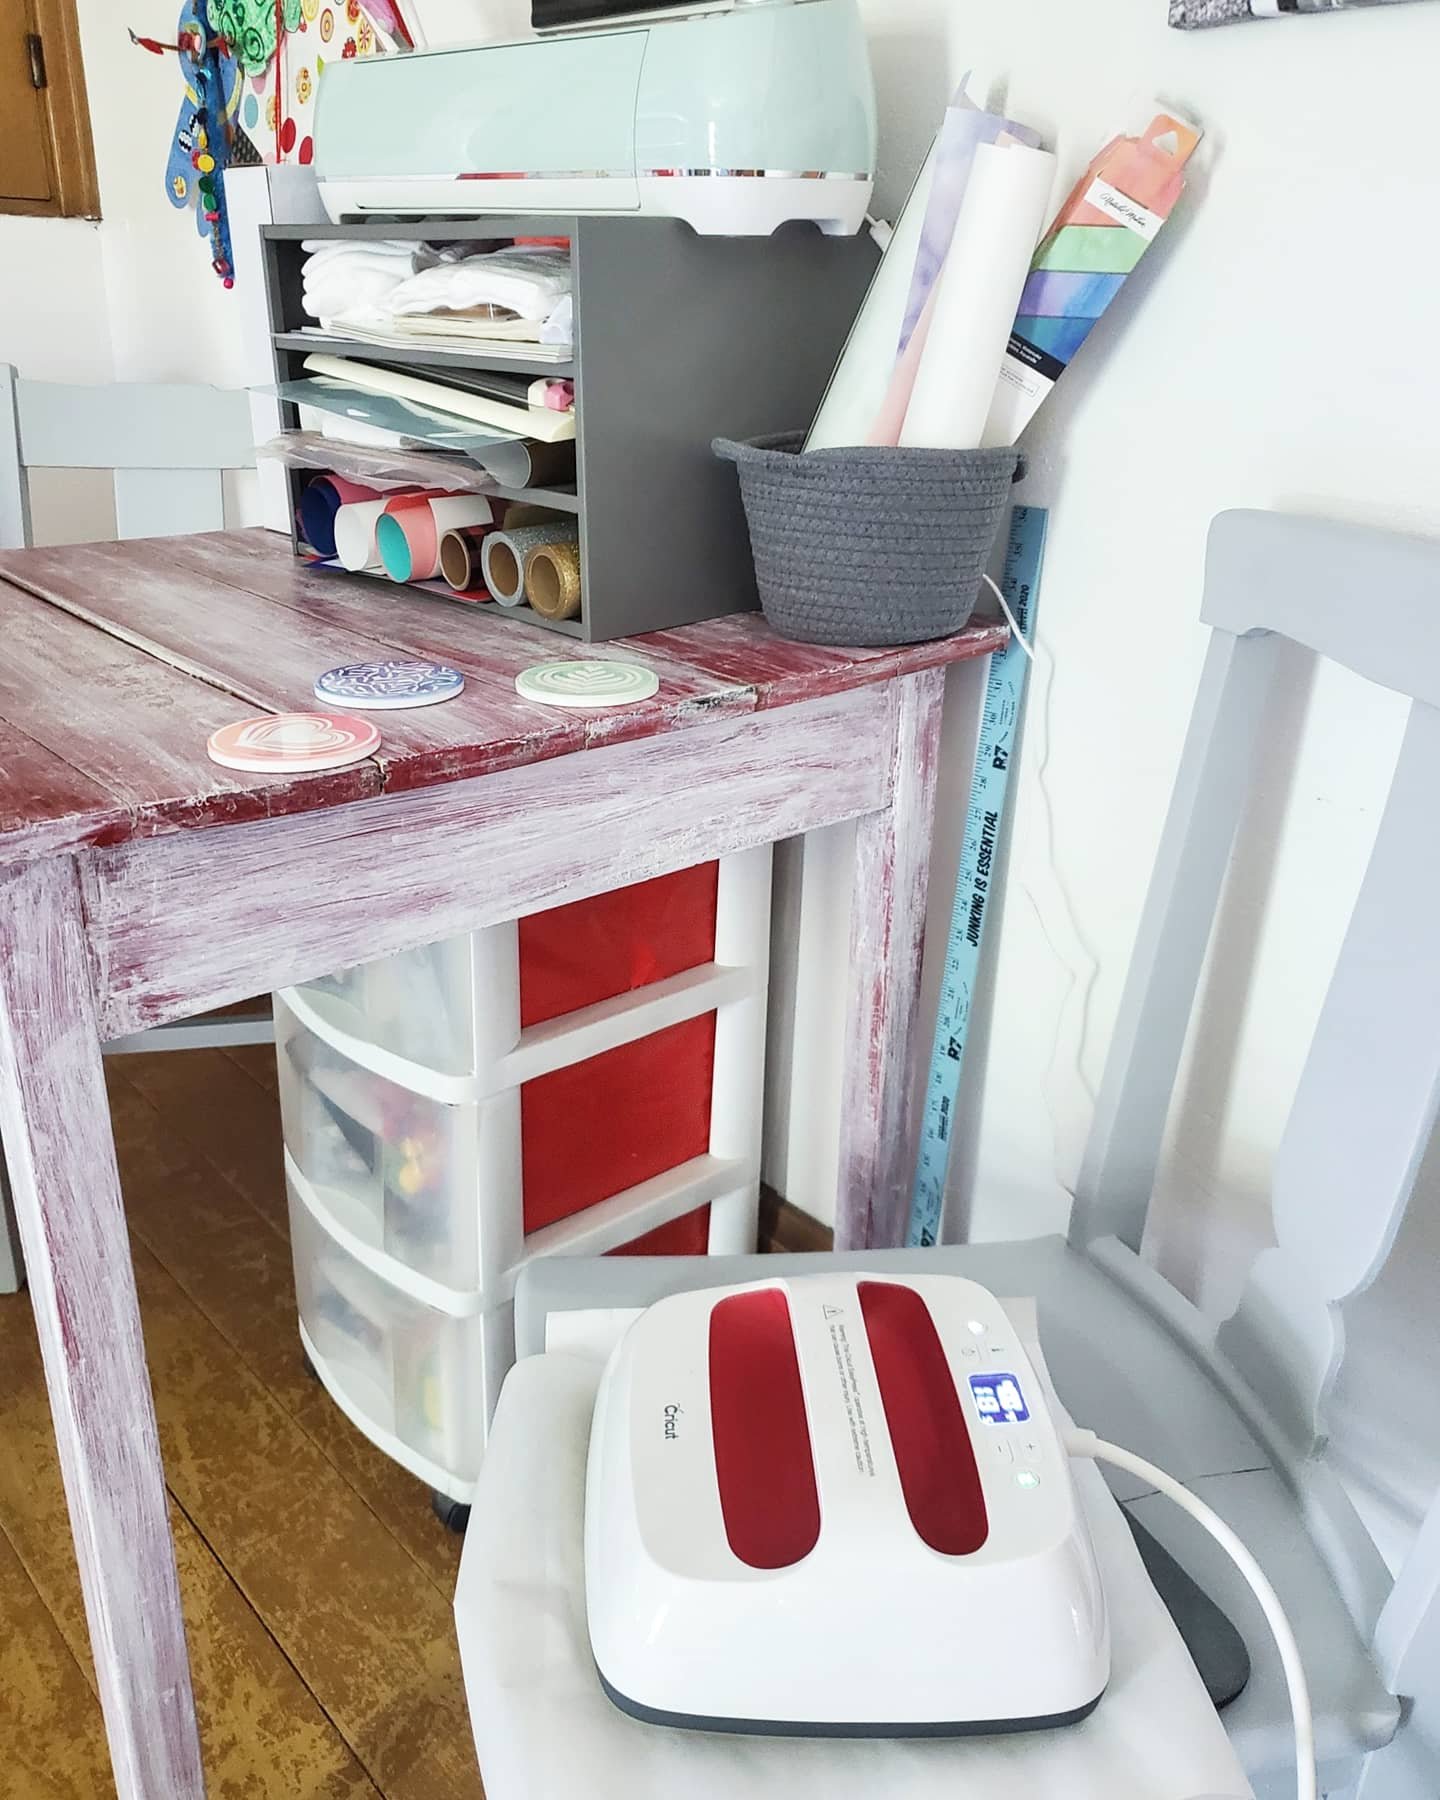
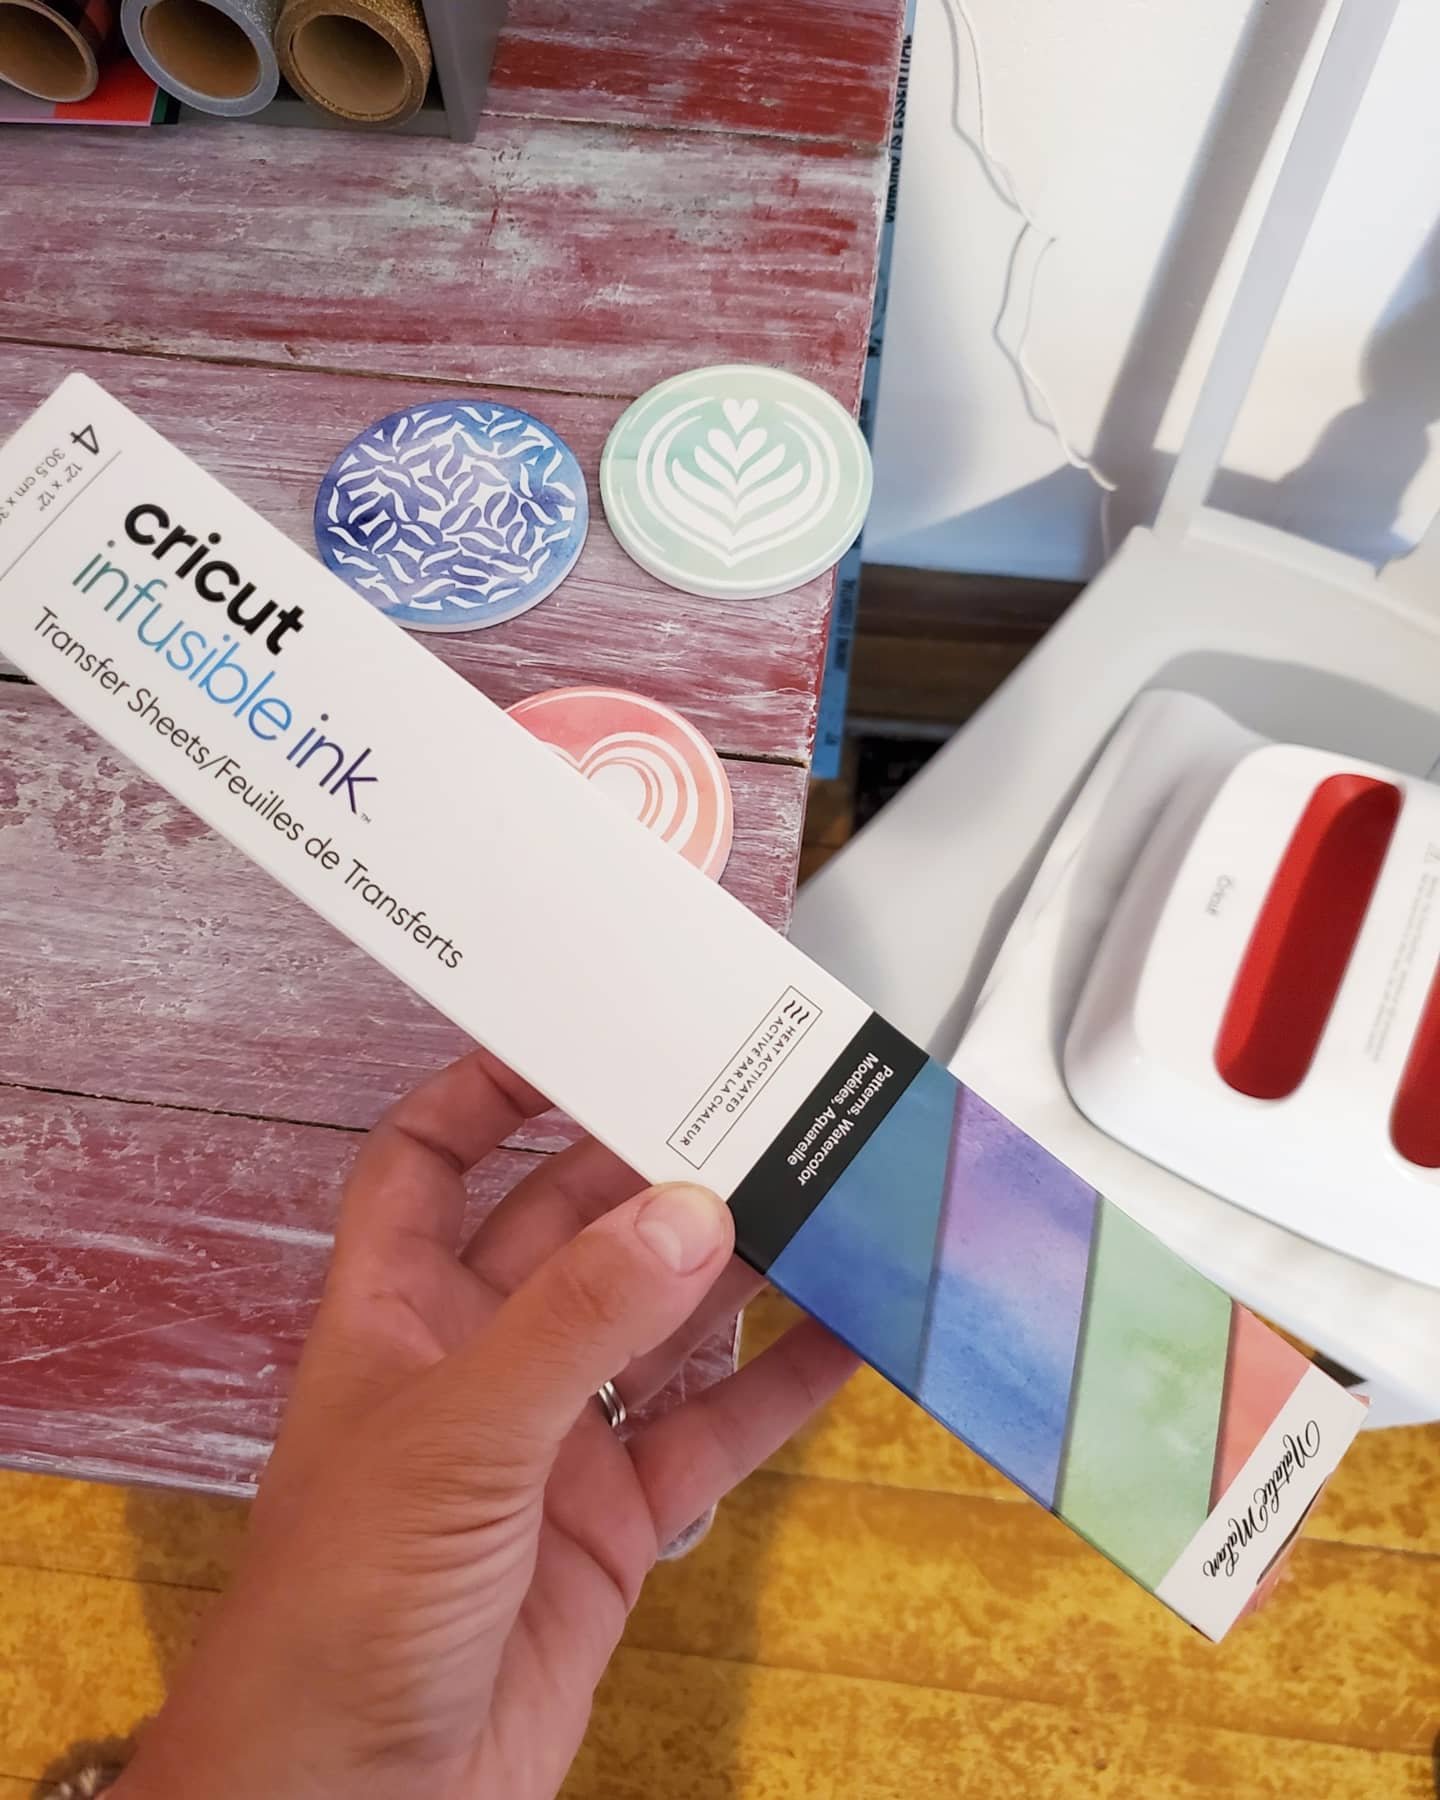
3. Ideas! This also leads me to another thing I love about Cricut, the ideas! I never worry about having a creative block. There’s no way. The ideas of projects to make are endless, for every single occasion you cak dream of. Really. You can find ideas galore on Pinterest, and Instagram, or Cricuts’s Facebook page. And my favorite place for inspiration? The Cricut emails! They send seasonal emails showing the new ideas and templates added to Design Space, their app for making. How did I know about the new infusible ink and coaster blanks to make these? One of their idea emails! Light bulb!

4. The options! Got a bright idea to make? You can! And Cricut can help you do it! The options they supply for you is endless. Or almost. Not only do they help with the ideas, but they make it easy to find all of the supplies you need to make visions come to fruition. They have coasters, bags, shirts, materials, pens, markers, vinyls, decals, iron ons, and the widest variety of patterns in their supplies you could imagine! Sparkles, holographics, leopard, wood grain…their possibilities are never ending! Not to mention, cricut has other machines like the EasyPress, and tools like mats, cutters, Nd weeders, to make all of the options come to life!

5. Capabilities! This machine not only cuts paper and vinyls. I was shocked to learn what all it really can do. Like blown away. It can cut leather, poster board, felt, fabric and even wood. But it doesn’t just cut, it can score. And it can draw! Yup! Shocked?! Me too. You can insert pens and markers into the blade holder and it can draw or write, making handmade cards, letters, signs… mind blown.
The capabilities combined with the Cricut options alone shows you that the possibilities are truly endless. I cannot wait to do another project every time I finish one! And now all of my gifts will be one of a kind made by yours truly!
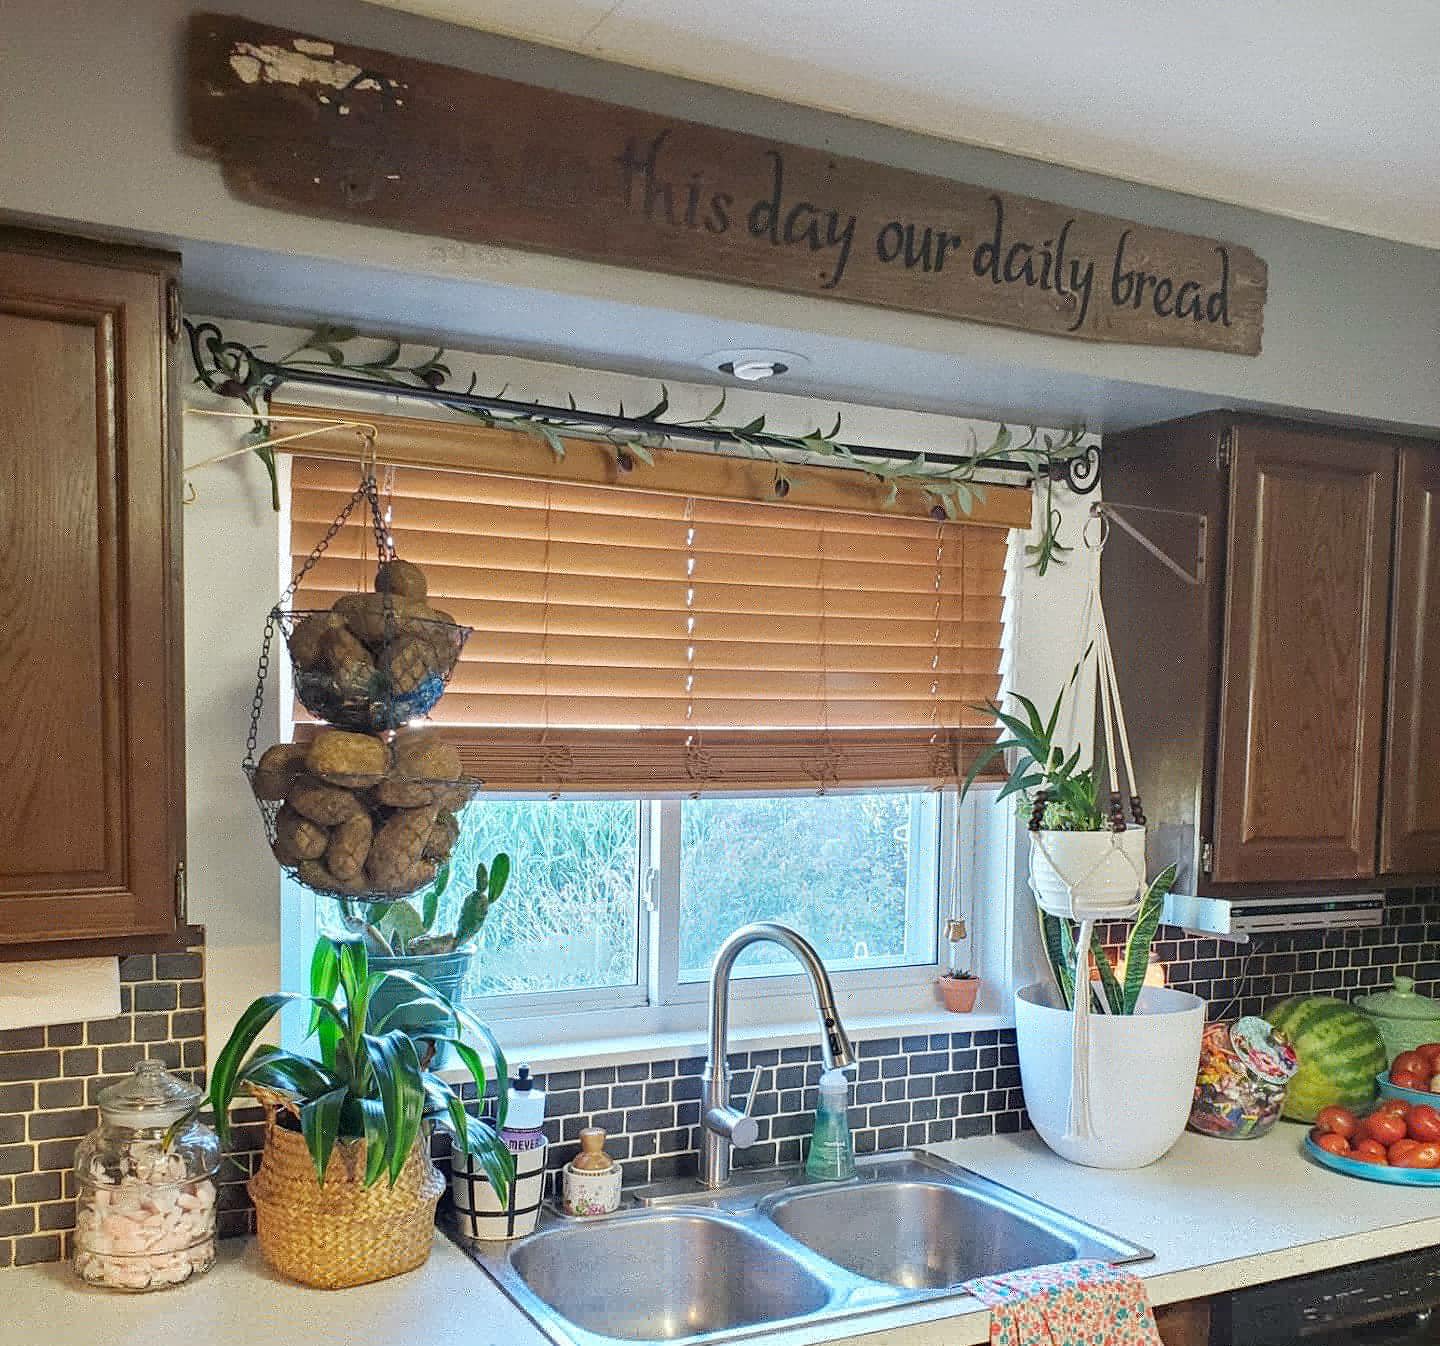
Here’s a quick breakdown of my latest project, a sign for our kitchen.
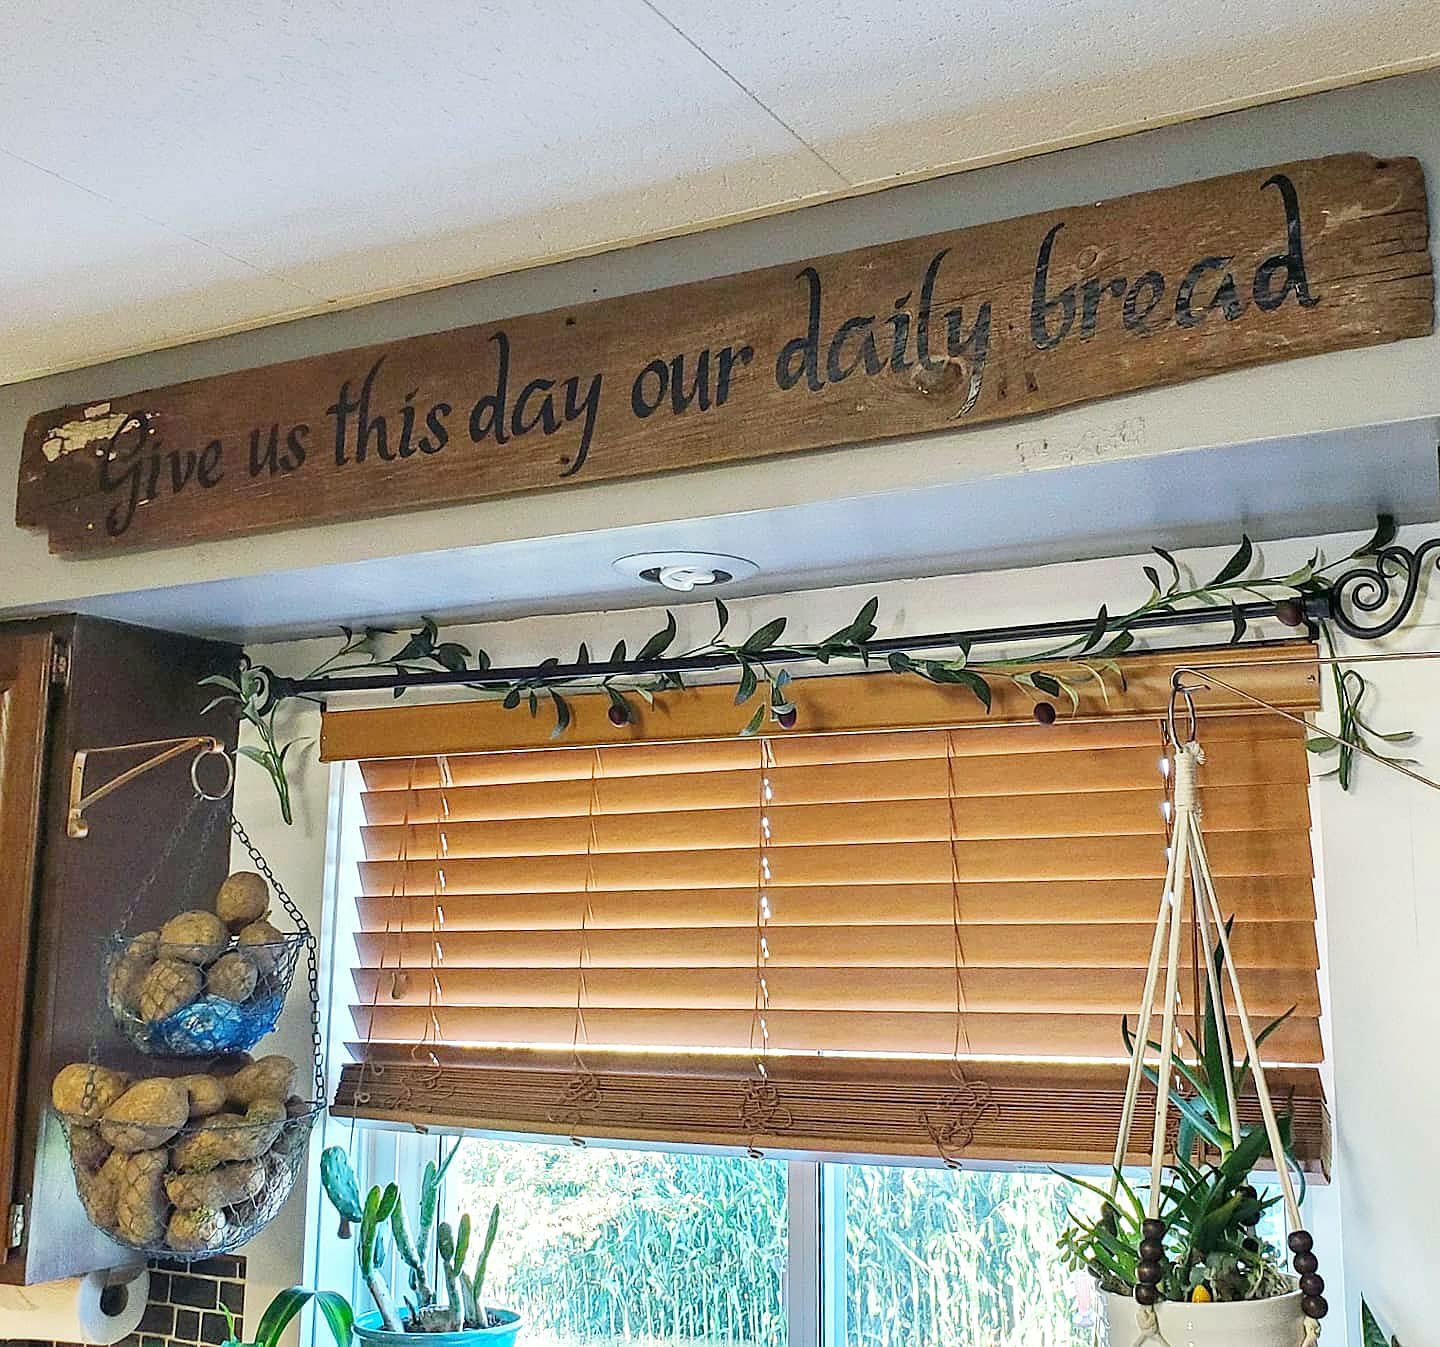
Choose a board and a quote. My board is a faded, chipped, barn board from our barn. (I’m sure to some the white paint left on one corner and the odd shape caused by years of cattle wear are not pretty, but we loved this board! 😉
Then, start on the Design Space app, and find my design template here. My board is 5ft long, but you can edit the design to adjust measurements. Once you send the design to the machine and it cuts it on vinyl, weed the excess pieces out. Use transfer tape to pick up your design and stick it down in place on your board. You could add flourishes to the ends of your quote too! You can change this design and even choose your own color vinyl. I used matte clear coat over the board to ensure no edges lift since I chose an old, rippled barn board for my project. Add a hanger or two on the back and hang. Easy peasy and a great one-of-a-kind, beginner-friendly project!
Have questions? Need help or ideas? Just ask! 😘
XX,
Jess
Making A Mini Bar
Currently we hold all of our drink glasses, servers, shakers and wine and liqueurs in one of our kitchen cupboards. But, I have always wanted to do something different with these items. I would like to have some sort of mini bar in the kitchen or dining room. This would be such easy access for entertaining. Also, it would free up more cupboard space in the kitchen, which for us is at a premium!
I have recently seen a few photos of DIY bars and am in planning process for making one of our own.

This redone shelf unit was posted on Apartment Therapy. I think this is great inspiration for our project. A simple shelf unit like this would be easy to find and probably affordable. I really love the wine racks and glass holders. I also like the idea of lining the backs of cabinets with colorful ,fun paper. Here is another picture of a mini bar with beautiful paper:

http://www.apartmenttherapy.com/chicago/inspiration/inspiration-lined-cabinets-075583 . Originally from Homes and Gardens.
I also like the idea of using a bar cart or serving tray with a few bottles and glasses, but options like the cabinets in the pictures would give us much more space and probably be safer with pets, especially if there are doors.
I am very excited to get started on this project, and will keep you posted!
