Guest/Playroom Update
We finally have an official guest space in this guest/playroom!!

What is the best way to keep the space usable for playing while also functional for housing guests?! A sleeper sofa, of course!
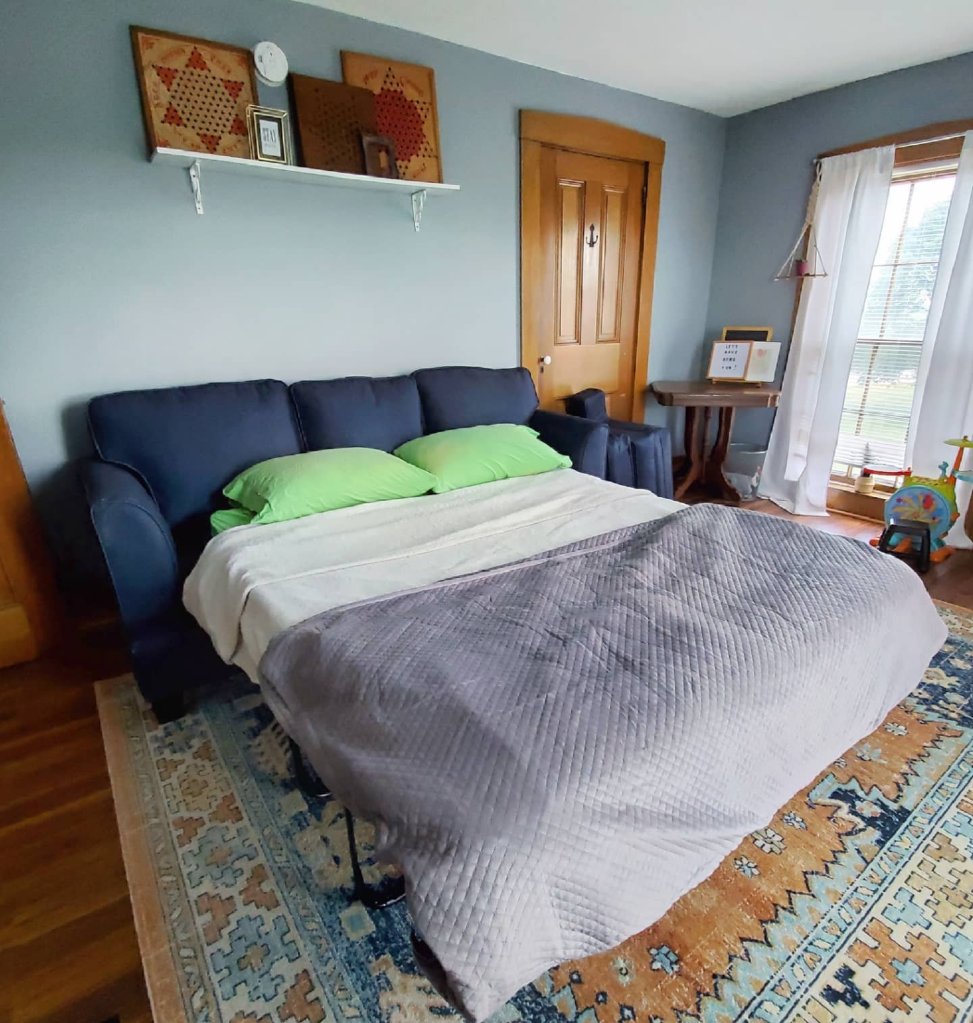
We found just the one at Slumberland Furniture too!
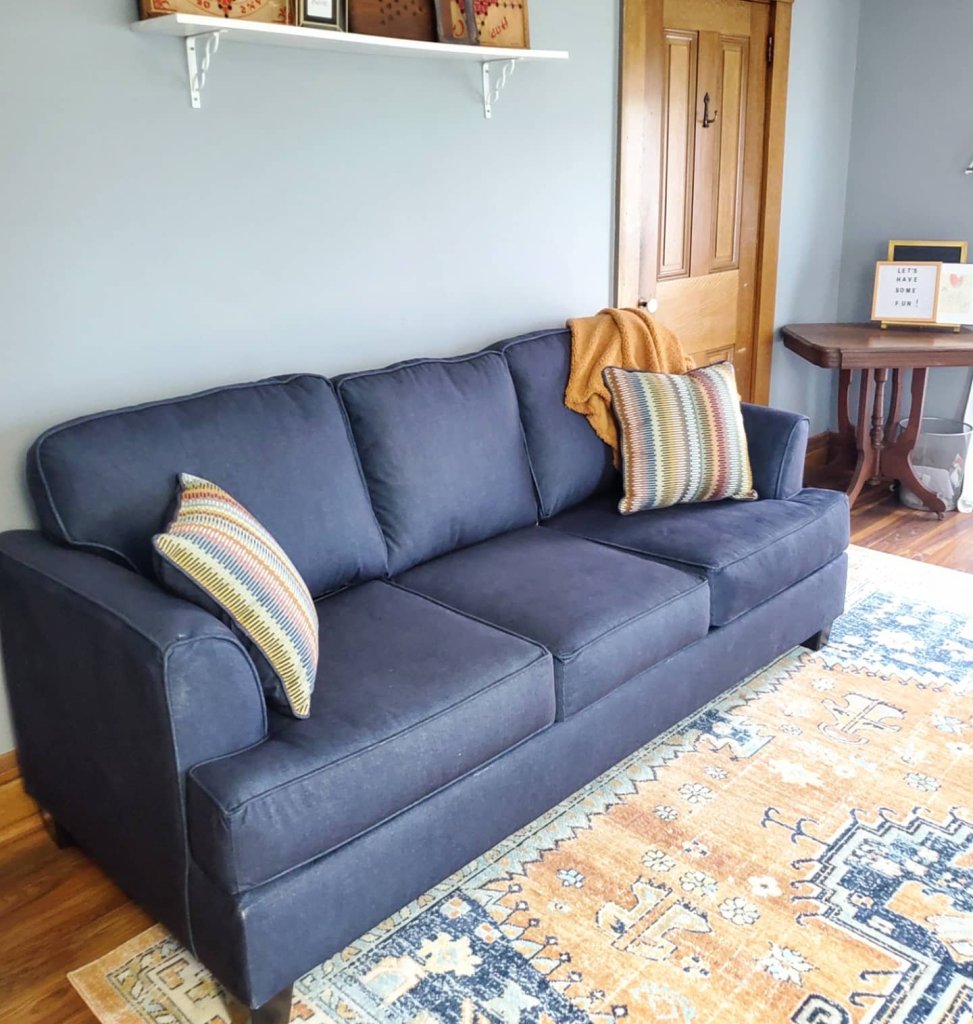
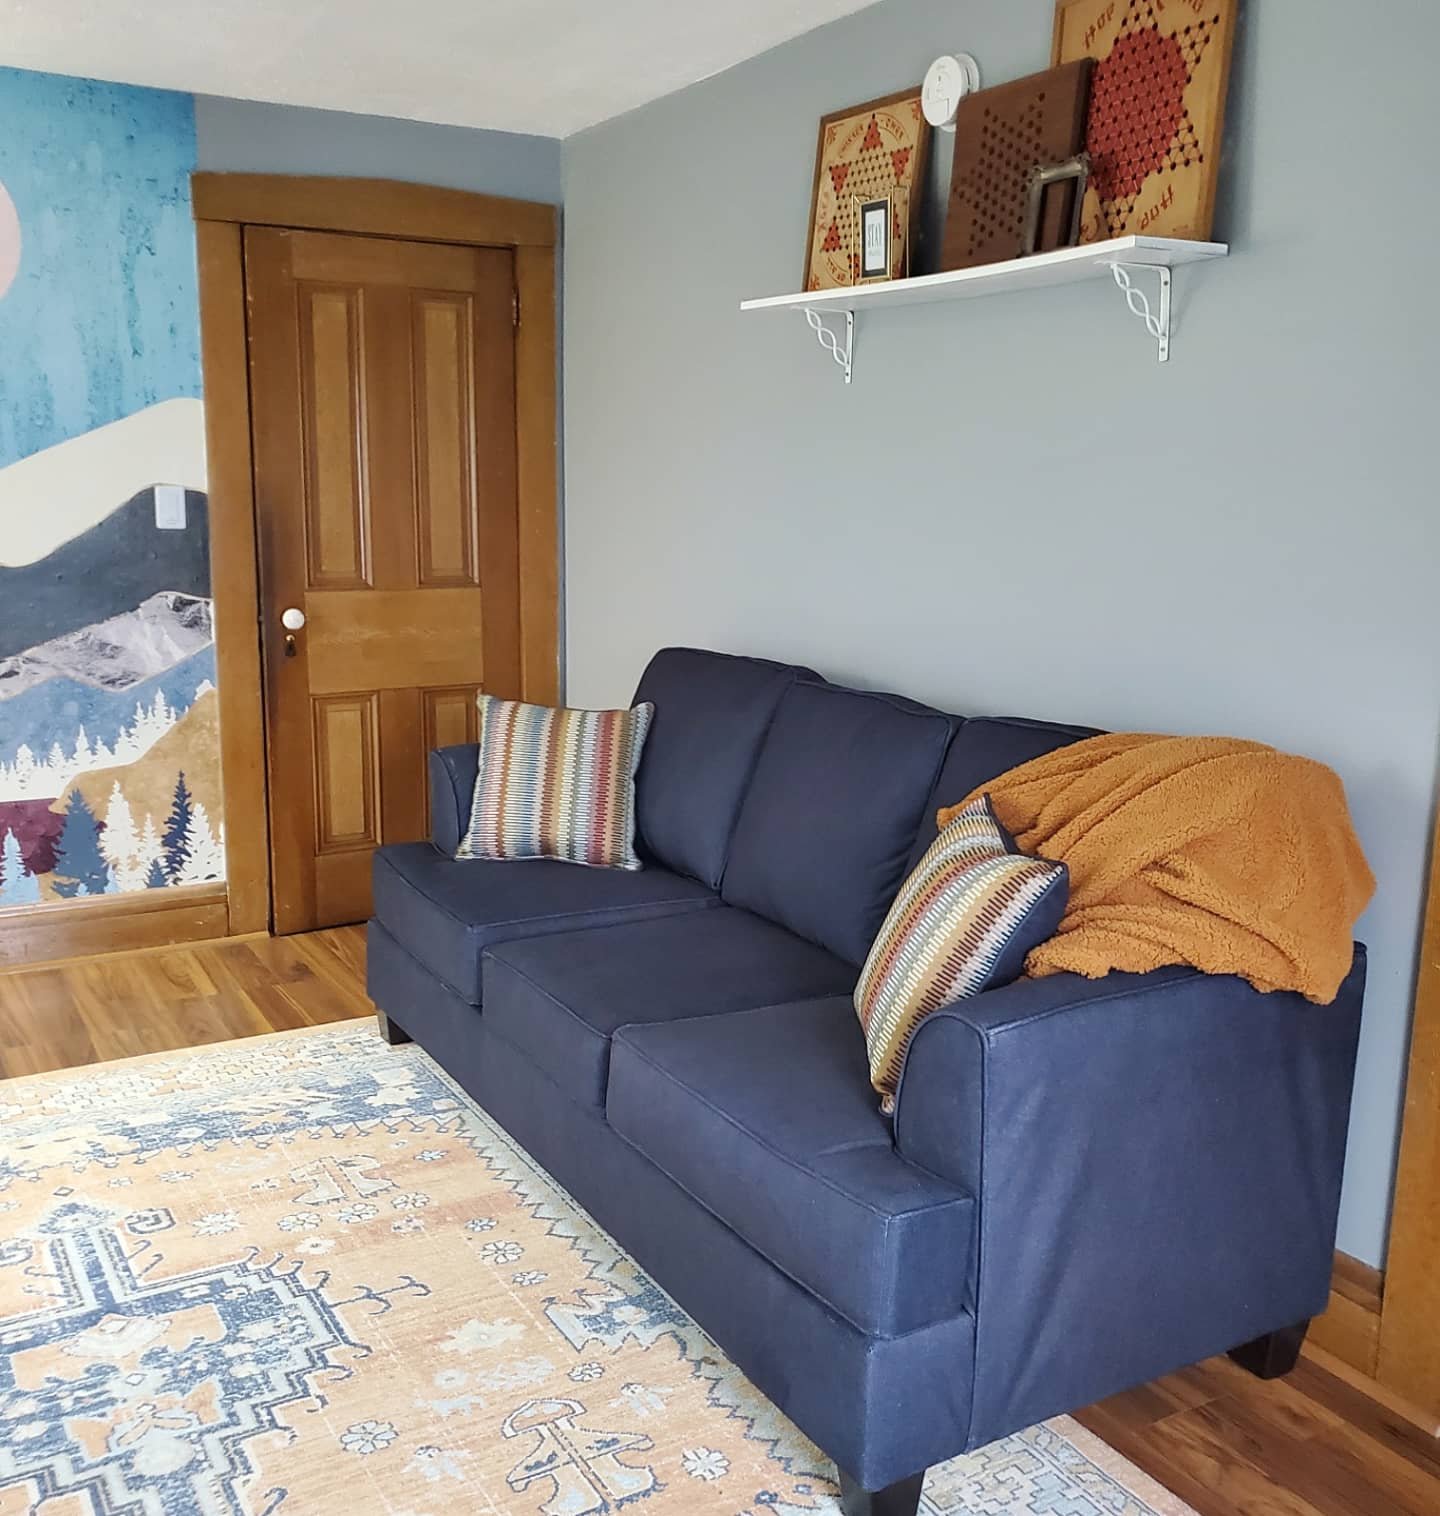
This one is not only comfy and gorgeous, but is the perfect color to be stylish and playful, and has a hidden bed!! Win!
Plus, Slumberland is having a big Anniverary event right now with a HUGE Travel Giveaway!! When you spend $1000, get 10% off Slumberland Low Prices + 2 complimentary Hotel Nights. When you spend $2000, get 15% off Slumberland Low Prices + 3 complimentary Hotel Nights. And when you spend $3000+, get 20% off Slumberland Low Prices + 4 complimentary Hotel Nights!! Check them out for details!
So what do you think of the room progress?!
XX,
Jess
A New Mud Room
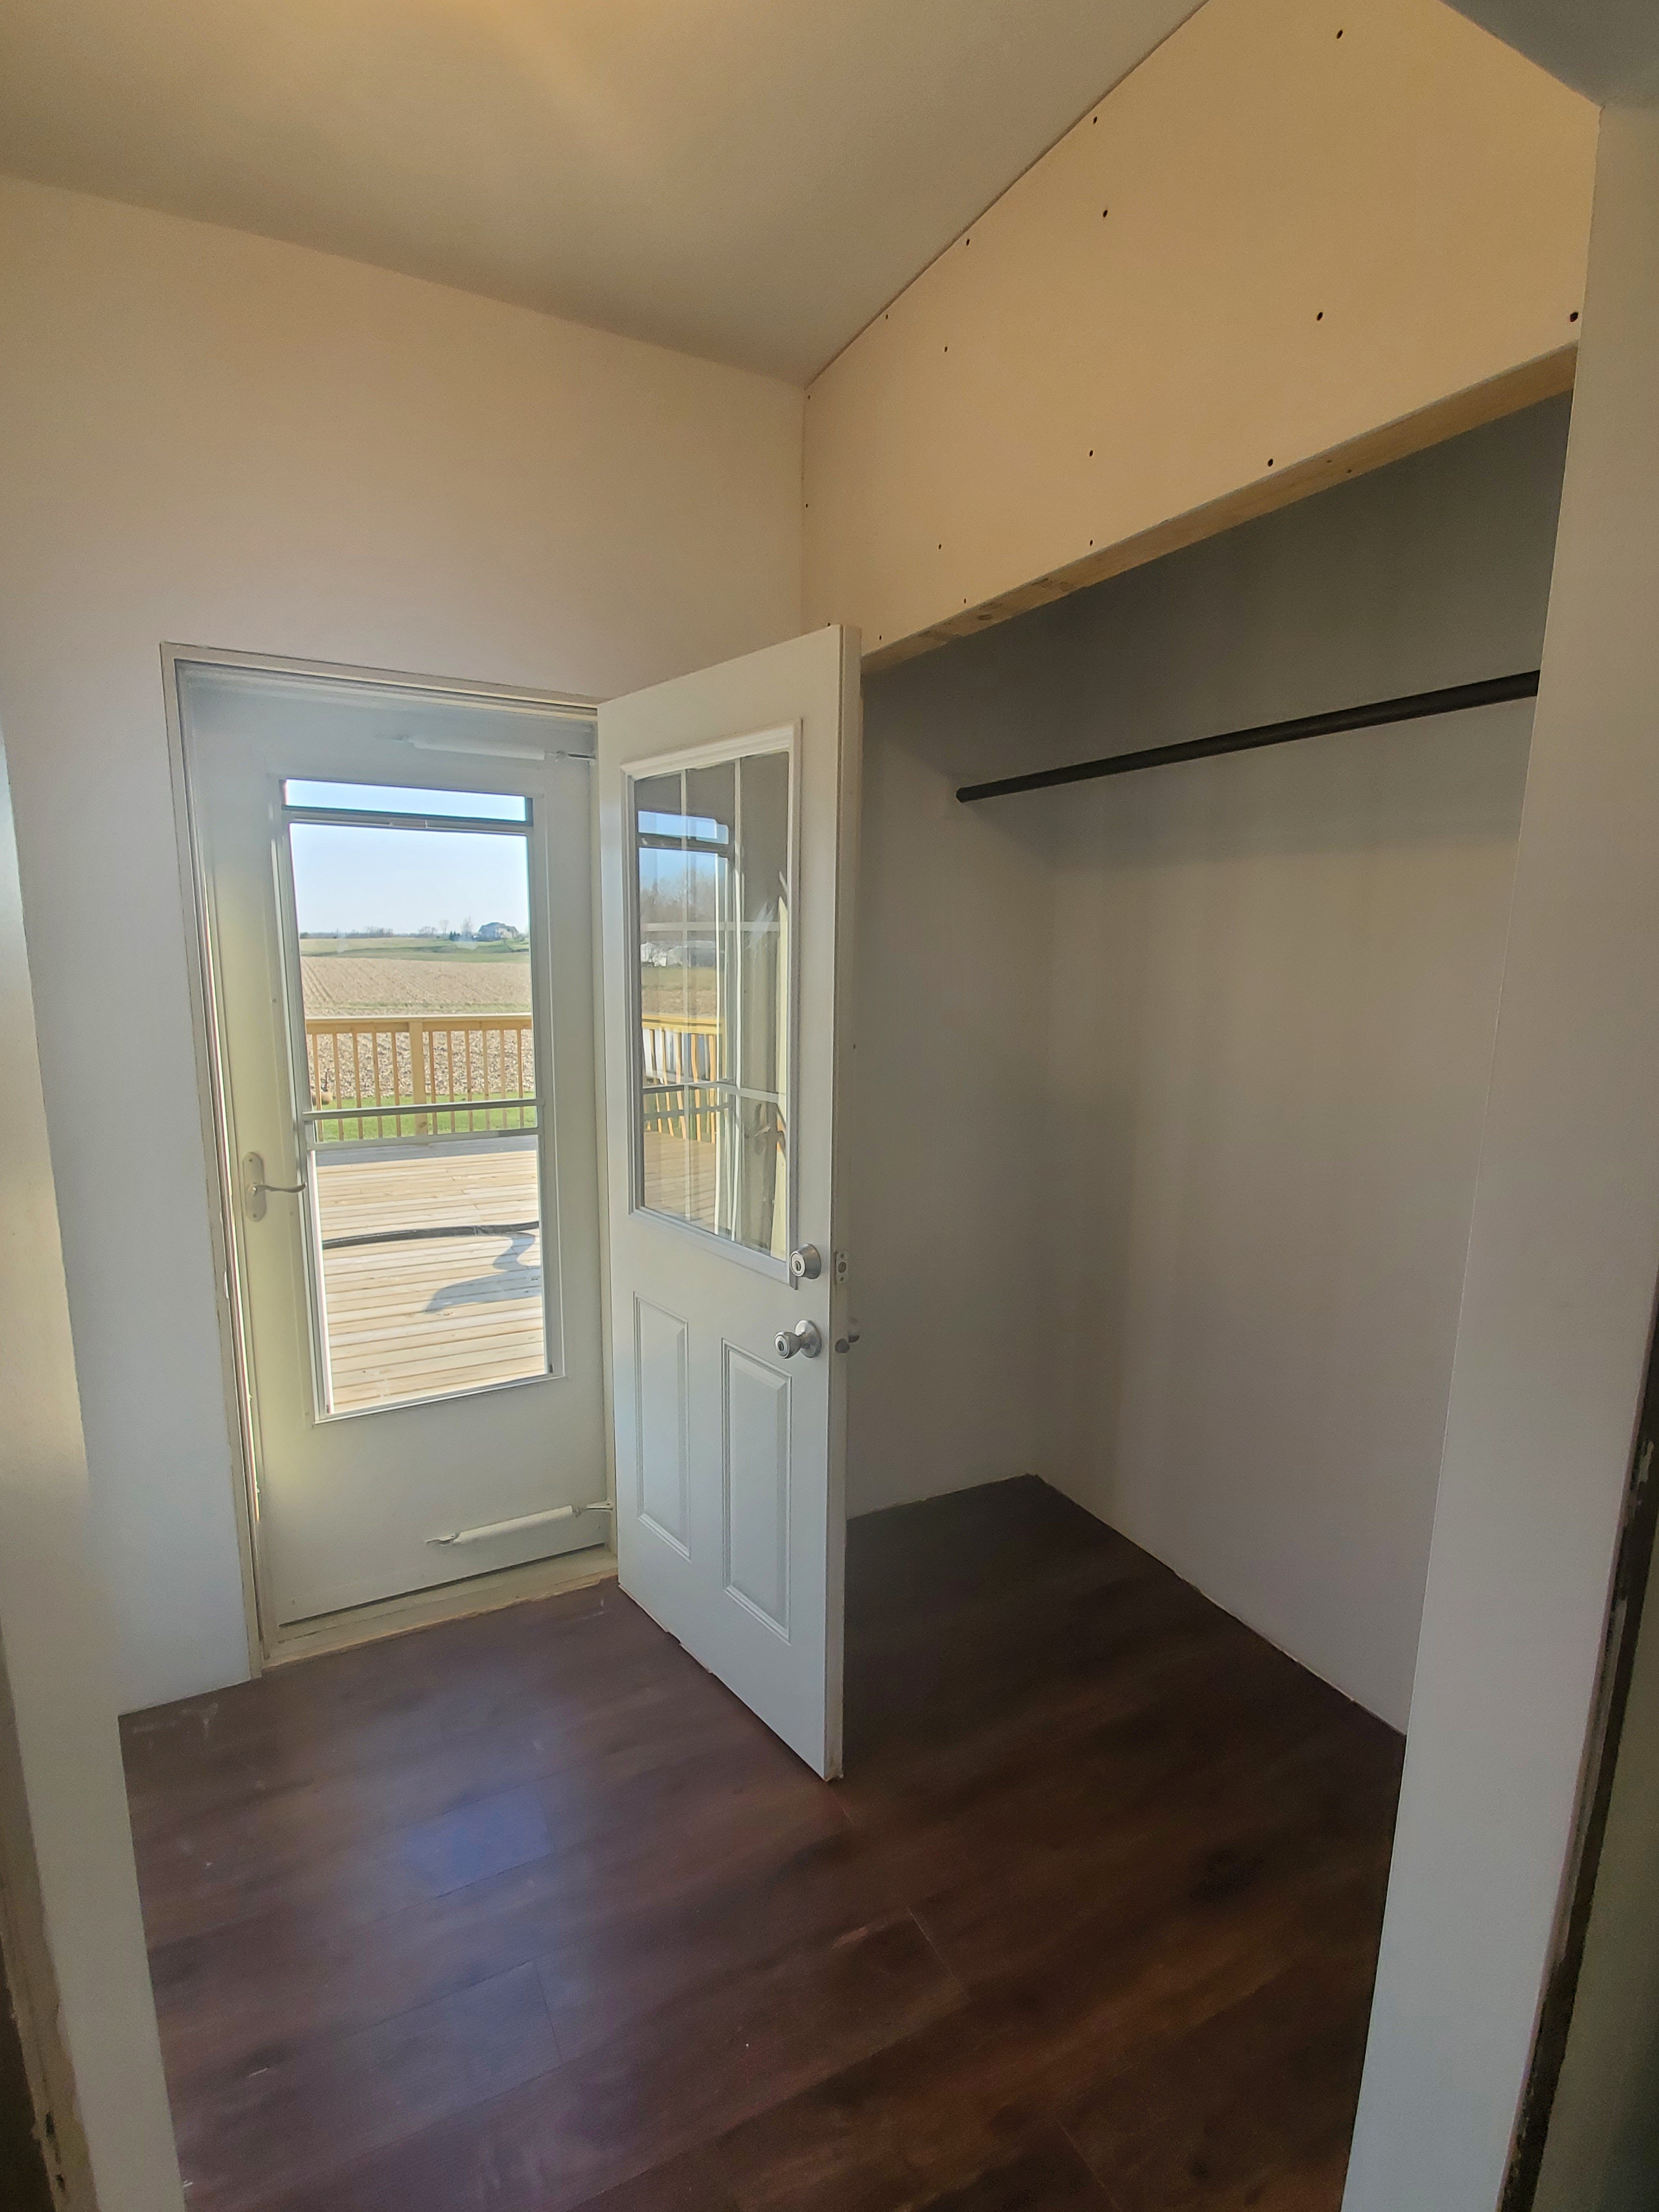
Check out this horrible mud room!

I know it doesn’t show it well, but behind the open back door is a small closet and then a sink. Yuck.
It is an old farm house, so once upon a time the sink had a purpose. Now it was just wasting space. Valuable space. We knew this room could be better utilized. Little did we know, we would, as usual, open a giant can of worms…
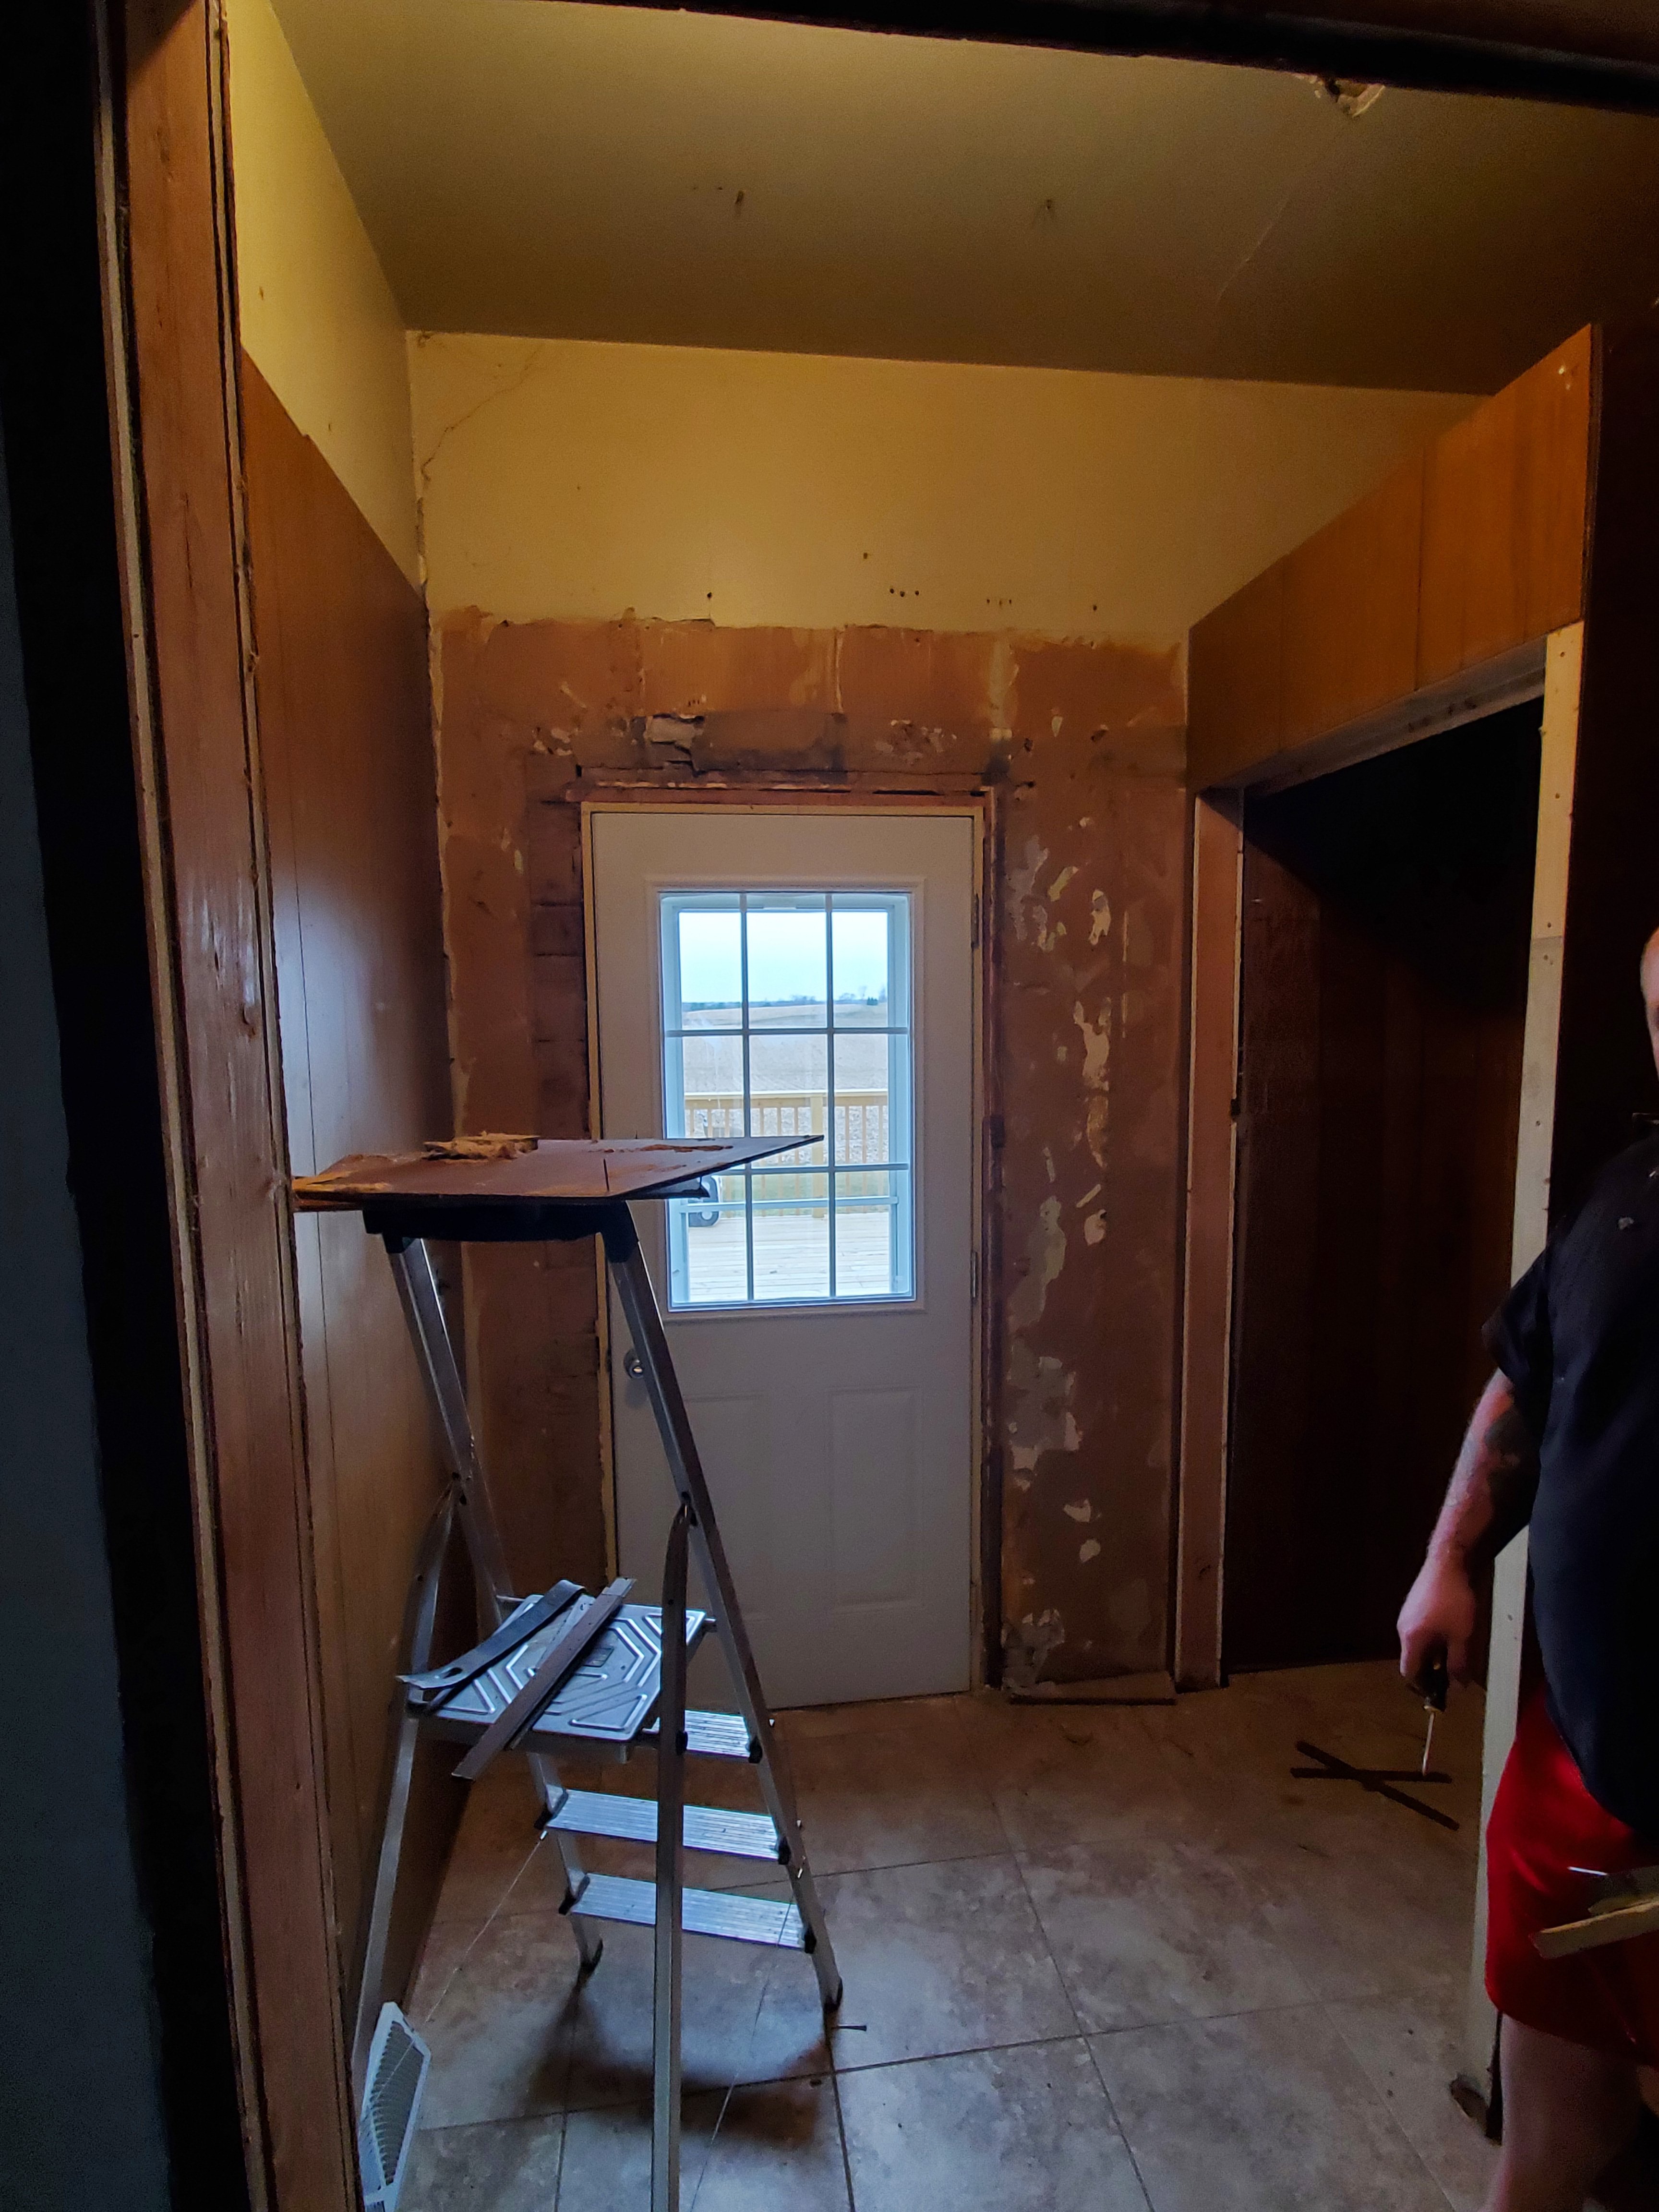
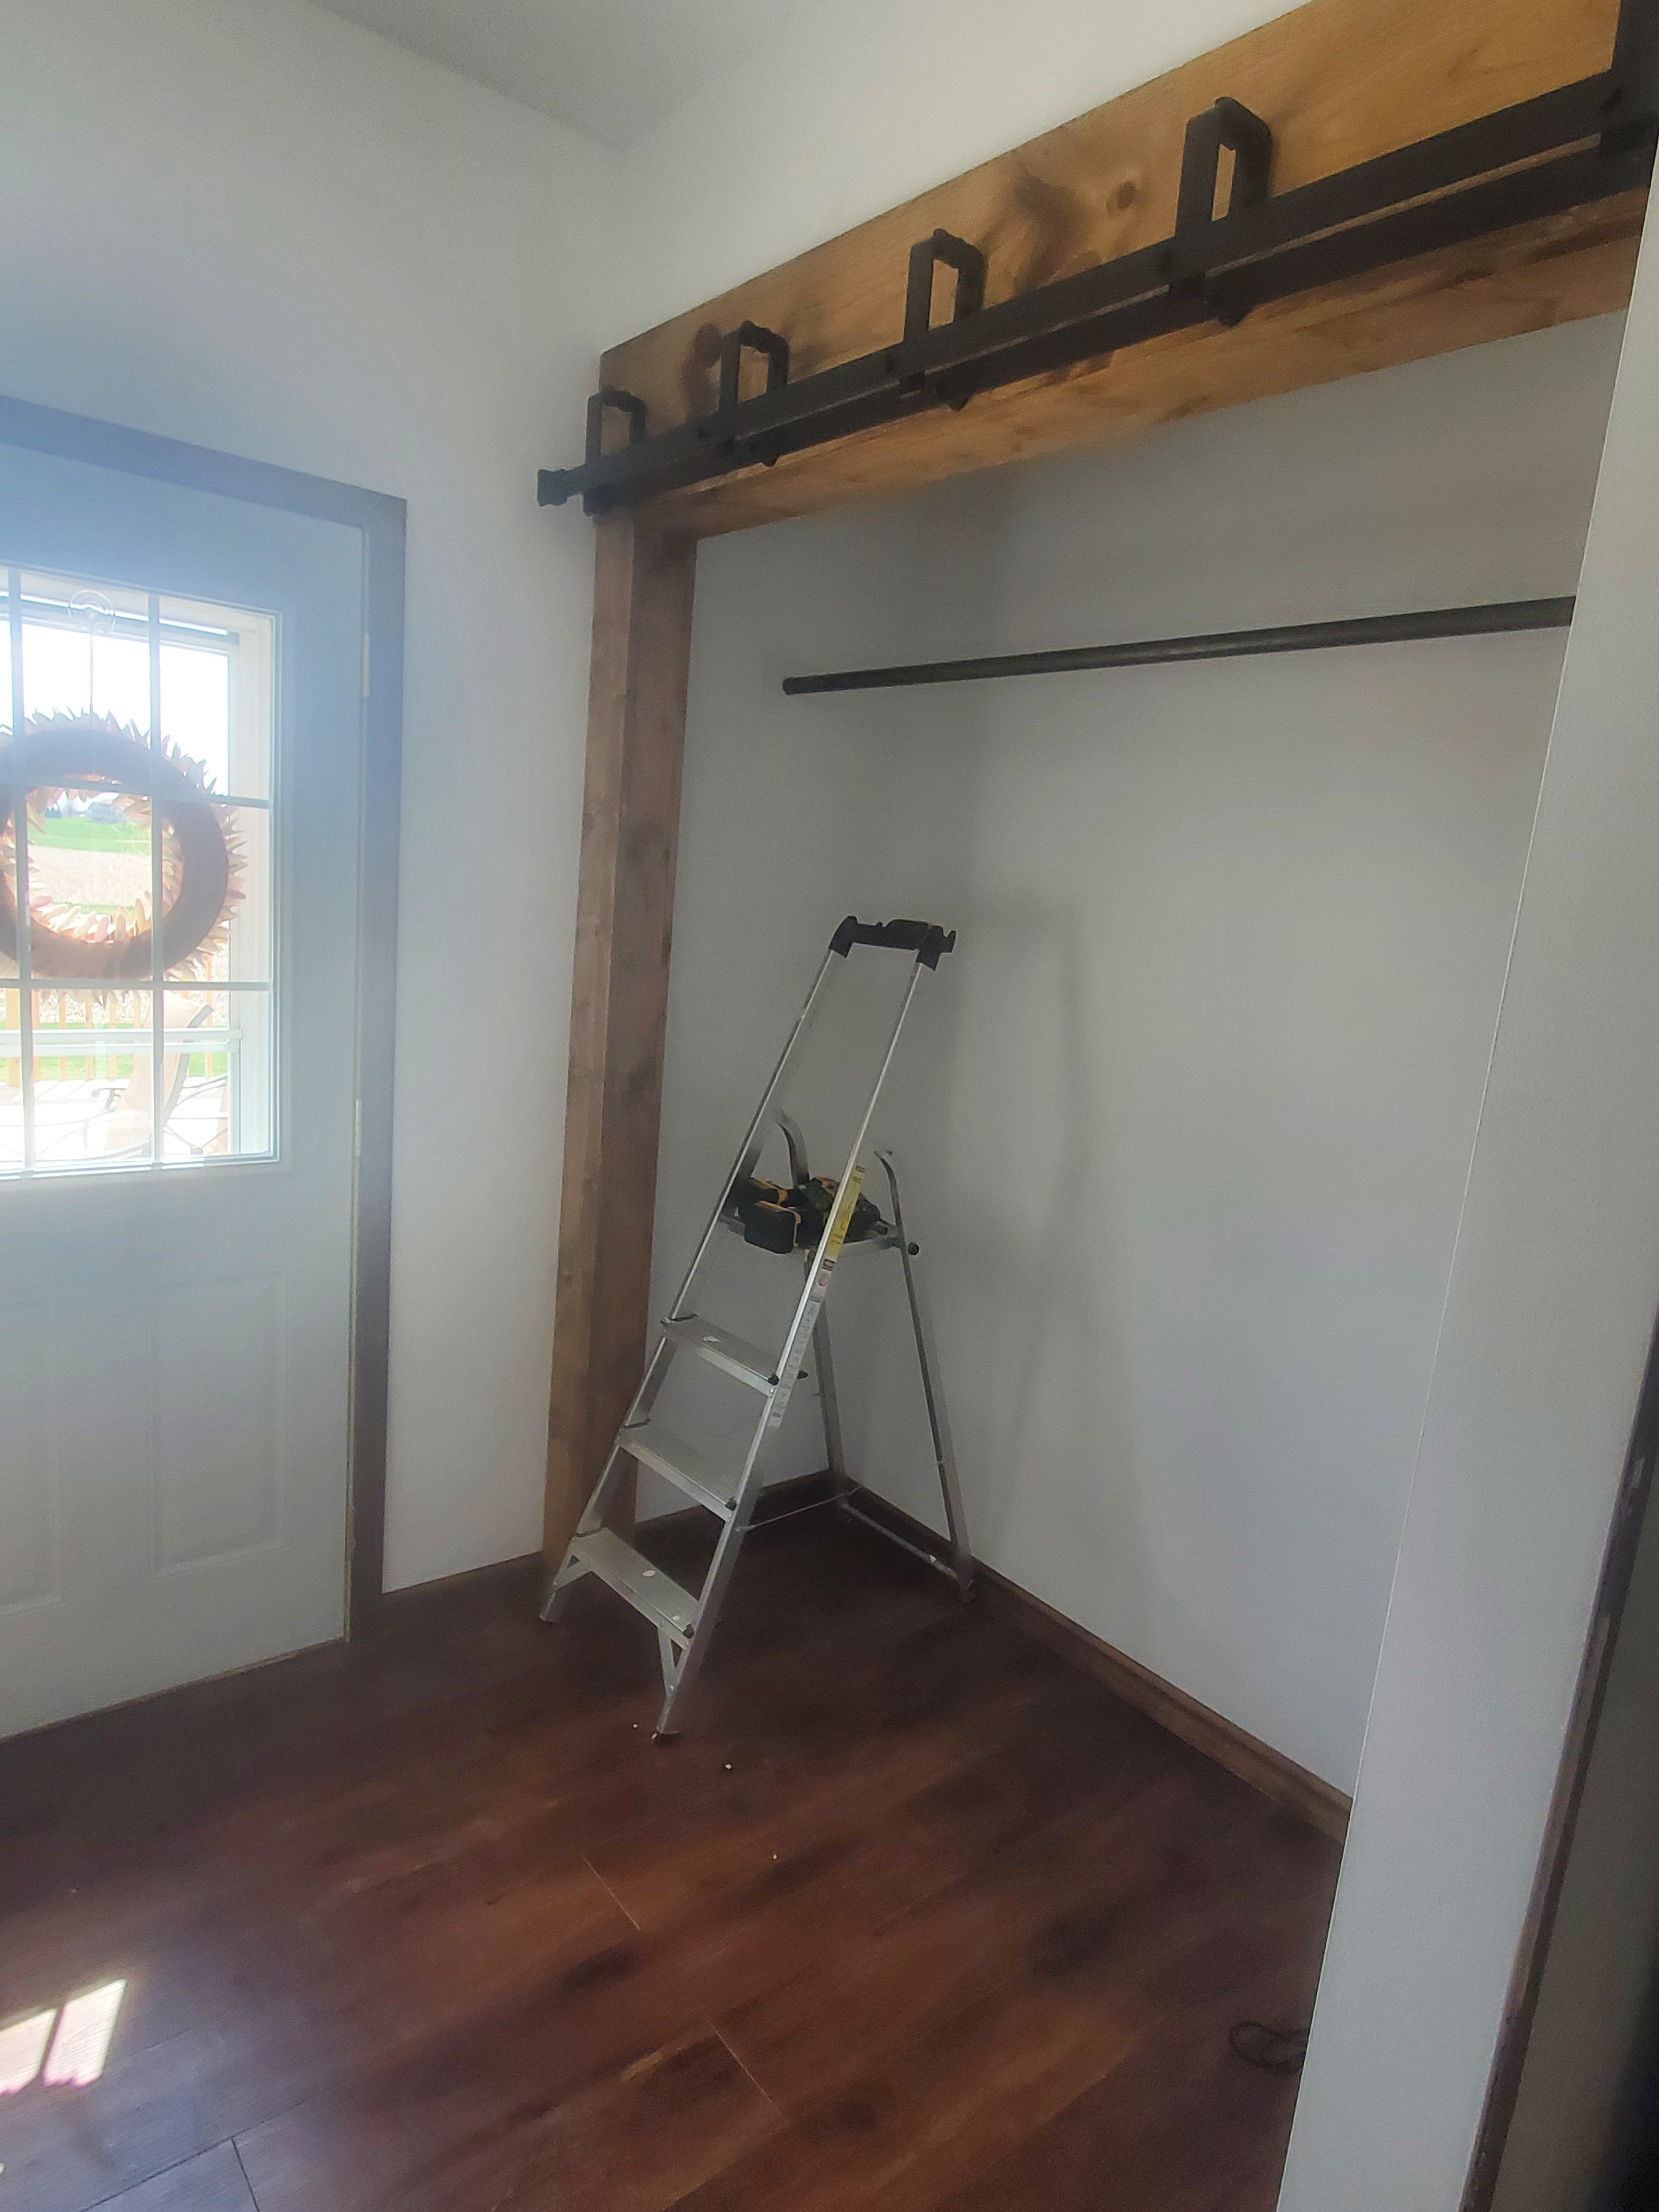
We thought we’d tear out the sink and old paneling, paint, add barn doors and call it a day. No.
The walls had to be redone down to the studs. A new false wall had to be added above the closet, since we were taking out the drop ceiling. Then we found that the paneling went behind the flooring. This removal ruined the flooring (not sad about it) and in removing the tile we found we had a rotten spot and needed to even replace subflooring. The house is 1862, but still, whew!


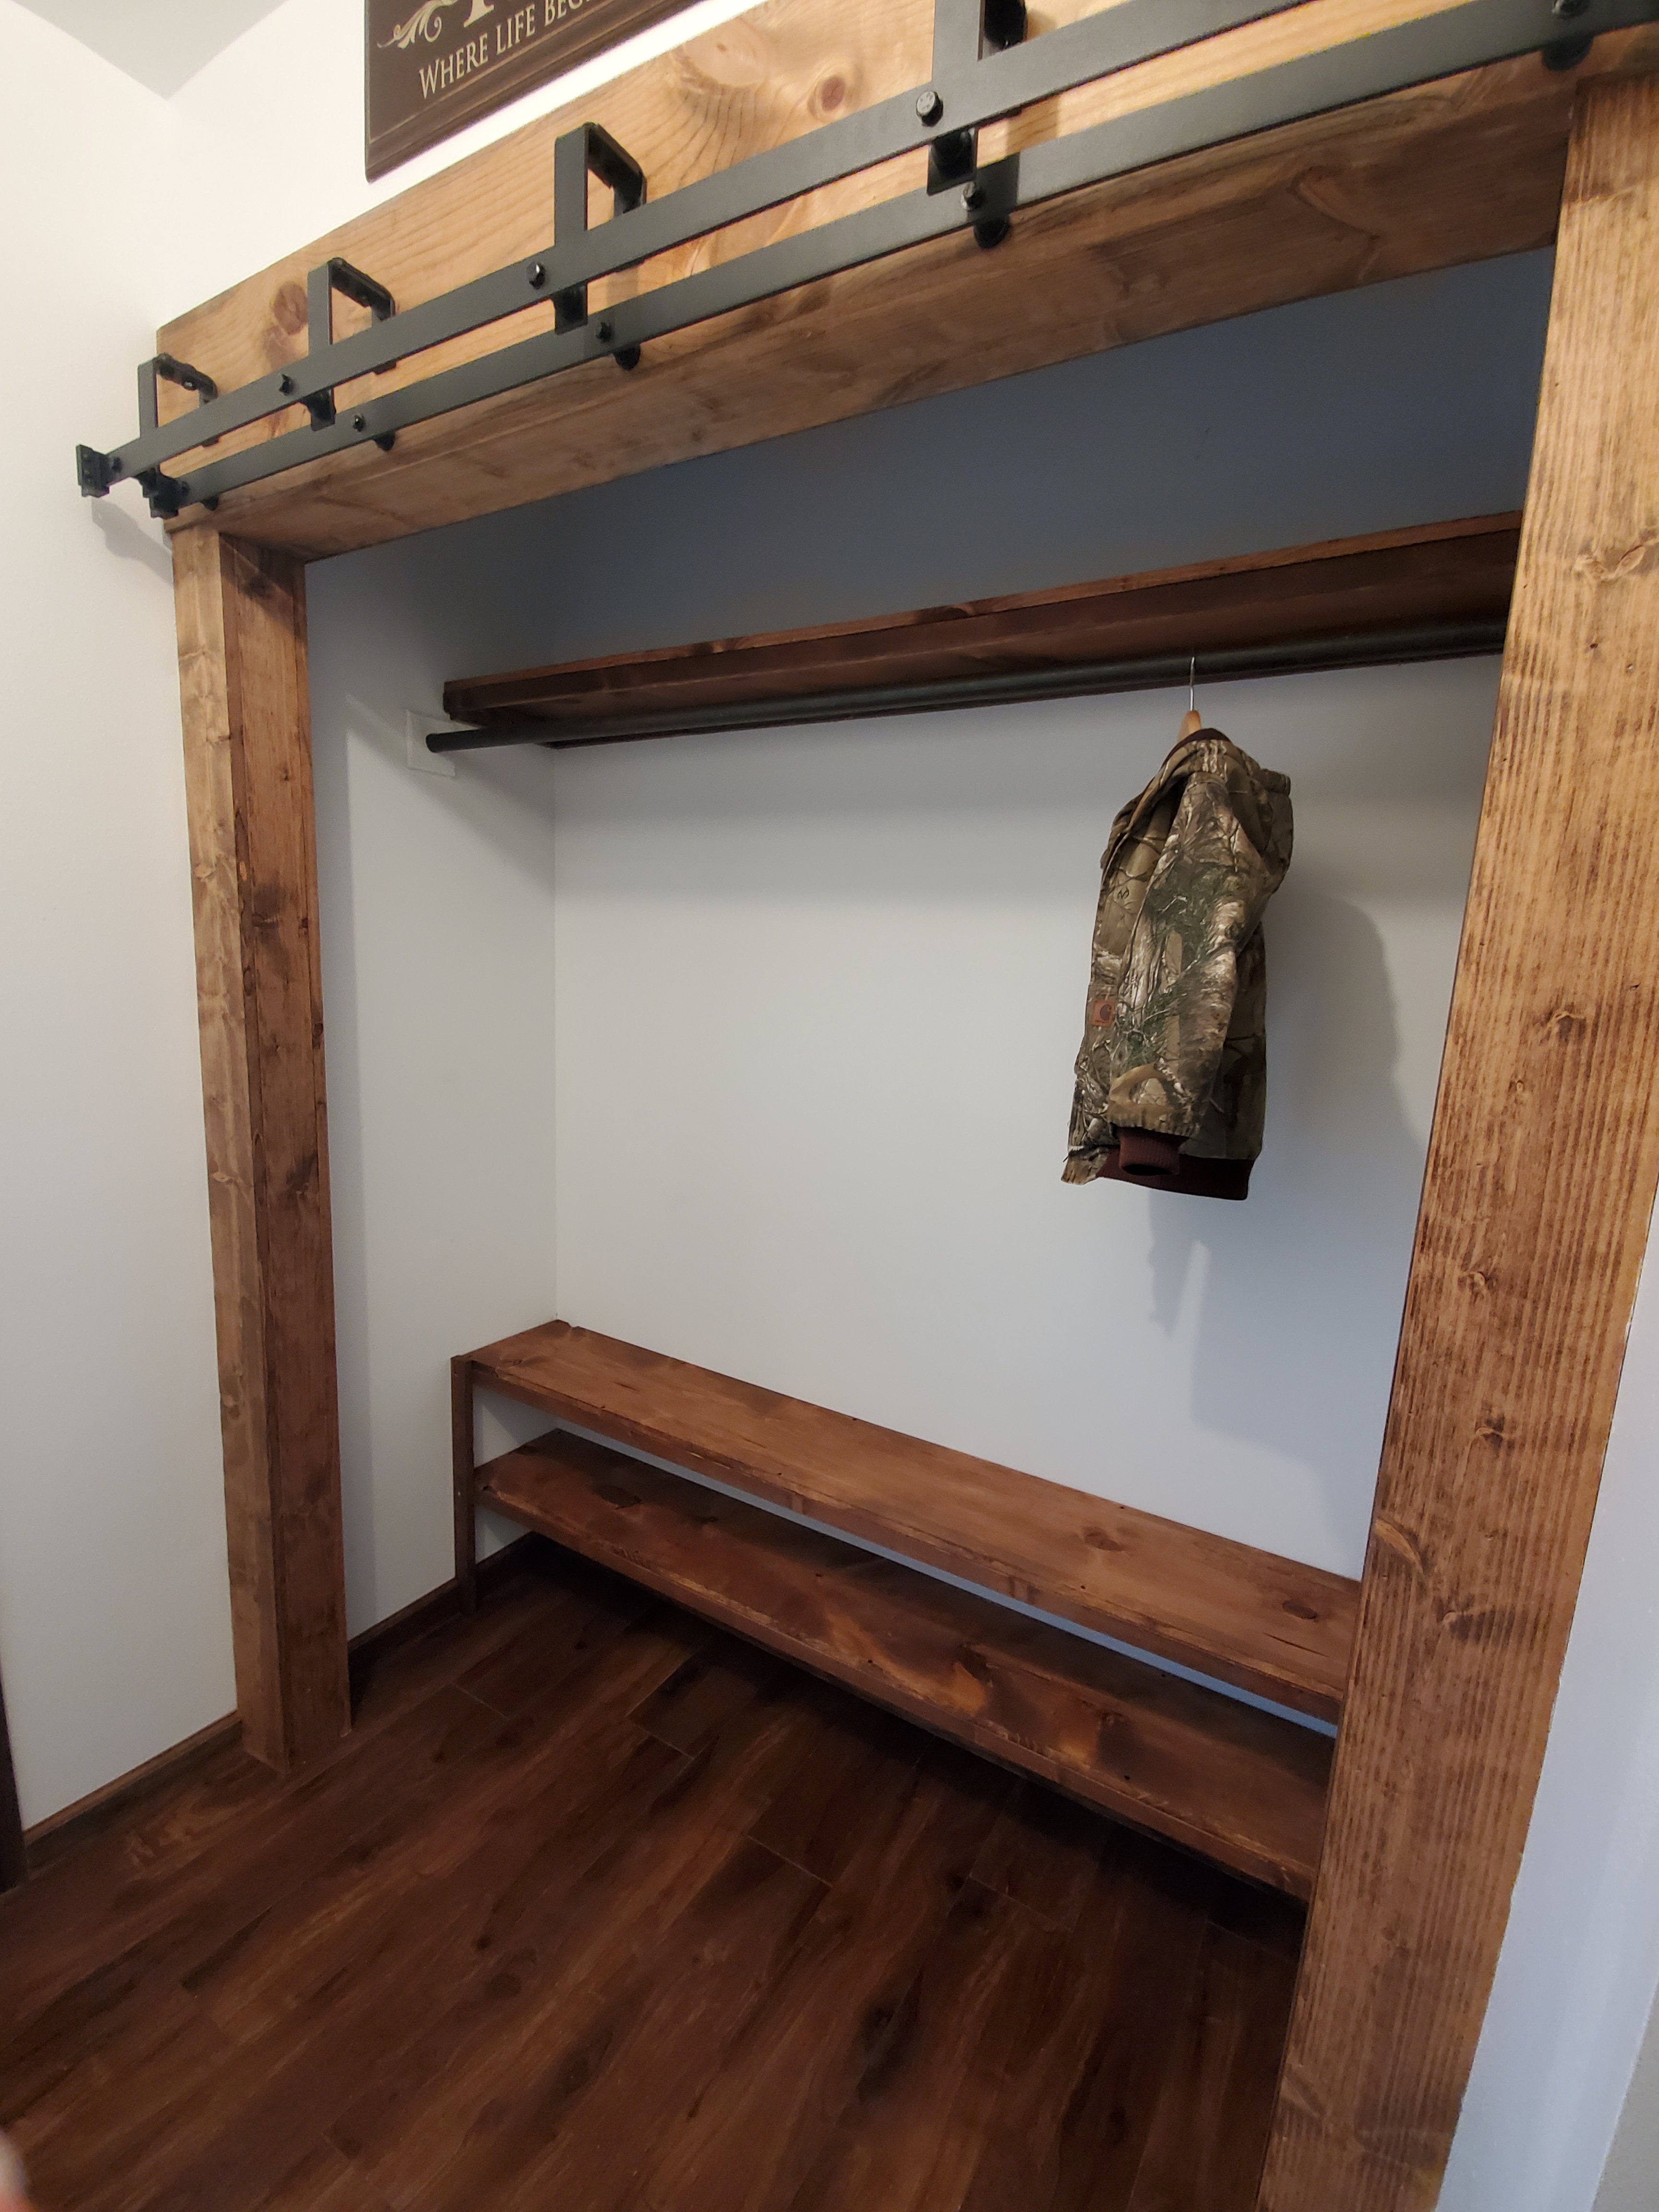
We did make the closet go all the way across the space and Jason built custom barn doors and trim. Gorgeous!
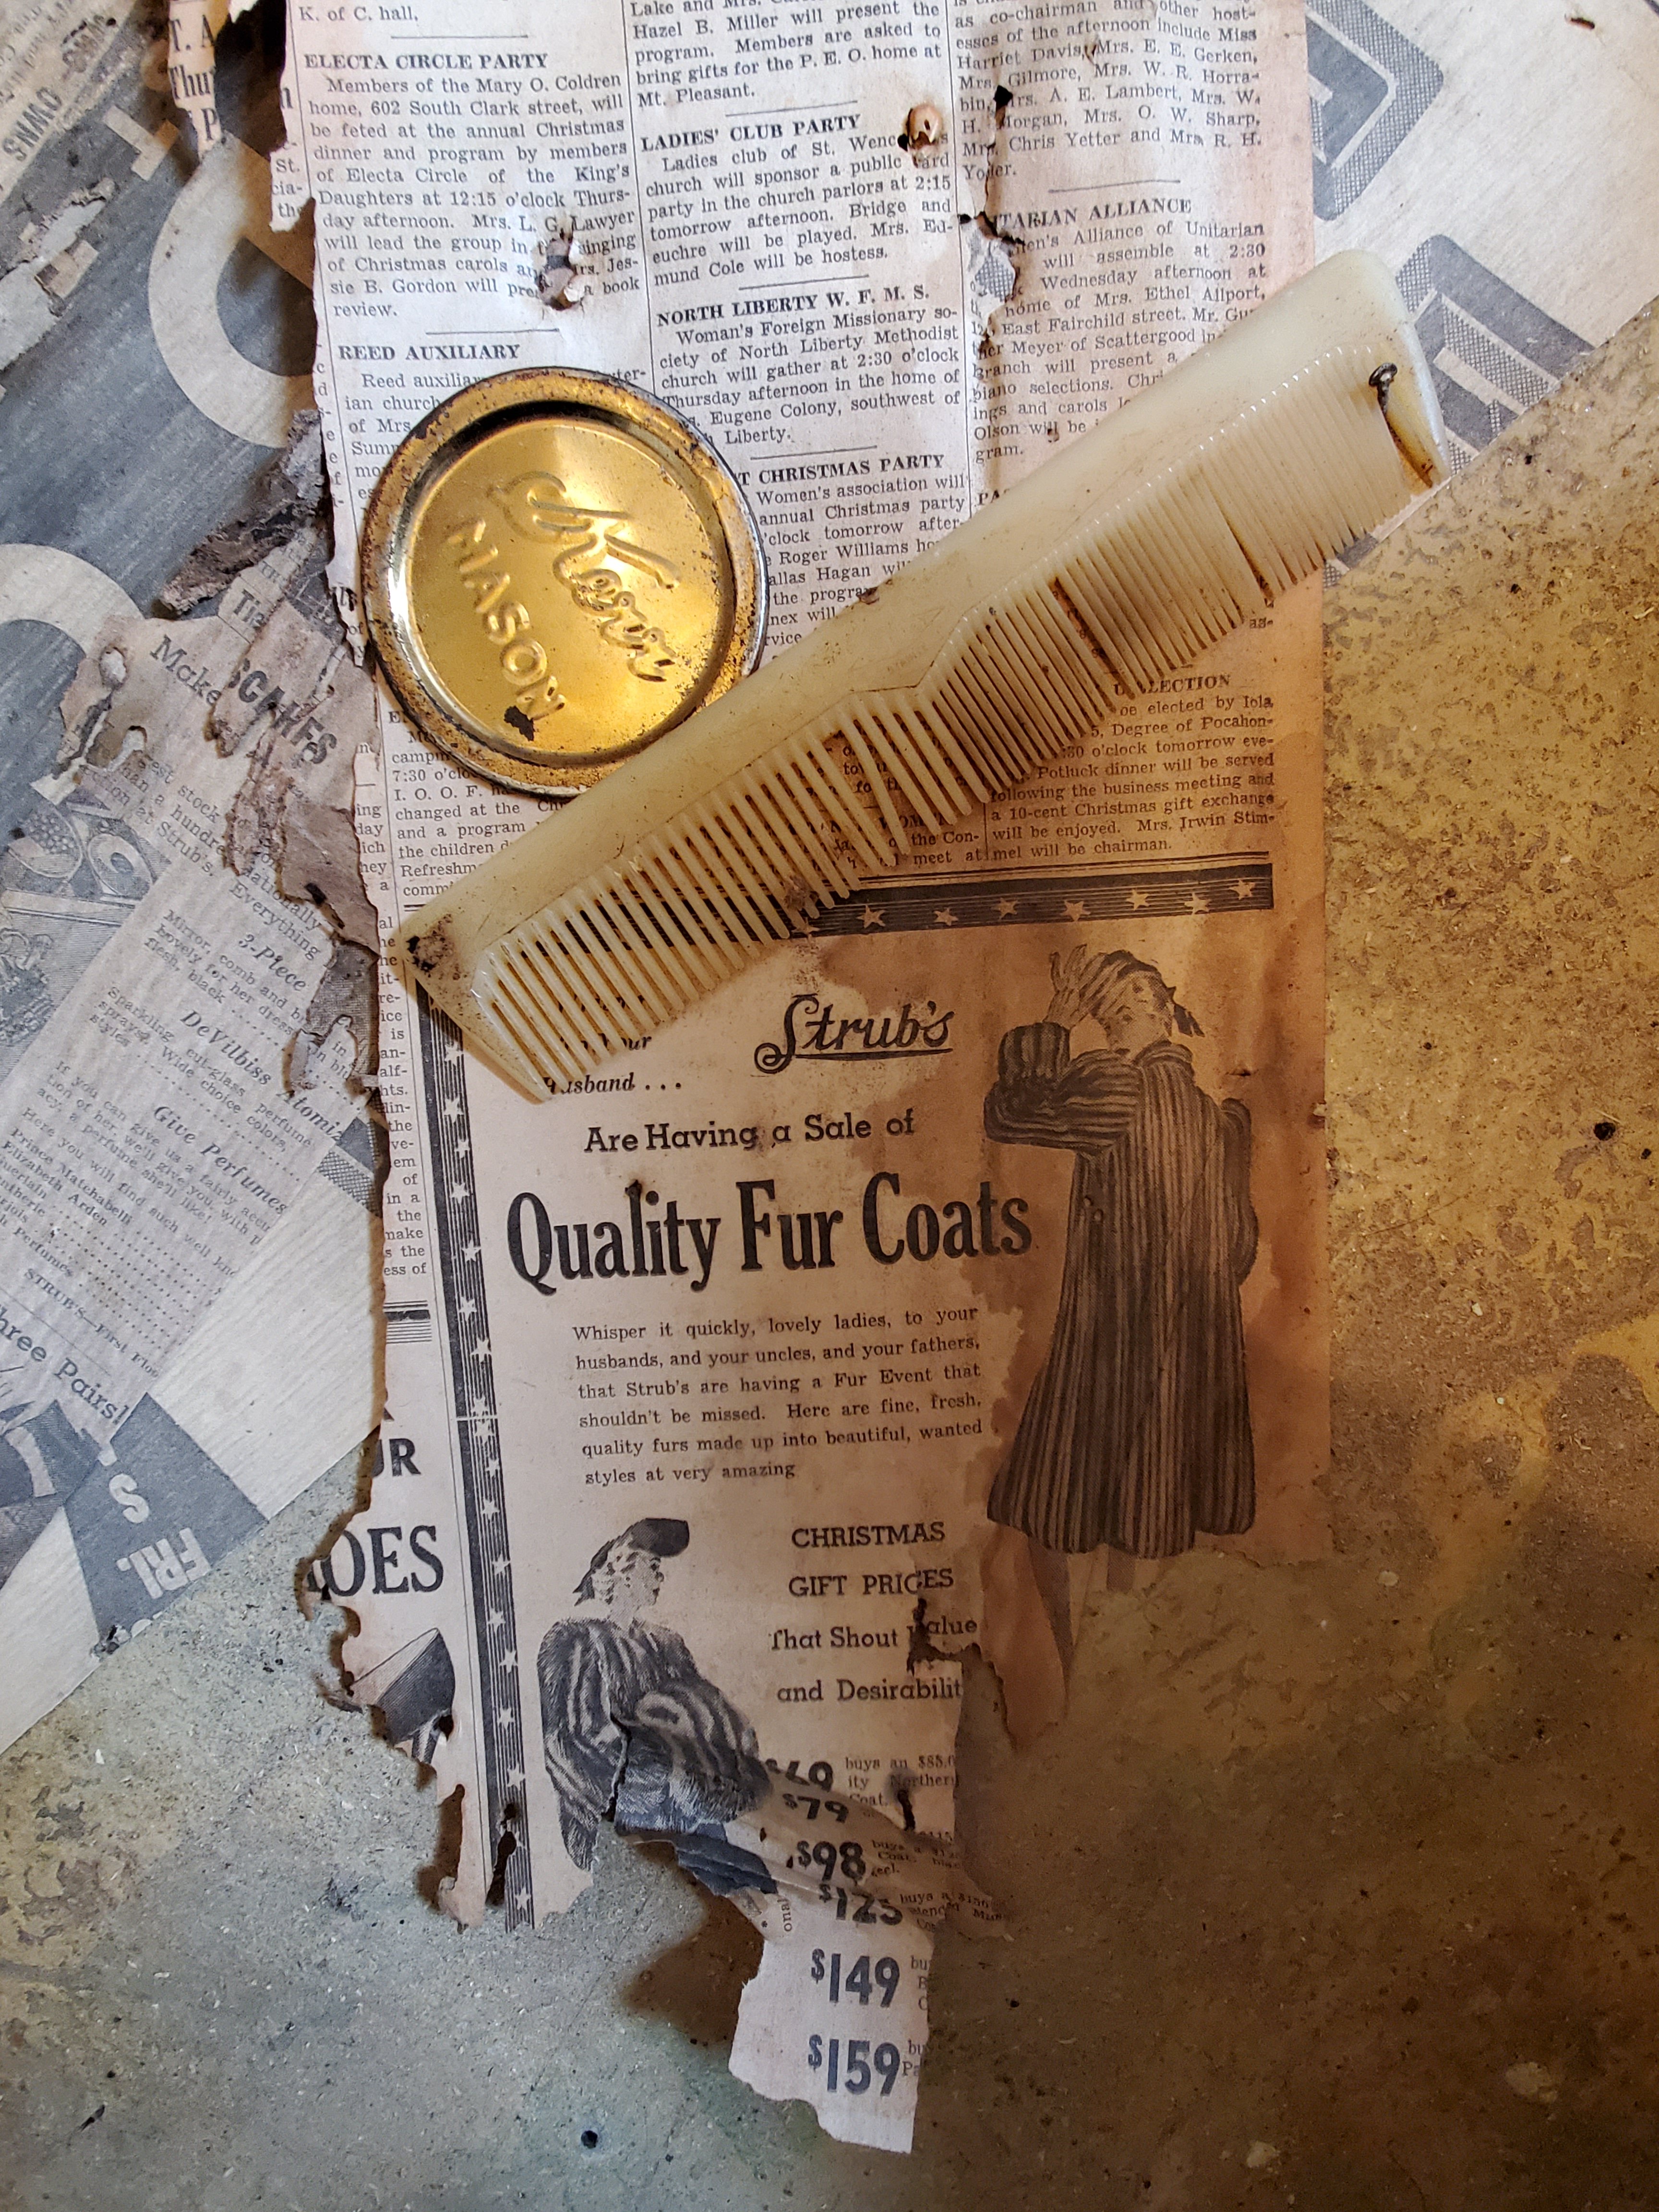
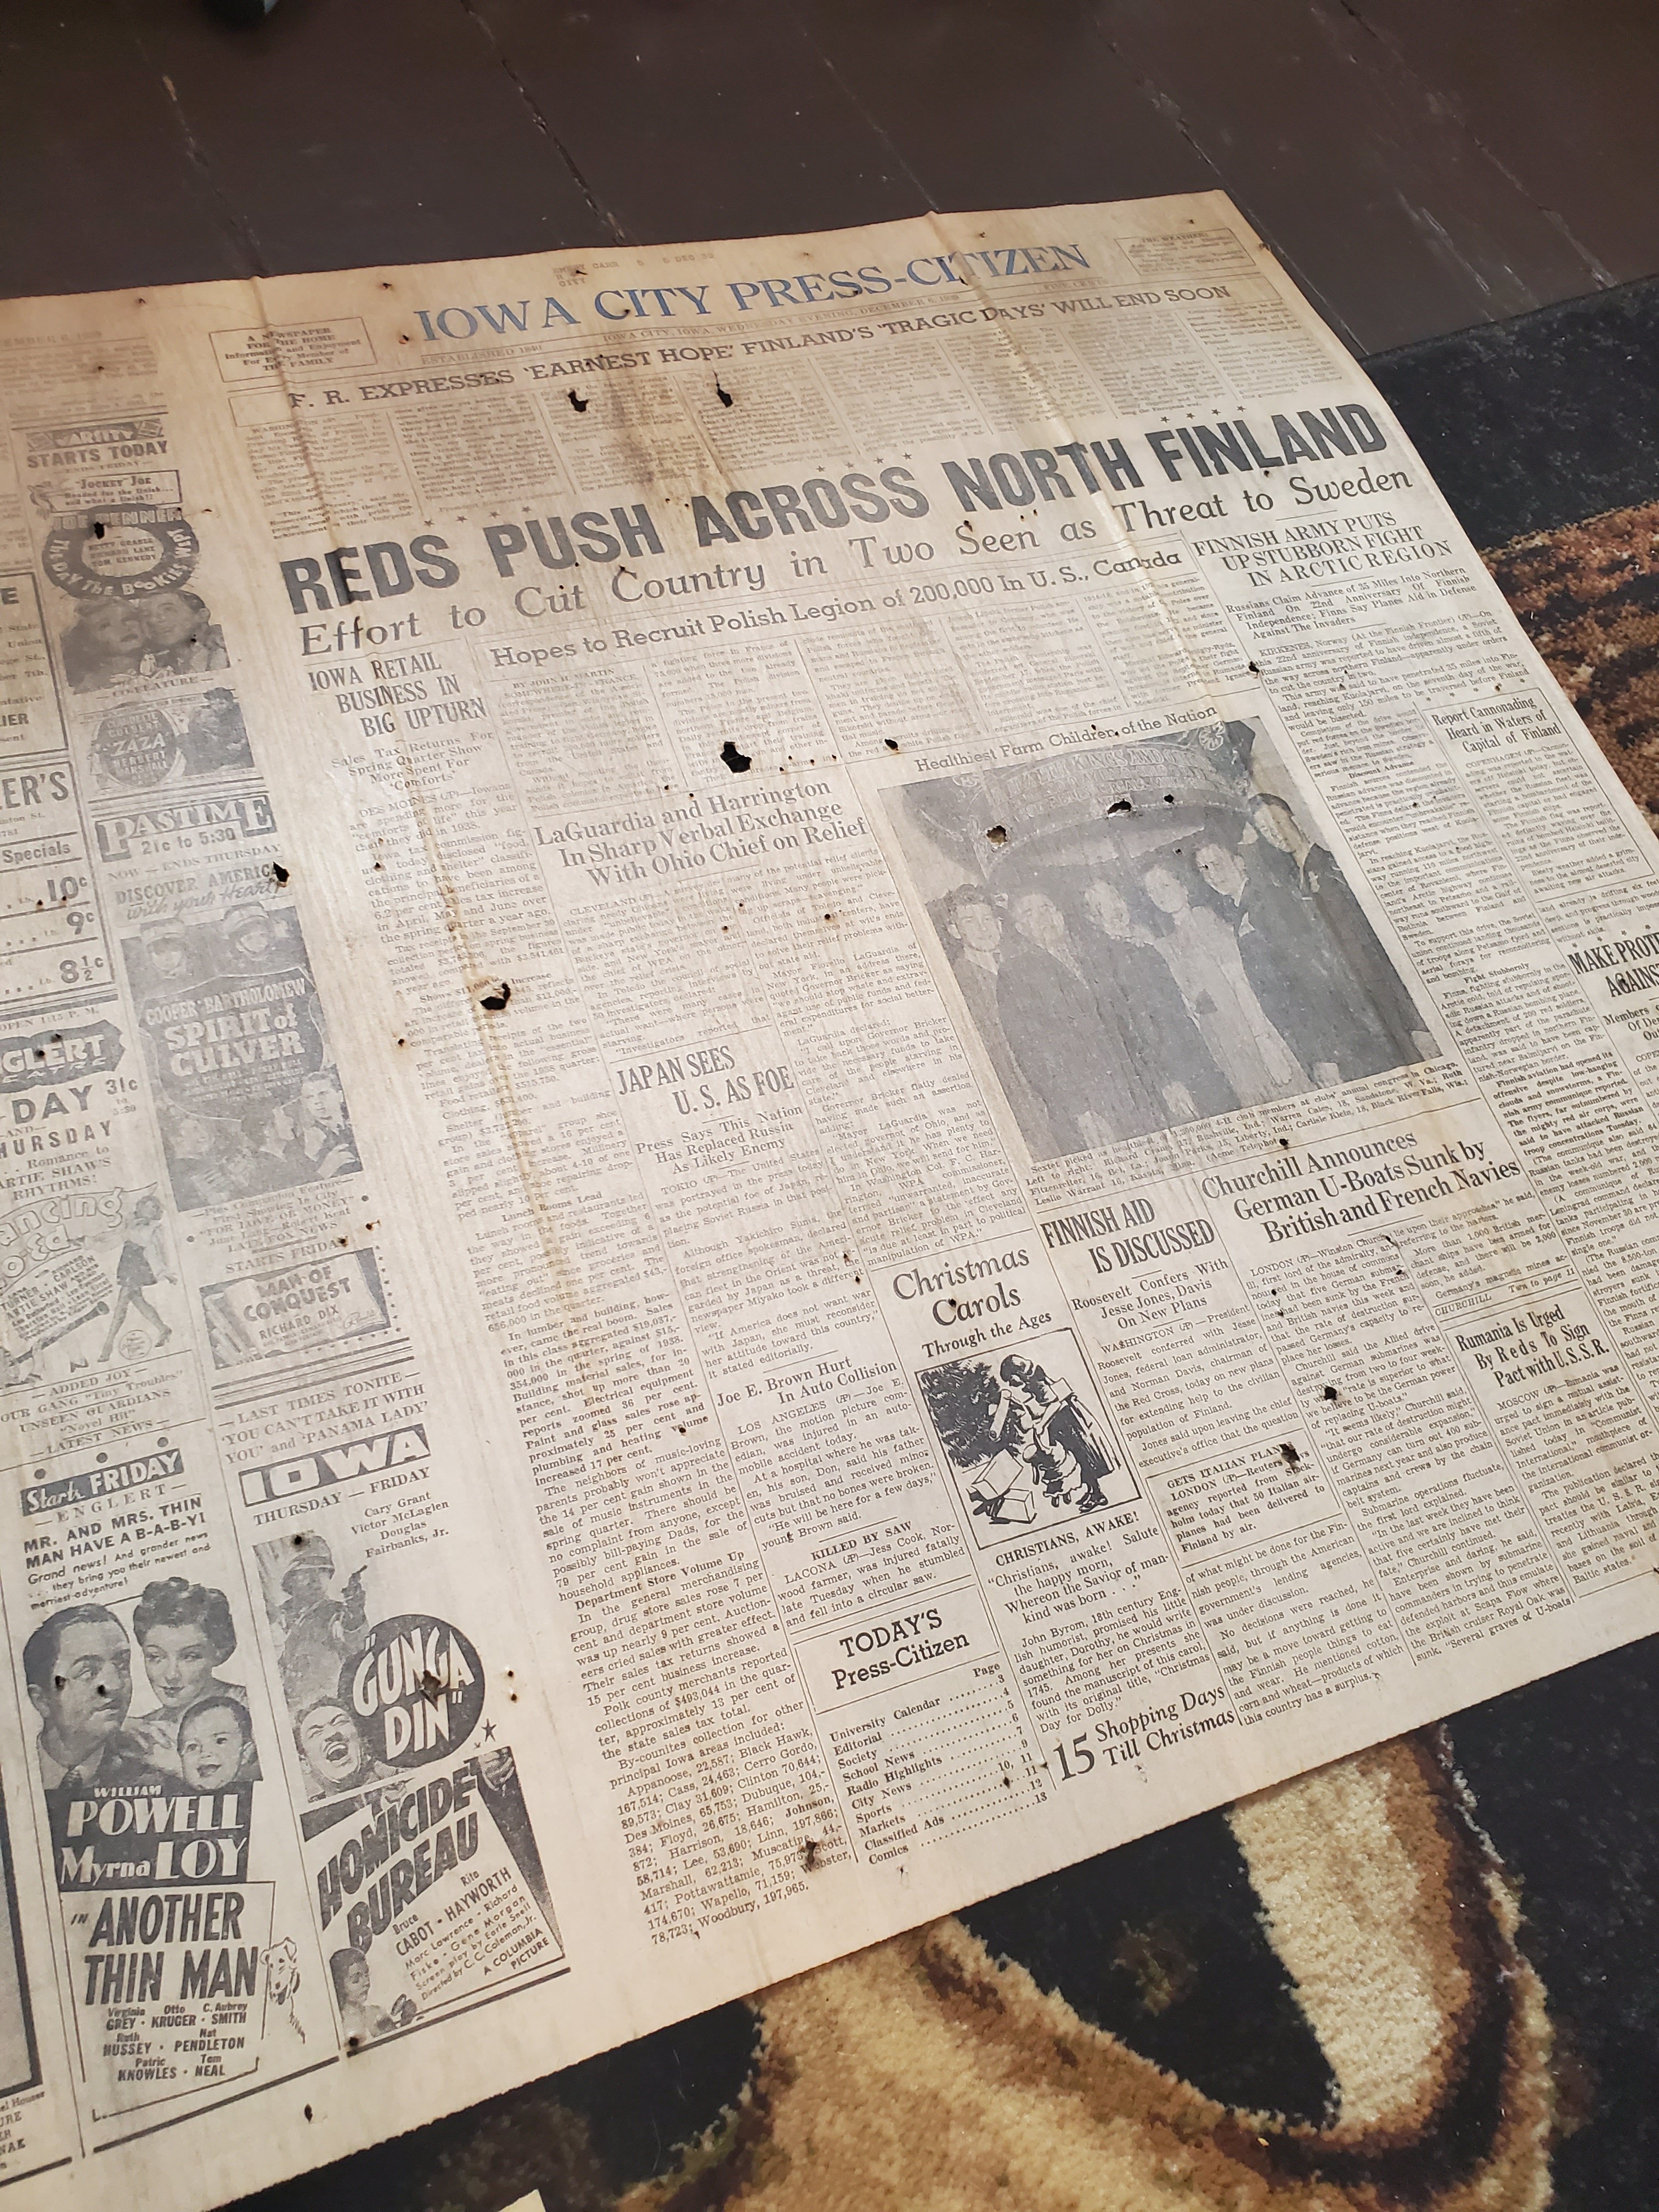
Look what we found under the flooring! Lots of these old papers from the 40s!
But now… she’s about done. (I say about, because we do still have an antique flag we are making a custom frame for to hang about the coat rack, but still, very close)

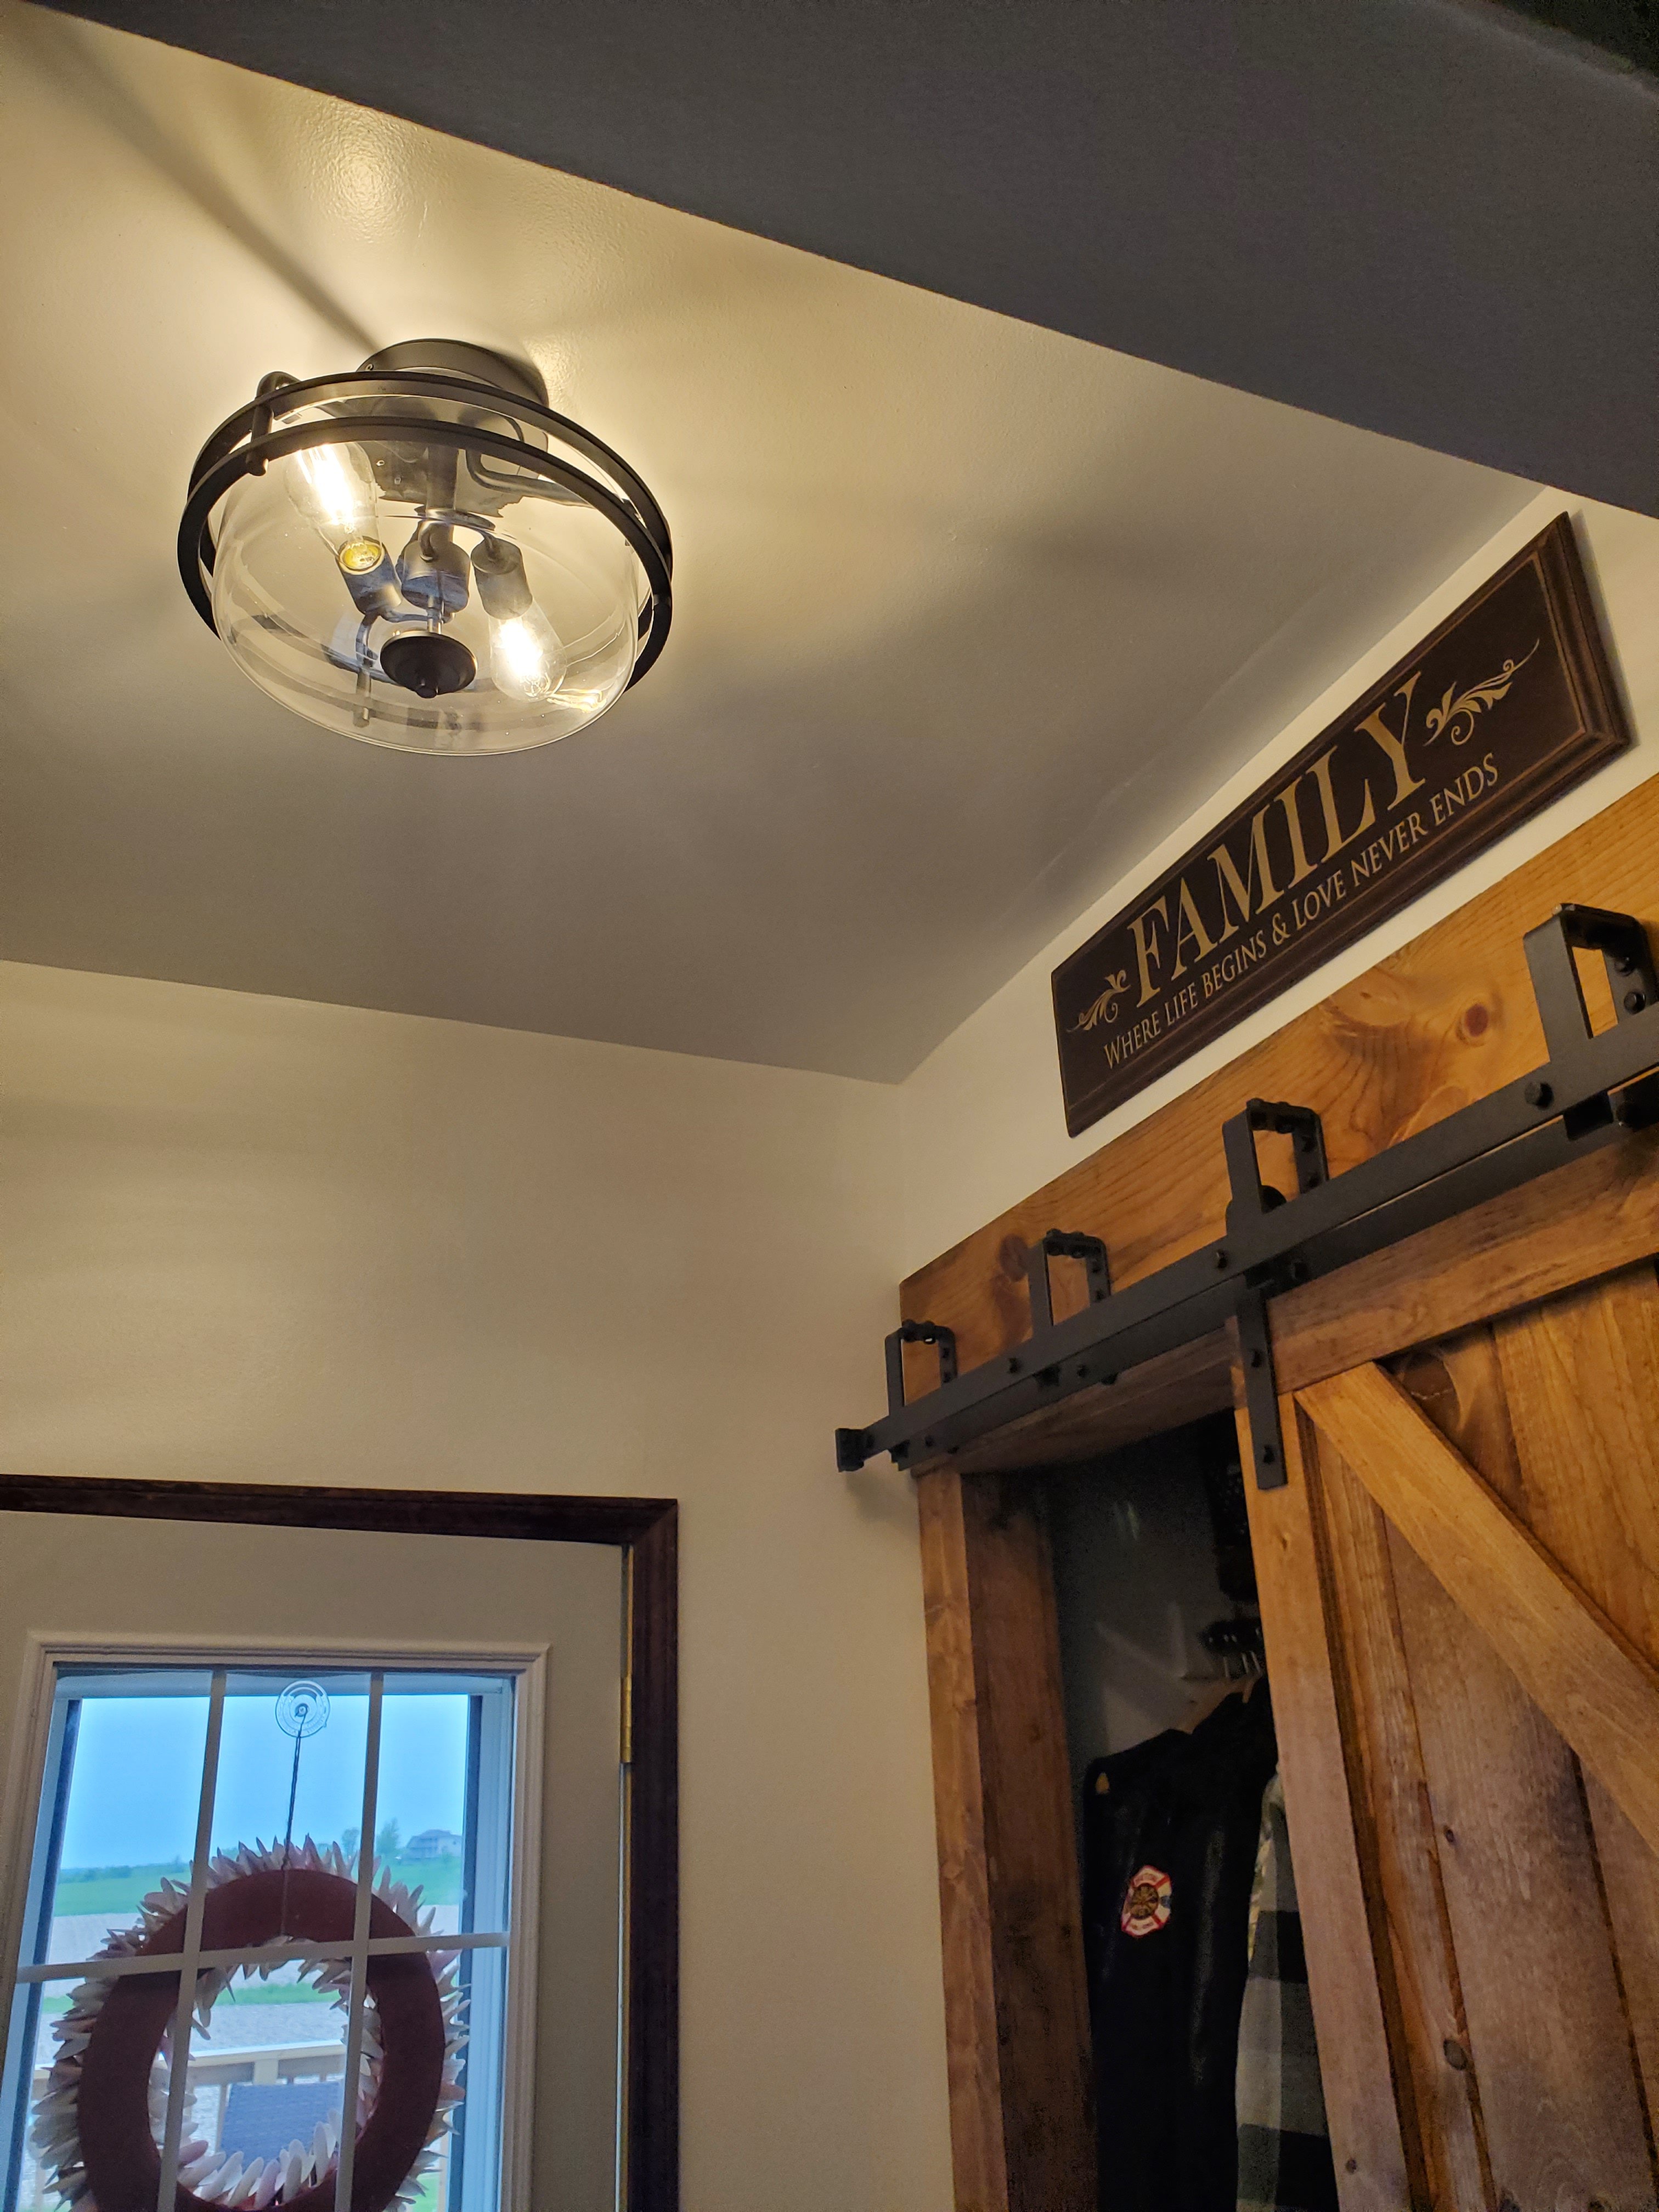


What do you think?! I think I love it so much that I need to add a chair for company. Come in further and you will see the dining room and hallway that we need to do the same too. 🤣
XX,
Jess
Deck Updates- Easy Ways to Make Outdoor Spaces Cozy
Summer is finally on the way! And we’ve been getting the deck and yard all ready.
Last year getting the deck built was our project. This year making the deck cozy and entertaining worthy is my mission. So we added a few things. Not done yet, but progress!


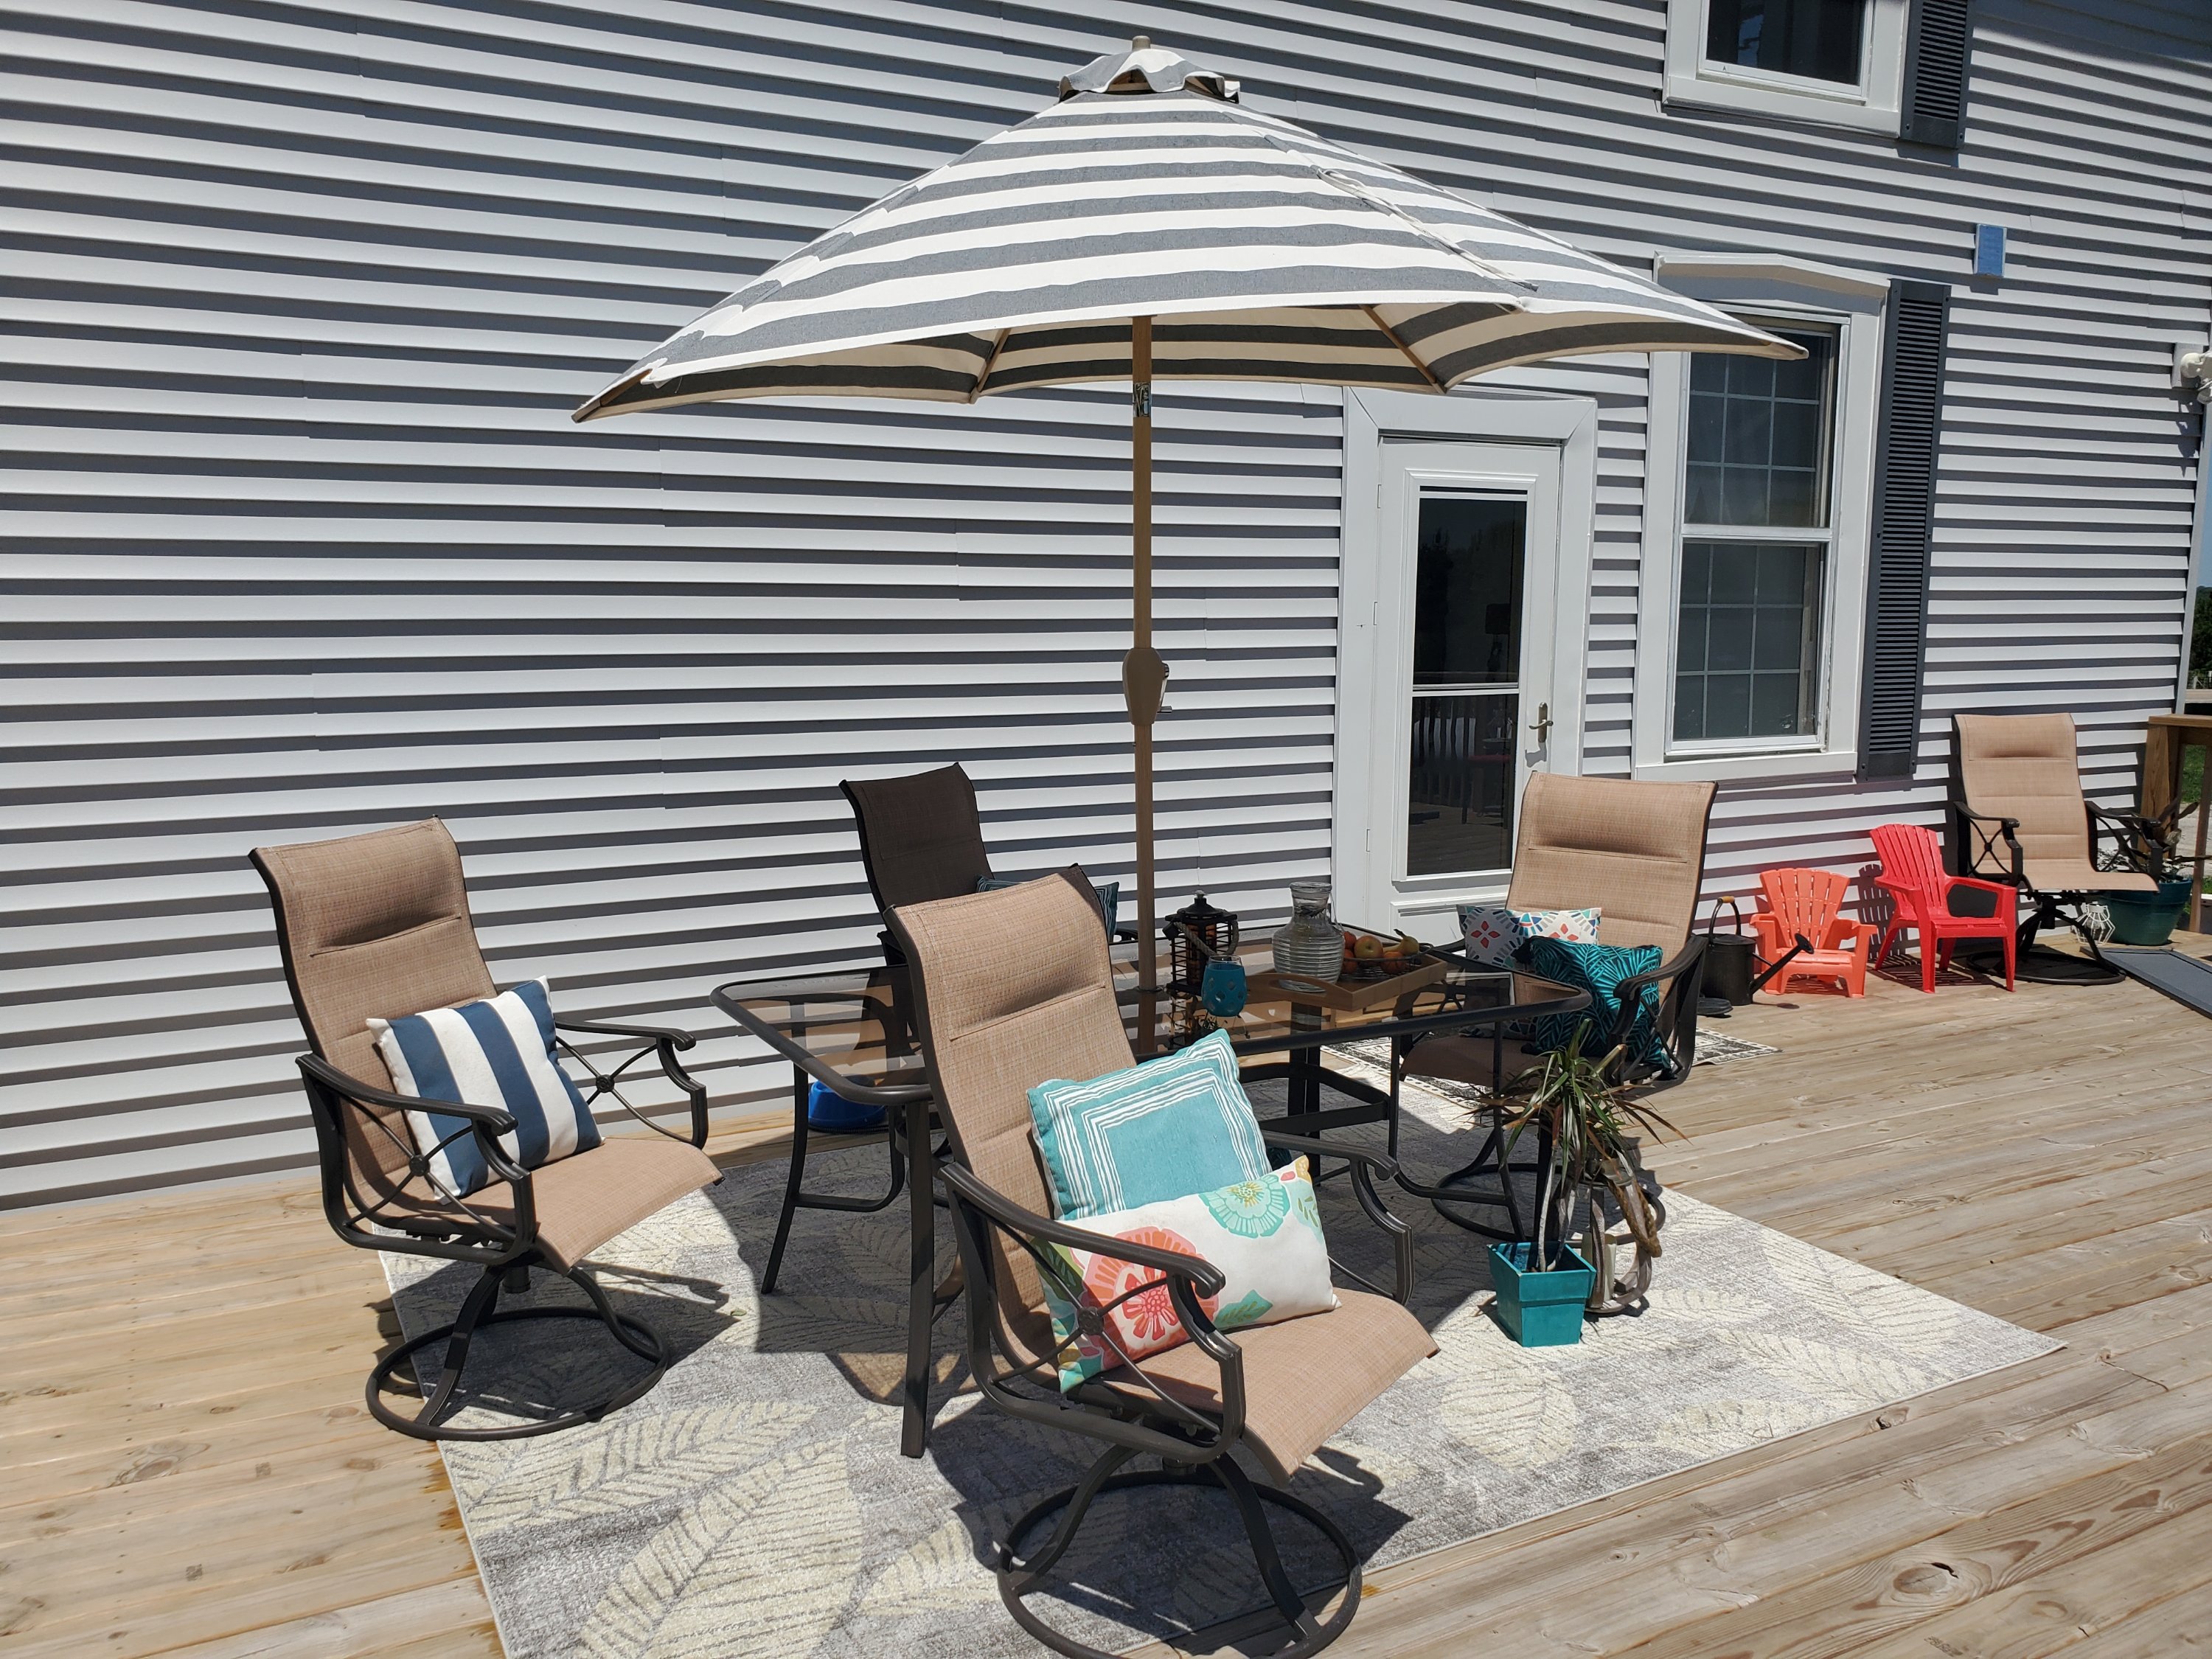


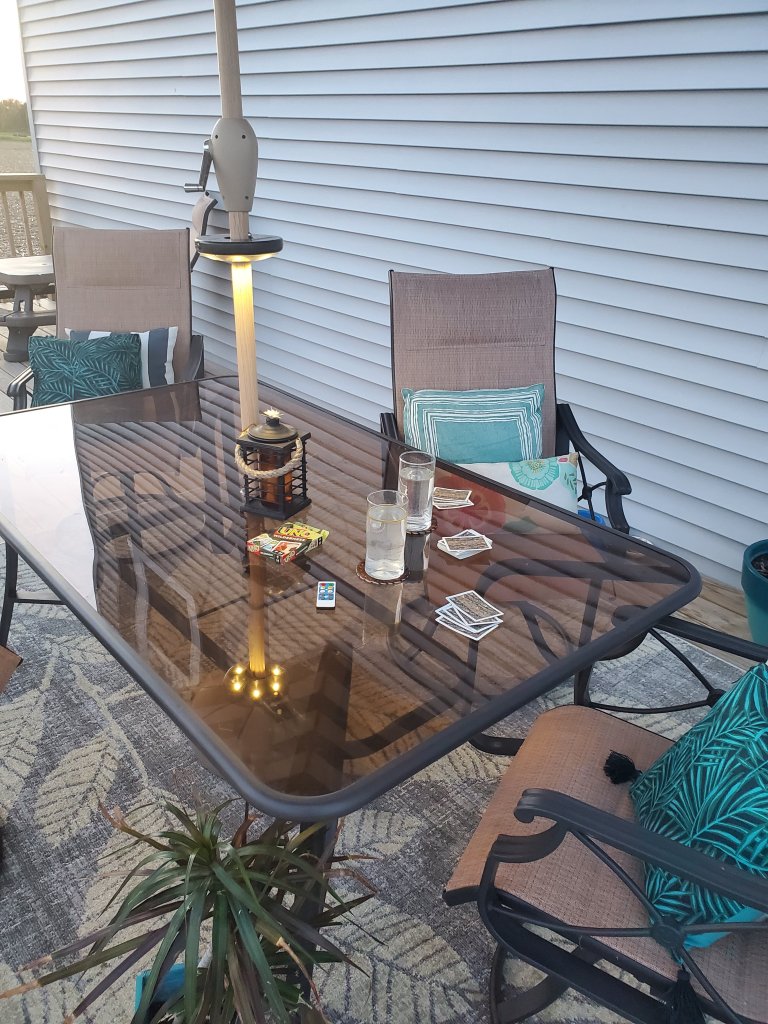
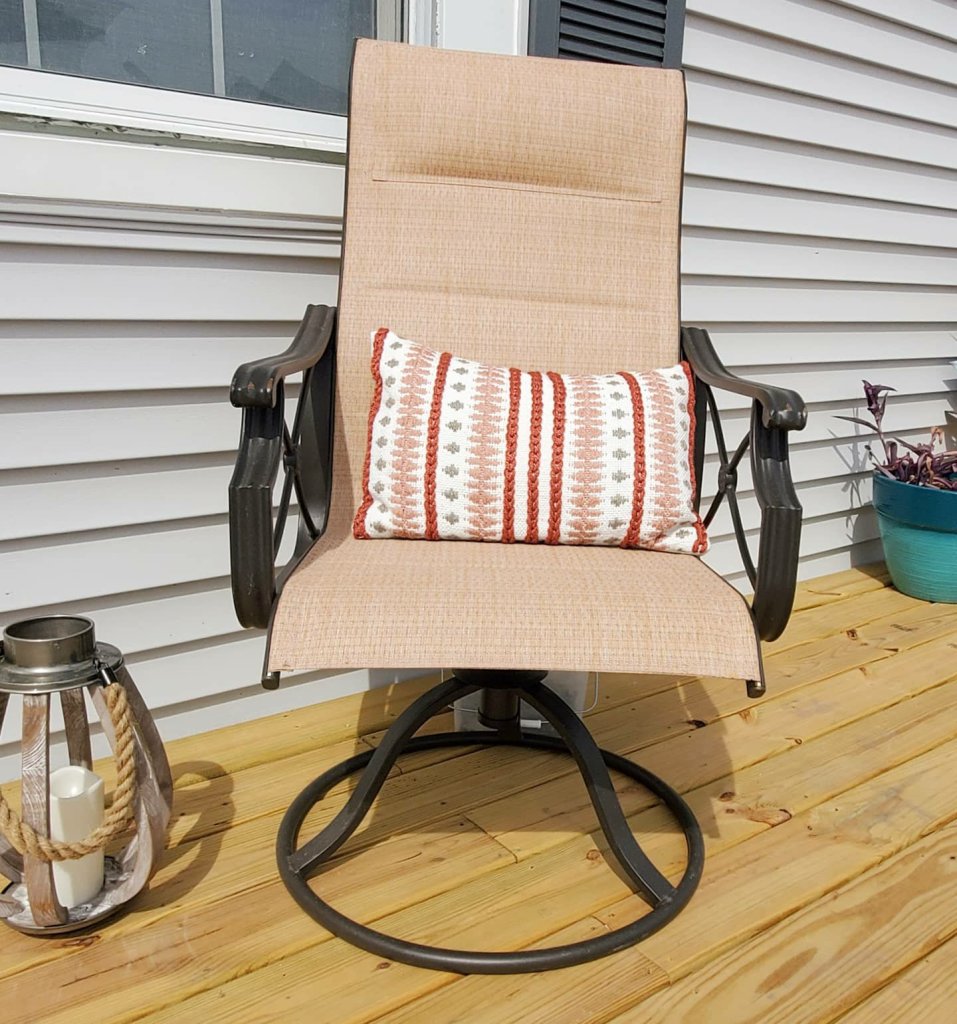
Plenty of cushions and a new rug make it cozy! Rug is from Mark and Day, our favorite rug place! (You can still use my code at Mark and Day too- JESSI10). AND, they are doing a free rug pad promotion right now too!
Some cushions and Walmart and Dollar General, but old, and the two darker green are new from Target Dollar Spot. Scotch Guard them to keep them longer, and I take in or put in a deck box when weather is bad. 😉
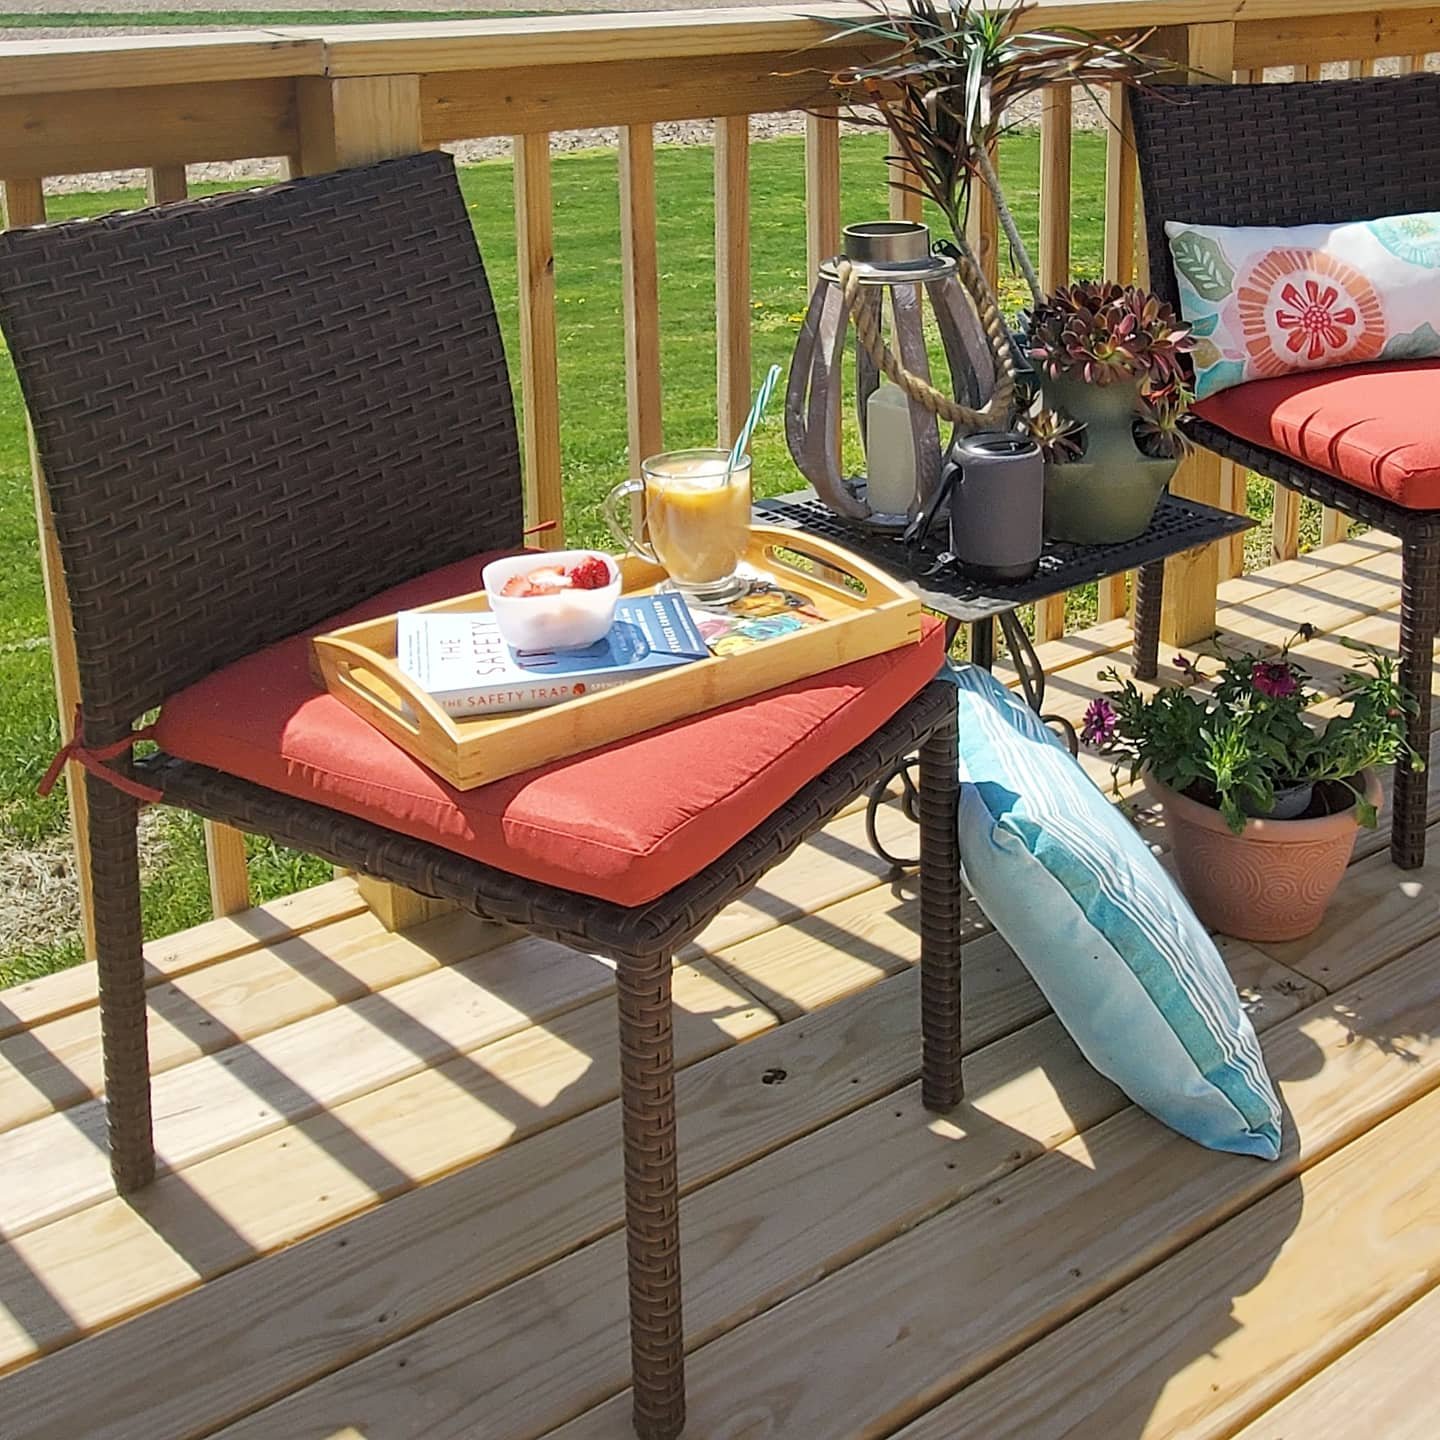
The other cozy trick is to add little areas. When we have company, chairs can get pulled anywhere, but they start out set up in cozy little spots. These stackable chairs we got to have extra seating, are from Best Choice Products. Different rugs also help tie different conversation areas together.
Another easy thing to add for coziness is plants. Plants bring brightness and life to spaces, and same with outdoor spaces! You don’t have to have a green thumb, mine mostly isn’t 😉, even fake plants do the trick.
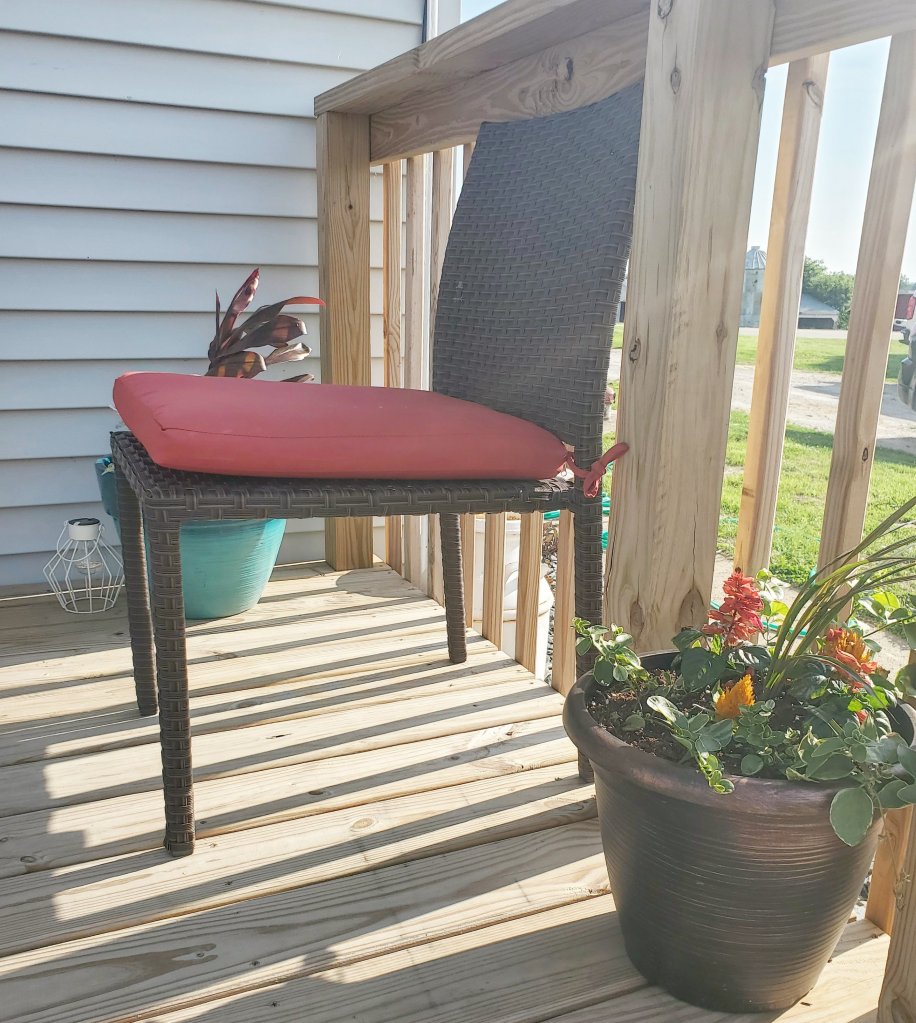
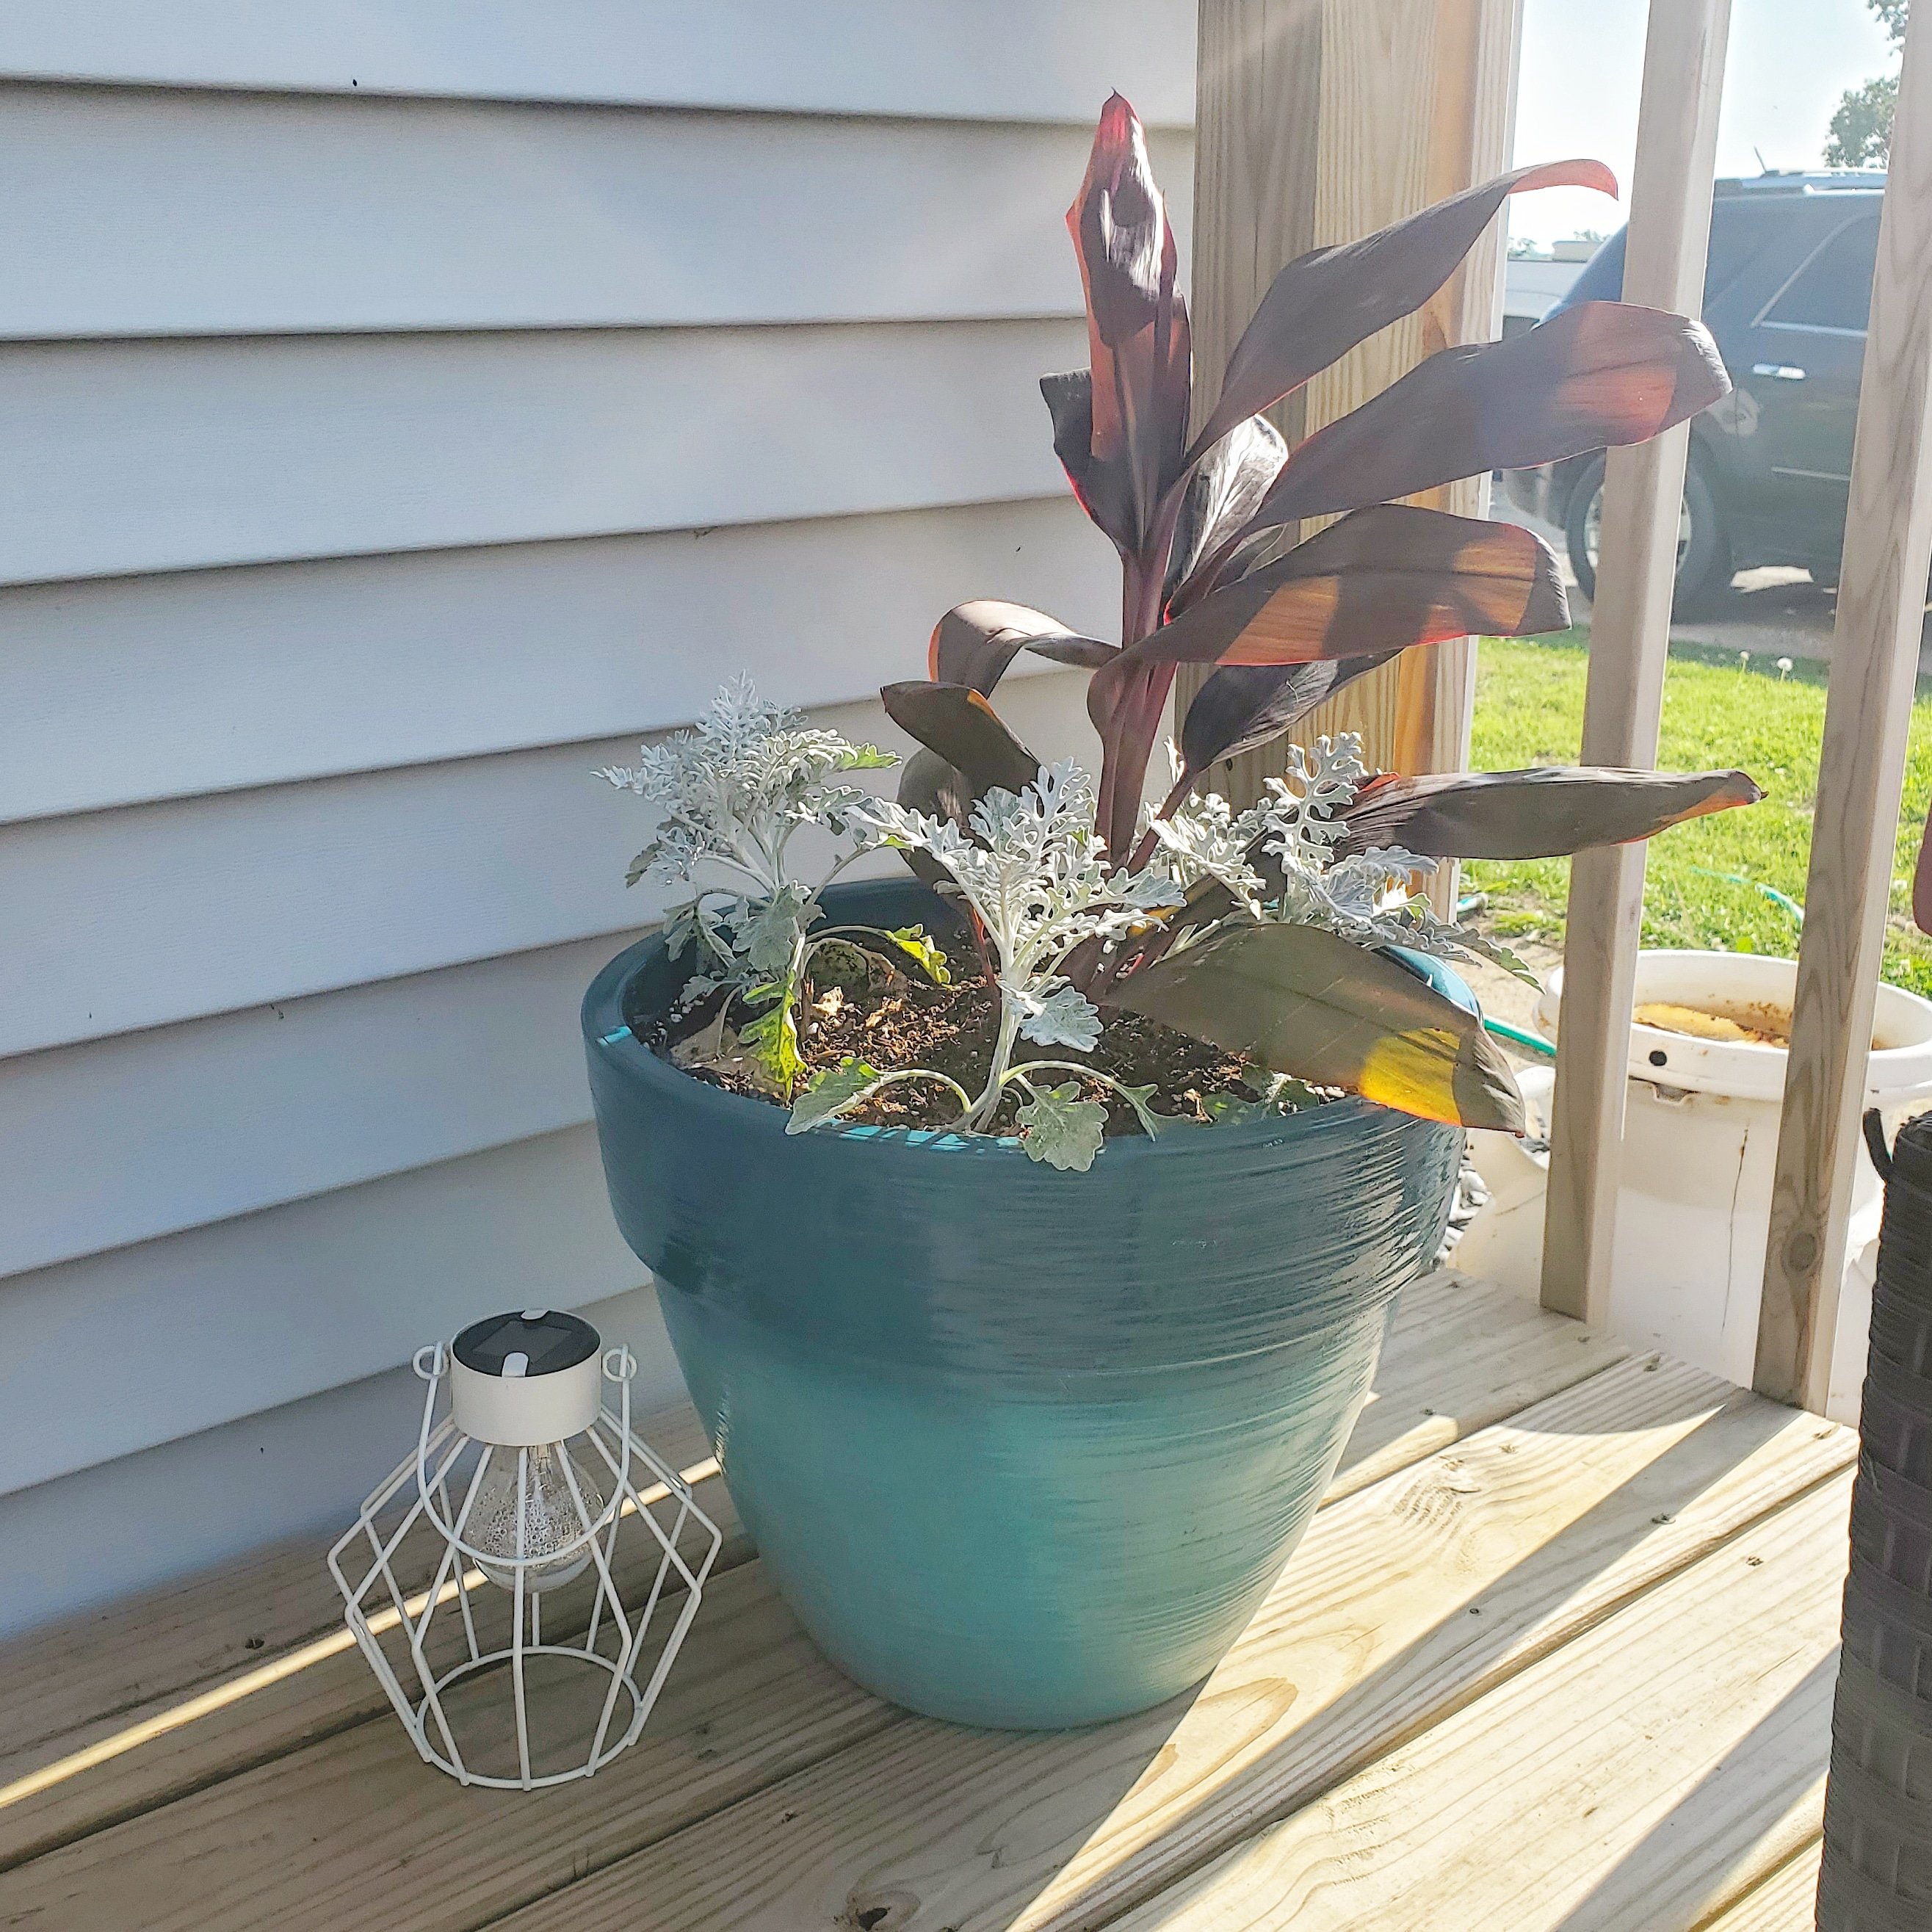
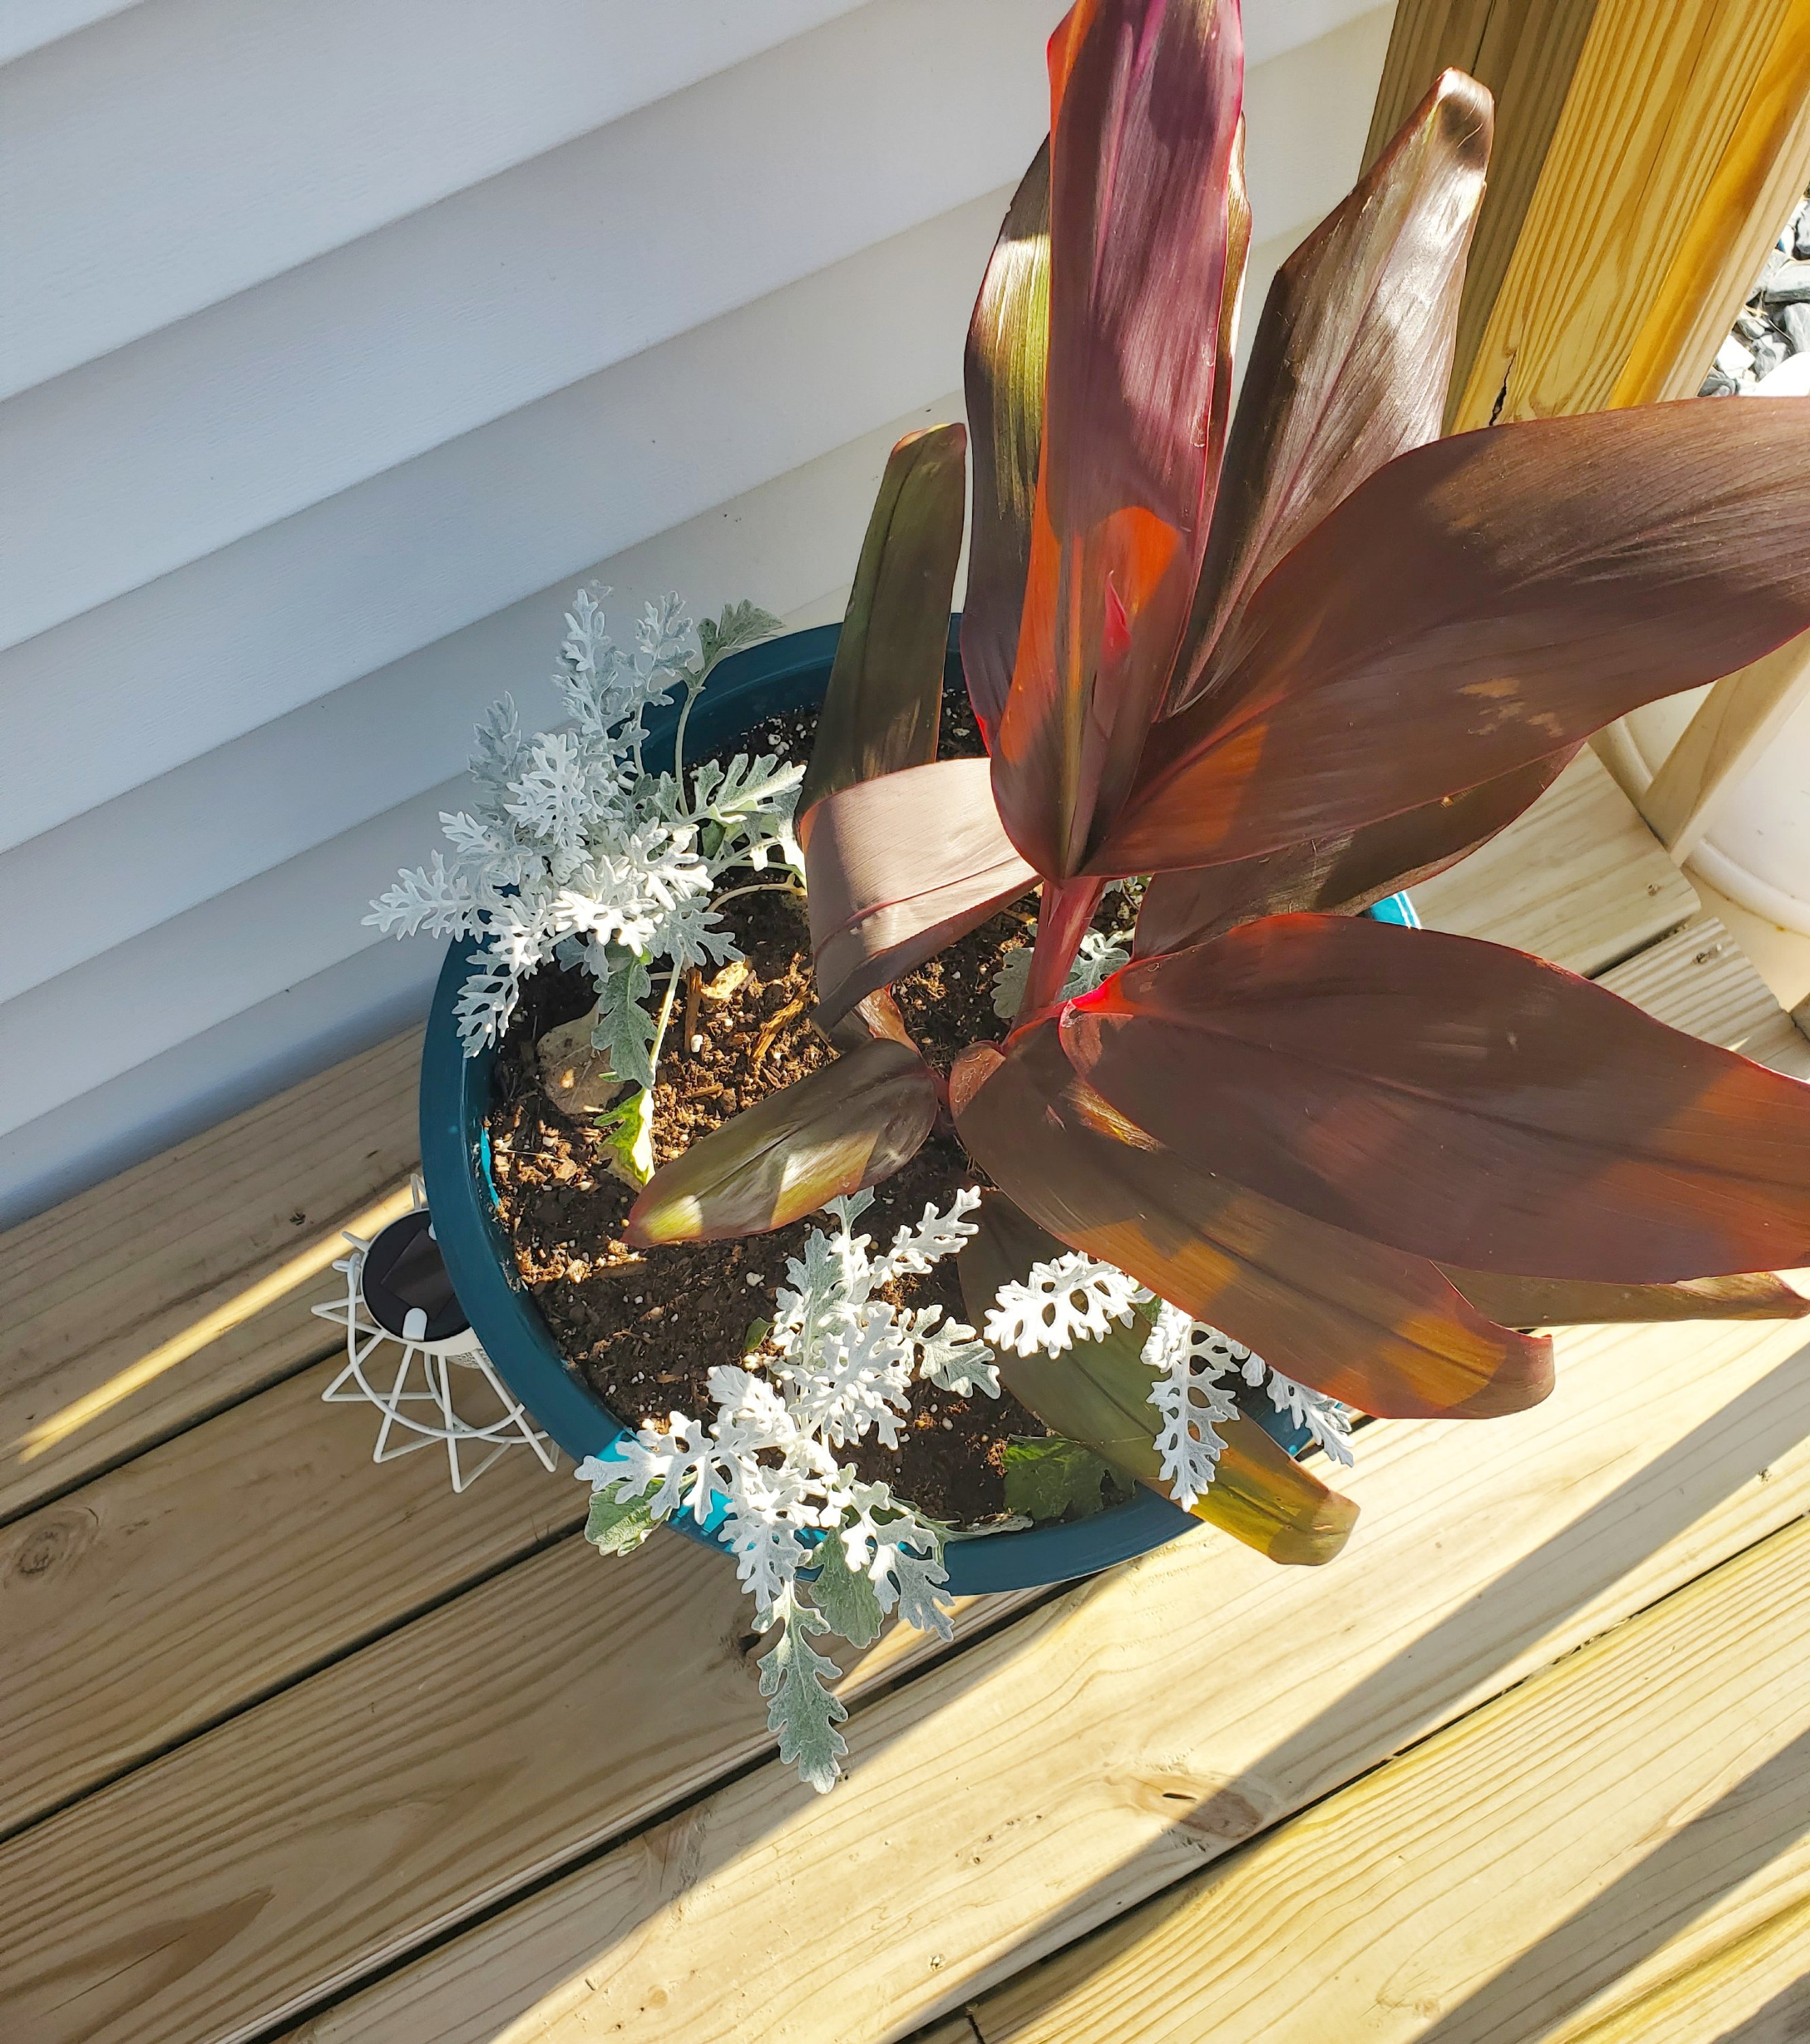
I like my plants colorful! Plus, remember the rule of three, add a centerpiece, and outer plants that will grow and hang and you will be potting like a pro. These were all recently planted, but will soon be big snd overflowing! 🤩
One more cozy add is lighting and sound. This can be super simple too. My lanterns are all inexpensive and have solar lights in them. We also added this umbrella light from Brilliant Evolution recently and it adds such a beautiful glow in the evening! You can use code JESSICA15OFF on their lighting too!
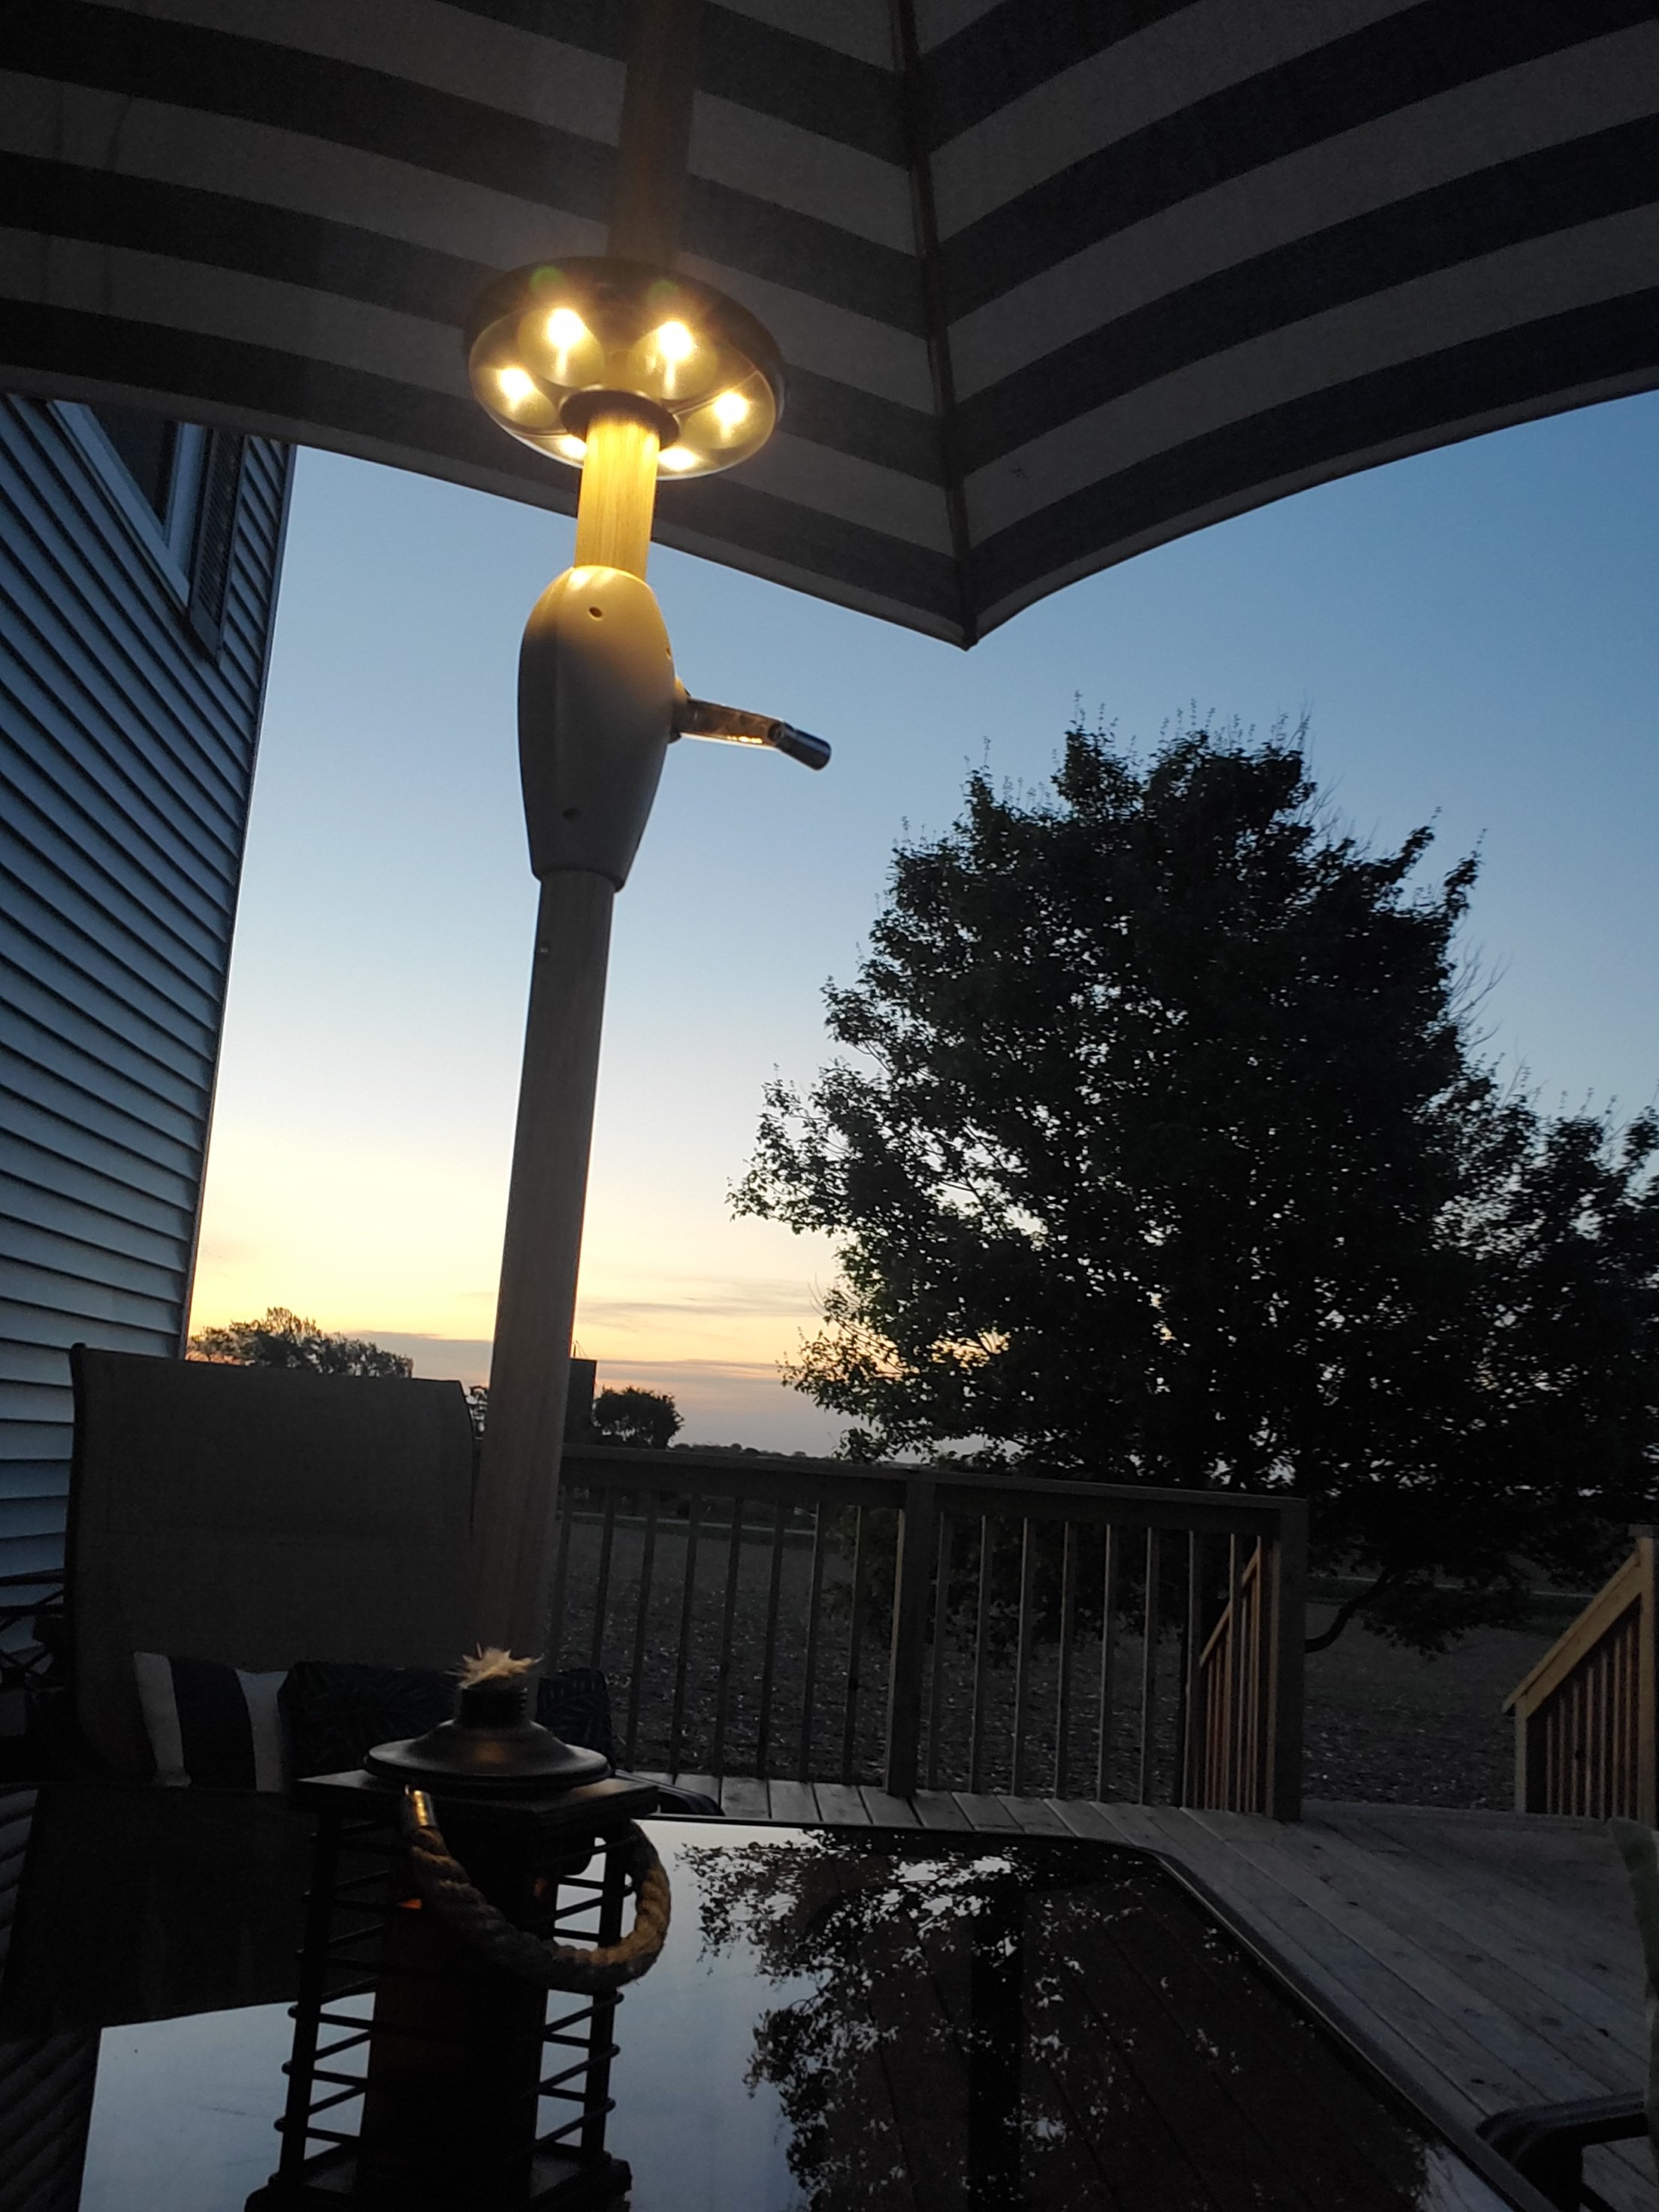

The quickest, easiest DIY to up your outdoor game!
Right now I use a simple Bluetooth speaker sat on the table too, but we are in process of installing a whole system with speakers on the house wall. Either way, tunes add to the vibe!
What else would you add?!
XX,
Jess
Guest/Play Room Update
Added a new rug! Small update, but so gorgeous I had to share!


Rug is from Mark and Day, and I LOVE their selection and prices! Highly recommend! AND, you can use that link and save 10% 😍
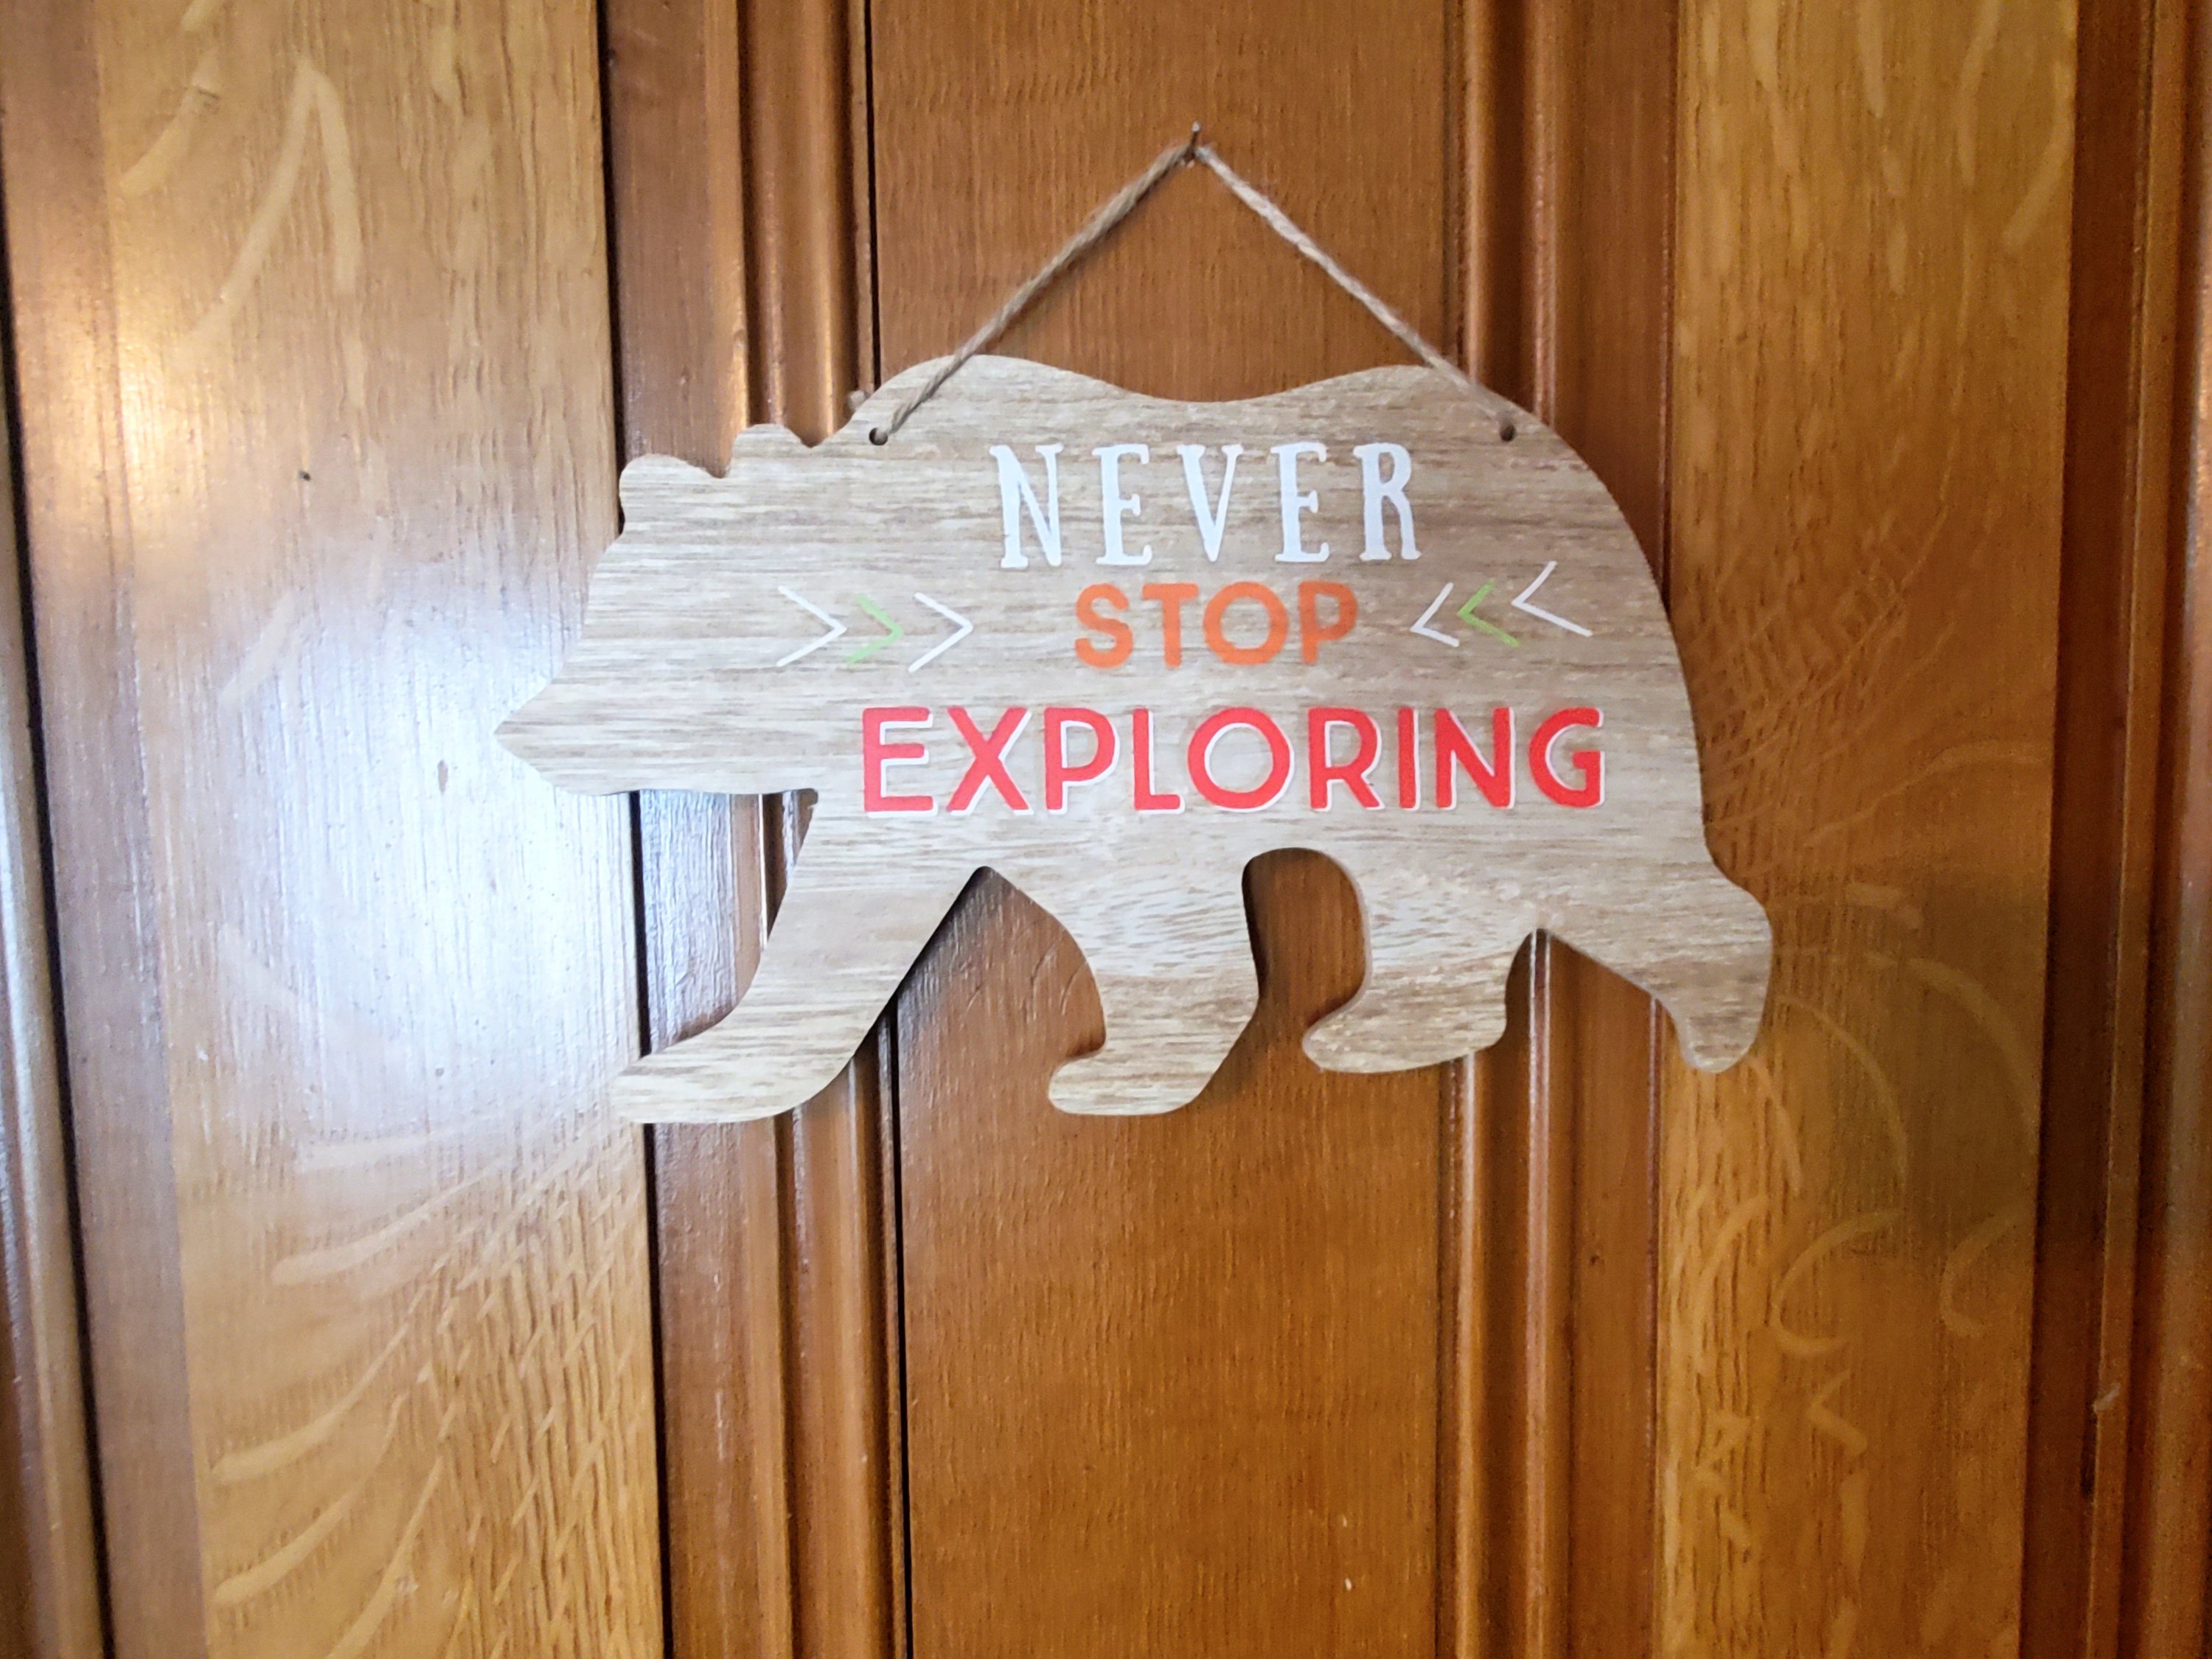
Wall hangings, shelves and a couch coming soon…
Plus, a total gut of our mudroom in process to share soon! 😉
Jess
XX
Guest/Play Room Transformation
When we moved in a few years ago the rooms were all boring and ugly…
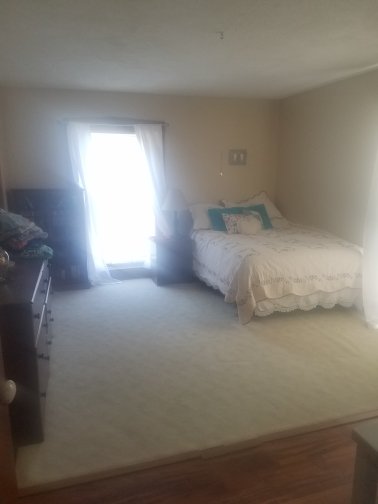
Then we painted and added some fun flair to make this one a bright teen room…

Then, the teen grew up and moved out, so we had an empty space. 💡 We had an idea! A play room. But also make it a guest room, so that we still have a space for company to sleep…
And so the room became a guest/play room.
Paint again. Tone down those walls. New floors. New furniture. Make it fun, but grown up enough for guests… viola!
We went gray on the walls, but a touch darker than normal since we have lots of sunshine in here. We did snap in wood floor, since they are durable and easy to clean. Then the fun part…
We added a wall mural from PhotoWall! What better way to keep it fun for play and interesting but adult for guests?!
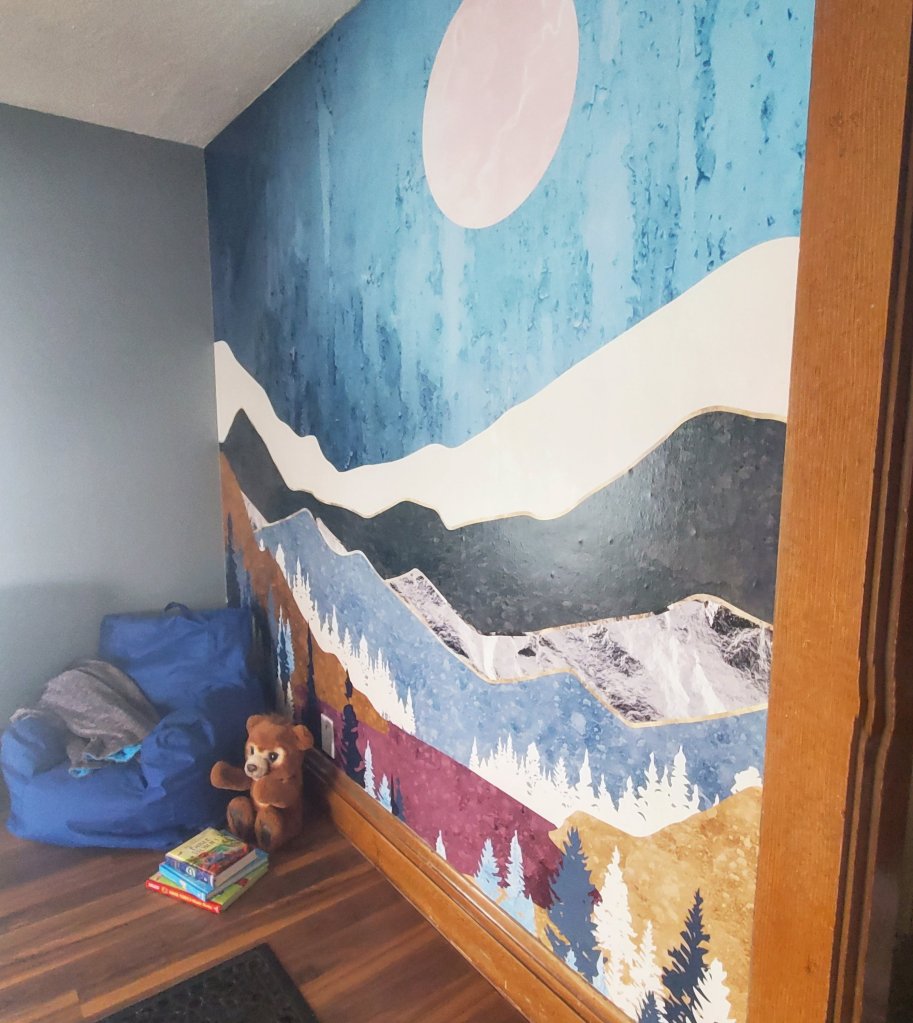

How cool is that?! It was actually super easy to install, just wallpaper in vertical strips, and it even comes with the paste. The boys are in LOVE with their new space!
You can head to PhotoWall too and use code ‘makemineeclectic25’ for 25% off any of their art, canvases, or wallpapers!

Next we will add furniture, so stay tuned…
XX,
Jess
School At Home
This year has been a wild one, that’s for sure. It’s been so different from the norm for many of us. But, one things remains the same. We want our kids to learn, and we want them to have the best opportunities possible. So, no matter what type of schooling you are doing, these ideas can be for you!
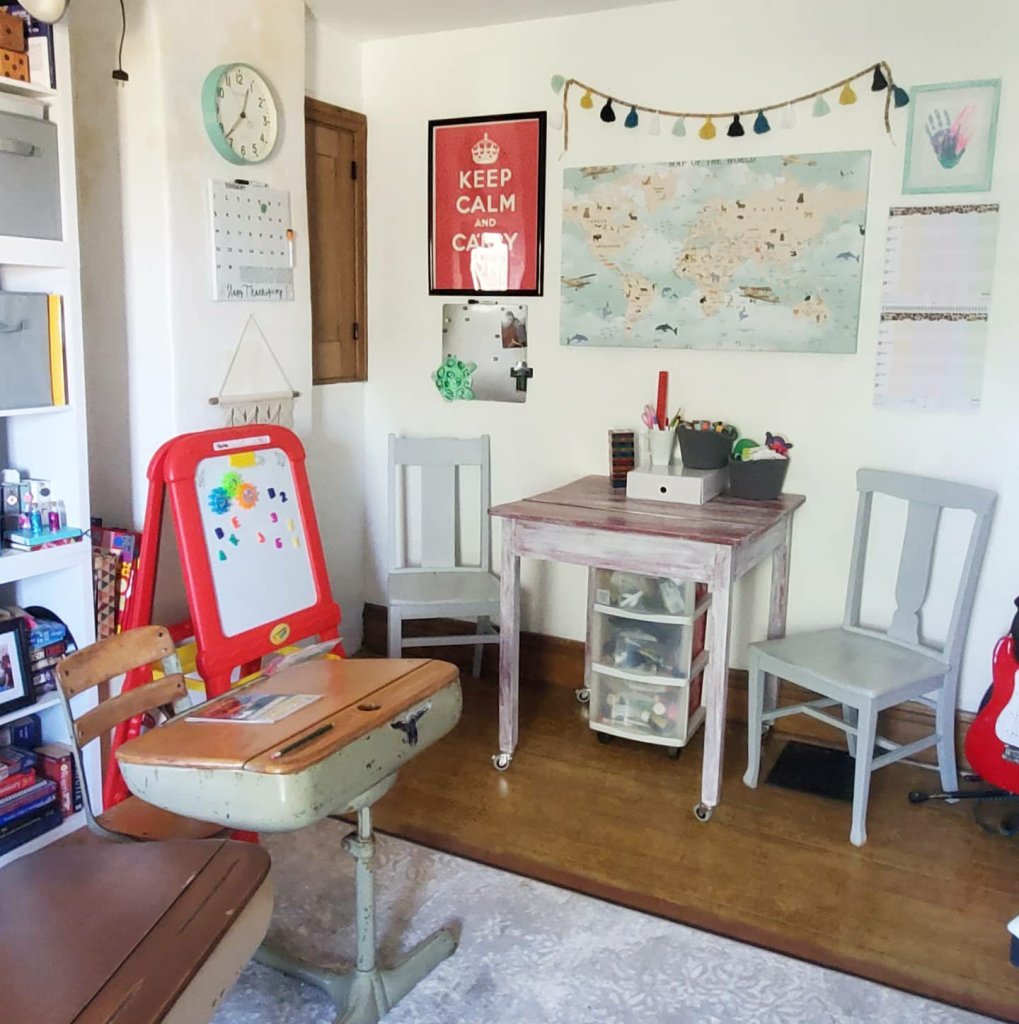
We are doing online schooling this year. Classes are via computer, but mom facilitates. Optimal? No. But we are making the best of it. My best tip so far? Find a space and make it for learning. Boundaries and expectations help learning go well!
You don’t need a whole room, maybe a corner, or a table, or even a certain table cloth, and when it comes out, its time to learn. I had always worked from home a lot and happen to have space in my office that I was able to convert to a learning space. Don’t worry, even if your space is much smaller, these ideas can help you too!
I have several tips for routine, but this will just be about supplies for today.
My second?! Keep it fun!! Third tip?! Get a map!
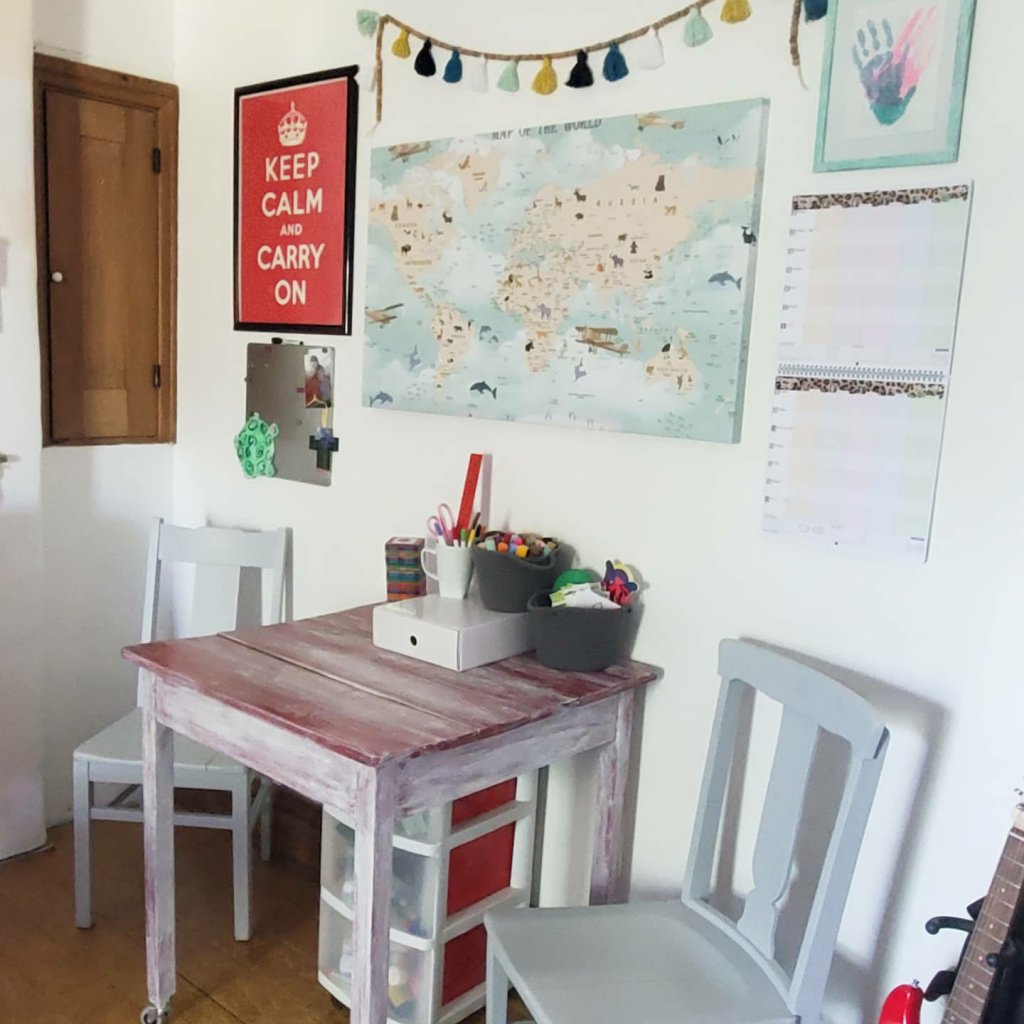
Look at how we combined both with this animal map canvas from Photo Wall! How cute is this thing?!
Photo Wall is amazing for any Wall decor really. They make wall decals, framed prints, posters, and canvases. You choose the art, the size, the material, and can even customize it! These would be amazing in kids’ rooms and nurseries, or even as an awesome accent wall!
Its details like this that really make your learning space fun and keep kids engaged. We knew Brantley needed a map for a lot of his Social Studies work, and looking things up on the computer really wasn’t cutting it. This map not only shows what he needs, but keeps his interest with the animals and details. He’s taken such an interest now! I plan to add a few more maps like this now too! And of course, you can fit them to your space.
Human anatomy? Plants or leaves? Turn them into a fun canvas or poster to make the learning fun!
Tip 4 & 5- Have your supplies accessible, and keep them organized. Again, your space doesn’t need to be huge, but if you can find your supplies and access them easily, you will be more likely to do so. Hands on activities teach concepts so much better. Like using the scissors, ruler, markers, paints… engages and sinks in. It could even be a tote of supplies that comes out with the table cloth when learning time is happening!
I’m no pro yet, but I can tell you that I’m learning right along with the kids. You can do it, and even better with some simple tweaks!
And back to my gushing about this map canvas, because it really is my pride of decorating the classroom. 😉 Here is my map link. And use code makemineeclectic25 on your purchase from Photo Wall too! Your walls will truly thank you, in a classroom or not!

What tips would you add for schooling at home?!
XX,
Jess
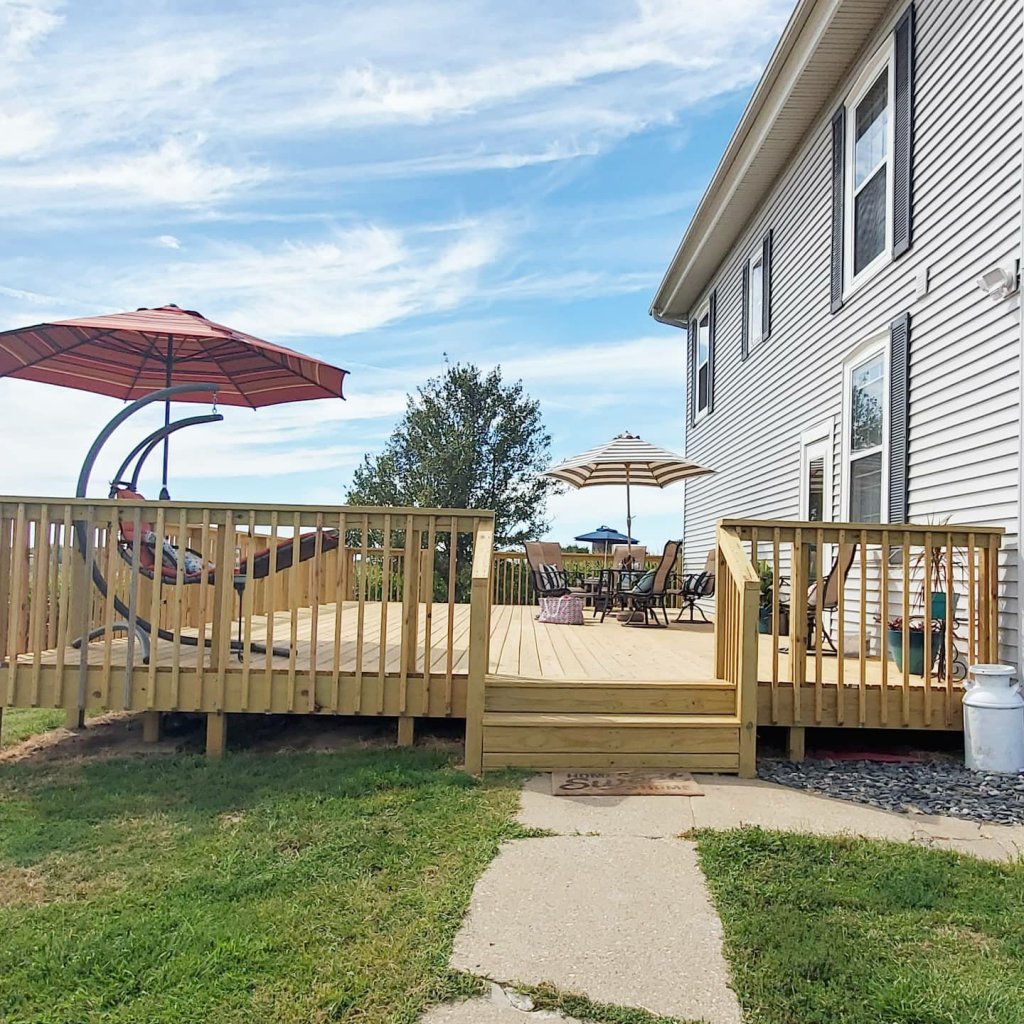
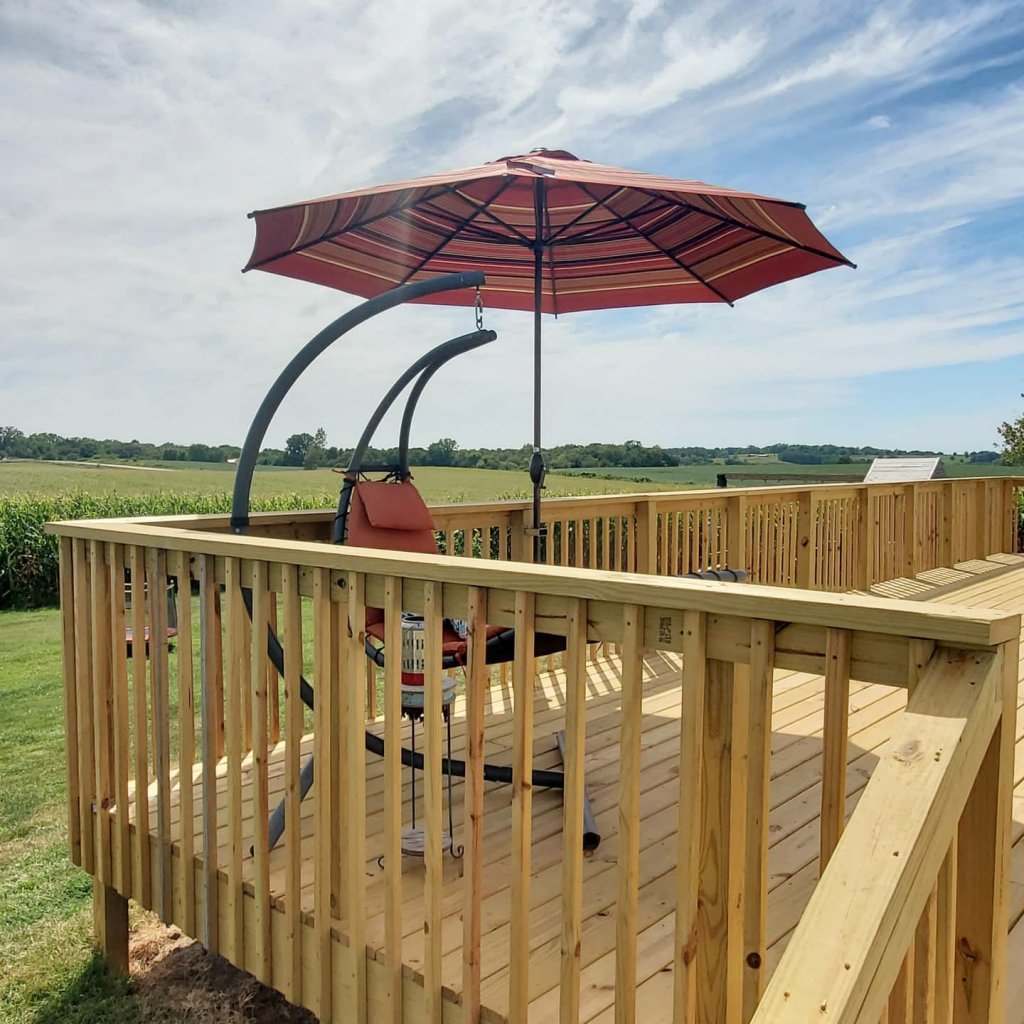
Deck Reveal
Its been a two year wait since moving into this house and several weeks of work this summer… but she’s finally done! We have a deck!!
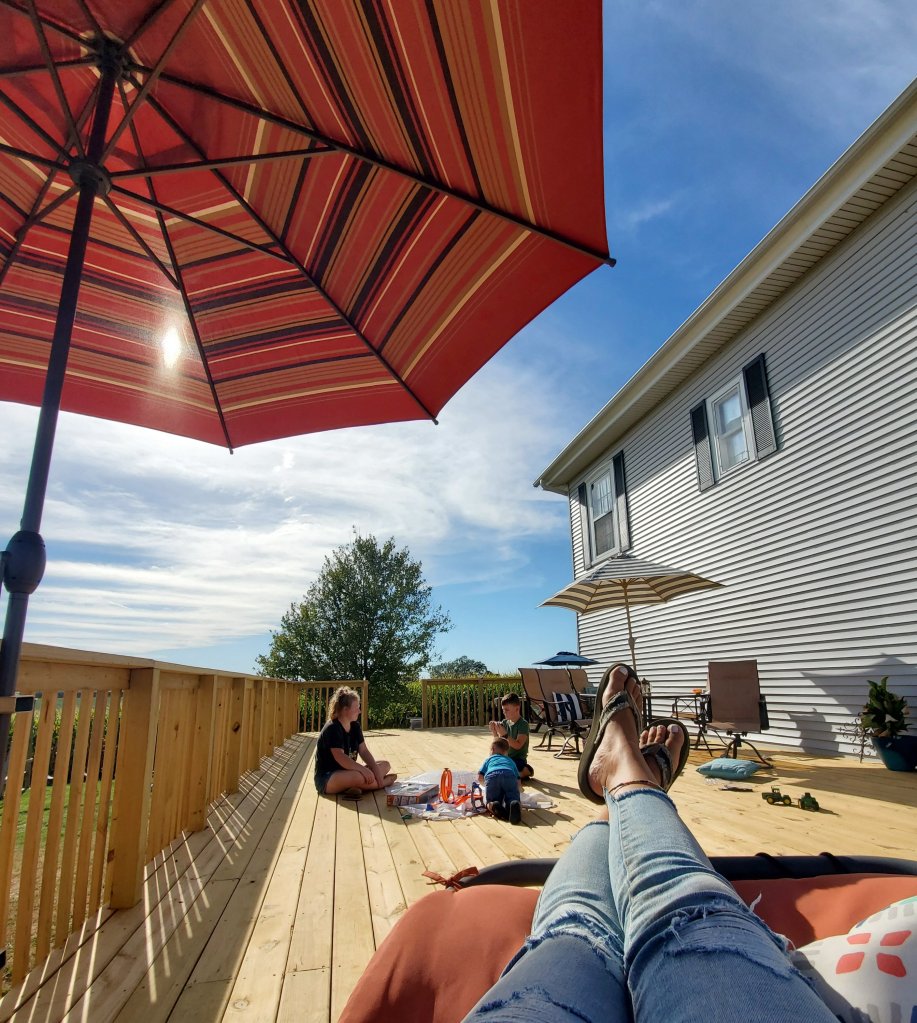
Now mom has a spot to relax and watch the family magic happen! 😉
Yes, its huge! The land directly behind the house used to be another house attached. This left the ground hilly, dead, full of bricks and glass, and in general, useless. So, cover it up we did. We filled in two giant cisterns and started a deck slab. Next year we will add a pergola to the blank spot of house where the table is now. We will put a pool in down below and then the following year add another piece of deck to half wrap around the pool. It will be the ultimate dream area when we are finished.

We do still want to add trellis to the bottom to keep everything out, but that will happen this fall.
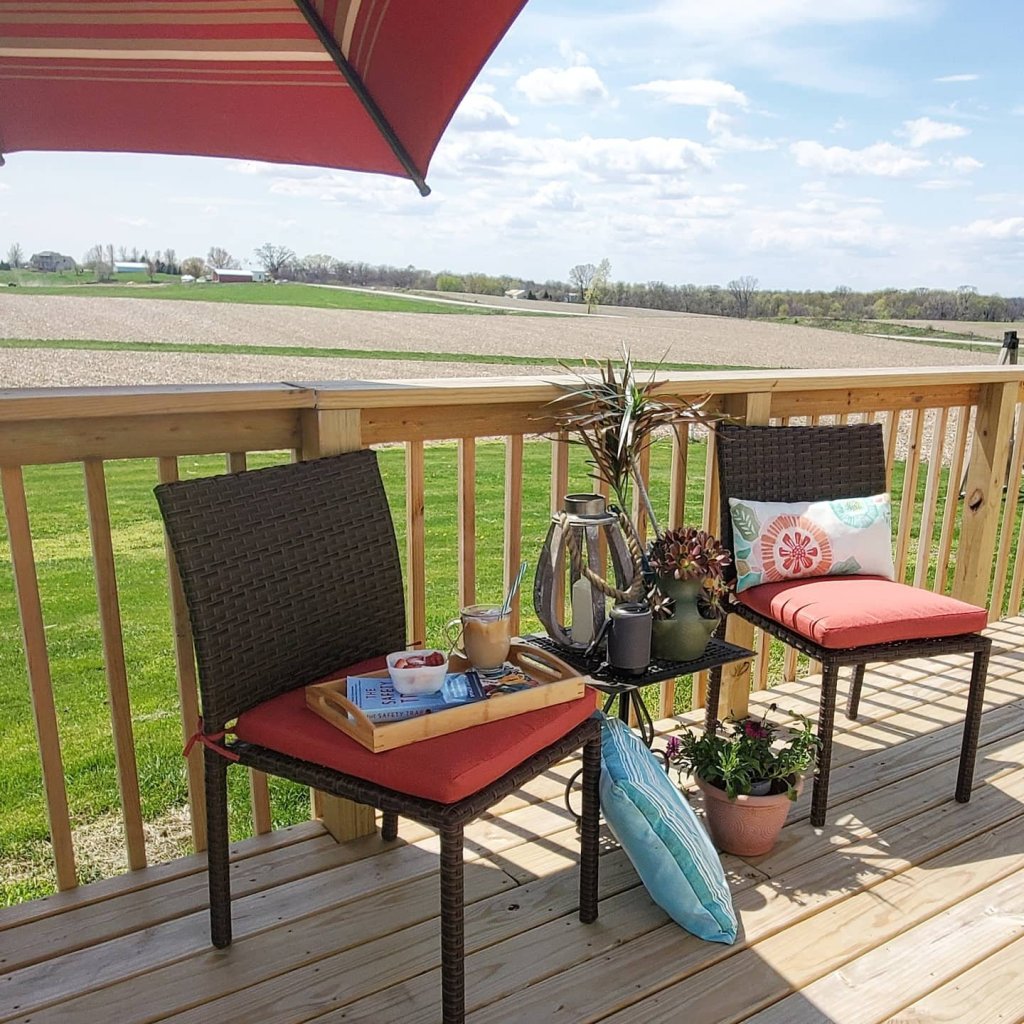
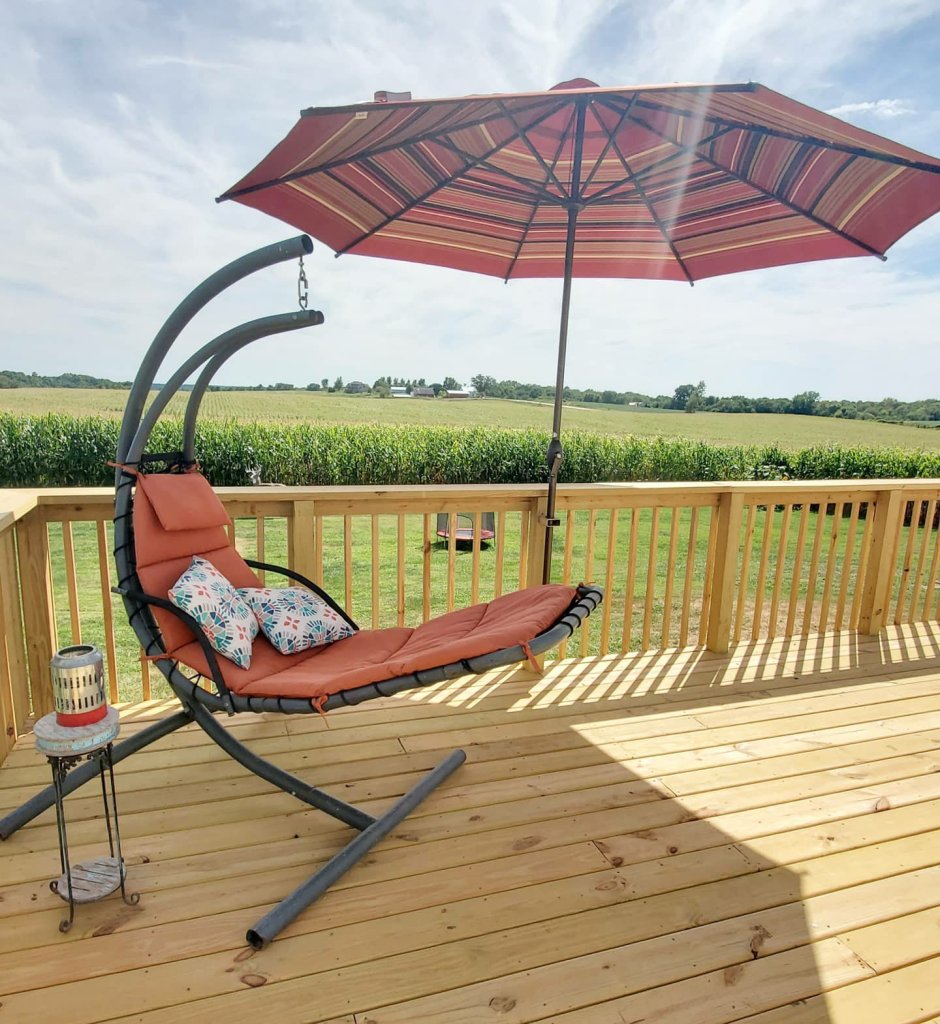
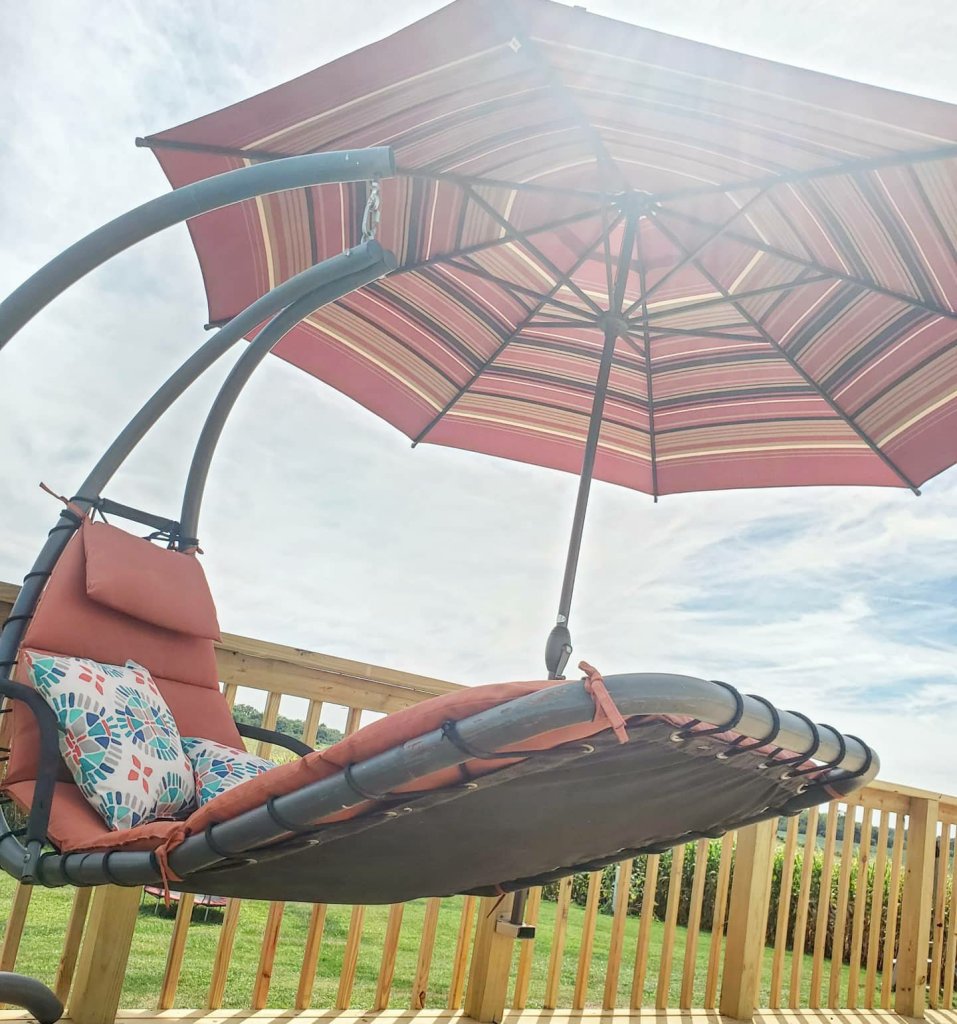
One thing that was super important to us when adding the deck was having some shade, as we have very little from the one small existing tree.
My favorite umbrellas?! From Abba Patio! (You can use code La10 on your order with them too!) The 11 foot red stripe is gorgeous! And so easy to use. We custom installed it with brackets we made, but it can go on a table or a base as well. This keep it so much cooler in the shaded areas!!

Next I need to find some outdoor rugs to tie in the different areas. Suggestions?? I’m being so indecisive!
Also, looking for an outdoor sectional. Maybe a hot tub?! 😜
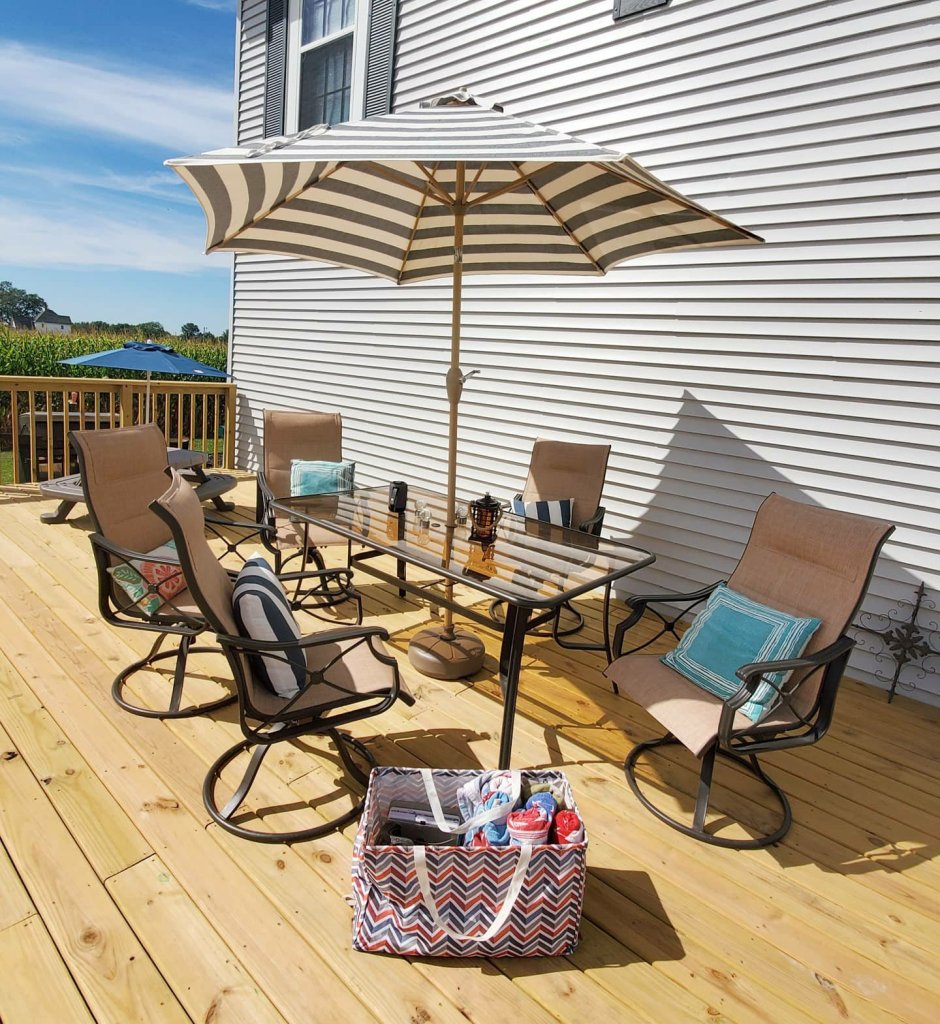
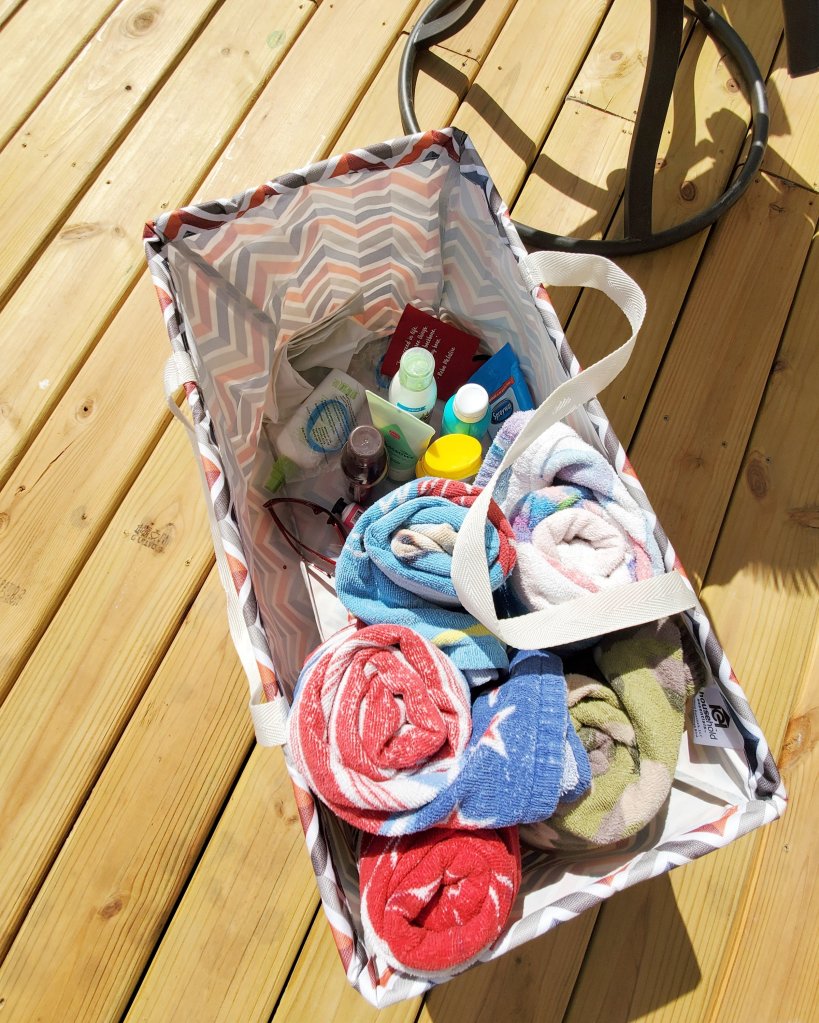
The table and chairs are from Menards. The wood lantern is from Walmart, along with the orange striped pillow and turquoise planters. The beach bag below is from Amazon.

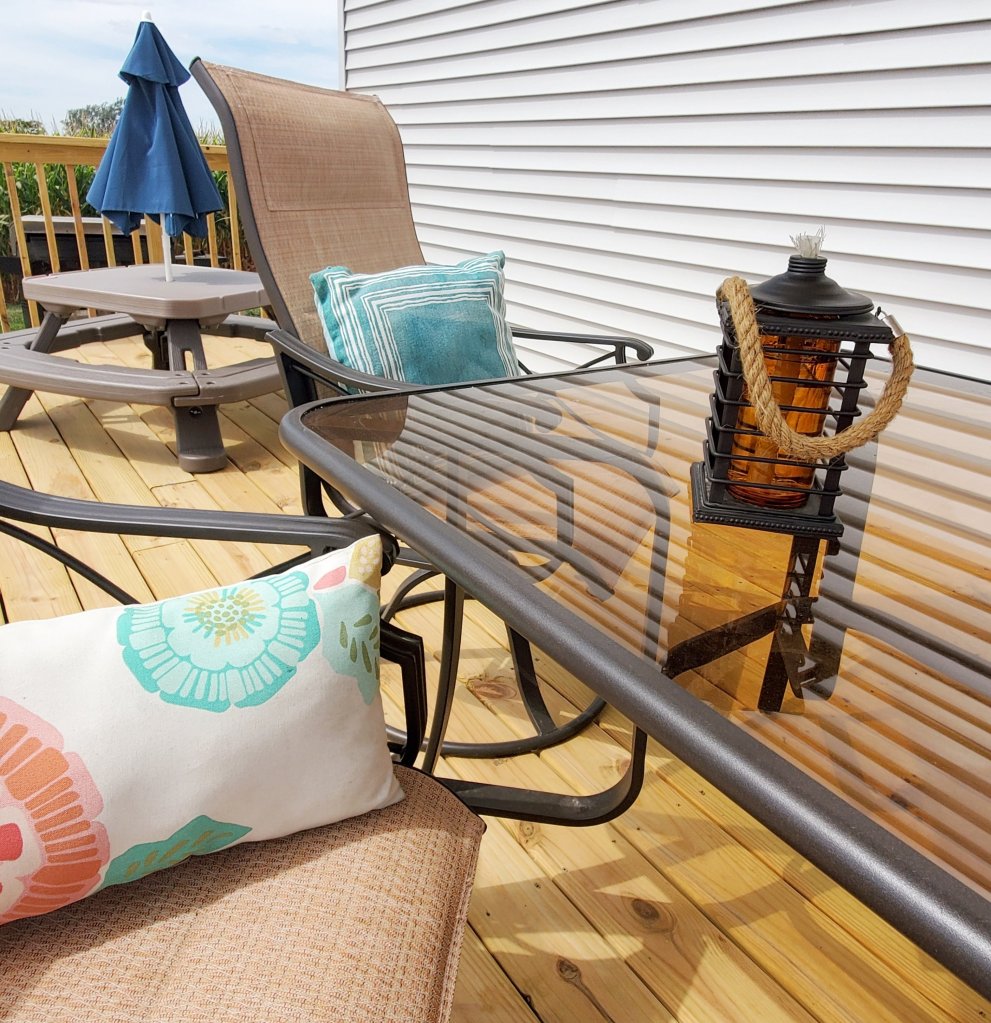
The kids table is Step 2 and an awesome thing to have if you have littles. We use it all the time!
Tip- use a beach bag or tote like the one below to hold your deck or patio essentials. We take it in at night and bring out each day. Super helpful to keep things corralled while not getting ruined being left outside. We keep sunscreen, bug spray, santizer, sunglasses, beach towels, a speaker, and anything we want for the day inside. So handy!!
XX,
Jess
Bathroom Update
I thought we were going to live with the 85% bathroom update for a while. But we got a little shove to take it to 98% done now. 🤣 What this means is that we redid the flooring! Yay! And we added a mirror and a couple more custom shelves in the laundry room.

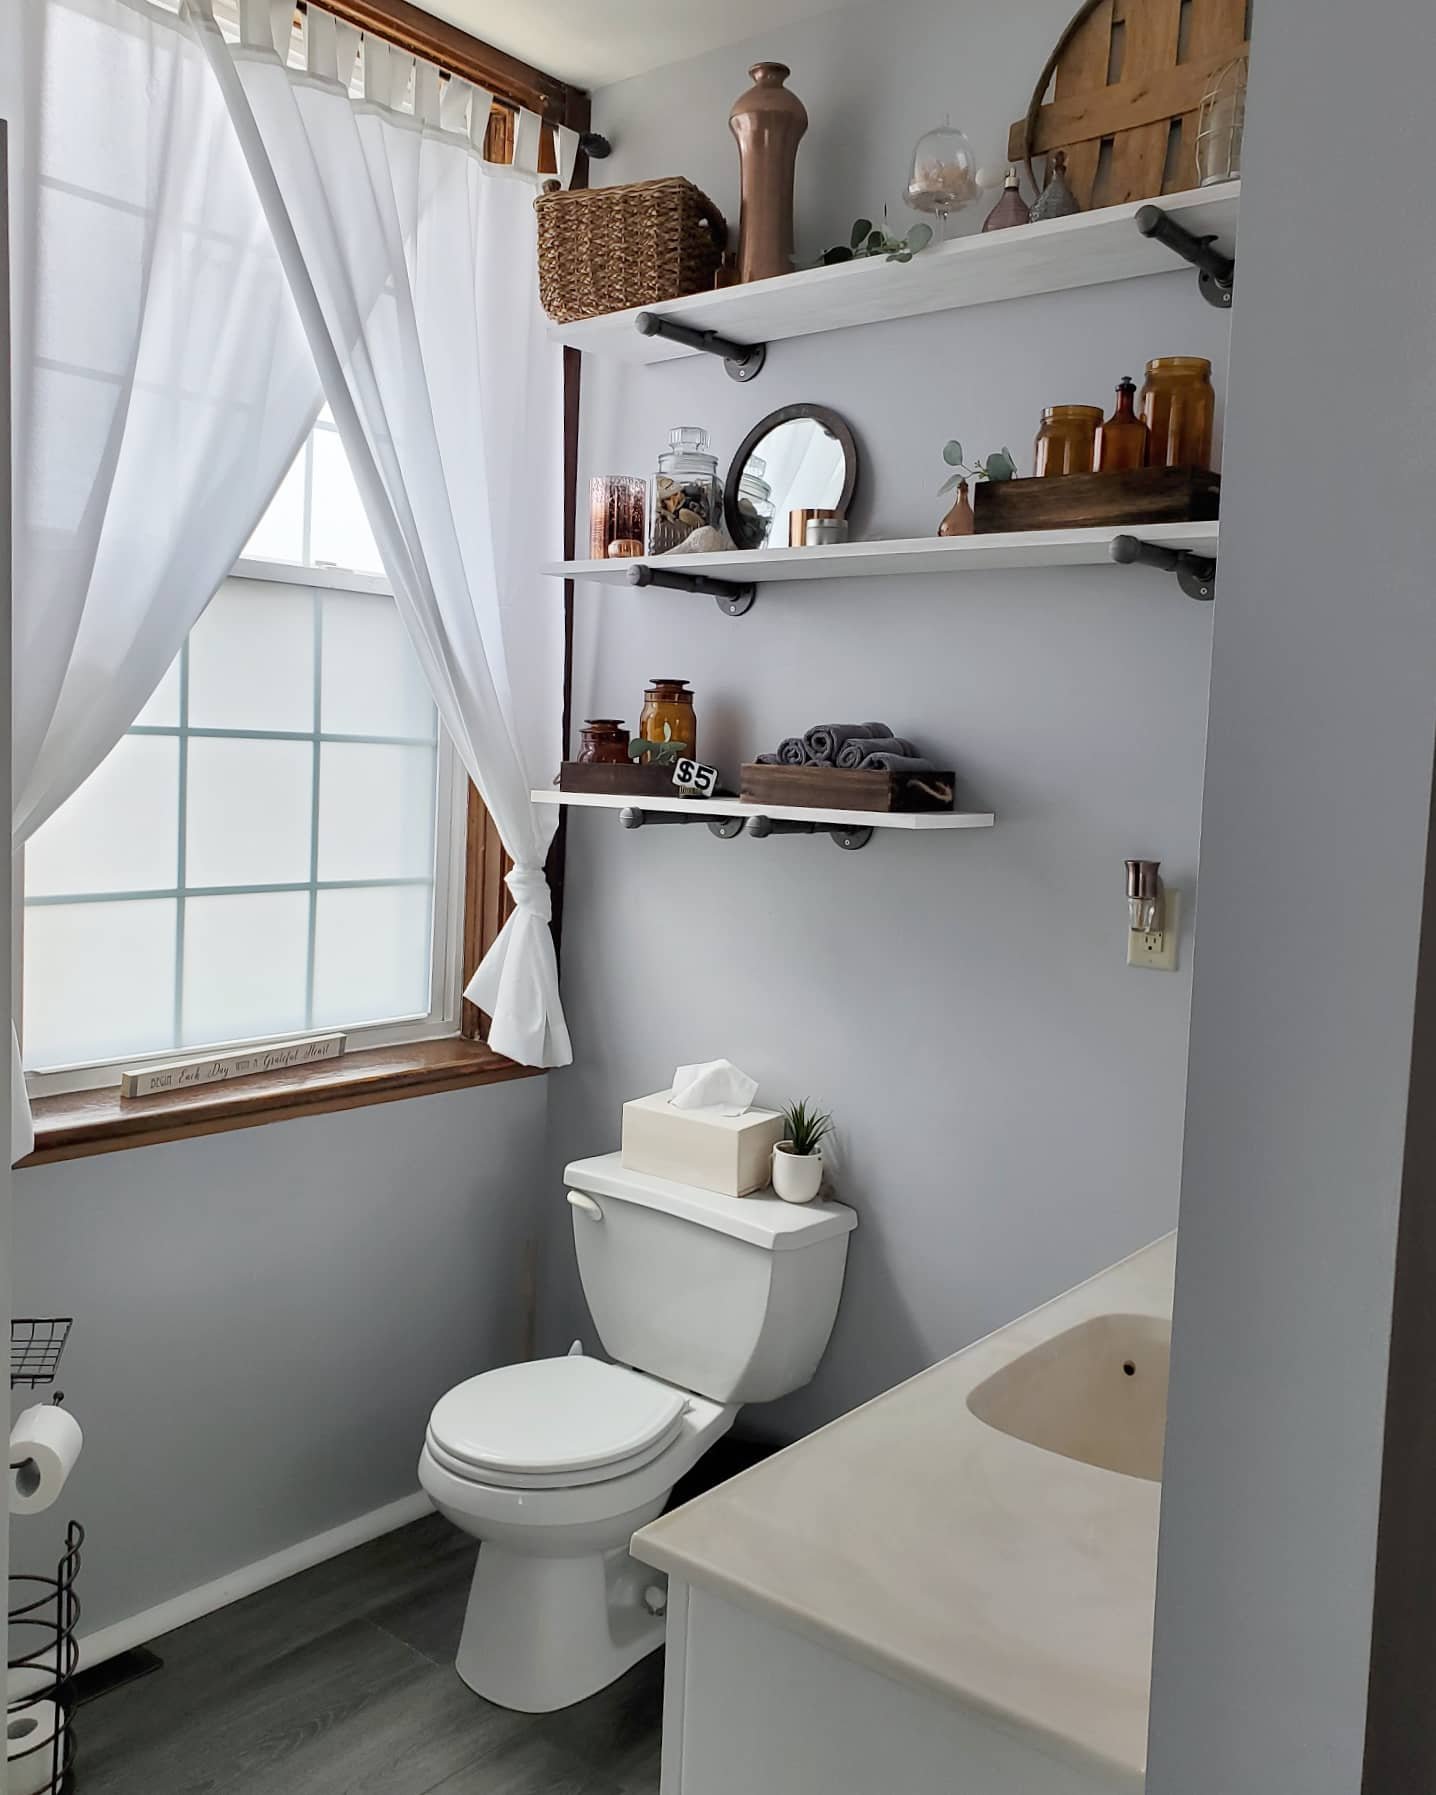
We used snap-in wood and vinyl flooring and it was super easy! Except for dealing with the uniqueness of an antique house with crooked walls and missing trim, etc, but we managed and it’s been amazing and seems super durable already. We ended up going with large quarter round as trim because we need to hide some of those flaws from a very old house. But I love the look here!
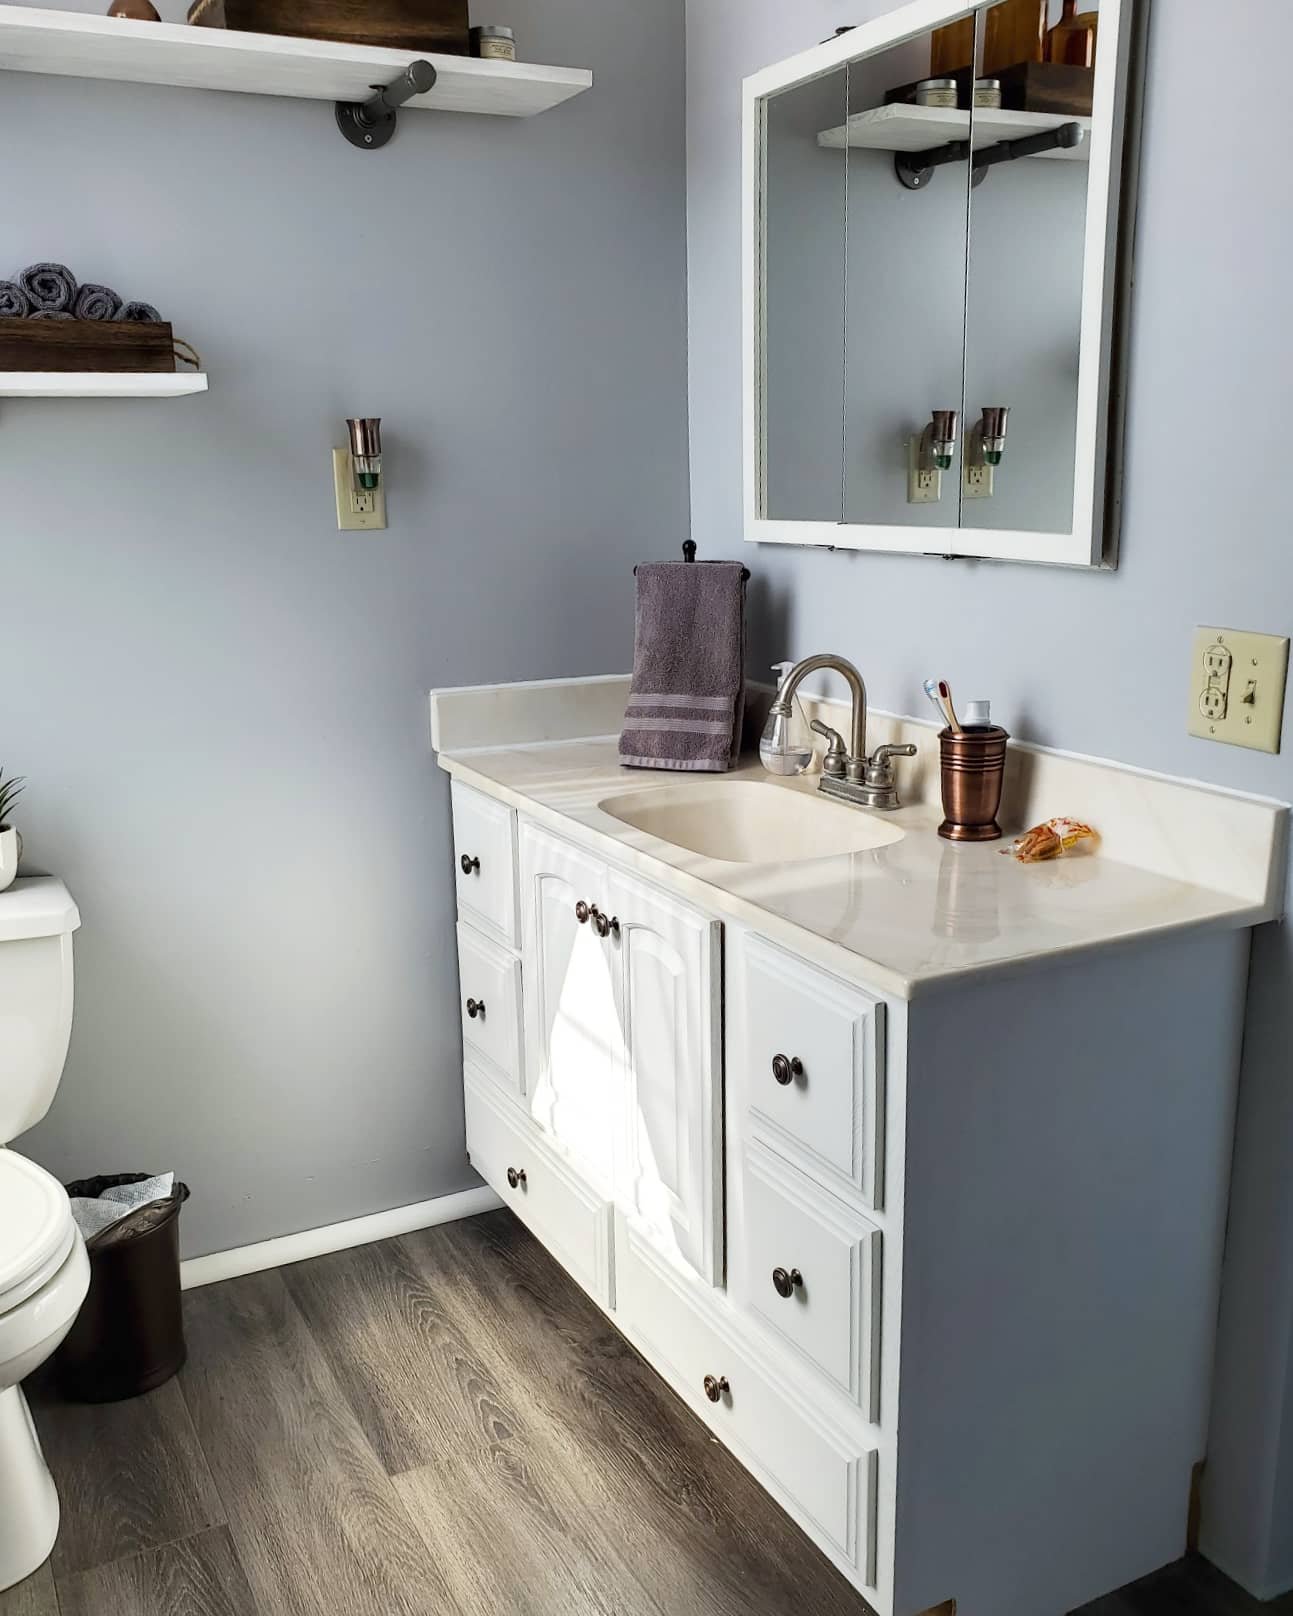
The ONLY thing left is to replace the faucet. Soon. We are going to live with the sink and counter top for a while, but I can deal with that.
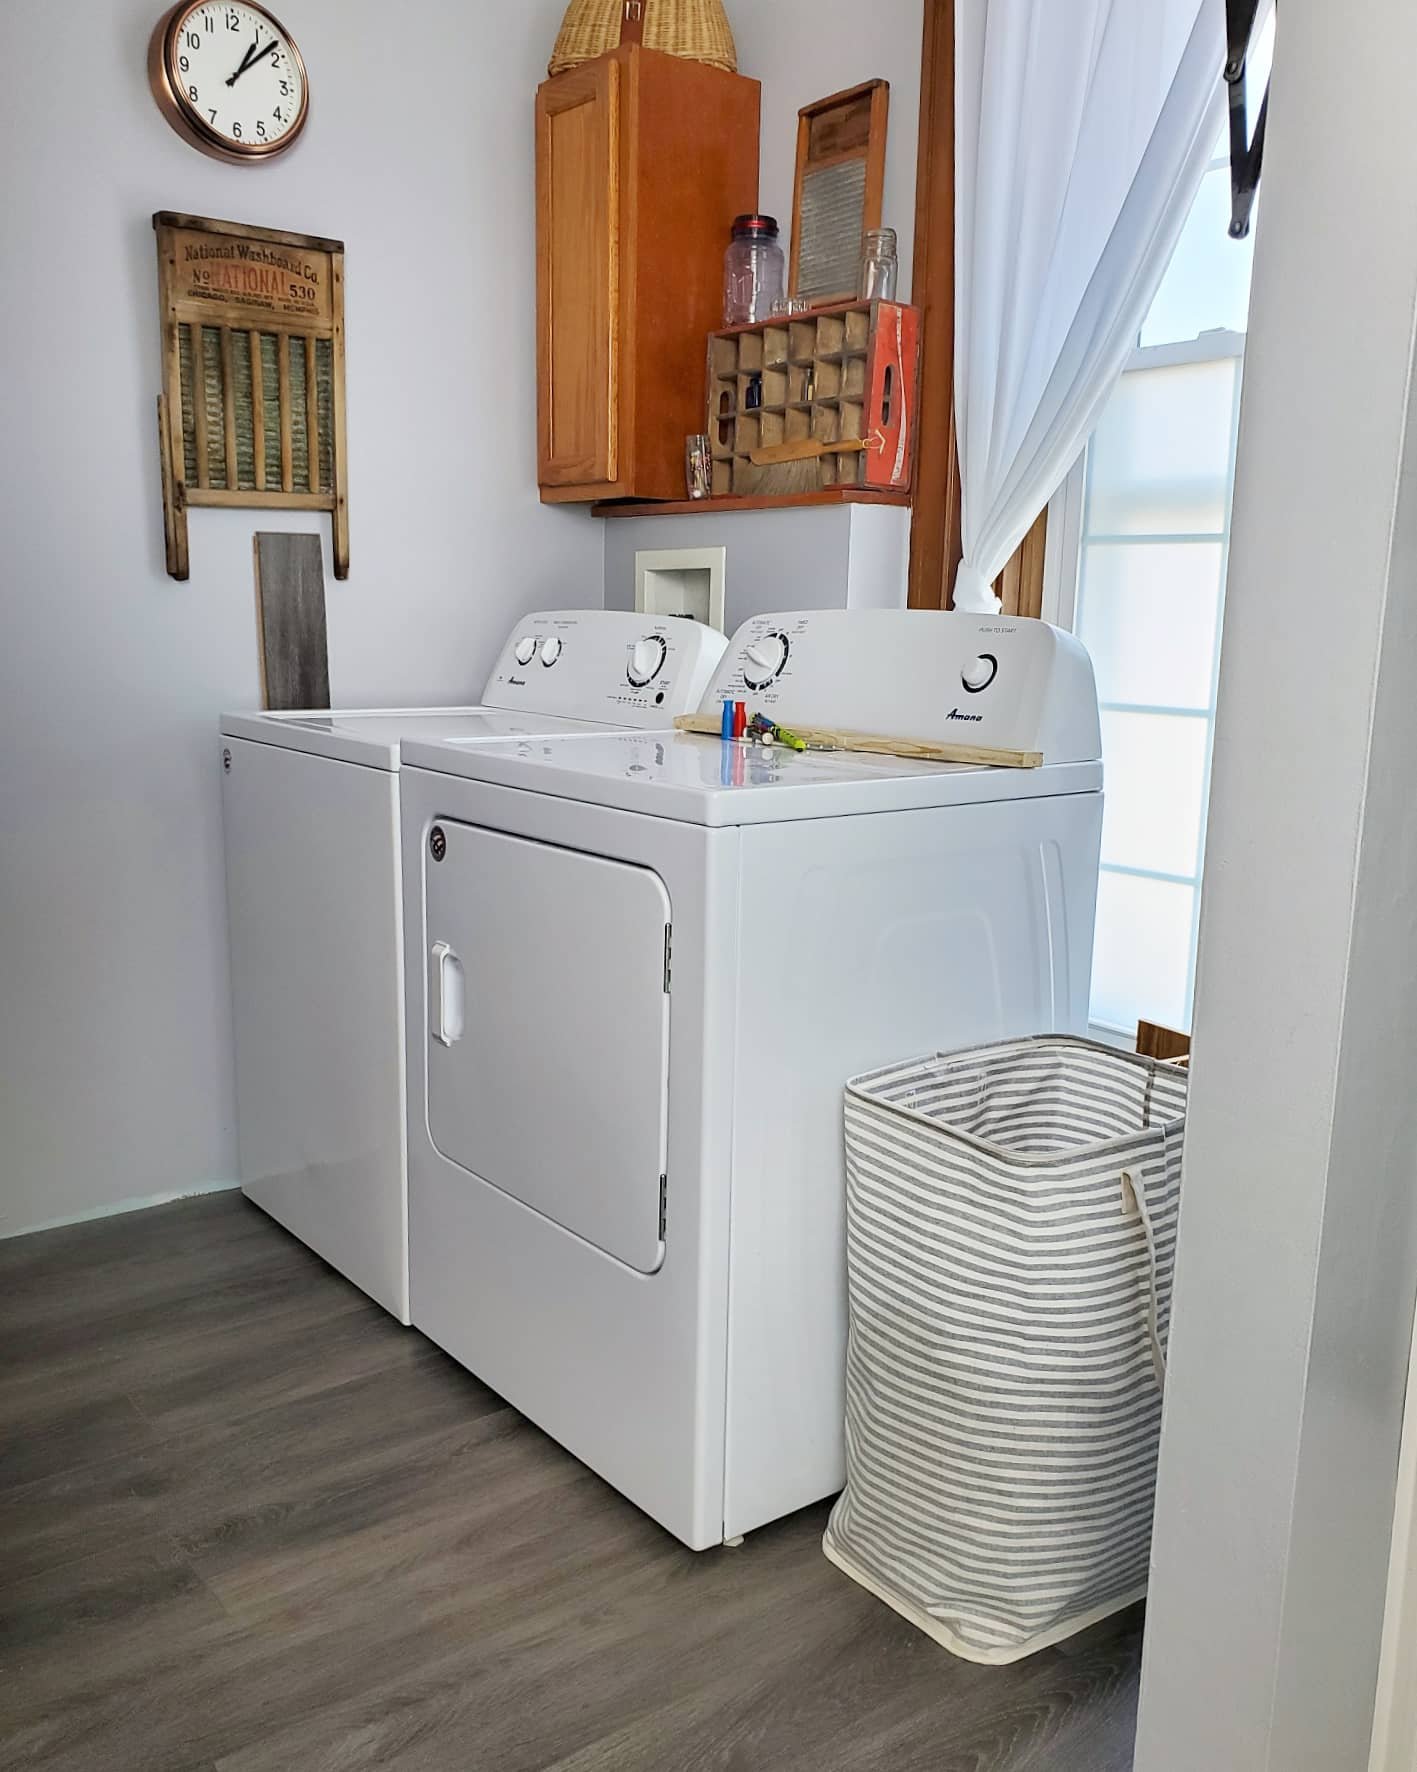
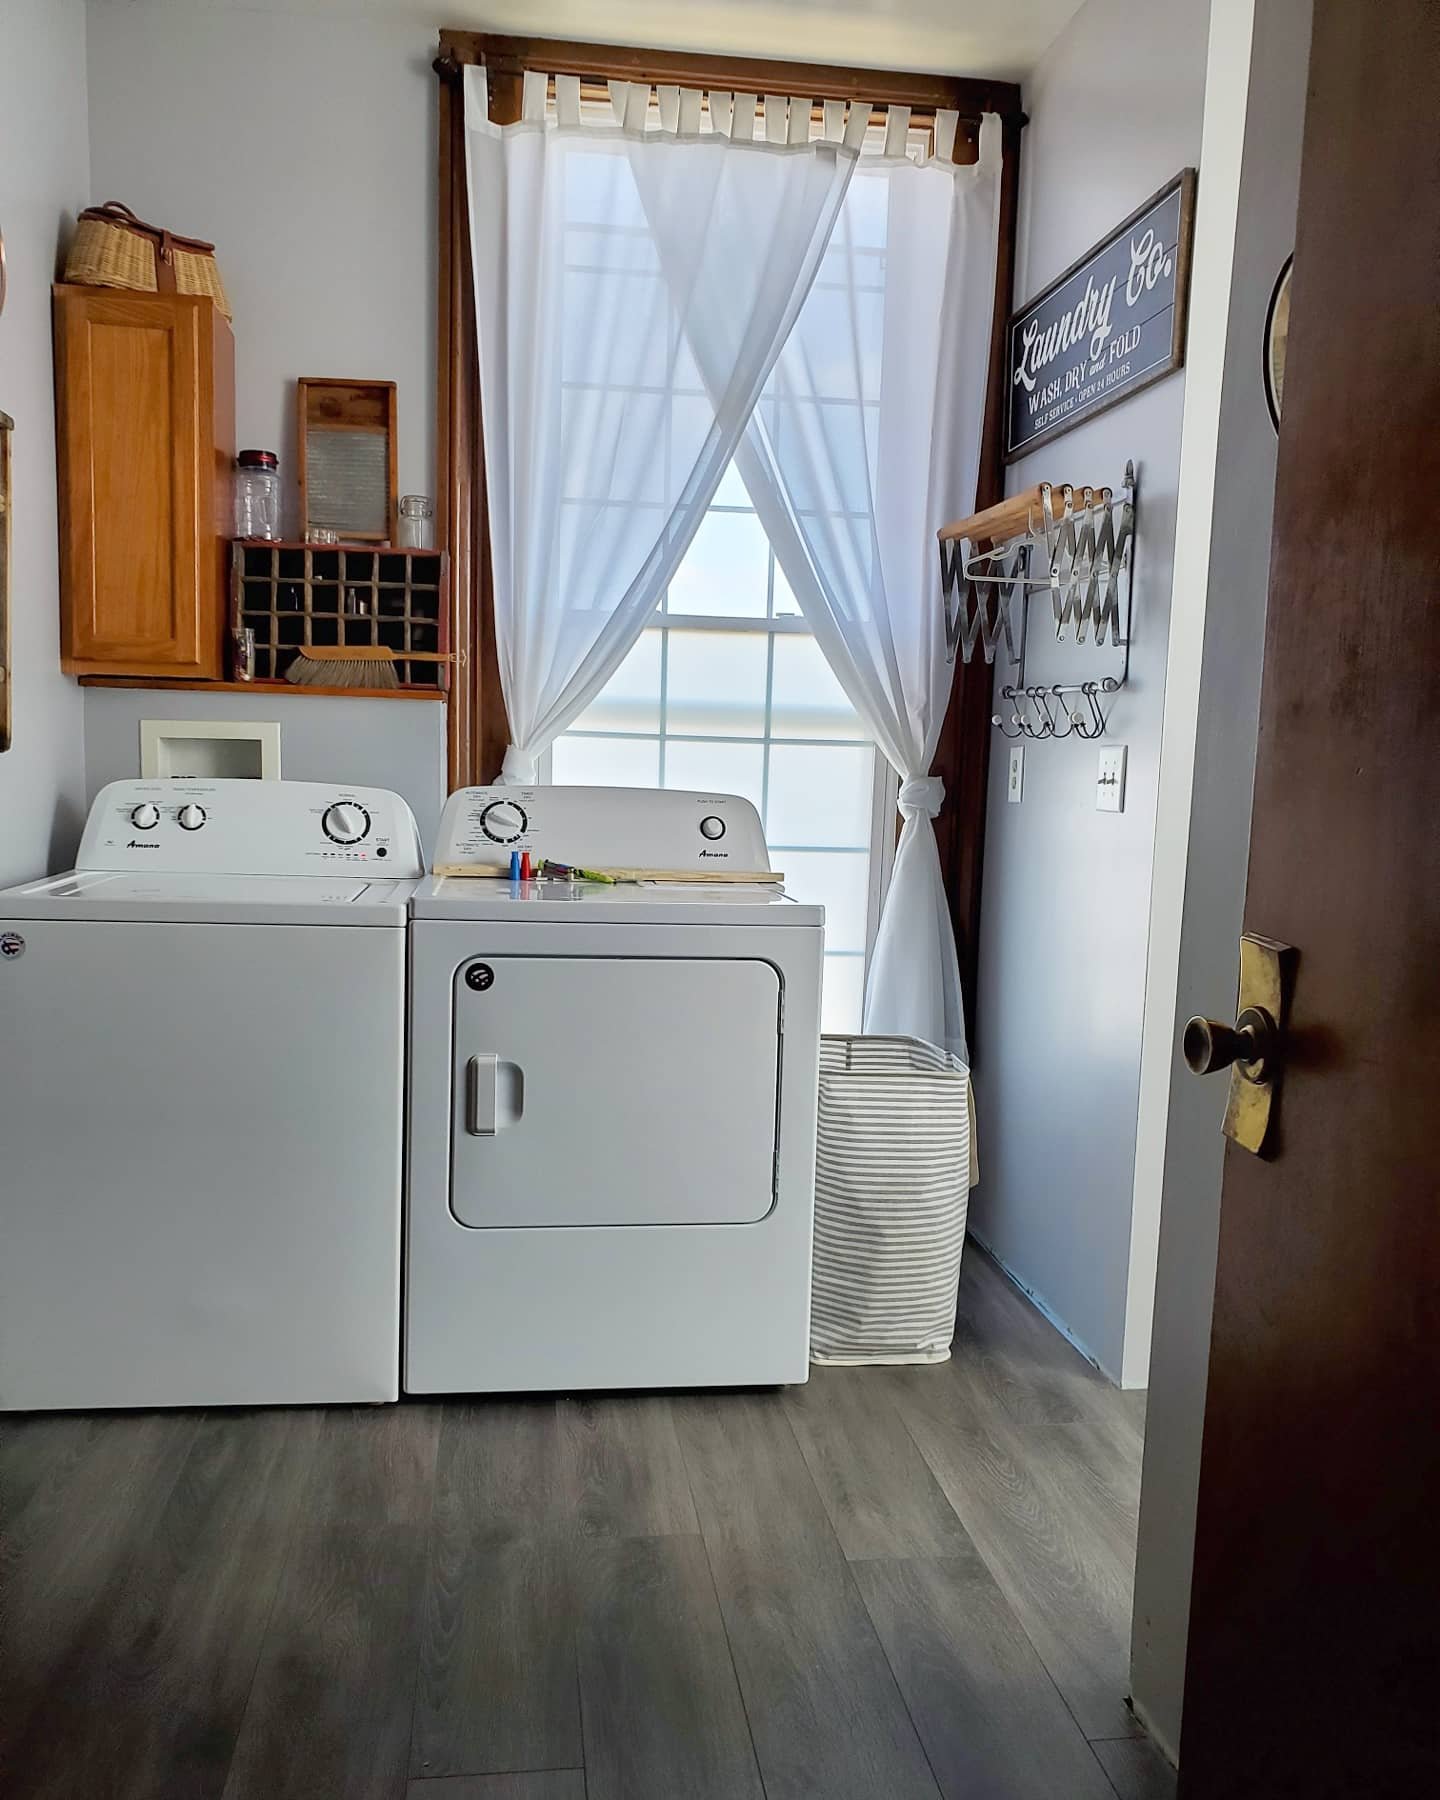
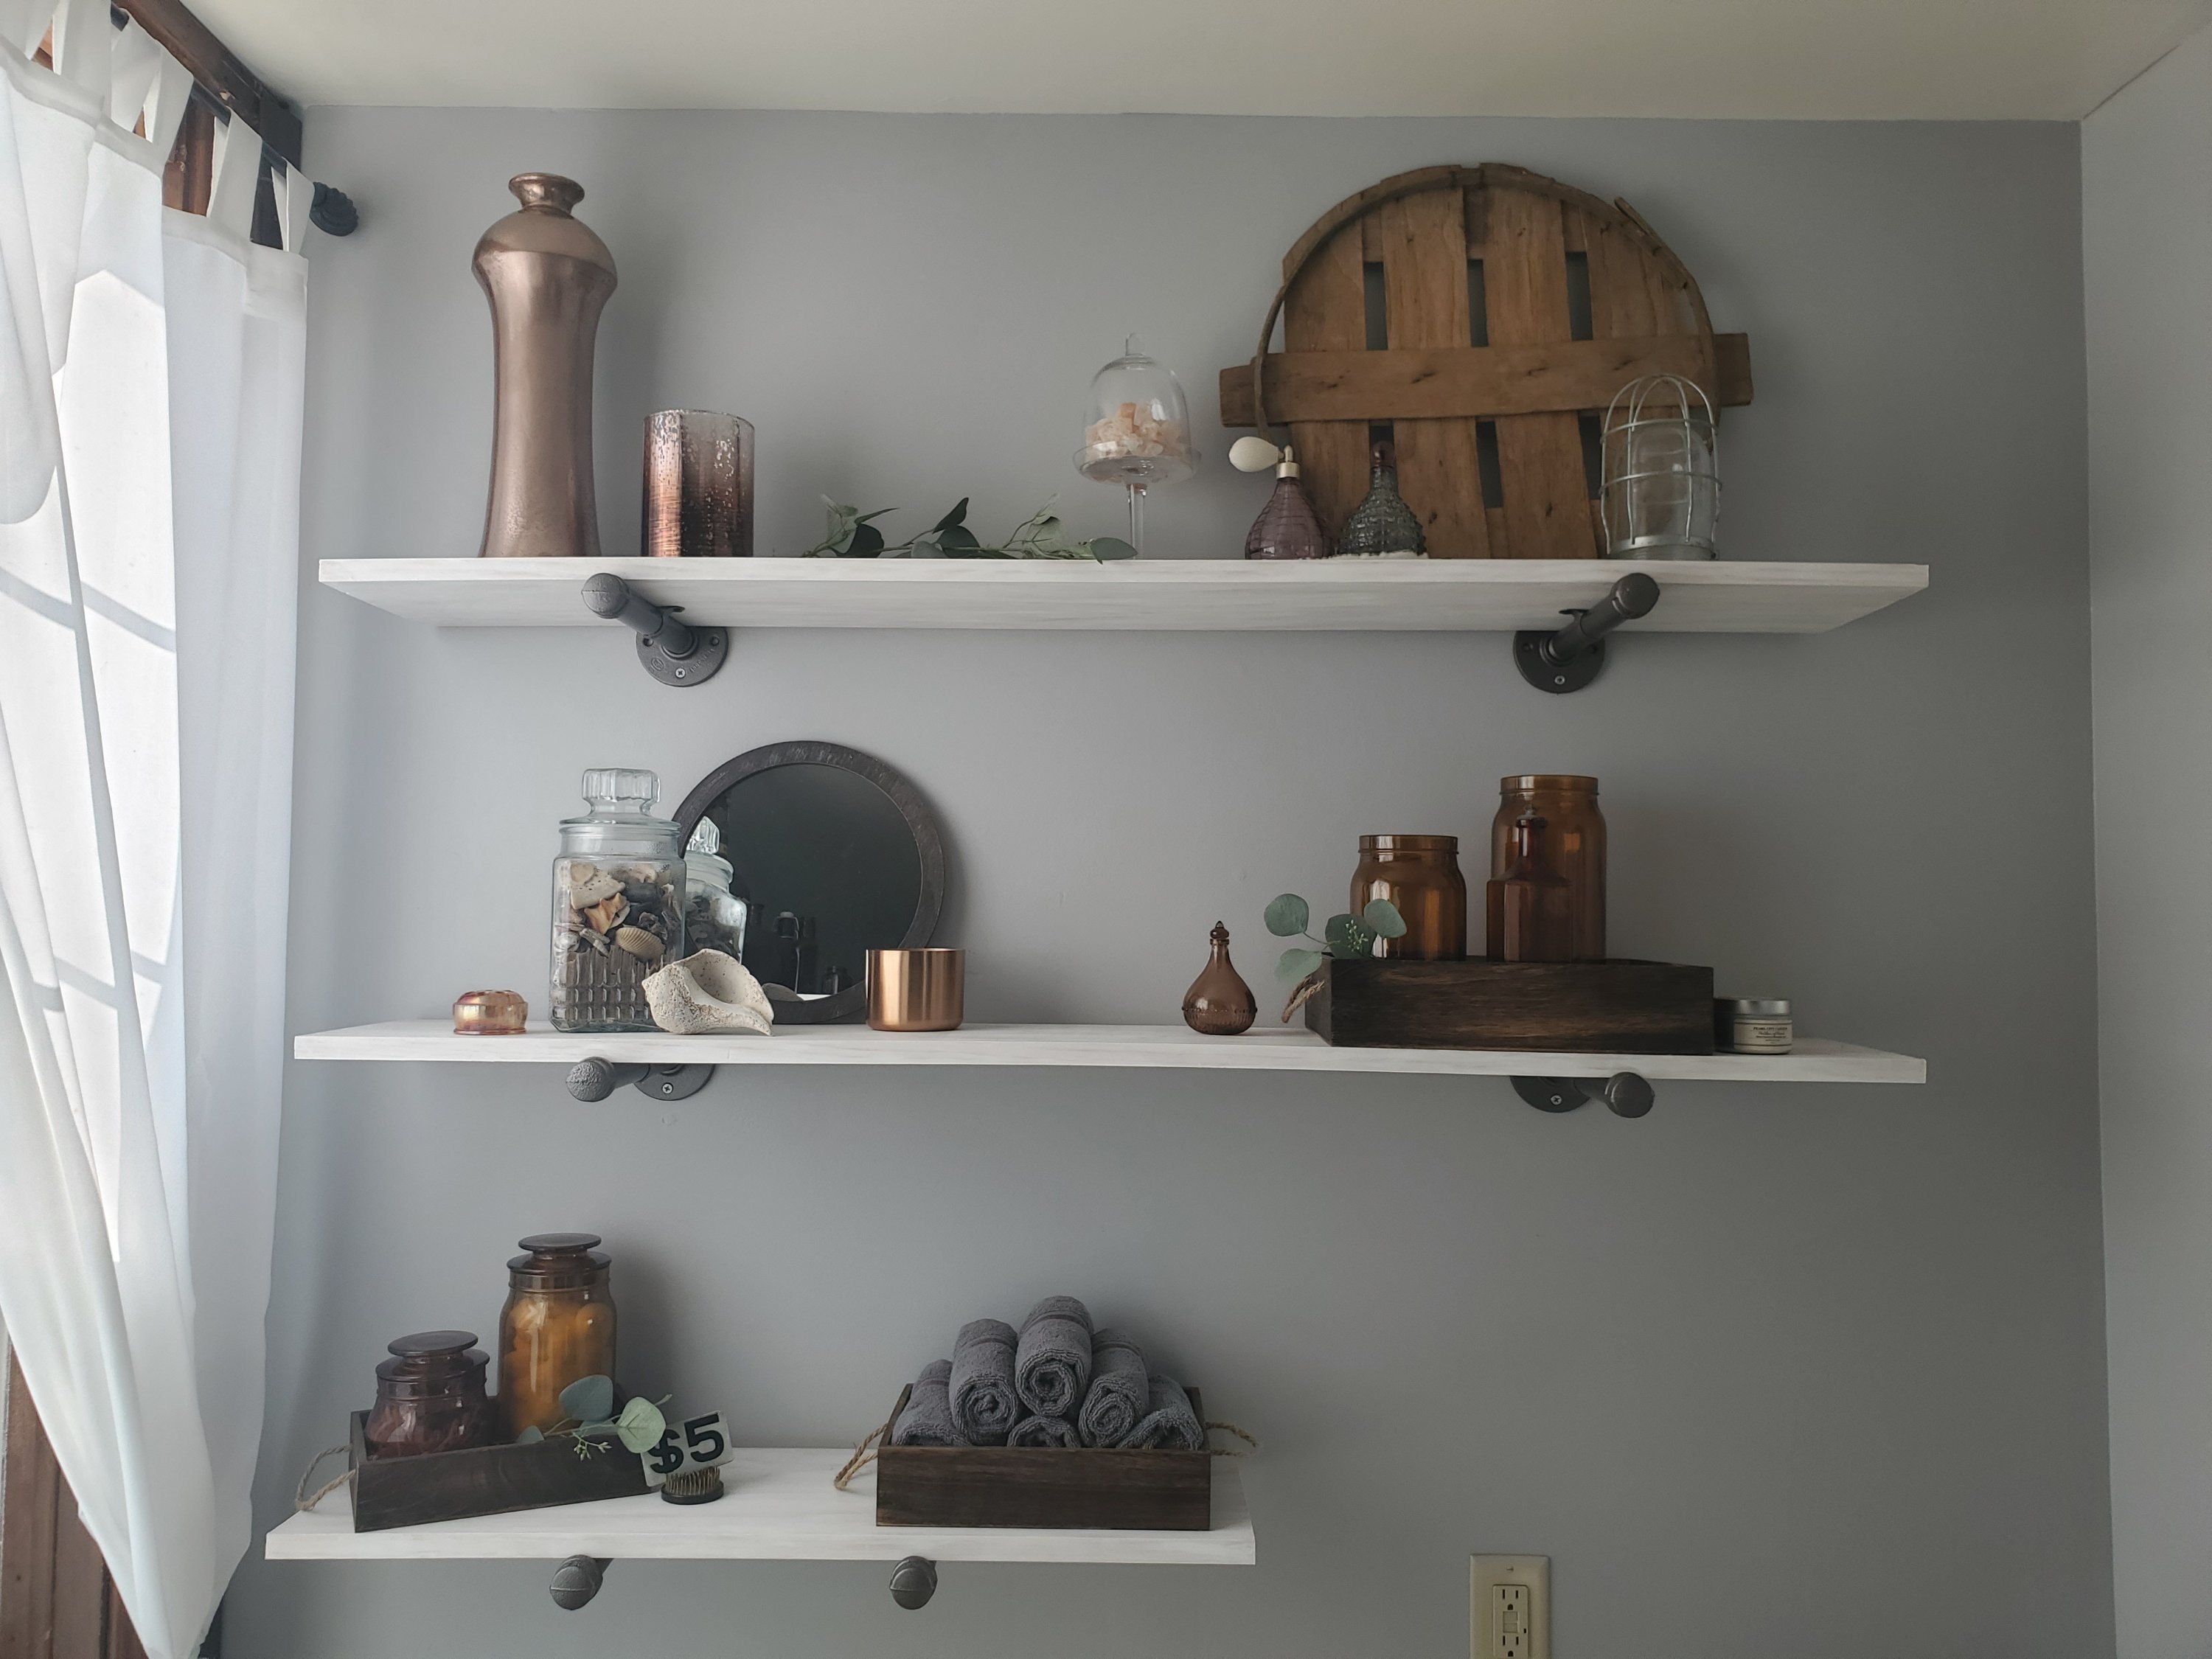
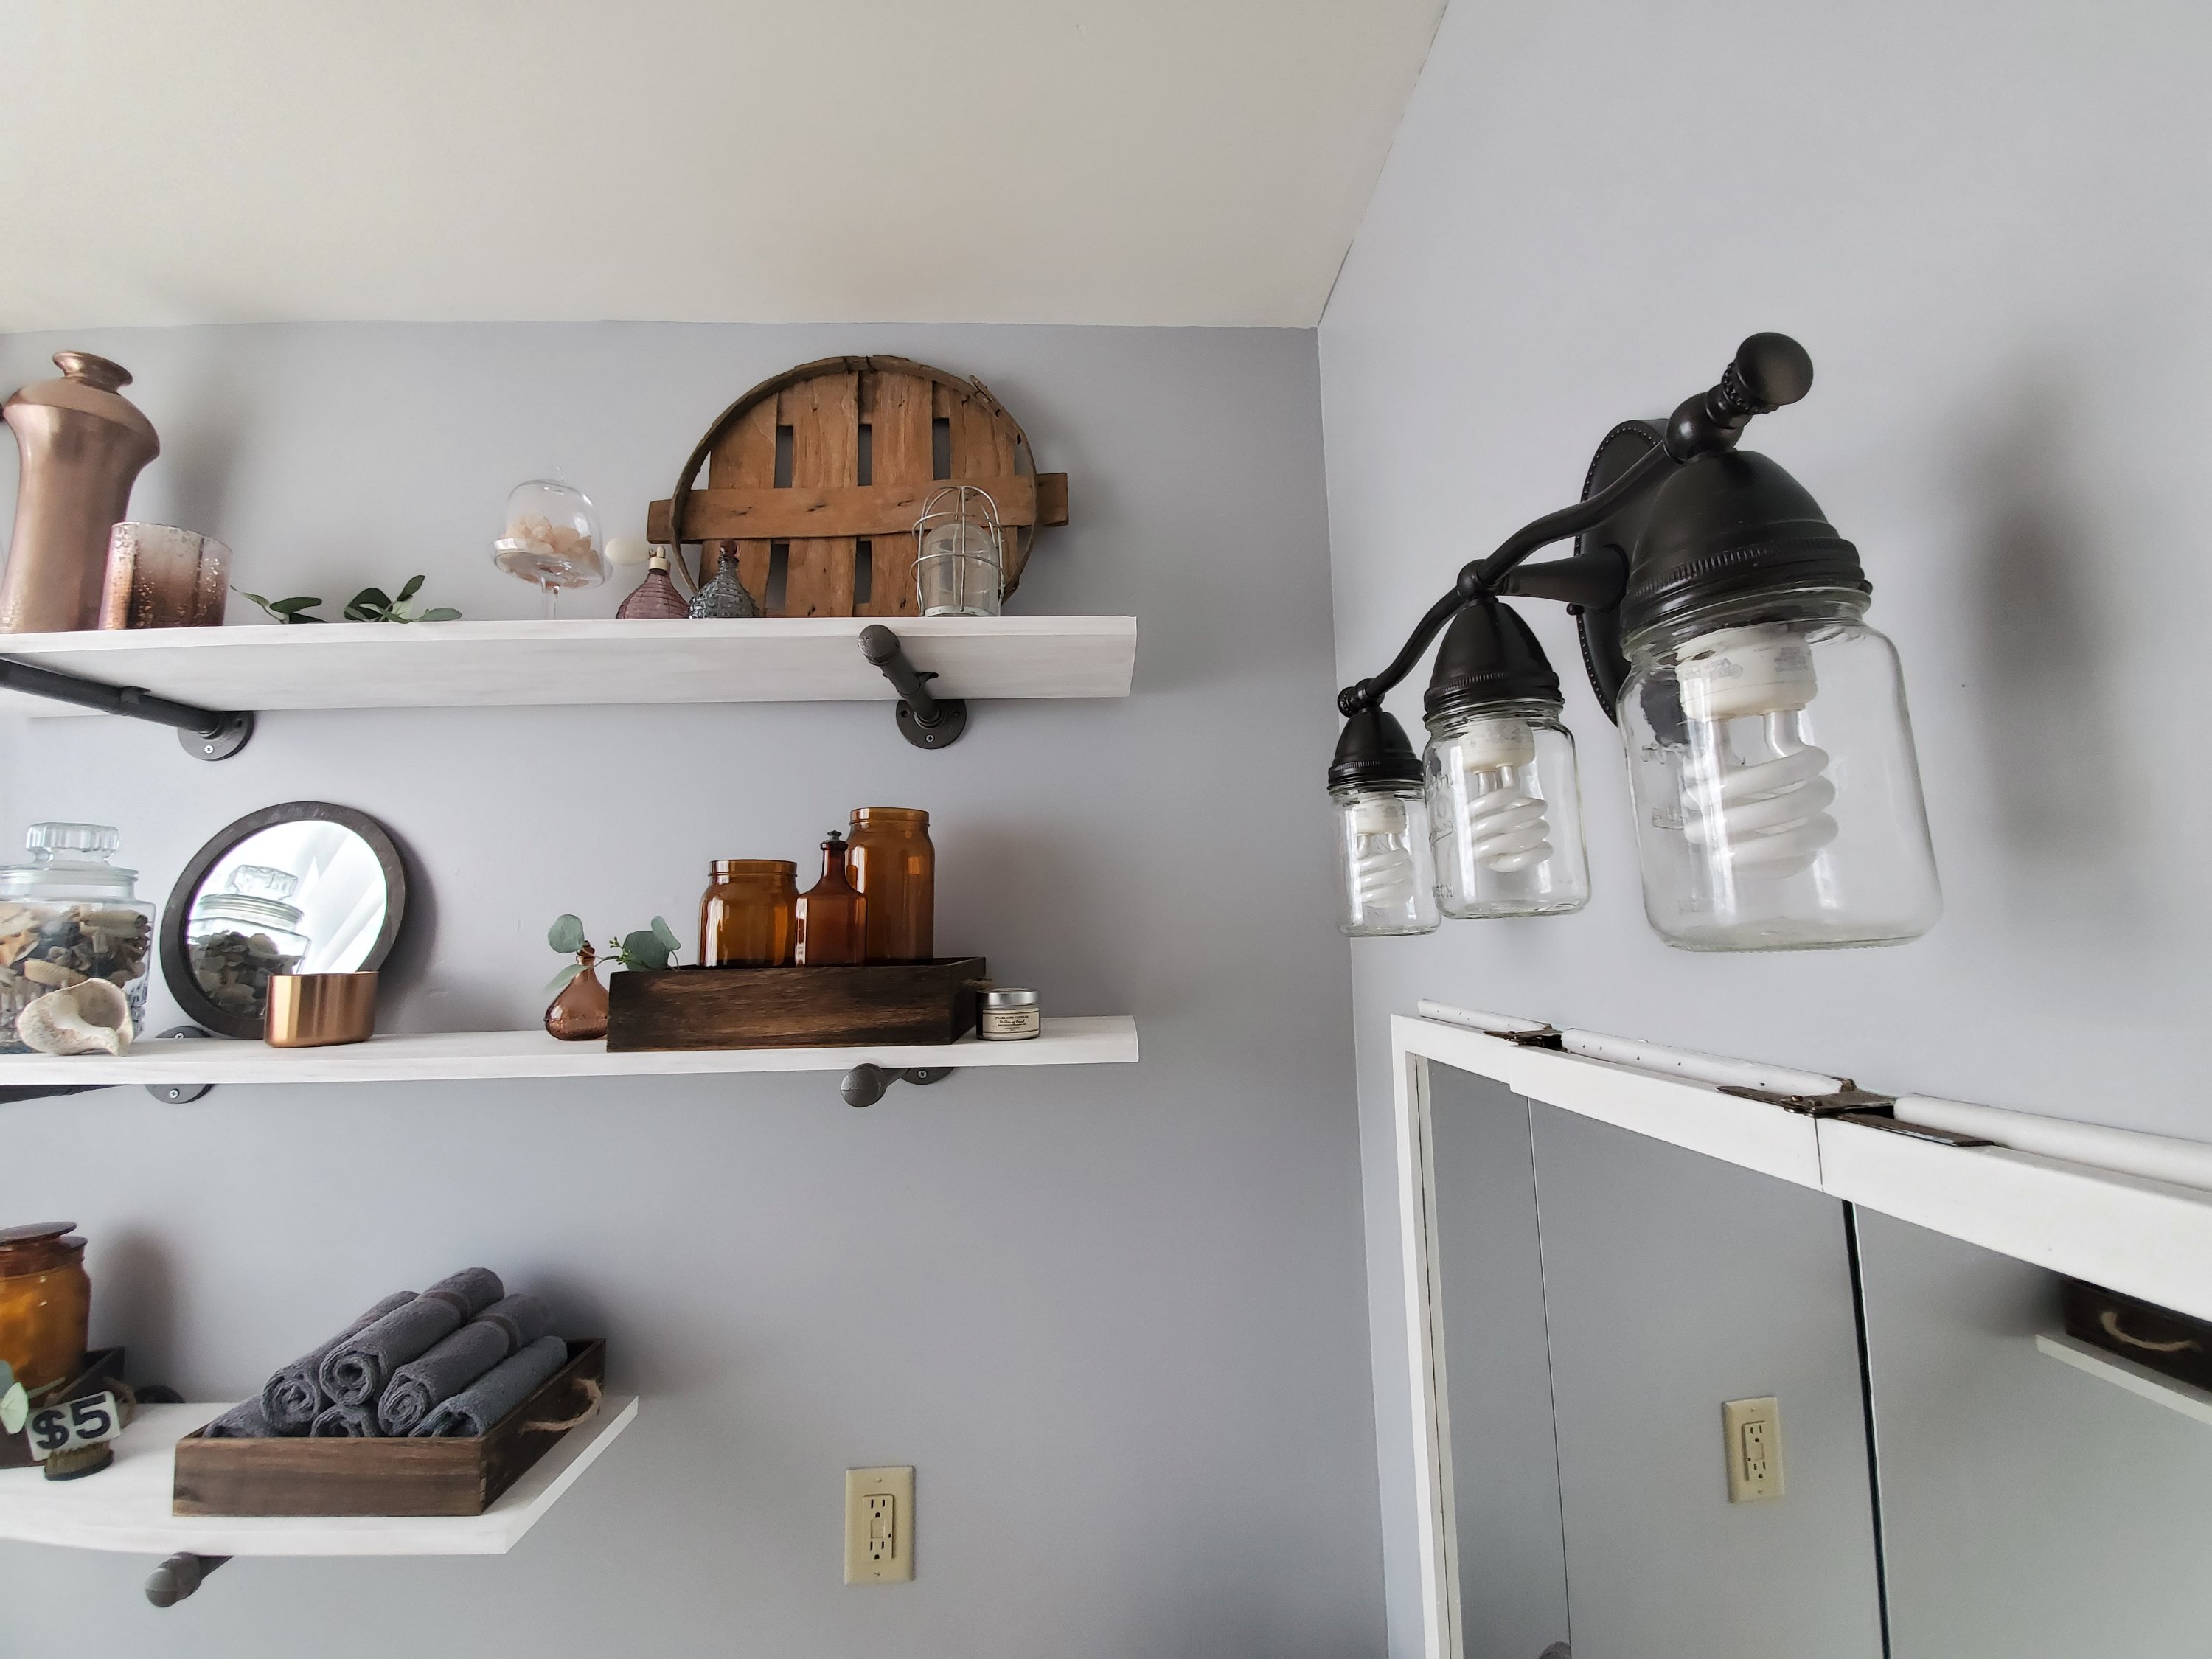
How cute are the little shelves holding laundry items?! We made them the same way, with plumbing pipes and hand whitewashed boards.


Remember, this is a mini refresh, (see the before shots, yikes, 2 posts back!) not a total overhaul, so this girl will still have to dream of one day having a stacking washer and dryer and wall cabinetry. This is gorgeous to me for now! 😉
Xx,
Jess
Permalink Comments Off on Bathroom Update
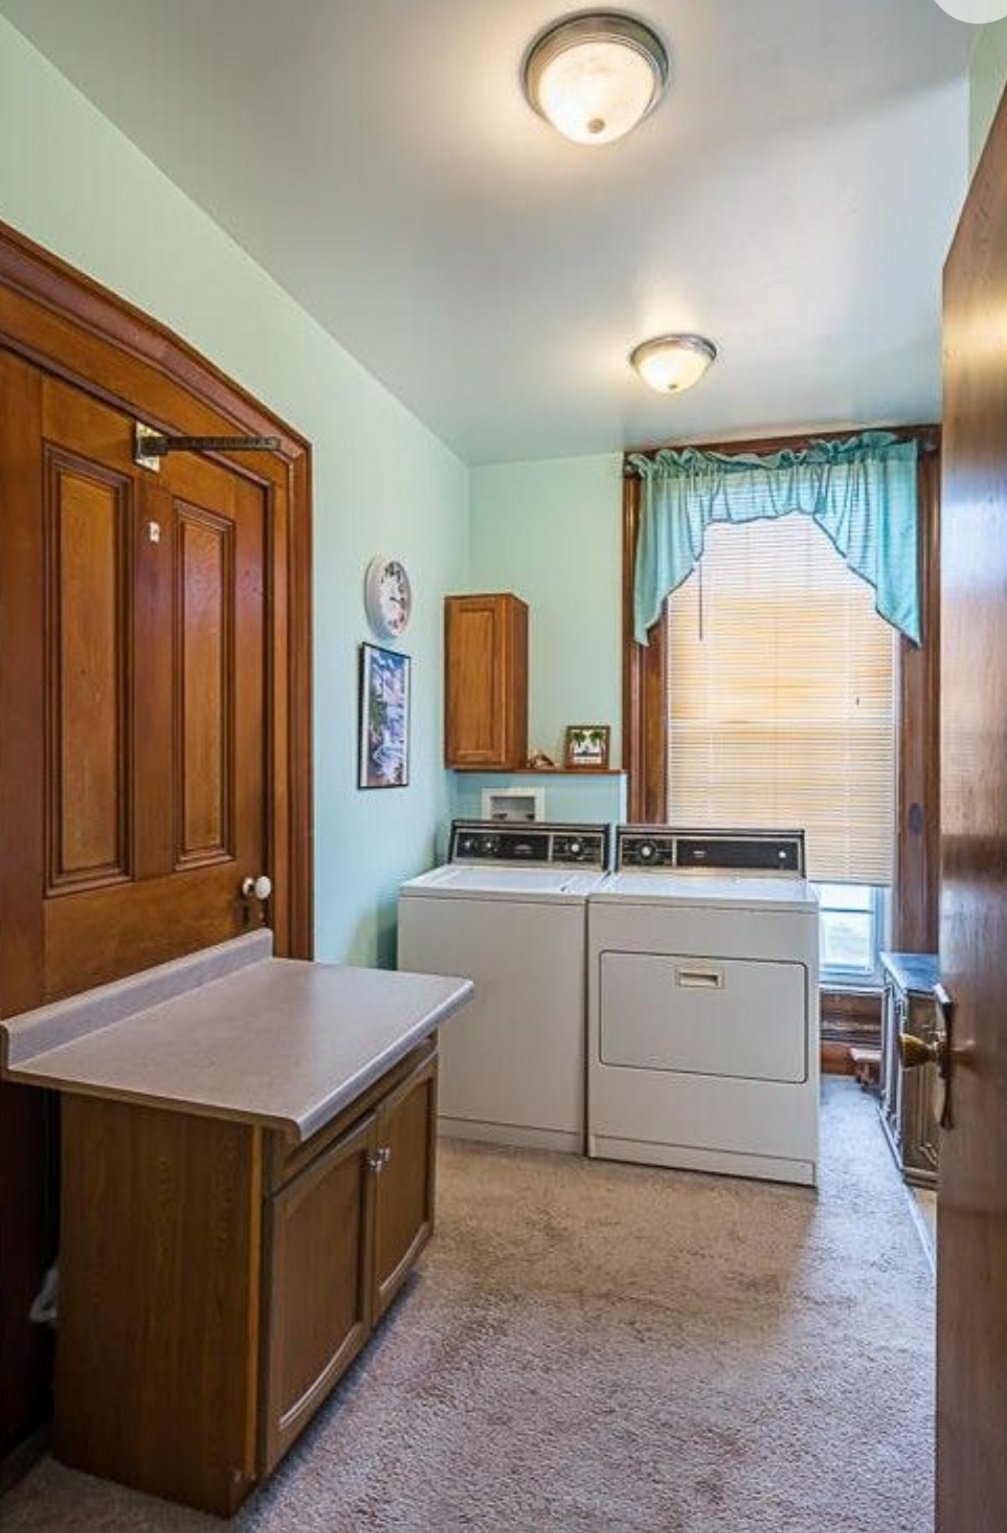
Bath/Laundry Room Update
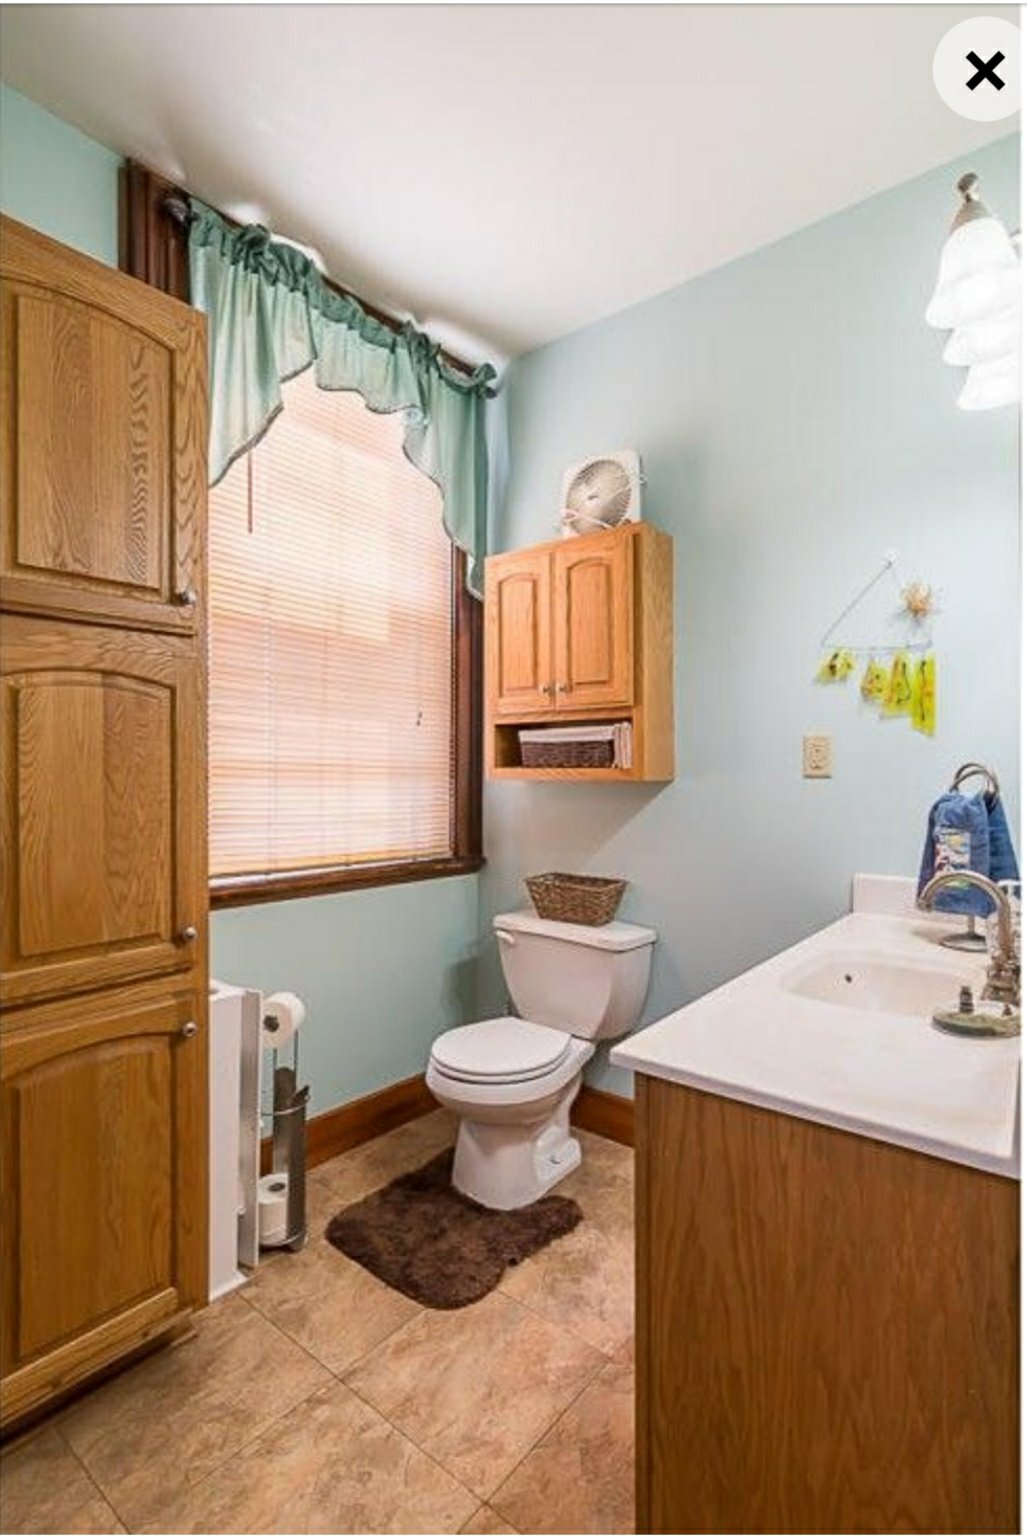
We knew we wanted a fixer-upper, and we sure got it with this one! But we are enjoying putting in the work and making it into what we want for a home. The bathroom was no exception. We can’t afford a complete gut and overhaul of every room (I wish!), so this is a little refresh.
Before:
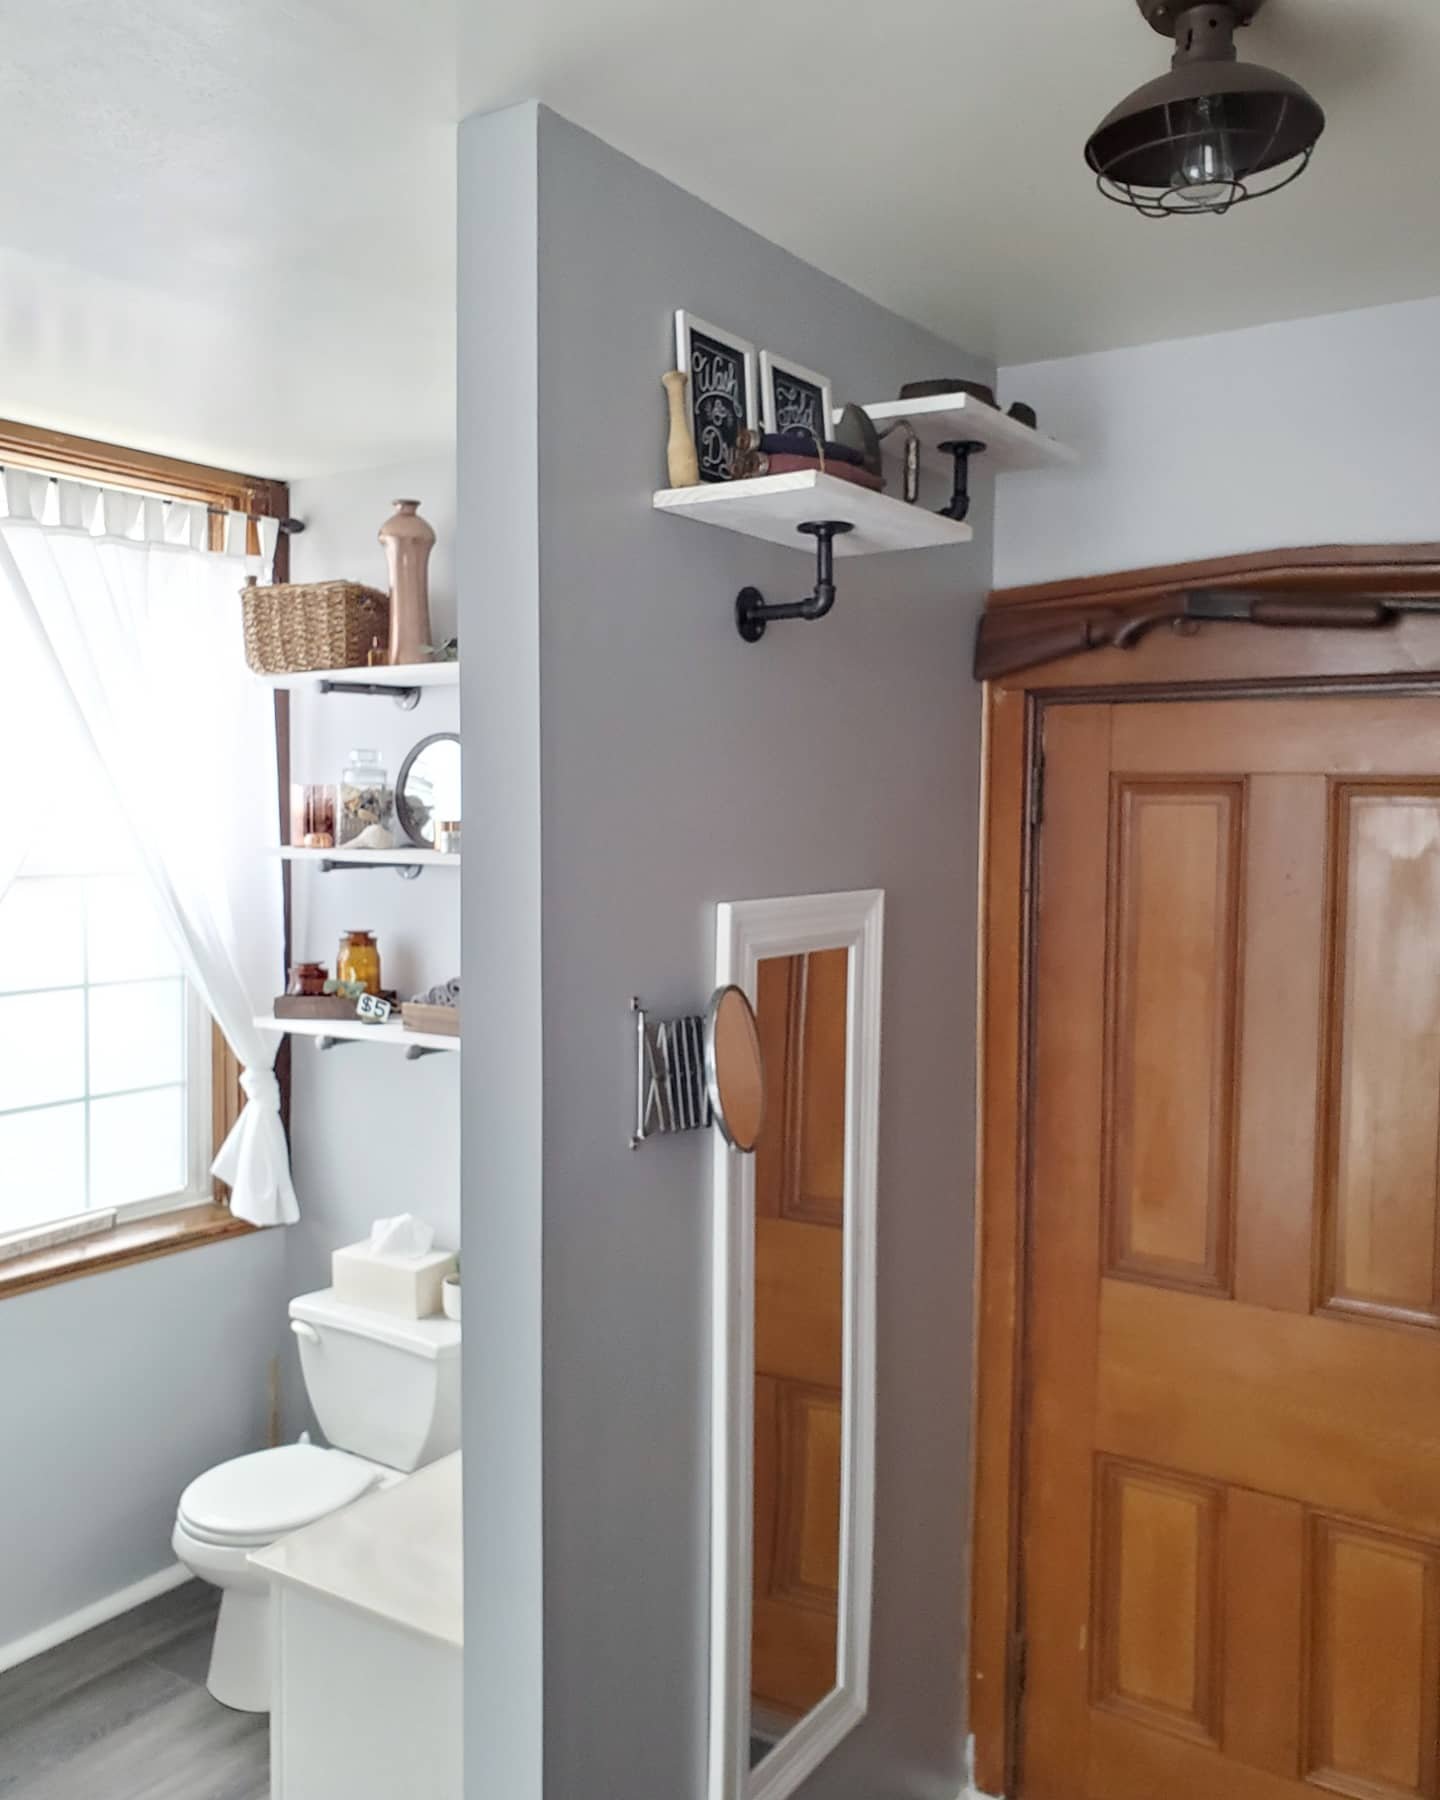
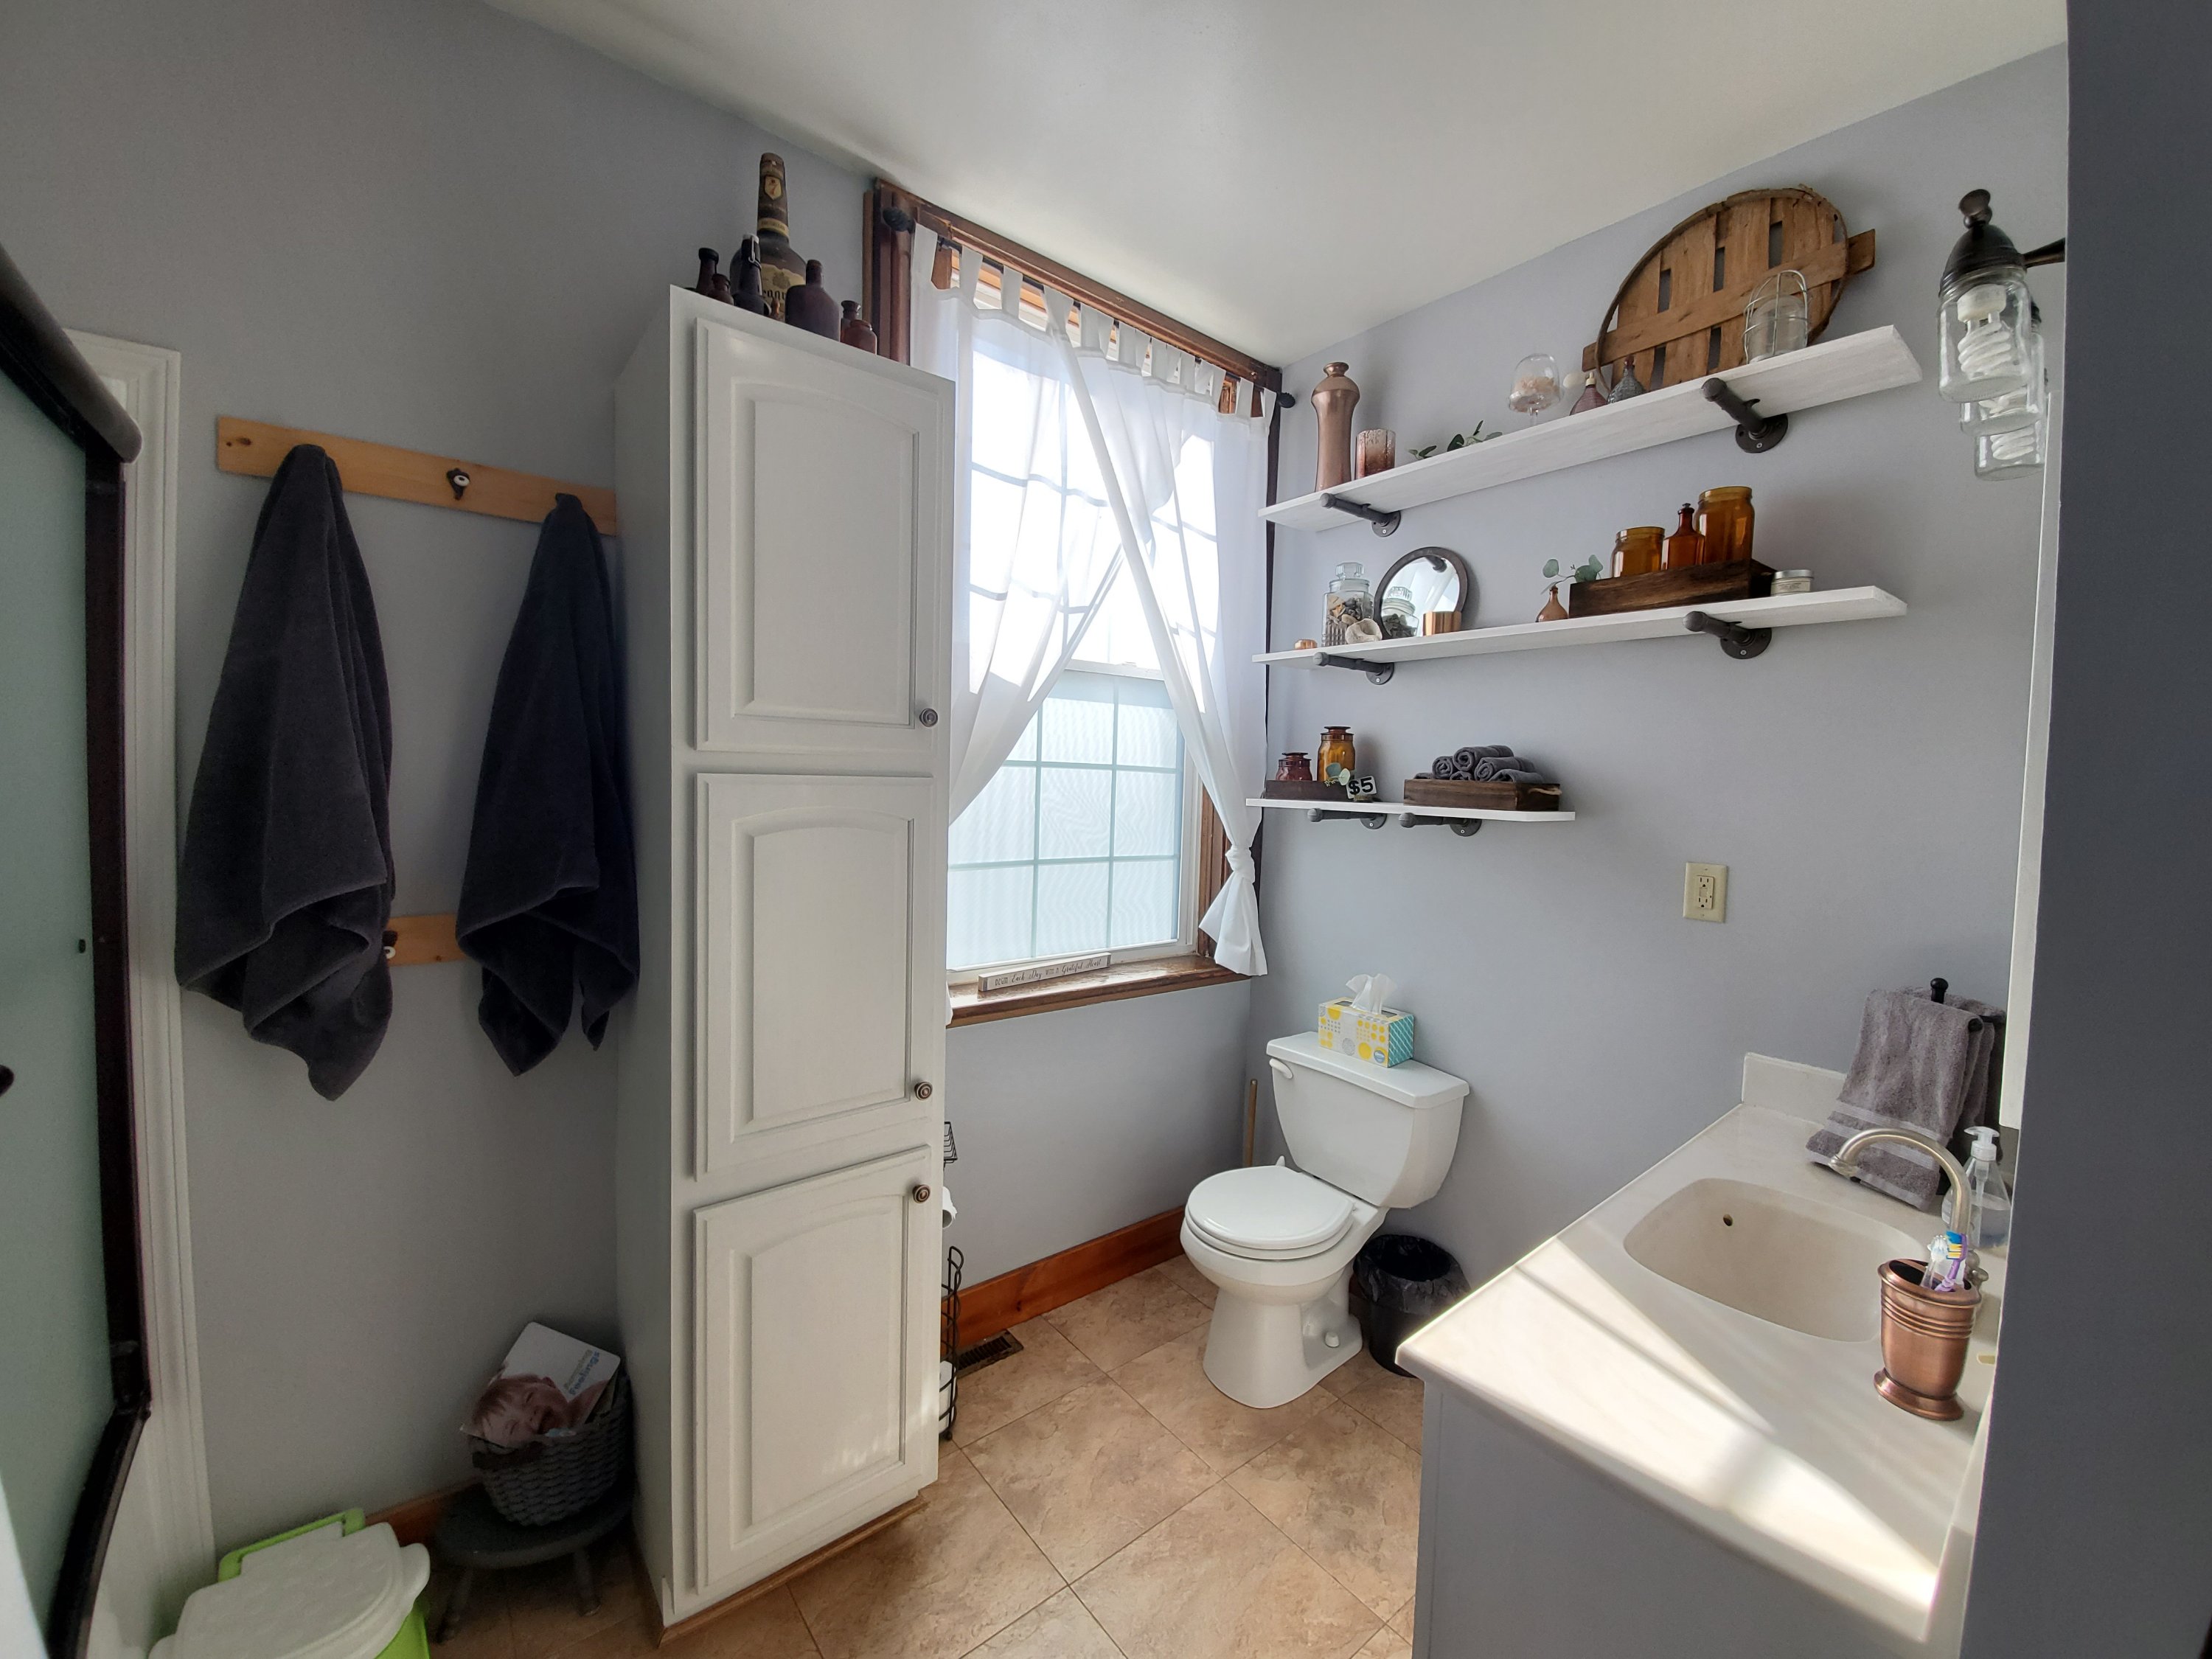
After:

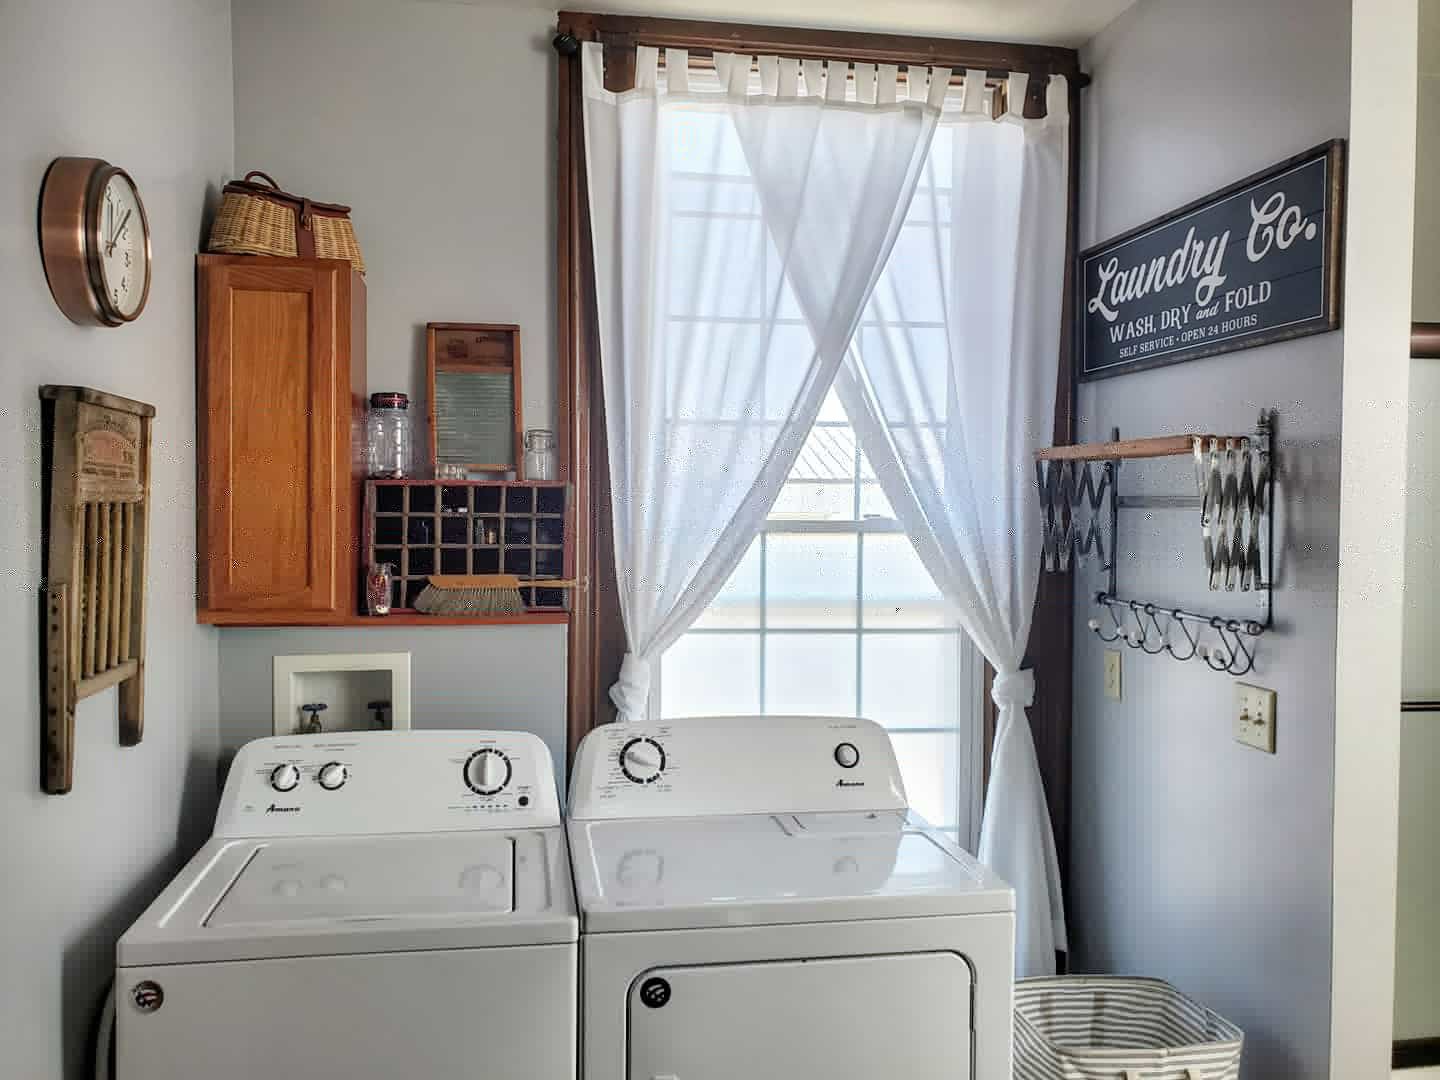
We will put a new faucet in soon and plan to redo the bath and laundry room floors in a few months. But for now, wow. Its clean. Its peaceful. I’m in love.

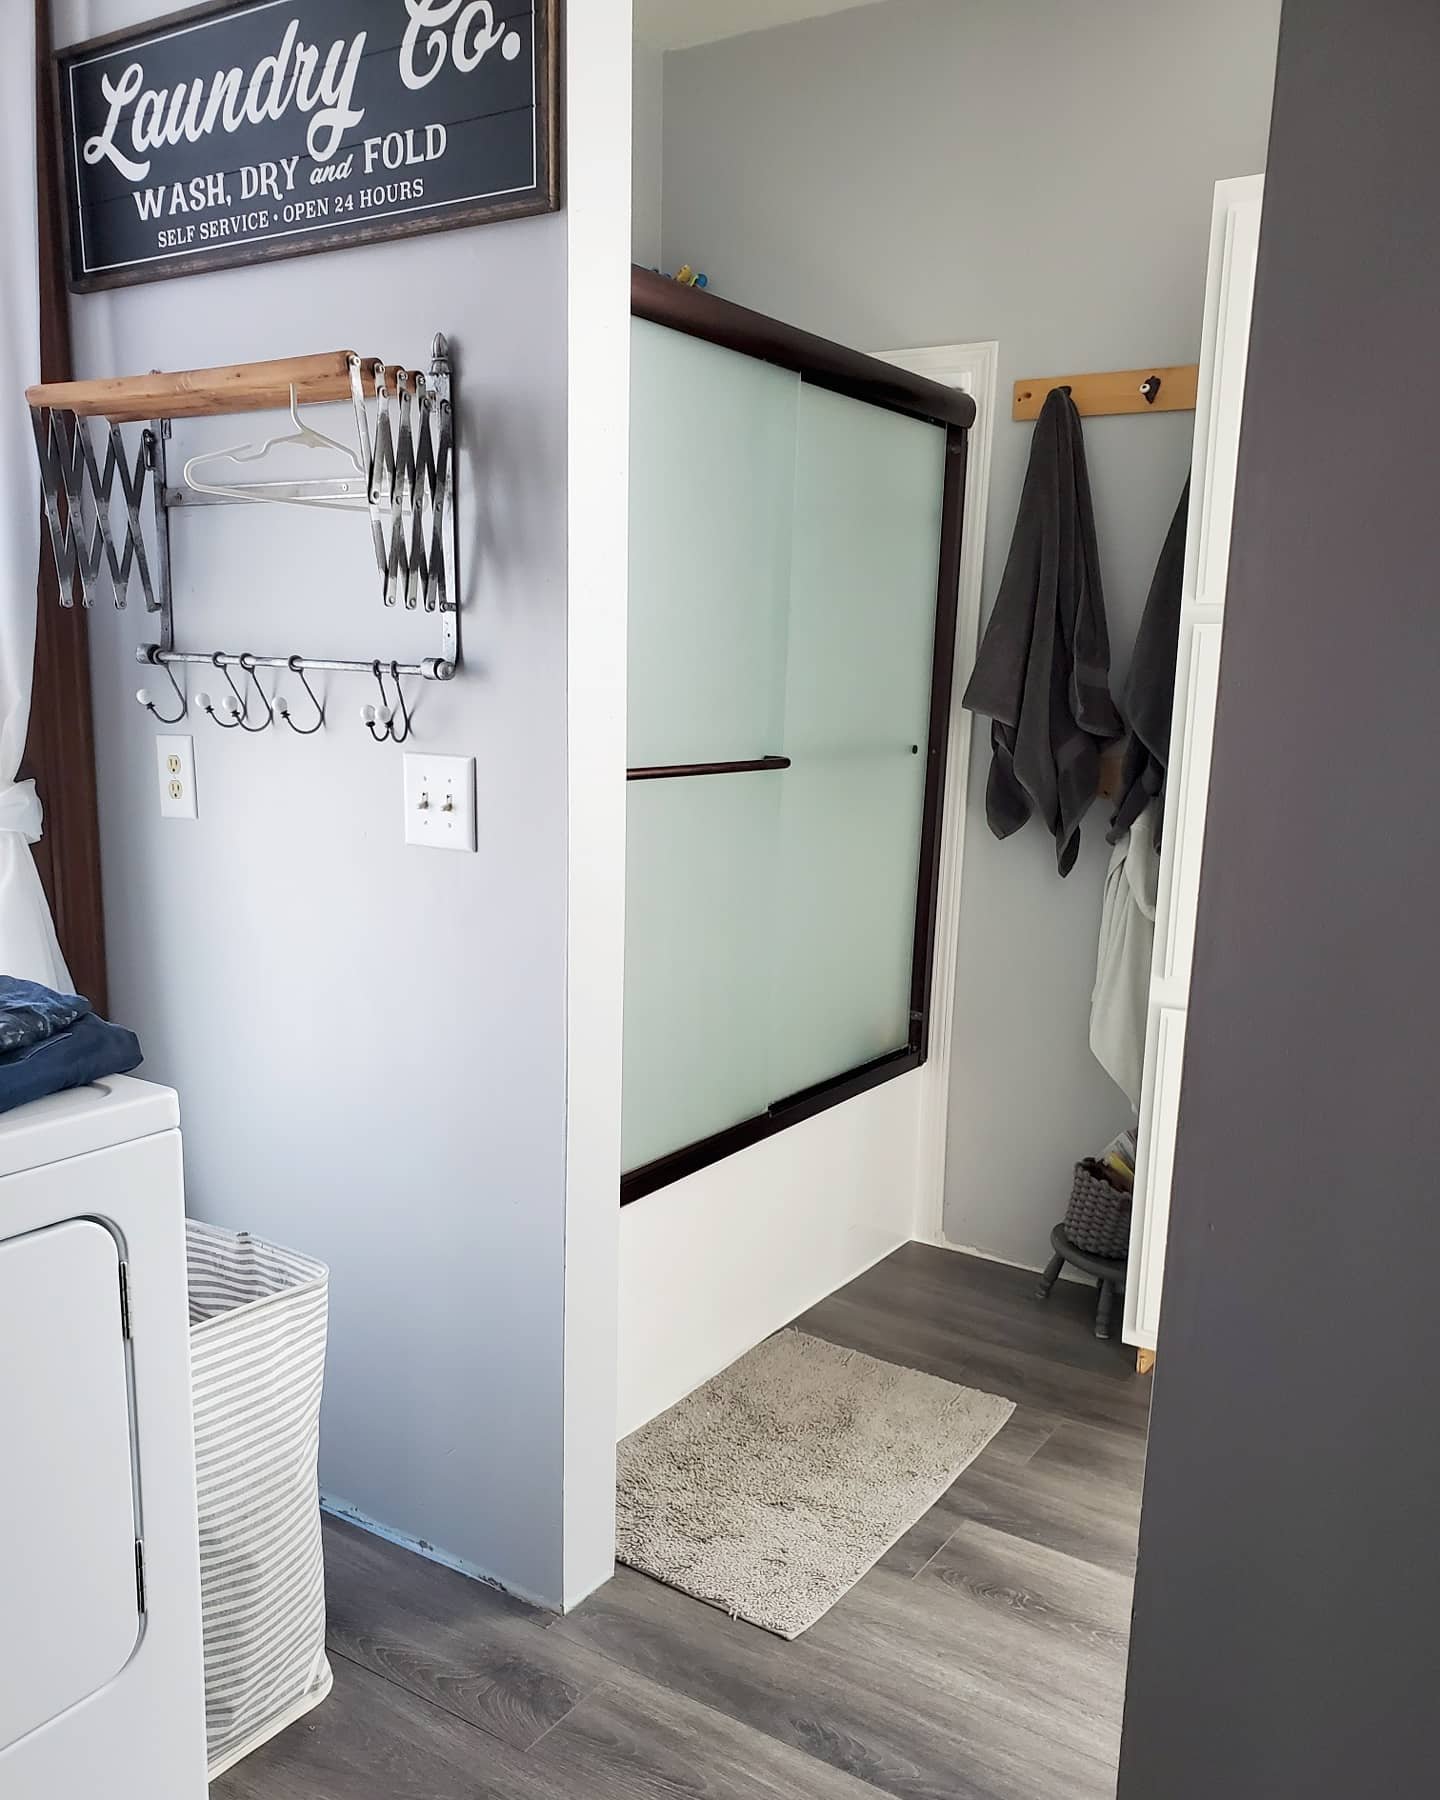
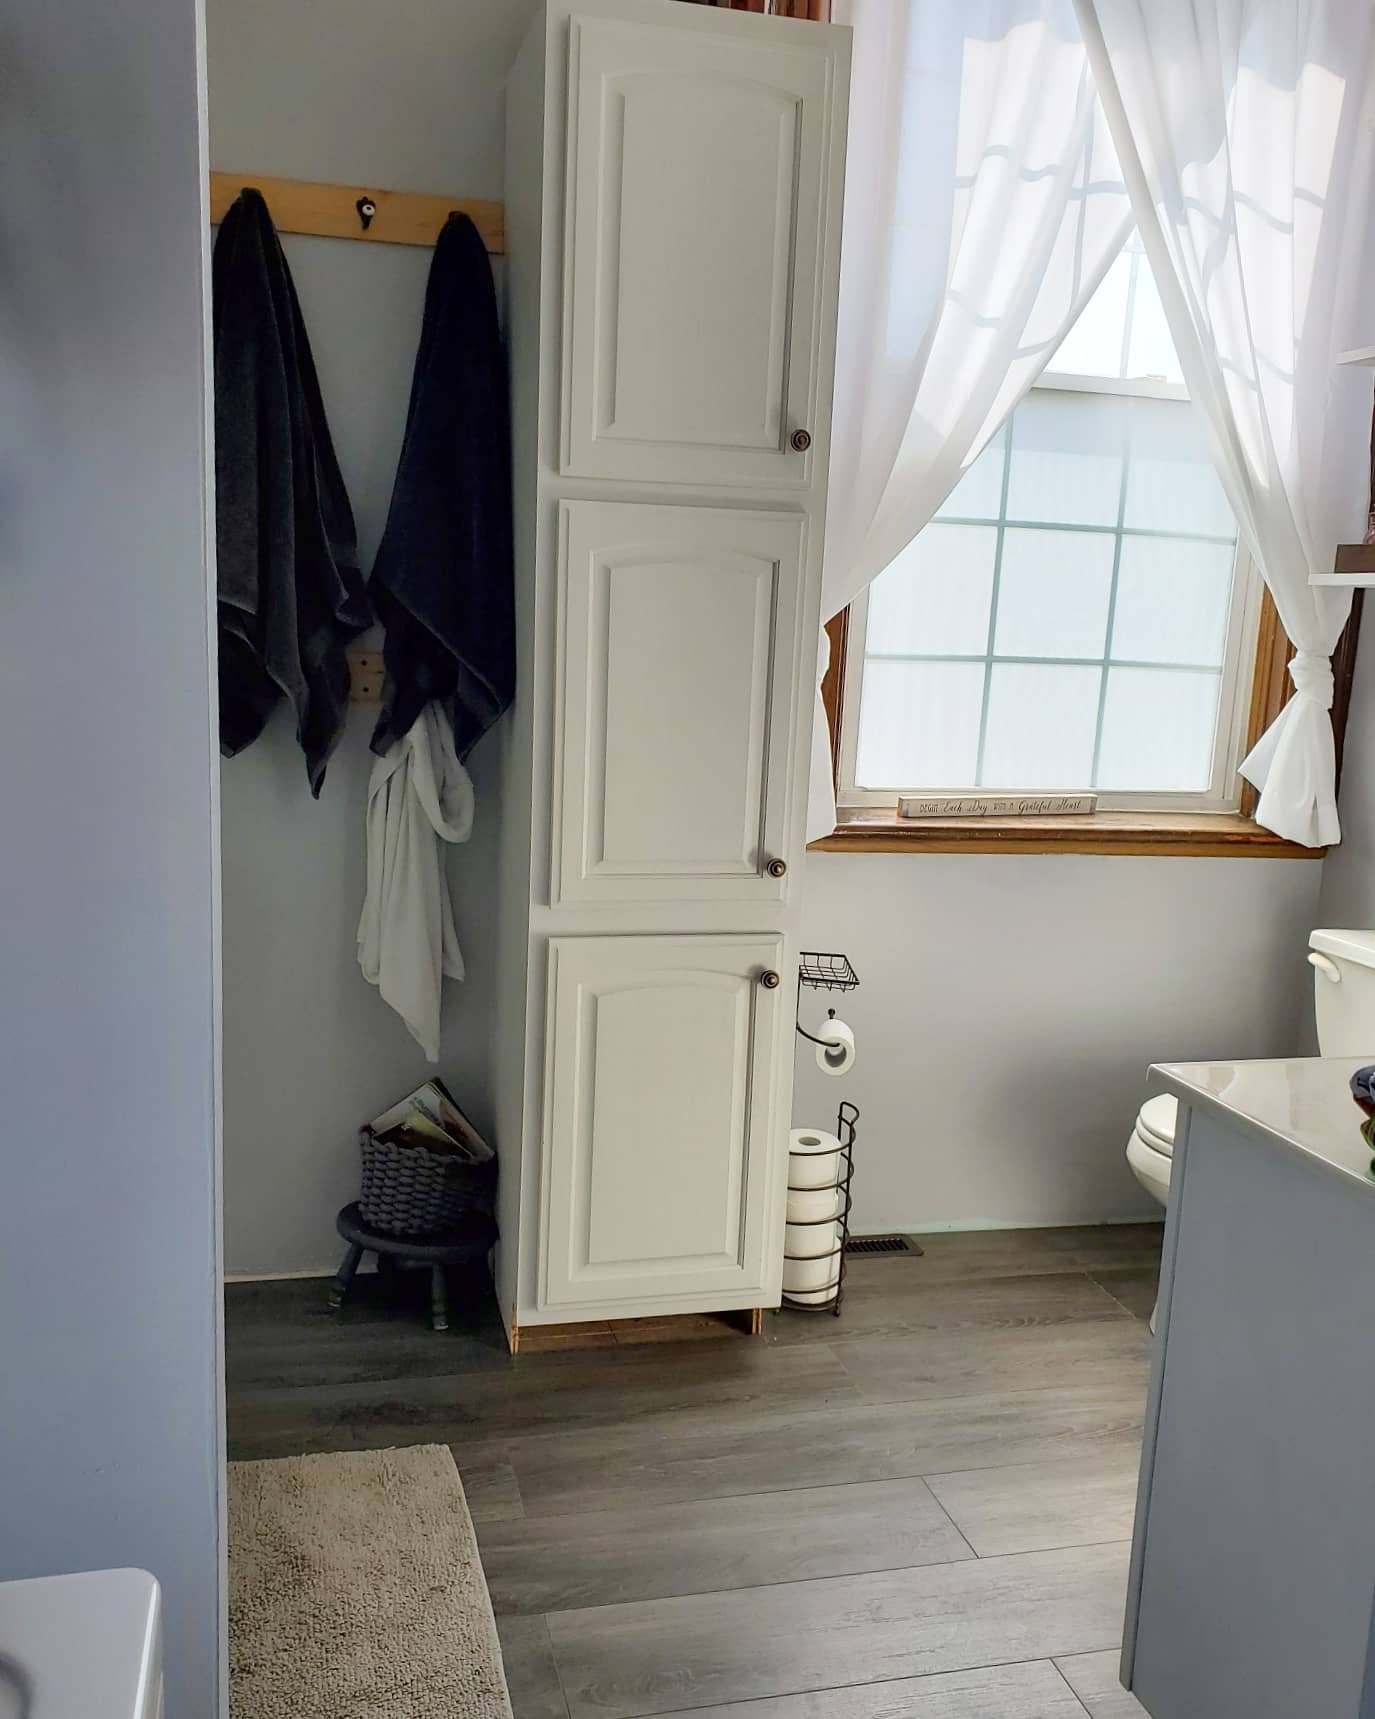
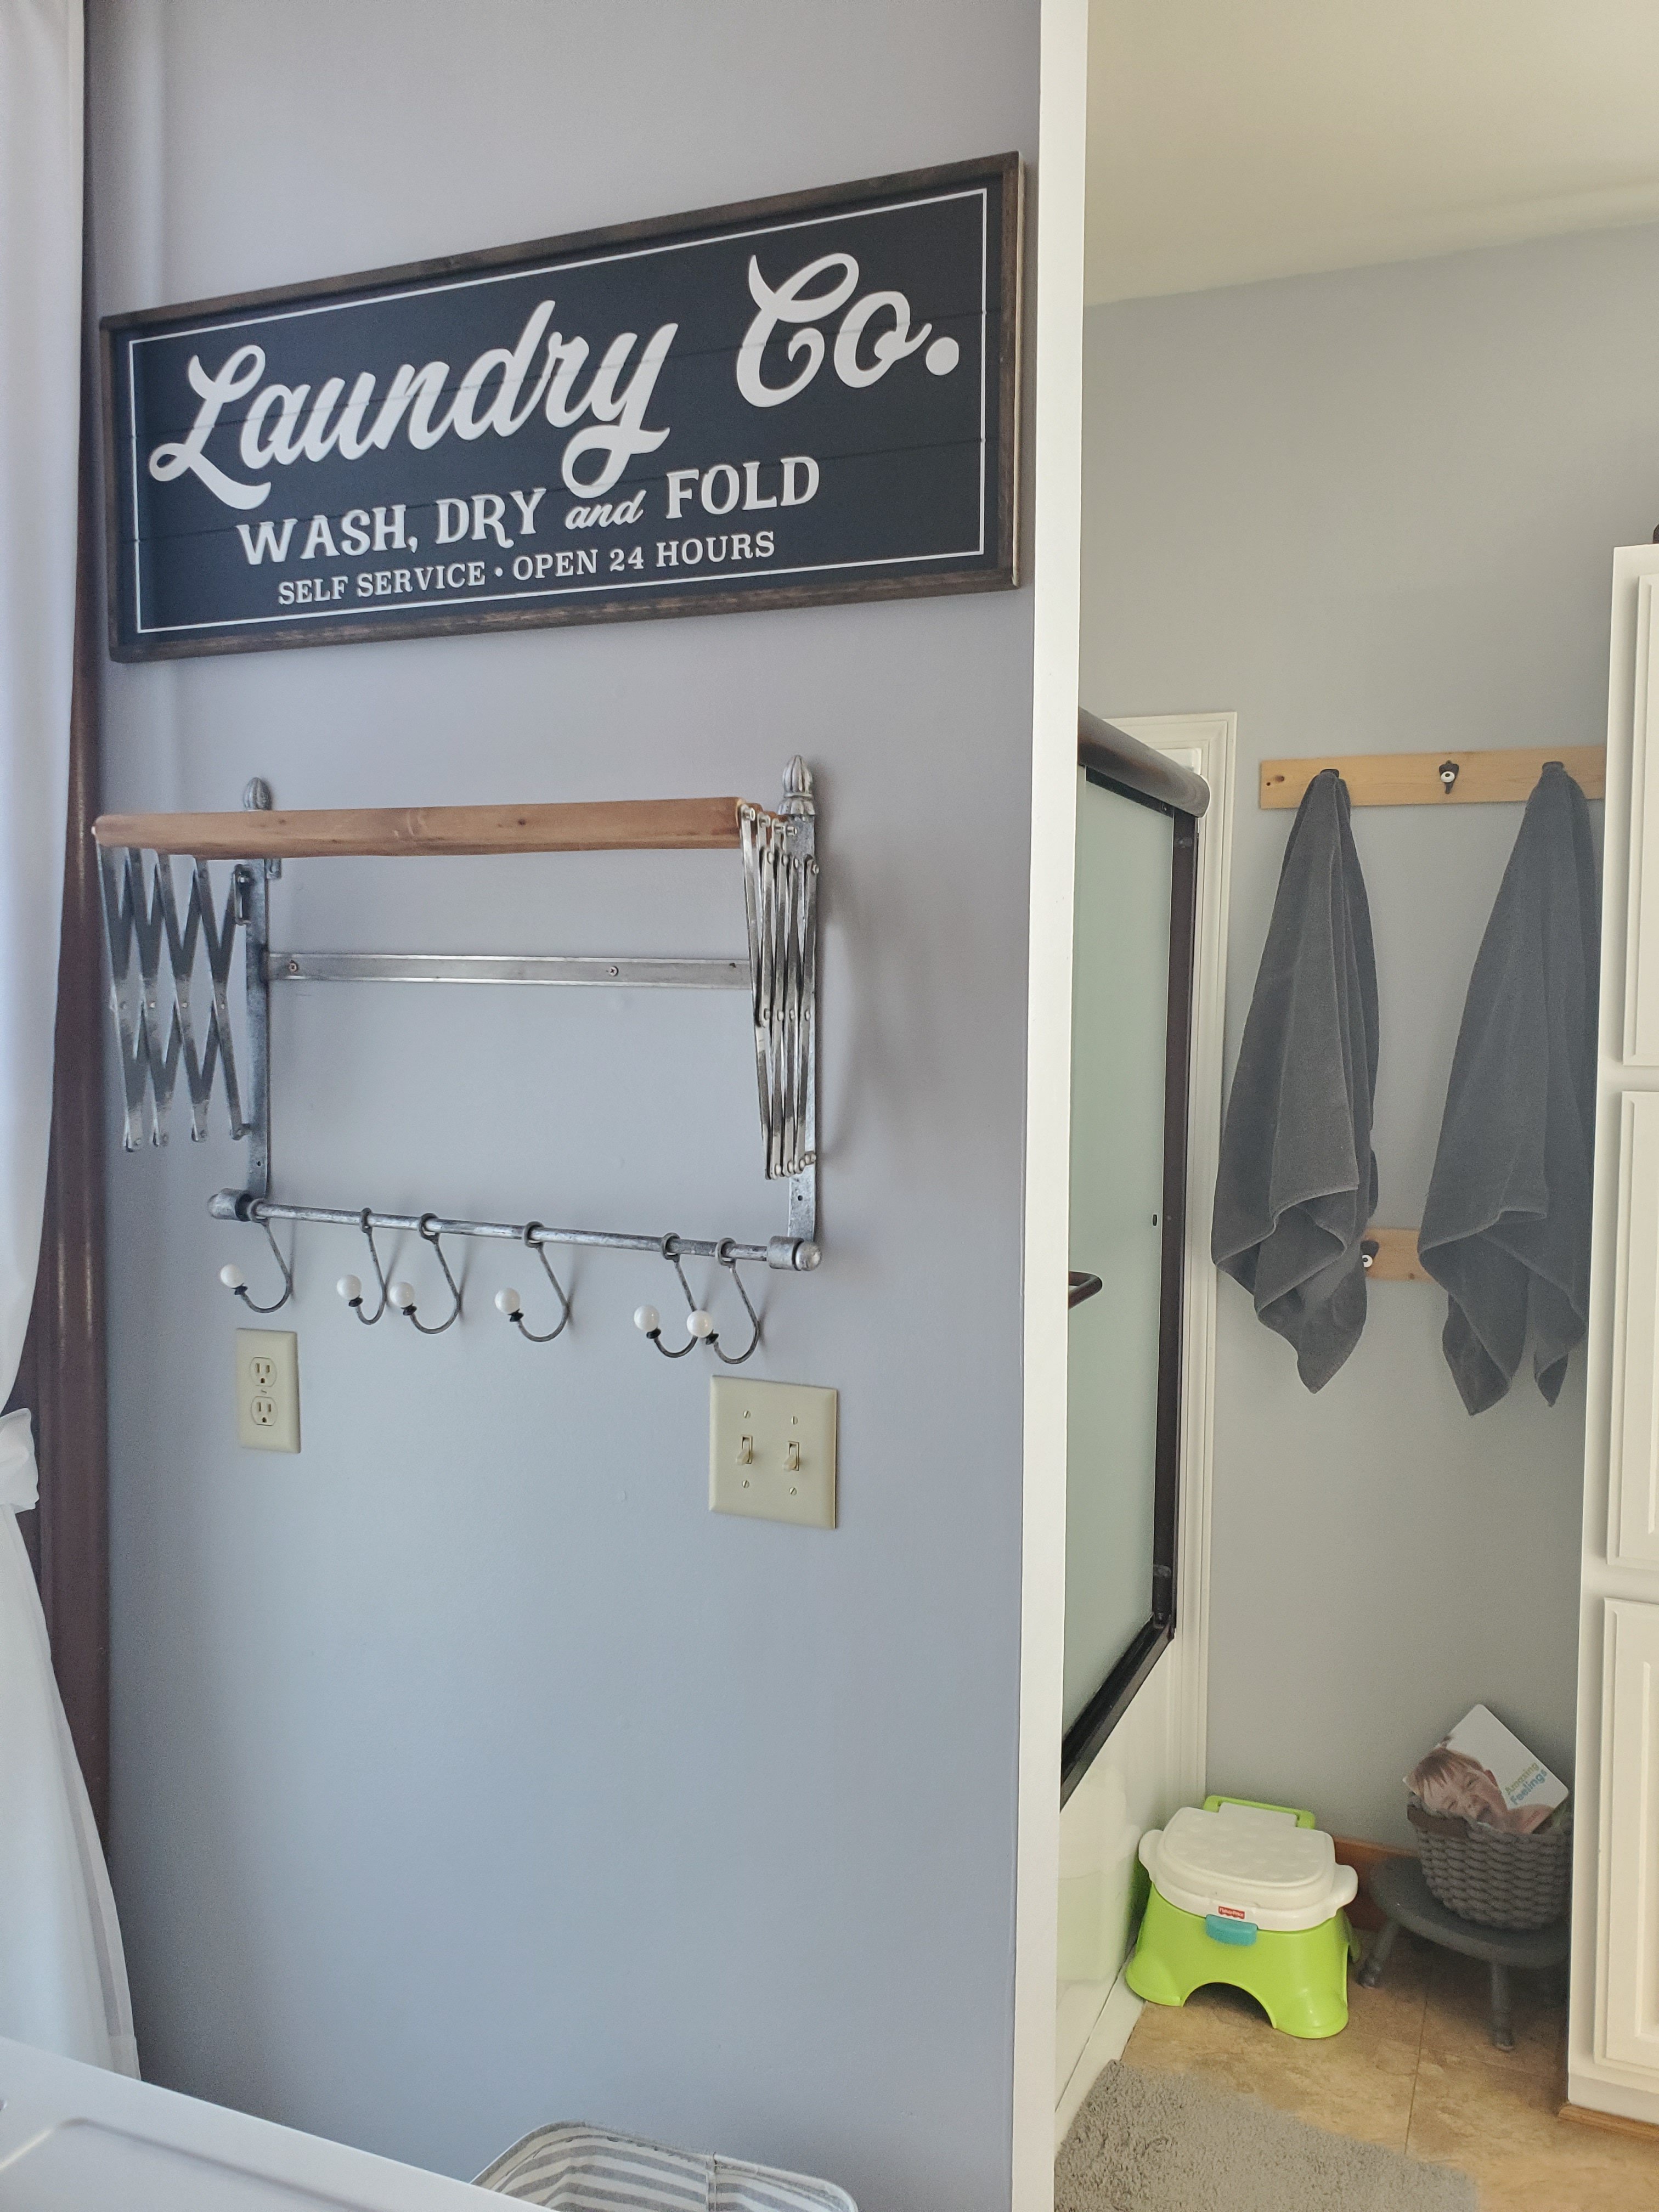
We made the bathroom hook boards because in old houses you are at the mercy of where the studs may or may not be when hanging things. Attach the hooks in the spacing you want and then attach the boards to the wall where the studs allow.
We also made the shelves ourselves and hand “grayed” the boards by smearing white paint with fingers. Tedious but so worth it. The brackets are plumbing hardware and can be found at Mendards. We painted the parts with a light oil rubbed bronze spray paint.
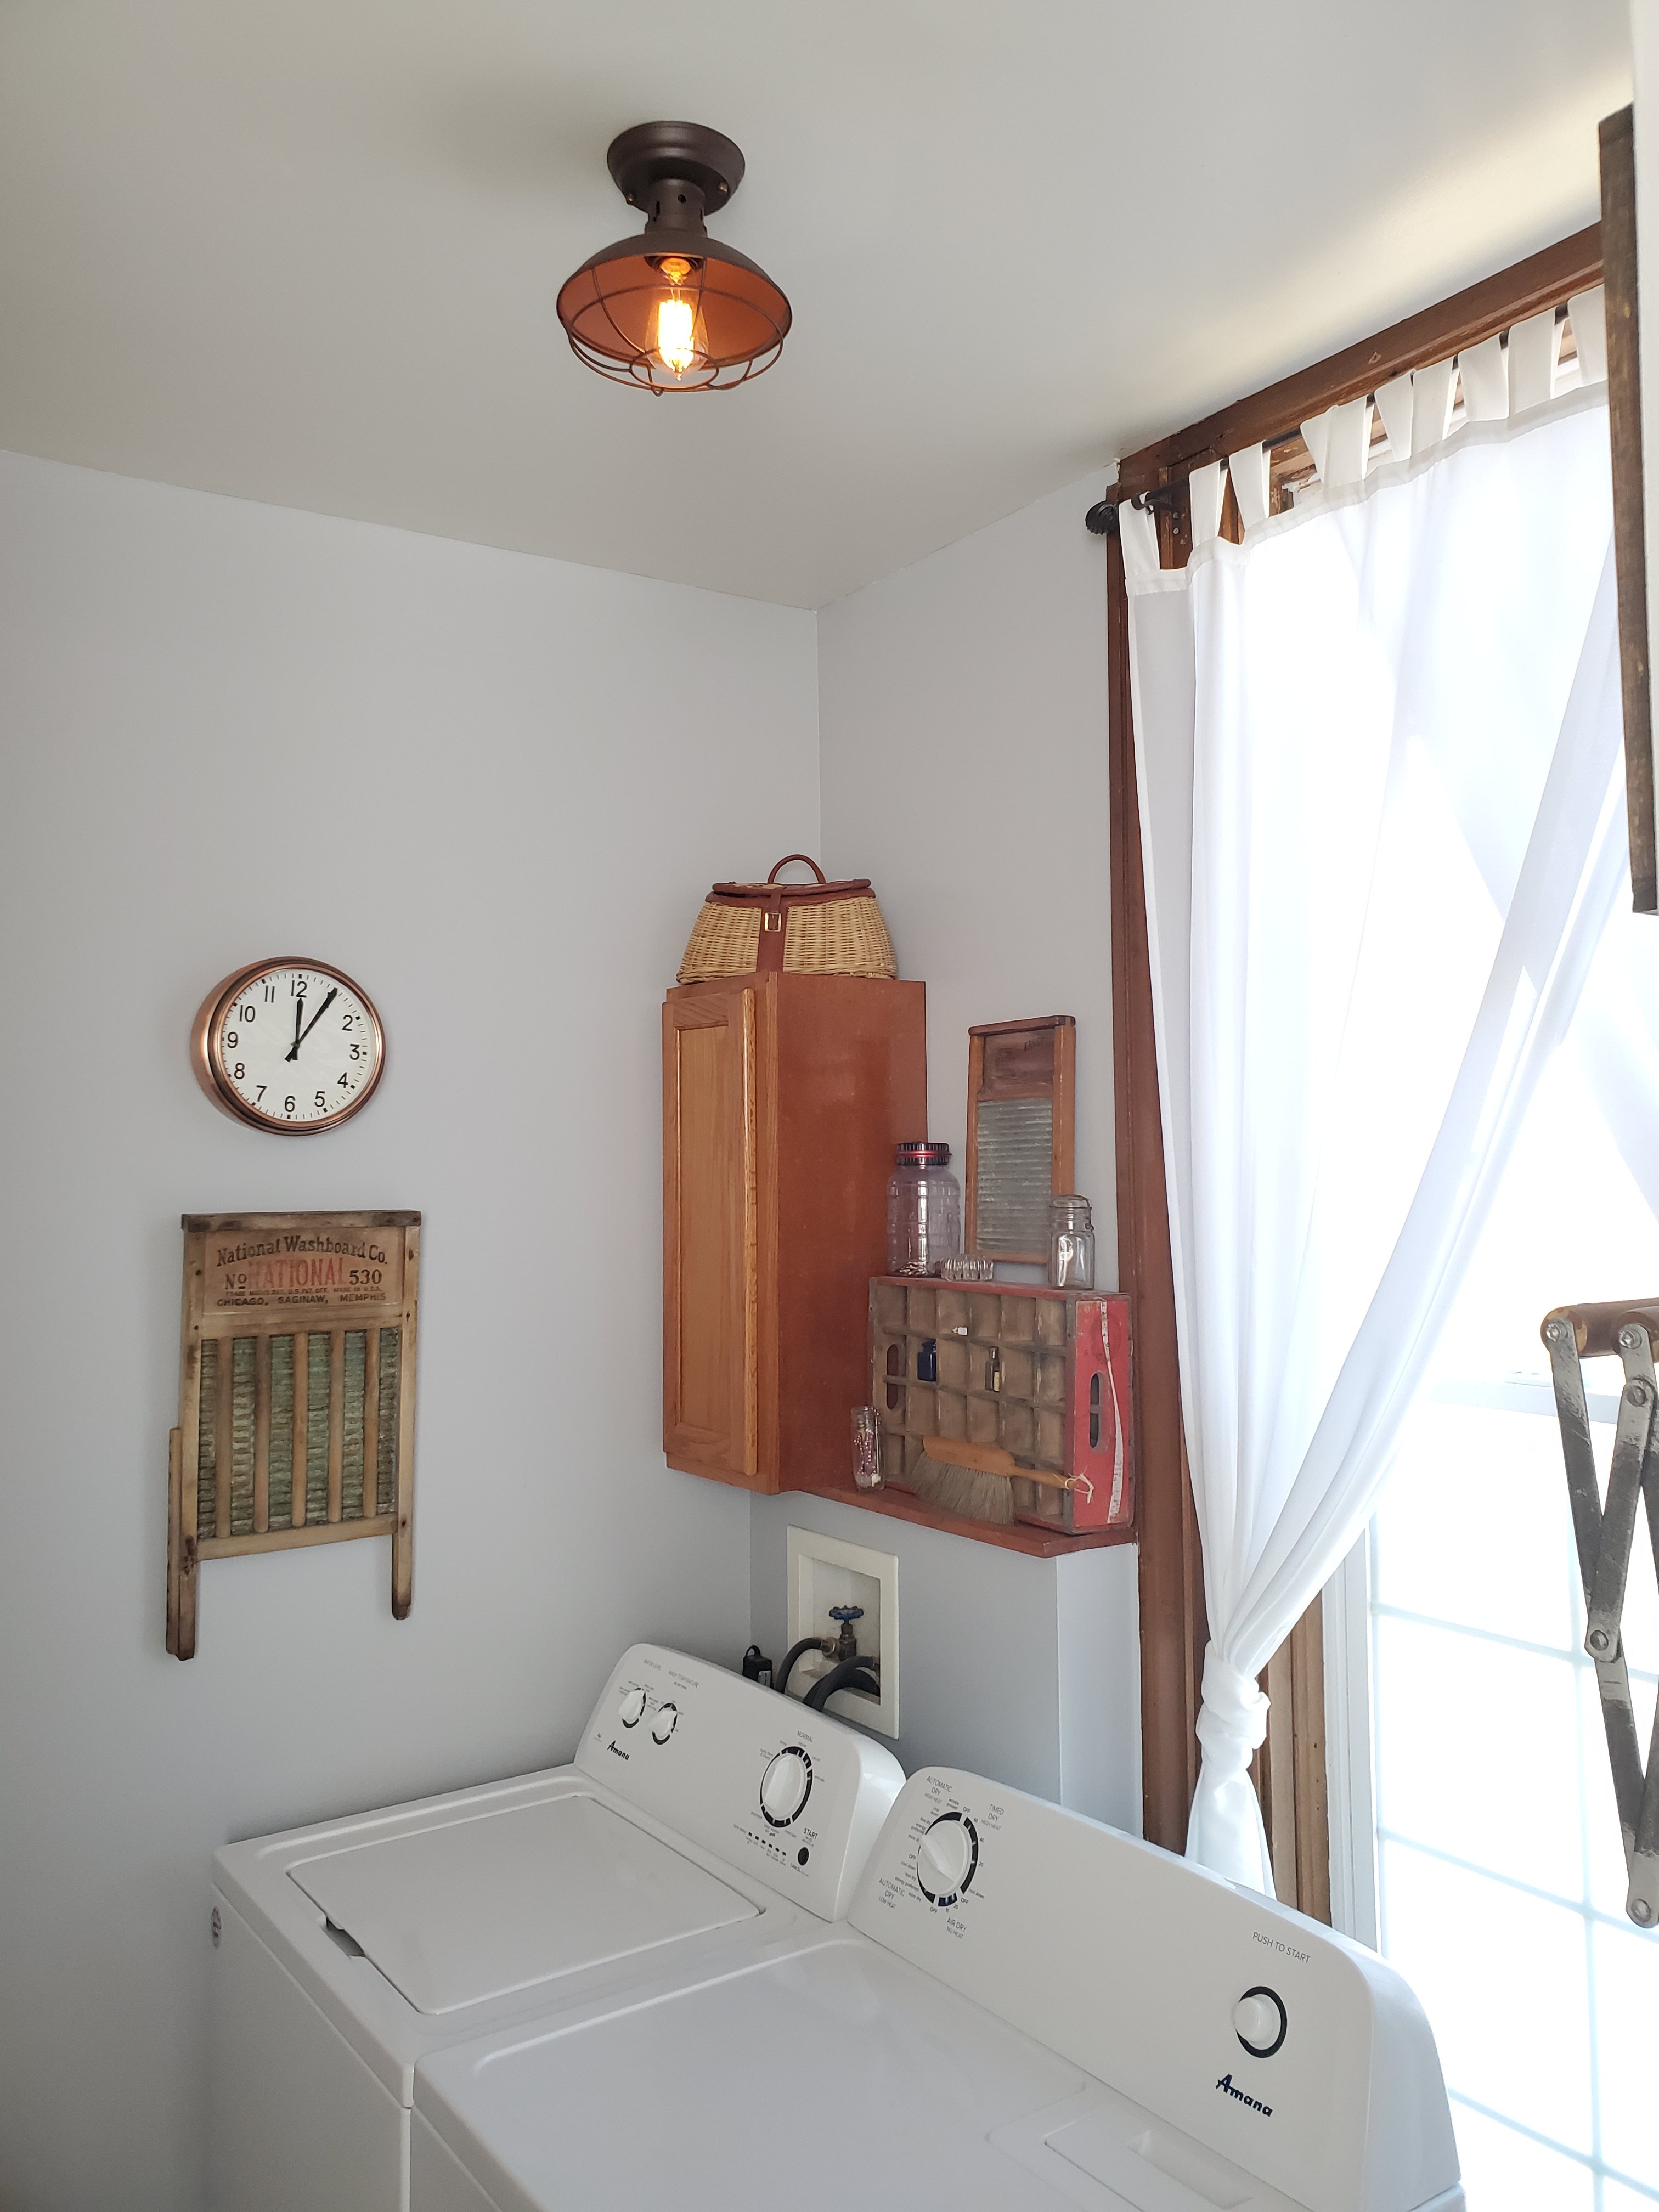
We made the jar light fixture by painting the old silver fixture with oil rubbed bronze paint and adding the jars. We took solid jar lids and made holes in them to fix the jars to the fixture. Once it’s all painted you can’t see what method you used to attach them.
All on a budget for a quick fix up. We did add a new shower, as ours was a walk in when we bought the house and we needed a tub for the kids. Paint and curtains, and especially shelving, make a huge, but affordable difference!
Here are some fun detail shots.

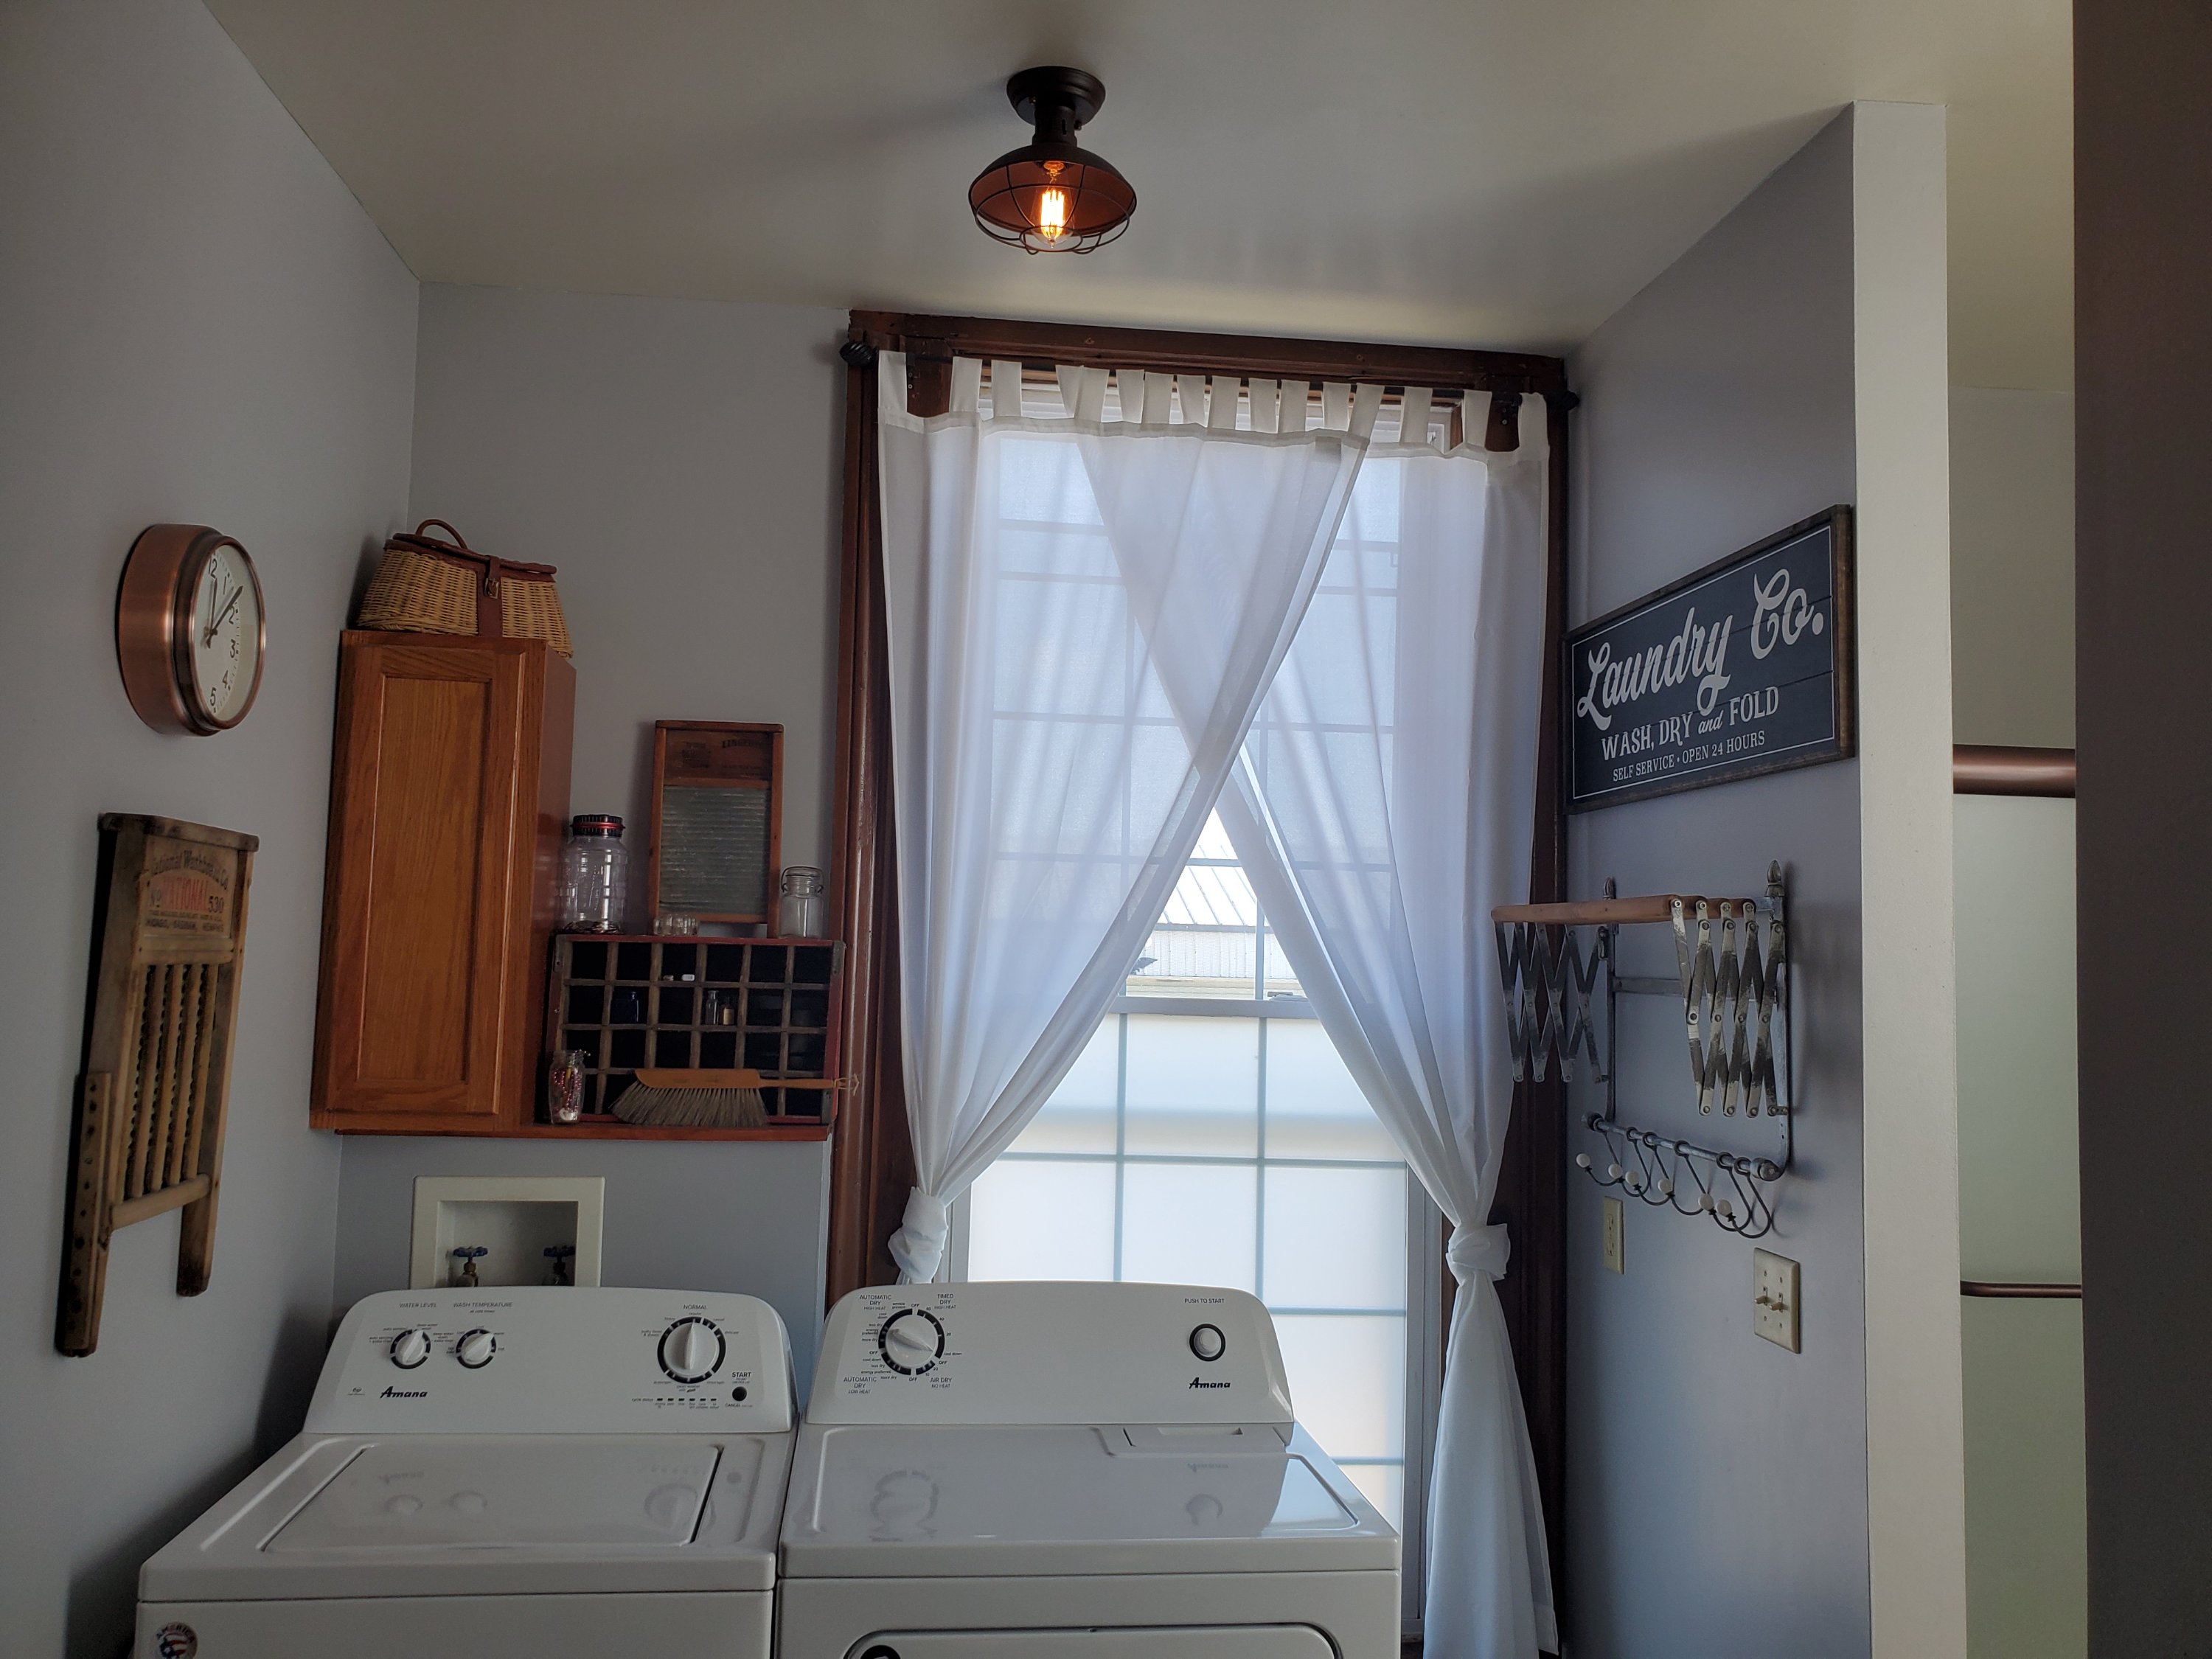

A few detail links:
What do you think? Any recommendations?
Xx,
Jess
Permalink Comments Off on Bath/Laundry Room Update
Boys’ Room Reveal
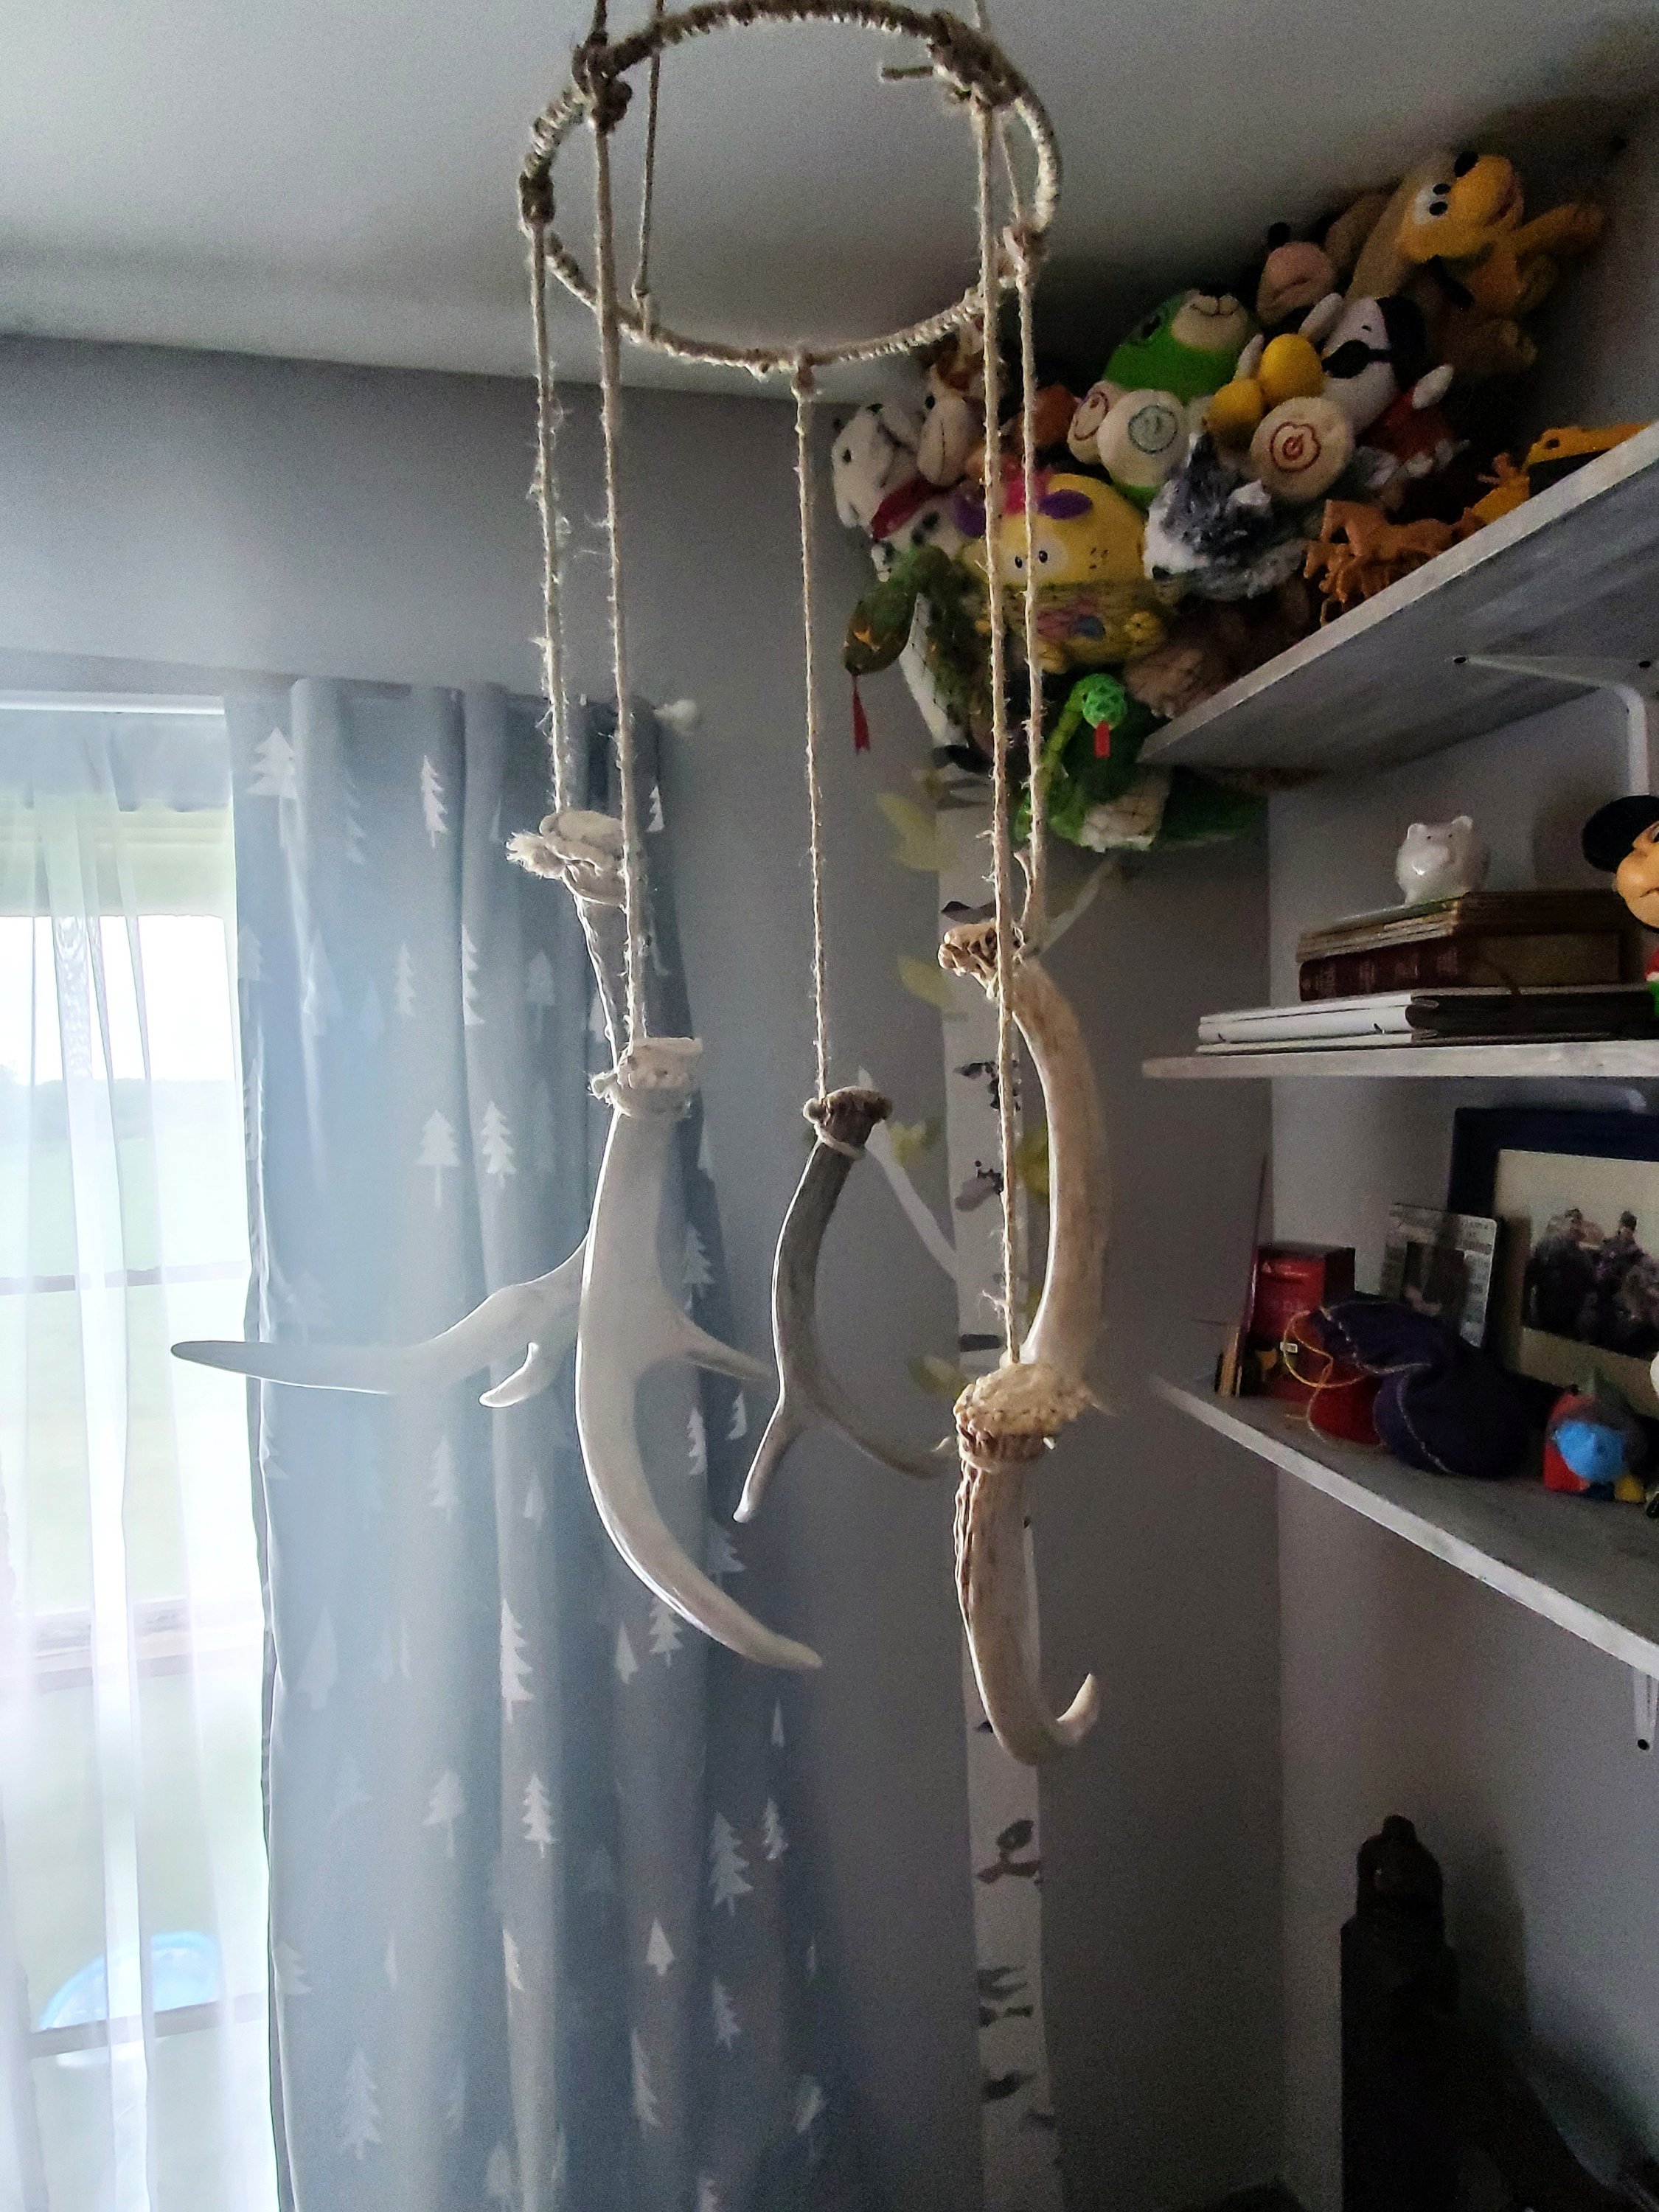
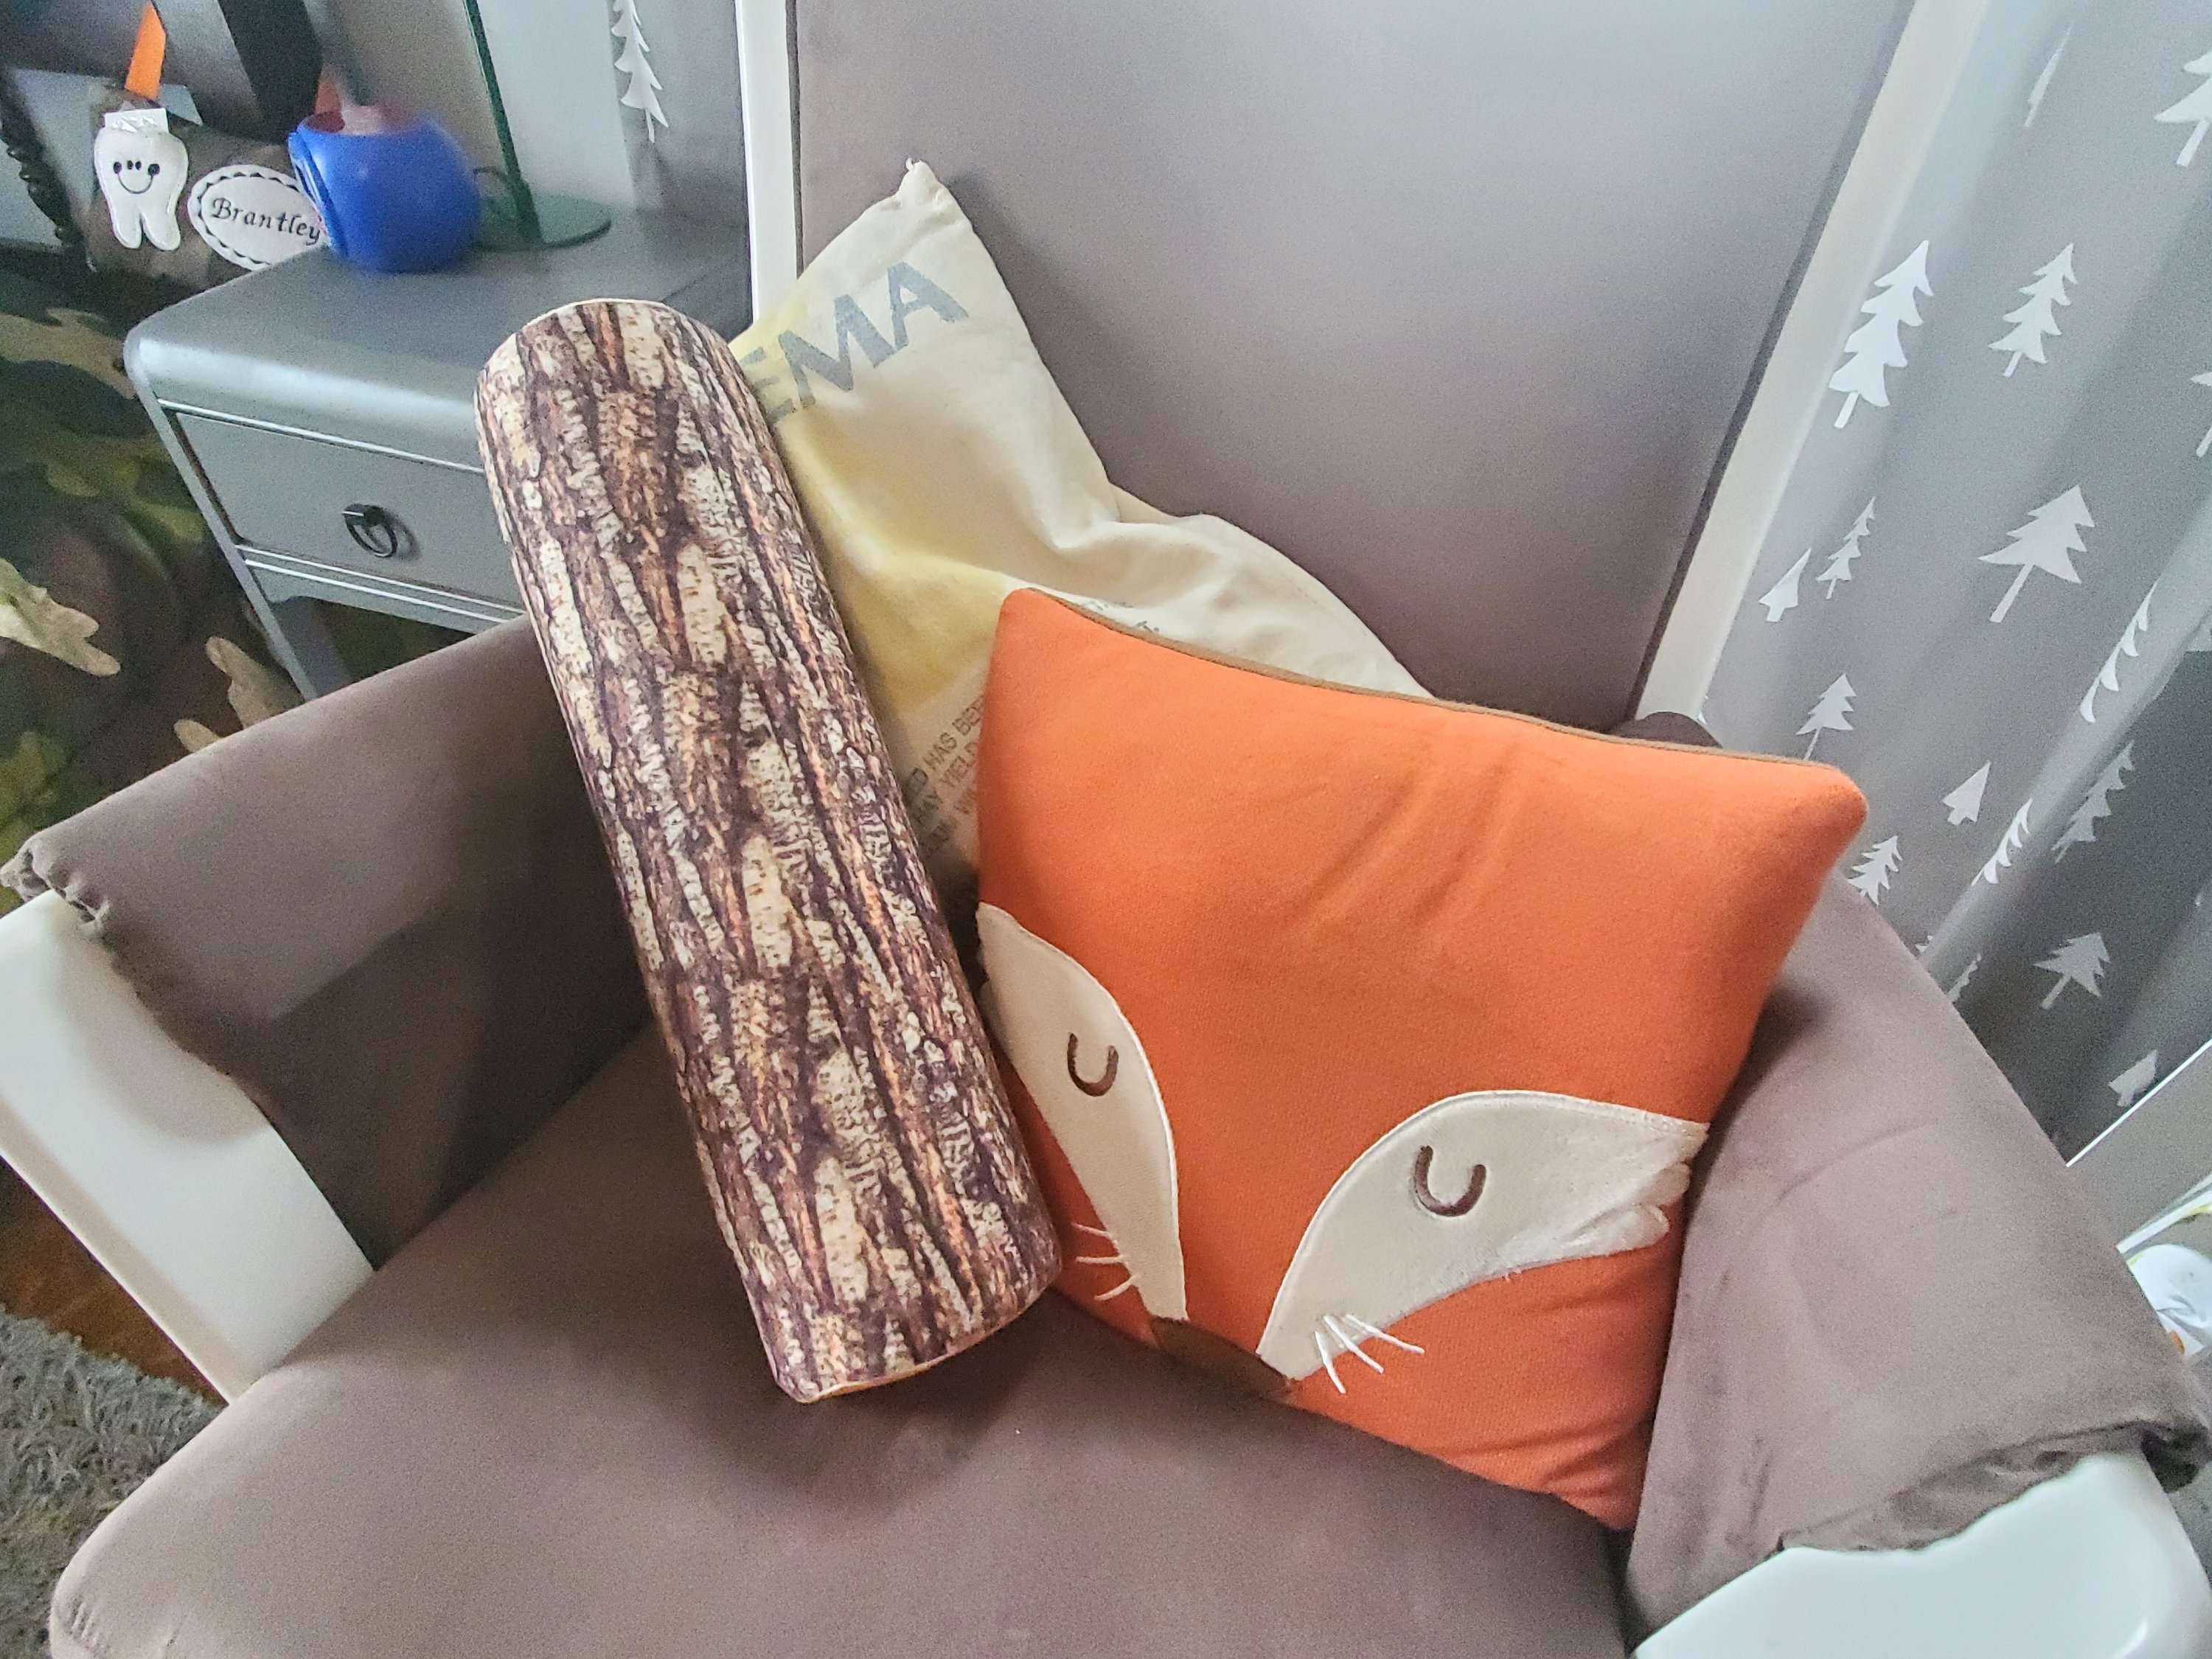
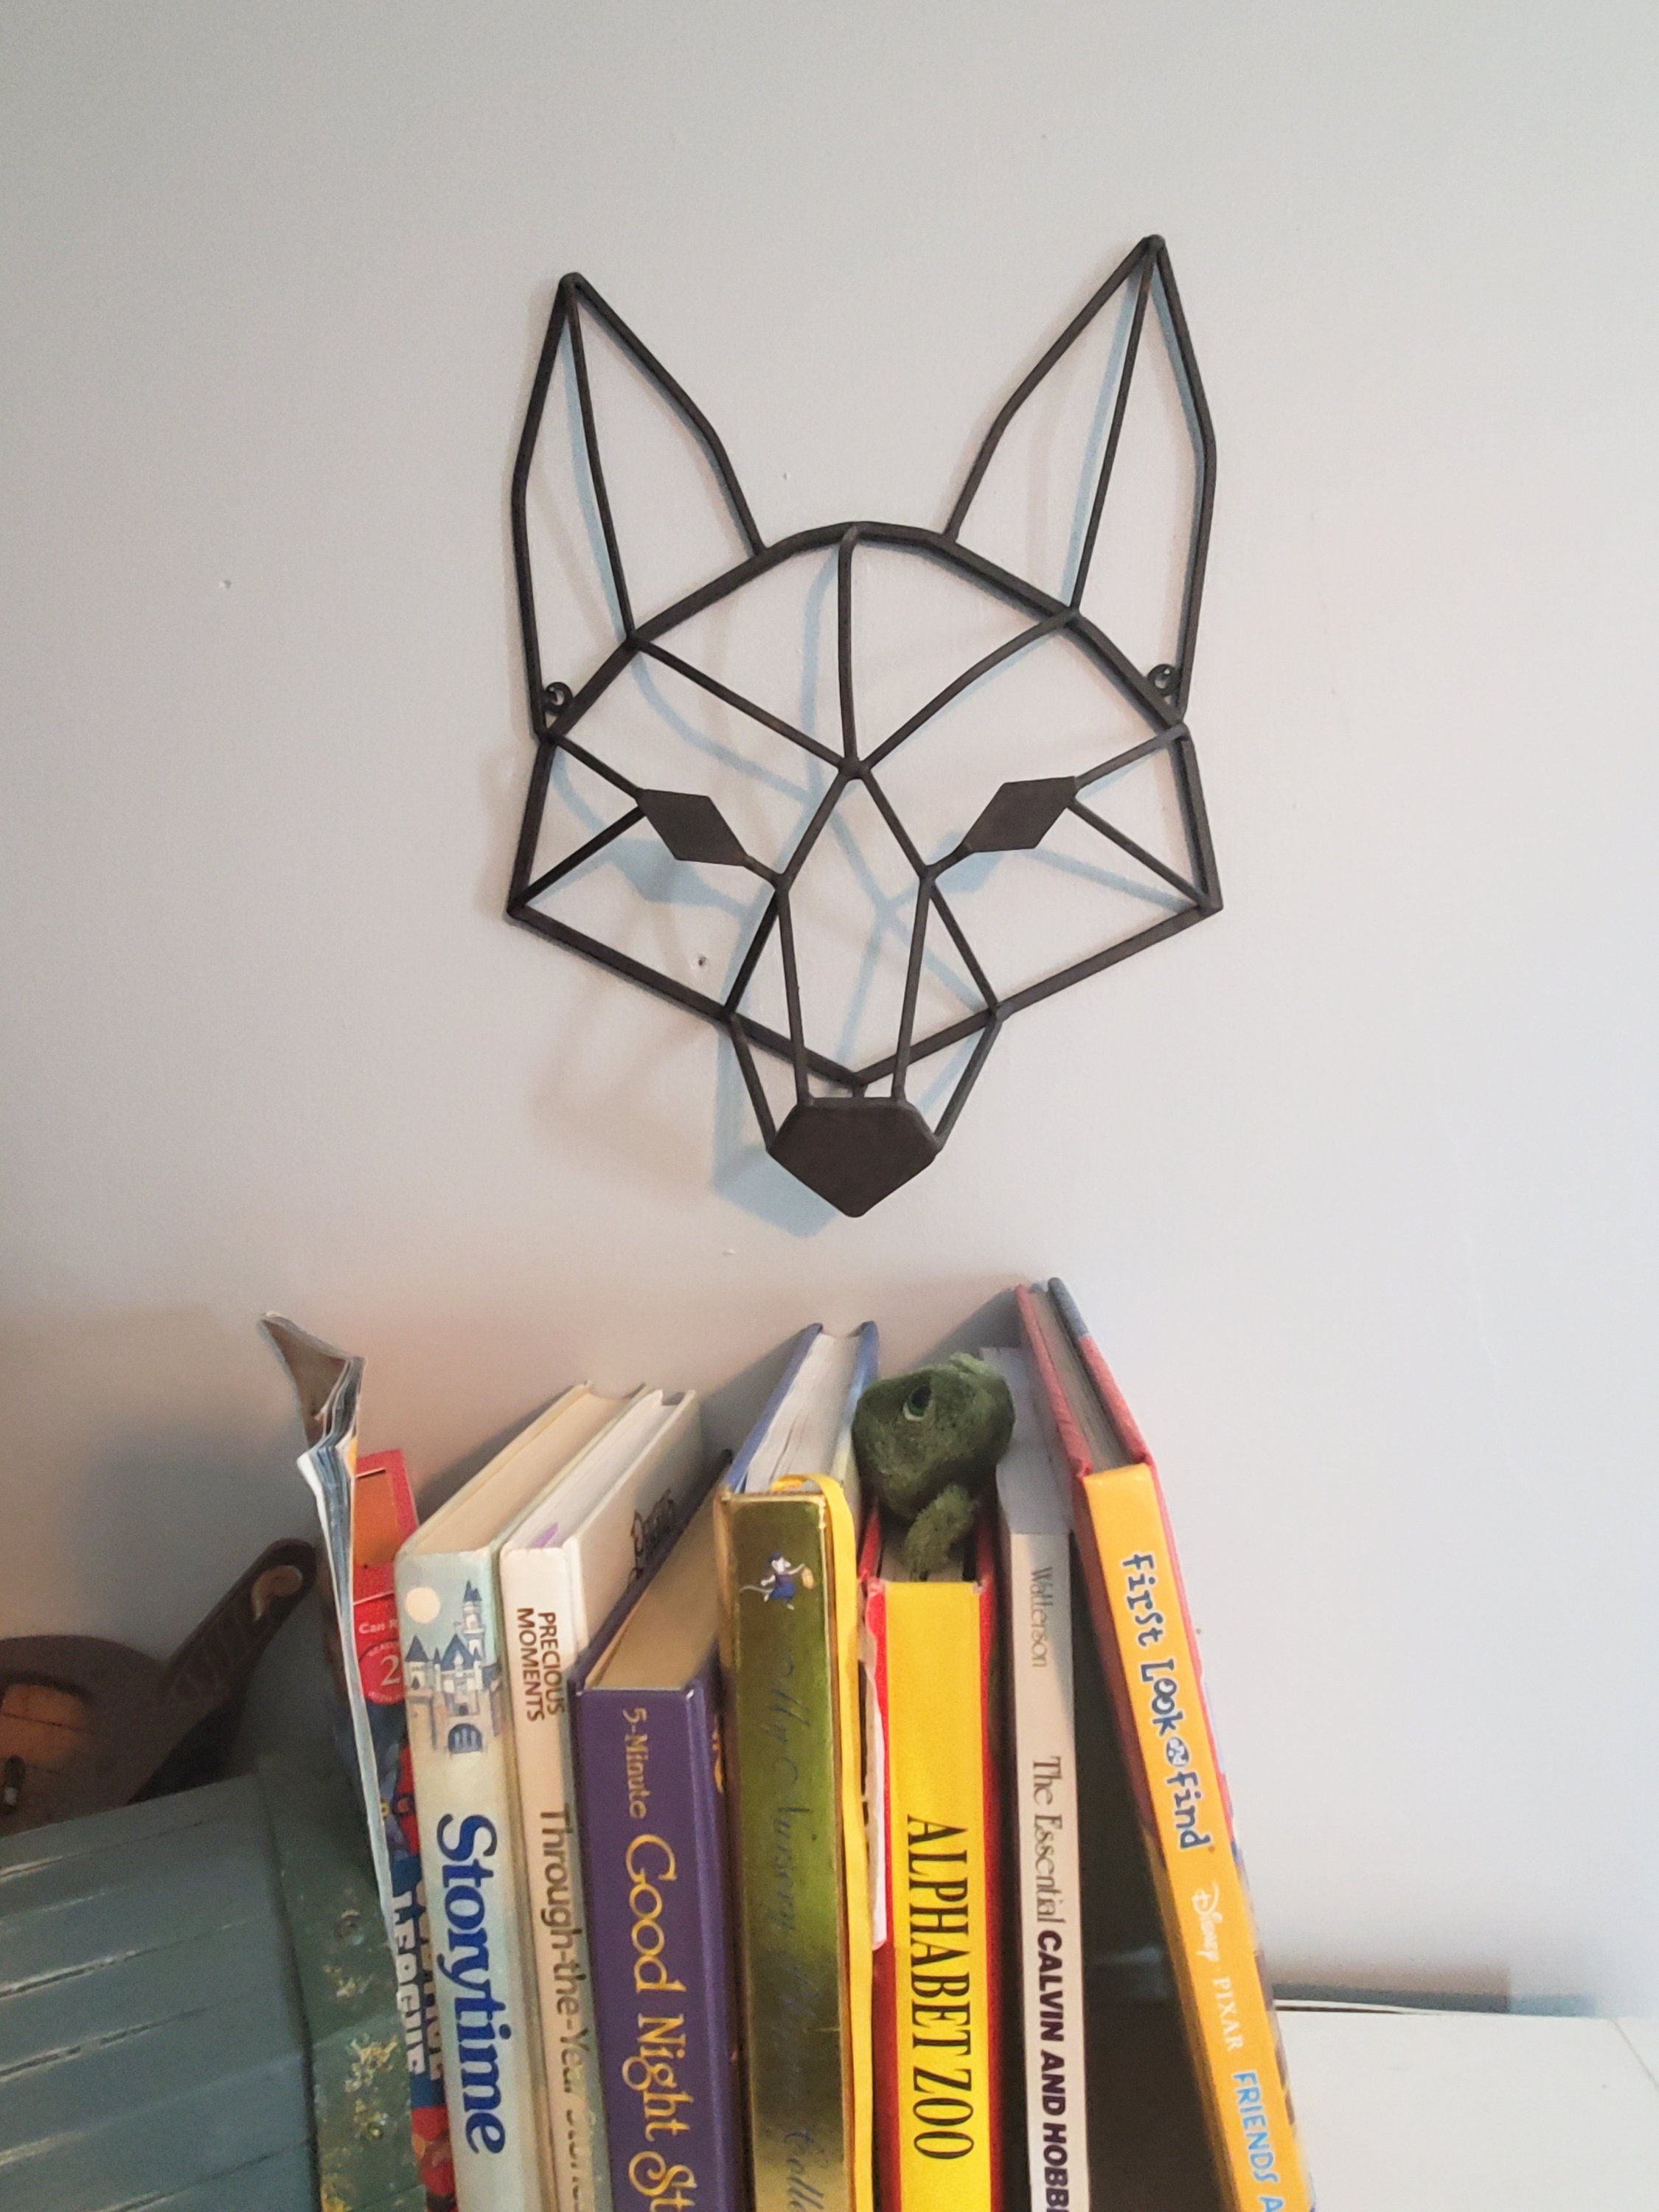
I’ve worked on it for a year and I can finally say it’s as done as it’s getting right now. 🤣 When we moved to this house a year ago and I was pregnant, we decided the boys would share a room. This way I could have an office, and the office would double as a play room/workout room, so that kids could be in there while I worked if needed. I also knew that I wanted an outdoors-y theme that could work for both a baby and a young boy. Brantley already had a farm theme as a baby, with many pieces we wanted to incorporate, and he asked for camo bedding in his new room. If you’ve been here before, you also know that when we moved to this house it needed a lot of work. A lot. We ripped carpet out of this room, added electrical outlets and a light fixture, painted… and we still have more to do…eventually. But for now, here it is!
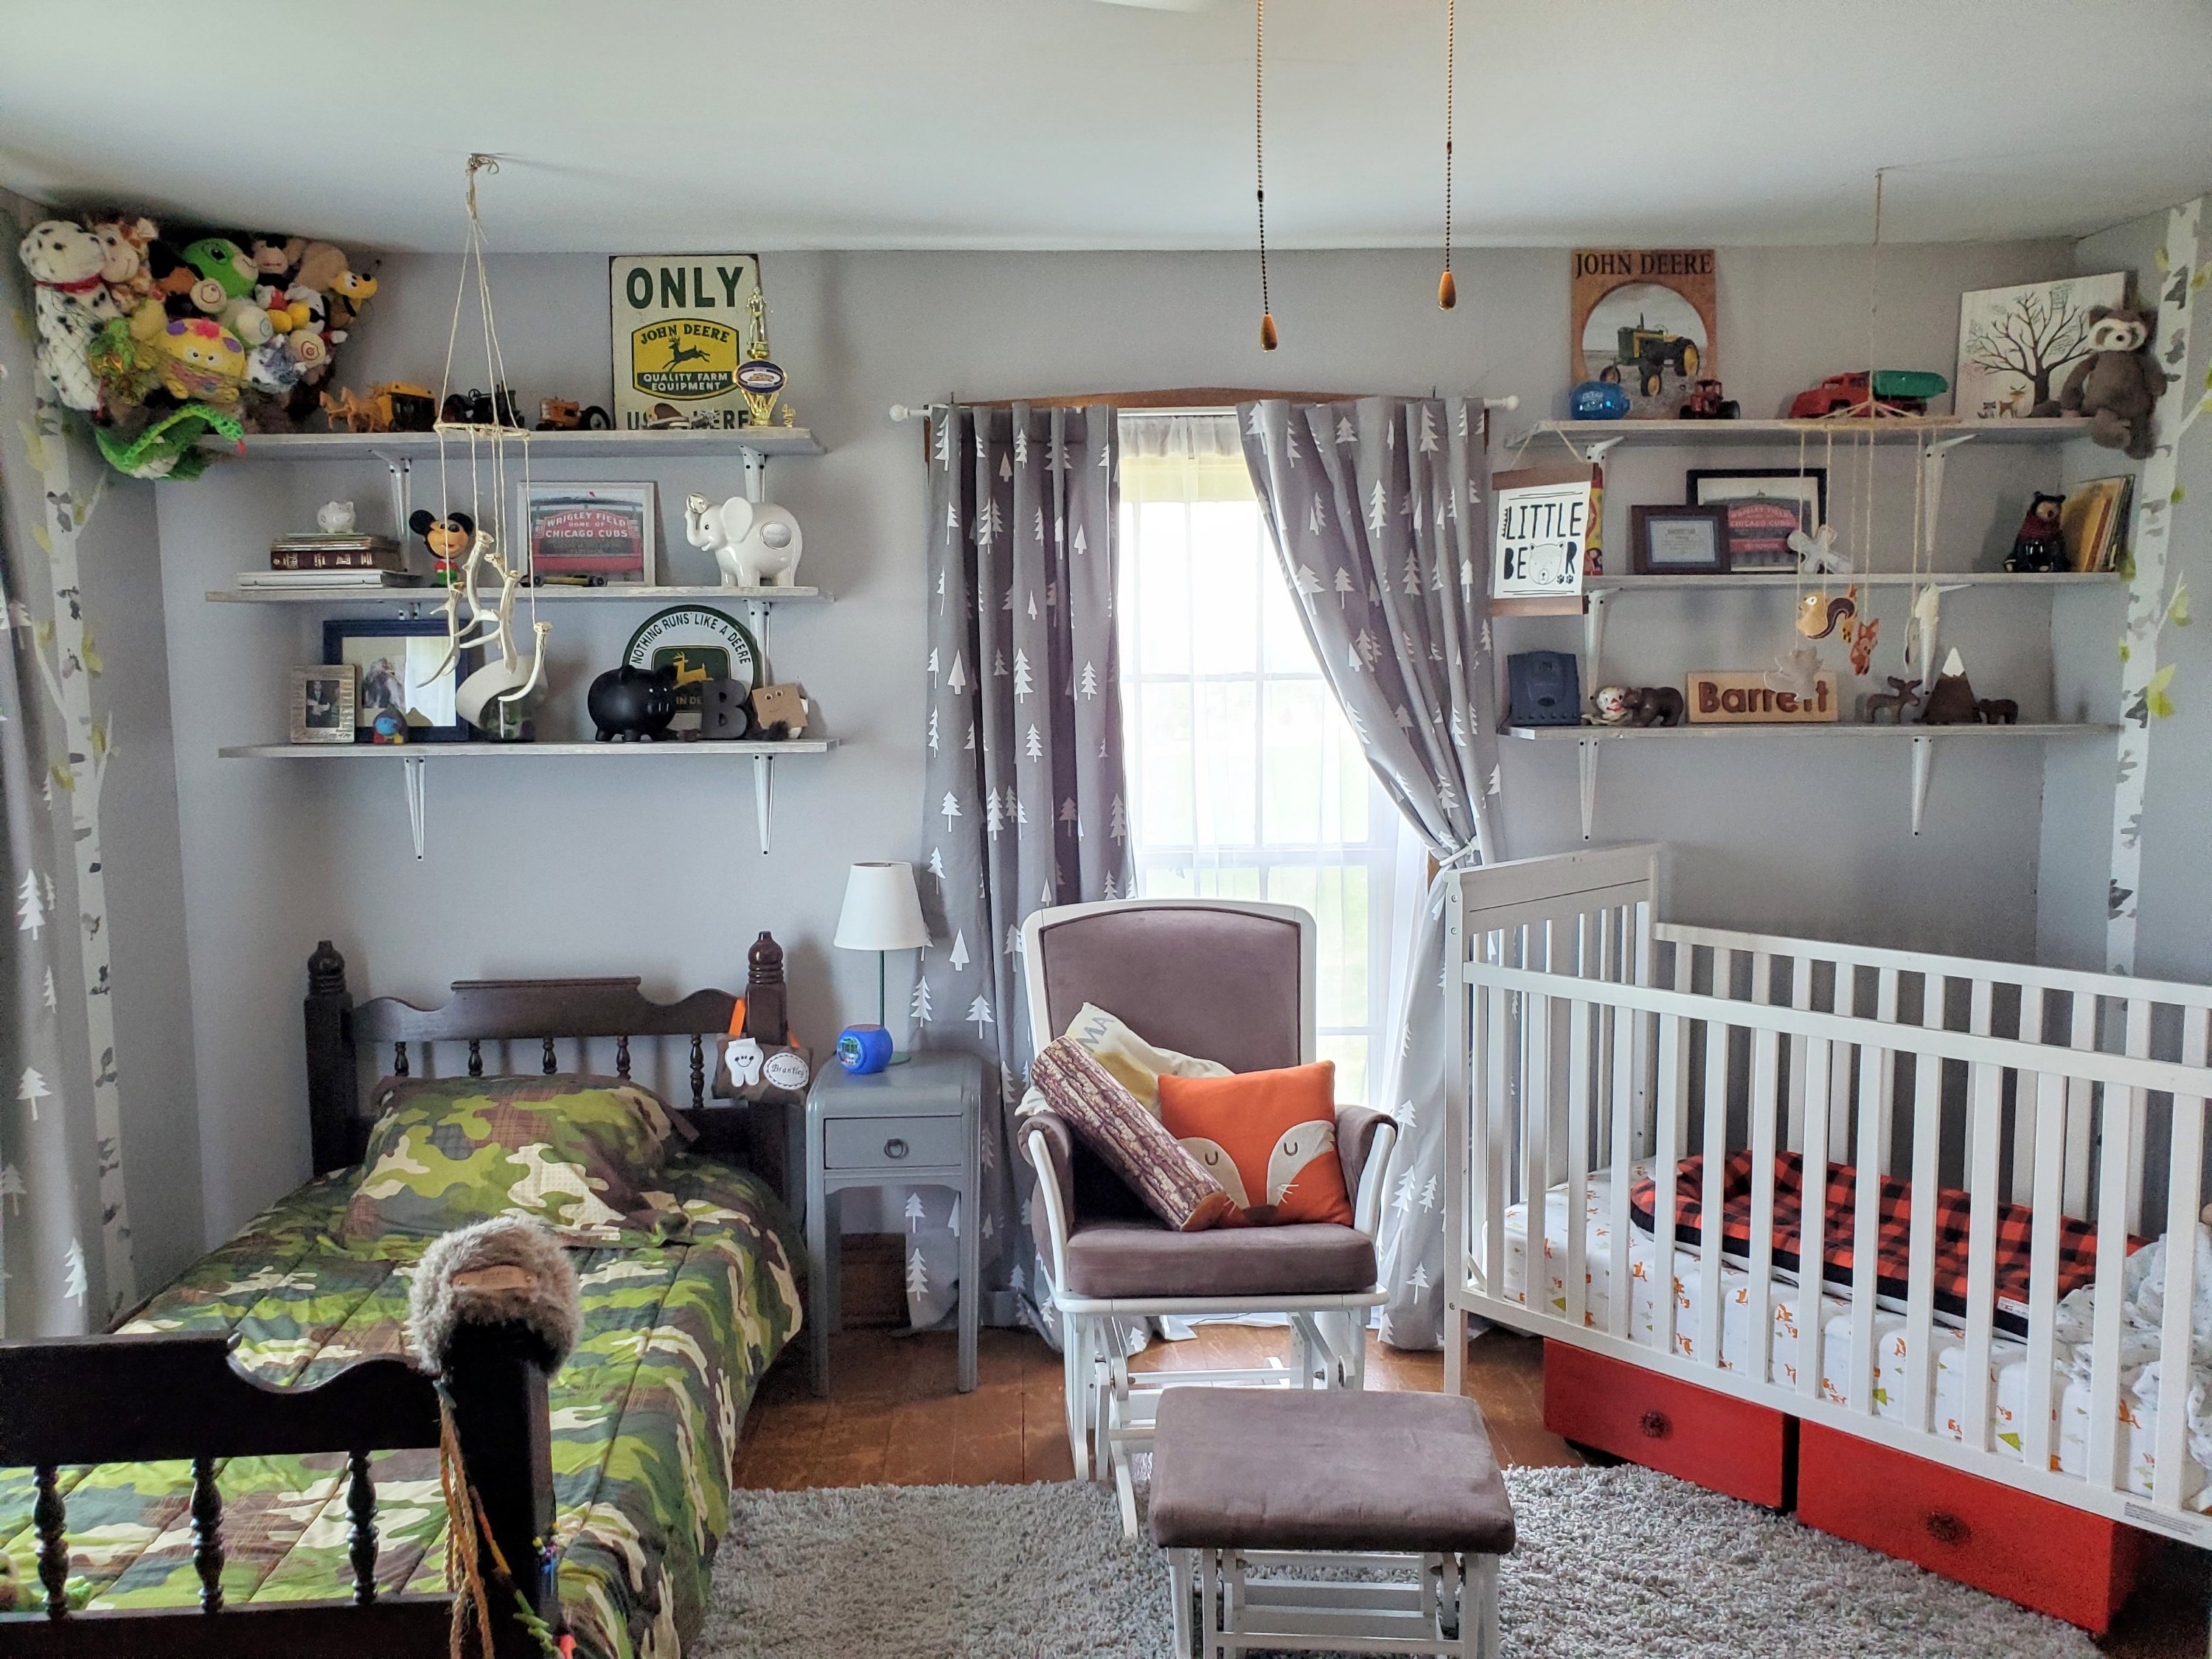
Each of the boys has a bit different theme on their side of the room, but with light gray walls, tree curtains, tree decals, and some animals throughout, it seems to flow for now.
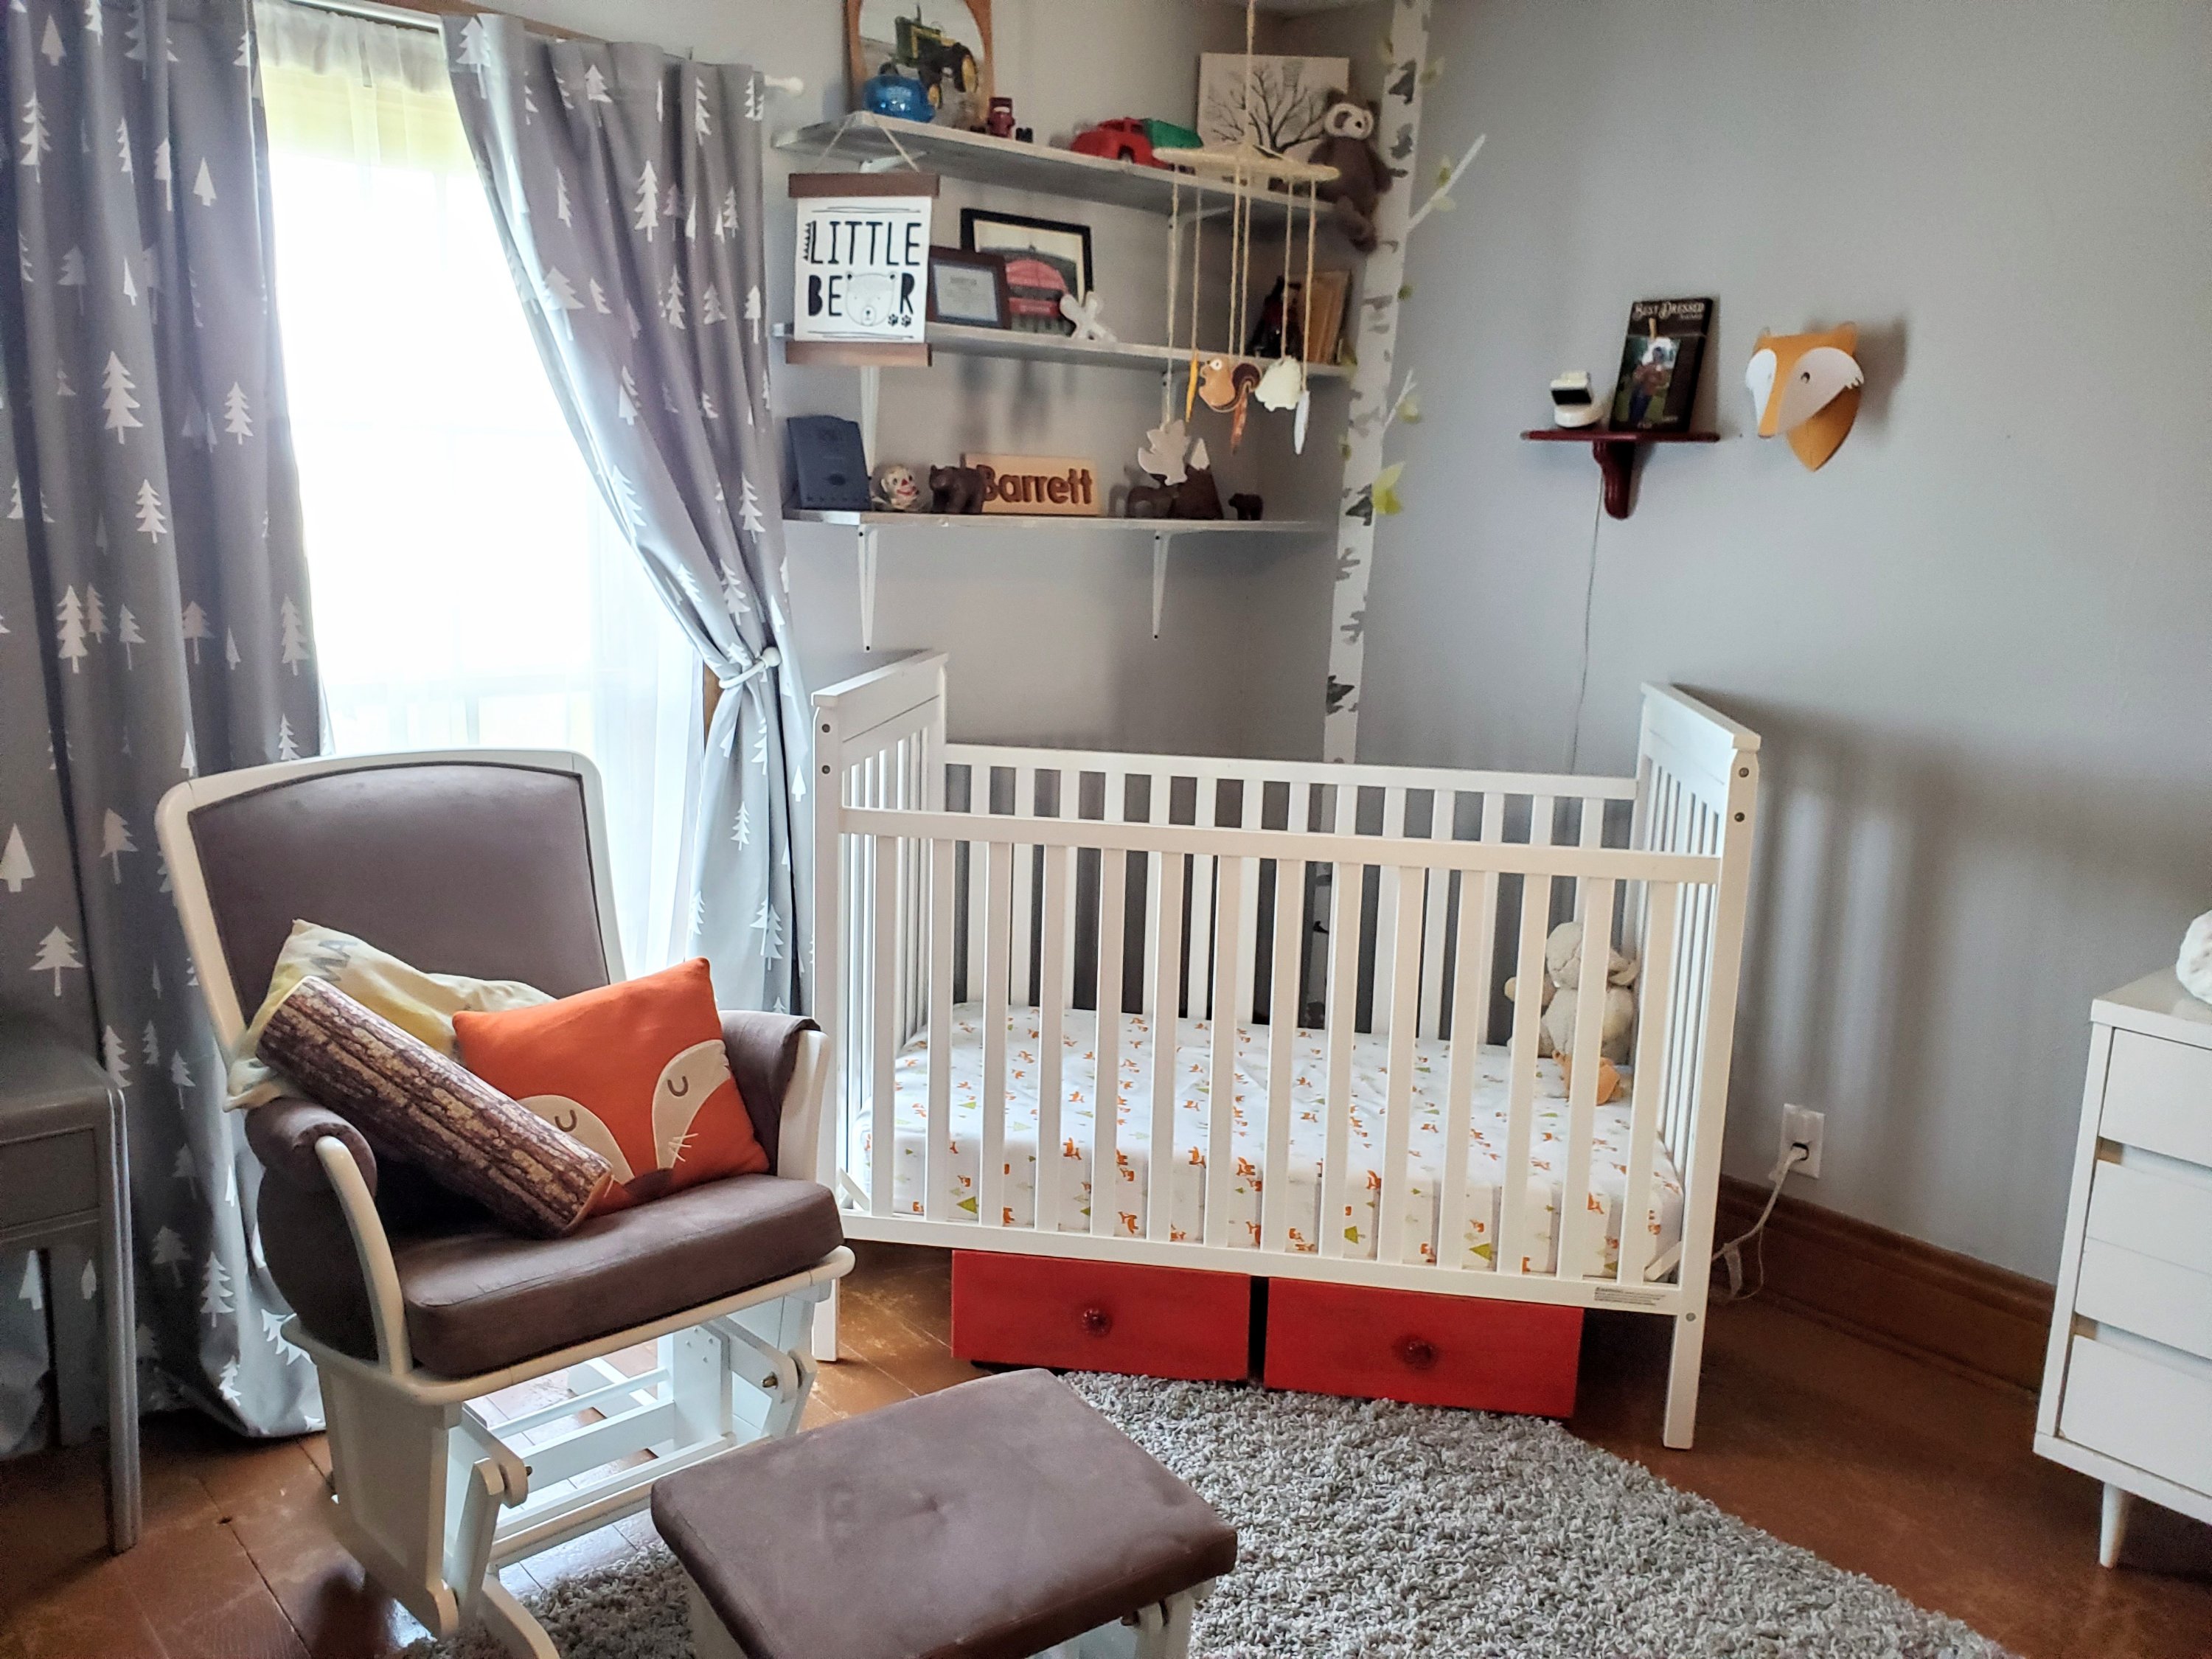

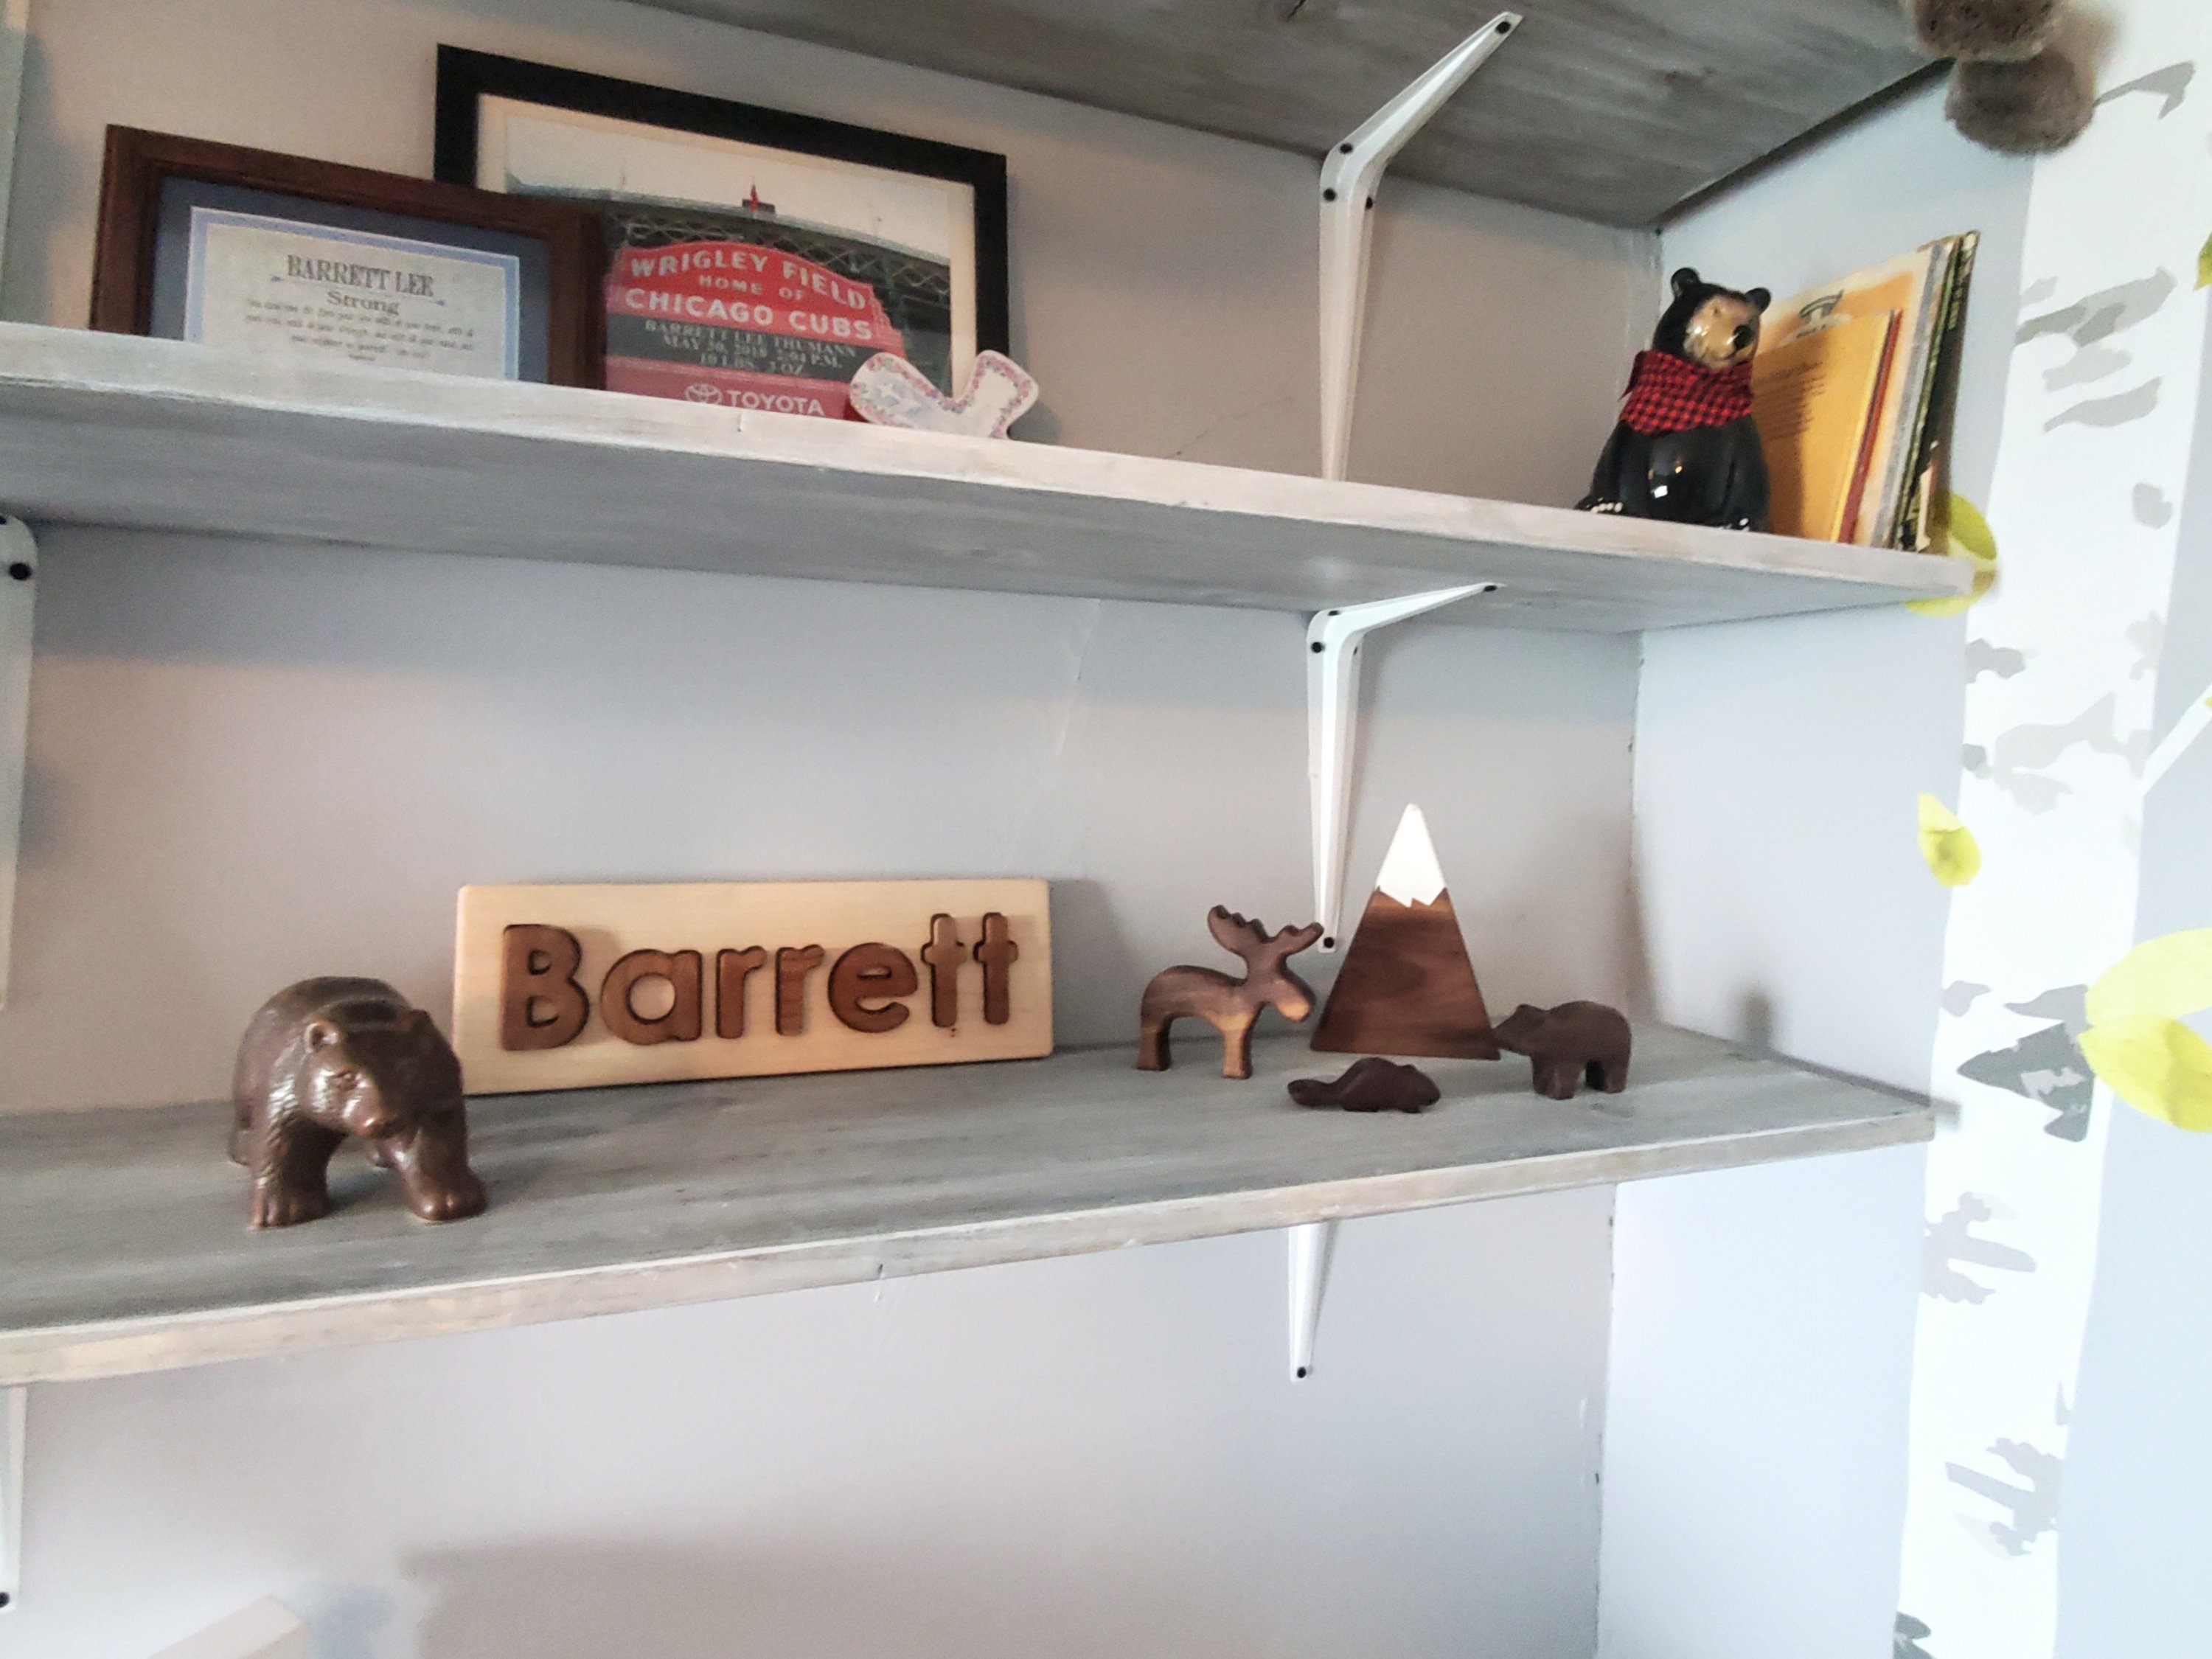
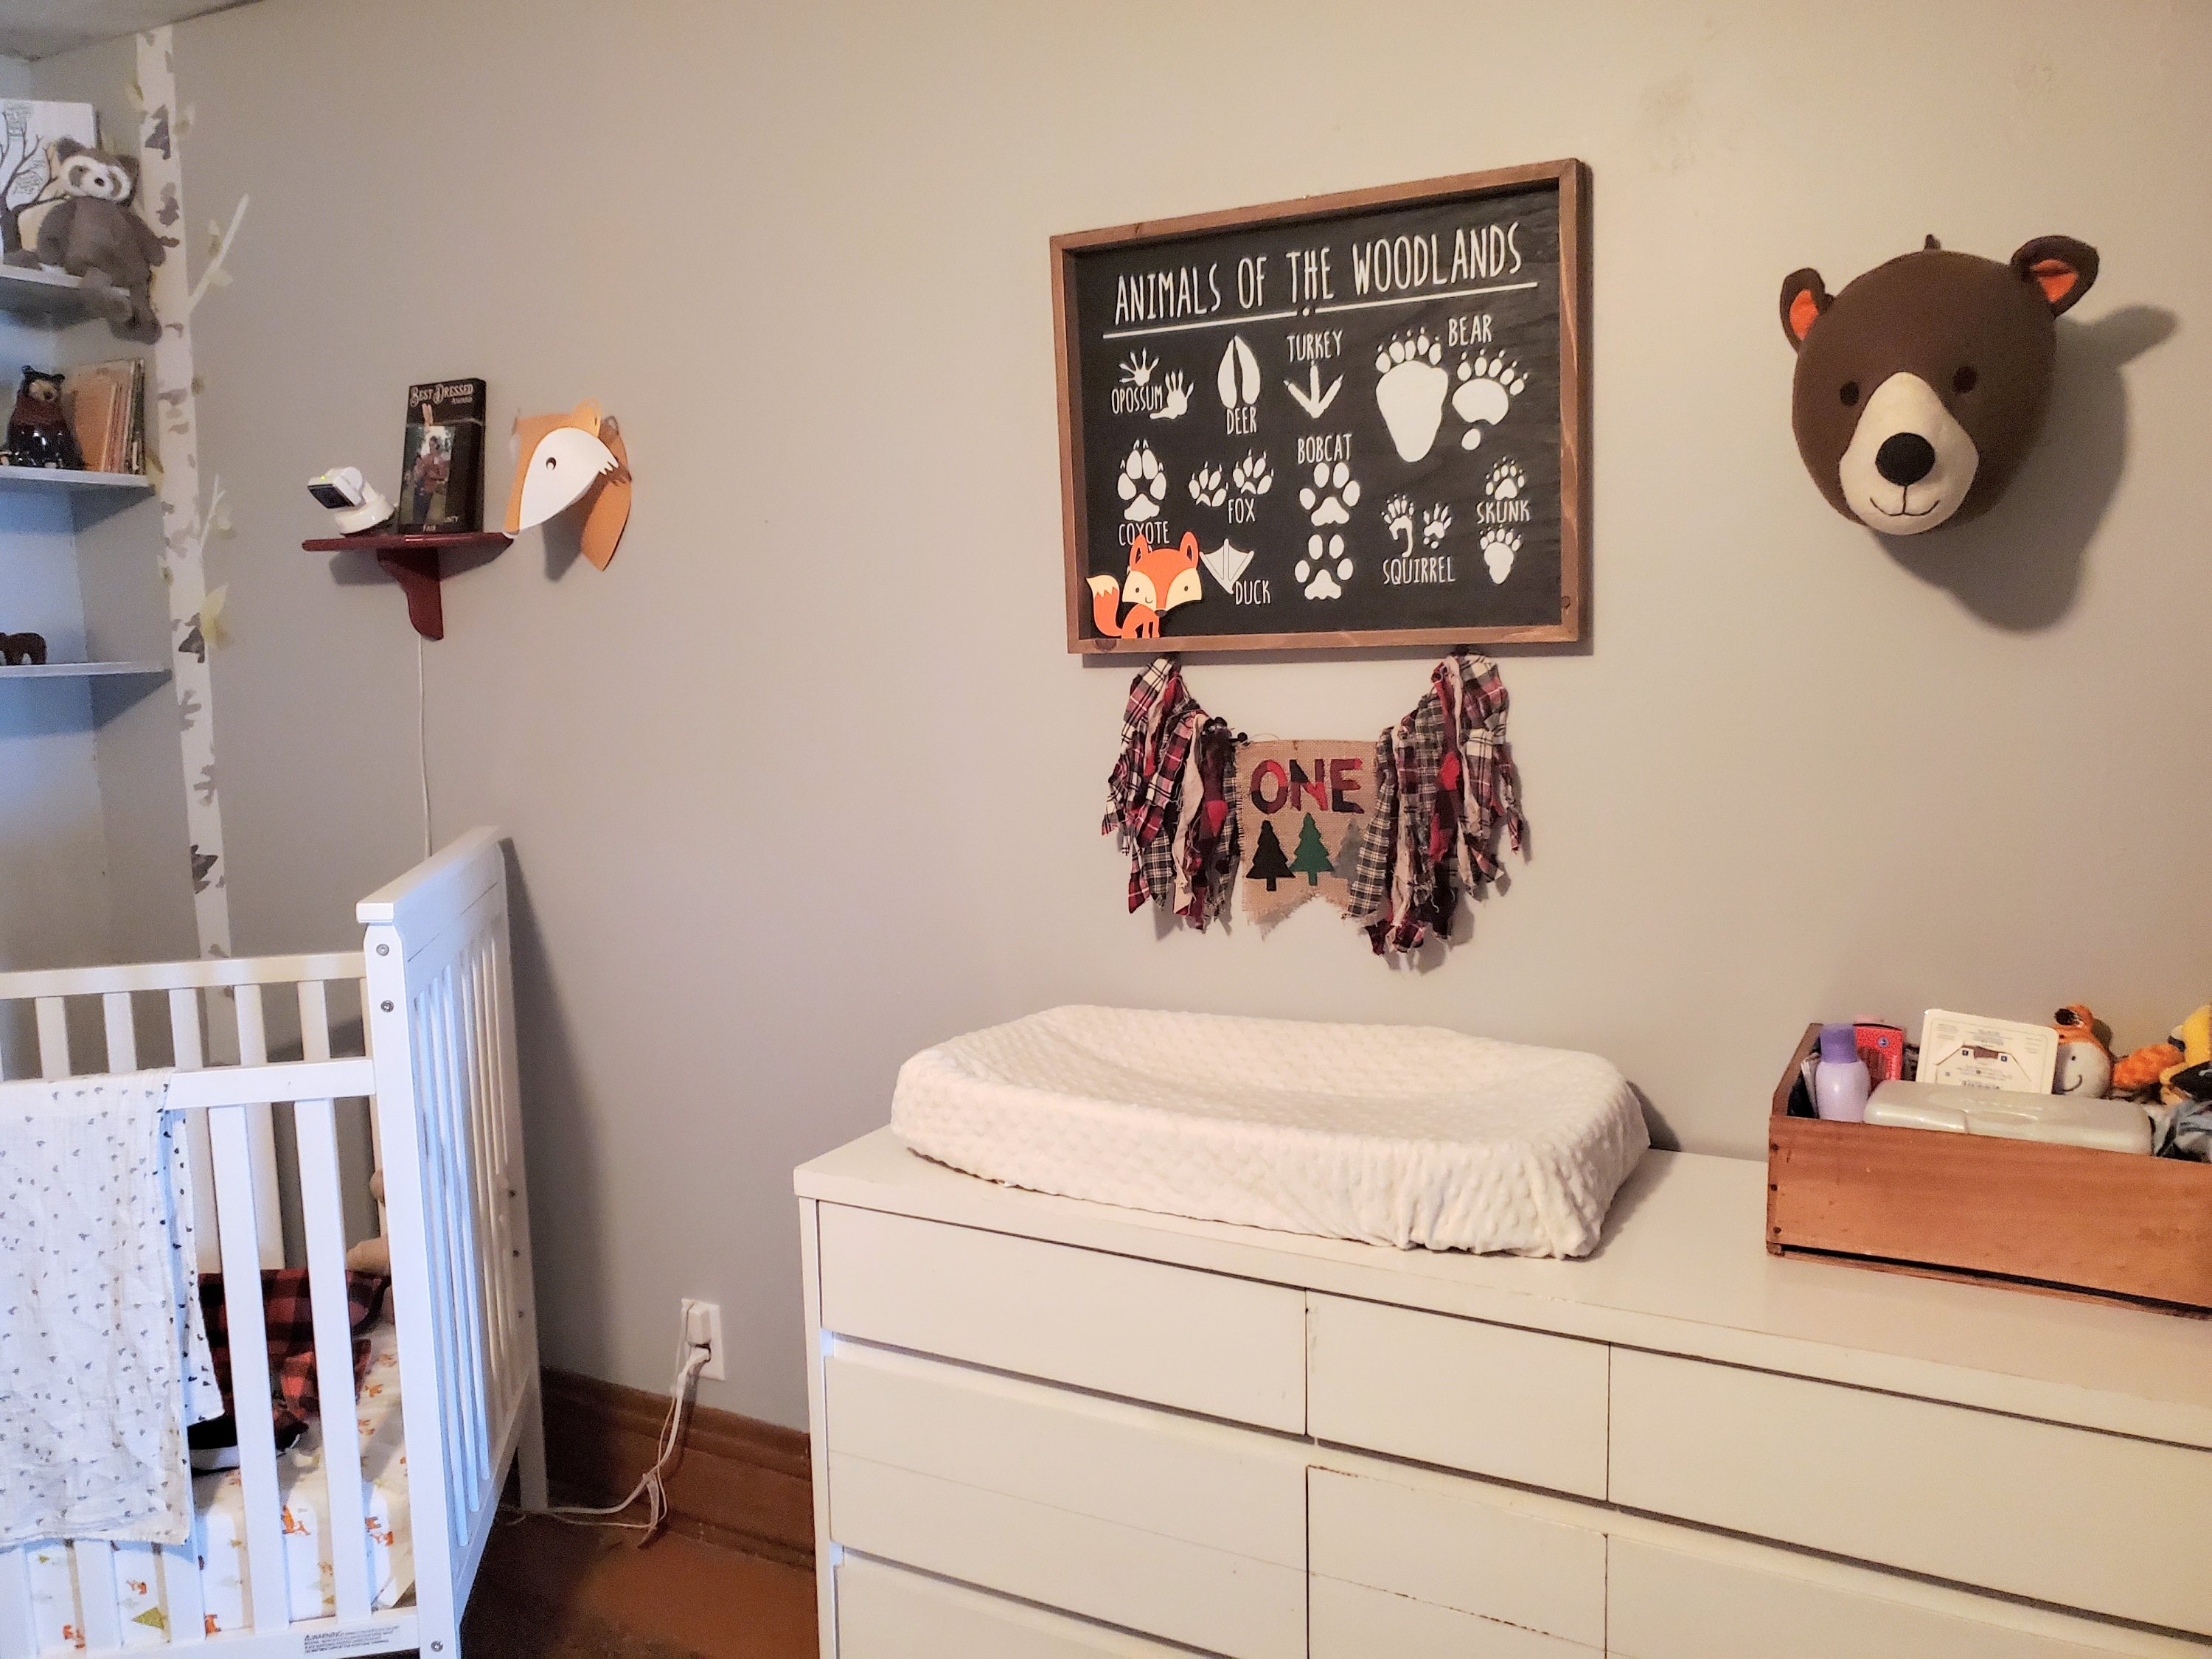
Barrett’s baby shower theme was woodland animals, knowing that I would use the animal and nature idea for his room.

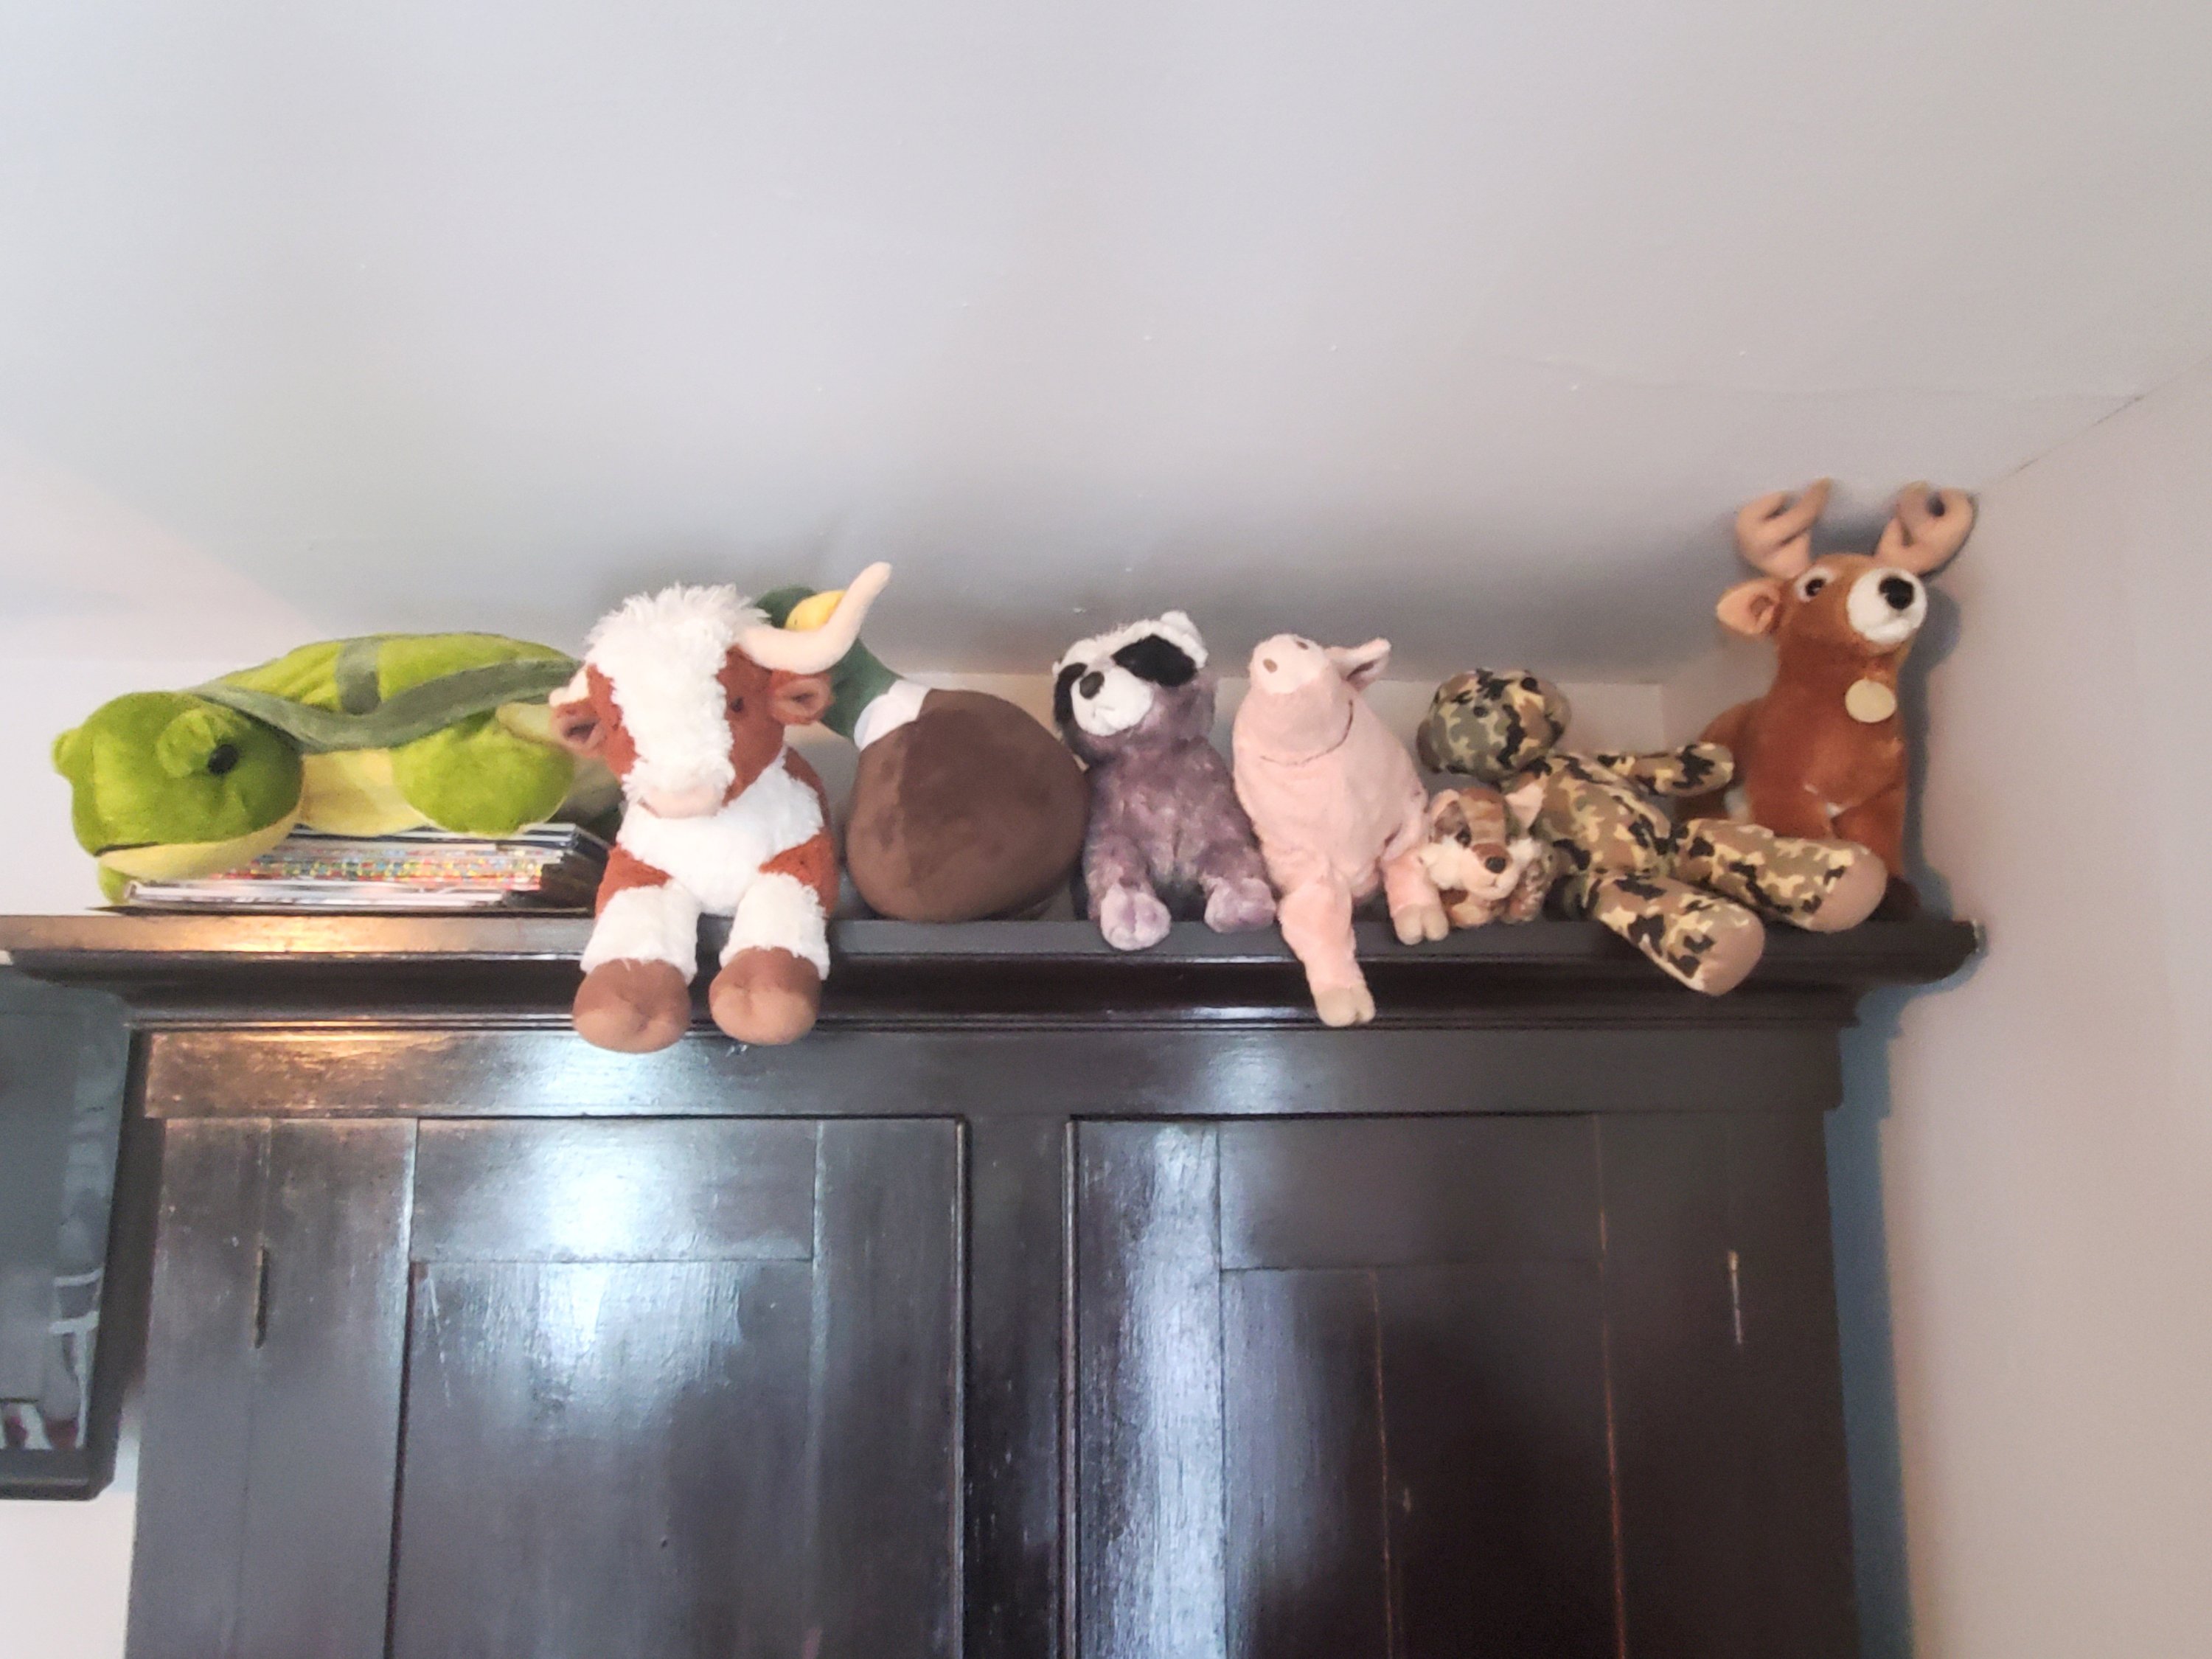
Brantley has kept some of his farm theme and added the camo to just be plain outdoorsy!

I made both of the boys’ mobiles, which Brantley has outgrown the need for, but are both too cute to get rid of for now.
What do you think? The way we organize clothes will change as the boys grow and we remodel some more. The room currently has no closet. Thanks, old 1862 house. It’s an evolving work in progress. But the boys love having their own space and even love sharing for now. 😆
XOXO,
Jess
