Mt. Rushmore Area Trip
We did it! Iowa to Minnesota, to South Dakota to Wyoming and back again! In a car. With little kids. Do it again? Definitely!
But there’s so much to do and so little time. So here are just a few of the things that we thought were must sees and a couple skips.
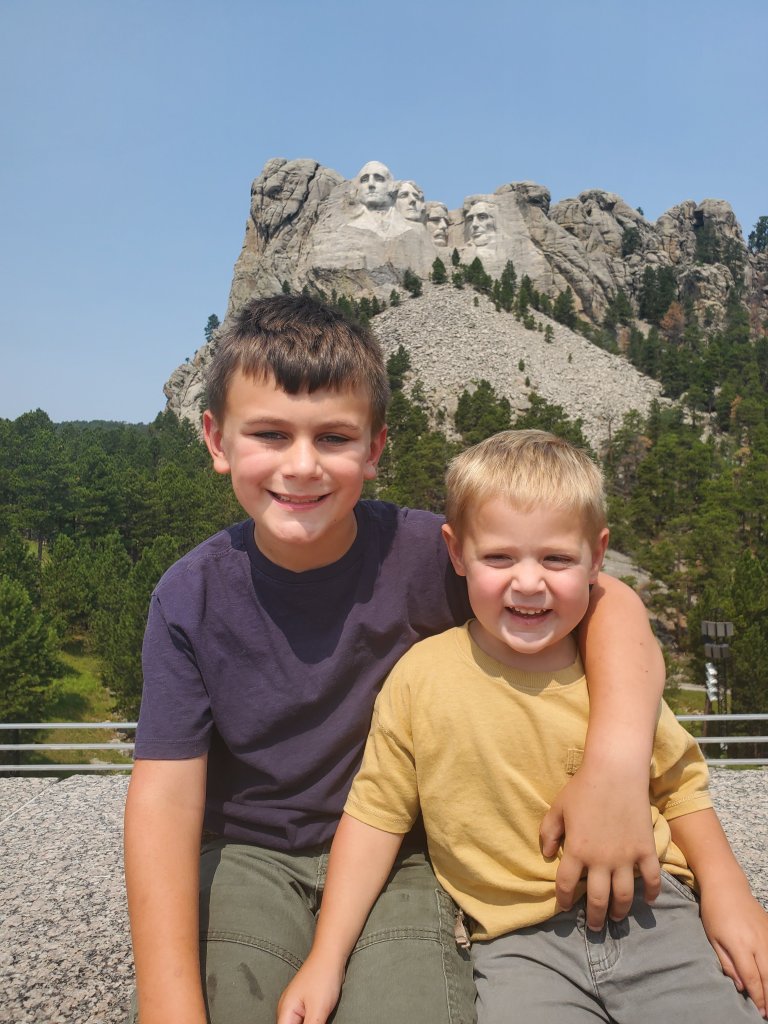
Mt. Rushmore. Obvious. But it’s impressive even to all ages. Inexpensive, only $10 for parking and free entry. It was busy, but not overly packed. Of course, we had to hit up the gift shop for something to commemorate the trip. You can do a tour and spend, more time, but it isn’t necessary for the full experience, and overall this stop won’t take a ton of time.
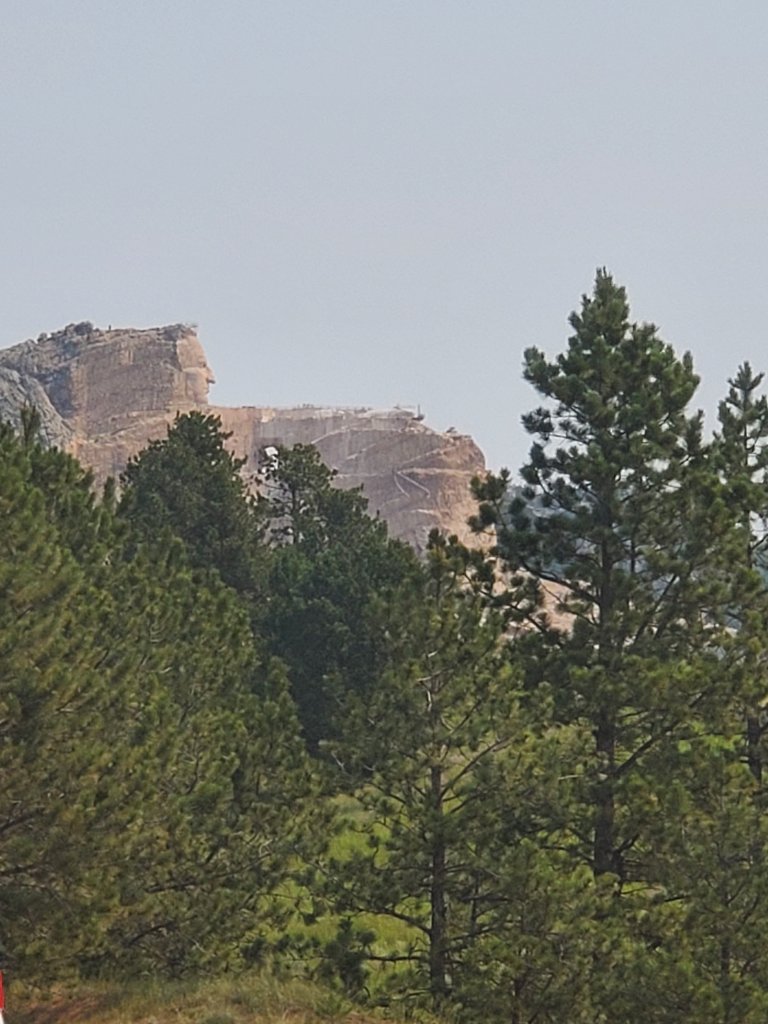
When near Mt. Rushmore, you should totally stop to see Crazy Horse monument. Do I think it’s worth going all the way in? Not yet. It’s still under construction, and amazing as the start is and really amazing as it will be when it’s done, I don’t think $30 for the car to get in is worth it just yet. We pulled over at the sign in a little lot and took pictures. I recommend that!
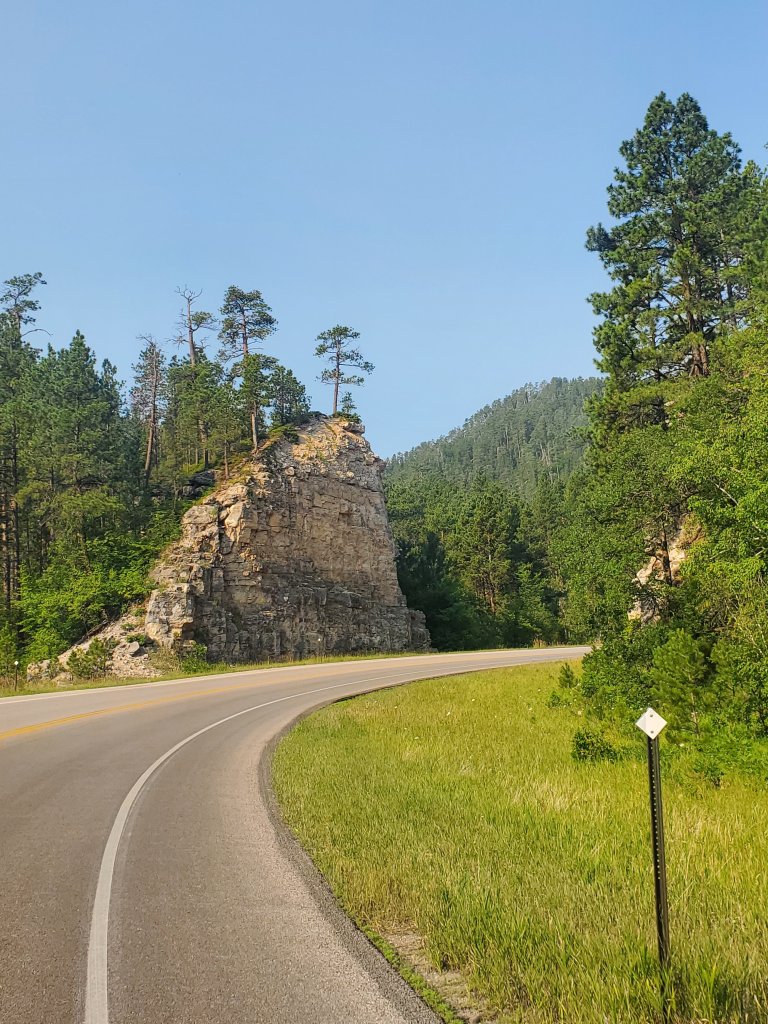
If you are in this area, driving through Black Hills National Park and Badlands National Park are must dos. There are plenty of pull over and look out spots. And the views are GORGEOUS.
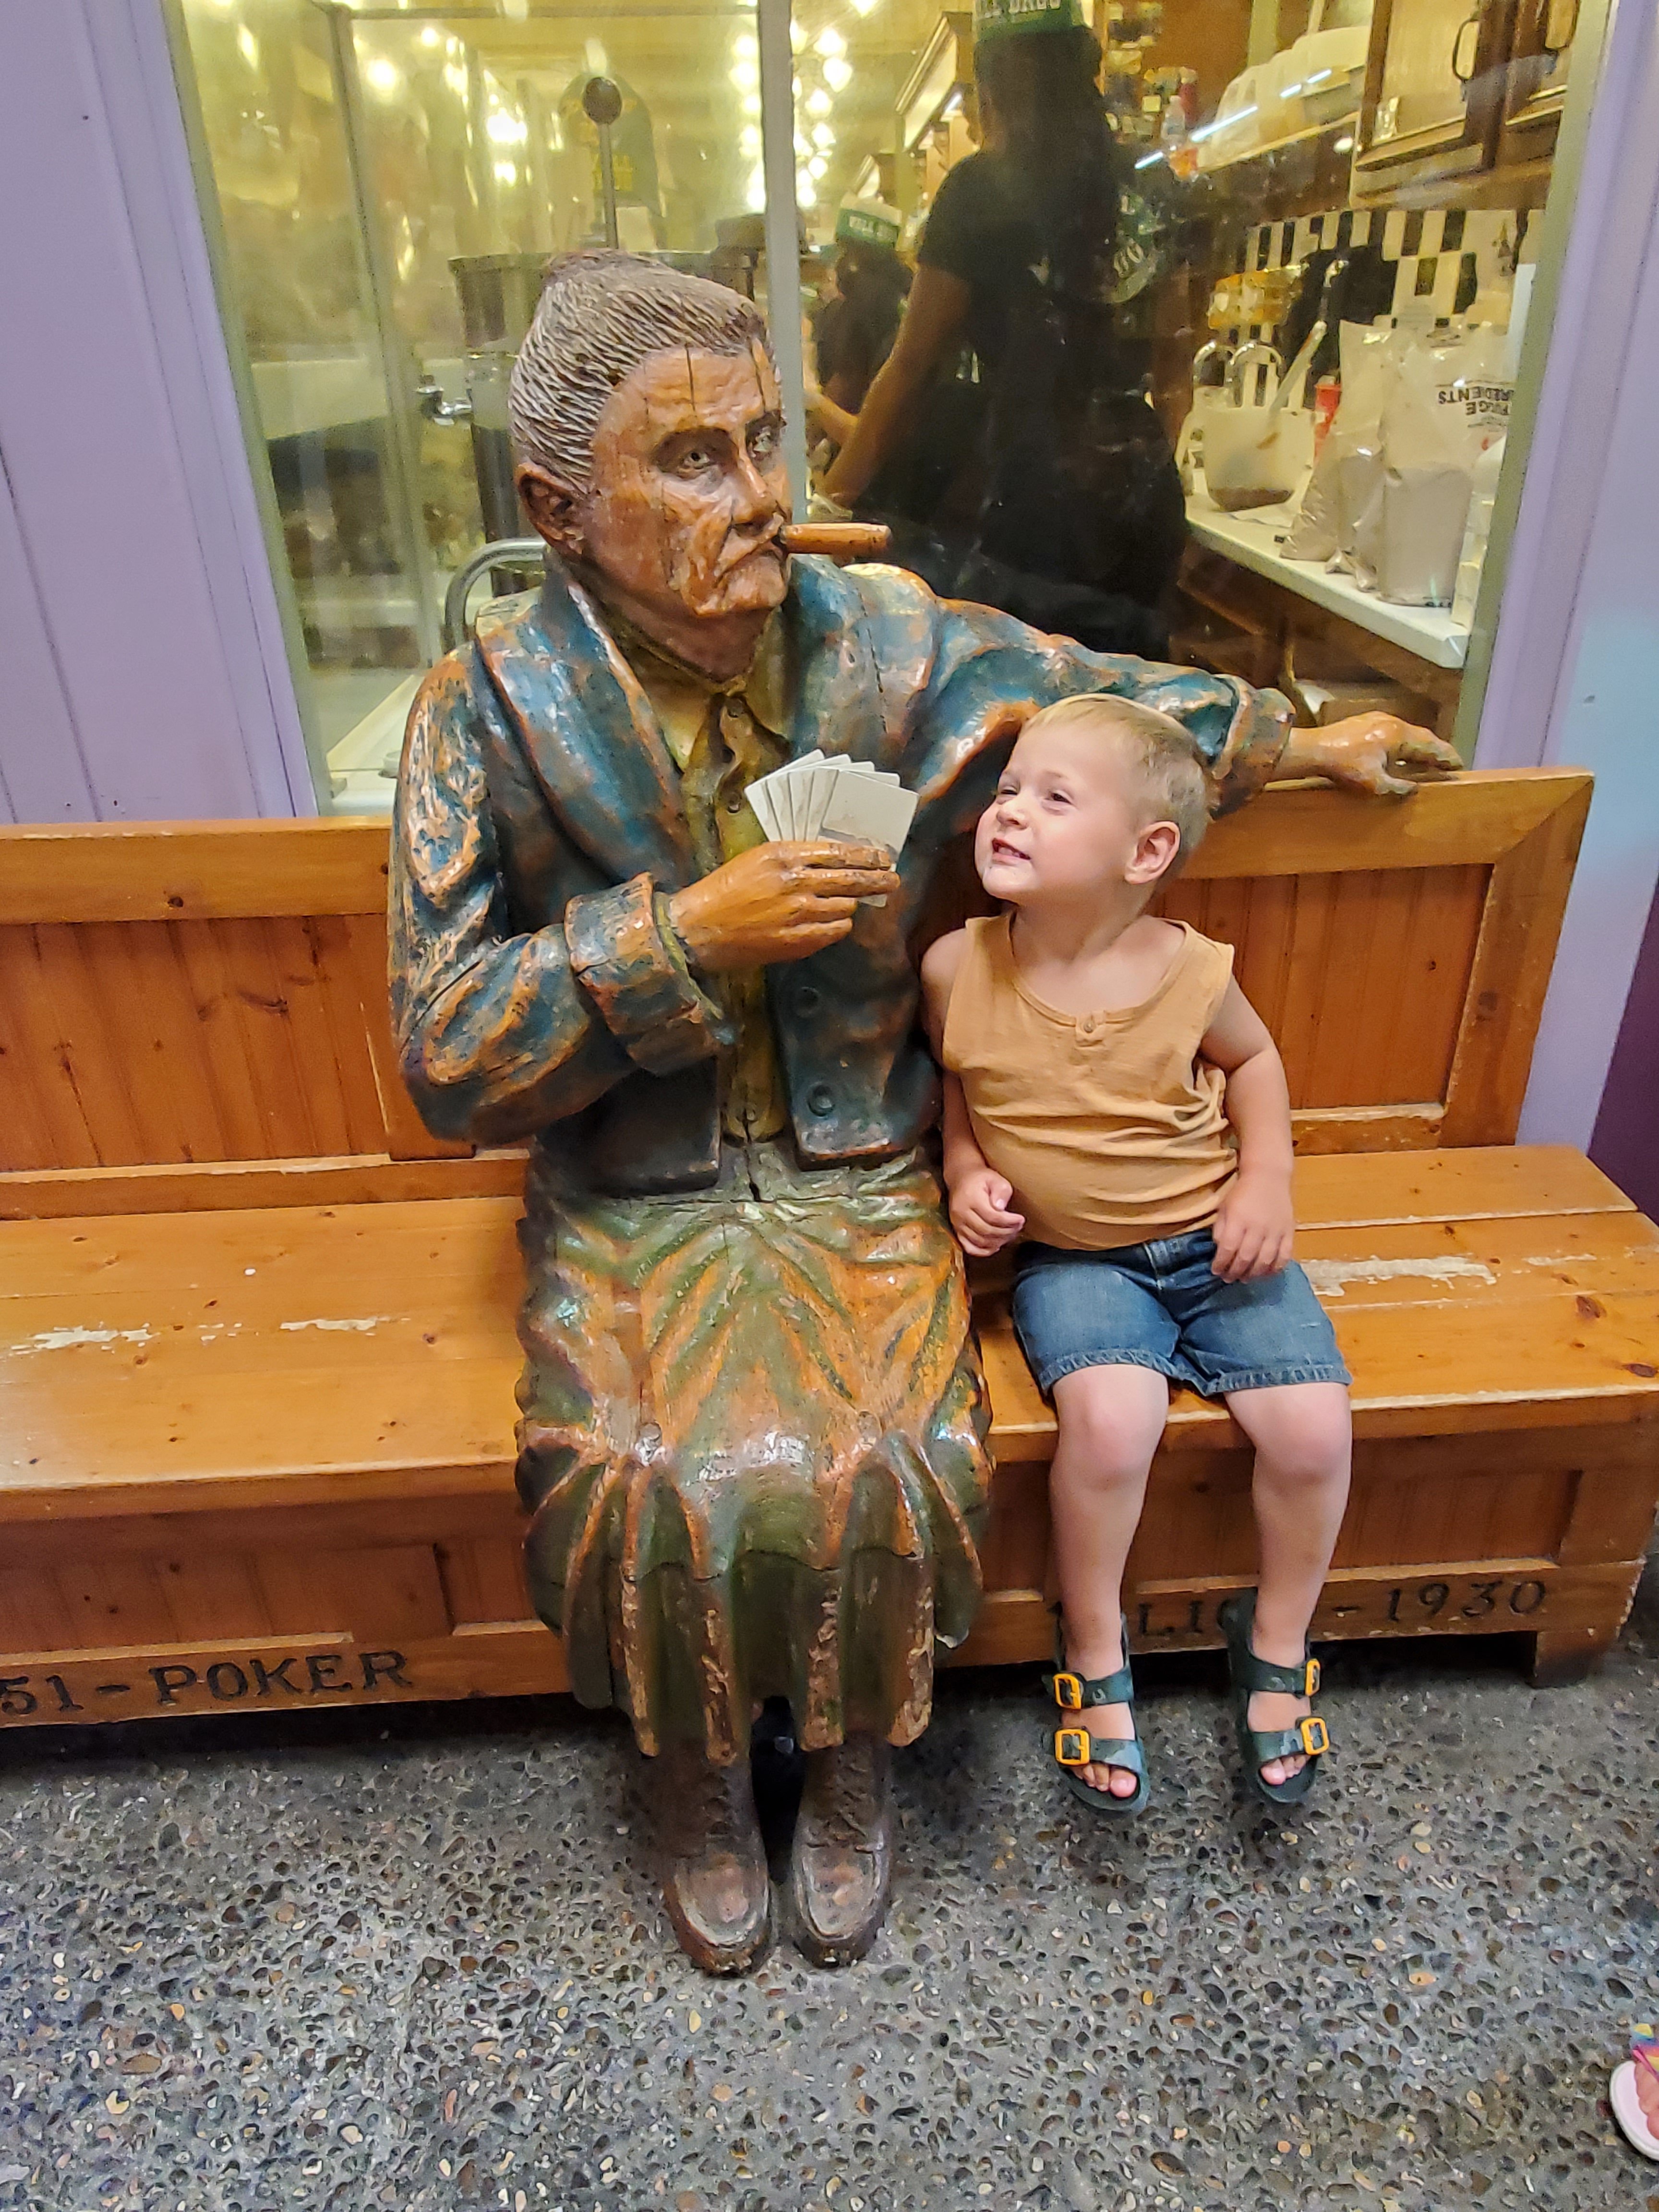
If you’ve made it out to the Badlands, stop at Wall Drug. Yes it’s a lot of hype. And busy. But a very cool see if you need a drink, a bathroom and a leg stretch. You could spend all day here. But you don’t have to. We did an hour or two and picked which bits to see here.


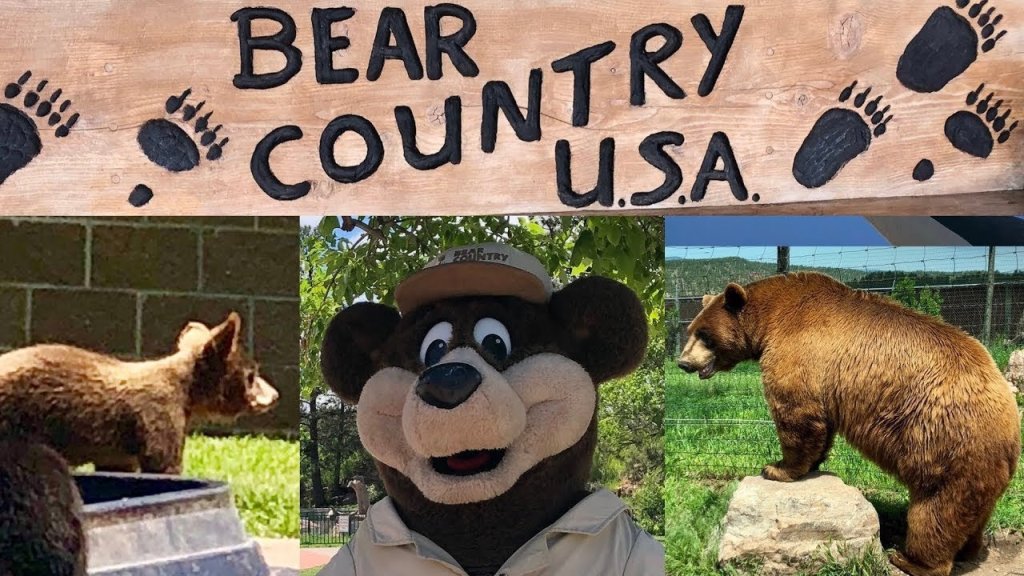
If you make it a little further out to Rapids City, SD, see Bear Country USA. We didn’t stop this time, but would have if time allowed (we did years ago). Totally worth it. Especially with kids in tow. It’s so amusing to see bears up close!
Sturgis is also a fun stop. More for the adults, but still things to see for all ages. Great to say you’ve been there even when the rally isn’t going on. Great food. Not a must do of you aren’t into this type of thing.


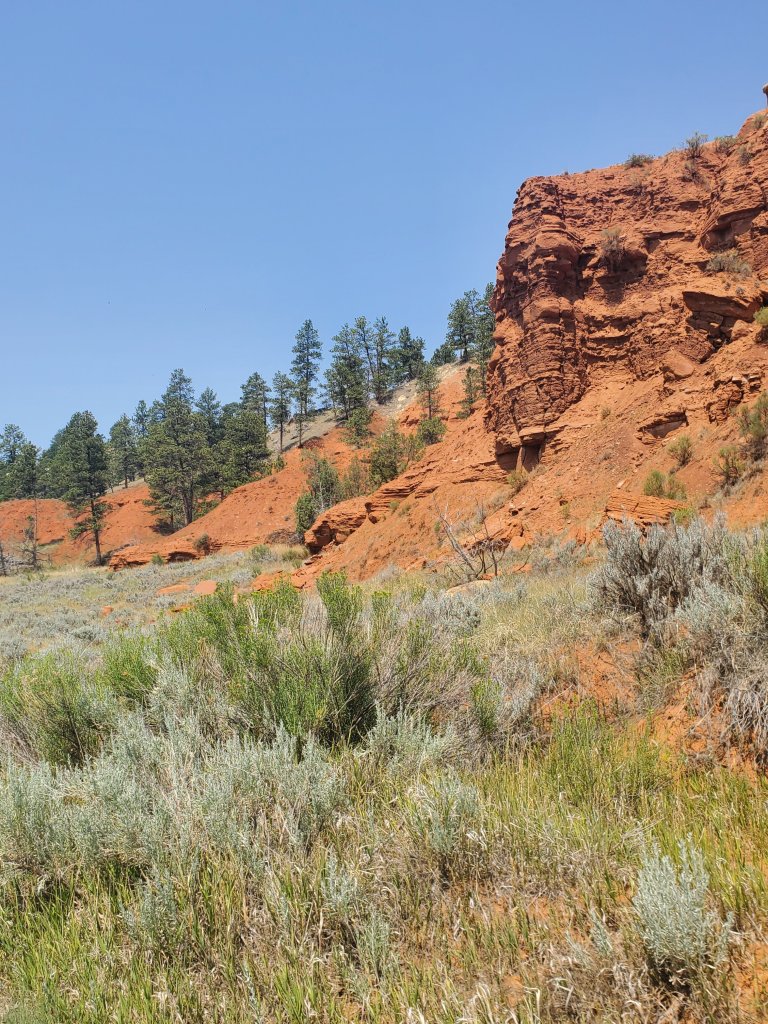
If you are at Mt. Rushmore and want to venture just a couple of hours west, a stop at Devil’s Tower, WY is a must do! It was STUNNING in this area! We walked the whole path around it and kids and adult alike were in awe.
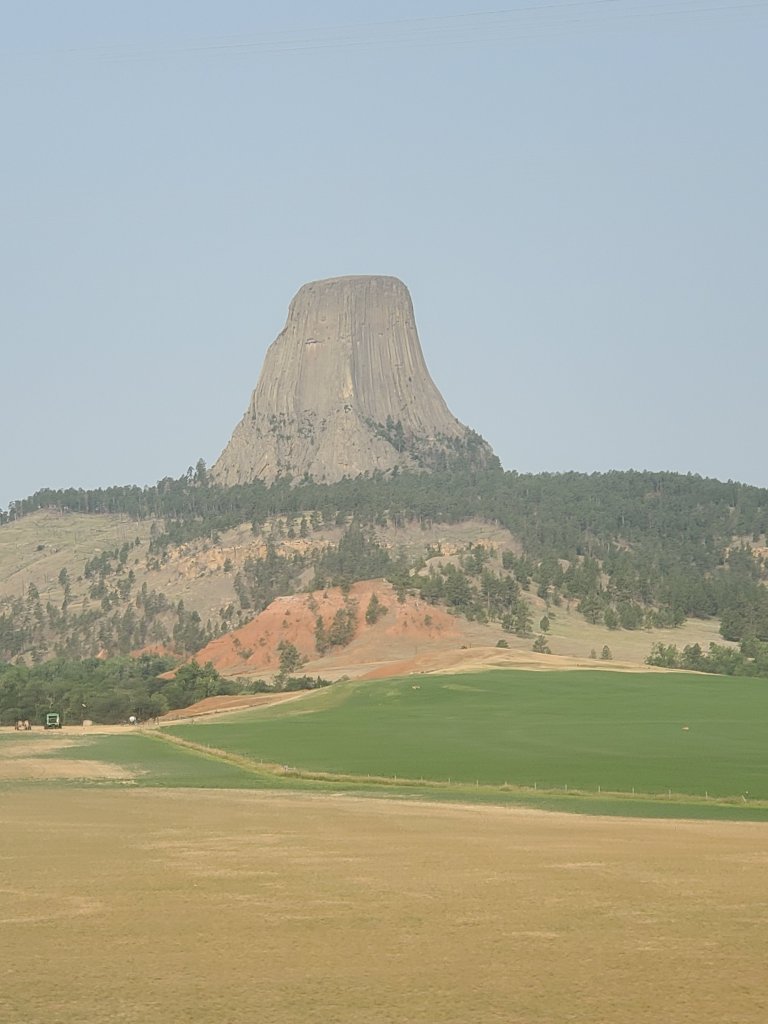
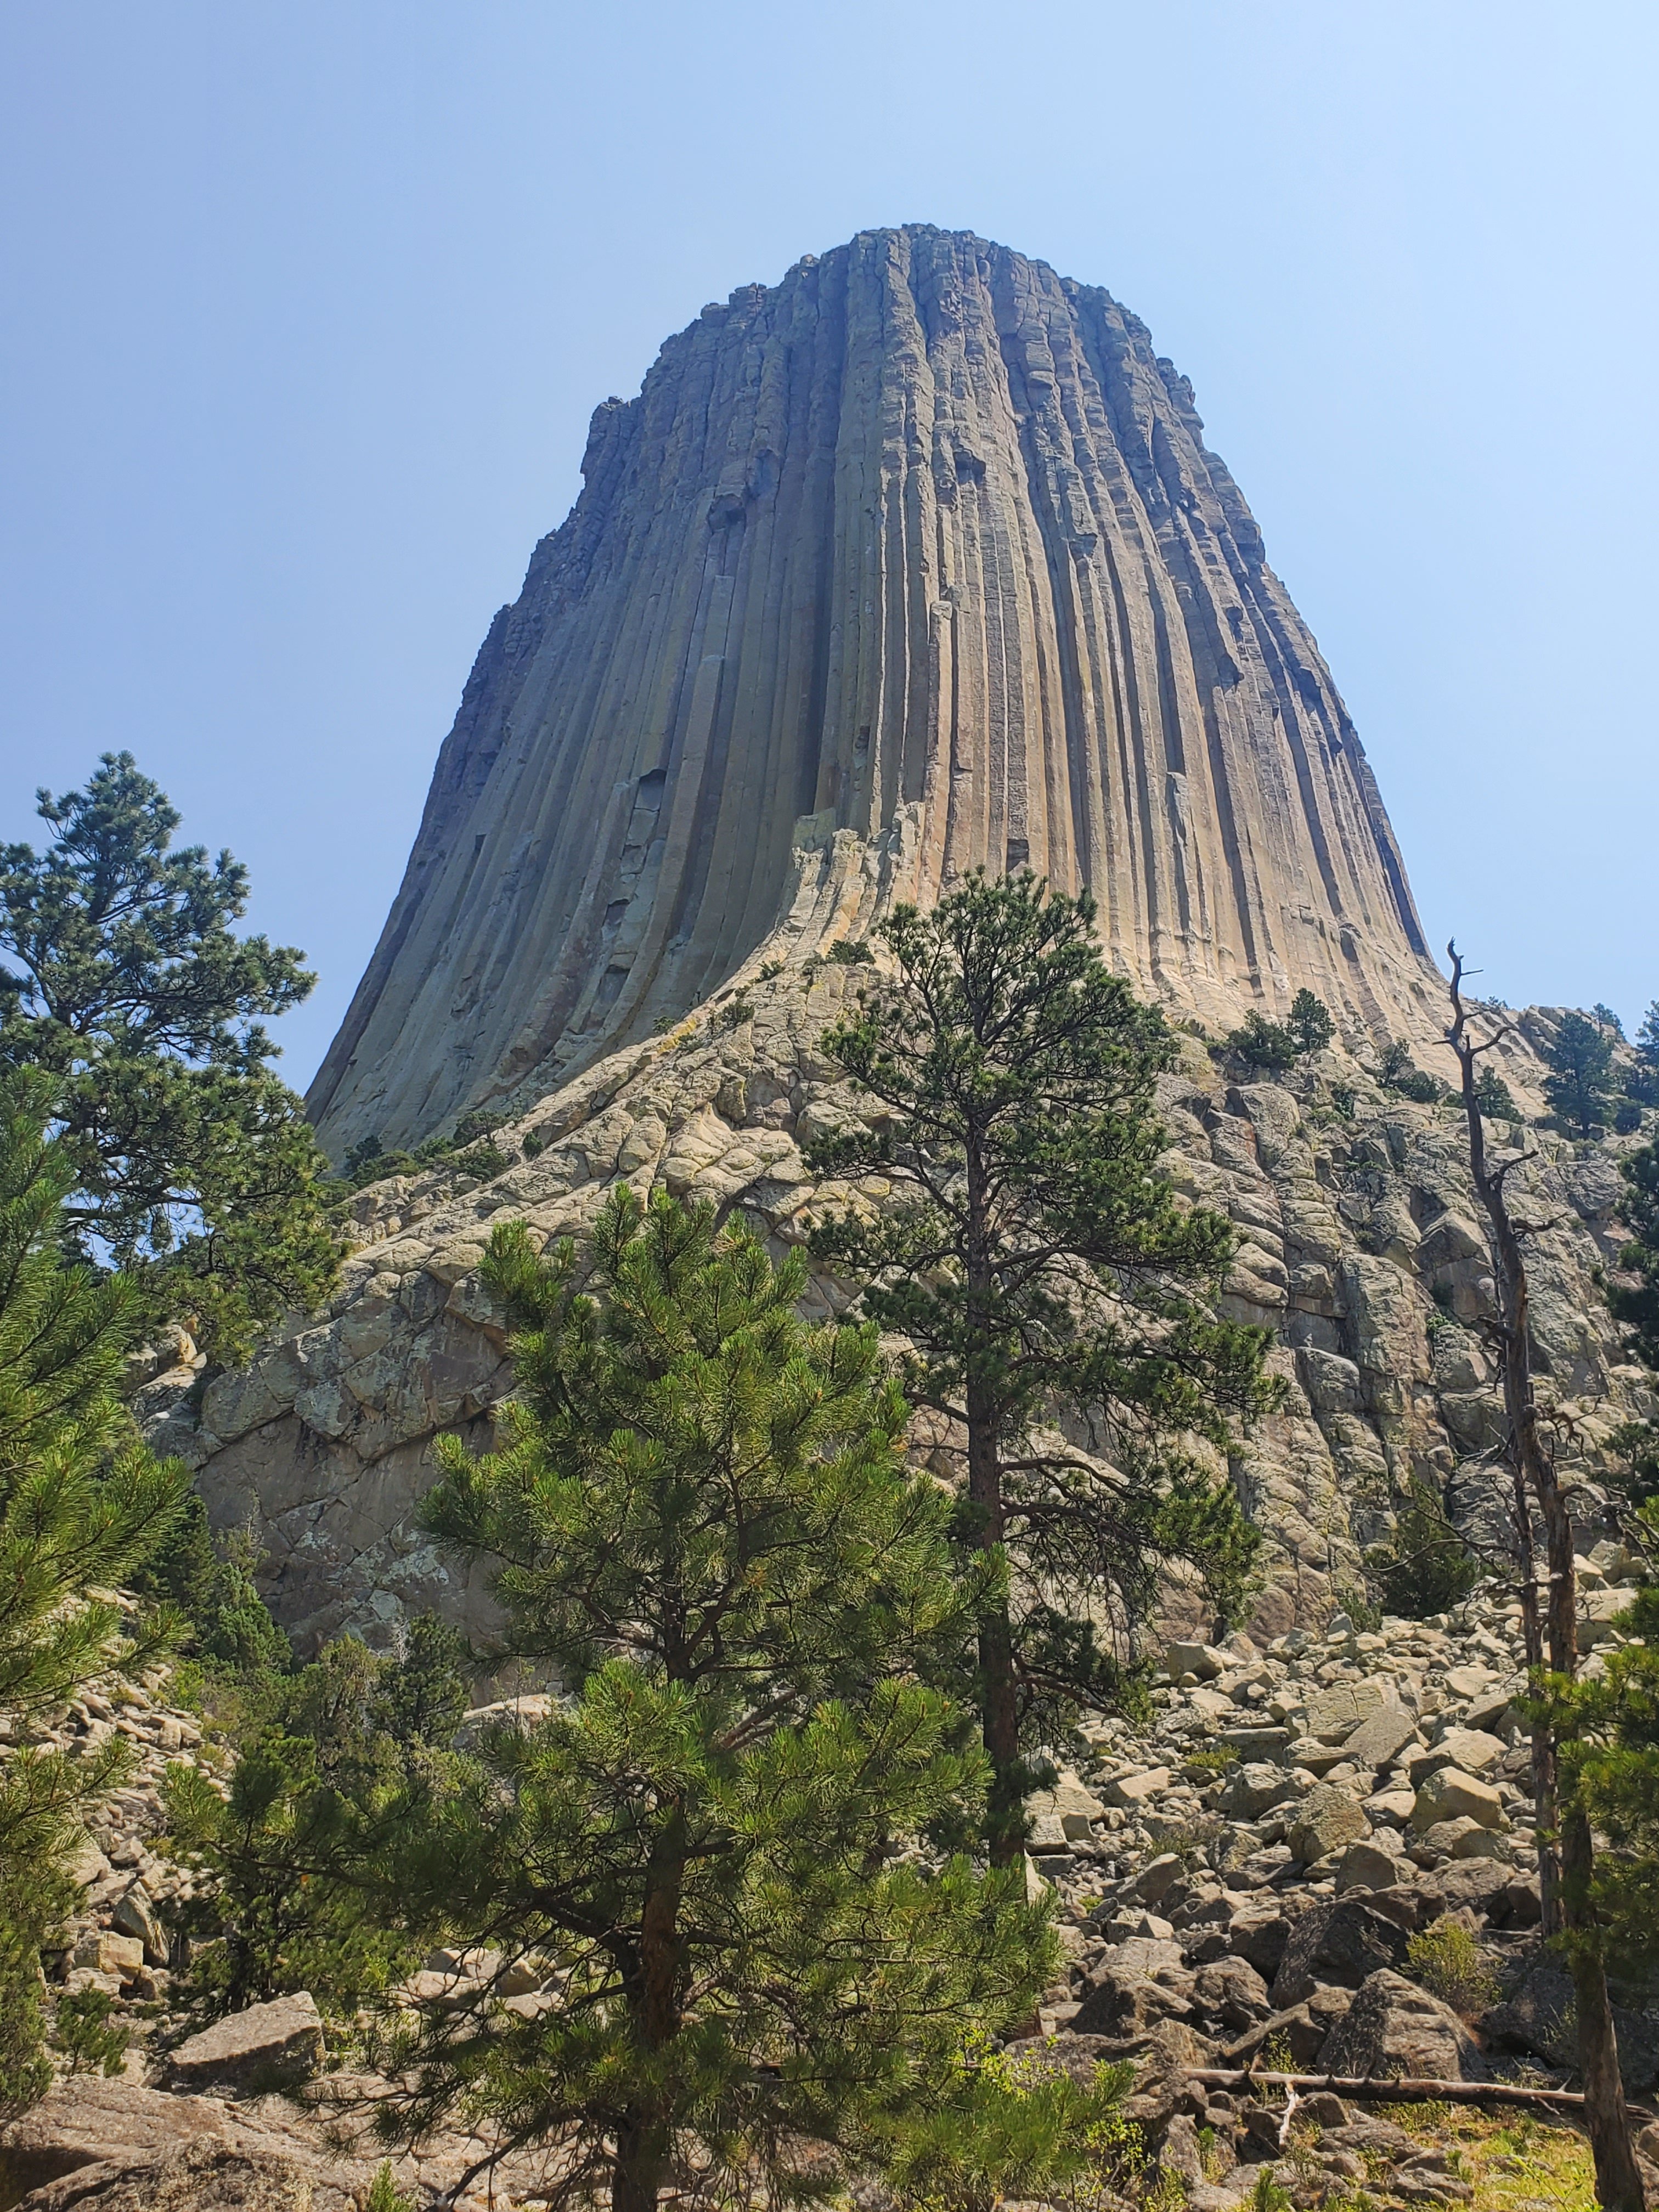

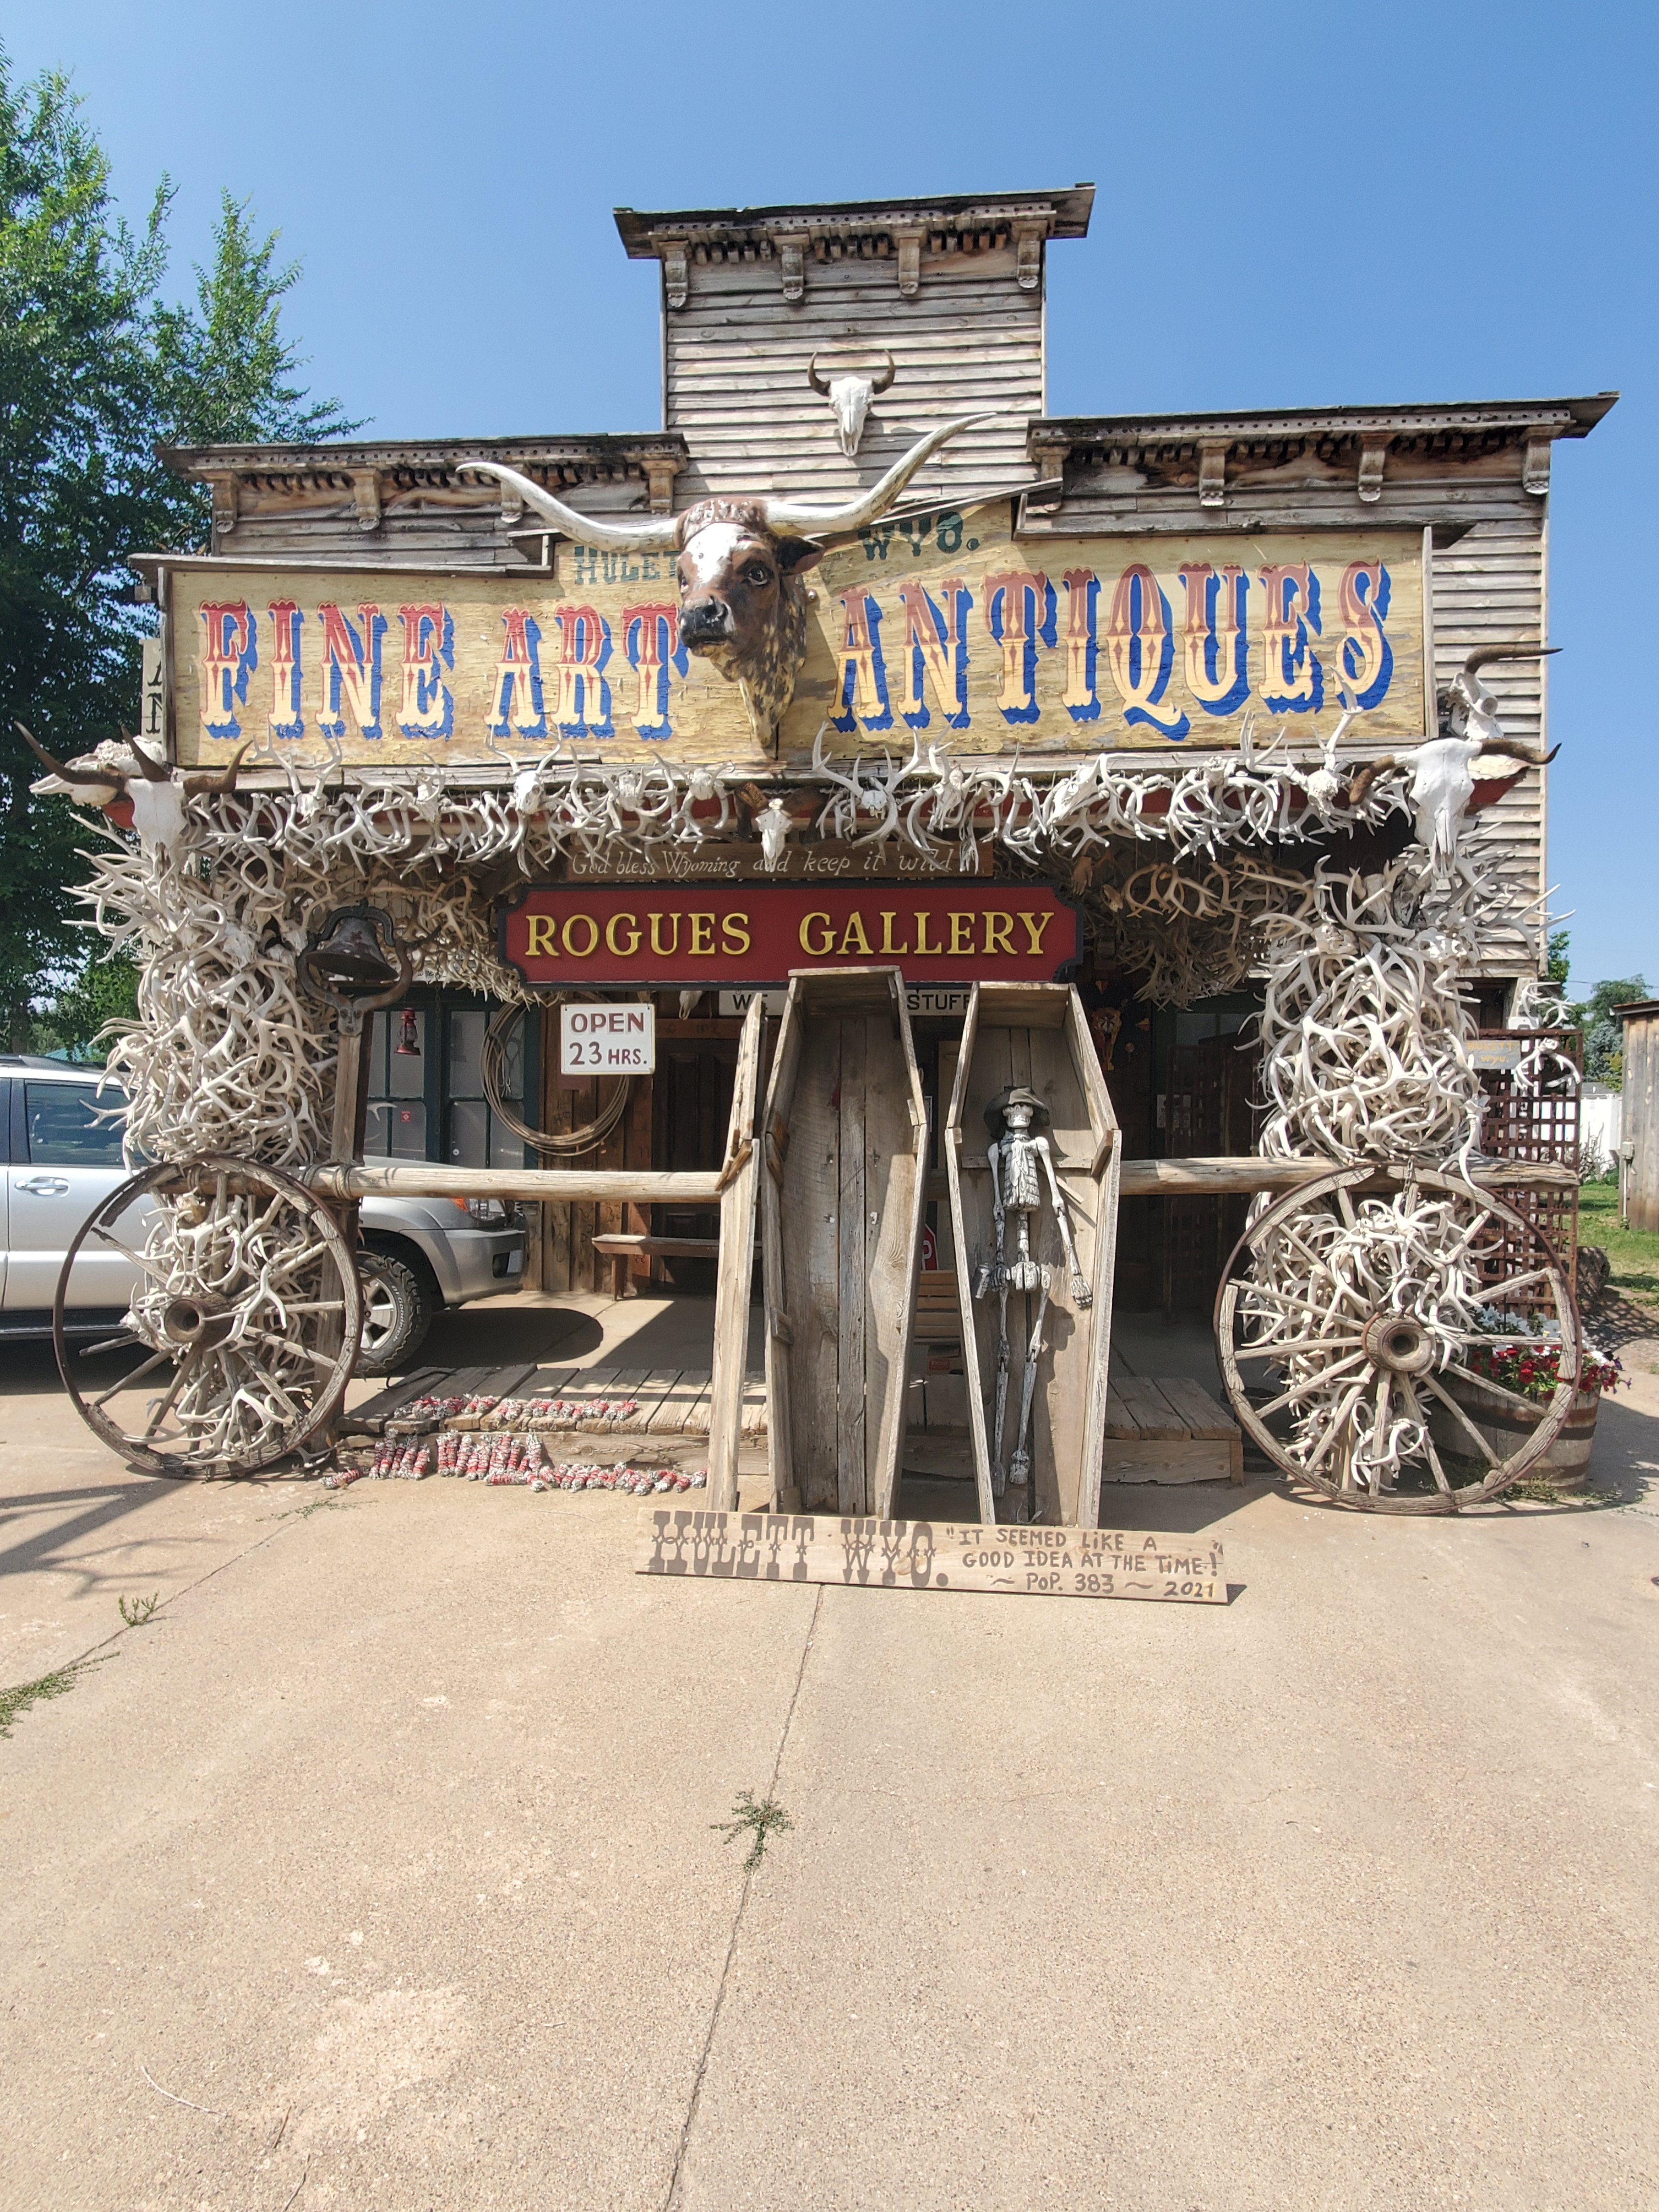
This whole area of WY is stunning really, especially to see if you are not local. The red dirt and mountainous terrain are very neat to see. We stayed in Hulett, right next door to the tower and this town was definitely unique if you’re looking for a place to stop. There is an antique store there with unique Native American artifacts. The Best Western in town is very rustic and nice, with a pool. And the local cafe was delicious.
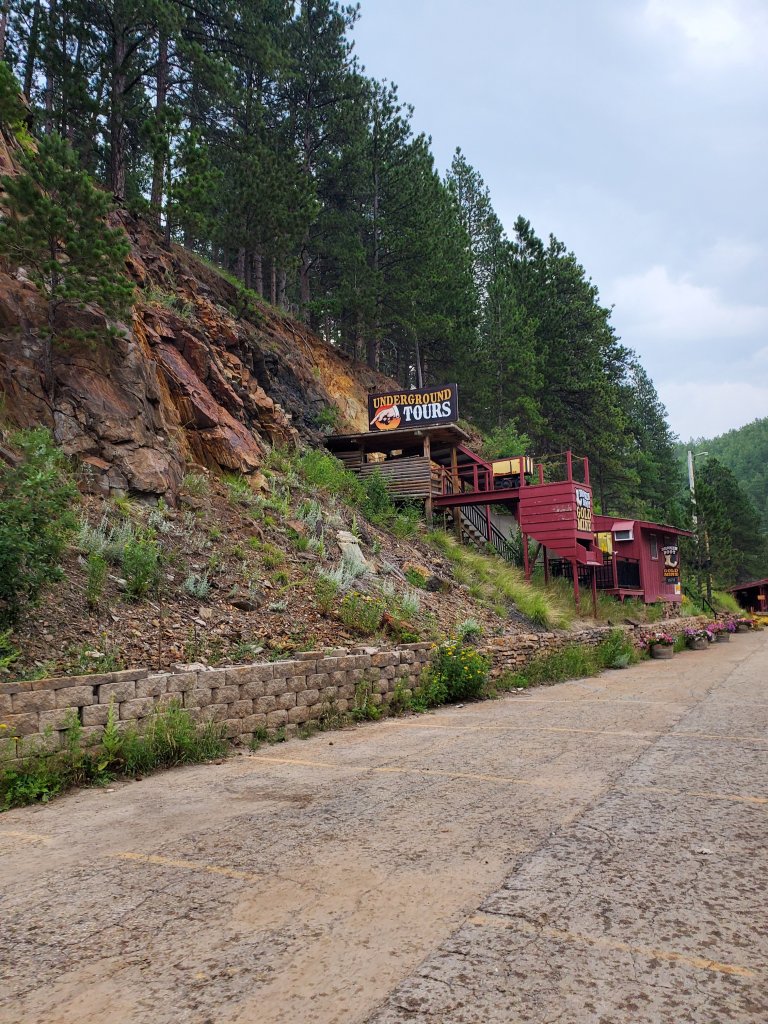
If you have headed out to WY from Mt. Rushmore, Deadwood is on the way. I recommend stopping here if you’re on adults trip. The gambling and drinks life there looked very fun. It’s not a horrible spot to stop with kids, but not a must do. The Broke Boot gold panning mine sounded super cool with kids. However, their website did not say we had to book in advance and since we did not, we were SOL. We also planned to see a shoot out there with the boys. They only do the shows on Saturdays and Sundays and we were there on a Friday. My fault, as this is on their website.
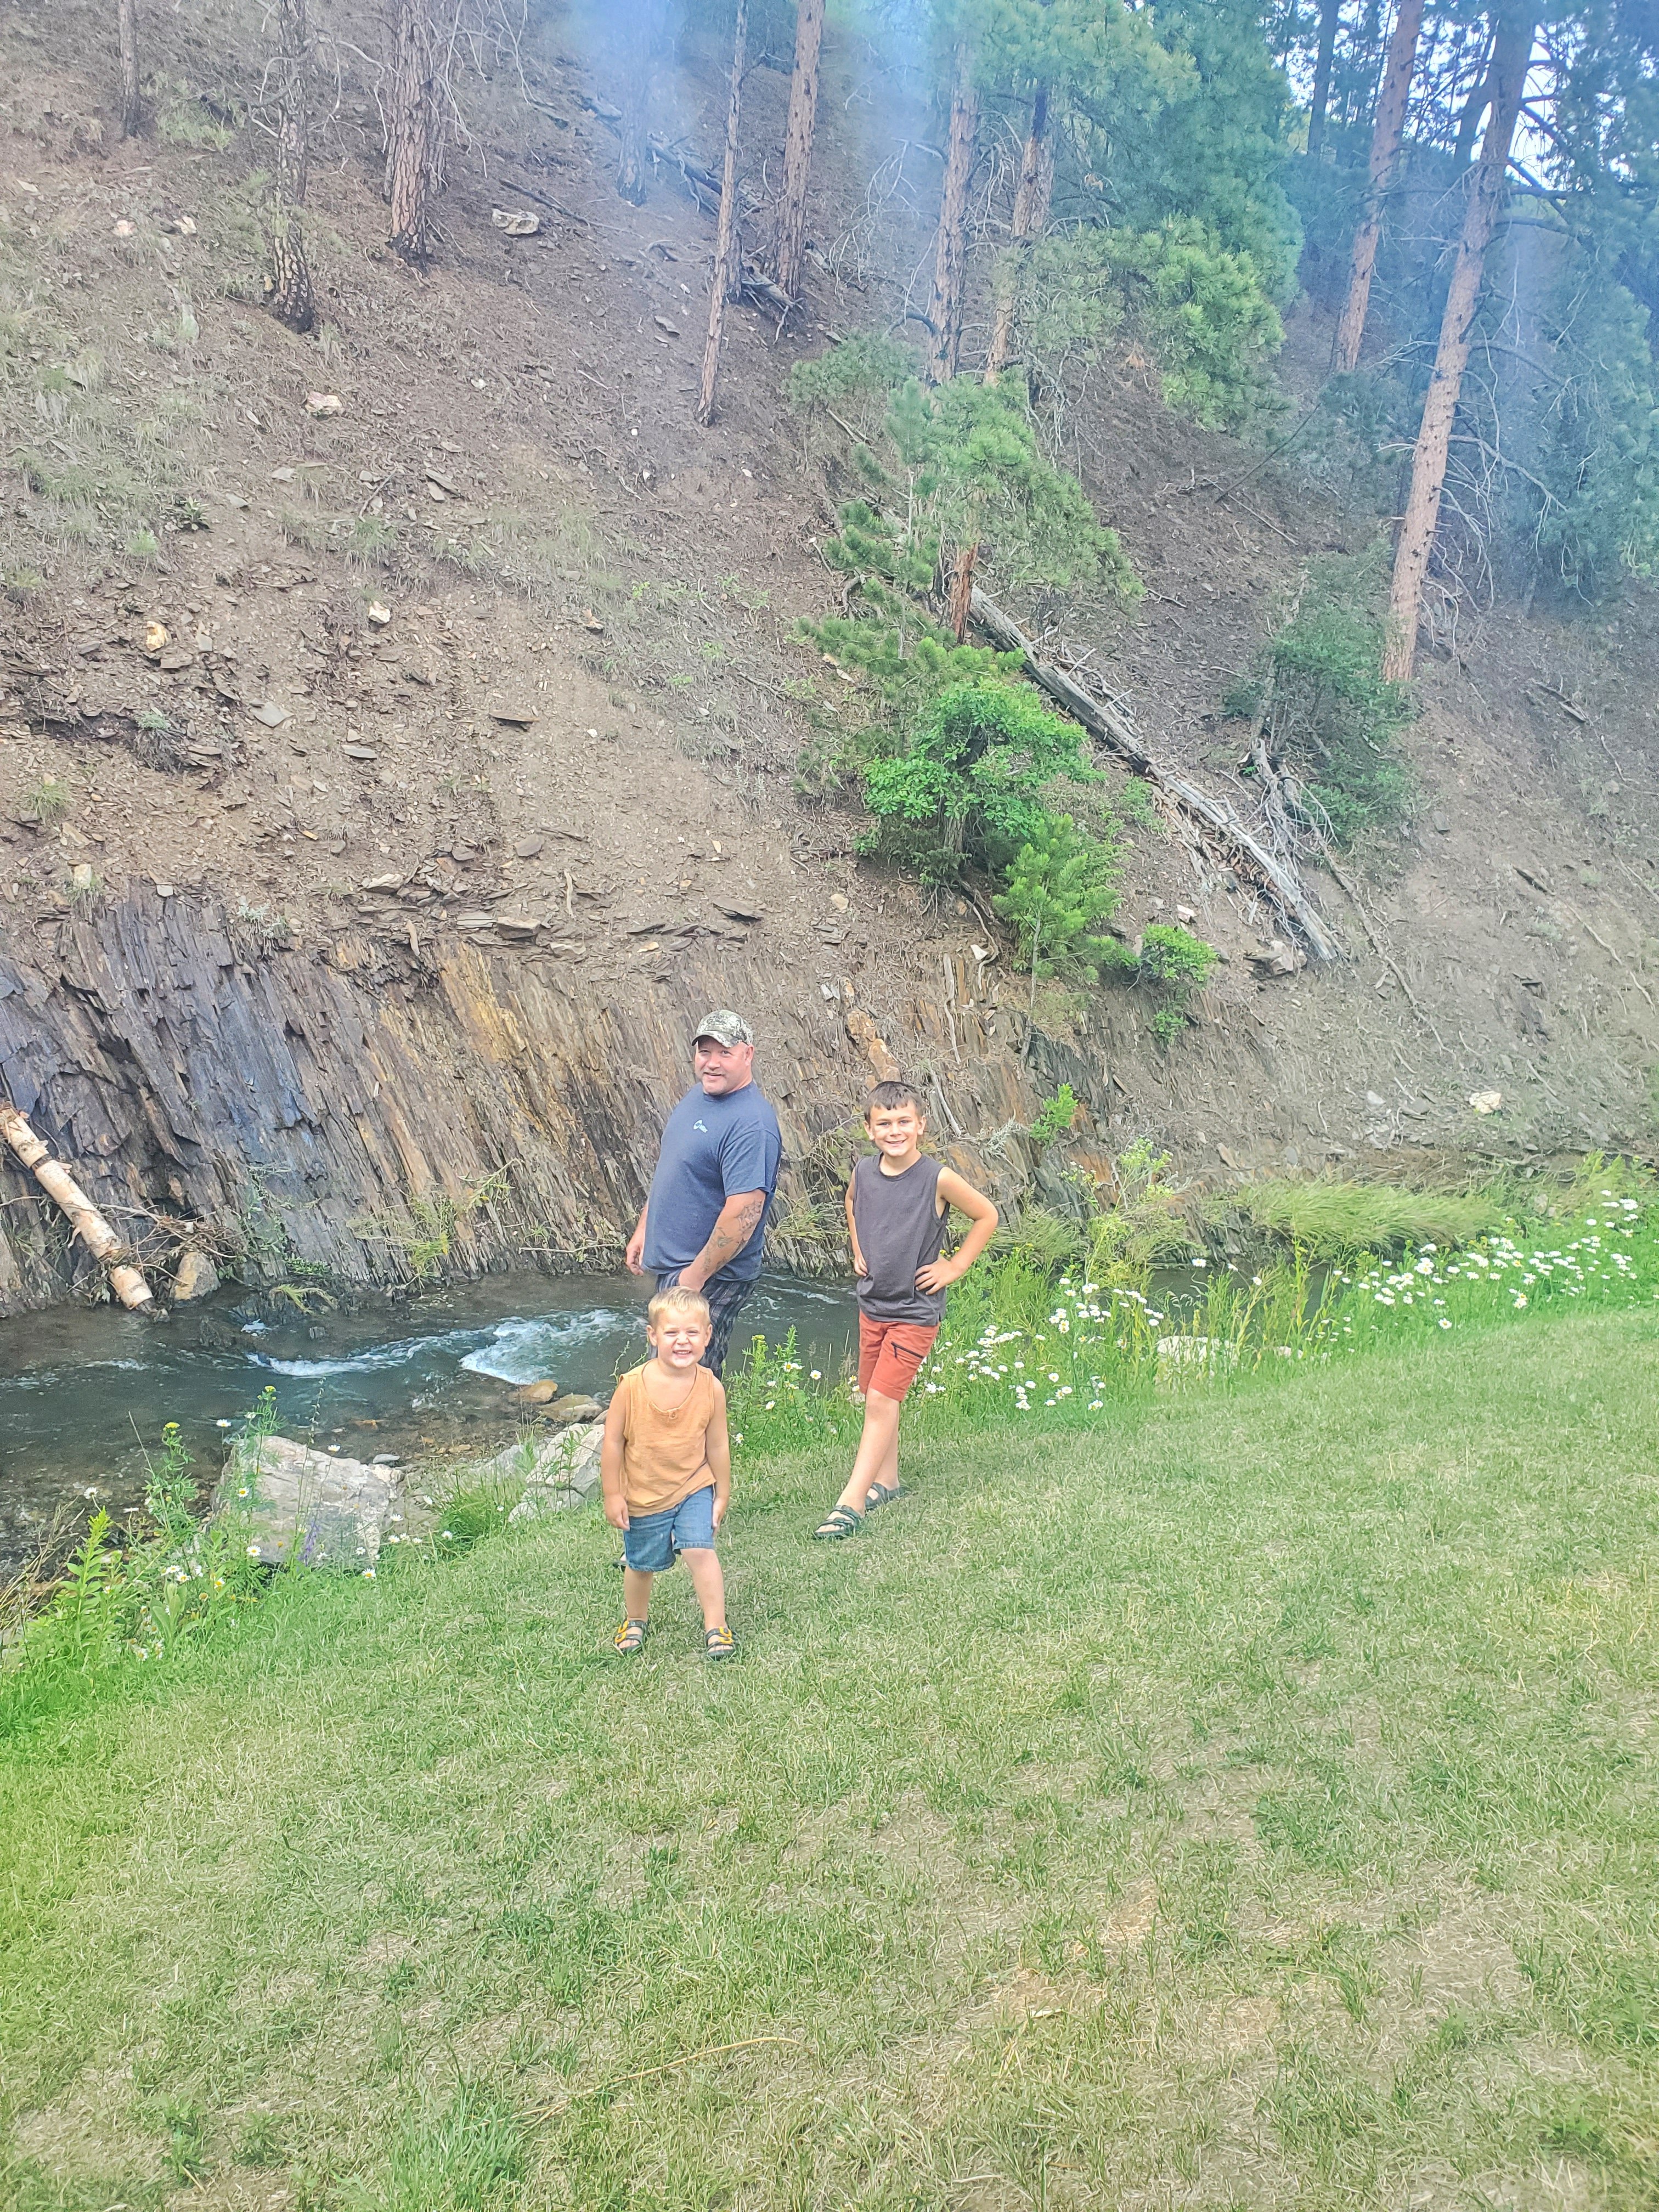
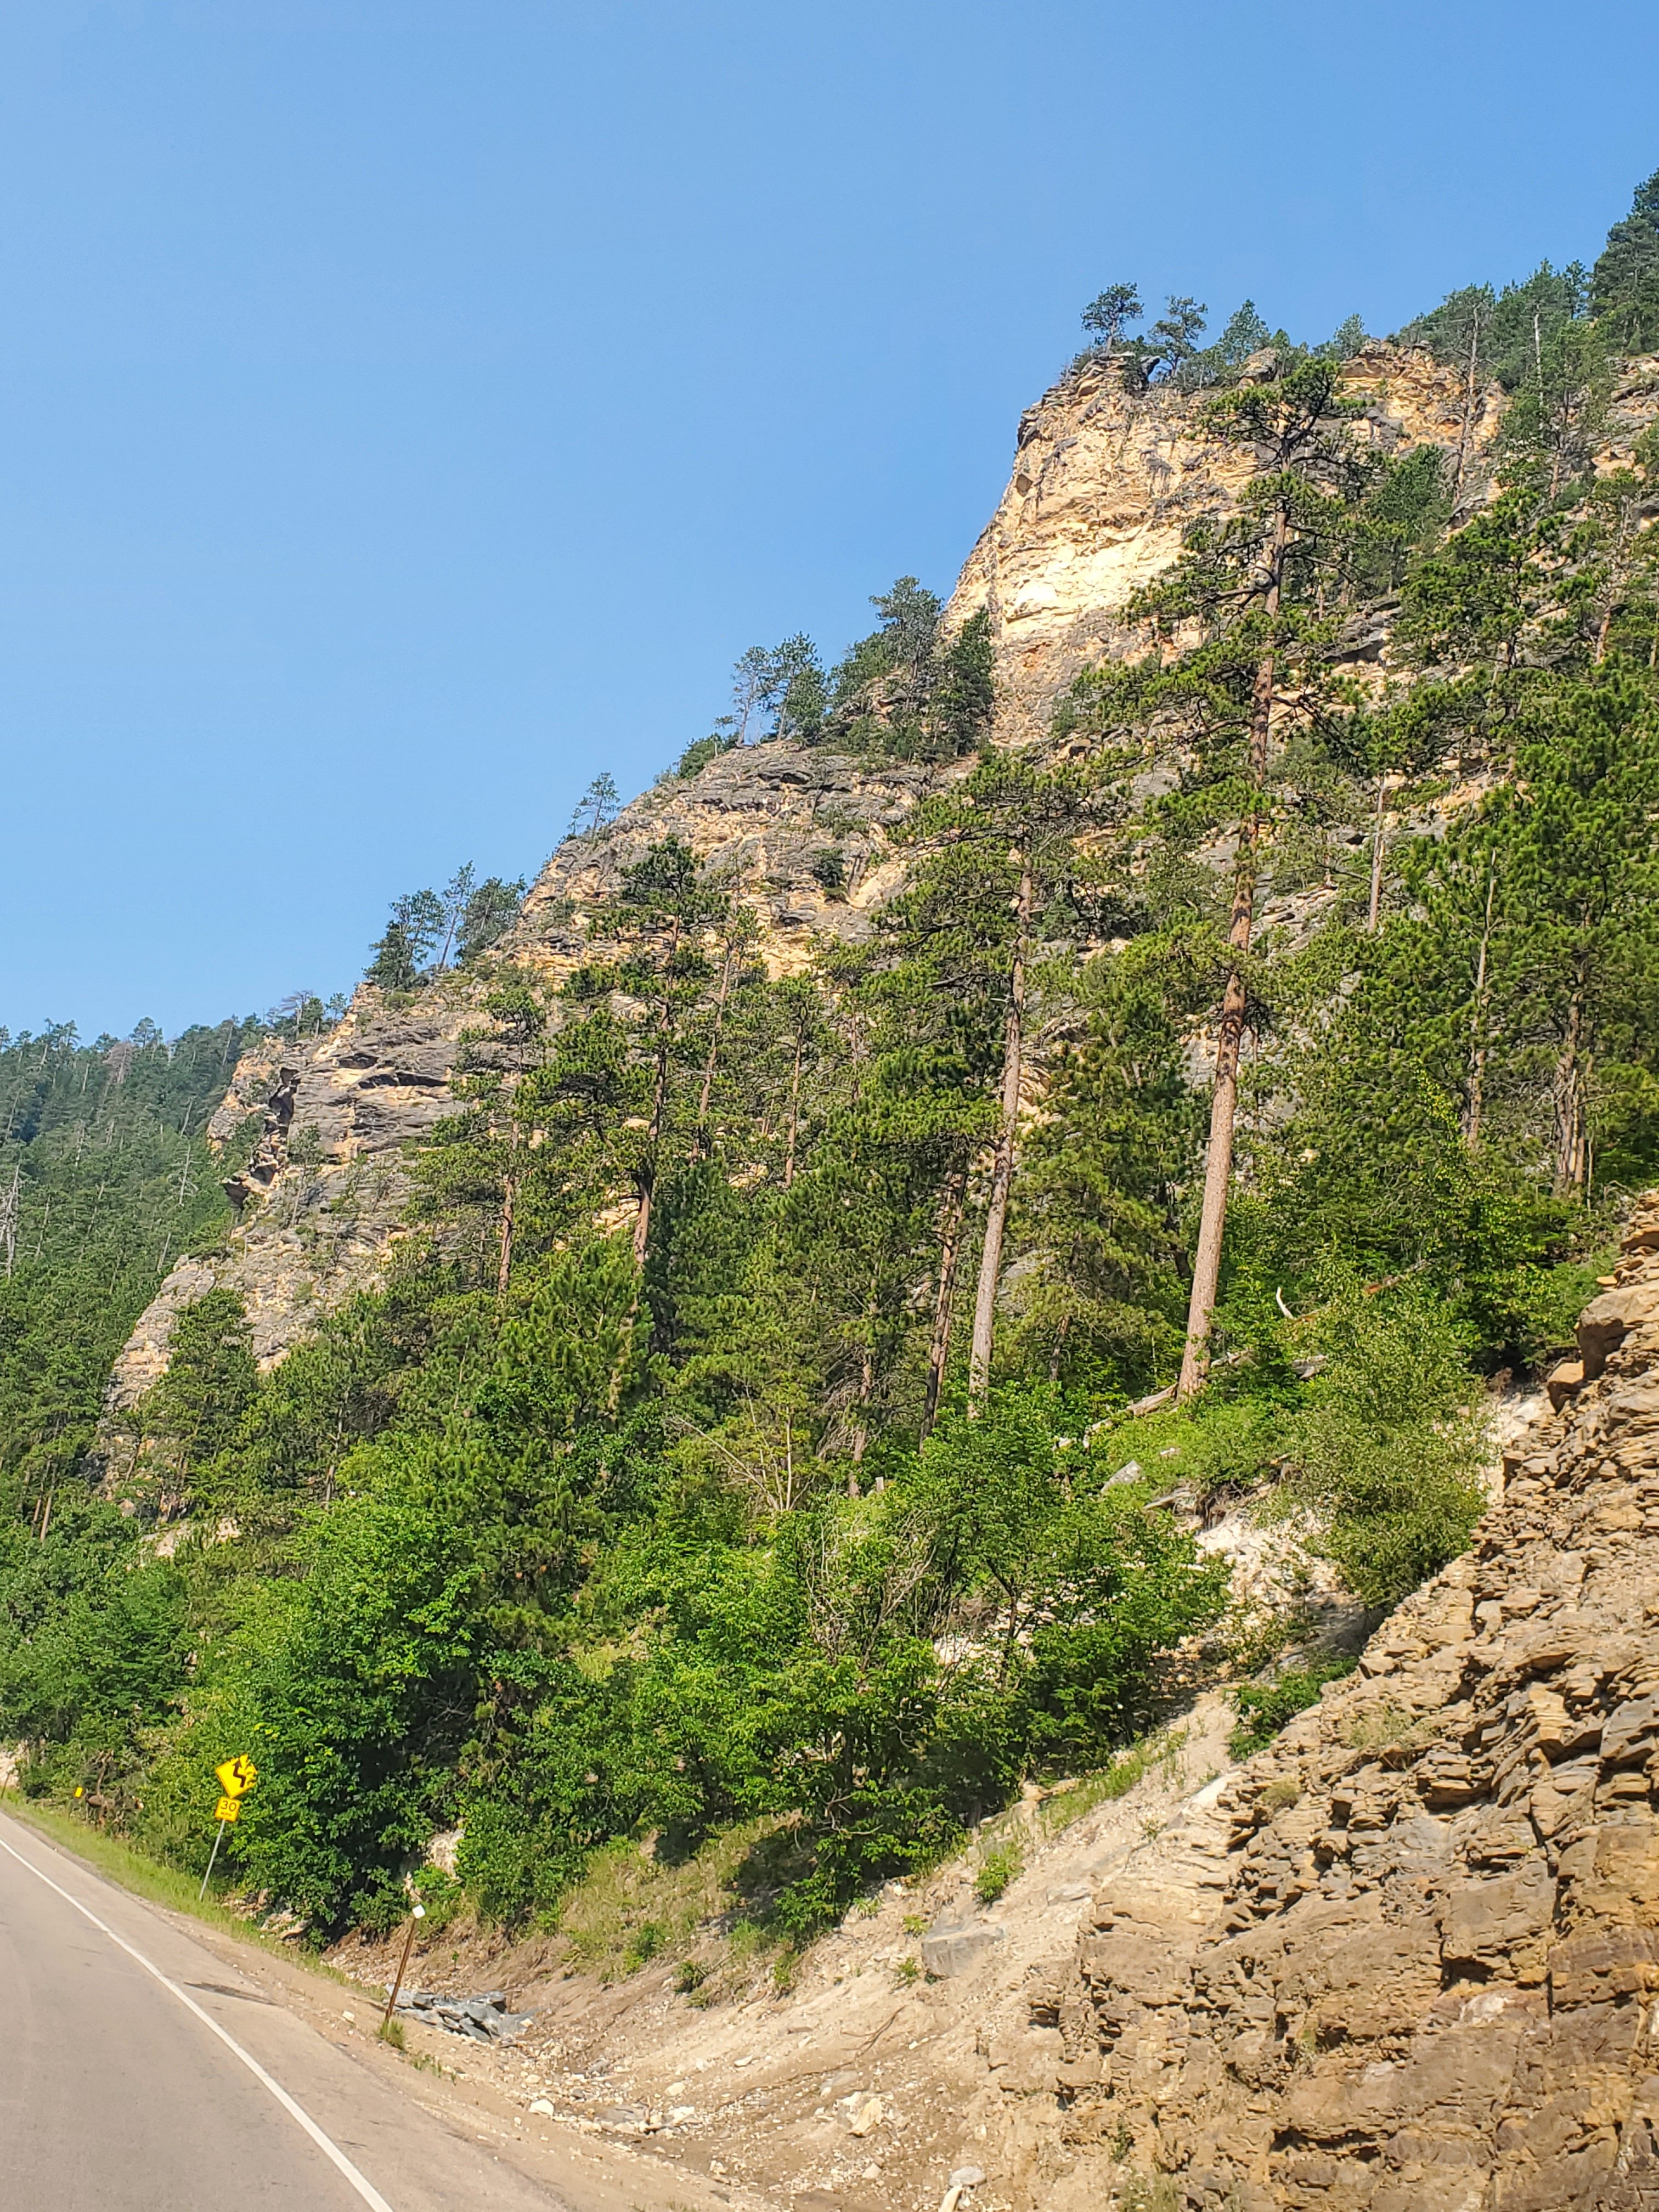
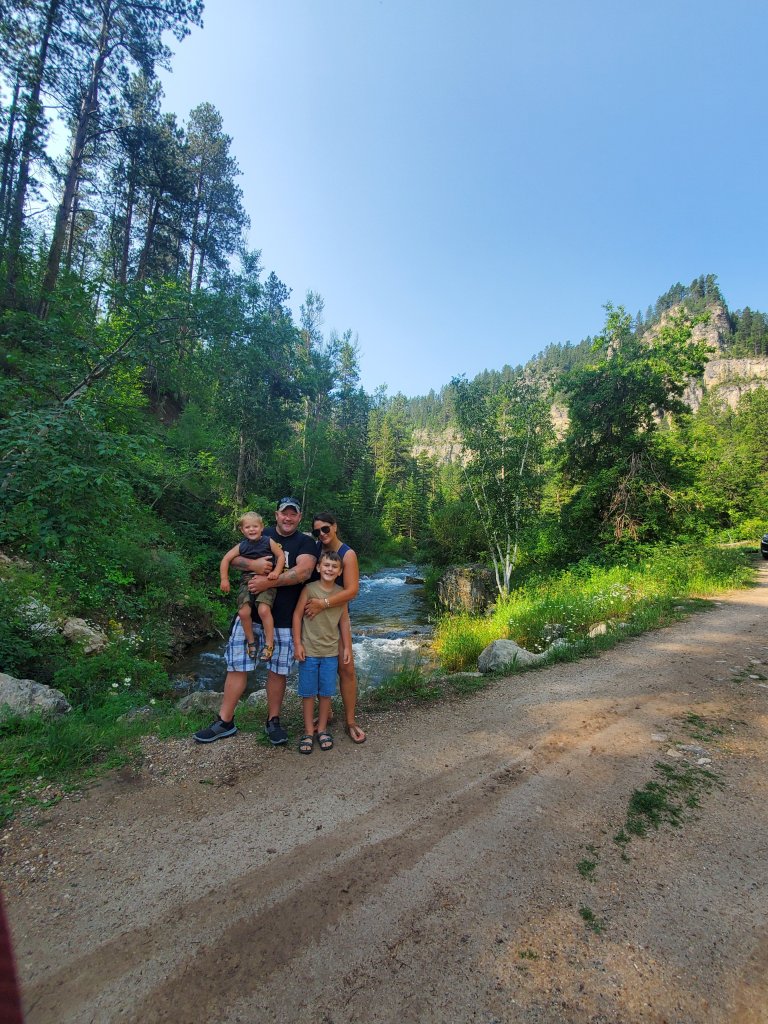
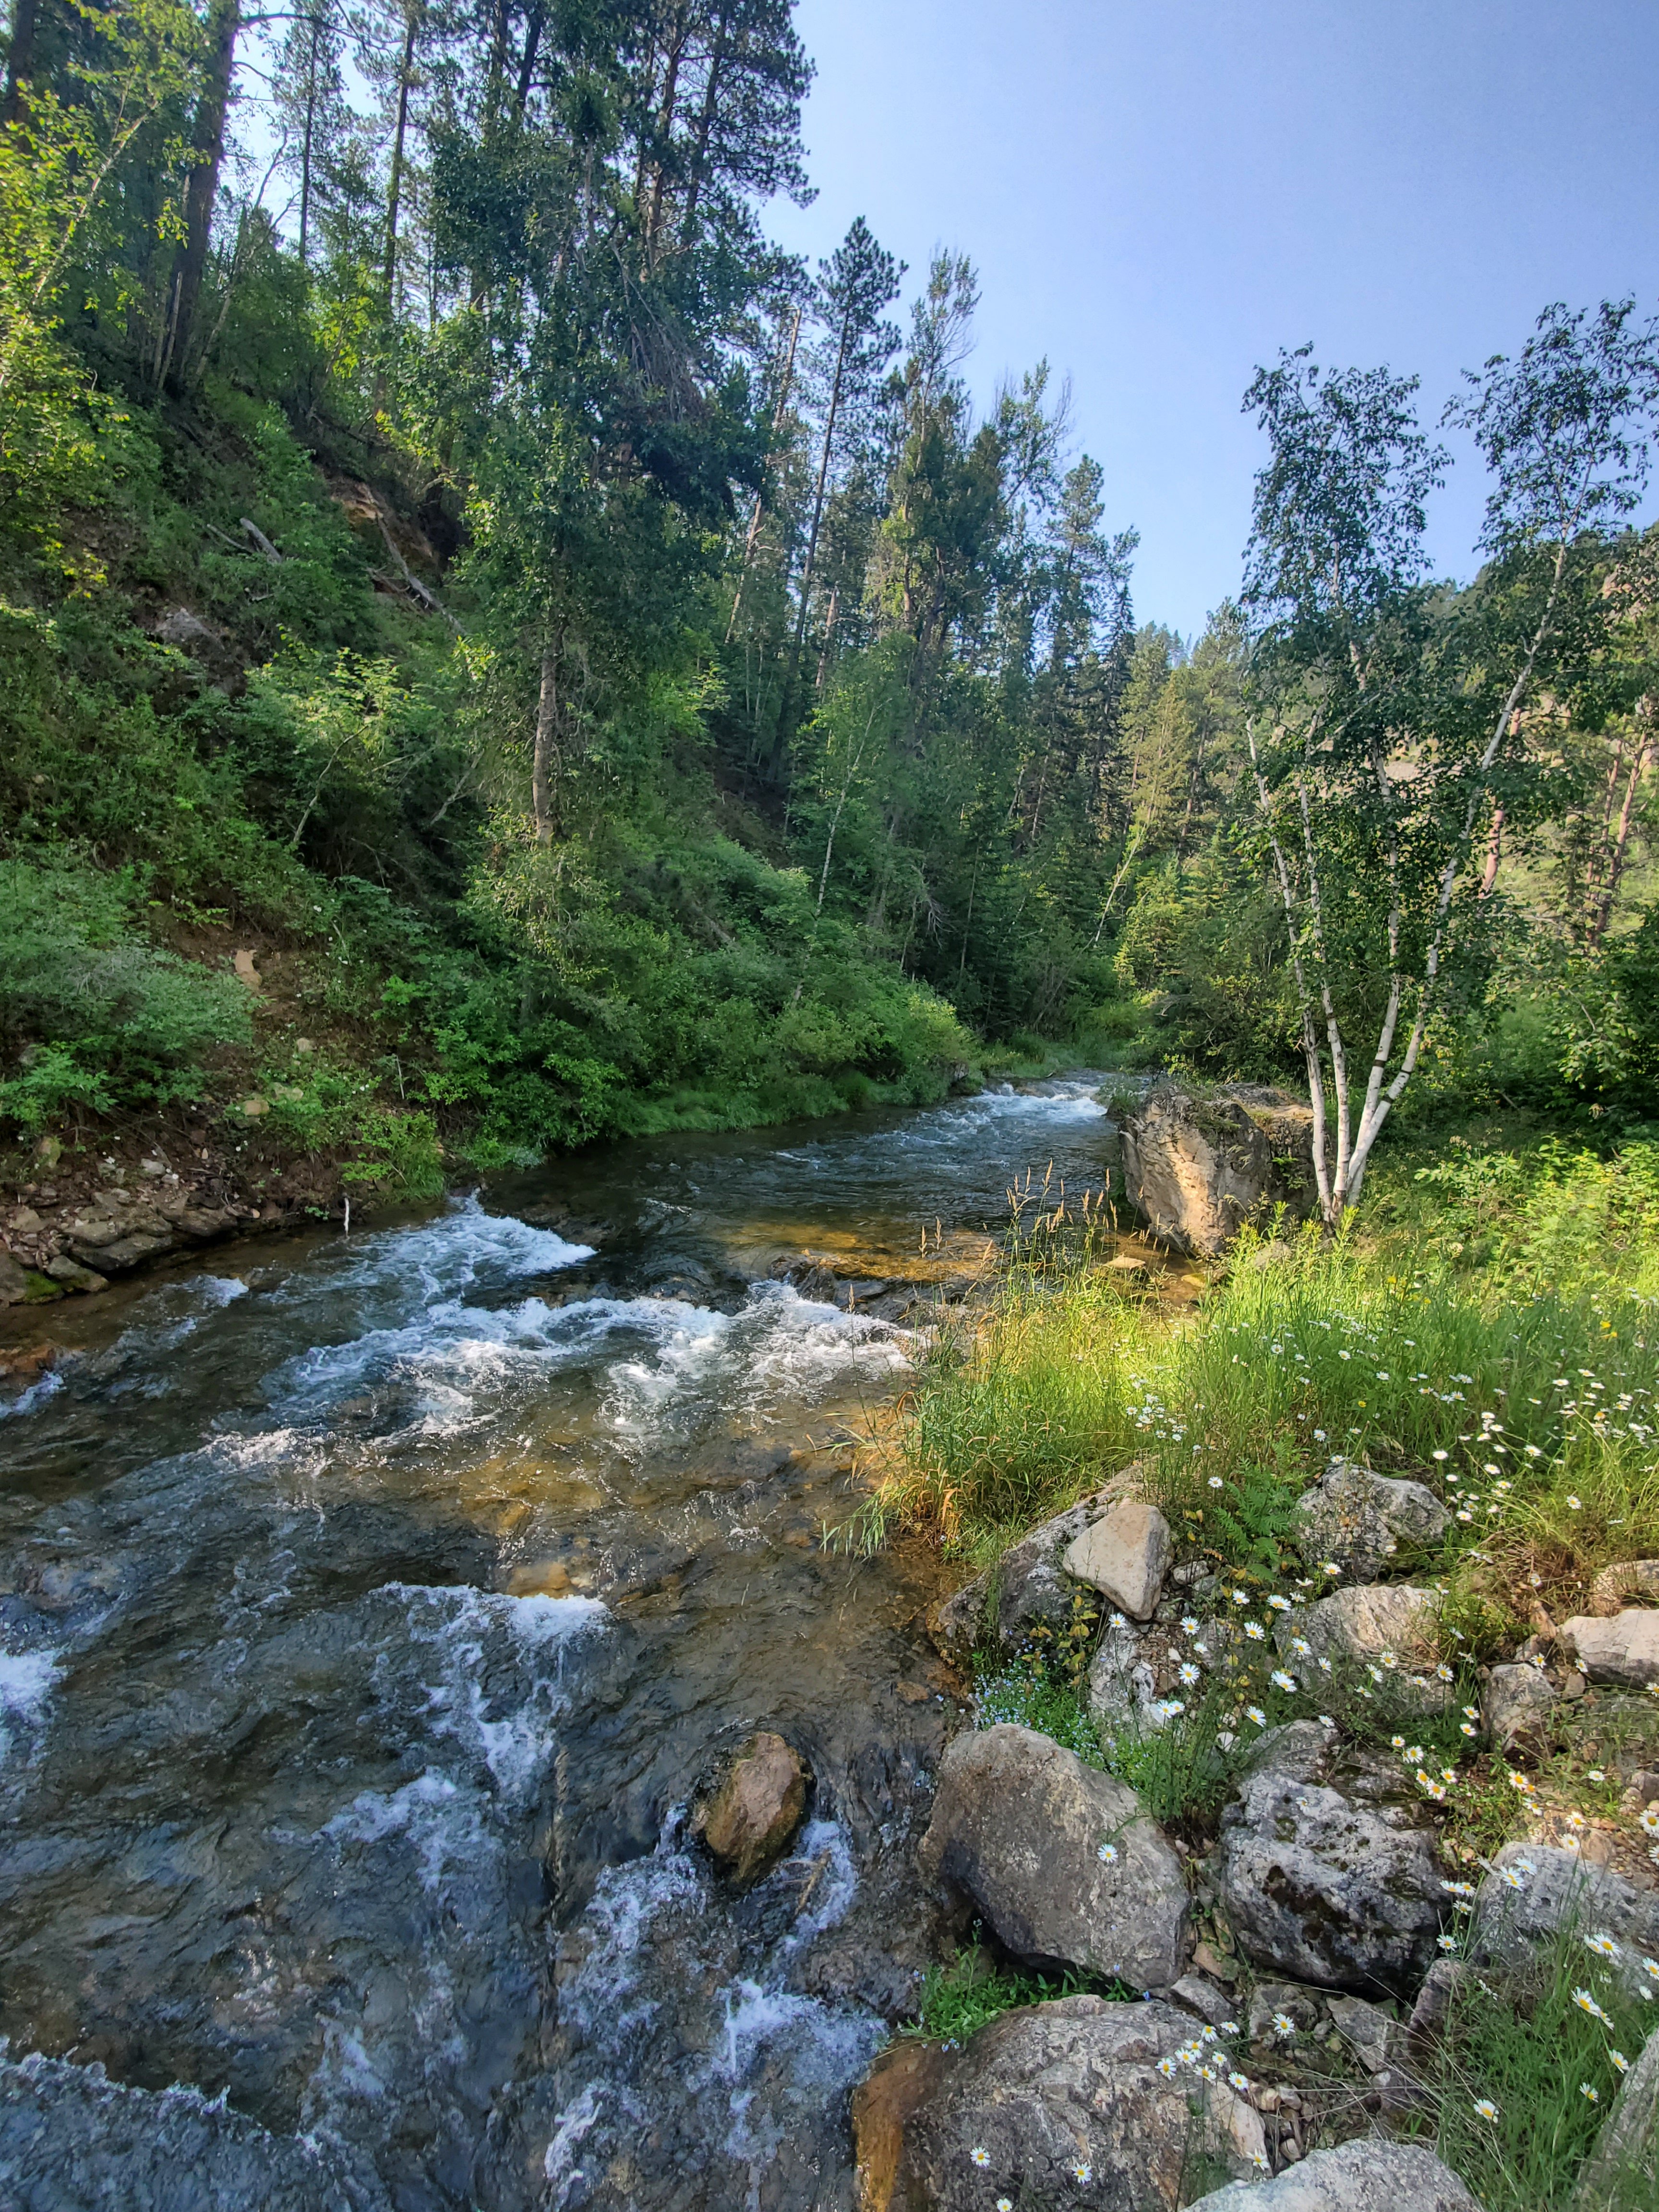
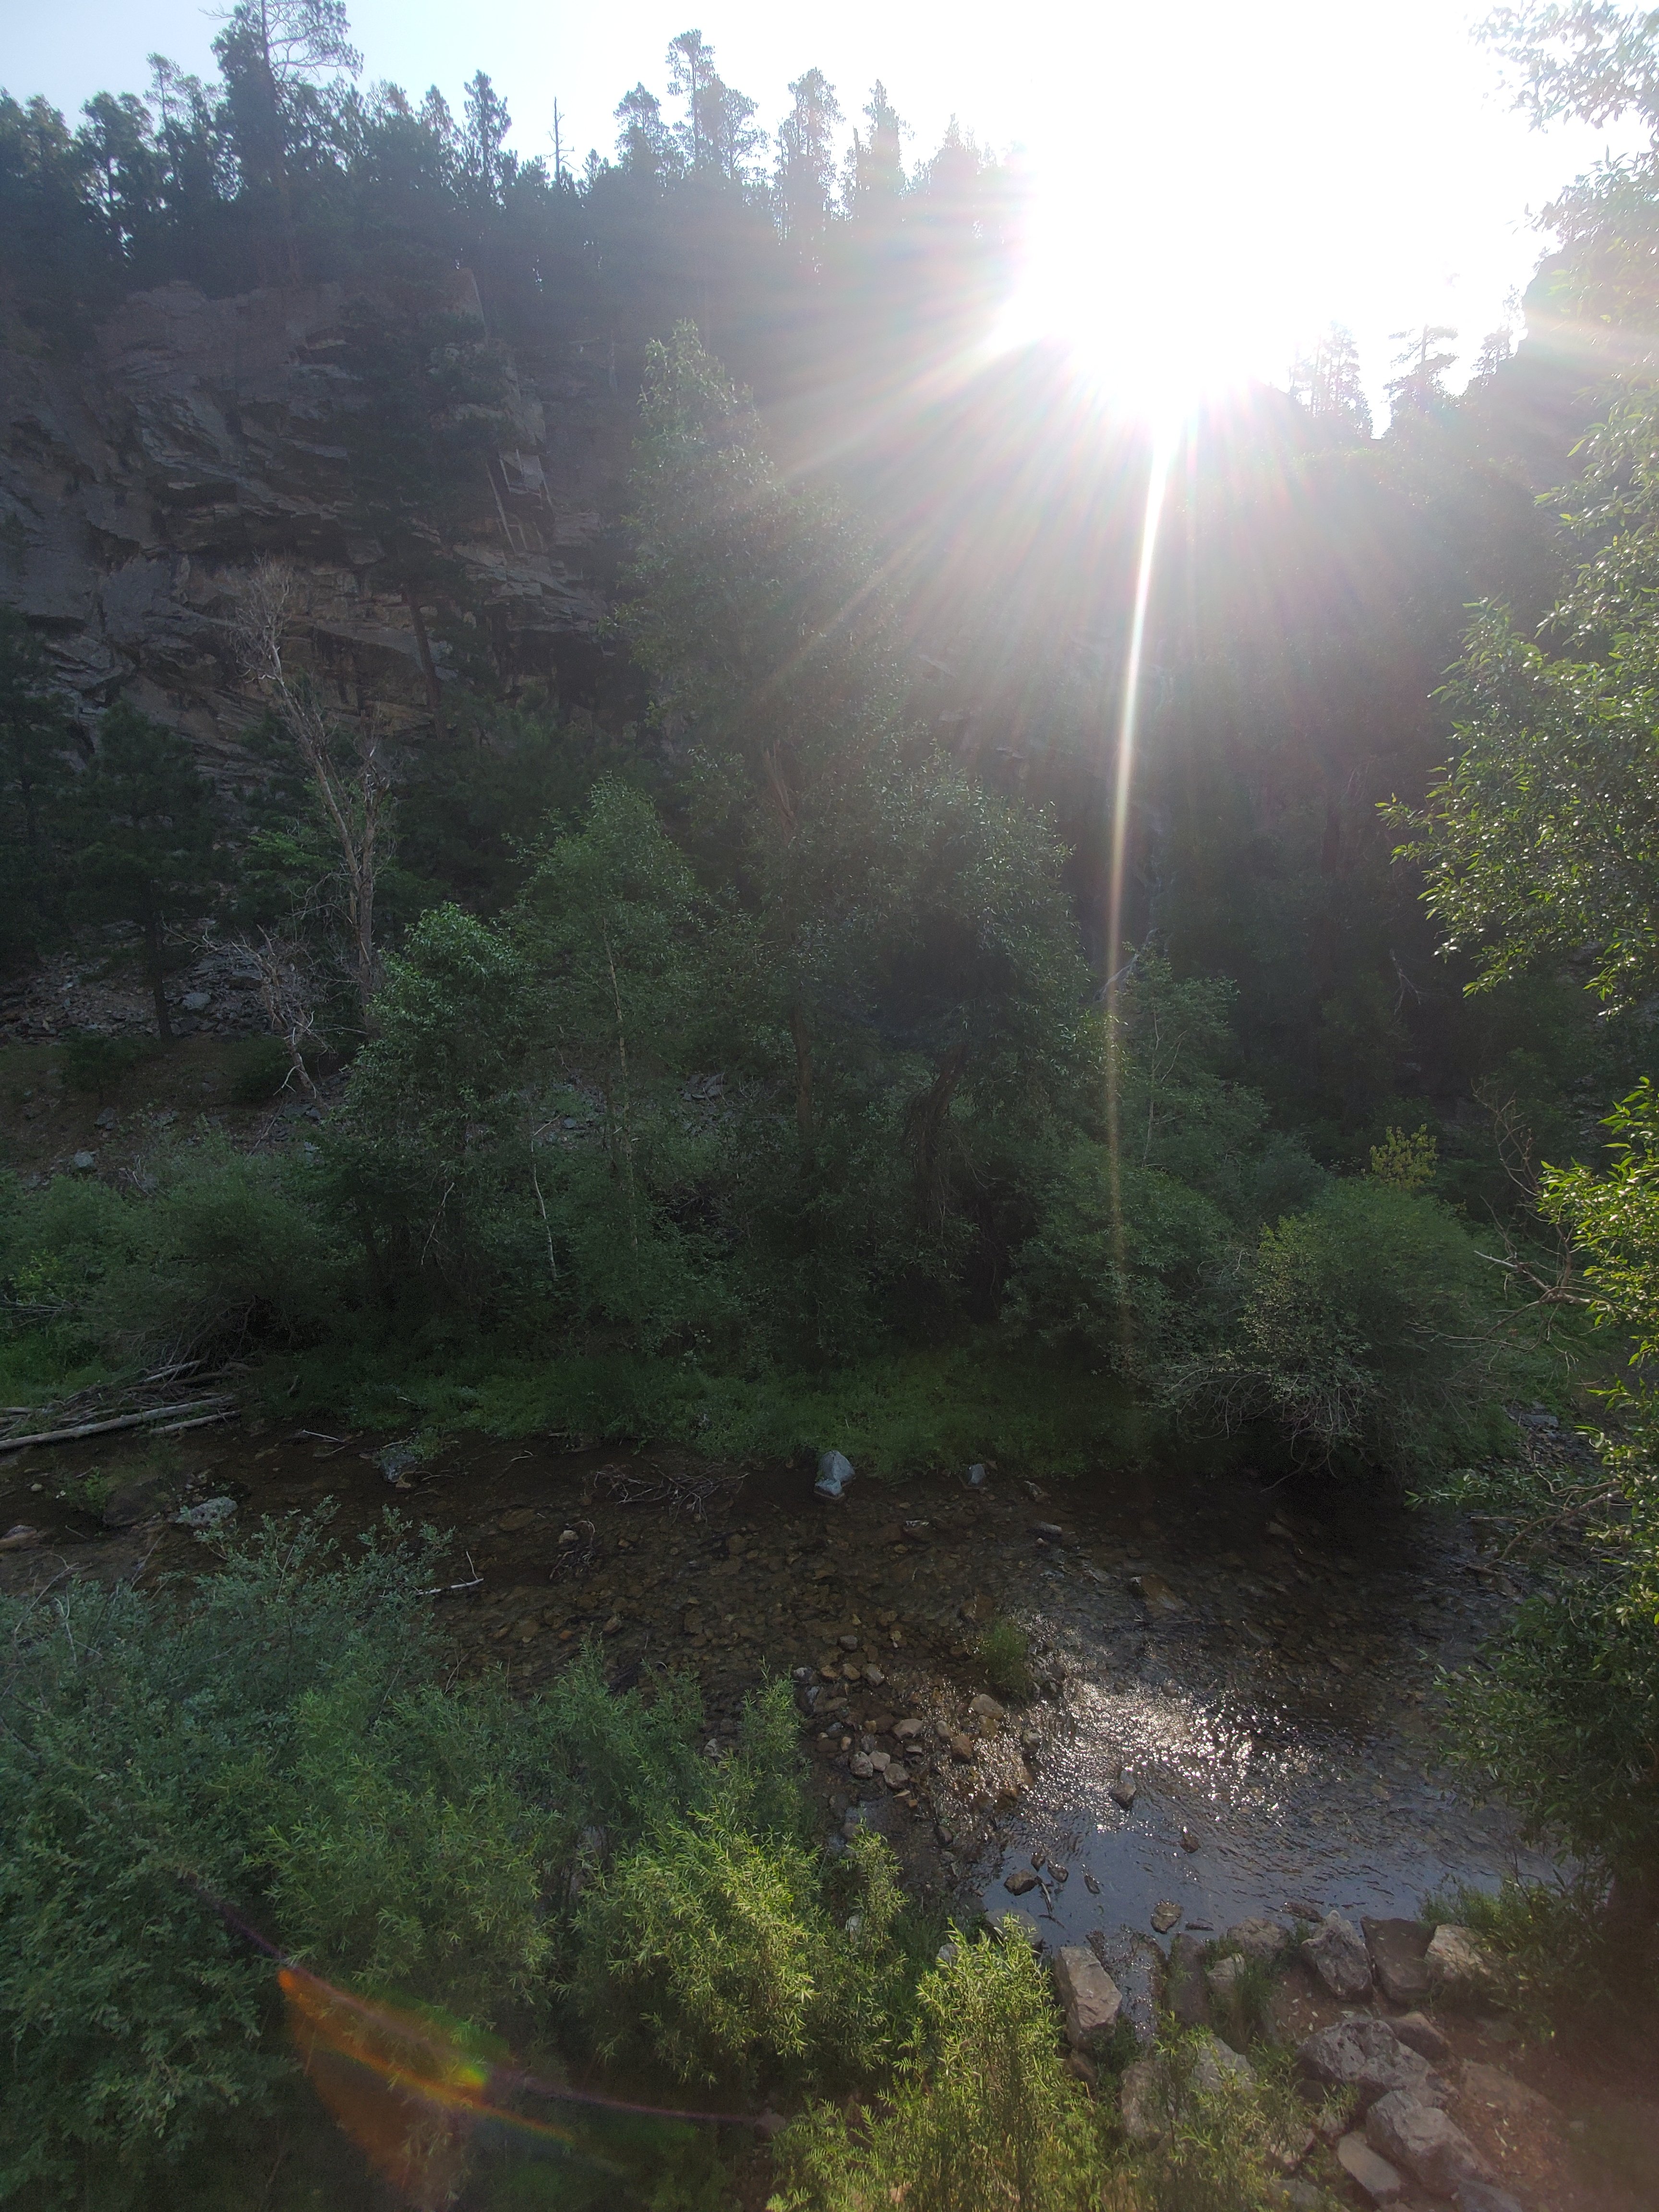
Also on the way out if heading west is Spearfish Canyon. Definitely drive the scenic byway here. Stop for some photos and explore. It’s just amazingly gorgeous out here. We did hear that there are mountain lions when off the paths, but we did not see any. This you don’t want to miss.

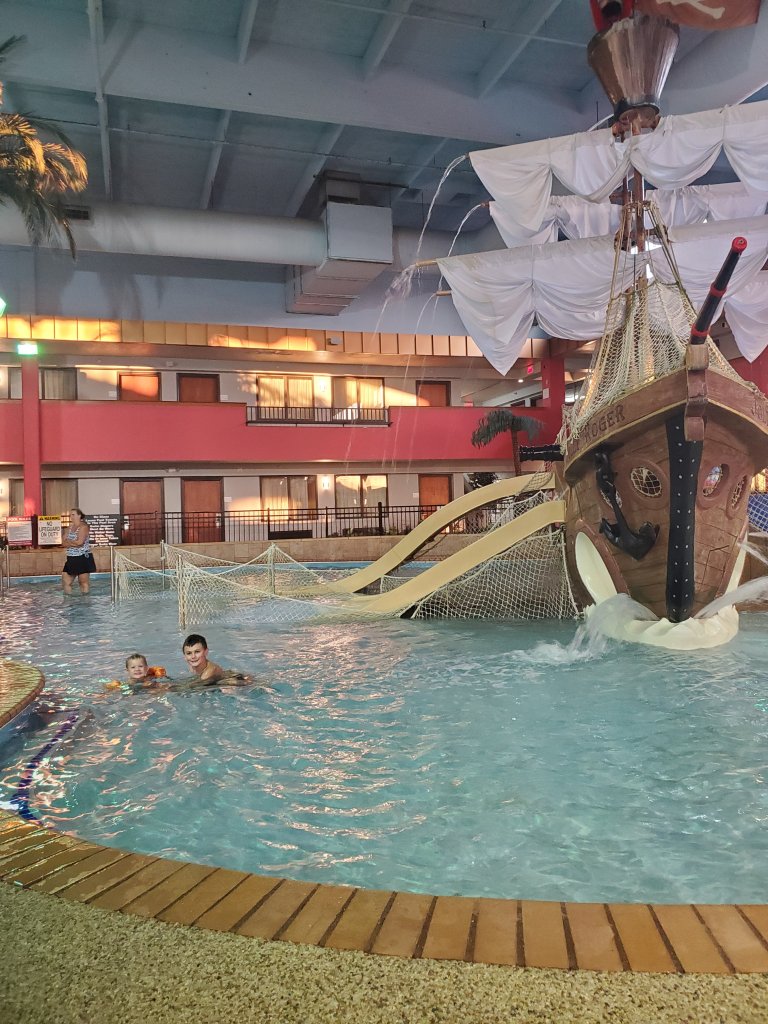
If your path take you East to Souix Falls, SD on the way in or out, we loved the Ramada there. They have a little water park. Kid win!
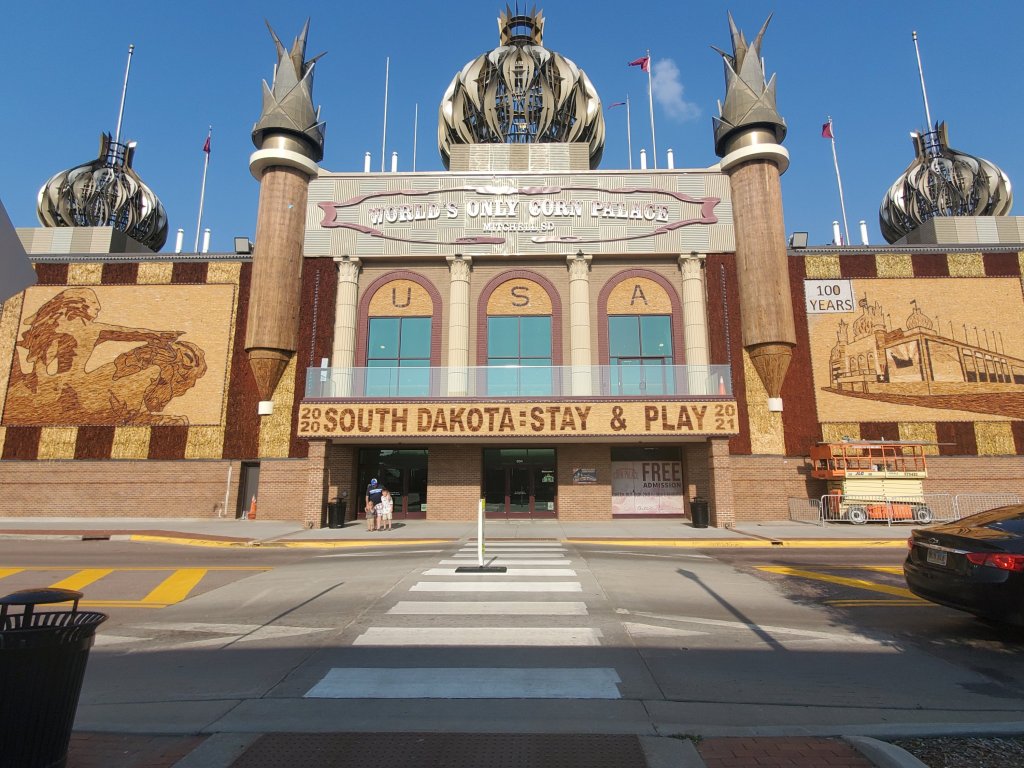
Another stop we had mid-South Dakota was Mitchell. We stayed here on our way out. This is home of the Corn Palace. It’s neat. The kids were impressed. Fun dining in town. It’s not a must see, but makes for a good place to stop if you need to!

Hitting Minnesota on the way? The town of Blue Earth is home of the real Jolly Green Giant. Great place to stretch! The even have a little sound park!

Hope this helps a little bit! If you are the get out and explore or hike type of fam, bring a fee baggies and a permanent marker for any treasures the kiddos find!
XX,
Jess
Guest/Play Room Transformation
When we moved in a few years ago the rooms were all boring and ugly…
Then we painted and added some fun flair to make this one a bright teen room…

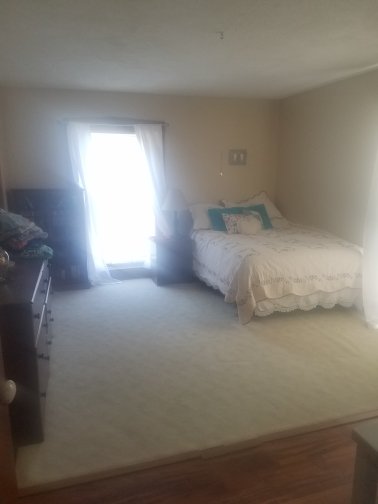
Then, the teen grew up and moved out, so we had an empty space. 💡 We had an idea! A play room. But also make it a guest room, so that we still have a space for company to sleep…
And so the room became a guest/play room.
Paint again. Tone down those walls. New floors. New furniture. Make it fun, but grown up enough for guests… viola!
We went gray on the walls, but a touch darker than normal since we have lots of sunshine in here. We did snap in wood floor, since they are durable and easy to clean. Then the fun part…
We added a wall mural from PhotoWall! What better way to keep it fun for play and interesting but adult for guests?!
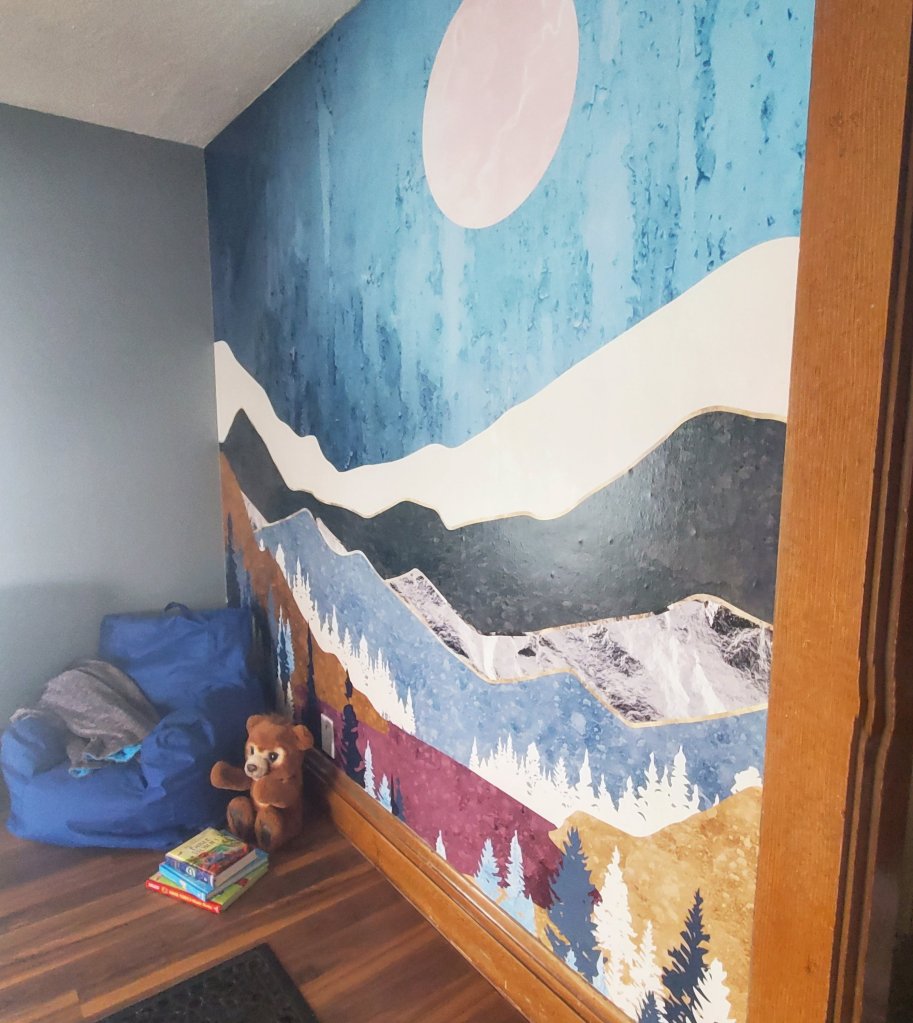

How cool is that?! It was actually super easy to install, just wallpaper in vertical strips, and it even comes with the paste. The boys are in LOVE with their new space!
You can head to PhotoWall too and use code ‘makemineeclectic25’ for 25% off any of their art, canvases, or wallpapers!

Next we will add furniture, so stay tuned…
XX,
Jess
Quick and Easy Halloween DIY
Happy Spooky Season!
Maybe its that we’ve been cooped up way too long and missed too many “normal” things, I don’t know, but we are going all out extra for Halloween this year. Our house, or yard, our decor, even our snacks, have all gone completely spooky. I’m loving it!
If Halloween time is your thing, or even if it’s not so much, but you want to show the kiddos just a little festive fun, then I have a super easy and cute DIY project for you!
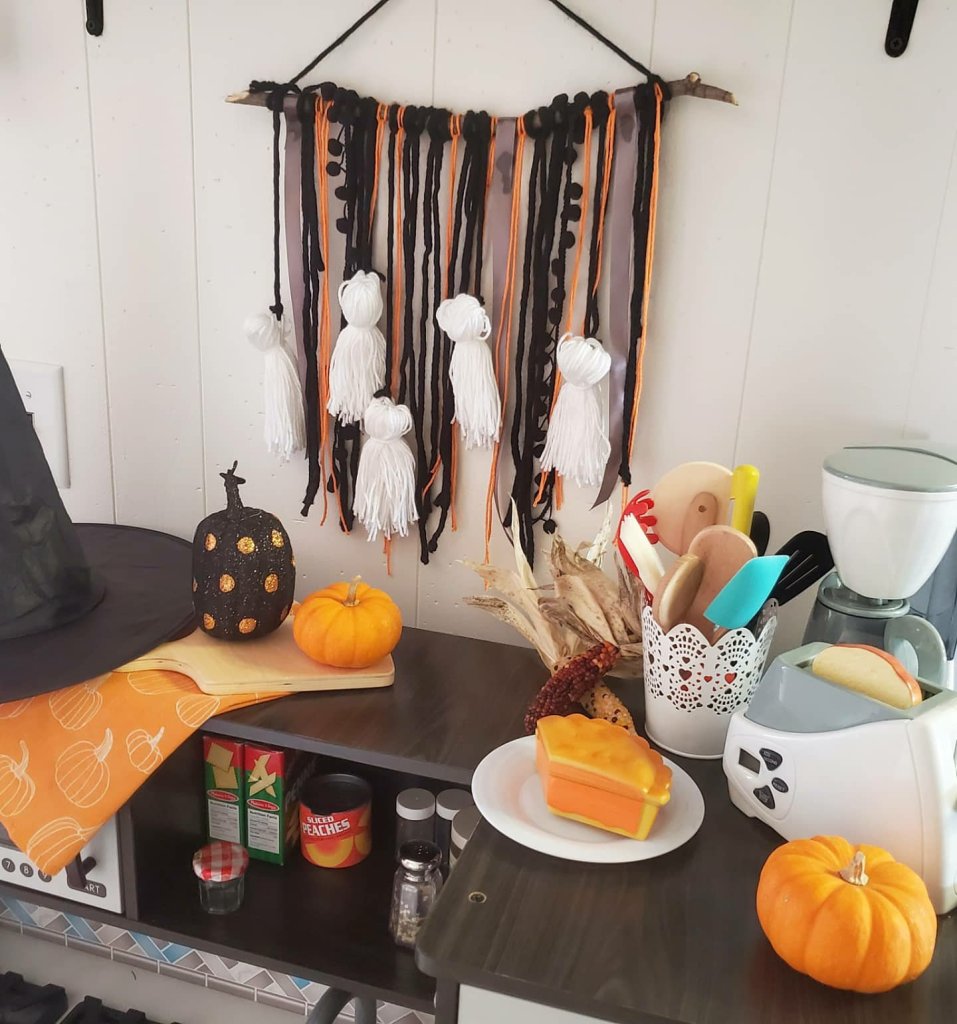
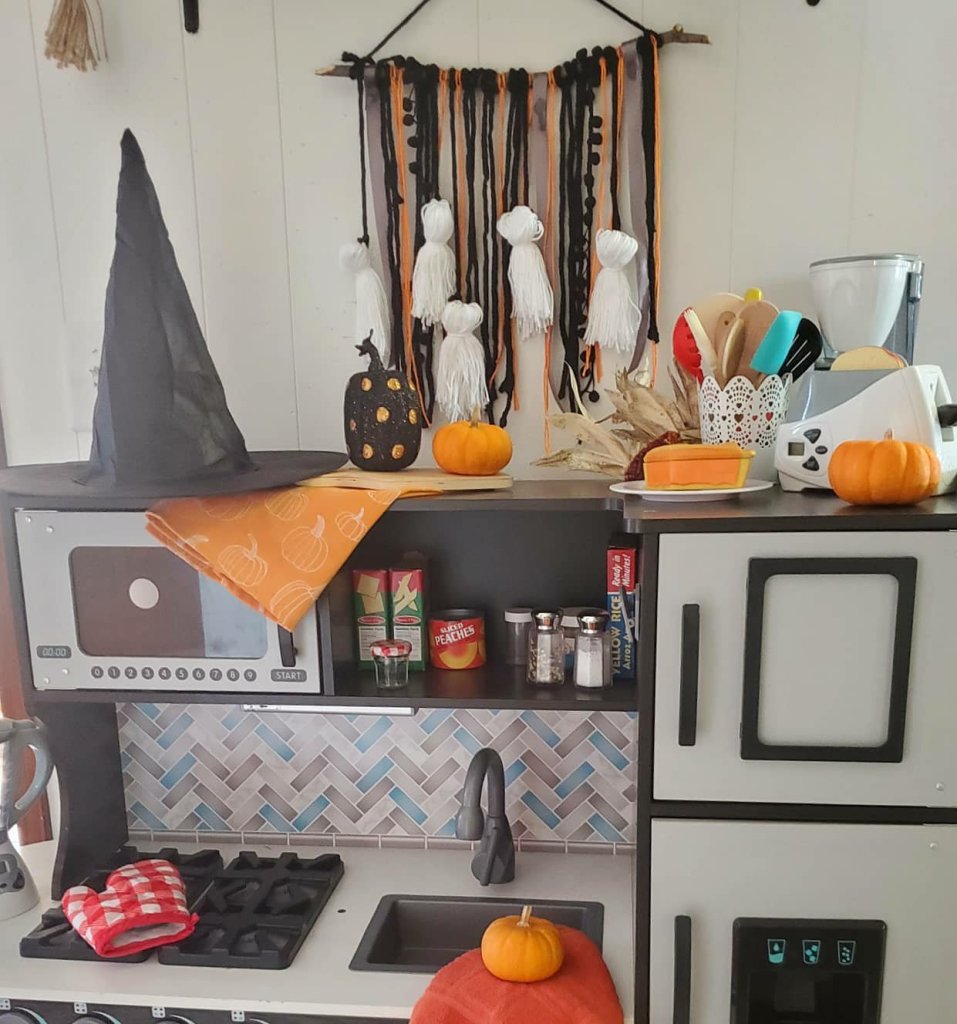
Faux Ghost Macrame Wall Hanging!
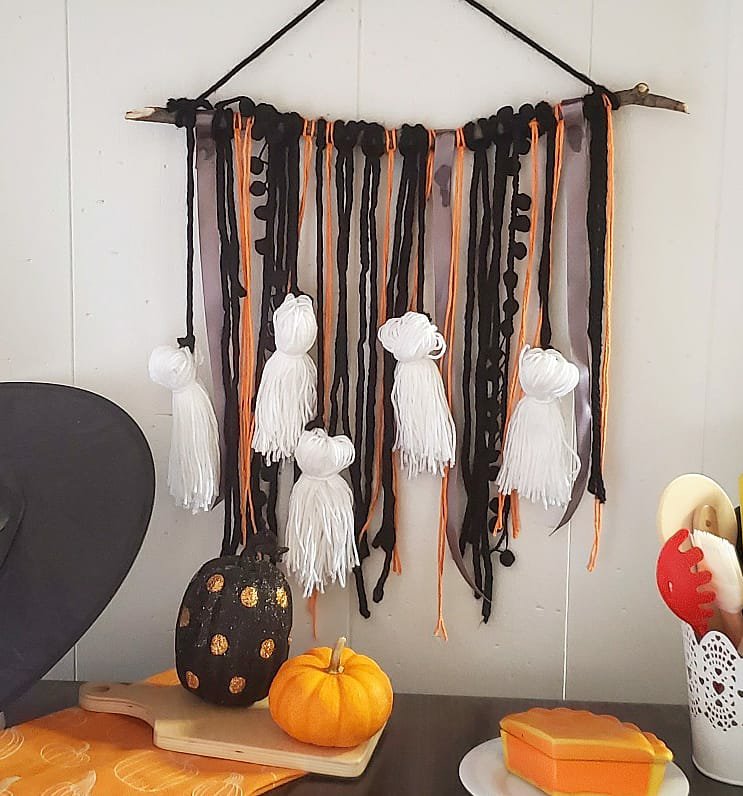
Supplies: -stick
-yarn and ribbons in various colors and textures
That’s it! Super easy, but such a cute payoff.
I cut the branch from a tree in the yard, even a dowel would work. Mine is a bit over a foot long. I started with it longer and then cut it off as I worked to make sure I knew I liked it. Decide how long you want things to hang. Mine is all random lengths, but around 14-16 inches. When you cut your pieces of yard, double this. You will fold them in half. I eyeball all of this and er on the long side. You can trim them down later.

With the piece of yarn folded in half, lay it over the stick. Bring your looped end under the stick, then stick the ends back through the loop and pull tight. Viola! I glued the ribbon together in the back around the stick instead of this method so as not to crease it. I love the ball tassel ribbon to give texture too and tied these in a knot around the stick.
The ghosts. Also simple. Wrap white yarn around a book about 50 times. Cut the strings on each end of the book and keep them in a bunch. Fold the bunch over and tie a piece of yarn around it. I took black yarn through a small chunk of the white ghost head yarn on each side and tied this together in back and then tied the black to the stick.
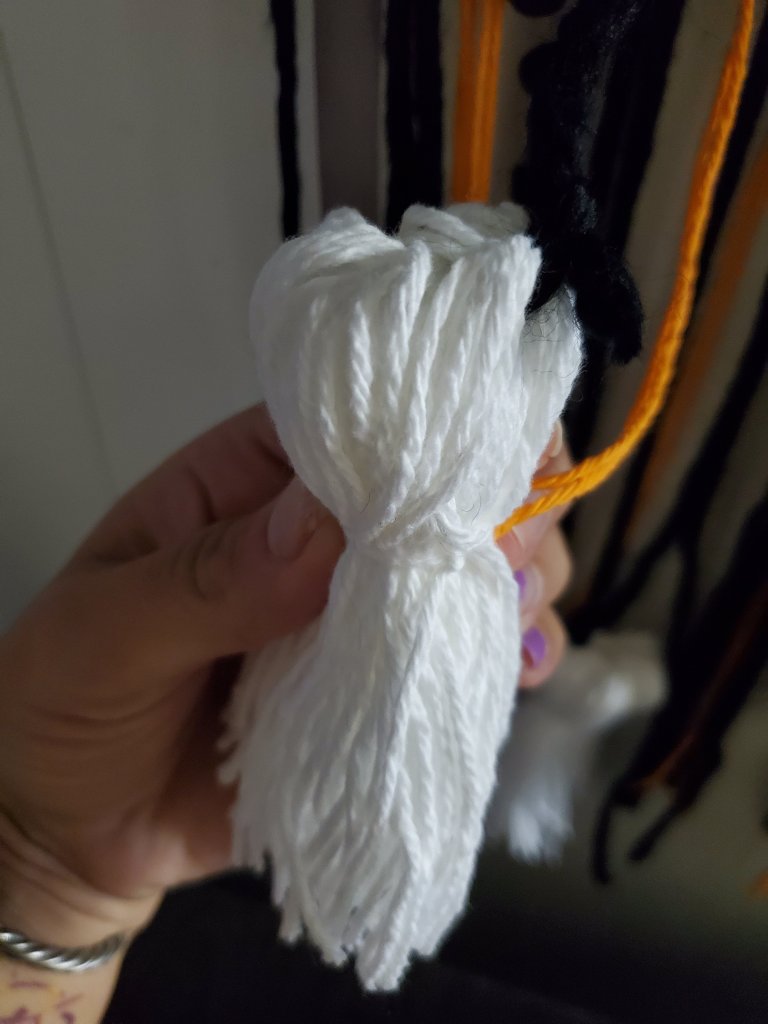
There is no right or wrong with any of this! Keep it fun and super simple. You could glue eyes and mouth on the ghosts too if you want! You can add more or less pieces to the stick too.
Enjoy! 😉
Xx,
Jess
Antler Hooks
All of the homes that Design Sponge features are simply beautiful! But, today I found one of them to be particularly inspiring!
The home of the owners of Antler&Co is not only beautiful, but I am stealing this antler wall hook idea!

Gorgeous, no? See the rest of the home here: http://www.designsponge.com/2011/06/sneak-peek-greg-grey-of-antlerco.html
Need Your Expertise
On Sunday Tony and I visited my grandparents. My grandma gave me some dishes and also two antique picture frames. She didn’t know much about them, except that they are old. I’ll say! The back of one picture has some writing on it that says 1898! I know the frames are cross corner with leaves, and that they used to be quite popular. Do you have any more information on these frames or the pictures inside?


This is the writing on the back of one picture. We can't make out all of the words, but we can read 1898!
I would love to know more about these, so if you know anything, let me hear it!
Little Christmas Shelf
For Christmas, my Secret Santa (my sister-in-law-to-be, Jess) got me the cutest little shelf. We have been debating where to hang it since then! After we arranged some things the other day, we found the perfect place in the living room. The colors match perfectly! She also got me the little diamond studded candle and the LOVE sign that are sitting on the shelf. It was just so adorable I had to post it. Take a look!

I know its dark, but this is the shelf hung in the corner of the living room behind the Eames lounger.

My Christmas gifts from Jess!
Finally Framed
Last night we finally found some square frames for the vintage fruit crate ads we have been wanting to hang in the kitchen. Square frames are hard to find! We got these at Micheal’s (what a great place!). We hung the ads on either side of the vintage Absinthe ad we already had hanging in the kitchen, just as we had planned. The colors look nice and bright, and they do fill that empty space above the landing strip. But, we still feel like maybe there is something missing here. Is it that the desk still looks dwarfed on that big wall? Are the ads just wrong there? Hmm… we will have to ponder that for a while. But, if any of you have any suggestions for us, we are all ears!

This is pretty much what the "finished" landing strip wall looks like.

A close up of the framed ads


I love how bright and fun the ads are! What do you think?
