Gorgeous Wedding Decor!
We did it! We got hitched! And it only took us 9 years!
But 9 years later, and we have a home and a family, and the wedding budget was small. So, I’m here to share a few things we did to throw a gorgeous wedding, but on a budget!
First, if you are a planner like me, buy an actual planner and skip hiring one. I used a basic wedding planner from Amazon and tracked everything myself. It’s definitely doable!
Next, buy what you can, don’t rent, and resell when you are done. It was actually cheaper to buy tablecloths and runners than it was to rent them!
Third, pick a venue you like, but if you find a budget friendly option, don’t worry if it needs a little boost to get wedding gorgeous! I used Rent My Wedding and transformed our very inexpensive, albeit dated and bland venue to a gorgeous spot, on a budget!
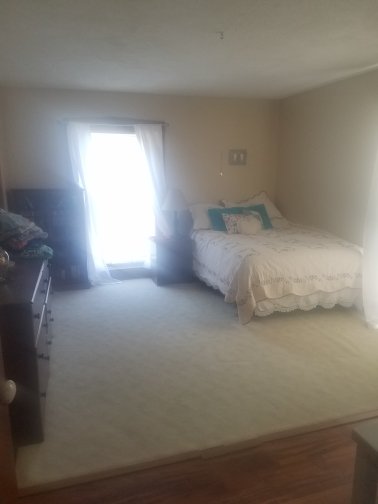
Before:
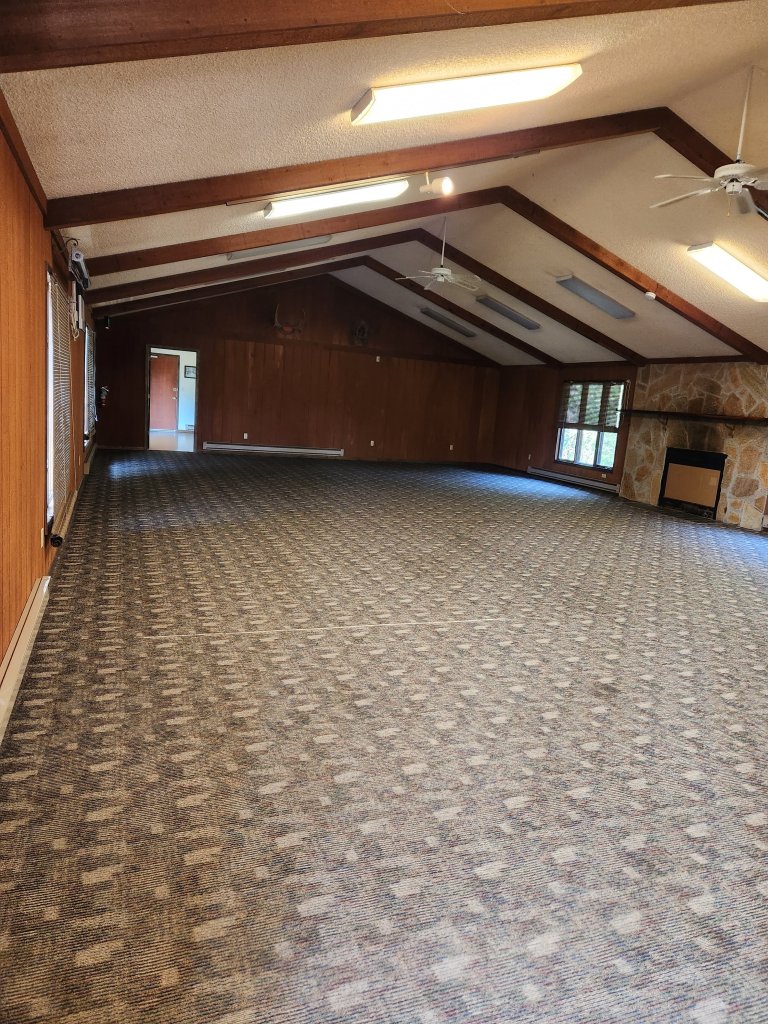
Blah, drab, dated. But cheap. Enter Rent My Wedding.
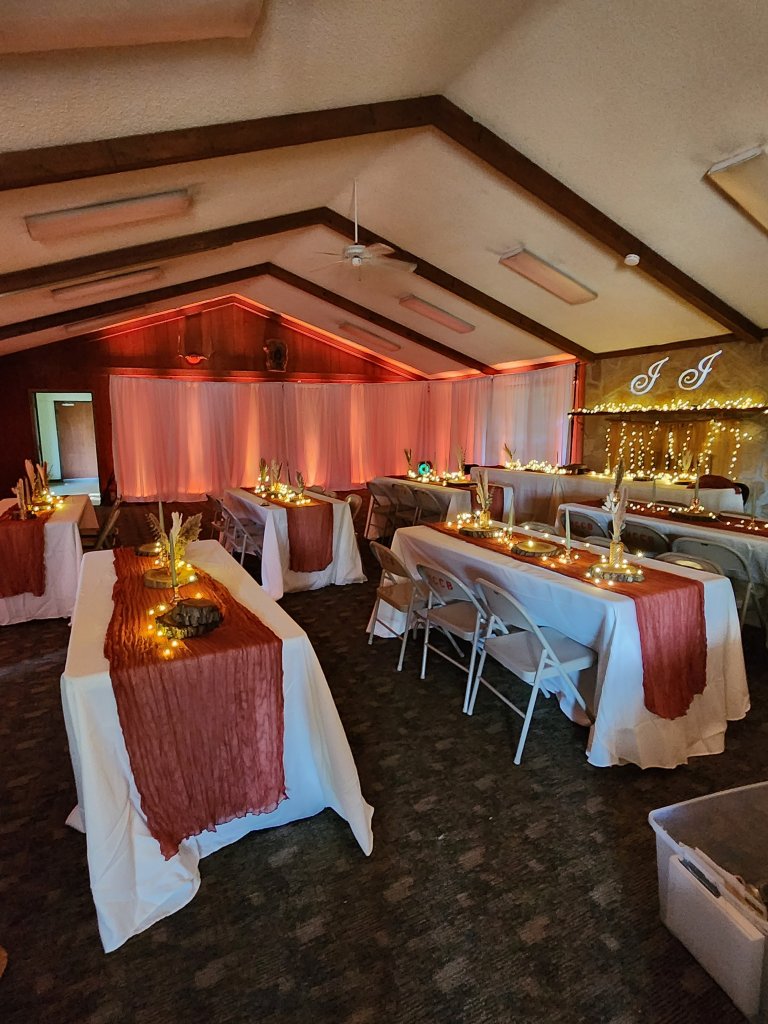
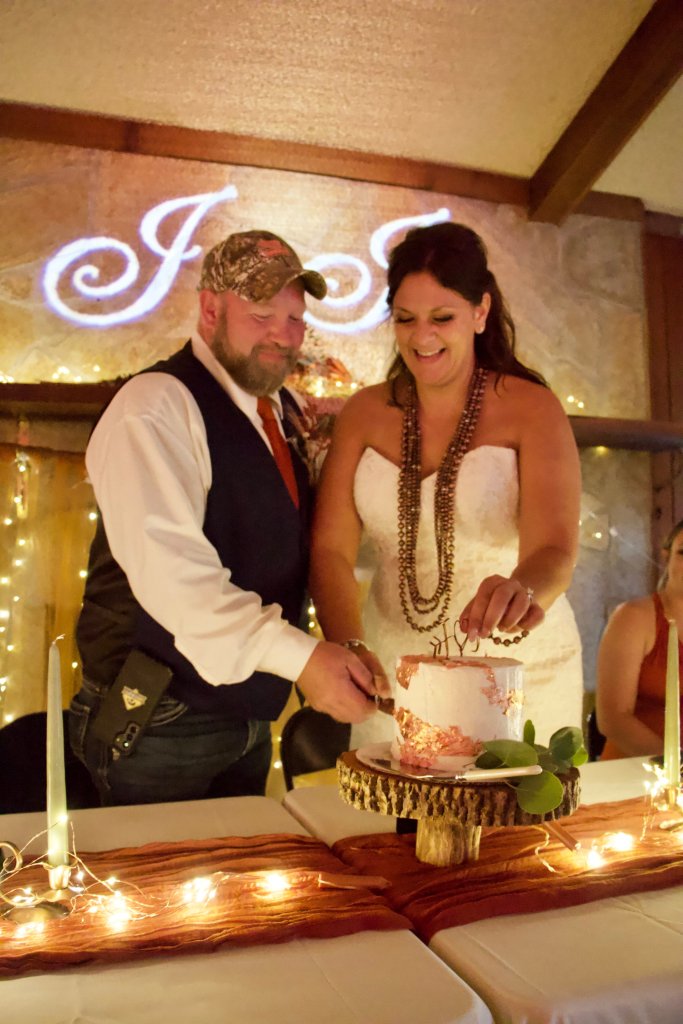
We used white drape walls and uplighting to make the glow. We also added the custom monogram behind our table. It all turned our venue into our rustic glam dream spot!


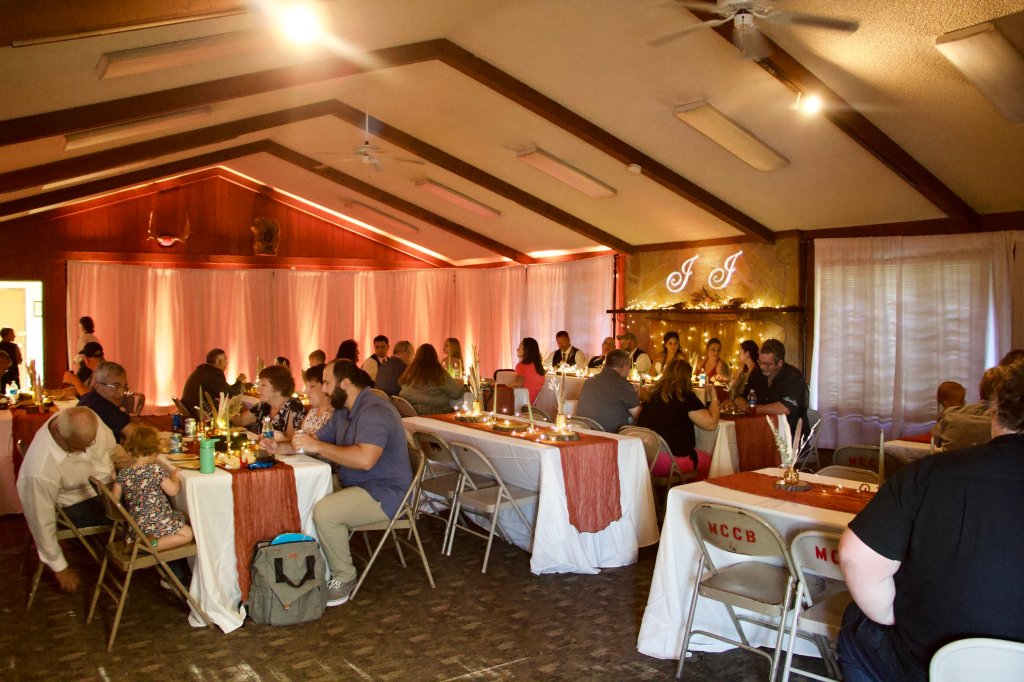
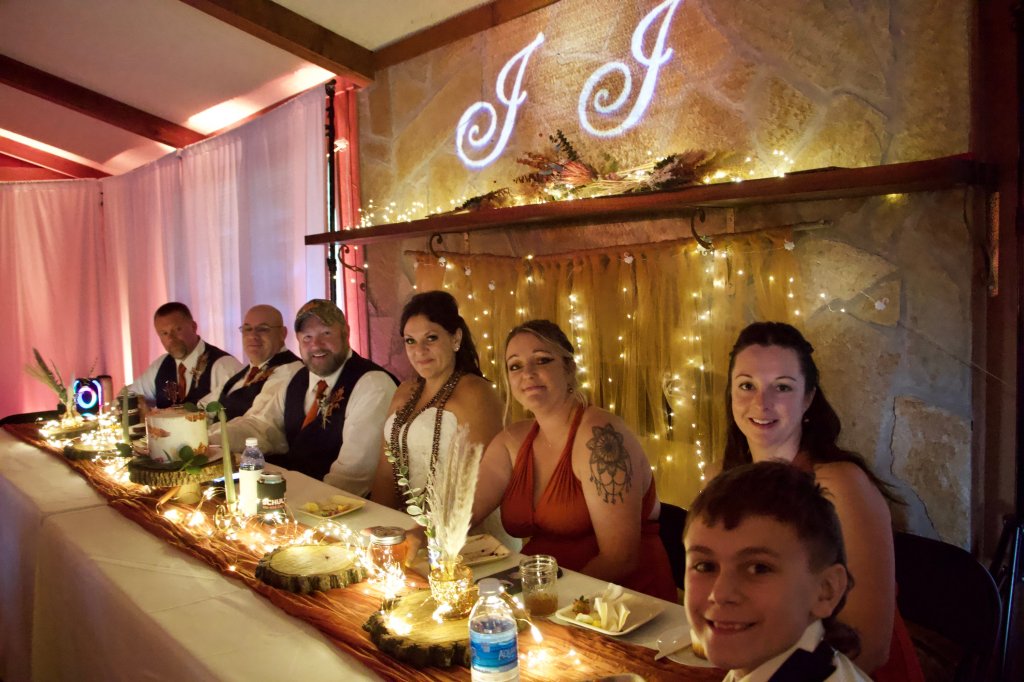
The whole rental process was super simple too. It can all be chosen and rented online, and customer service is super helpful! Everything is shipped right to you. The directions made it all very easy to assemble and decorate. Then you pack in back up and ship back with the included labels. We even a scheduled a shipping pick up! Boom. We highly recommend Rent My Wedding!
Xx,
Jess

Guest/Playroom Update
We finally have an official guest space in this guest/playroom!!

What is the best way to keep the space usable for playing while also functional for housing guests?! A sleeper sofa, of course!
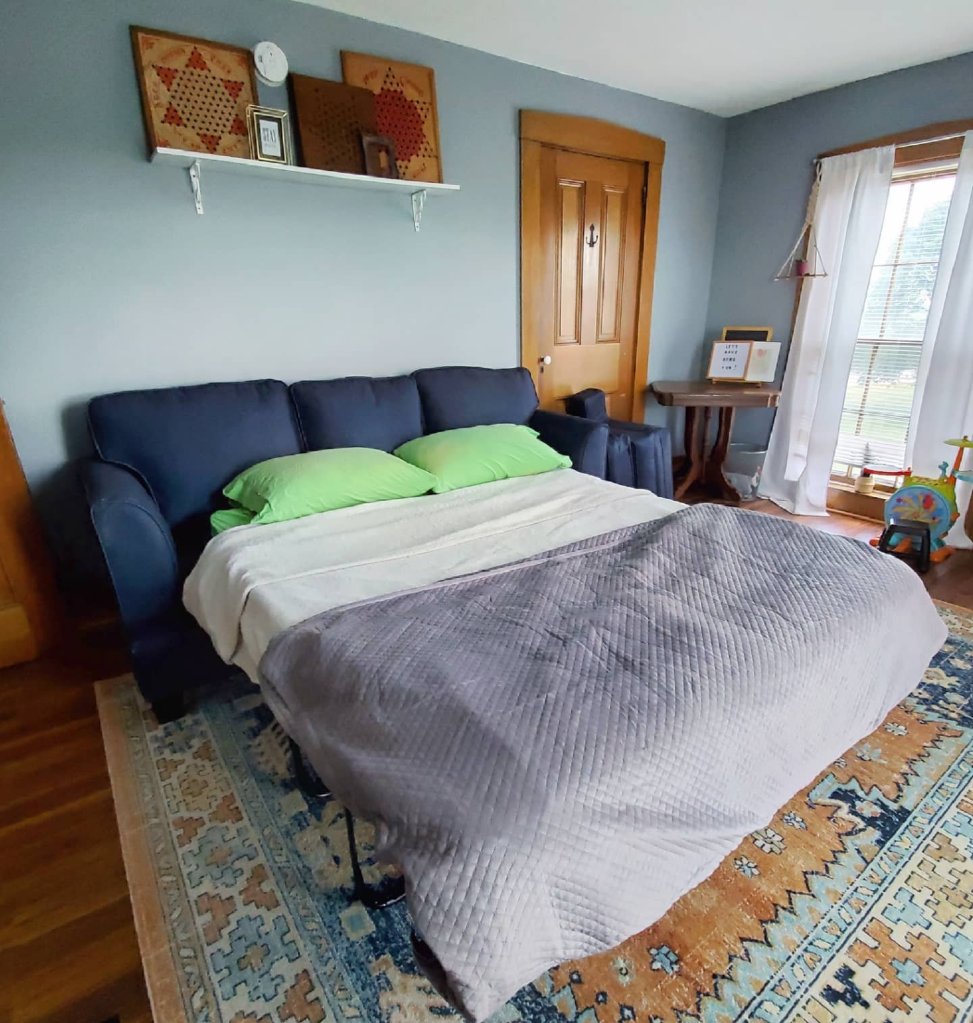
We found just the one at Slumberland Furniture too!
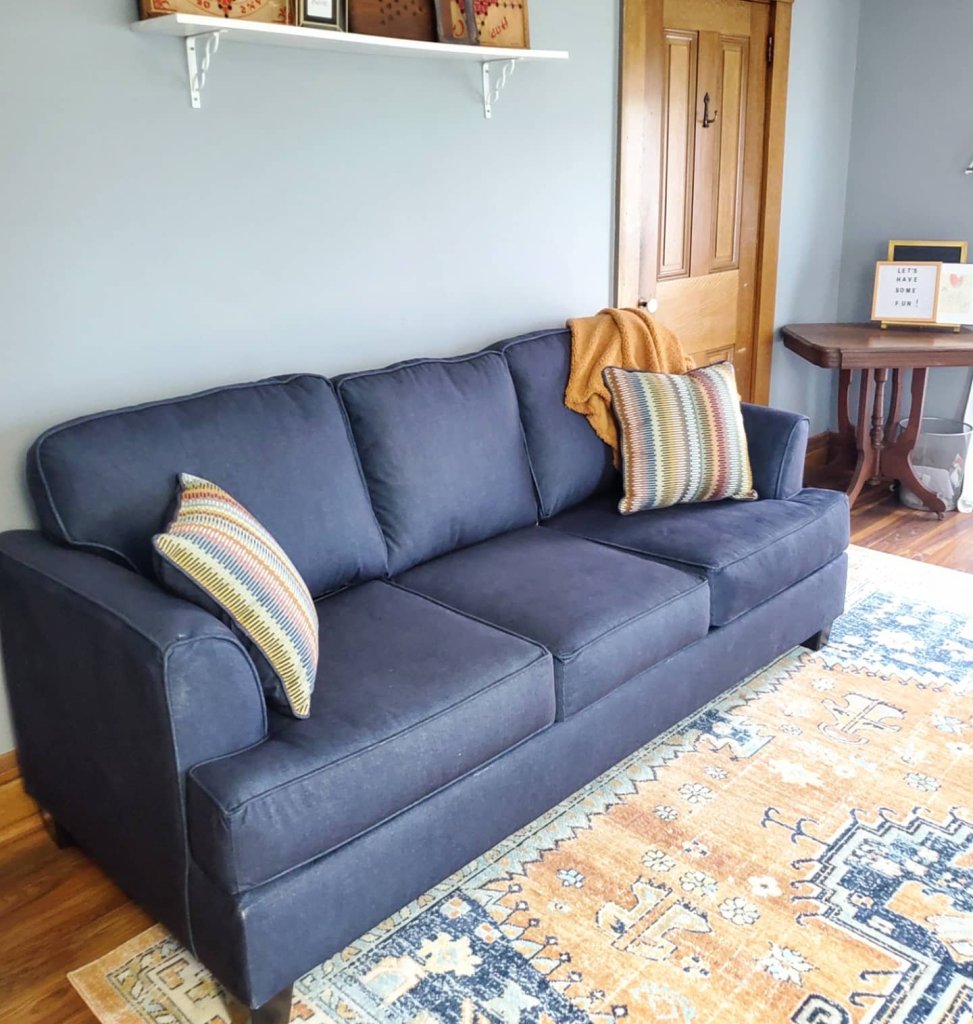
This one is not only comfy and gorgeous, but is the perfect color to be stylish and playful, and has a hidden bed!! Win!
Plus, Slumberland is having a big Anniverary event right now with a HUGE Travel Giveaway!! When you spend $1000, get 10% off Slumberland Low Prices + 2 complimentary Hotel Nights. When you spend $2000, get 15% off Slumberland Low Prices + 3 complimentary Hotel Nights. And when you spend $3000+, get 20% off Slumberland Low Prices + 4 complimentary Hotel Nights!! Check them out for details!
So what do you think of the room progress?!
XX,
Jess
Guest/Play Room Transformation
When we moved in a few years ago the rooms were all boring and ugly…
Then we painted and added some fun flair to make this one a bright teen room…

Then, the teen grew up and moved out, so we had an empty space. 💡 We had an idea! A play room. But also make it a guest room, so that we still have a space for company to sleep…
And so the room became a guest/play room.
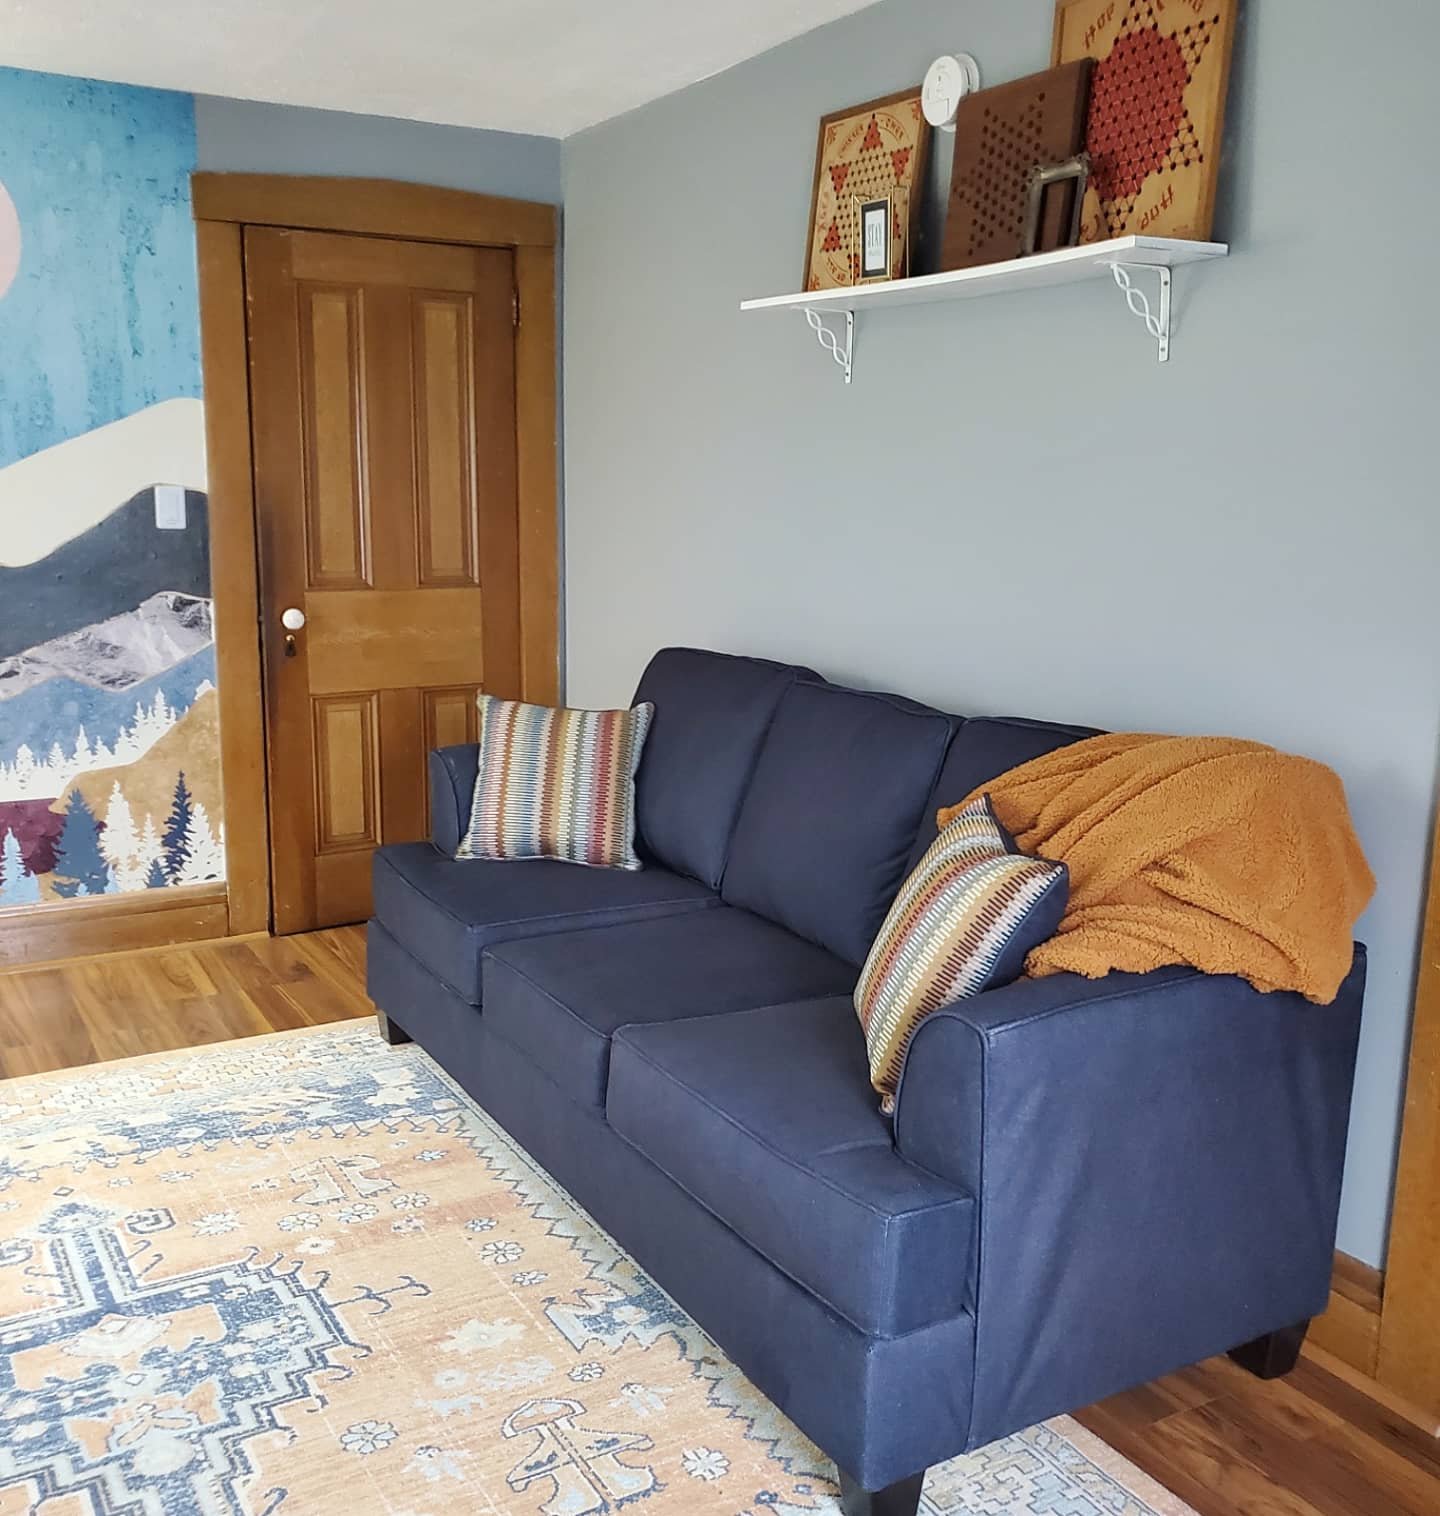
Paint again. Tone down those walls. New floors. New furniture. Make it fun, but grown up enough for guests… viola!
We went gray on the walls, but a touch darker than normal since we have lots of sunshine in here. We did snap in wood floor, since they are durable and easy to clean. Then the fun part…
We added a wall mural from PhotoWall! What better way to keep it fun for play and interesting but adult for guests?!
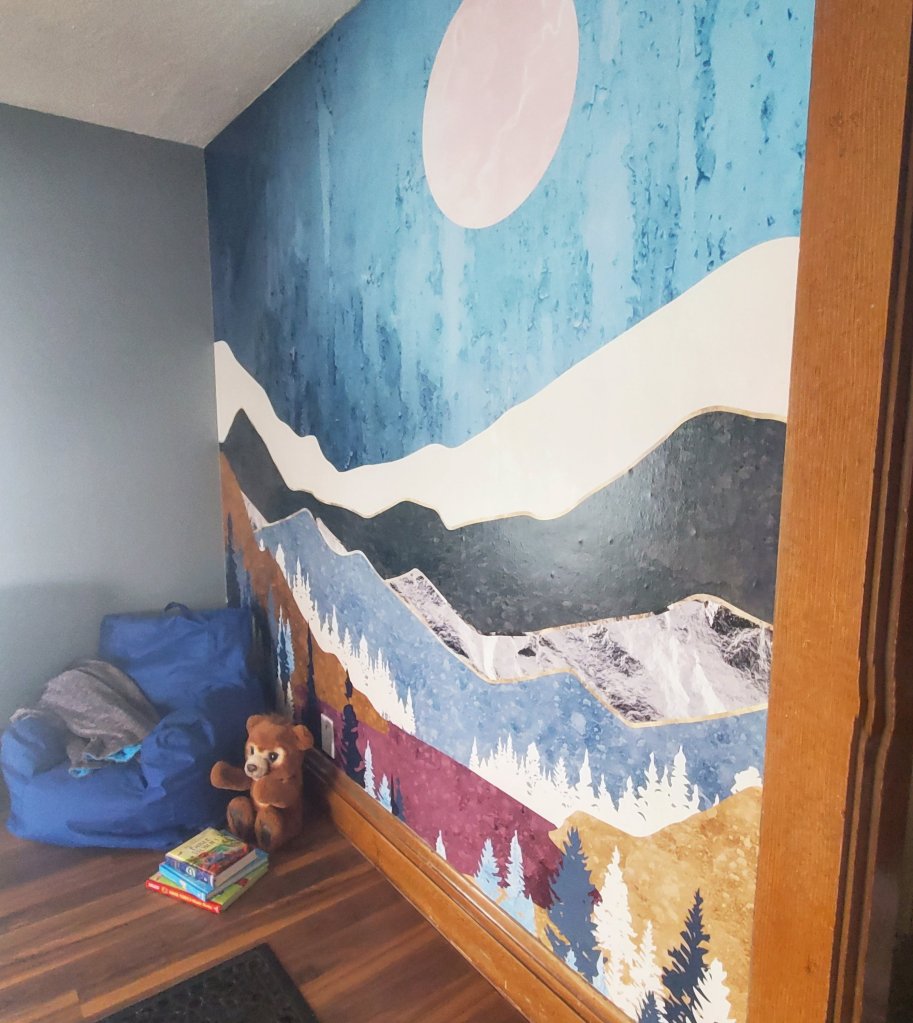

How cool is that?! It was actually super easy to install, just wallpaper in vertical strips, and it even comes with the paste. The boys are in LOVE with their new space!
You can head to PhotoWall too and use code ‘makemineeclectic25’ for 25% off any of their art, canvases, or wallpapers!

Next we will add furniture, so stay tuned…
XX,
Jess
Mismatched Dining Room Chair Love

Image via House Beautiful
I love when things aren’t too “matchy matchy”, hence why I adore this dining room. I love each and everyone of the chairs, and I love even more that they aren’t a set! Inspiring! 🙂
Inspiring Chair Love
I have not posted a “Chair Love” post in a while, so, I thought I would show a few that have caught my eye lately. All are different and unique, and inspiring!

I love the updated print on the old chair. It goes well with the natural wood. I also love the sheepskin!

So bright and fun! And in this case the orange painted wood looks wonderful!

Right now I am craving anything tufted! Especially when the tufting is on soft, aged leather! MMM

It’s snowing here today, but this chair has me thinking about sun porches and nice weather!

I have also been craving fresh antique couches like this one, as we hate our couch. lol. Check out the link, because the have a bunch of awesome refinished chairs!
And, last but not least, a chair just for Jeremy…

Hope you are inspired! 🙂
Blue Chair Love
This chair is so unique that its simply adorable. In addition to the ruffly curves, the chairs bright blue hue pairs wonderfully with the rustic wood walls of the room. What do you think?

See it at Design Crisis.
Sheet Music Table
I have had this little vintage fold-up table sitting in the closet for a while now. My grandma had given it to me, cracked green paint and all. I would stare at it now and then, uninspired, but I knew an idea would eventually come to me.
Finally one day last week the idea did come to me! Sheet music! I happened to have some old sheet music, some Mod Podge, and even some ribbon and scrap book supplies. I, of course, forgot the before picture. And this was one of those that would have been good to have! But, after working on this project all weekend, I am finally finished and I really like the results.


I later read somewhere that in order to keep the ripples and bubbles from occurring you can dampen your paper before adding Mod Podge. I will definitely try that next! But for a first try, I think it turned out super cute! What do you all think?
Antler Ideas
We have a lot of antlers. A lot. I happen to love them. And I love getting inspiration from out in the blog-o-sphere on how to incorporate them into a chic home. Needless to say, I immediately fell in love with this idea.


This neat chandelier was seen on Material Girls’ blog where they posted about an adult tree house. See it here: http://materialgirlsblog.com/chicago/2011/06/01/hanging-out/
My Own Chair Love
Here’s a chair that I inherited and eventually redid. I love these basic old wood chairs, but the white chipping paint and scratches on this one were in need of some help.

First I sanded the chair down until it was nice and smooth using a palm sander. I then made sure to clean and dry the chair very well. I first painted the bottom portion of the legs black. Once that was very dry I taped off each leg at the same place and proceeded to paint the rest of the chair with a fun silver spray paint. The final step was an idea I wanted to try, which proved to be the most work of all. I used black nail head trim nails to form a pattern around the seat. I measure where I wanted the nails to go and made small marks with a pencil. Eventually, this step proved to be useless and I was off of my marks anyways. Ah well, trial and error with a new project. I also learned that tapping these nails in with a hammer scratched and smashed the nails, as they have a black finish on them. I found that covering the nail with a small piece of cardboard from the packaging after it was in place, and giving it one good tap with the hammer was the most effect and precise way to apply these. My pattern still ended up a little bit off, but overall I like the idea and would love to try it on one of my chairs for the shop now that I have my technique down. I lastly tied on a pink and purple vintage scarf to tie the chair into the bedroom (which you will all see eventually!) So, here she is…


What do you think?
DIY Art for a Bathroom
Once I got my budget bathroom remodel completed I was pondering how to add a bit of art that was also inexpensive, but unique. I then came across a box my grandmother had given me. In it I found a set of vintage metal hair rollers. Light bulb! I had the idea to frame the curlers in a shadow box with a funky background or bright colors to match the room.
The curlers I found:
 A little hot glue, some magazine cut outs, scrap book paper, and a basic shadow box frame…

 Simple and within budget, but funky and vintage! What do you think?
