Frame Hanger Project
I love old picture frames. All kinds. I’ve got a hallway of empty ones upstairs. Sometimes I fill them. Sometimes I paint them. And sometimes I do something fun with them…
This frame I once painted black with a silver line. Years ago. I was over it. (Ignore the ugly paneling in the upstairs hall we hope to rip out soon)

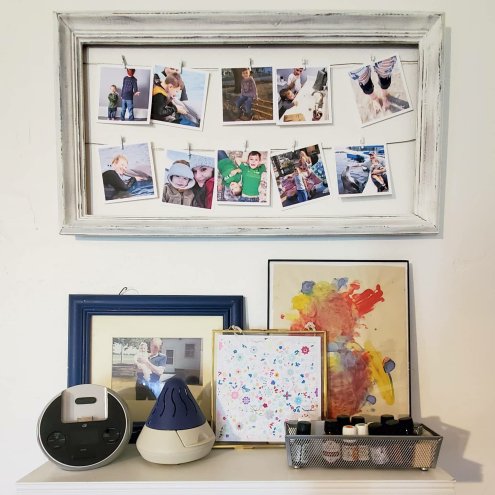
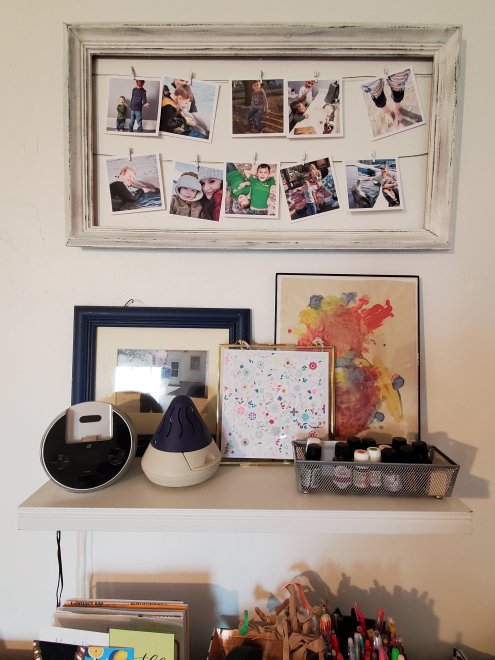
I wanted something lighter and brighter for my office. And I needed a place to hang some of my beautiful Parabo Press photos. (If you haven’t ordered from them, you must. They are gorgeous)
So first I lightly sanded the frame. Then I painted it white. I used wall paint for this project because it’s what I had. And its quarantine. And this step wasn’t super important for this project. It took 2-3 coats, but doesn’t need to be perfect.
Then I sanded with a foam sanding block. I scraped the edges and roughed up the centers. Go slowly and start lightly. Keep going until you love it.
Then, because I wanted just a little something more for this one, I used a small brush and “dry brushed” on some charcoal gray paint. This means I dipped a tiny amount on the brush and then swiped most of it off onto a paper plate. When the brush is almost dry, wipe it on the frame. It will give you just a tiny bit of paint and give a smudge-y look. I used a paper towel to rub this in as I added it too. It came out nice and weathered.

Then to add some wire. You could use twine or ribbon, or whatever you have. I had some picture hanging wire from a hanging kit. I cut it slightly longer than the width of the frame, maybe a half inch extra on each side. Then I pulled it tight across the frame and used a staple fun to staple it in place. I twisted the extra ends into a little ball to help keep it in place.

You can get tiny clothes pins on Amazon.
And viola!
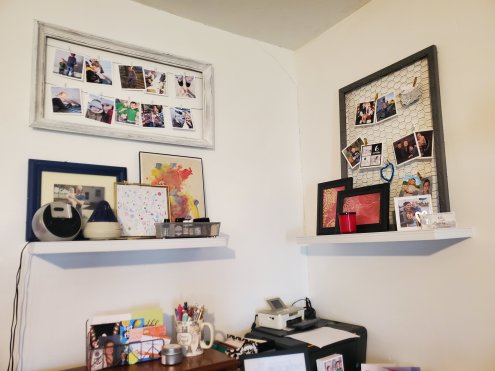
I’ve also done this before with chicken wire…

What do you think?
Doing any quarantine projects?!
XX,
Jess
Permalink Comments Off on Frame Hanger Project
Quick and Easy Valentine’s DIY
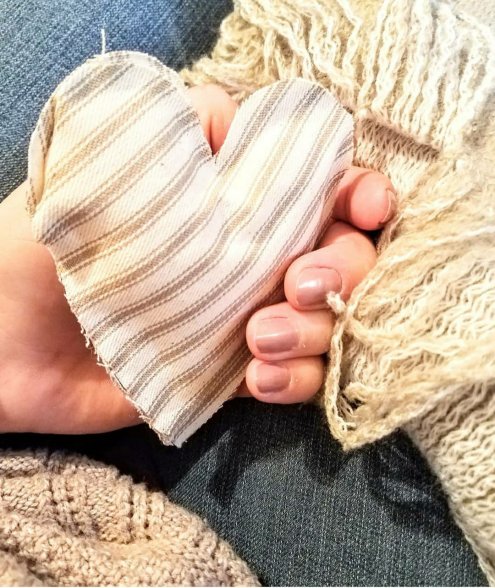
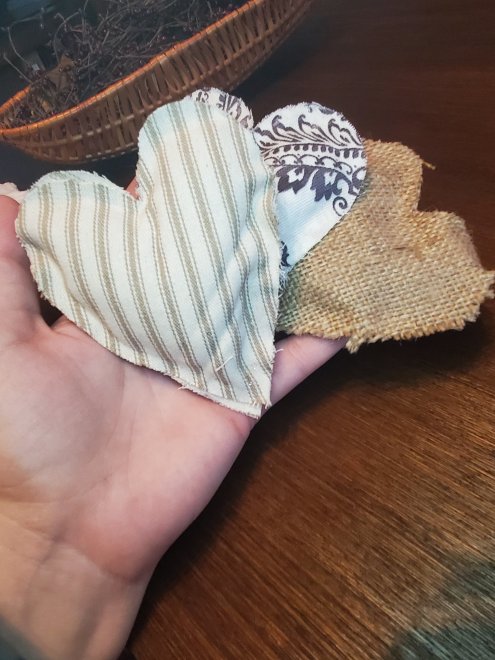
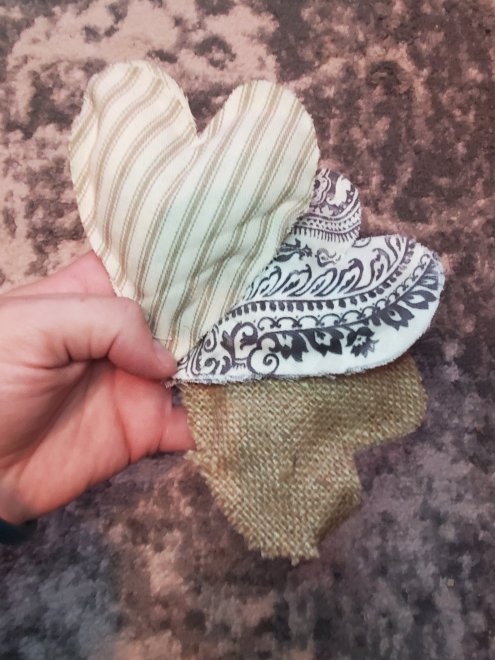
I made these fabric hearts last year and loved them so much I put them out again this year!

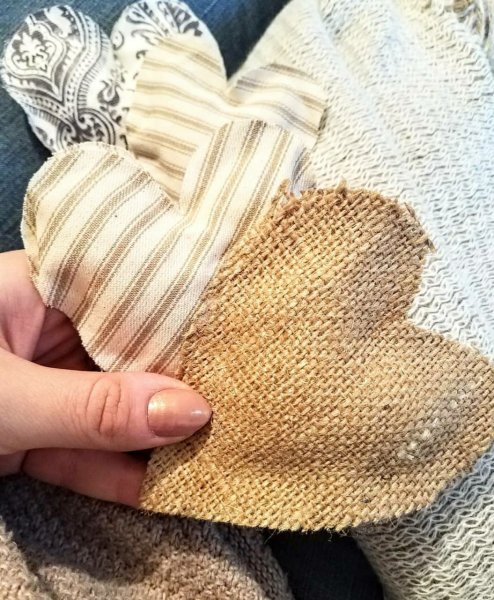
It’s so simple that it doesn’t require much instruction, but a fun project for anyone because there are so many possibilities! I used scrap fabric that I had on hand, making this super inexpensive too! I picked a couple fabrics that complimented one another and had a rustic vibe. You could use anything at all! The only other supplies you need are liquid stitch (always handy to have a tube on hand!) and some stuffing. You can get both of these at your local craft store or a Walmart. The stuffing sold here at our Walmart was in too large of a bag and I knew I didn’t want a ton. So, quick fix was to buy a small pillow insert at Walmart. This was about $4 and I have plenty left for more projects.
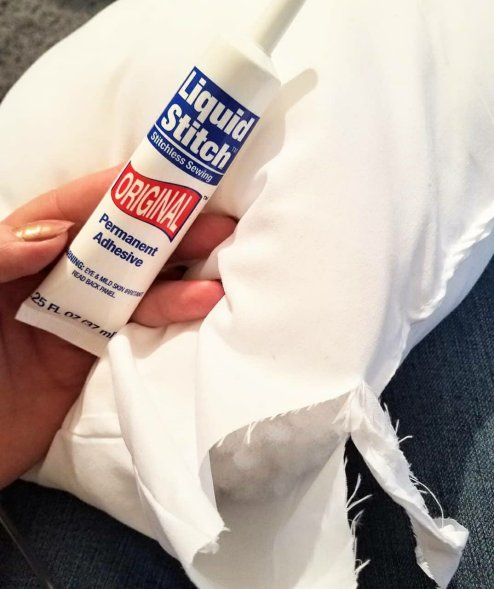
Start by drawing a heart on cardboard. Try a cereal or cracker box! Then trace this heart onto the backside of your fabric. Do sets of two hearts in matching fabric. Then run a bead of the fabric glue around the heart. Leave a few inches unglued. I left a quarter inch or so around the edge. I used a few binder clips to hold these while drying. You could also set a book on them. When they are dry, stuff fabric into them. Doing it in this order allows you to fill them full and puffy without ungluing. Now add glue to the last few inches and clip to dry. You could always add sequins, embellishments, ribbon, or any extras too.
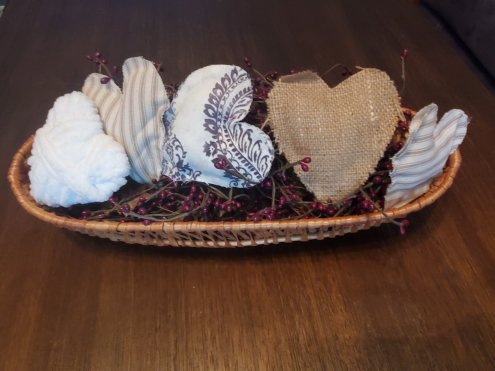
The other little white heart was super simple too. I used a cardboard hear, made little cuts around the outside, and wrapped yard around the heart. The cuts helps hold the yarn in place for the first layer of wrapping. Wrap all different directions. Glue with the fabric glue. Simple!
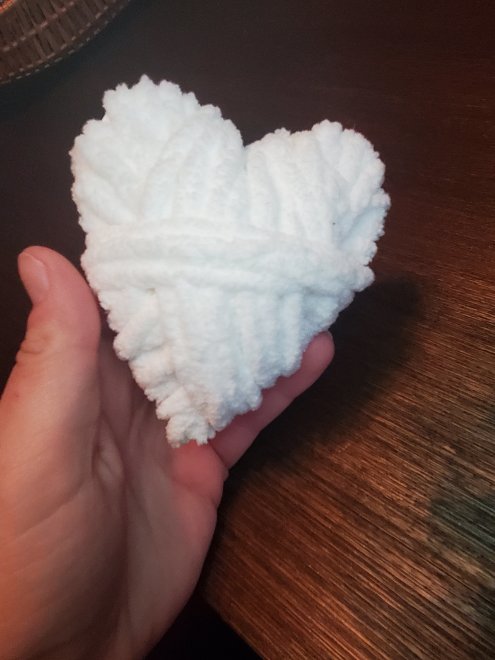
Viola! Hope you enjoy this quick and easy project!
Xx,
Jess
Permalink Comments Off on Quick and Easy Valentine’s DIY
A New Chair Love And Wedding Tid Bits
I fell in love with another chair. That happens often, doesn’t it? My wonderful, loving fiance drove me an hour away to pick the cutie up. Now, we have one more seat in the living room. Best part of this little guy though, is that it would work in just about every room of the house as things evolve.


What do you think?? I’m in love. I love the navy and white stripes, but my favorite part is the nail head trim that goes all the way around the back. I think he is pretty old and was redone with changes to the bottom half and I just adore how they did it! He even has casters, which make it easy to reposition for company. And once the walls are painted I think this will work so well in here.
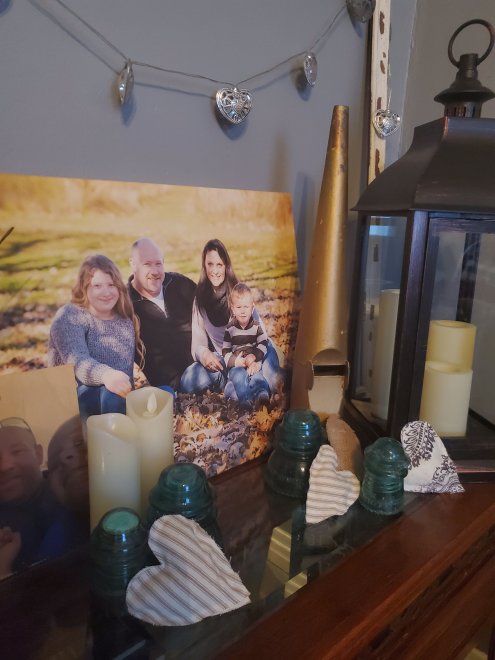
Also, we have been super swamped with wedding planning. I have made every little detail by hand, and wold love to show you all, but also want them to be a surprise, so that will have to wait! But, I did want to show our framed engagement picture. This will be used at the wedding too, but also will be on the wall in our living room, somewhere! Notice the same feel of the stripes? Not intended, but I love it! I took an old frame and painted it, then roughed it up. The mat was also painted in one of our wedding colors. I think it turned out really well.


I think the two new additions go so nicely together in the living room! And, the rest of the wedding details are coming along too! Can’t wait to share! Only three months from today! 🙂
An Addiction To My “Dressing Room”
I am absolutely loving my new closet, or “dressing room,” in the new house! I am getting used to having all of my clothes, shoes, and jewelry out on display where I can easily pick outfits and use things I haven’t in a while. With the new arrangment comes, well, arranging, however. As I get settled I am slowly making changes and getting ready to paint. So, with that said, that means that I have been making some changes to my organization. If you remember my pictures of my older house, you will remember that I kept a lot of jewelry and items in an old antique metal medicine chest hung above my dresser. There was nowhere to hang it up in the closet and sitting on top of a dresser did not allow the door to open… so…
I had gotten an old flower-y frame at a garage sale that just so happens to match the colors I want to use in the closet. I also happened to have some chicken wire in the barn. A staple gun and some elbow grease later…


I think it turned out super cute. It will probaby be going on the one wall shortly. So far its been handy too!
Bedside Inspiration
I came across this bedside photo on Apartment Therapy and was immediately in love with the bright pops of yellow. The photo comes from the house tour of Kyle and Erin’s home.

So bright and cheery and fun…
I especially love the yellow tray and am now thinking about doing something similar. With the new house finally starting to come together I am able to begin thinking about new ideas and projects to make the place special. I do have some sneak peak photos coming soon for you all! 😉
DIY Art for a Bathroom
Once I got my budget bathroom remodel completed I was pondering how to add a bit of art that was also inexpensive, but unique. I then came across a box my grandmother had given me. In it I found a set of vintage metal hair rollers. Light bulb! I had the idea to frame the curlers in a shadow box with a funky background or bright colors to match the room.
The curlers I found:
 A little hot glue, some magazine cut outs, scrap book paper, and a basic shadow box frame…

 Simple and within budget, but funky and vintage! What do you think?
Wine Corks
Our friends at the bistro up town have been saving all of the used wine corks for us to use for a project. Months later…we have a cork board!
I painted an antique frame that was falling apart with a shiny black paint. The nailed a piece of solid peg board to the back of the frame. I used a hot glue gun to glue the corks in, and viola! A message board for the kitchen.
Actually, we have a little gap in one of the rows due to corks all being different sizes, but we are cutting a cork down to half size and filling in the gap. Also, if you are going to try this, nail the peg board to the actual back of the frame, not inside where a picture would go. this makes the framed area a bit deeper, for the fat corks.


Simple, easy, and best of all, free!
