School At Home
This year has been a wild one, that’s for sure. It’s been so different from the norm for many of us. But, one things remains the same. We want our kids to learn, and we want them to have the best opportunities possible. So, no matter what type of schooling you are doing, these ideas can be for you!
We are doing online schooling this year. Classes are via computer, but mom facilitates. Optimal? No. But we are making the best of it. My best tip so far? Find a space and make it for learning. Boundaries and expectations help learning go well!
You don’t need a whole room, maybe a corner, or a table, or even a certain table cloth, and when it comes out, its time to learn. I had always worked from home a lot and happen to have space in my office that I was able to convert to a learning space. Don’t worry, even if your space is much smaller, these ideas can help you too!
I have several tips for routine, but this will just be about supplies for today.
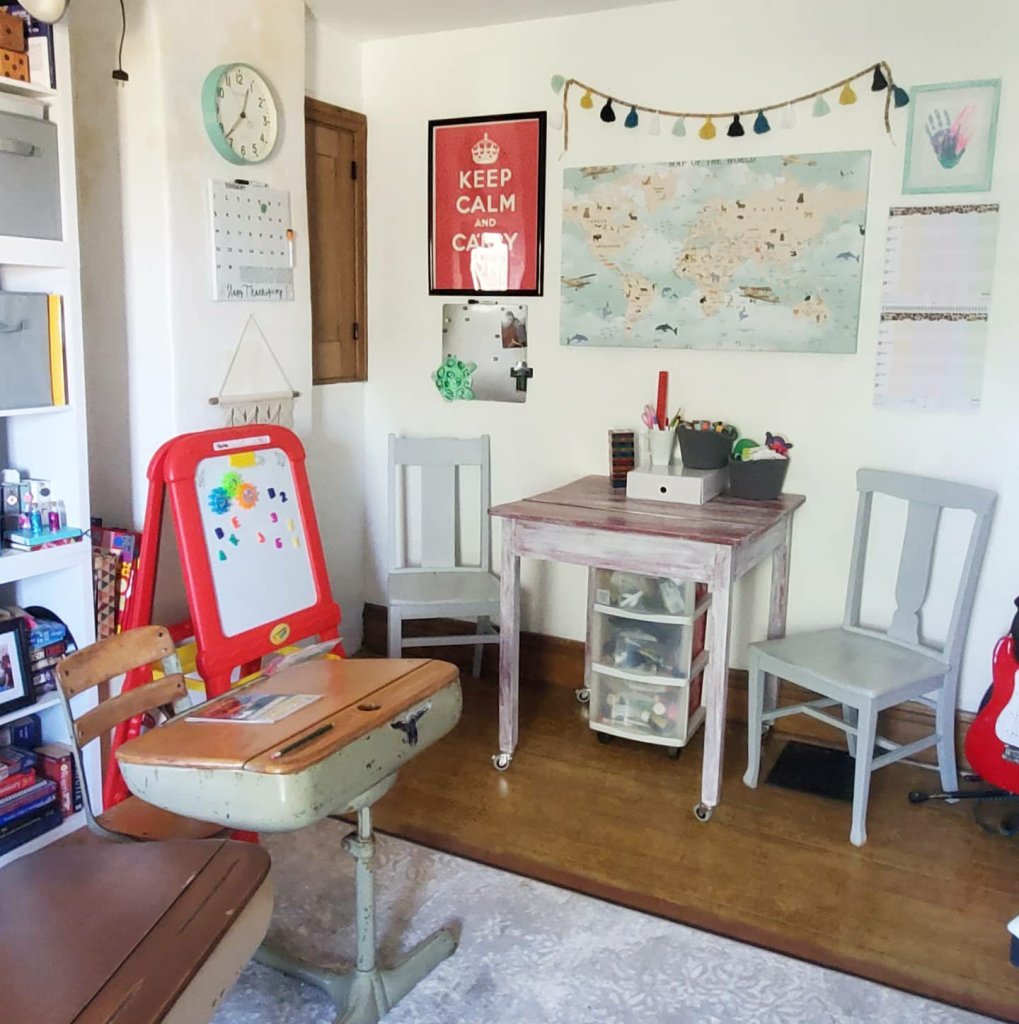
My second?! Keep it fun!! Third tip?! Get a map!
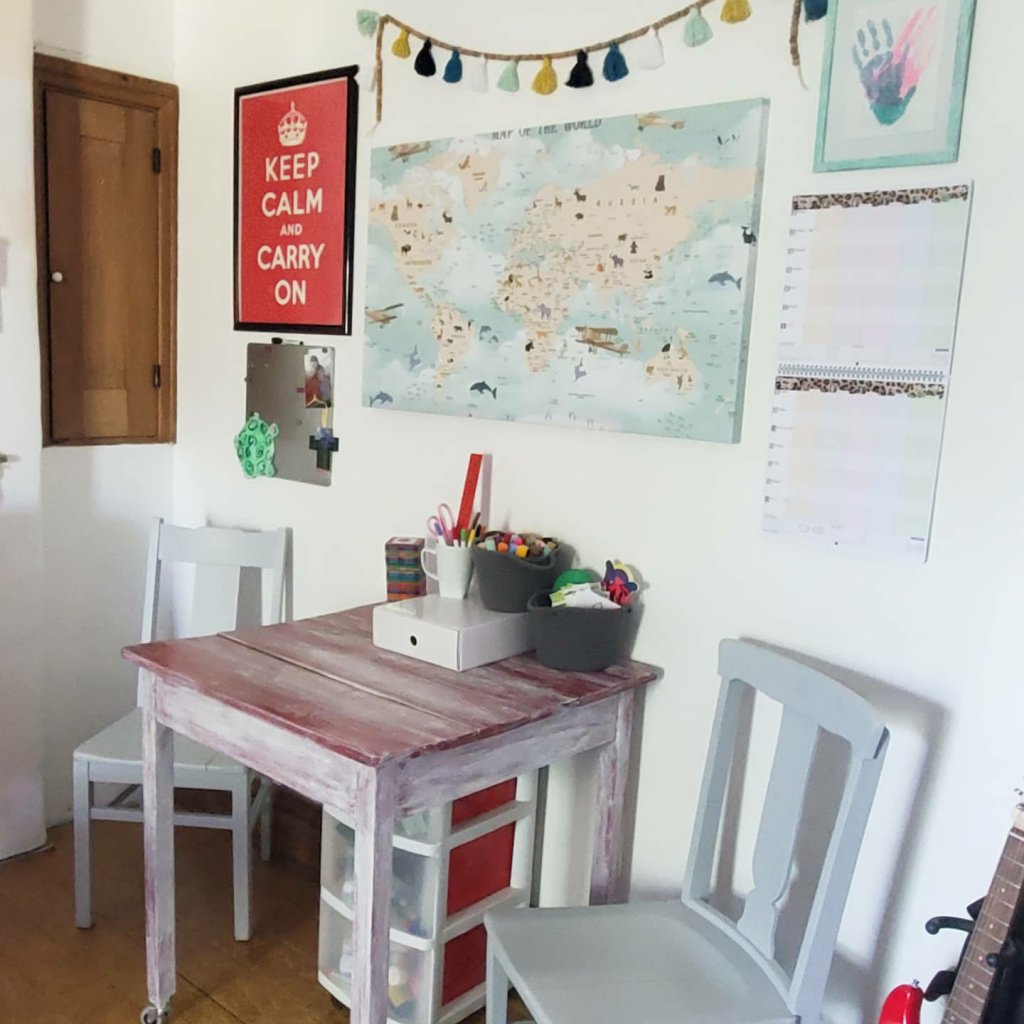
Look at how we combined both with this animal map canvas from Photo Wall! How cute is this thing?!
Photo Wall is amazing for any Wall decor really. They make wall decals, framed prints, posters, and canvases. You choose the art, the size, the material, and can even customize it! These would be amazing in kids’ rooms and nurseries, or even as an awesome accent wall!
Its details like this that really make your learning space fun and keep kids engaged. We knew Brantley needed a map for a lot of his Social Studies work, and looking things up on the computer really wasn’t cutting it. This map not only shows what he needs, but keeps his interest with the animals and details. He’s taken such an interest now! I plan to add a few more maps like this now too! And of course, you can fit them to your space.
Human anatomy? Plants or leaves? Turn them into a fun canvas or poster to make the learning fun!
Tip 4 & 5- Have your supplies accessible, and keep them organized. Again, your space doesn’t need to be huge, but if you can find your supplies and access them easily, you will be more likely to do so. Hands on activities teach concepts so much better. Like using the scissors, ruler, markers, paints… engages and sinks in. It could even be a tote of supplies that comes out with the table cloth when learning time is happening!
I’m no pro yet, but I can tell you that I’m learning right along with the kids. You can do it, and even better with some simple tweaks!
And back to my gushing about this map canvas, because it really is my pride of decorating the classroom. 😉 Here is my map link. And use code makemineeclectic25 on your purchase from Photo Wall too! Your walls will truly thank you, in a classroom or not!

What tips would you add for schooling at home?!
XX,
Jess
Quick and Easy Valentine’s DIY
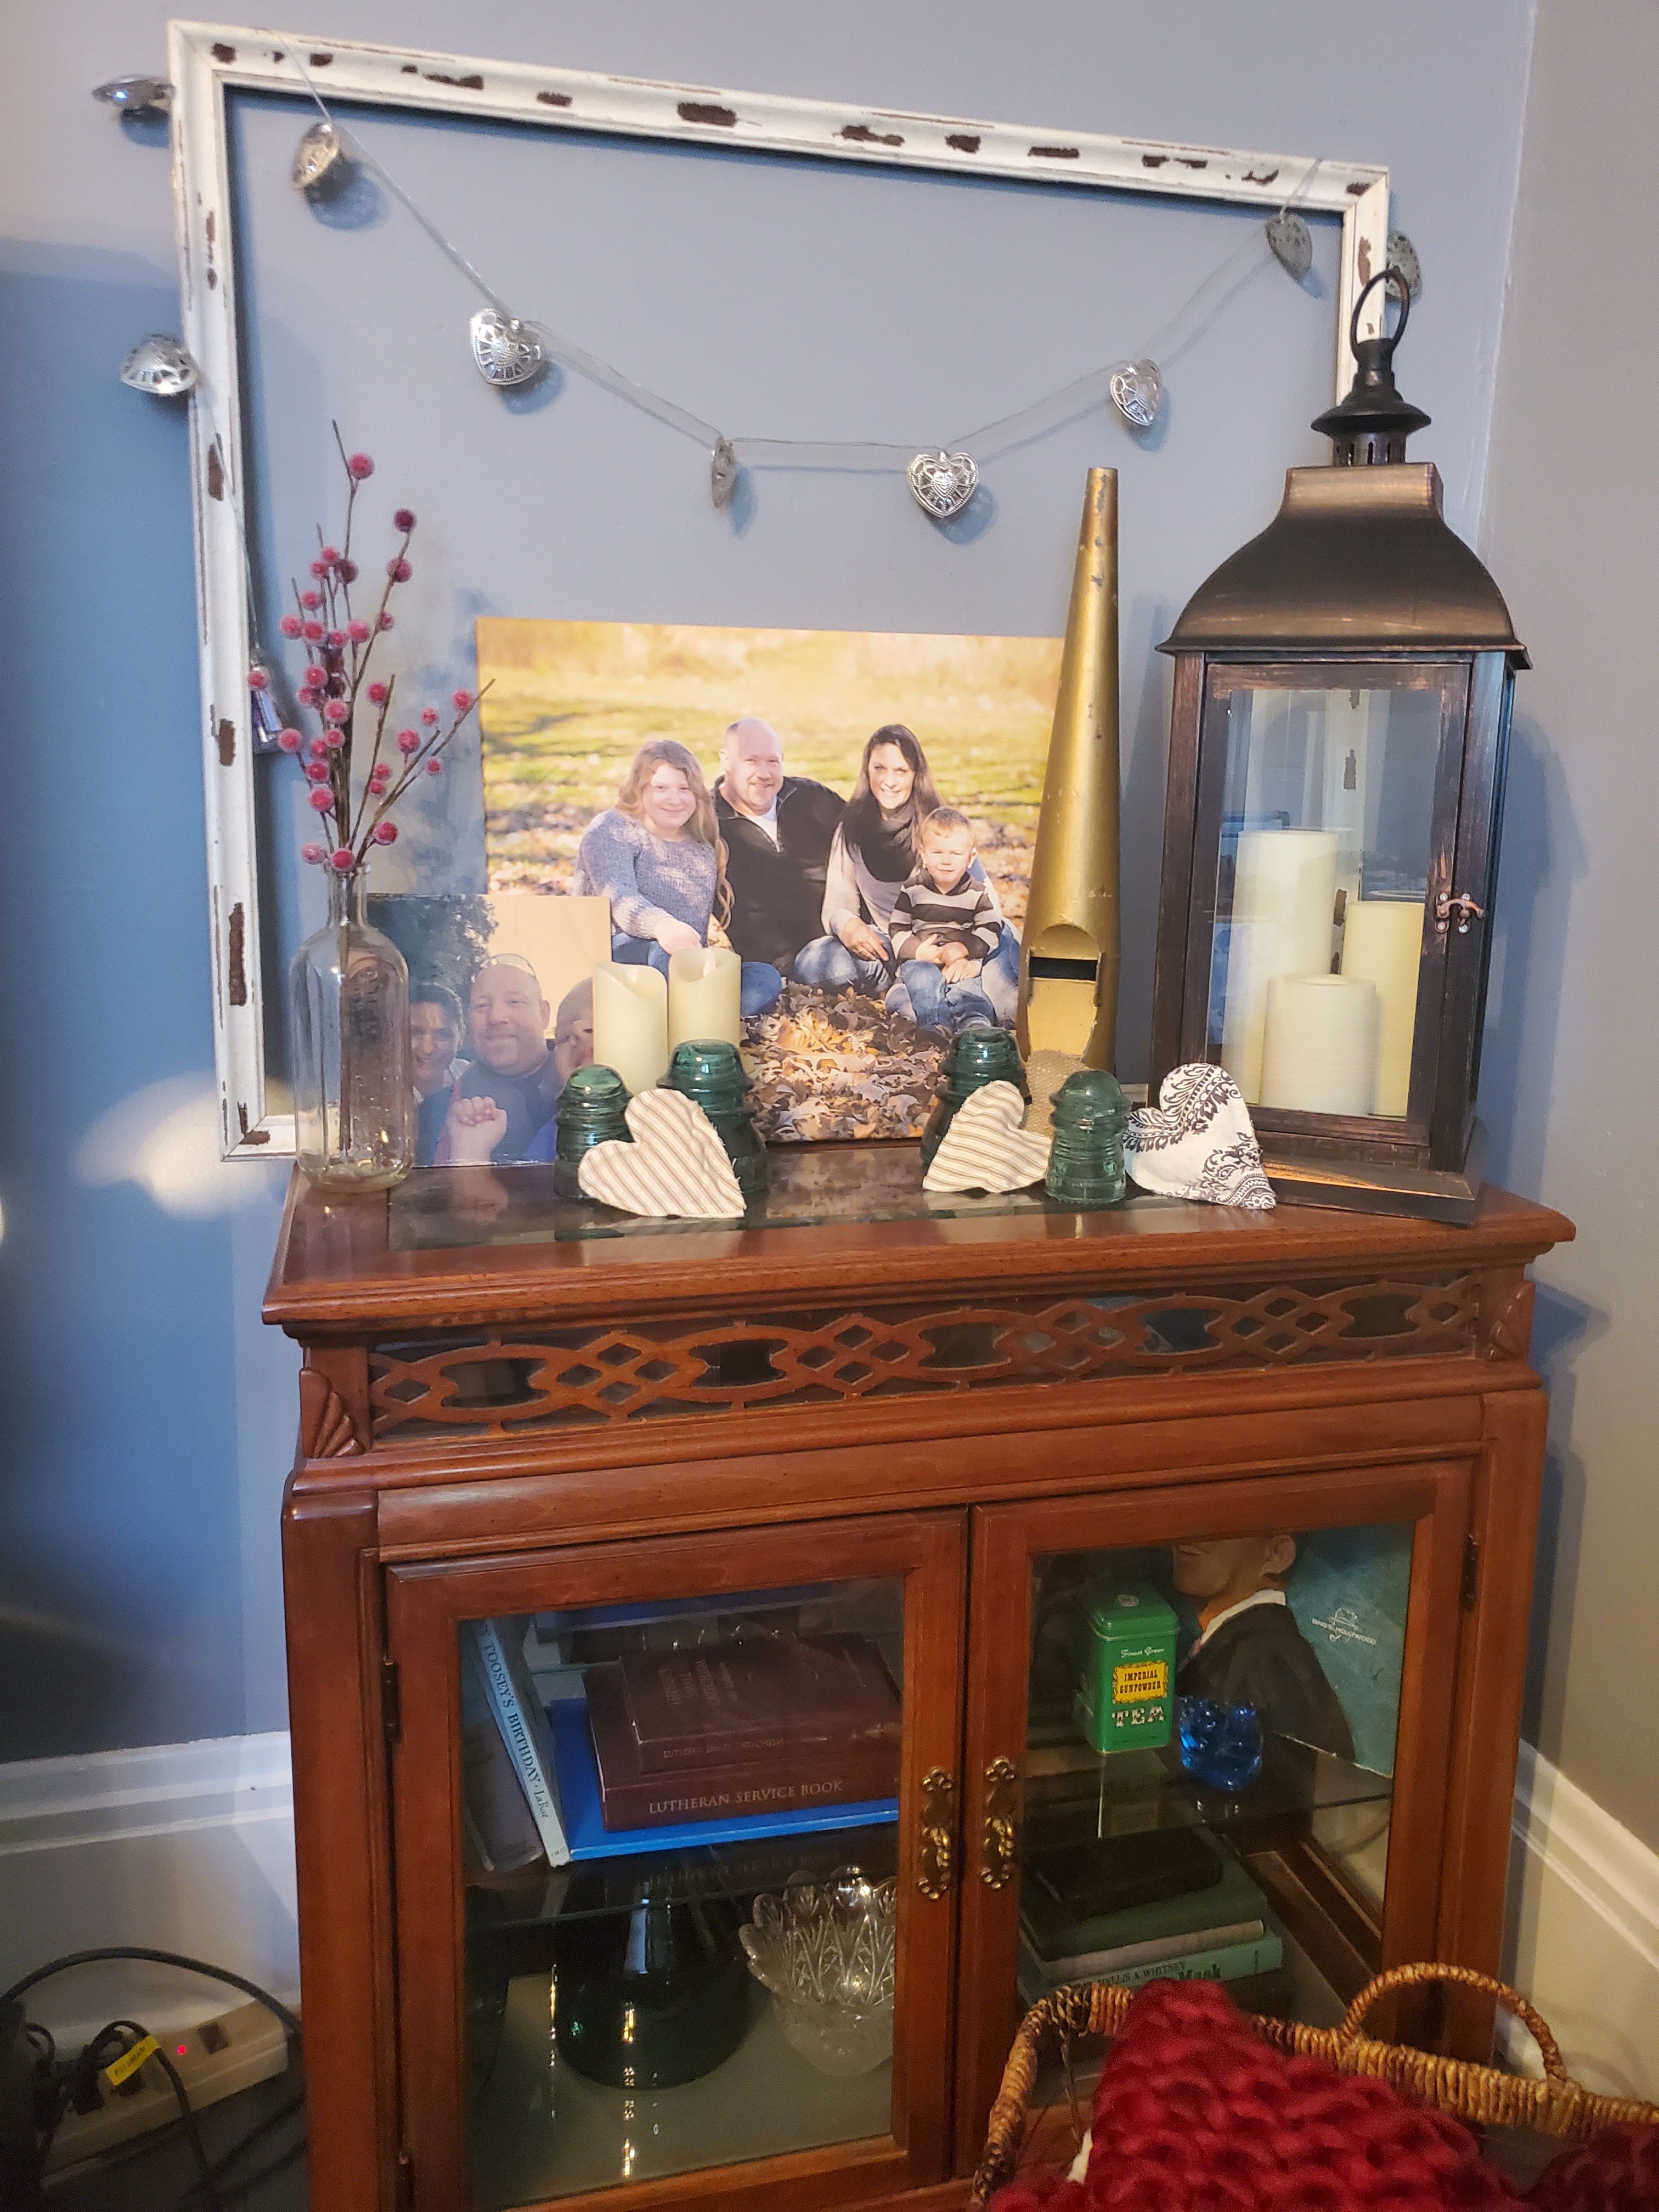
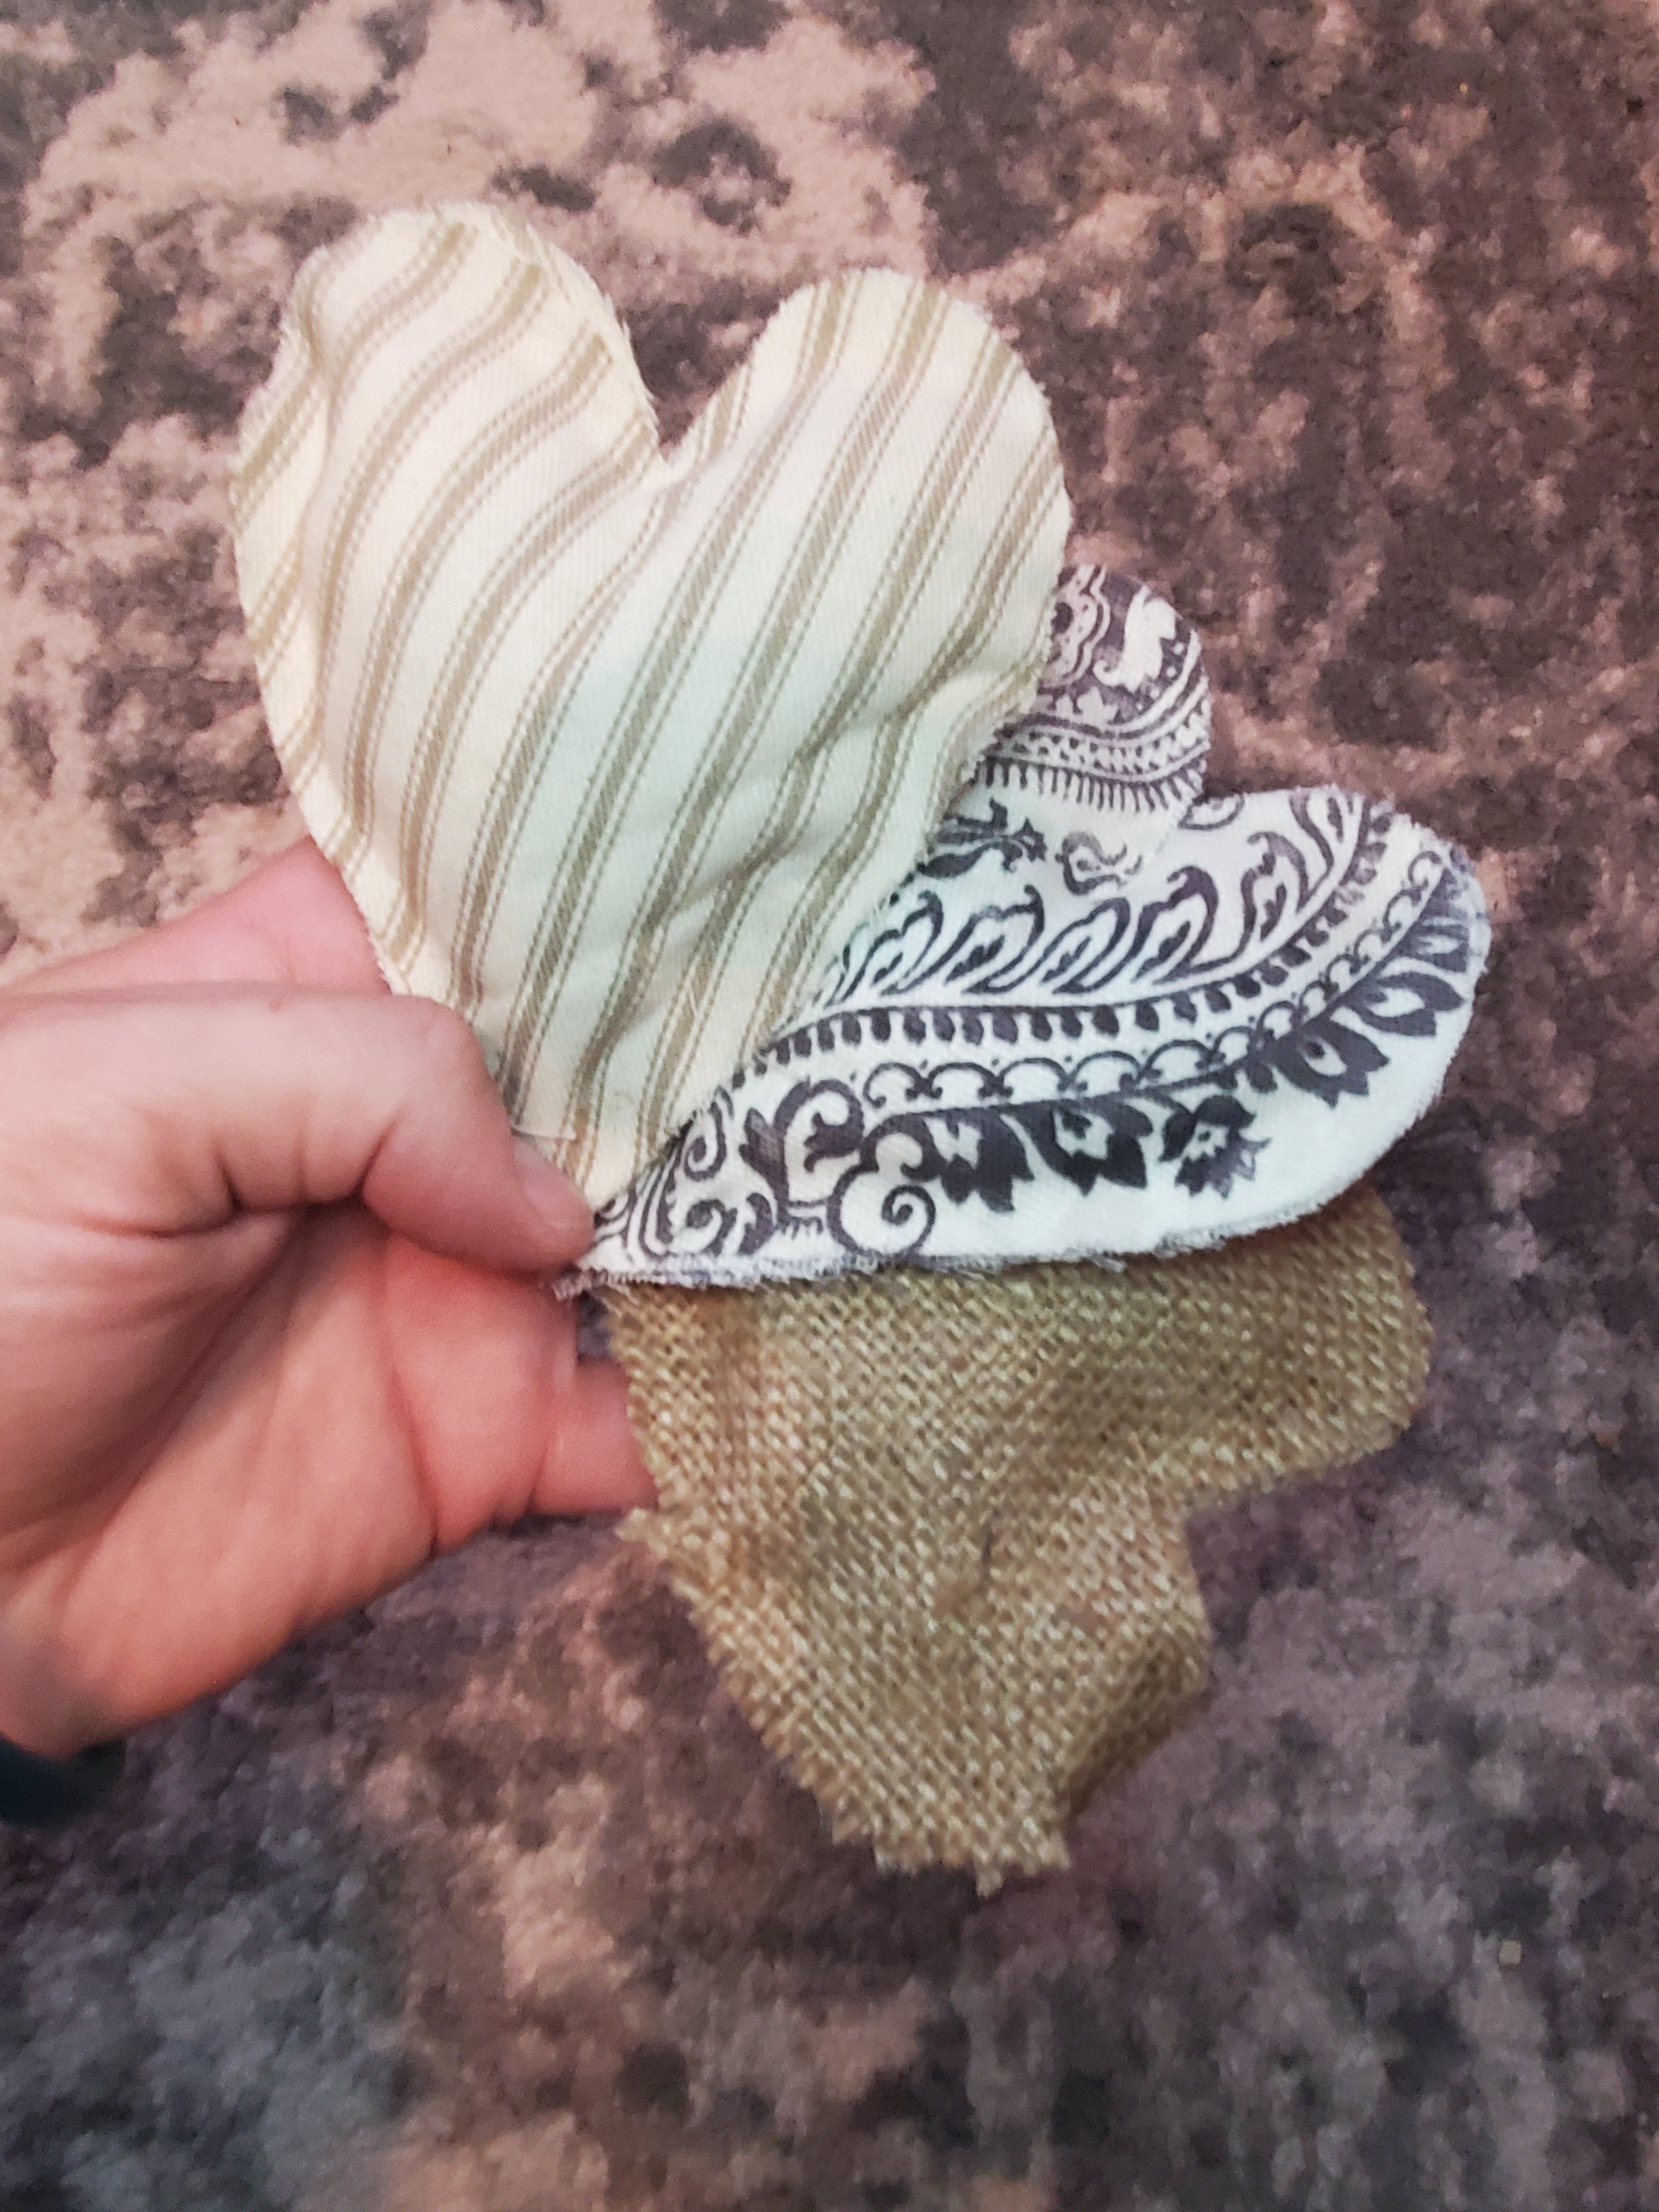
I made these fabric hearts last year and loved them so much I put them out again this year!


It’s so simple that it doesn’t require much instruction, but a fun project for anyone because there are so many possibilities! I used scrap fabric that I had on hand, making this super inexpensive too! I picked a couple fabrics that complimented one another and had a rustic vibe. You could use anything at all! The only other supplies you need are liquid stitch (always handy to have a tube on hand!) and some stuffing. You can get both of these at your local craft store or a Walmart. The stuffing sold here at our Walmart was in too large of a bag and I knew I didn’t want a ton. So, quick fix was to buy a small pillow insert at Walmart. This was about $4 and I have plenty left for more projects.

Start by drawing a heart on cardboard. Try a cereal or cracker box! Then trace this heart onto the backside of your fabric. Do sets of two hearts in matching fabric. Then run a bead of the fabric glue around the heart. Leave a few inches unglued. I left a quarter inch or so around the edge. I used a few binder clips to hold these while drying. You could also set a book on them. When they are dry, stuff fabric into them. Doing it in this order allows you to fill them full and puffy without ungluing. Now add glue to the last few inches and clip to dry. You could always add sequins, embellishments, ribbon, or any extras too.

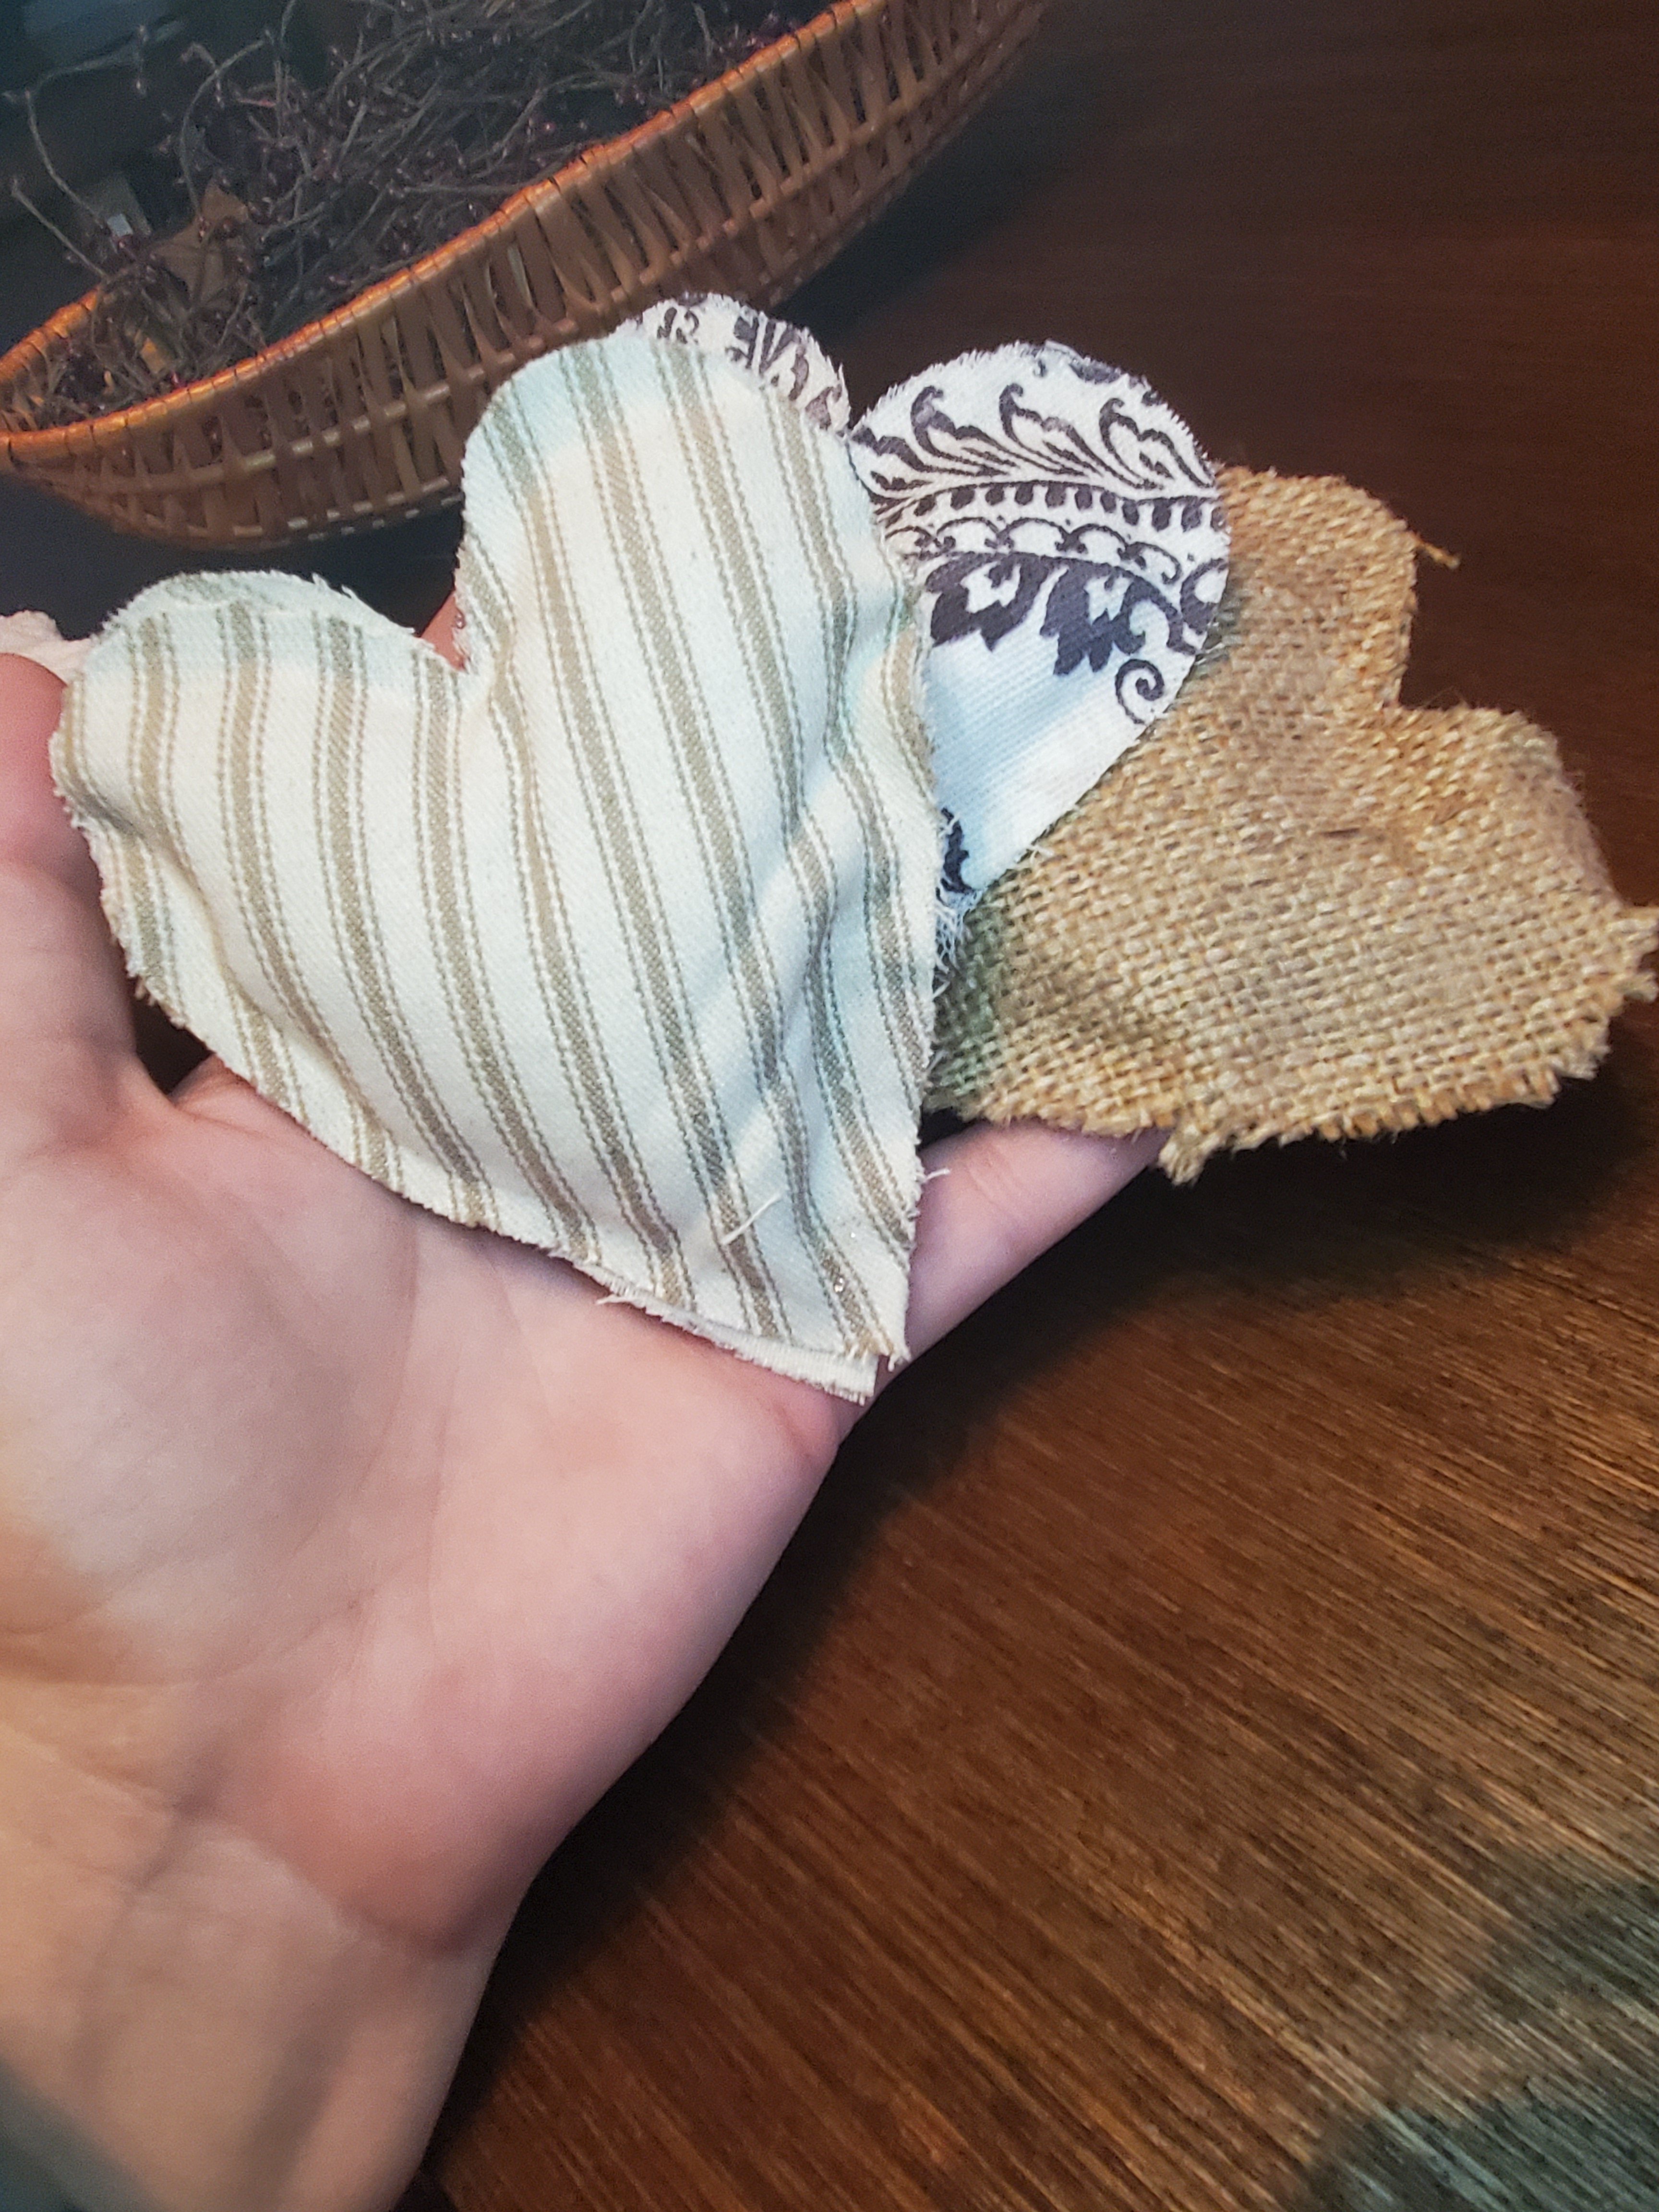
The other little white heart was super simple too. I used a cardboard hear, made little cuts around the outside, and wrapped yard around the heart. The cuts helps hold the yarn in place for the first layer of wrapping. Wrap all different directions. Glue with the fabric glue. Simple!

Viola! Hope you enjoy this quick and easy project!
Xx,
Jess
Permalink Comments Off on Quick and Easy Valentine’s DIY
Check This Out
I know, I know. Shameless plug, but it really is true. My brother just emailed me and sent me his new website address. He is about to graduate college with a degree in graphic design and art. He is an amazing artist (not just because I know him!!) And he has a great portfolio going. So go ahead…check it out!


