Frame Hanger Project
I love old picture frames. All kinds. I’ve got a hallway of empty ones upstairs. Sometimes I fill them. Sometimes I paint them. And sometimes I do something fun with them…
This frame I once painted black with a silver line. Years ago. I was over it. (Ignore the ugly paneling in the upstairs hall we hope to rip out soon)

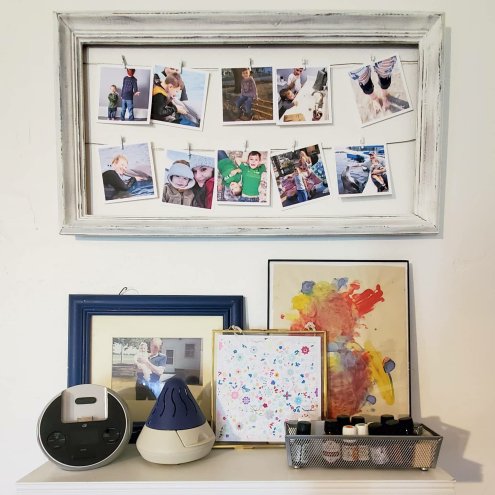
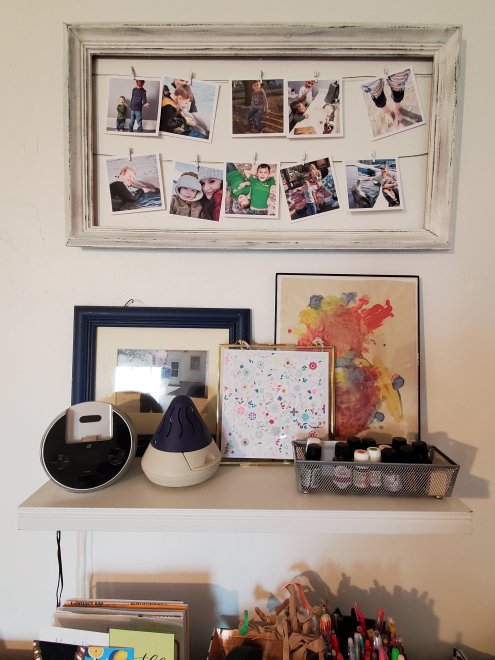
I wanted something lighter and brighter for my office. And I needed a place to hang some of my beautiful Parabo Press photos. (If you haven’t ordered from them, you must. They are gorgeous)
So first I lightly sanded the frame. Then I painted it white. I used wall paint for this project because it’s what I had. And its quarantine. And this step wasn’t super important for this project. It took 2-3 coats, but doesn’t need to be perfect.
Then I sanded with a foam sanding block. I scraped the edges and roughed up the centers. Go slowly and start lightly. Keep going until you love it.
Then, because I wanted just a little something more for this one, I used a small brush and “dry brushed” on some charcoal gray paint. This means I dipped a tiny amount on the brush and then swiped most of it off onto a paper plate. When the brush is almost dry, wipe it on the frame. It will give you just a tiny bit of paint and give a smudge-y look. I used a paper towel to rub this in as I added it too. It came out nice and weathered.

Then to add some wire. You could use twine or ribbon, or whatever you have. I had some picture hanging wire from a hanging kit. I cut it slightly longer than the width of the frame, maybe a half inch extra on each side. Then I pulled it tight across the frame and used a staple fun to staple it in place. I twisted the extra ends into a little ball to help keep it in place.

You can get tiny clothes pins on Amazon.
And viola!
I’ve also done this before with chicken wire…

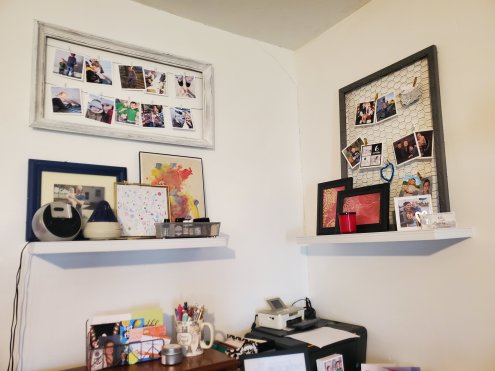
What do you think?
Doing any quarantine projects?!
XX,
Jess
Permalink Comments Off on Frame Hanger Project
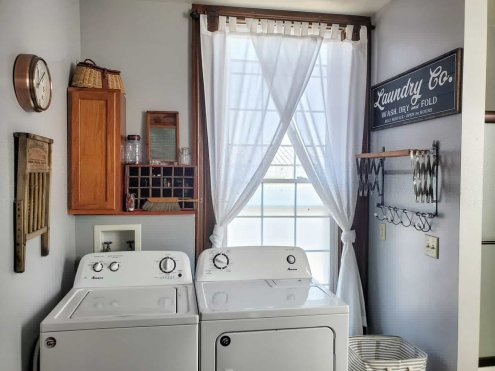
Bathroom Update
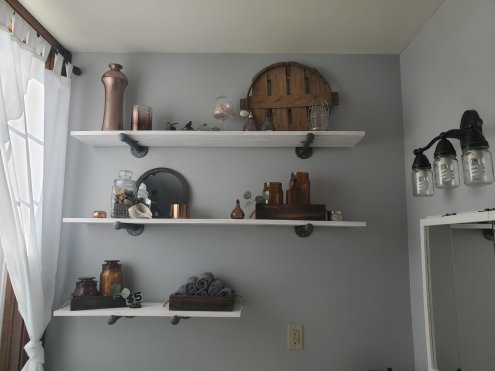
I thought we were going to live with the 85% bathroom update for a while. But we got a little shove to take it to 98% done now. 🤣 What this means is that we redid the flooring! Yay! And we added a mirror and a couple more custom shelves in the laundry room.

We used snap-in wood and vinyl flooring and it was super easy! Except for dealing with the uniqueness of an antique house with crooked walls and missing trim, etc, but we managed and it’s been amazing and seems super durable already. We ended up going with large quarter round as trim because we need to hide some of those flaws from a very old house. But I love the look here!


The ONLY thing left is to replace the faucet. Soon. We are going to live with the sink and counter top for a while, but I can deal with that.
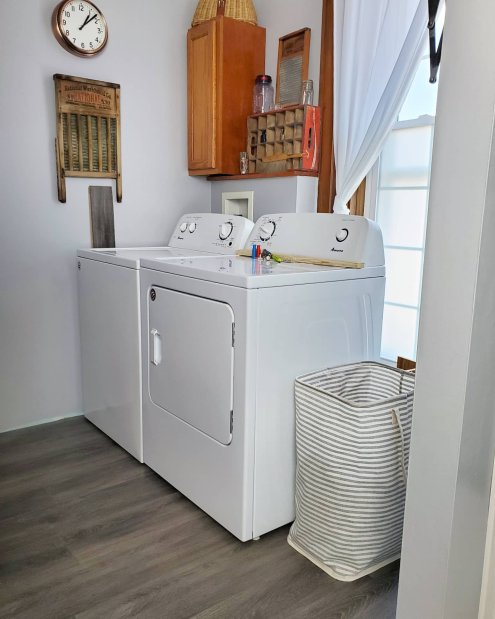
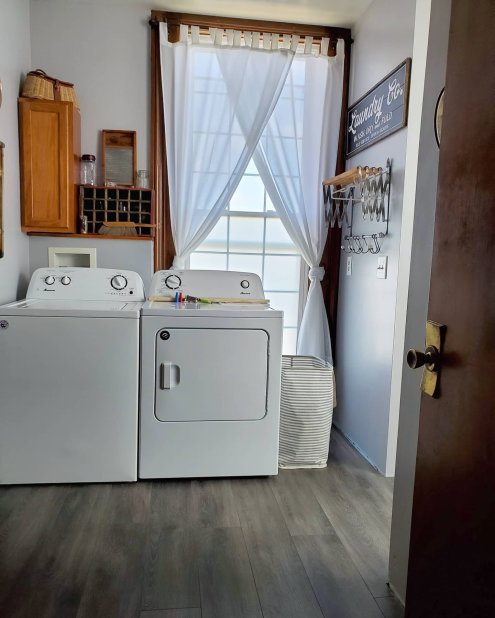
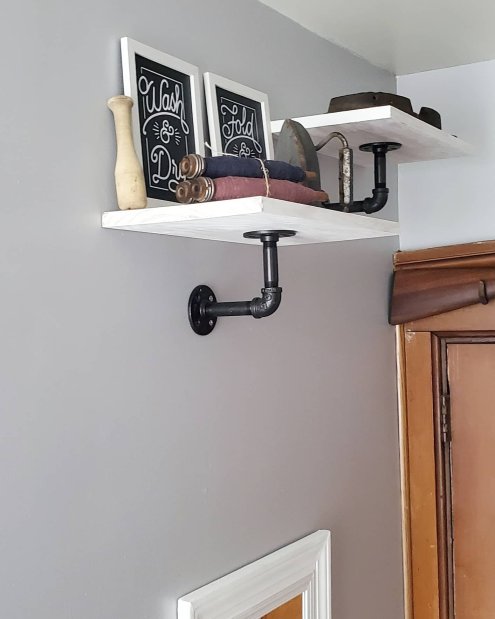
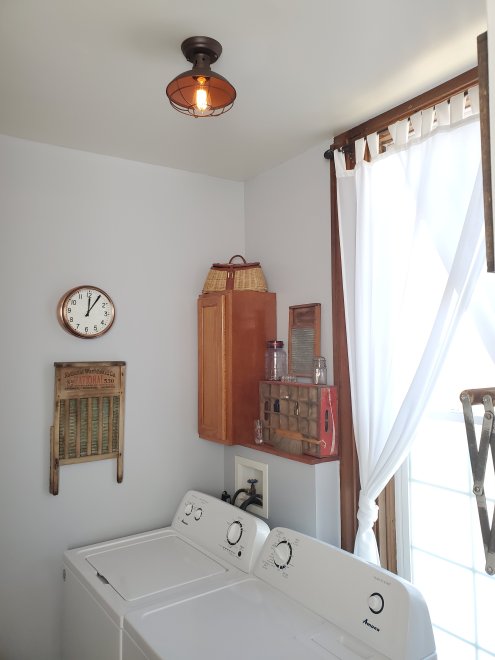
How cute are the little shelves holding laundry items?! We made them the same way, with plumbing pipes and hand whitewashed boards.


Remember, this is a mini refresh, (see the before shots, yikes, 2 posts back!) not a total overhaul, so this girl will still have to dream of one day having a stacking washer and dryer and wall cabinetry. This is gorgeous to me for now! 😉
Xx,
Jess
Permalink Comments Off on Bathroom Update
Bath/Laundry Room Update
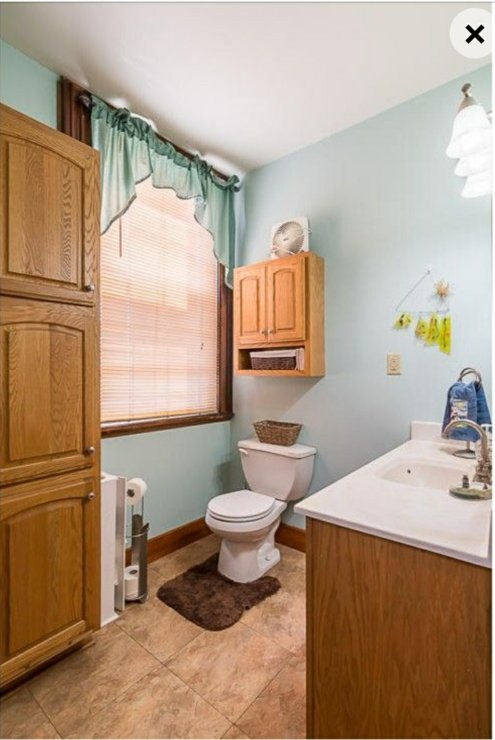
We knew we wanted a fixer-upper, and we sure got it with this one! But we are enjoying putting in the work and making it into what we want for a home. The bathroom was no exception. We can’t afford a complete gut and overhaul of every room (I wish!), so this is a little refresh.
Before:

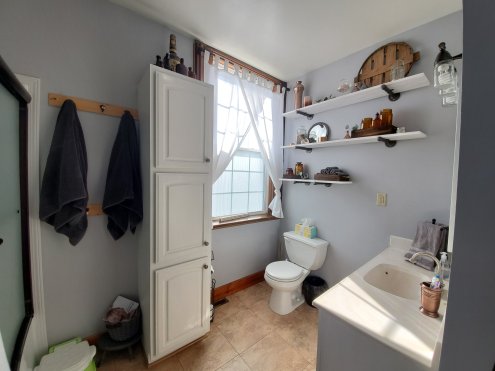
After:

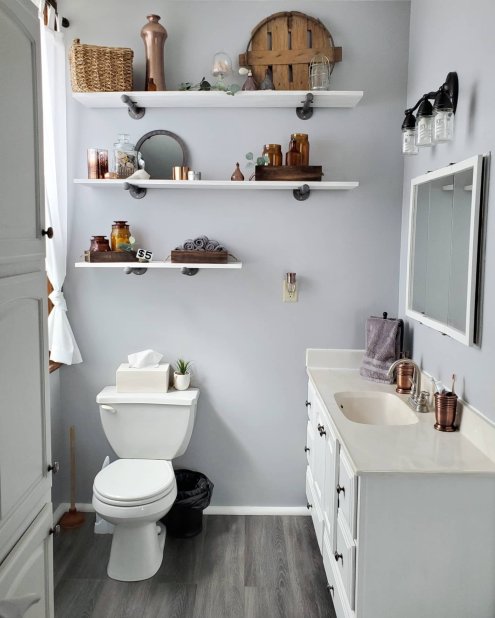
We will put a new faucet in soon and plan to redo the bath and laundry room floors in a few months. But for now, wow. Its clean. Its peaceful. I’m in love.
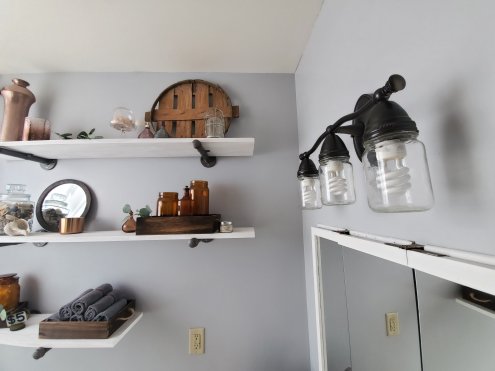
We made the bathroom hook boards because in old houses you are at the mercy of where the studs may or may not be when hanging things. Attach the hooks in the spacing you want and then attach the boards to the wall where the studs allow.
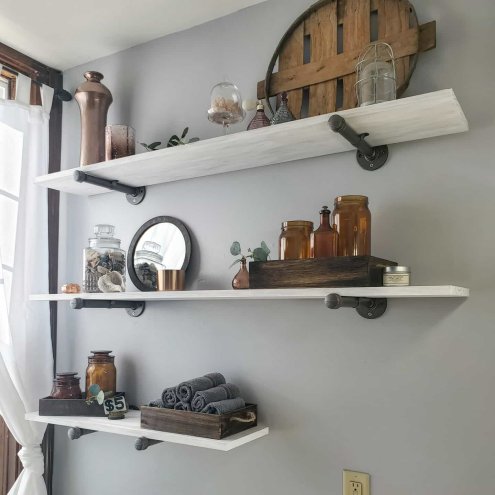
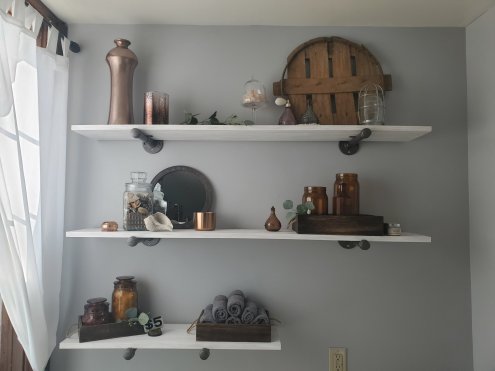
We also made the shelves ourselves and hand “grayed” the boards by smearing white paint with fingers. Tedious but so worth it. The brackets are plumbing hardware and can be found at Mendards. We painted the parts with a light oil rubbed bronze spray paint.
We made the jar light fixture by painting the old silver fixture with oil rubbed bronze paint and adding the jars. We took solid jar lids and made holes in them to fix the jars to the fixture. Once it’s all painted you can’t see what method you used to attach them.
All on a budget for a quick fix up. We did add a new shower, as ours was a walk in when we bought the house and we needed a tub for the kids. Paint and curtains, and especially shelving, make a huge, but affordable difference!
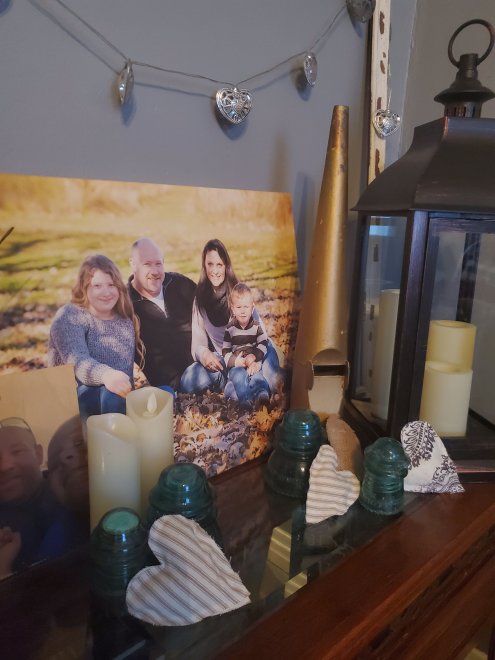
Here are some fun detail shots.


A few detail links:
What do you think? Any recommendations?
Xx,
Jess
Permalink Comments Off on Bath/Laundry Room Update
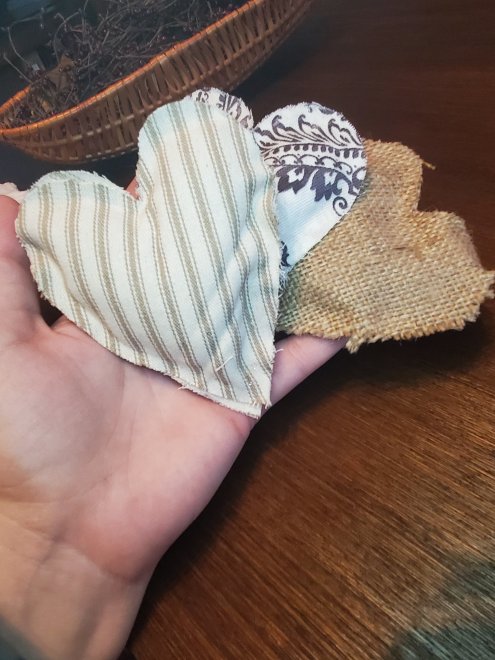
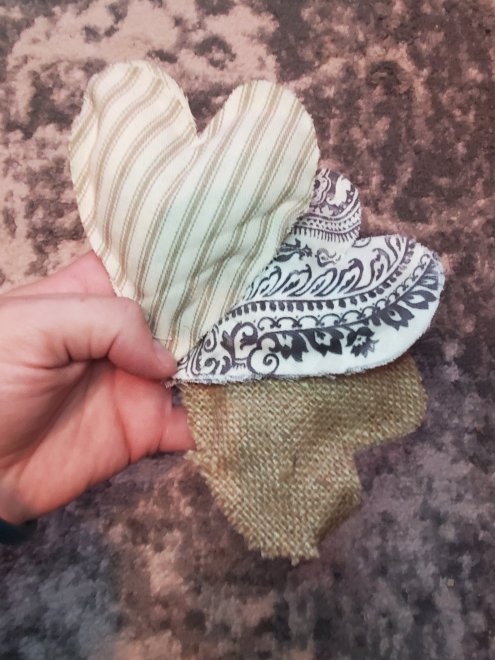
Quick and Easy Valentine’s DIY
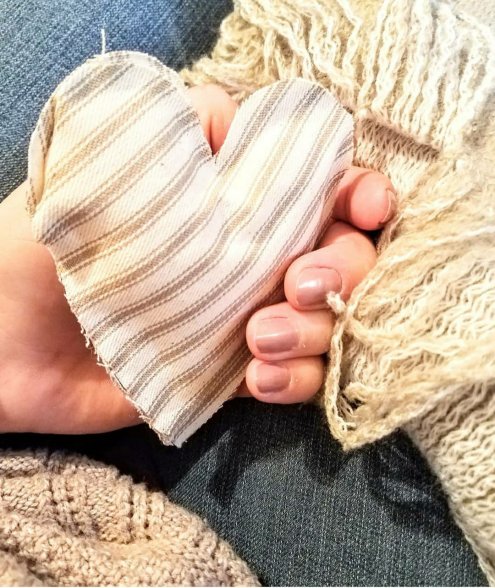
I made these fabric hearts last year and loved them so much I put them out again this year!

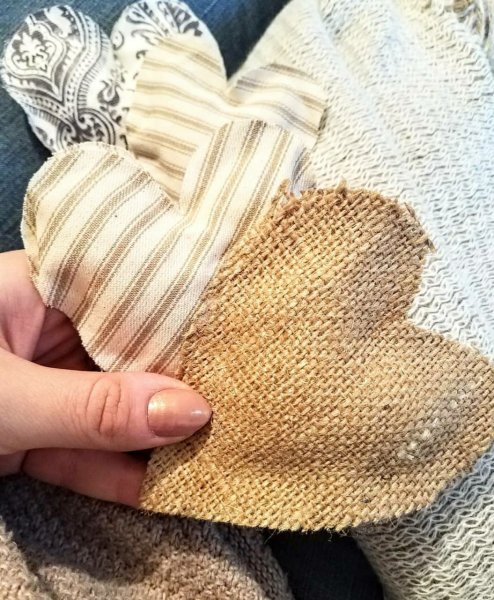
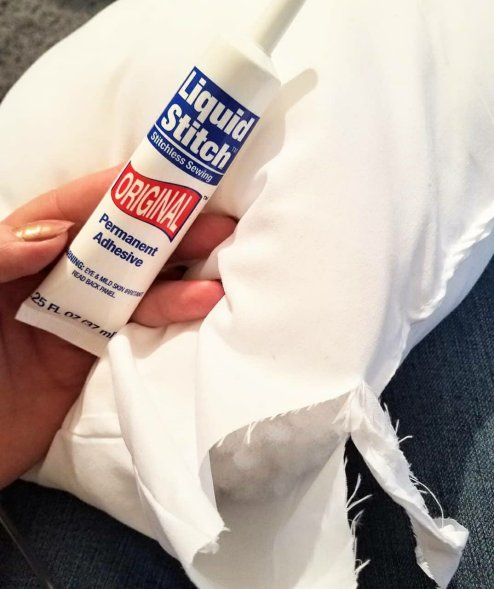
It’s so simple that it doesn’t require much instruction, but a fun project for anyone because there are so many possibilities! I used scrap fabric that I had on hand, making this super inexpensive too! I picked a couple fabrics that complimented one another and had a rustic vibe. You could use anything at all! The only other supplies you need are liquid stitch (always handy to have a tube on hand!) and some stuffing. You can get both of these at your local craft store or a Walmart. The stuffing sold here at our Walmart was in too large of a bag and I knew I didn’t want a ton. So, quick fix was to buy a small pillow insert at Walmart. This was about $4 and I have plenty left for more projects.
Start by drawing a heart on cardboard. Try a cereal or cracker box! Then trace this heart onto the backside of your fabric. Do sets of two hearts in matching fabric. Then run a bead of the fabric glue around the heart. Leave a few inches unglued. I left a quarter inch or so around the edge. I used a few binder clips to hold these while drying. You could also set a book on them. When they are dry, stuff fabric into them. Doing it in this order allows you to fill them full and puffy without ungluing. Now add glue to the last few inches and clip to dry. You could always add sequins, embellishments, ribbon, or any extras too.
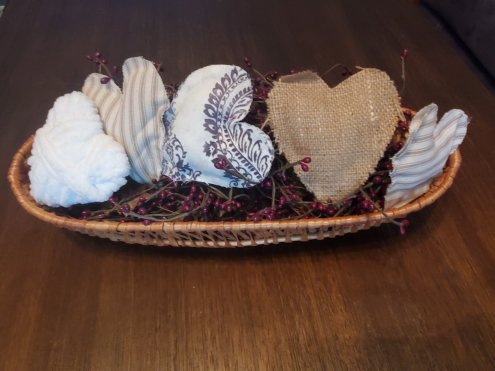
The other little white heart was super simple too. I used a cardboard hear, made little cuts around the outside, and wrapped yard around the heart. The cuts helps hold the yarn in place for the first layer of wrapping. Wrap all different directions. Glue with the fabric glue. Simple!
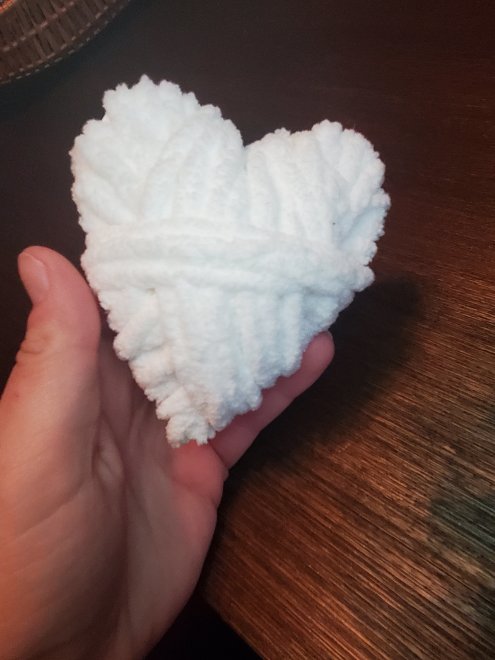
Viola! Hope you enjoy this quick and easy project!
Xx,
Jess
Permalink Comments Off on Quick and Easy Valentine’s DIY
Coffee Table Fix Up
It’s taken me over a year. But it’s finally done. I have a coffee table that I love, finally.
Before:

Perfect shape to hold lots of treasures, but outdated color and in rough shape.
After:


I sanded the table and then painted I’m gray (shock!) And then roughed it up. The top got a coat of a darker gray, and the whole table was finished with paste wax to protect it. I had to fix the drawer, but ended up keeping the old knobs. What do you think?
New Old Dresser
This old house has plenty of character, but really lacks storage. I get by because no one is using the spare bedroom currently, so outgrown baby items, my vacuum, and luggage all live in there. The bathroom, however, is still in desperate need of storage. I still use my old quilt rack to hang towels. I love this, but not so much when towels have to be stacked 7 high because there is no cupboard for the extras. So, I set out to buy a large old dresser to refinish, in hopes that it could serve as storage in the bathroom.
I started with this guy for $40 on a garage sale:

Great vintage bones, ugly paint job. So I sanded, patched one spot, and painted him gray.

He was already looking gorgeous. Then I added some charcoal tinted furniture paste wax.

I was loving it. The hardest part was picking hardware. I didn’t want the hardware to pull too much attention, so I ended up choosing twisted iron pulls that reminded me of the Threshers, and little black knobs for the top. Now he’s finished and gorgeous. Oh, and one more dilemma. Do I really put it in the barhroom, or do I give it to Brantley as he transitions to his big boy furniture? OR, do I sell it? 😉


What do you think?! ♡
Dining Chair Love
I love the rings on the backs of these chairs! I love the leather! I love the studs! I love the chandelier and the wall color and…

Beautiful, no? 🙂
Virtual Tour-Starting in the Dining Room
I think I will give you a little before and after tour of each room as I update them in the new house. Besides the bathroom, the dining room was one of the first rooms I refinished. I decided not to mess with the beaded board walls or drop ceiling at this time, and the carpet may someday come out to reveal the… hardwood floors! But for now… the before:
 Yeah, not much for a dining room, right? And After…

I really wanted initially to get rid of the blue ceiling fan. However, family and friends convinced me to work around it. The fan was new and it had a remote and a dimmer. They swore it would be handy. Turns out, they are right! So, I covered a large lamp shade in silky black ribbon and attached it to the fan over the light bulbs. I also hung a crystal from the pull. I think the set-up helps a lot!


 On this wall will eventually be a buffet I am refinishing. Stay tuned for that project soon.

 And remember the armuoir I turned into a mini bar? So, what do you think so far?
