Kids Gift Idea and Black Friday Deals
Christmas is fast approaching! But I’ve got an awesome gift idea for your littles!

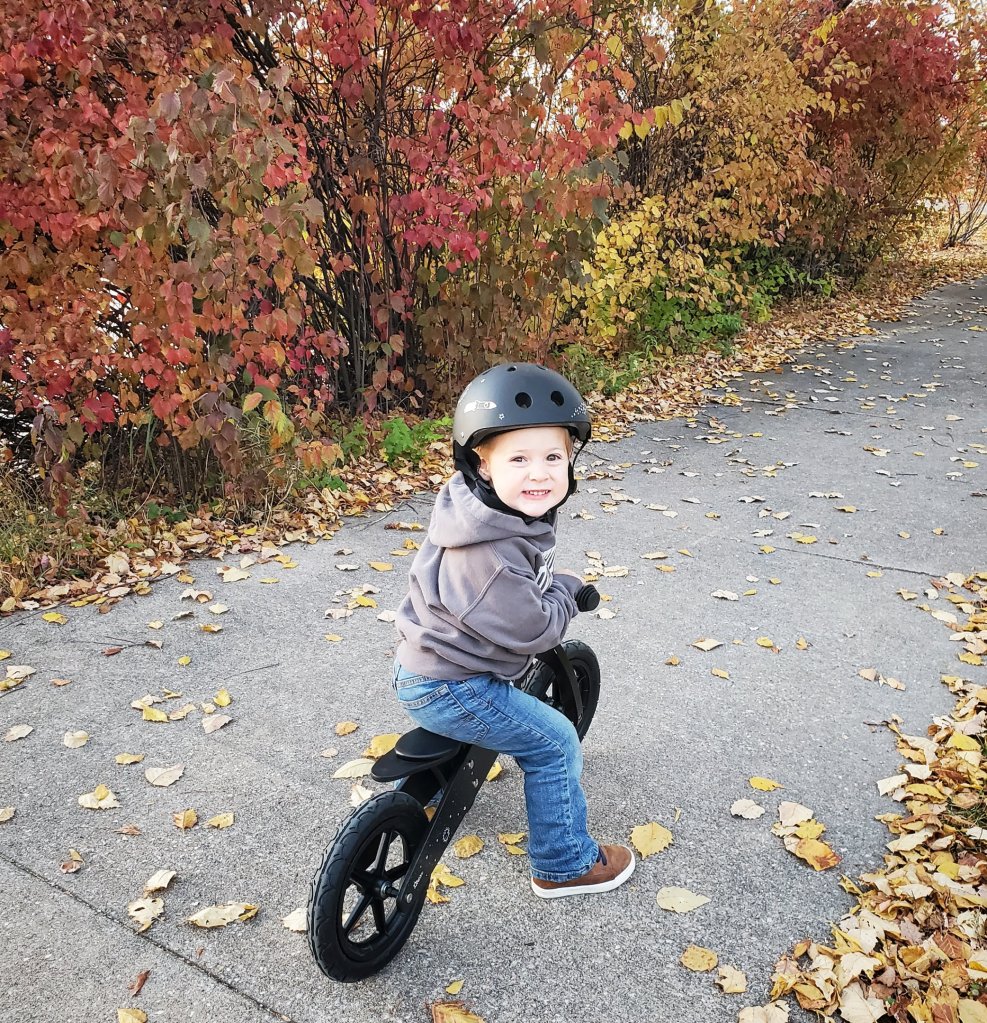
Barrett fell in love with the balance bike from Coco Village! He rides it everywhere!
It really is a great skill to build for kids too. Even big brother (8) can ride this one! Barrett is 3 and it took some prefecting. They also have a 3 wheeled version!
Plus, if you subscribe to the VIP list here, you will receive an email on NOVEMBER 23rd giving you special early access to all their Black Friday deals!!
Coco Village is our favorite stop for gorgeous and fun kids toys. Check them all out!
Here are a few more of their adorable kids items too!

Hope your kiddos will love these ideas!
XX,
Jess
Mt. Rushmore Area Trip
We did it! Iowa to Minnesota, to South Dakota to Wyoming and back again! In a car. With little kids. Do it again? Definitely!
But there’s so much to do and so little time. So here are just a few of the things that we thought were must sees and a couple skips.
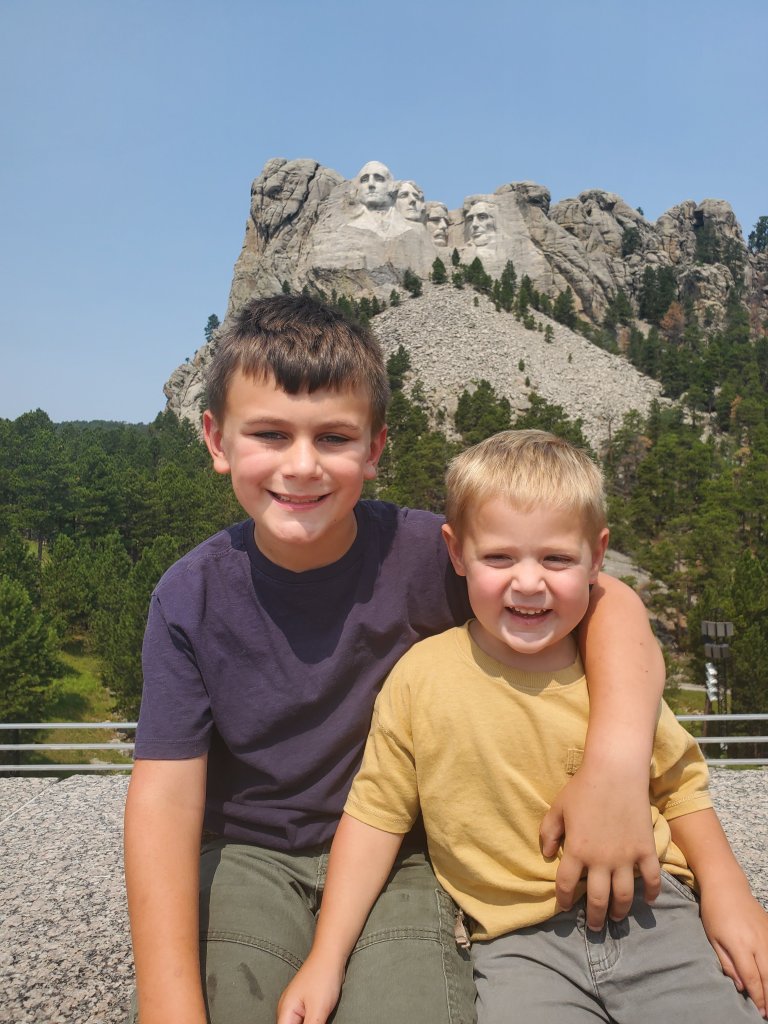
Mt. Rushmore. Obvious. But it’s impressive even to all ages. Inexpensive, only $10 for parking and free entry. It was busy, but not overly packed. Of course, we had to hit up the gift shop for something to commemorate the trip. You can do a tour and spend, more time, but it isn’t necessary for the full experience, and overall this stop won’t take a ton of time.
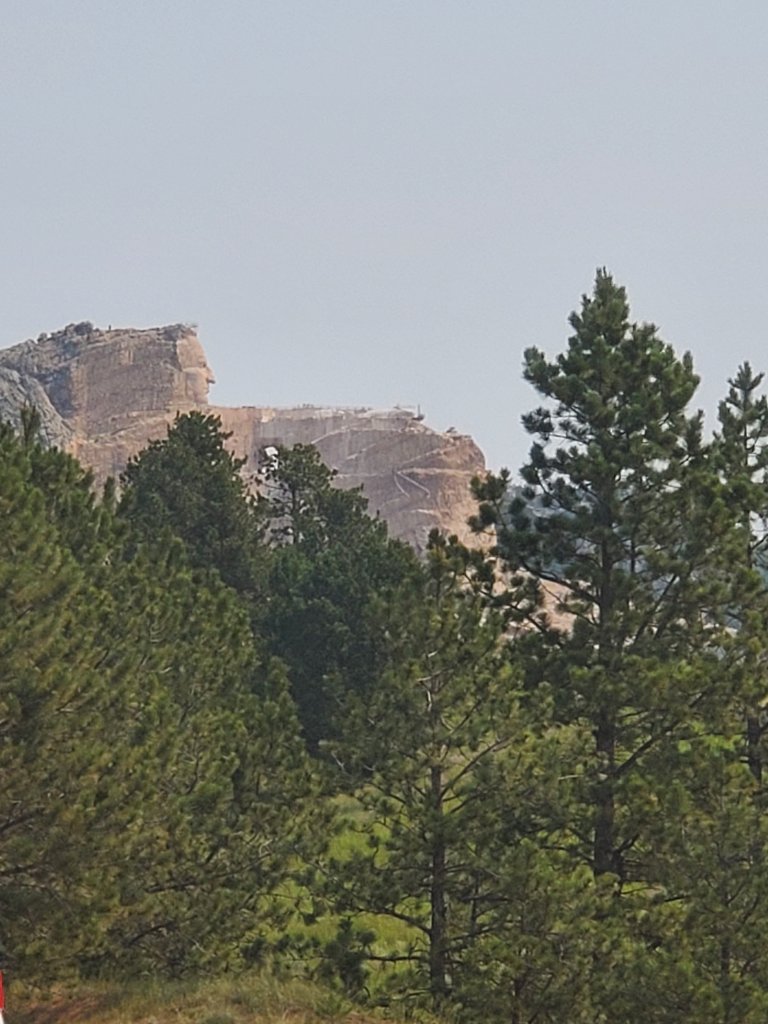
When near Mt. Rushmore, you should totally stop to see Crazy Horse monument. Do I think it’s worth going all the way in? Not yet. It’s still under construction, and amazing as the start is and really amazing as it will be when it’s done, I don’t think $30 for the car to get in is worth it just yet. We pulled over at the sign in a little lot and took pictures. I recommend that!
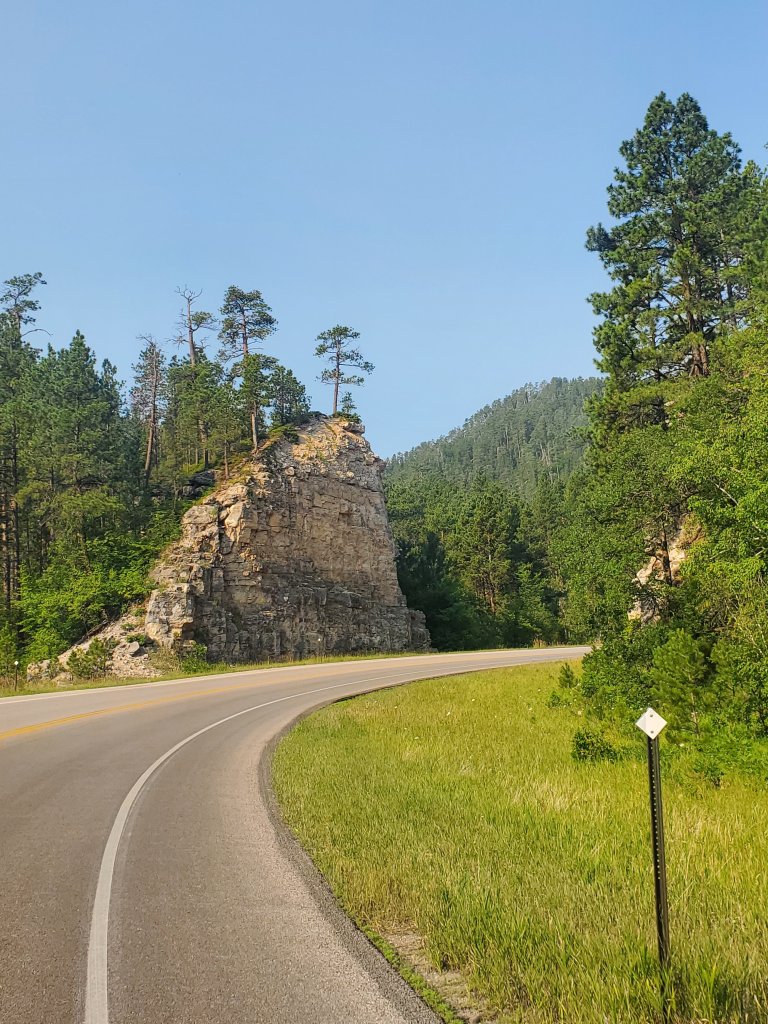
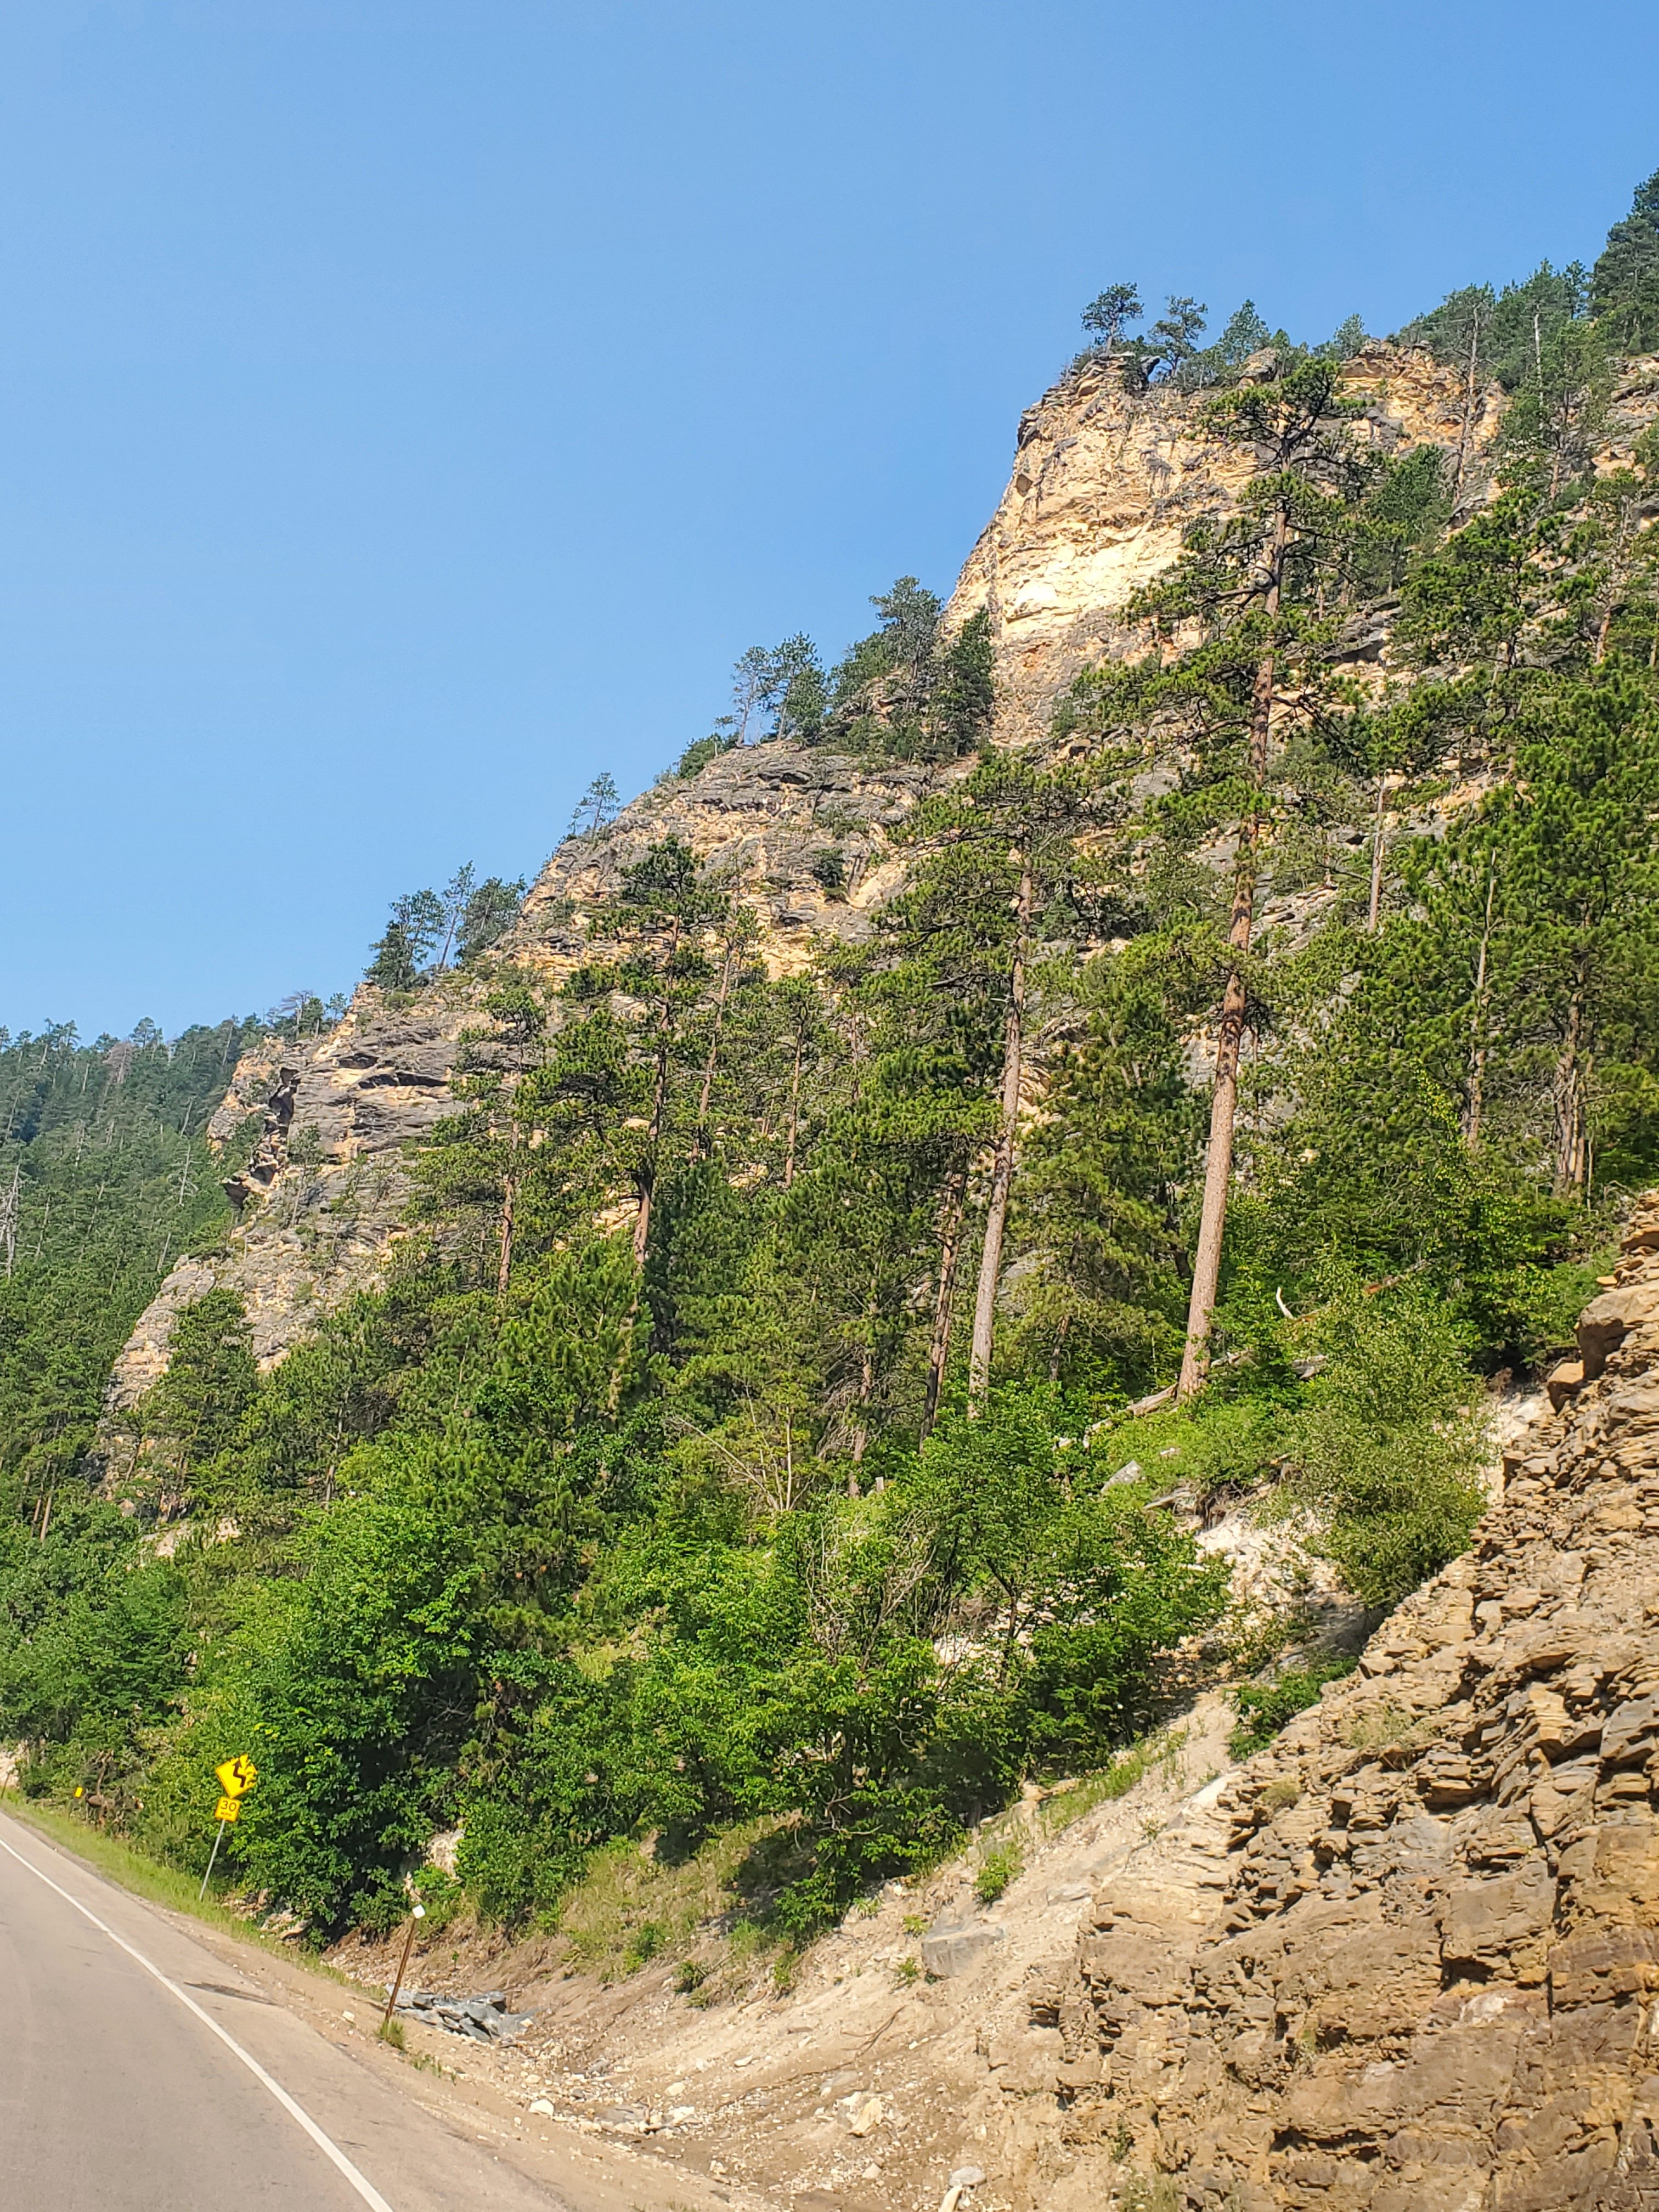
If you are in this area, driving through Black Hills National Park and Badlands National Park are must dos. There are plenty of pull over and look out spots. And the views are GORGEOUS.
If you’ve made it out to the Badlands, stop at Wall Drug. Yes it’s a lot of hype. And busy. But a very cool see if you need a drink, a bathroom and a leg stretch. You could spend all day here. But you don’t have to. We did an hour or two and picked which bits to see here.


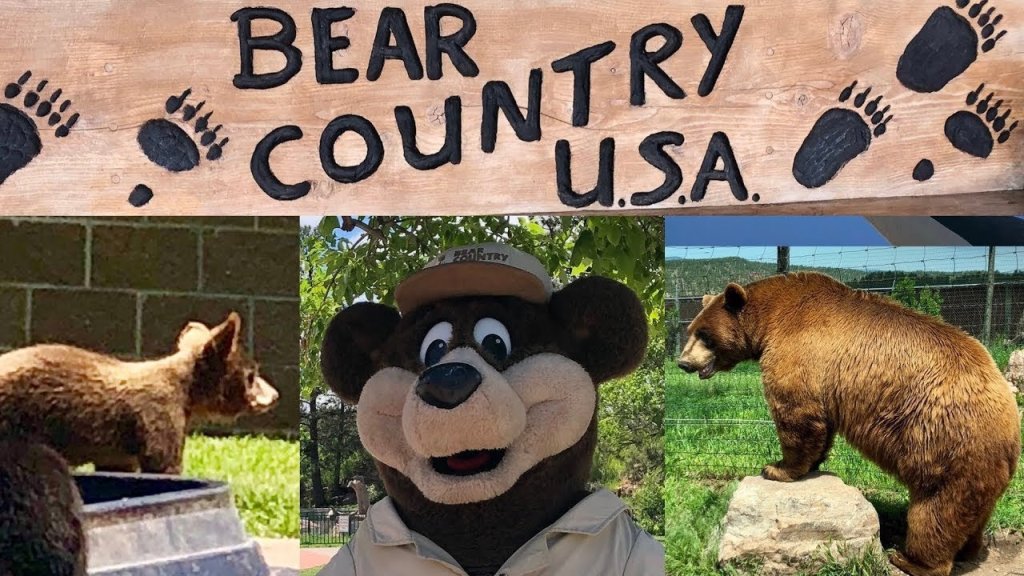
If you make it a little further out to Rapids City, SD, see Bear Country USA. We didn’t stop this time, but would have if time allowed (we did years ago). Totally worth it. Especially with kids in tow. It’s so amusing to see bears up close!
Sturgis is also a fun stop. More for the adults, but still things to see for all ages. Great to say you’ve been there even when the rally isn’t going on. Great food. Not a must do of you aren’t into this type of thing.


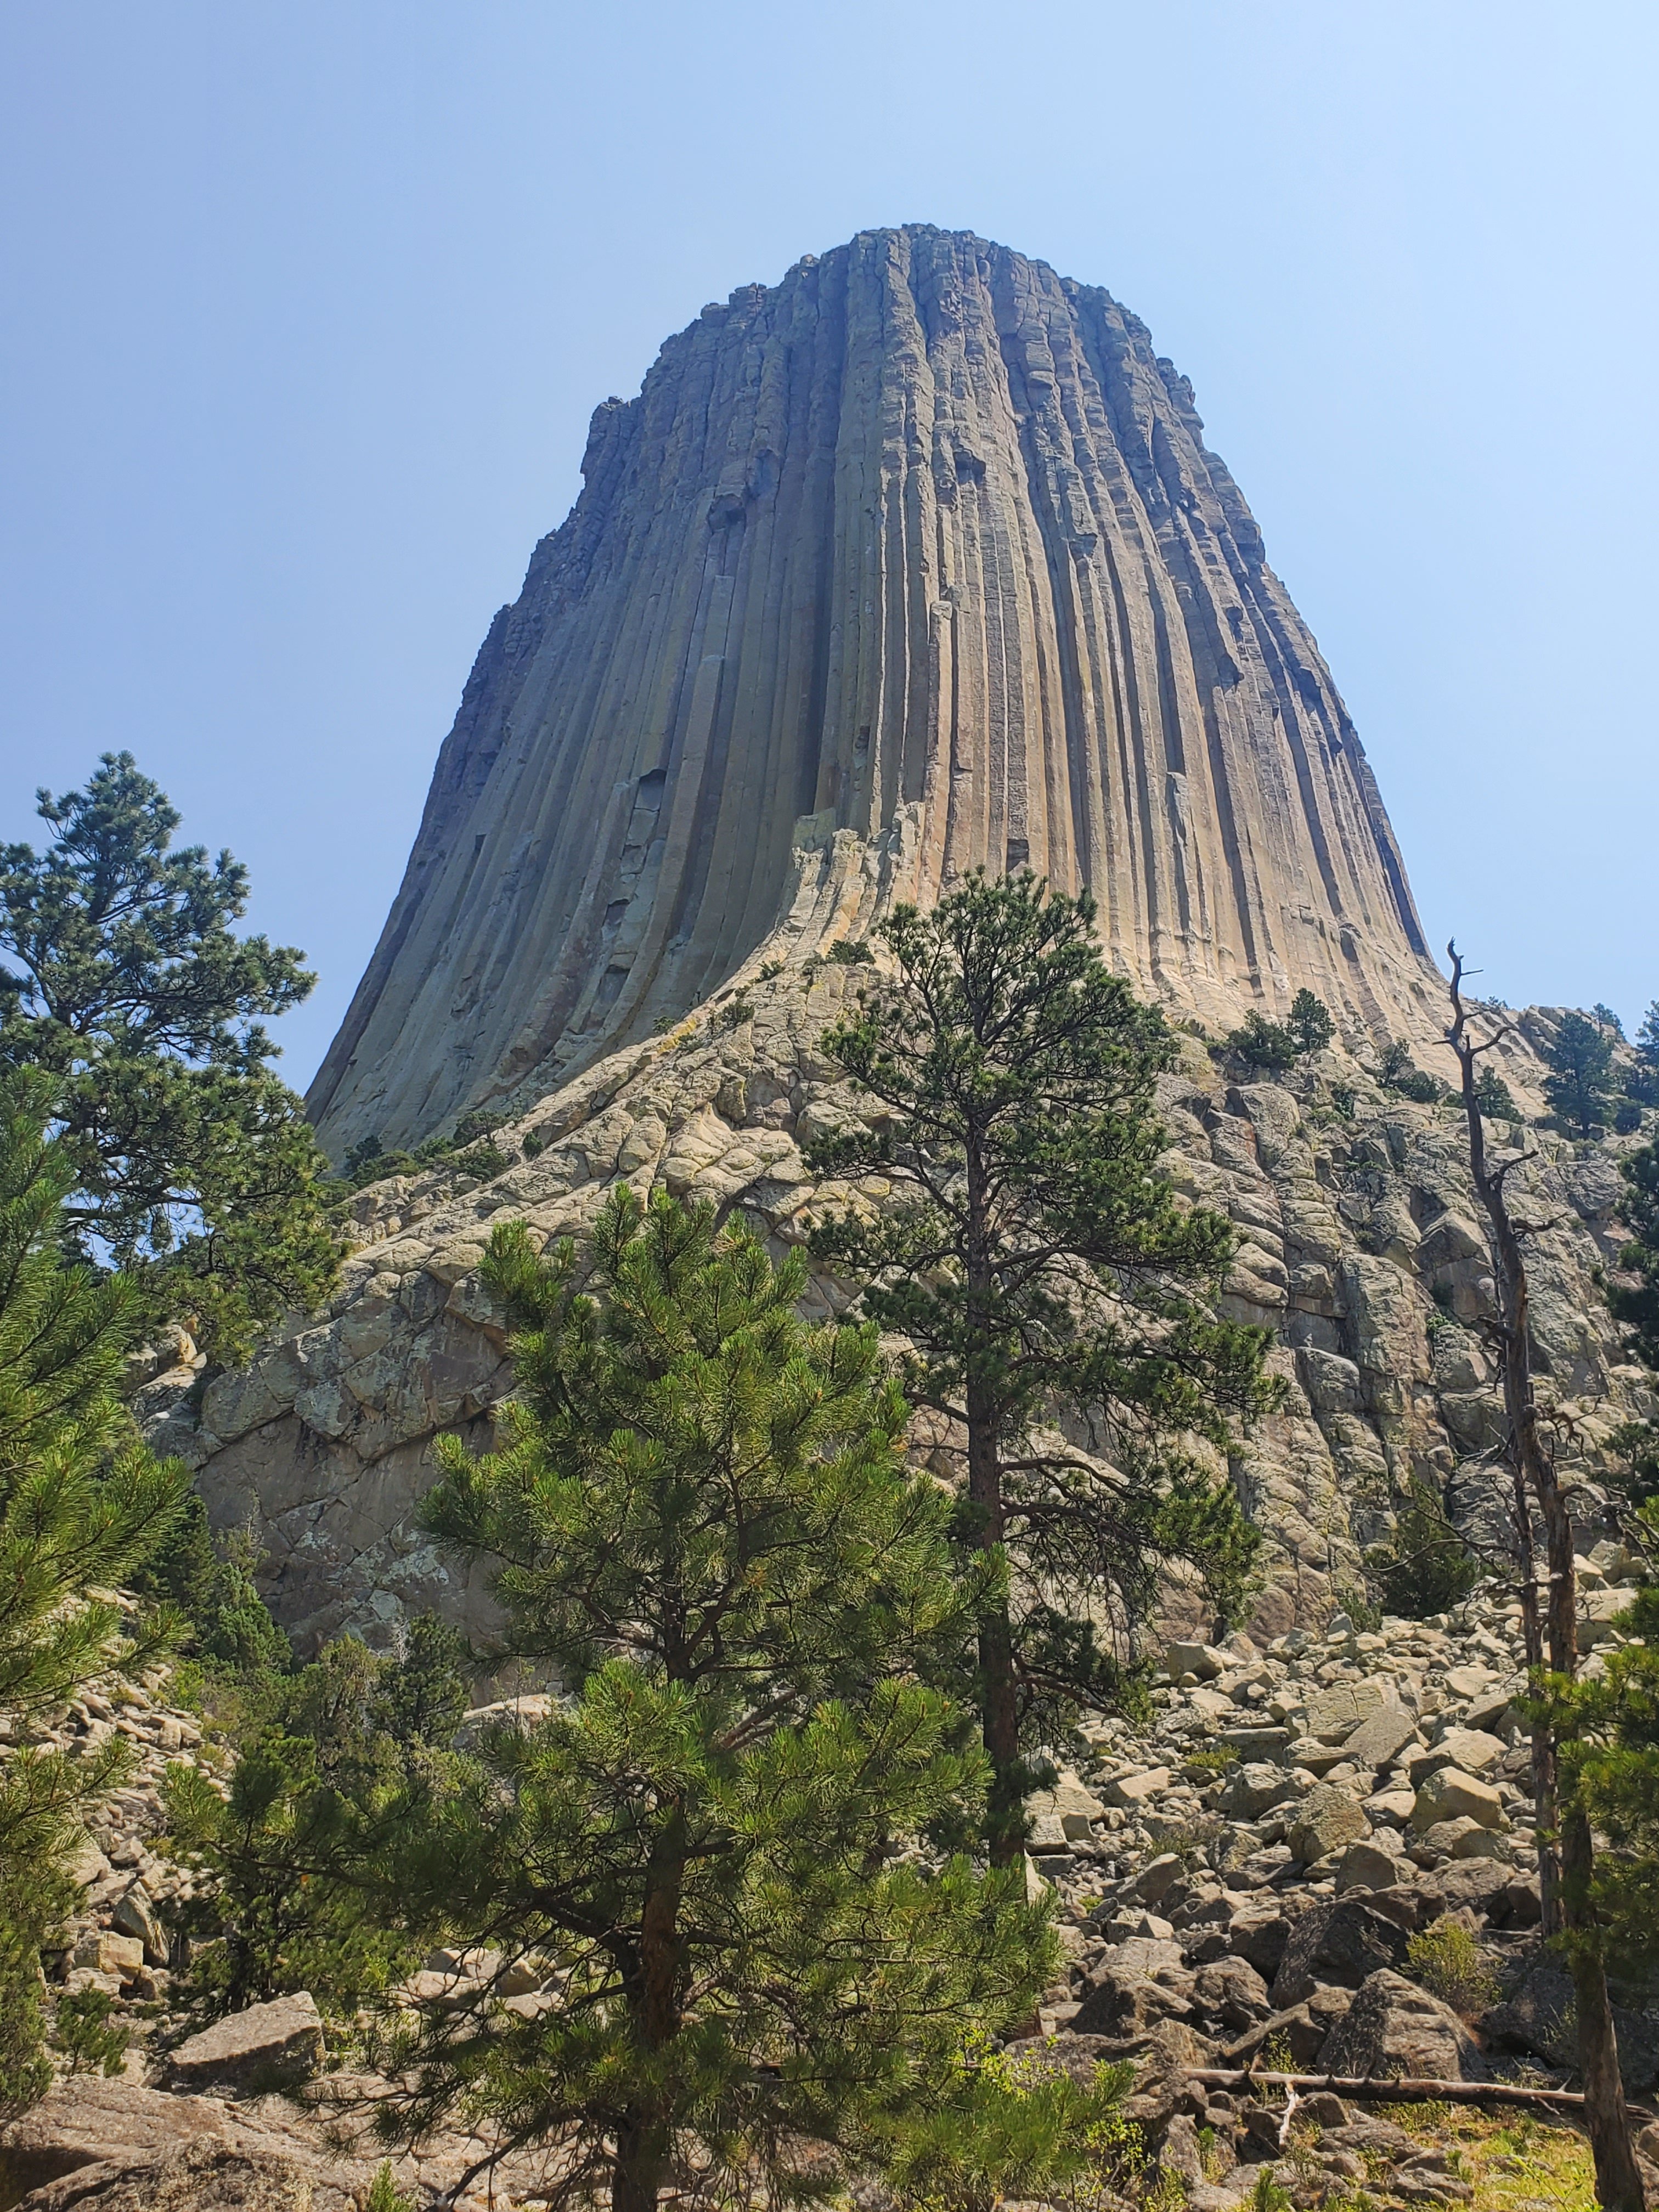
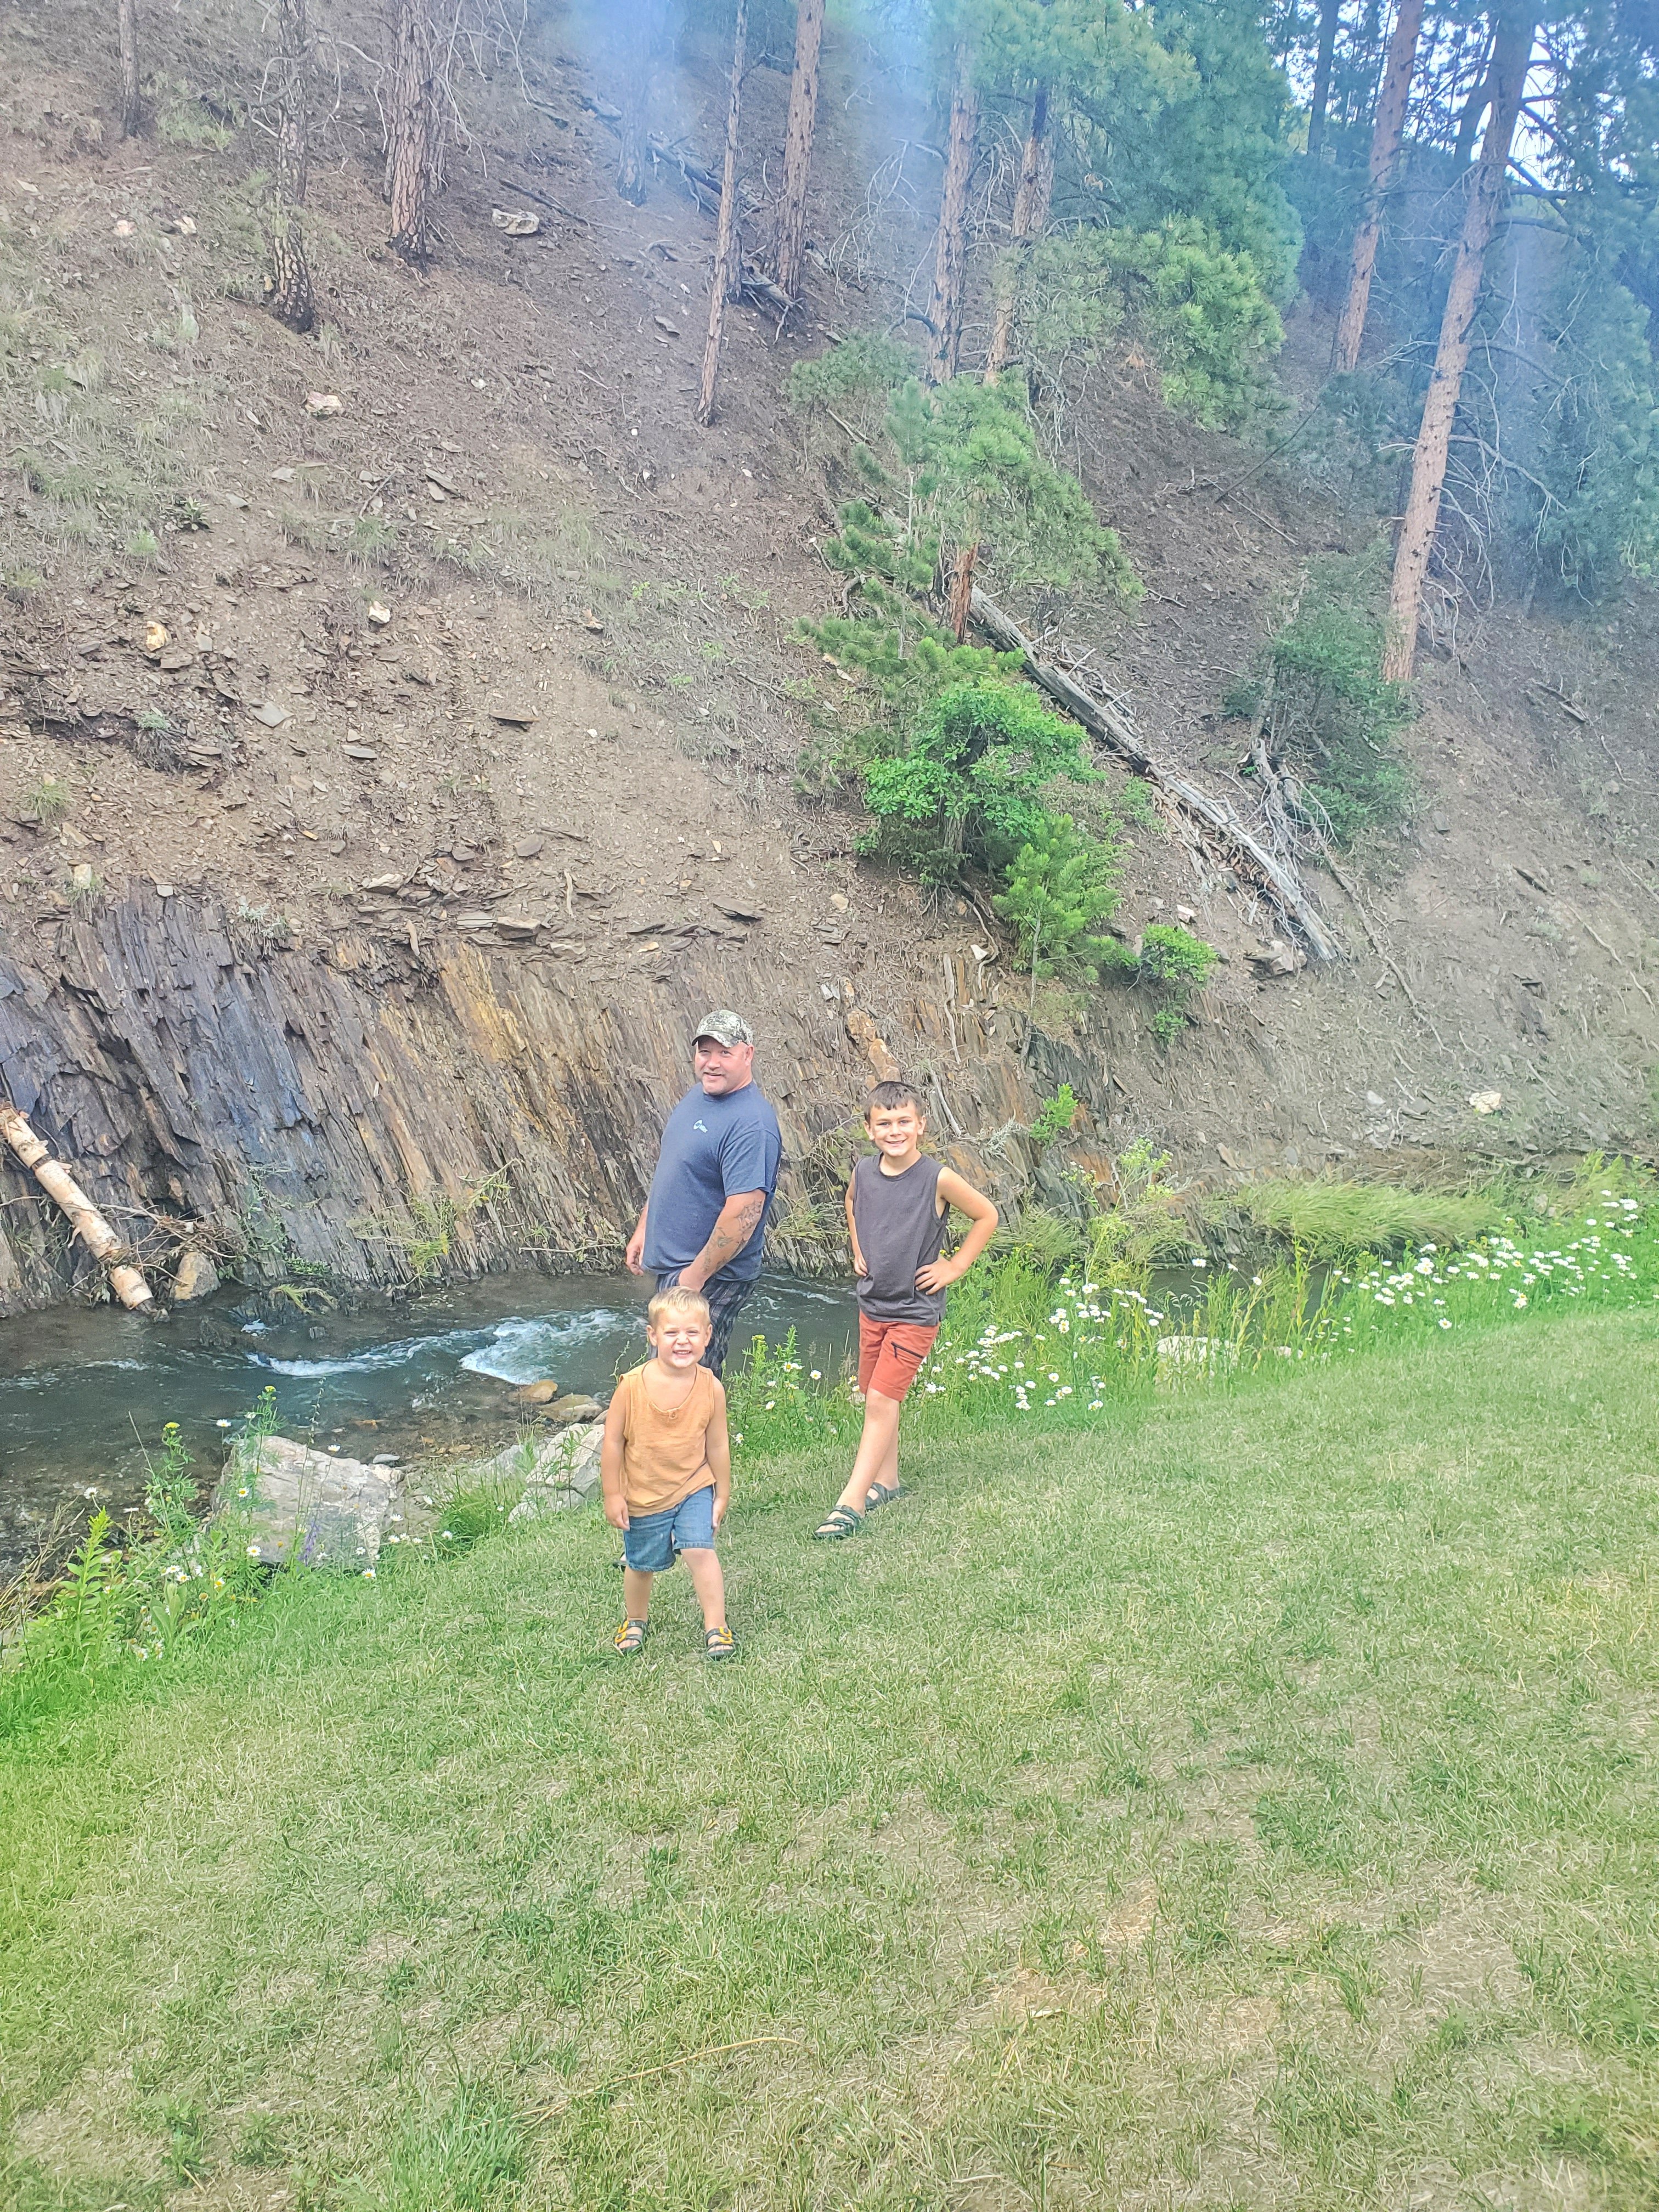
If you are at Mt. Rushmore and want to venture just a couple of hours west, a stop at Devil’s Tower, WY is a must do! It was STUNNING in this area! We walked the whole path around it and kids and adult alike were in awe.
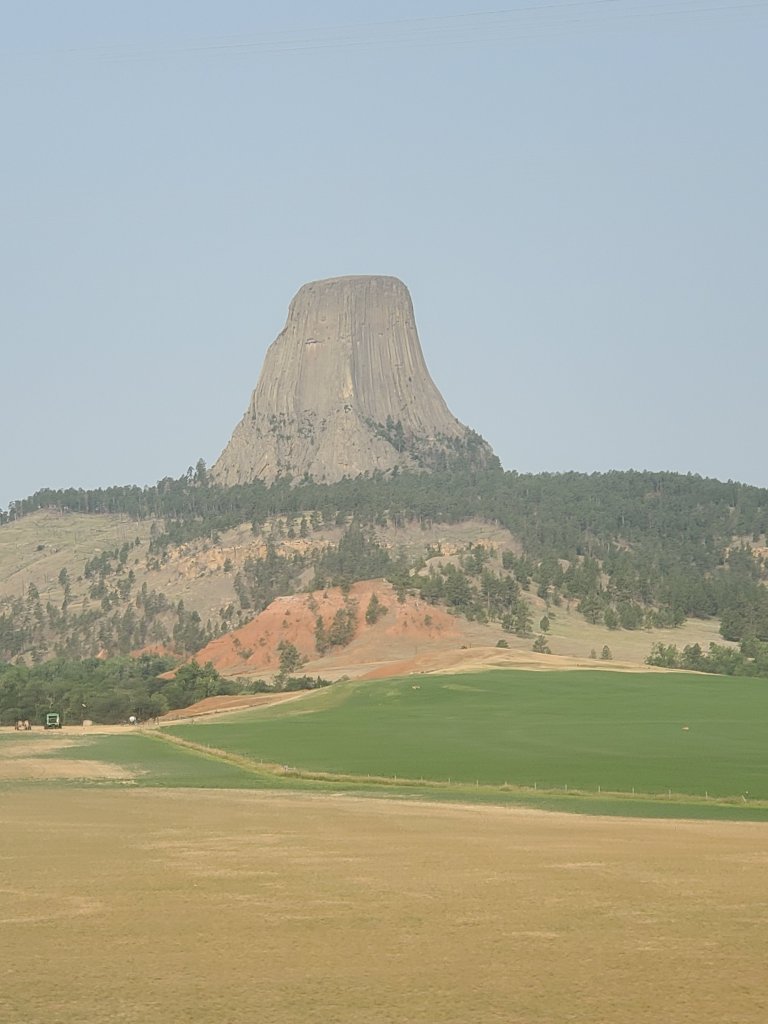

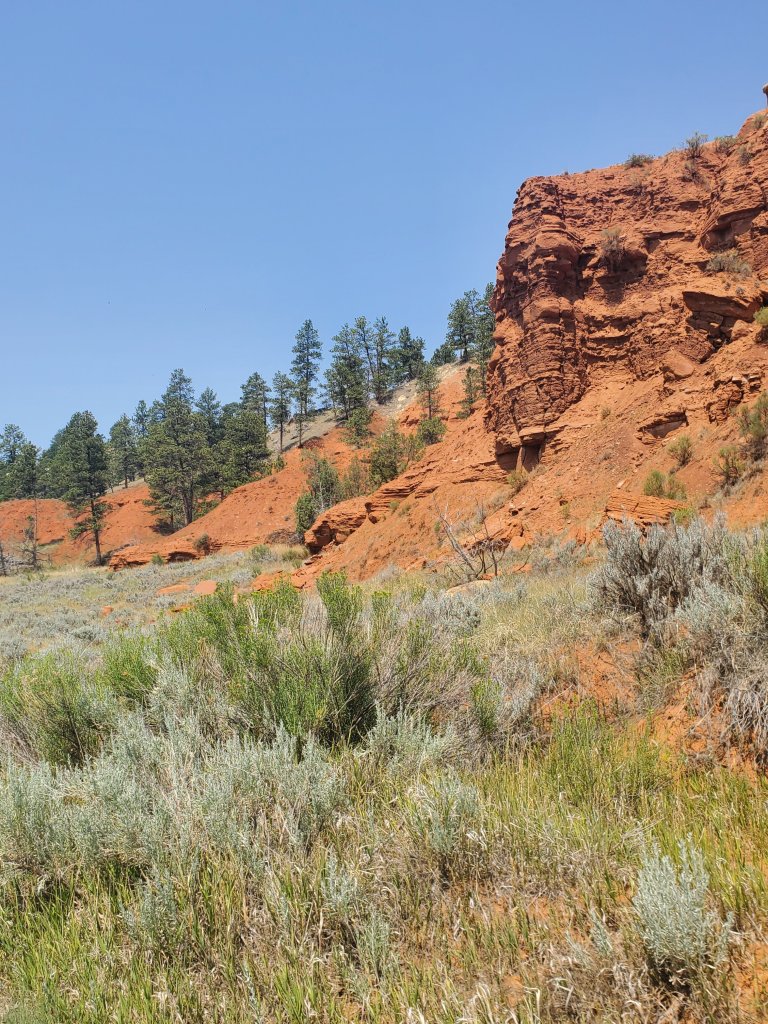
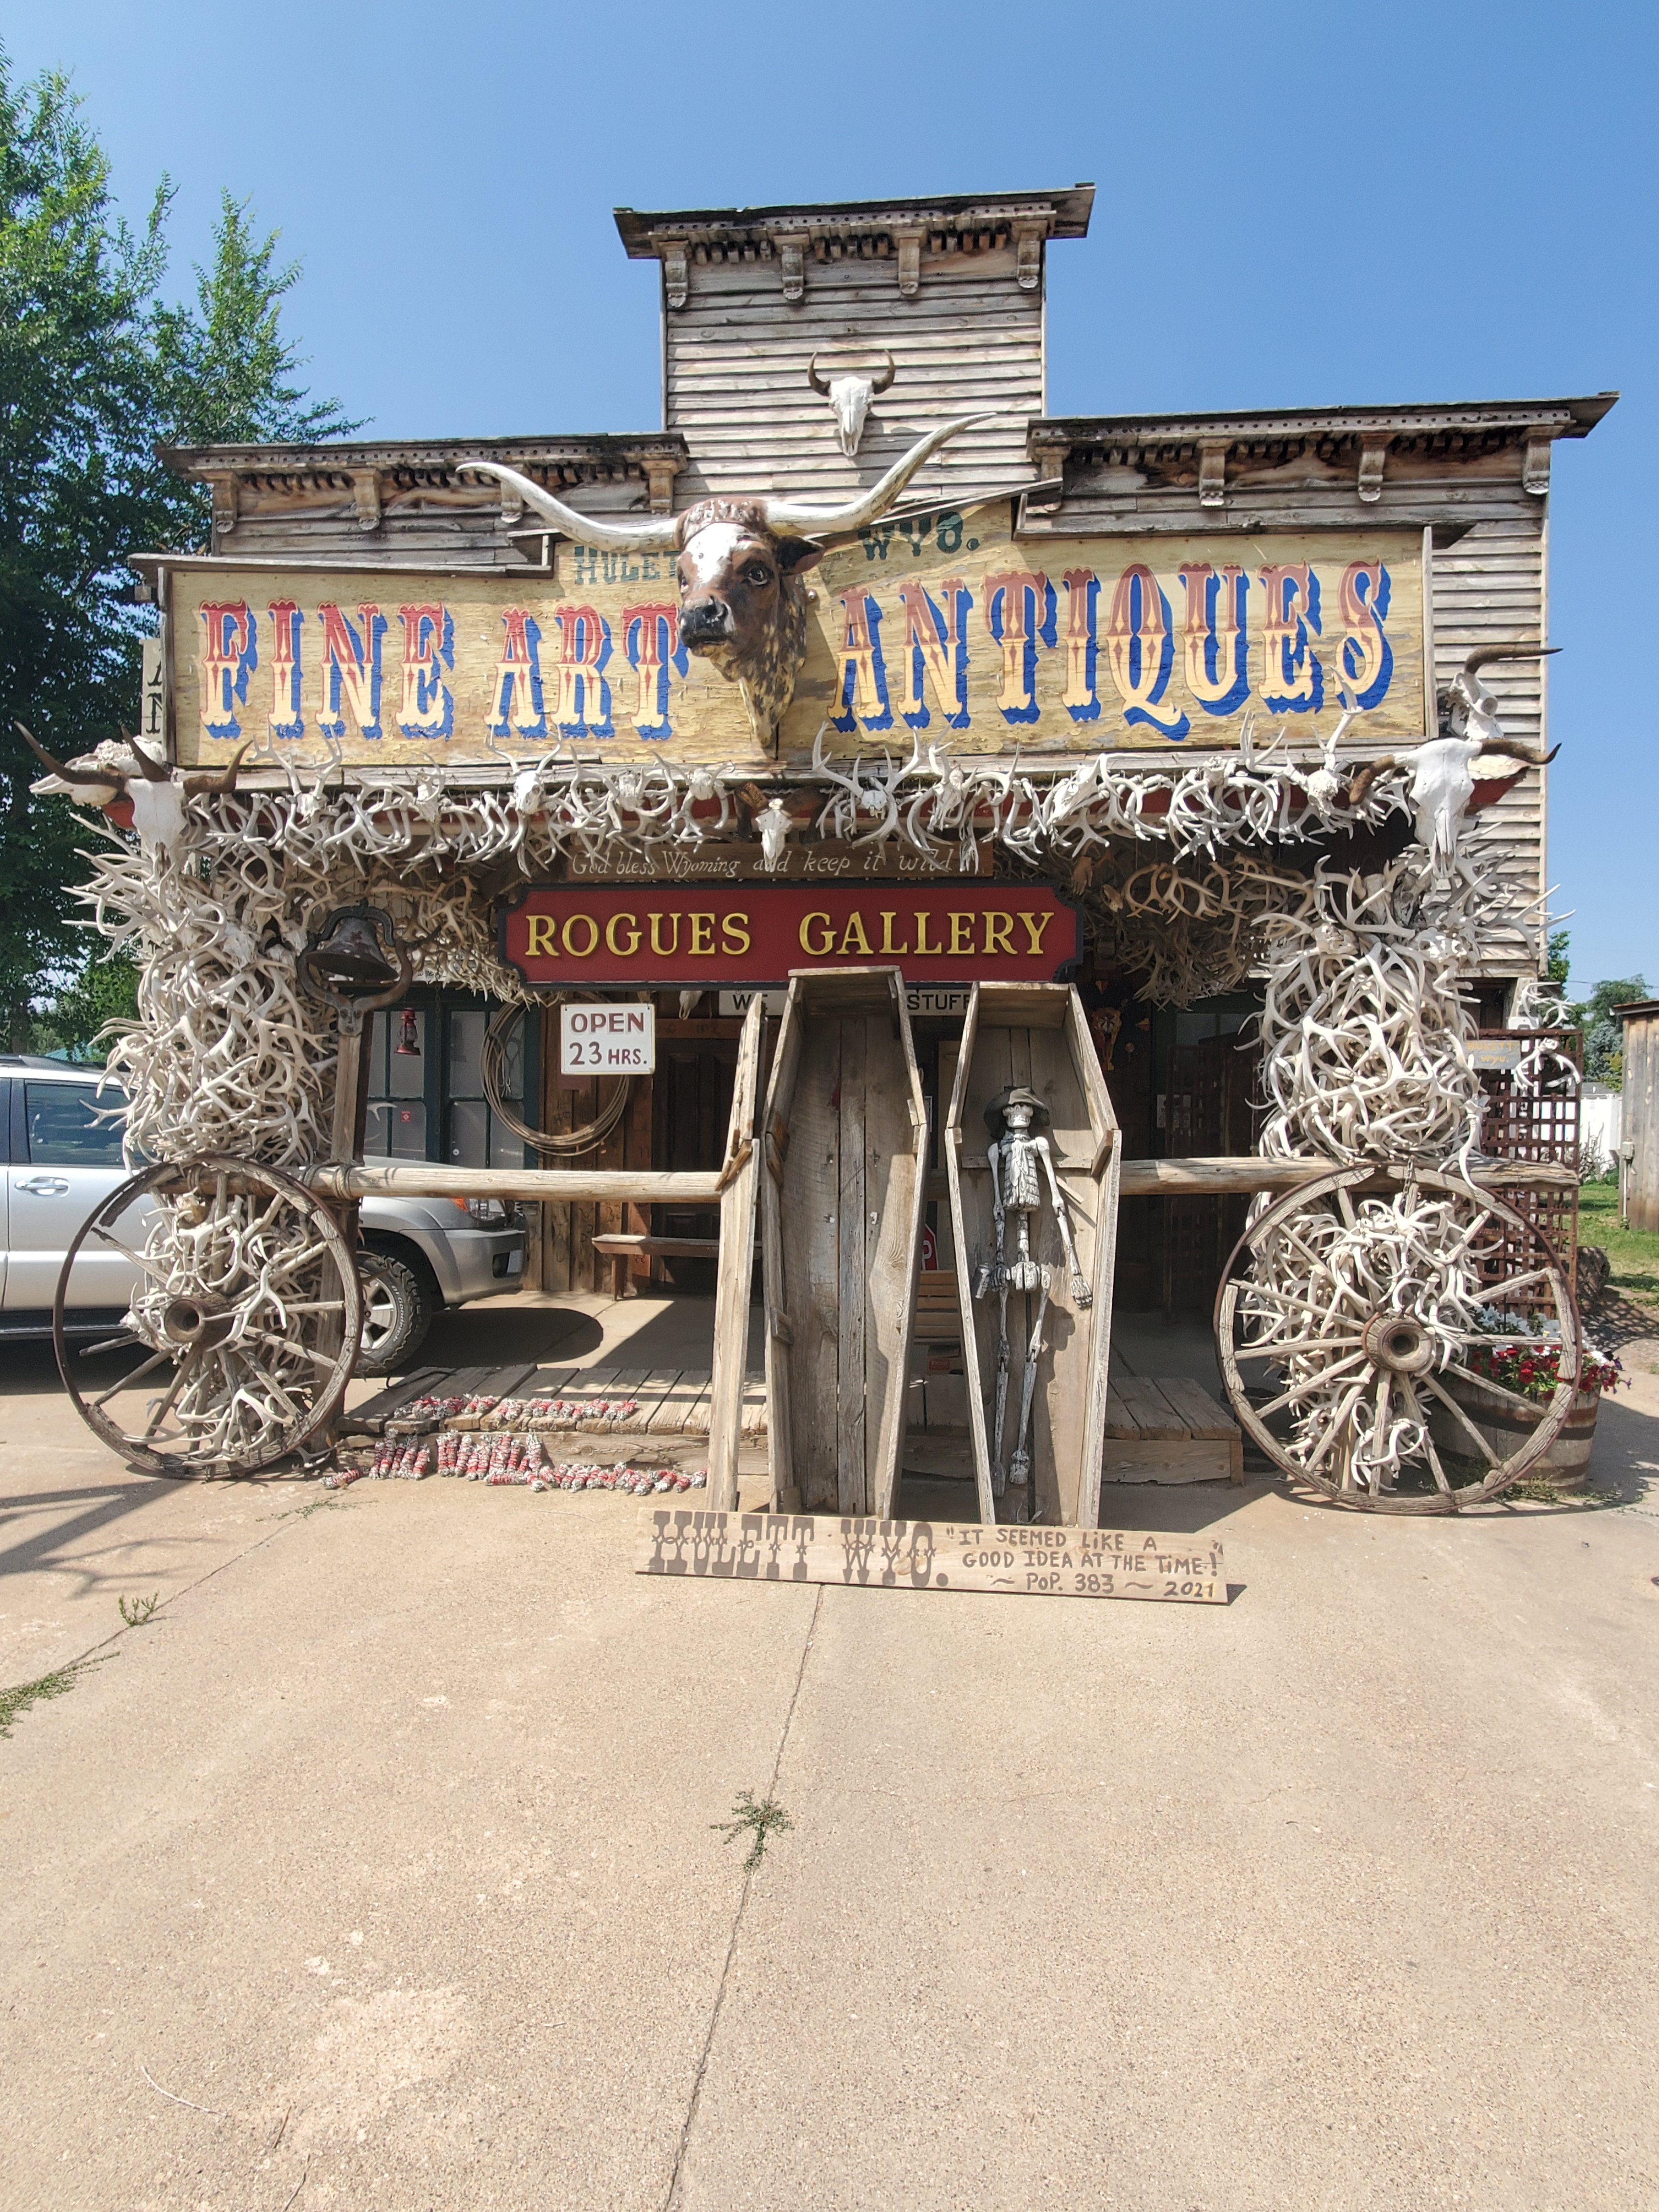
This whole area of WY is stunning really, especially to see if you are not local. The red dirt and mountainous terrain are very neat to see. We stayed in Hulett, right next door to the tower and this town was definitely unique if you’re looking for a place to stop. There is an antique store there with unique Native American artifacts. The Best Western in town is very rustic and nice, with a pool. And the local cafe was delicious.
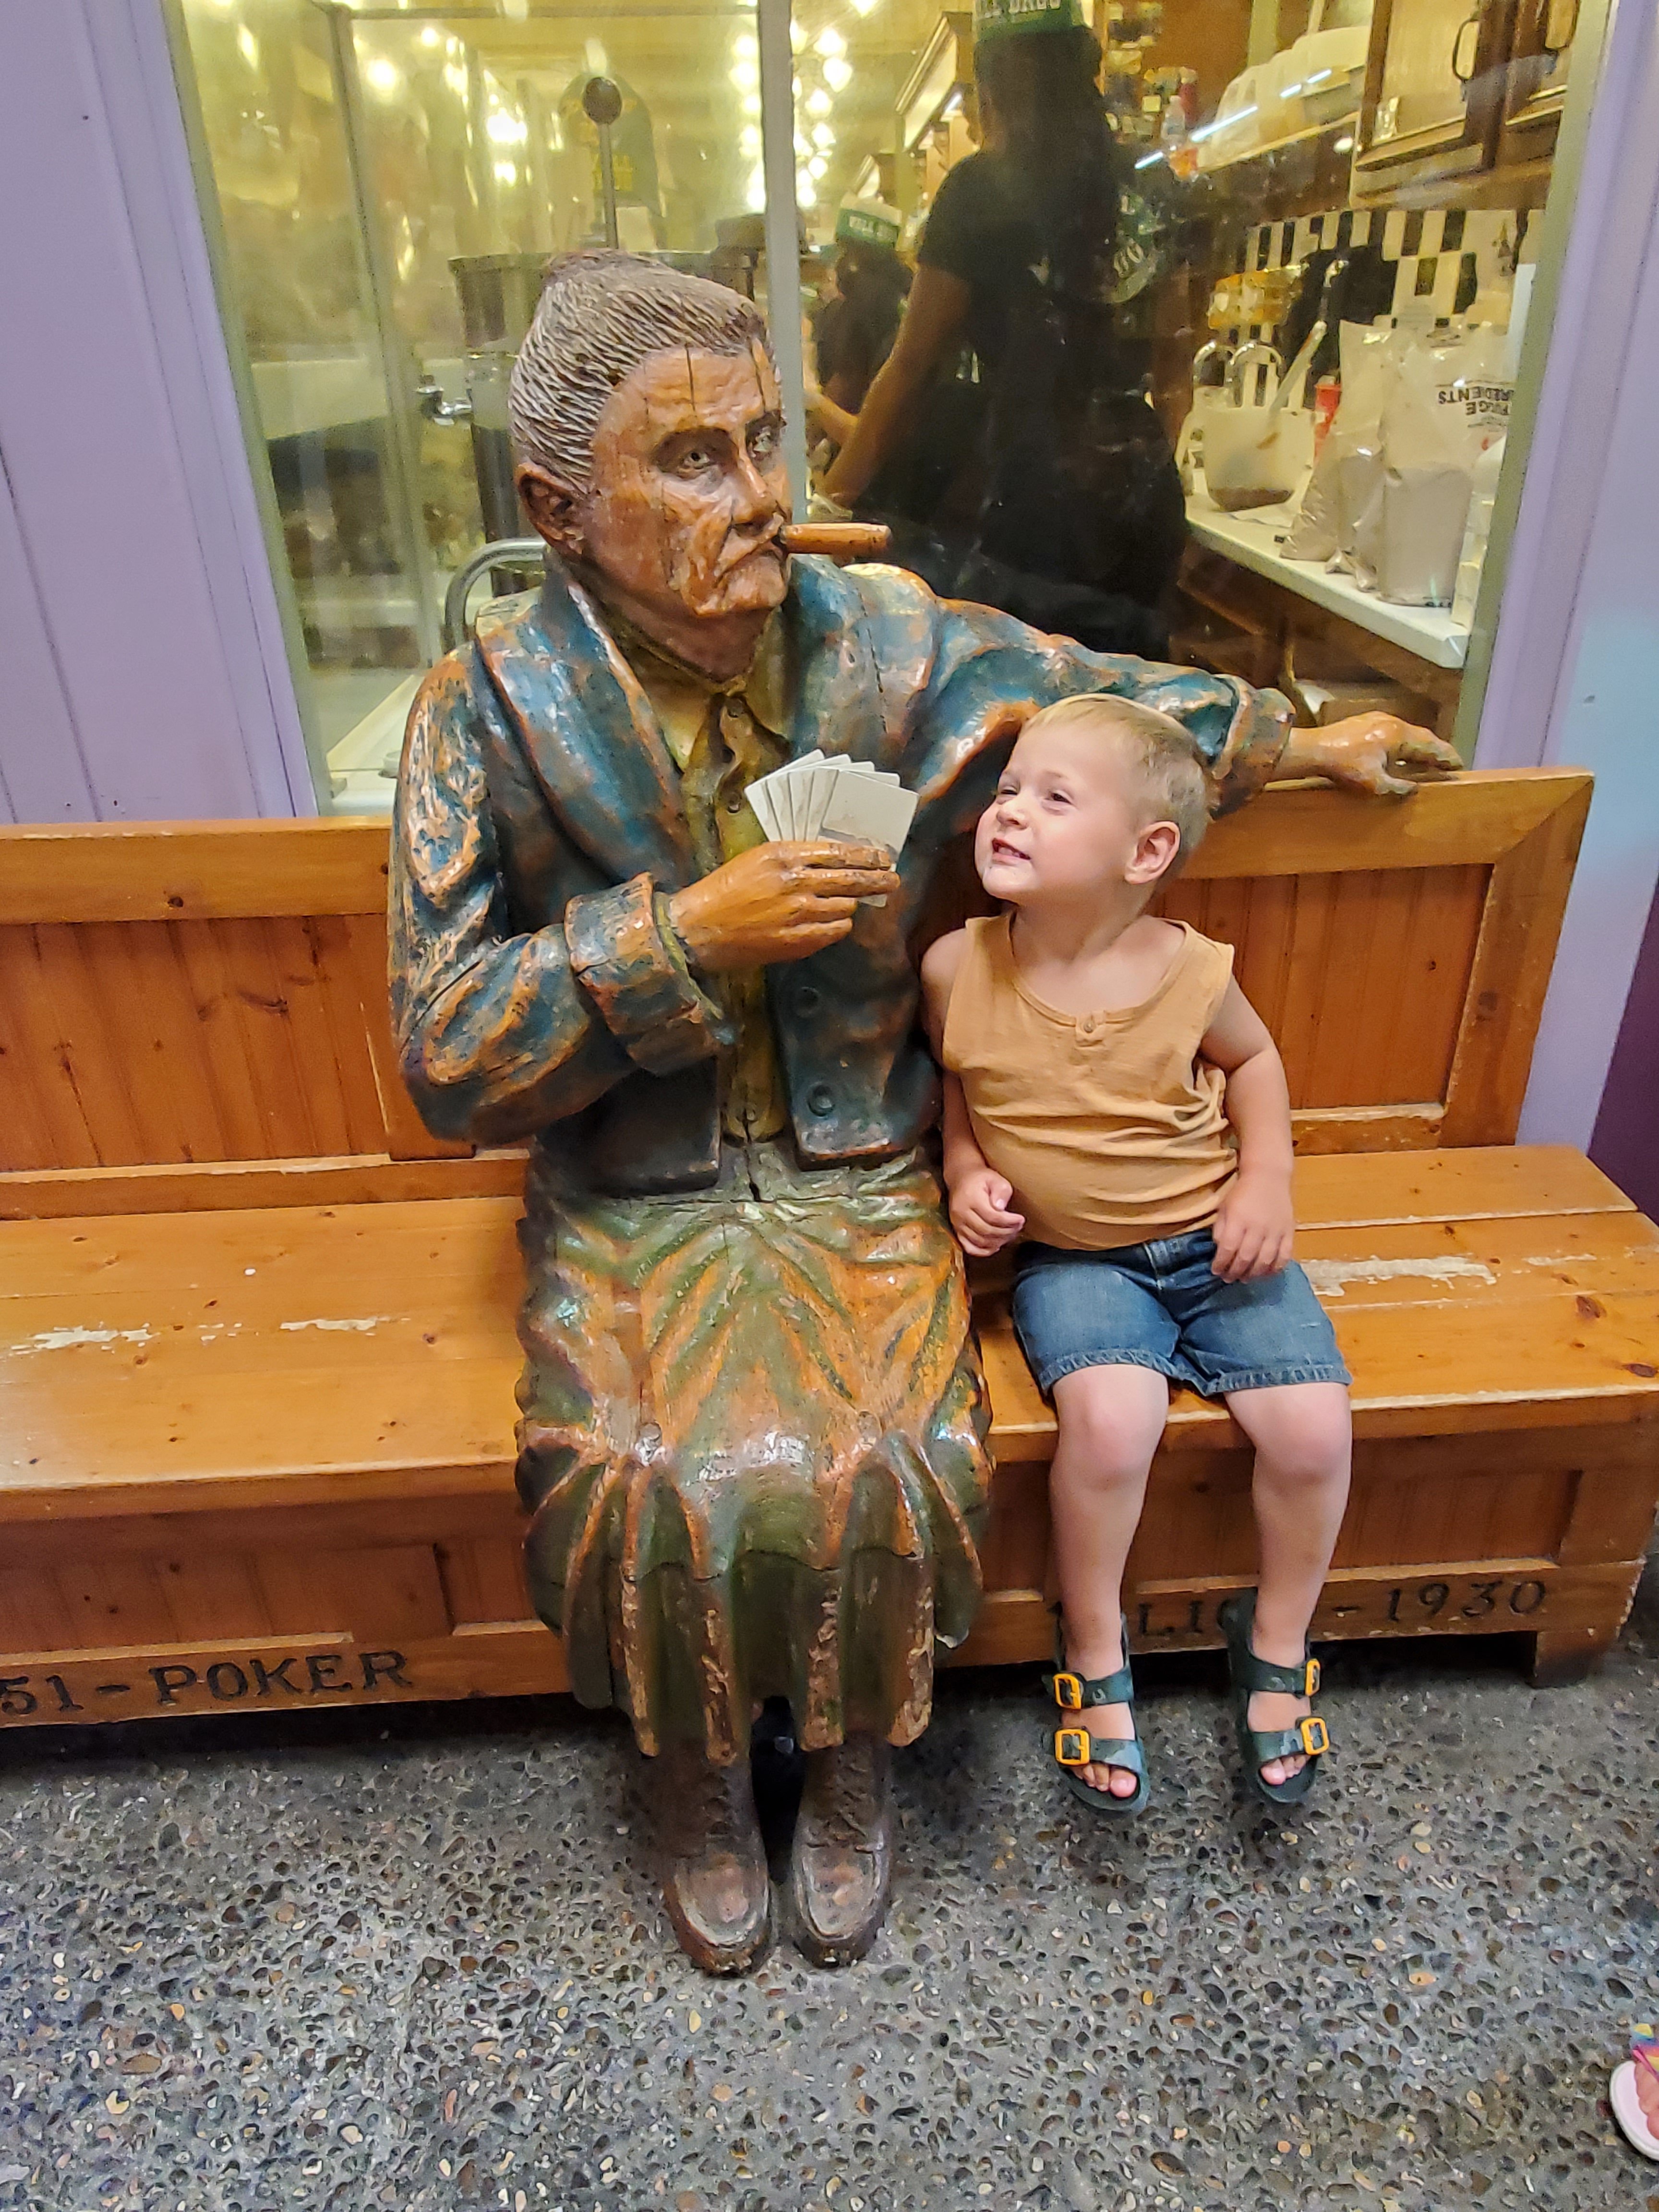
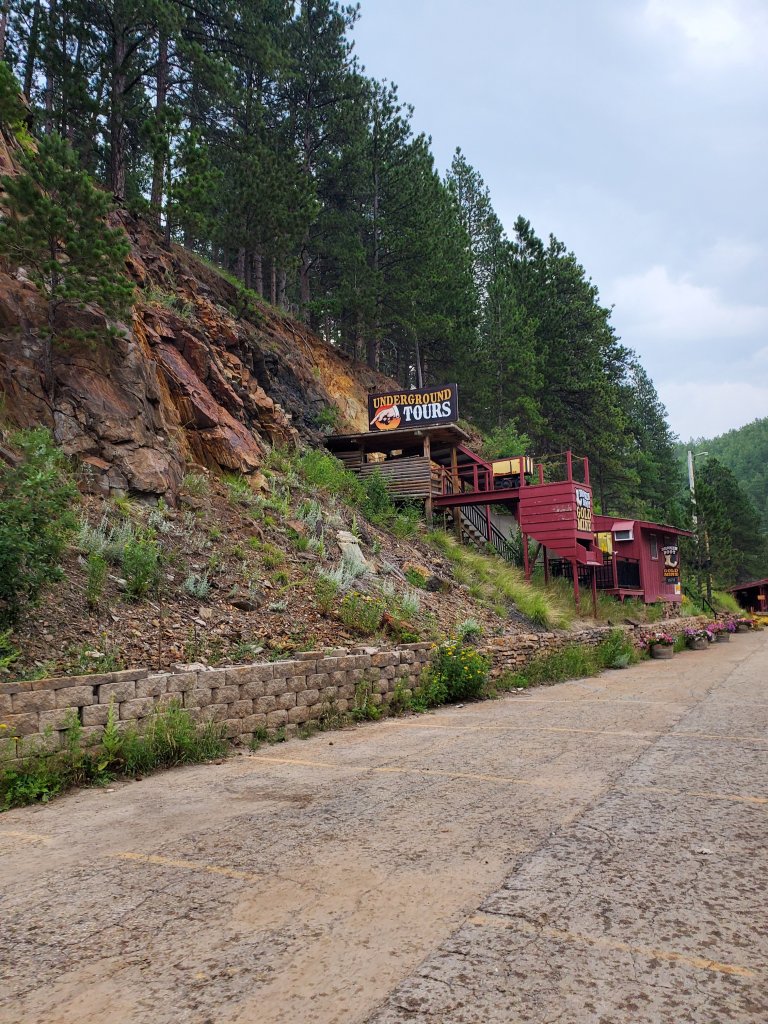
If you have headed out to WY from Mt. Rushmore, Deadwood is on the way. I recommend stopping here if you’re on adults trip. The gambling and drinks life there looked very fun. It’s not a horrible spot to stop with kids, but not a must do. The Broke Boot gold panning mine sounded super cool with kids. However, their website did not say we had to book in advance and since we did not, we were SOL. We also planned to see a shoot out there with the boys. They only do the shows on Saturdays and Sundays and we were there on a Friday. My fault, as this is on their website.
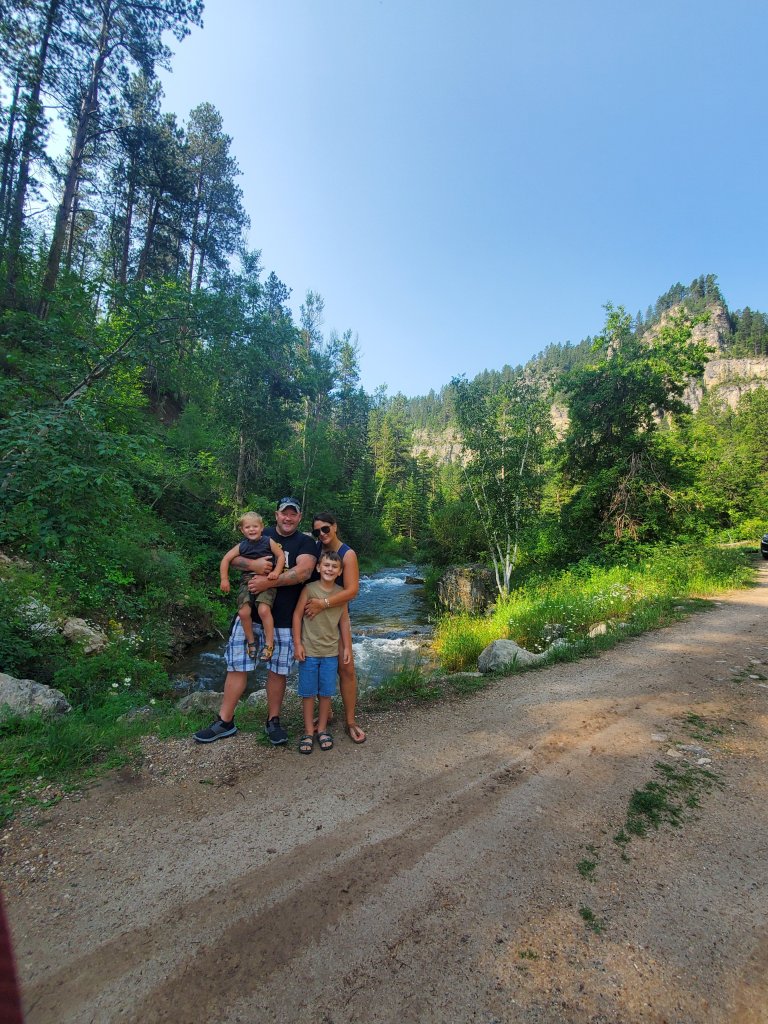
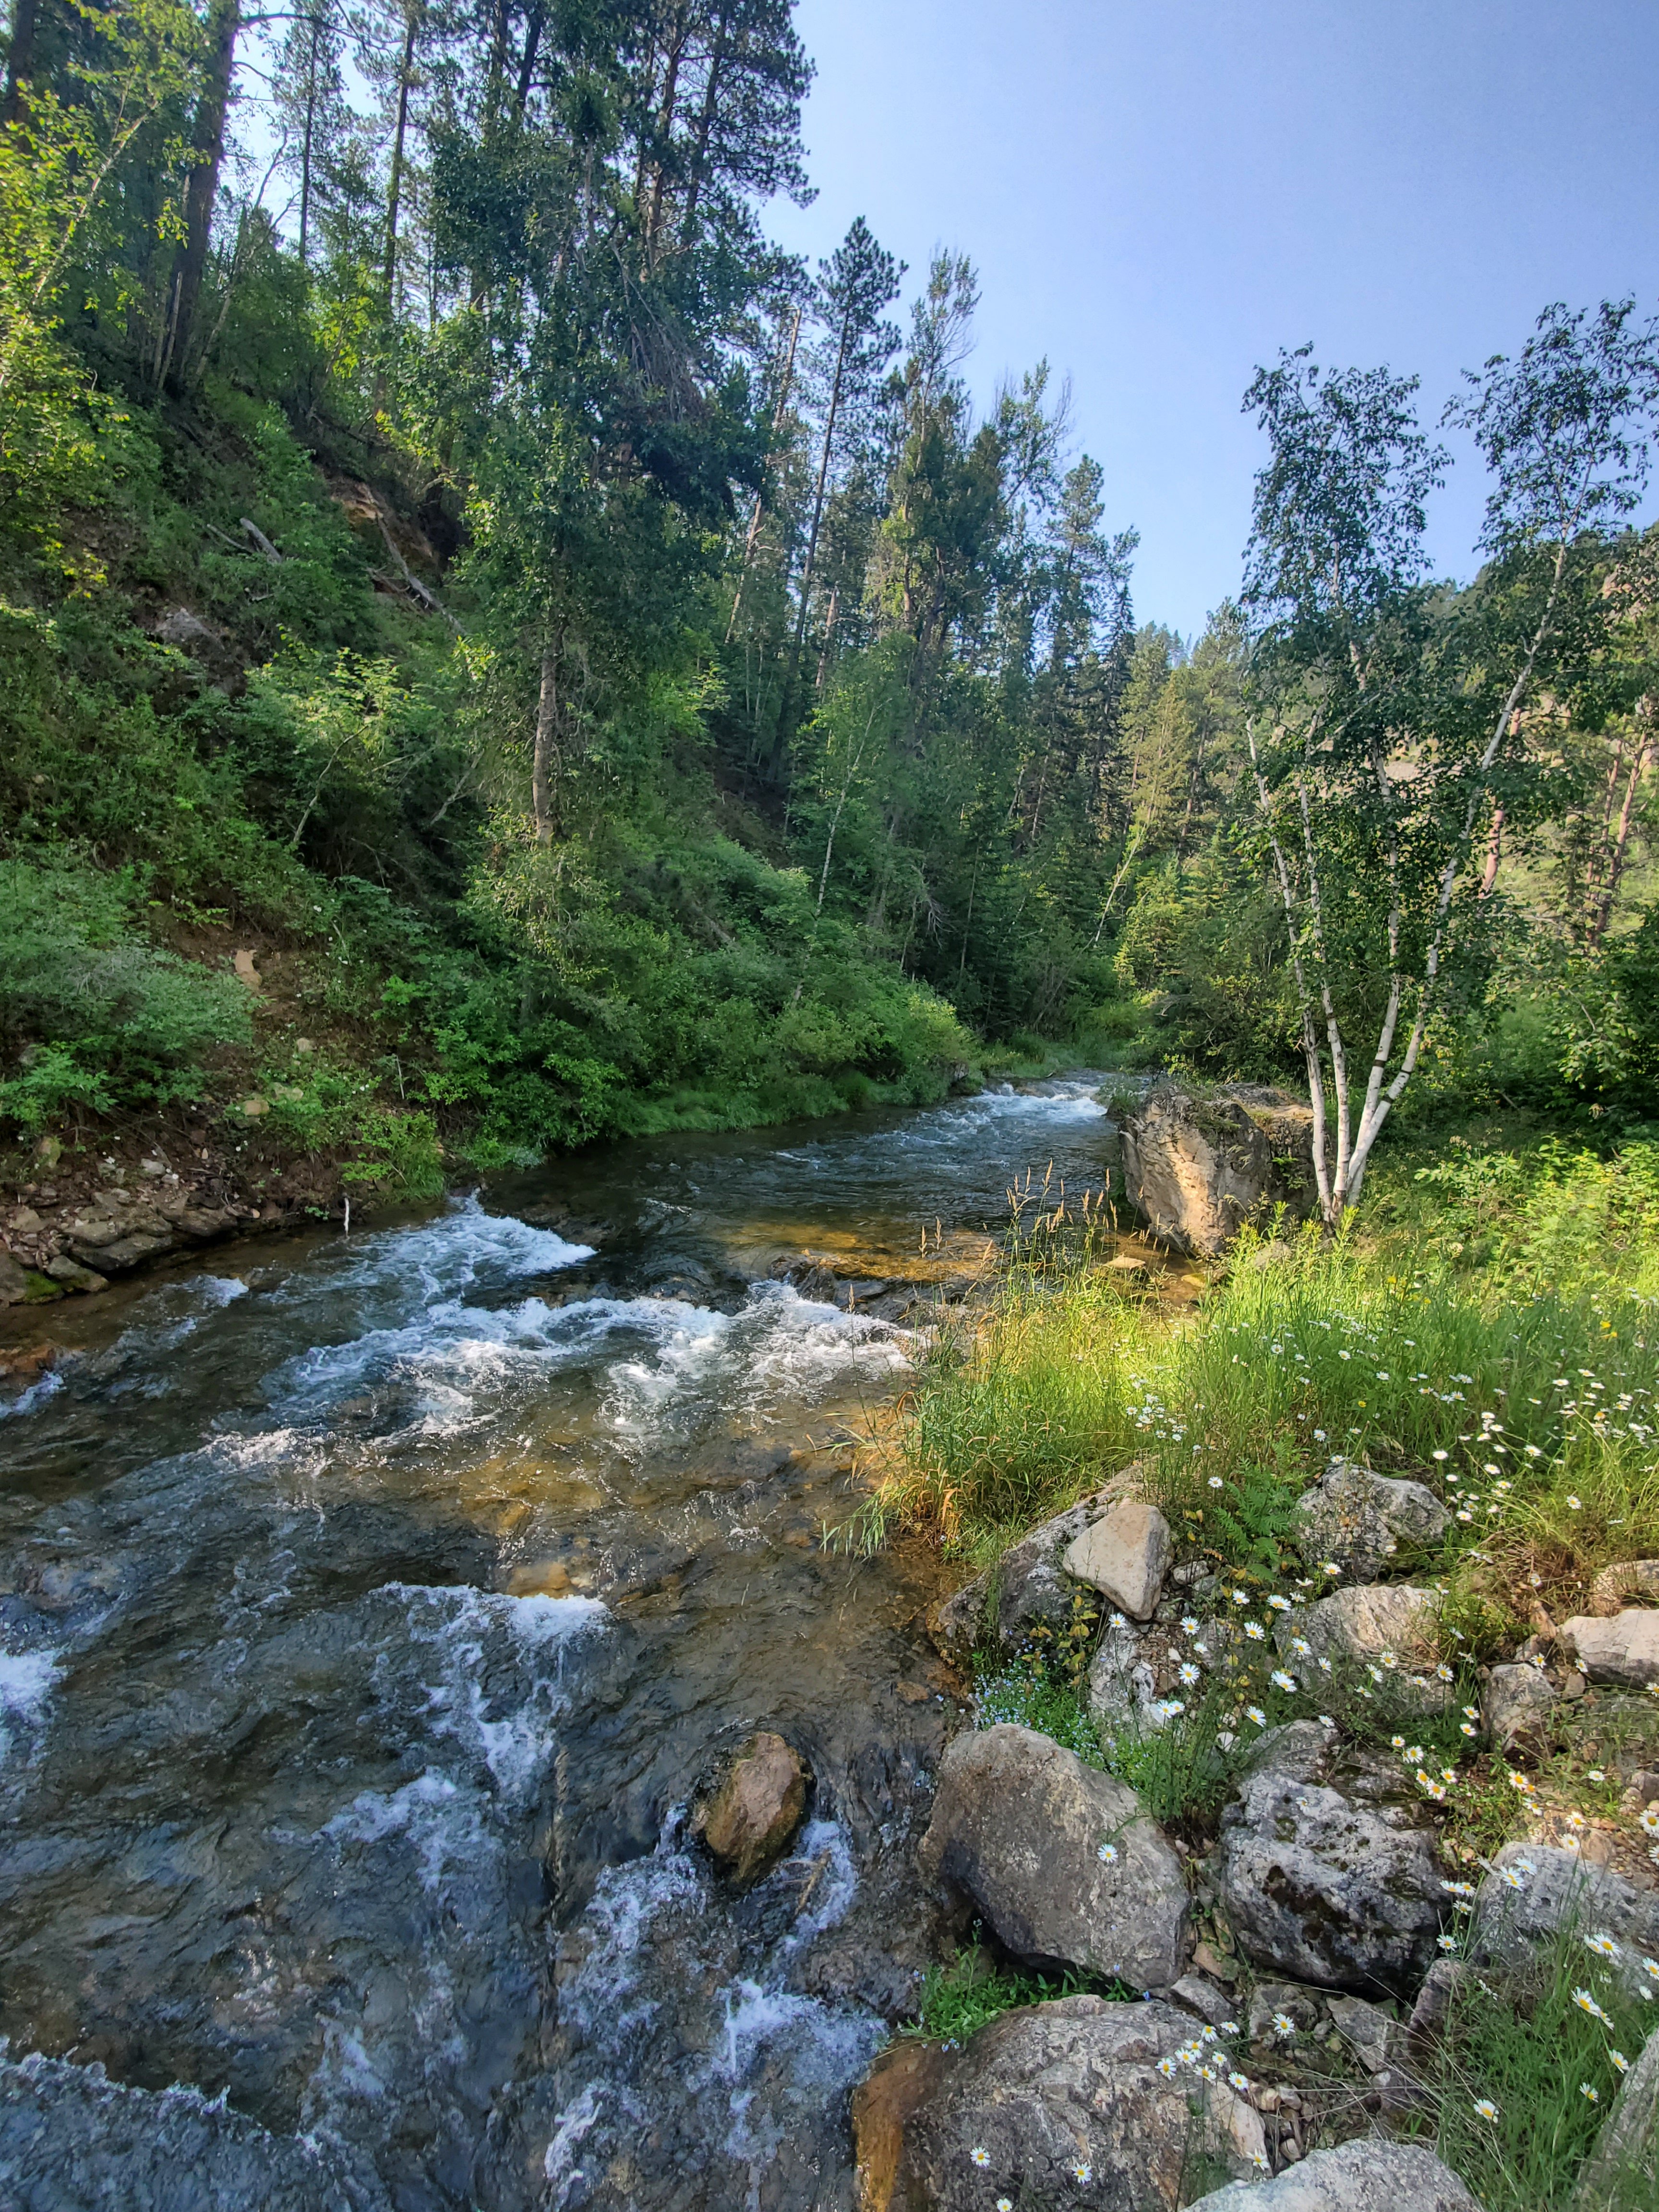
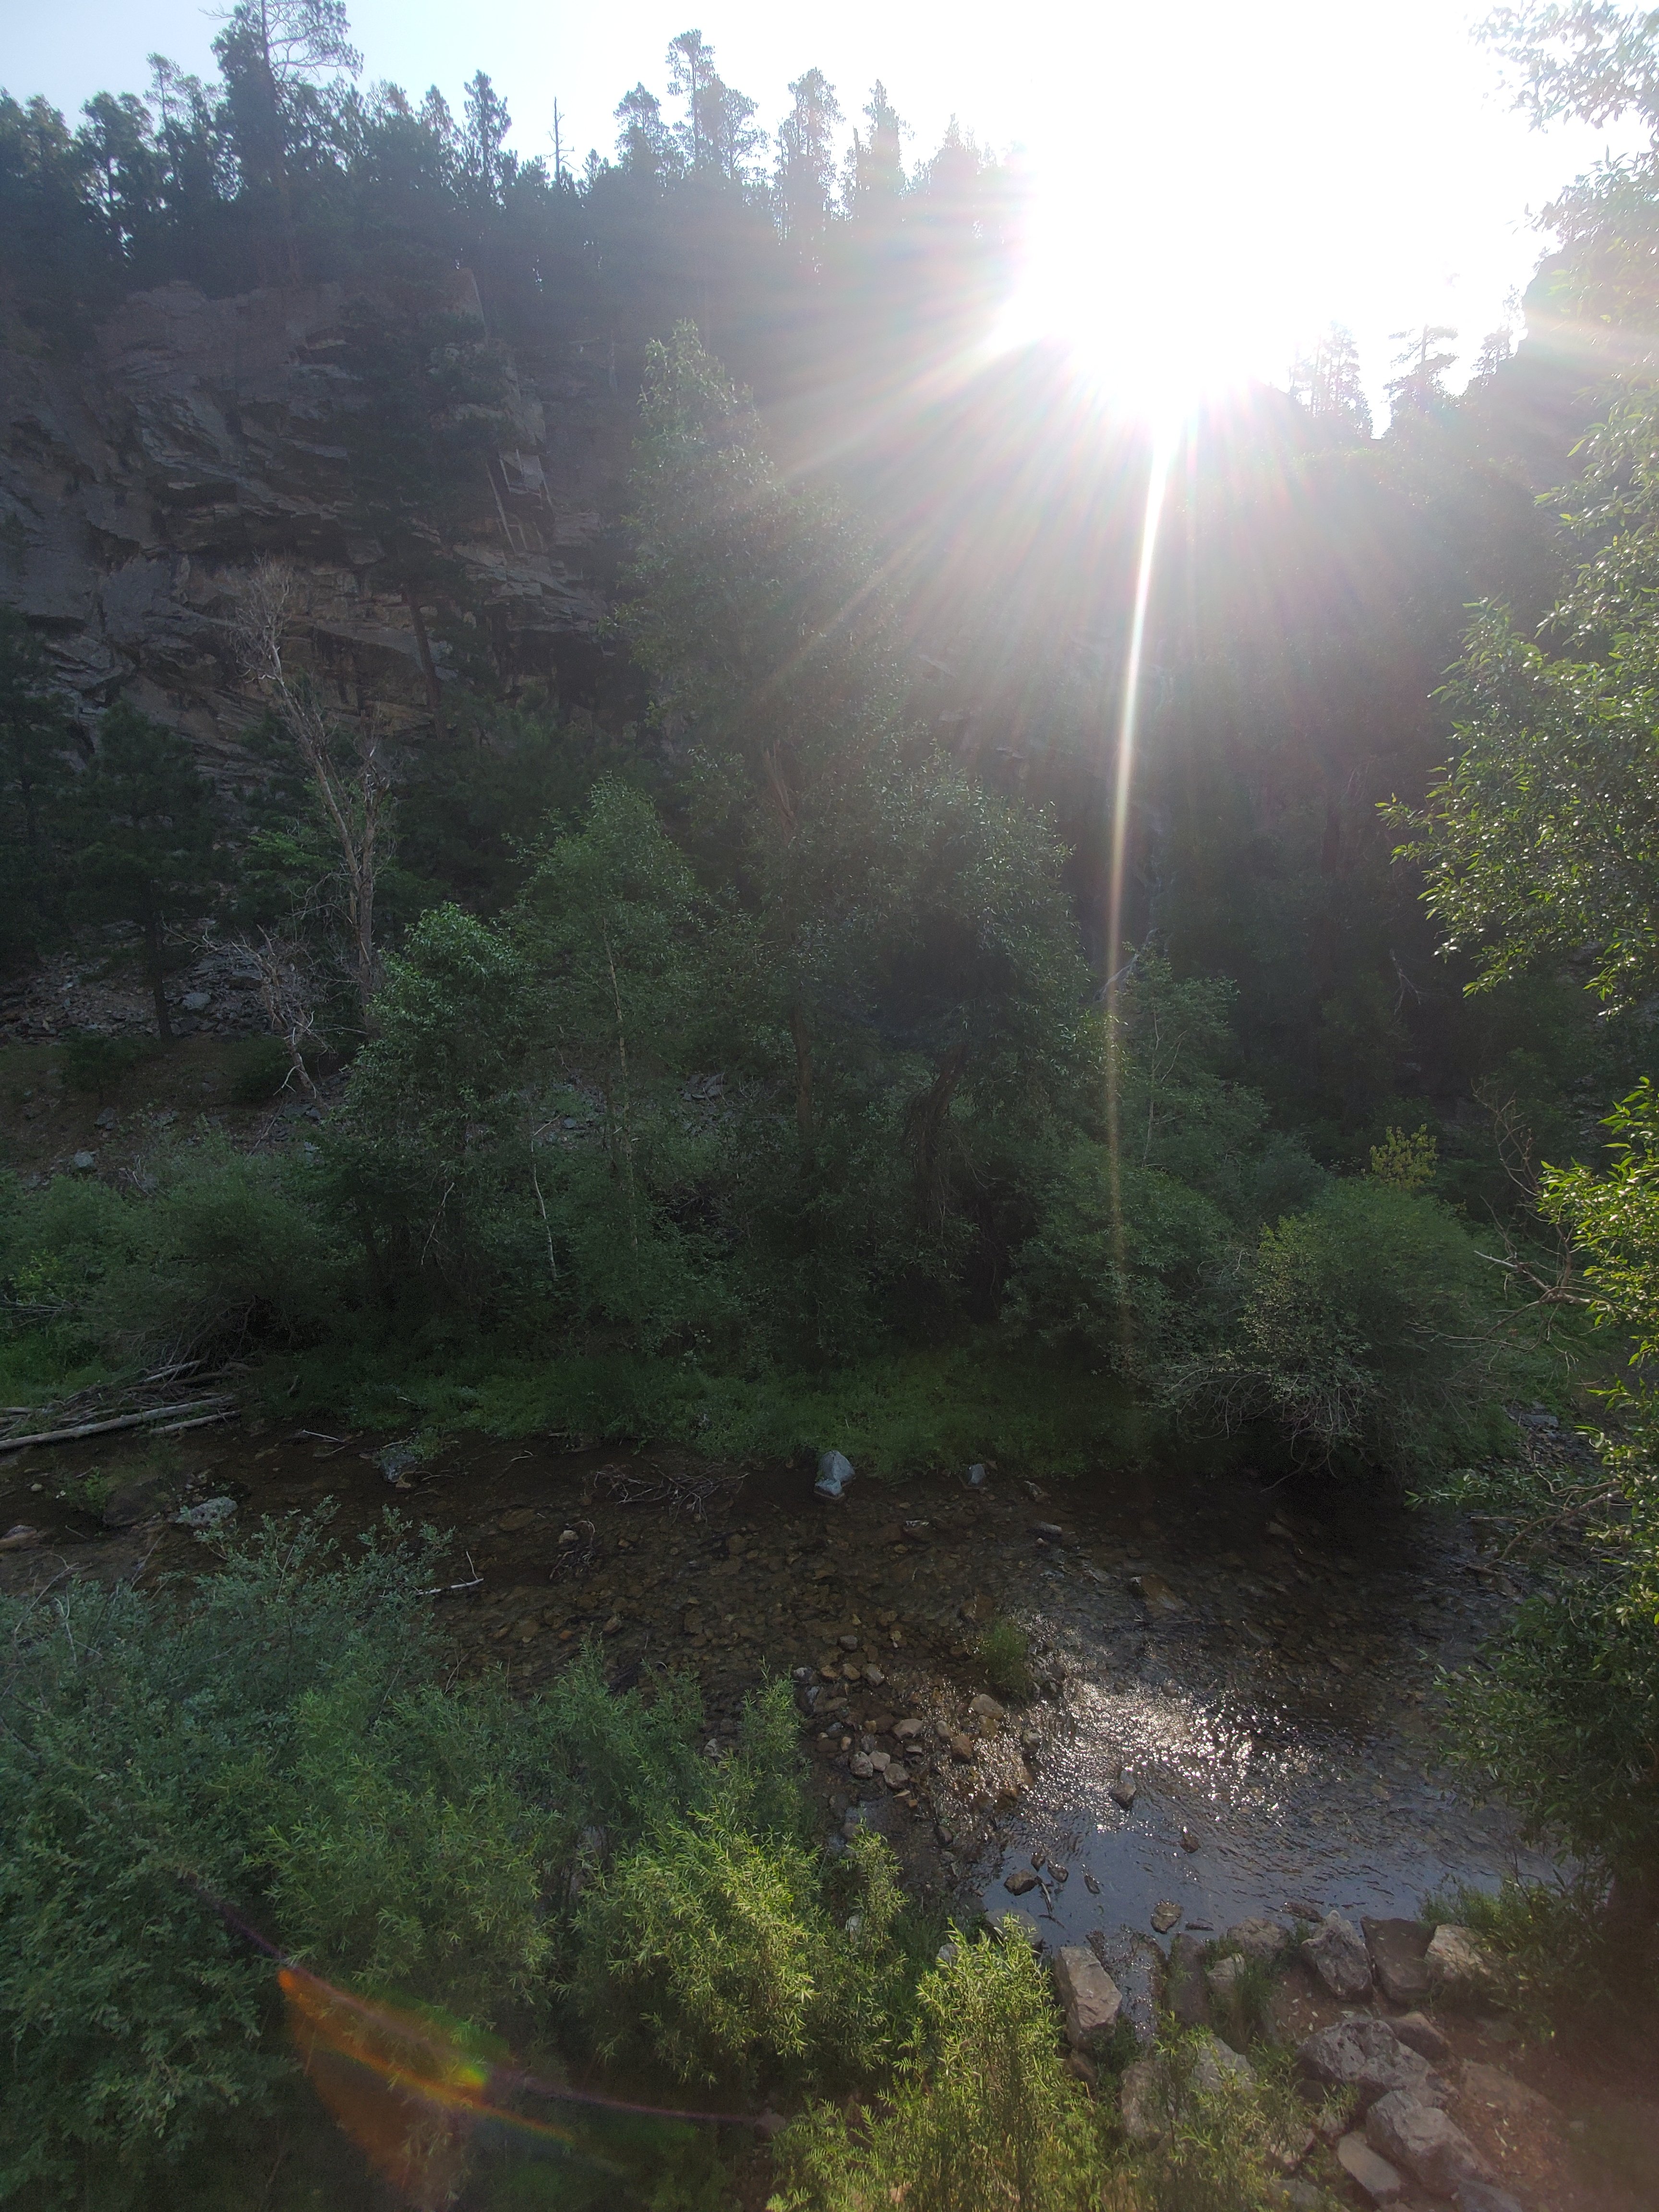
Also on the way out if heading west is Spearfish Canyon. Definitely drive the scenic byway here. Stop for some photos and explore. It’s just amazingly gorgeous out here. We did hear that there are mountain lions when off the paths, but we did not see any. This you don’t want to miss.

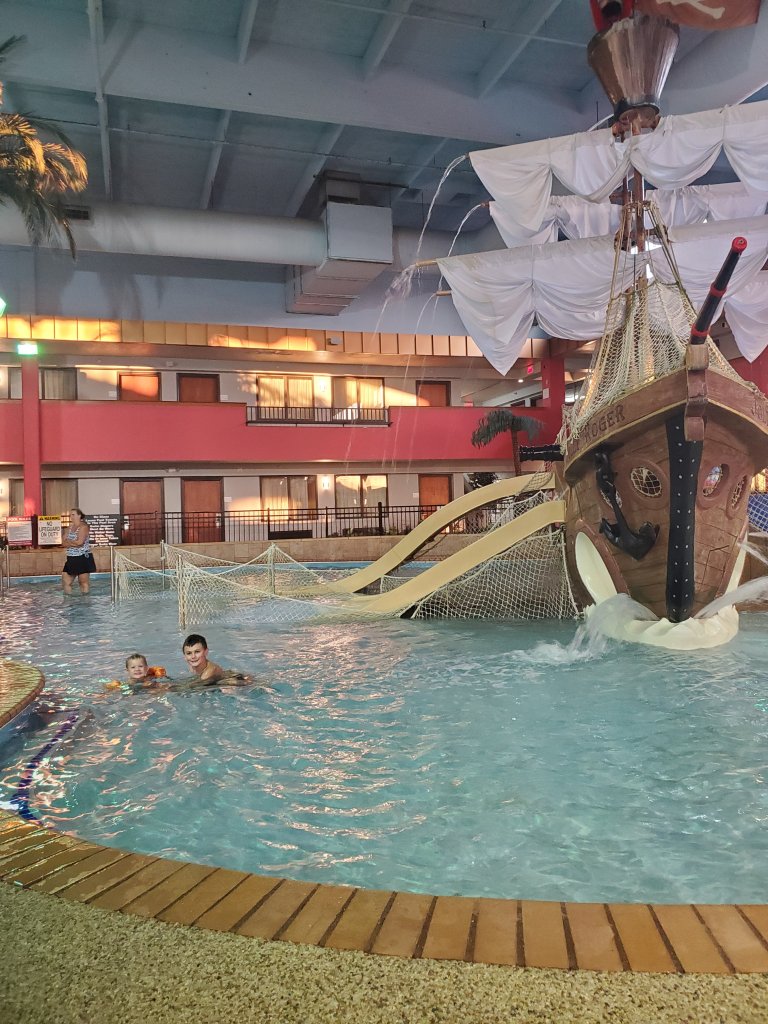
If your path take you East to Souix Falls, SD on the way in or out, we loved the Ramada there. They have a little water park. Kid win!
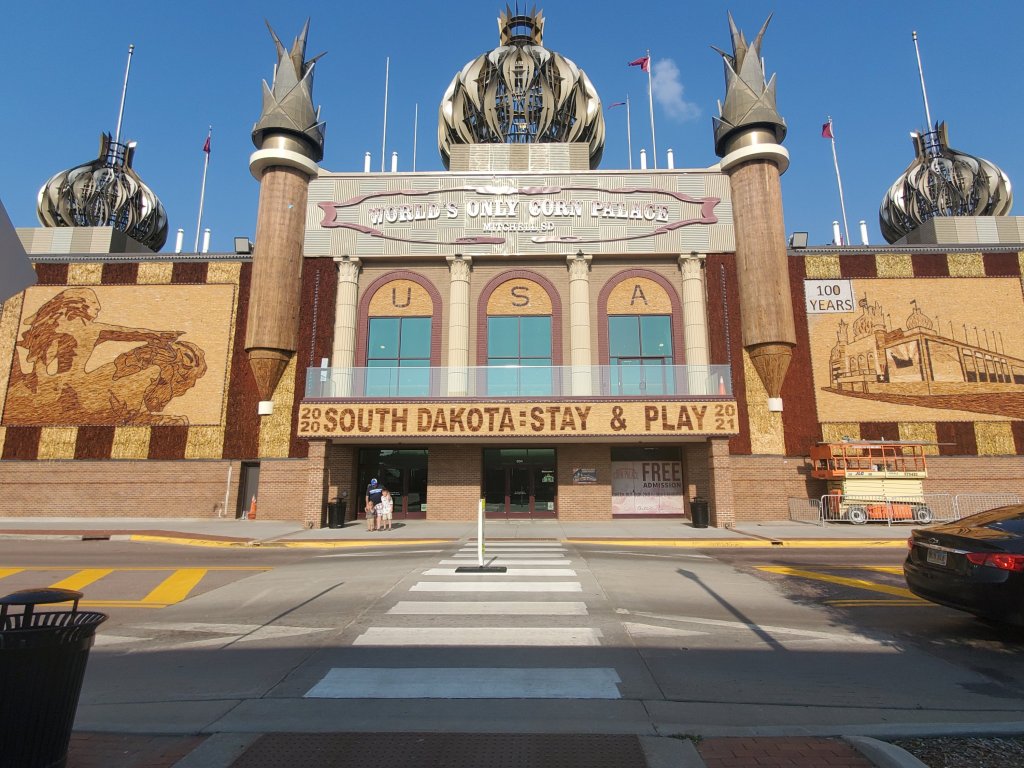
Another stop we had mid-South Dakota was Mitchell. We stayed here on our way out. This is home of the Corn Palace. It’s neat. The kids were impressed. Fun dining in town. It’s not a must see, but makes for a good place to stop if you need to!

Hitting Minnesota on the way? The town of Blue Earth is home of the real Jolly Green Giant. Great place to stretch! The even have a little sound park!

Hope this helps a little bit! If you are the get out and explore or hike type of fam, bring a fee baggies and a permanent marker for any treasures the kiddos find!
XX,
Jess
Quick Paint Job
Winter is always my dreary time. Usually I don’t seem to get much done. But lately, I have been on a roll of projects! Last week I whipped out a tiny and speedy paint project. I used the same charcoal chalk paint from the small wall in the kitchen and painted the opposite facing wall in the dining room. I didn’t like the green, but love this dark, fresh color now! Here is the (messy) before:

Check out the after (forgive the Christmas decor that wouldn’t normally be there :)) :


And I just adore the new canvas of B! I’m even thinking about painting the small chunk of wall going up the stairs behind this wall. I think that will balance everything out well. Small bits at a time. After all, I have to paint after little man goes to bed 🙂 What do you think?!

One More Office
Things have been busy. Extremely busy. But, I have been productive, and coming up in the next week or so I do actually have some updates and projects to share! I finally started a new job in Iowa and have settled in living in our new home all the time now. This has kept me on my toes, and also been stressful, but at the same time I have been able to spend more time in our home and accomplish A LOT!
So, to tide you all over I wanted to share another adorable office I came across on VT Interiors blog. And, stay tuned for some peaks and projects around our house! 🙂

Glam Bedroom Chair Love
I came across this bedroom and just adore this black and white chair. No, I adore the whole glam little bedroom.

See the whole sweet room here.
My Perfect Bedroom
On Apartment Therapy today I saw this gorgeous black and white chair by Ethan Allen. First I drooled (we all know how much I love black and white furnishings, right?) and then I headed over to the Ethan Allen website to check out their new lines.
More drolling ensued. Before long I had picked out what my perfect bedroom in the new house should look like.
The master bedroom in our new 1891 house is through a walk-through closet (very cool!) and is then sunken below a couple of steps. There are raw beams overhead, and even a little stained glass window on the wall with a peak. Yes, its very neat.
So, this Ethan Allen room that I spotted had my mind combining my love of shiny black furniture, black and white prints, and raw, rustic wood features. Here she is:

![]()
Gorgeous, no? Actually, the Ethan Allen website had a ton of beautiful images, ideas, and products! Check out more of the line here: http://www.ethanallen.com/shop_by_room/bedrooms
(No, I’m not paid or sponsored in any way by Ethan Allen. Although maybe I should be, becuase I’m in love! 🙂
Old Chair Becomes New Chair Love
About a year ago I was given this kind of ugly old chair by a friend who knew I had a thing for chairs and also a thing for redoing ugly vintage pieces. The chair sat in my garage just waiting for me to be inspired. And finally… I have a new dining chair!
Here is the funky chair before:

This baby was probably gorgeous is its day, but the orange had to go. And the finish on the wood had also seen better days. So, I got to work. I first unscrewed the cushion from the chair from underneath. Then I had to pry off about a million staples. But, this step proved to be quite inspiring. You see, I am a beginner reupholster-er. This chair gave me a bit of creative insight. Once I started prying off the staples I realized that not only was the fabric cover itself tacked down, but also the piping around the bottom of the cushion was a separate piece. This was a strip of fabric folded in half and stapled around the edge. Easy!
Here is a look at the cushion and staples. You can also see the strip of piping.

And here is my new dining chair, including my take on this simple piping idea!


I love how the piping contrasts with the leather fabric. The color ties in with the dining room so well. And here’s the new beauty in its place at the dining table:

The fabric on the table is another project to be coming soon! I am working on a fun table runner to brighten the place up for summer!


Black Kitchen Inspiration
The kitchen needs some help. I can’t change the fact that it’s super small and always will be. But, I can give it a bit of a facelift. This is in the works. I already have all the plans in my head. Yes, I want to paint the cabinets black. Black. It doesn’t matter how many people doubt me now, because I already have my mind set. But, just to put other people at ease, I thought I would share Nate Berkus” gorgeous black cabinet kitchen!

Gorgeous, no? I totally believe I can pull this off too. Stay tuned!
See it posted originally here: www.housetweaking.com
My Own Chair Love
Here’s a chair that I inherited and eventually redid. I love these basic old wood chairs, but the white chipping paint and scratches on this one were in need of some help.

First I sanded the chair down until it was nice and smooth using a palm sander. I then made sure to clean and dry the chair very well. I first painted the bottom portion of the legs black. Once that was very dry I taped off each leg at the same place and proceeded to paint the rest of the chair with a fun silver spray paint. The final step was an idea I wanted to try, which proved to be the most work of all. I used black nail head trim nails to form a pattern around the seat. I measure where I wanted the nails to go and made small marks with a pencil. Eventually, this step proved to be useless and I was off of my marks anyways. Ah well, trial and error with a new project. I also learned that tapping these nails in with a hammer scratched and smashed the nails, as they have a black finish on them. I found that covering the nail with a small piece of cardboard from the packaging after it was in place, and giving it one good tap with the hammer was the most effect and precise way to apply these. My pattern still ended up a little bit off, but overall I like the idea and would love to try it on one of my chairs for the shop now that I have my technique down. I lastly tied on a pink and purple vintage scarf to tie the chair into the bedroom (which you will all see eventually!) So, here she is…


What do you think?
