Guest/Play Room Transformation
When we moved in a few years ago the rooms were all boring and ugly…
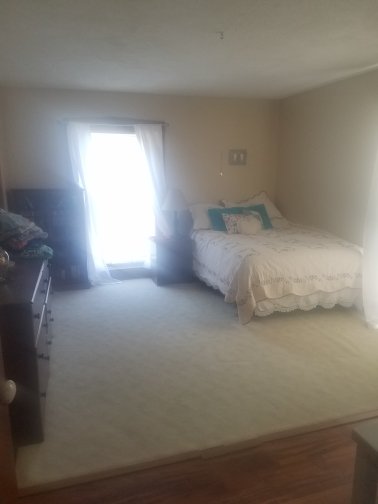
Then we painted and added some fun flair to make this one a bright teen room…

Then, the teen grew up and moved out, so we had an empty space. 💡 We had an idea! A play room. But also make it a guest room, so that we still have a space for company to sleep…
And so the room became a guest/play room.
Paint again. Tone down those walls. New floors. New furniture. Make it fun, but grown up enough for guests… viola!
We went gray on the walls, but a touch darker than normal since we have lots of sunshine in here. We did snap in wood floor, since they are durable and easy to clean. Then the fun part…
We added a wall mural from PhotoWall! What better way to keep it fun for play and interesting but adult for guests?!
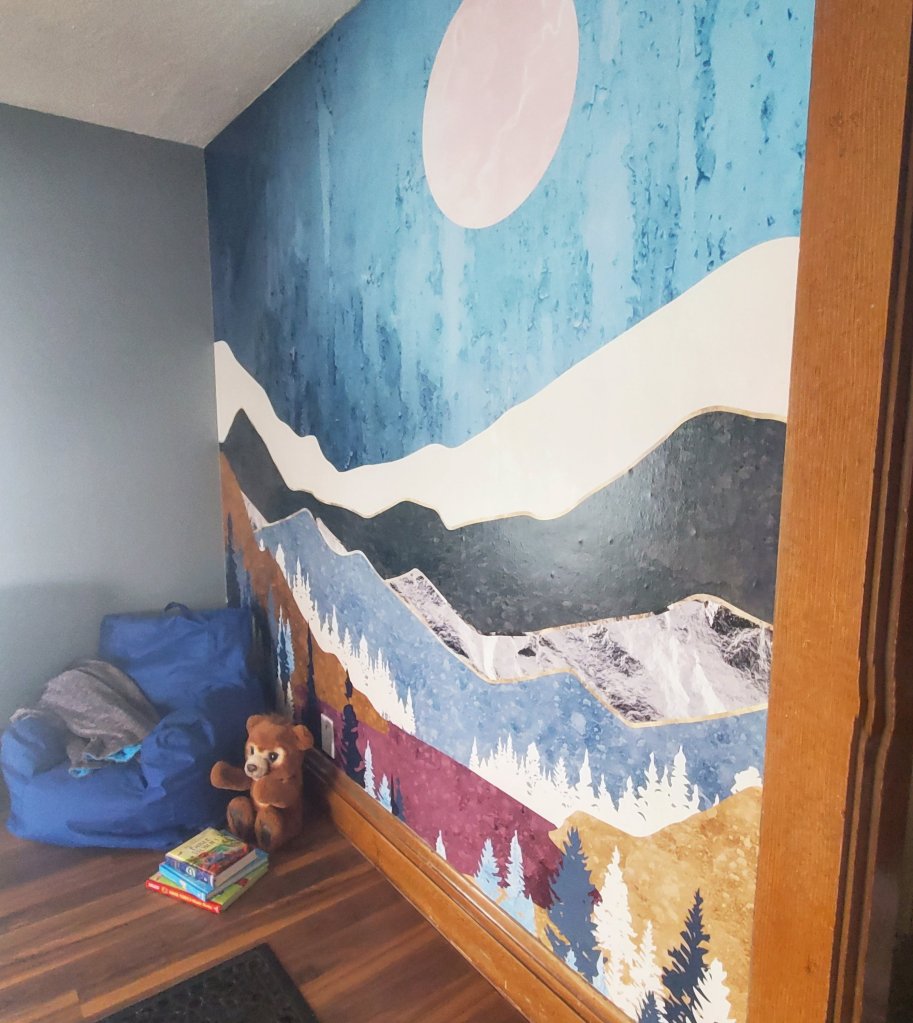

How cool is that?! It was actually super easy to install, just wallpaper in vertical strips, and it even comes with the paste. The boys are in LOVE with their new space!
You can head to PhotoWall too and use code ‘makemineeclectic25’ for 25% off any of their art, canvases, or wallpapers!

Next we will add furniture, so stay tuned…
XX,
Jess
School At Home
This year has been a wild one, that’s for sure. It’s been so different from the norm for many of us. But, one things remains the same. We want our kids to learn, and we want them to have the best opportunities possible. So, no matter what type of schooling you are doing, these ideas can be for you!
We are doing online schooling this year. Classes are via computer, but mom facilitates. Optimal? No. But we are making the best of it. My best tip so far? Find a space and make it for learning. Boundaries and expectations help learning go well!
You don’t need a whole room, maybe a corner, or a table, or even a certain table cloth, and when it comes out, its time to learn. I had always worked from home a lot and happen to have space in my office that I was able to convert to a learning space. Don’t worry, even if your space is much smaller, these ideas can help you too!
I have several tips for routine, but this will just be about supplies for today.
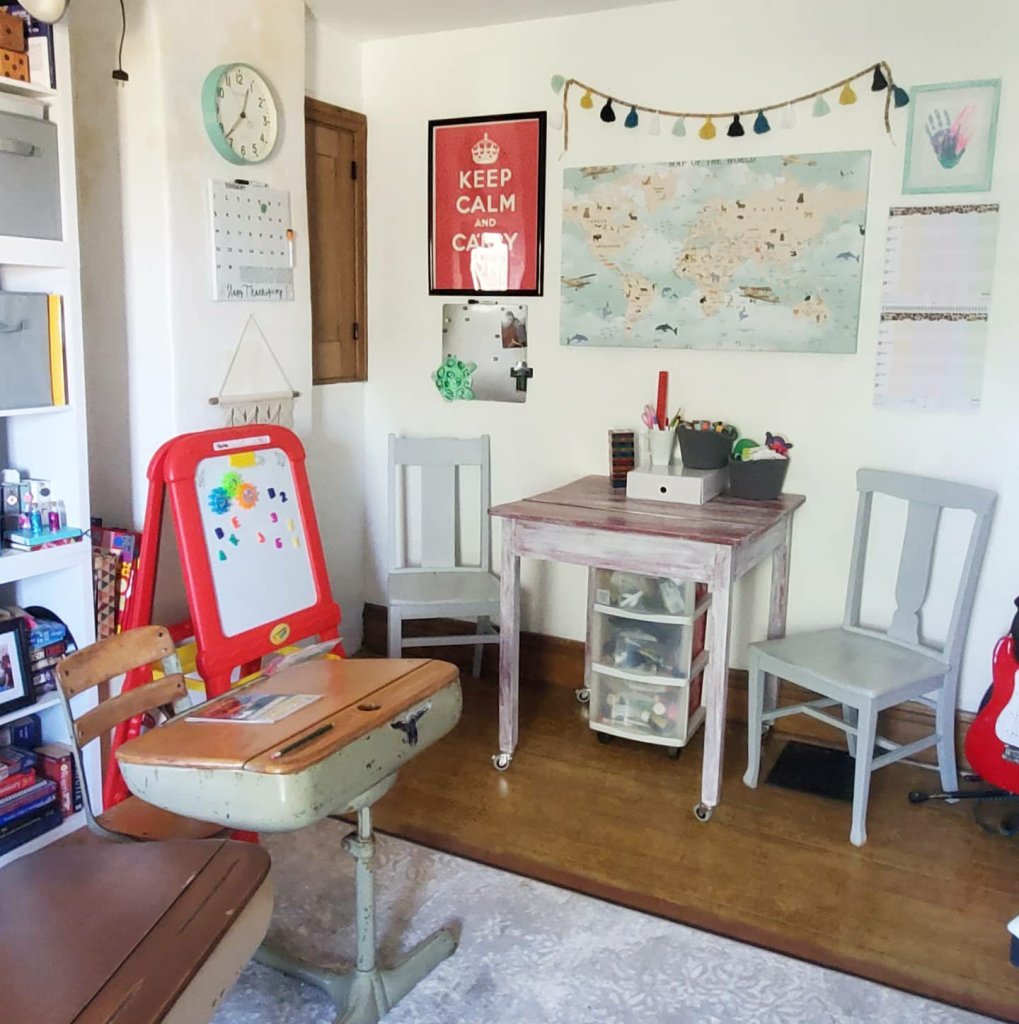
My second?! Keep it fun!! Third tip?! Get a map!
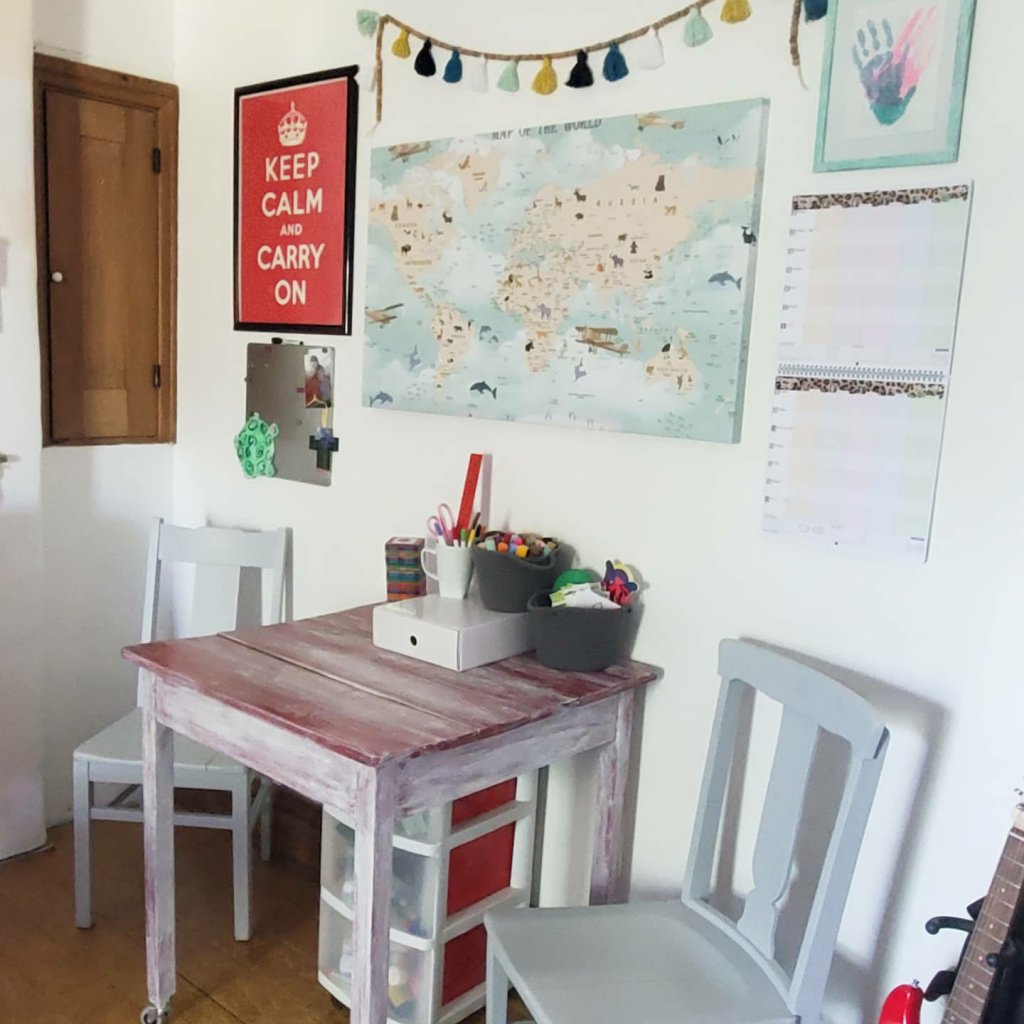
Look at how we combined both with this animal map canvas from Photo Wall! How cute is this thing?!
Photo Wall is amazing for any Wall decor really. They make wall decals, framed prints, posters, and canvases. You choose the art, the size, the material, and can even customize it! These would be amazing in kids’ rooms and nurseries, or even as an awesome accent wall!
Its details like this that really make your learning space fun and keep kids engaged. We knew Brantley needed a map for a lot of his Social Studies work, and looking things up on the computer really wasn’t cutting it. This map not only shows what he needs, but keeps his interest with the animals and details. He’s taken such an interest now! I plan to add a few more maps like this now too! And of course, you can fit them to your space.
Human anatomy? Plants or leaves? Turn them into a fun canvas or poster to make the learning fun!
Tip 4 & 5- Have your supplies accessible, and keep them organized. Again, your space doesn’t need to be huge, but if you can find your supplies and access them easily, you will be more likely to do so. Hands on activities teach concepts so much better. Like using the scissors, ruler, markers, paints… engages and sinks in. It could even be a tote of supplies that comes out with the table cloth when learning time is happening!
I’m no pro yet, but I can tell you that I’m learning right along with the kids. You can do it, and even better with some simple tweaks!
And back to my gushing about this map canvas, because it really is my pride of decorating the classroom. 😉 Here is my map link. And use code makemineeclectic25 on your purchase from Photo Wall too! Your walls will truly thank you, in a classroom or not!

What tips would you add for schooling at home?!
XX,
Jess
Frame Hanger Project
I love old picture frames. All kinds. I’ve got a hallway of empty ones upstairs. Sometimes I fill them. Sometimes I paint them. And sometimes I do something fun with them…

This frame I once painted black with a silver line. Years ago. I was over it. (Ignore the ugly paneling in the upstairs hall we hope to rip out soon)
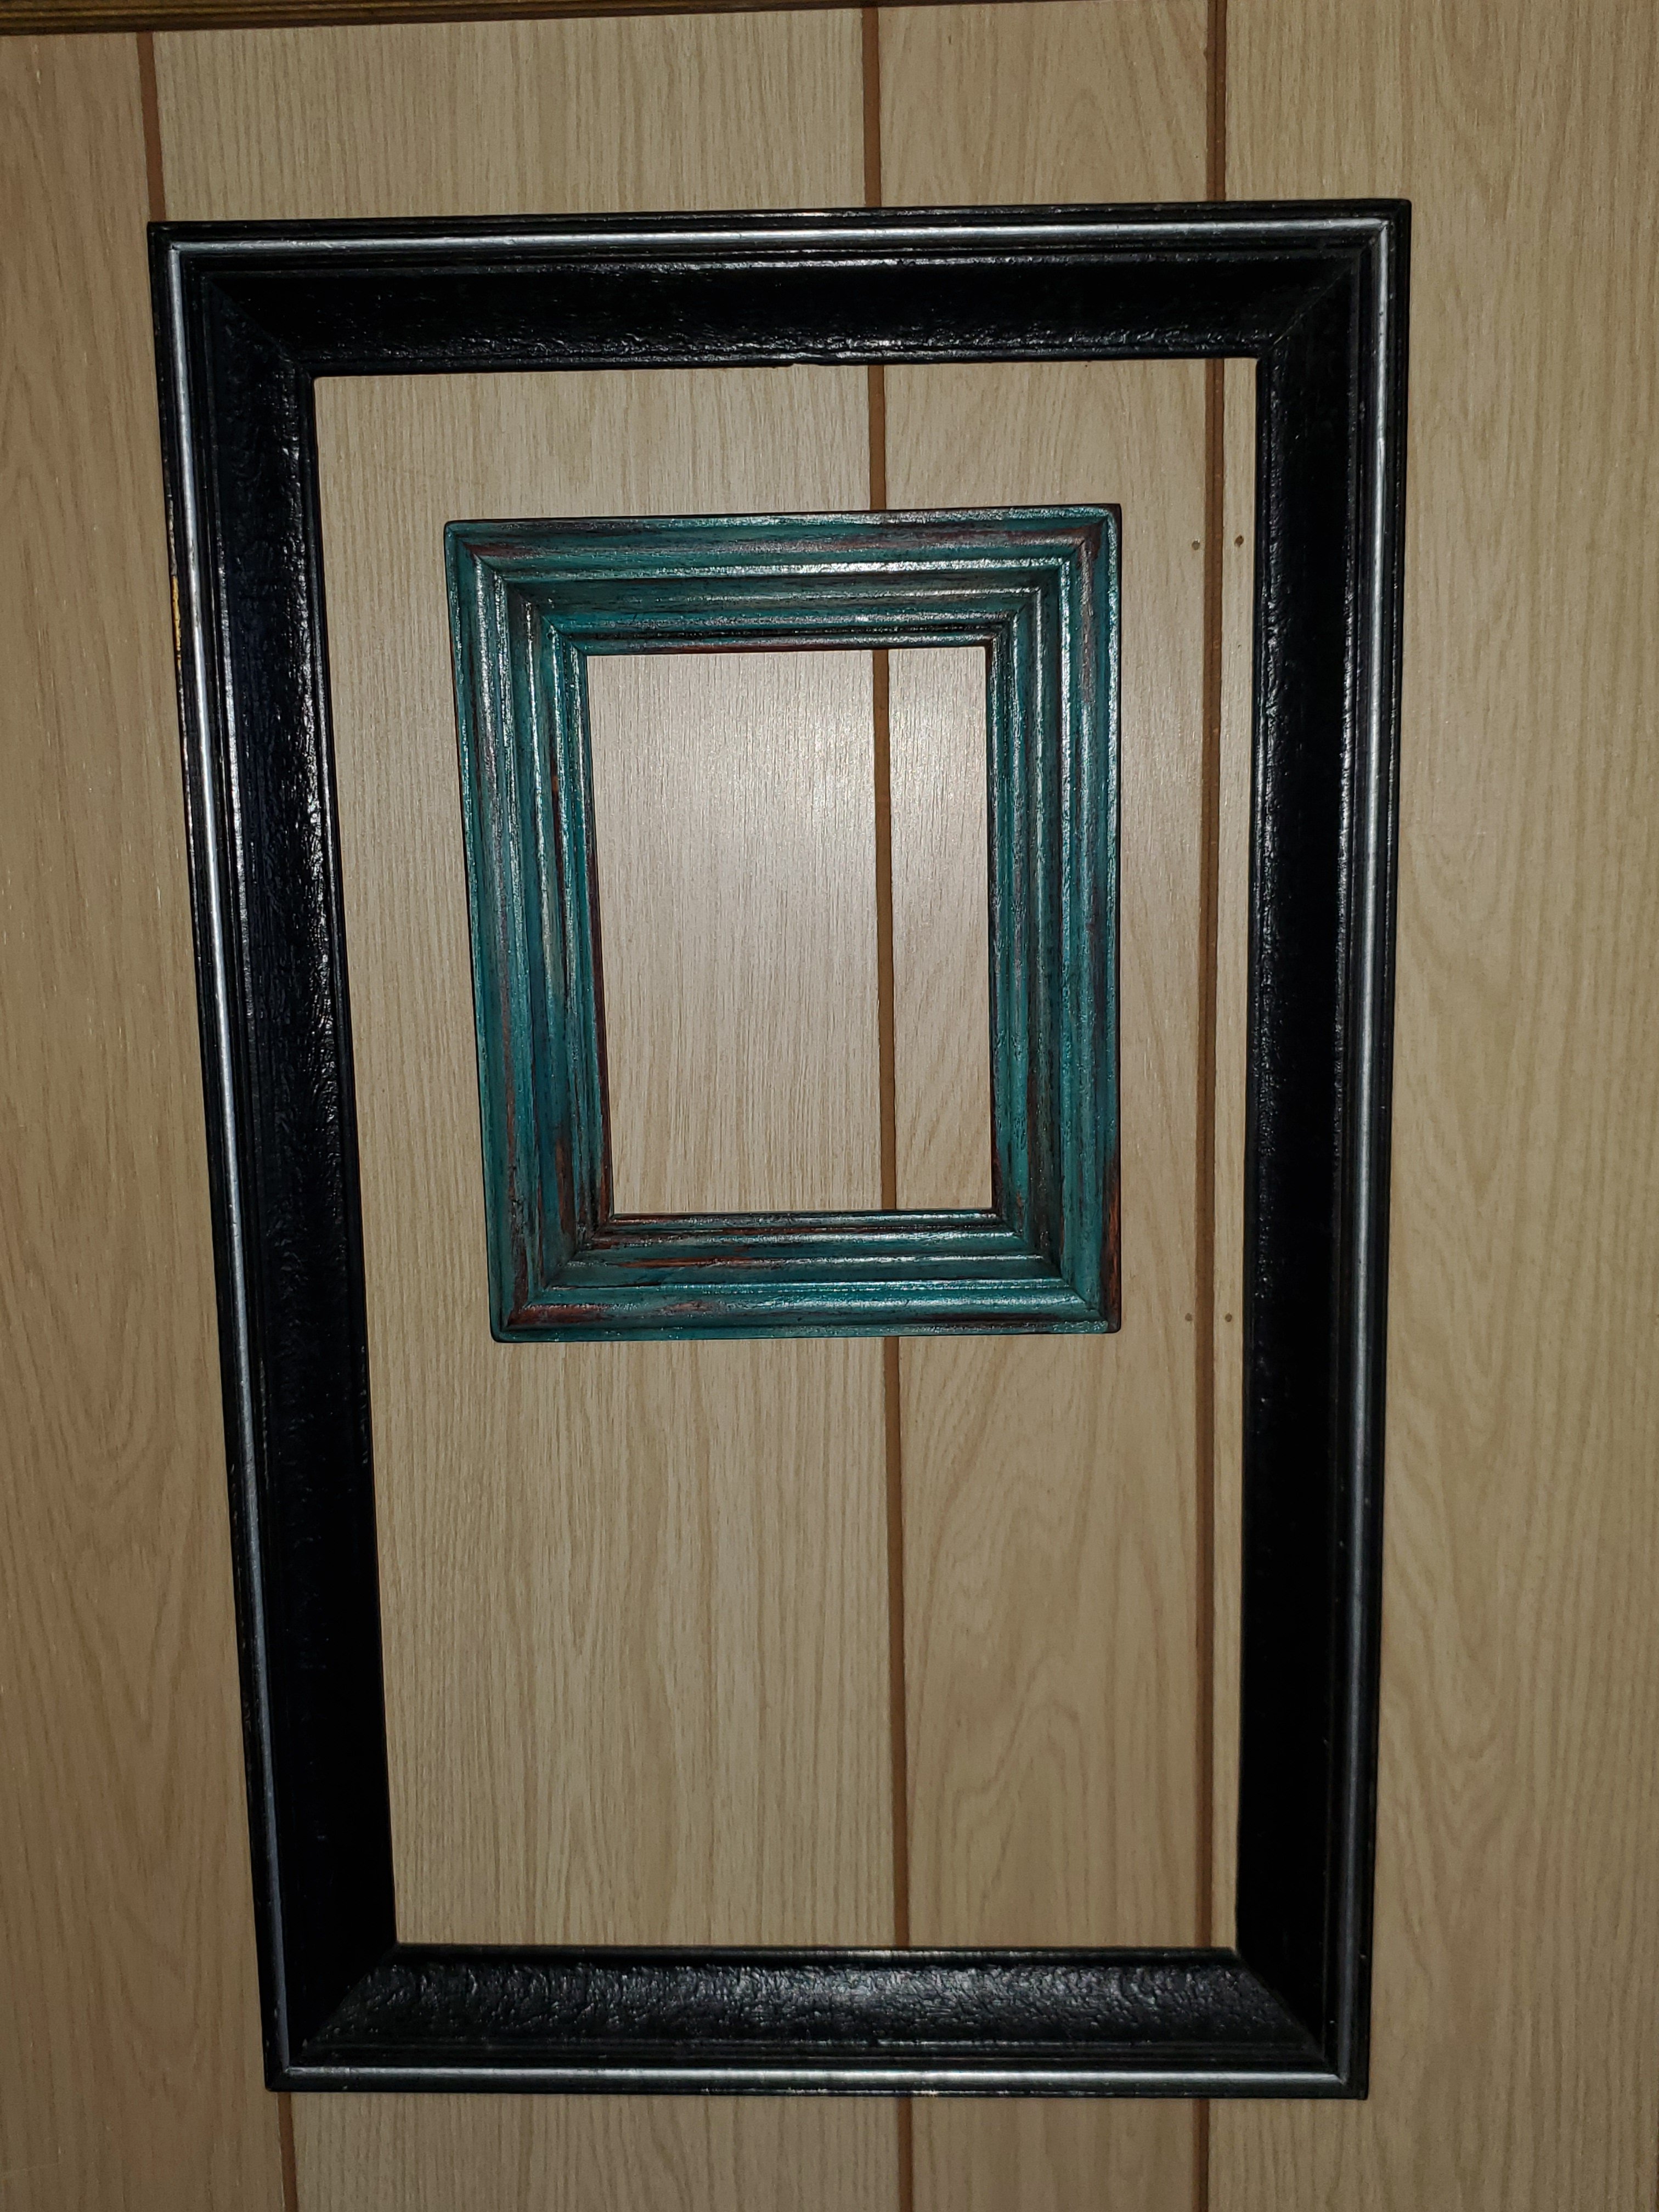
I wanted something lighter and brighter for my office. And I needed a place to hang some of my beautiful Parabo Press photos. (If you haven’t ordered from them, you must. They are gorgeous)
So first I lightly sanded the frame. Then I painted it white. I used wall paint for this project because it’s what I had. And its quarantine. And this step wasn’t super important for this project. It took 2-3 coats, but doesn’t need to be perfect.
Then I sanded with a foam sanding block. I scraped the edges and roughed up the centers. Go slowly and start lightly. Keep going until you love it.
Then, because I wanted just a little something more for this one, I used a small brush and “dry brushed” on some charcoal gray paint. This means I dipped a tiny amount on the brush and then swiped most of it off onto a paper plate. When the brush is almost dry, wipe it on the frame. It will give you just a tiny bit of paint and give a smudge-y look. I used a paper towel to rub this in as I added it too. It came out nice and weathered.
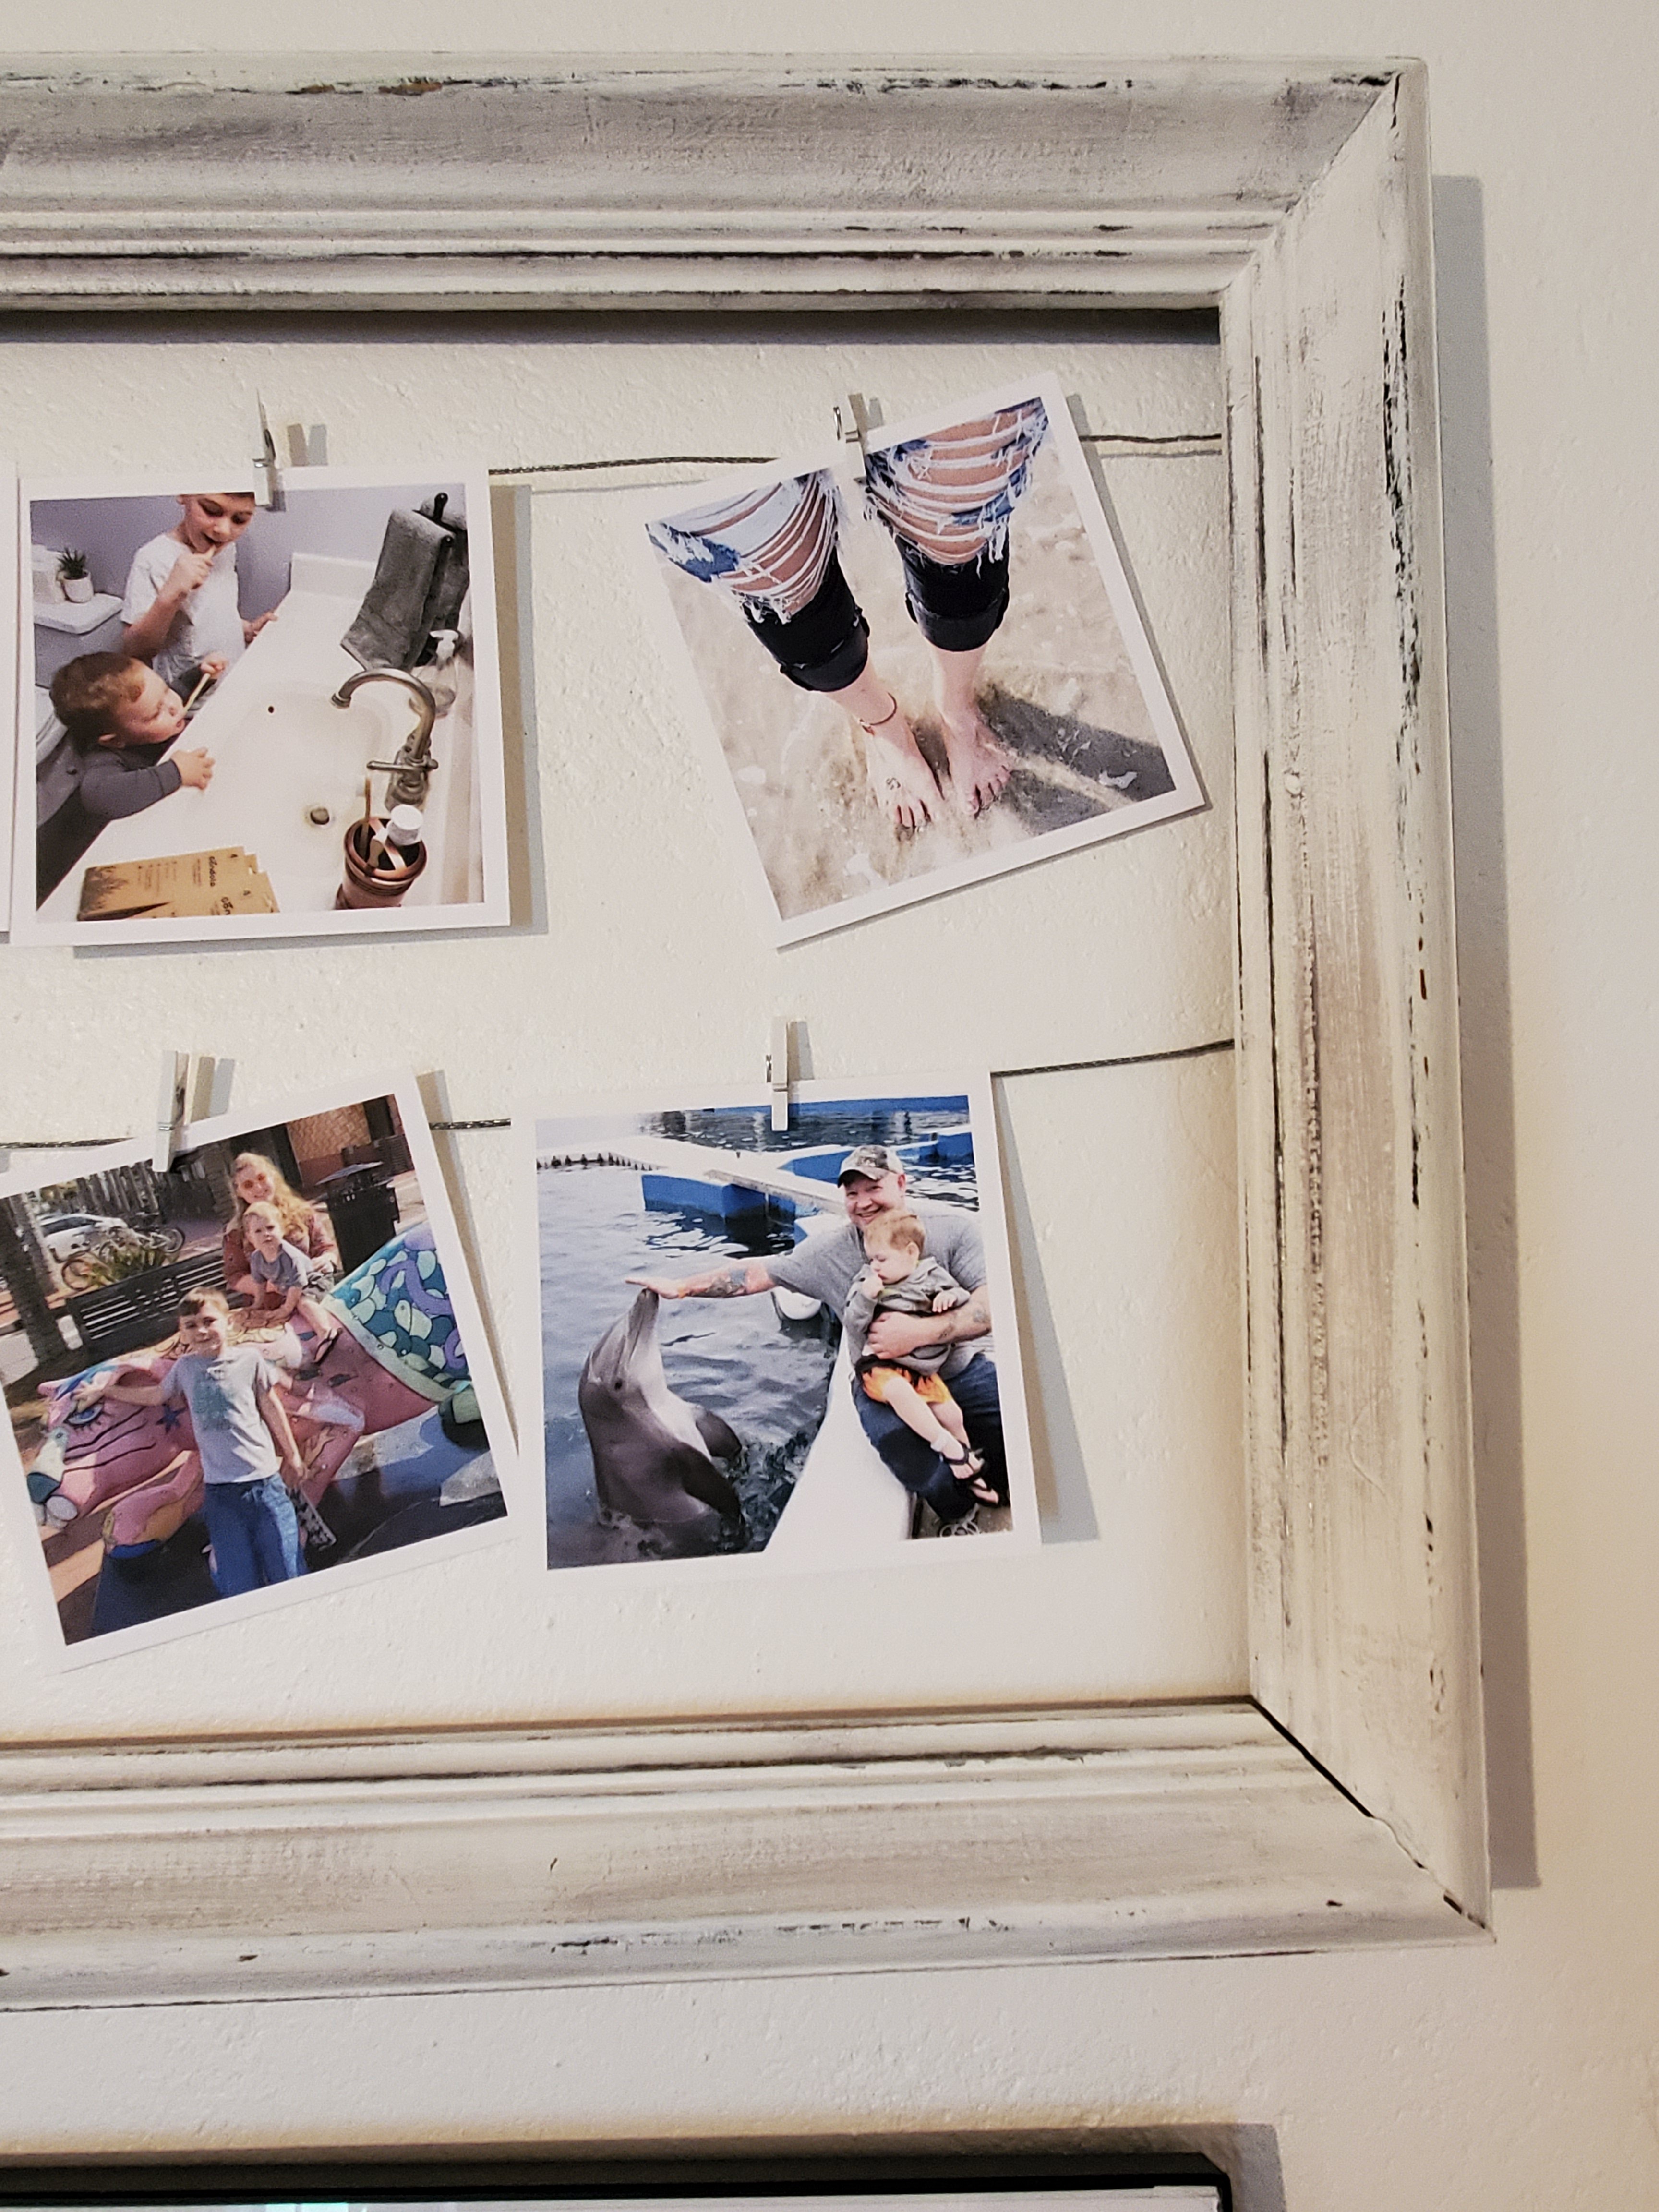
Then to add some wire. You could use twine or ribbon, or whatever you have. I had some picture hanging wire from a hanging kit. I cut it slightly longer than the width of the frame, maybe a half inch extra on each side. Then I pulled it tight across the frame and used a staple fun to staple it in place. I twisted the extra ends into a little ball to help keep it in place.
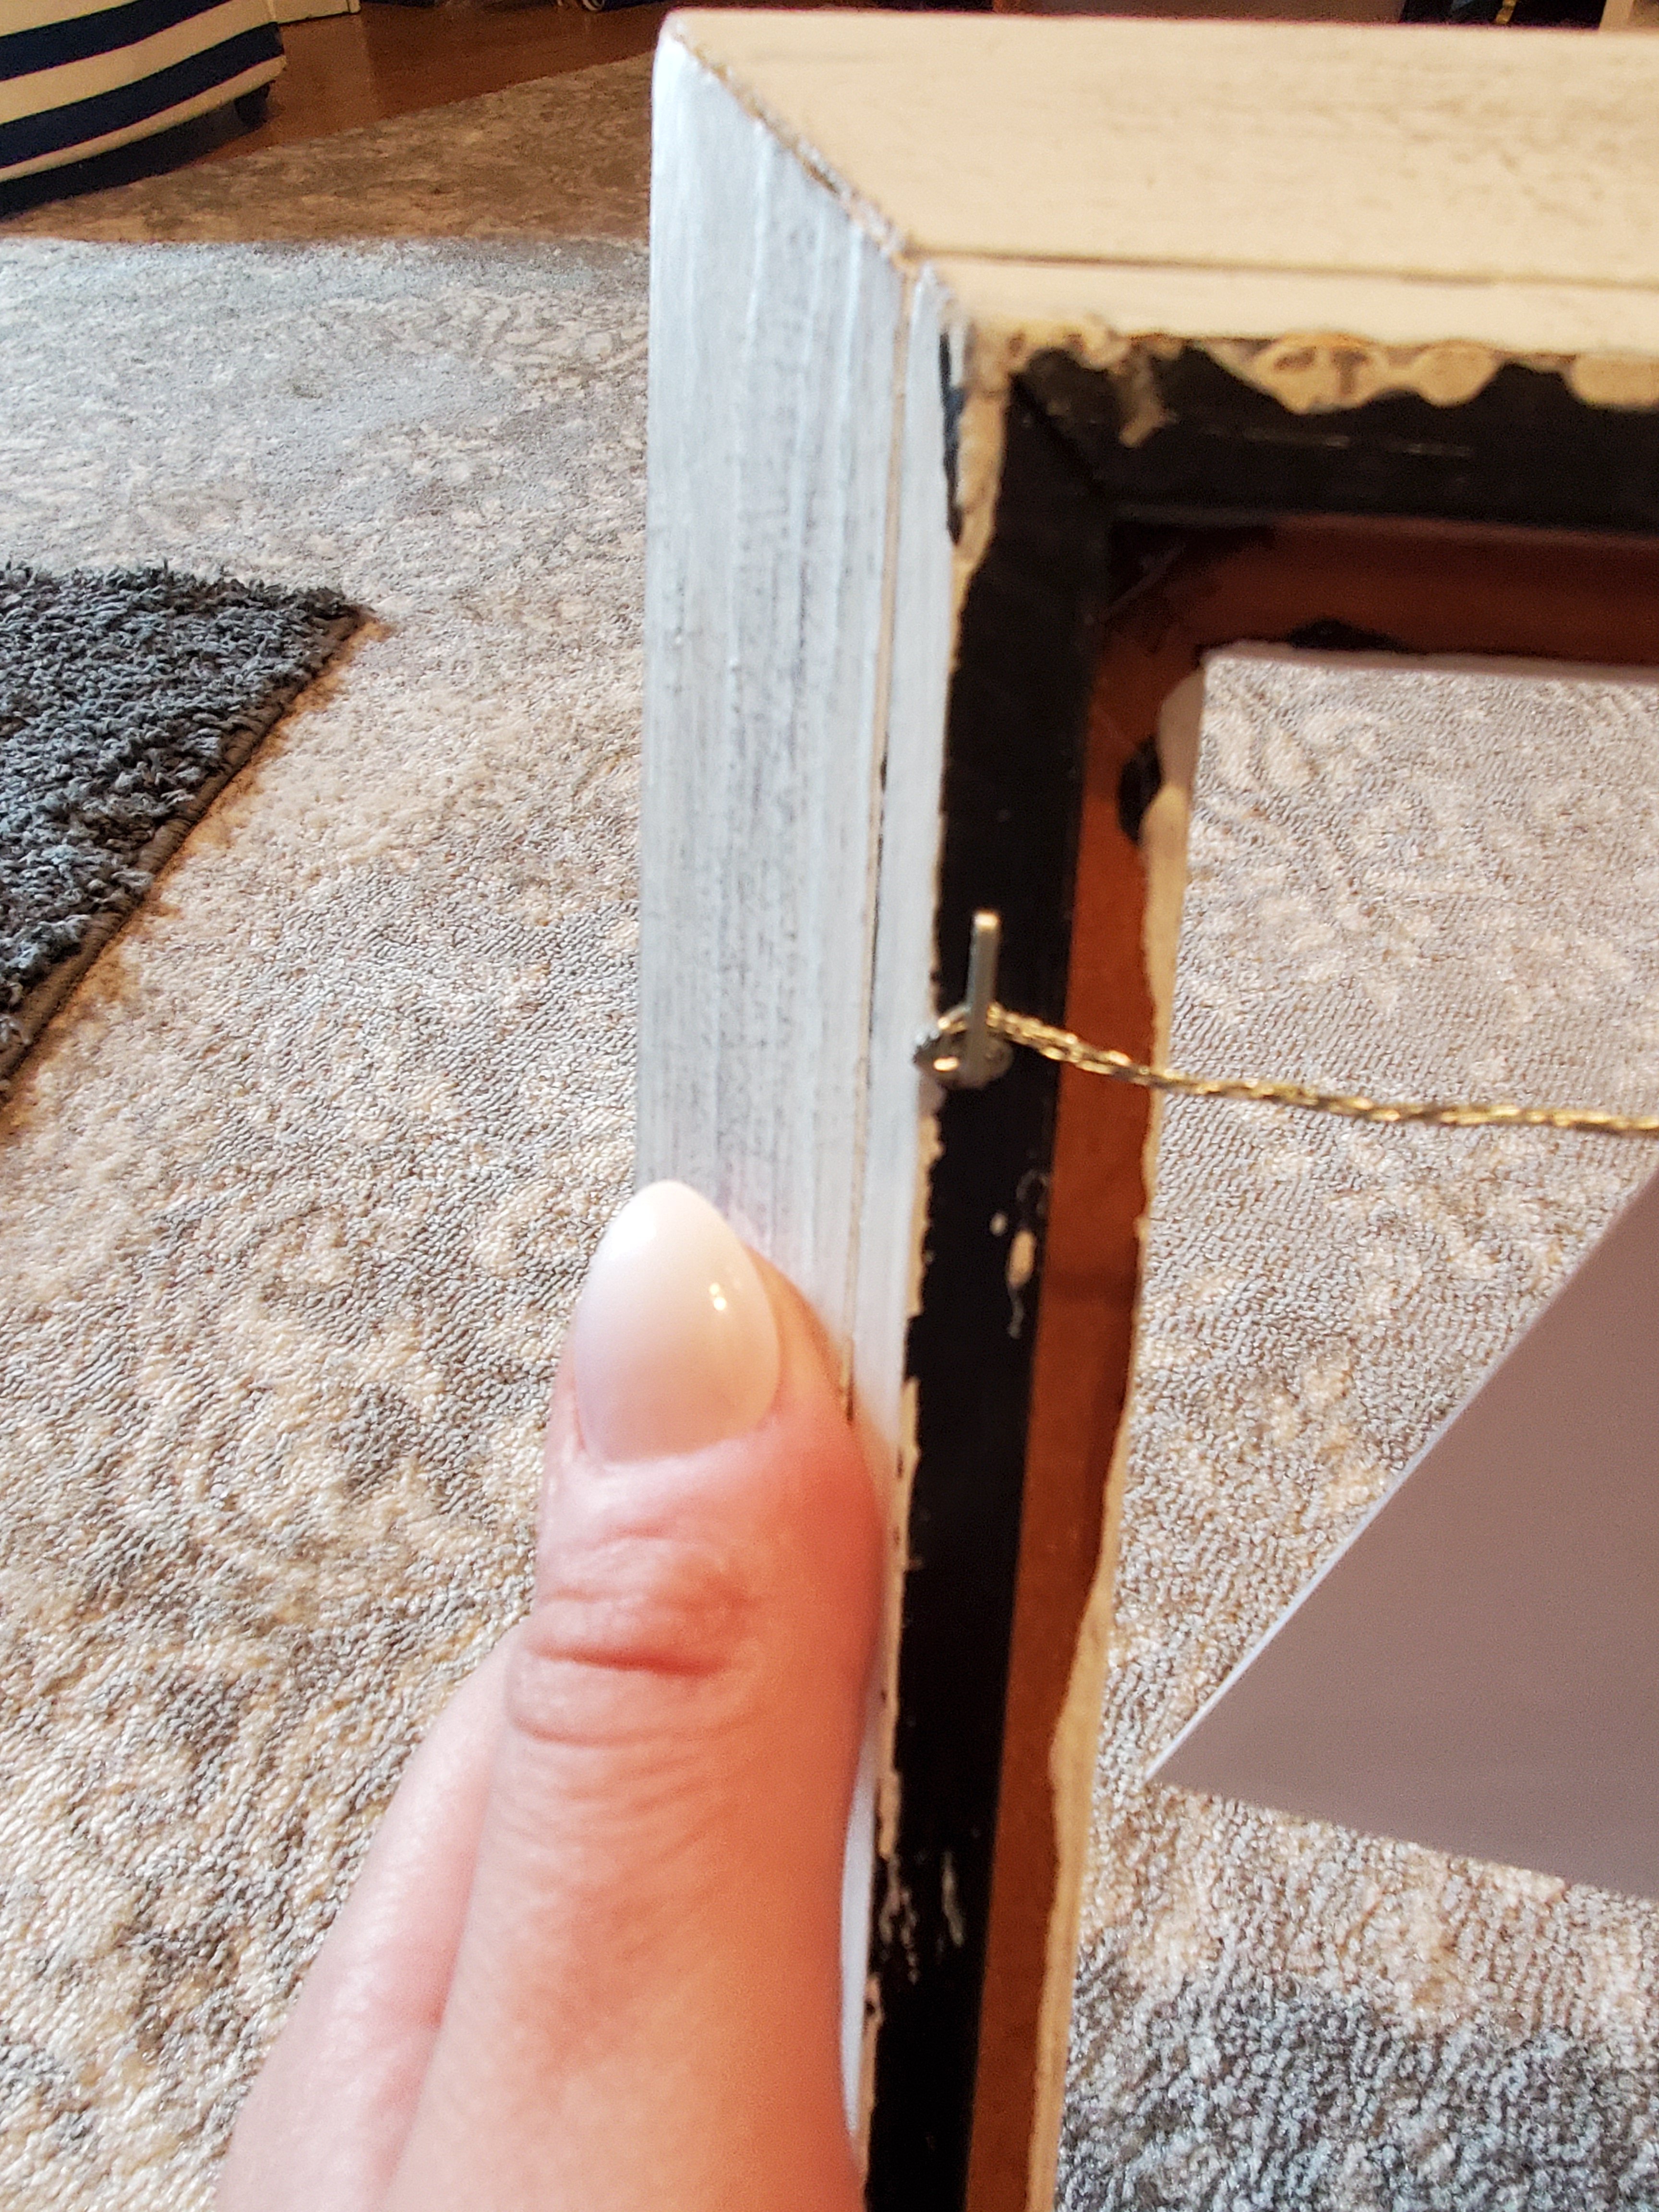
You can get tiny clothes pins on Amazon.
And viola!

I’ve also done this before with chicken wire…
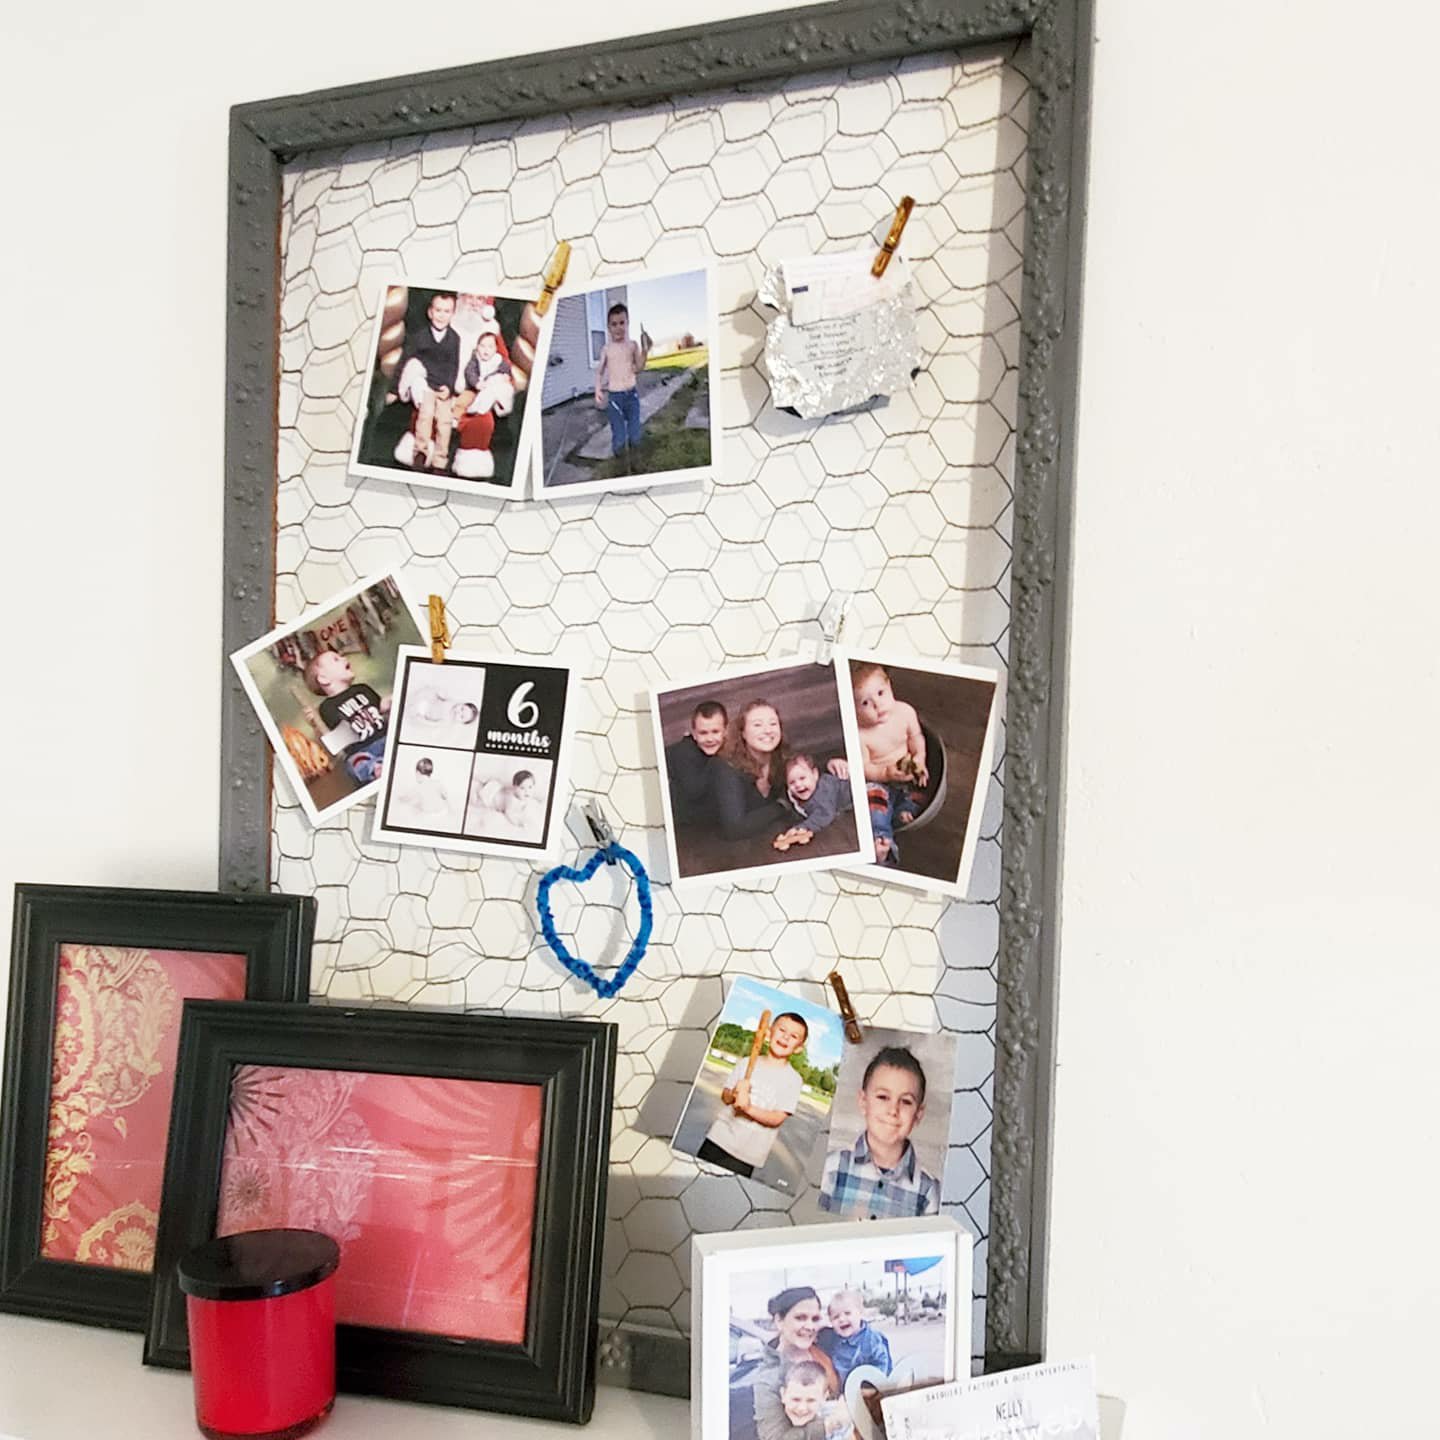
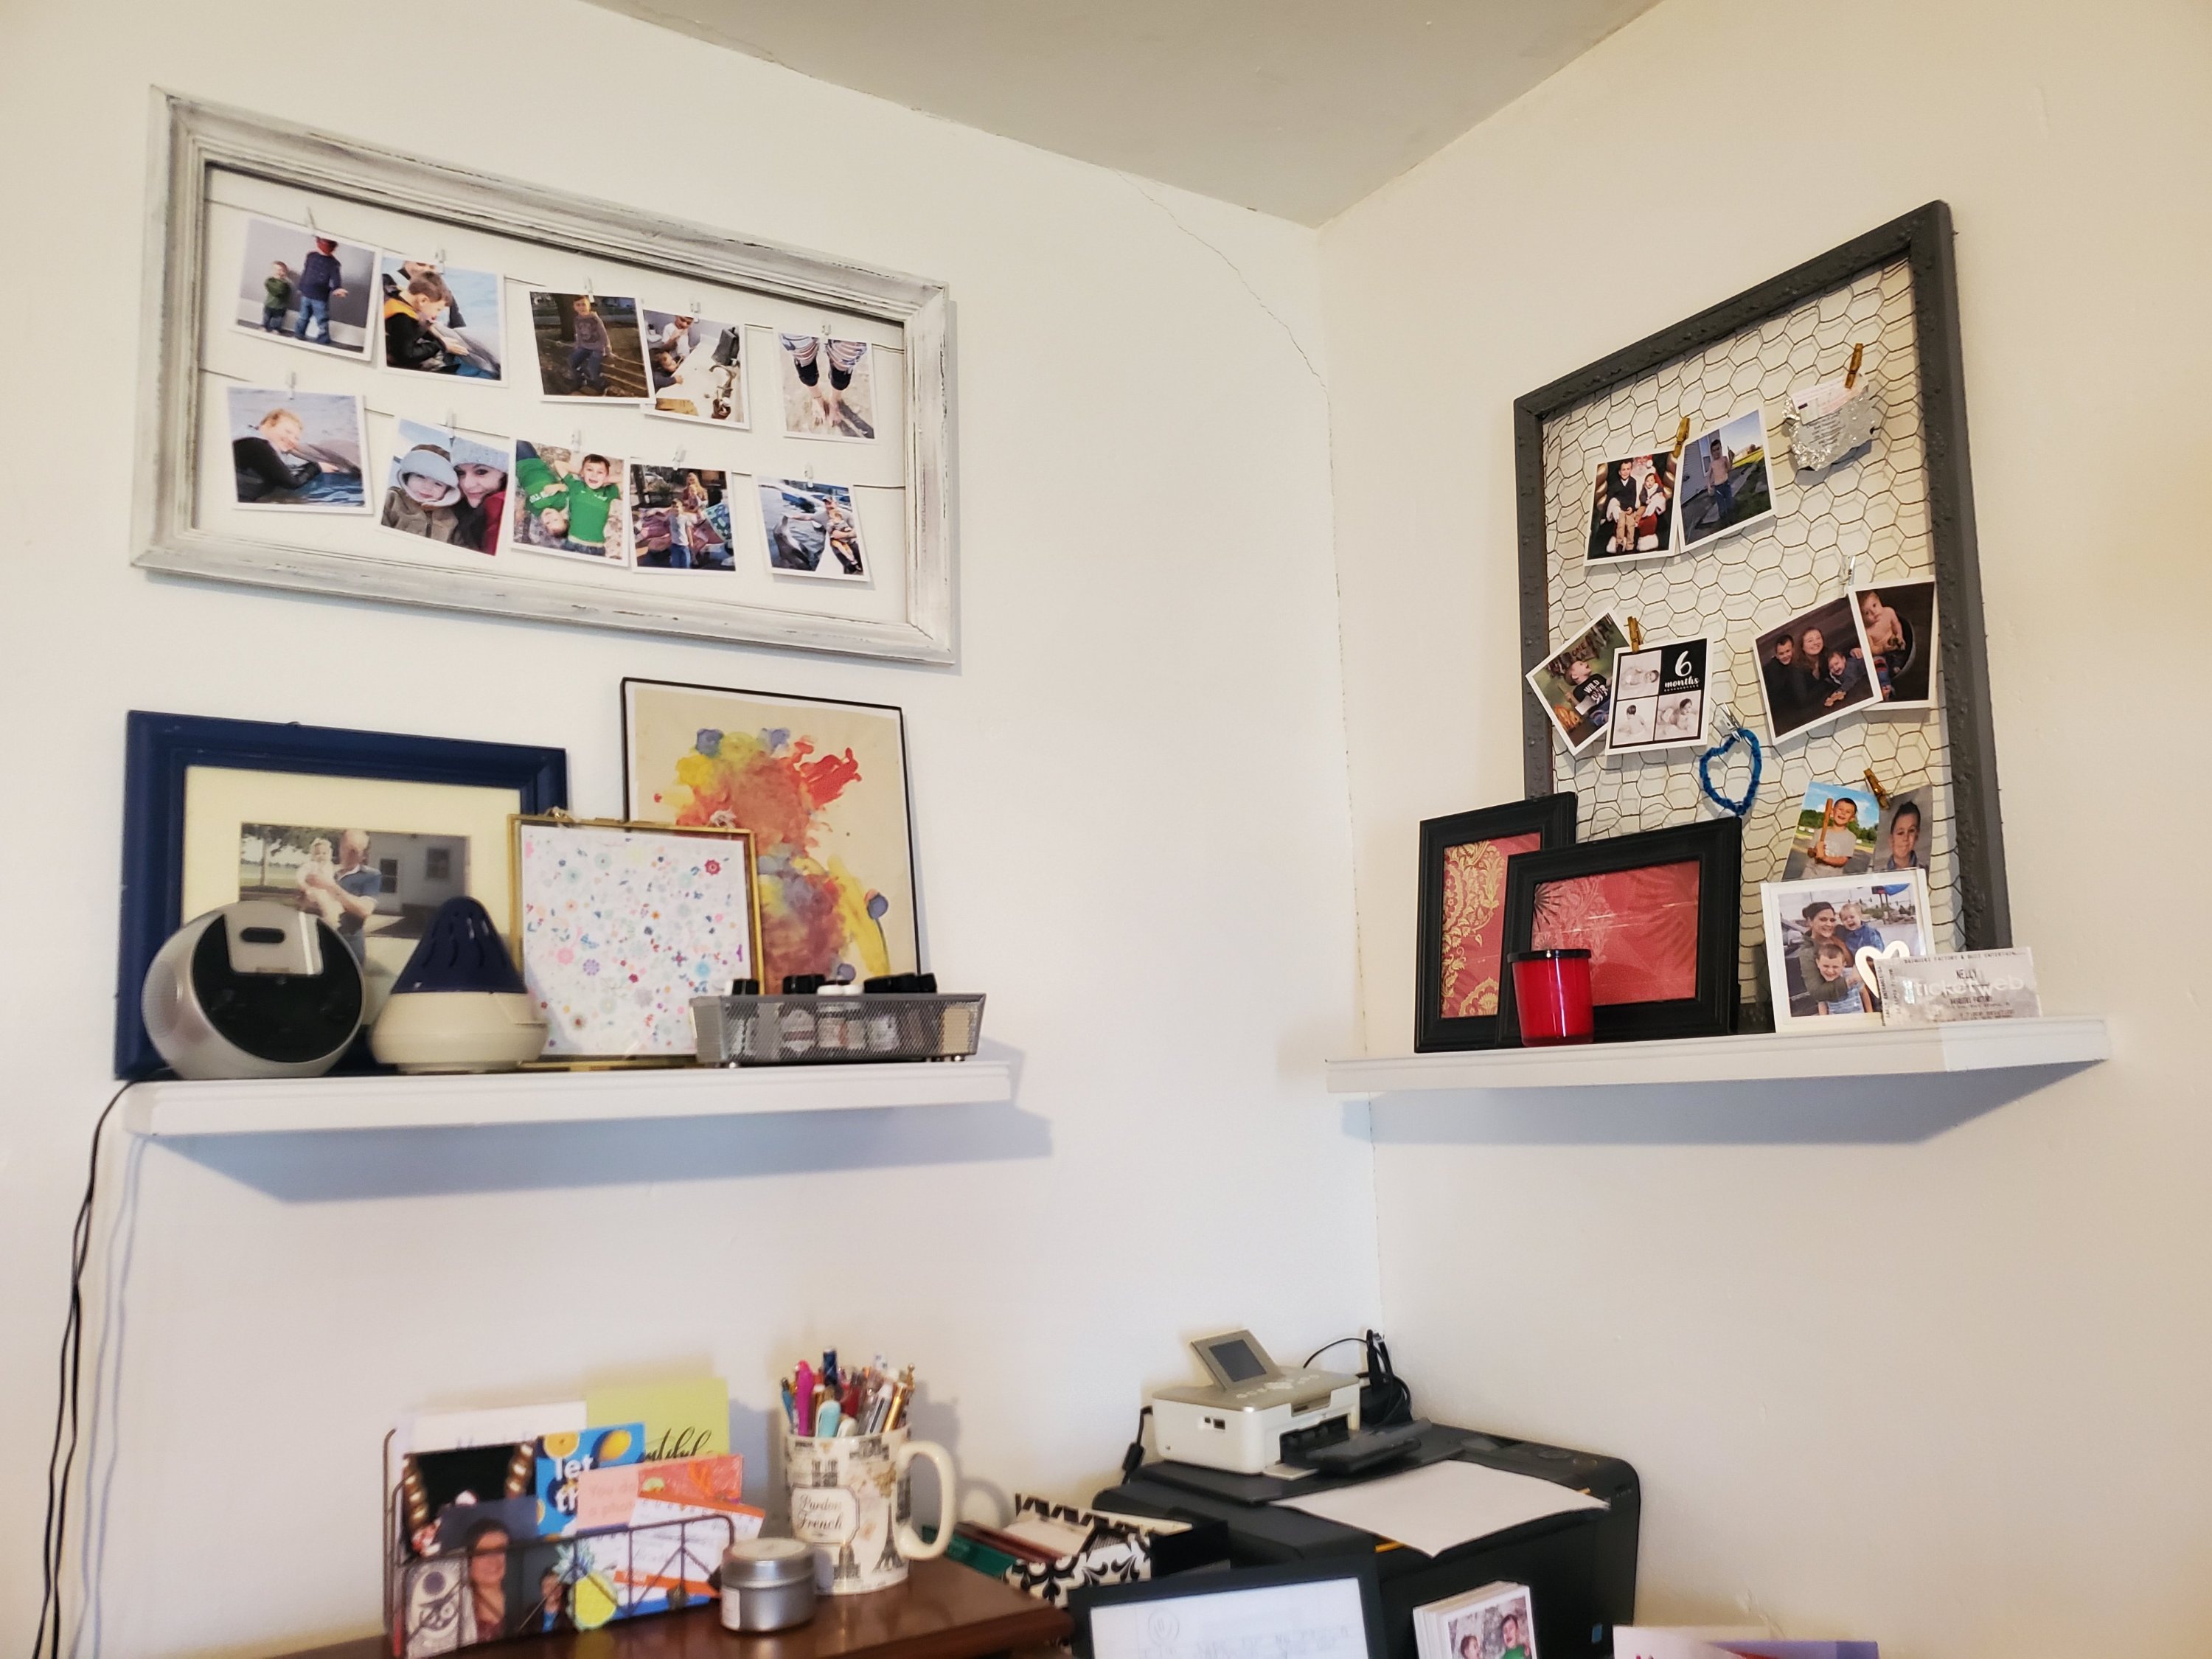
What do you think?
Doing any quarantine projects?!
XX,
Jess
Permalink Comments Off on Frame Hanger Project
Coffee Table Fix Up
It’s taken me over a year. But it’s finally done. I have a coffee table that I love, finally.
Before:

Perfect shape to hold lots of treasures, but outdated color and in rough shape.
After:


I sanded the table and then painted I’m gray (shock!) And then roughed it up. The top got a coat of a darker gray, and the whole table was finished with paste wax to protect it. I had to fix the drawer, but ended up keeping the old knobs. What do you think?
New Old Dresser
This old house has plenty of character, but really lacks storage. I get by because no one is using the spare bedroom currently, so outgrown baby items, my vacuum, and luggage all live in there. The bathroom, however, is still in desperate need of storage. I still use my old quilt rack to hang towels. I love this, but not so much when towels have to be stacked 7 high because there is no cupboard for the extras. So, I set out to buy a large old dresser to refinish, in hopes that it could serve as storage in the bathroom.
I started with this guy for $40 on a garage sale:

Great vintage bones, ugly paint job. So I sanded, patched one spot, and painted him gray.

He was already looking gorgeous. Then I added some charcoal tinted furniture paste wax.

I was loving it. The hardest part was picking hardware. I didn’t want the hardware to pull too much attention, so I ended up choosing twisted iron pulls that reminded me of the Threshers, and little black knobs for the top. Now he’s finished and gorgeous. Oh, and one more dilemma. Do I really put it in the barhroom, or do I give it to Brantley as he transitions to his big boy furniture? OR, do I sell it? 😉


What do you think?! ♡
Quick Paint Job
Winter is always my dreary time. Usually I don’t seem to get much done. But lately, I have been on a roll of projects! Last week I whipped out a tiny and speedy paint project. I used the same charcoal chalk paint from the small wall in the kitchen and painted the opposite facing wall in the dining room. I didn’t like the green, but love this dark, fresh color now! Here is the (messy) before:

Check out the after (forgive the Christmas decor that wouldn’t normally be there :)) :


And I just adore the new canvas of B! I’m even thinking about painting the small chunk of wall going up the stairs behind this wall. I think that will balance everything out well. Small bits at a time. After all, I have to paint after little man goes to bed 🙂 What do you think?!
Piano Bench Project
I’m in love. I really don’t want to sell this project. My house is going to overflow.
I found this old piano bench, beat up and sad, left behind in the basement of the rental property we own.

After filling, sanding, painting, stenciling, and waxing, this is what she looks like now:
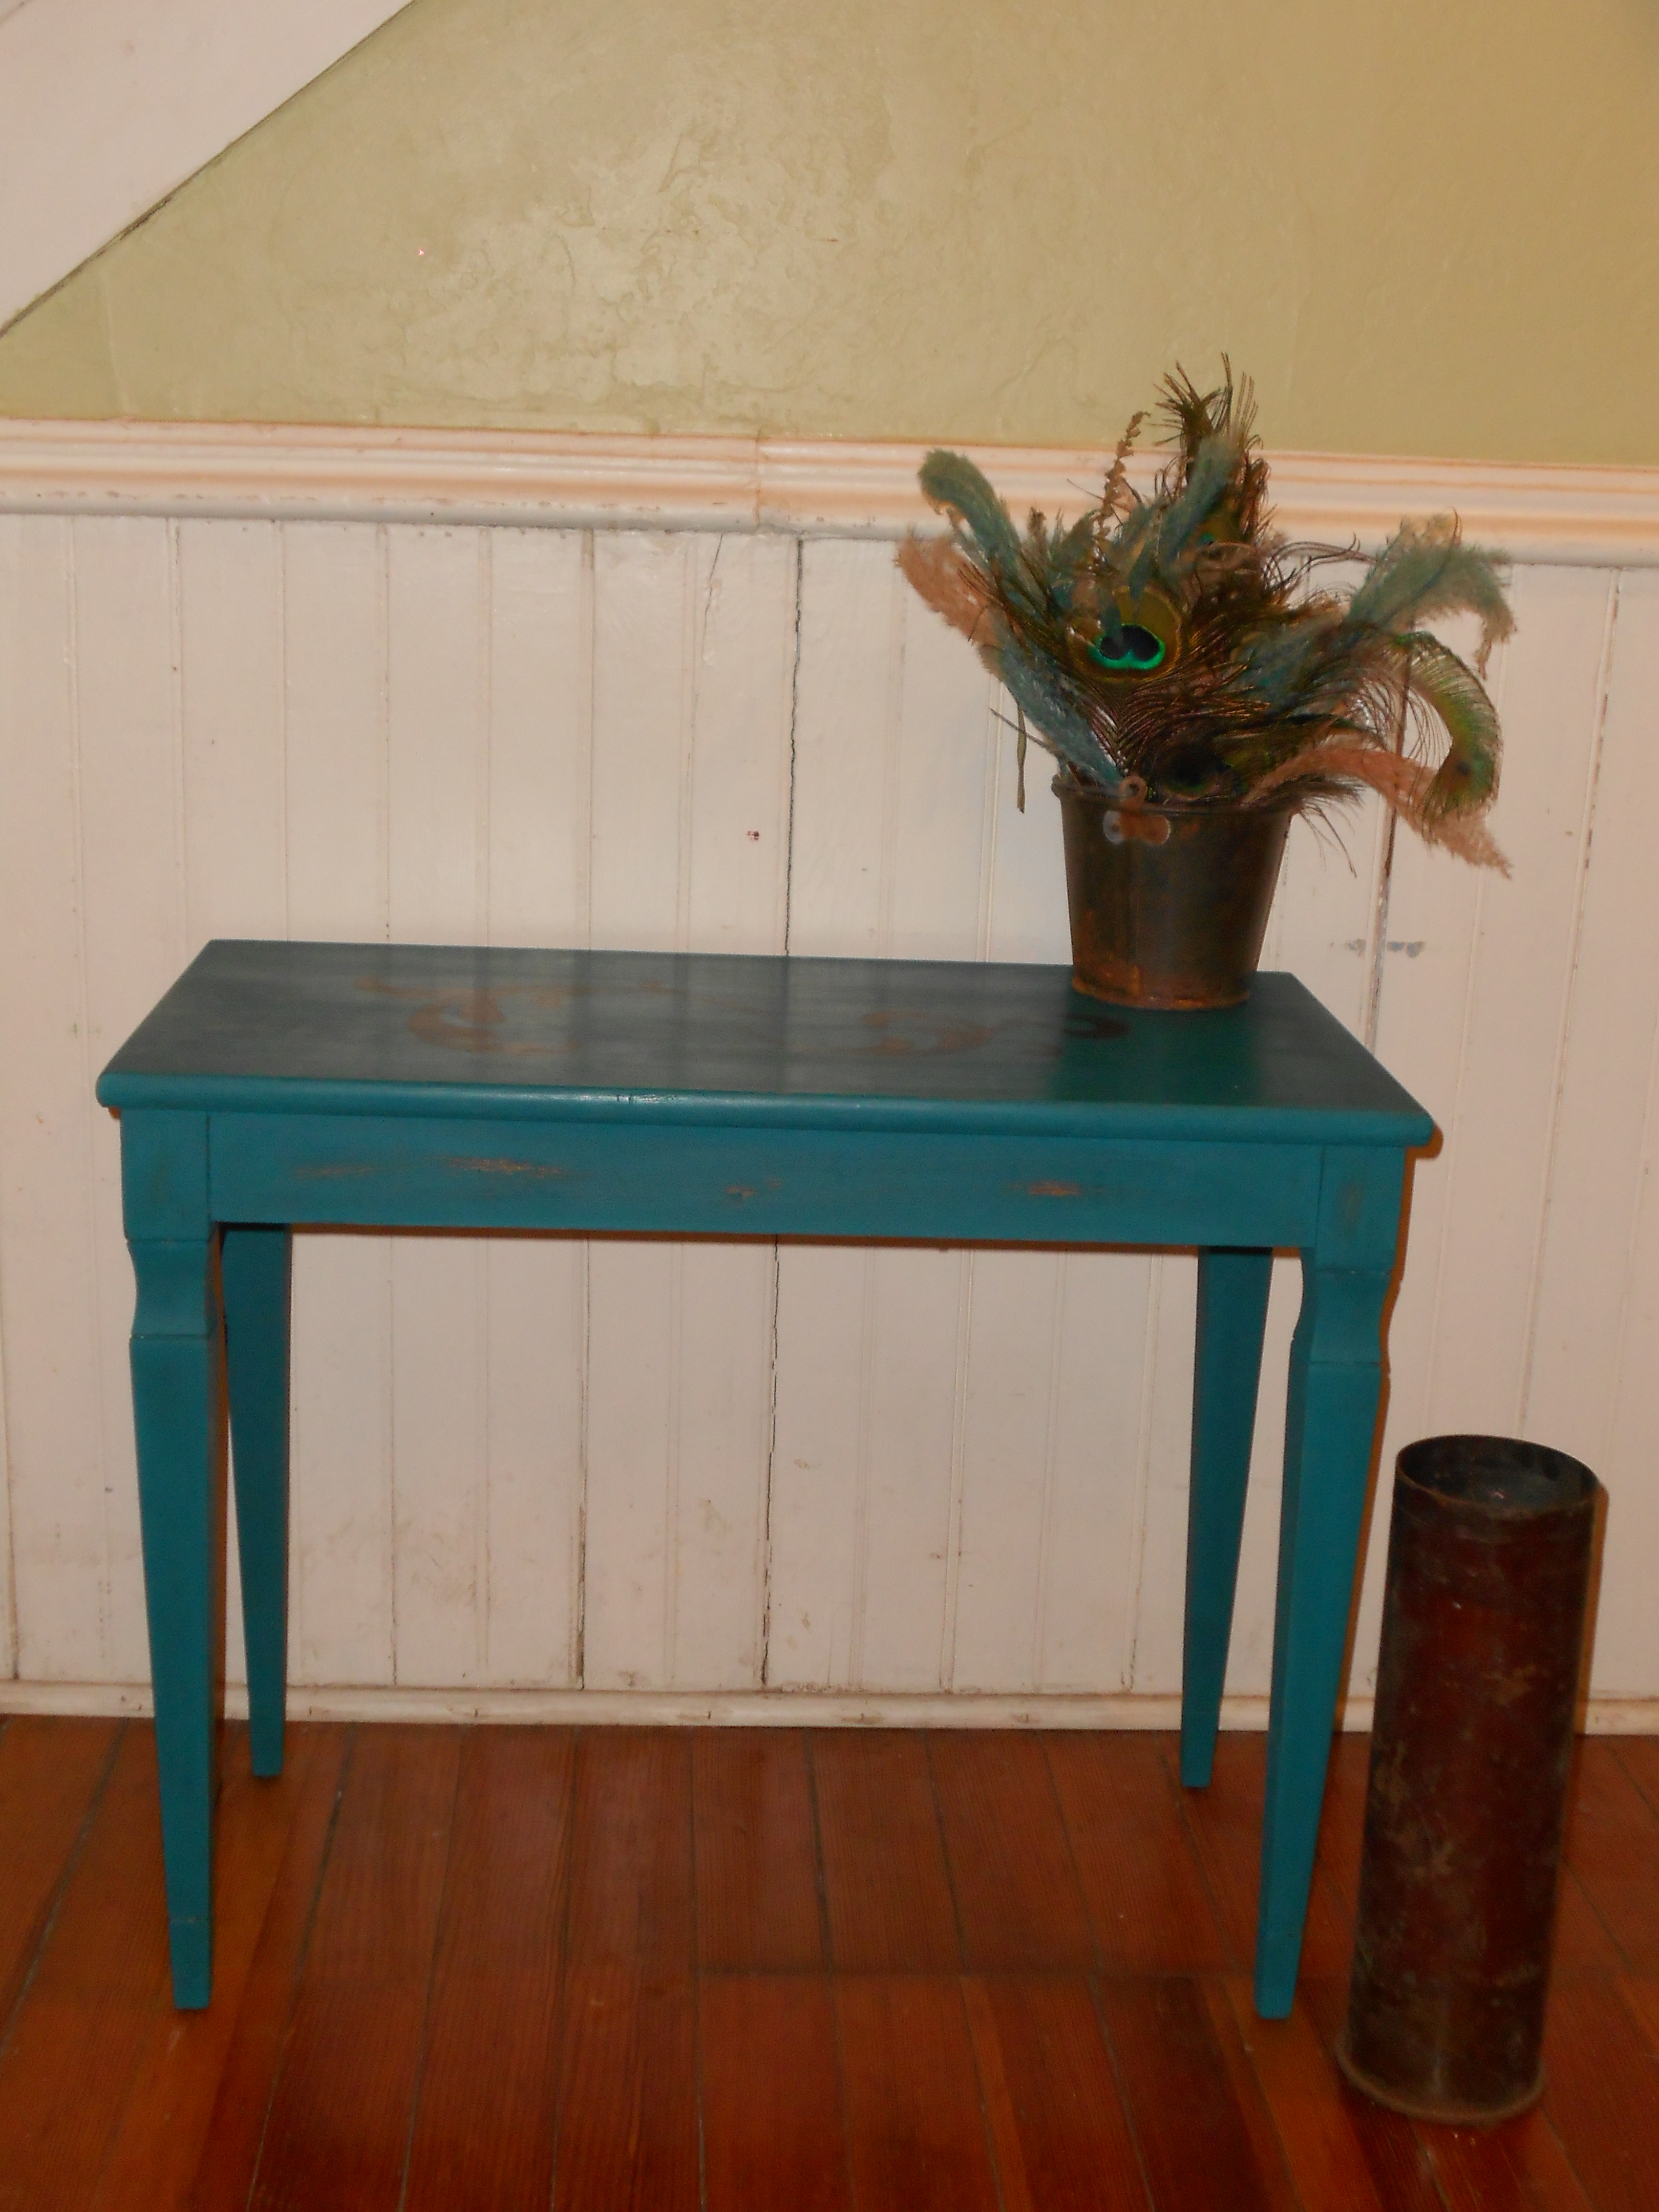
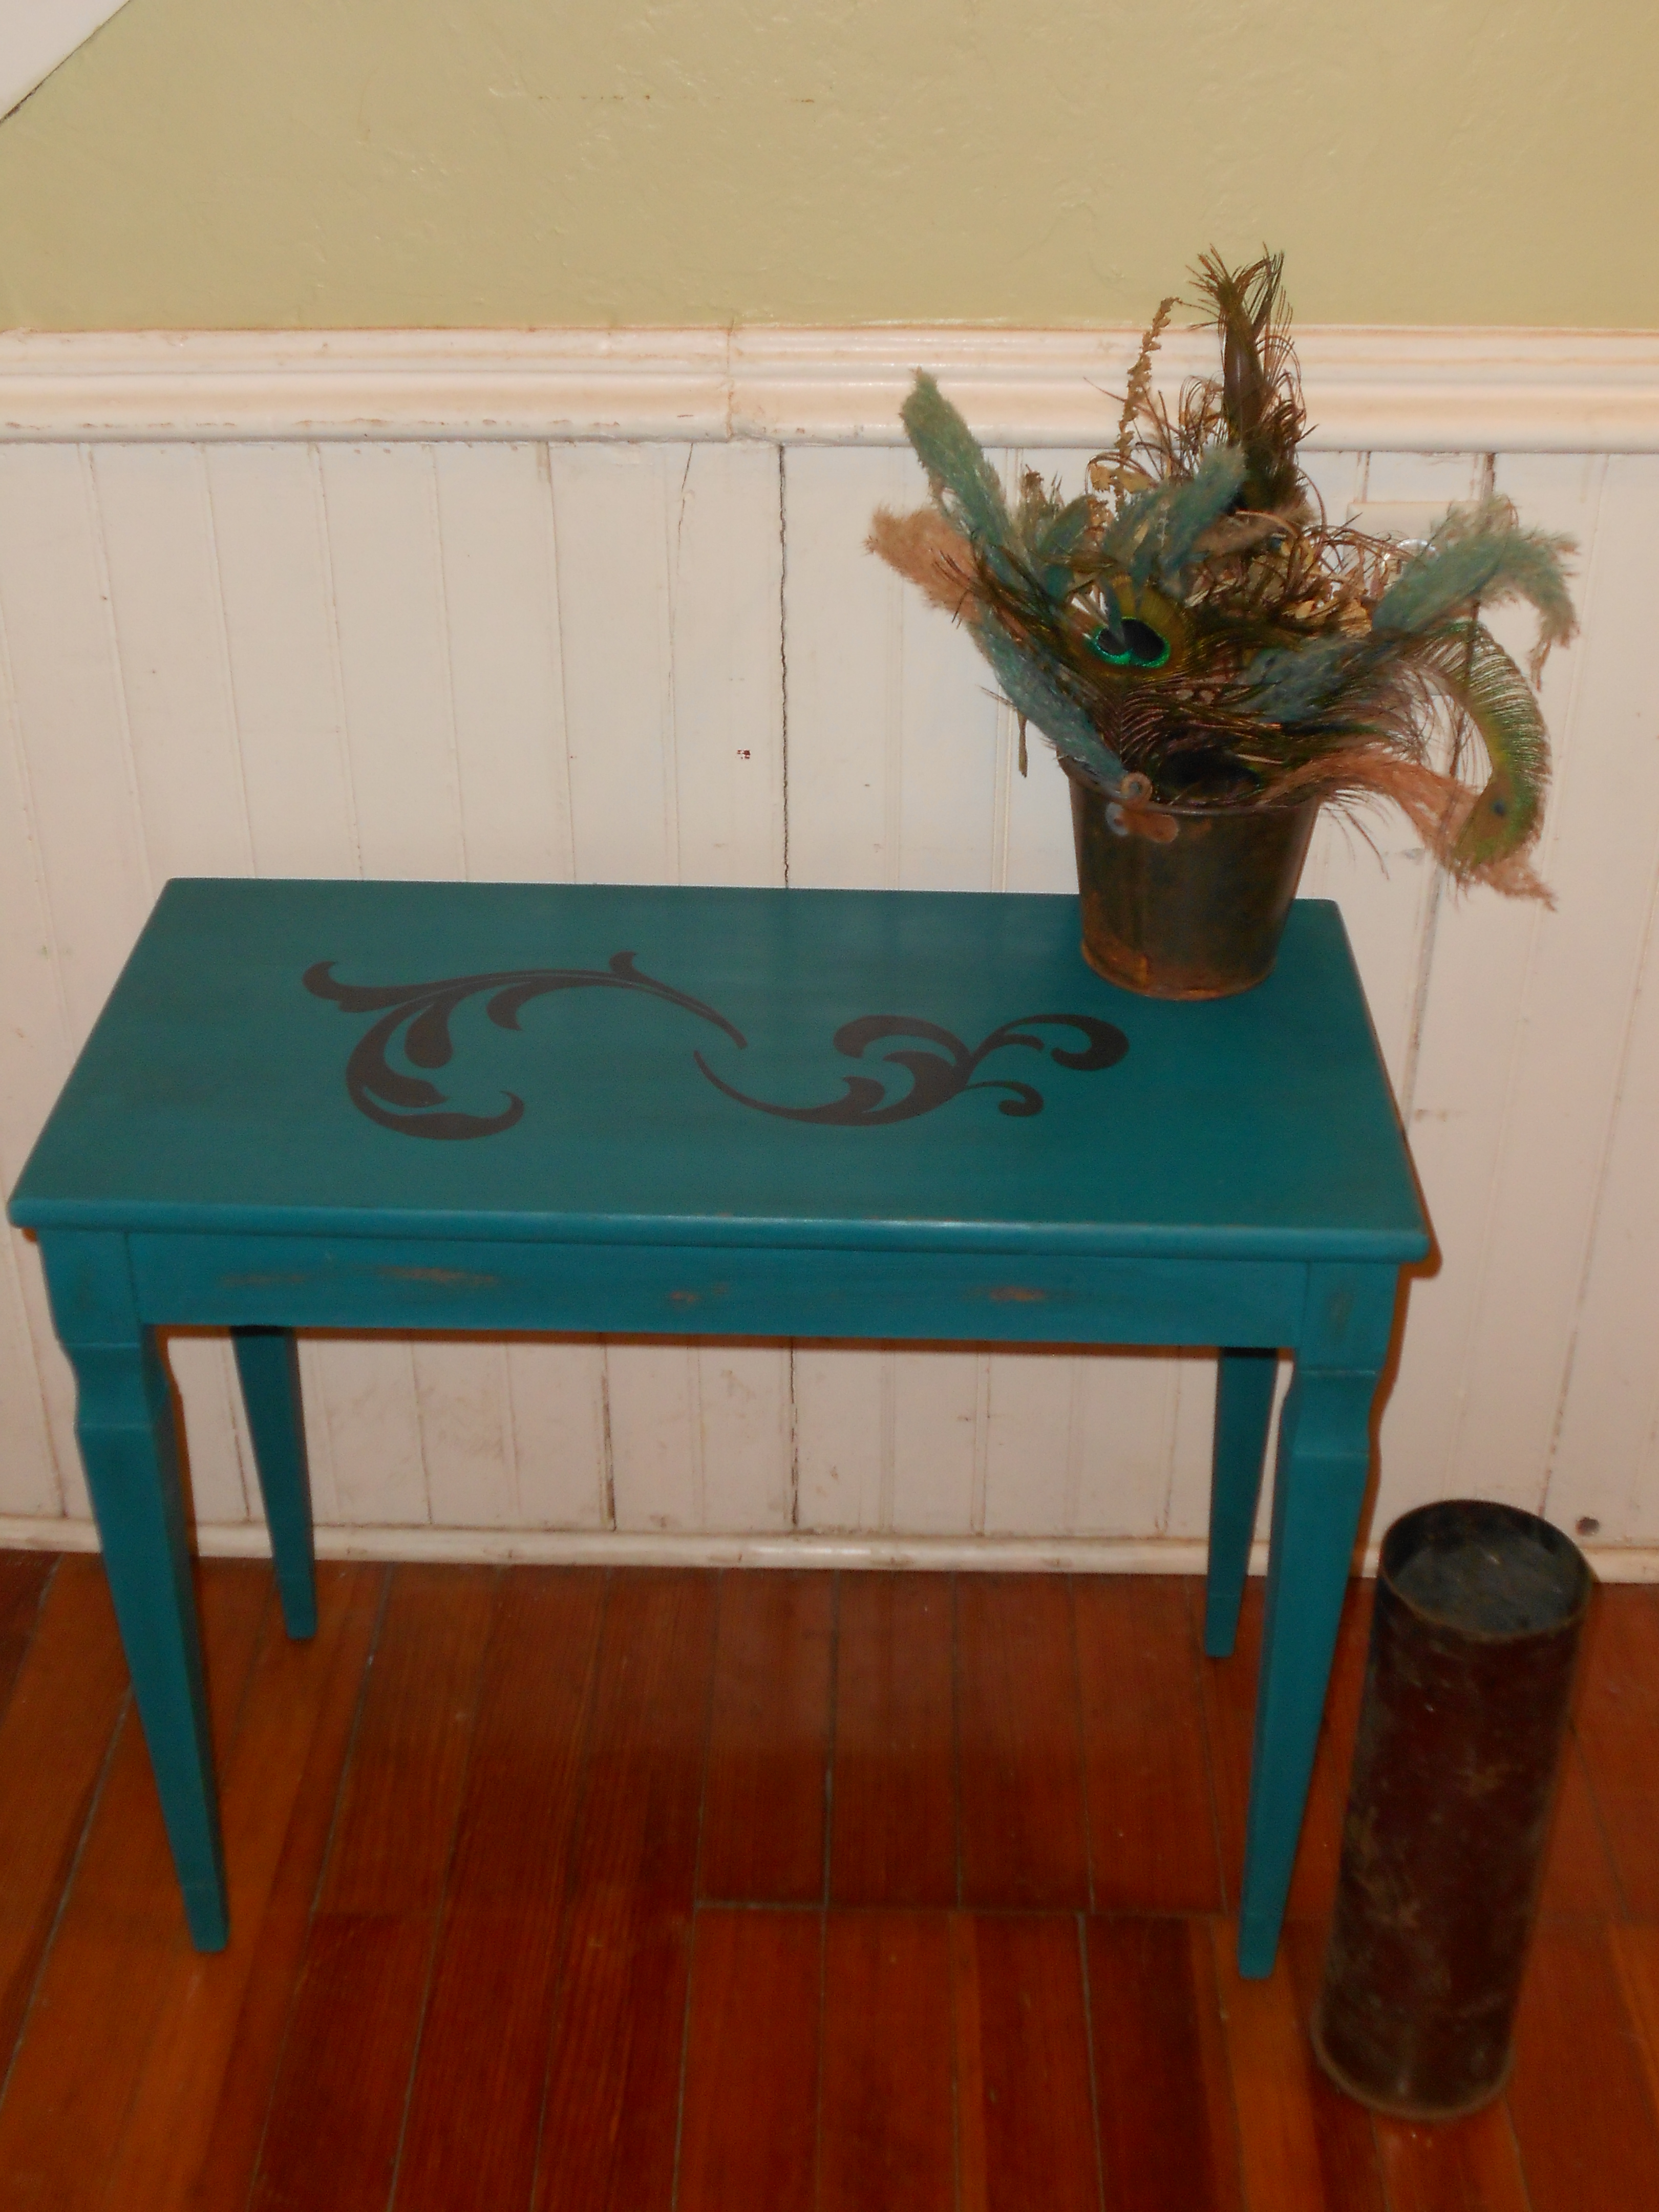
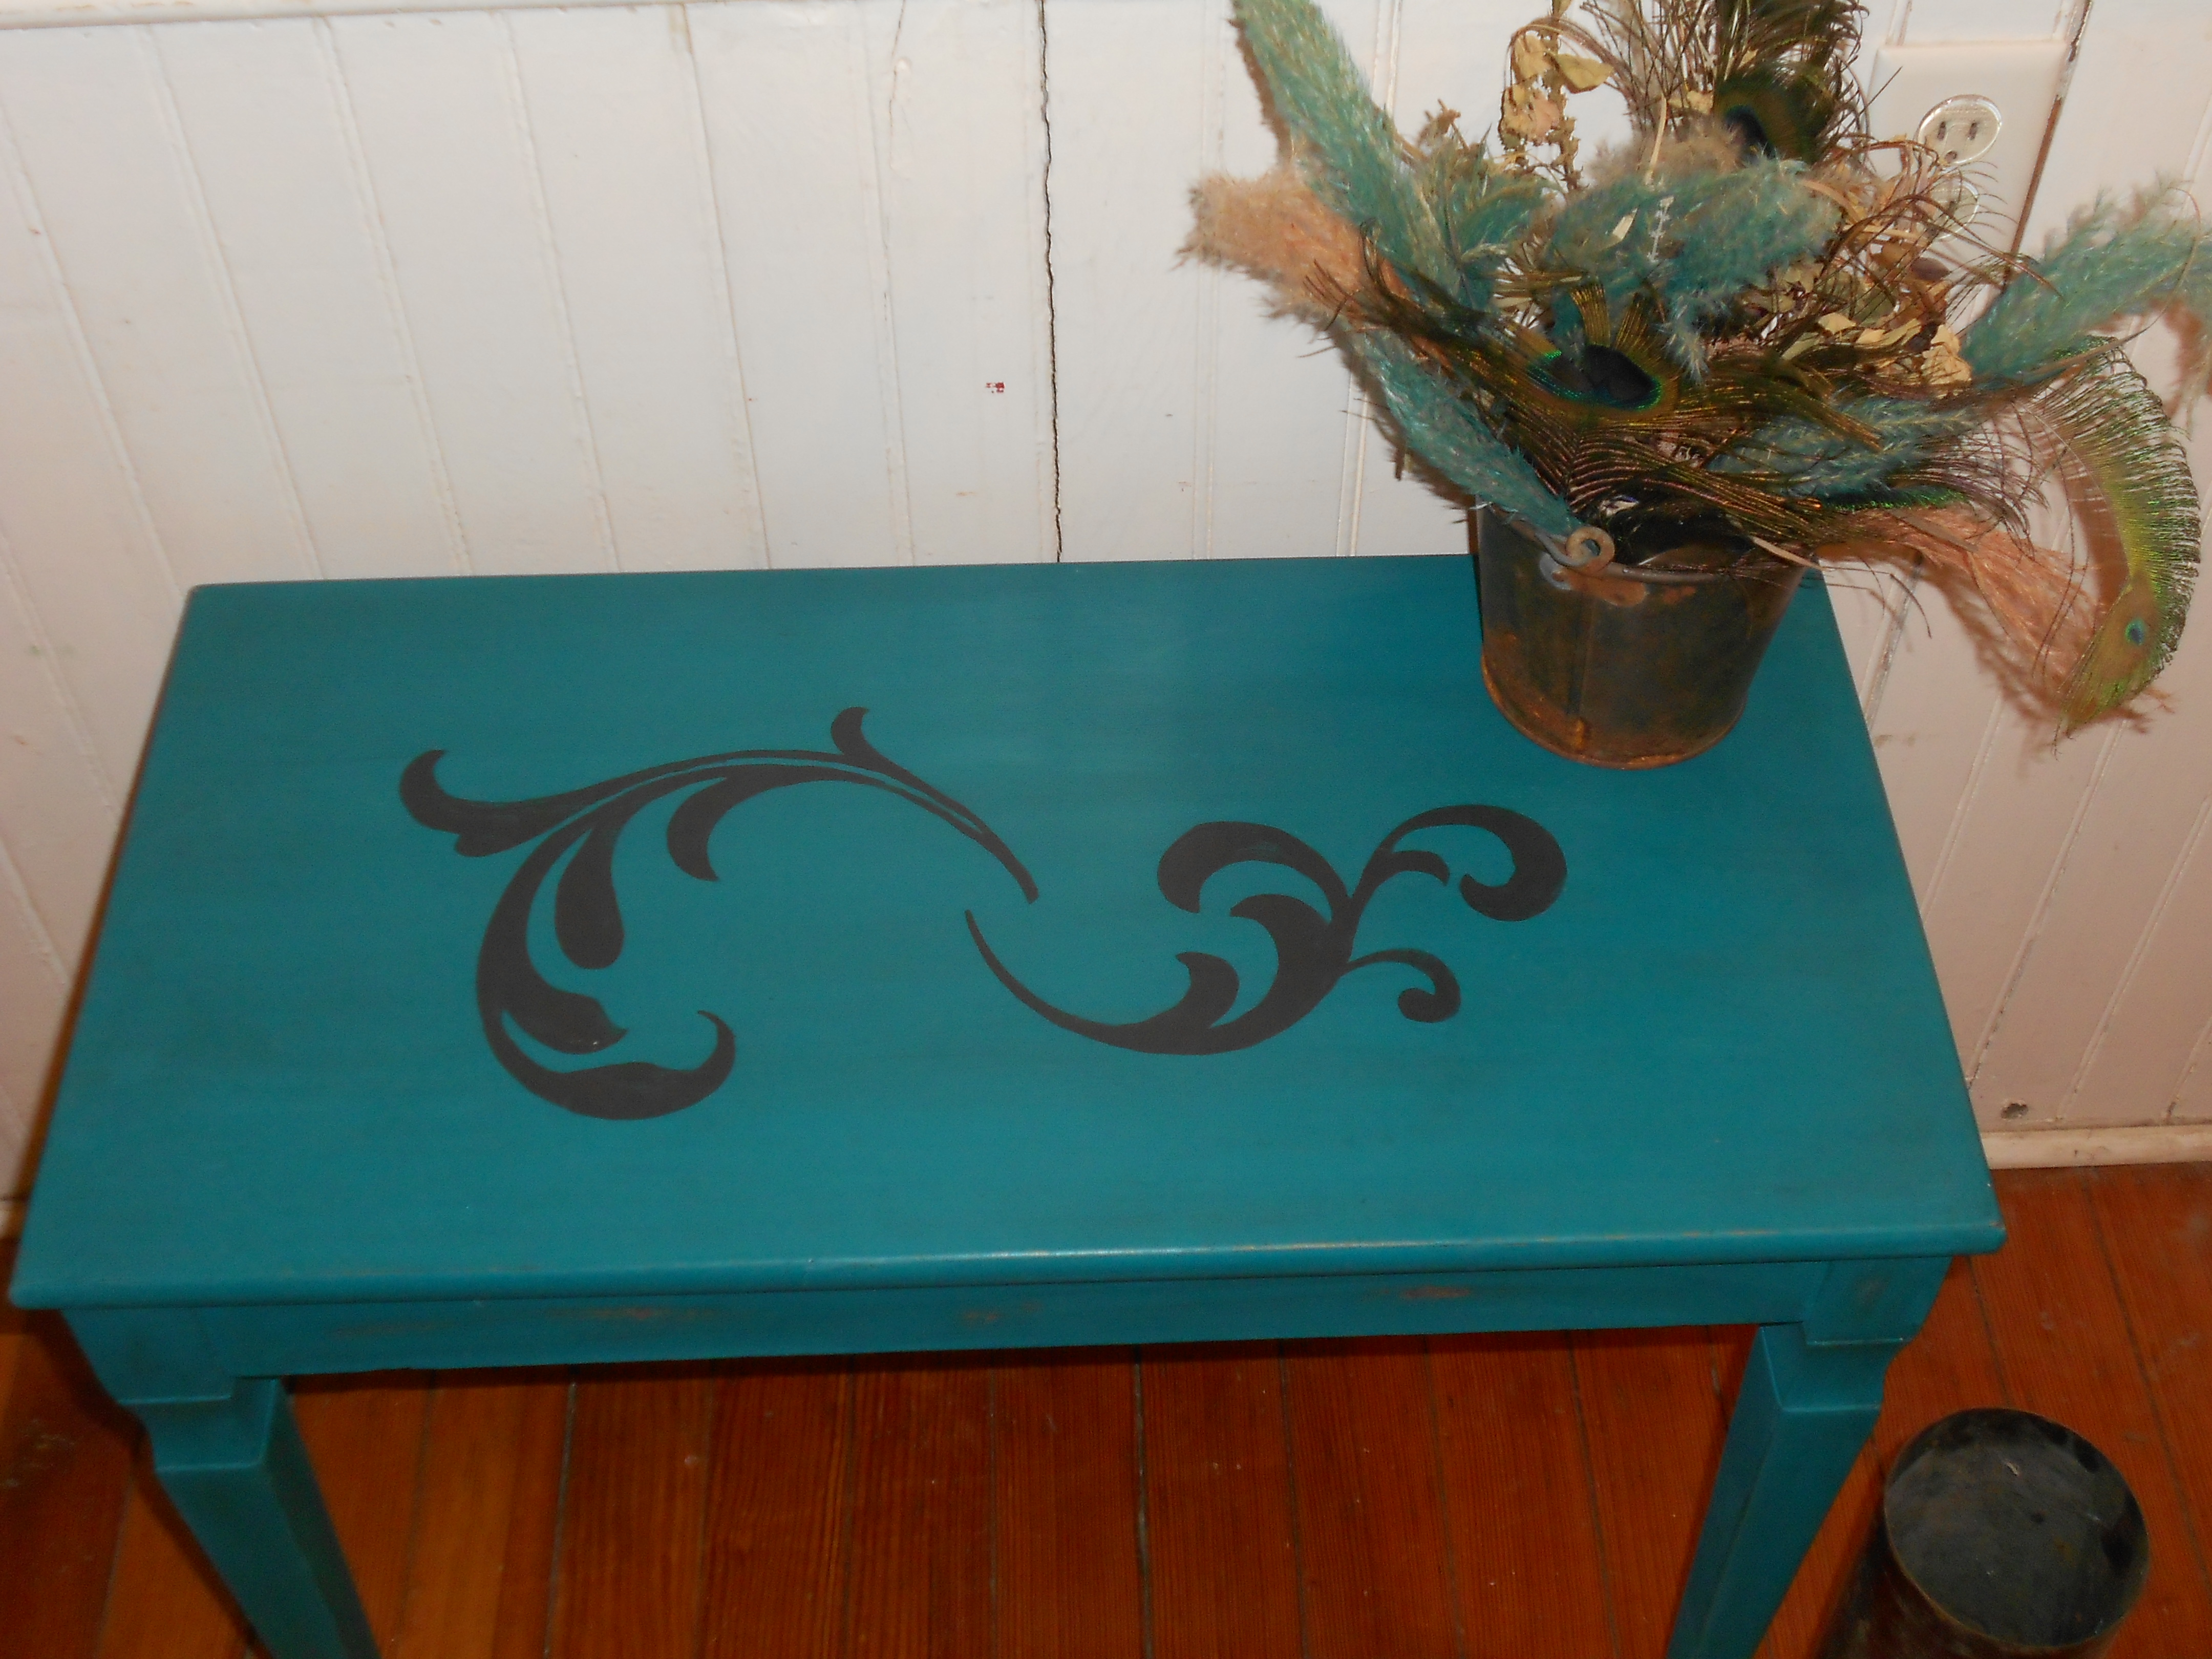
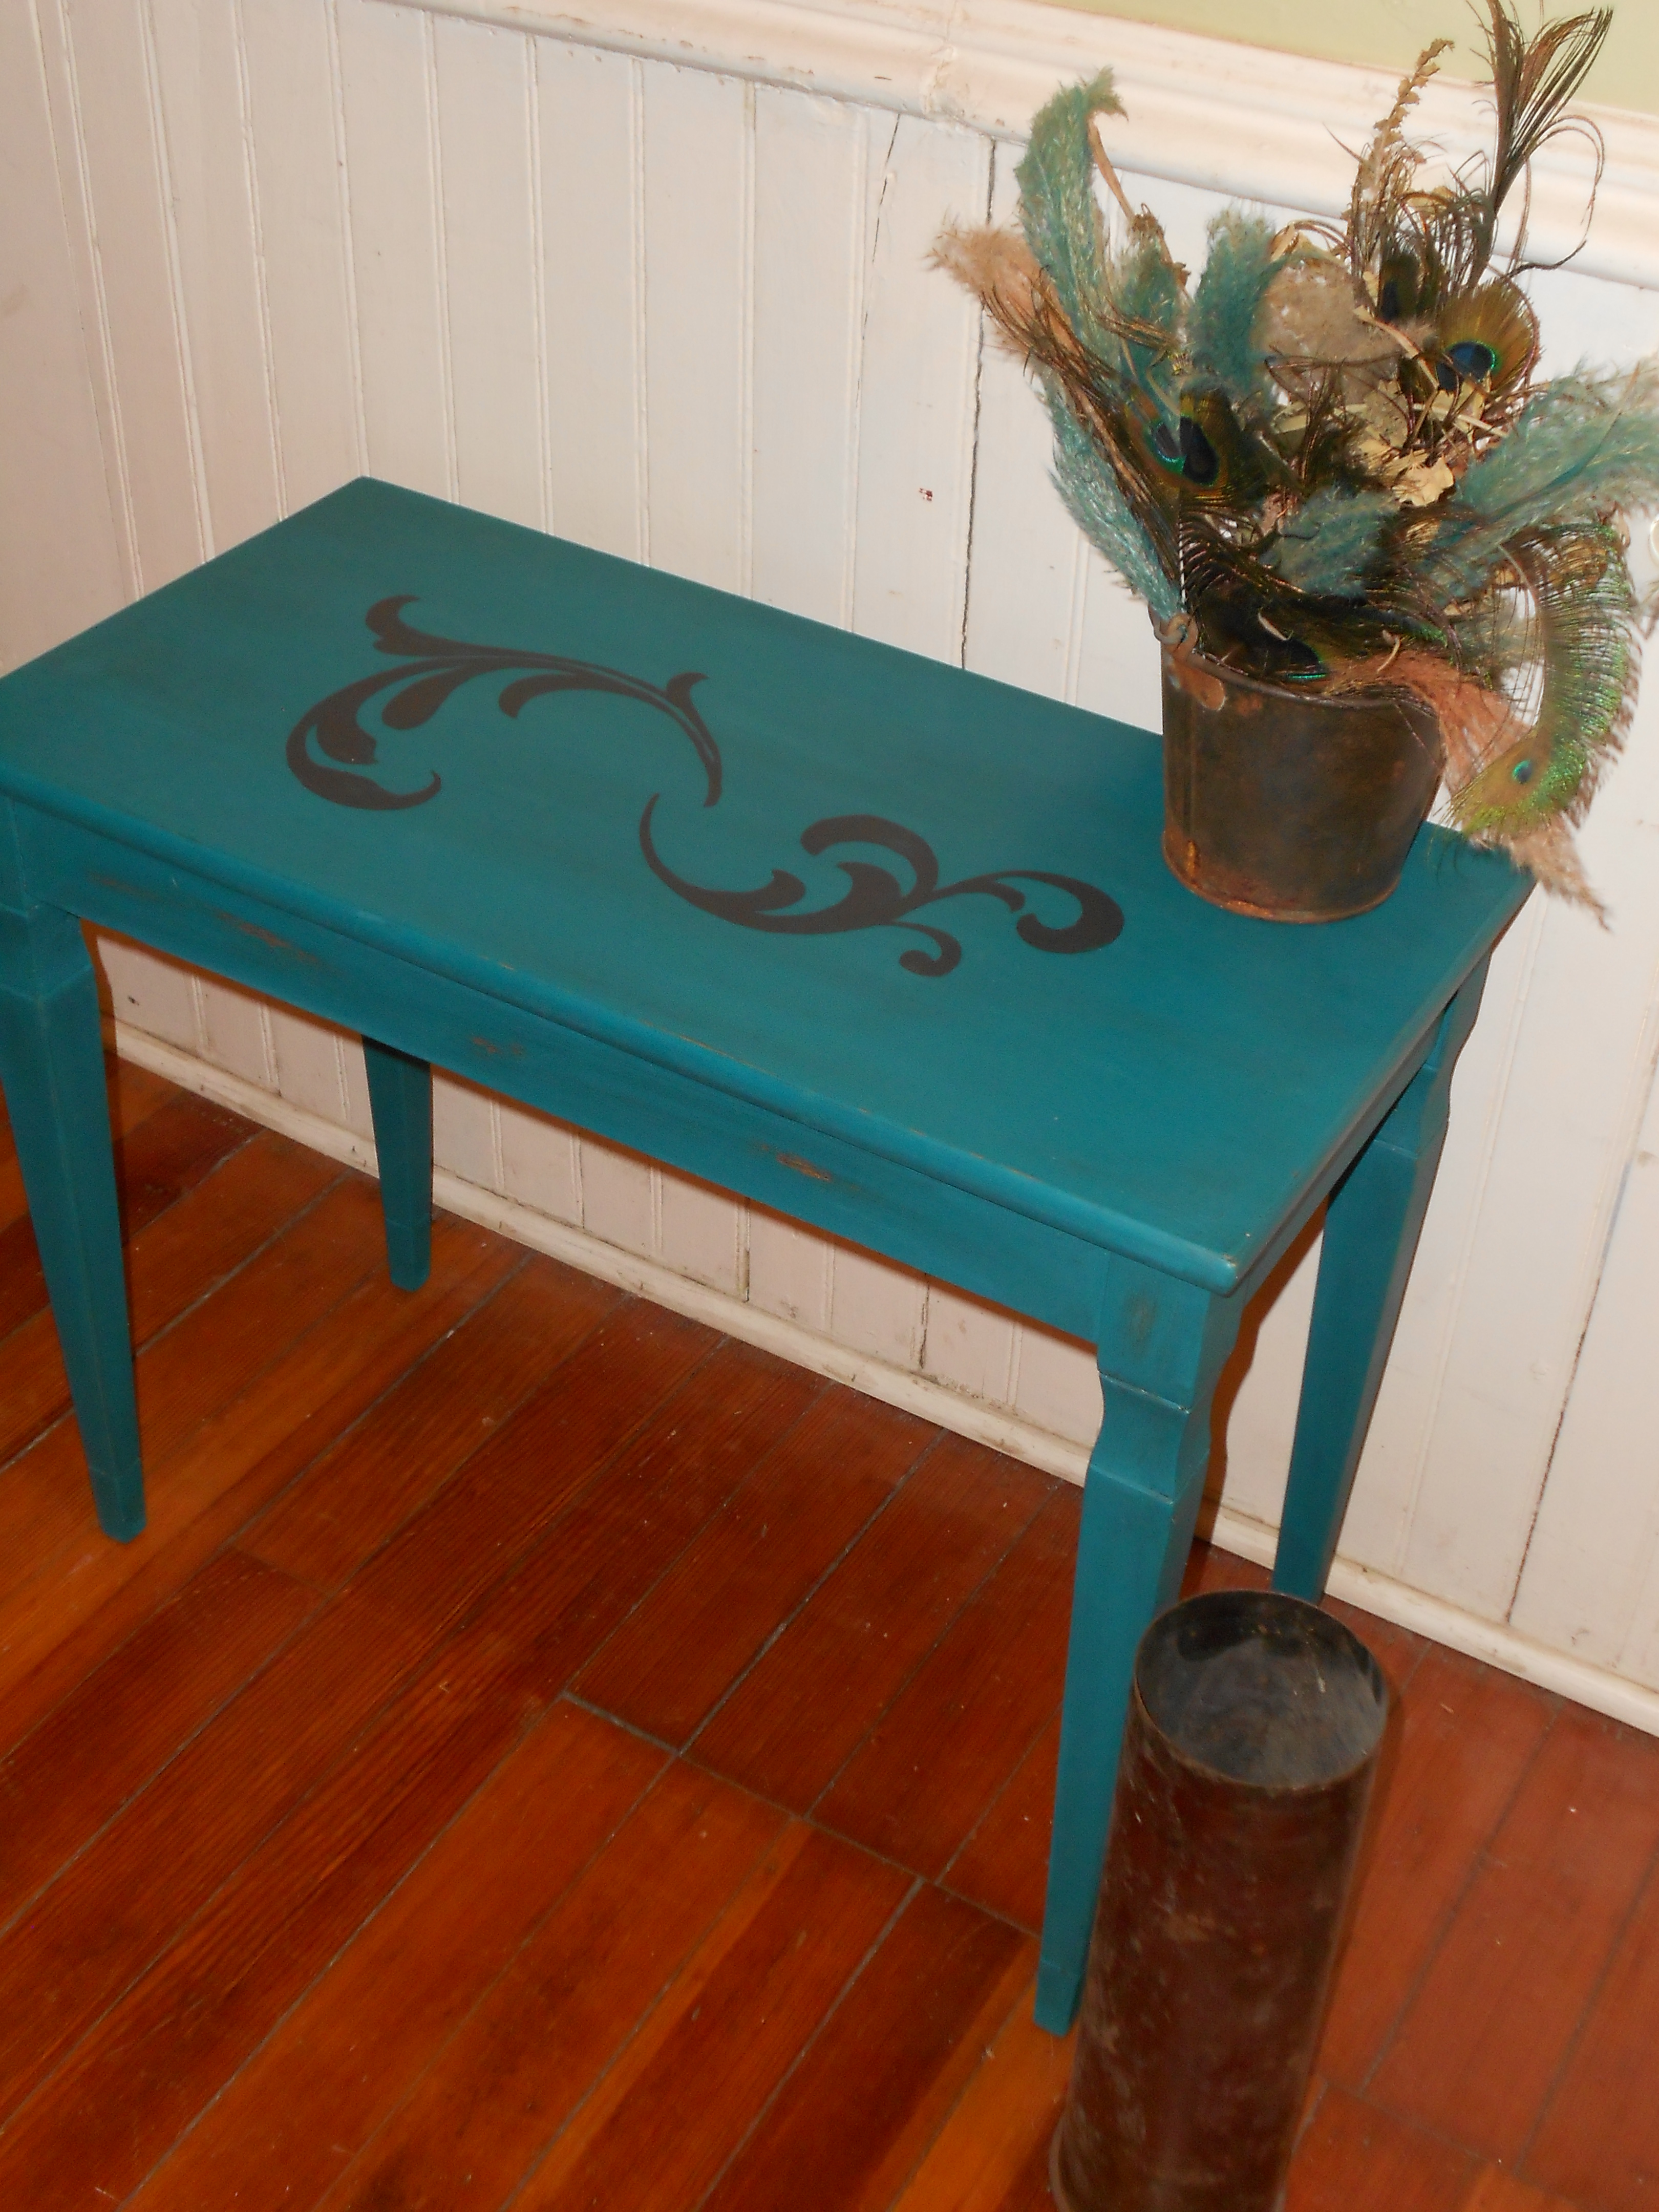
I love how the waxing turns out. The finish is protected and it is more wipable now. I used regular paste furniture wax and then tinted it with a charcoal paint. I am so excited to keep perfecting this technique. What do you think?
A Vintage Nursery Project
I know I just now finally shared the nursery with you, but I also just finished a fun little project in there.
I was given this beat up little vintage dresser the other day , with plans to turn it into a book shelf for toys.

Suddenly it struck me. Those two drawers could also be another project, perfect for some storage! I cleaned, sanded, painted, roughed, waxed, added wheels and knobs, and viola!


I absolutely love how they turned out! B can now store toys or clothes in them, and they should fit under any bed, so he can use them for a long time! My helper approves.


This was my first time using paste wax. I tinted my wax myself with paint. I really like how it gives the drawers a barn board feel. I think with a little practice this could be a new favorite technique! What do you think?
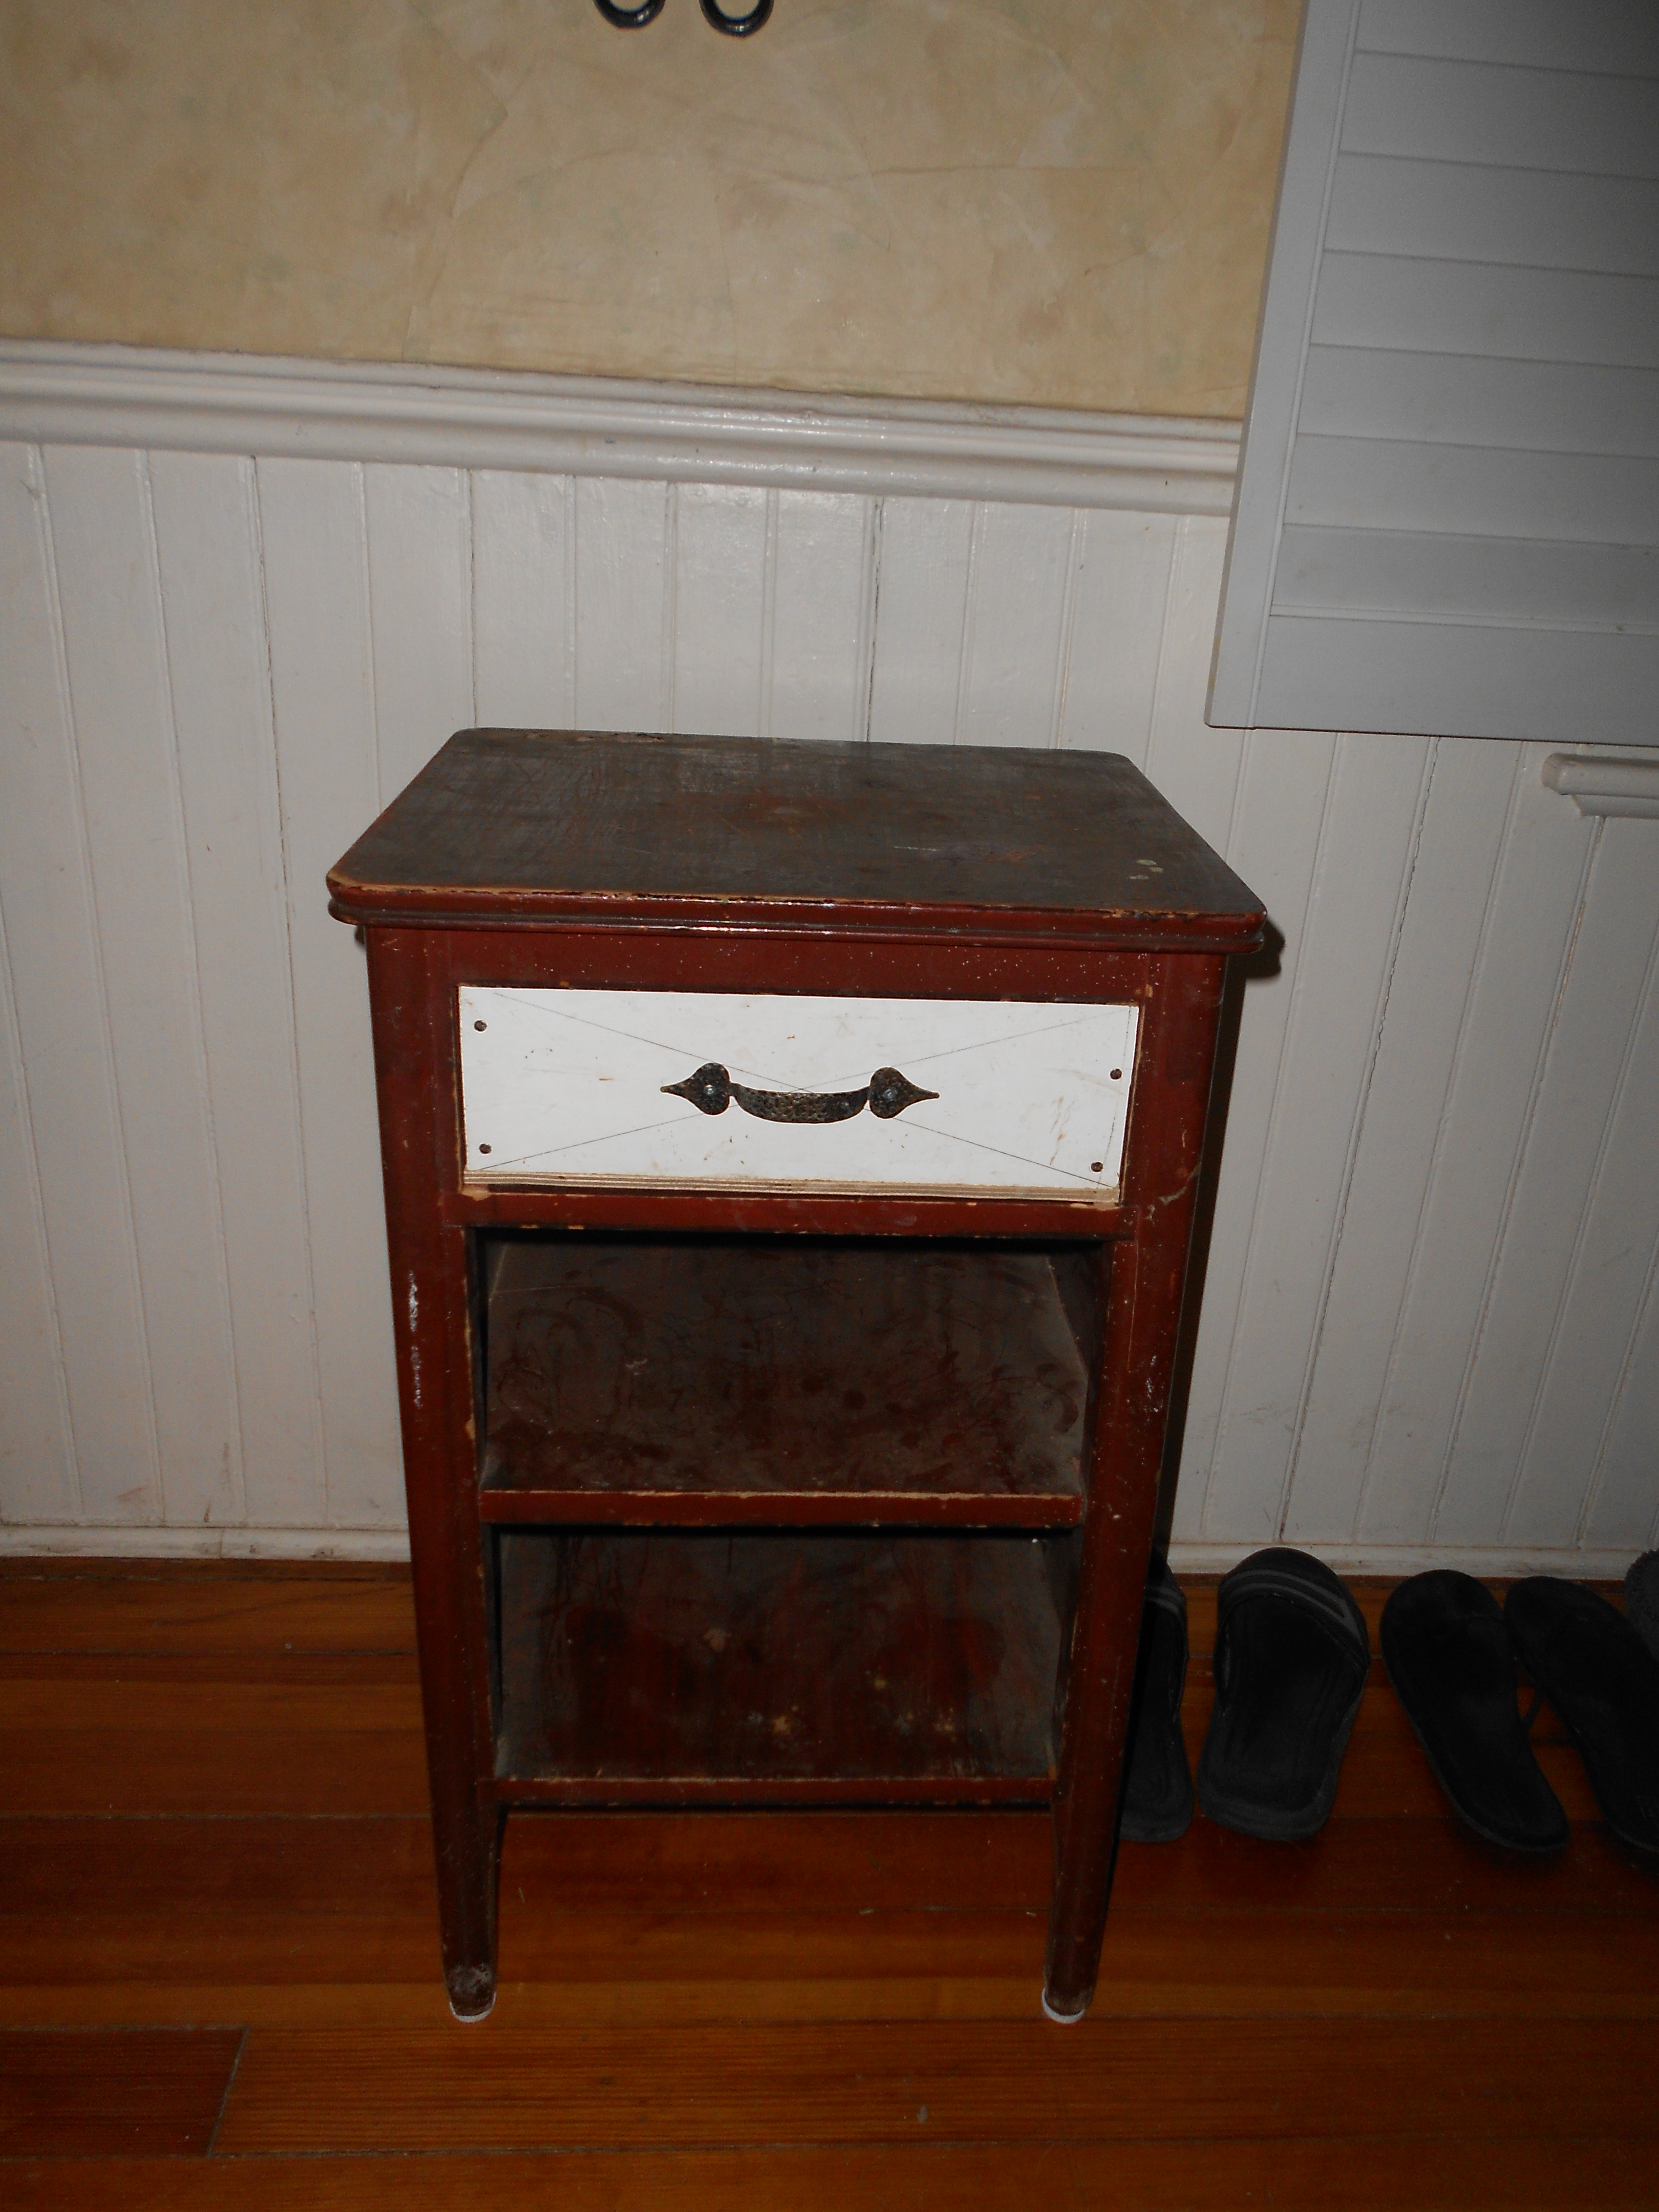
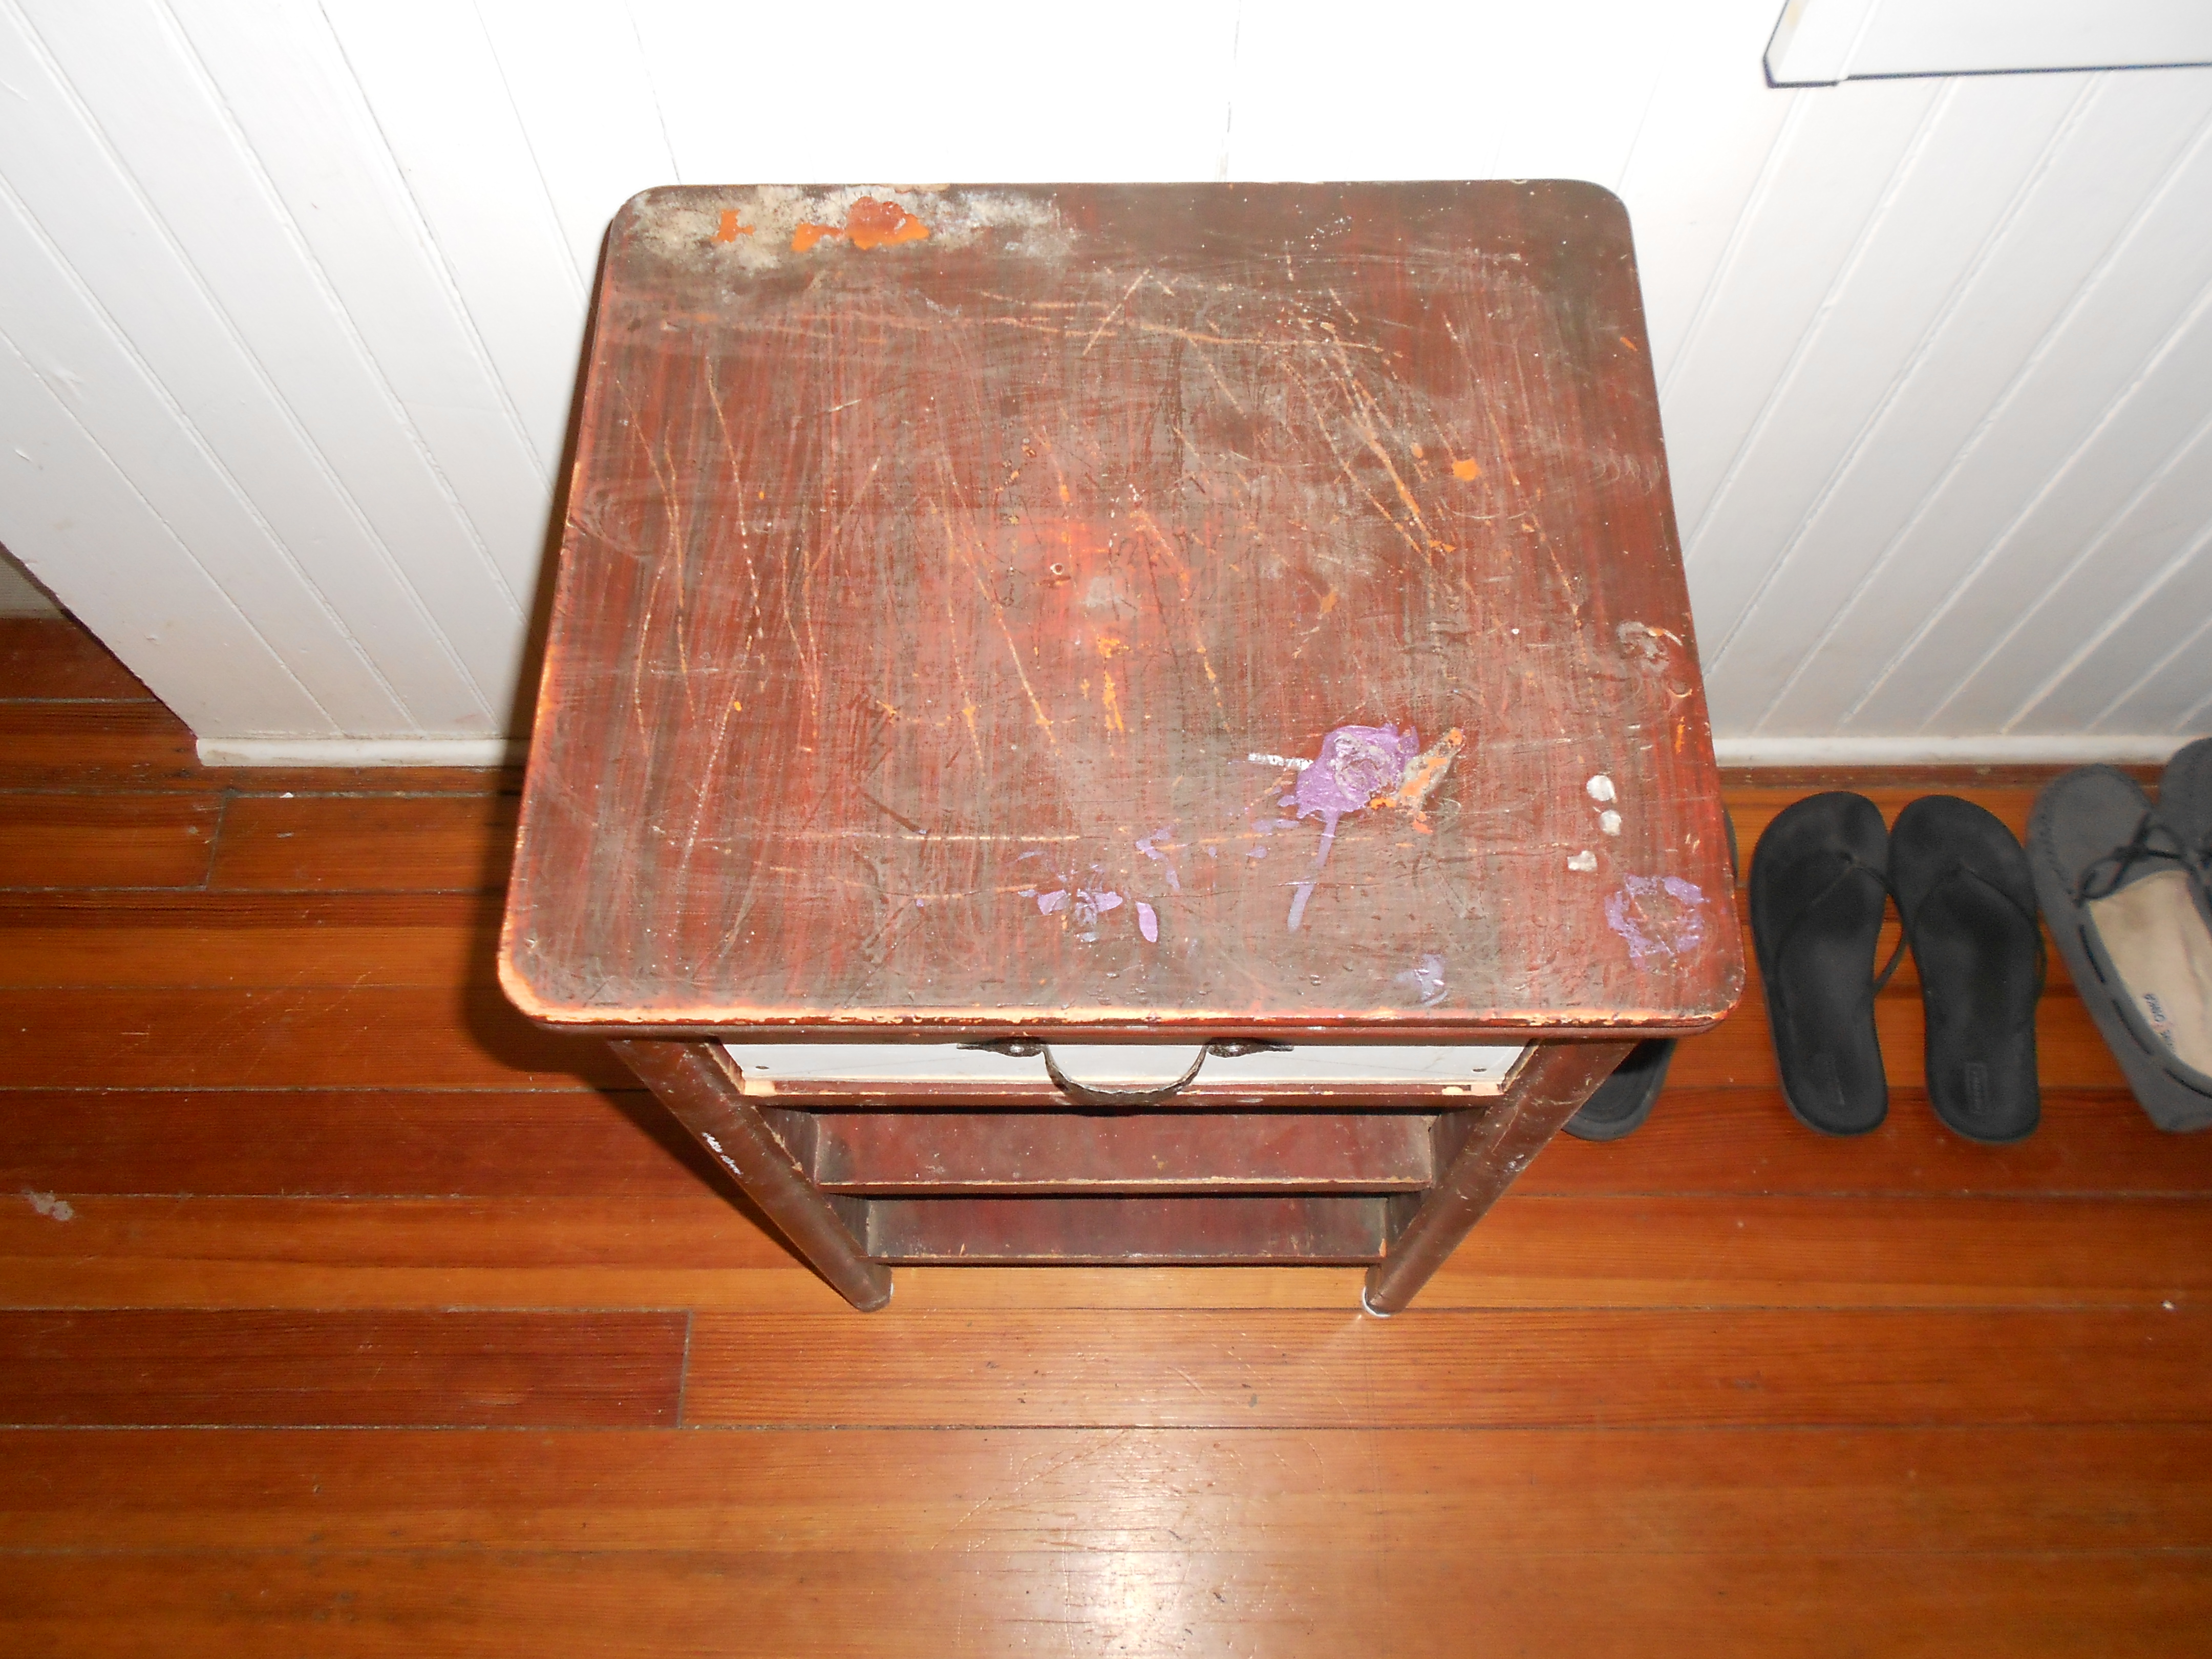
Nightstand Redo
I found this ugly little nightstand/size table at a yard sale. You can’t beat $2, plus although it was rough and ugly, I thought it had cute potential. Here is the before:
And here is the updated and no longer ugly after:
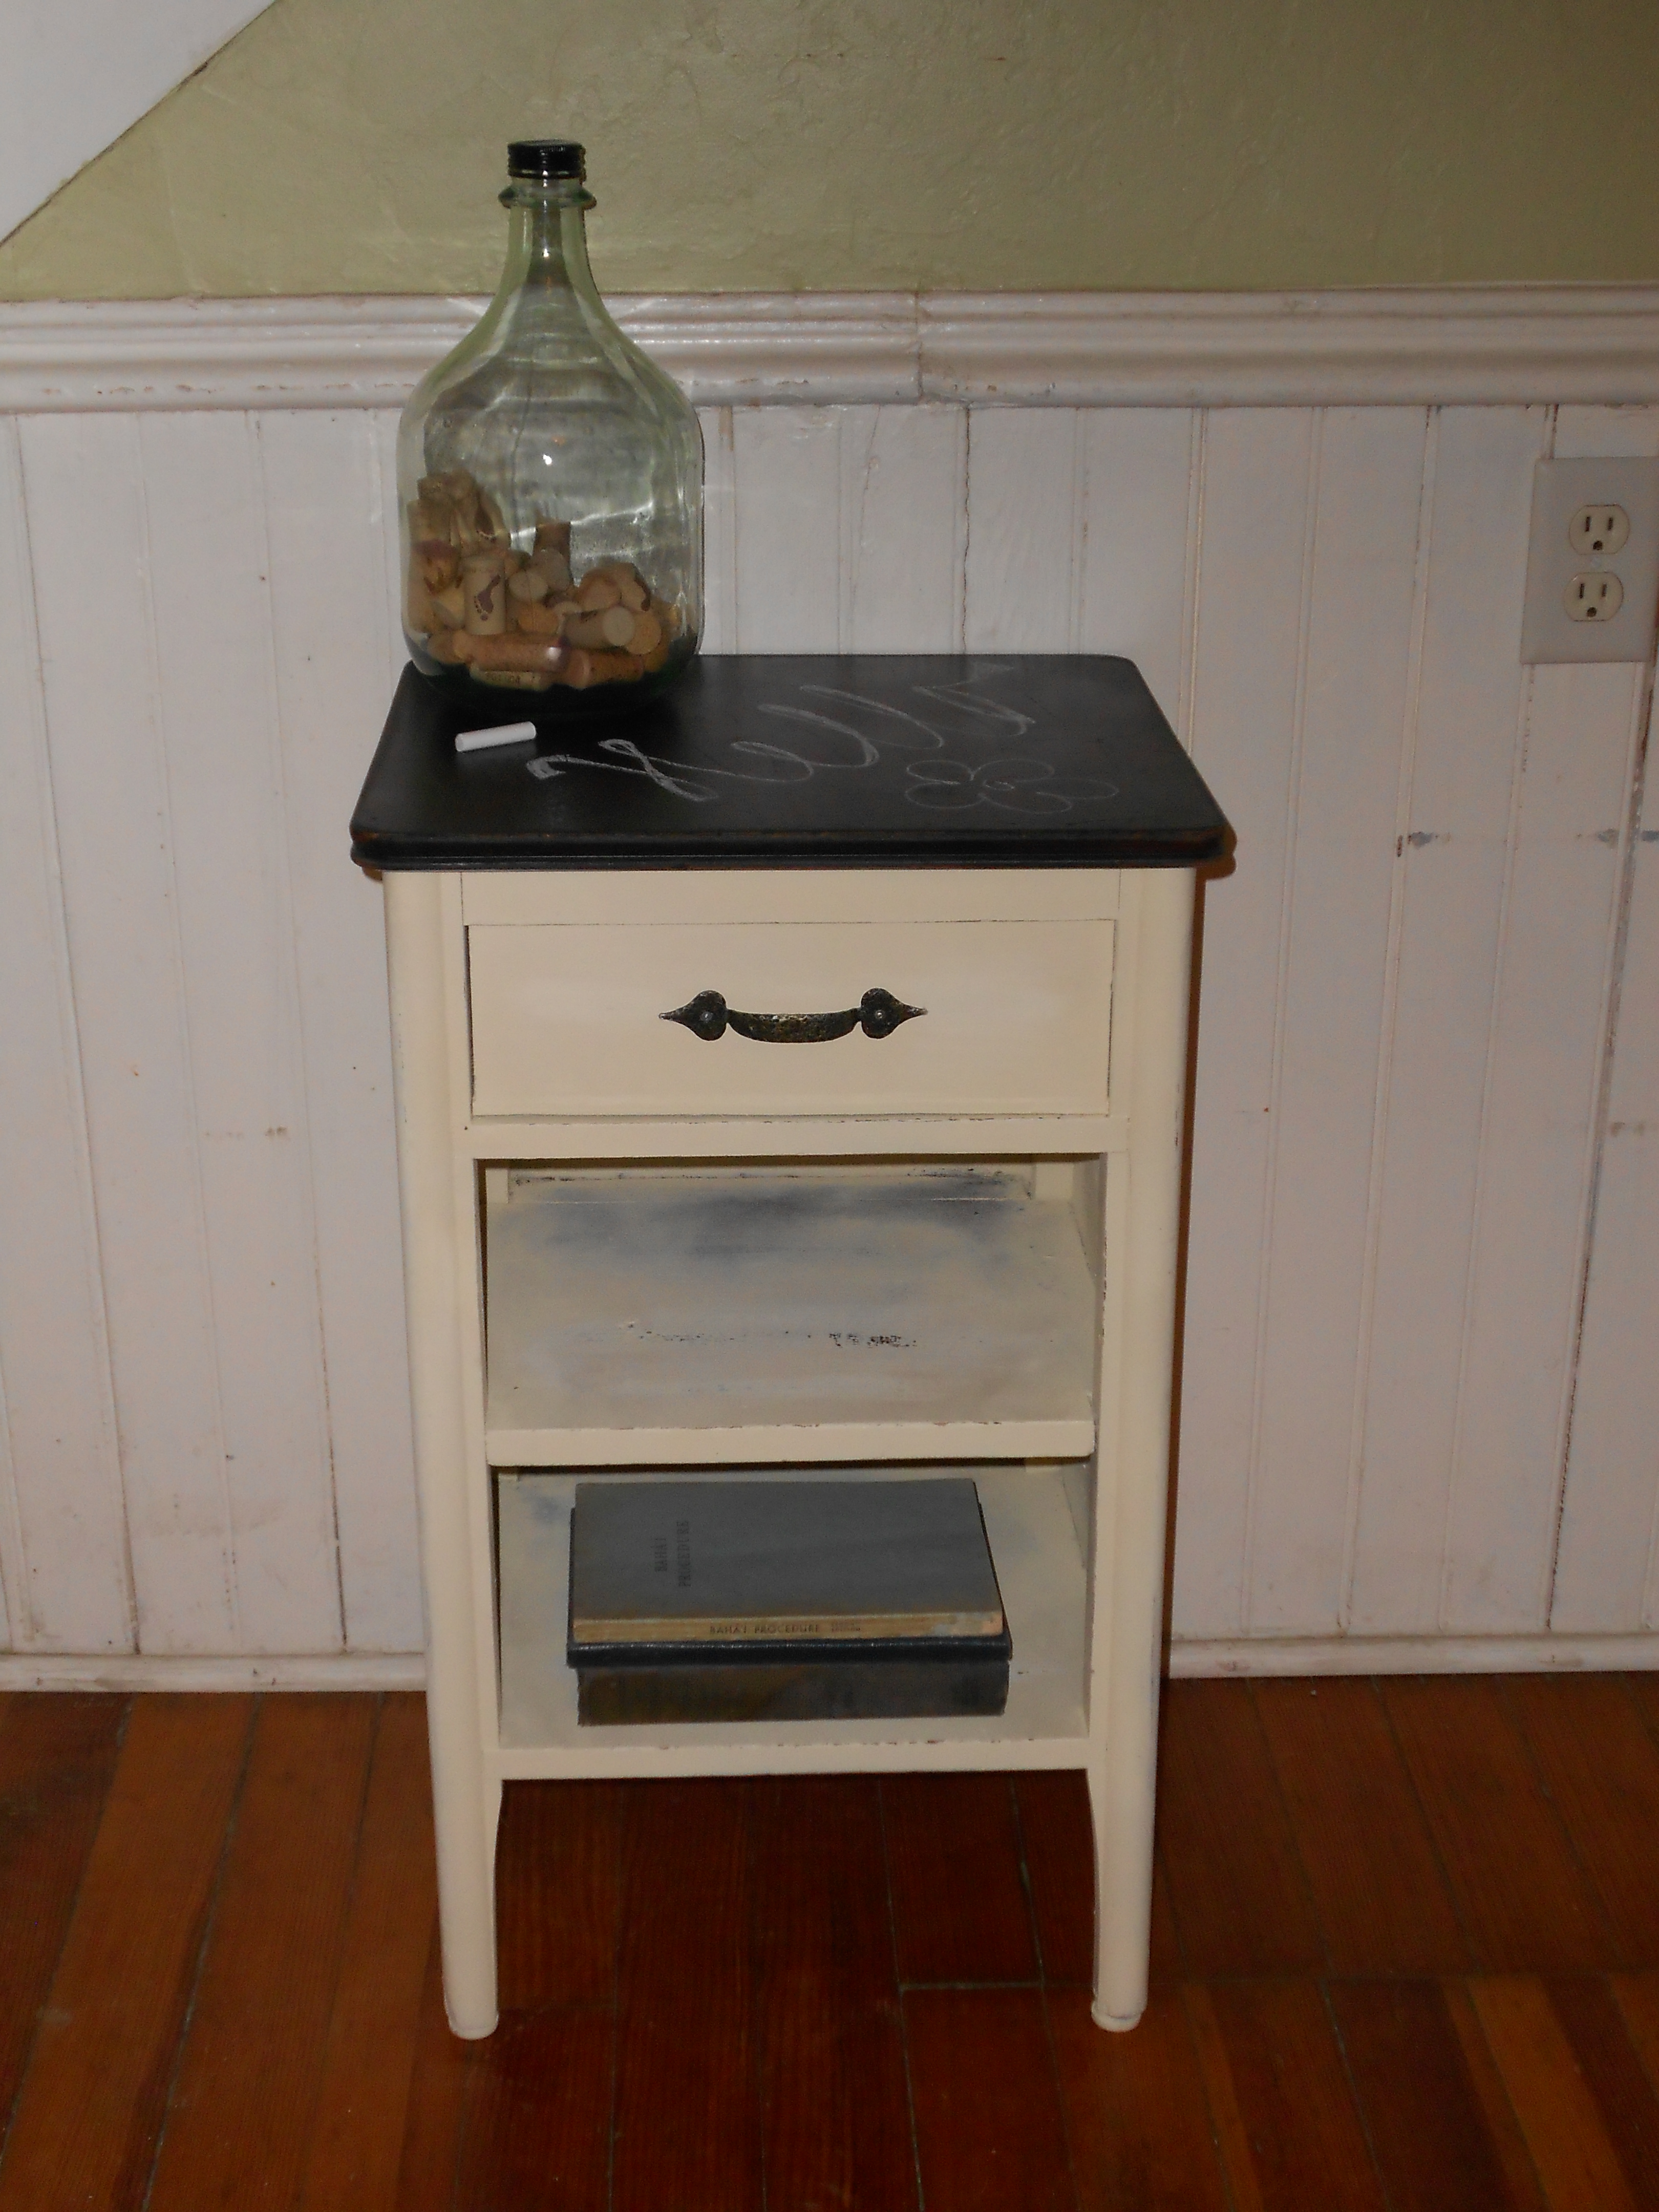

I sanded it down and taped off the top from the bottom. I painted the bottom of the table in a satin cream color. I then painted the top in a black chalkboard paint. To finish it off I roughed up the edges to give it a worn look. I put the same handle back on rather than replacing this one because I thought it matched the style well. Overall I think it turned out adorably. What do you think? 🙂
Little Side Table Project
Hi all! I want to share some wedding projects and some other big news very soon, but for today I wanted to stop by with a quick project.
We found this little side table at a garage sale for .50 cents. Yup, .50 cents.
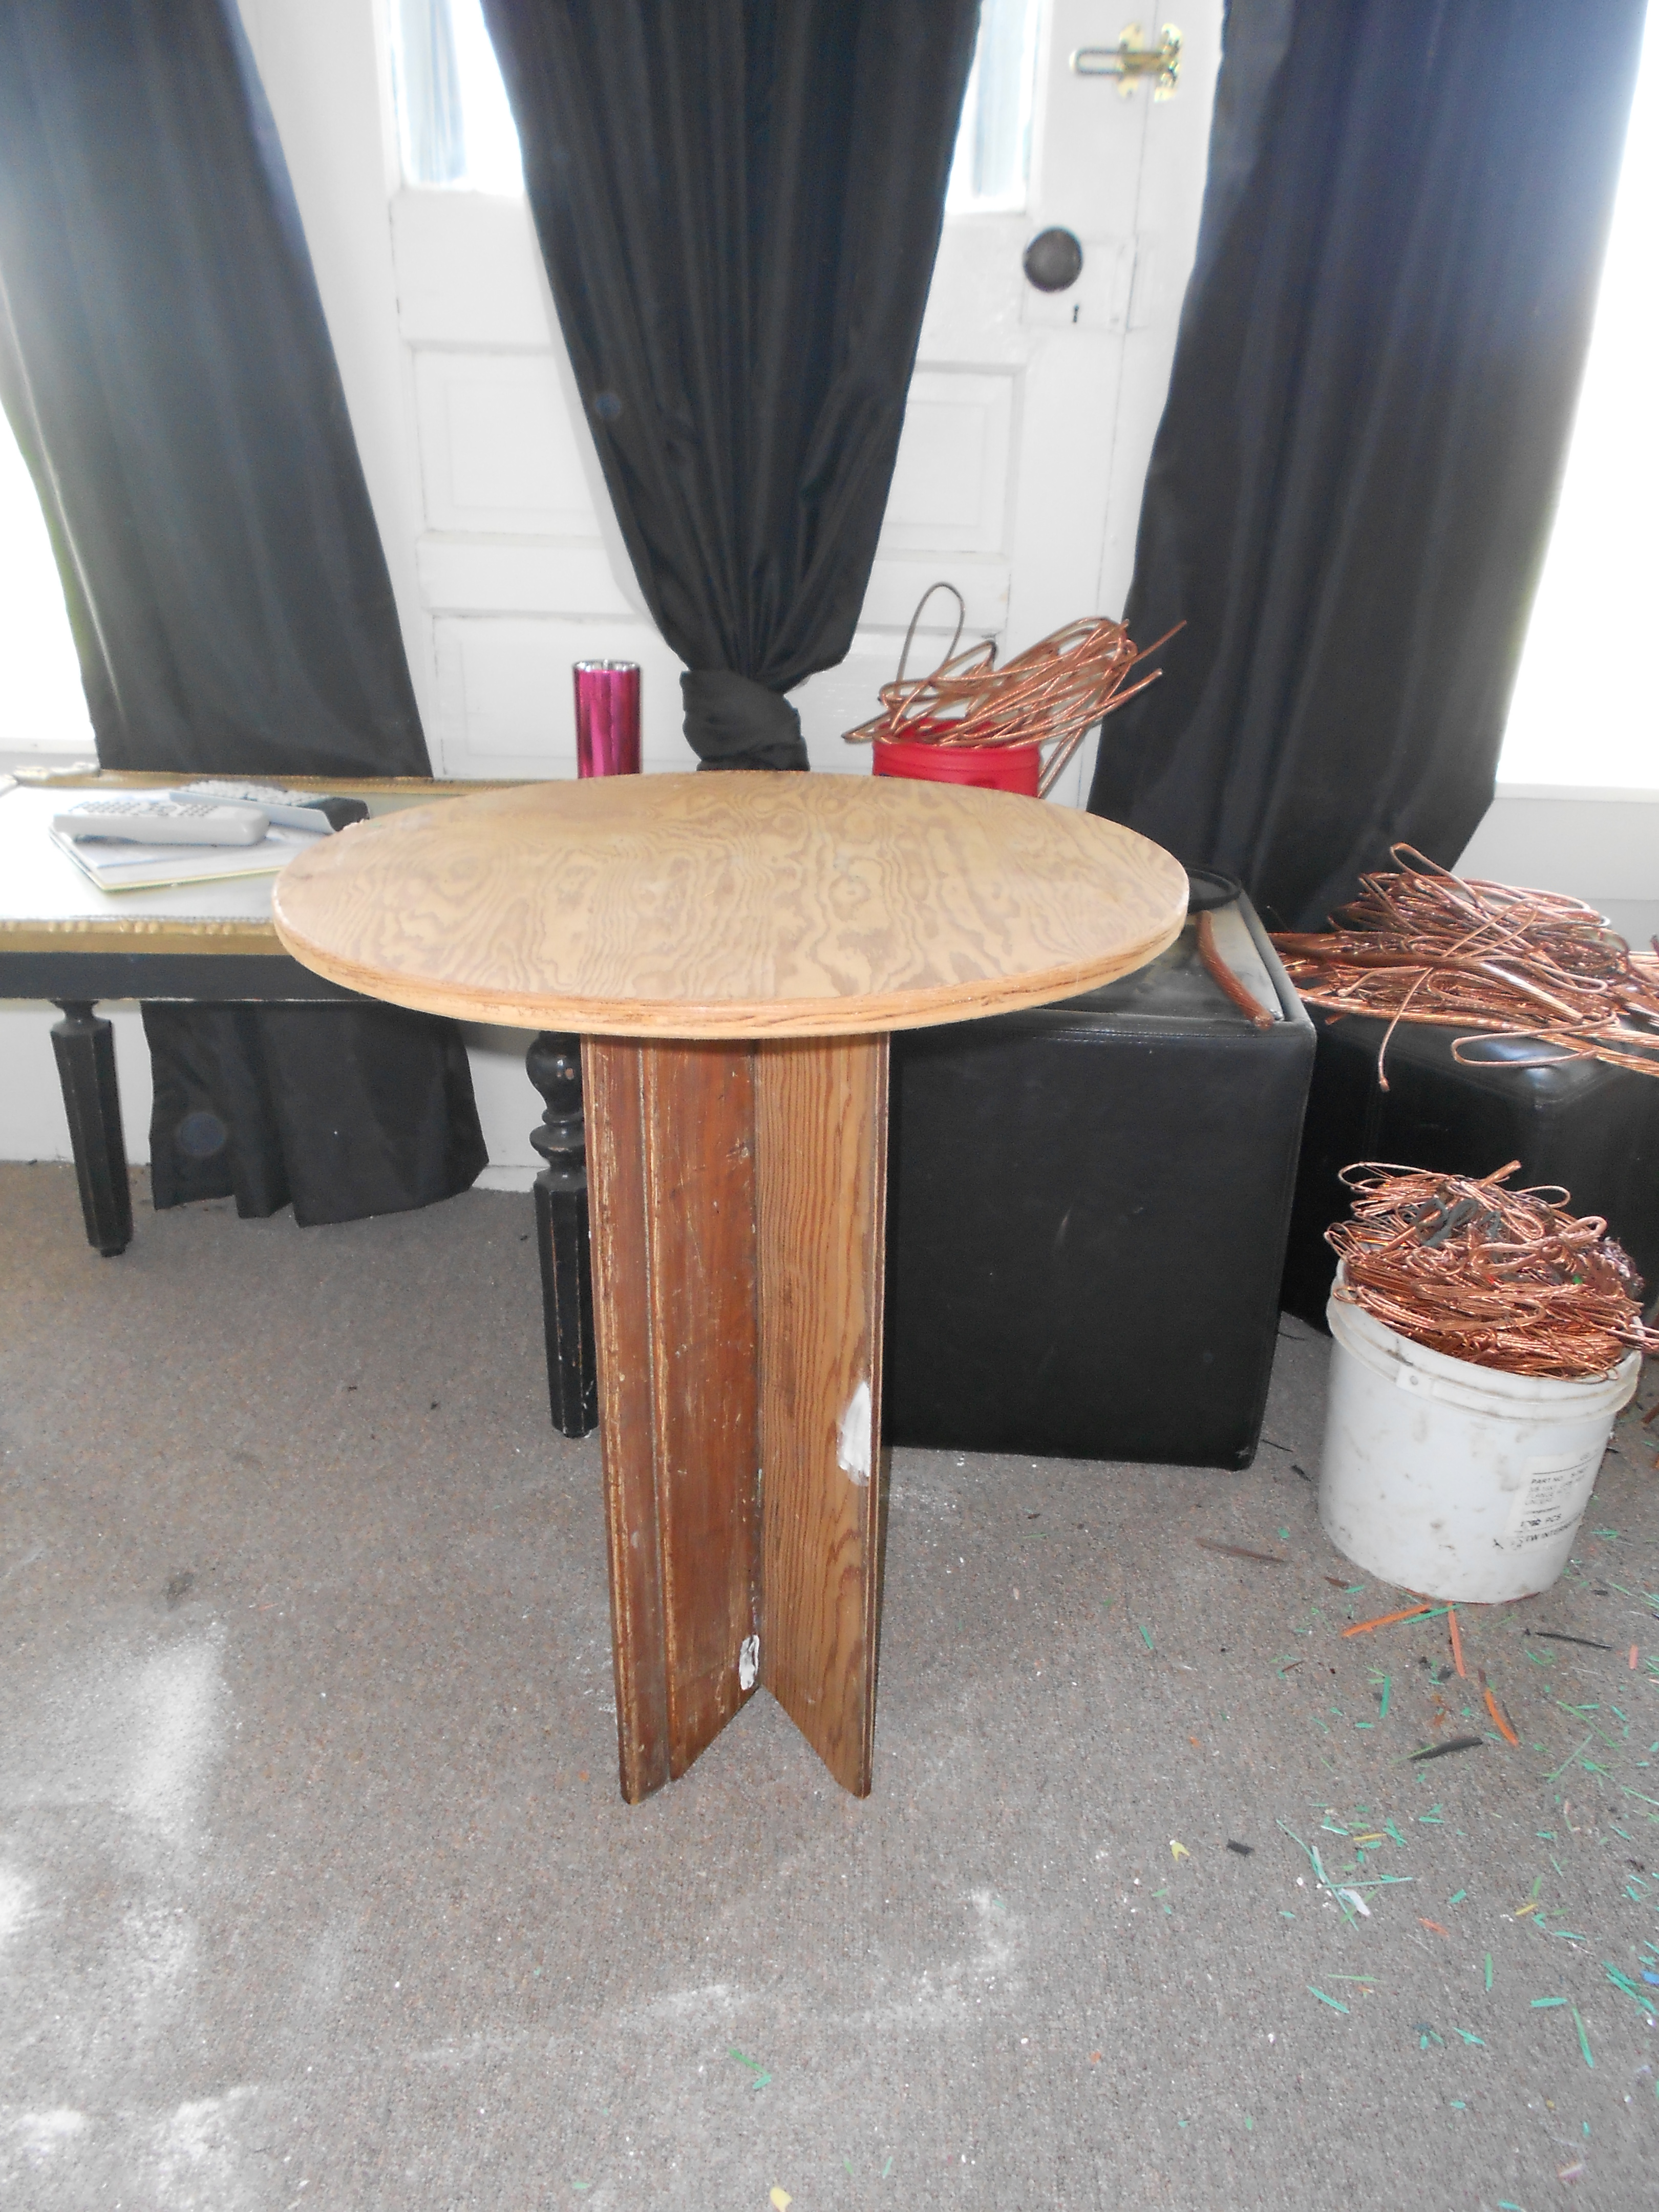
Shabby, yes, a bit. But, I loved the round shape and primitive pedestal. So, I patched, sanded and painted. I picked a burgundy-ish color and then I stenciled my favorite paisley on the top in silver. I thought this was a bit modern to mix with this little table. I roughed up the edges and faded out the design on the top. I think it turned out really cute!
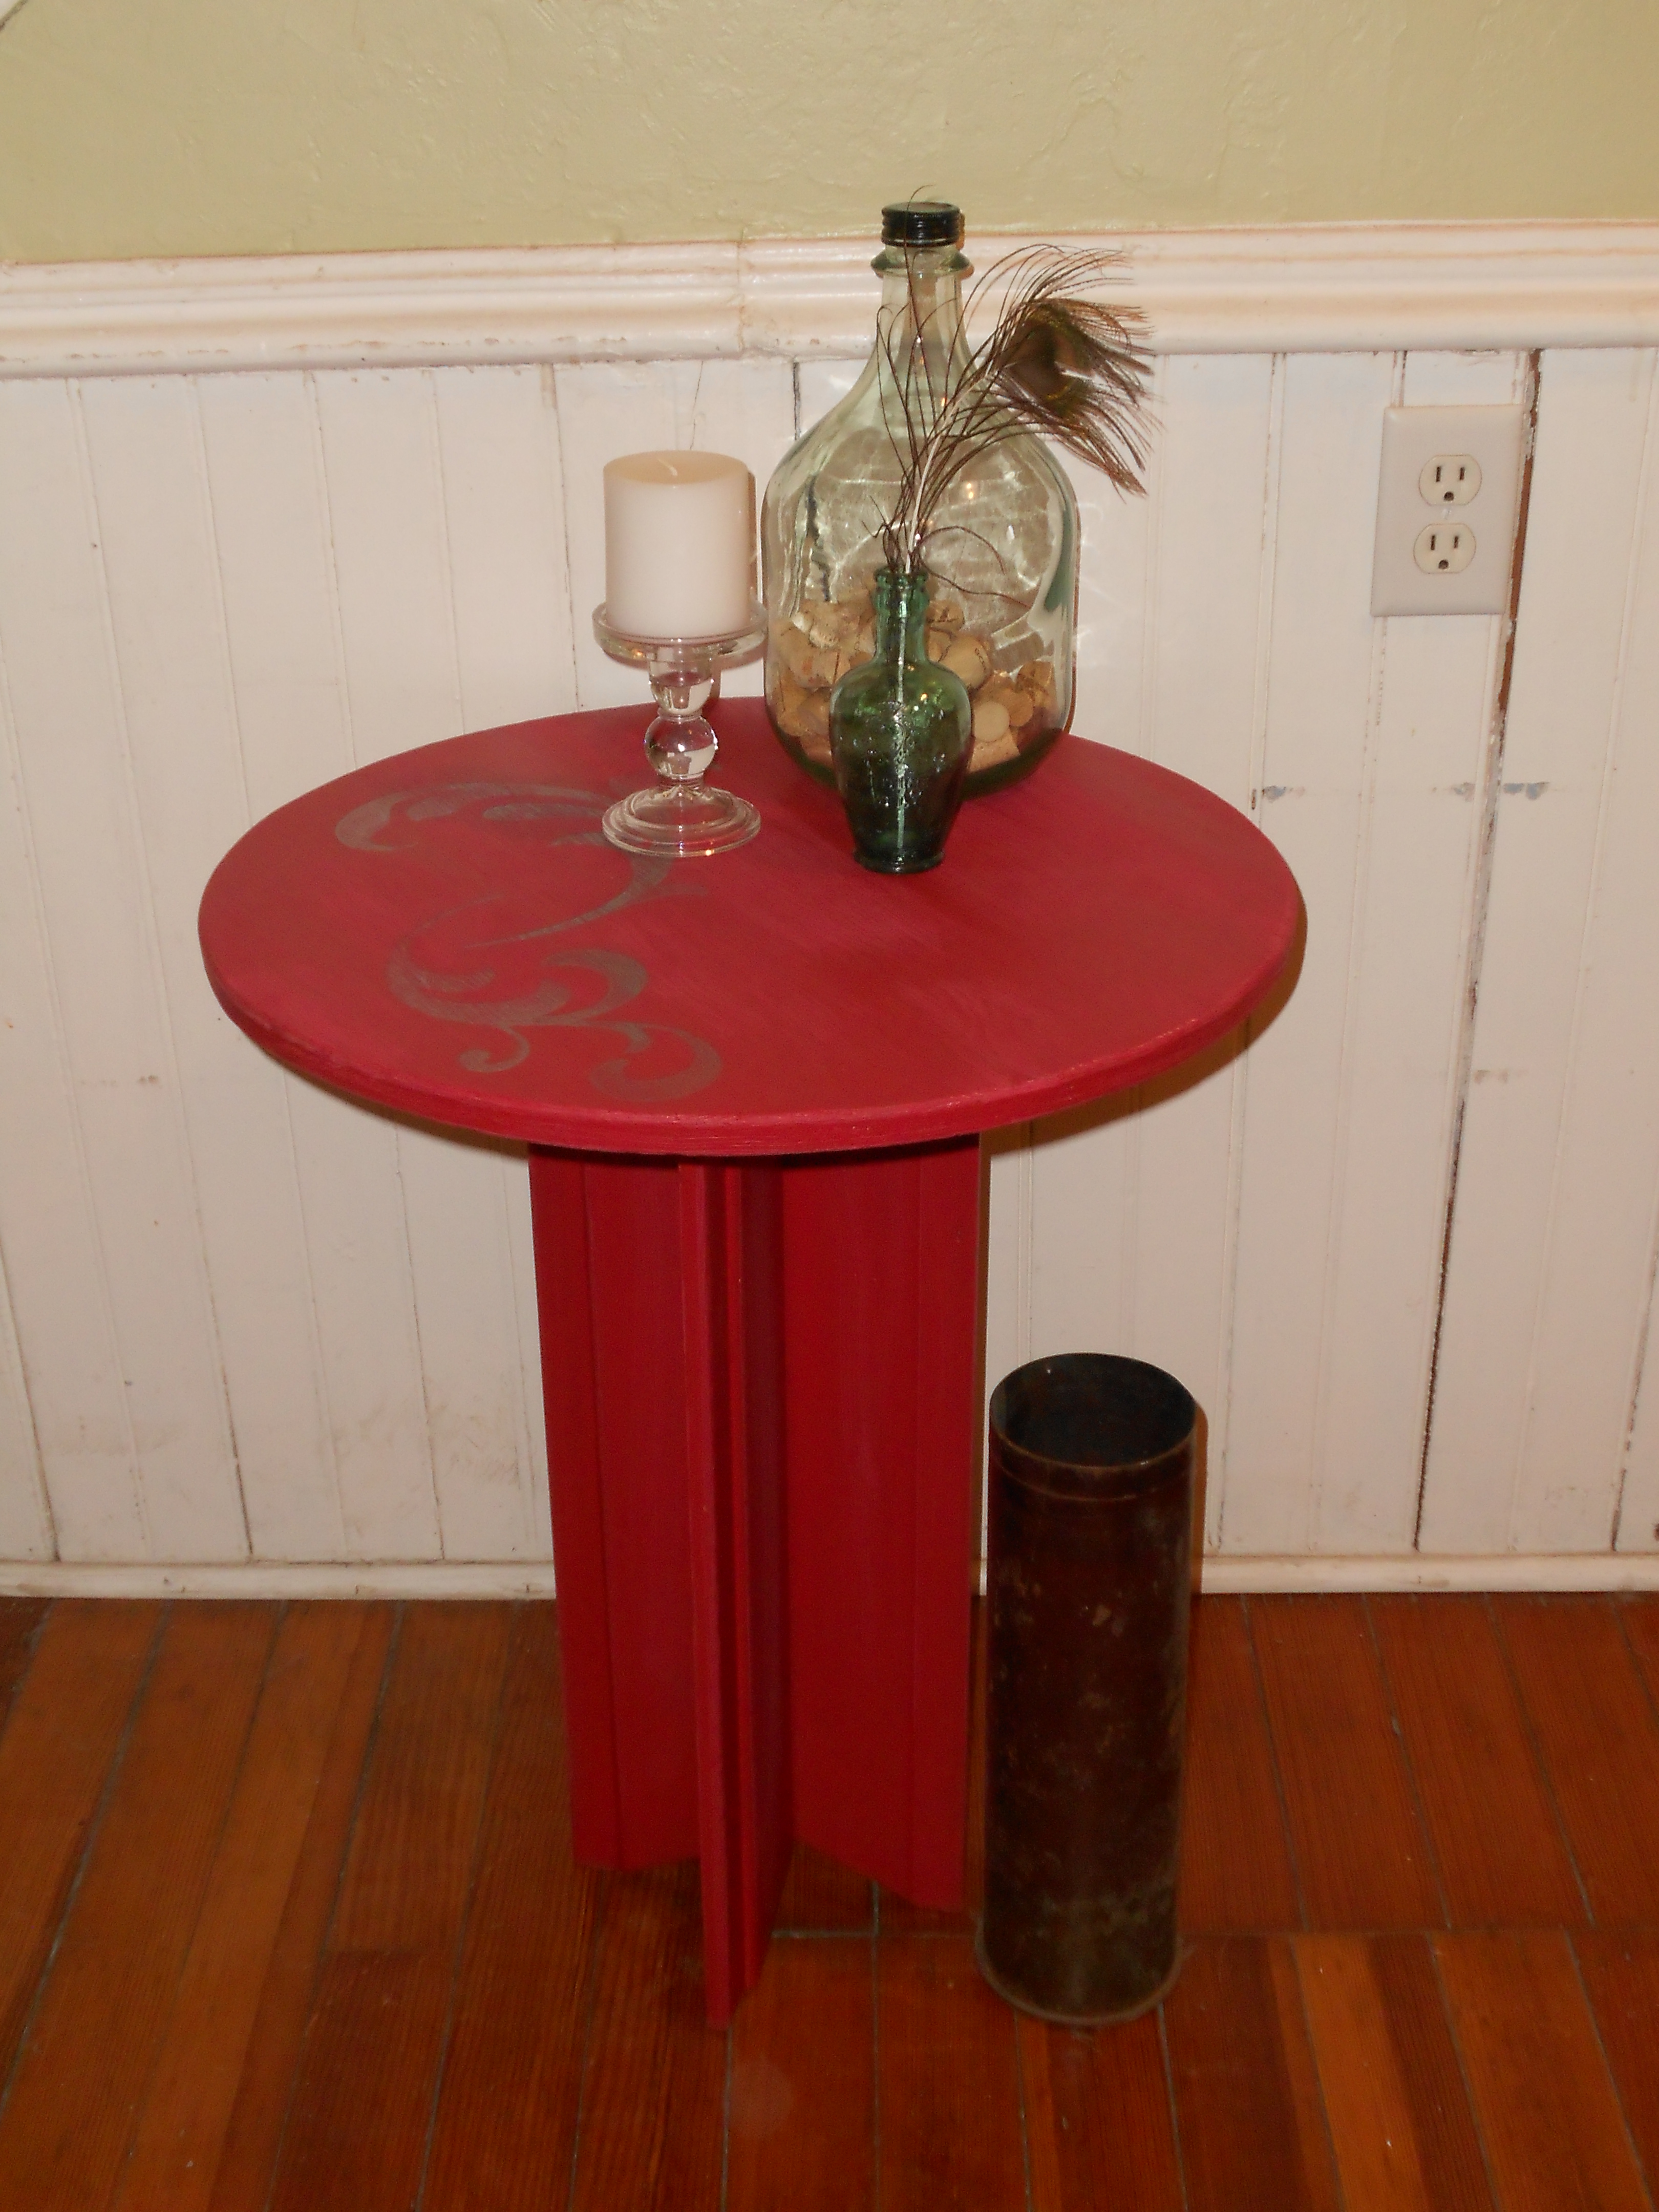

What do you think? Well, this little guy already found a new happy home 🙂
