Coffee Table Fix Up
It’s taken me over a year. But it’s finally done. I have a coffee table that I love, finally.
Before:

Perfect shape to hold lots of treasures, but outdated color and in rough shape.
After:


I sanded the table and then painted I’m gray (shock!) And then roughed it up. The top got a coat of a darker gray, and the whole table was finished with paste wax to protect it. I had to fix the drawer, but ended up keeping the old knobs. What do you think?
New Old Dresser
This old house has plenty of character, but really lacks storage. I get by because no one is using the spare bedroom currently, so outgrown baby items, my vacuum, and luggage all live in there. The bathroom, however, is still in desperate need of storage. I still use my old quilt rack to hang towels. I love this, but not so much when towels have to be stacked 7 high because there is no cupboard for the extras. So, I set out to buy a large old dresser to refinish, in hopes that it could serve as storage in the bathroom.
I started with this guy for $40 on a garage sale:

Great vintage bones, ugly paint job. So I sanded, patched one spot, and painted him gray.

He was already looking gorgeous. Then I added some charcoal tinted furniture paste wax.

I was loving it. The hardest part was picking hardware. I didn’t want the hardware to pull too much attention, so I ended up choosing twisted iron pulls that reminded me of the Threshers, and little black knobs for the top. Now he’s finished and gorgeous. Oh, and one more dilemma. Do I really put it in the barhroom, or do I give it to Brantley as he transitions to his big boy furniture? OR, do I sell it? 😉


What do you think?! ♡
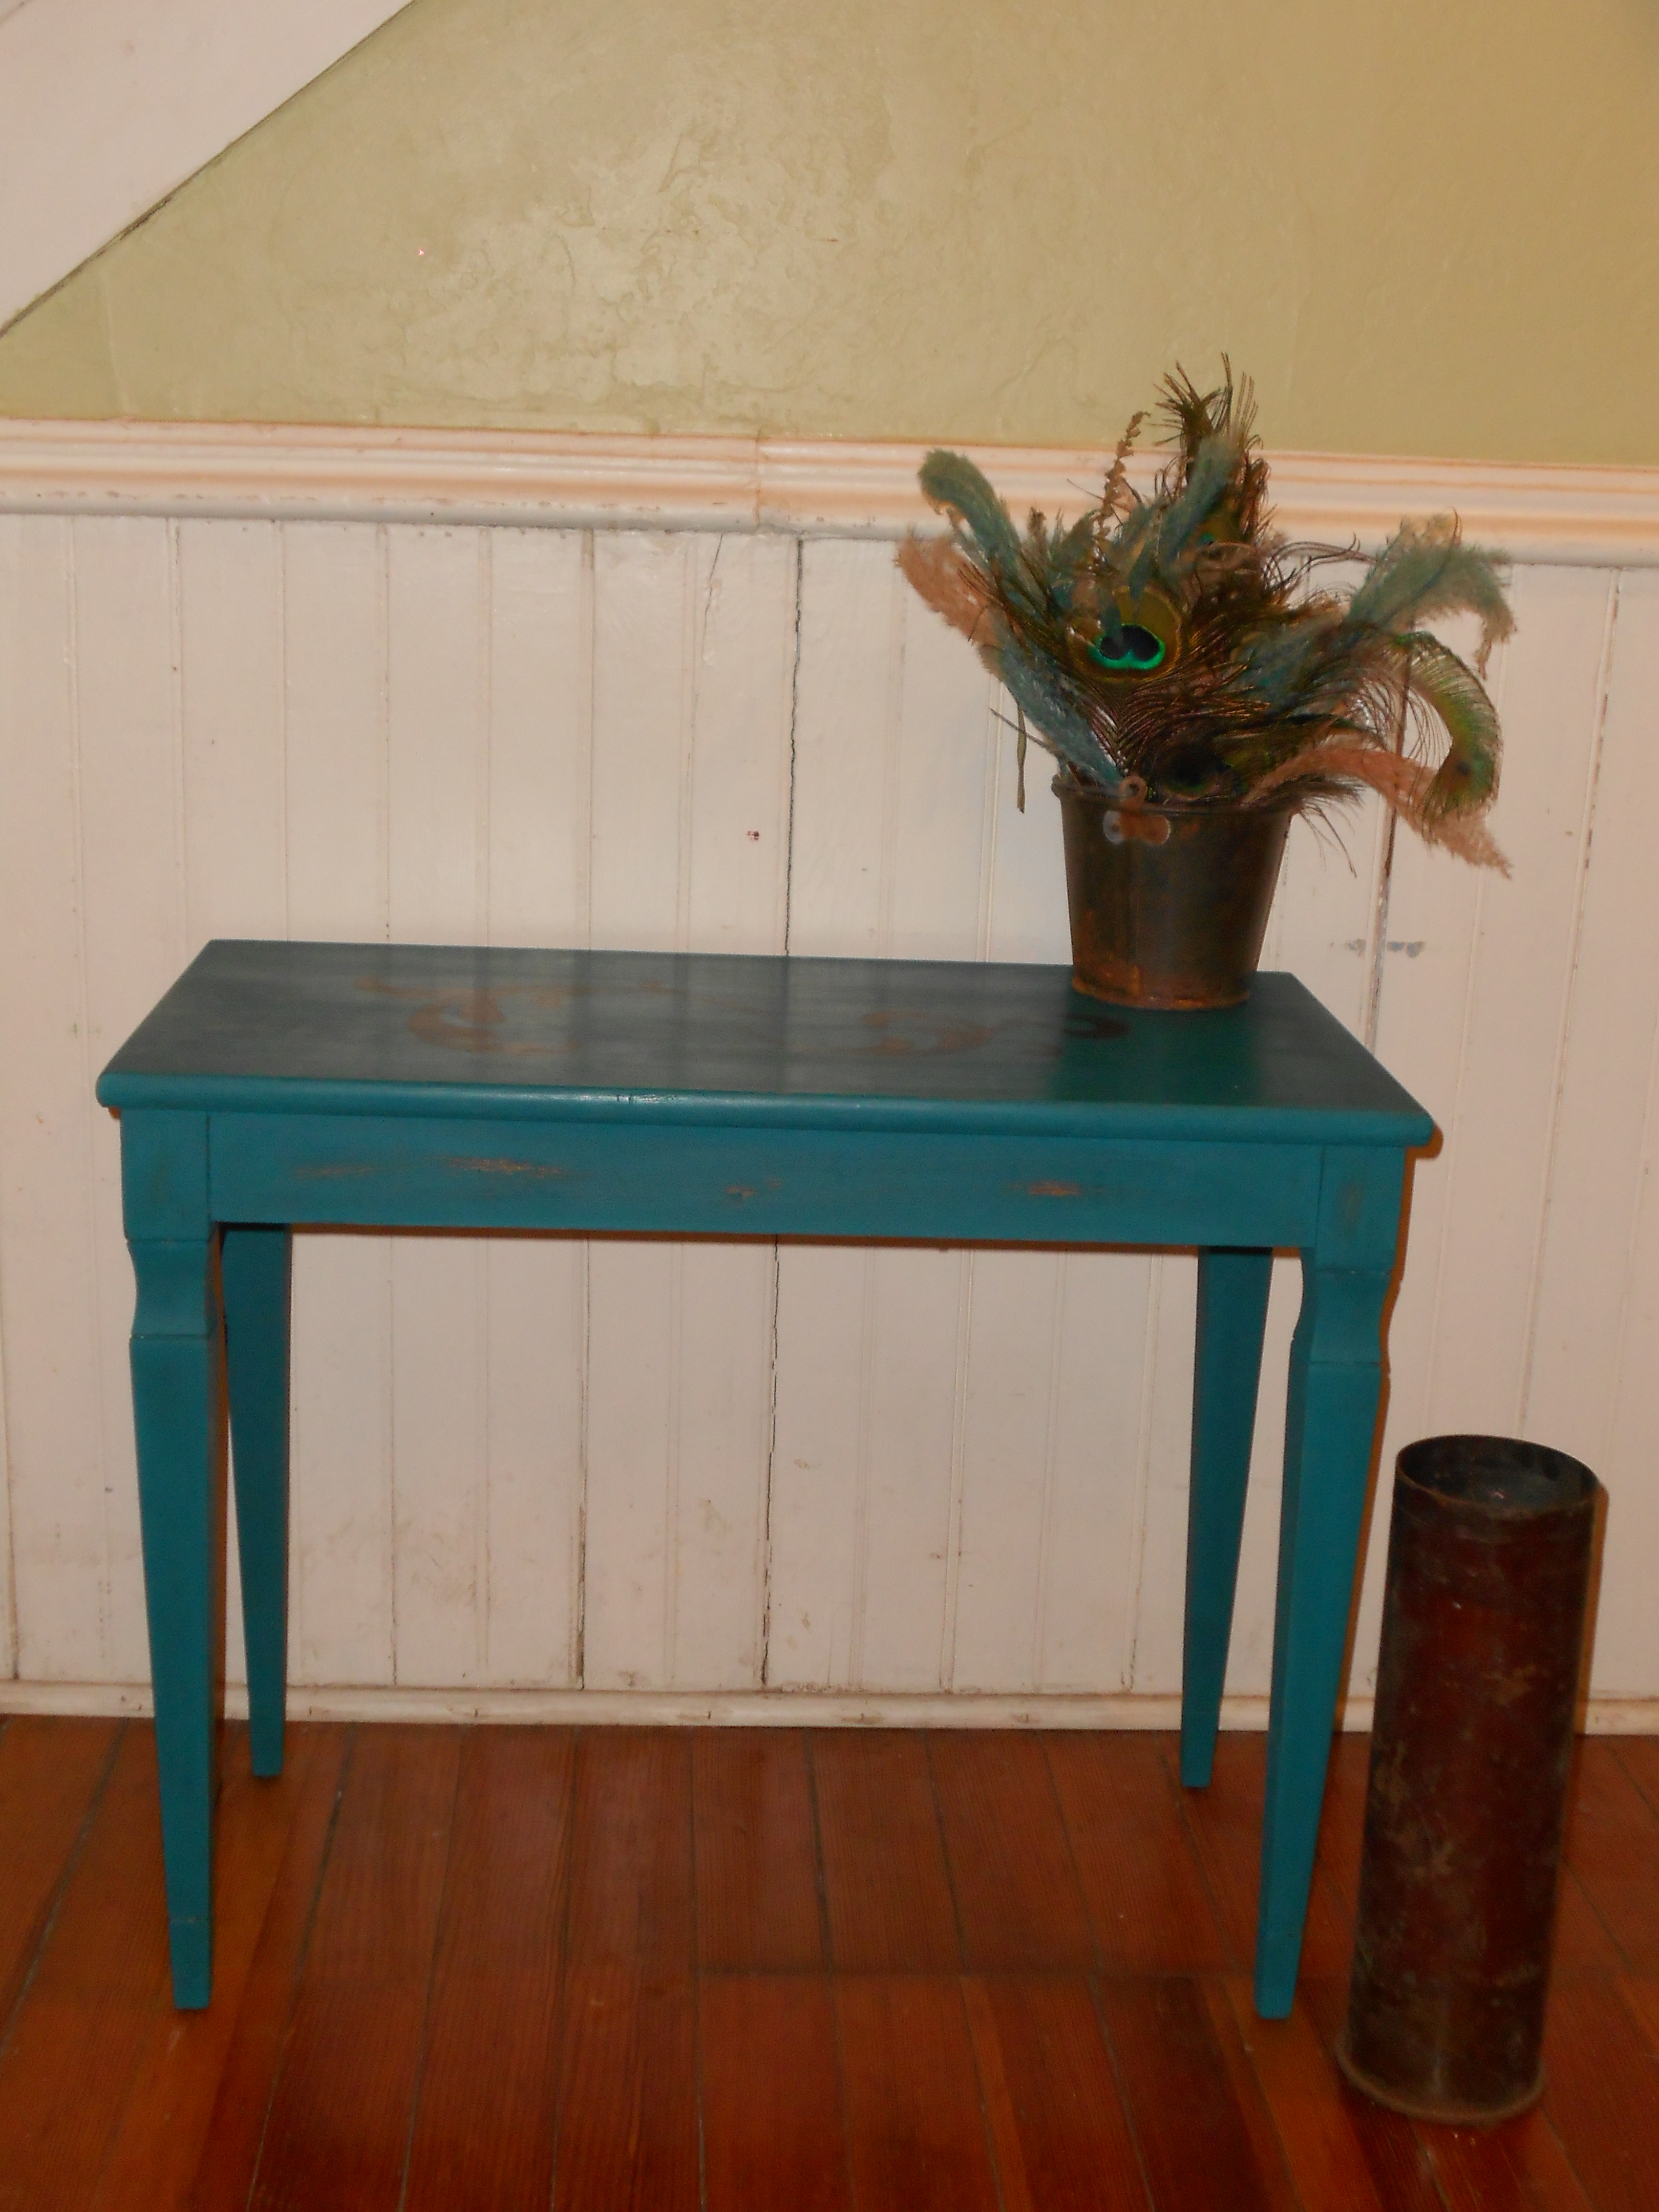
Piano Bench Project
I’m in love. I really don’t want to sell this project. My house is going to overflow.
I found this old piano bench, beat up and sad, left behind in the basement of the rental property we own.

After filling, sanding, painting, stenciling, and waxing, this is what she looks like now:
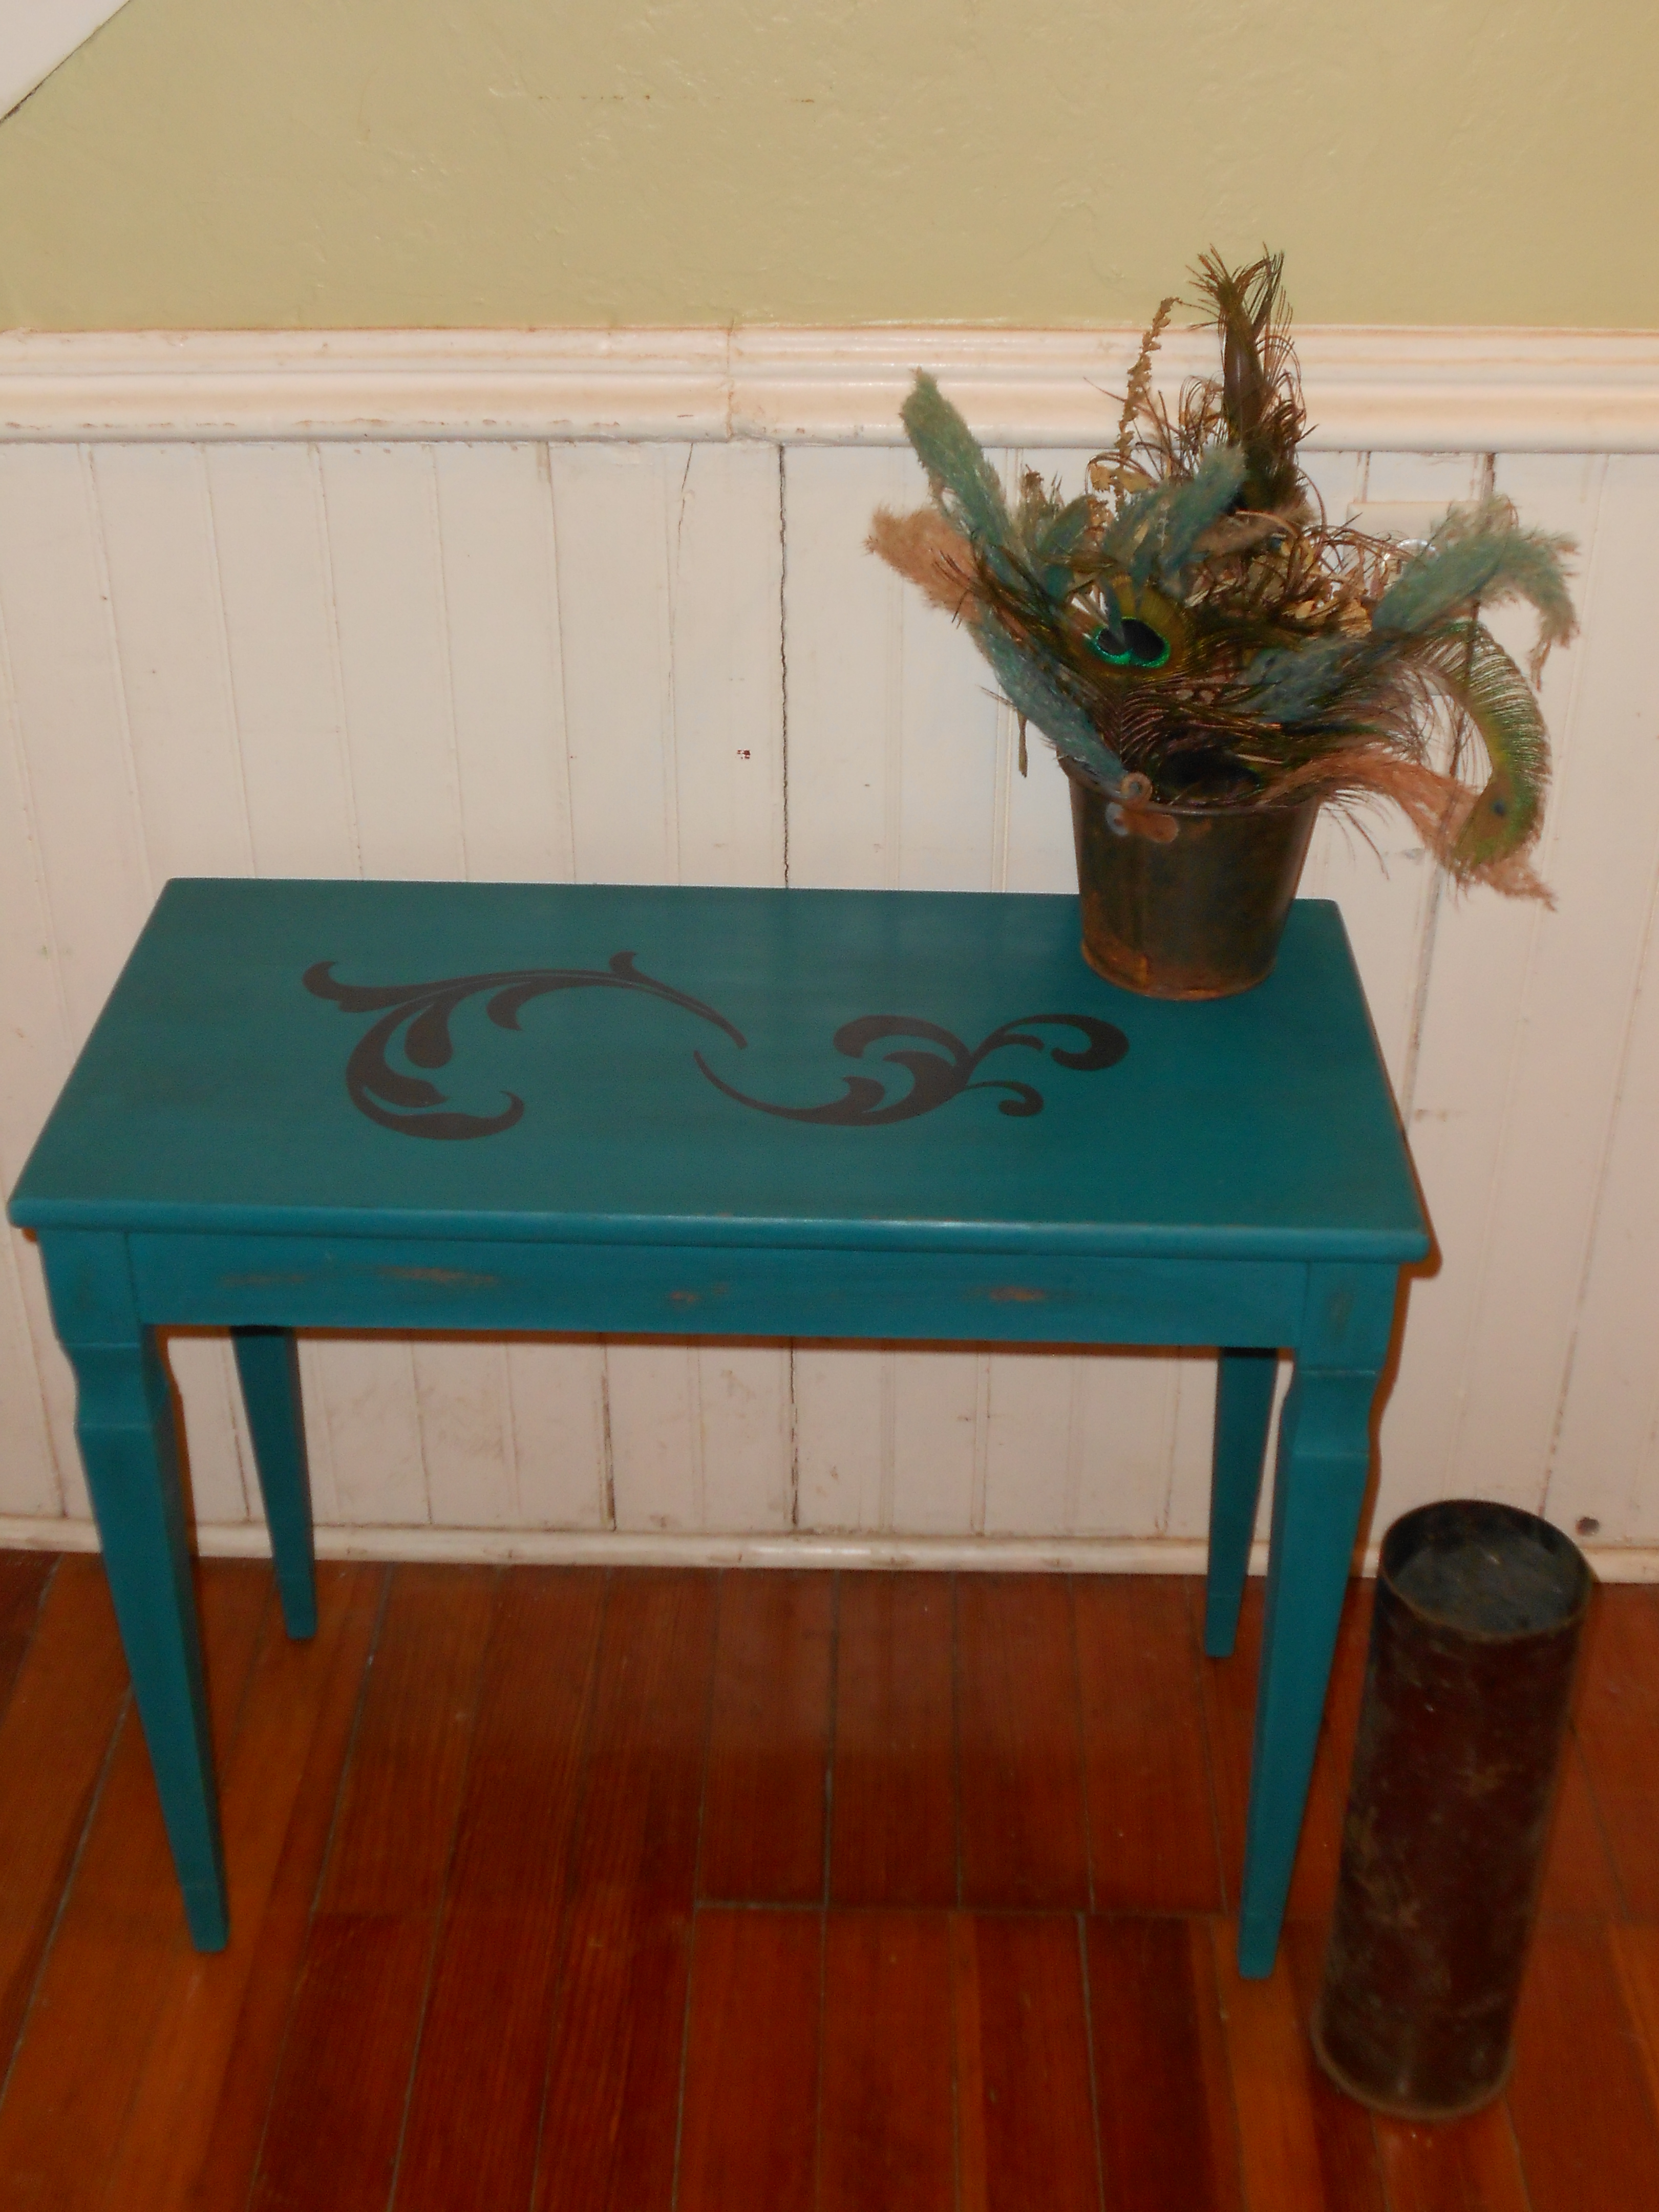
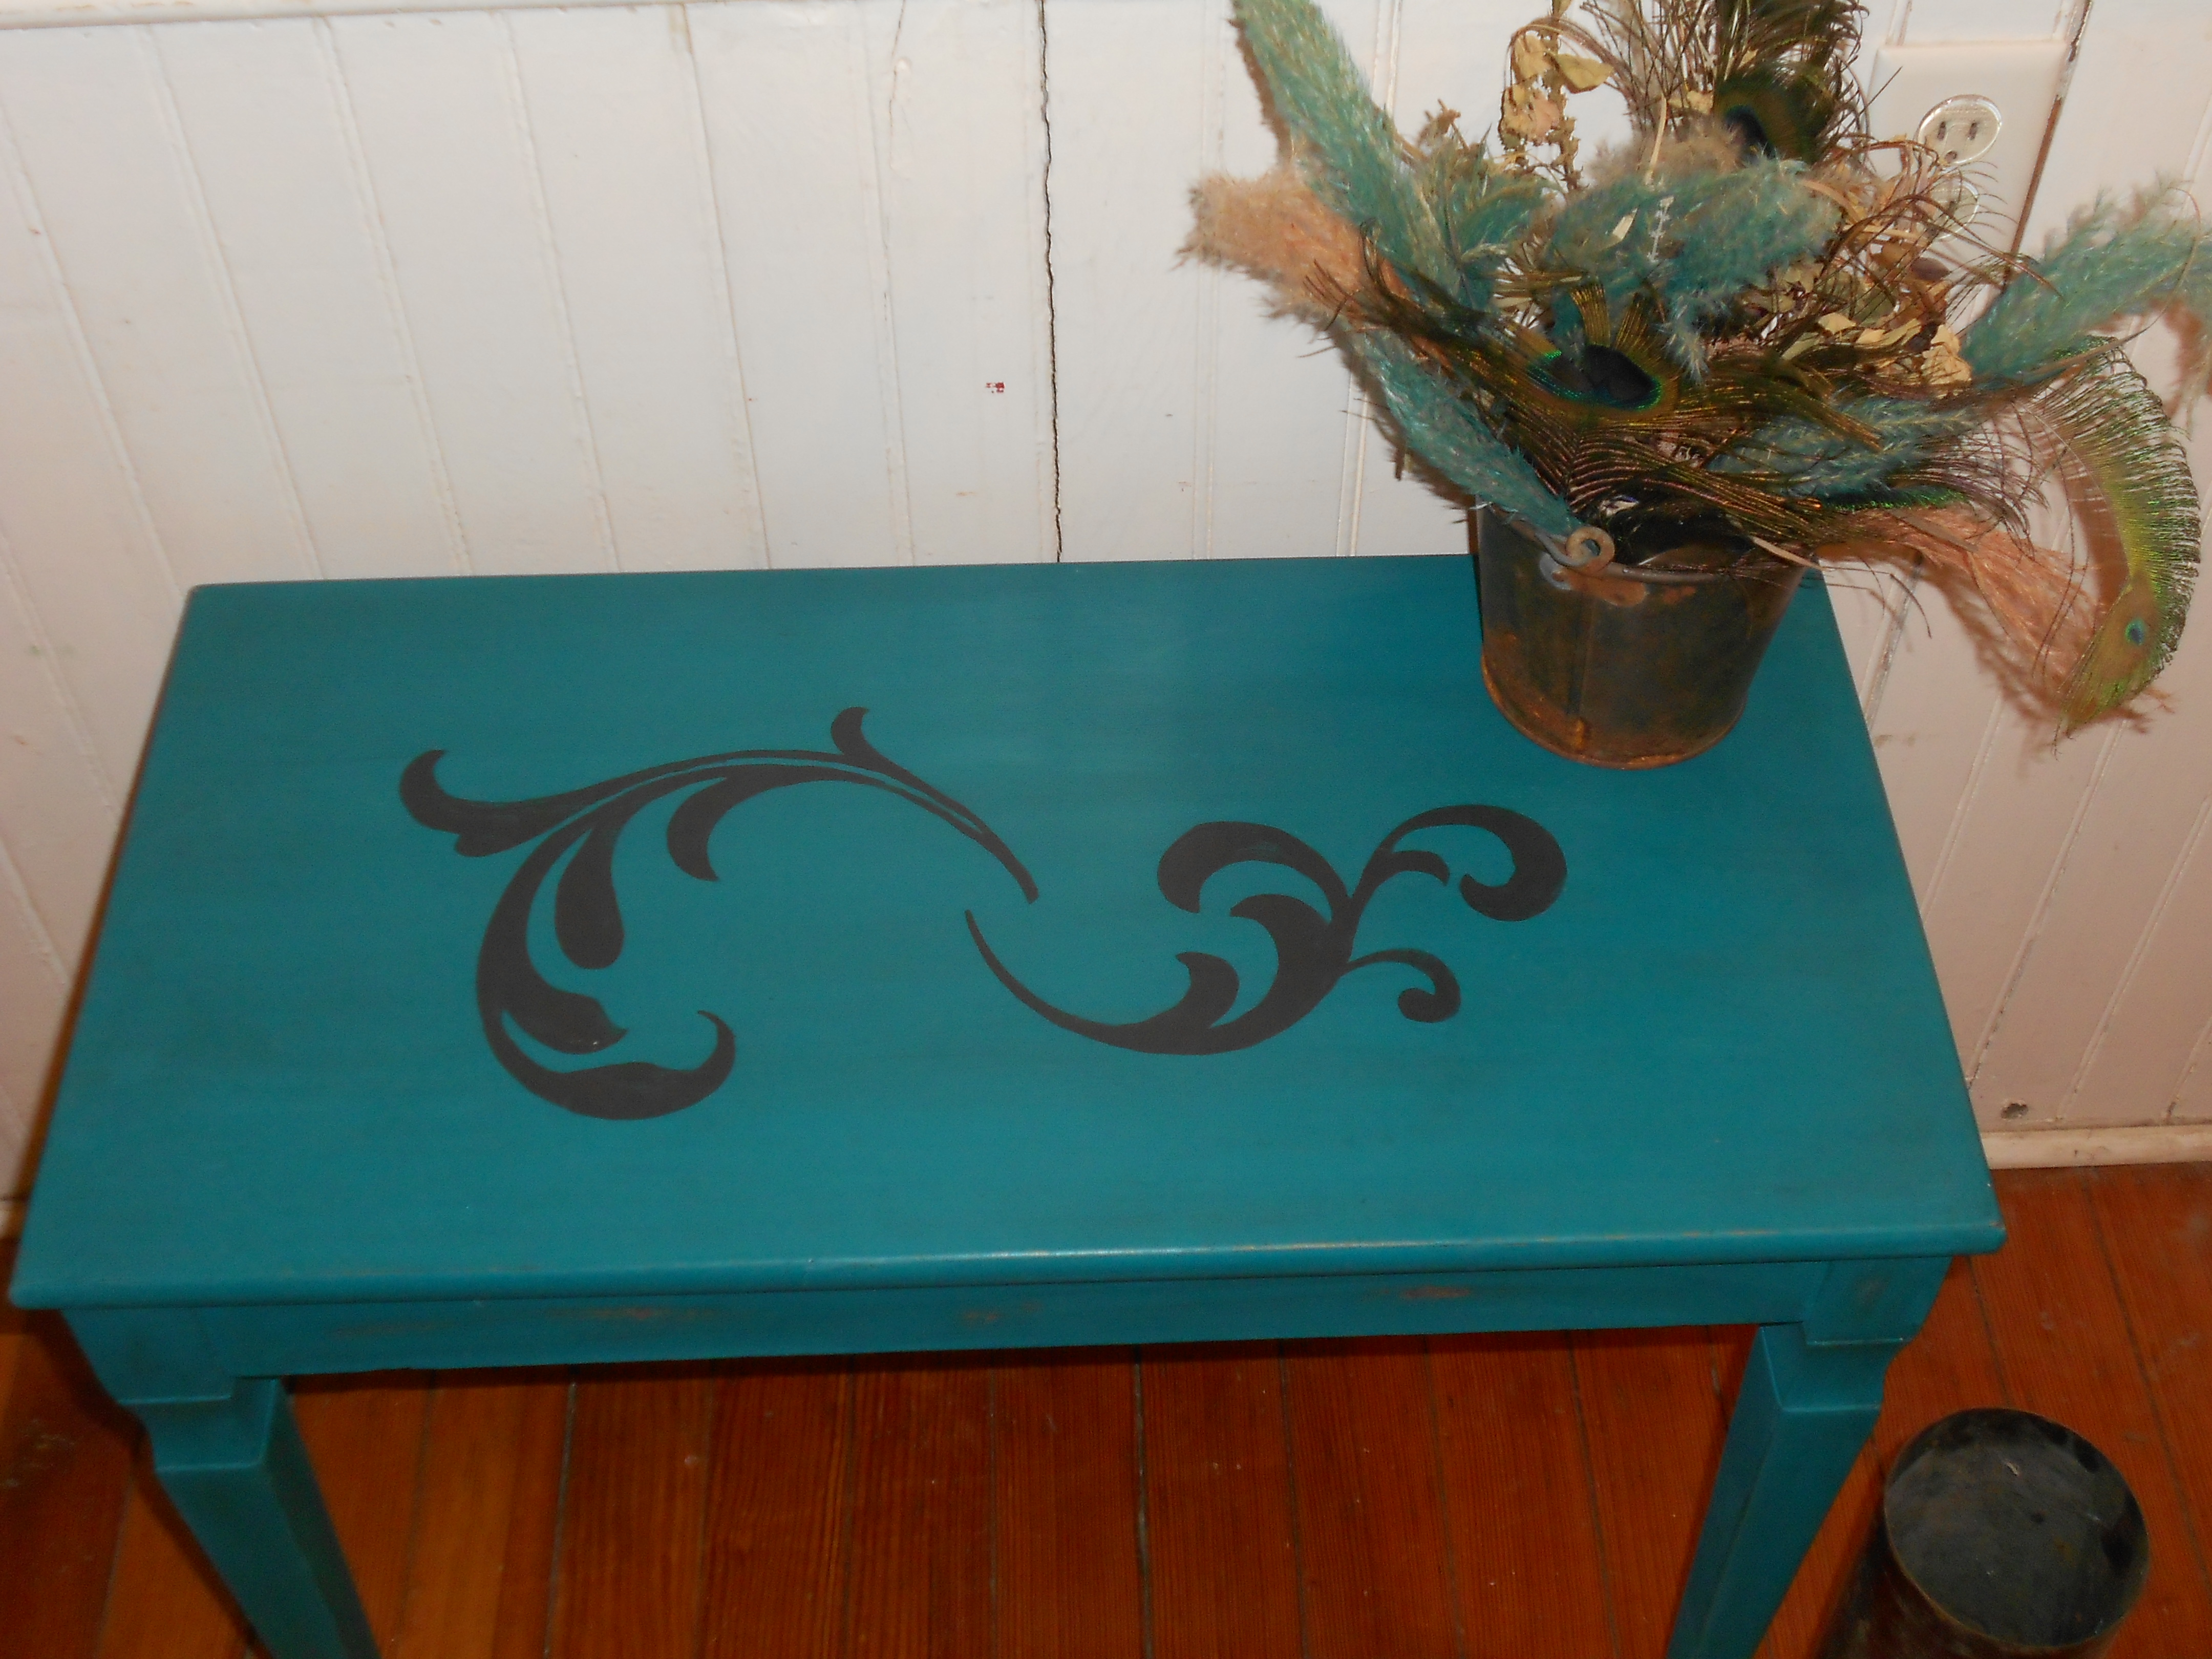
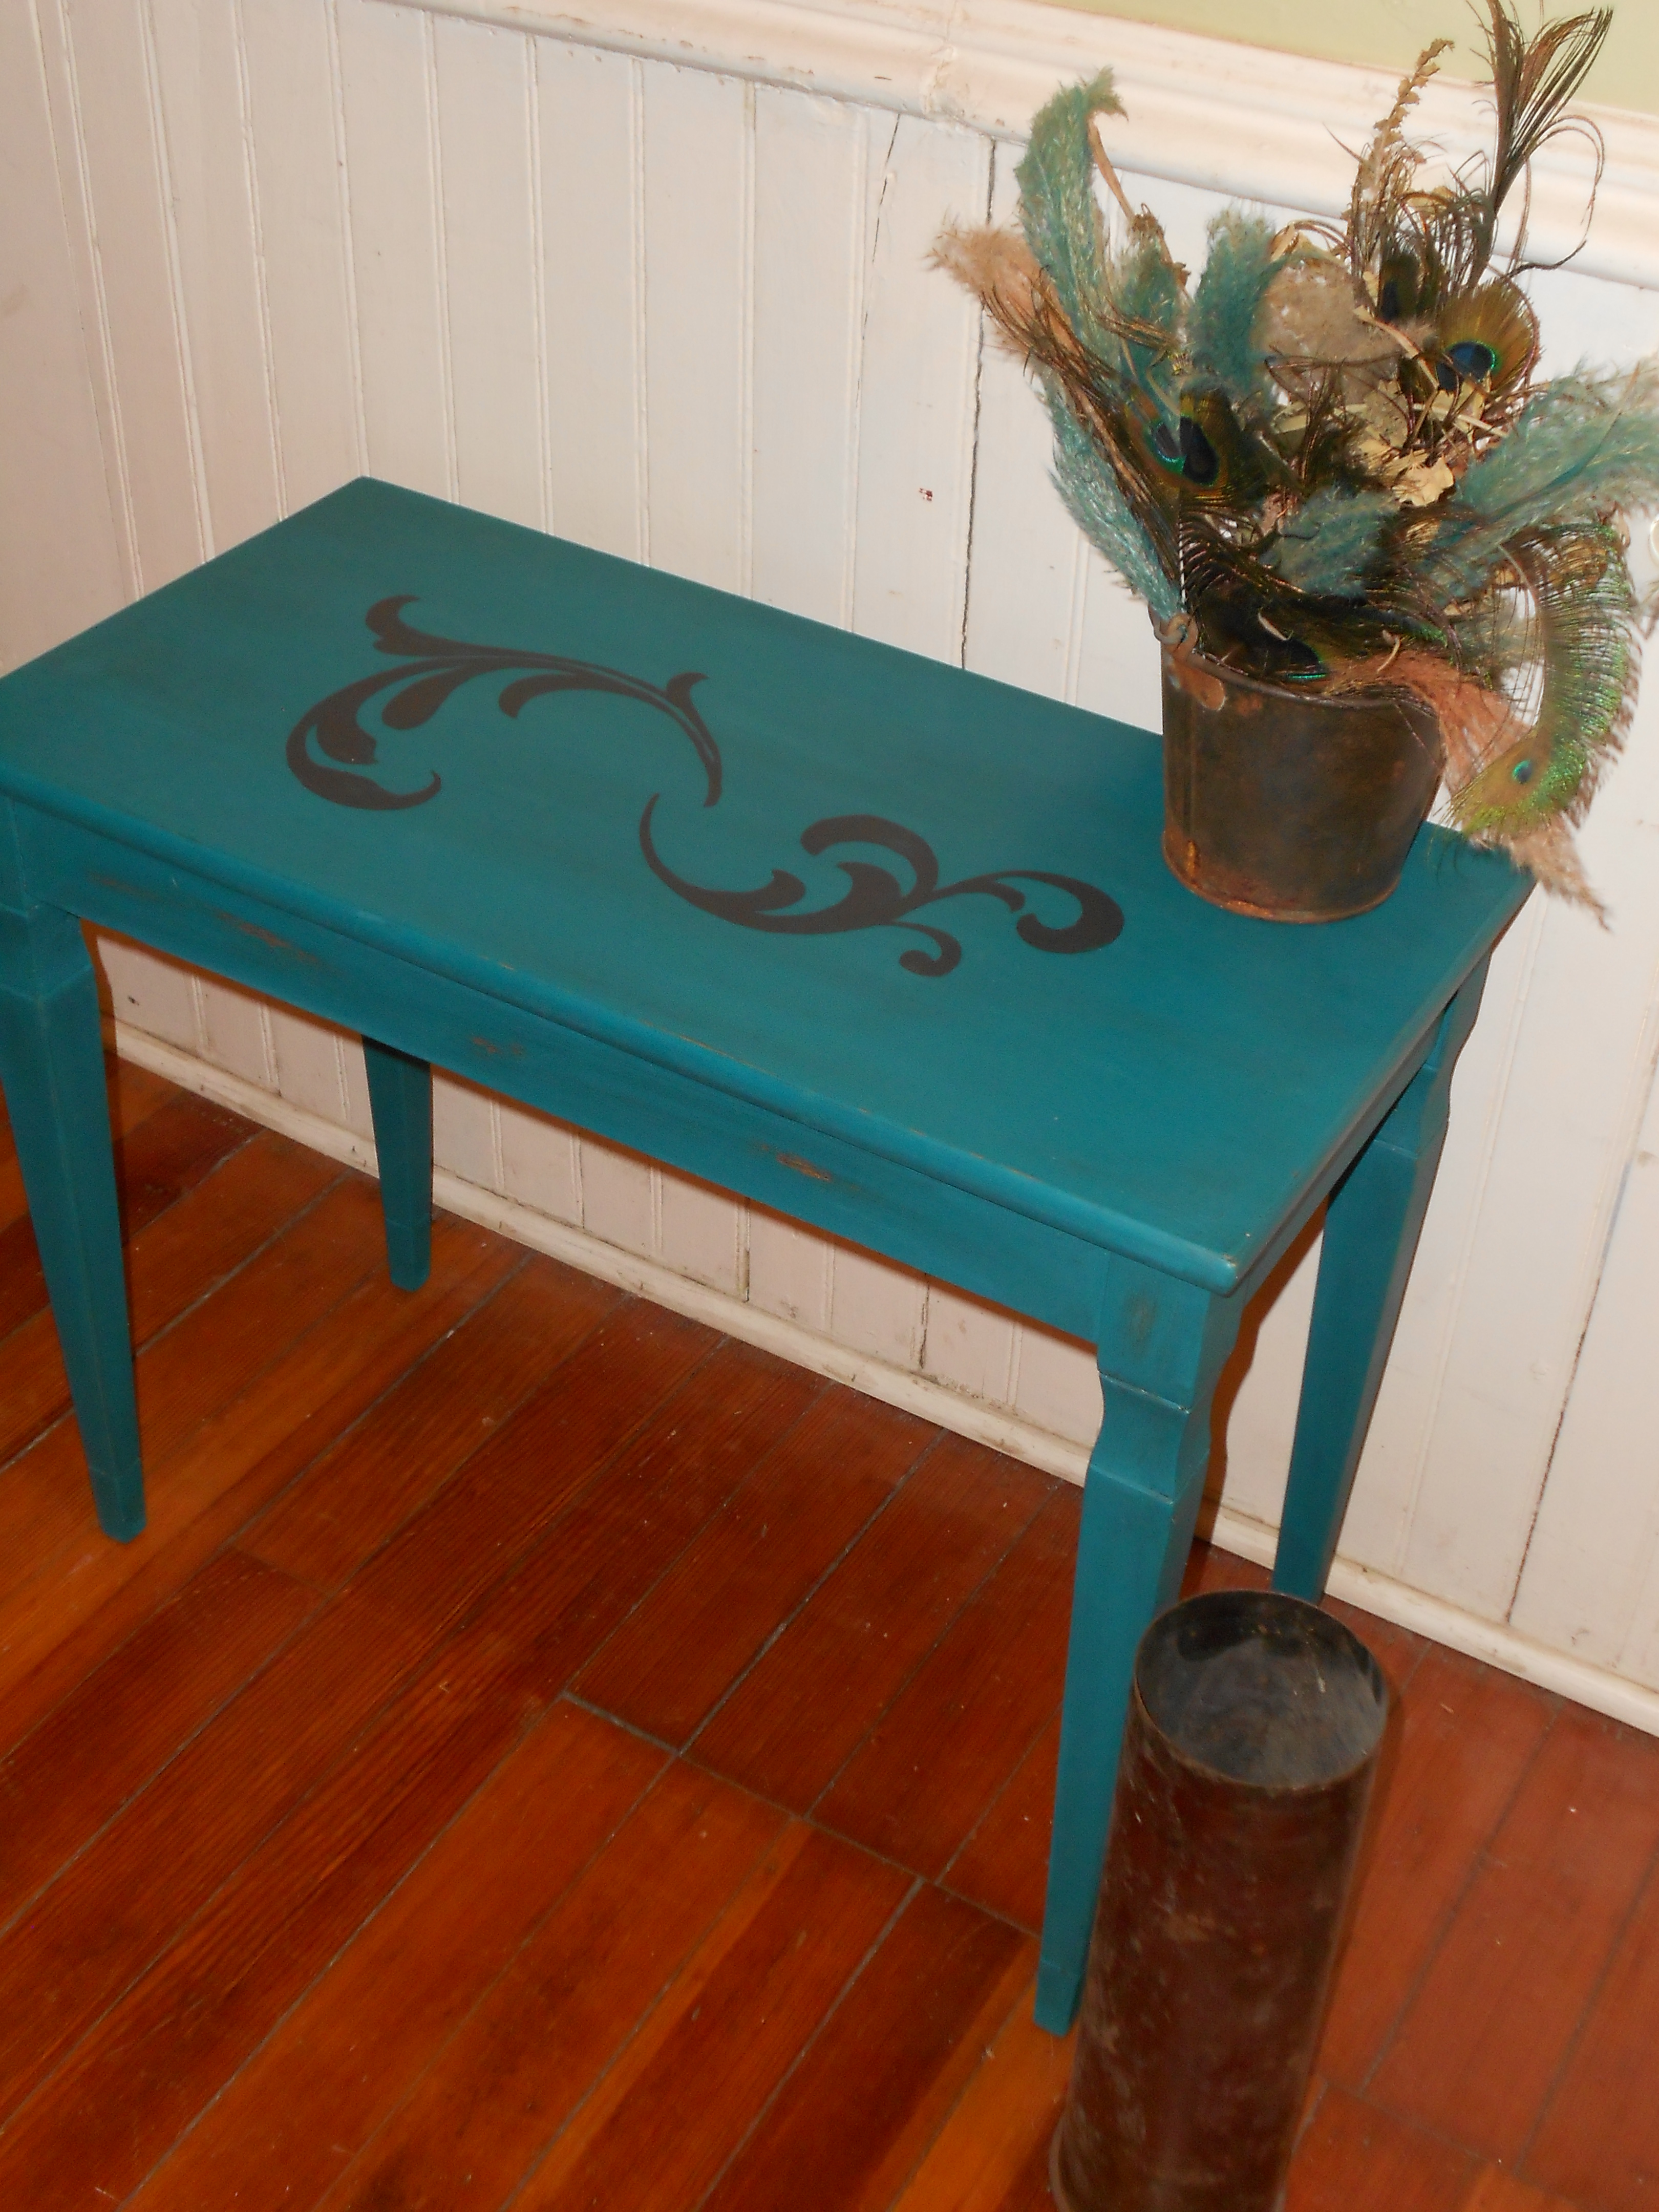
I love how the waxing turns out. The finish is protected and it is more wipable now. I used regular paste furniture wax and then tinted it with a charcoal paint. I am so excited to keep perfecting this technique. What do you think?
Wax Seals
When we first got engaged I happened to find a W stamp and some silver wax on sale. Of course I snagged it, but we have yet to use it. Although I’m not technically a “W” yet, we decided to test out the seal on our thank you’s from our engagement party. They turned out pretty cool!
Our supplies and our blank thank you notes:


Tony melted the wax for me. We did a few practice runs, but he started to get it down pat.

He said it worked best to slowly swirl the wax stick around while on fire, then as it drips to move the wax into a larger circle. I then stamped the wax with the seal, and viola!

Simple, but fun and a very cute touch. We thought we should make this our signature for all of our cards from now on. And, it was fun to do together!
