The Landing Strip
A landing strip, a command center, the drop spot. No matter what you call it, every house should have one. It’s a place for all the family “stuff”.
I call it a landing strip. In this house we actually have it split up a little, but it’s whatever works for you! When you come in our backdoor, we have hooks for each family member. Bag and coat go there. There’s a little hook station for car keys. And we have a small rack holding bug spray, sunscreen, sunglasses, wireless speaker, etc. But there’s still other “stuff” that accumulates. What do you do with it?! Enter our landing strip.

He we have a stash spot for everything else so that we stay organized and don’t lose important things! We use the chalk board for calendar notes and grocery lists. And each of the boys and mom and dad have a basket. We put bills in ours. The boys put homework and such in theirs. I keep a pen jar on the shelf. Here is stash stamps, a candle lighter, a marker, and pens. If you need more than that they you have to go upstairs to the office. 😆

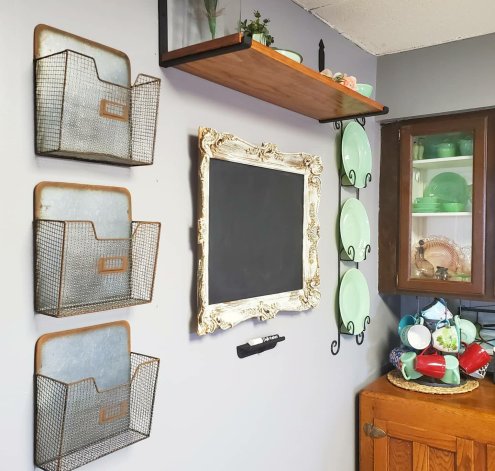
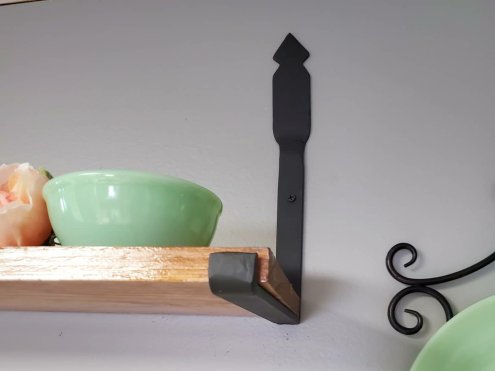
The antique mirror got a metal insert painted with chalk paint. The little chalk marker tray below it is an antique door stop out of an old barn. The baskets are from Hobby Lobby. The shelf is a custom design I requested from Jason. He added and welded the flourish at the top of the brackets.


Here’s my tid bit of advice. Have a place for the “stuff”, whatever you may call it. I truly believe in “a place for everything and everything in its place.” Even if you don’t organize that far, at least set up a zone with a calendar and pens and notepad. Have a spot where you put mail and homework. Always put your keys in the same location. I promise you that these tricks will prevent you from losing important things or searching frantically for the lost items!
And just for fun, here’s a shot of what it looks like more often than not. 😉

Anything else you would add?
XX,
Jess
Permalink Comments Off on The Landing Strip
Bath/Laundry Room Update
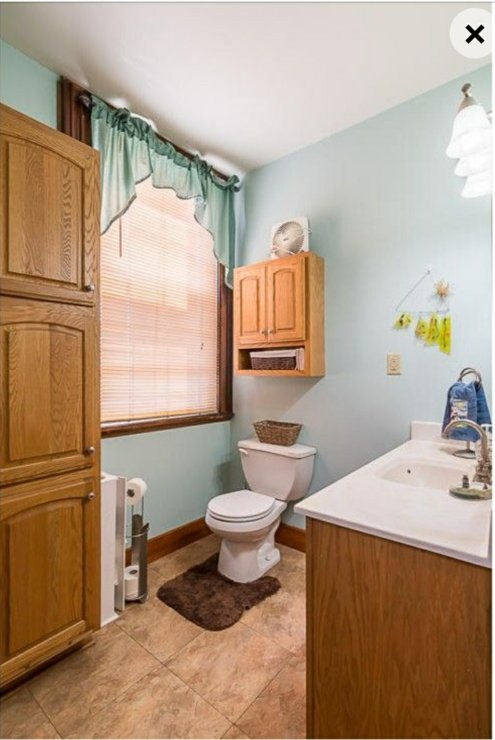
We knew we wanted a fixer-upper, and we sure got it with this one! But we are enjoying putting in the work and making it into what we want for a home. The bathroom was no exception. We can’t afford a complete gut and overhaul of every room (I wish!), so this is a little refresh.
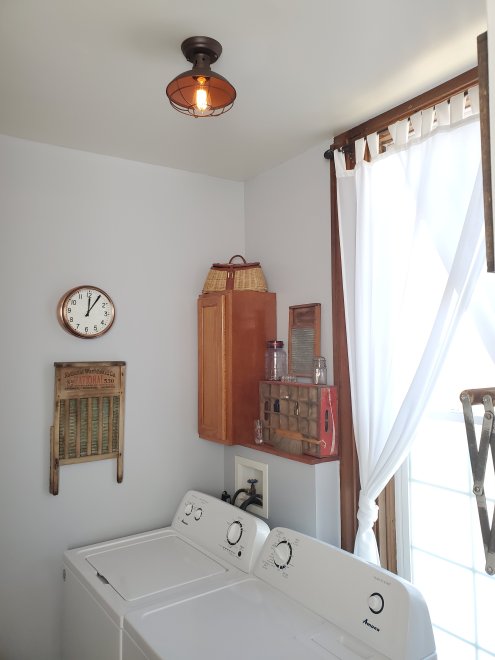
Before:

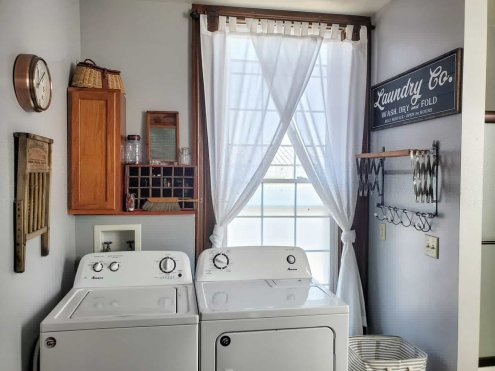
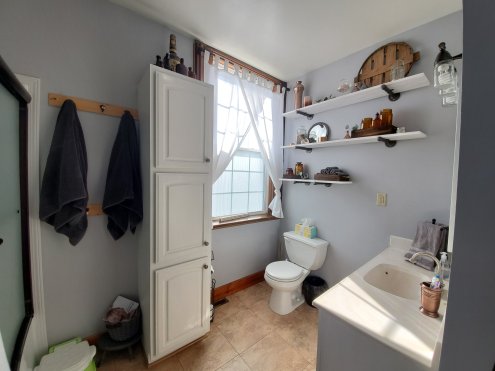
After:

We will put a new faucet in soon and plan to redo the bath and laundry room floors in a few months. But for now, wow. Its clean. Its peaceful. I’m in love.
We made the bathroom hook boards because in old houses you are at the mercy of where the studs may or may not be when hanging things. Attach the hooks in the spacing you want and then attach the boards to the wall where the studs allow.
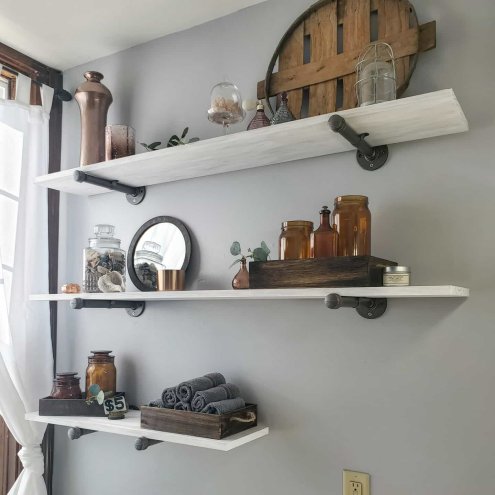
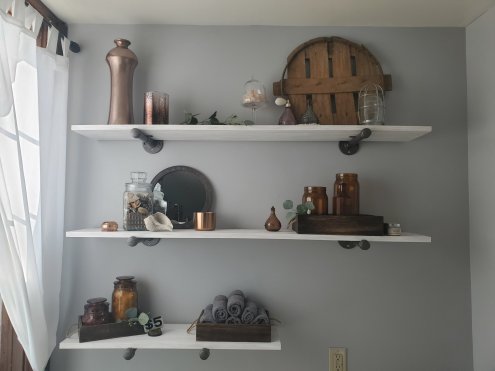
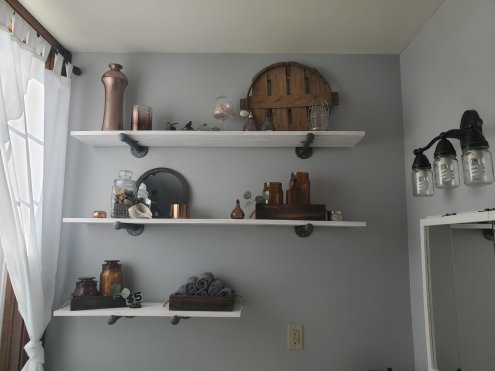
We also made the shelves ourselves and hand “grayed” the boards by smearing white paint with fingers. Tedious but so worth it. The brackets are plumbing hardware and can be found at Mendards. We painted the parts with a light oil rubbed bronze spray paint.
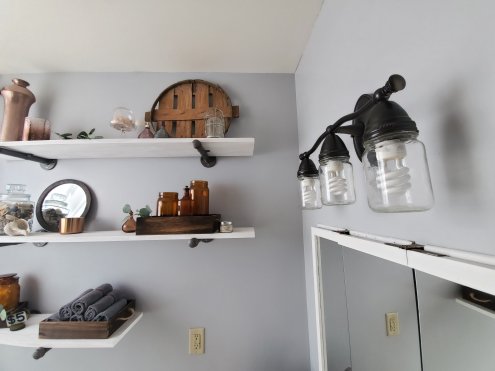
We made the jar light fixture by painting the old silver fixture with oil rubbed bronze paint and adding the jars. We took solid jar lids and made holes in them to fix the jars to the fixture. Once it’s all painted you can’t see what method you used to attach them.
All on a budget for a quick fix up. We did add a new shower, as ours was a walk in when we bought the house and we needed a tub for the kids. Paint and curtains, and especially shelving, make a huge, but affordable difference!
Here are some fun detail shots.


A few detail links:
What do you think? Any recommendations?
Xx,
Jess
Permalink Comments Off on Bath/Laundry Room Update
Teen Bedroom Redo
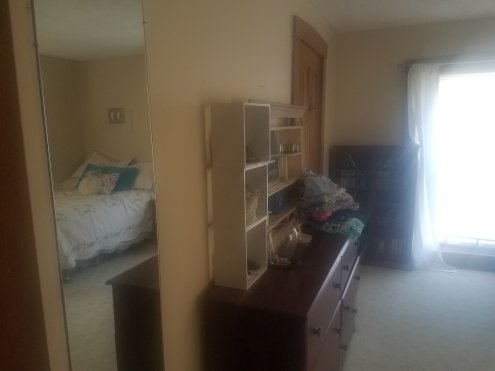
So, I’ve mentioned that this new-to-us old house is in pretty ugly shape and that we have been redoing all the rooms bit by bit. One of the rooms that hadn’t gotten any love since we moved in was Jordin’s room. Check out these dingy, bland, old lady looking photos:
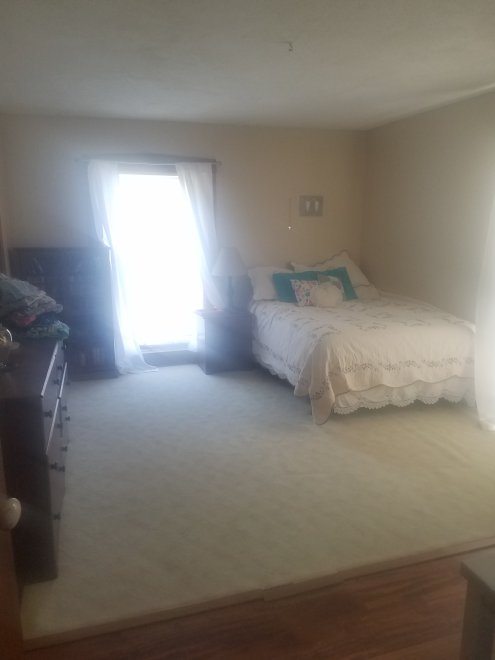
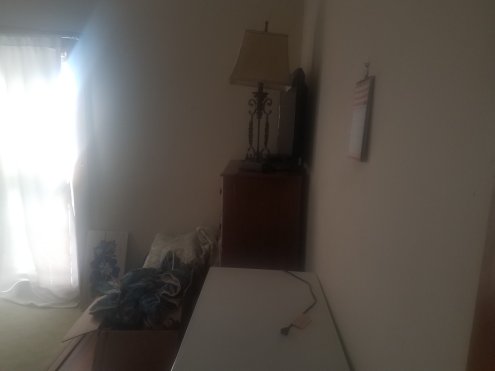
We hadn’t even hung anything on the walls because we knew we wanted to paint. Poor girl! Plus, the rooms all need to have more outlets put in (how is one outlet nearly enough?!) and overhead lights with switches added (hello?!). Needless to say, she was not thrilled in her set up. But, enter her 16th birthday, and we had the perfect excuse to make ourselves get the room beautified and surprise her with completely glammed out digs. Annnd… after:
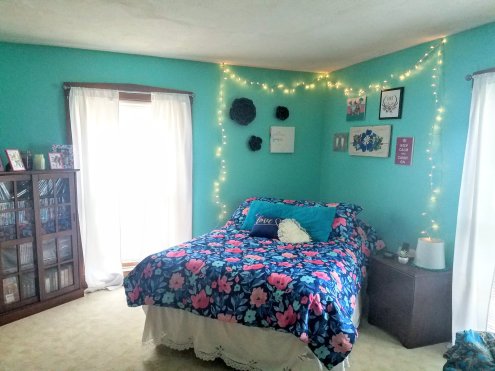
Ta da! Total teen girl. Her jaw dropped. Win!
This was the mint turquoise color she had picked for her bedroom at our previous house and she was really wanting it again. It is super pretty, and not quite as bright in person. She also loves pink and peach. I added some navy to calm and tie the colors in and some gold hints for glam factor. Sounds busy. Totally goes.
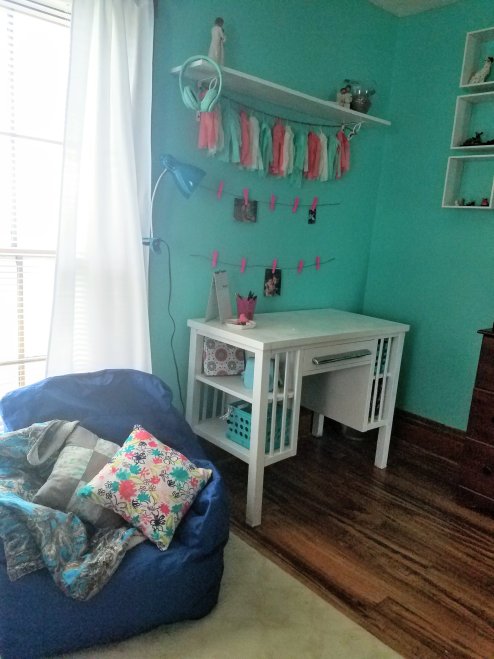

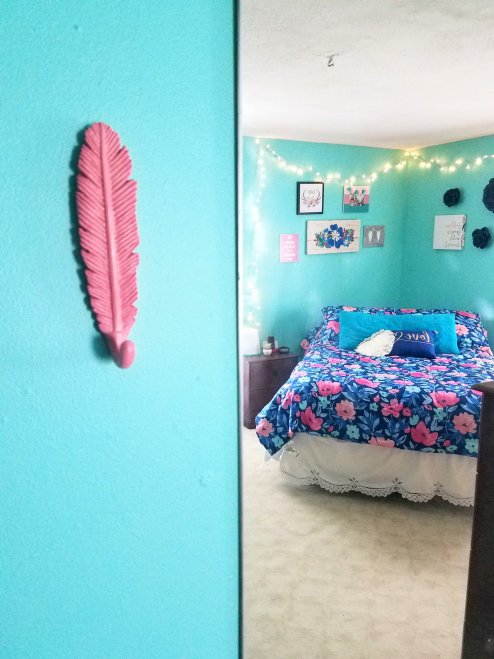

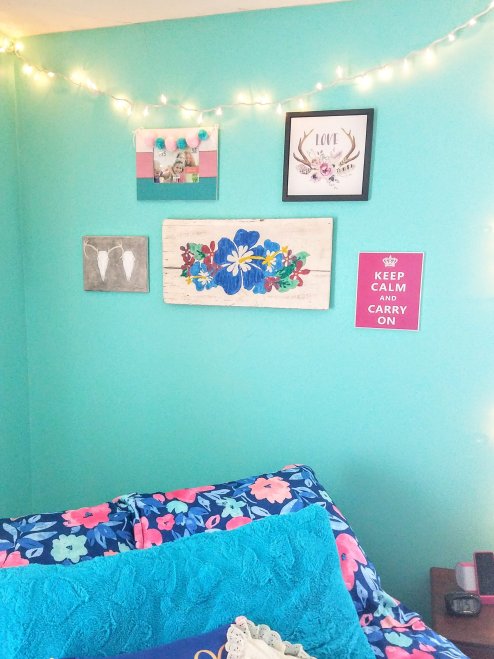
Some old, some new, plenty of Hobby Lobby help. She wanted a little girly and a little rustic. She also wanted “fairy lights” so fairy lights she got.
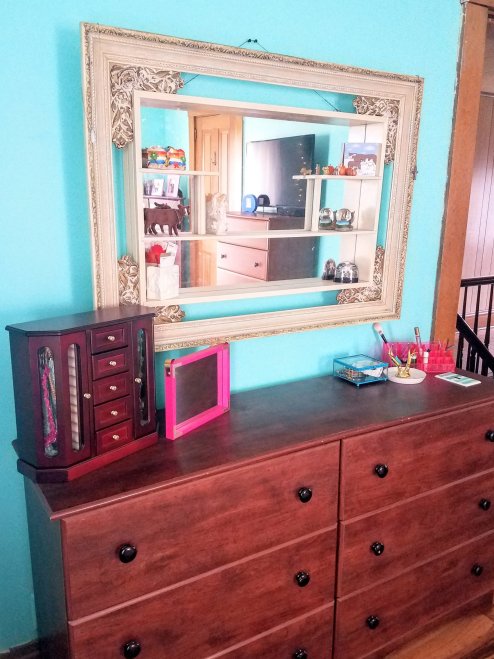
We can’t change the brown furniture (it was her grandmas), and new carpet isn’t going to happen just yet, so working with what you’ve got sometimes has to just work… but…
Truly I love how it turned out. Dont tell her but Santa is thinking about a rug and a chandelier, along with new knobs for the drawers. 😍
