Teen Bedroom Redo
So, I’ve mentioned that this new-to-us old house is in pretty ugly shape and that we have been redoing all the rooms bit by bit. One of the rooms that hadn’t gotten any love since we moved in was Jordin’s room. Check out these dingy, bland, old lady looking photos:
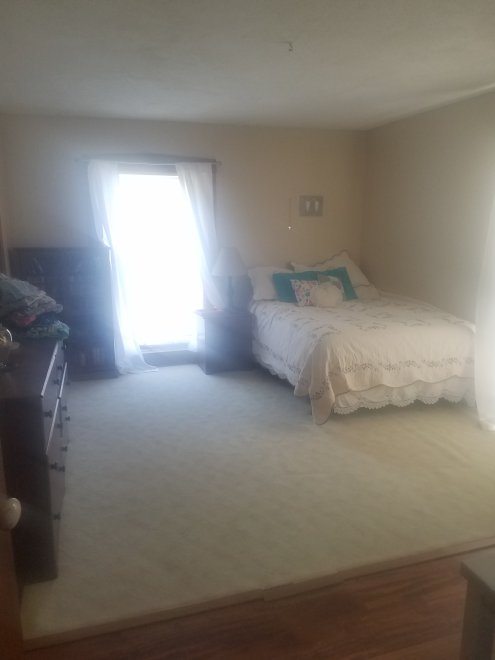
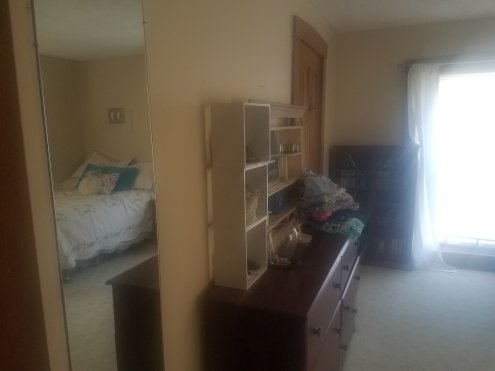
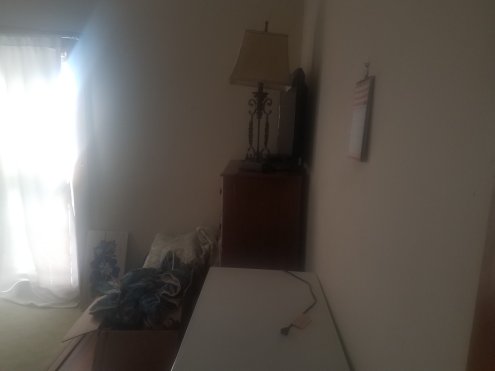
We hadn’t even hung anything on the walls because we knew we wanted to paint. Poor girl! Plus, the rooms all need to have more outlets put in (how is one outlet nearly enough?!) and overhead lights with switches added (hello?!). Needless to say, she was not thrilled in her set up. But, enter her 16th birthday, and we had the perfect excuse to make ourselves get the room beautified and surprise her with completely glammed out digs. Annnd… after:
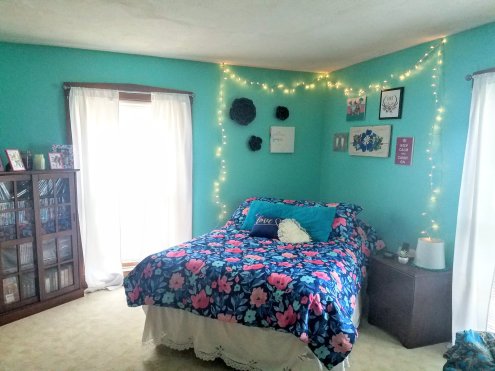
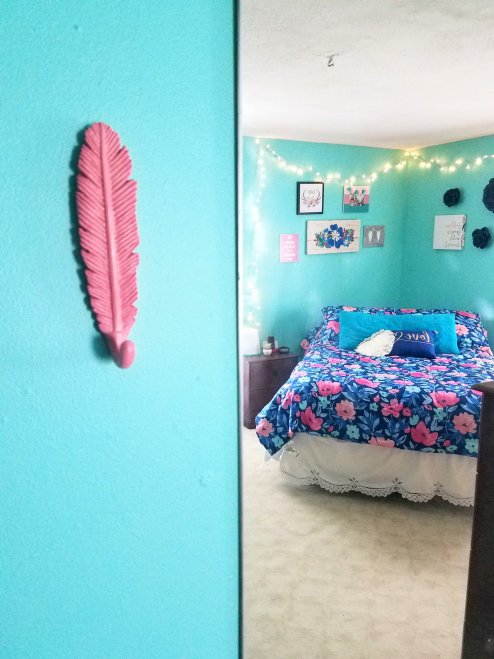
Ta da! Total teen girl. Her jaw dropped. Win!
This was the mint turquoise color she had picked for her bedroom at our previous house and she was really wanting it again. It is super pretty, and not quite as bright in person. She also loves pink and peach. I added some navy to calm and tie the colors in and some gold hints for glam factor. Sounds busy. Totally goes.
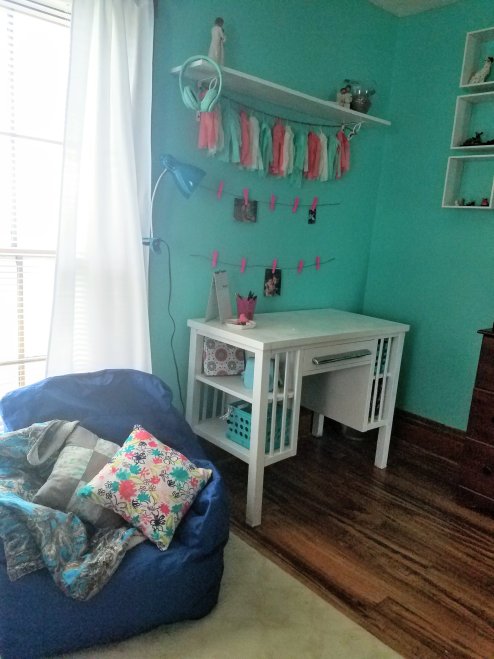


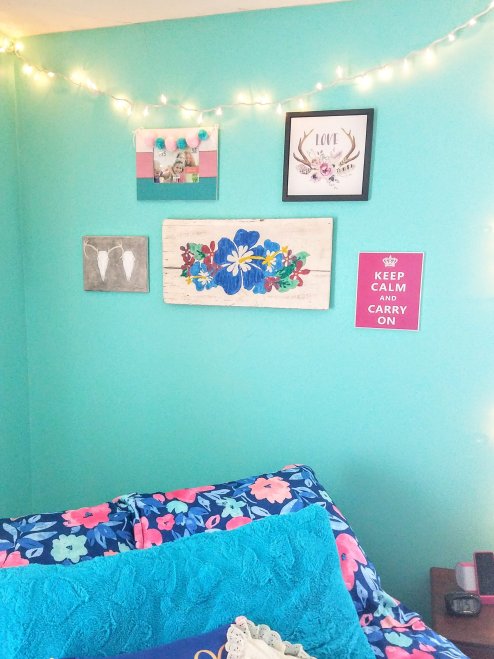
Some old, some new, plenty of Hobby Lobby help. She wanted a little girly and a little rustic. She also wanted “fairy lights” so fairy lights she got.
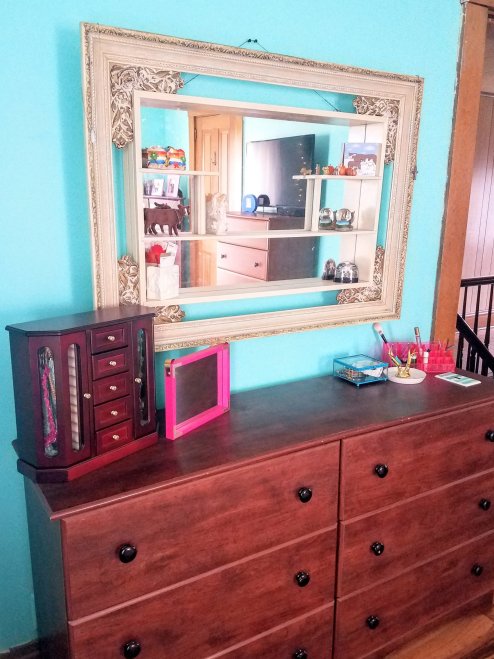
We can’t change the brown furniture (it was her grandmas), and new carpet isn’t going to happen just yet, so working with what you’ve got sometimes has to just work… but…
Truly I love how it turned out. Dont tell her but Santa is thinking about a rug and a chandelier, along with new knobs for the drawers. 😍
Toy Box
A project done! The abused vintage toy box started out like this:
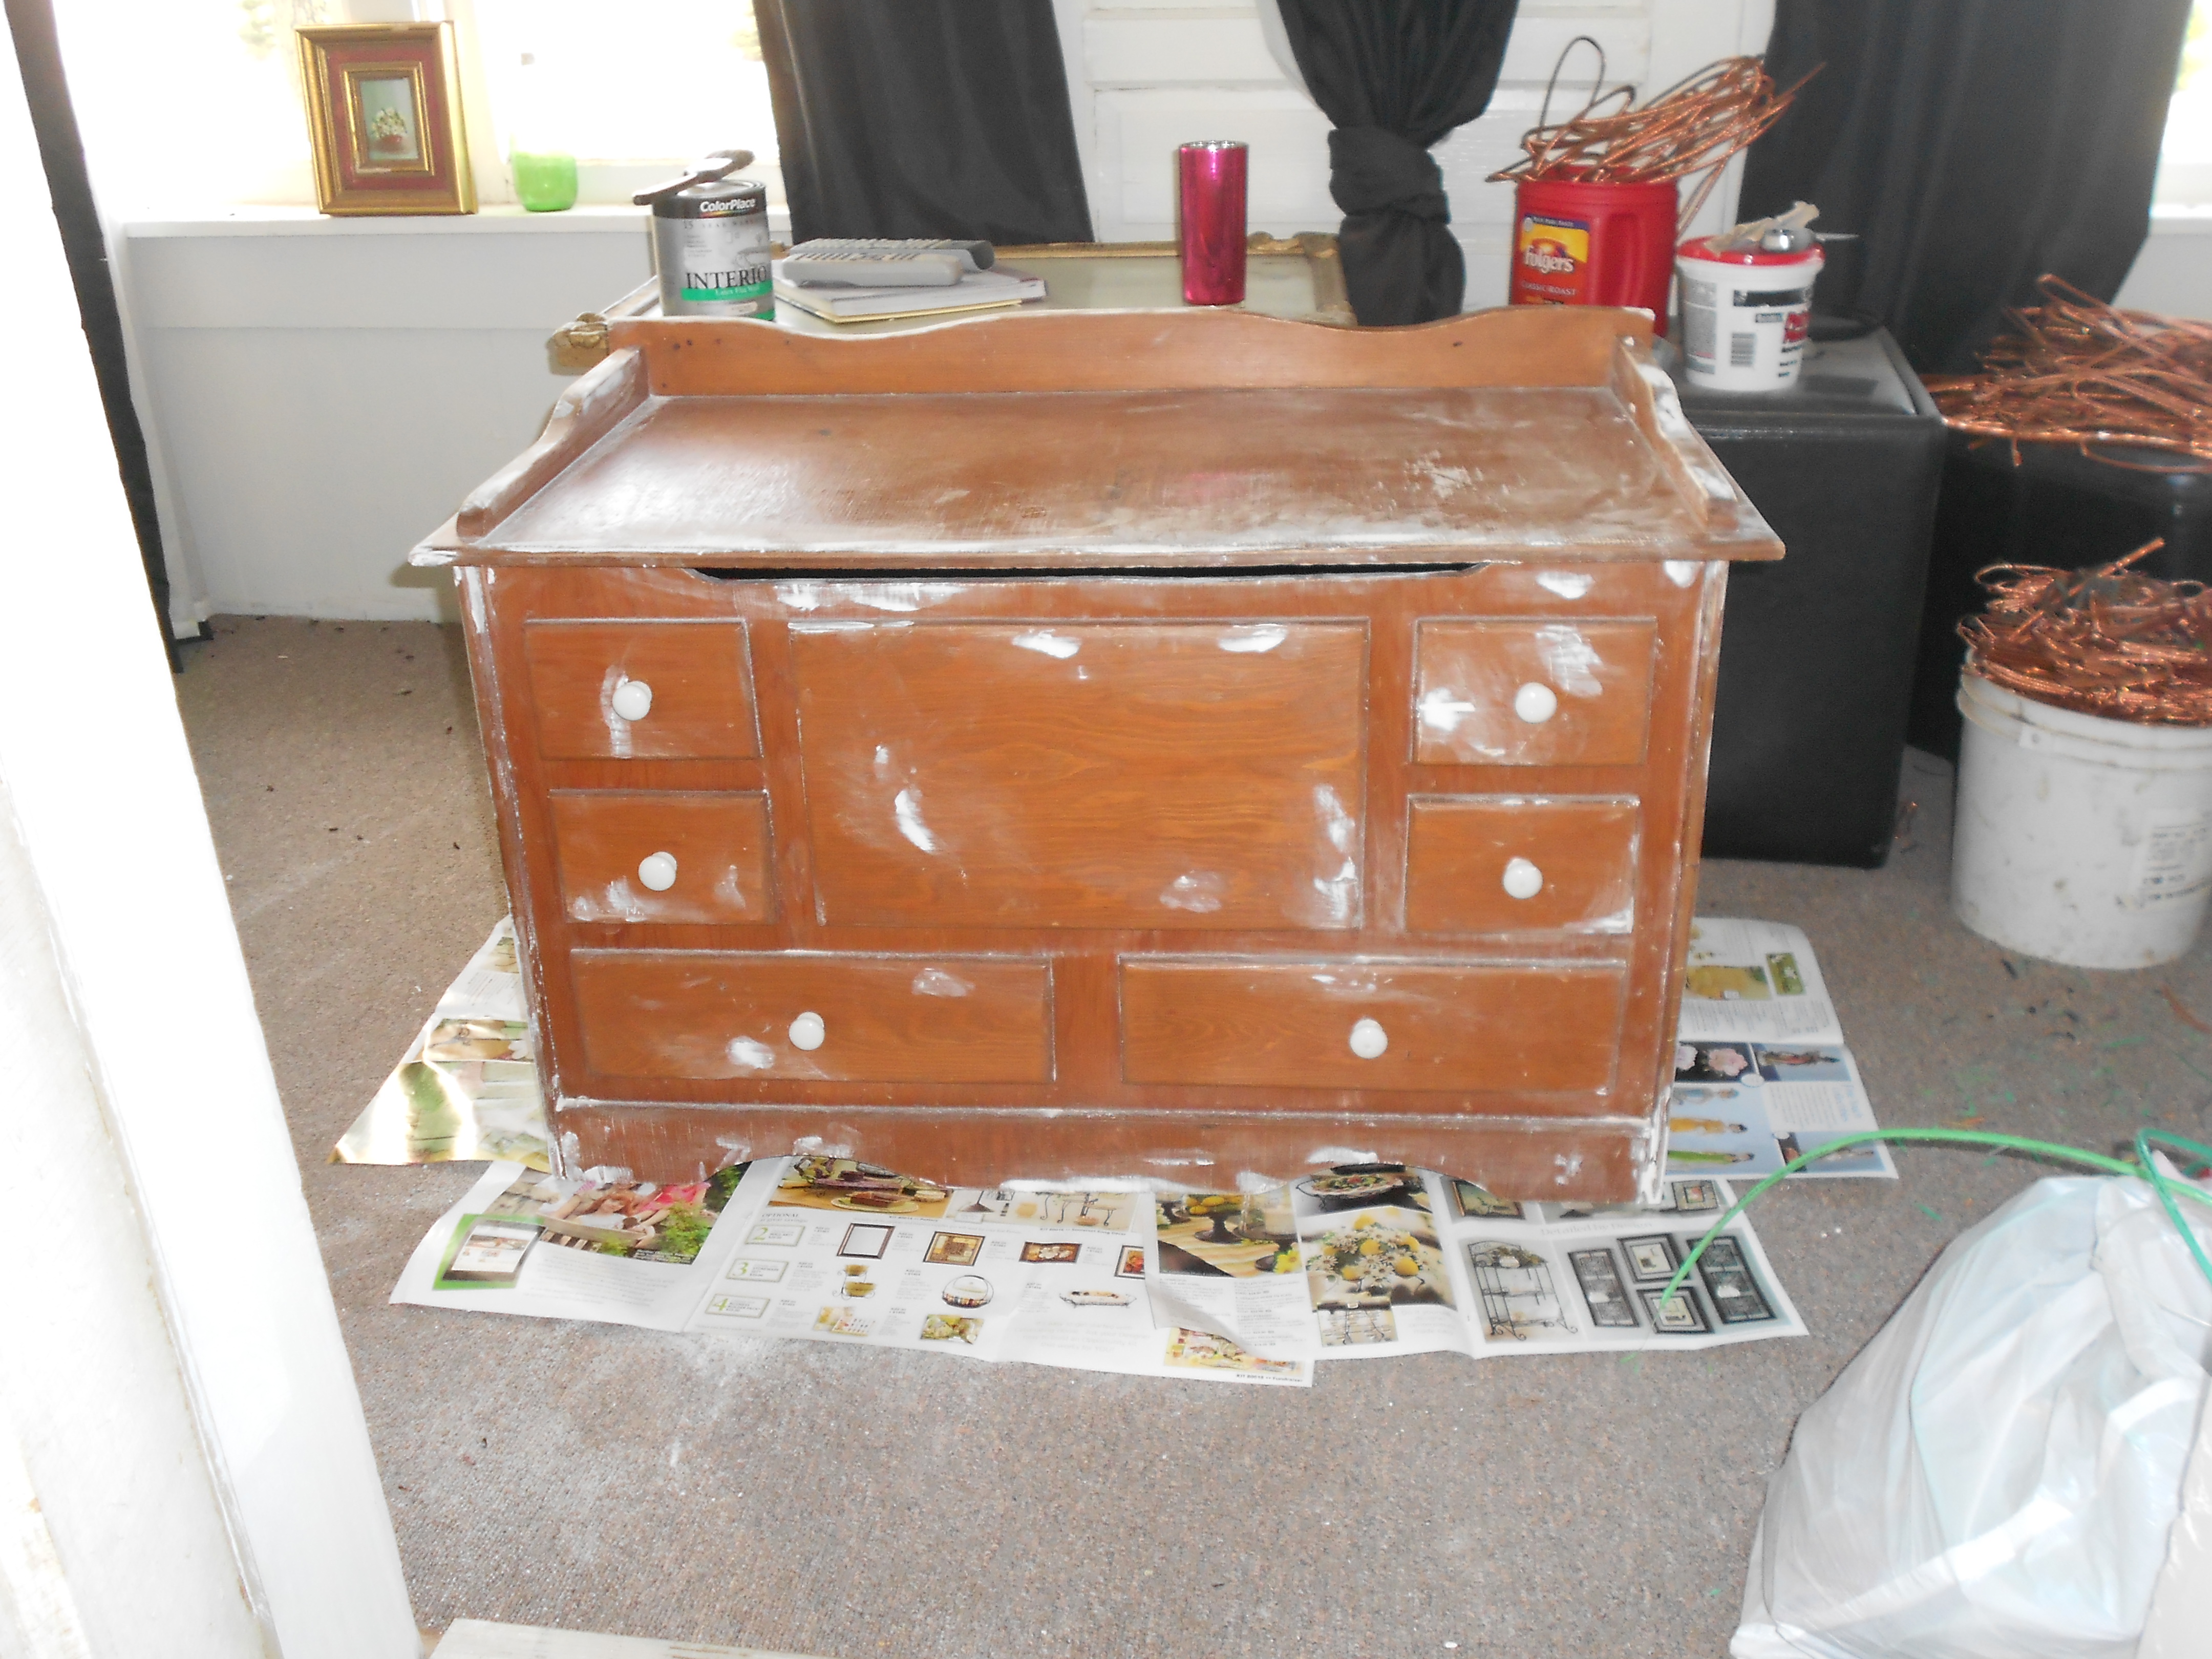
The white is actually wood filler, added by me. But, you get the picture. It was old, and rough, and needed lots of wood filler and love. I sanded and filled and sanded some more. Finally I chose turquoise paint and white for the inside. Not as creative as I originally sought out to be, but it turned out fun so I left it there. I antiqued the edges a bit and roughed up the “wear spots”. I like how it turned out simple and fun!
After:
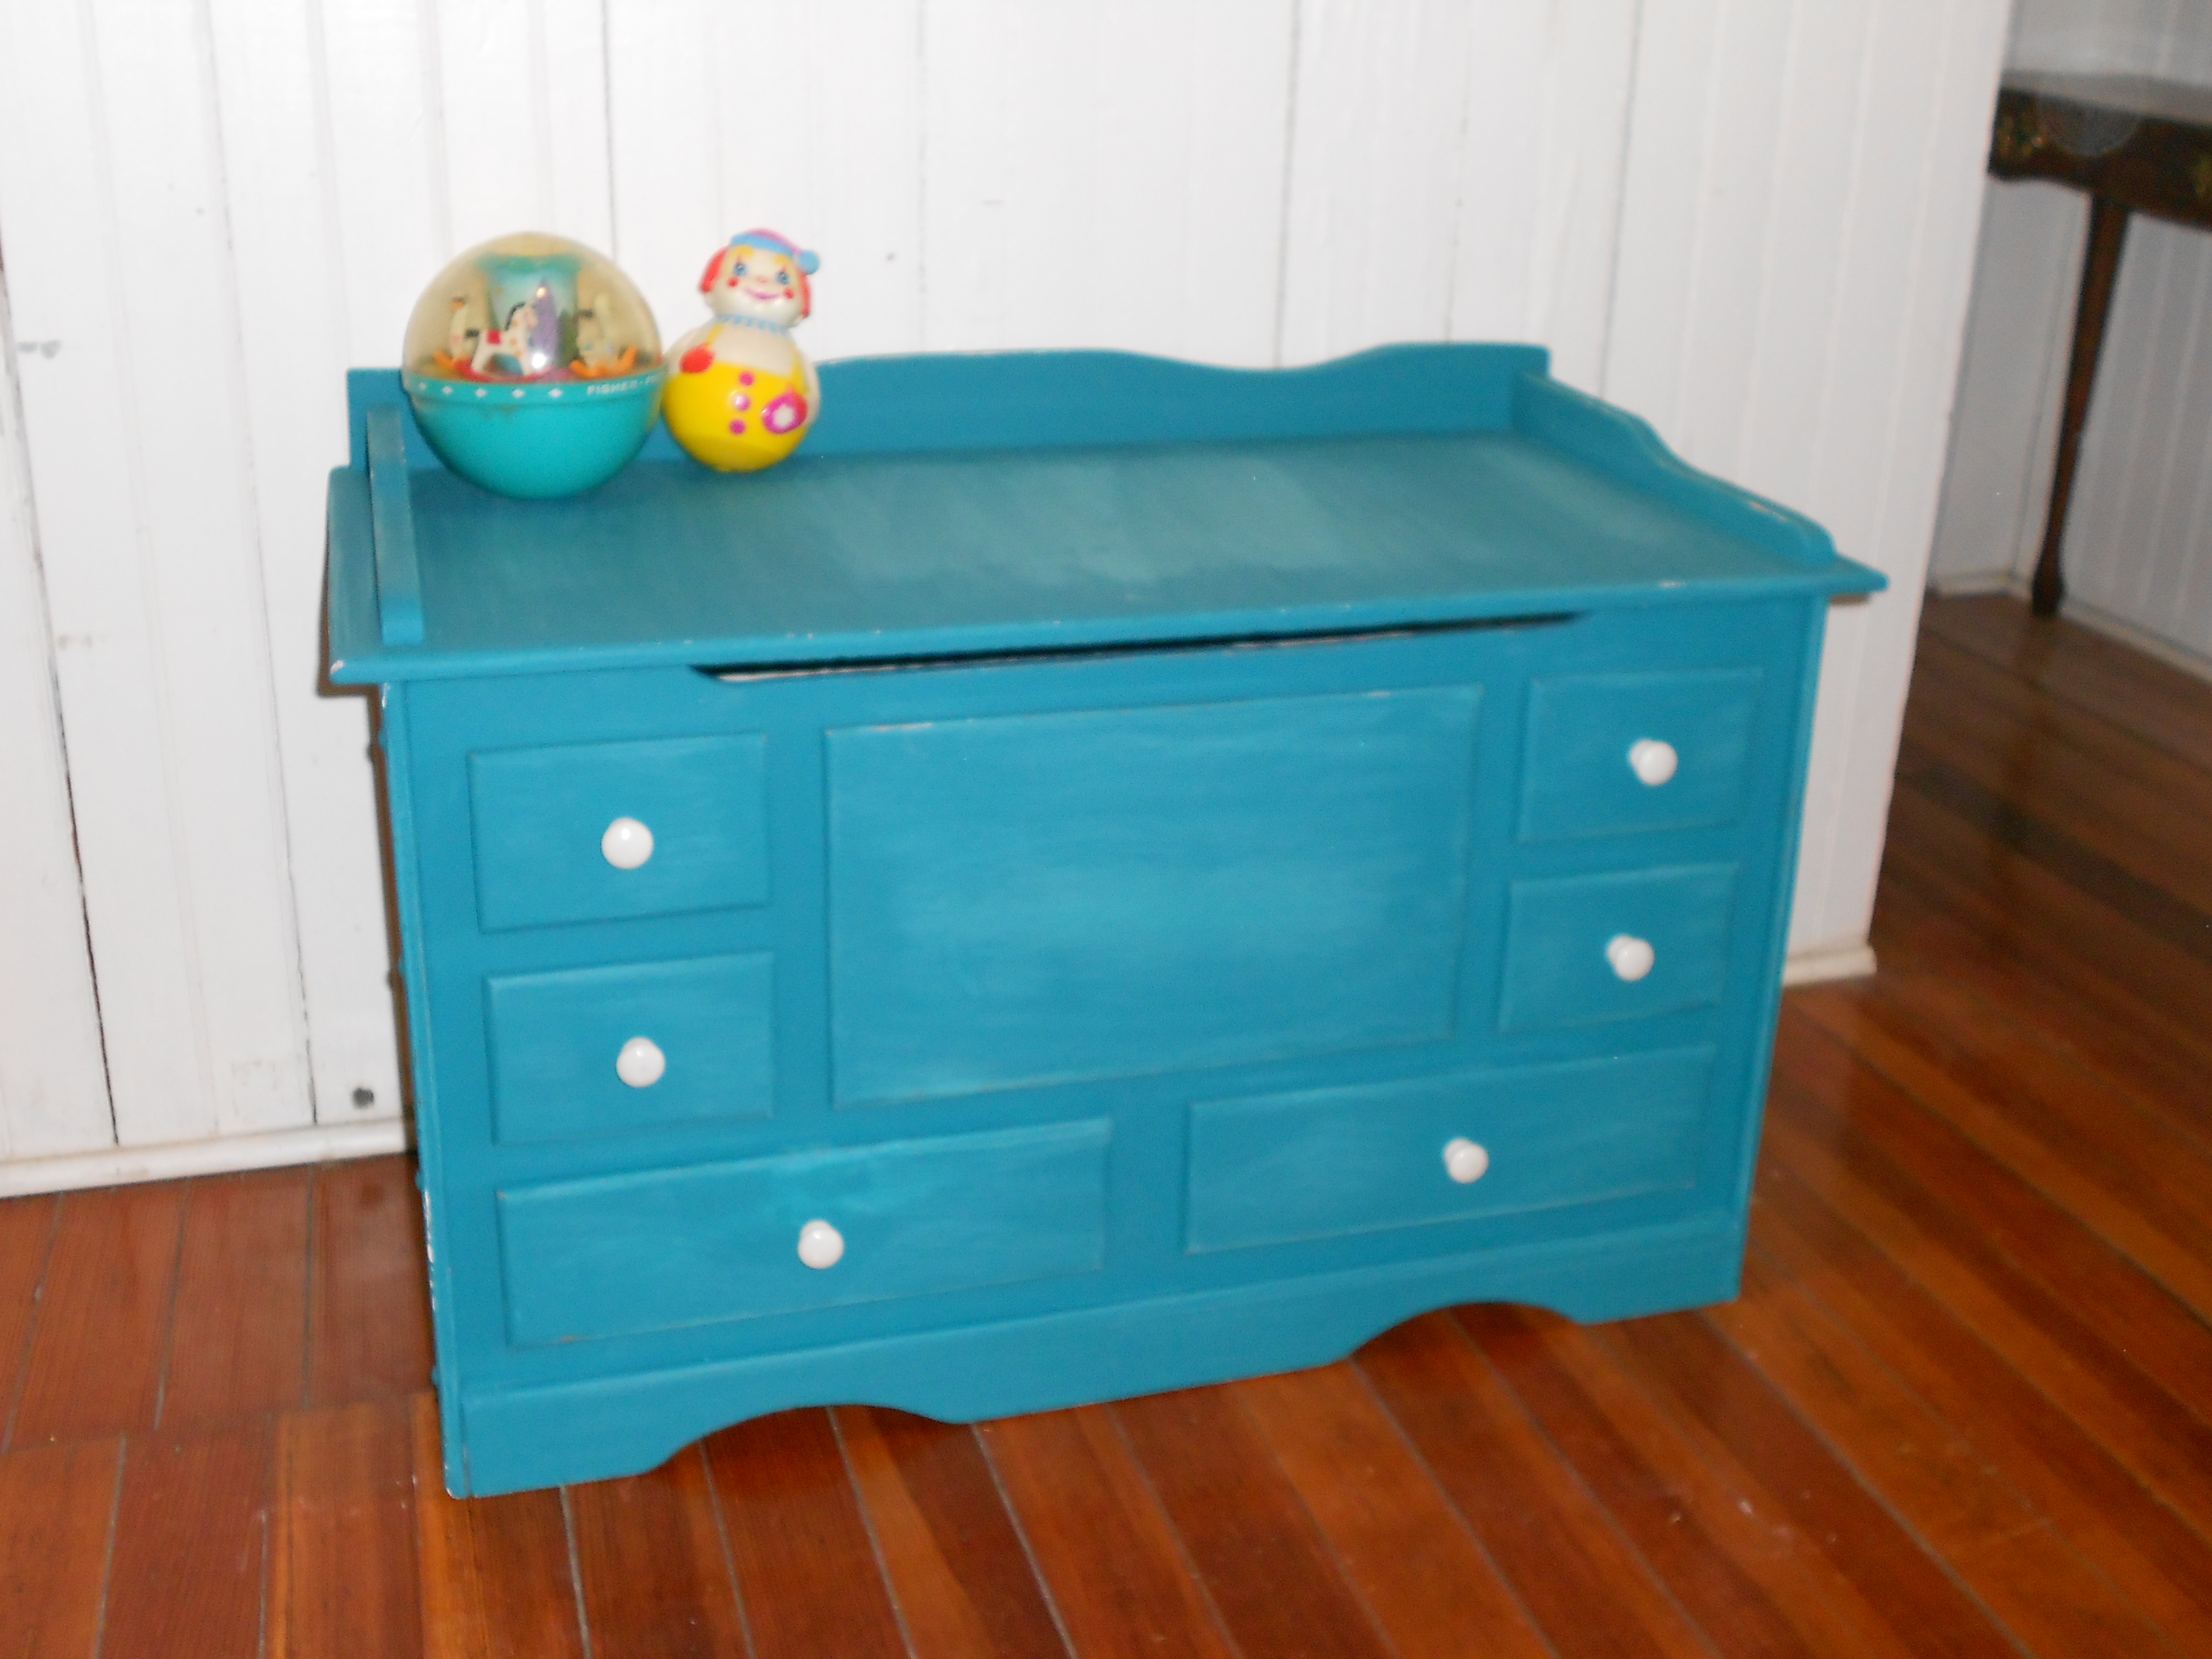

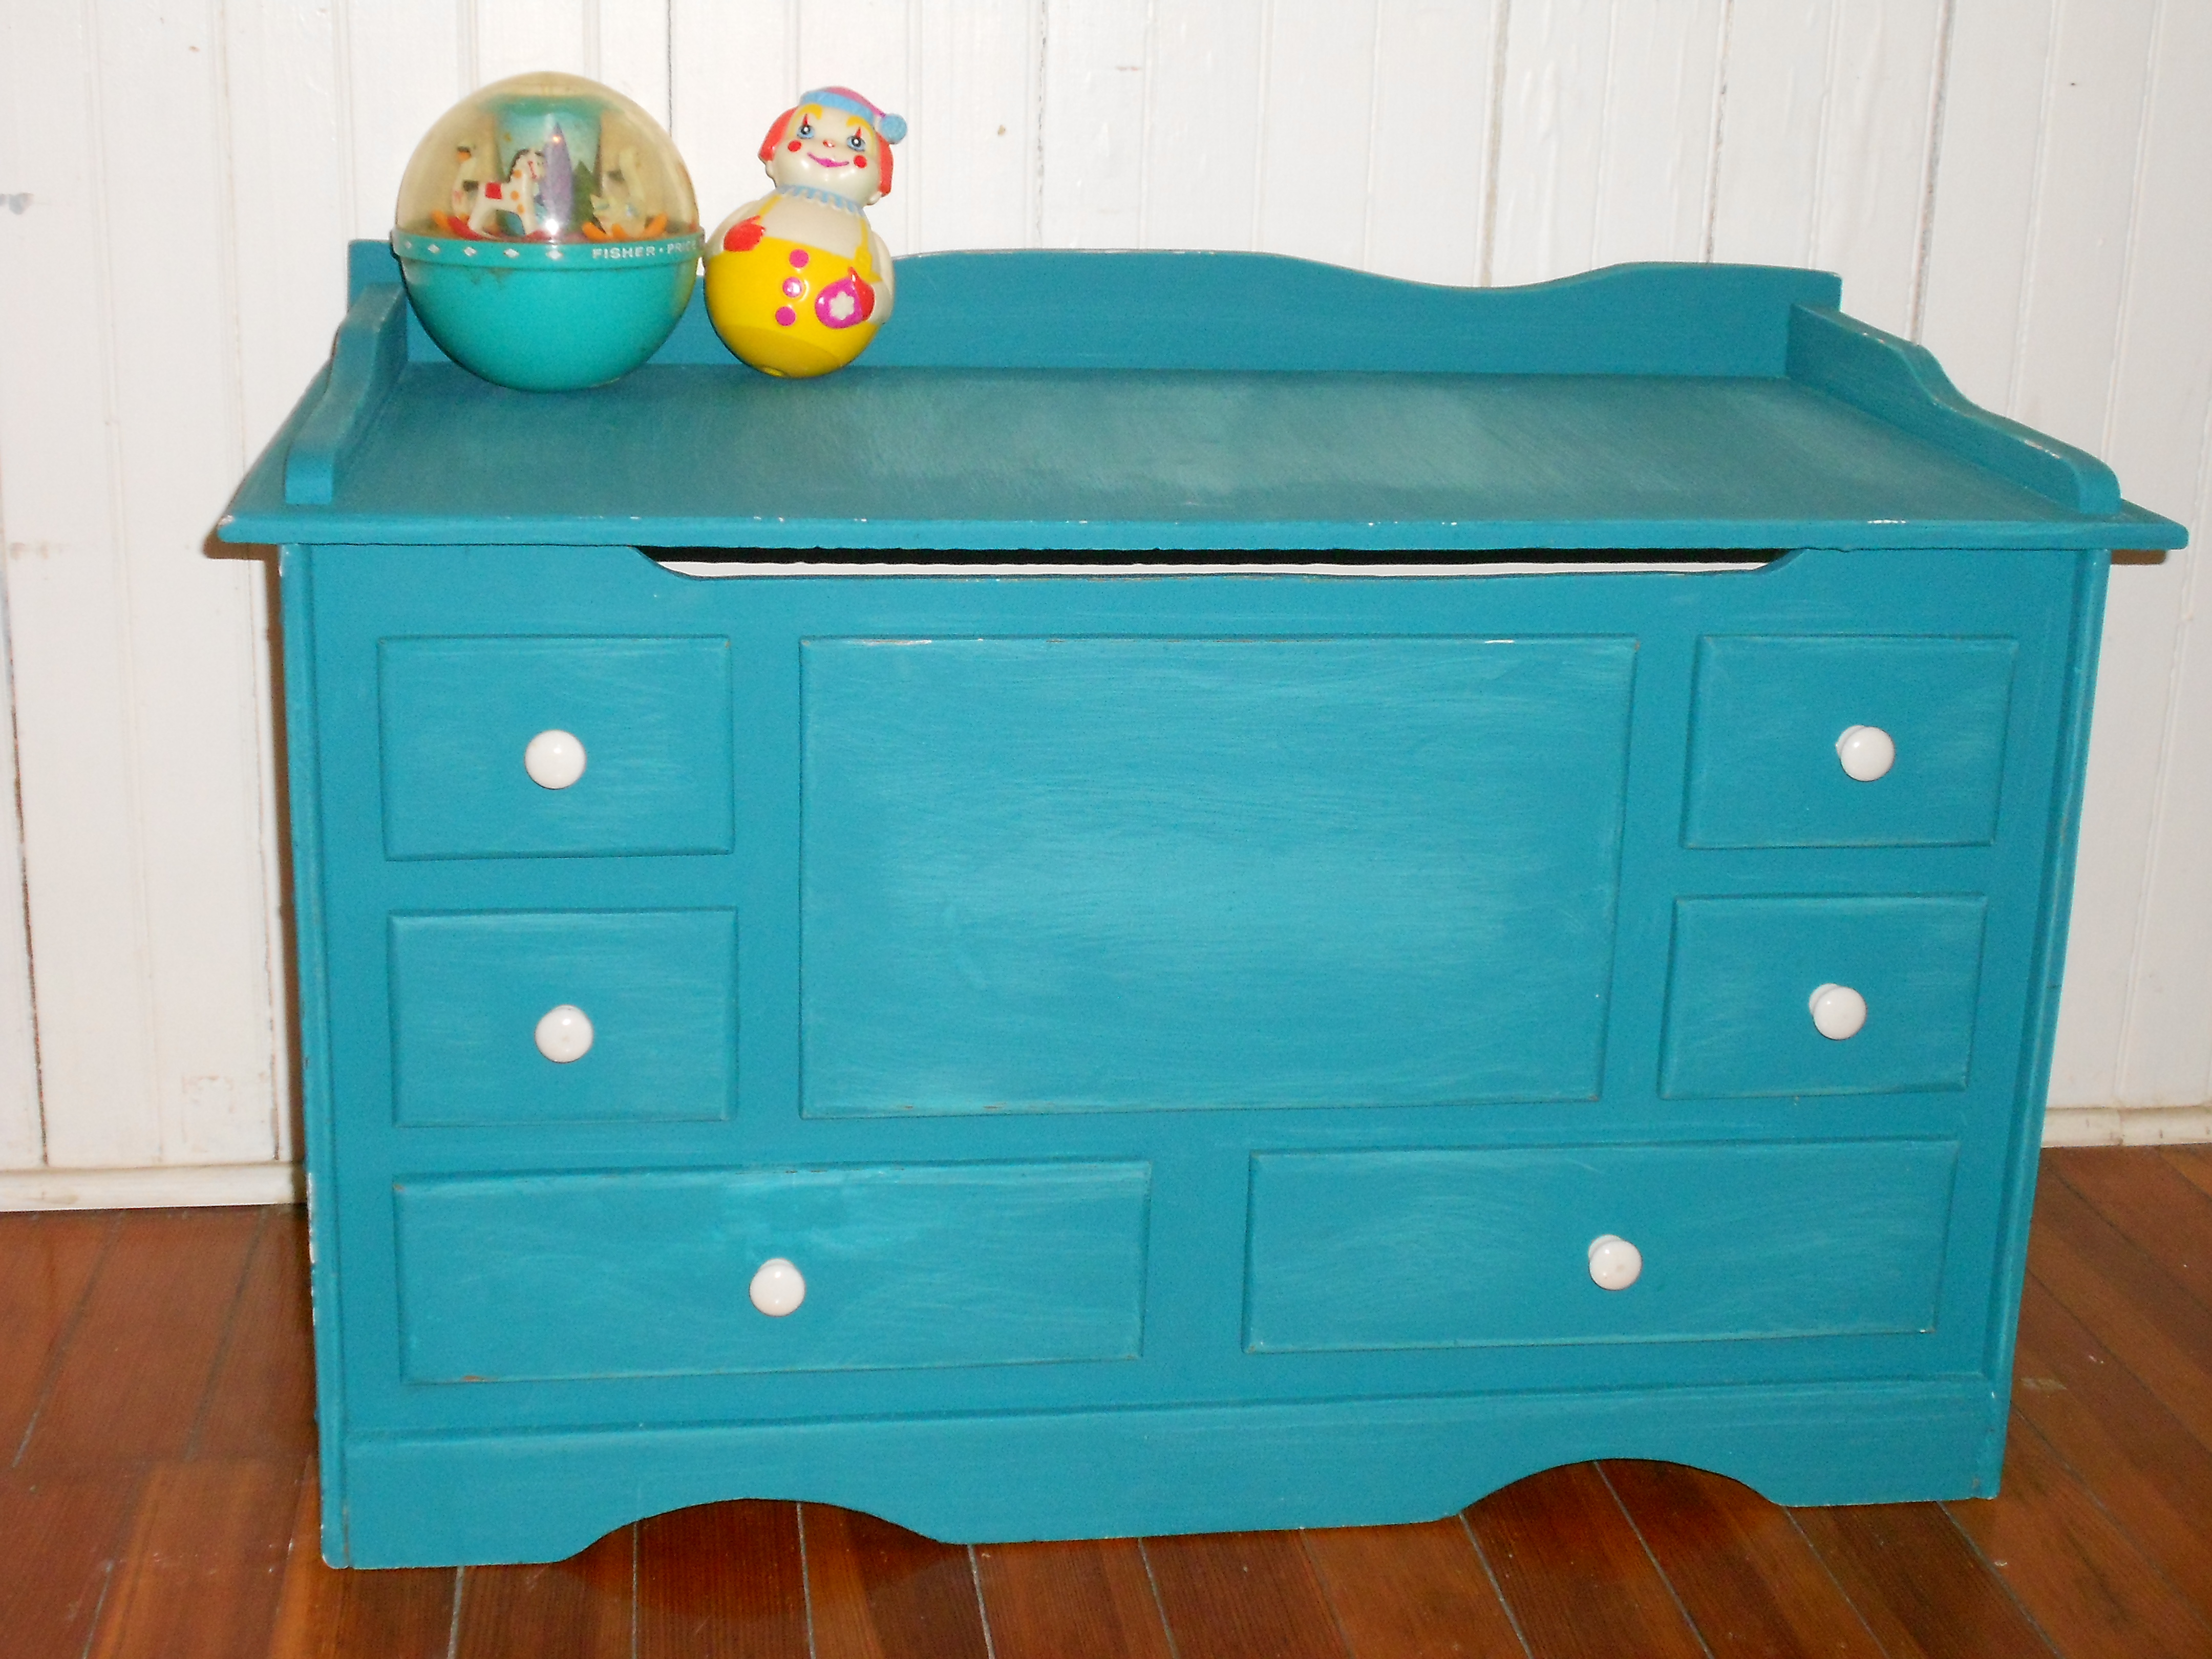
What do you think? I think it turned out super adorable. I was going to replace the handles, but the old ones are vintage ceramic and actually cleaned up nicely. I’m even tempted to keep this one! Why keep a toy box? … more news to come! 😉
Fun Chair Love
Hi, all! Wow, have things been busy around here. Wedding is 45 days away! But, while I had a moment away from wedding projects I thought I would share some fun chairs that I absolutely adore!
Anything turquoise, especially in leather…mmm…

This room is a little too silver and modern for me normally, but this curvy chair done in a patchwork of prints is just awesome!

I love this dark walled room and even more love this zebra chair!

I have no words for how cool this chair is… AND, I can’t read all of the post, but this one was definitely a very neat DIY, so go check out the site!

Hope you enjoyed as much as I did! Updates coming soon!
An Awesome DIY Project
This chandelier is completely awesome! I drool everytime I look at this picture. Someday I hope I can work up the courage to attempt this DIY project. For now I call it inspiration and stare longingly at the photo each day.

My 50 Cent Table
Last weekend I found the sweetest little antique table and a garage sale. For 50 cents. Yes, 50 cents. Here she is:

I saw the potential. It was a bit wobbly, but with the tap of a hammer, the leg was put back into its slot, and viola! No more wobble. Next, I lightly sanded the entire table. Then I applied about 4 coats of a turquoise pant with a sponge brush to the entire table. Once the final coat was completely dry, I used a fine sandpaper and roughed up the edges of the table and legs for an antiqued look. Here she is now:


I love it! And I really like the way it fits in the living room, but I think this could be one of those pieces that travels easily from room to room. I’m completely satisfied, and all for a total of 50 cents!
The Lounge
There is an extra bedroom upstairs that I did not have a particular use for at this time. Why not use the room as a chance to have some fun and make a relaxing lounge where I can work on some projects?!
Here’s a little tour:


Bright, no? But, I love it and find it so cozy. Remember that couch from before I bought the house? The trunk was my birthday present a few years back and it now holds scrapbook and craft supplies. The bright flash made some of the paint look patchy, but I promise, it isn’t so. The door knobs and latch plates are from doors that were found rotting away in the garage when I moved in here. I couldn’t keep the old doors, but also couldn’t part with the the hardware. Any suggestions?
My Windchime
The porch on the new house needed something. I couldn’t decide what. I wanted something unique and fun, but not noisy like metal chimes. Thanks to my boyfriend I think I now have the most unique idea out there. He suggested deer antlers. He had plenty of them, so we set to work.
First, he drilled holes in each antler. The antlers were strung on wire. Random bright coral and turquoise beads were added to the wires. The wires were then tied to a metal ring we found a the hardware store. The ring was then strung onto loops of wire to be hung. The finishing touch was to put a dot of Gorilla glue on each wire knot to keep them in place through the wind and weather. Here’s the finished product:


 So what do you think? I’m personally in love. 🙂
