Muscatine Iowa Area Sightseeing
Summer is here! We’ve been quarantined long enough, so we are off to see all the sights, but distantly! So, we thought we would round up some of the things to do and see outside and at a distance, here in Muscatine area, Iowa. Enjoy!
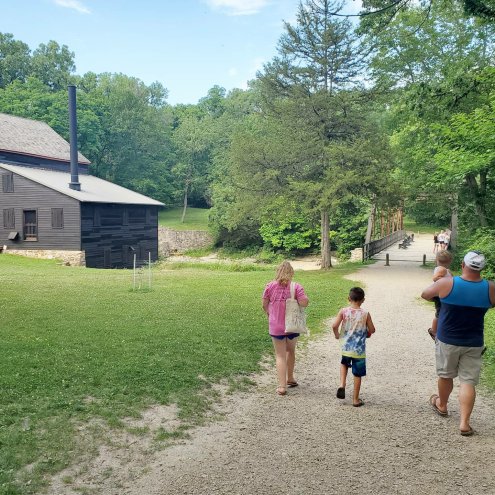
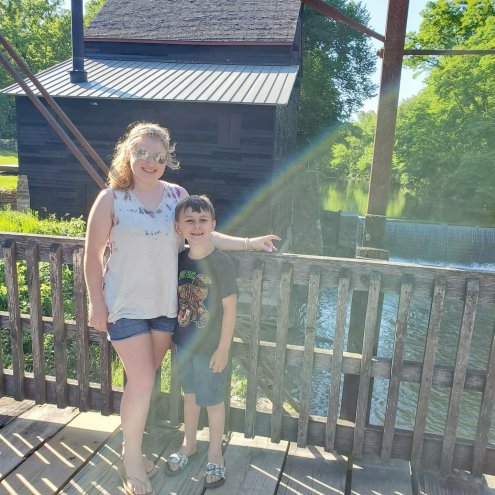
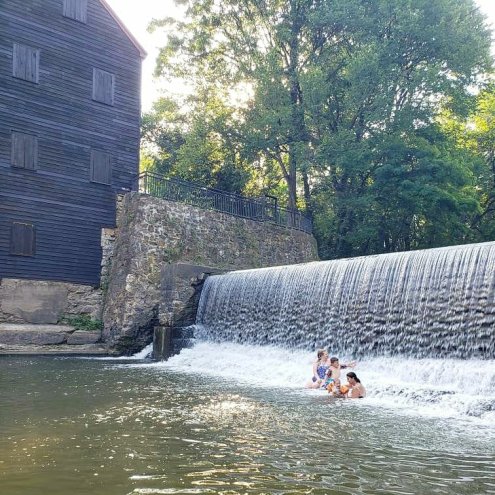
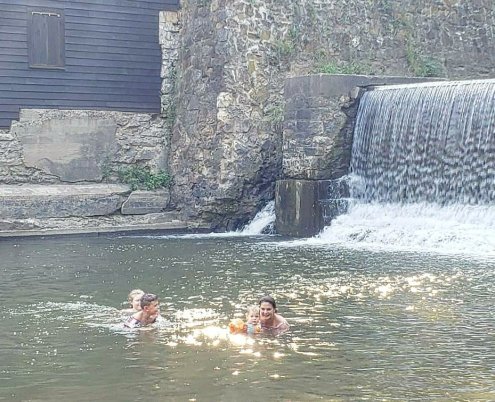
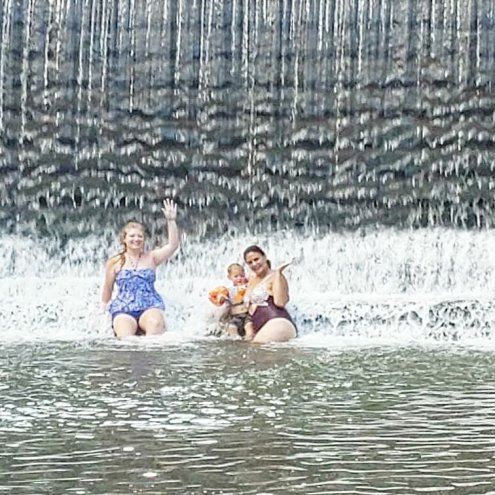
1. Wilcat Den and Saw Mill- this is one of my family’s favorites in the area. Its historic and beautiful and there is plenty to do here! You can camp or stop for the day, hike the many trails, and explore the historic buildings. There is a school and an old church and even a mill. The old bridge over the stream at the mill is a gorgeous sight to behold. PLUS… you can swim in the stream and go up to the waterfall! Its an amazing experience and the whole family loves doing it!


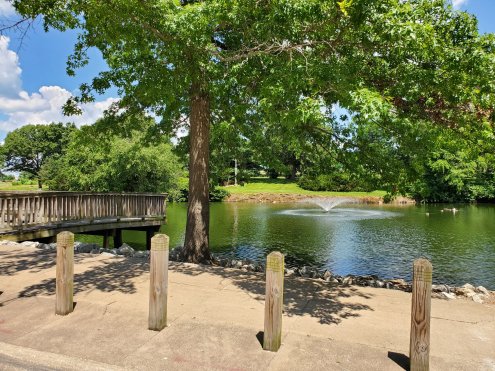
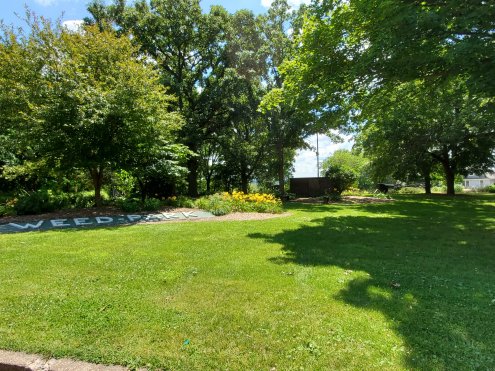
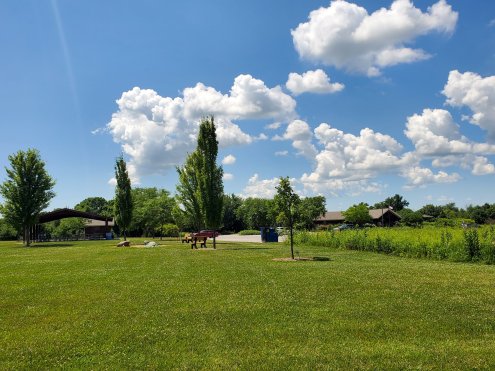
2. Weed Park- one of the best parks I’ve found, anywhere. Picnic areas, pavilions, historical plaques and sights, gorgeous views of the Mississippi, beautiful landscaping, and a pond with ducks, geese, and fishing for kids. Plus, they have two playgrounds that are awesome. And once back to normal they have a waterpark. Totally worth a visit for everyone in the family.
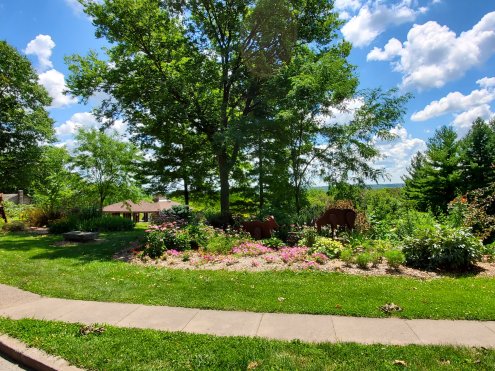


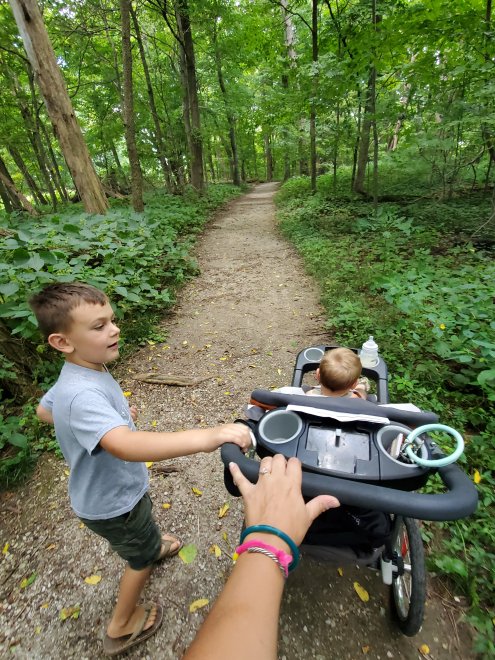
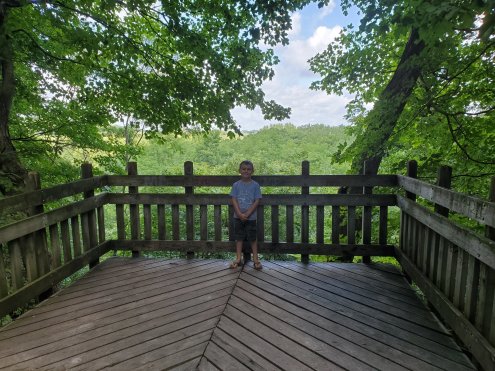
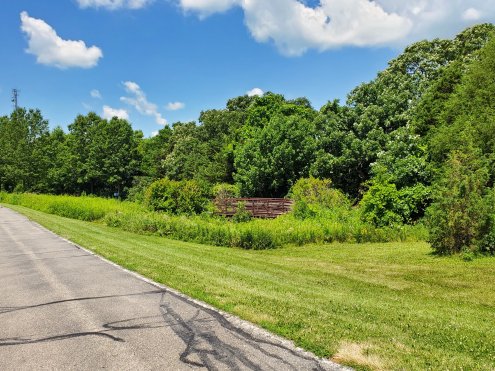
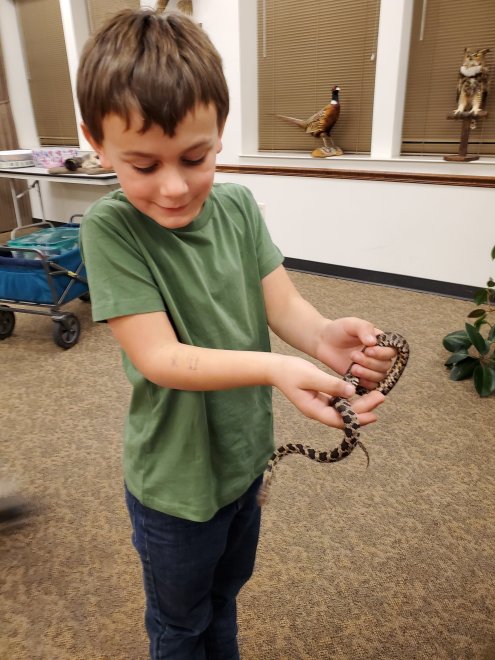
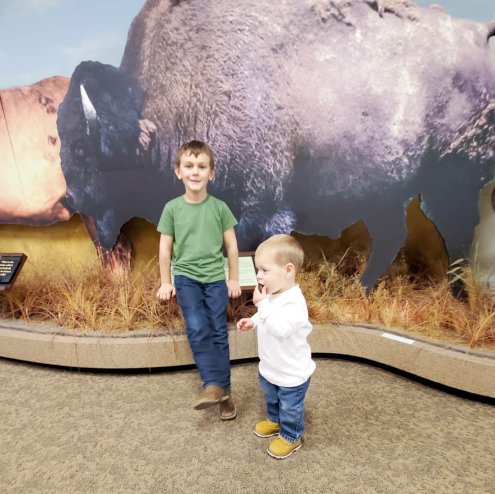
3. Discovery Park- during normal times, they have an indoor center to see interactive wildlife features and even take classes. Currently, you can still see all they have to offer outside. There are numerous trails to walk, most paved, through gorgeous views, wildflower patches and even see wild animals. They have a butterfly garden and owls outside to view too. They also have a pond where you can fish!


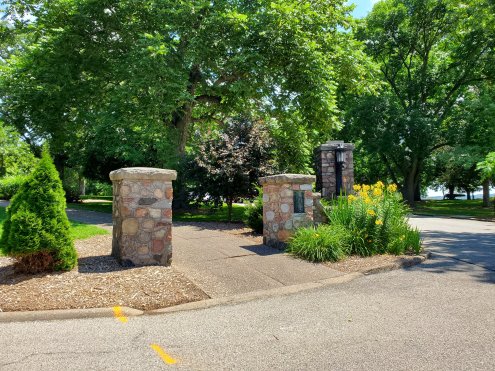
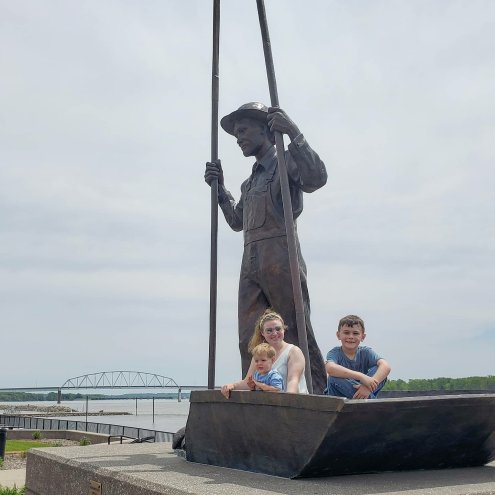
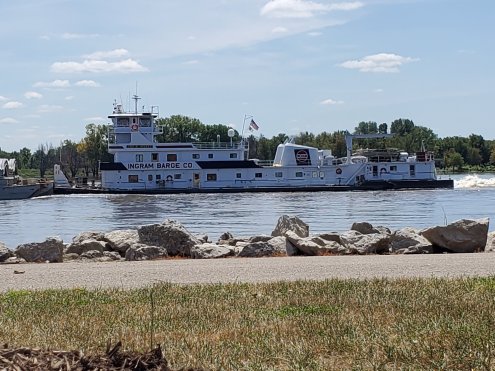
4. Muscatine River Front- plenty to do down here, even distantly! You may not be visiting the pearl button factory museum right now, and even the splash pad is not turned on yet, but it’s still a beautiful, relaxing, and even entertaining area of Muscatine. You can walk the gorgeous river front, even stopping to read the plaques about the city history. You can play at the play ground. You can even take photos with the clam digger statue. And there are a few downtown restaurants up the block that offer outside dining!


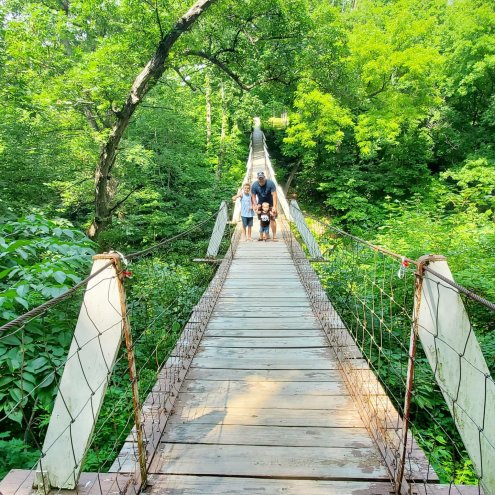
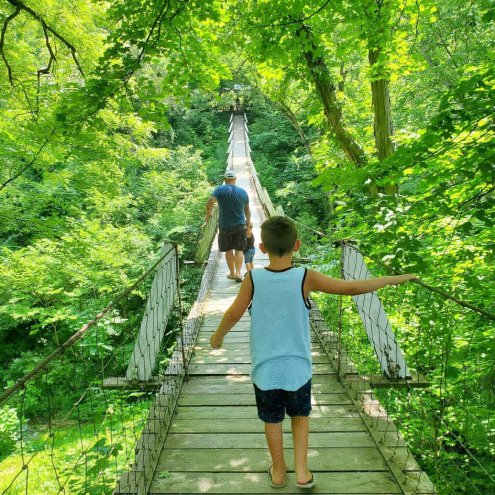
5. Swinging Bridge- you have to drive about 15 minutes out of town for this one, but worth the drive. The Swinging Bridge in Columbus Junction is a sight to not miss. We visit each year for the views and a photo. Read about the bridge’s history, walk across if you dare, snap some photos, and even hike the lower trails. You will love this one!!


While you are out in the Columbus Junction area, you can see the historical marker for Convict Highway! 😉 Just a super old road, but you can read about how the convicts of the time built it!
Muscatine also offers several parks with awesome playgrounds, a skate park, and a disk golf course. Plus plenty of sites indoors once that is safe again!
We also love to camp and boat. I can recommend places for that too! Enjoy! 😉
XX,
Jess
Permalink Comments Off on Muscatine Iowa Area Sightseeing
The Rug Hunt
Remember seeing the antique rug in the dining room?

Well, we thought this rug was a bit too bright and attention grabbing for this area. Plus, it was really taking a beating being in the center of our home. We were on the hunt for a rug. A very specific rug. Most importantly, we had to be able to afford it on our teeny tiny budget. We also wanted it to be big. It had to be at least 3 feet wide and at least 12 feet long. Wider and longer would be even better. This was the hardest part. Almost all runners were only about 2 feet wide. Not going to cut it with a large room and two dogs creating a lot of traffic. We were also hoping for either a print we could agree on, or something fairly neutral, but also not too light so that it would get dirty fast. Gravel roads and a farmer living in the house, oh and those two dogs again, means dust, dirt, and crud on a frequent basis. Do we sounds picky yet?
We hunted and hunted. Then we debated and debated. We found the one. Or at least what will be the one for a while! It was a “dark natural” colored banded jute rug. This one was 3 feet by 12 feet and was from the Home Decorator’s Collection, bought from Amazon.


We really like how the rug choice turned out. Its nothing fancy, but the neutral-ness of it allows for us to paint and change the room when we get the chance. This rug seems strong and durable, but is also soft and welcoming. Actually those bands you can see in the close up picture are super comfy on your feet, almost massaging! It does slip some, and in the future we may get a no-skid rug pad, but for now it has been perfect!
We couldn’t leave the dirty old door mat there with the pretty new runner! Here’s the old grungy mat:

It just so happened that I fell upon an awesome, and very inexpensive door mat right after getting the runner. You will never guess where I found the new mat! Dollar General! $12! And so adorable! It is also jute and looks so great with the runner!


So, what did we do with the antique rug? We put it upstairs in the hallway. We had some traffic issues with the light colored carpet in the hall, but not enough to continue to wear this rug out super fast, so we are trying it out up there. So far I think it is growing on me!


I think this little rug rearranging is going to work out just fine! 🙂
My 50 Cent Table
Last weekend I found the sweetest little antique table and a garage sale. For 50 cents. Yes, 50 cents. Here she is:

I saw the potential. It was a bit wobbly, but with the tap of a hammer, the leg was put back into its slot, and viola! No more wobble. Next, I lightly sanded the entire table. Then I applied about 4 coats of a turquoise pant with a sponge brush to the entire table. Once the final coat was completely dry, I used a fine sandpaper and roughed up the edges of the table and legs for an antiqued look. Here she is now:


I love it! And I really like the way it fits in the living room, but I think this could be one of those pieces that travels easily from room to room. I’m completely satisfied, and all for a total of 50 cents!
Sweet Little Details
I really believe that it’s the little details in a home that make your space special. Ok, that sounds cheesy. But, it is true. We have made some major repairs, spend lots of money, and in the end it’s the little projects worth a few bucks that make me so proud of our home. I have been excited for days about the new towel bar we hung in the bathroom. This is not only a convenience, but looks so much better than having the towel laying on the sink all the time- and, it only cost me about $3!
So, last night while finishing up the living room curtains we also hung up some coffee mugs in the kitchen. I bought a few new red mugs at Wal Mart for $2 apiece. I got a few cup hooks, and viola! Instant face-lift for the kitchen space. I love my bird of paradise mugs, but these look much more updated and will go great once we finishing the painting of the cabinets. Tony actually hung a separate board under the cabinet so that the screws for the hooks wouldn’t go all the way through. He also had to slightly open up the cup hooks, as the mug handles were a bit wider than standard ones. All in all I think they look great and will be awesome in the new kitchen too!


I know I said that I would be starting to work on the cabinet painting last week, but I got a bit lazy. I really am going to work on it this week, so check back for updates and tips on the cabinet painting!
My Office and Easy Tips
We did do work at home over the weekend, really. But, the snow on Sunday (snow!?) hindered us from accomplishing too much. I will have a few things to show you later on in the week, but for today I am going to show you my work office.
When I started at this job one of the first I thought about was how to dress up my first personal office. I wanted to create a fun and unique work space without spending a bunch of money. Of course I was not about to go out and buy new furniture, but I do have a few simple and very cheap ideas for dressing up the drab office. Although you may not be able to produce your dream office with a space that you don’t own, you can make it a comfortable and productive space!
1. Posters. Not the priciest artwork, but good enough for a work office. I hung the Keep Calm poster as you enter my doorway (Yup, cliche maybe, but I still love it!). I also hung an inspirational quote from Muhammad Ali on the opposite wall. These were so fitting as I work in a hospital as a medical case manager. And, they give me some color, but stay in the basics I love!


2. Use your printer. I made these blah magnets cute by printing a sheet of white paper with a paisley pattern. I cut the sheets down to the size of the magnets and glued them on. I then covered them with clear plastic tape. I also used paper to fill the letter opener magnet. The other side of the desk is a sheet of paper I printed with the Chinese symbol for “happiness.” I have a few printed quotes around the office as well. These are cheap enough to switch out once in a while too!


3. Paper flowers. I wanted to add some brightness to my office, but am horrible at caring for plants. So, I made paper roses with tissue paper. I stuck them in a thrift store vase and now have flowers all year round. (the candy is a crowd pleaser as well)

4. Organization! Staying organized is the simplest, cheapest way to keep an office space looking its best. I have some open shelves that I make sure are always orderly. This is also a good time saver. I always know where things are and never have to hunt!

5. Personal but professional. A nice touch to an office space is something personal. But, remember to keep it professional. Too many pictures or tchochkes can make an office space cluttered and unprofessional. I have some pictures hung and framed in my office, but only ones that I don’t mind if clients see. I have a magic 8 ball on my desk for those real tough decisions as well ;). My desk top is also an example of keeping organized. And, the calendar is a free printable version from calendarsthatwork.com. I love these, as they look cute and are simple instead of busy! Also notice my mouse pad and pen. Little touches that were inexpensive!

Hope these simple ideas help you with your office. Mine is just like my home, always changing. Enjoy!
Little Coaster Project
Tony has Dallas Cowboys coasters. I have Chicago Bears coasters. Neither were going to be displayed in our nice living room. I love football as much as anybody, but the football paraphernalia is reserved for the basement game room/bar. So, we needed some nice coasters to protect our living room tables. I change my mind frequently, so I wanted something inexpensive or changeable. That’s when I found these. The Dollar Store had a pack of four glass coaster for a couple bucks! Not only are they cheap, but they are changeable. They are the kind of coasters meant for inserting a picture under the glass. I decided to put a piece of black and silver damask wrapping paper in the picture slot. Here was my process:

My supplies. All I used was a scissors and the material (wrapping paper).

I used the blank piece of paper that came in the frame as a guide to cut a rectangle out of the wrapping paper. It then slides into a clear picket in the coaster frame. It was really THAT simple.

This is what it looked like slid into the coaster frame.

Here they all are with the wrapping paper inserted.

They even have their own little wooden holder.
It was so simple and I can change what is in the frames any time I want to. The glass is also very easy to clean off. I wish they were all black, as I am not so fond of the different colors, but it does make it easier to keep track of your drink. And, for a few dollars, who can complain?
