2012 Resolutions
Does anyone ever keep resolutions? This year I am not going to use the same old resolutions, eat healthier, exercise more, and be more positive. Nope. This year I am going to try some fun resolutions that I may actually keep.
1. Finish some projects around the house that make me feel happy.
This ribbon organization box is on my list. I love being organized and using this to wrap up some pretty gifts would definitely make me smile:

2. Make more handmade gifts. I think I have the ability, now I just need to believe in myself!
I think these candles would be so cute as gifts!

3. Cook more. Yes, read it again. I’m sure Jeremy needs to read it 3 times. But, I’m serious!
This steak and mushroom dinner and the rum balls look like two amazing recipes to try!


4. Host more gatherings at our new home! I mean go all out. Invitations, decorations, food…
I want to feel like Martha!

5. Make progress with the furniture business. I’m in no rush to jump into opening a full on shop yet. But, I would like to try some of my projects in a shop.
A bench like this made out of two old chair would be super neat!

What are you resolutions?? 🙂
An Addiction To My “Dressing Room”
I am absolutely loving my new closet, or “dressing room,” in the new house! I am getting used to having all of my clothes, shoes, and jewelry out on display where I can easily pick outfits and use things I haven’t in a while. With the new arrangment comes, well, arranging, however. As I get settled I am slowly making changes and getting ready to paint. So, with that said, that means that I have been making some changes to my organization. If you remember my pictures of my older house, you will remember that I kept a lot of jewelry and items in an old antique metal medicine chest hung above my dresser. There was nowhere to hang it up in the closet and sitting on top of a dresser did not allow the door to open… so…
I had gotten an old flower-y frame at a garage sale that just so happens to match the colors I want to use in the closet. I also happened to have some chicken wire in the barn. A staple gun and some elbow grease later…


I think it turned out super cute. It will probaby be going on the one wall shortly. So far its been handy too!
Simple Fix and 4th of July Weekend
Sometimes the tiniest details of your home can make life so much more organized, easy, and even pretty. Well, the other day I was very annoyed by my growing collection of costume jewelry. My good jewelry is hung neatly in my jewelry box and some of my most often worn costume pieces are held in jars in my dresser and vintage medicine cabinet in the bedroom. But, the rest of it has been hanging in clumps on hangers and hooks in the closet. You couldn’t see them easily, and you definitely couldn’t grab one easily. Here is the pile that I hurriedly threw on the bed.

So, my grandma gave me some vintage hand crochetedhangers. And I picked up a package of sewing pins with bead heads.

Although the pins didn’t stick into the wood hanger underneath very well, they stuck in the ends enough to keep any slippery necklaces from falling off the hanger. And, viola! Simple, yet cute and organized. What an easy fix. Thanks grandma!

Oh, and if you were wondering why the big bandage on my hand… I burned my hand that night while cooking dinner. Yes, I think it was a sign from God to quit cooking and get some take-out menus. But, the sloppy joe’s turned out well, so Tony didn’t buy that. By the next day I had to go to the doctor for it and my hand was completely wrapped up for the whole holiday weekend.
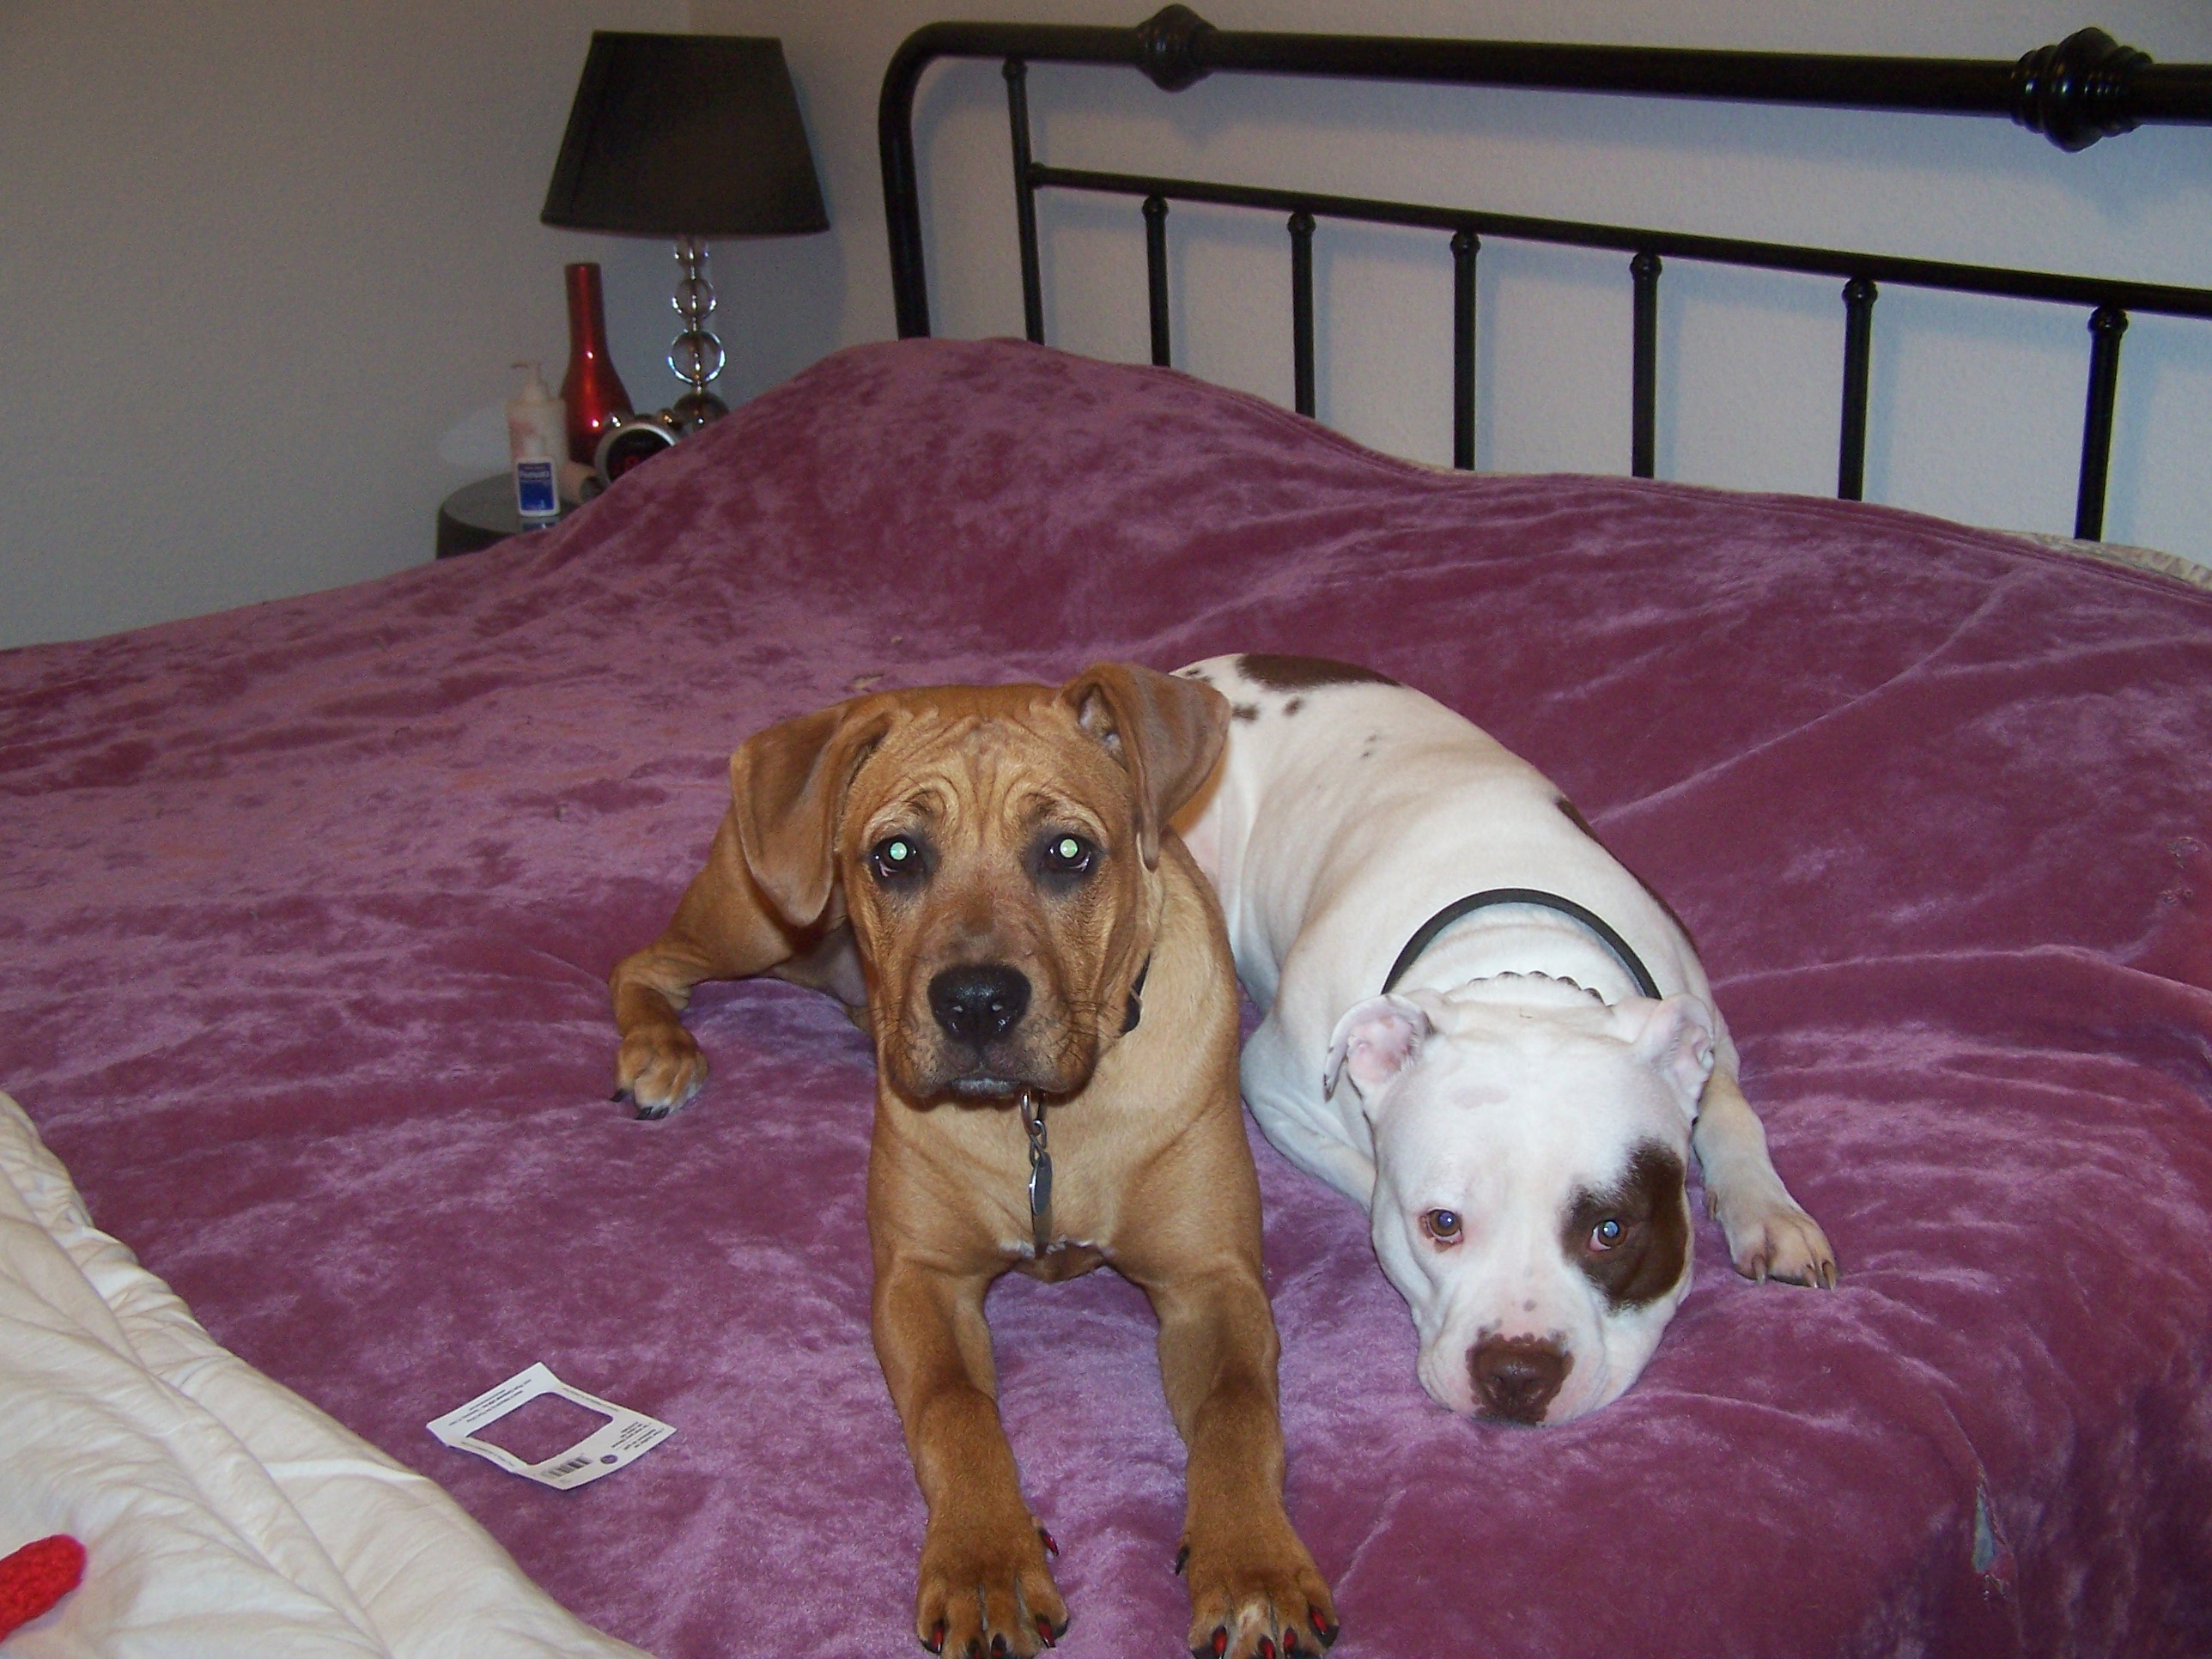
And, as with most of my projects, the dogs helped of course!

So, on to the 4th of July celebration! We camped at our local park, and it rained here the entire day (of course). That didn’t stop us! We waded through the mud the entire weekend. It ended up clearing up just in time to have amazing fire works! Here’s the guys playing in a horseshoe tournament right through the rain!

You can see all the umbrellas out there! You can also see the river in the background. That’s the rock river, and right were we camp and also sit and watch the fireworks. Here we are playing games together.

Our softball team also won another game Sunday, so we are now 6-1! Yay!

How was your 4th of July? Hope it was a great one!
My Office and Easy Tips
We did do work at home over the weekend, really. But, the snow on Sunday (snow!?) hindered us from accomplishing too much. I will have a few things to show you later on in the week, but for today I am going to show you my work office.
When I started at this job one of the first I thought about was how to dress up my first personal office. I wanted to create a fun and unique work space without spending a bunch of money. Of course I was not about to go out and buy new furniture, but I do have a few simple and very cheap ideas for dressing up the drab office. Although you may not be able to produce your dream office with a space that you don’t own, you can make it a comfortable and productive space!
1. Posters. Not the priciest artwork, but good enough for a work office. I hung the Keep Calm poster as you enter my doorway (Yup, cliche maybe, but I still love it!). I also hung an inspirational quote from Muhammad Ali on the opposite wall. These were so fitting as I work in a hospital as a medical case manager. And, they give me some color, but stay in the basics I love!


2. Use your printer. I made these blah magnets cute by printing a sheet of white paper with a paisley pattern. I cut the sheets down to the size of the magnets and glued them on. I then covered them with clear plastic tape. I also used paper to fill the letter opener magnet. The other side of the desk is a sheet of paper I printed with the Chinese symbol for “happiness.” I have a few printed quotes around the office as well. These are cheap enough to switch out once in a while too!


3. Paper flowers. I wanted to add some brightness to my office, but am horrible at caring for plants. So, I made paper roses with tissue paper. I stuck them in a thrift store vase and now have flowers all year round. (the candy is a crowd pleaser as well)

4. Organization! Staying organized is the simplest, cheapest way to keep an office space looking its best. I have some open shelves that I make sure are always orderly. This is also a good time saver. I always know where things are and never have to hunt!

5. Personal but professional. A nice touch to an office space is something personal. But, remember to keep it professional. Too many pictures or tchochkes can make an office space cluttered and unprofessional. I have some pictures hung and framed in my office, but only ones that I don’t mind if clients see. I have a magic 8 ball on my desk for those real tough decisions as well ;). My desk top is also an example of keeping organized. And, the calendar is a free printable version from calendarsthatwork.com. I love these, as they look cute and are simple instead of busy! Also notice my mouse pad and pen. Little touches that were inexpensive!

Hope these simple ideas help you with your office. Mine is just like my home, always changing. Enjoy!
Tidying Up
I’m a neat freak. I know it. I’m actually proud of it. I like that my home is always clean, neat, and organized. I feel that everything should have a place. Junk left out of it’s place clutters up your house and really ruins the appearance. I love ugly necessities (like cleaning supplies or utensils) to have a place to be stashed that is concealed when not in use. Not only does this just look so much better, but it also means you will not lose things or forget where you left them. Our cleaning supplies are under the kitchen sink in tubs. We always keep a flashlight right under the sink as well. A few basic tools and utensils that are needed frequently are in a drawer in the kitchen island, and the rest of the tools are in the tool box in the basement. I could tell you where ever item I own is right now. This drives Tony nuts that he has to put everything back in it’s assigned spot, but he will be thanking me in an emergency when I find what we need in seconds!
Anyway, this brings me to the topic at hand. Our mops and brooms. They are too big to fit under the sink, but too ugly to be left leaning against a wall in the kitchen. I had them stashed away in the basement. But, no one wanted to go down there to get them every time there was a mess. I even caught myself on hands and knees wiping up the floor with a paper towel instead of heading to the basement. I knew there had to be a better solution.
We took a trip this weekend to our local hardware store and found a basic hook set. My plan was to hang this strip of hooks inside the basement door for easy access to brooms and mops. The strip was a bit too long to fit from one beam to another along the unfinished basement walls. We compromised and leaned the strip of hooks on it’s side. It actually worked out perfectly, and the long handled tools hang perfectly just inside the door. I’m pleased. 🙂 And, now we can save paper towels and make our lazy selves go grab the mop!

The brooms and mops hanging so nicely just inside our basement door.

The row of hooks that proved to be a simple and inexpensive solution to a daily annoyance.
We were so inspired we even added a couple single hooks to the opposite wall for hanging dog toys and leashes.

These things will no longer have to be draped sloppily over the banister!
Simple fixes make all the difference in a home!
Making A Mini Bar
Currently we hold all of our drink glasses, servers, shakers and wine and liqueurs in one of our kitchen cupboards. But, I have always wanted to do something different with these items. I would like to have some sort of mini bar in the kitchen or dining room. This would be such easy access for entertaining. Also, it would free up more cupboard space in the kitchen, which for us is at a premium!
I have recently seen a few photos of DIY bars and am in planning process for making one of our own.

This redone shelf unit was posted on Apartment Therapy. I think this is great inspiration for our project. A simple shelf unit like this would be easy to find and probably affordable. I really love the wine racks and glass holders. I also like the idea of lining the backs of cabinets with colorful ,fun paper. Here is another picture of a mini bar with beautiful paper:

http://www.apartmenttherapy.com/chicago/inspiration/inspiration-lined-cabinets-075583 . Originally from Homes and Gardens.
I also like the idea of using a bar cart or serving tray with a few bottles and glasses, but options like the cabinets in the pictures would give us much more space and probably be safer with pets, especially if there are doors.
I am very excited to get started on this project, and will keep you posted!
