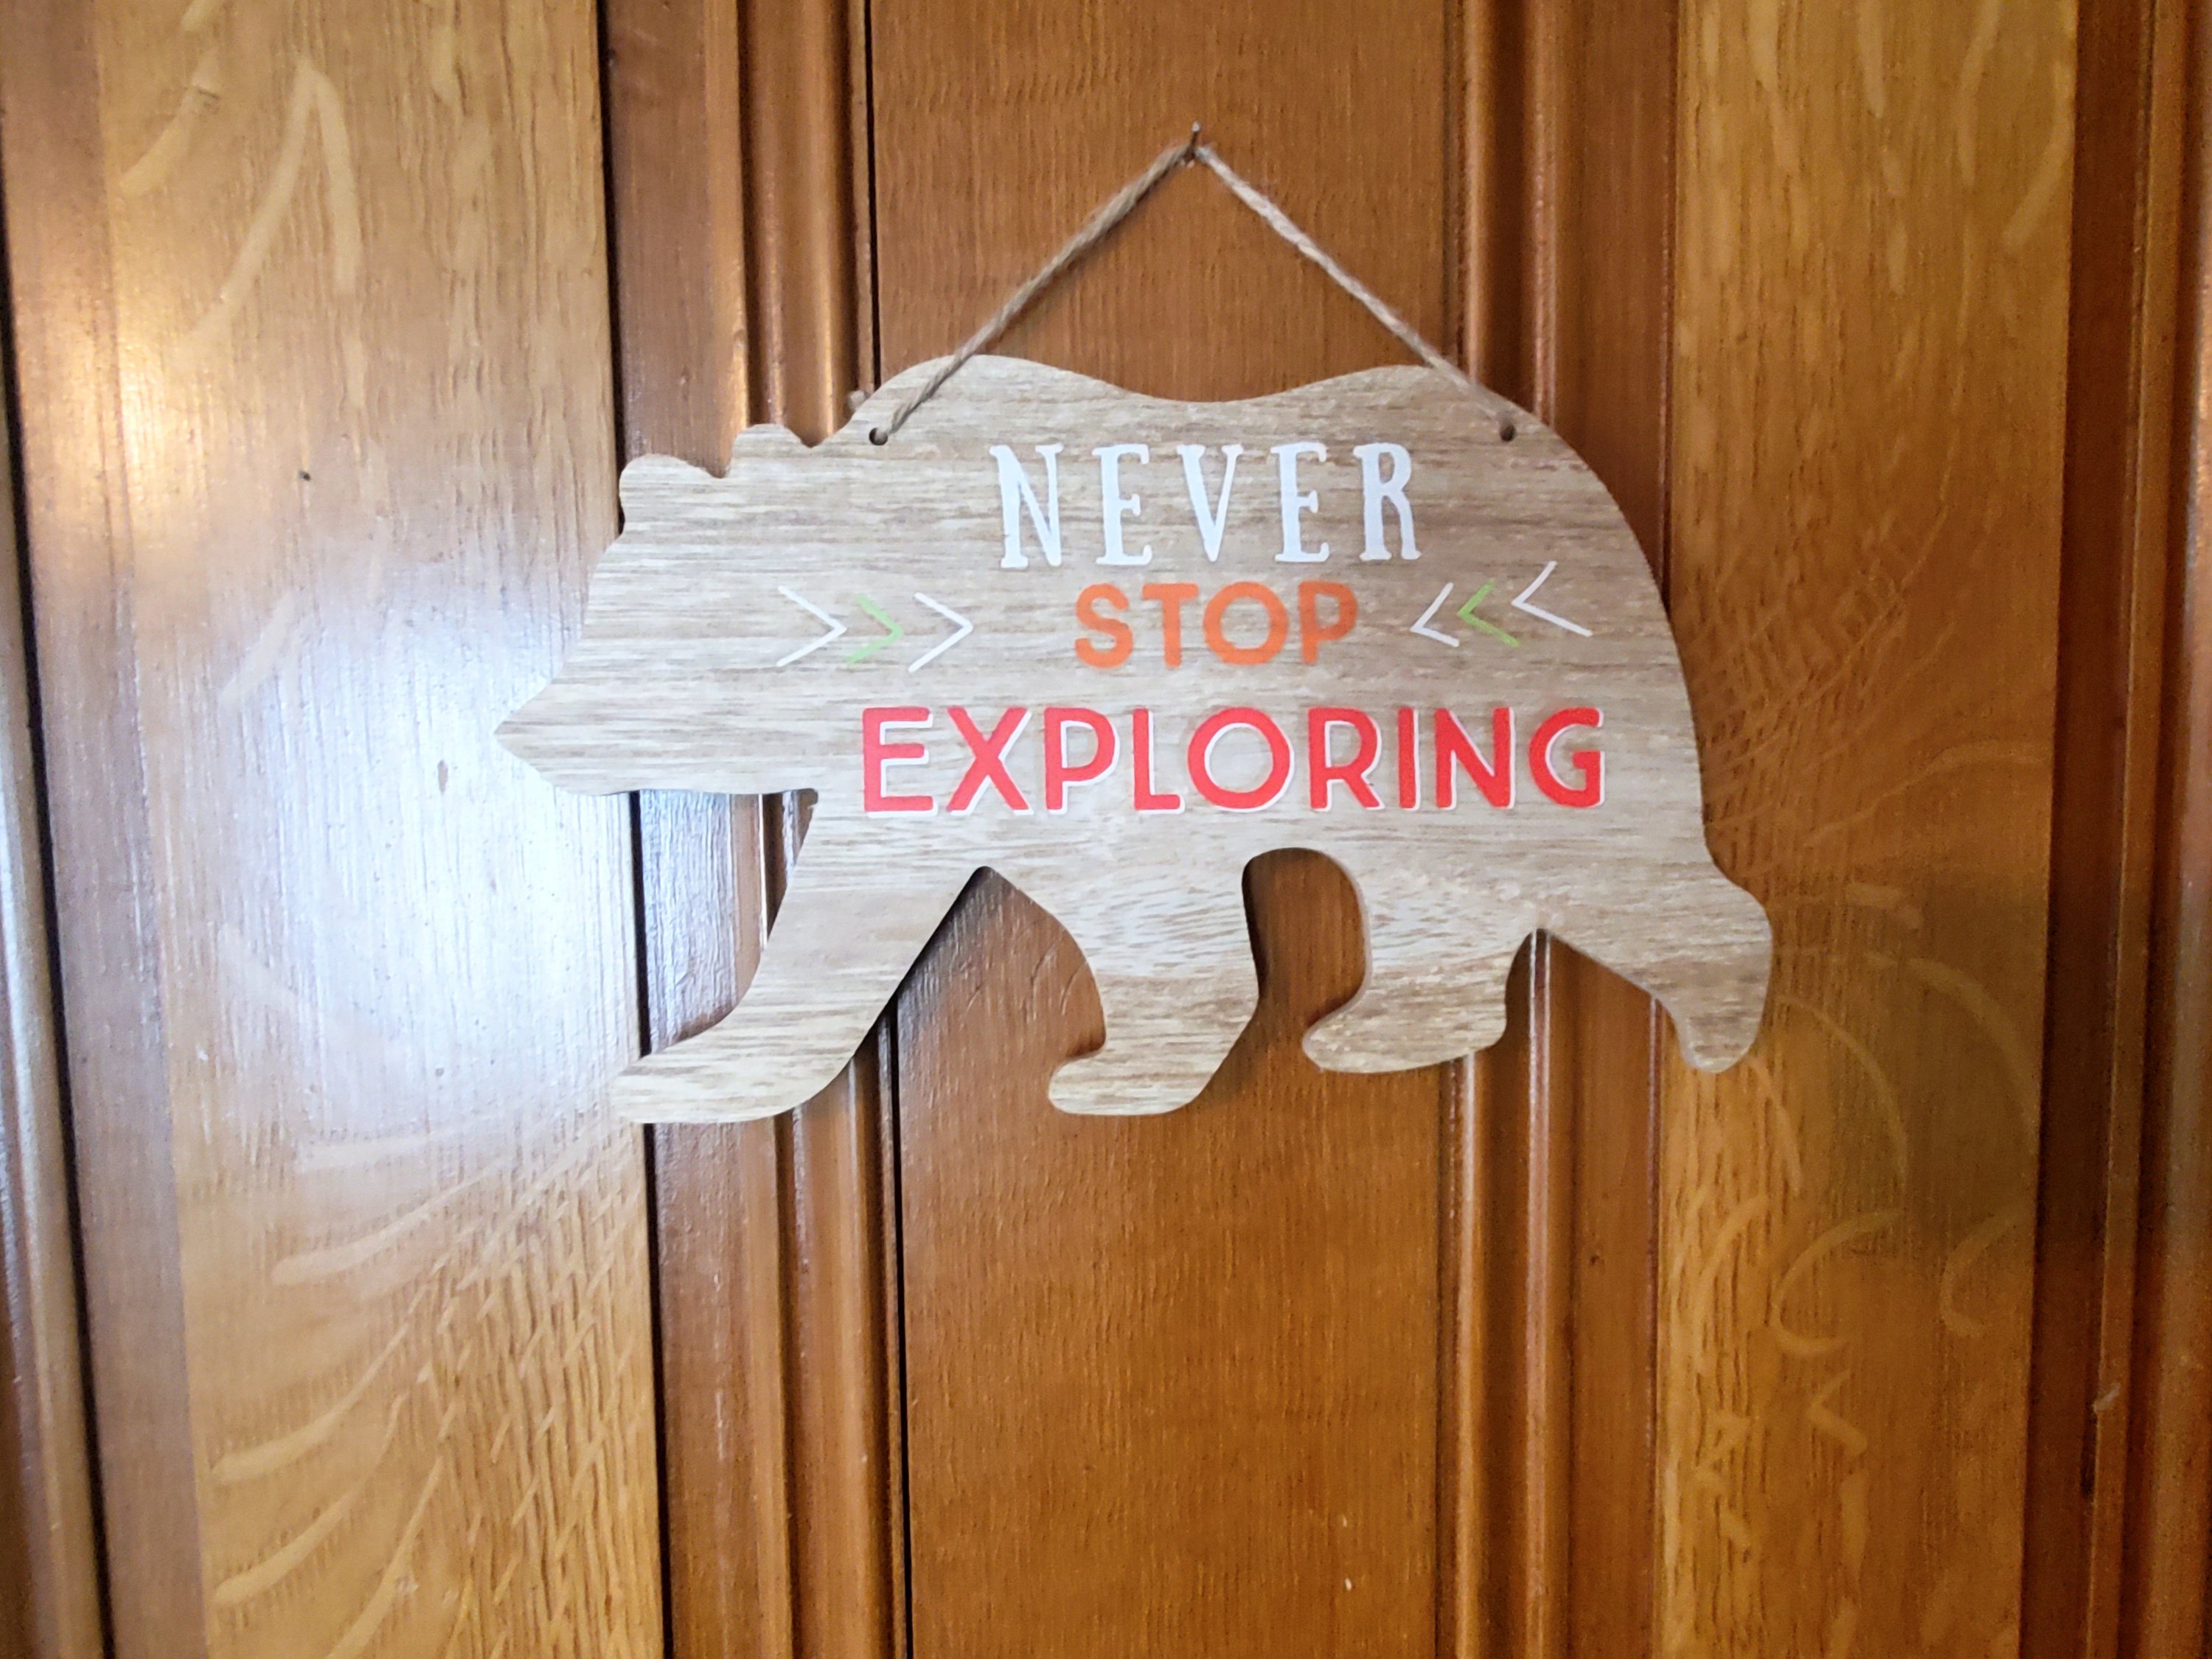
Quick and Easy Halloween DIY
Happy Spooky Season!
Maybe its that we’ve been cooped up way too long and missed too many “normal” things, I don’t know, but we are going all out extra for Halloween this year. Our house, or yard, our decor, even our snacks, have all gone completely spooky. I’m loving it!
If Halloween time is your thing, or even if it’s not so much, but you want to show the kiddos just a little festive fun, then I have a super easy and cute DIY project for you!
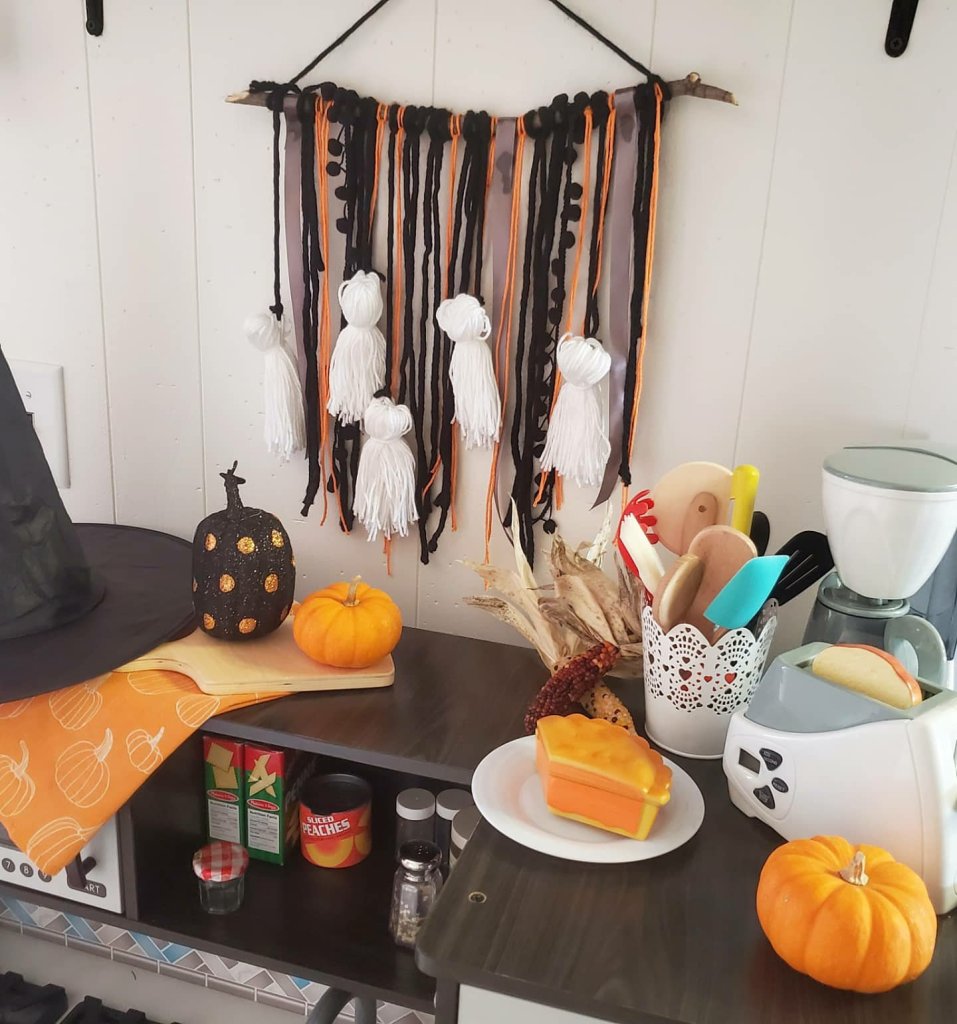
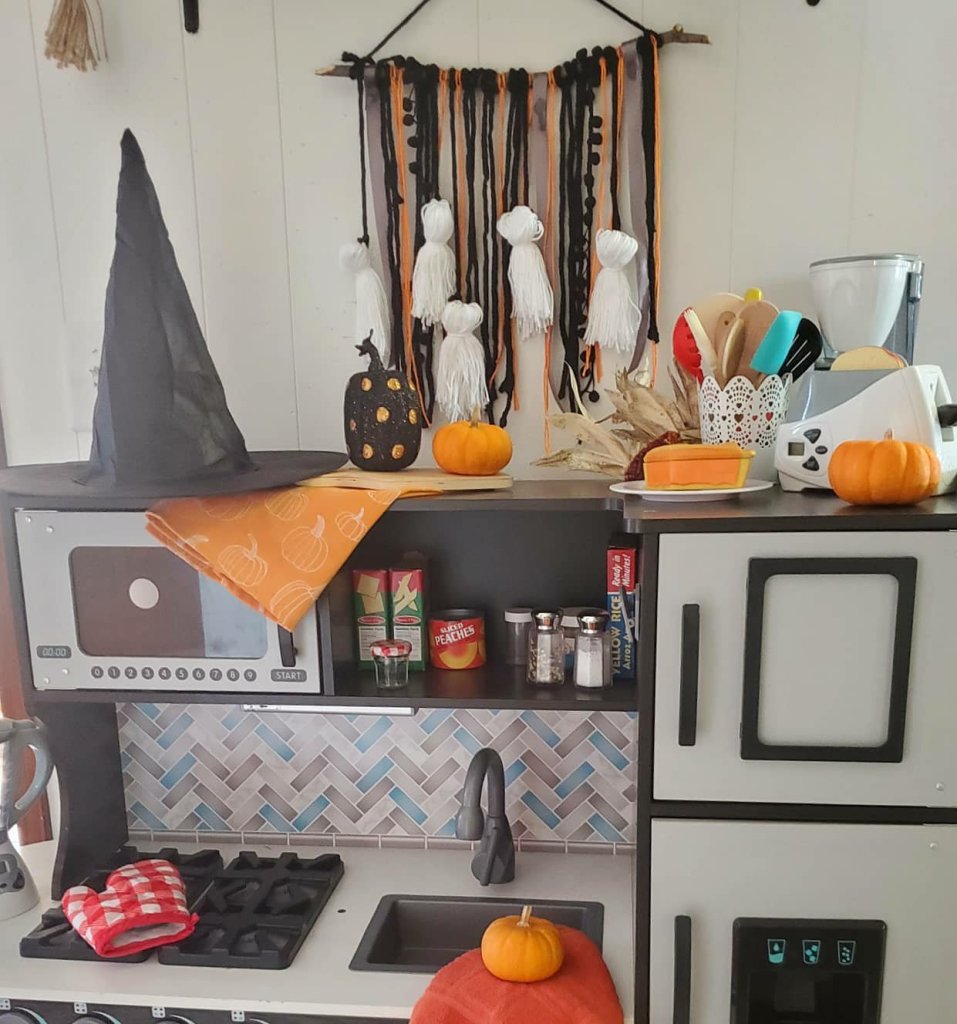
Faux Ghost Macrame Wall Hanging!
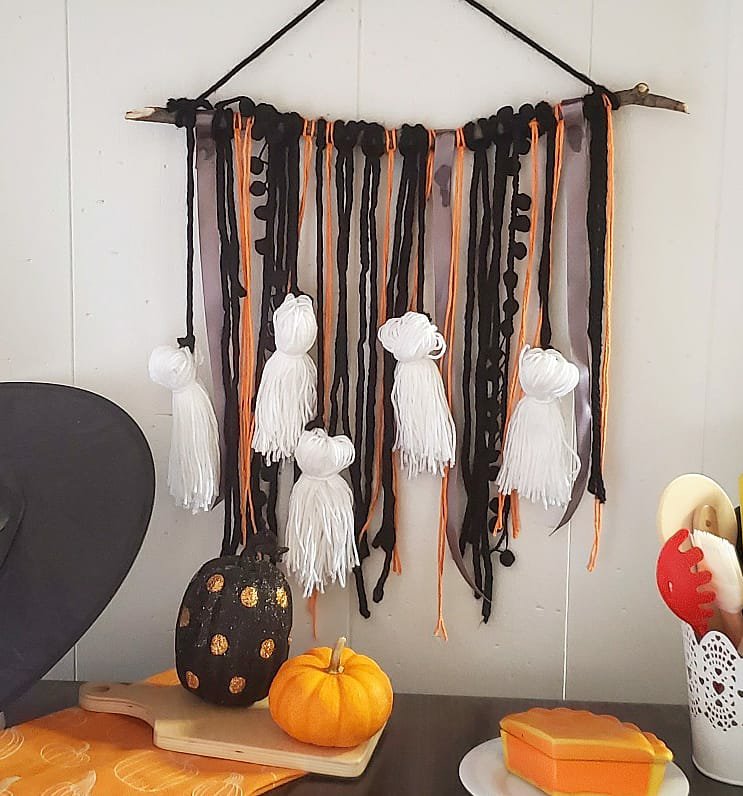
Supplies: -stick
-yarn and ribbons in various colors and textures
That’s it! Super easy, but such a cute payoff.
I cut the branch from a tree in the yard, even a dowel would work. Mine is a bit over a foot long. I started with it longer and then cut it off as I worked to make sure I knew I liked it. Decide how long you want things to hang. Mine is all random lengths, but around 14-16 inches. When you cut your pieces of yard, double this. You will fold them in half. I eyeball all of this and er on the long side. You can trim them down later.

With the piece of yarn folded in half, lay it over the stick. Bring your looped end under the stick, then stick the ends back through the loop and pull tight. Viola! I glued the ribbon together in the back around the stick instead of this method so as not to crease it. I love the ball tassel ribbon to give texture too and tied these in a knot around the stick.
The ghosts. Also simple. Wrap white yarn around a book about 50 times. Cut the strings on each end of the book and keep them in a bunch. Fold the bunch over and tie a piece of yarn around it. I took black yarn through a small chunk of the white ghost head yarn on each side and tied this together in back and then tied the black to the stick.
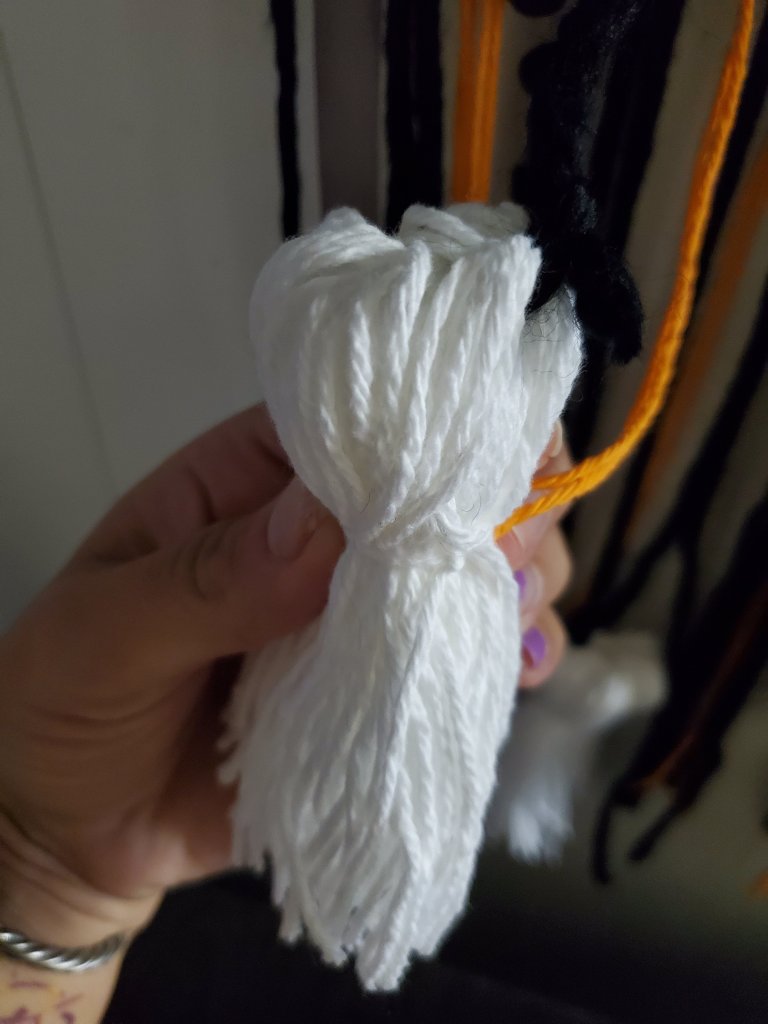
There is no right or wrong with any of this! Keep it fun and super simple. You could glue eyes and mouth on the ghosts too if you want! You can add more or less pieces to the stick too.
Enjoy! 😉
Xx,
Jess
Boys’ Room Reveal
I’ve worked on it for a year and I can finally say it’s as done as it’s getting right now. 🤣 When we moved to this house a year ago and I was pregnant, we decided the boys would share a room. This way I could have an office, and the office would double as a play room/workout room, so that kids could be in there while I worked if needed. I also knew that I wanted an outdoors-y theme that could work for both a baby and a young boy. Brantley already had a farm theme as a baby, with many pieces we wanted to incorporate, and he asked for camo bedding in his new room. If you’ve been here before, you also know that when we moved to this house it needed a lot of work. A lot. We ripped carpet out of this room, added electrical outlets and a light fixture, painted… and we still have more to do…eventually. But for now, here it is!
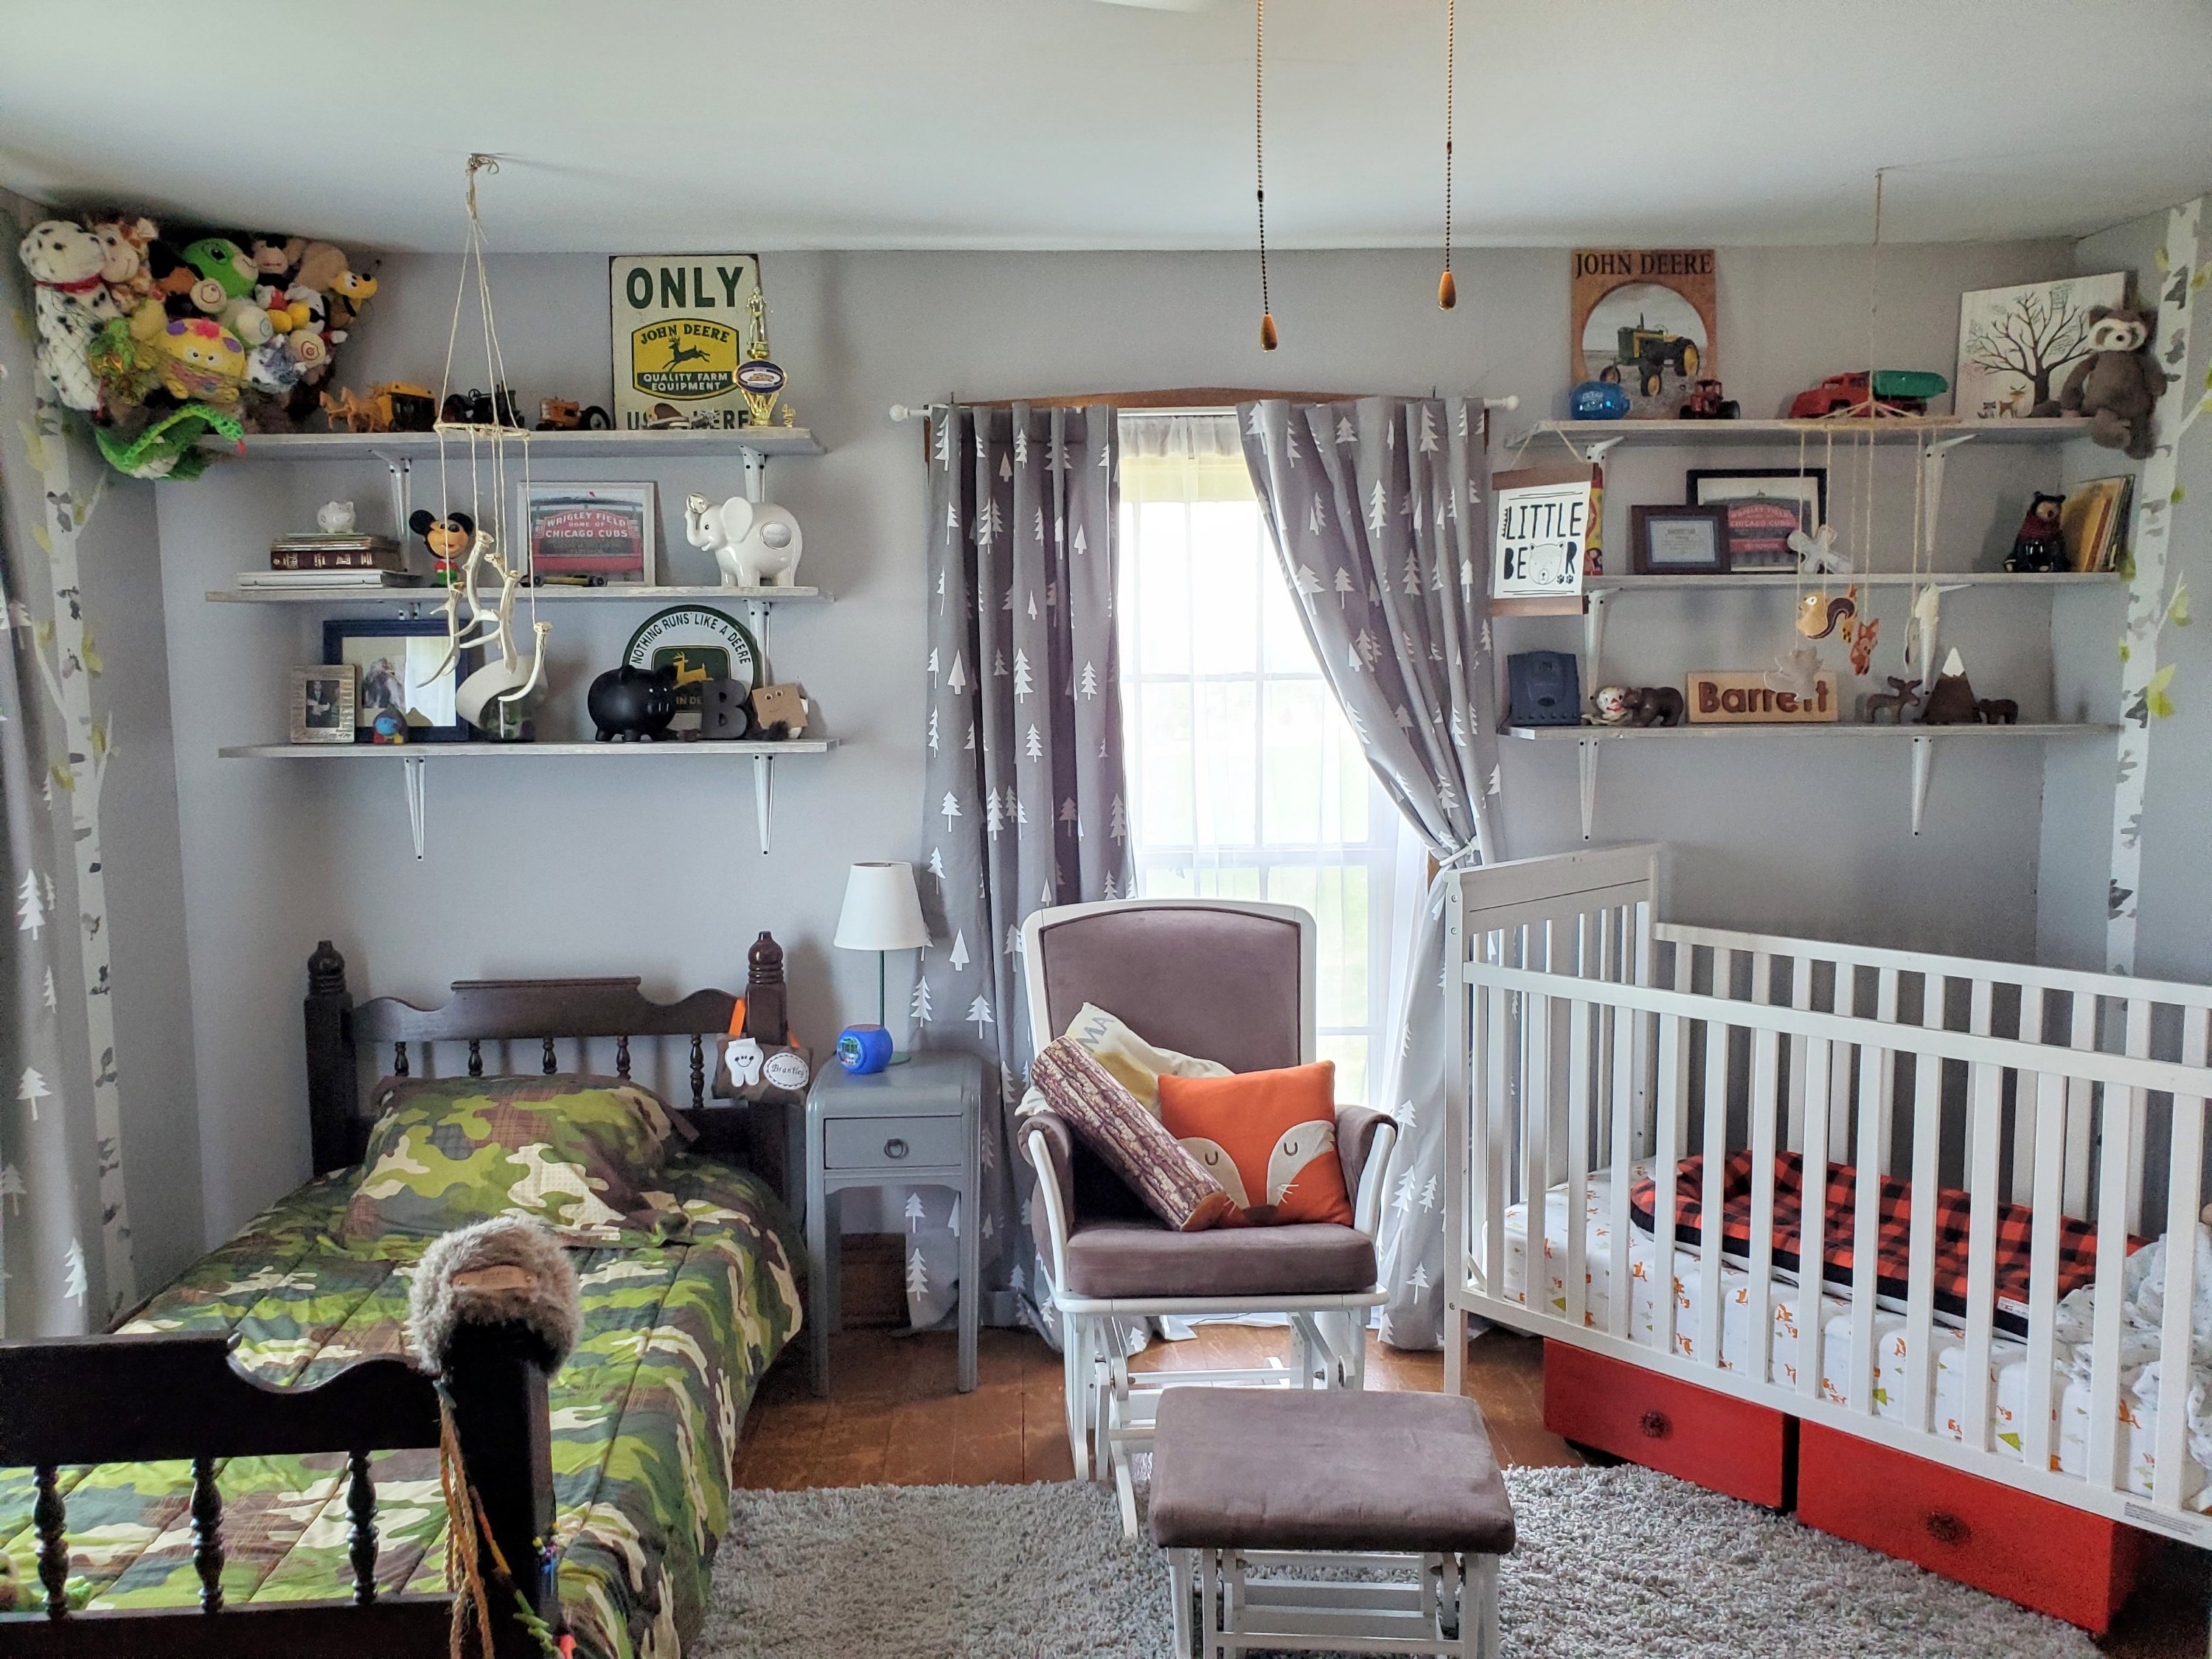
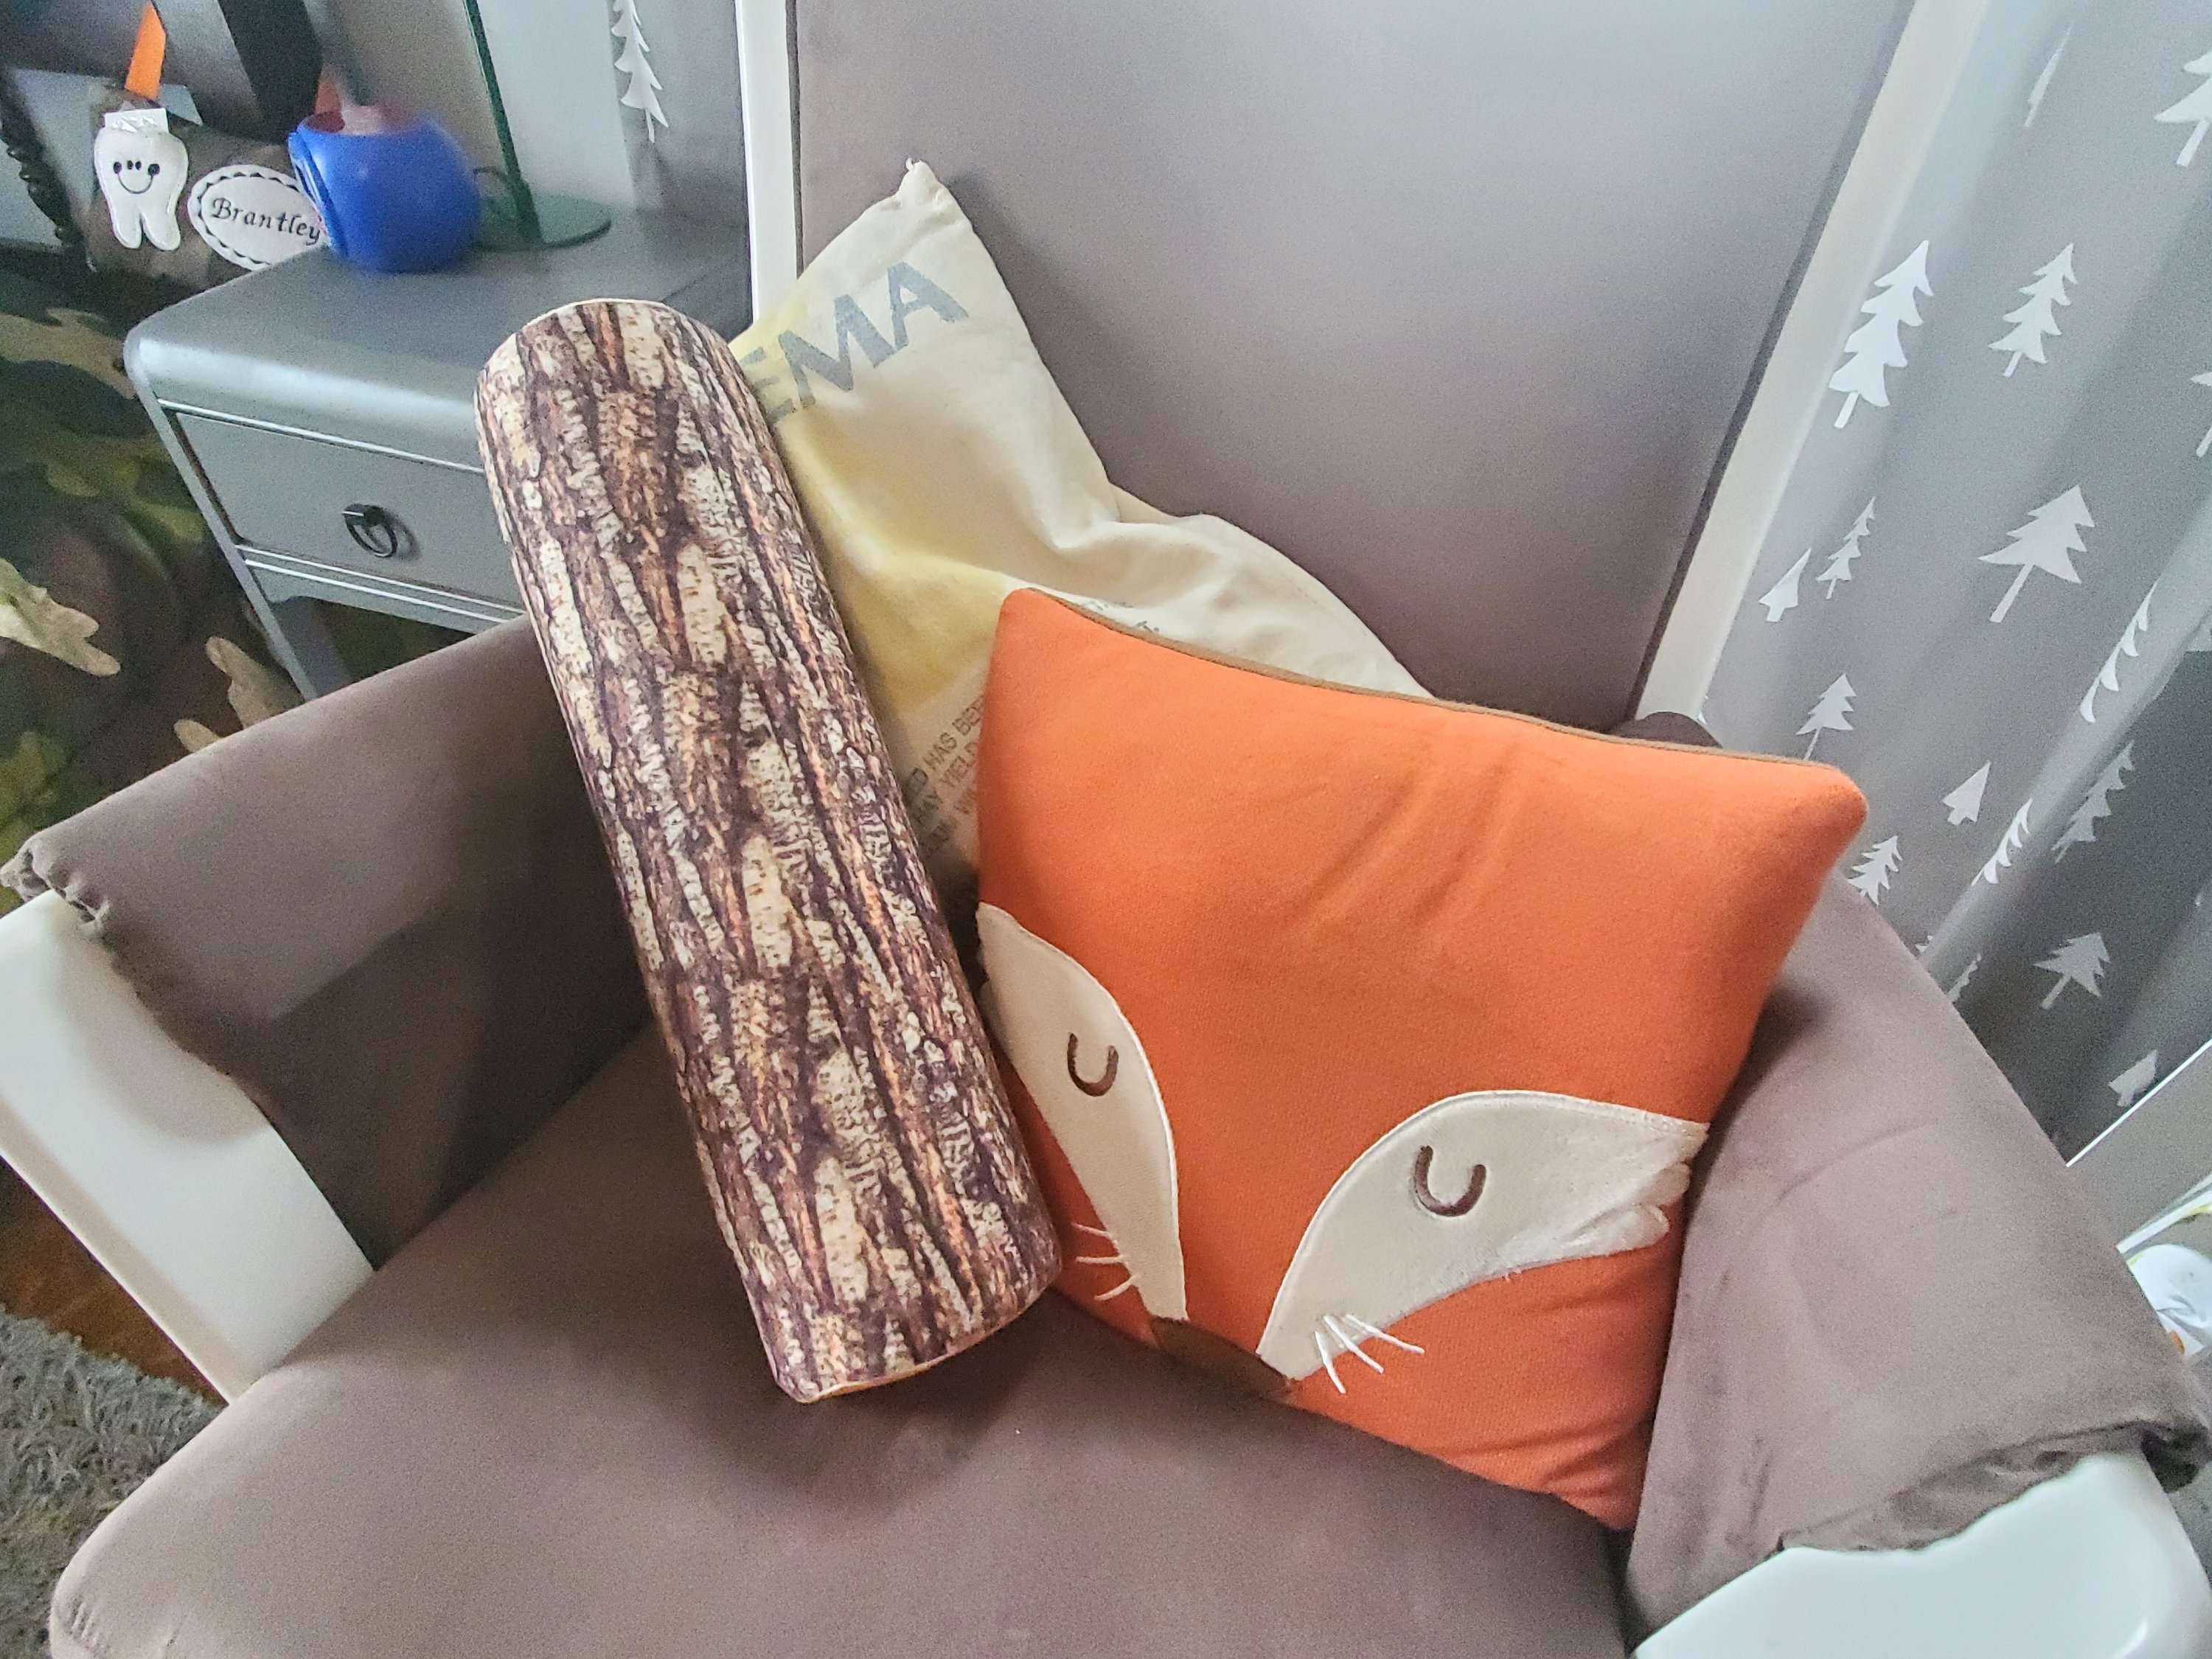
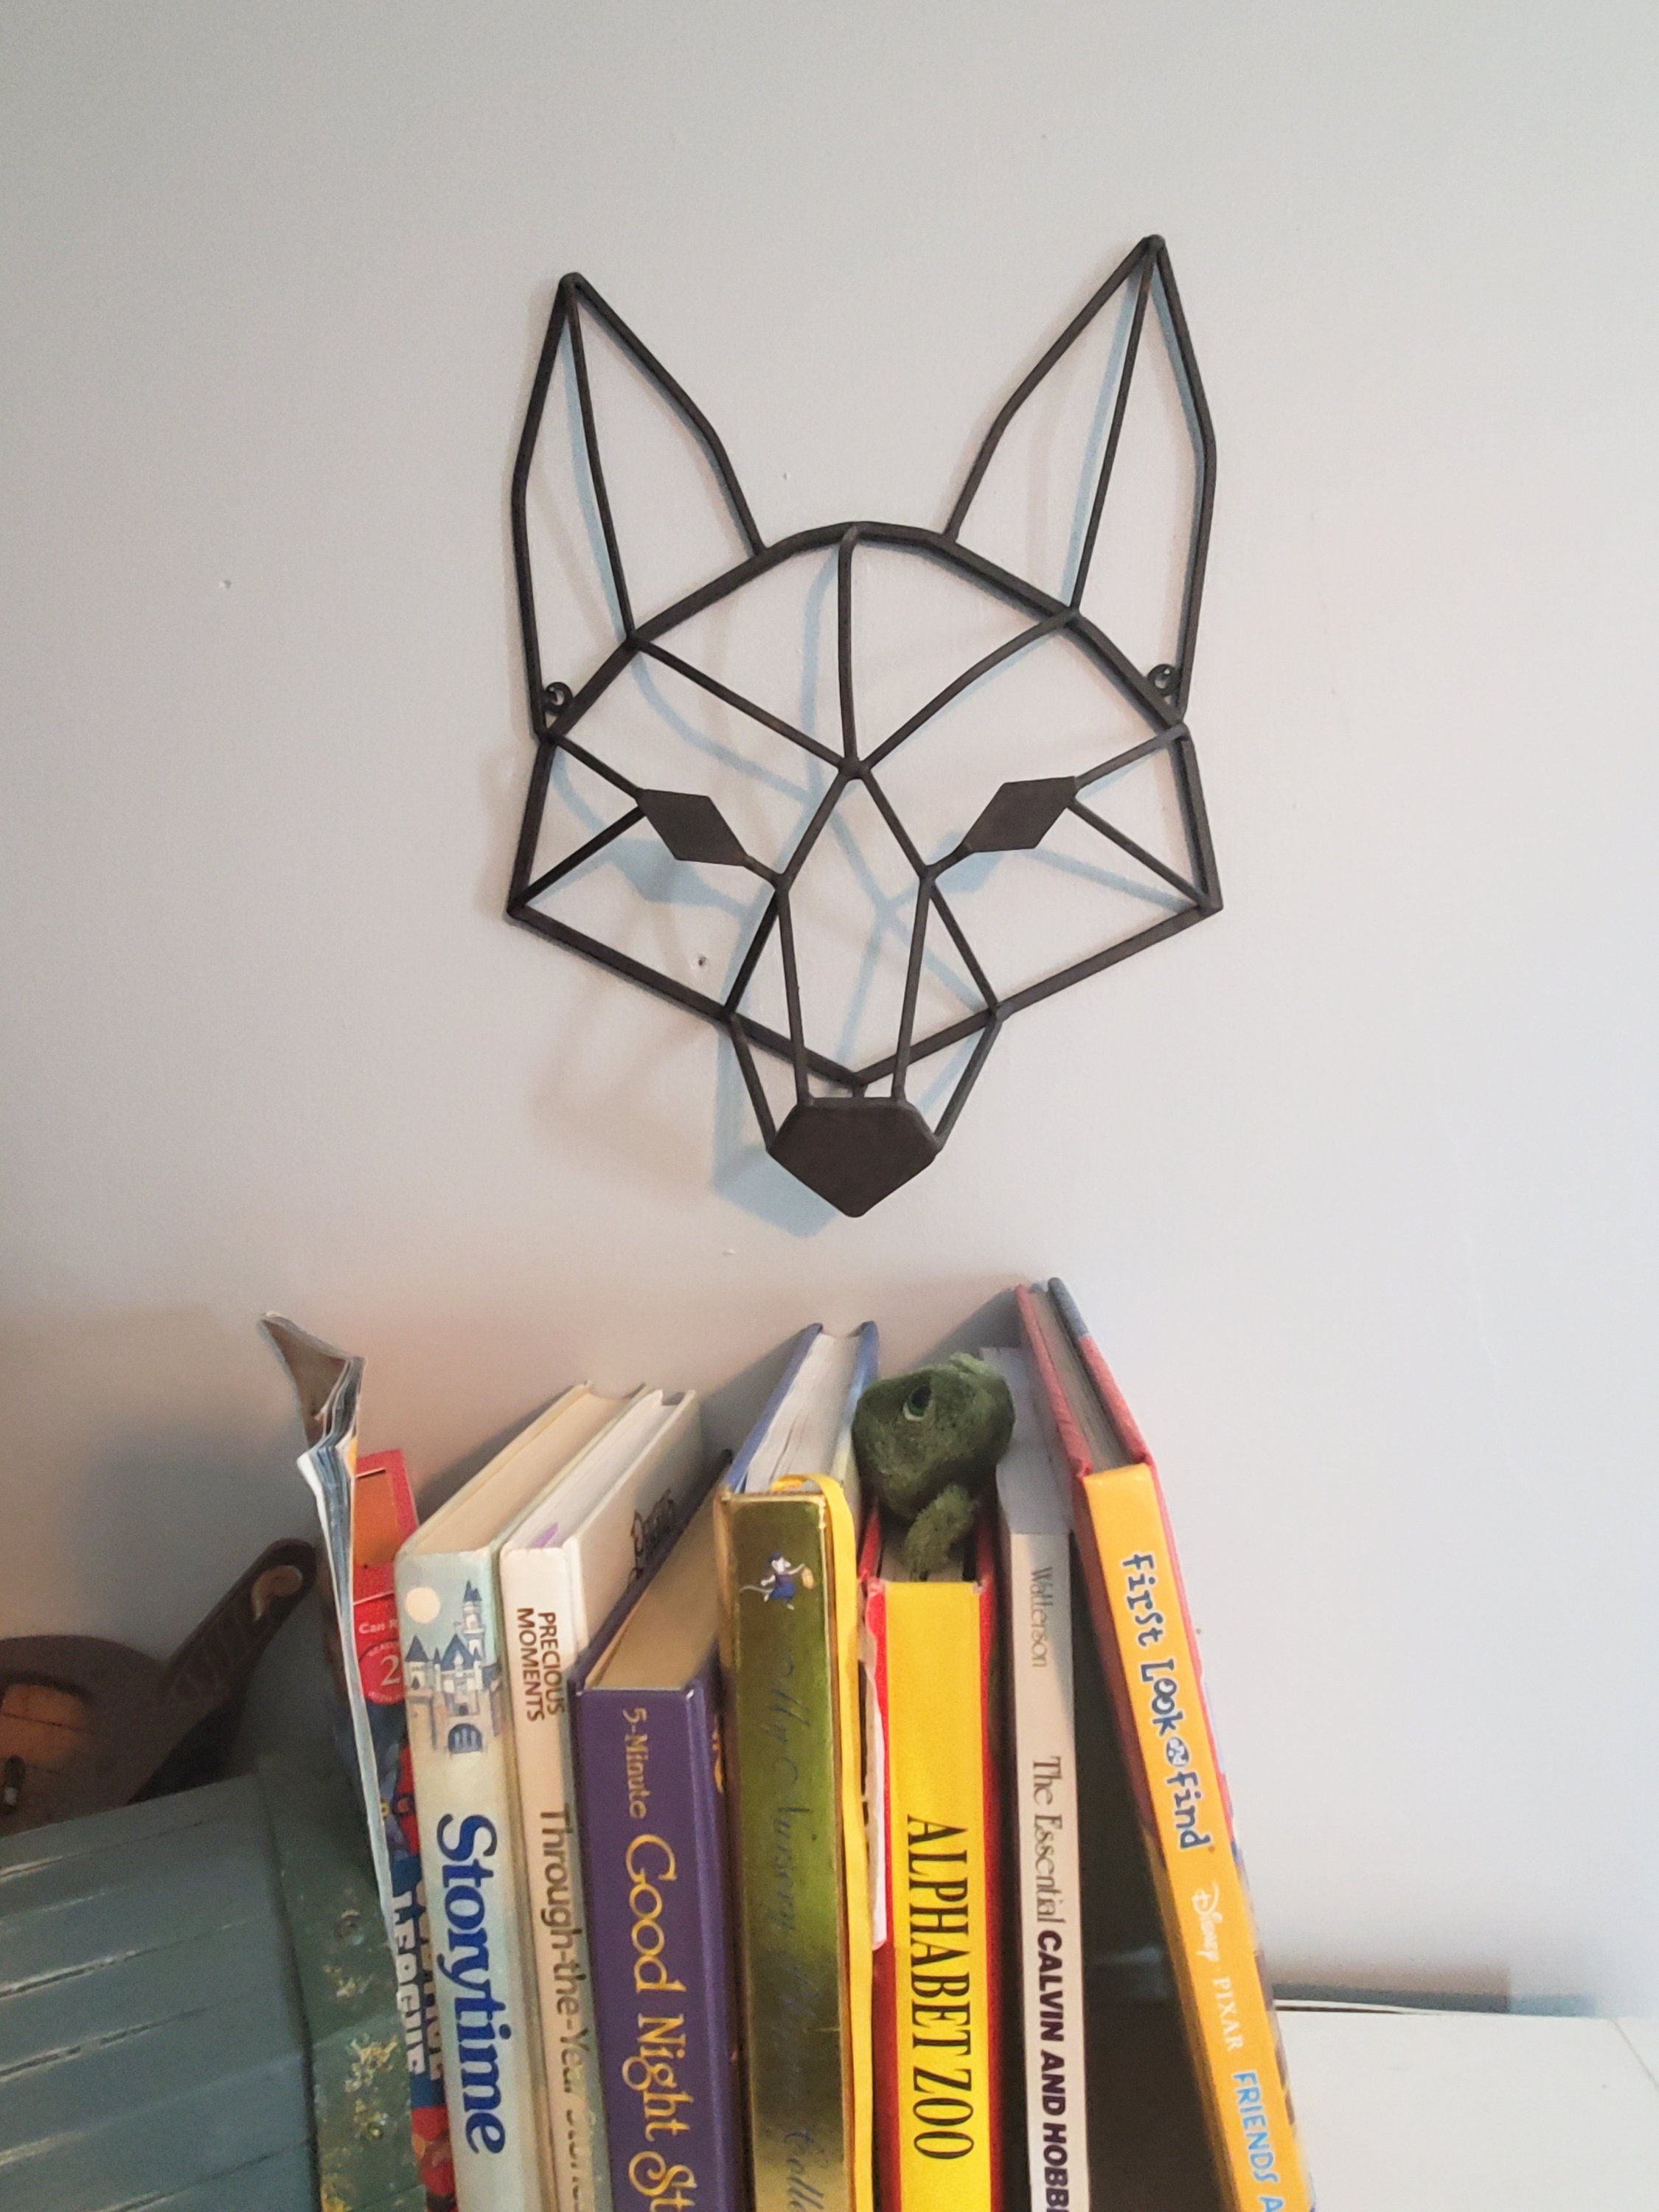
Each of the boys has a bit different theme on their side of the room, but with light gray walls, tree curtains, tree decals, and some animals throughout, it seems to flow for now.
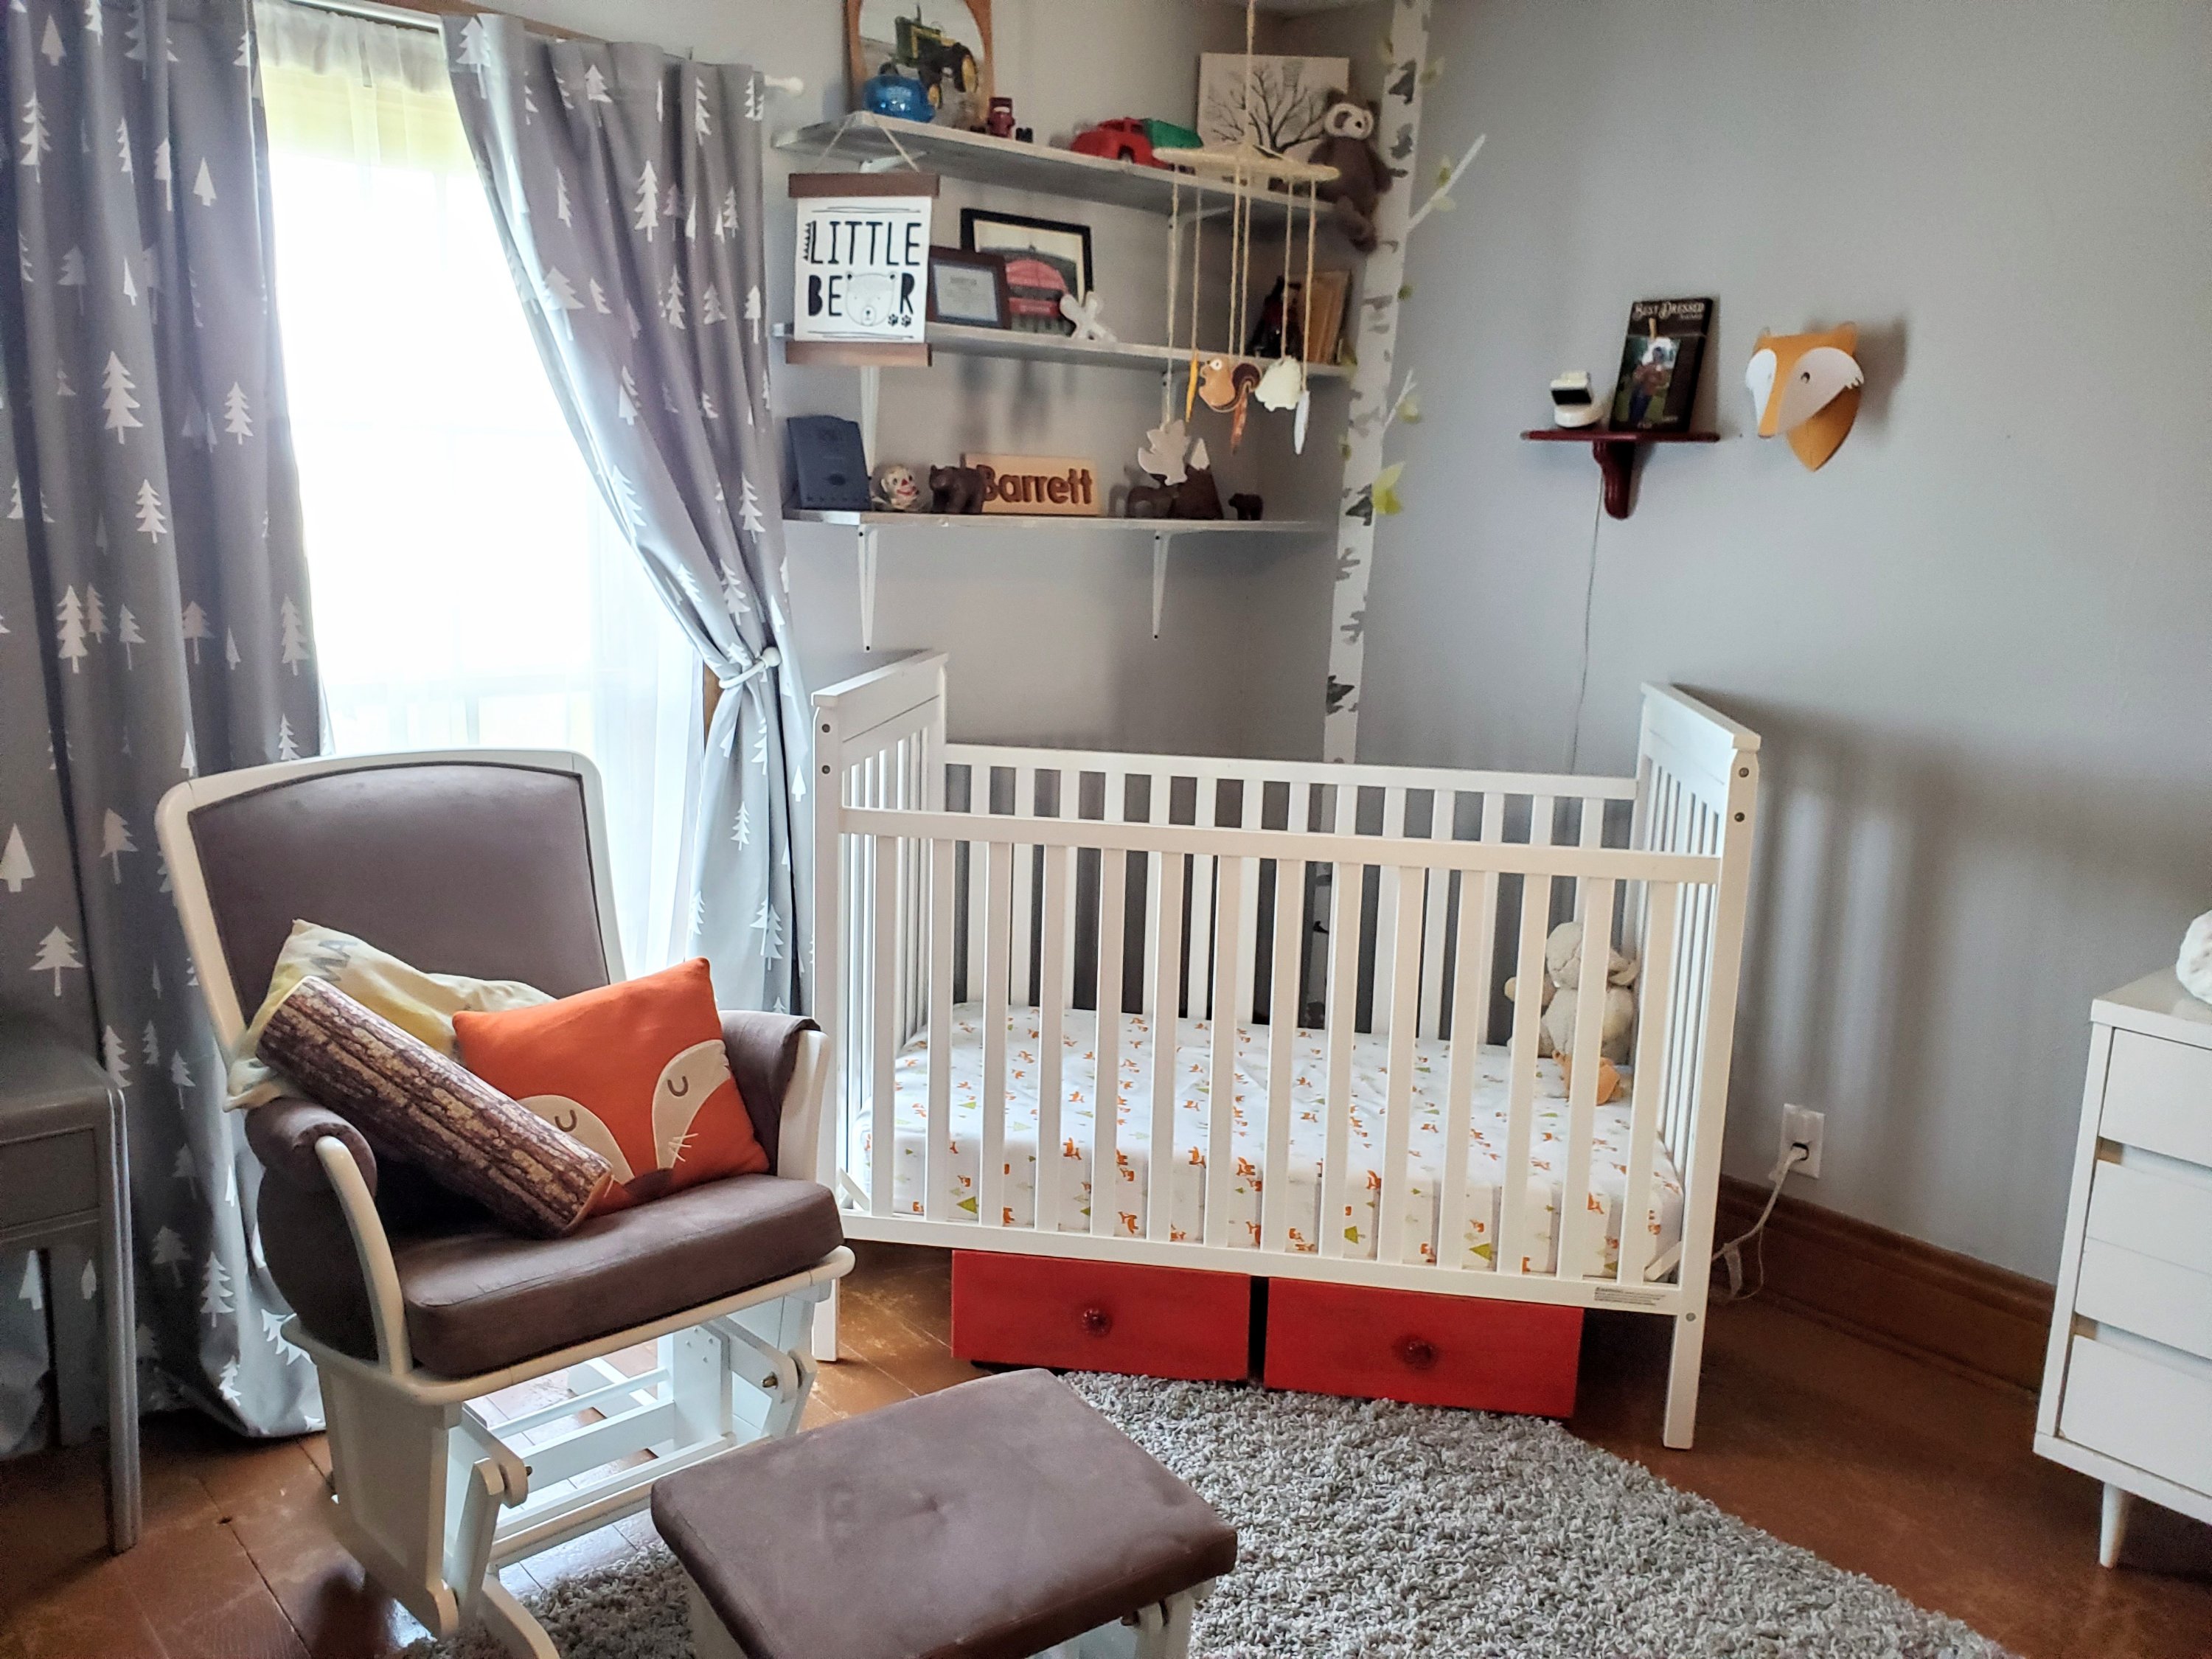

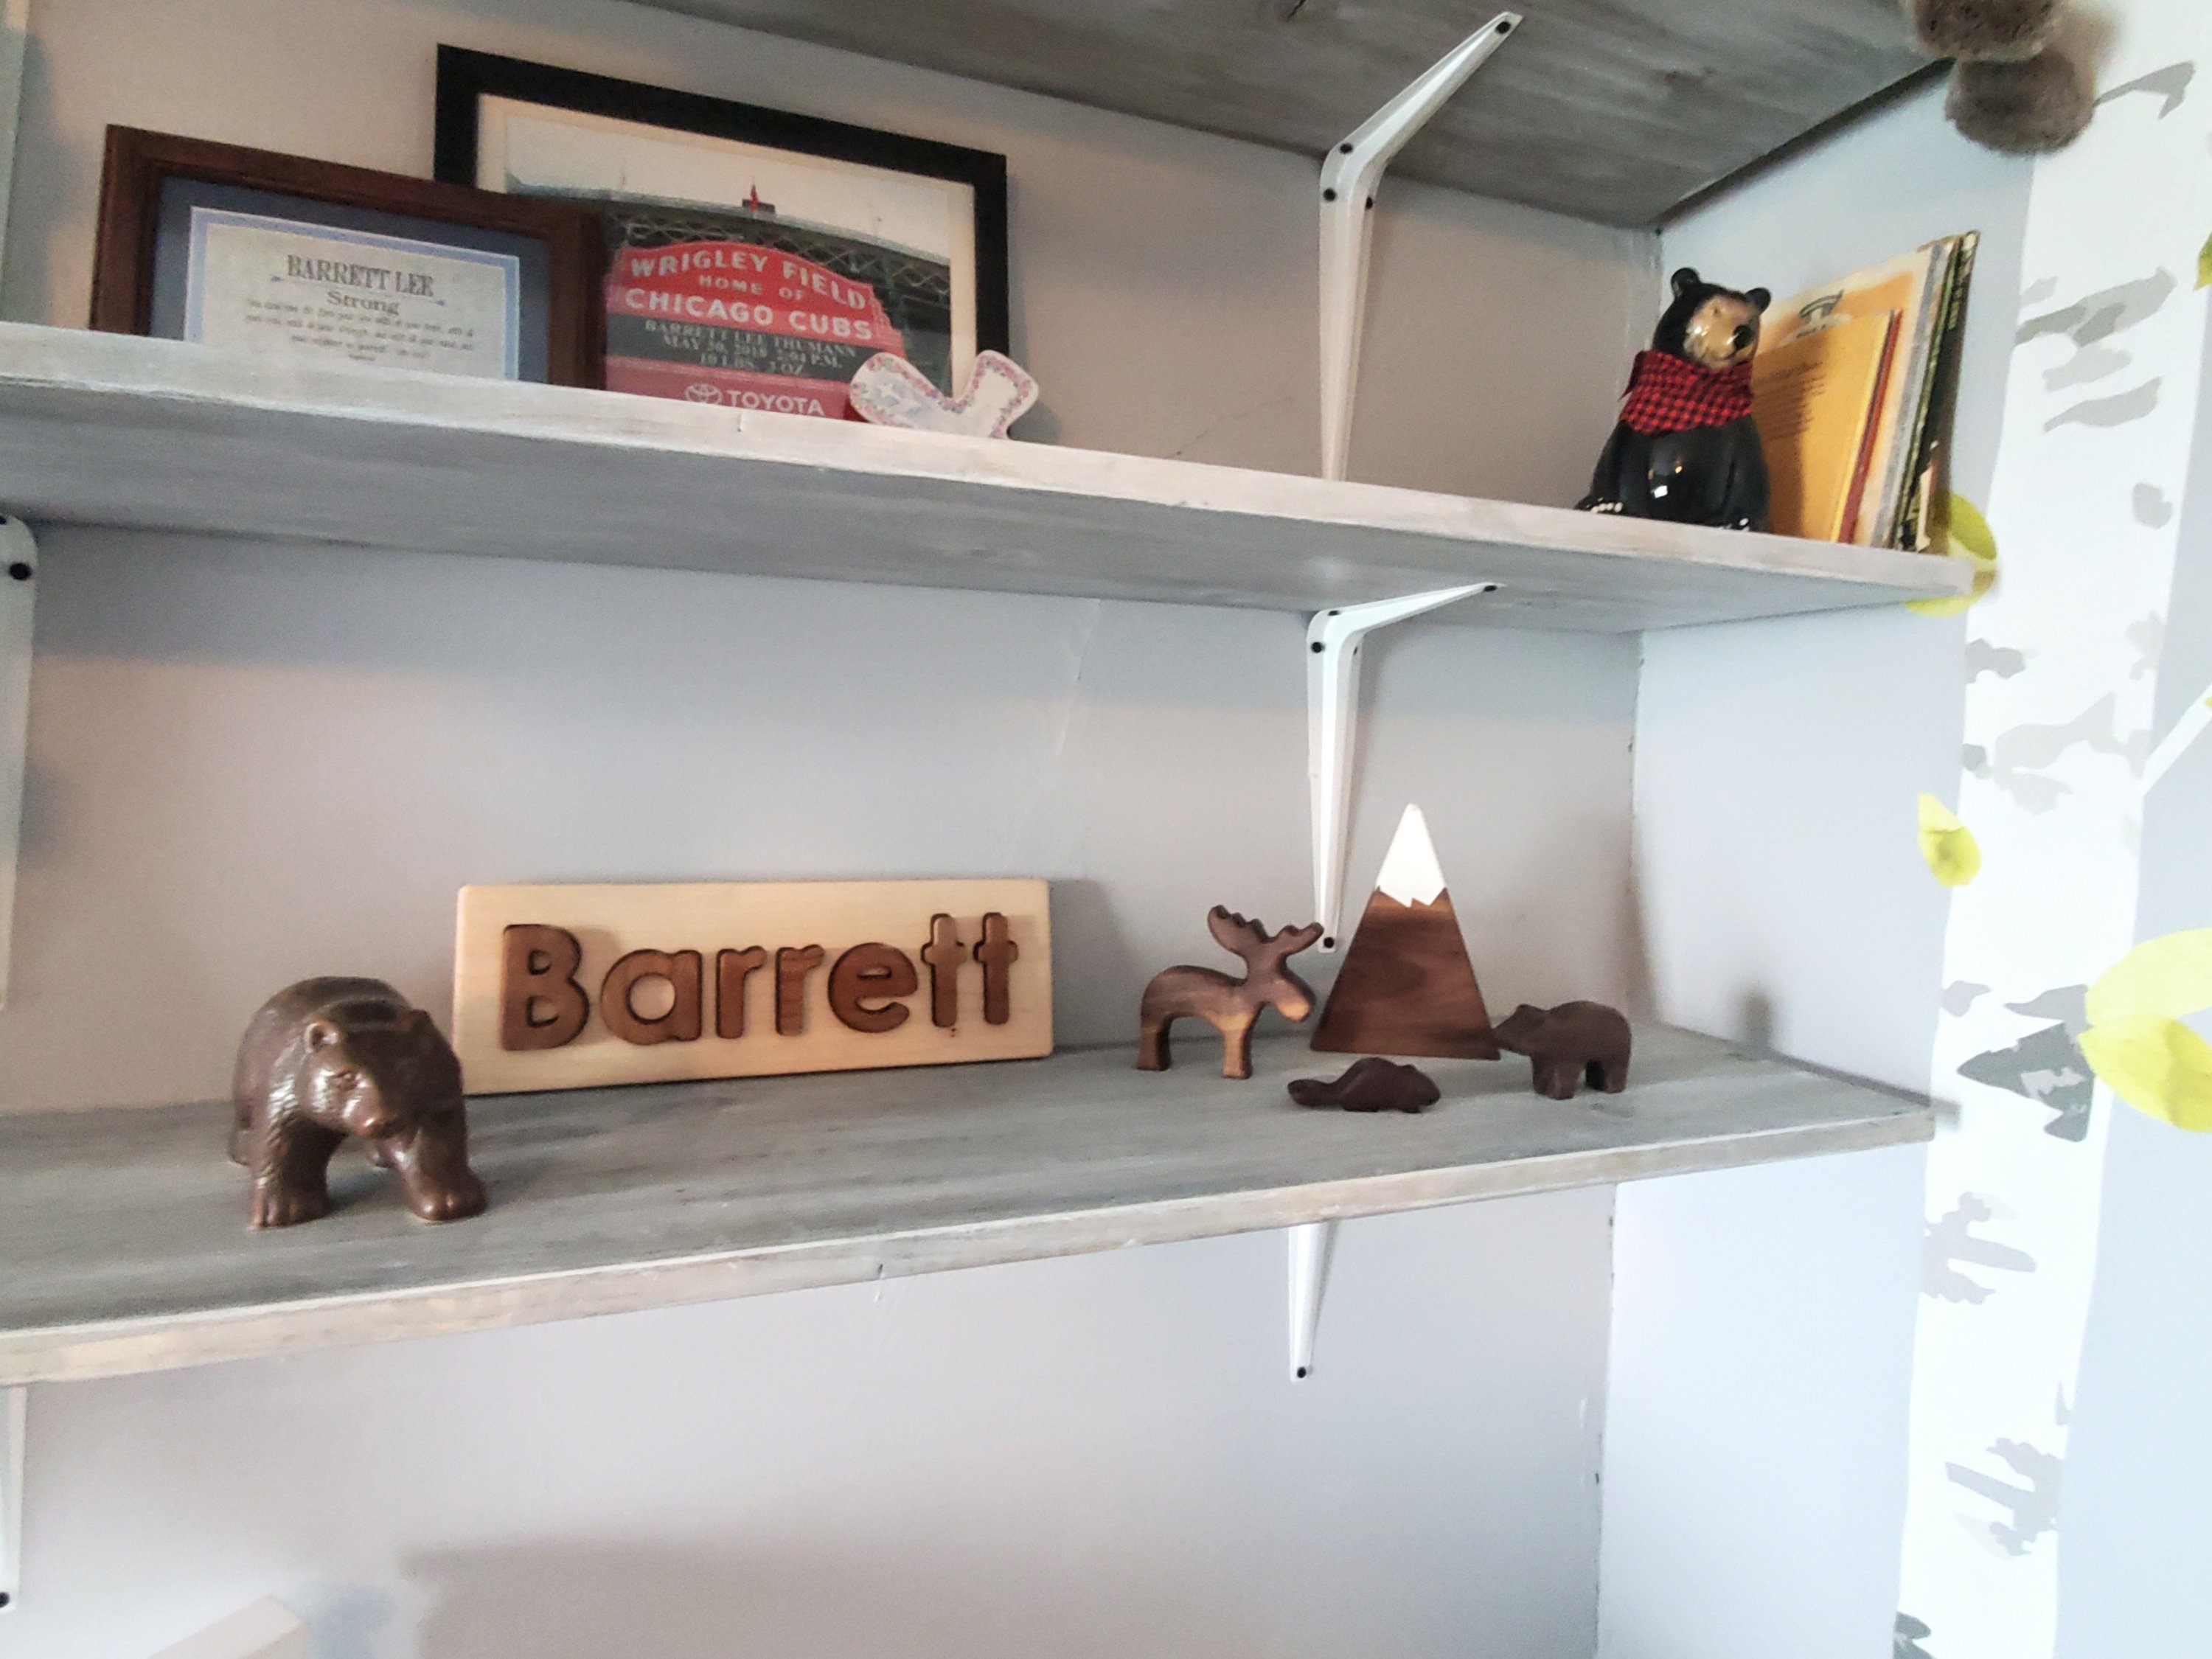
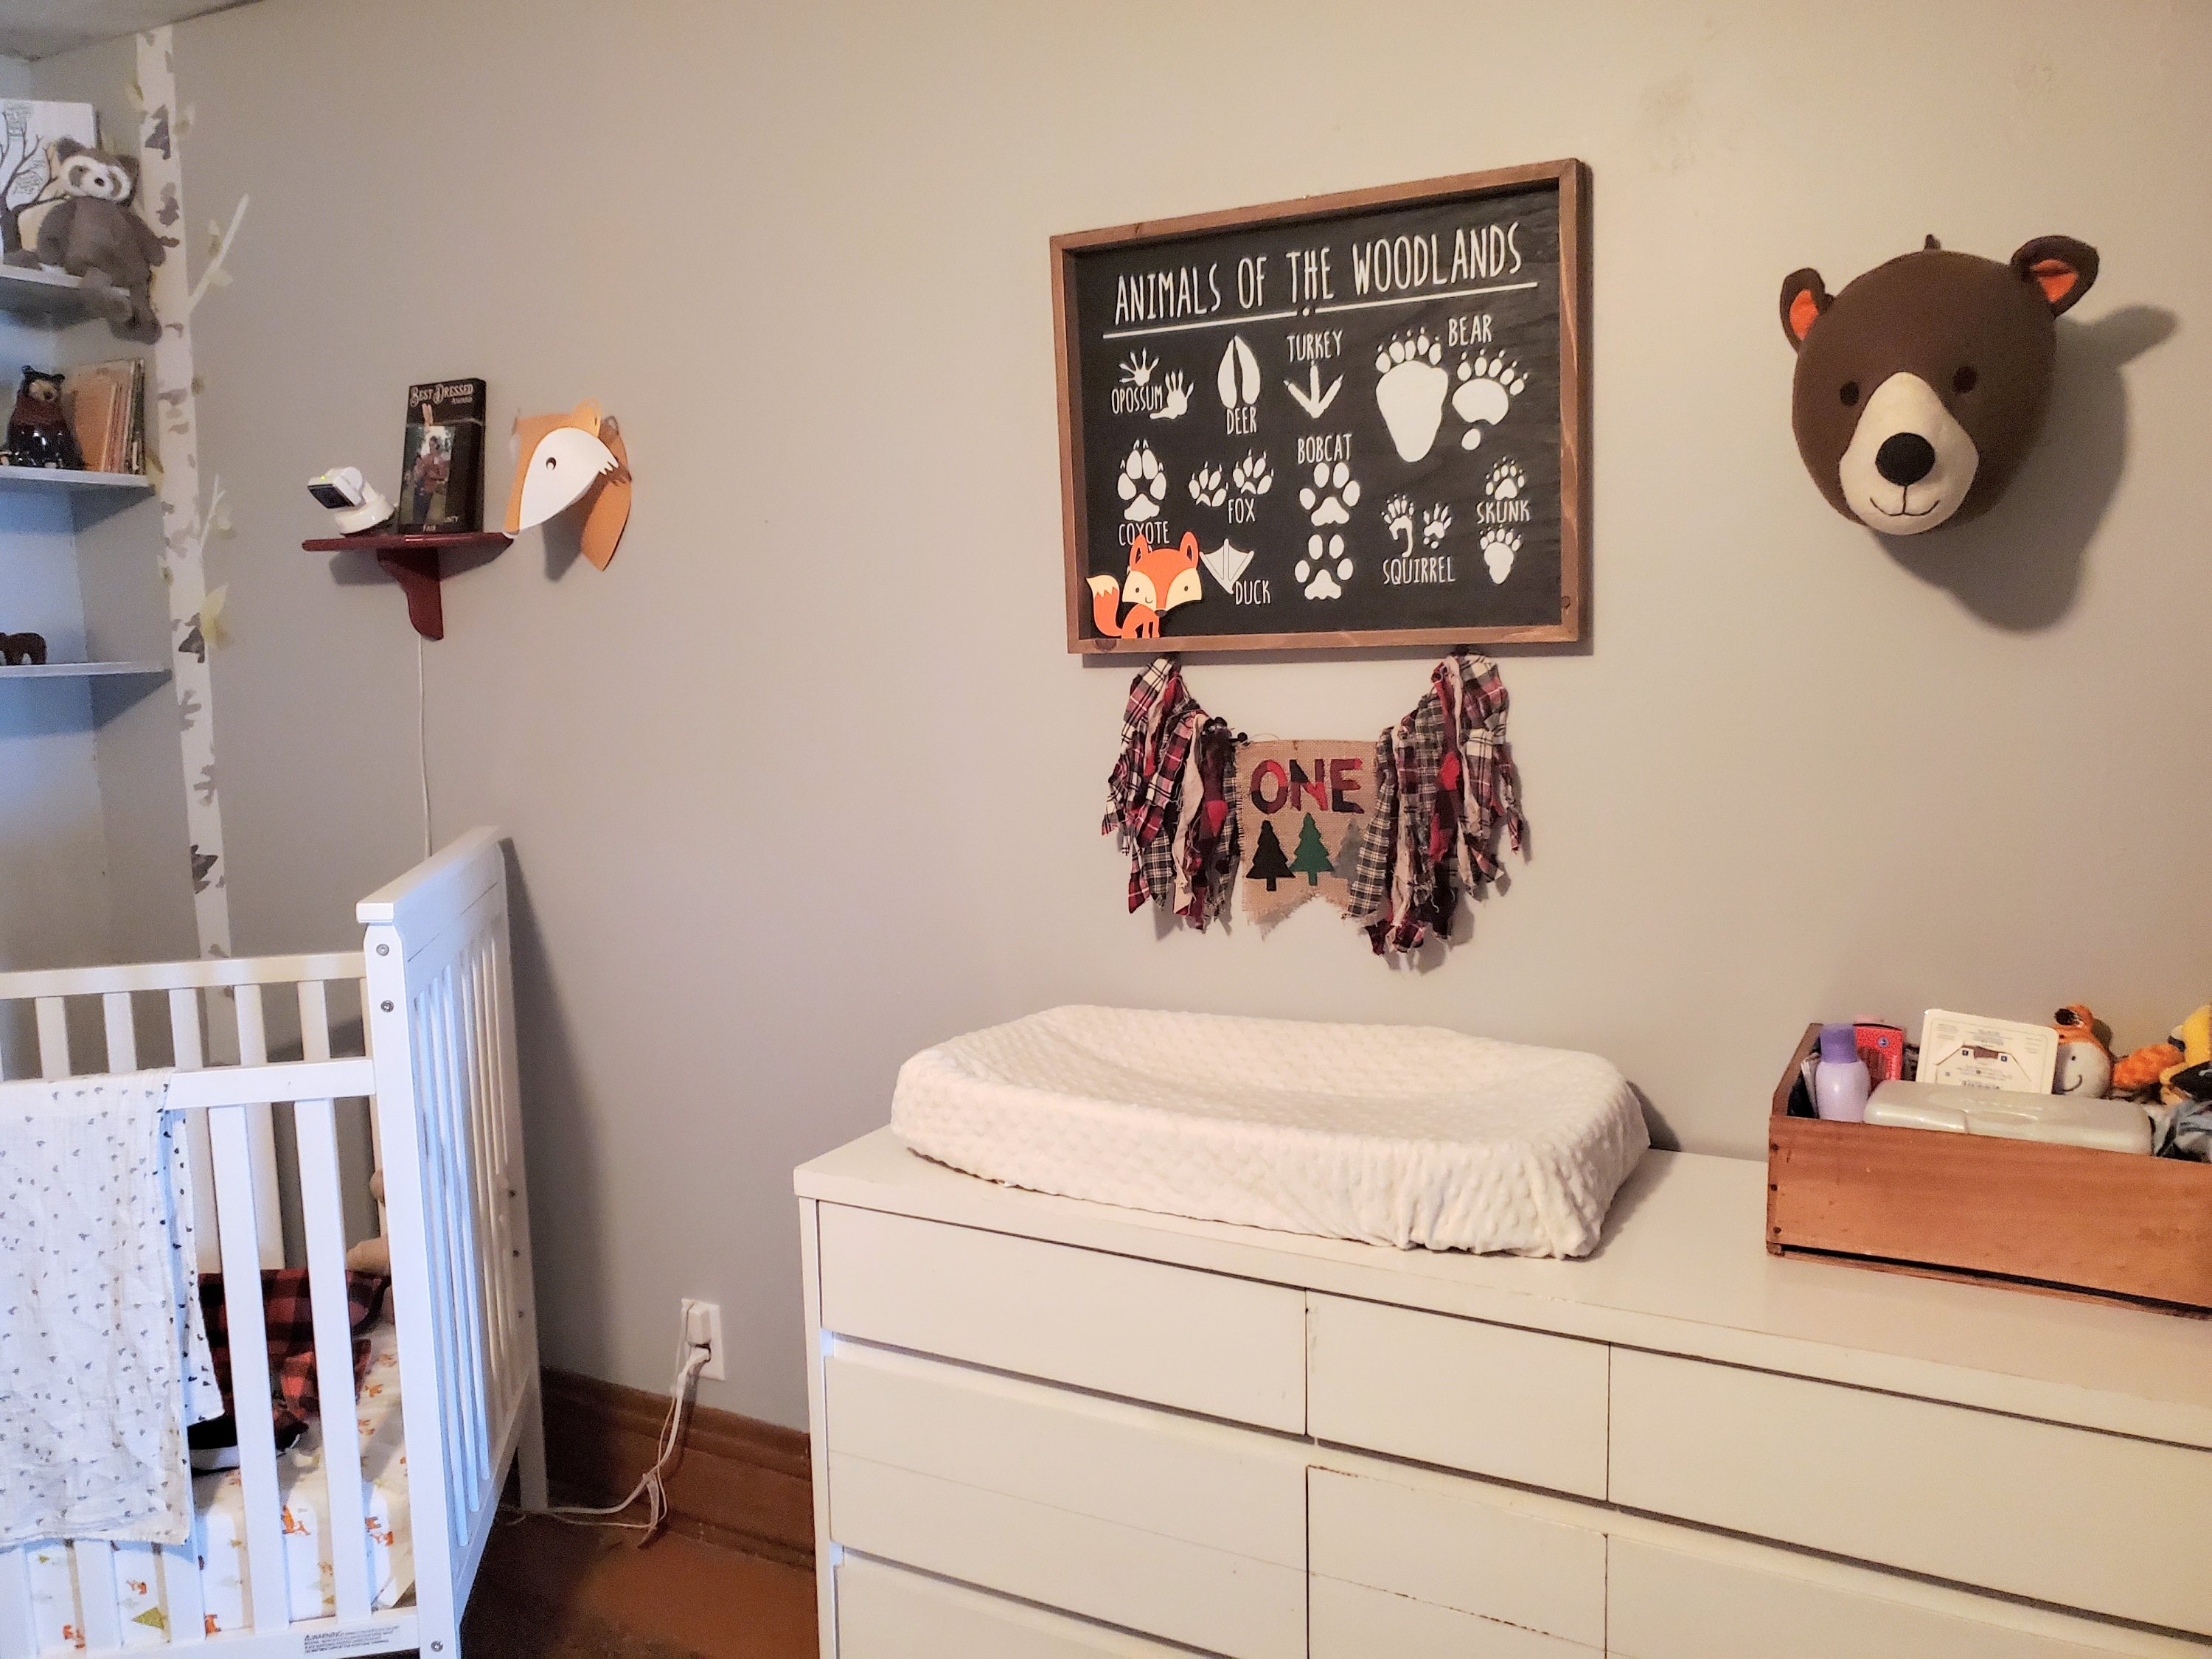
Barrett’s baby shower theme was woodland animals, knowing that I would use the animal and nature idea for his room.

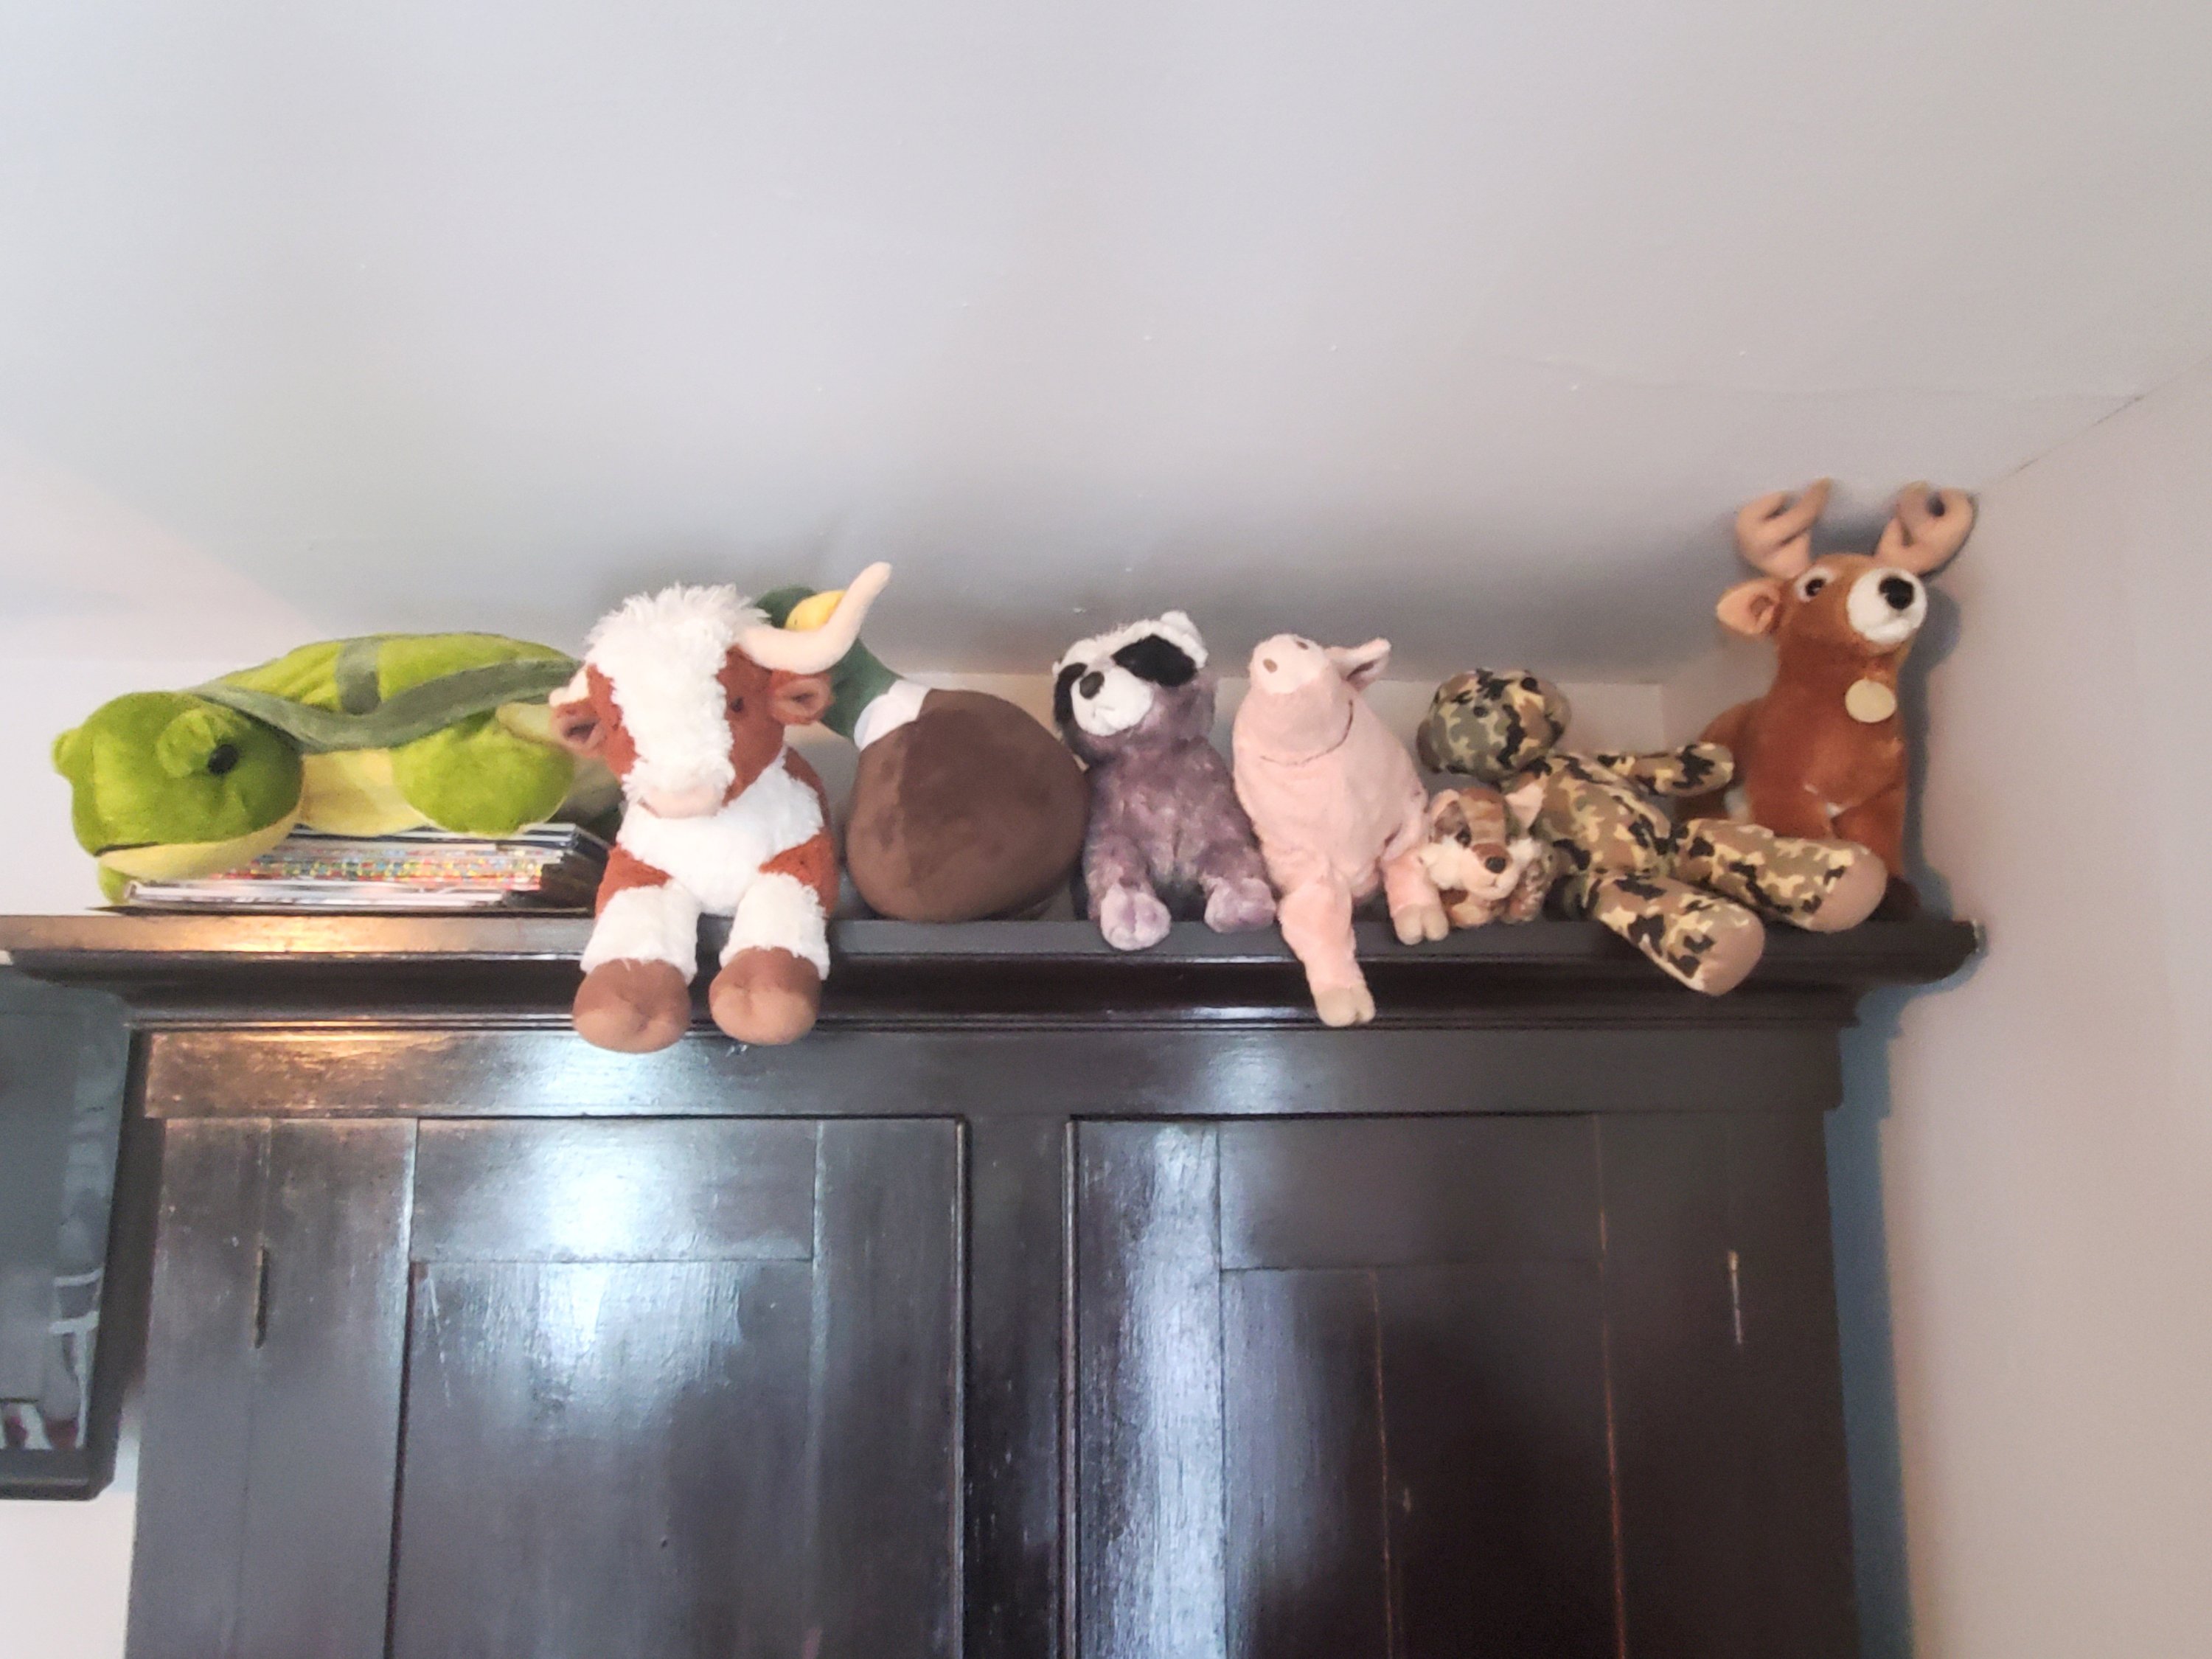
Brantley has kept some of his farm theme and added the camo to just be plain outdoorsy!

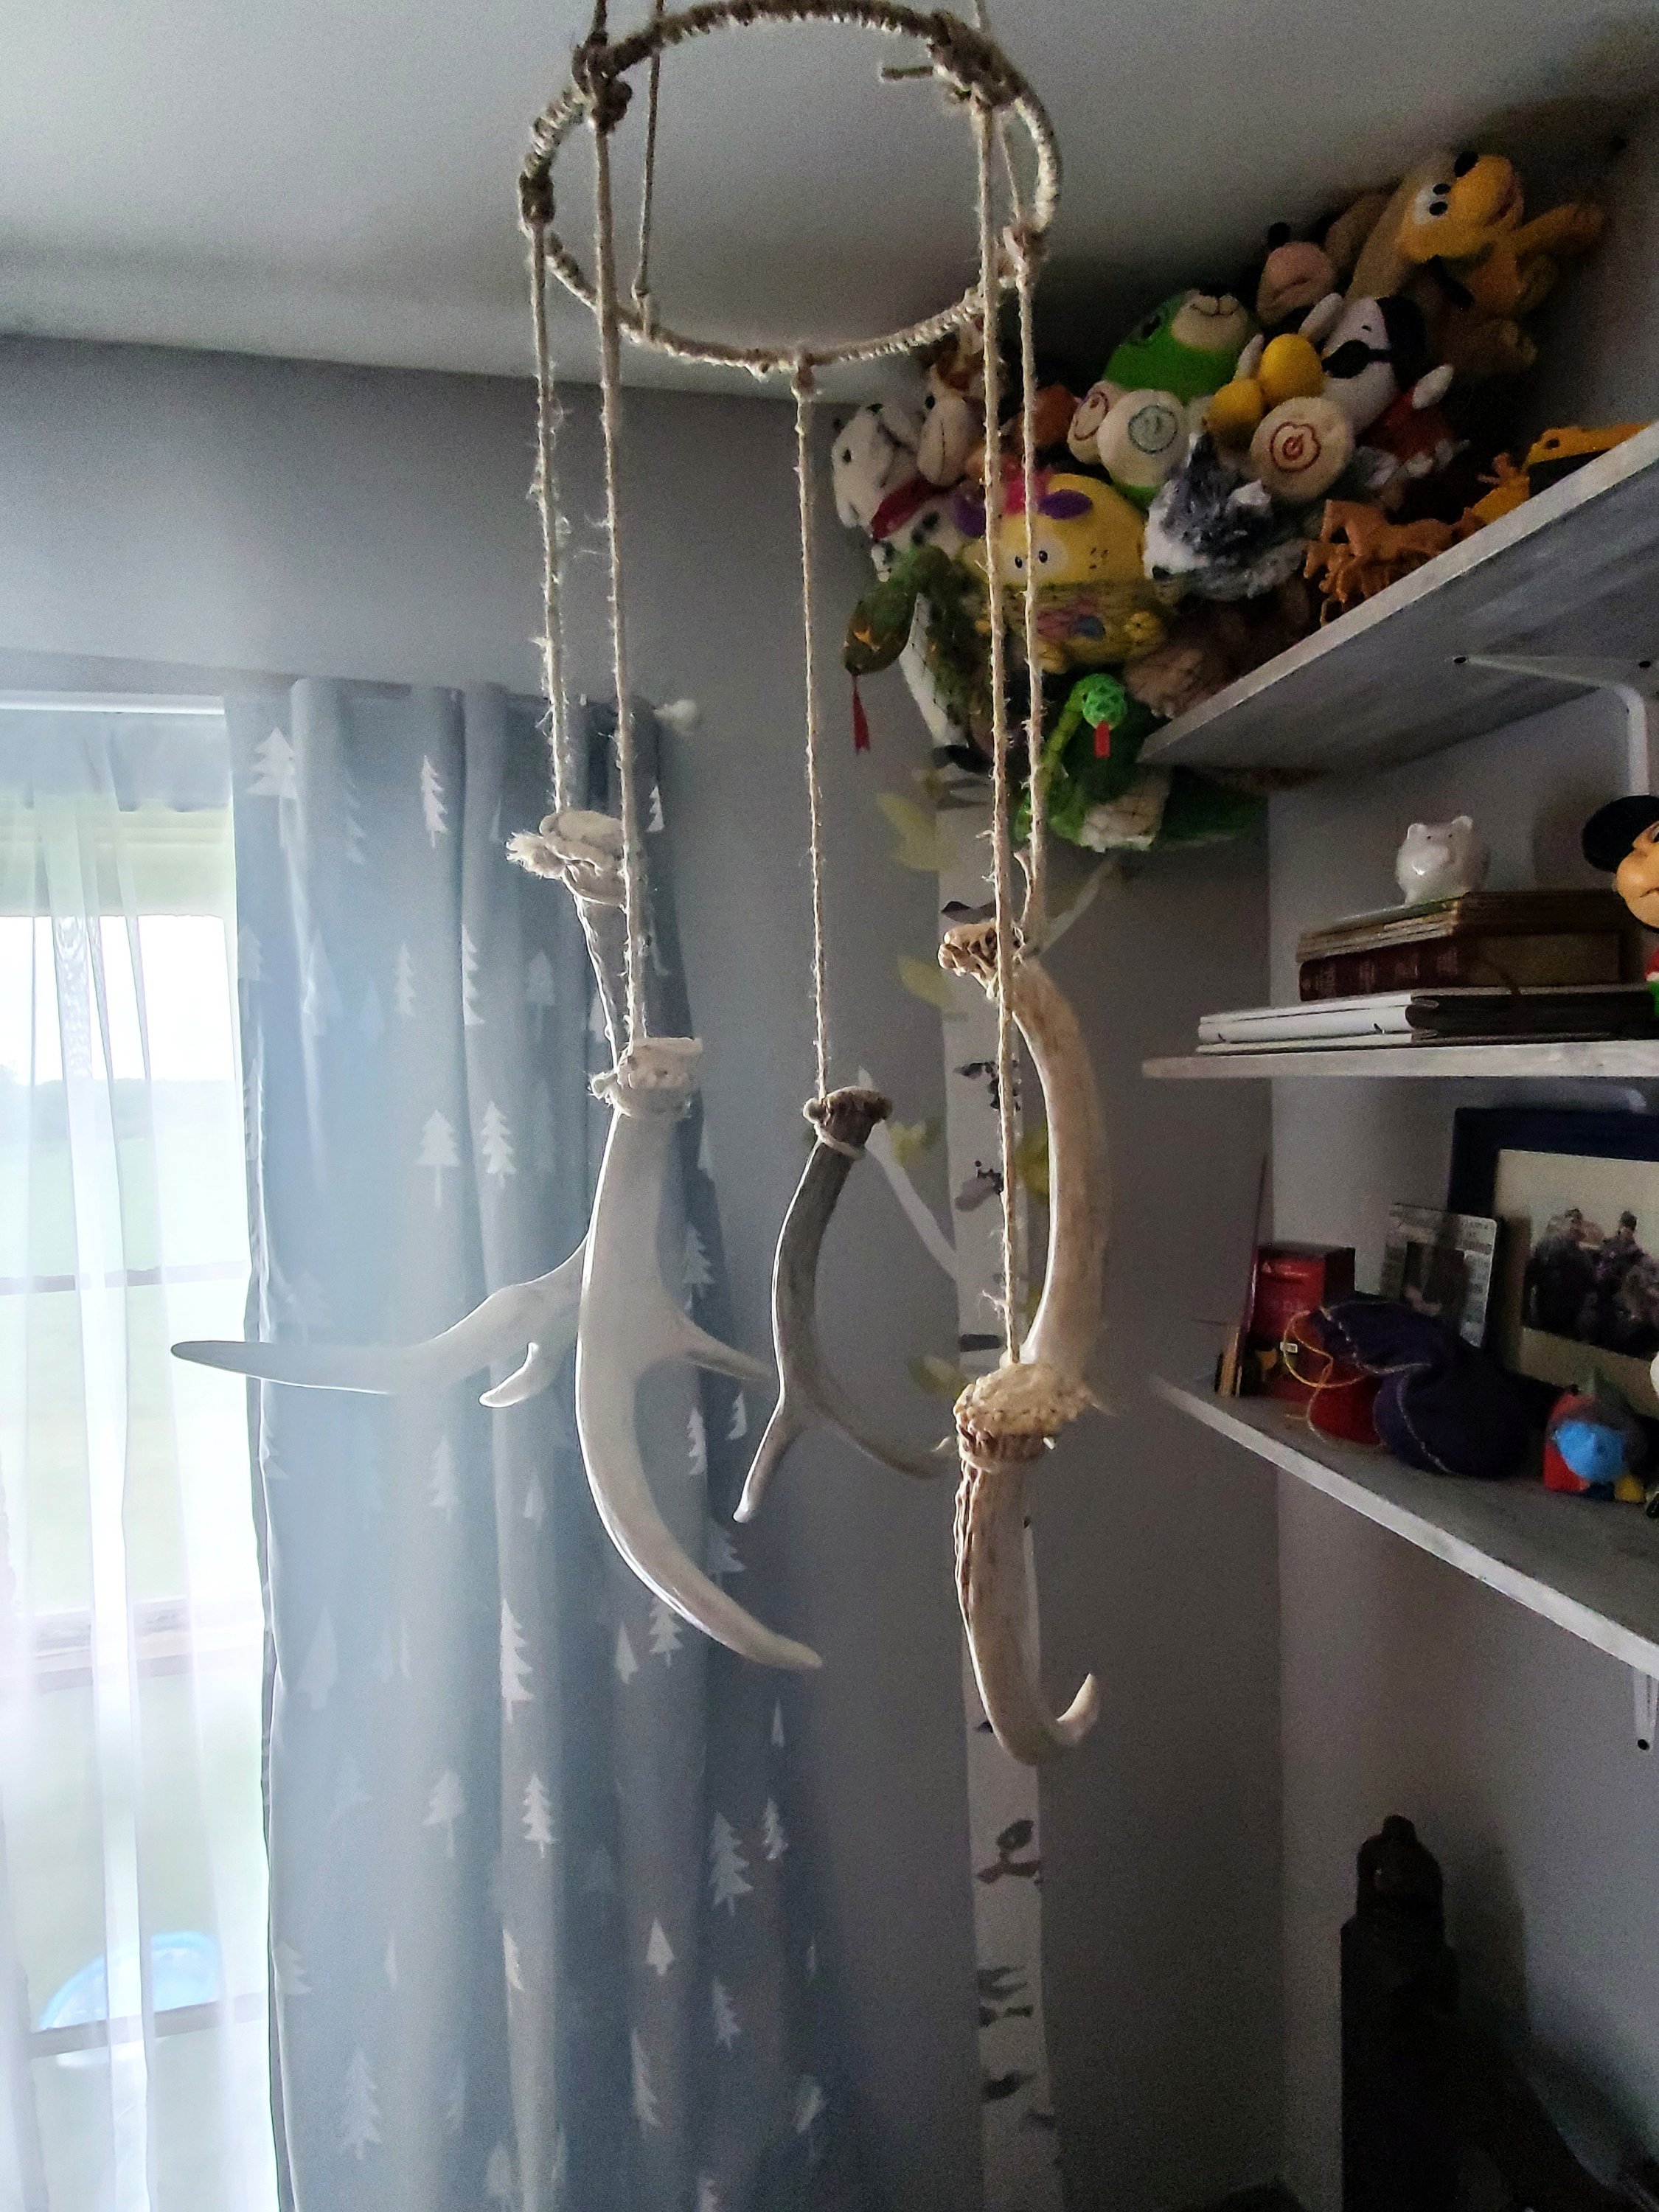
I made both of the boys’ mobiles, which Brantley has outgrown the need for, but are both too cute to get rid of for now.
What do you think? The way we organize clothes will change as the boys grow and we remodel some more. The room currently has no closet. Thanks, old 1862 house. It’s an evolving work in progress. But the boys love having their own space and even love sharing for now. 😆
XOXO,
Jess
Some Handmade Gifts
Hi there! I wanted to do a quick post to show you what we made for our family members for Christmas (and an upcoming wedding!). I started with a few simple stone tiles from Menard’s. I used a flat round brush, a stencil, and some solid paint pots. I dabbed the paint on over the stencil without wiping. I then added some clear coat and some felt pads to the bottom corners. Now…we have personalized coasters! I know I have seen this done before, but I had to share because they turned out so sweet and simple. And, they didn’t break the bank!
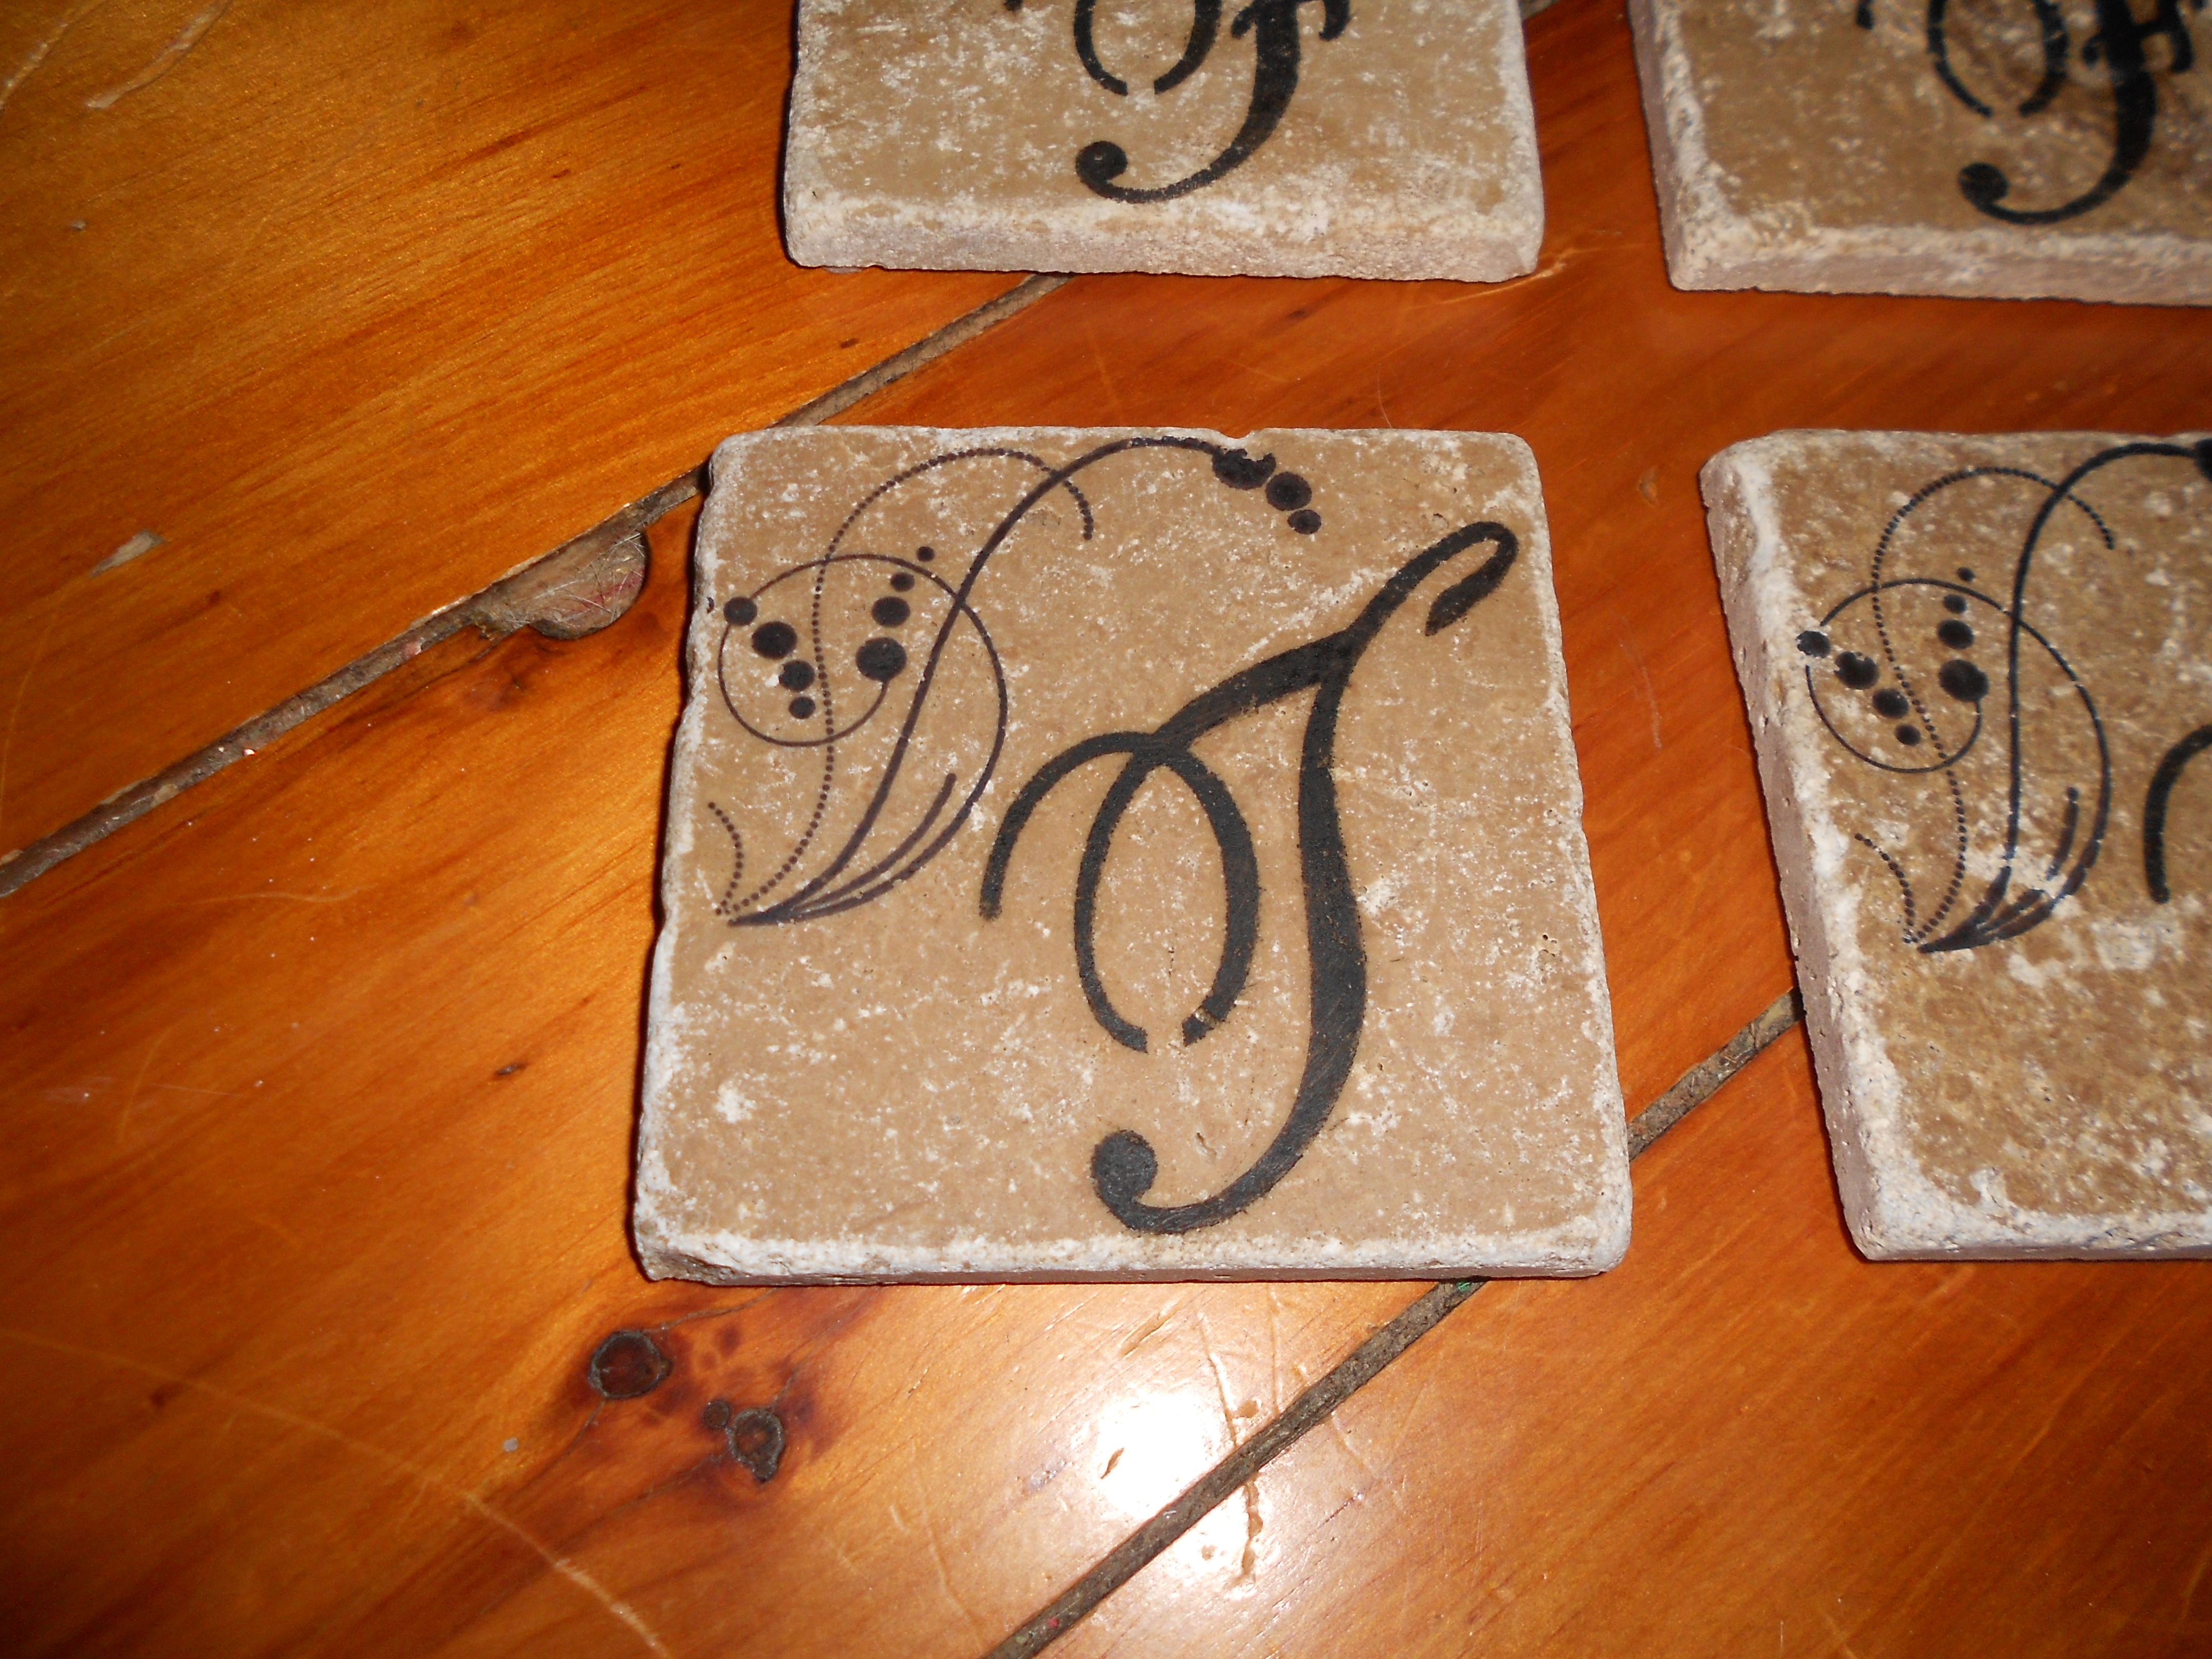

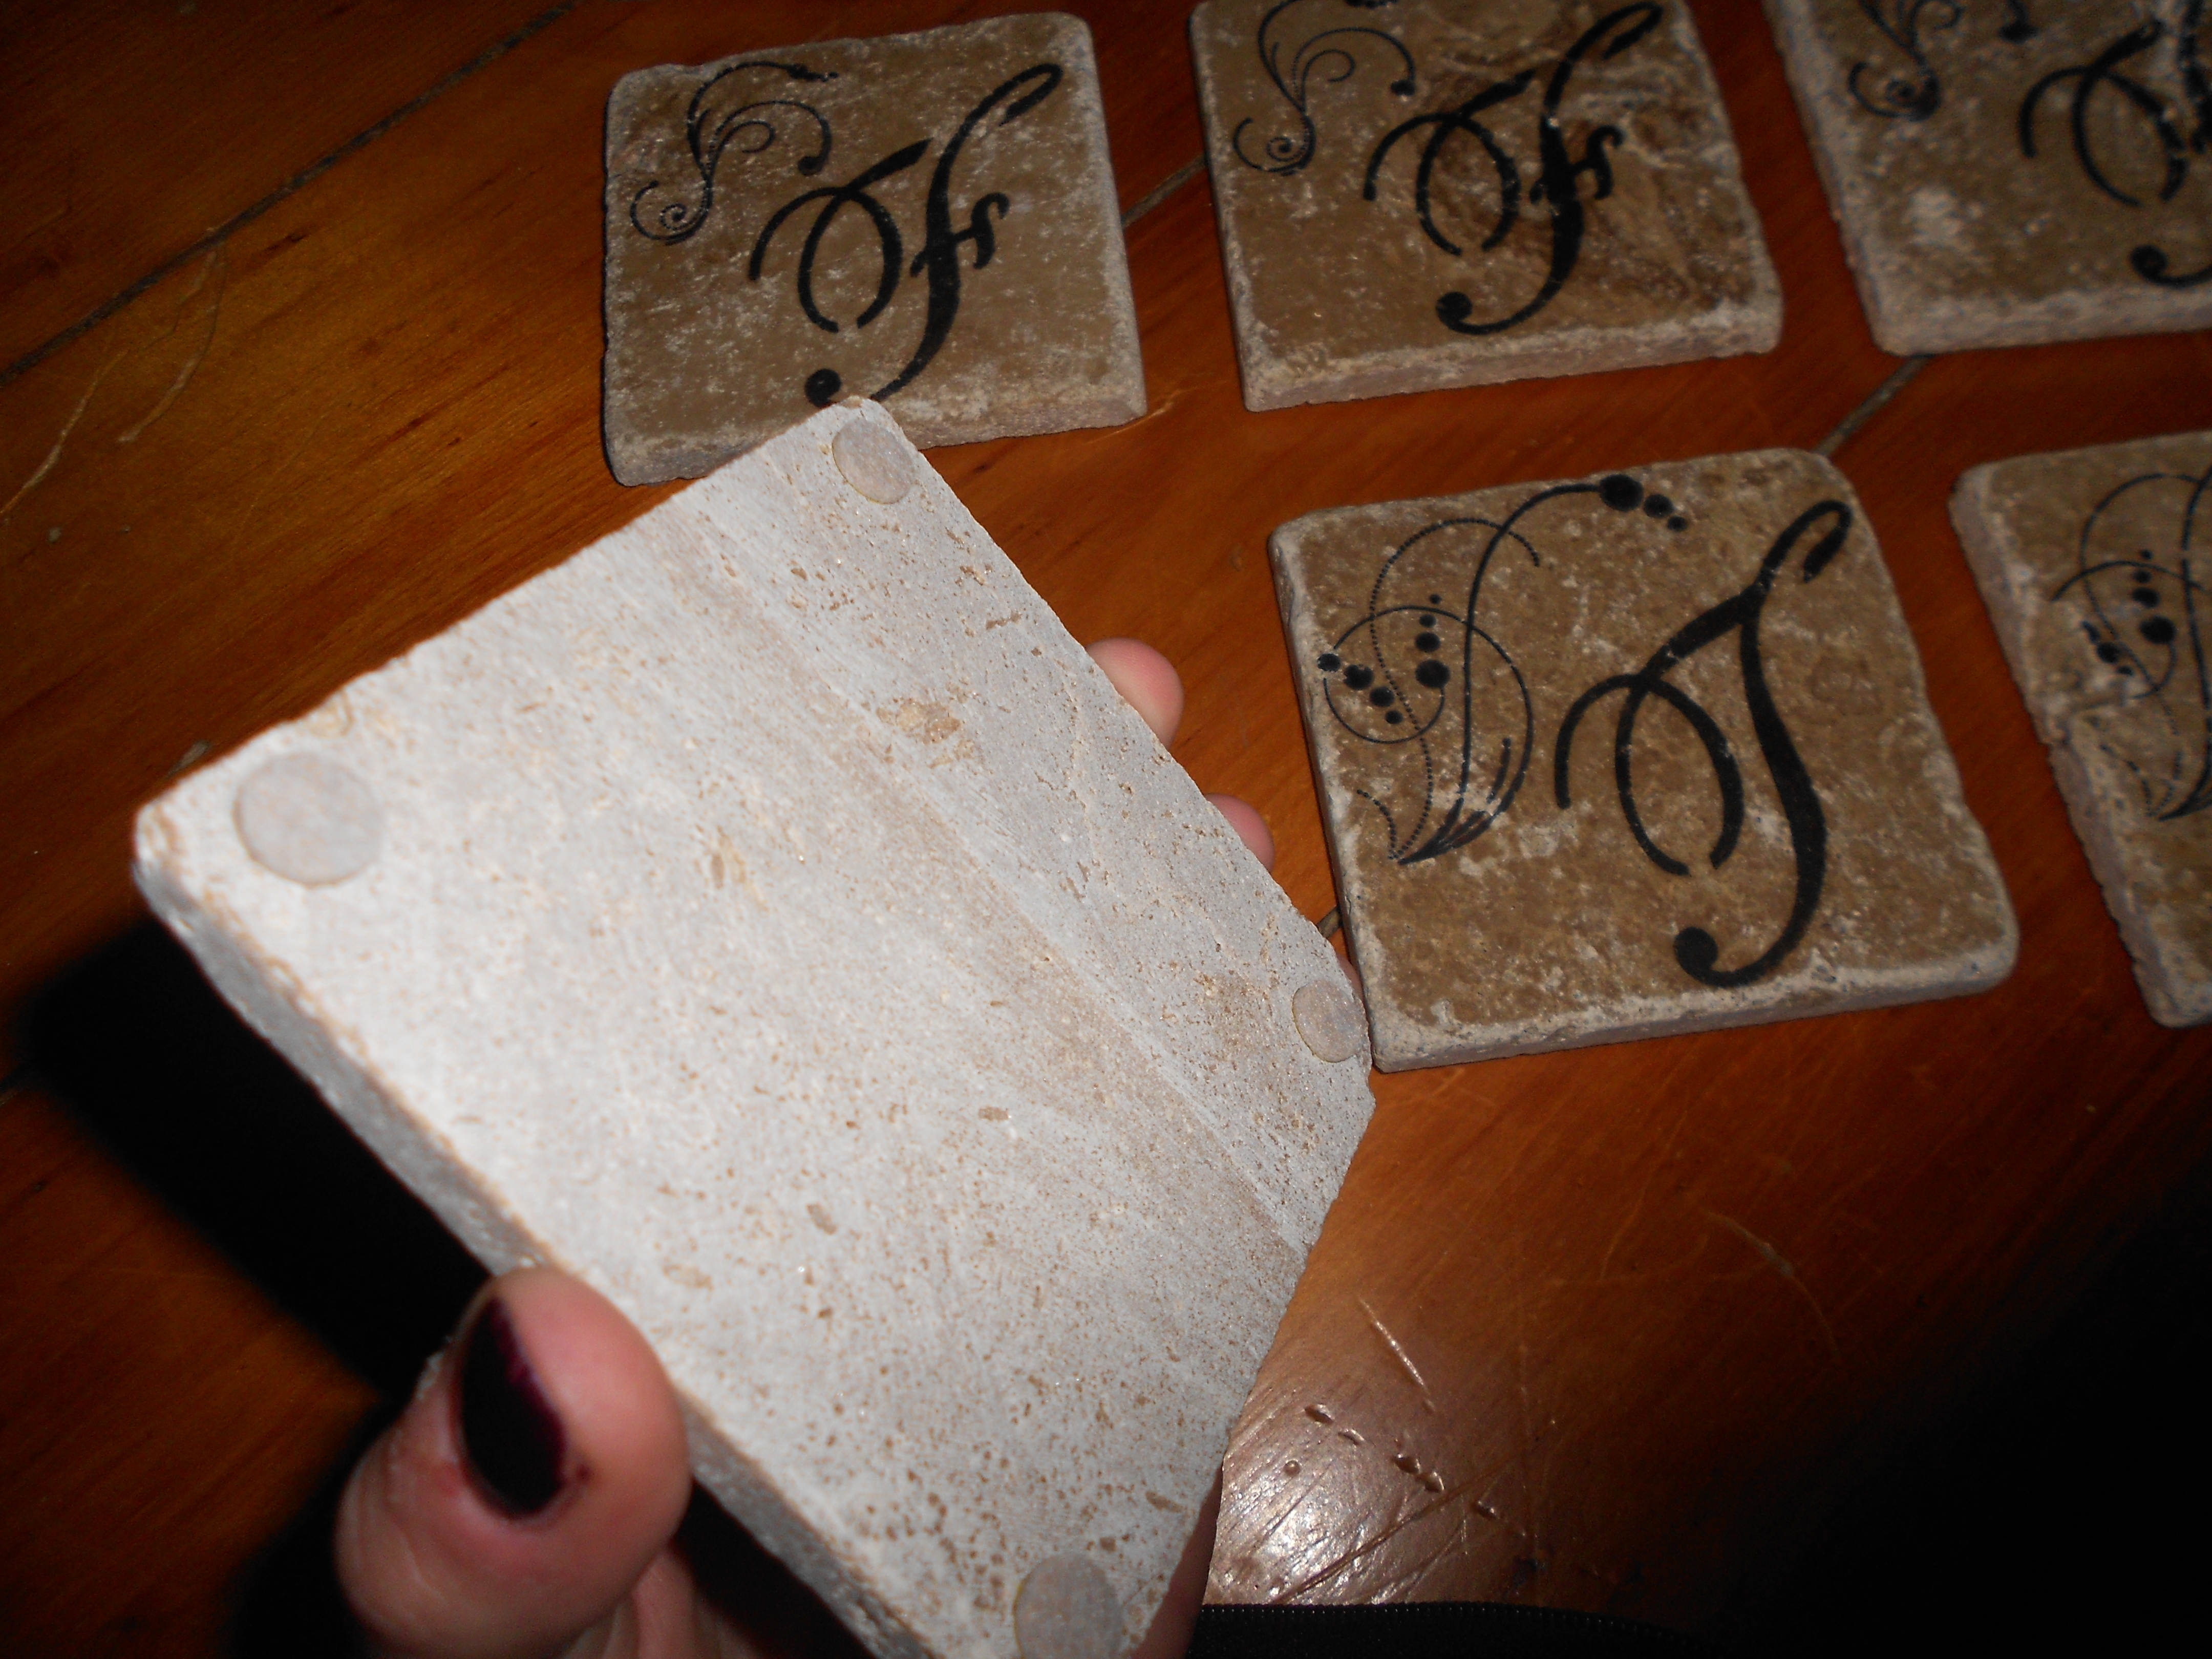
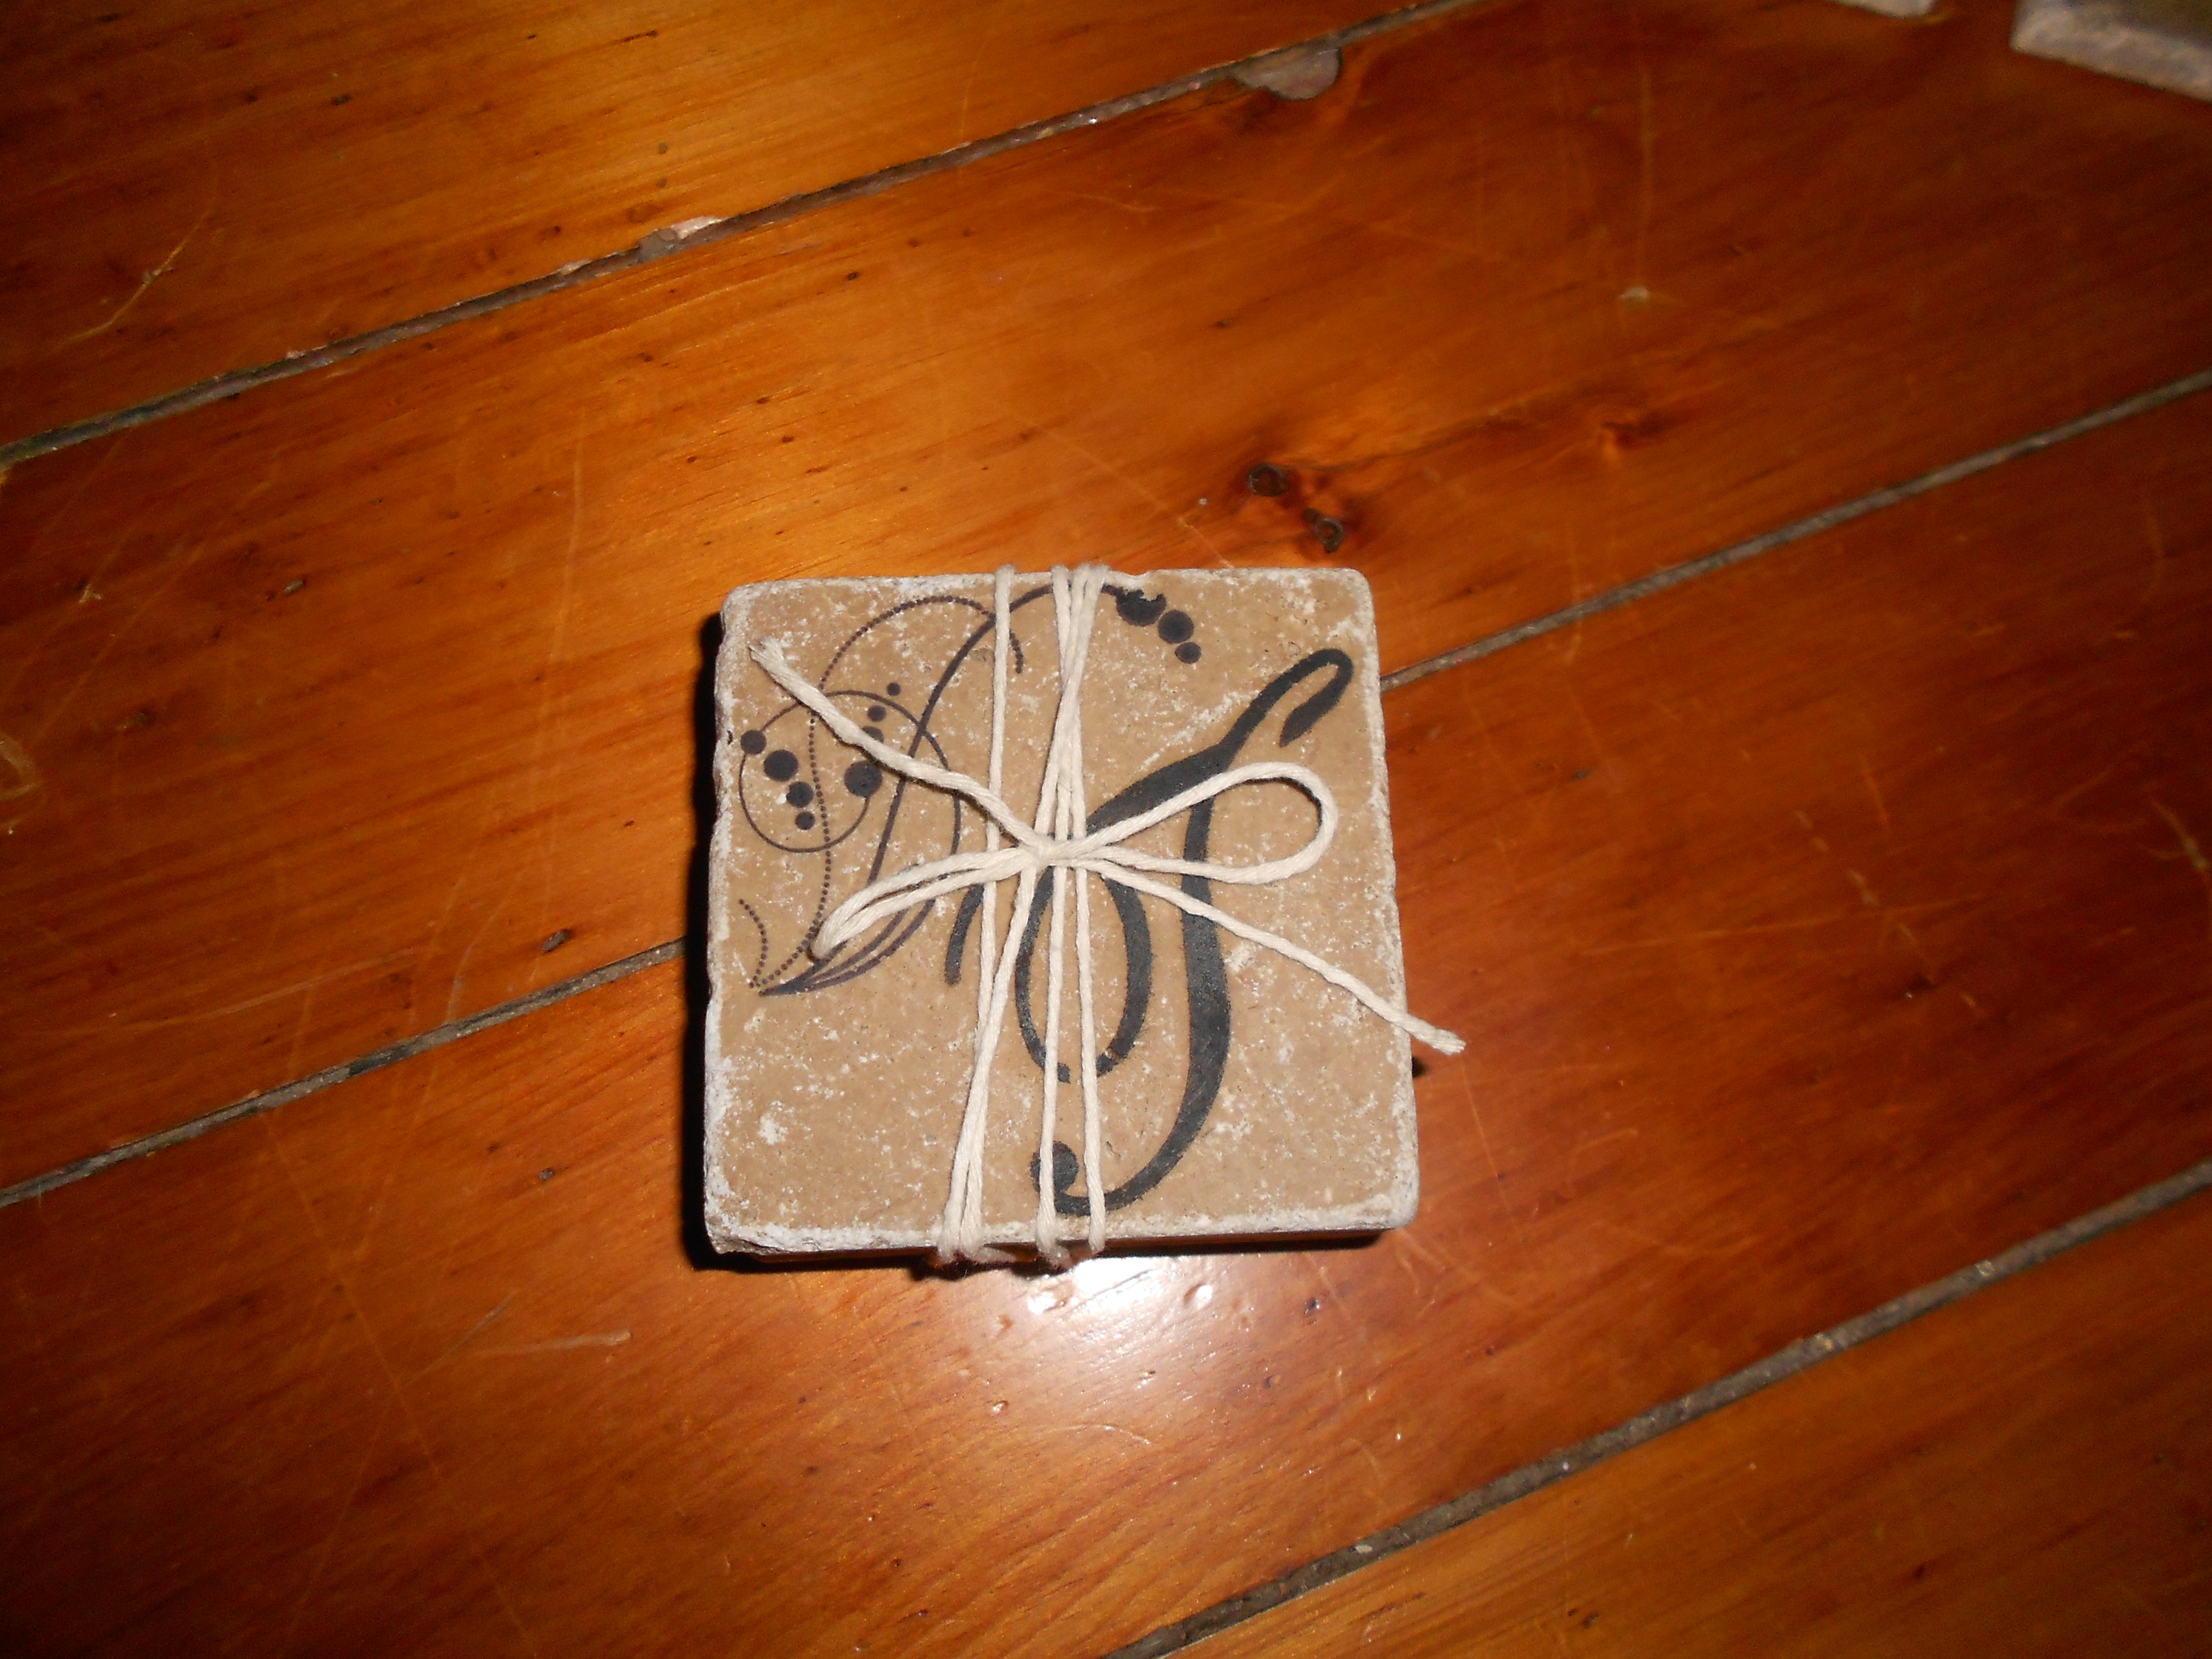
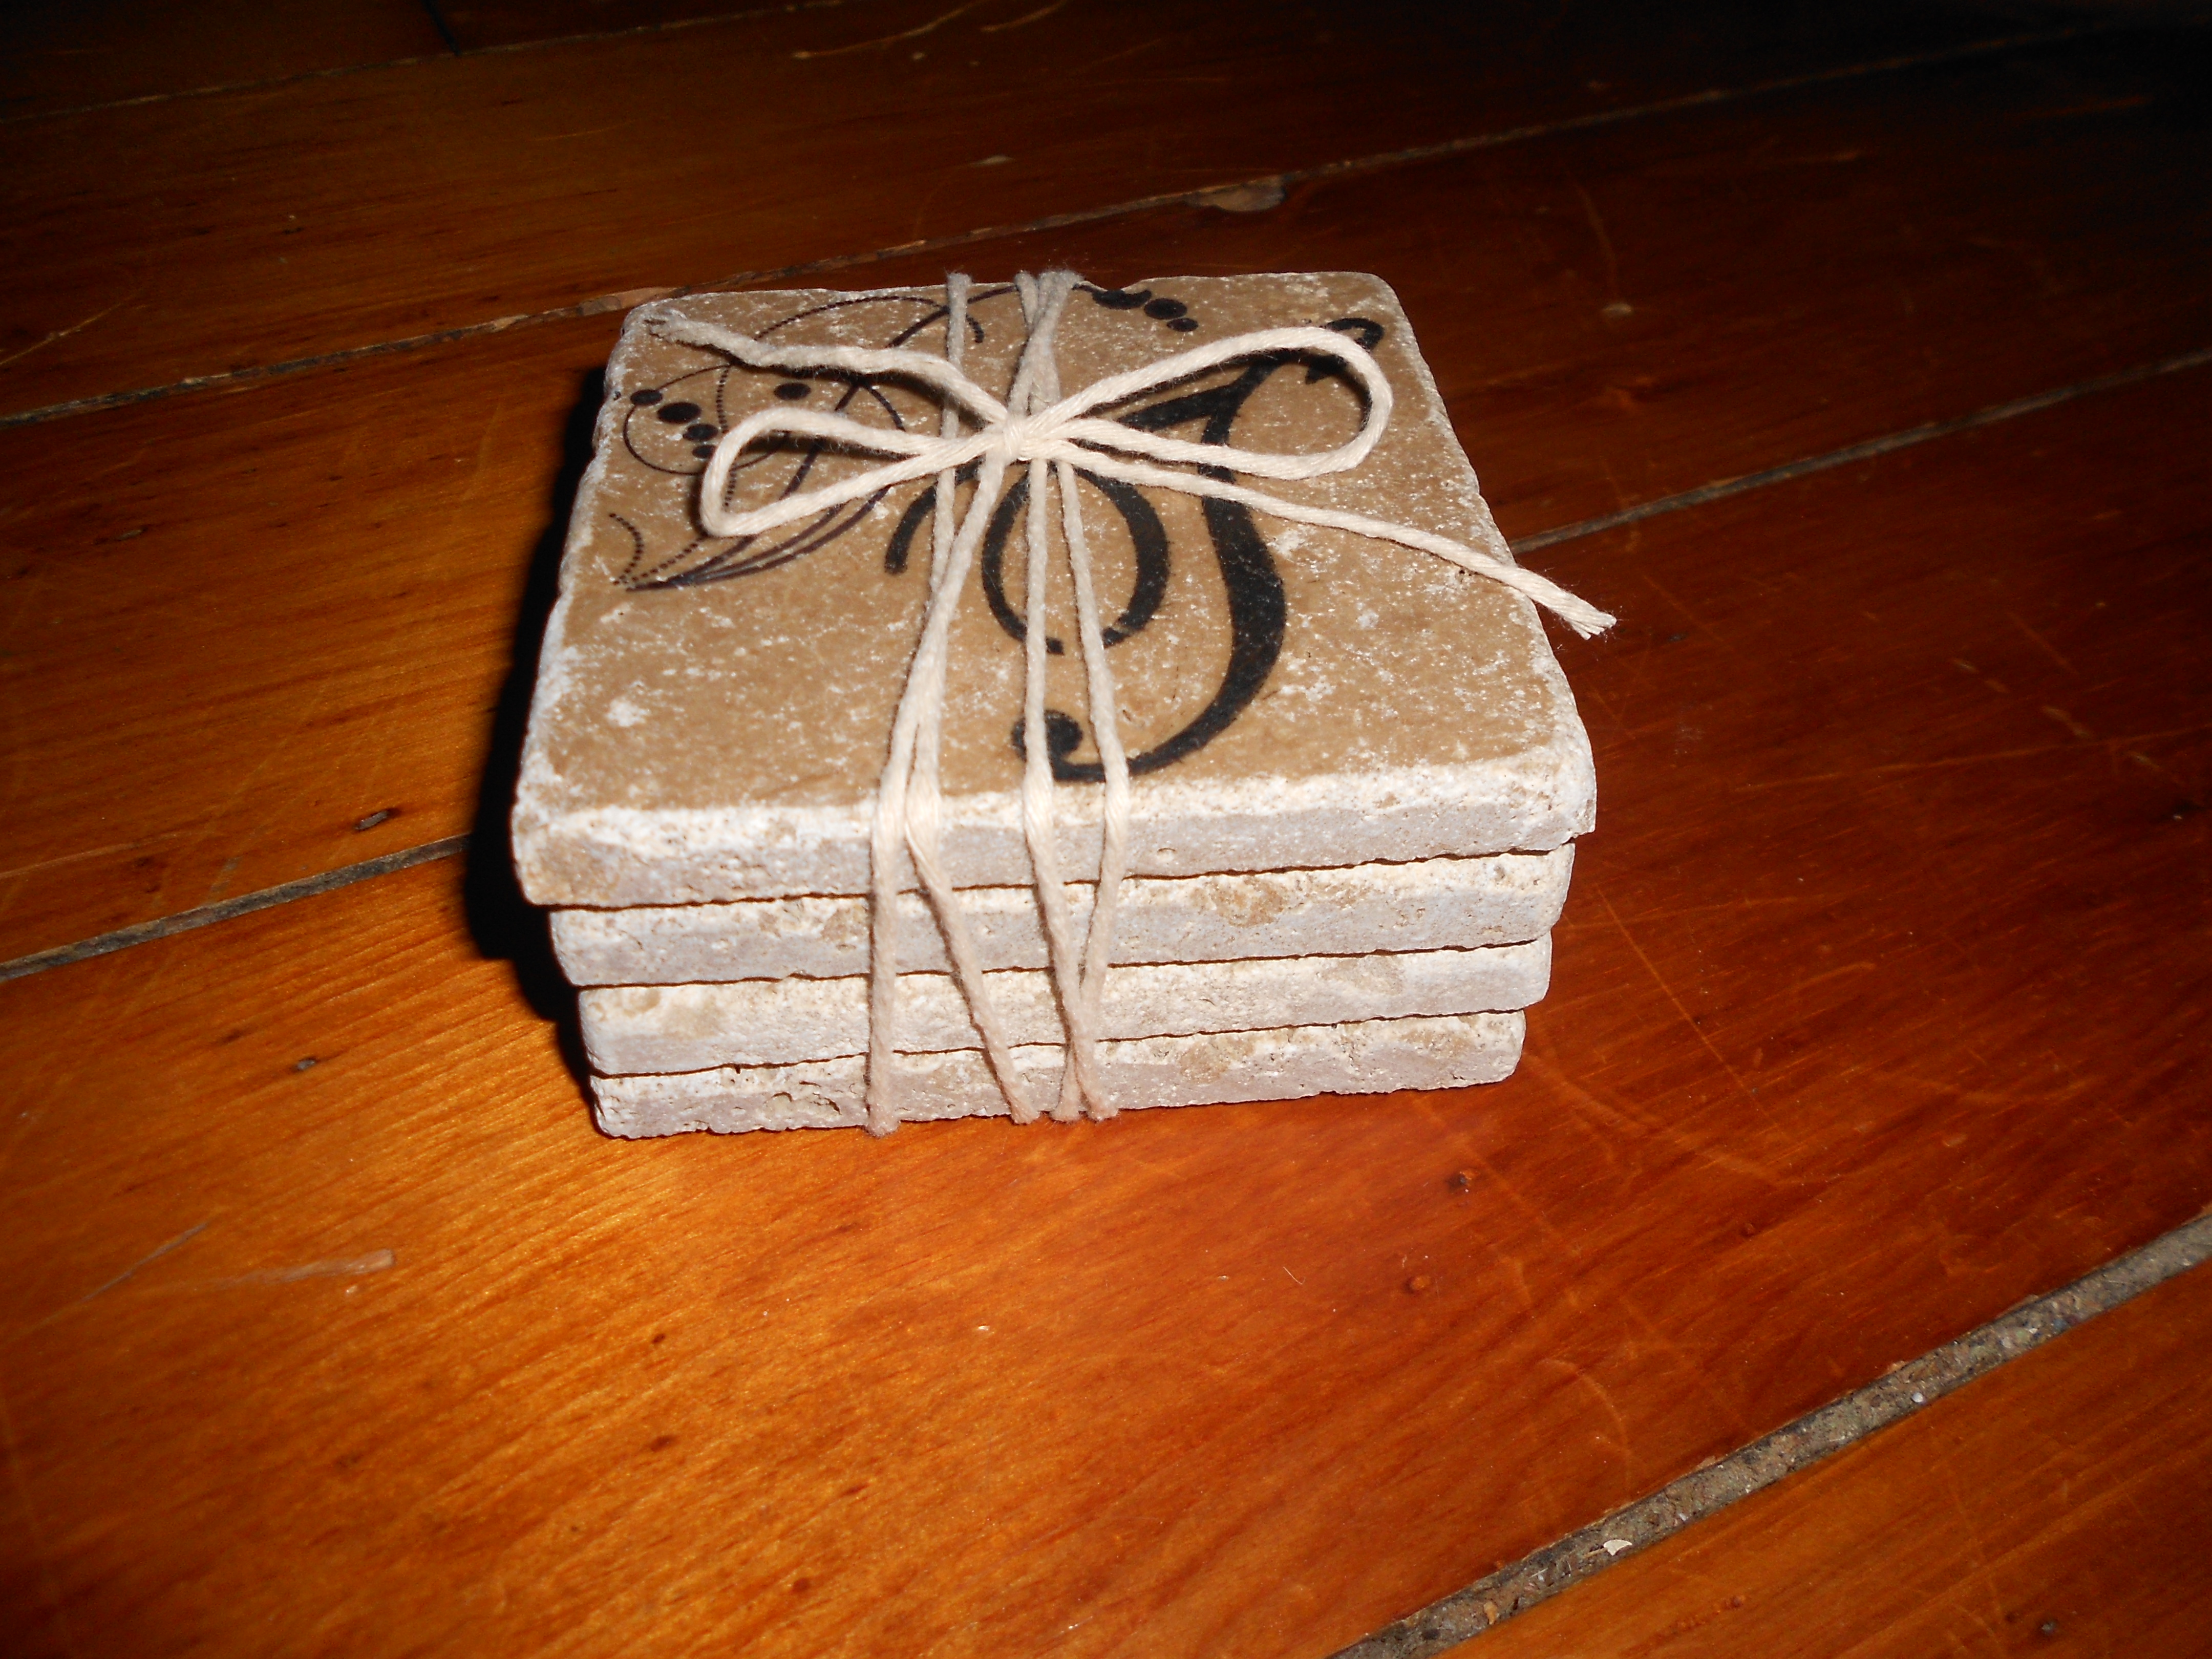
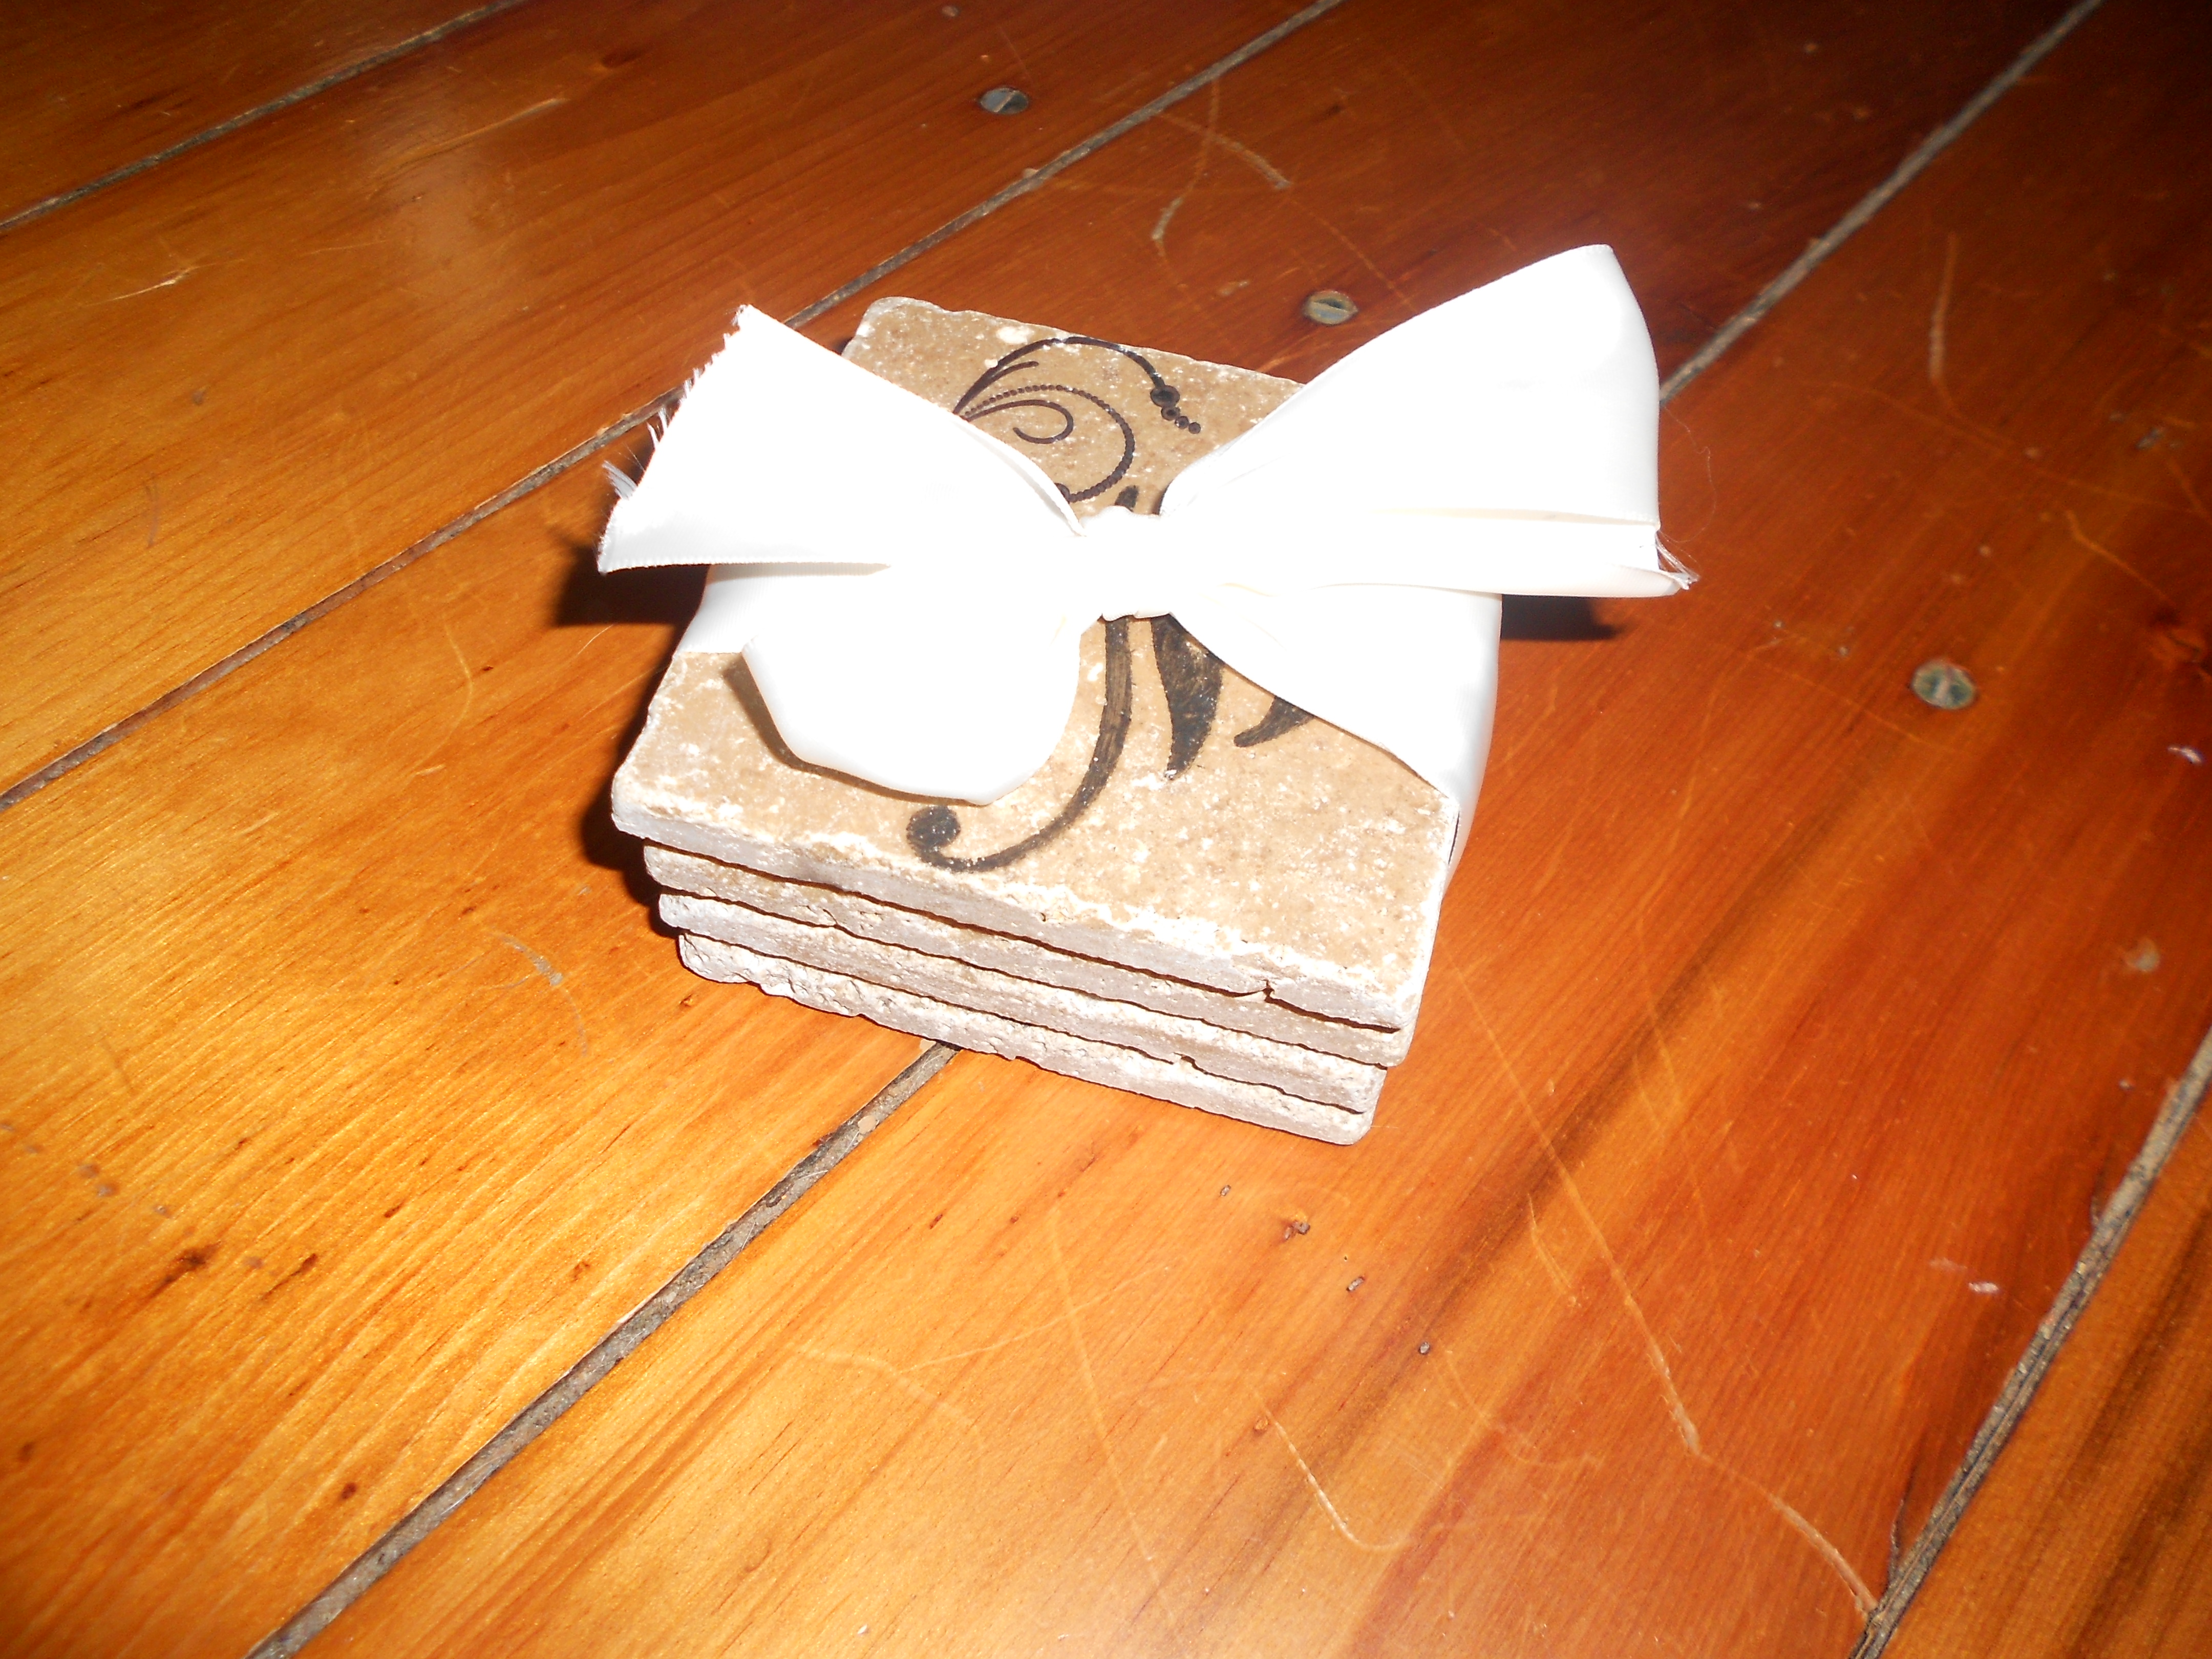
What do you think? I think they turned out great and it was a lot of fun making gifts this year instead of buying something no one needs! 🙂
A Gift Basket
I work for a non-profit agency and part of our yearly activity is to do a bit of fundraising to help out. This year we decided to make gift baskets and then auction them off. I volunteered to make a gift basket and then of course panicked, not knowing what to put in it!
So, I decided to make a basket of hot cocoa and coffees and all the fixins. I got this idea because a while back in a magazine I saw some antique spoons coated with chocolate and given as a gift with some drinks as stirers. I started off with some vintage silver spoons and some chocolate…


Then I wrapped these cuties up. I added some cute vintage mason jars and a tag for the cocoa…


I think it turned out pretty well, and it was super easy! Hope it raises some money! 🙂
My Windchime
The porch on the new house needed something. I couldn’t decide what. I wanted something unique and fun, but not noisy like metal chimes. Thanks to my boyfriend I think I now have the most unique idea out there. He suggested deer antlers. He had plenty of them, so we set to work.
First, he drilled holes in each antler. The antlers were strung on wire. Random bright coral and turquoise beads were added to the wires. The wires were then tied to a metal ring we found a the hardware store. The ring was then strung onto loops of wire to be hung. The finishing touch was to put a dot of Gorilla glue on each wire knot to keep them in place through the wind and weather. Here’s the finished product:


 So what do you think? I’m personally in love. 🙂
Chandelier For The Porch
Here it is. This is the fancy project I completely with the ugly, little, pink basket.
Here is the before picture:

Here is what I made:


I took a 75cent basket from the Salvation Army and spray painted it black. I hung crystals and beads on it and added a length of chain. I added some mini candles in jars and viola! We now have a chandelier above the ice cream table on the porch! I found this idea on Apartment Therapy and think its super cute. What do you think?


I’m A {Wedding} Geek
Yup, its true. I’m a geek. I love to plan, and organize, and make lists, and check things off…
So, planning for the wedding is no different. I decided to put the wedding planning ideas onto paper and stay organized. There are so many thoughts bouncing around in my head right now, this was the only way to keep sane!
I checked into wedding planners. But, they seemed like a crazy waste of money, as they can be upwards of $50! Some are very cute, and yes, it is a great way to keep the memories of the process, and even pass the information along to other brides-to-be, but…
I decided (after very little debate) to make my own. I got a thin, white three-ring binder and put tabs in it. I labeled the tabs into categories I thought would be most helpful. These tabs have changed a few times, but I think I finally have it. I also bought some cute post-it notes and sticky tabs to make notes and mark things. I have scoured the blog world for ideas and inspiration, and have used these resources to put the information into the planner. Everything will be at my fingertips. I even found printable versions of budgets and timelines to keep the planner organized. Other images in the planner have come from various bridal magazines. As we get closer to the big day we won’t miss a single detail with my geeky planning skills and my beautiful, new, handmade, planner.
These are the tabs I have used so far:
- Guest List
- Budget
- Resources
- Dress Ideas
- Brides Maids
- Tuxes
- Invitations
- Music
- Food
- Reception Ideas
- Gifts
- Day Of
These tabs could be different for everyone, but since I am doing almost everything myself, I had to keep many different categories. I am also splitting some of the categories down further into sub-categories, such as Reception Ideas. There will be tabs for things such as cakes, flowers and tables. I also inserted to clear pocket pouches in the binder, one for contracts and one for reciepts. This way the items in the pockets do not need holes punched in them.
If any of you other planning brides-to-be out there need any help getting organized, or have helpful hints, feel free to send me a message!

All of my materials, magazines, and books spread out on the floor to work!

My Planner! I simply printed up this simple, but pretty cover on the computer, printed it, and inserted into the binder pocket.

The inside of the planner. This is a budget page. You can see the tabs as well as some post-it notes.

One of the images in the planner. I simply love this suit, the vintage pinstripes, and the bow tie! It is even in our colors. The boutonierre can be made with Martha Stewart's help. We might be reproducing the whole picture!
P.S. My materials for this planner all came from Wal-Mart. They are very inexpensive, and have a pretty good selection. Yes, there are beautiful papers online, but I was to impatient to wait for something to come in the mail. The black and white damask post-its are adoarable and affordable there. That print is also available in many other supplies!
DIY Photobooth
My most favorite wedding idea that I have so far is a photobooth at the reception. I have see this done and it looks like so much fun! But, renting a photobooth would probably kill our entire budget. So, I have decided to make my own. I am going to enlist the handy help of my dad and grandpa in this project, so in order to save them some confusion I made a sketch of what I am imagining. I am no artist, but here is my idea so far:


I love the idea of guests taking random photos and leavign them for us as a surprise. Our only real question with this idea is what kind of camera to use. My fist thought was to use a Polaroid camera. I am planning on using my Polaroid to photograph guests as they first walk in also. They can sign these photos to make a unique guest book. The problem with using the Polaroid for the photobooth is the actual taking of the photos. Some one would either have to man the station the whole night or you would have to try to do the self-shot, which is rarely good. I read somewhere that you can set up a digital camera with a cord and button so the people can take their own photos from further away. Now I seem to be leaning more towards this idea. Any suggestions?

Image and more how-to info found here: http://est1976.blogsome.com/2007/09/10/how-to-make-a-photo-booth-for-your-wedding/
Etsy: A New Fav.
I had heard of Etsy before, but had never shopped thier site. Before Christmas my mom asked me if I had, and said that she was going to try it. When Christmas day rolled around, we were both delightfully surprised.
She had ordered me this adorable apron and potholder set from an Etsy seller named Annie’s Attic. The set was so cute, the seller had quick shipping, and it came all wrapped up in matching tissue and ribbon, with a hand written thank you on it. We were so impressed not only by the wonderful products, but also by the personable service. We just had to promote Etsy and this particular seller. No more poor service (thank you greatbookdeals at Amazon) and no more torn up packages and broken toys (another Christmas story), this was great on-line shopping.
Take a look at this oh-so-cute apron and potholder!


Thank you Annie’s Attic and Etsy! We will both be return customers!
