A New Mud Room
Check out this horrible mud room!

I know it doesn’t show it well, but behind the open back door is a small closet and then a sink. Yuck.
It is an old farm house, so once upon a time the sink had a purpose. Now it was just wasting space. Valuable space. We knew this room could be better utilized. Little did we know, we would, as usual, open a giant can of worms…
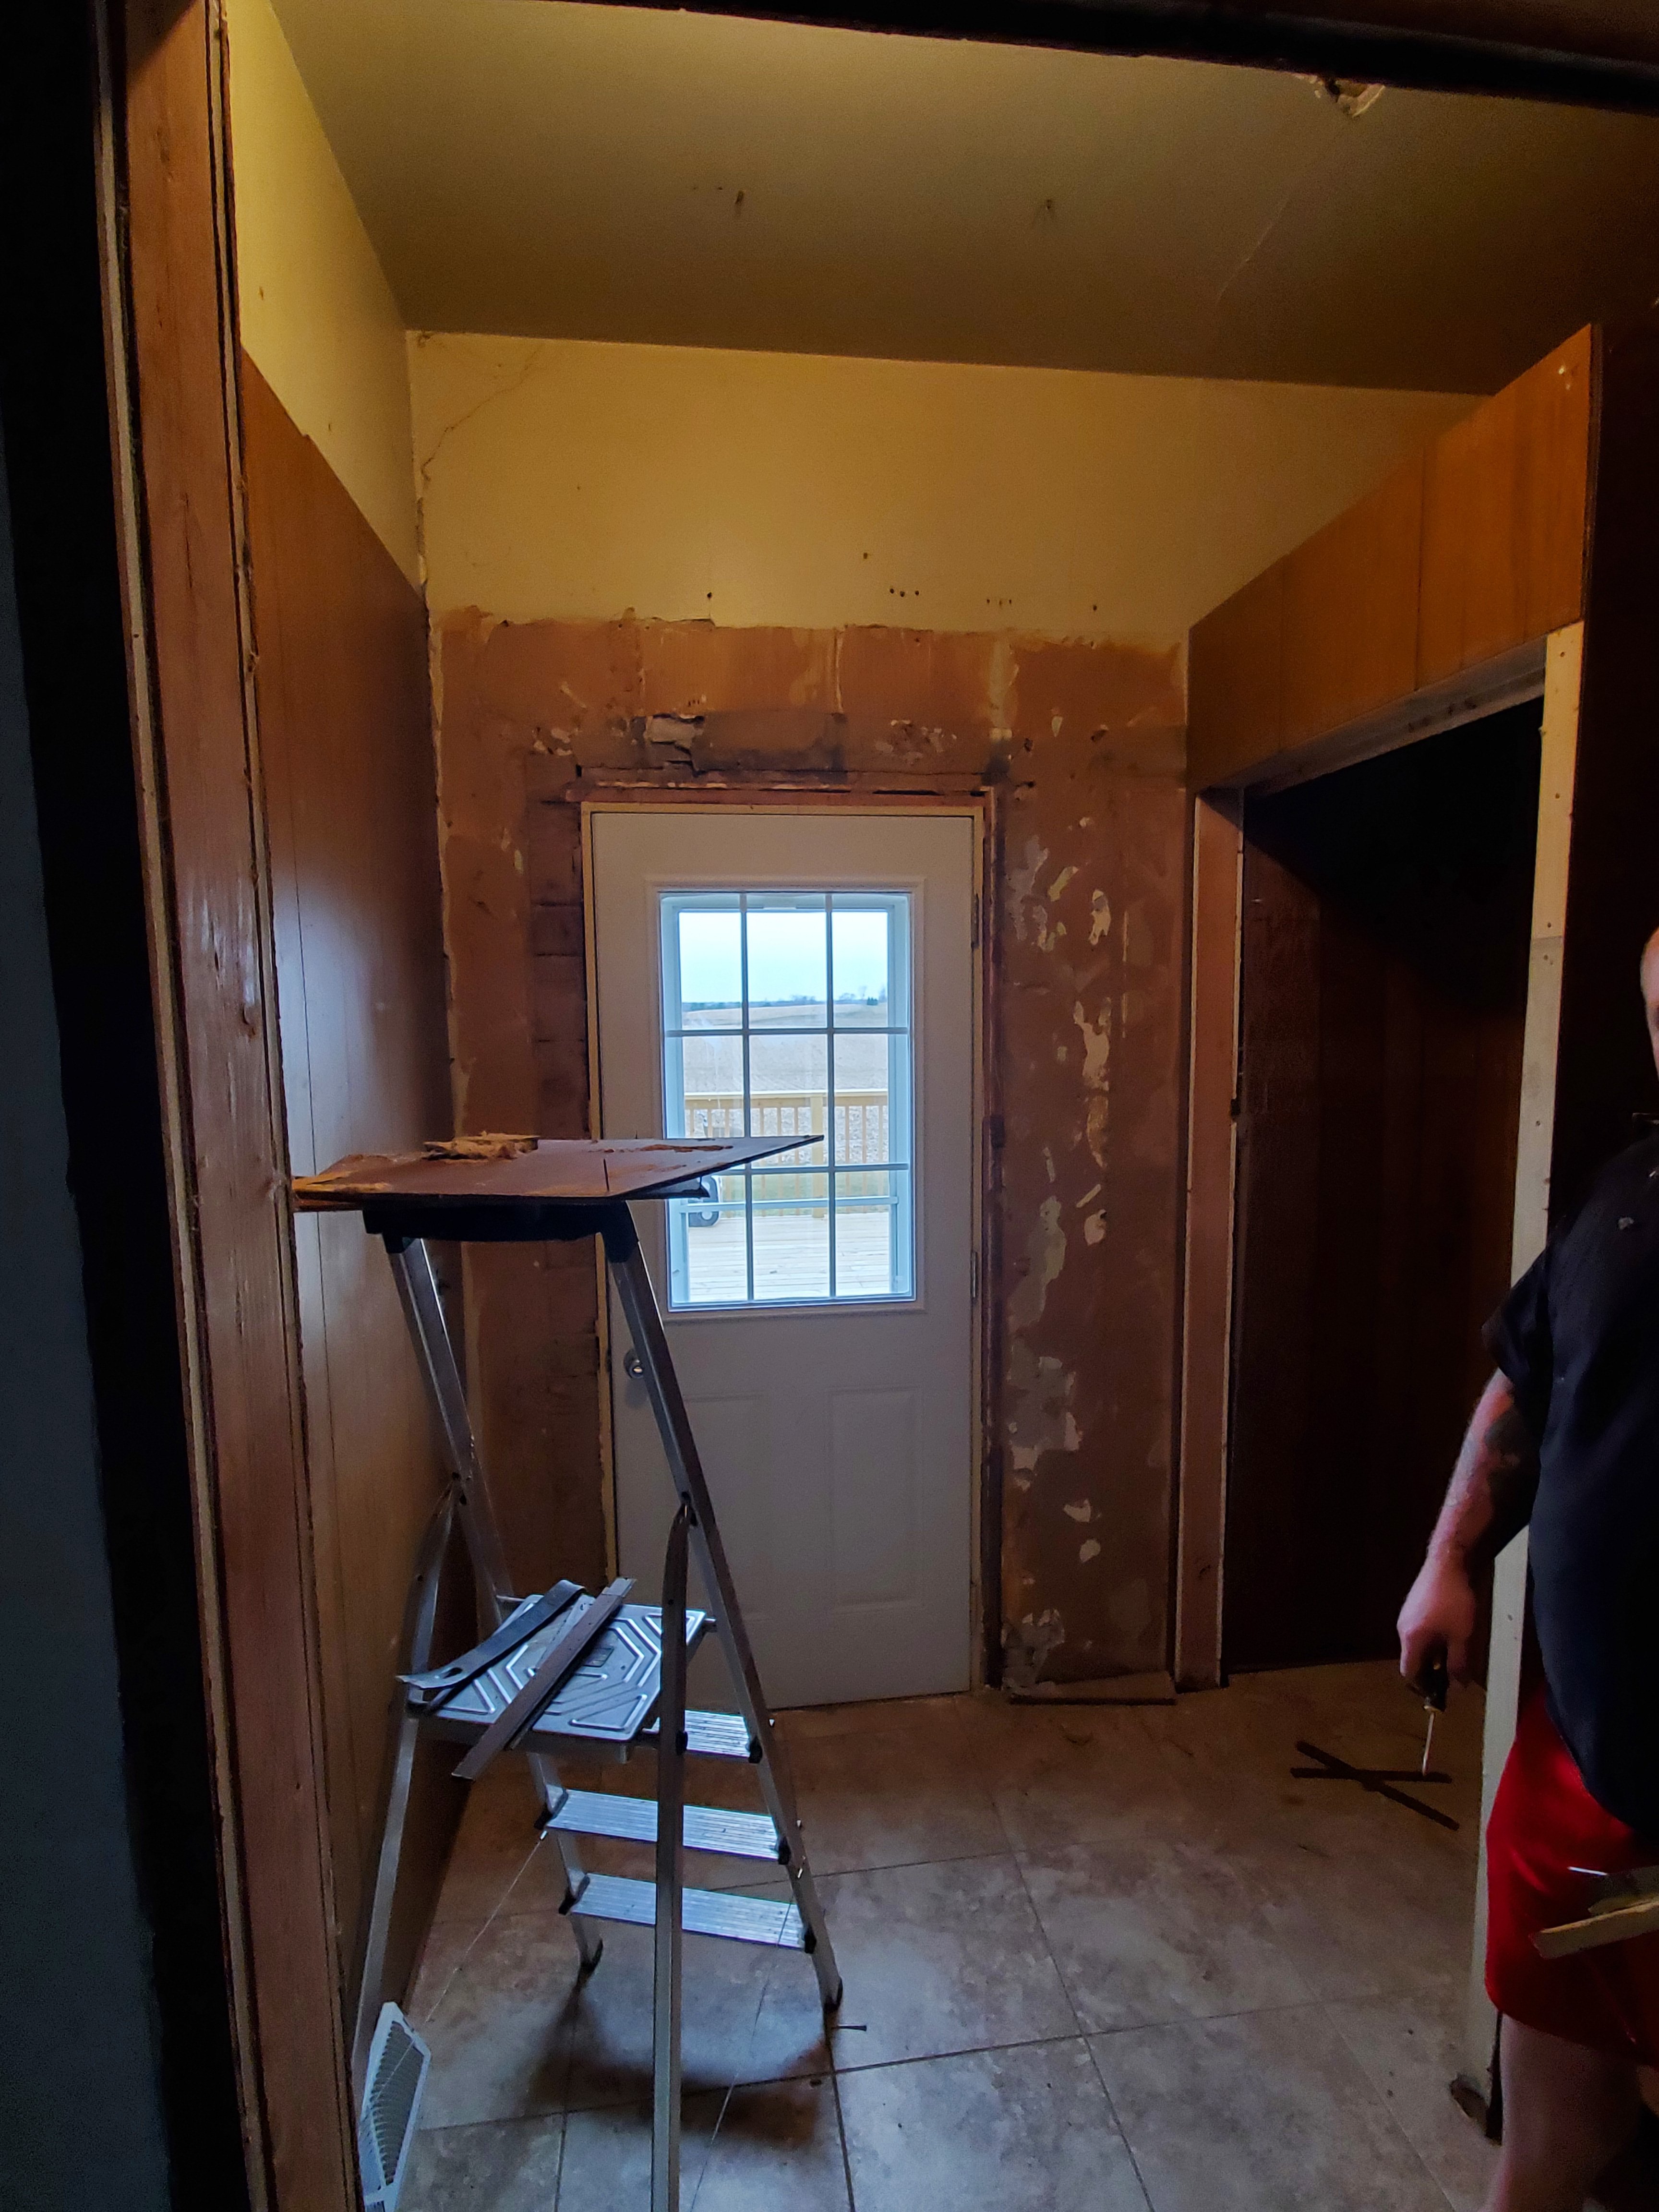
We thought we’d tear out the sink and old paneling, paint, add barn doors and call it a day. No.
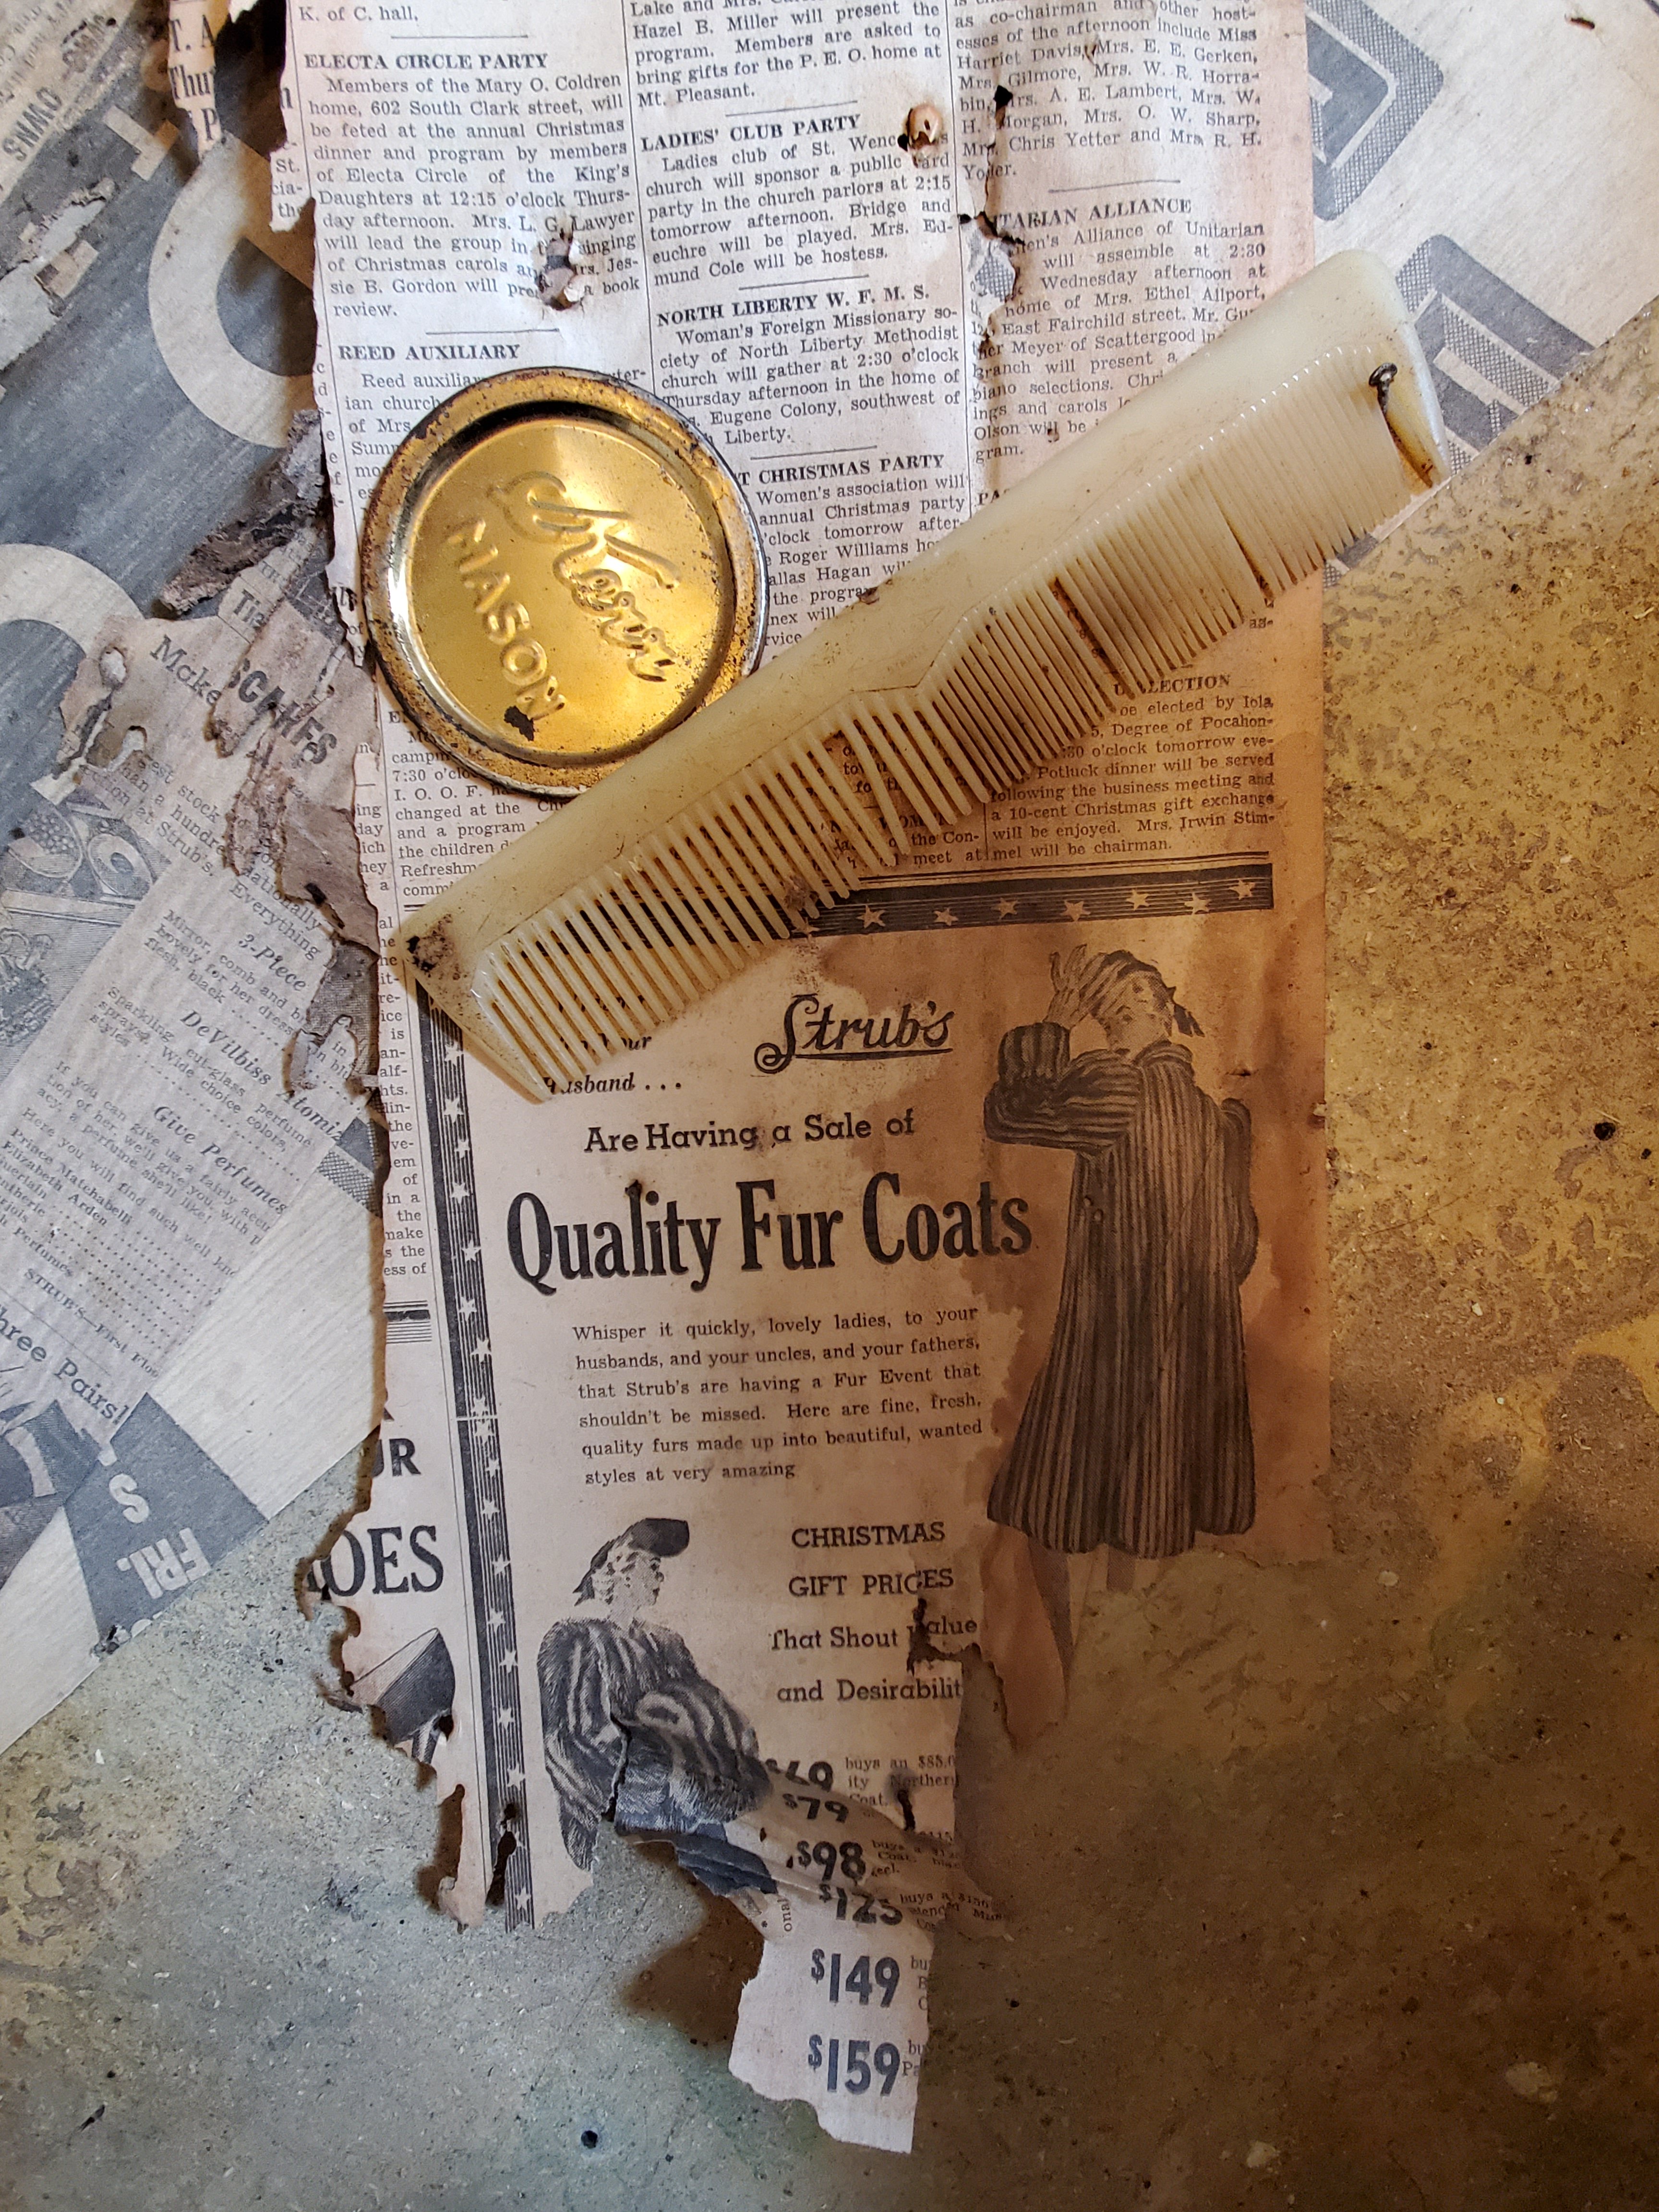
The walls had to be redone down to the studs. A new false wall had to be added above the closet, since we were taking out the drop ceiling. Then we found that the paneling went behind the flooring. This removal ruined the flooring (not sad about it) and in removing the tile we found we had a rotten spot and needed to even replace subflooring. The house is 1862, but still, whew!

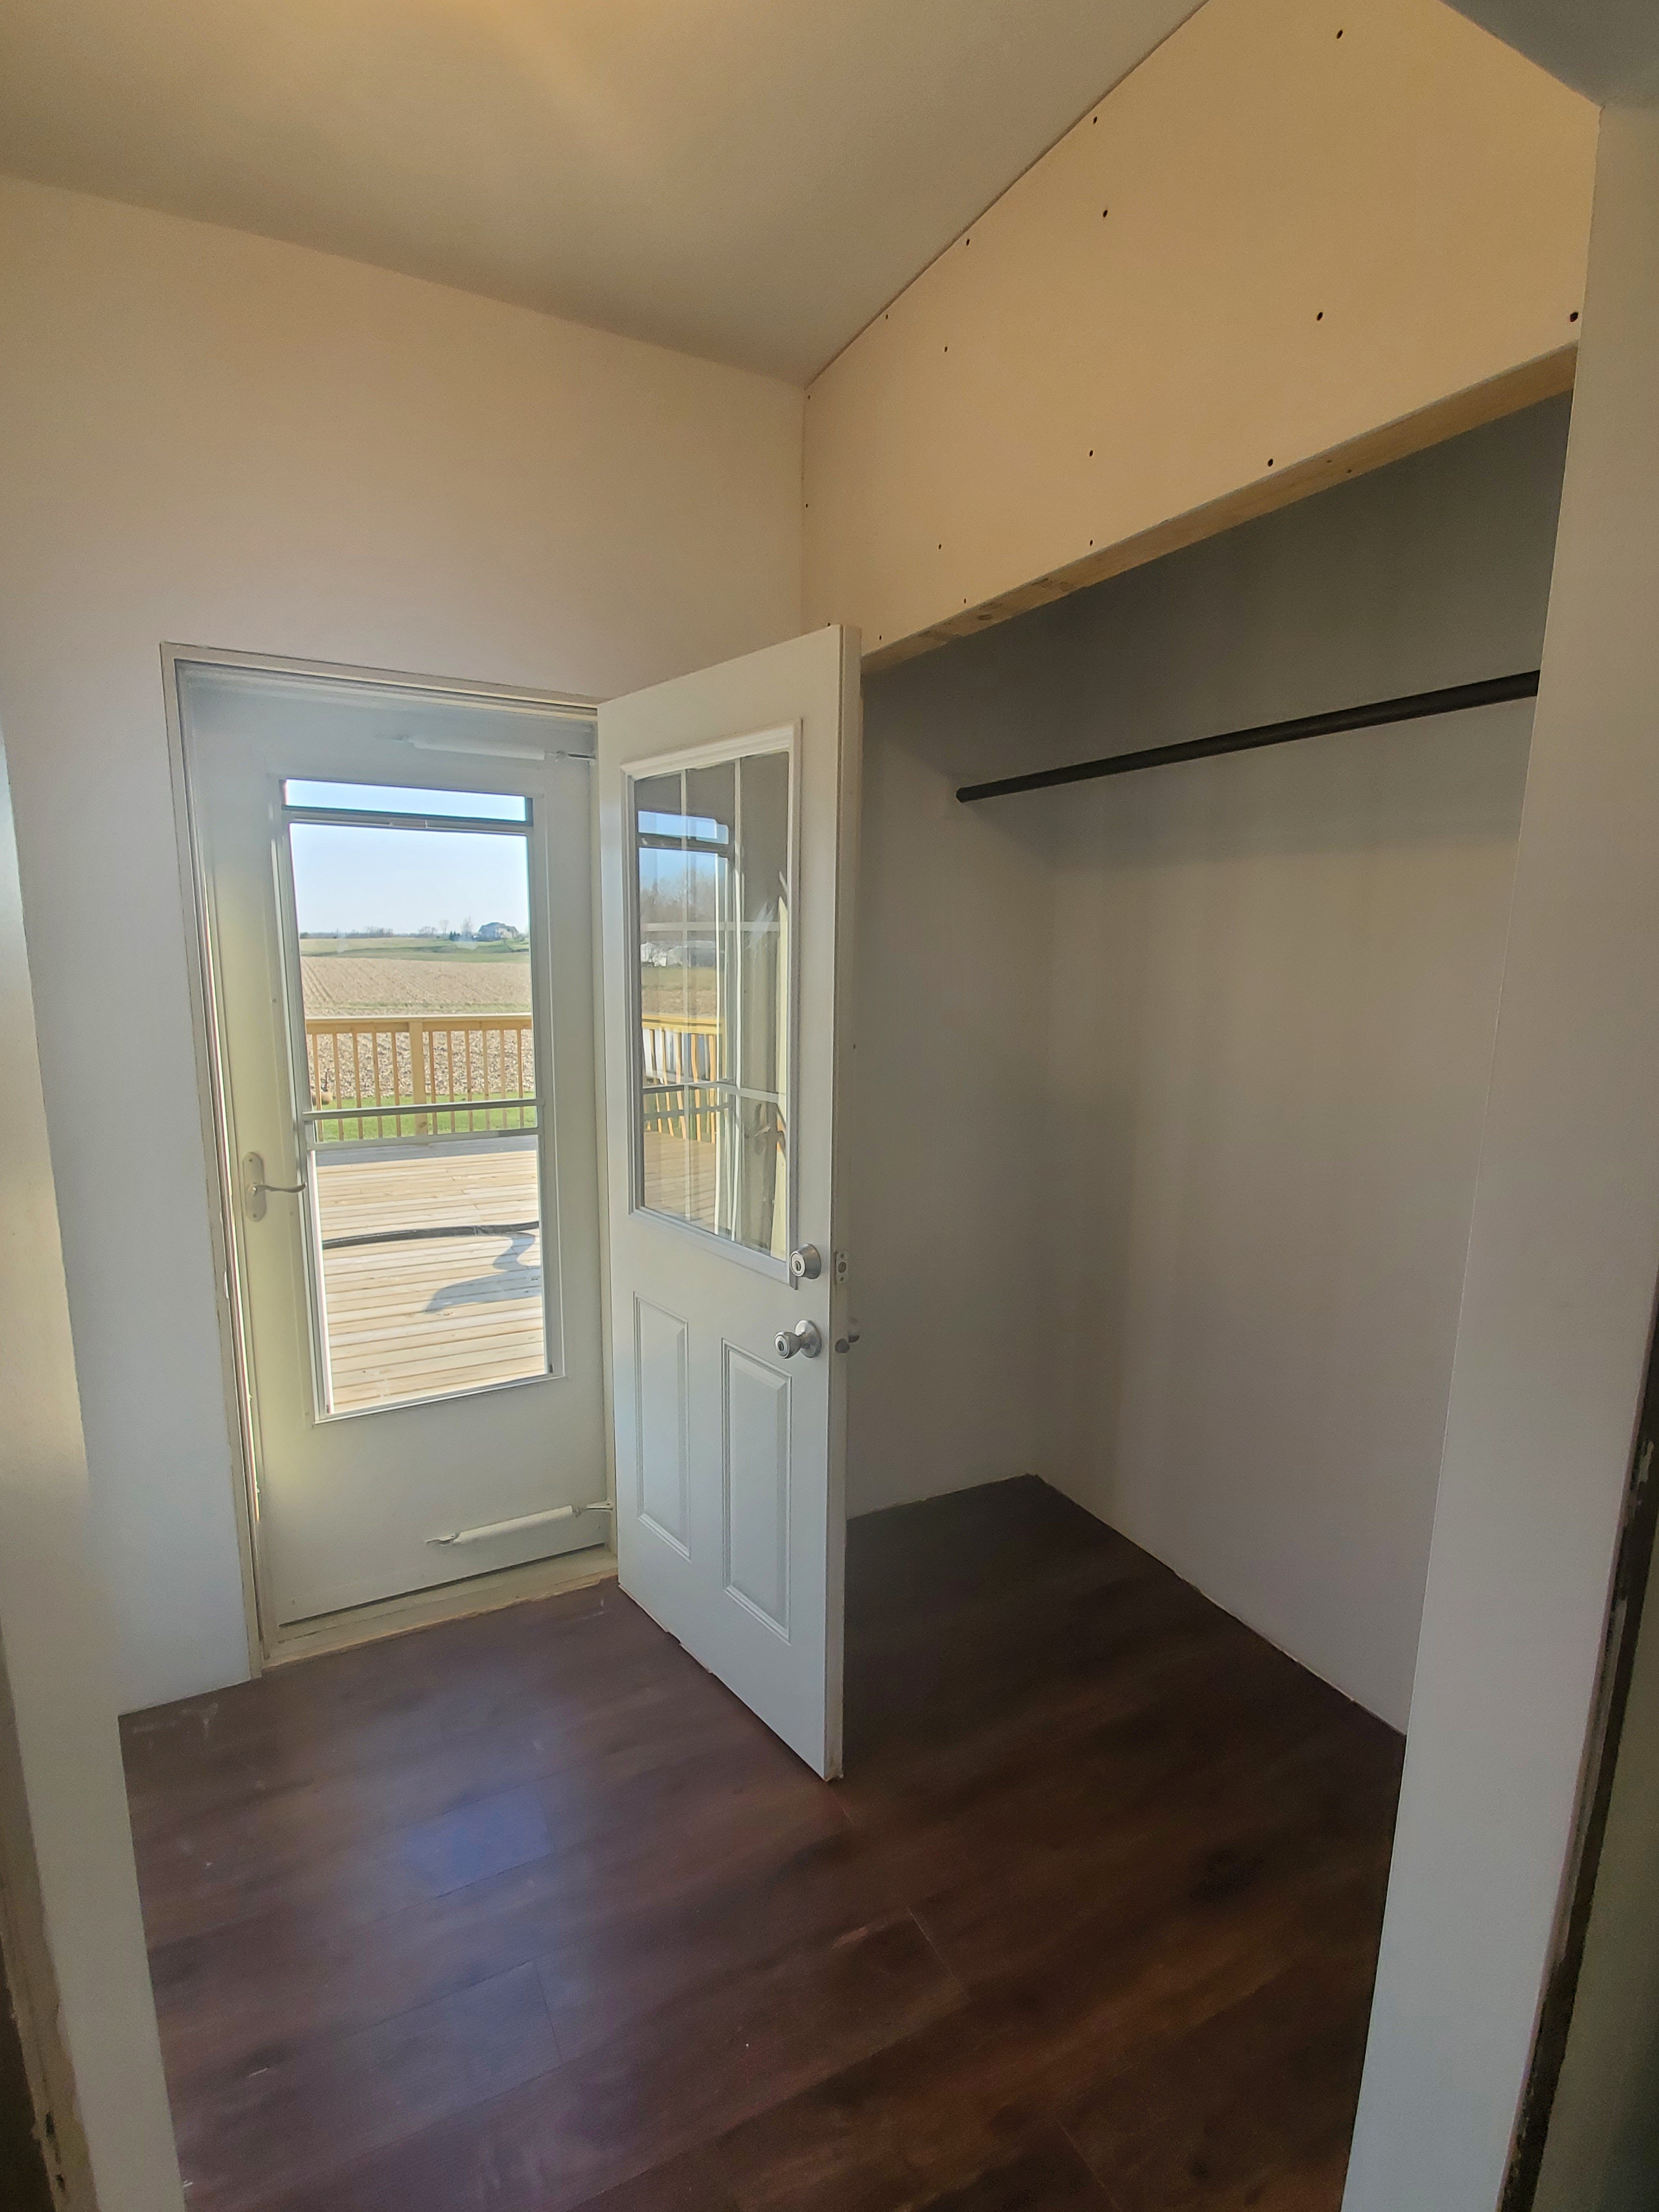

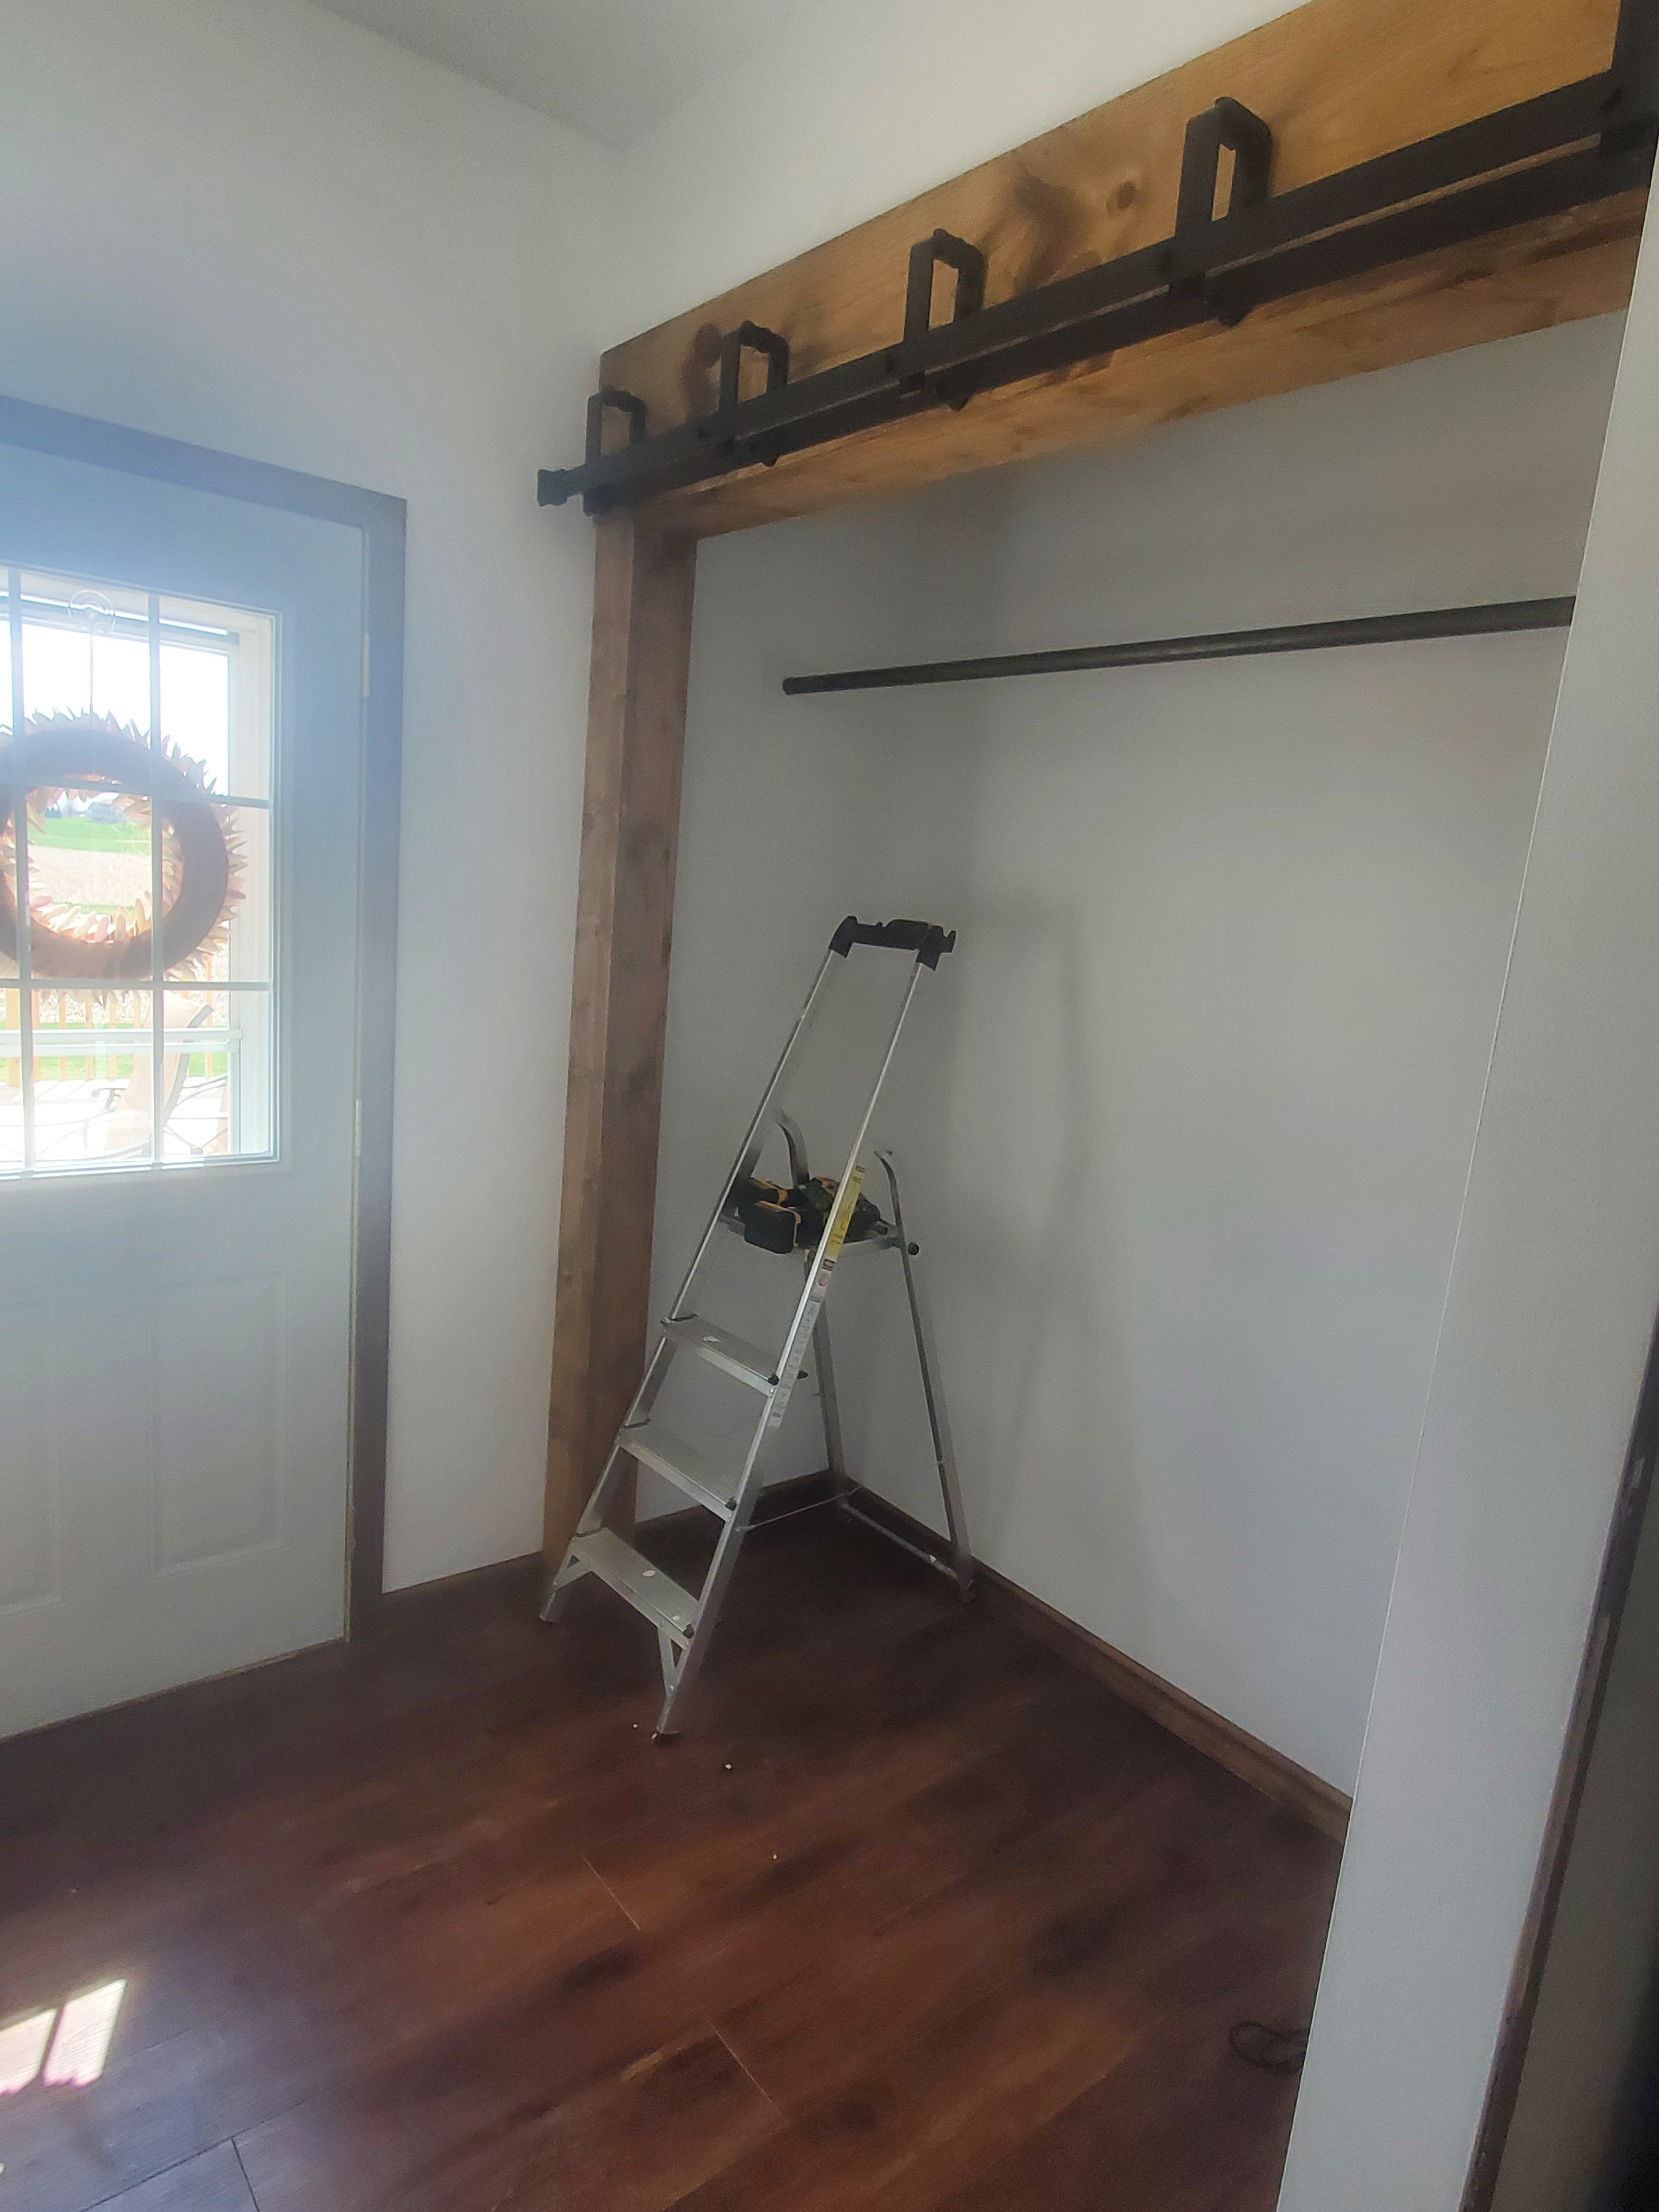
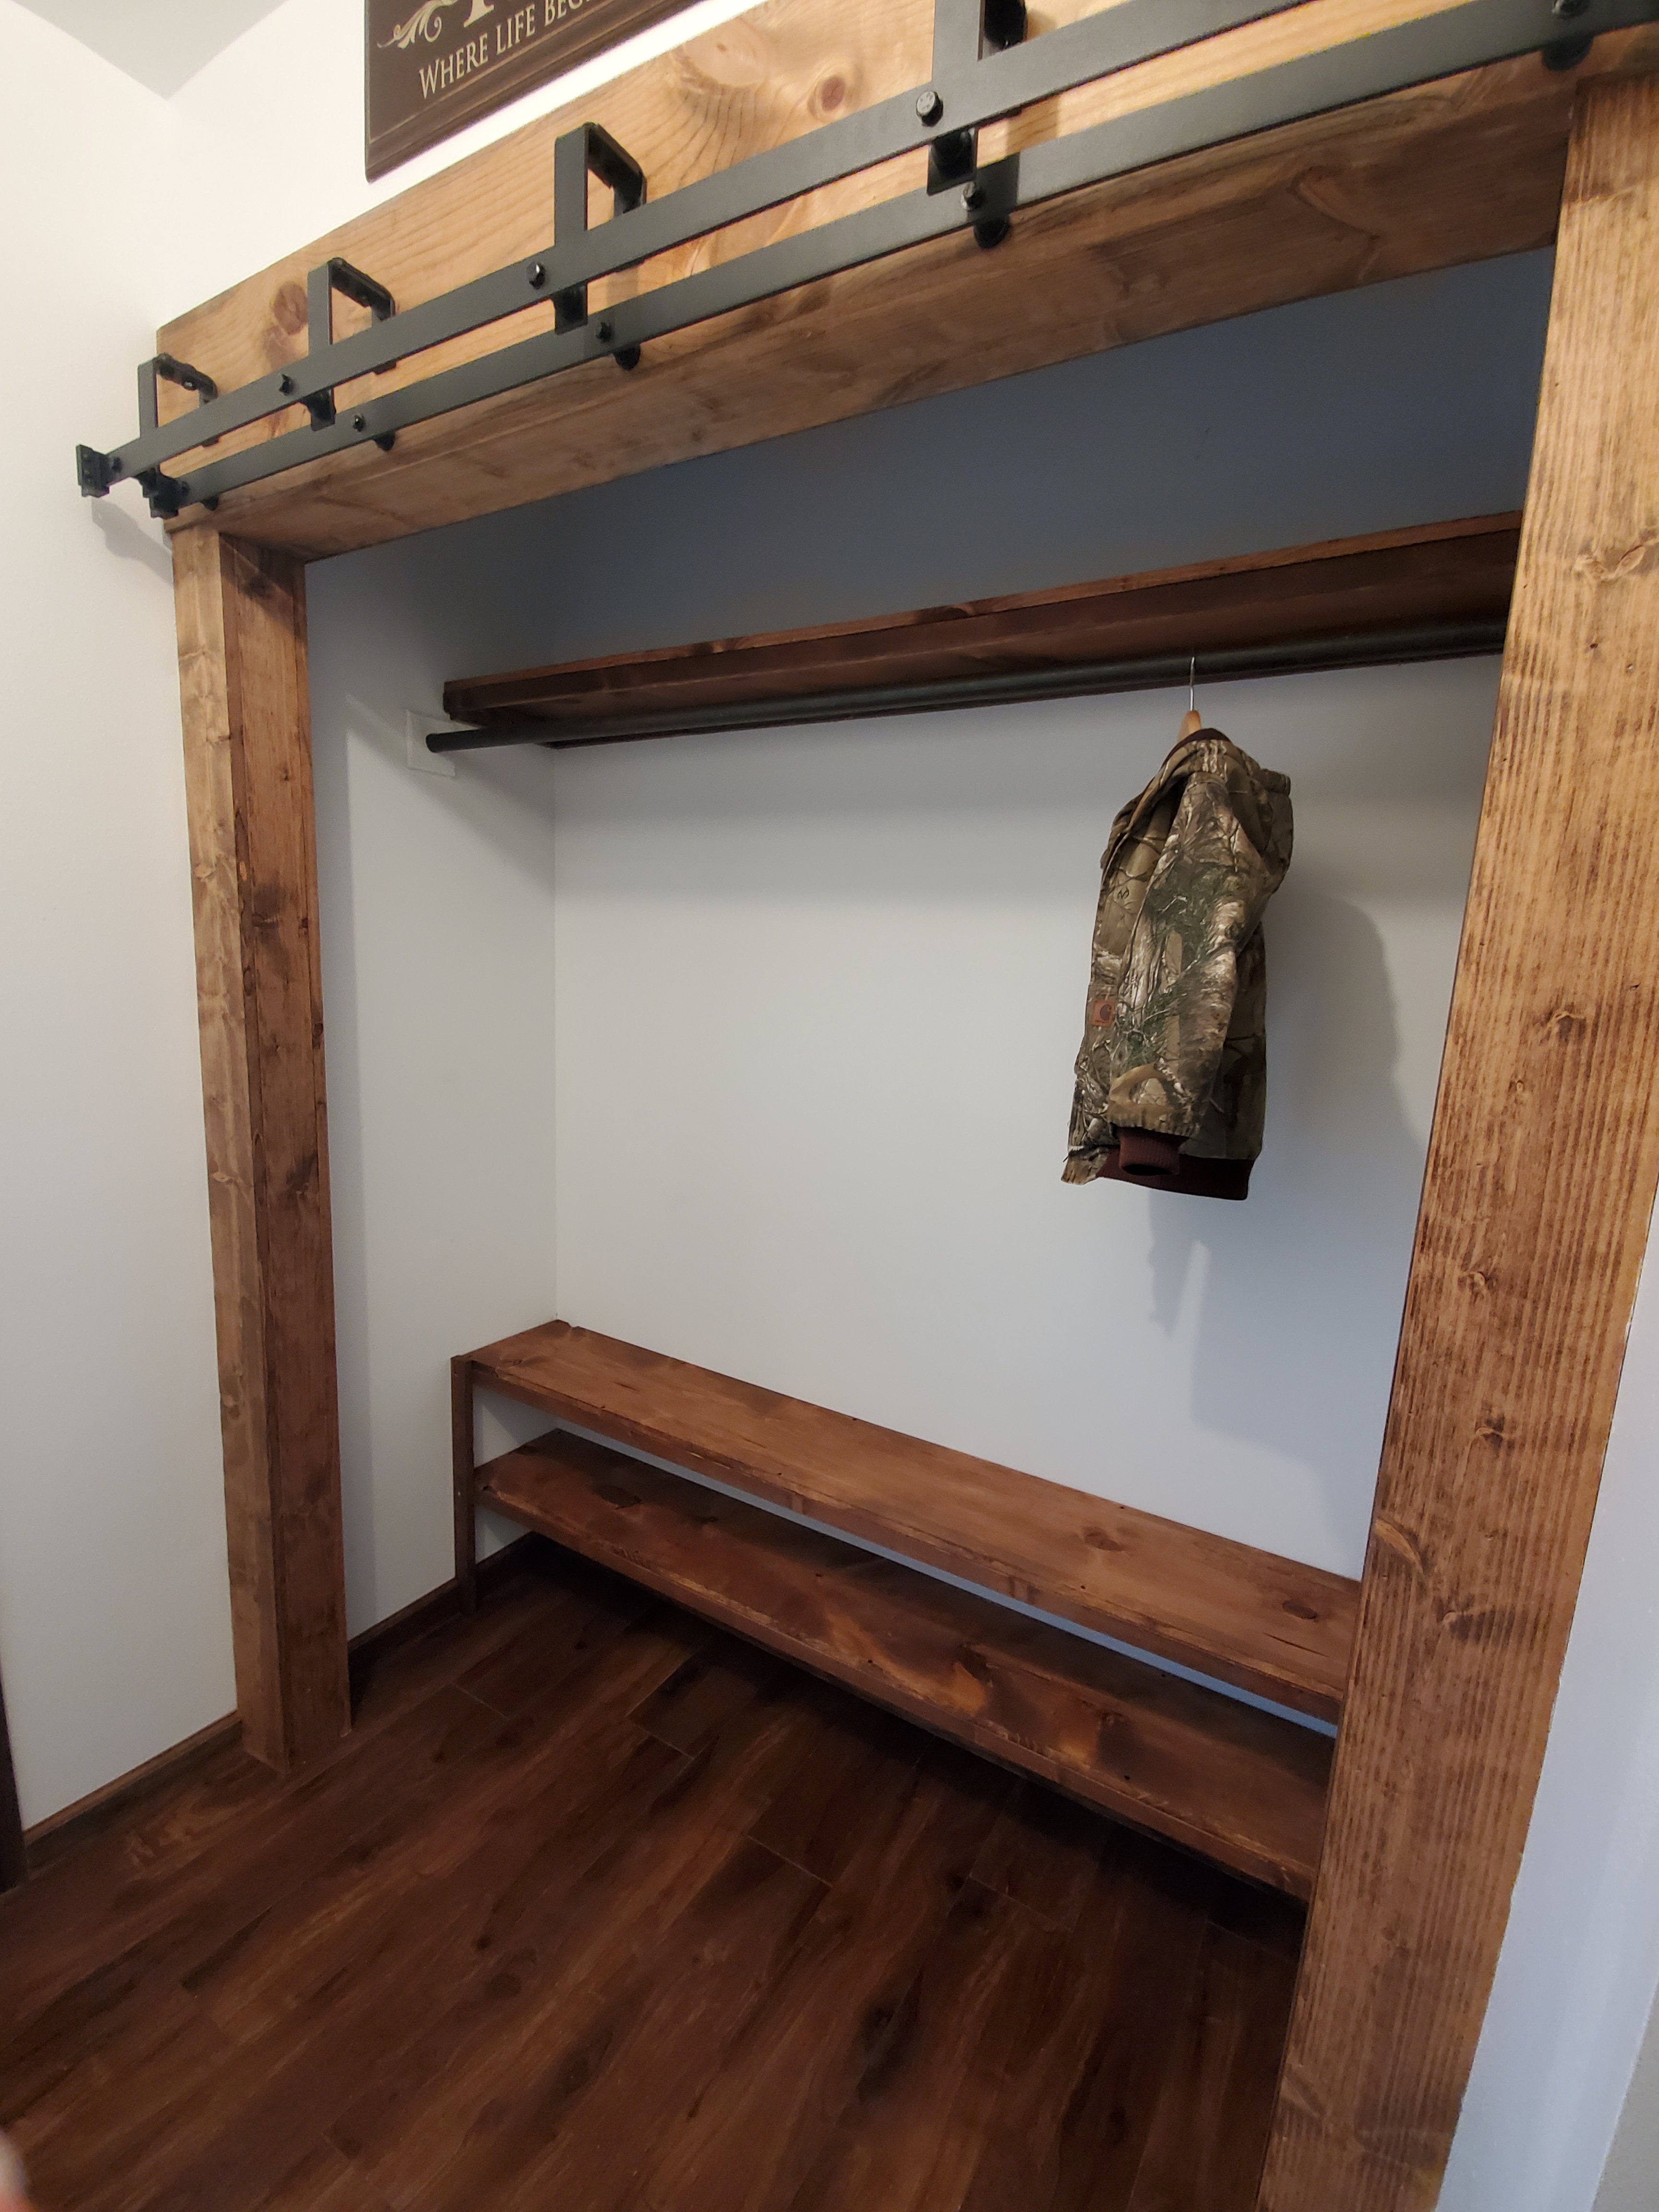
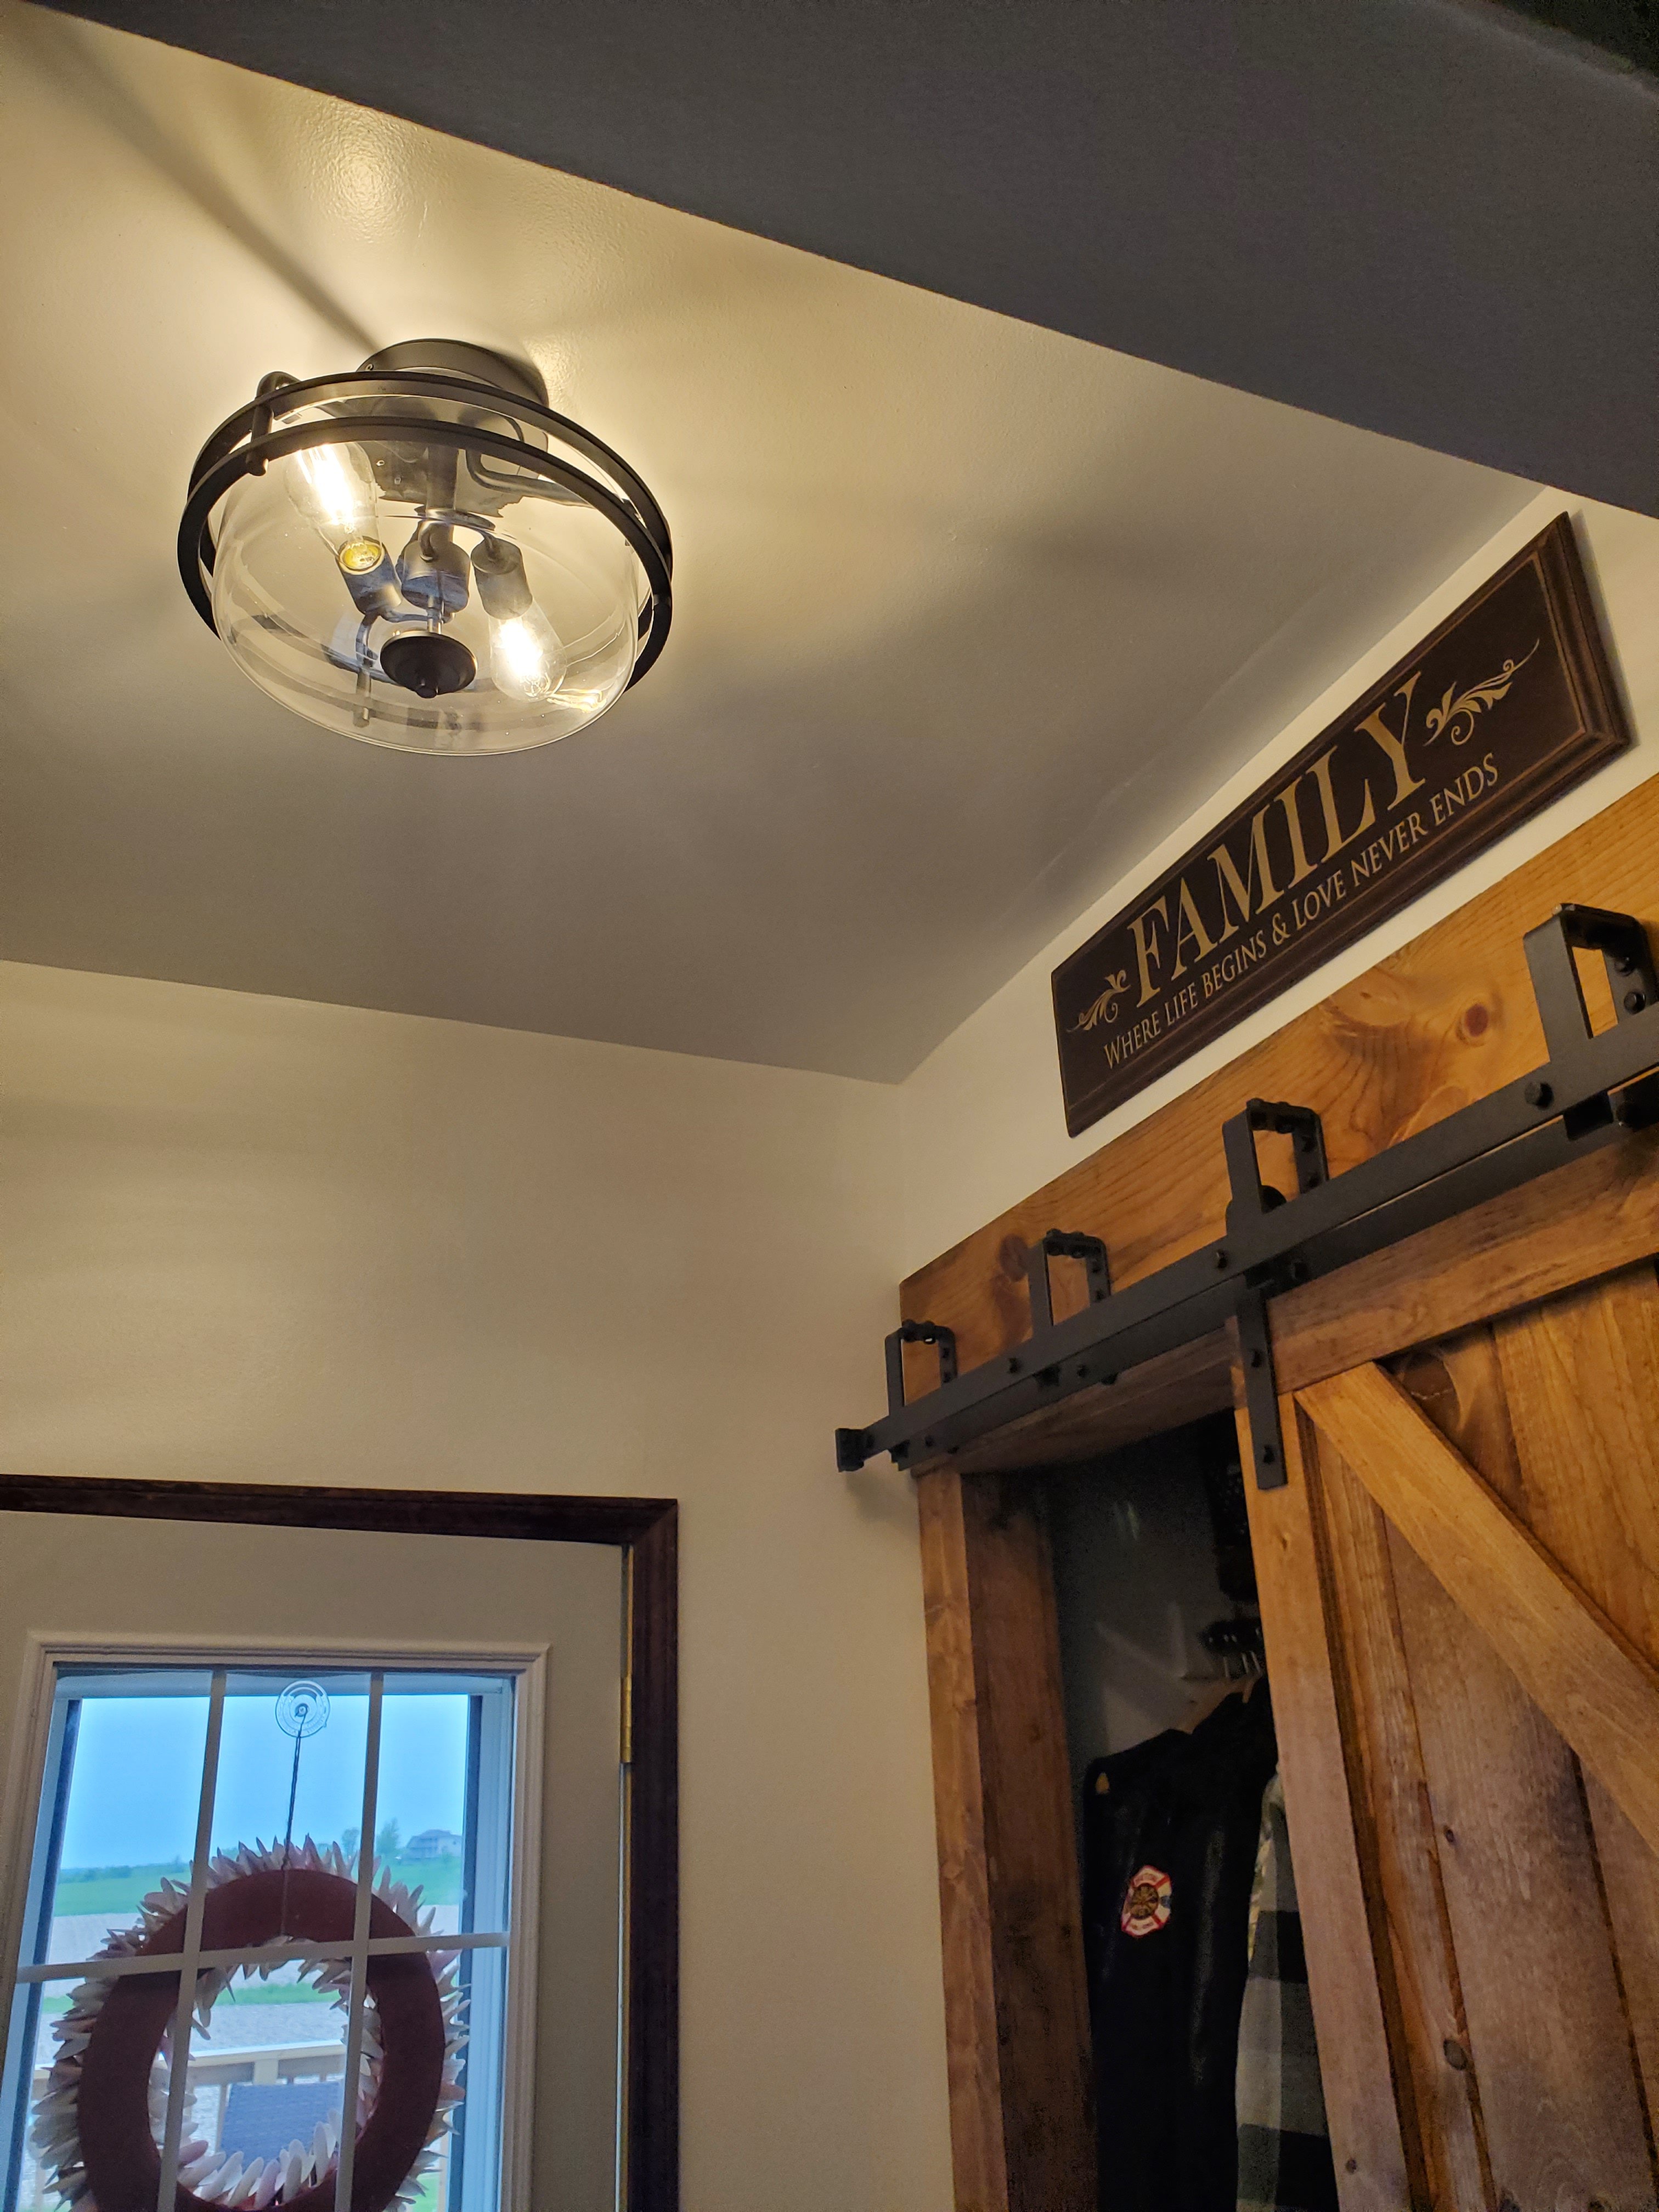
We did make the closet go all the way across the space and Jason built custom barn doors and trim. Gorgeous!
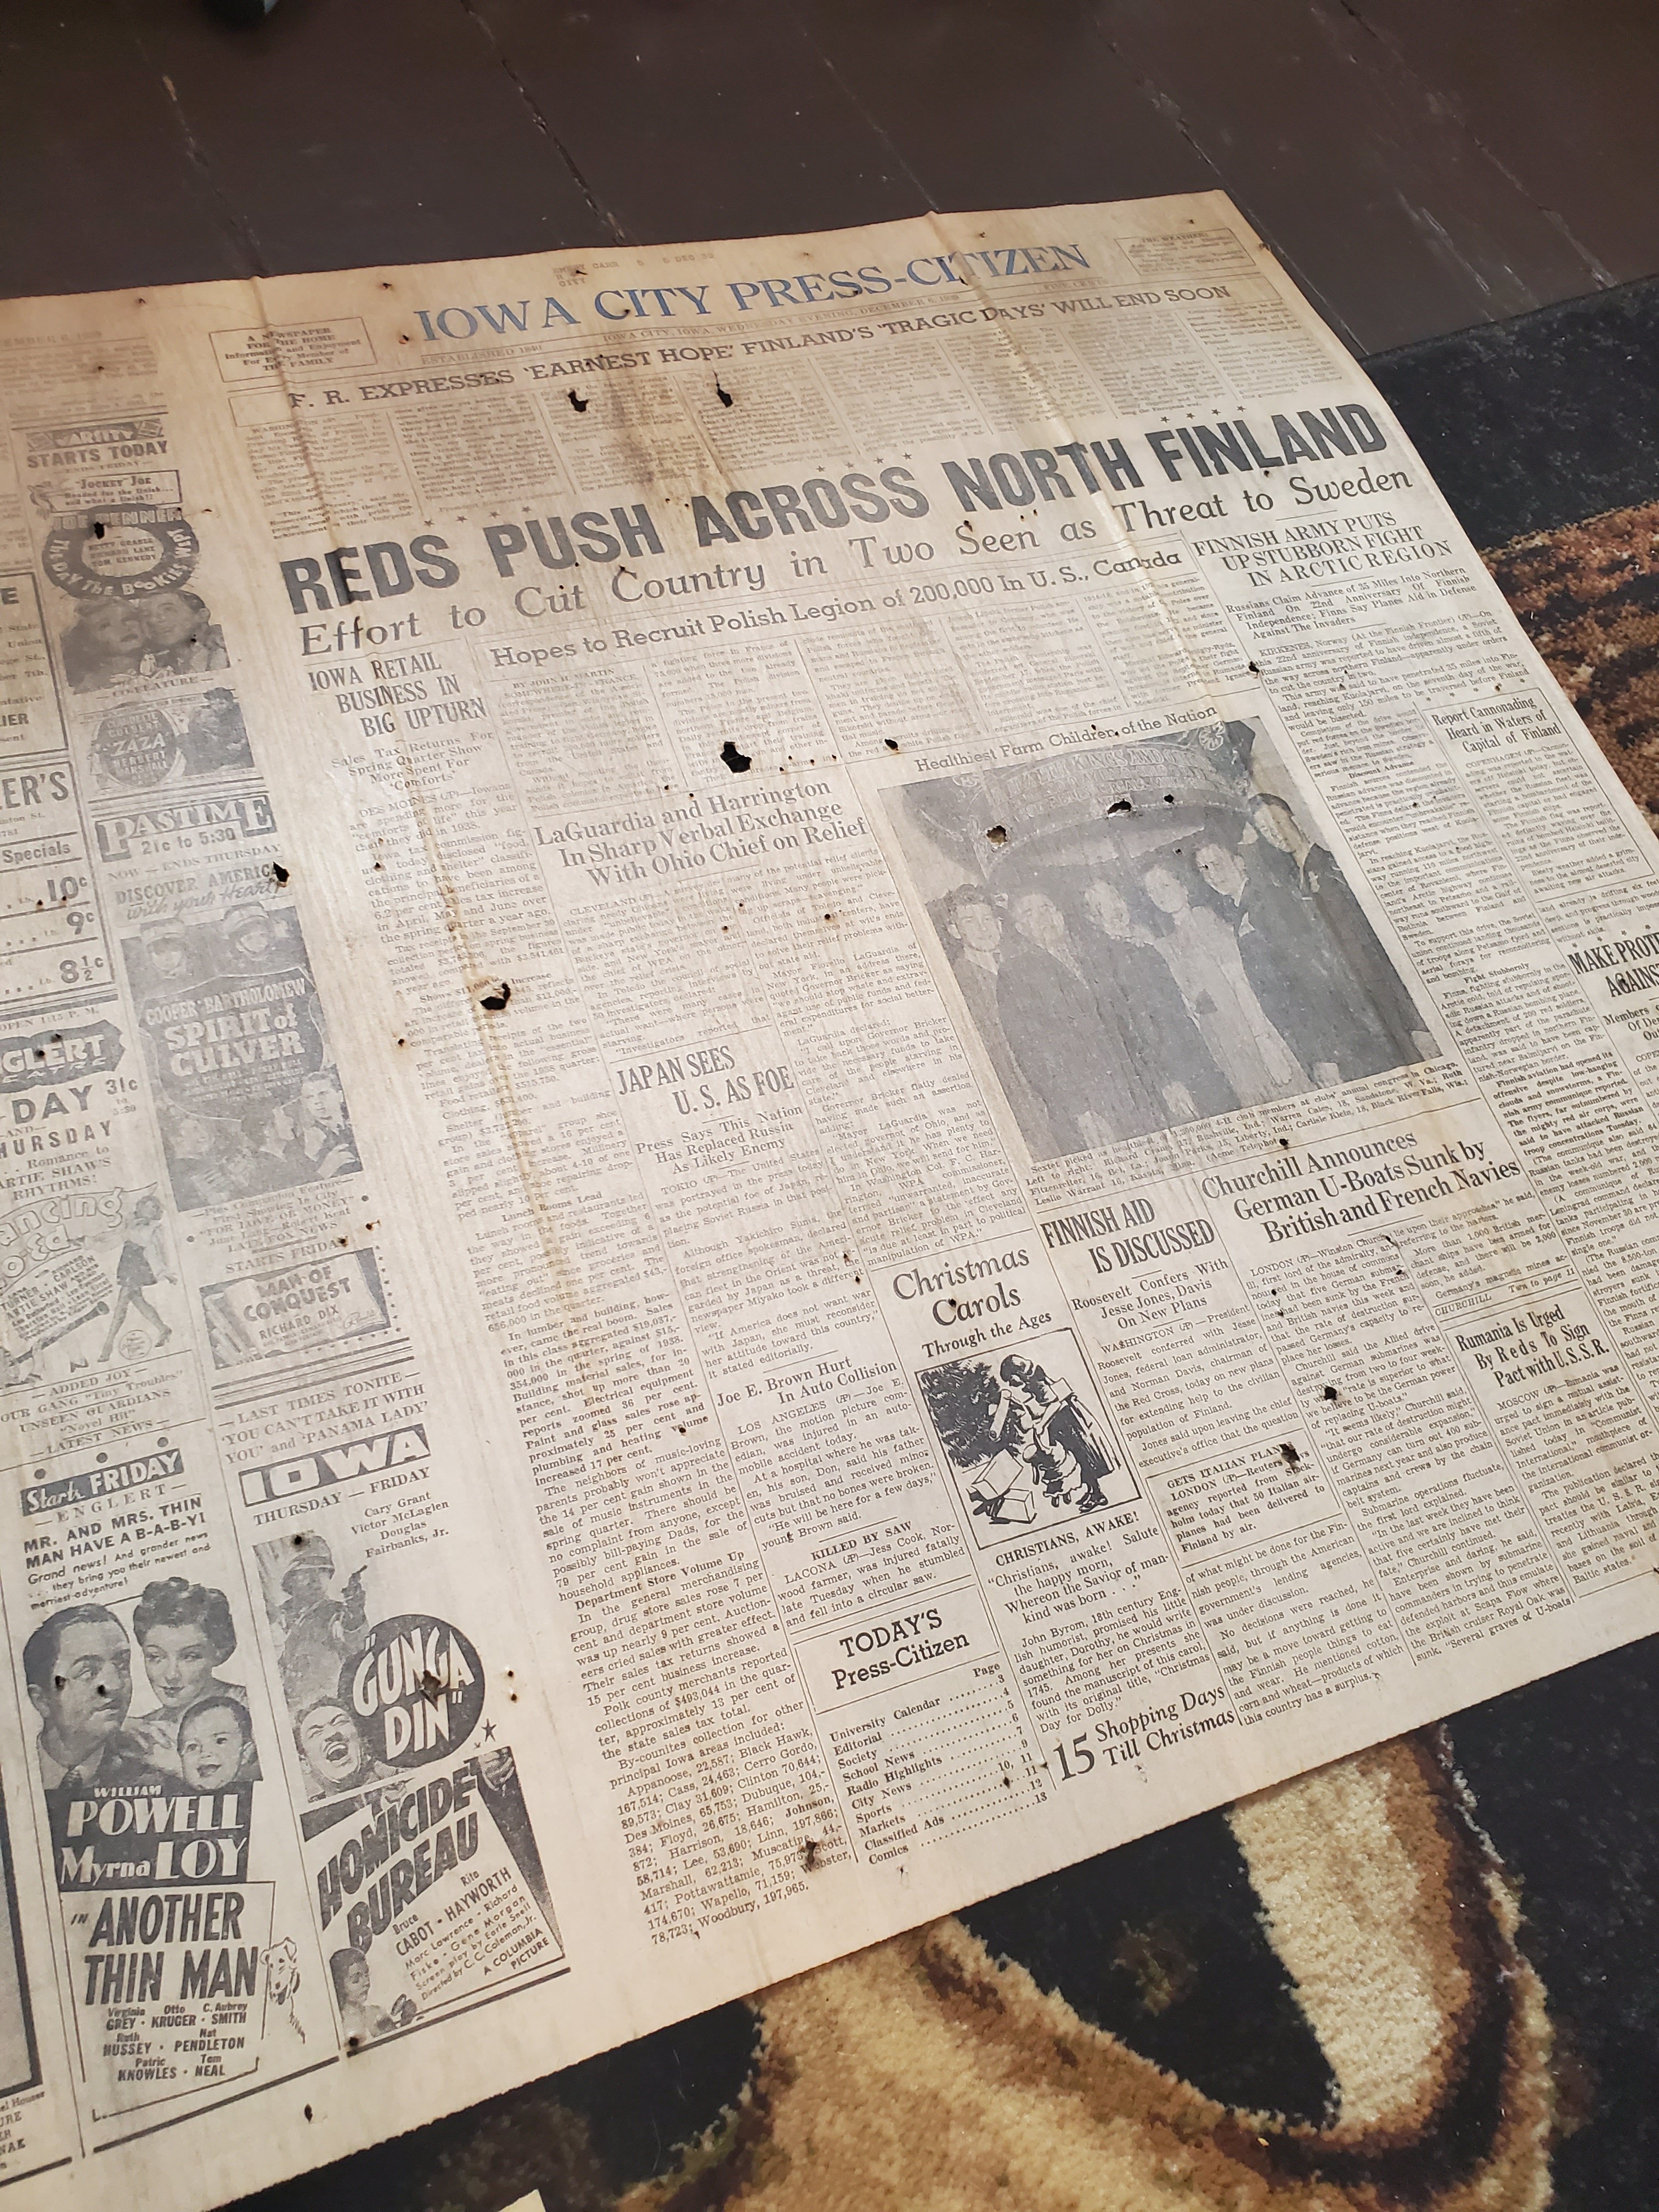
Look what we found under the flooring! Lots of these old papers from the 40s!
But now… she’s about done. (I say about, because we do still have an antique flag we are making a custom frame for to hang about the coat rack, but still, very close)


What do you think?! I think I love it so much that I need to add a chair for company. Come in further and you will see the dining room and hallway that we need to do the same too. 🤣
XX,
Jess
Why I Love My Cricut
This is a sponsored post written by me on behalf of <a href=”Cricuthttps://lnk2.io/wjcWg2L”>Cricut</a>. All opinions are 100% mine.
I have had my Cricut Explore Air 2 for a few months now, and to say I’m in love is an understatement! I’ve always been a crafter, but this things really helps me step up my game! Here I am going to talk about the 5 things that I love about my Cricut!
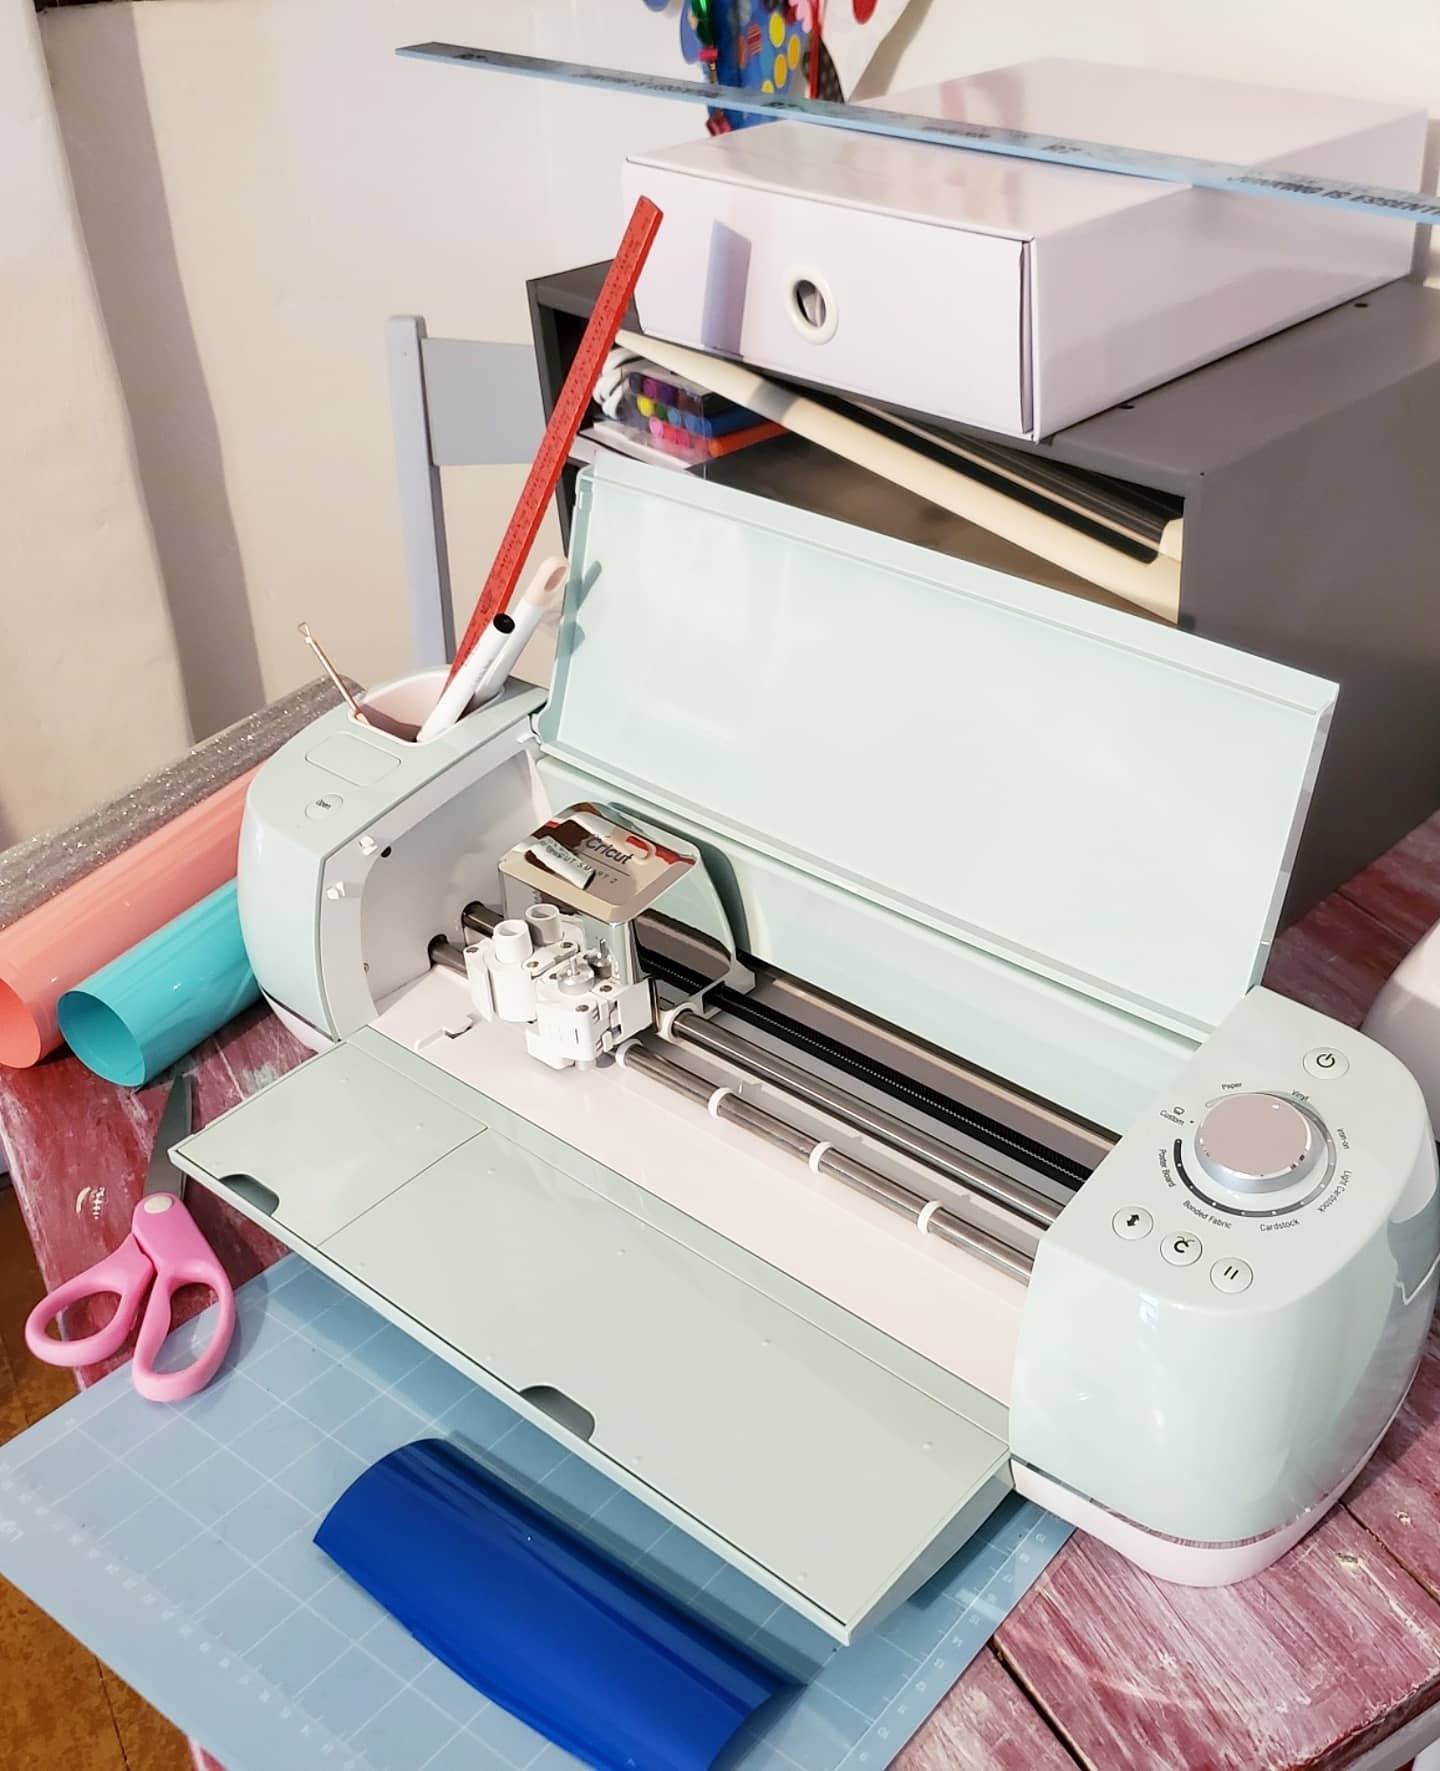
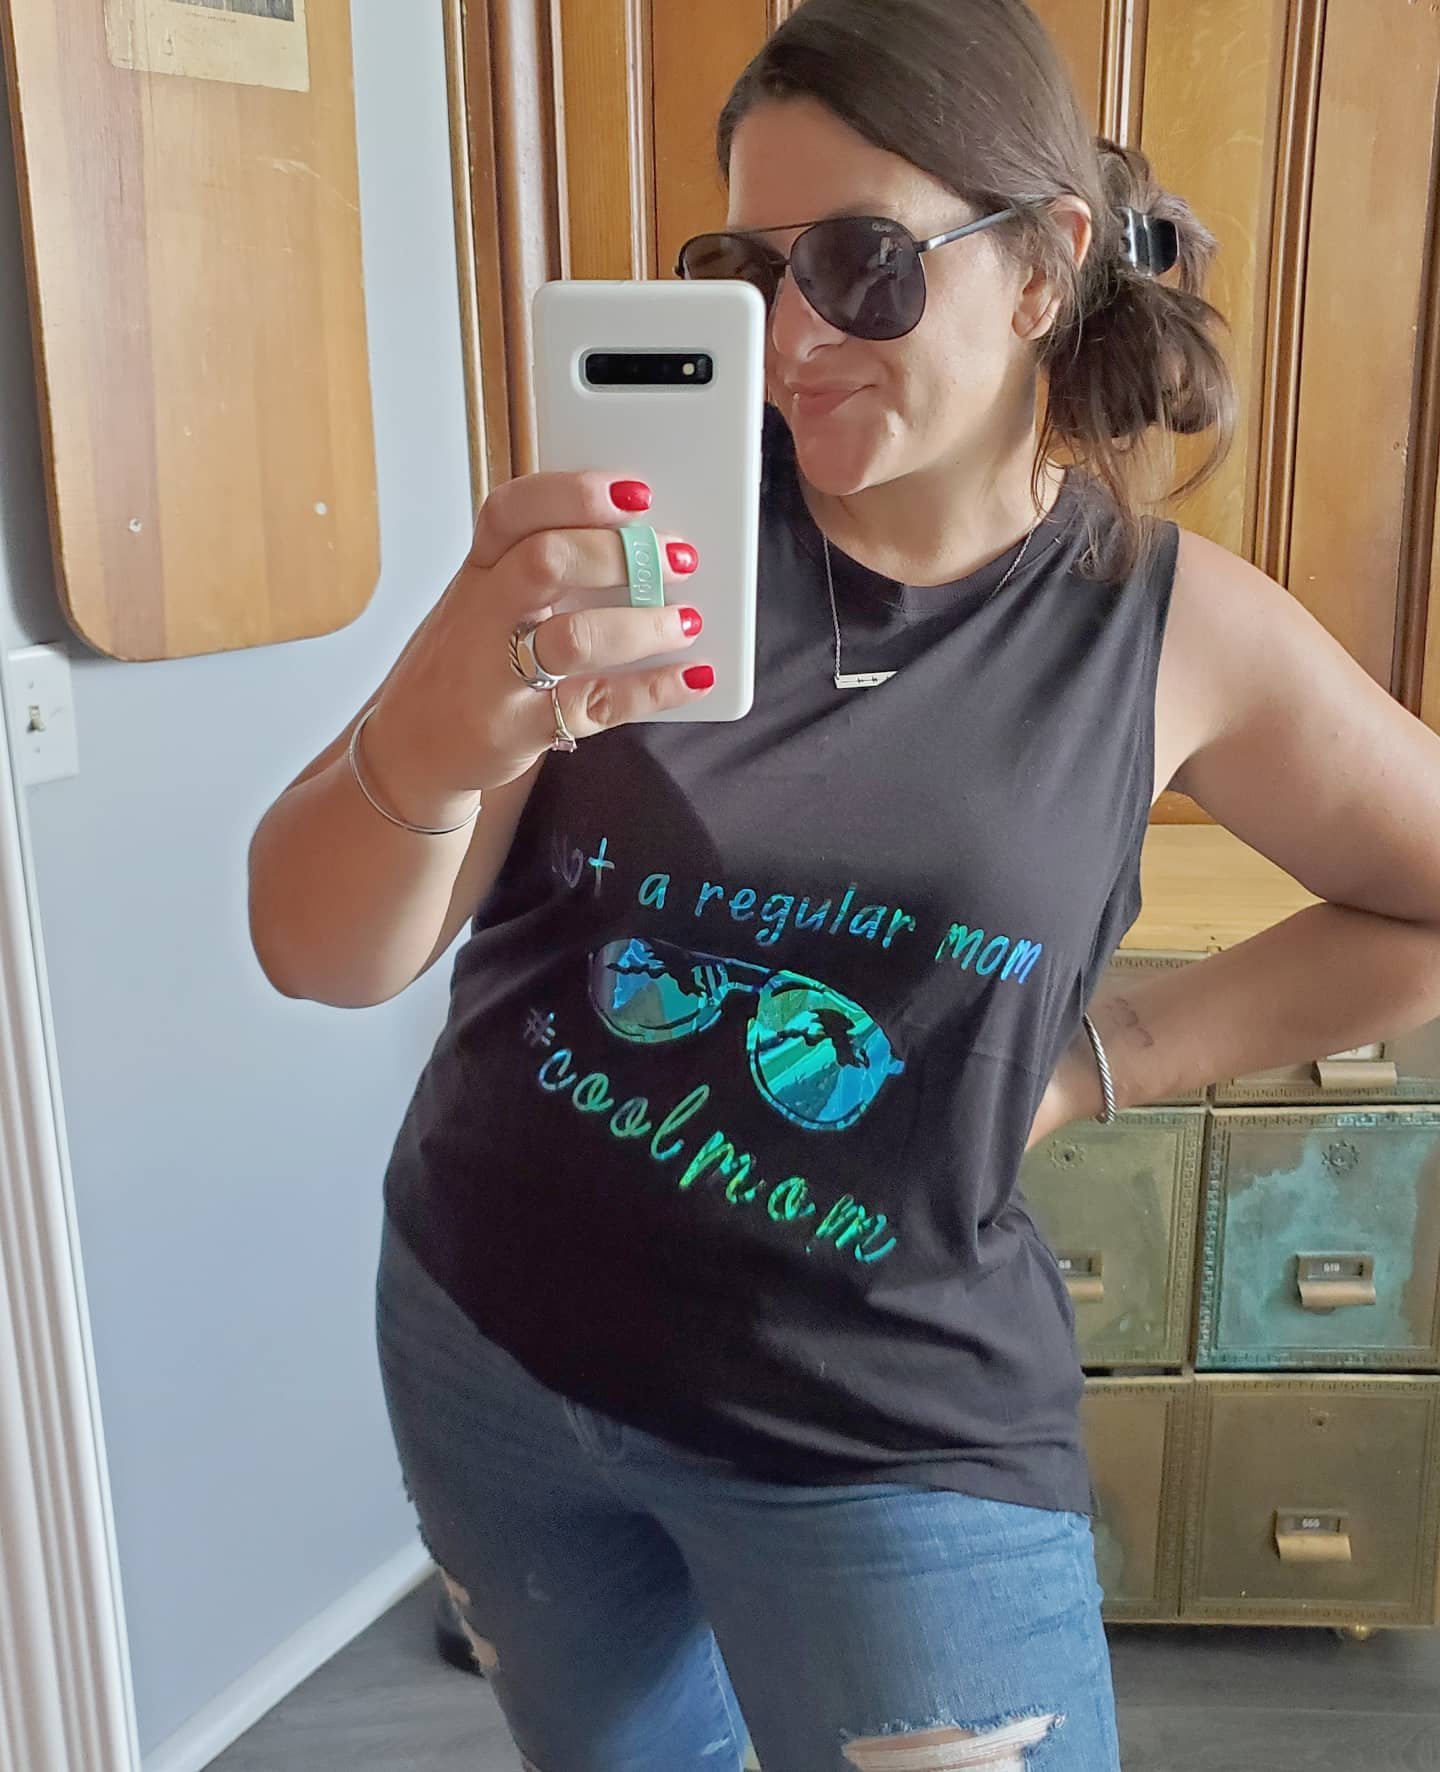
1. Its easy to use! I was truly shocked at how easy this machine is! Not going to lie, I was intimidated at first. I worried where to start and if I would be able to figure it all out. Yup. I was. Best place to start? Pick a project and jump in. They really mean it when they say their motto is “beginners luck every time.” I learn tricks and get braver each time I use my machine, but I definitely agree that picking a beginner level project and diving in head first is a great way to start and will prove to you how easy it is! Check out this shirt I made as one of my very first projects:
2. Support! That brings me to the second thing I love about my Cricut. Its like having a whole community of creators to support you. Have a question? Worried about where to begin or which type of project to do? They’ve got an answer! Not only does Cricut have a team you can email or chat with, but they have numerous pages where you can reach out to their pros or other crafters with tons of experience. They’ve all started somewhere and learned lots and are at the ready to make sure you love your machine and projects. I would know. I wasn’t sure how to customize the design I wanted to make myself for this bag, and the Facebook page group had almost immediate answers for me!

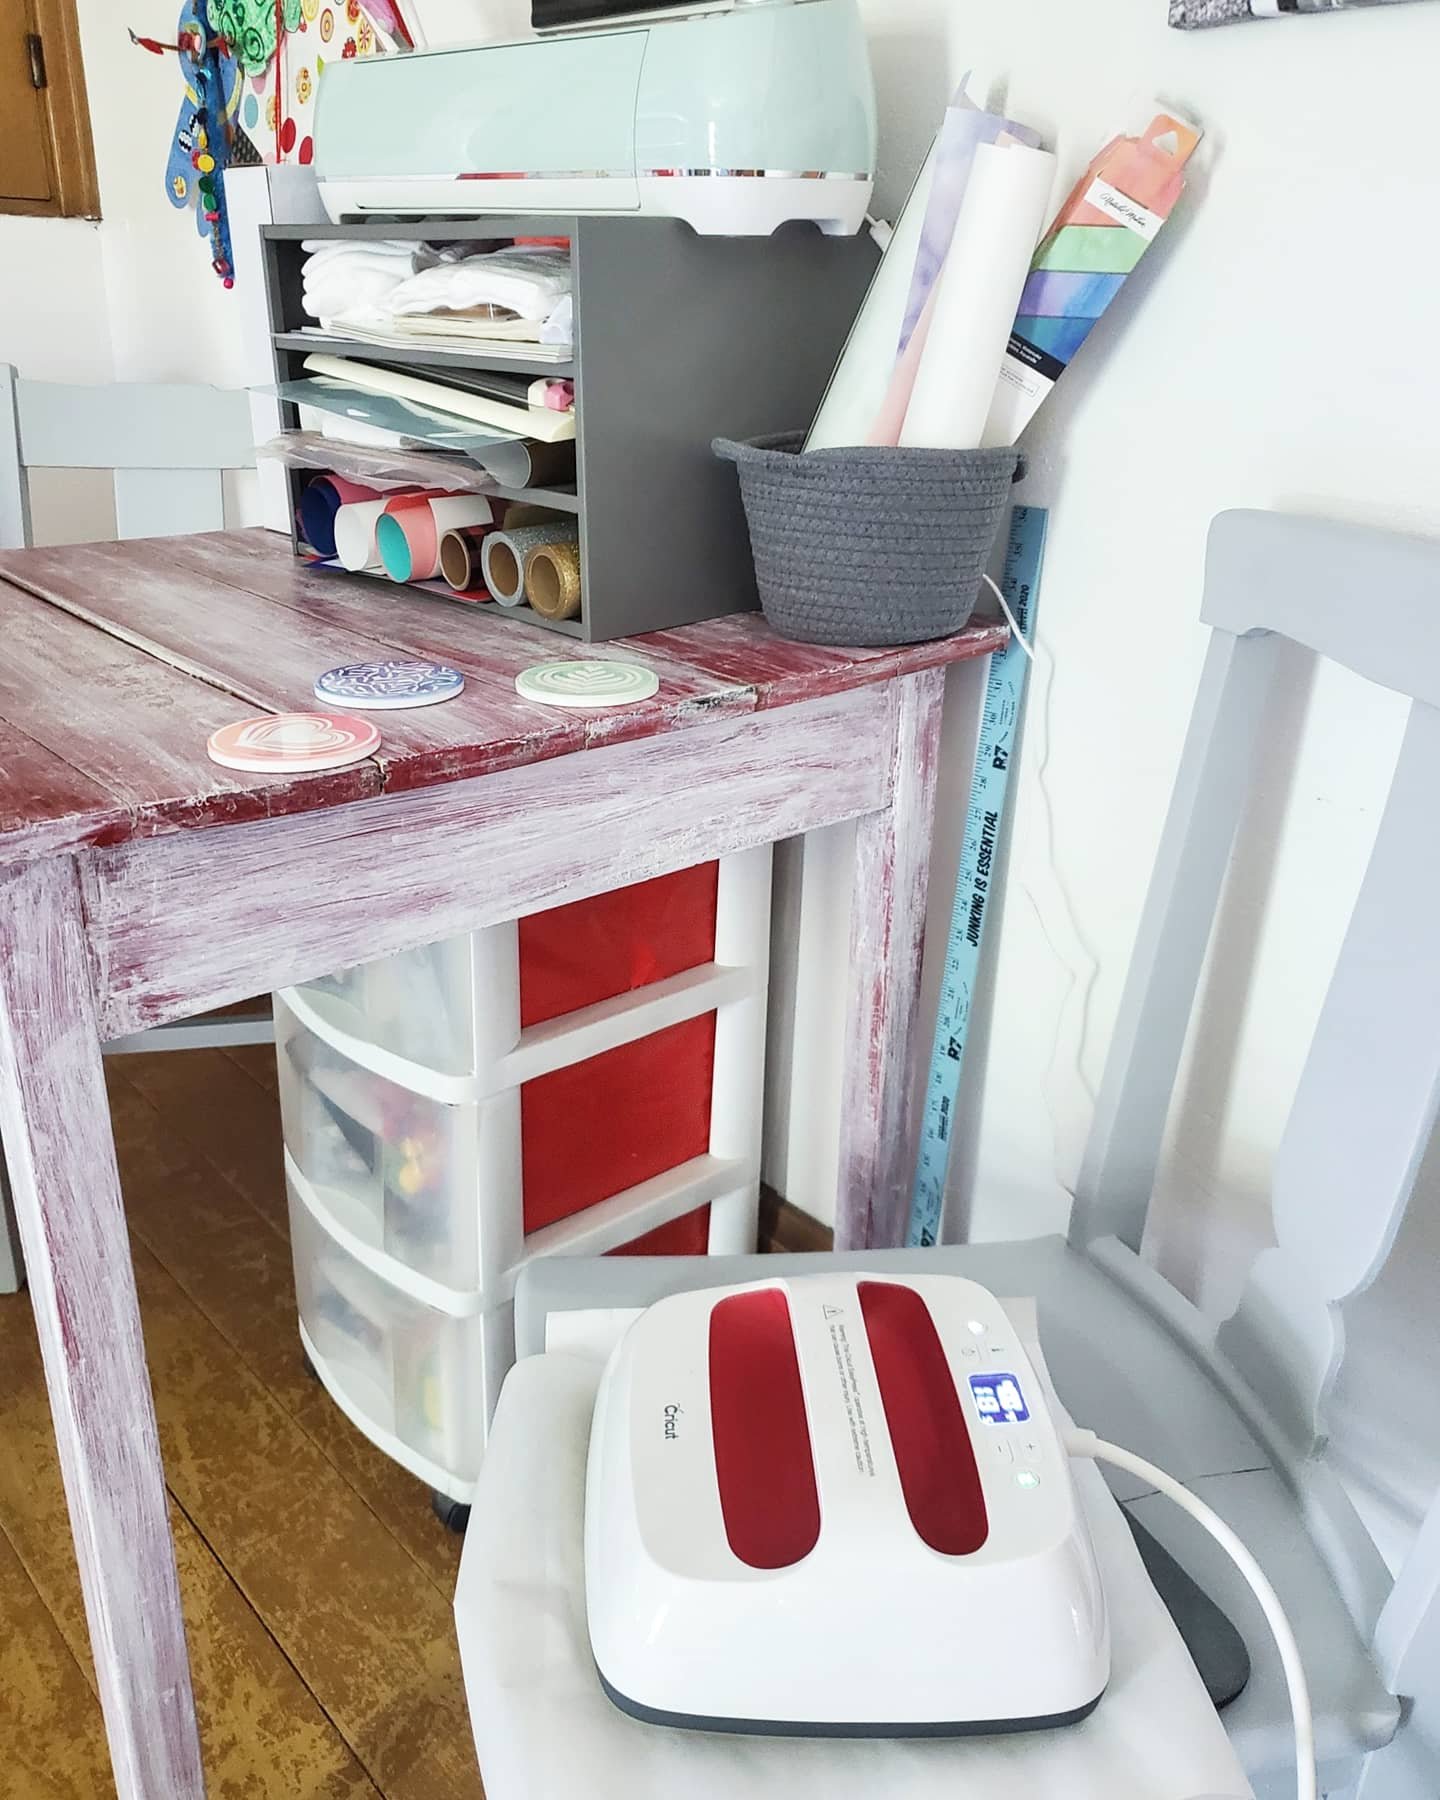
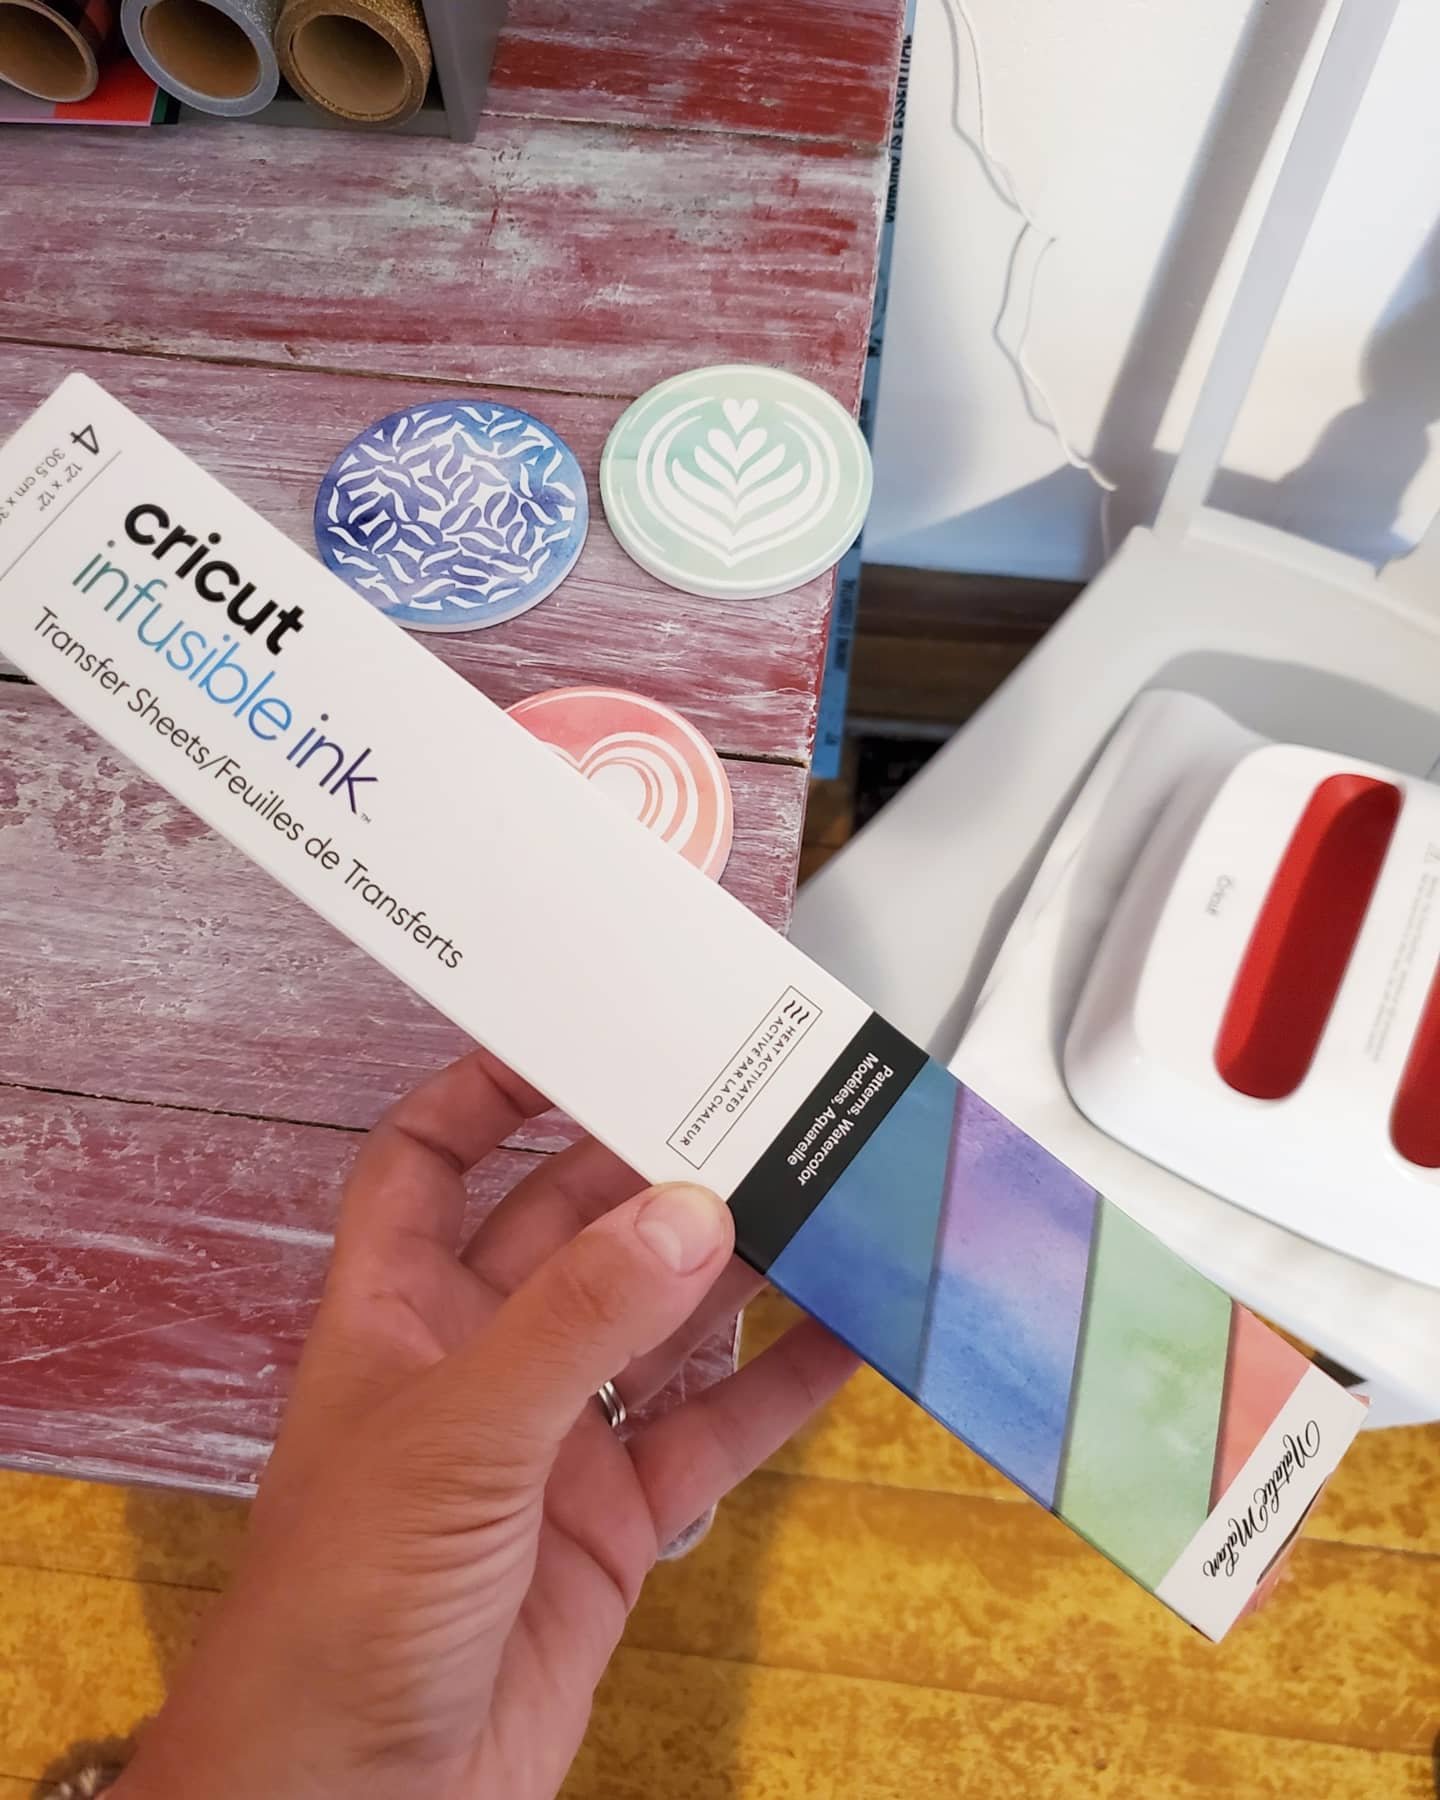
3. Ideas! This also leads me to another thing I love about Cricut, the ideas! I never worry about having a creative block. There’s no way. The ideas of projects to make are endless, for every single occasion you cak dream of. Really. You can find ideas galore on Pinterest, and Instagram, or Cricuts’s Facebook page. And my favorite place for inspiration? The Cricut emails! They send seasonal emails showing the new ideas and templates added to Design Space, their app for making. How did I know about the new infusible ink and coaster blanks to make these? One of their idea emails! Light bulb!

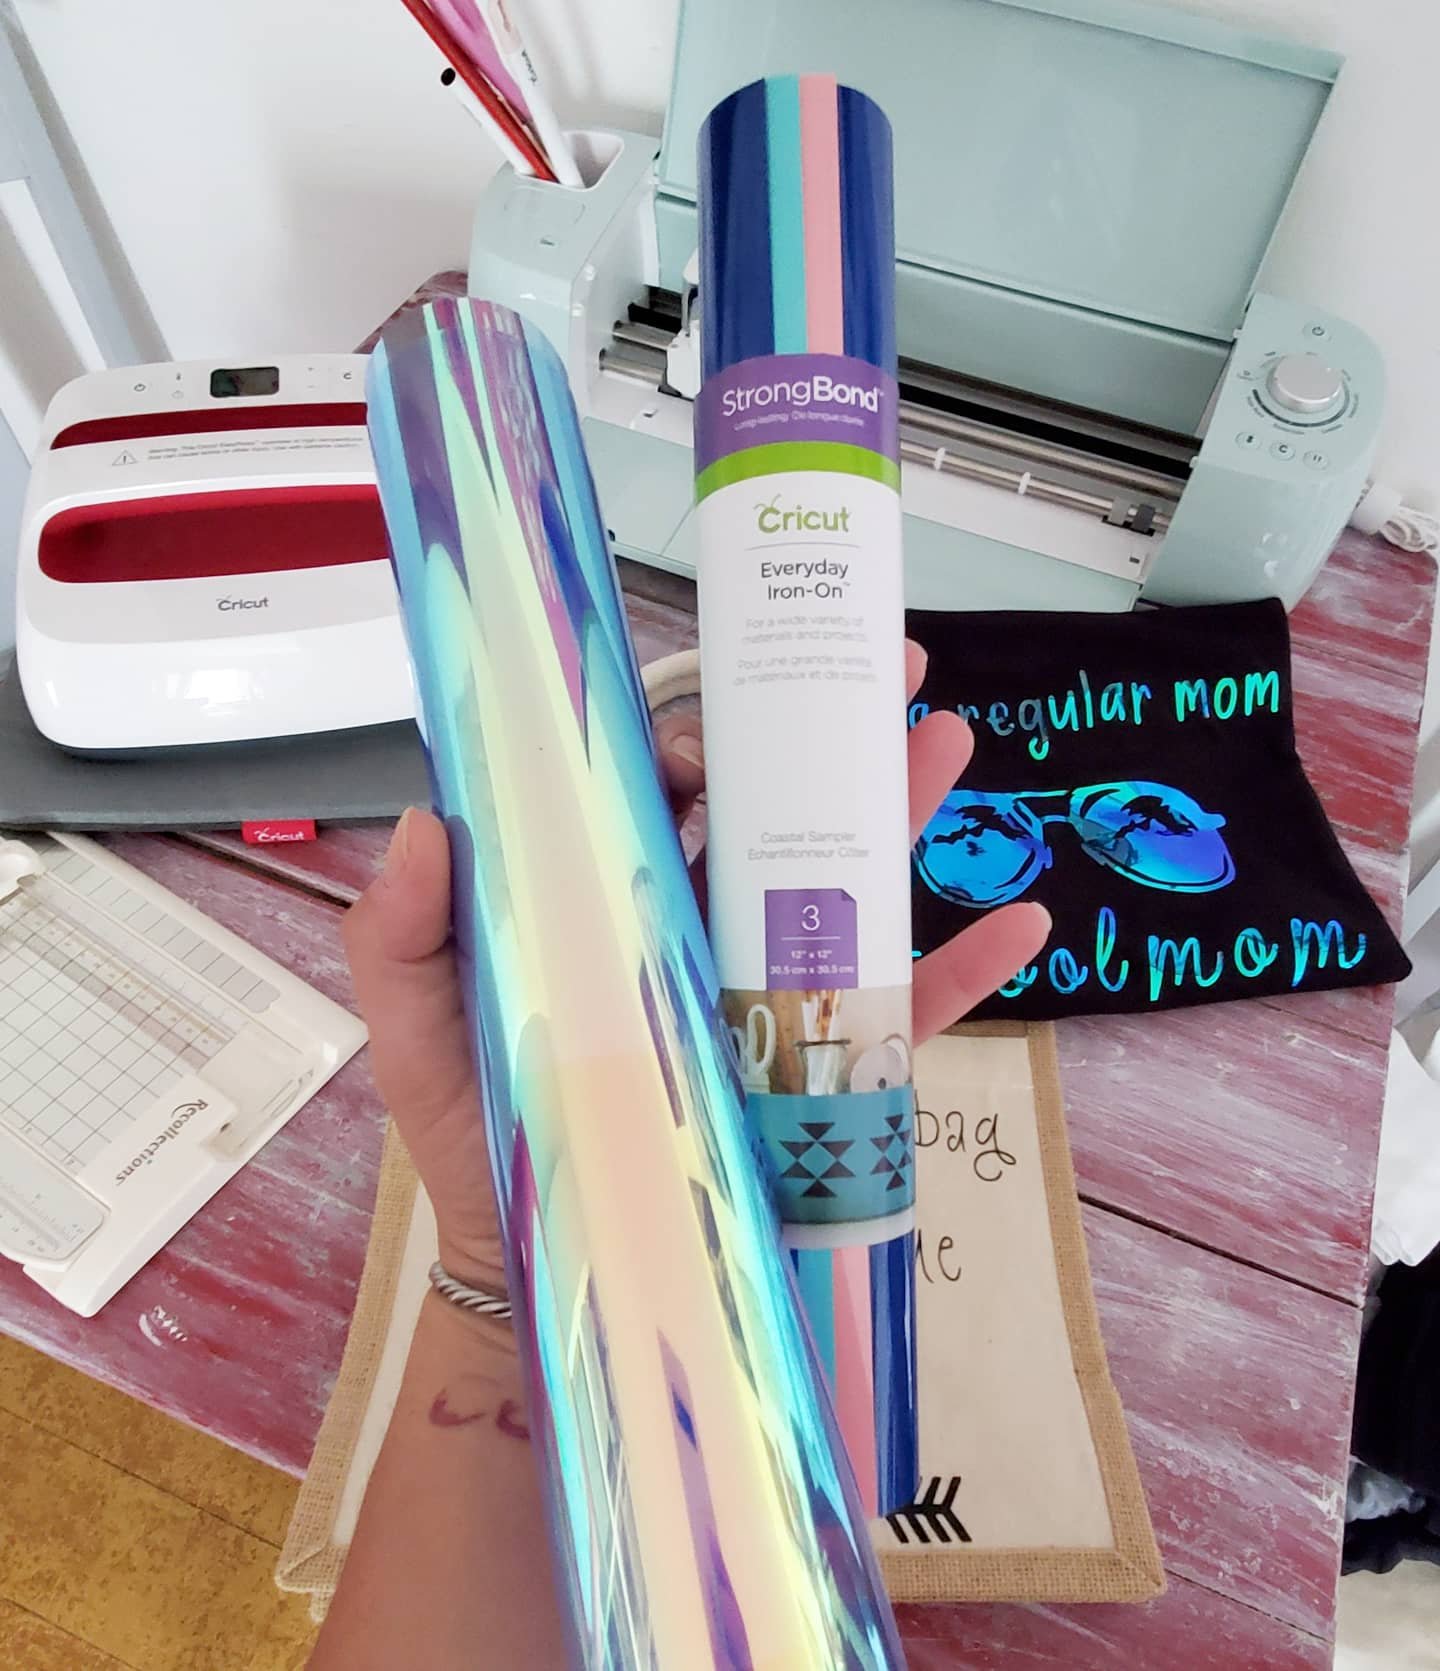
4. The options! Got a bright idea to make? You can! And Cricut can help you do it! The options they supply for you is endless. Or almost. Not only do they help with the ideas, but they make it easy to find all of the supplies you need to make visions come to fruition. They have coasters, bags, shirts, materials, pens, markers, vinyls, decals, iron ons, and the widest variety of patterns in their supplies you could imagine! Sparkles, holographics, leopard, wood grain…their possibilities are never ending! Not to mention, cricut has other machines like the EasyPress, and tools like mats, cutters, Nd weeders, to make all of the options come to life!

5. Capabilities! This machine not only cuts paper and vinyls. I was shocked to learn what all it really can do. Like blown away. It can cut leather, poster board, felt, fabric and even wood. But it doesn’t just cut, it can score. And it can draw! Yup! Shocked?! Me too. You can insert pens and markers into the blade holder and it can draw or write, making handmade cards, letters, signs… mind blown.
The capabilities combined with the Cricut options alone shows you that the possibilities are truly endless. I cannot wait to do another project every time I finish one! And now all of my gifts will be one of a kind made by yours truly!
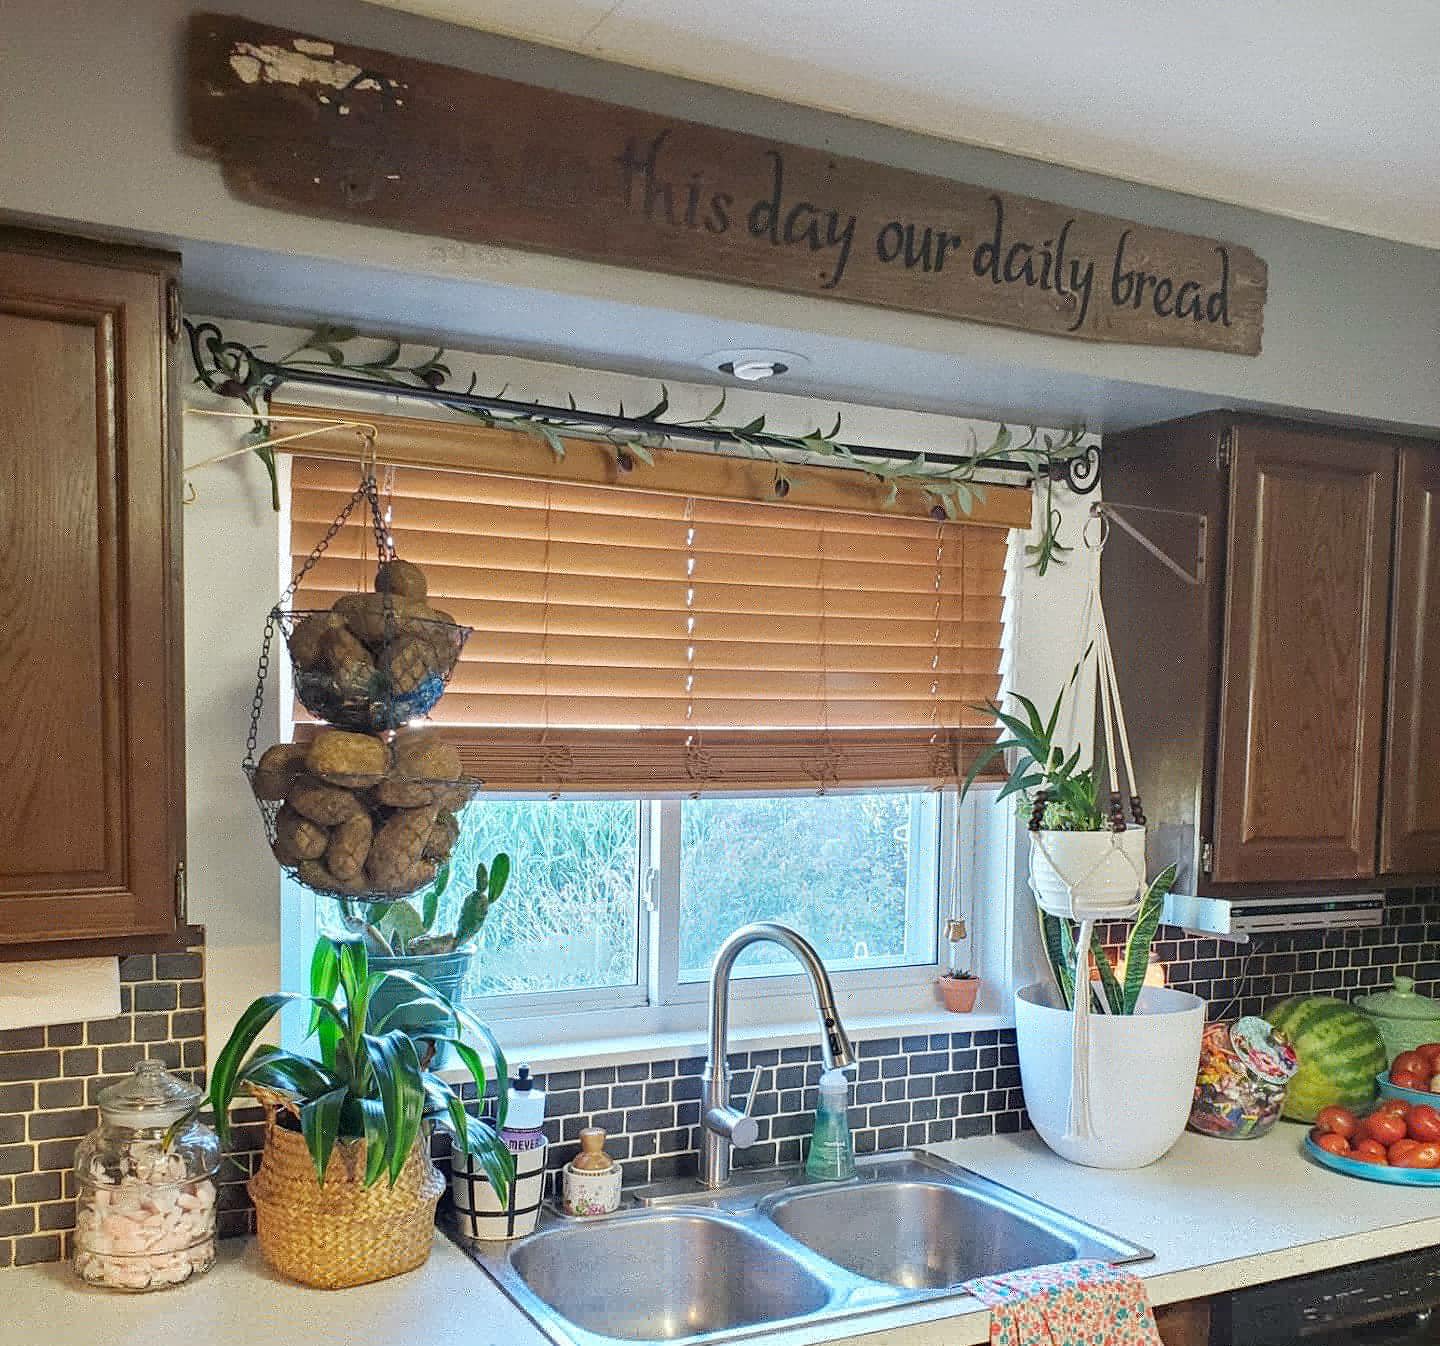
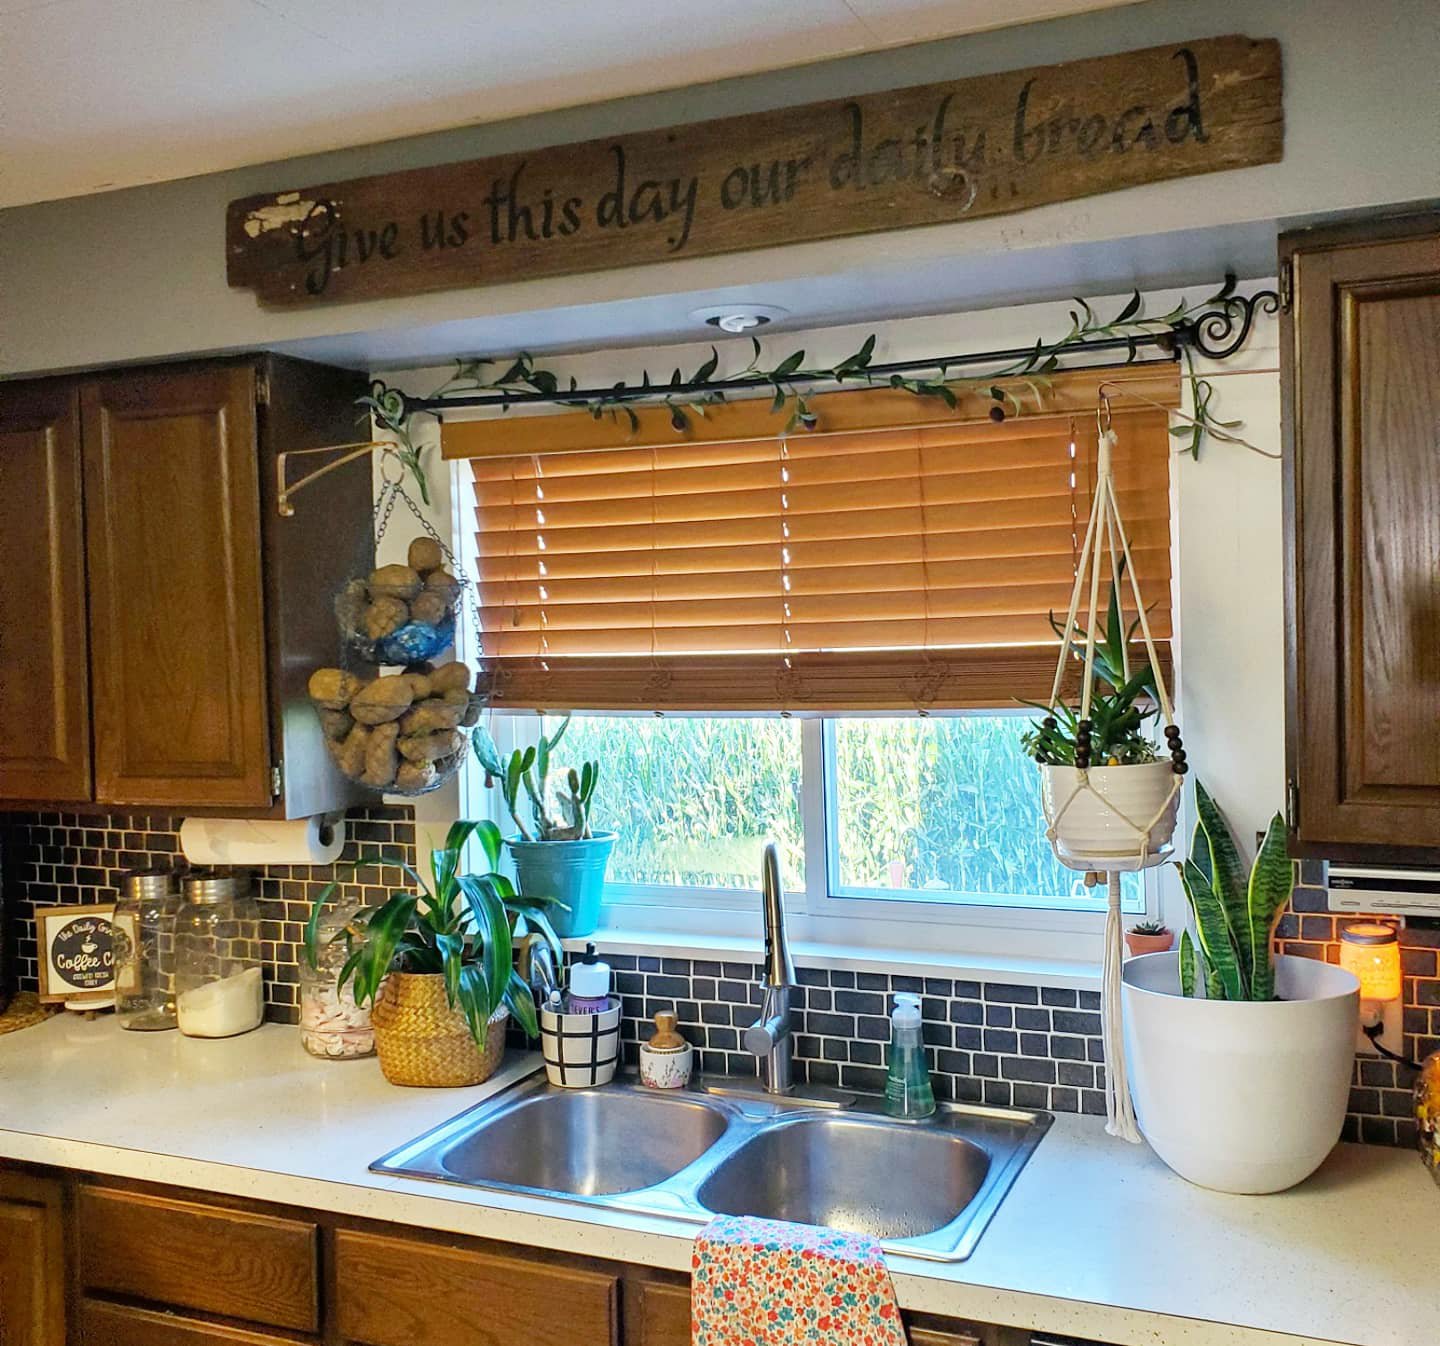
Here’s a quick breakdown of my latest project, a sign for our kitchen.
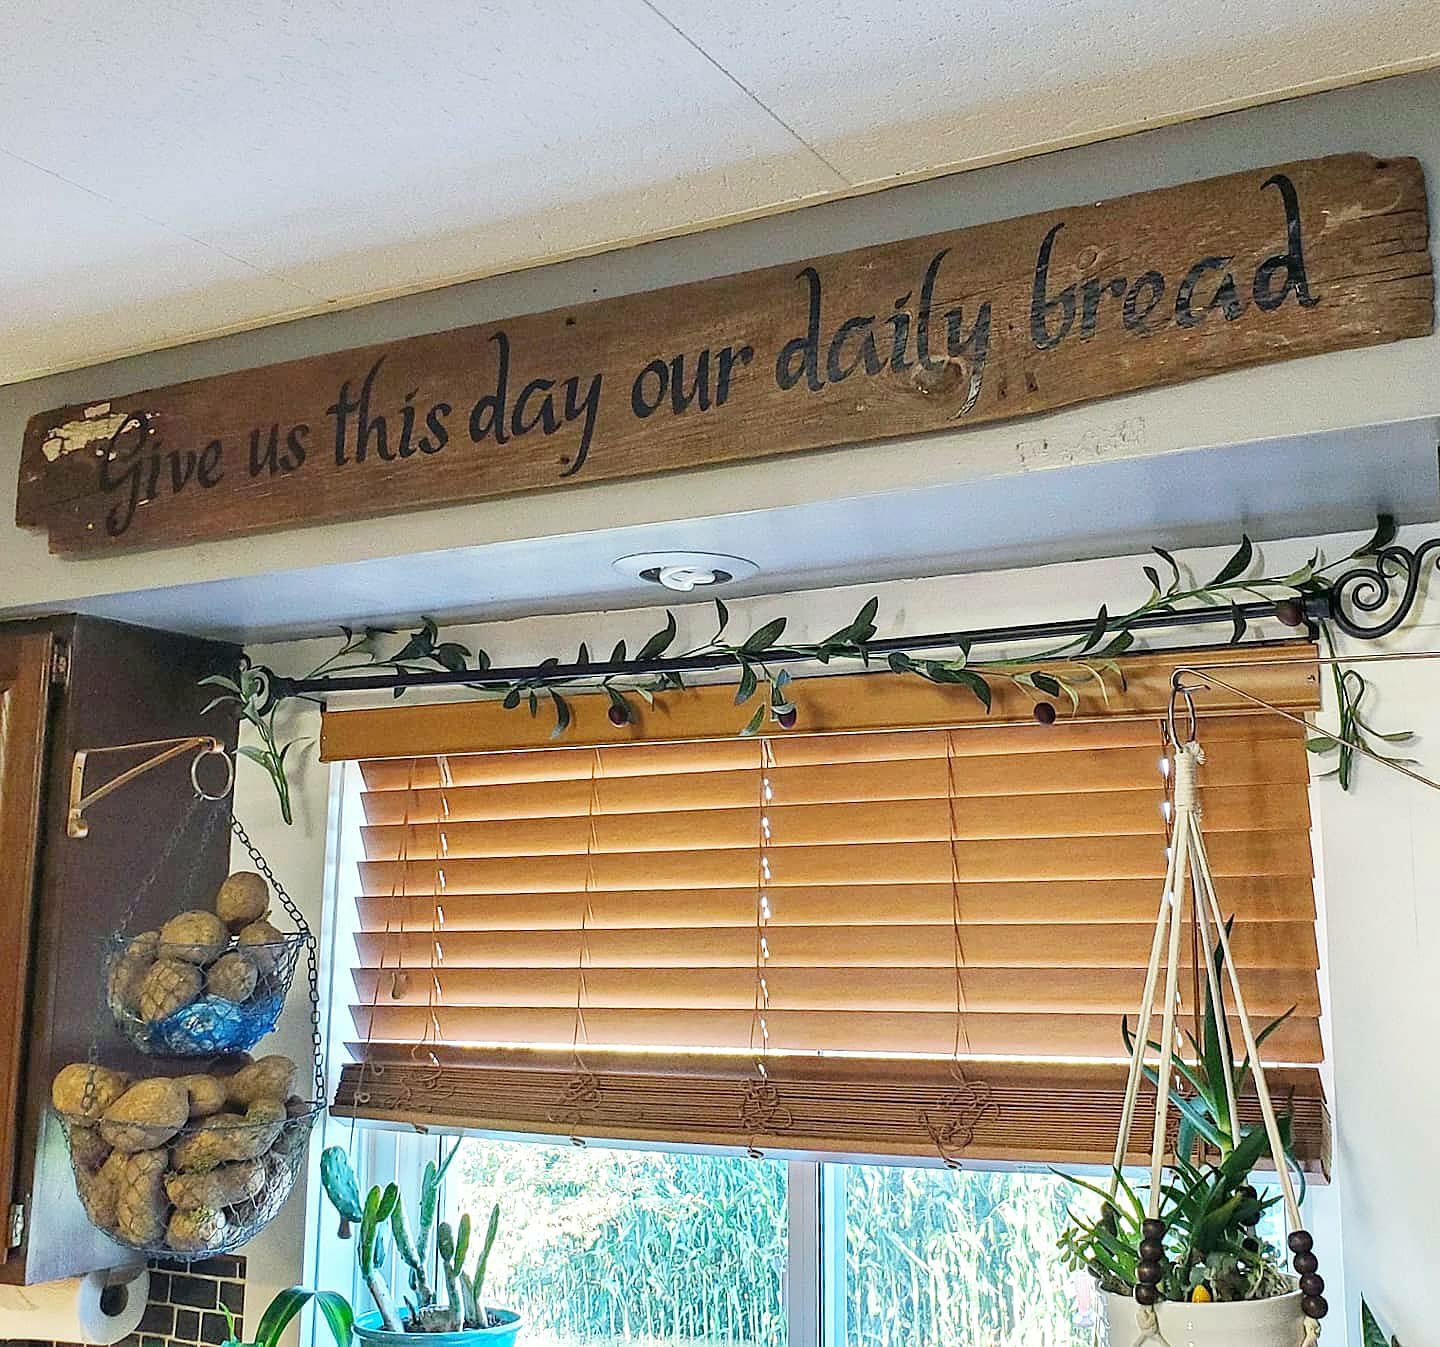
Choose a board and a quote. My board is a faded, chipped, barn board from our barn. (I’m sure to some the white paint left on one corner and the odd shape caused by years of cattle wear are not pretty, but we loved this board! 😉
Then, start on the Design Space app, and find my design template here. My board is 5ft long, but you can edit the design to adjust measurements. Once you send the design to the machine and it cuts it on vinyl, weed the excess pieces out. Use transfer tape to pick up your design and stick it down in place on your board. You could add flourishes to the ends of your quote too! You can change this design and even choose your own color vinyl. I used matte clear coat over the board to ensure no edges lift since I chose an old, rippled barn board for my project. Add a hanger or two on the back and hang. Easy peasy and a great one-of-a-kind, beginner-friendly project!
Have questions? Need help or ideas? Just ask! 😘
XX,
Jess
DIY Serving Tray
This has been on my to-do list since we moved it. Or maybe even before. But it became even more urgent when we bought the new couch with an ottoman. Now I have no room for a coffee table, but that means nowhere safe to put drinks and essentials. However, the previous owners left us lots of junk in the barns, so this one was a snap.
Gross old window uncovered in a heap in the barn:

Add some barn door hardware as handles:

The window was in surprisingly great shape once it was cleaned up, so I added a little paint and distressed the edges, added the hardware, and then used an Uppercase Living decal I had packed away on the glass. (I had minor trouble with the decal, so it may get a new one in the future. Talk about frustration!) And here you have our new serving tray:

Just finished this little guy and we already love it. We think it looks cute in that rustic way, but is also super handy!


Well, what do you think? We are happy with the way this quick and easy project came out! Have you ever tried anything like this?
Sneak Peak of the New House
We are completely moved into the farm now, and even had our housewarming party. And, we are loving it! There are color and arrangement changes we’d like to make in the near future, but for right now we are settled! Soon I will have a full tour of the place for you all, but for now here are a few tid-bits to get the feel for the antique unique-ness of our new home.
Here is a shot of my closet. Yes, I said MY. And, yes, this whooole space is the closet! Wow is right. Its like my own personal dressing room. Oh, and I might be nice and share one or two shelves. 🙂

This is a peak into our bedroom. The bedroom is sunken behind the closet. The beams on the ceiling you see here are barn boards from our barn. And isn’t that little stained glass window adorable?

This little shelf is in our bedroom. We made it ourselves (whereas the other elements were added or refurbished by previous owners) and it was made out of a board we found in the barn. The curves in the front of the board were carved out by cows rubbing on it. Oh, and don’t worry, the mustard color will soon go.

This is a peak at the top landing of our stairs. This little gate was made from an old antique door. So cute. It latches with an old barn style latch. It already proves handy for keeping the dogs corralled, but will also be handy with kids someday!

Here’s a little magazine rack that is built into the stairway. These little touches are what makes this house so sweet and unique.

This is a shot of the banister that has been antiqued. This is right off the dining room and basically the view you get as you walk in our main door.

Across the other side of the dining room are two antique doors with stained glass windows. One leads to a sun room and one to a storage room. Gorgeous touches!

In the dining room and to the right is the kitchen. The kitchen was added on later and has a drop woods ceiling. The master sunken bedroom is above the kitchen. The kitchen has warm hardwood floors just like the dining room and living room. There is an super cute little arched doorway leading to the kitchen. And notice the antique wood wainscoting? Each room also has original crown moldings.

Here’s a peak at the antique kitchen cabinets. Some of them! Need I say more?

And one last shot I have for you is the living room. The couple who refinished a lot of the house before us built a TV cabinet out of antique doors that were found in the barn. It is large and we are not sure we will keep it here, but it is so neat and such a conversation starter!

Well, what do you think? Are you ready to see how we decorate and accent all of these crazy details?!
