Must Have Baby Items You Didn’t Know You Needed
So many options when it comes to baby items now days! Its confusing and overwhelming. And some of those things you just plain don’t need to waste your money on. Here’s a list of things that you probably didn’t know you needed, but that I’ve found to be so helpful! Honestly!
Travel Plate- This has been one of the most handy inventions I’ve used with both the boys! Since it’s got it’s own case, I just fold up the dirty mat when we are out and put it back in the case to clean when we get home. So simple!


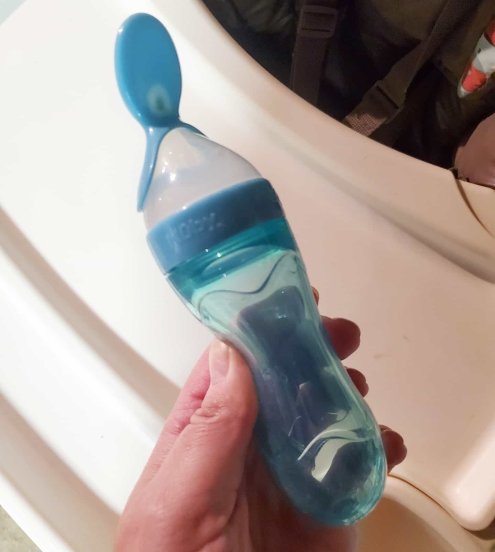
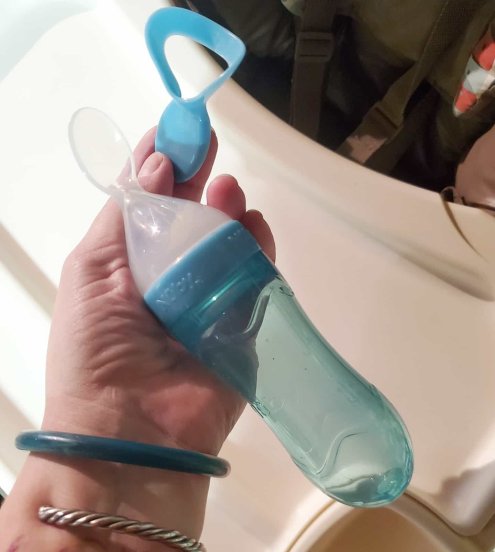
Travel Spoon– Handy when they are using purees and soft baby food still. You can fill this guy with food and there’s so much less mess! It’s even got a cover for the end.
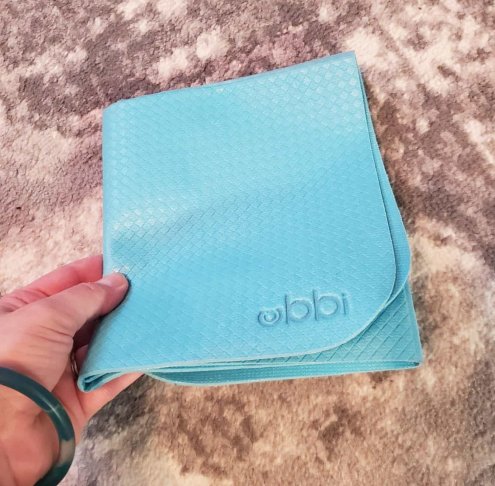
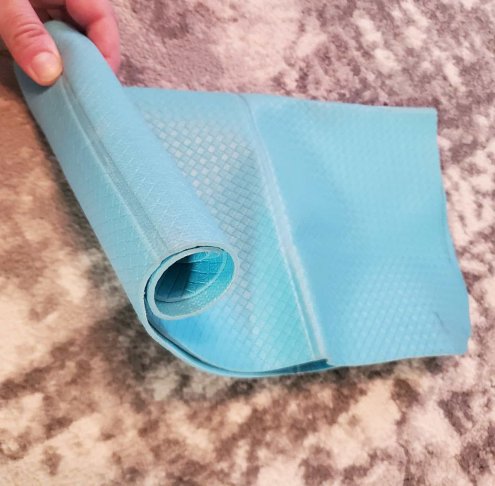
Rubber Changing Pad– This one by Ubbi is so handy. Easy to wipe, roll, fold, it makes diapering on the go so much easier.

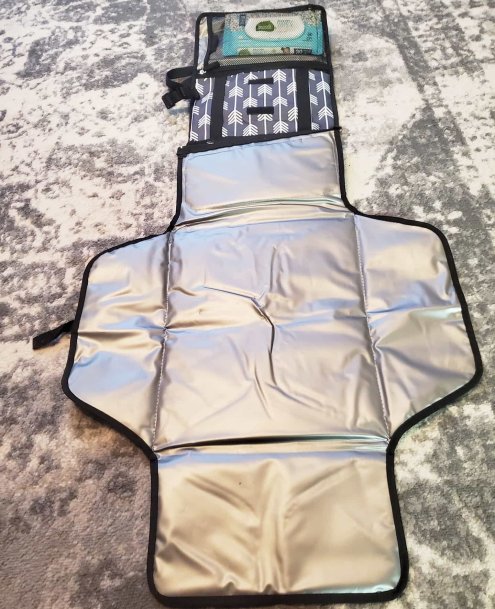
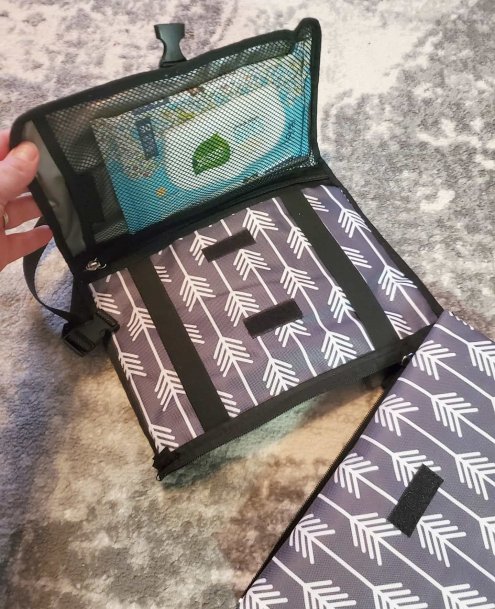
Roll-up Changing Clutch– I adore my diaper bag, but sometimes I don’t want to haul the whole thing if I’m just running in somewhere. This clutch can fit in my purse and get even smaller if I unzip the pad portion. Just the necessities for quick jonts!

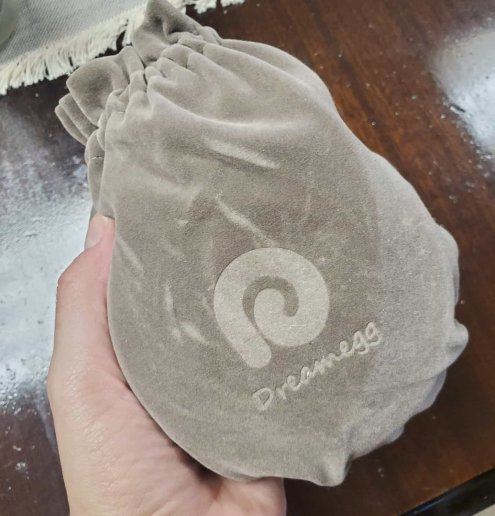
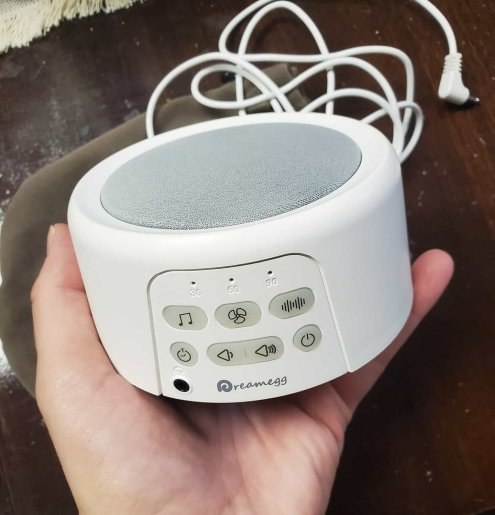
Dream Egg Sound Machine– This is the most portable sound machine I’ve seen. Lots of noise and volume options, plus its wireless. Charge it and go. It can even be used in the car or stroller, etc. So handy for anyone, not just babies!
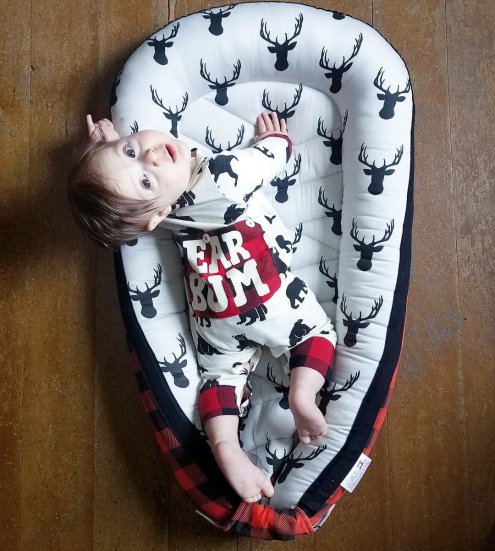
Baby Nest- There are lots of options out there, but we love ours from Doreen’s Bibs and Bobs. It’s cute, handy, and portable. We still use ours at almost age 2 and take it on trips too! It seems to keep kiddo nice and cozy.
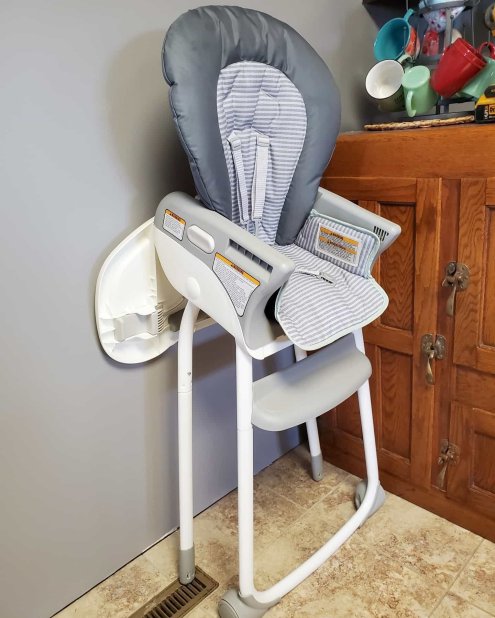
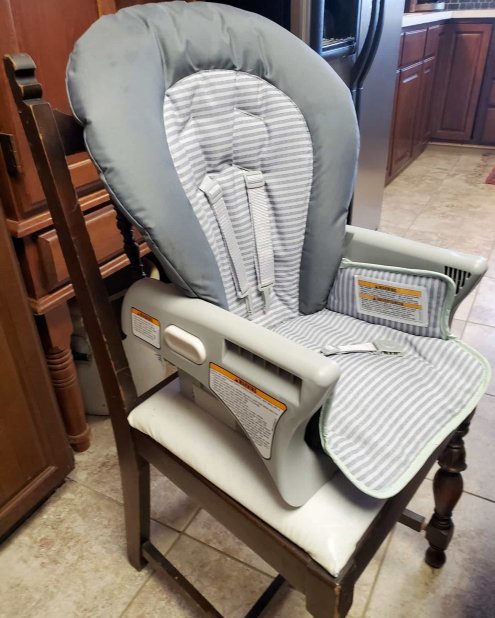
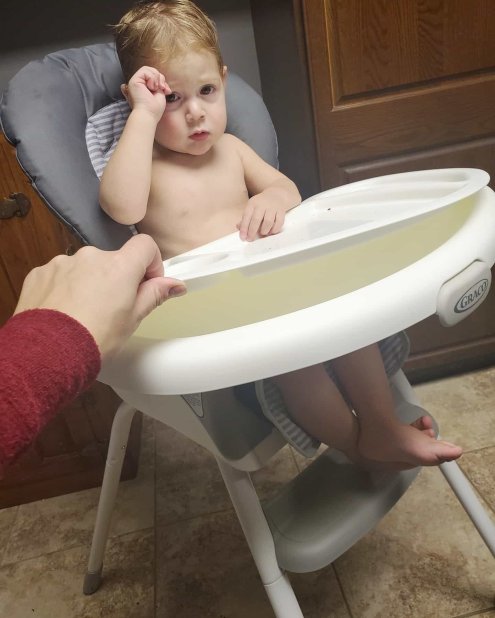
Convertible High Chair– Seriously, if you going to use a high chair, make sure it’s convertible. I had an older Graco version for the oldest and this new model does so much more and therefore is so much more handy. It can be attached to a chair as a booster, the back can be removed for more space, the base itself can be a stool seat for older kids. It really has all the features we need, including folding up and the tray hangs on the back!

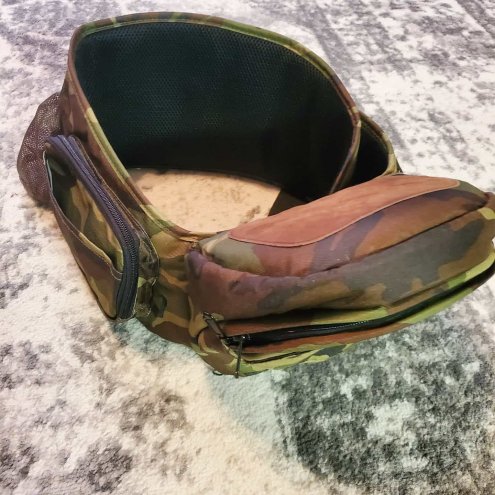
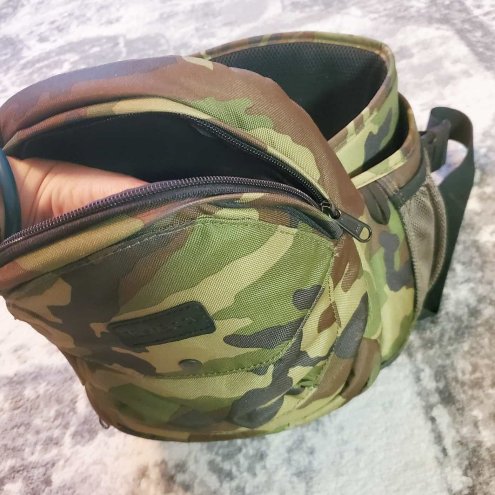
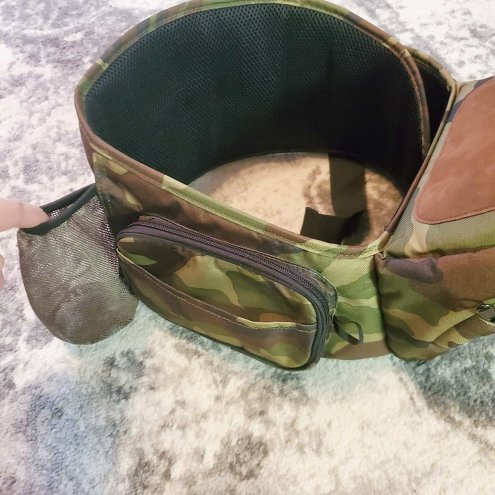
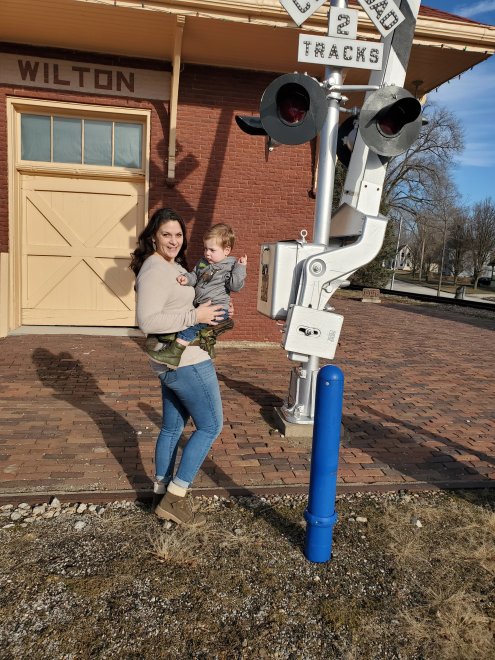
Tush Baby- One of the things I found with kiddo #2 is the Tush Baby and I love it! He always wants to be carried, but also get down and look. I’m sure you can all relate! This thing saves my hips and makes it easy to carry forward or backward, front or hip, and he can go up and down to his heart’s desire. So handy!
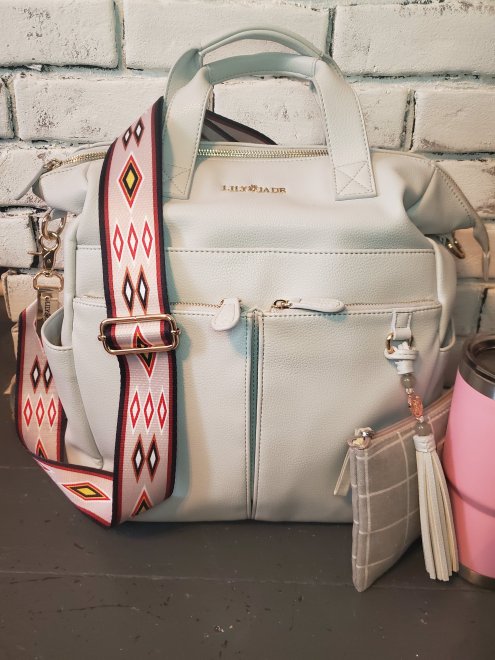
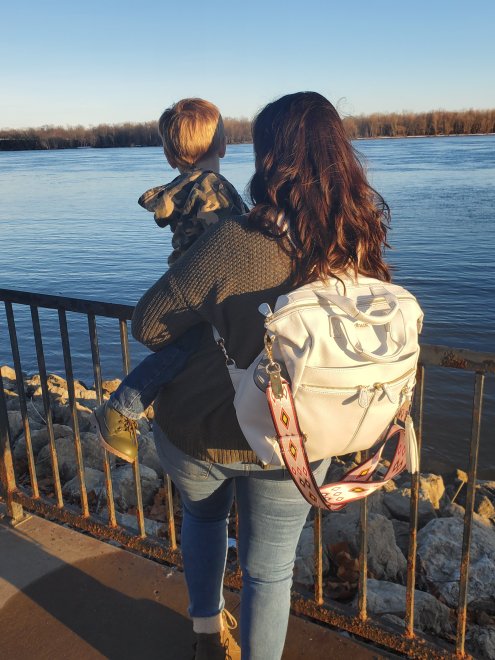
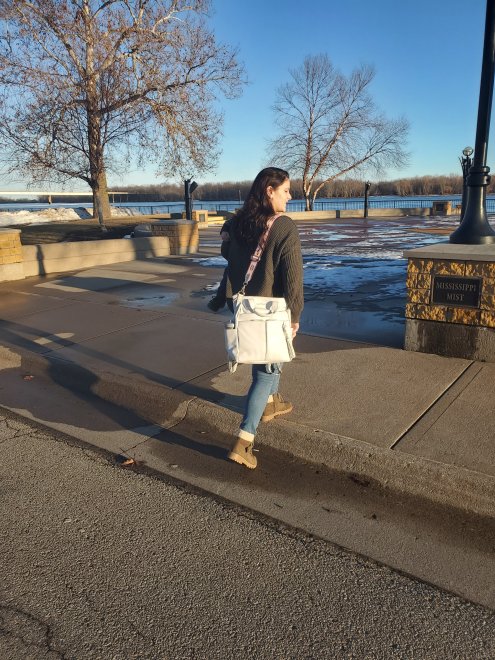
A Great Looking Diaper Bag- Ok, it’s not a necessity, but it sure does make momming a lot more fun. I’ve had many, loved several, but this Lily Jade bag takes the cake. Its gorgeous. Plus it can be a backpack, or the straps stow away to be a should or cross-body bag. It’s so spacious without being too big or heavy to carry too. I carry everything but the kitchen sink I’m here with me. Its officially my purse/ diaper bag. I just call that the mom bag. ❤
Hope these ideas help you too! Anything else you would add?
XX,
Jess
Permalink Comments Off on Must Have Baby Items You Didn’t Know You Needed
Bath/Laundry Room Update
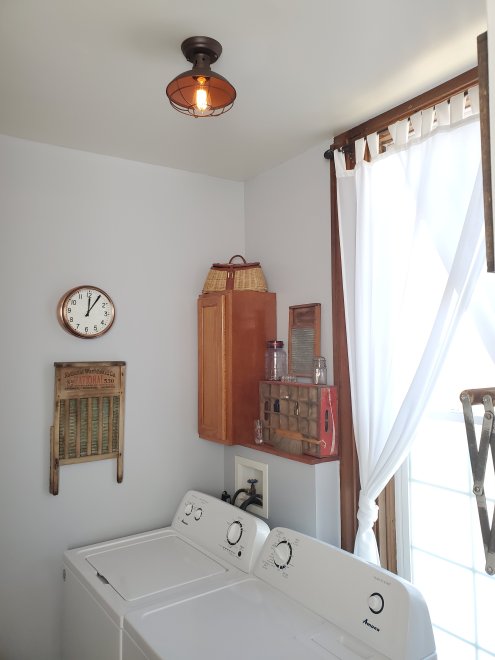
We knew we wanted a fixer-upper, and we sure got it with this one! But we are enjoying putting in the work and making it into what we want for a home. The bathroom was no exception. We can’t afford a complete gut and overhaul of every room (I wish!), so this is a little refresh.
Before:

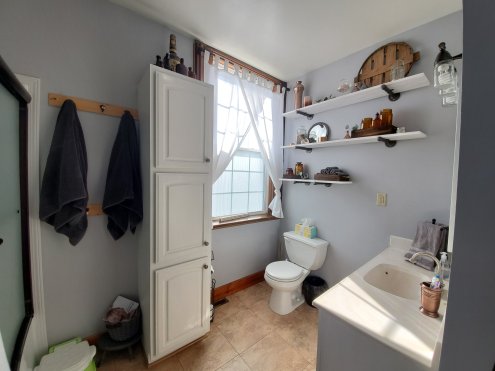
After:

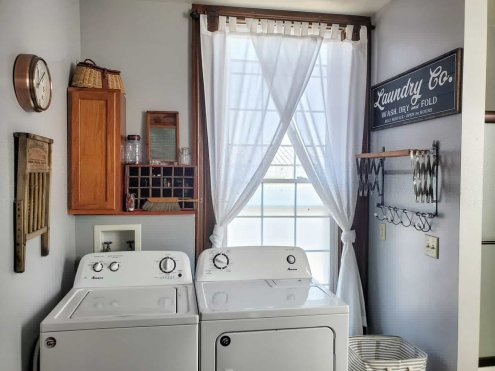
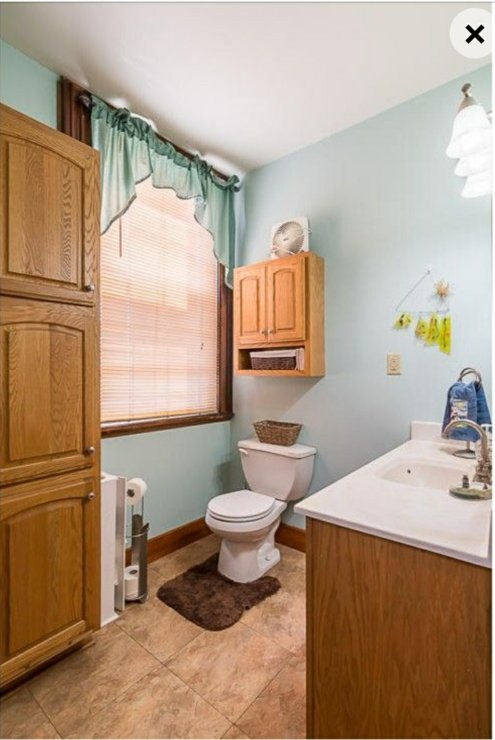
We will put a new faucet in soon and plan to redo the bath and laundry room floors in a few months. But for now, wow. Its clean. Its peaceful. I’m in love.
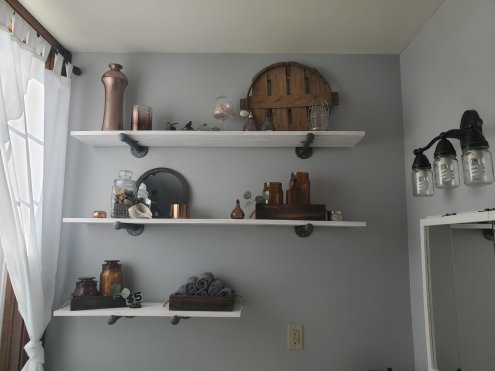
We made the bathroom hook boards because in old houses you are at the mercy of where the studs may or may not be when hanging things. Attach the hooks in the spacing you want and then attach the boards to the wall where the studs allow.
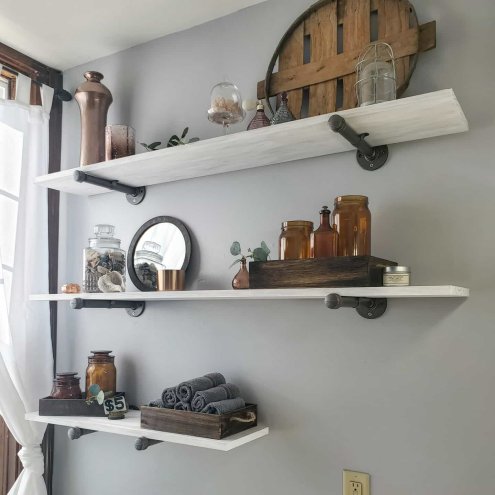
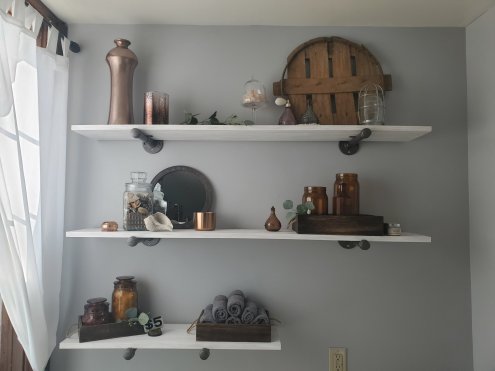
We also made the shelves ourselves and hand “grayed” the boards by smearing white paint with fingers. Tedious but so worth it. The brackets are plumbing hardware and can be found at Mendards. We painted the parts with a light oil rubbed bronze spray paint.
We made the jar light fixture by painting the old silver fixture with oil rubbed bronze paint and adding the jars. We took solid jar lids and made holes in them to fix the jars to the fixture. Once it’s all painted you can’t see what method you used to attach them.
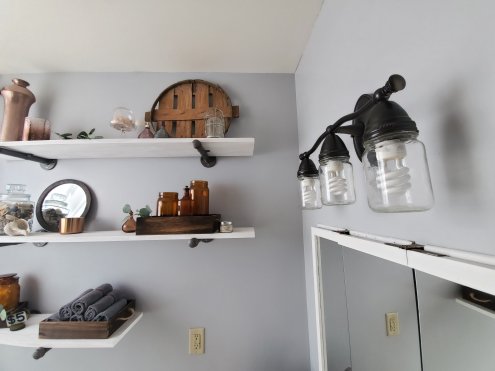
All on a budget for a quick fix up. We did add a new shower, as ours was a walk in when we bought the house and we needed a tub for the kids. Paint and curtains, and especially shelving, make a huge, but affordable difference!
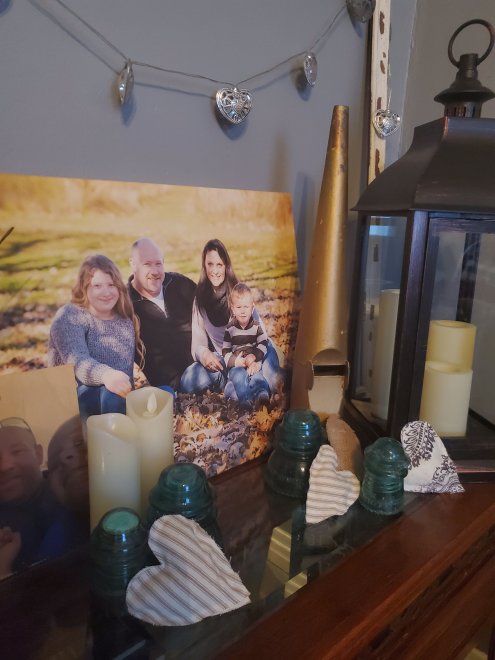
Here are some fun detail shots.


A few detail links:
What do you think? Any recommendations?
Xx,
Jess
Permalink Comments Off on Bath/Laundry Room Update
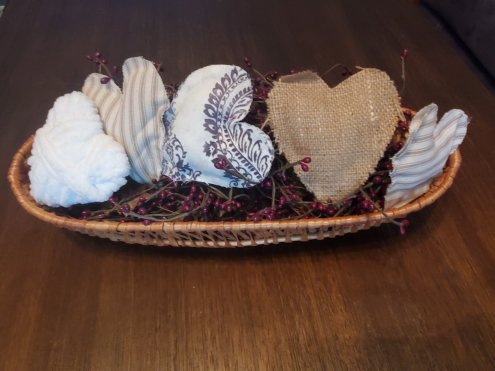
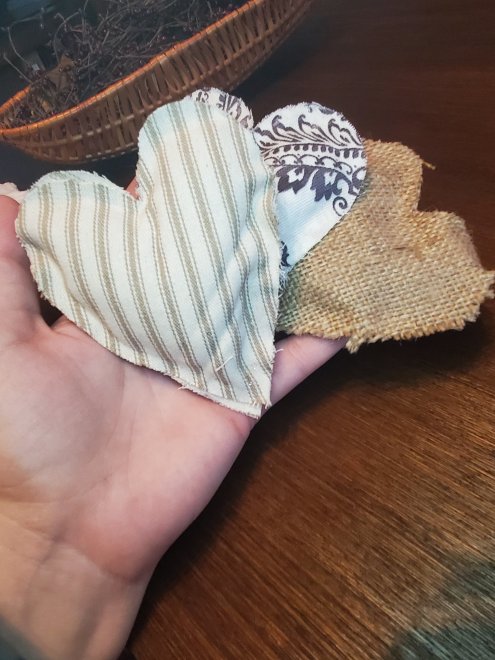
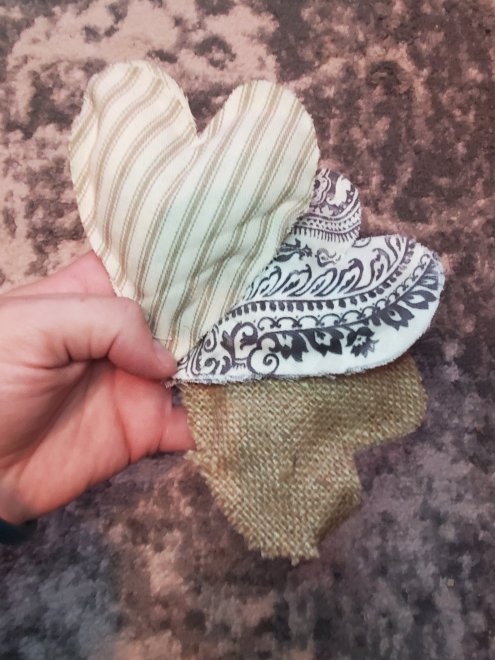
Quick and Easy Valentine’s DIY
I made these fabric hearts last year and loved them so much I put them out again this year!

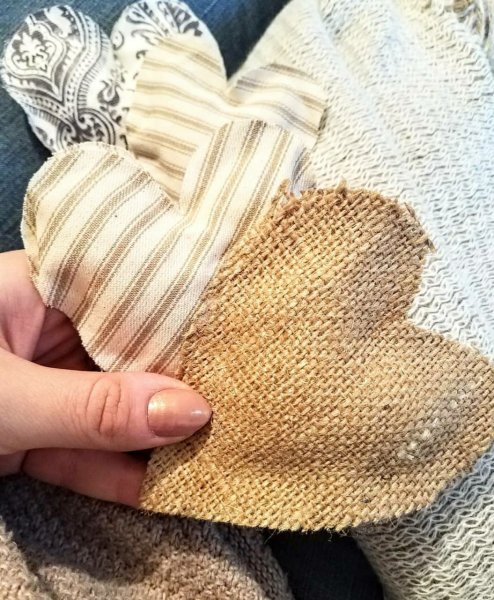
It’s so simple that it doesn’t require much instruction, but a fun project for anyone because there are so many possibilities! I used scrap fabric that I had on hand, making this super inexpensive too! I picked a couple fabrics that complimented one another and had a rustic vibe. You could use anything at all! The only other supplies you need are liquid stitch (always handy to have a tube on hand!) and some stuffing. You can get both of these at your local craft store or a Walmart. The stuffing sold here at our Walmart was in too large of a bag and I knew I didn’t want a ton. So, quick fix was to buy a small pillow insert at Walmart. This was about $4 and I have plenty left for more projects.
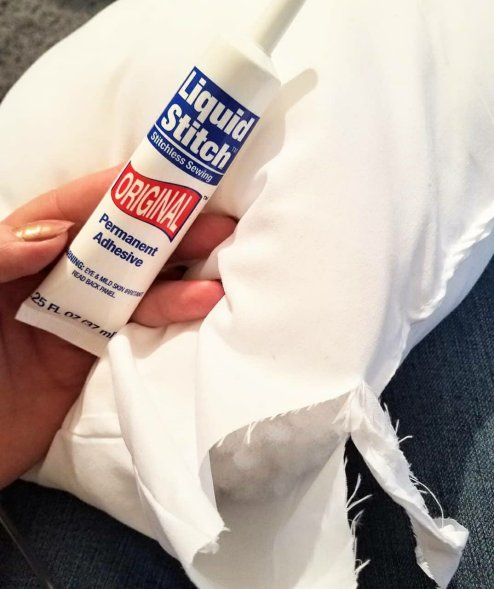
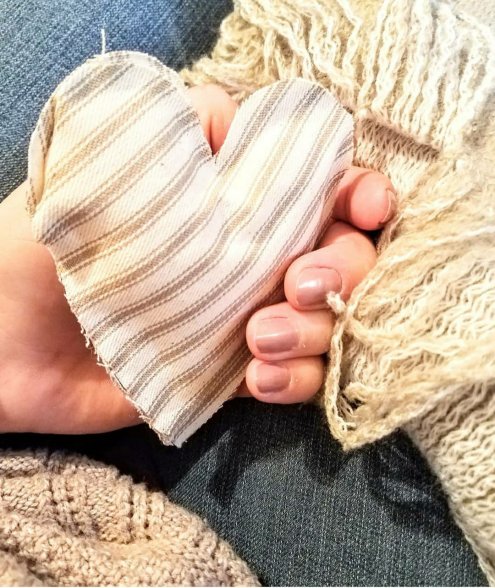
Start by drawing a heart on cardboard. Try a cereal or cracker box! Then trace this heart onto the backside of your fabric. Do sets of two hearts in matching fabric. Then run a bead of the fabric glue around the heart. Leave a few inches unglued. I left a quarter inch or so around the edge. I used a few binder clips to hold these while drying. You could also set a book on them. When they are dry, stuff fabric into them. Doing it in this order allows you to fill them full and puffy without ungluing. Now add glue to the last few inches and clip to dry. You could always add sequins, embellishments, ribbon, or any extras too.
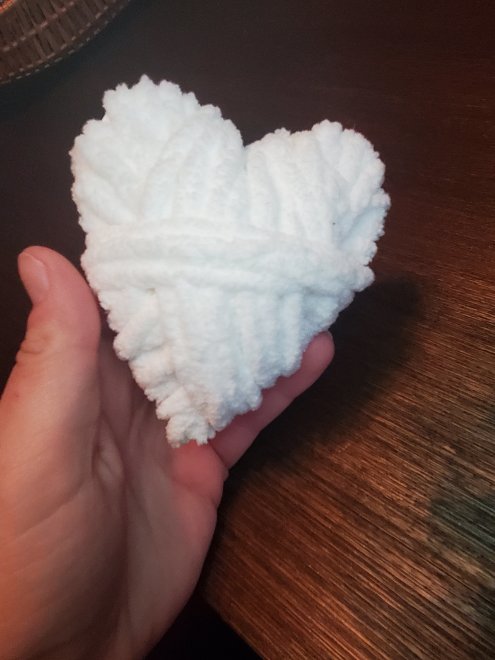
The other little white heart was super simple too. I used a cardboard hear, made little cuts around the outside, and wrapped yard around the heart. The cuts helps hold the yarn in place for the first layer of wrapping. Wrap all different directions. Glue with the fabric glue. Simple!
Viola! Hope you enjoy this quick and easy project!
Xx,
Jess
Permalink Comments Off on Quick and Easy Valentine’s DIY
