Chair Project
Hi there! Recently I found an old, scuffy, beat up antique oak chair at a garage sale. $5 later and I had another project to start in on. Before:

The oak finished was pretty spotted and scratched and the leather seat was so old that it was rotting. I started by gently scraping any paint splatters off of the oak. I also pried the old leather seat and padding off. I used a stain refresher to touch up the oak stain. I didn’t think that painting this one would do, and it wasn’t bad enough that it needed to be stripped and completely restained. Fortunately, this method seems to have refreshed the old chair fairly nicely. It still has a bit of antique charm in the uneven coloring, but I think I like it. I then cut new batting to make a cushion and then stapled down the cute flower-y print. I then used black upholstery tacks to add black trimming around the cushion. Here we go:

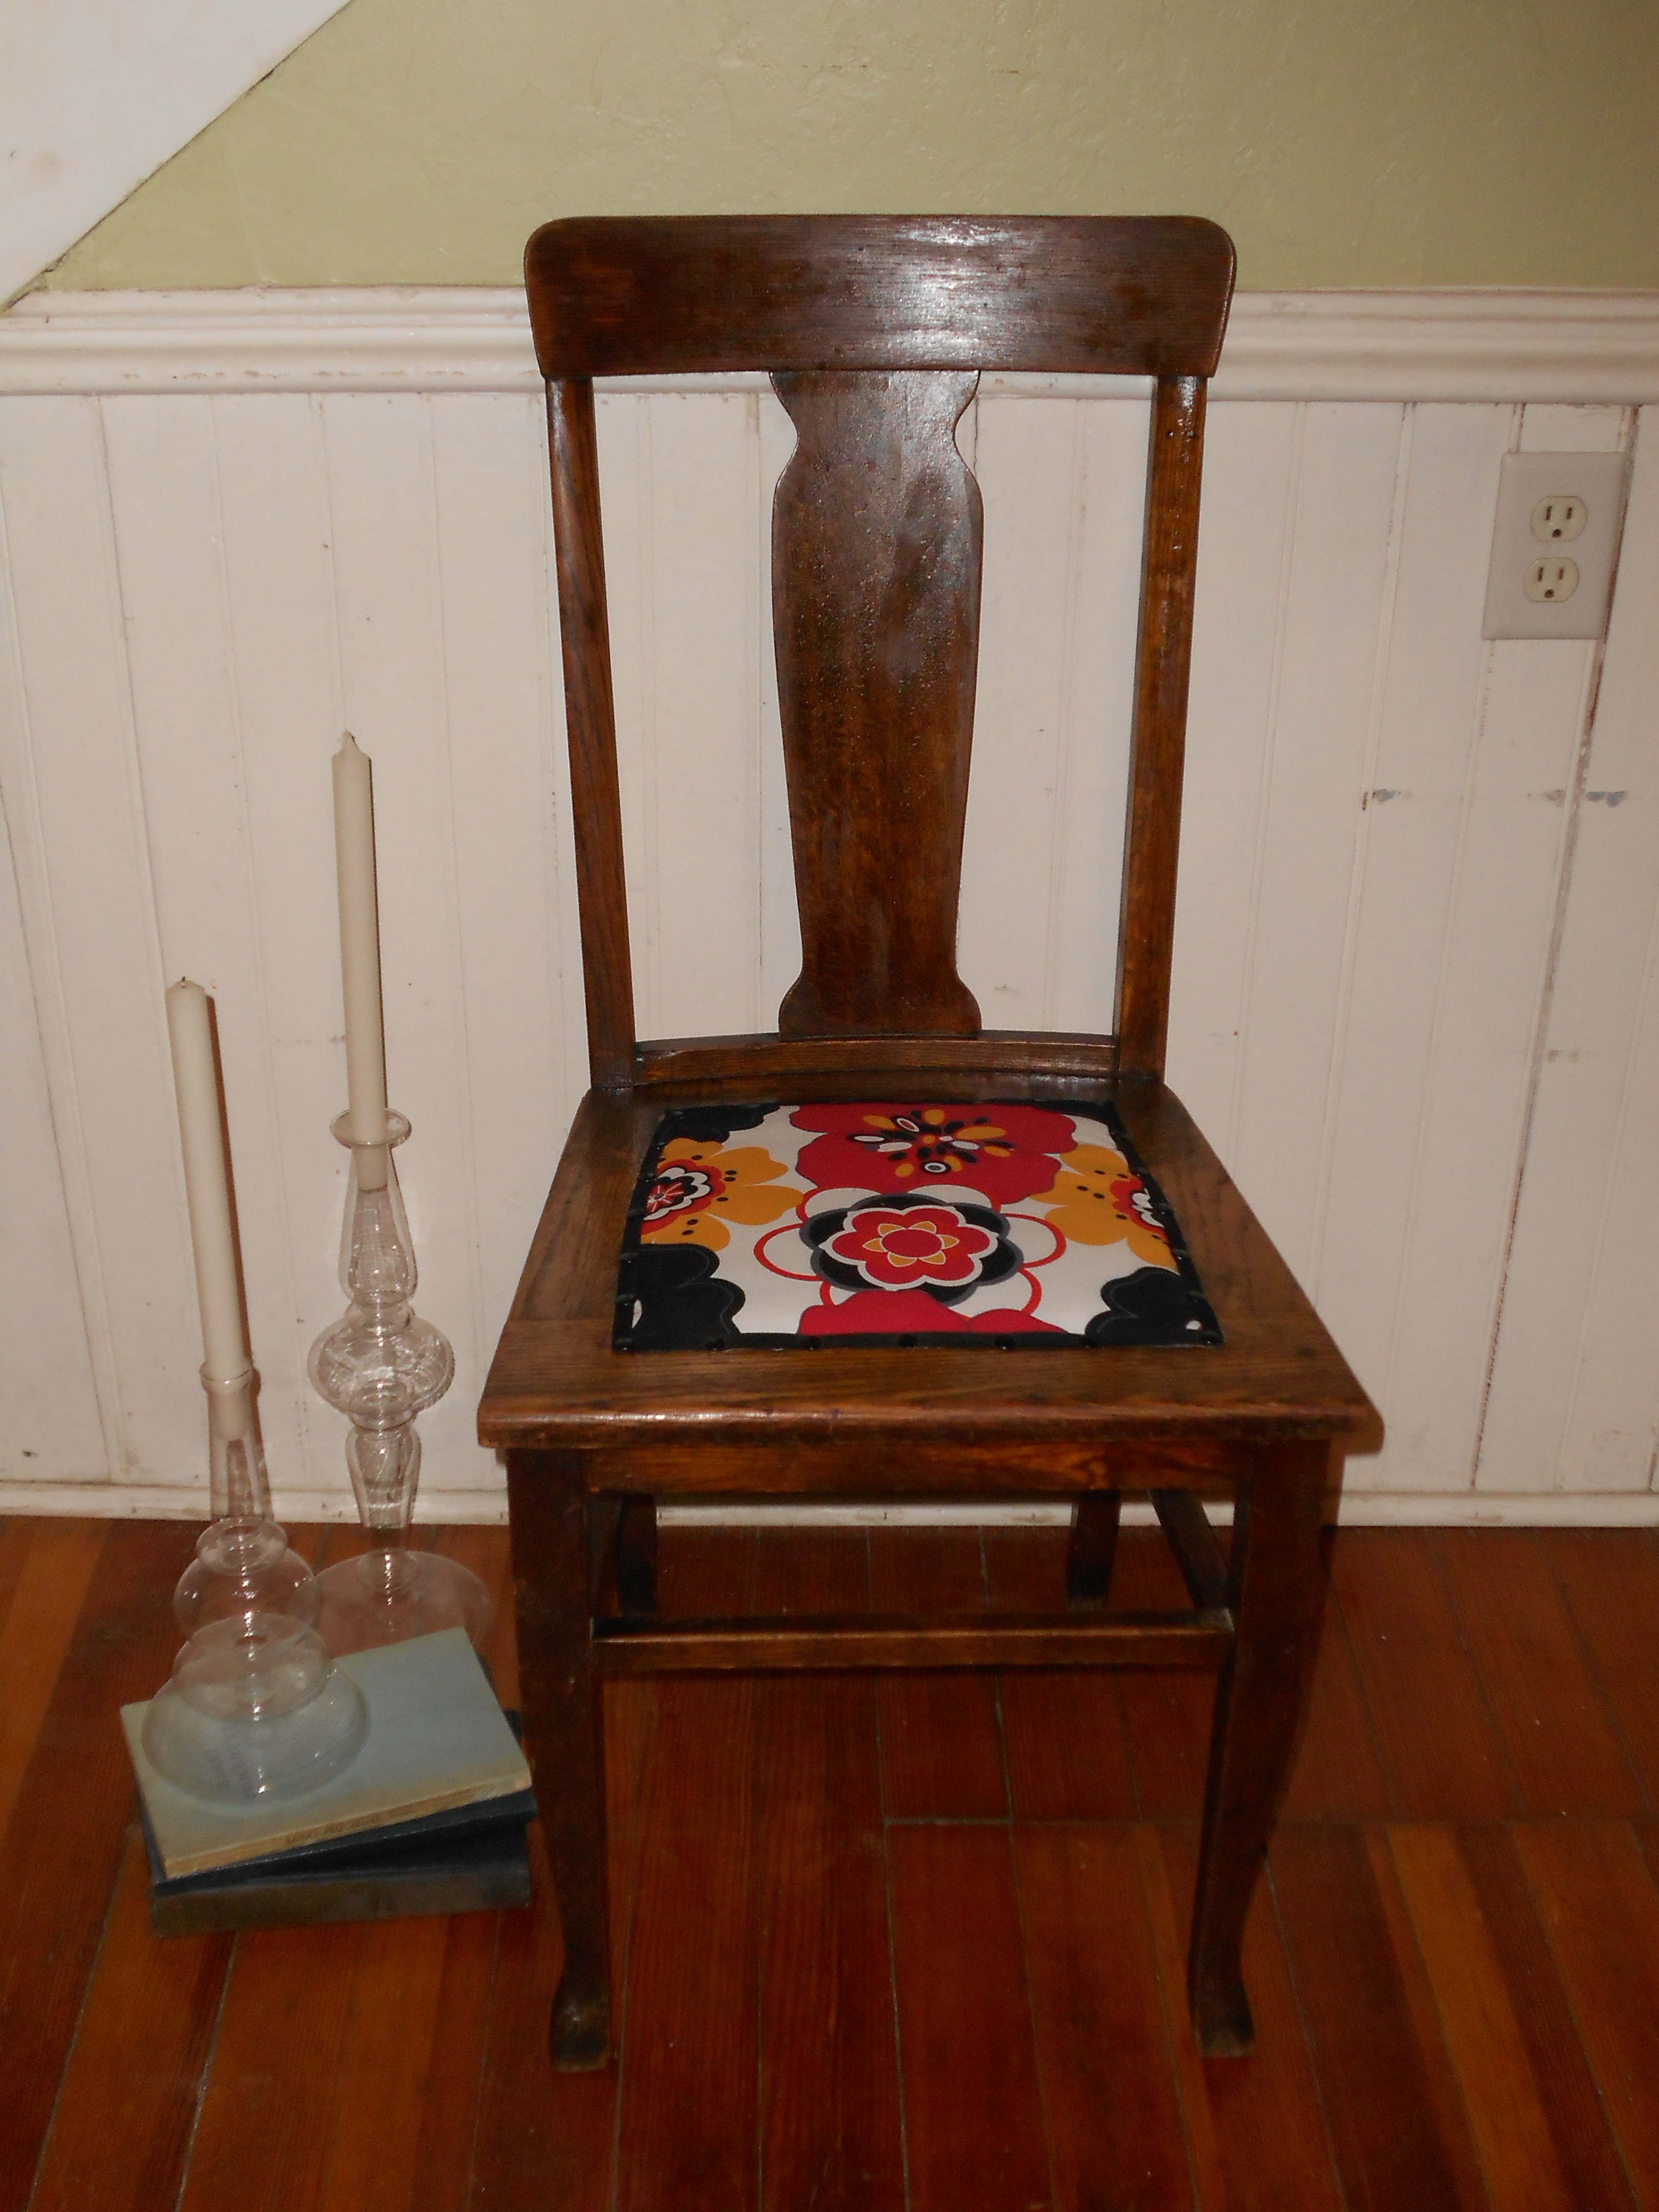

I think it turned out very well! 🙂
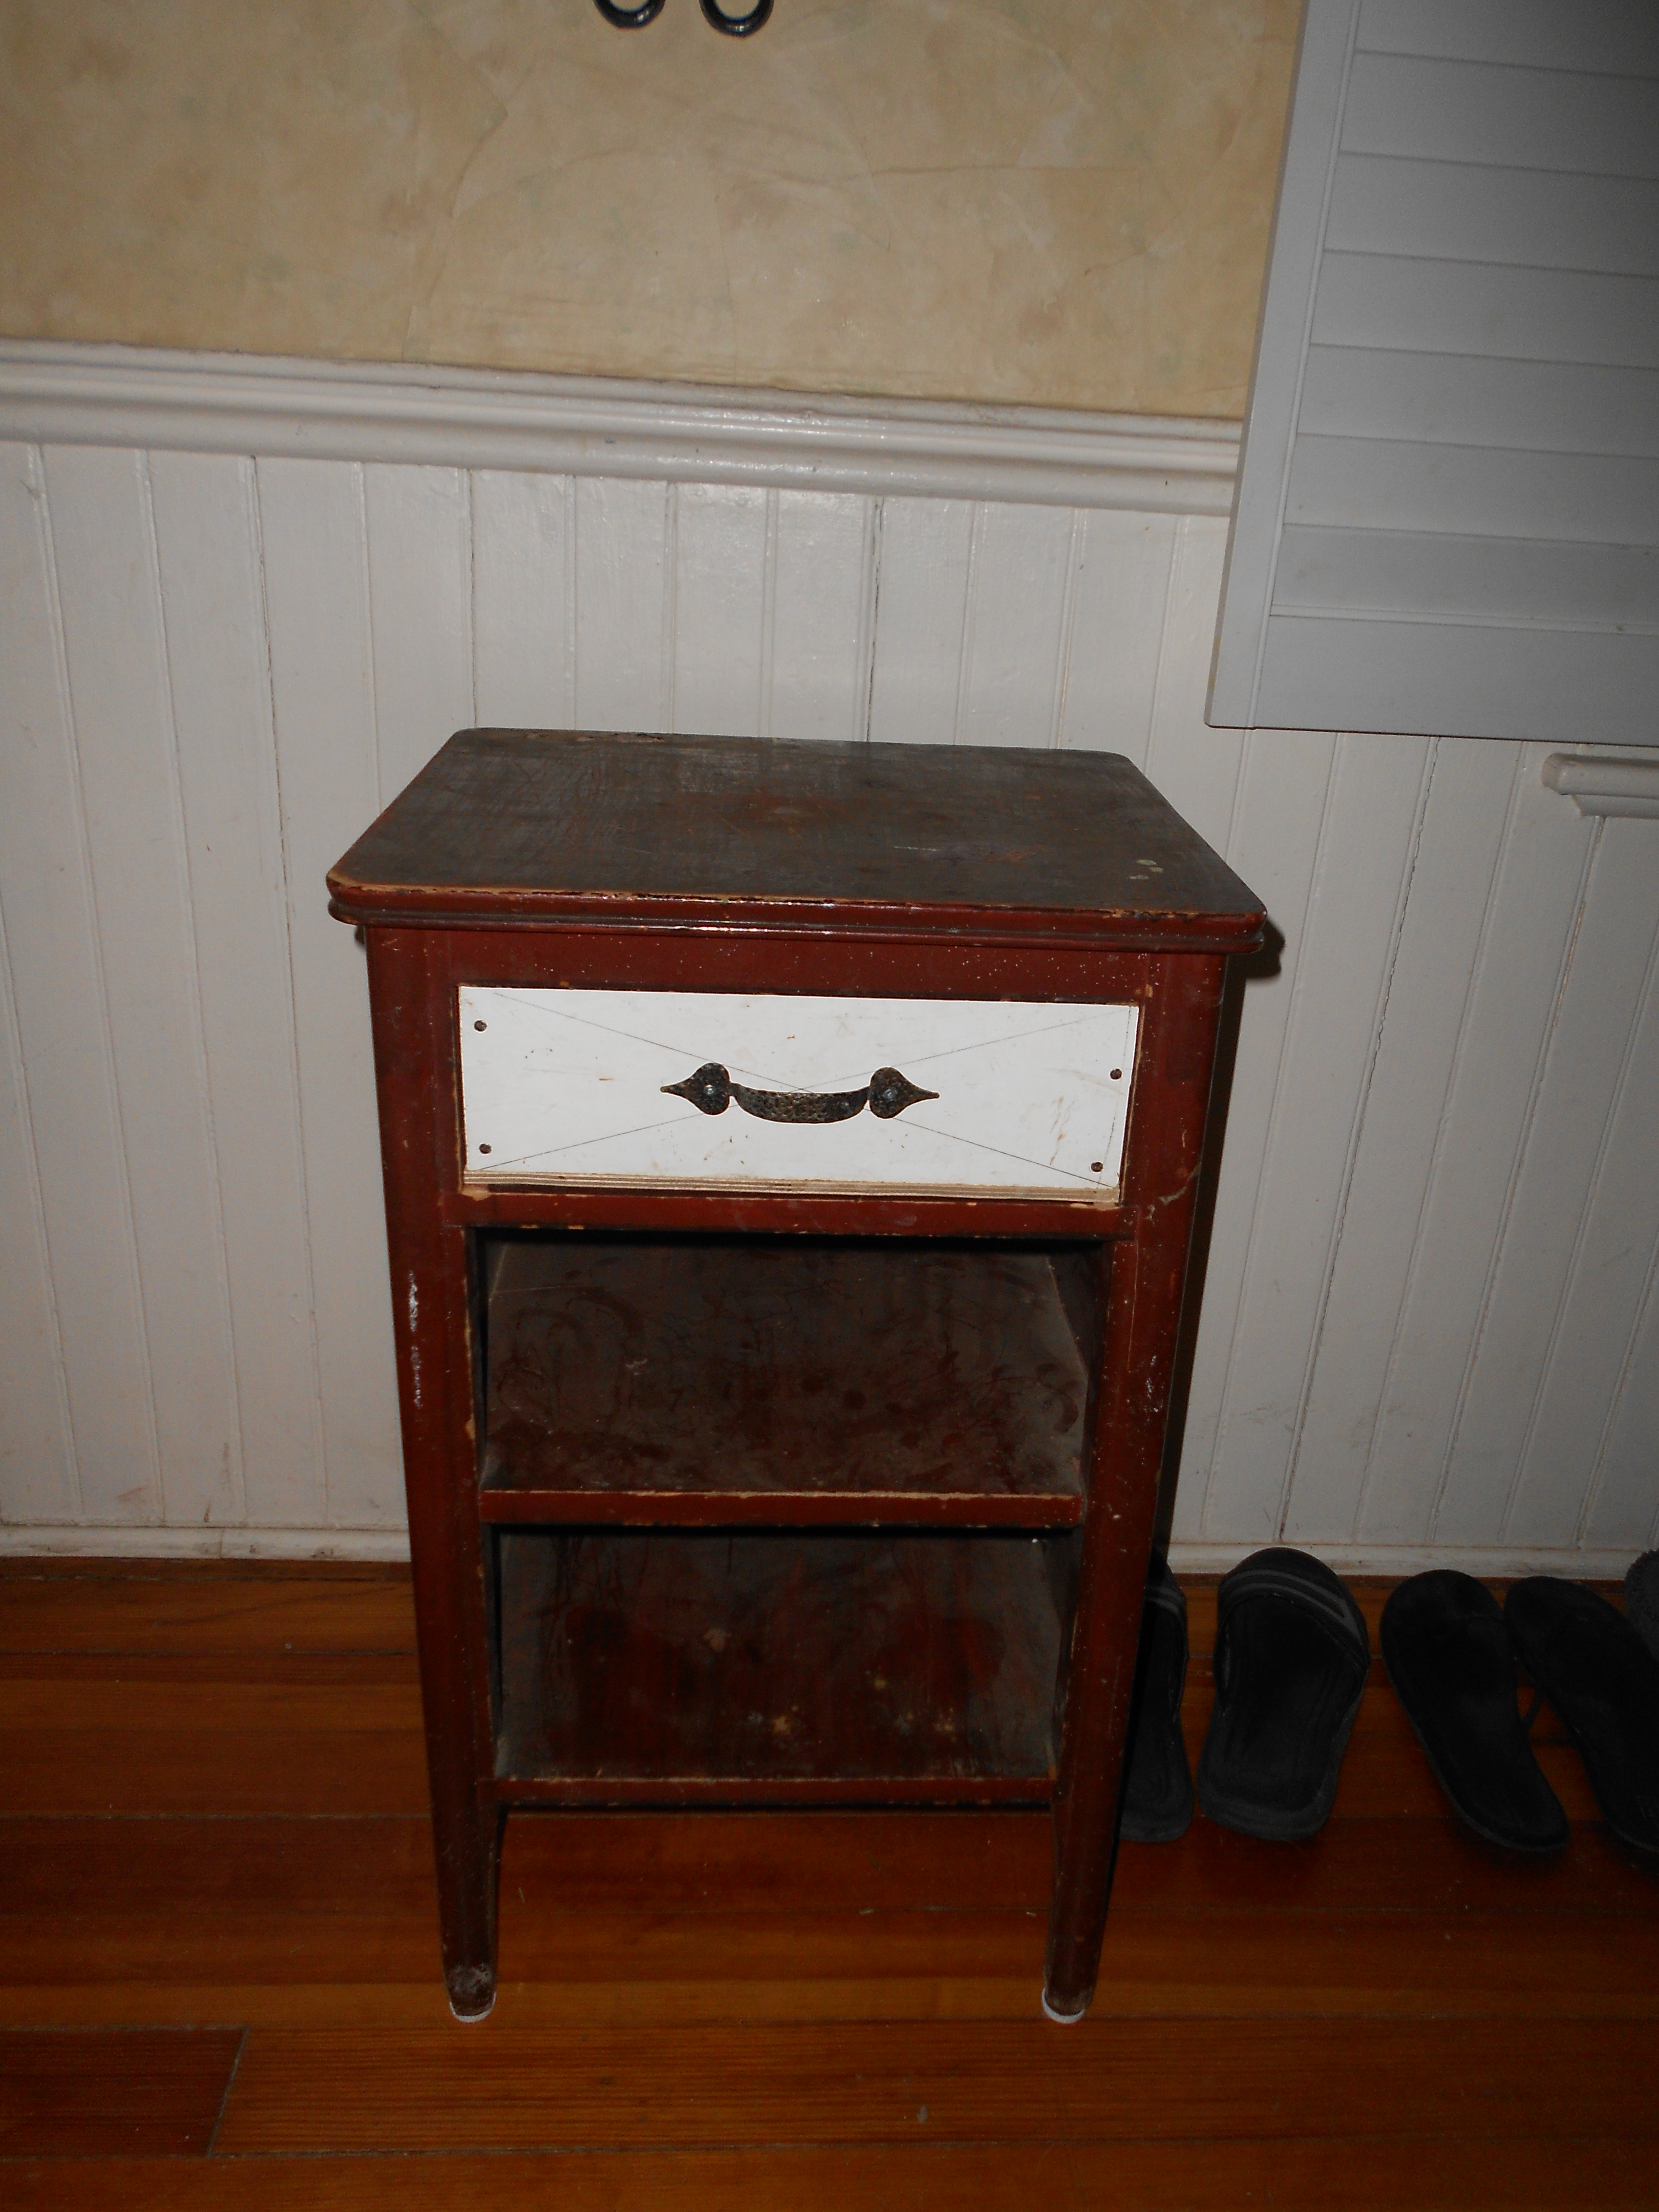
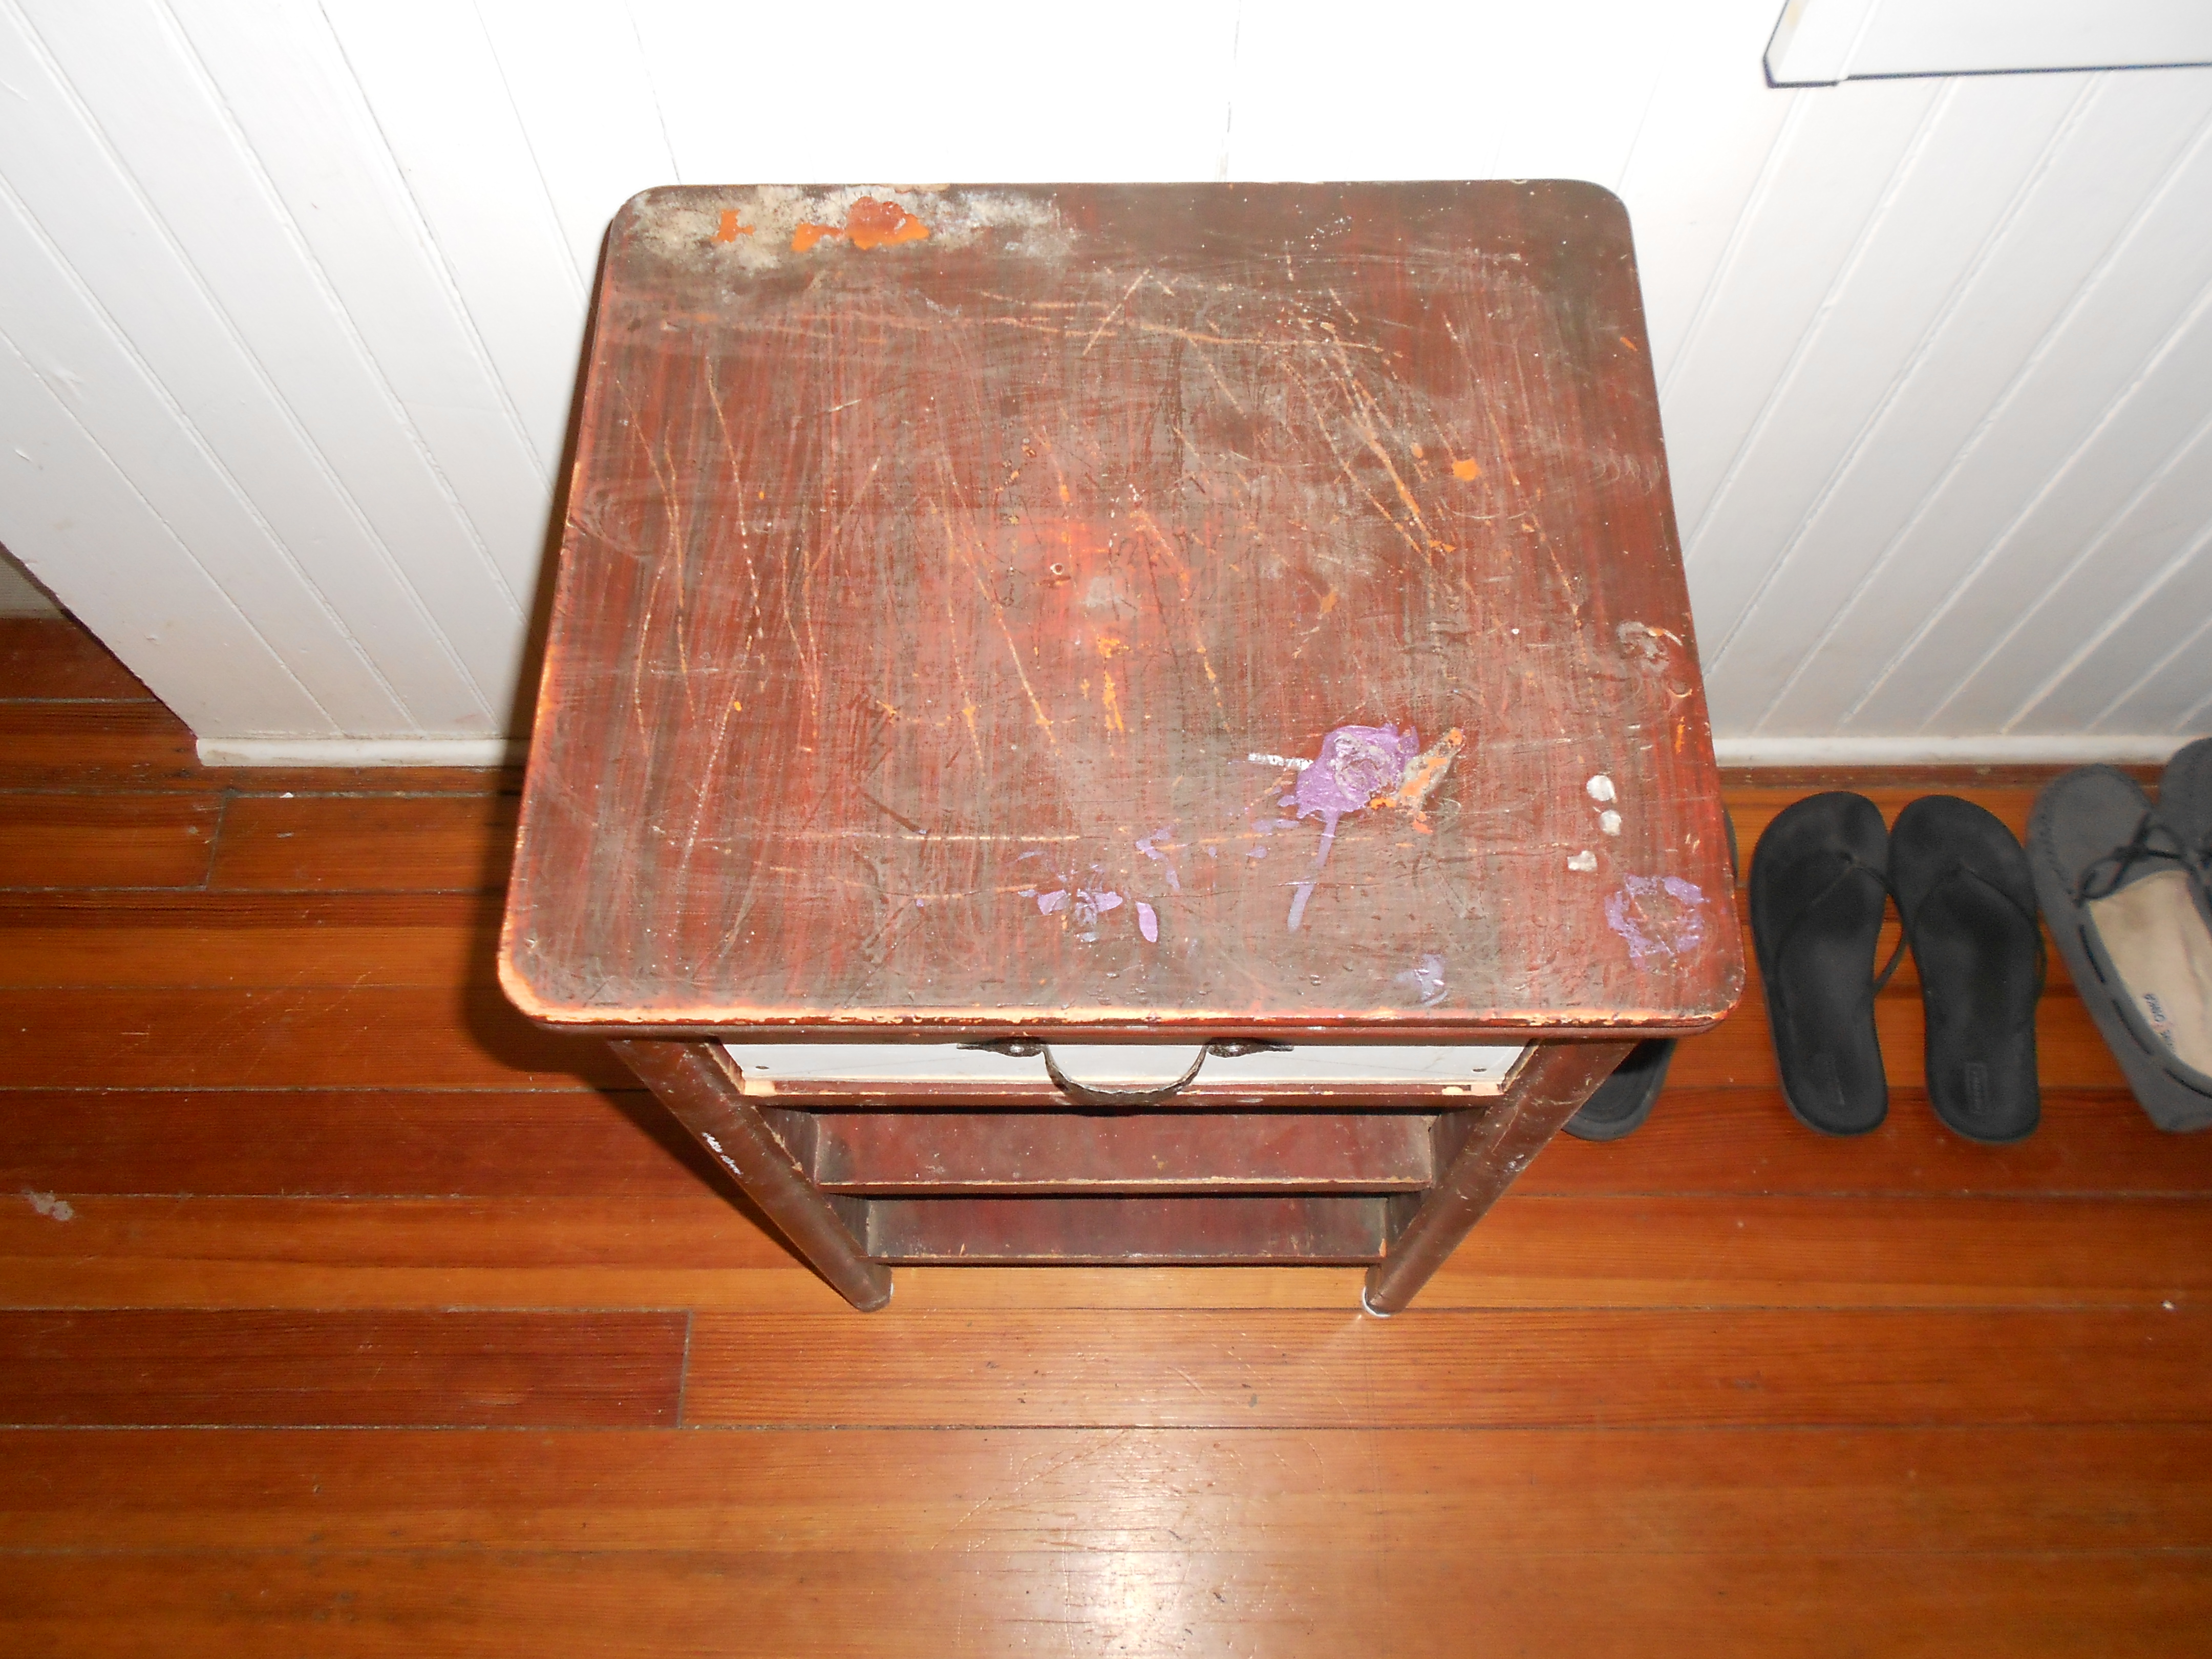
Nightstand Redo
I found this ugly little nightstand/size table at a yard sale. You can’t beat $2, plus although it was rough and ugly, I thought it had cute potential. Here is the before:
And here is the updated and no longer ugly after:
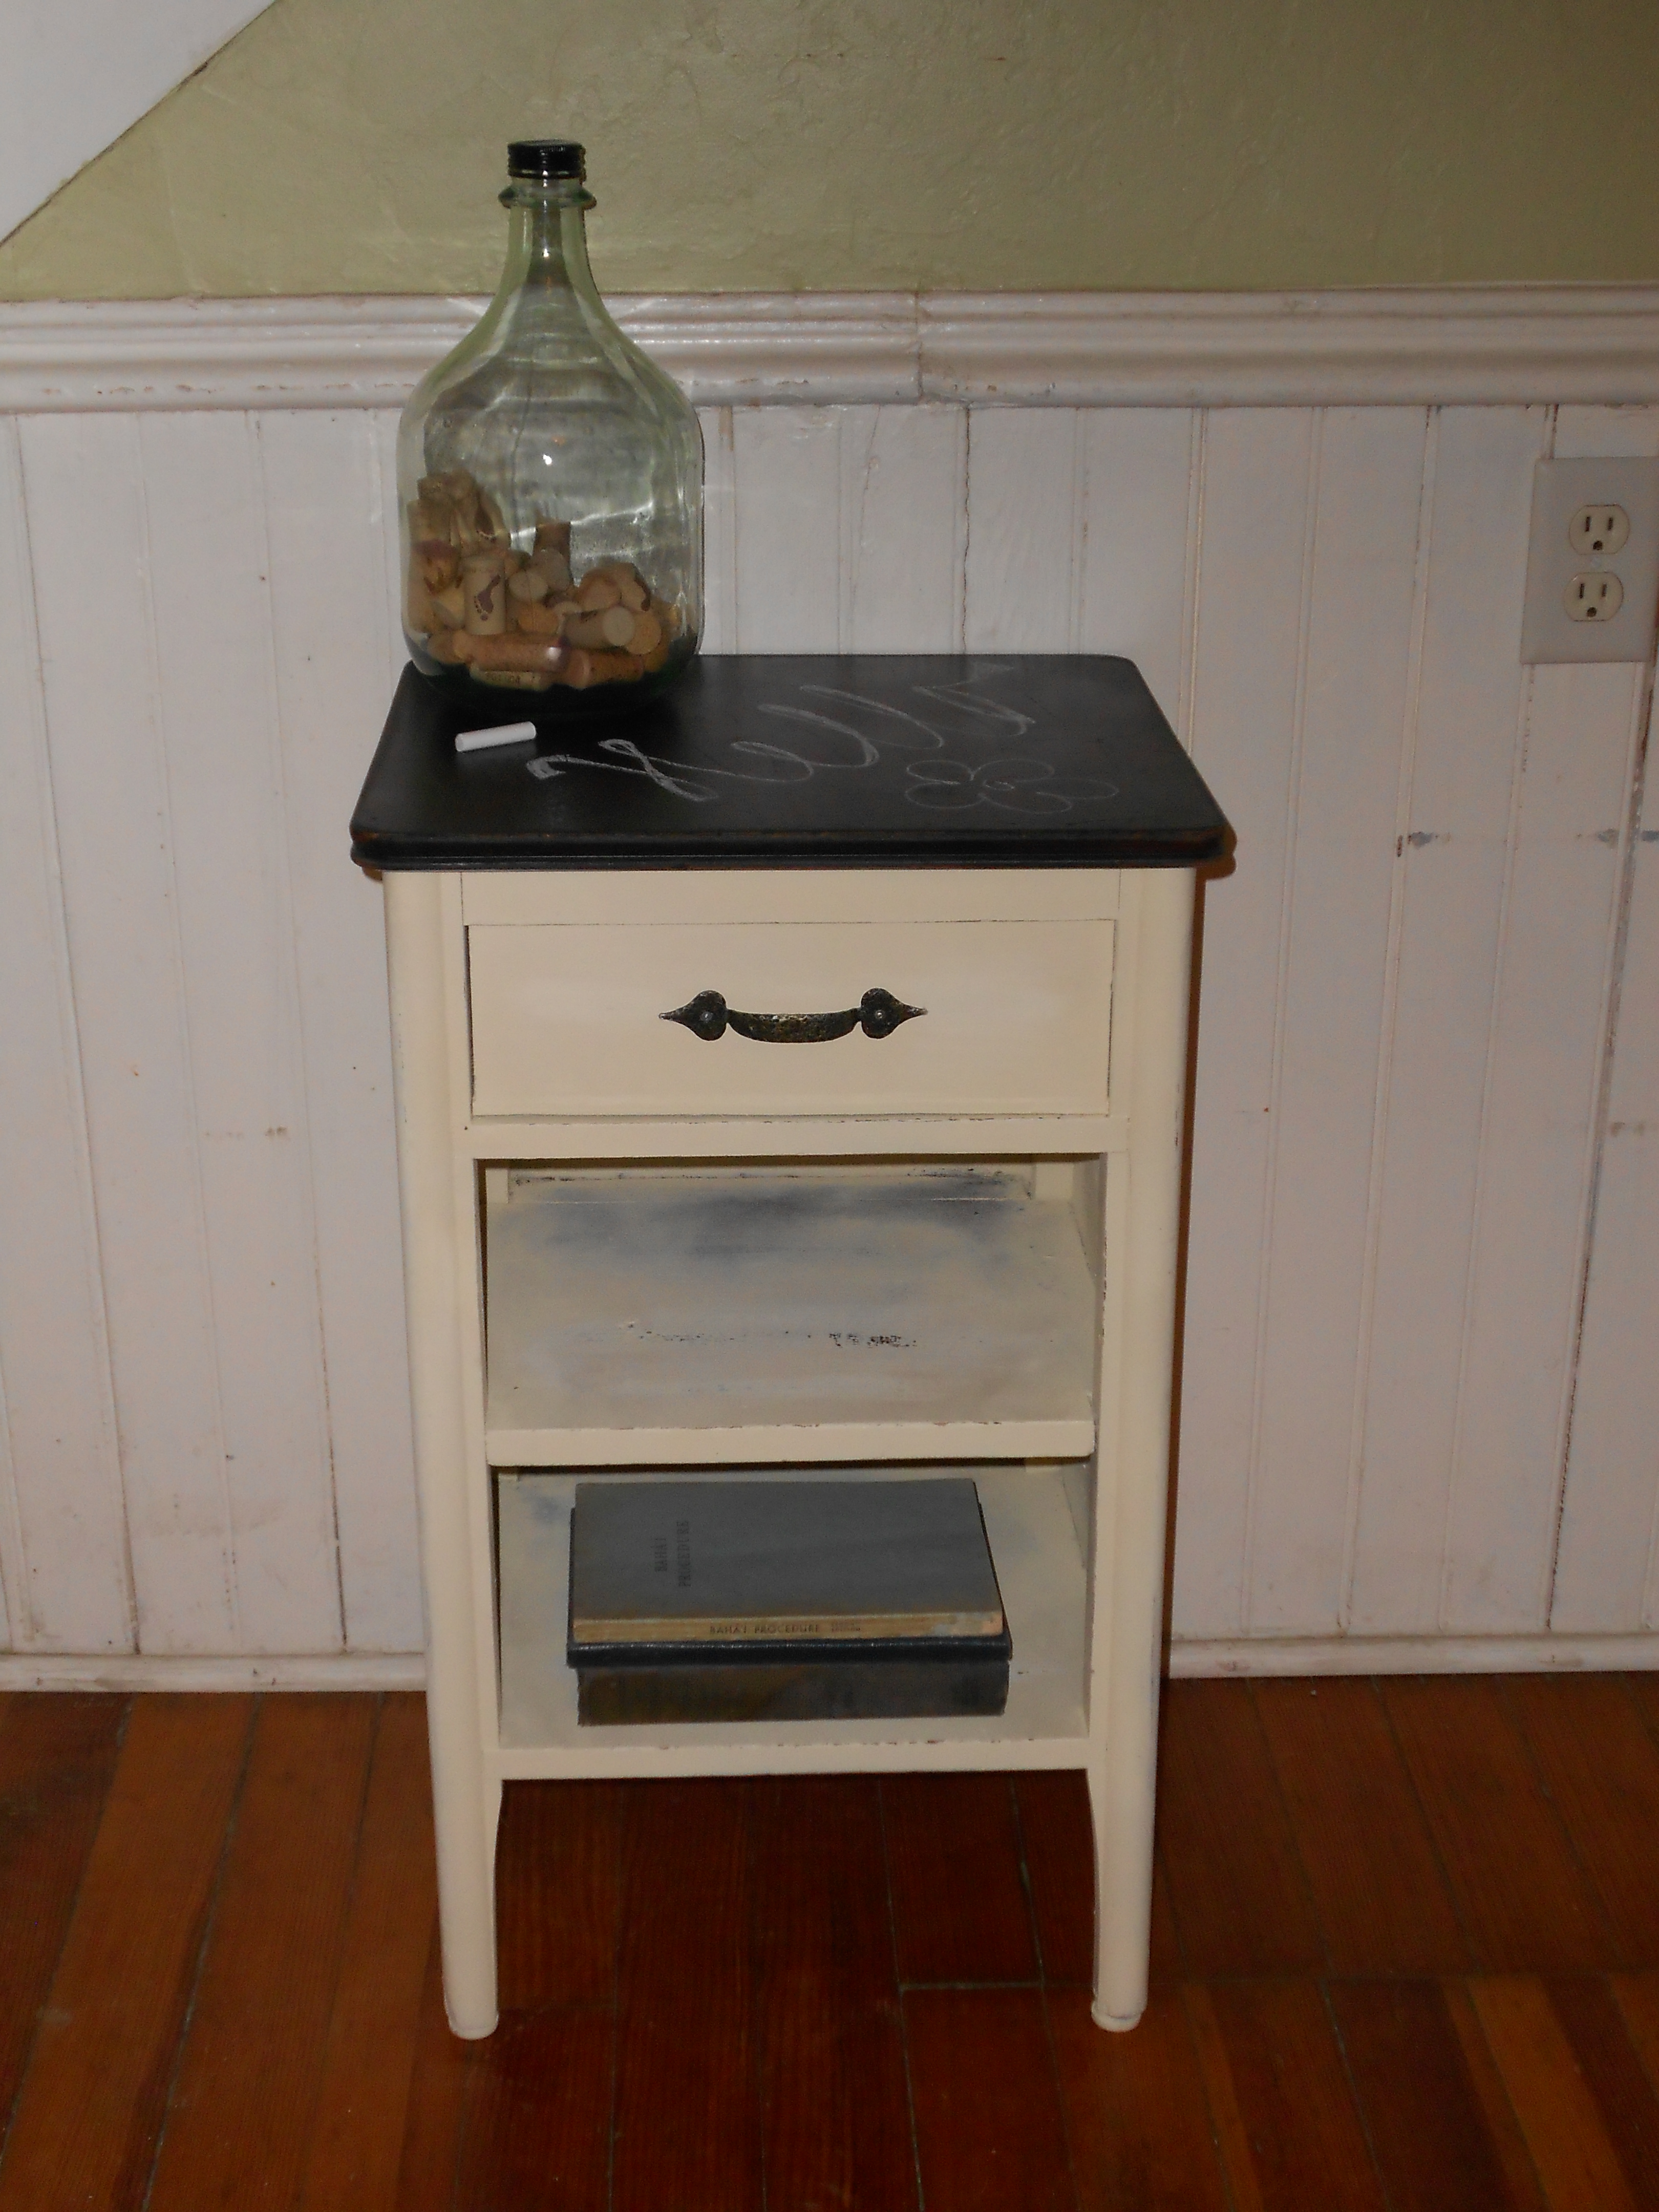

I sanded it down and taped off the top from the bottom. I painted the bottom of the table in a satin cream color. I then painted the top in a black chalkboard paint. To finish it off I roughed up the edges to give it a worn look. I put the same handle back on rather than replacing this one because I thought it matched the style well. Overall I think it turned out adorably. What do you think? 🙂
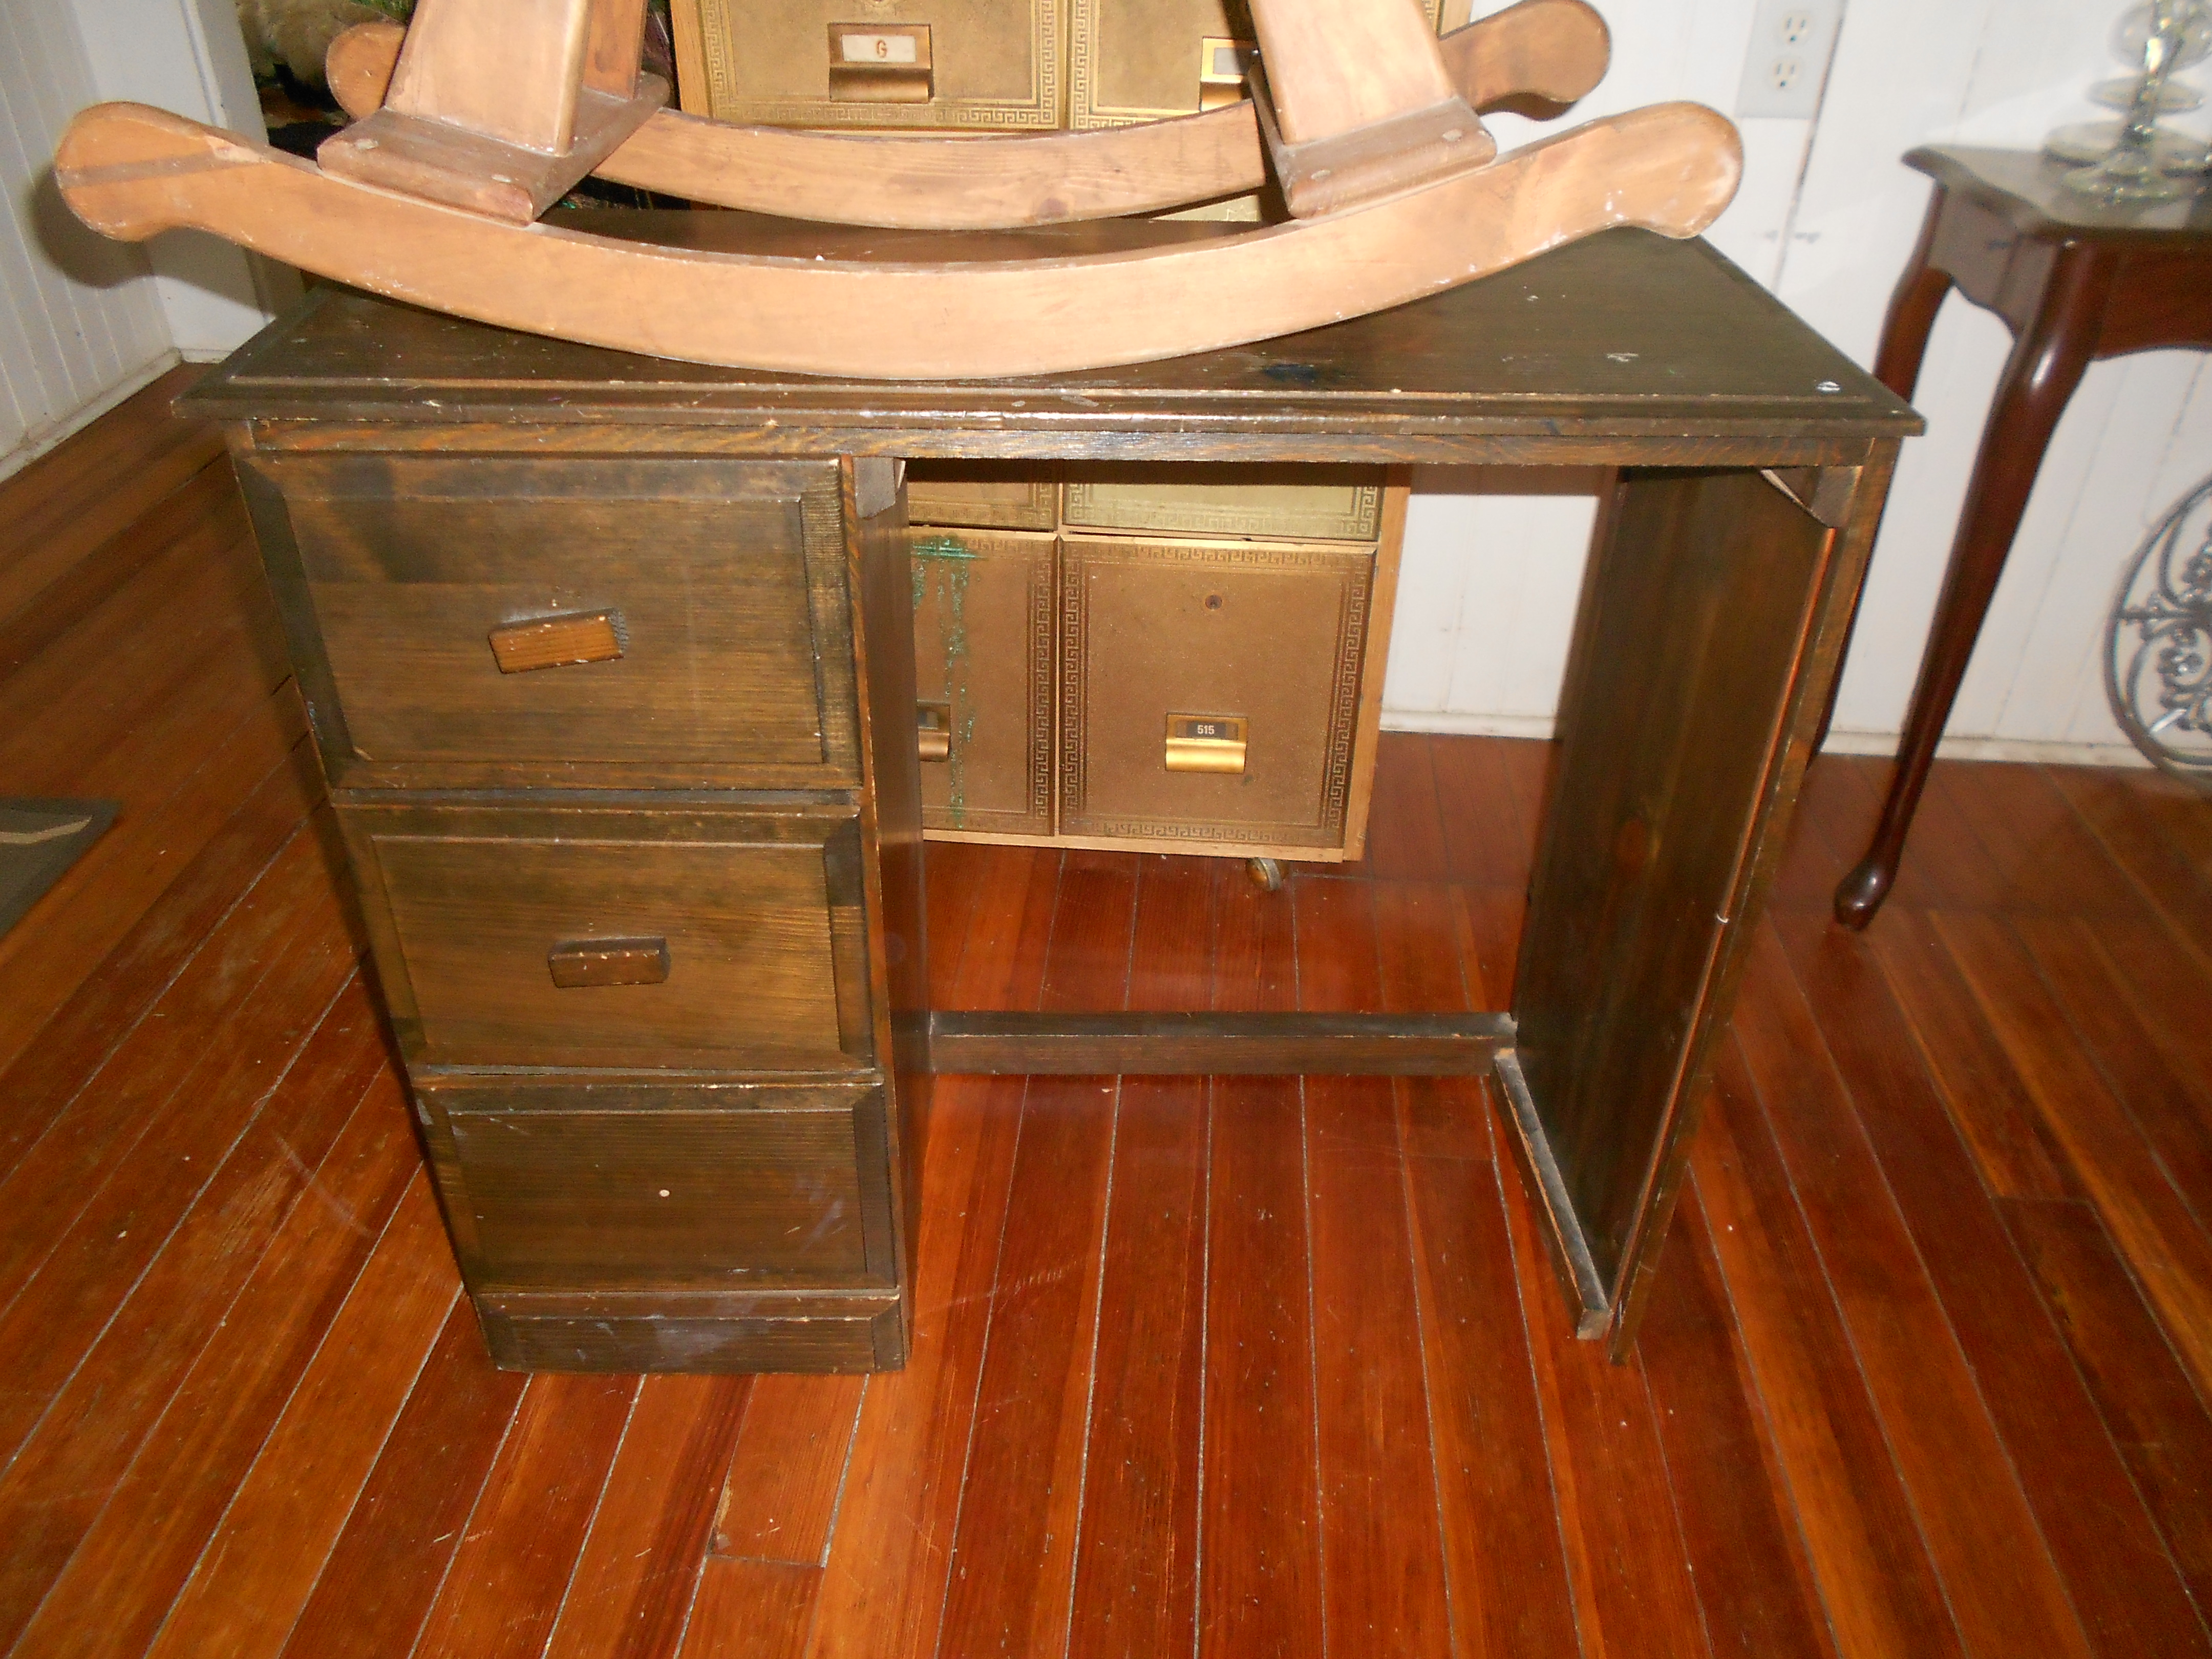
Vintage Kids Desk Redo
Over the summer we found an old kids desk for $2 at a garage sale. Jeremy might have thought I was crazy, but I knew this baby had potential.
Before:
I sanded her down, and painted a few coats of this lovely grey. Then roughed it up with some distressing. The finishing touch was the adorable new yellow knobs! Here is how she turned out:

Adorable, no?


I’m pretty proud of this little baby and hope that someone else loves it and wants to give it a new home too! 🙂
Toy Box
A project done! The abused vintage toy box started out like this:
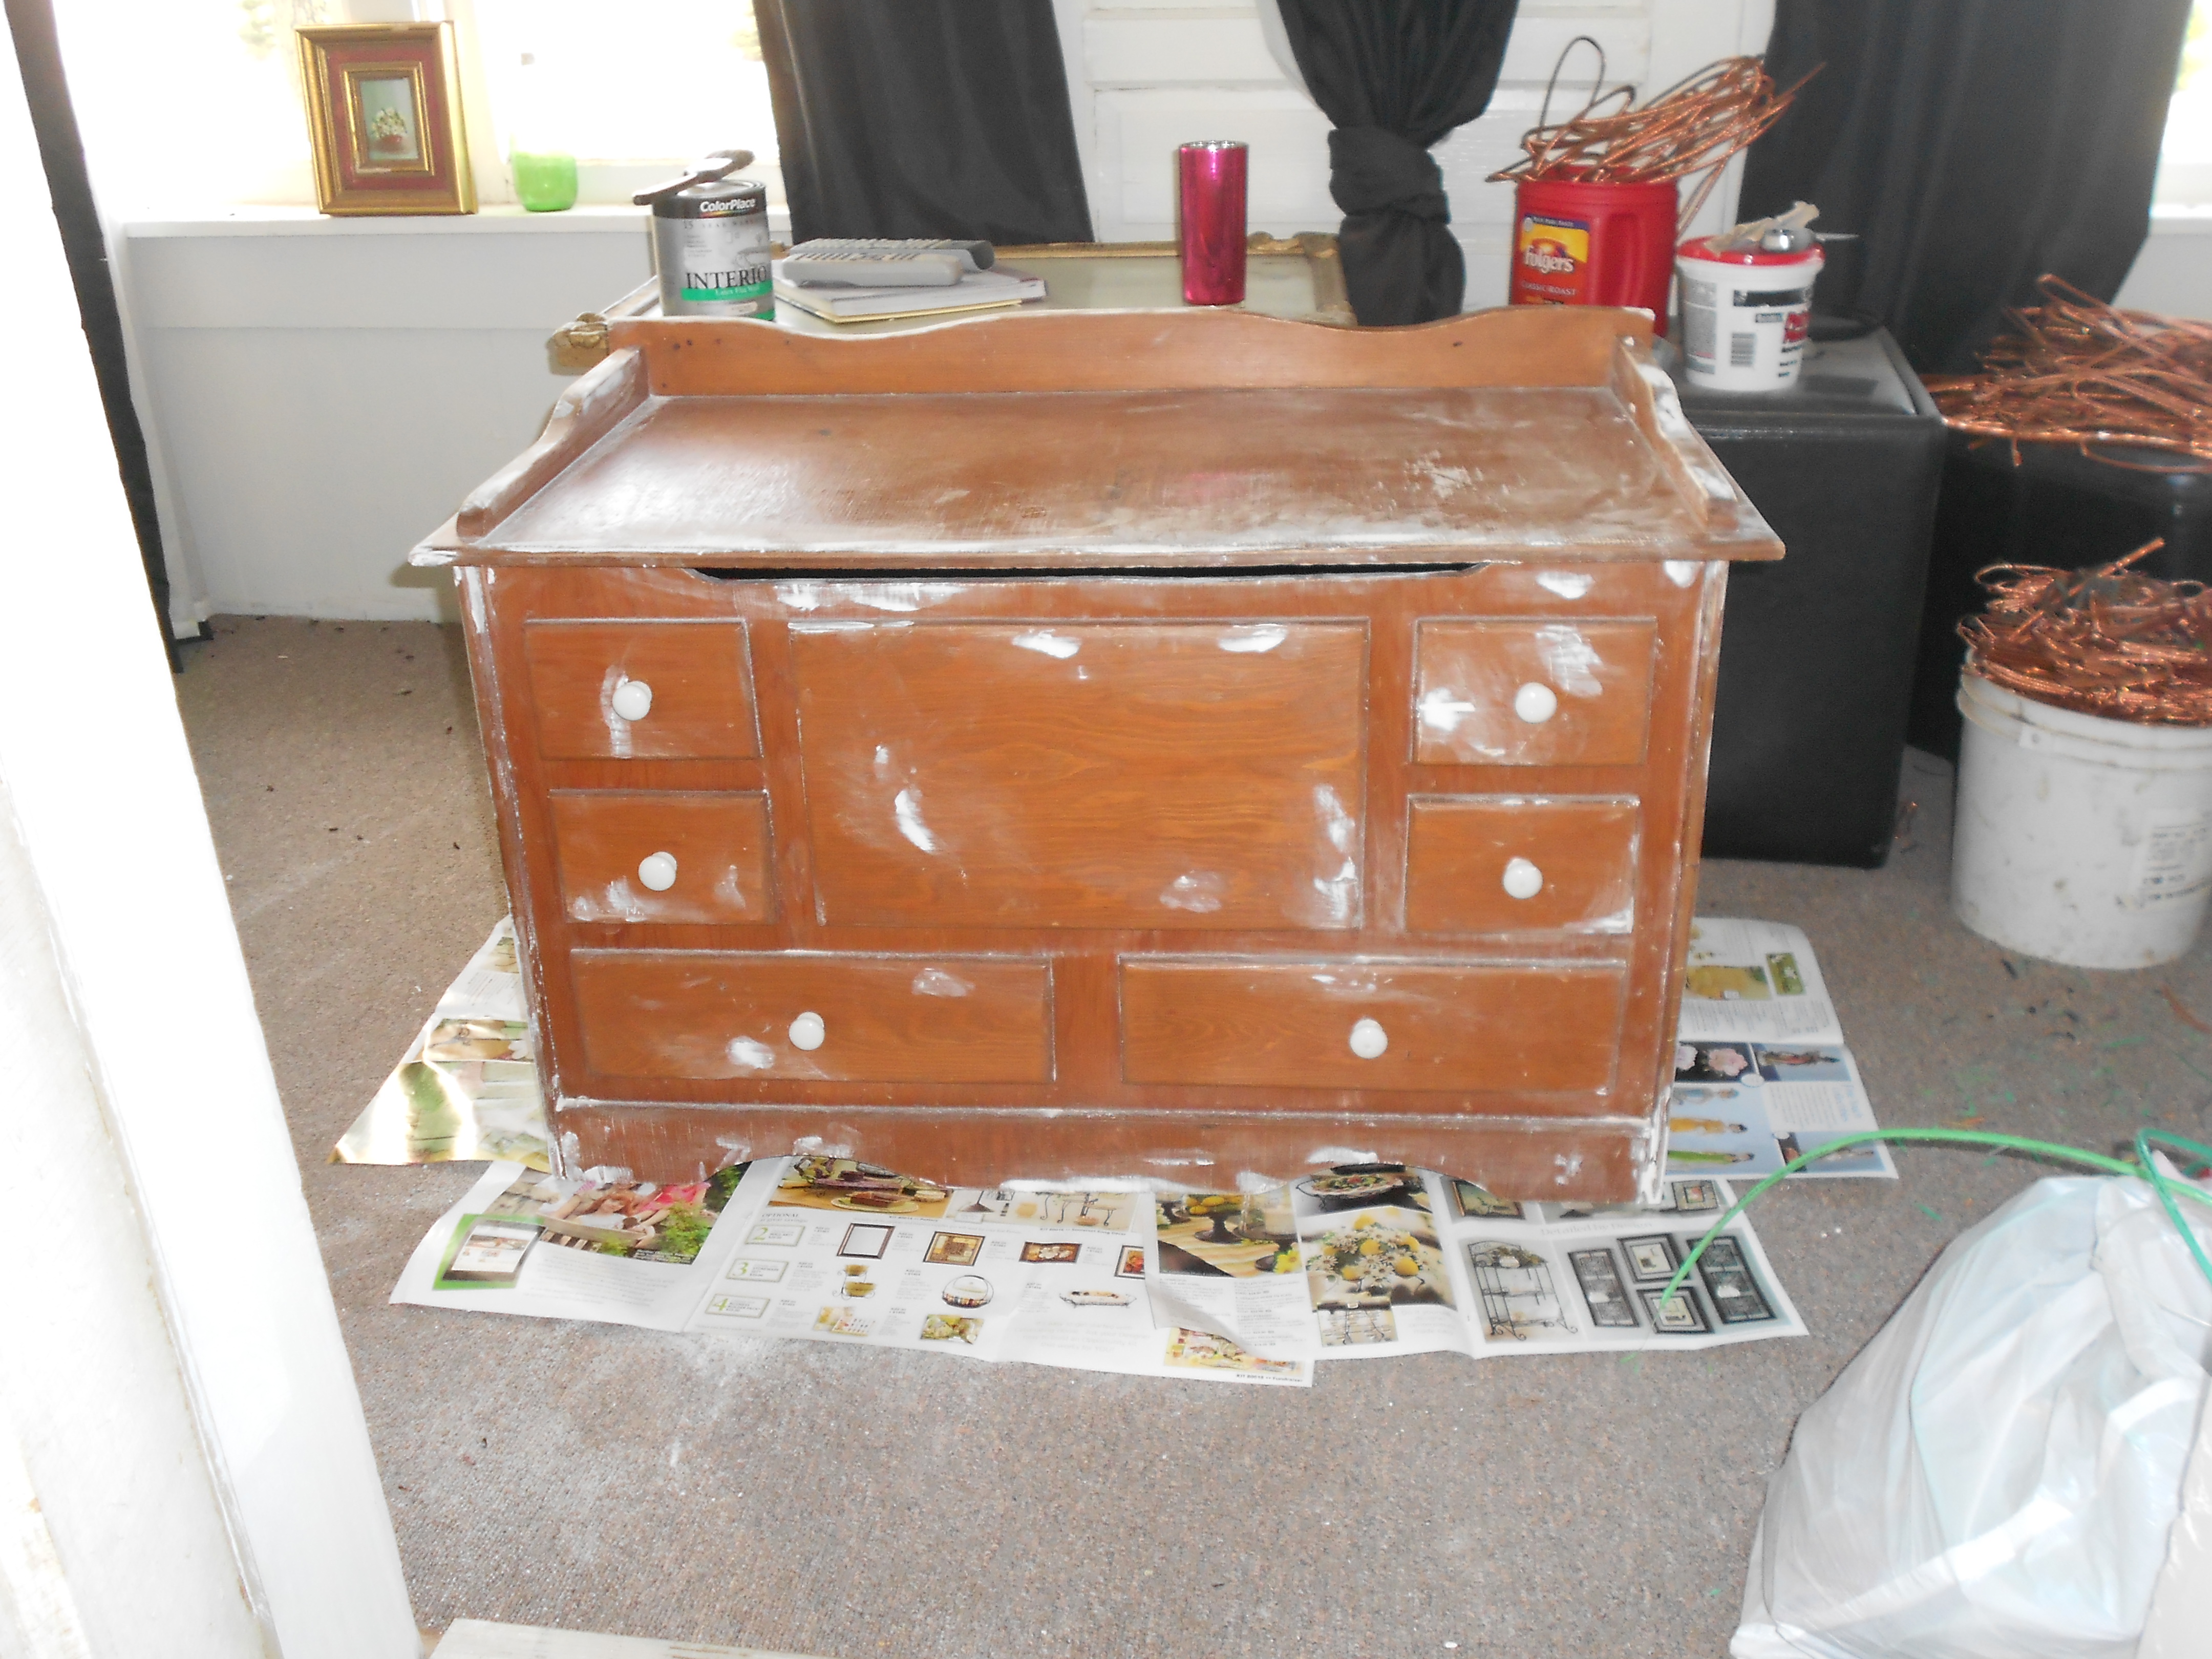
The white is actually wood filler, added by me. But, you get the picture. It was old, and rough, and needed lots of wood filler and love. I sanded and filled and sanded some more. Finally I chose turquoise paint and white for the inside. Not as creative as I originally sought out to be, but it turned out fun so I left it there. I antiqued the edges a bit and roughed up the “wear spots”. I like how it turned out simple and fun!
After:
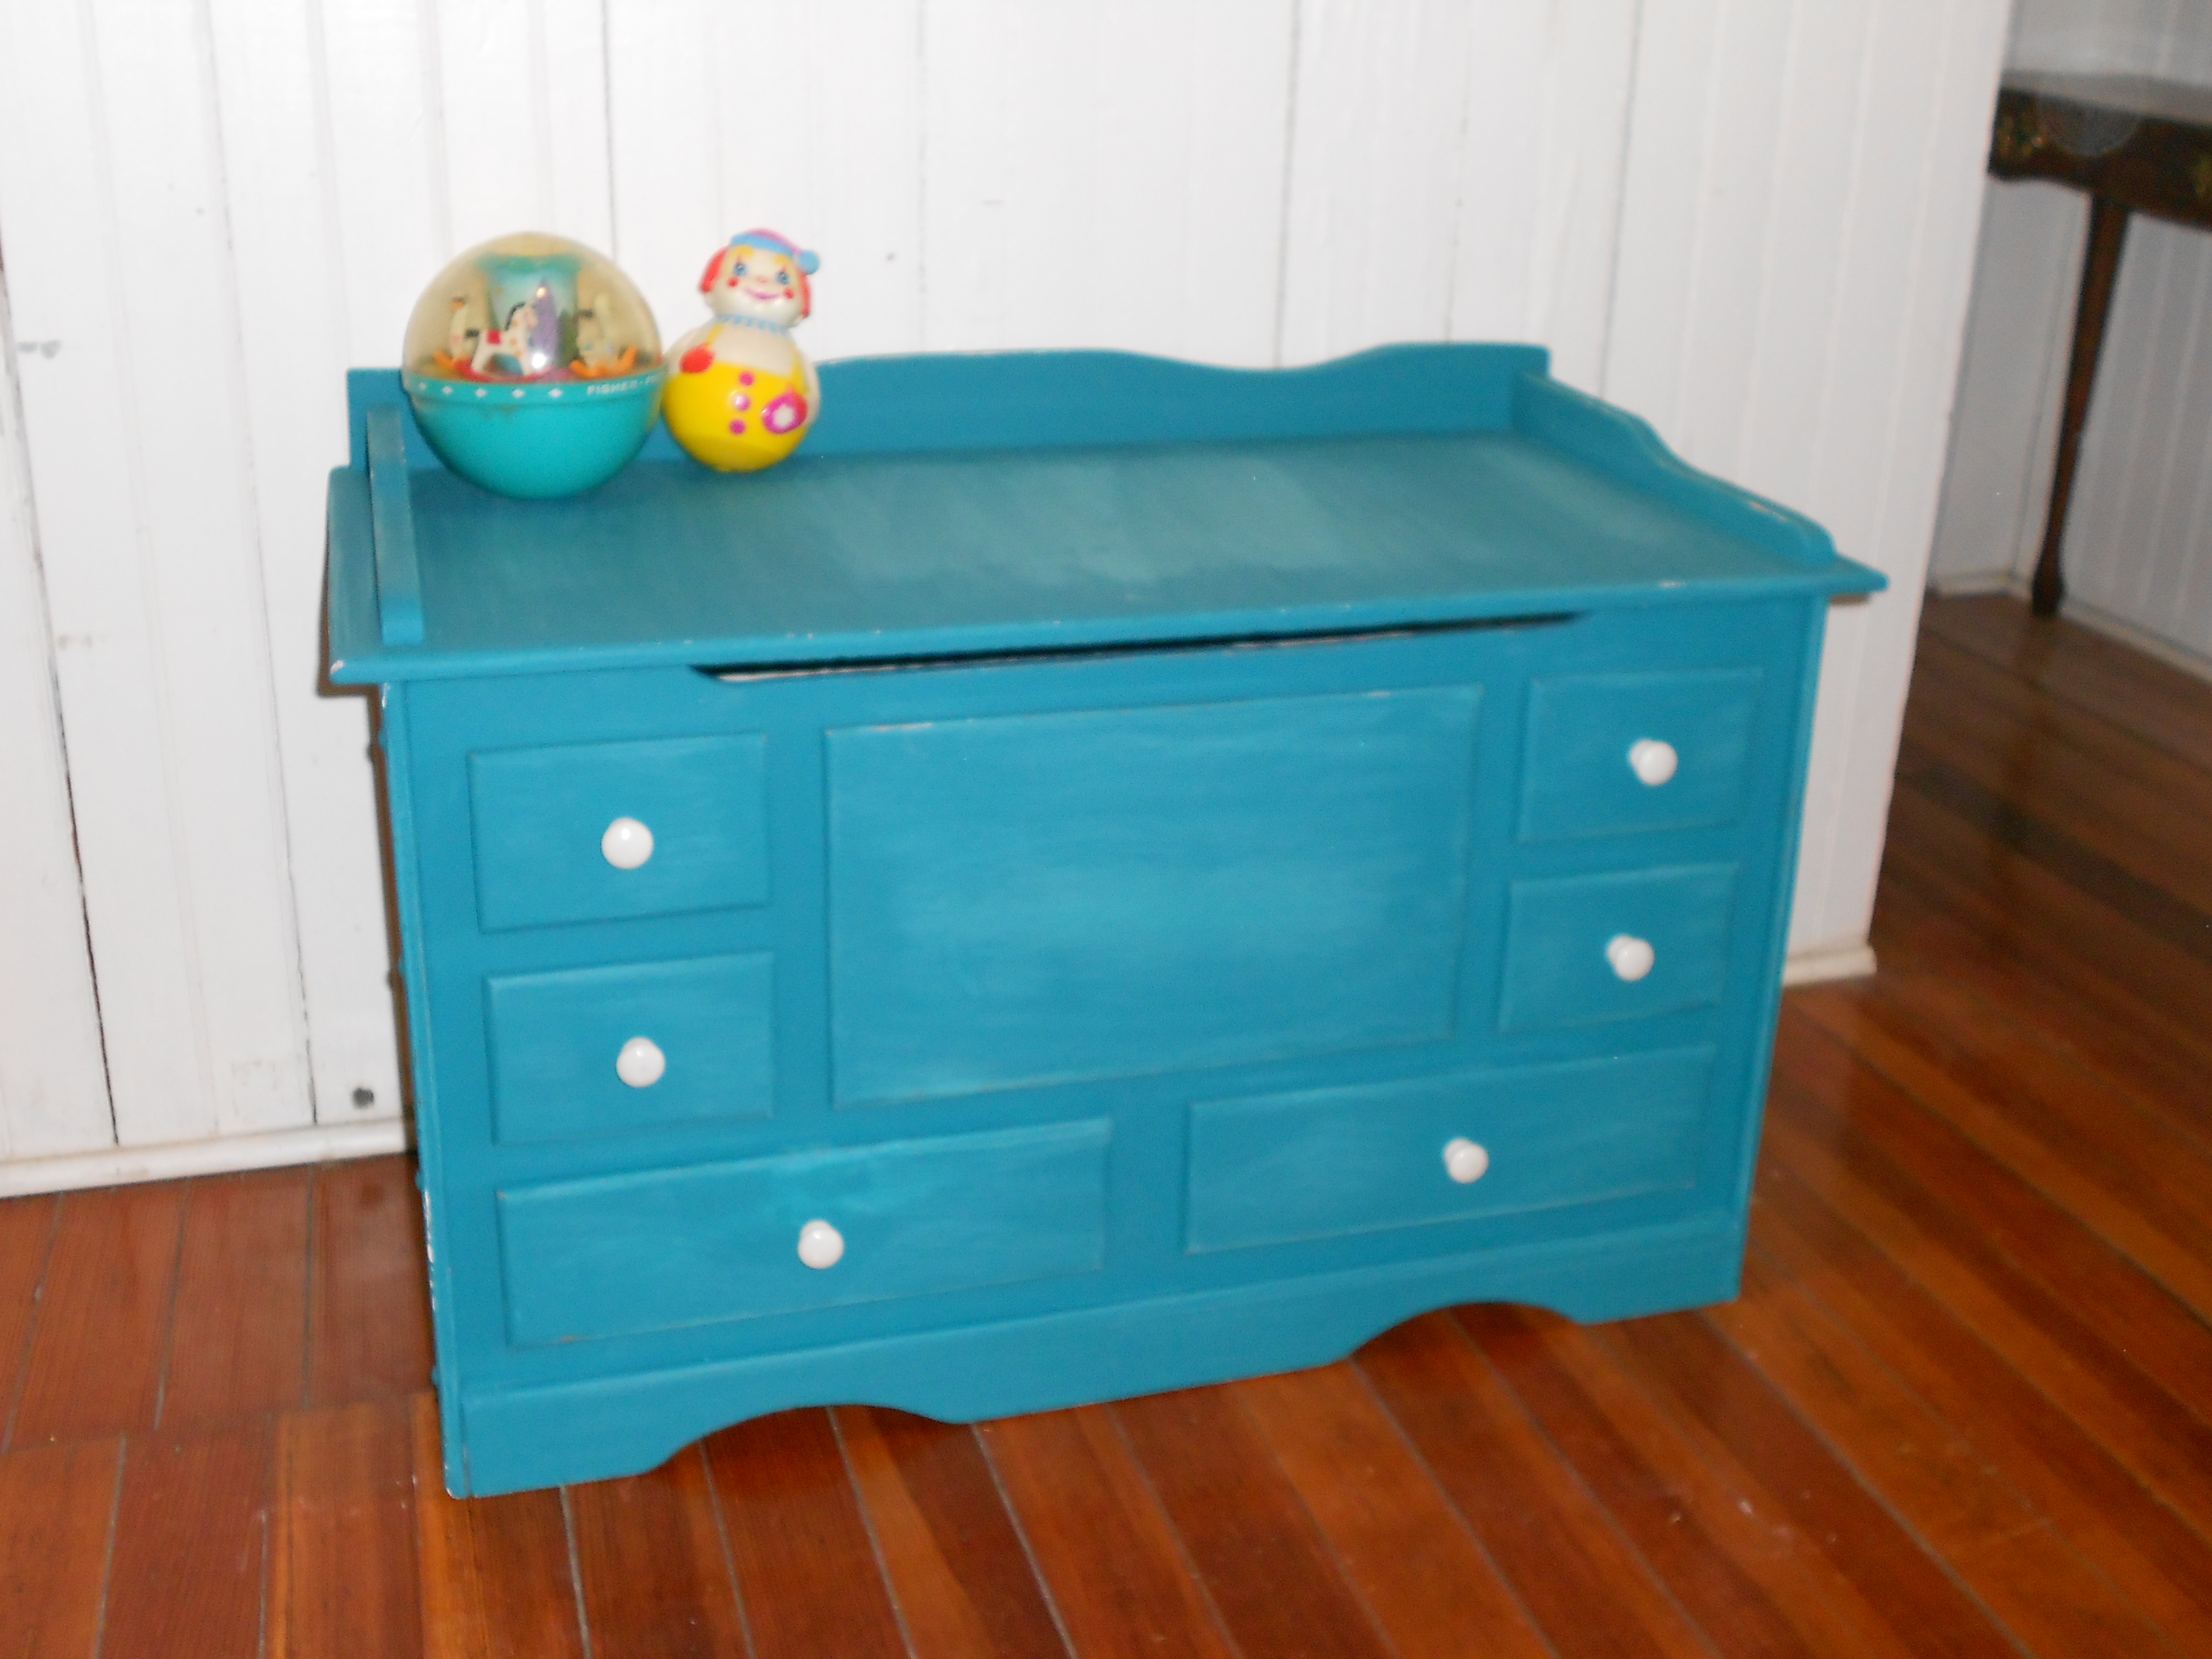

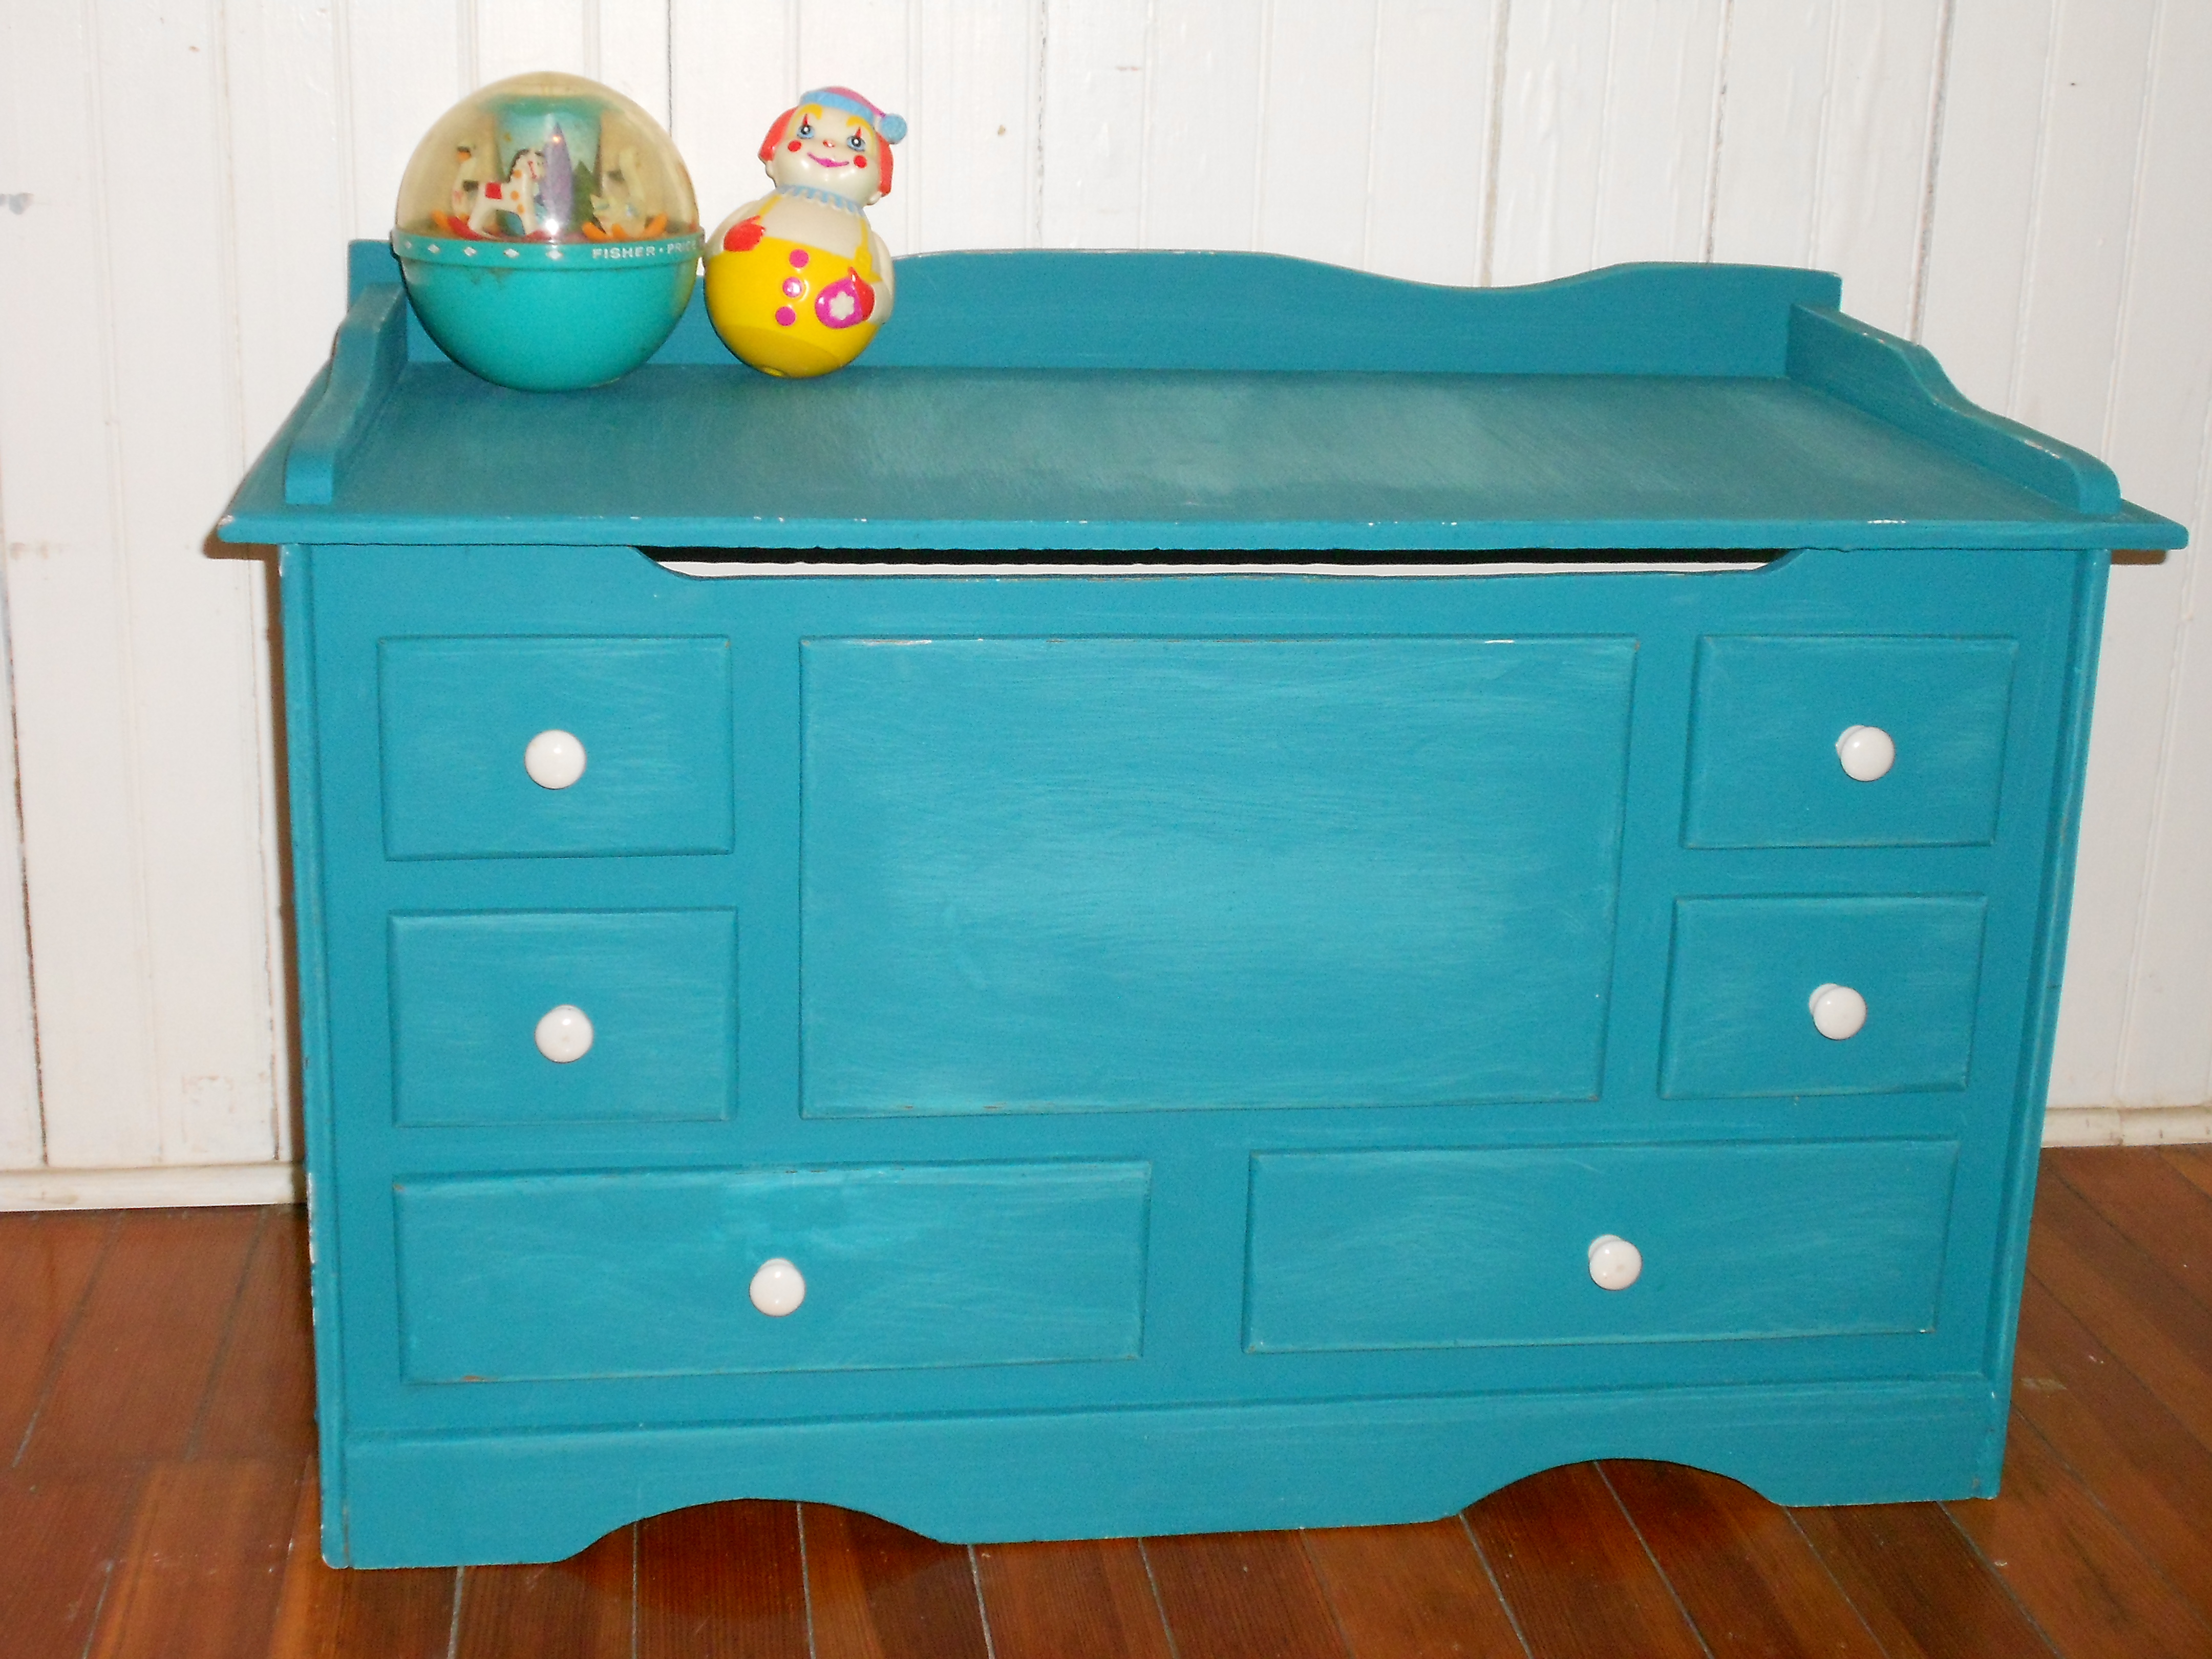
What do you think? I think it turned out super adorable. I was going to replace the handles, but the old ones are vintage ceramic and actually cleaned up nicely. I’m even tempted to keep this one! Why keep a toy box? … more news to come! 😉
Some Handmade Gifts
Hi there! I wanted to do a quick post to show you what we made for our family members for Christmas (and an upcoming wedding!). I started with a few simple stone tiles from Menard’s. I used a flat round brush, a stencil, and some solid paint pots. I dabbed the paint on over the stencil without wiping. I then added some clear coat and some felt pads to the bottom corners. Now…we have personalized coasters! I know I have seen this done before, but I had to share because they turned out so sweet and simple. And, they didn’t break the bank!
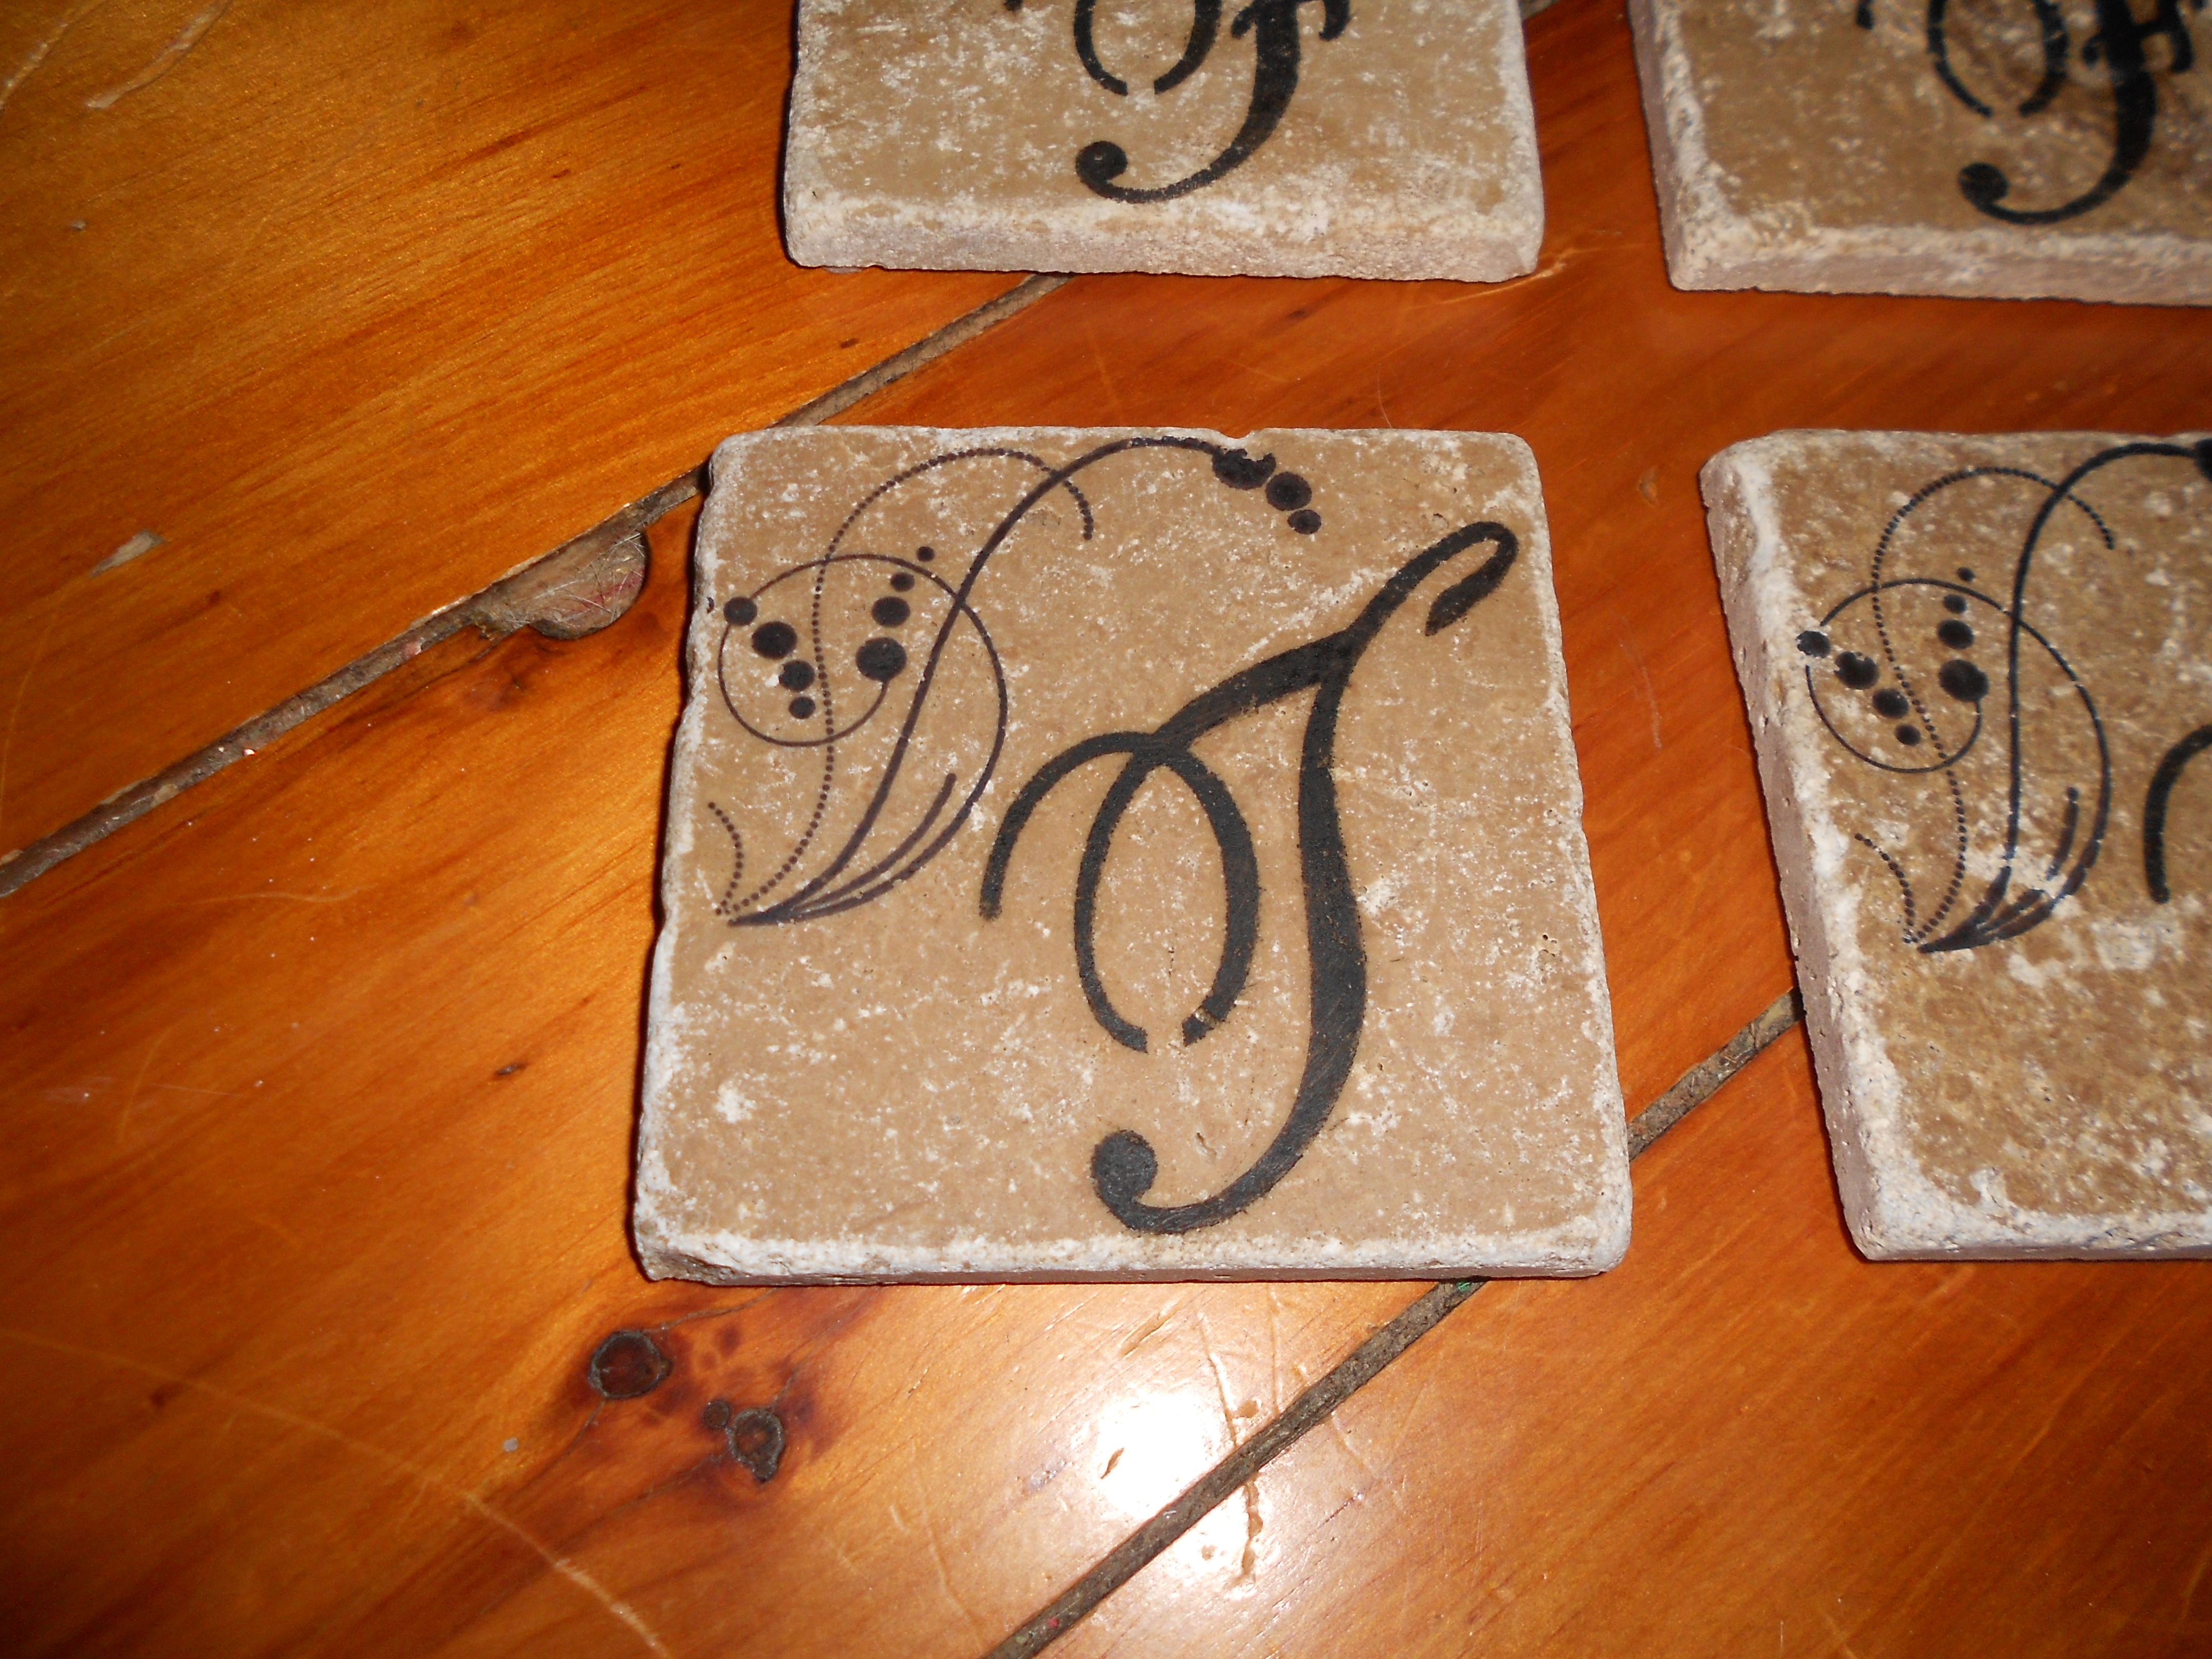

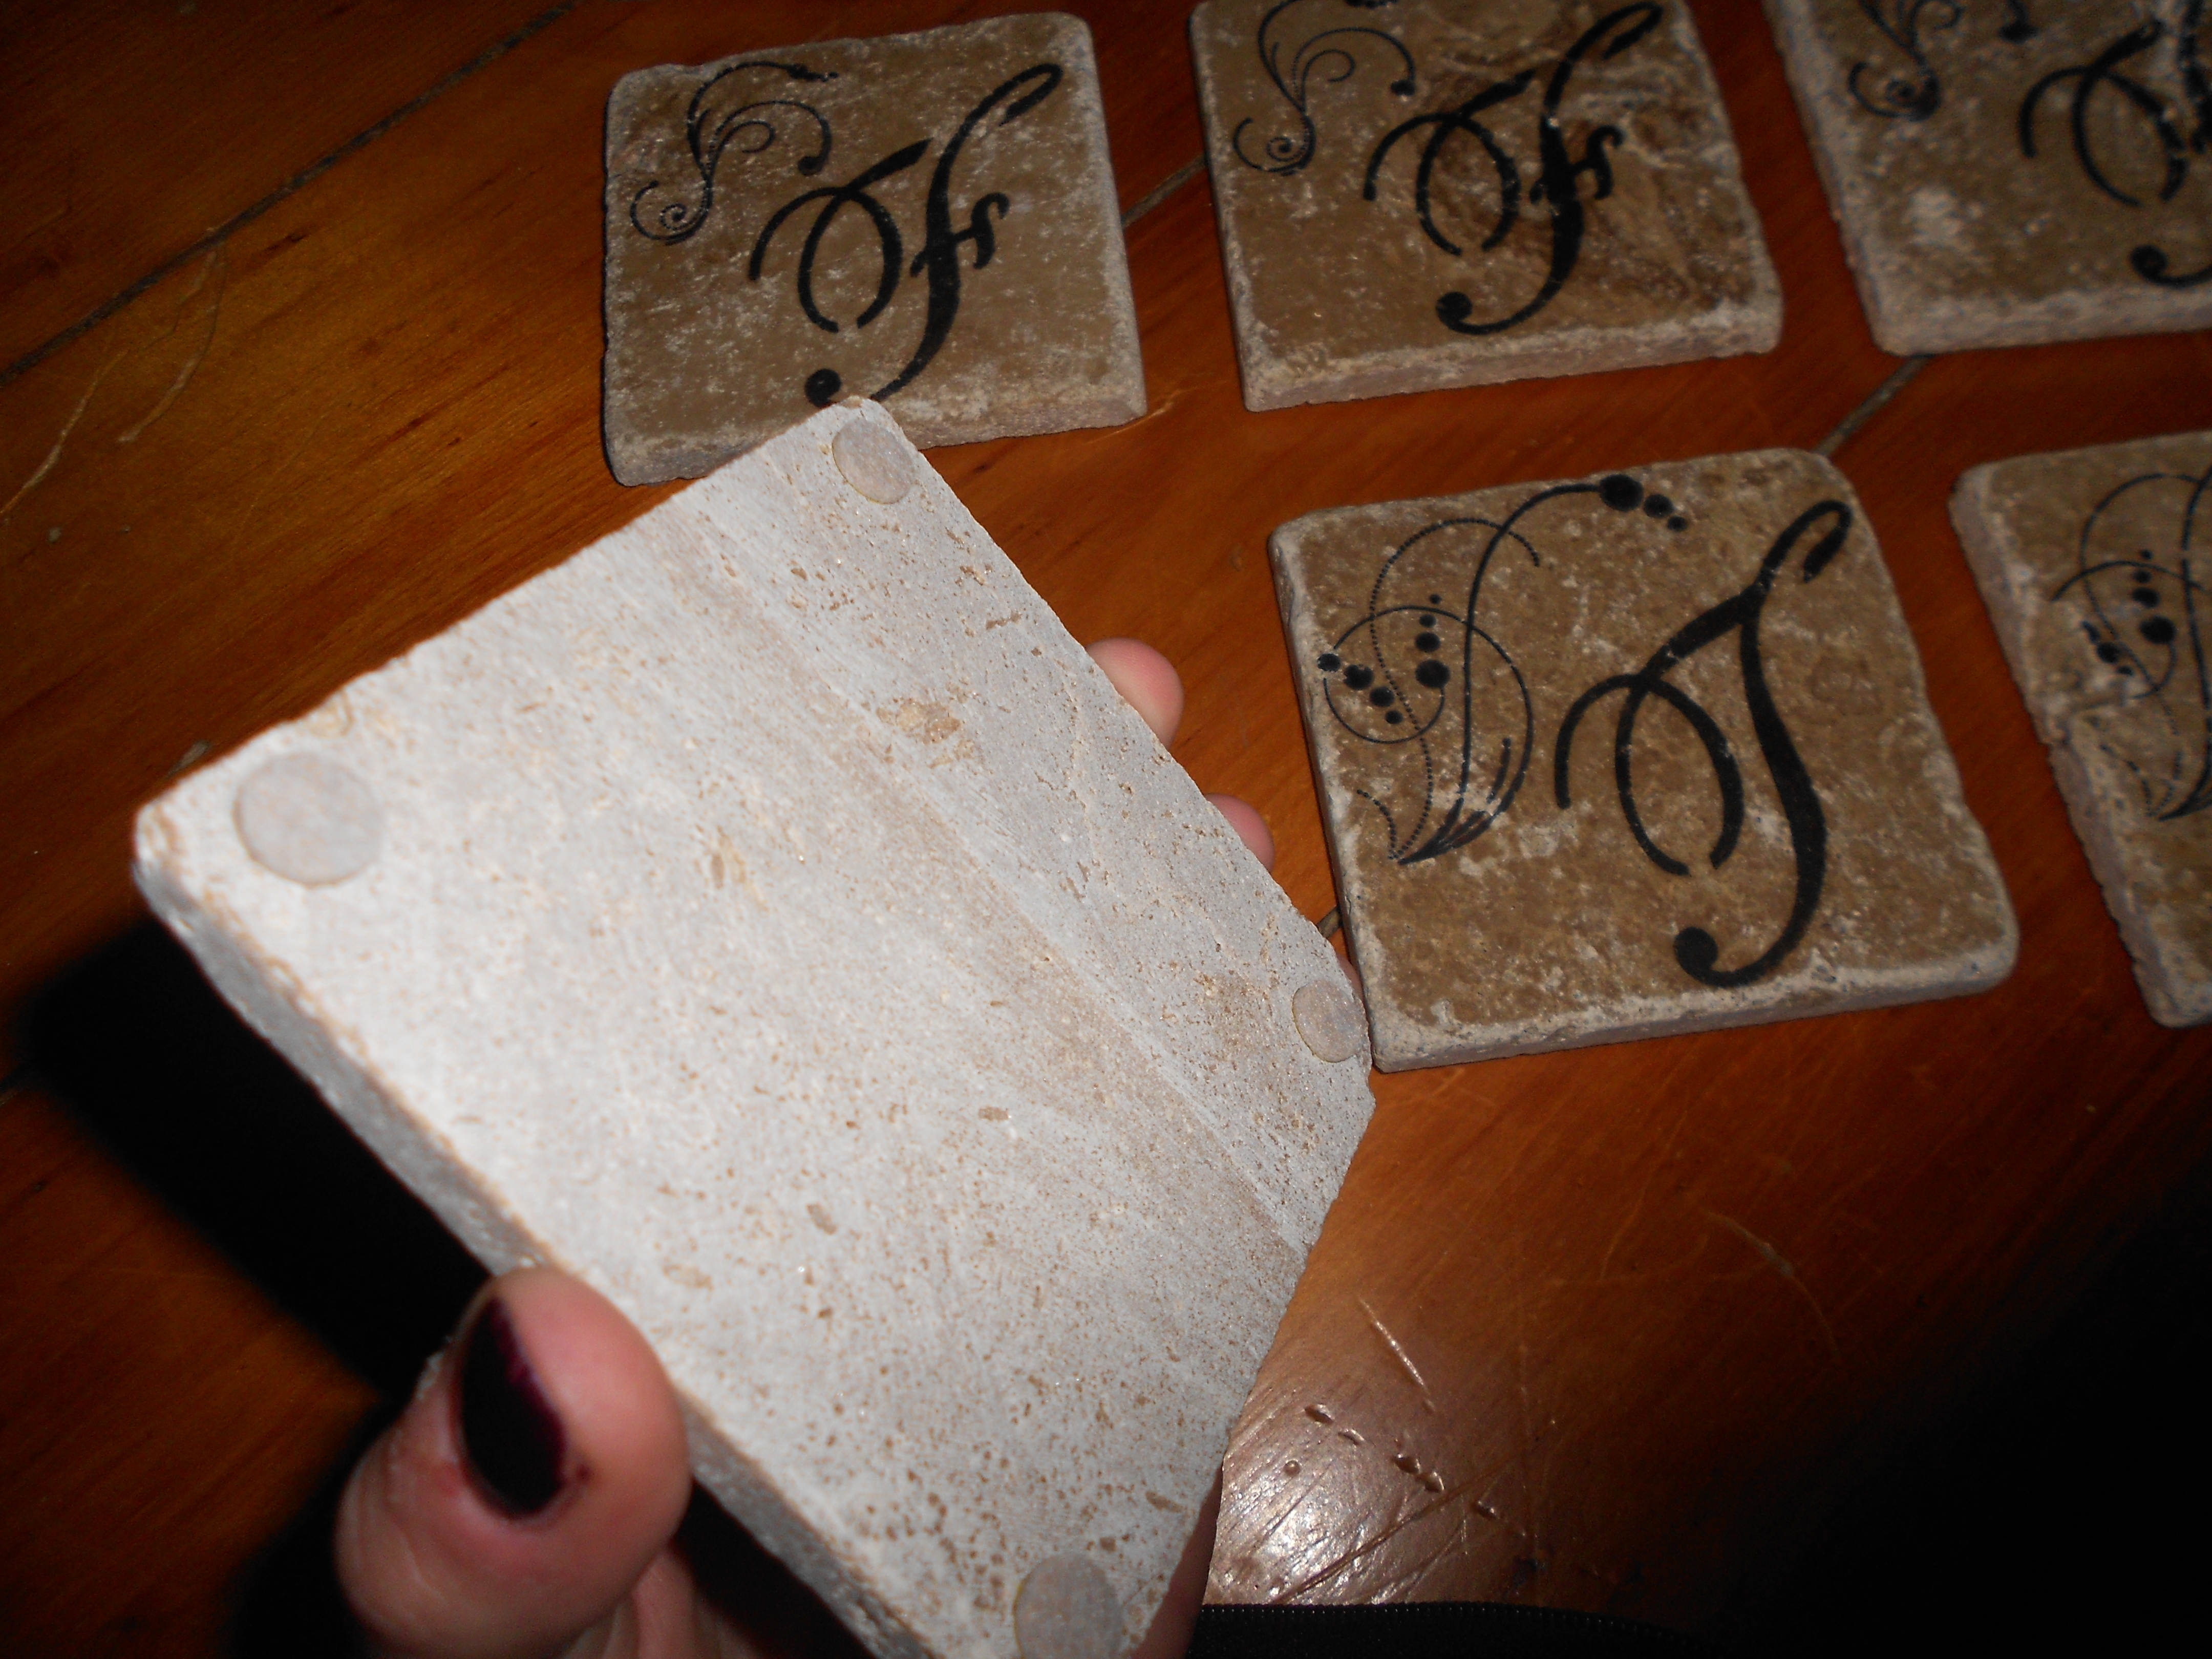
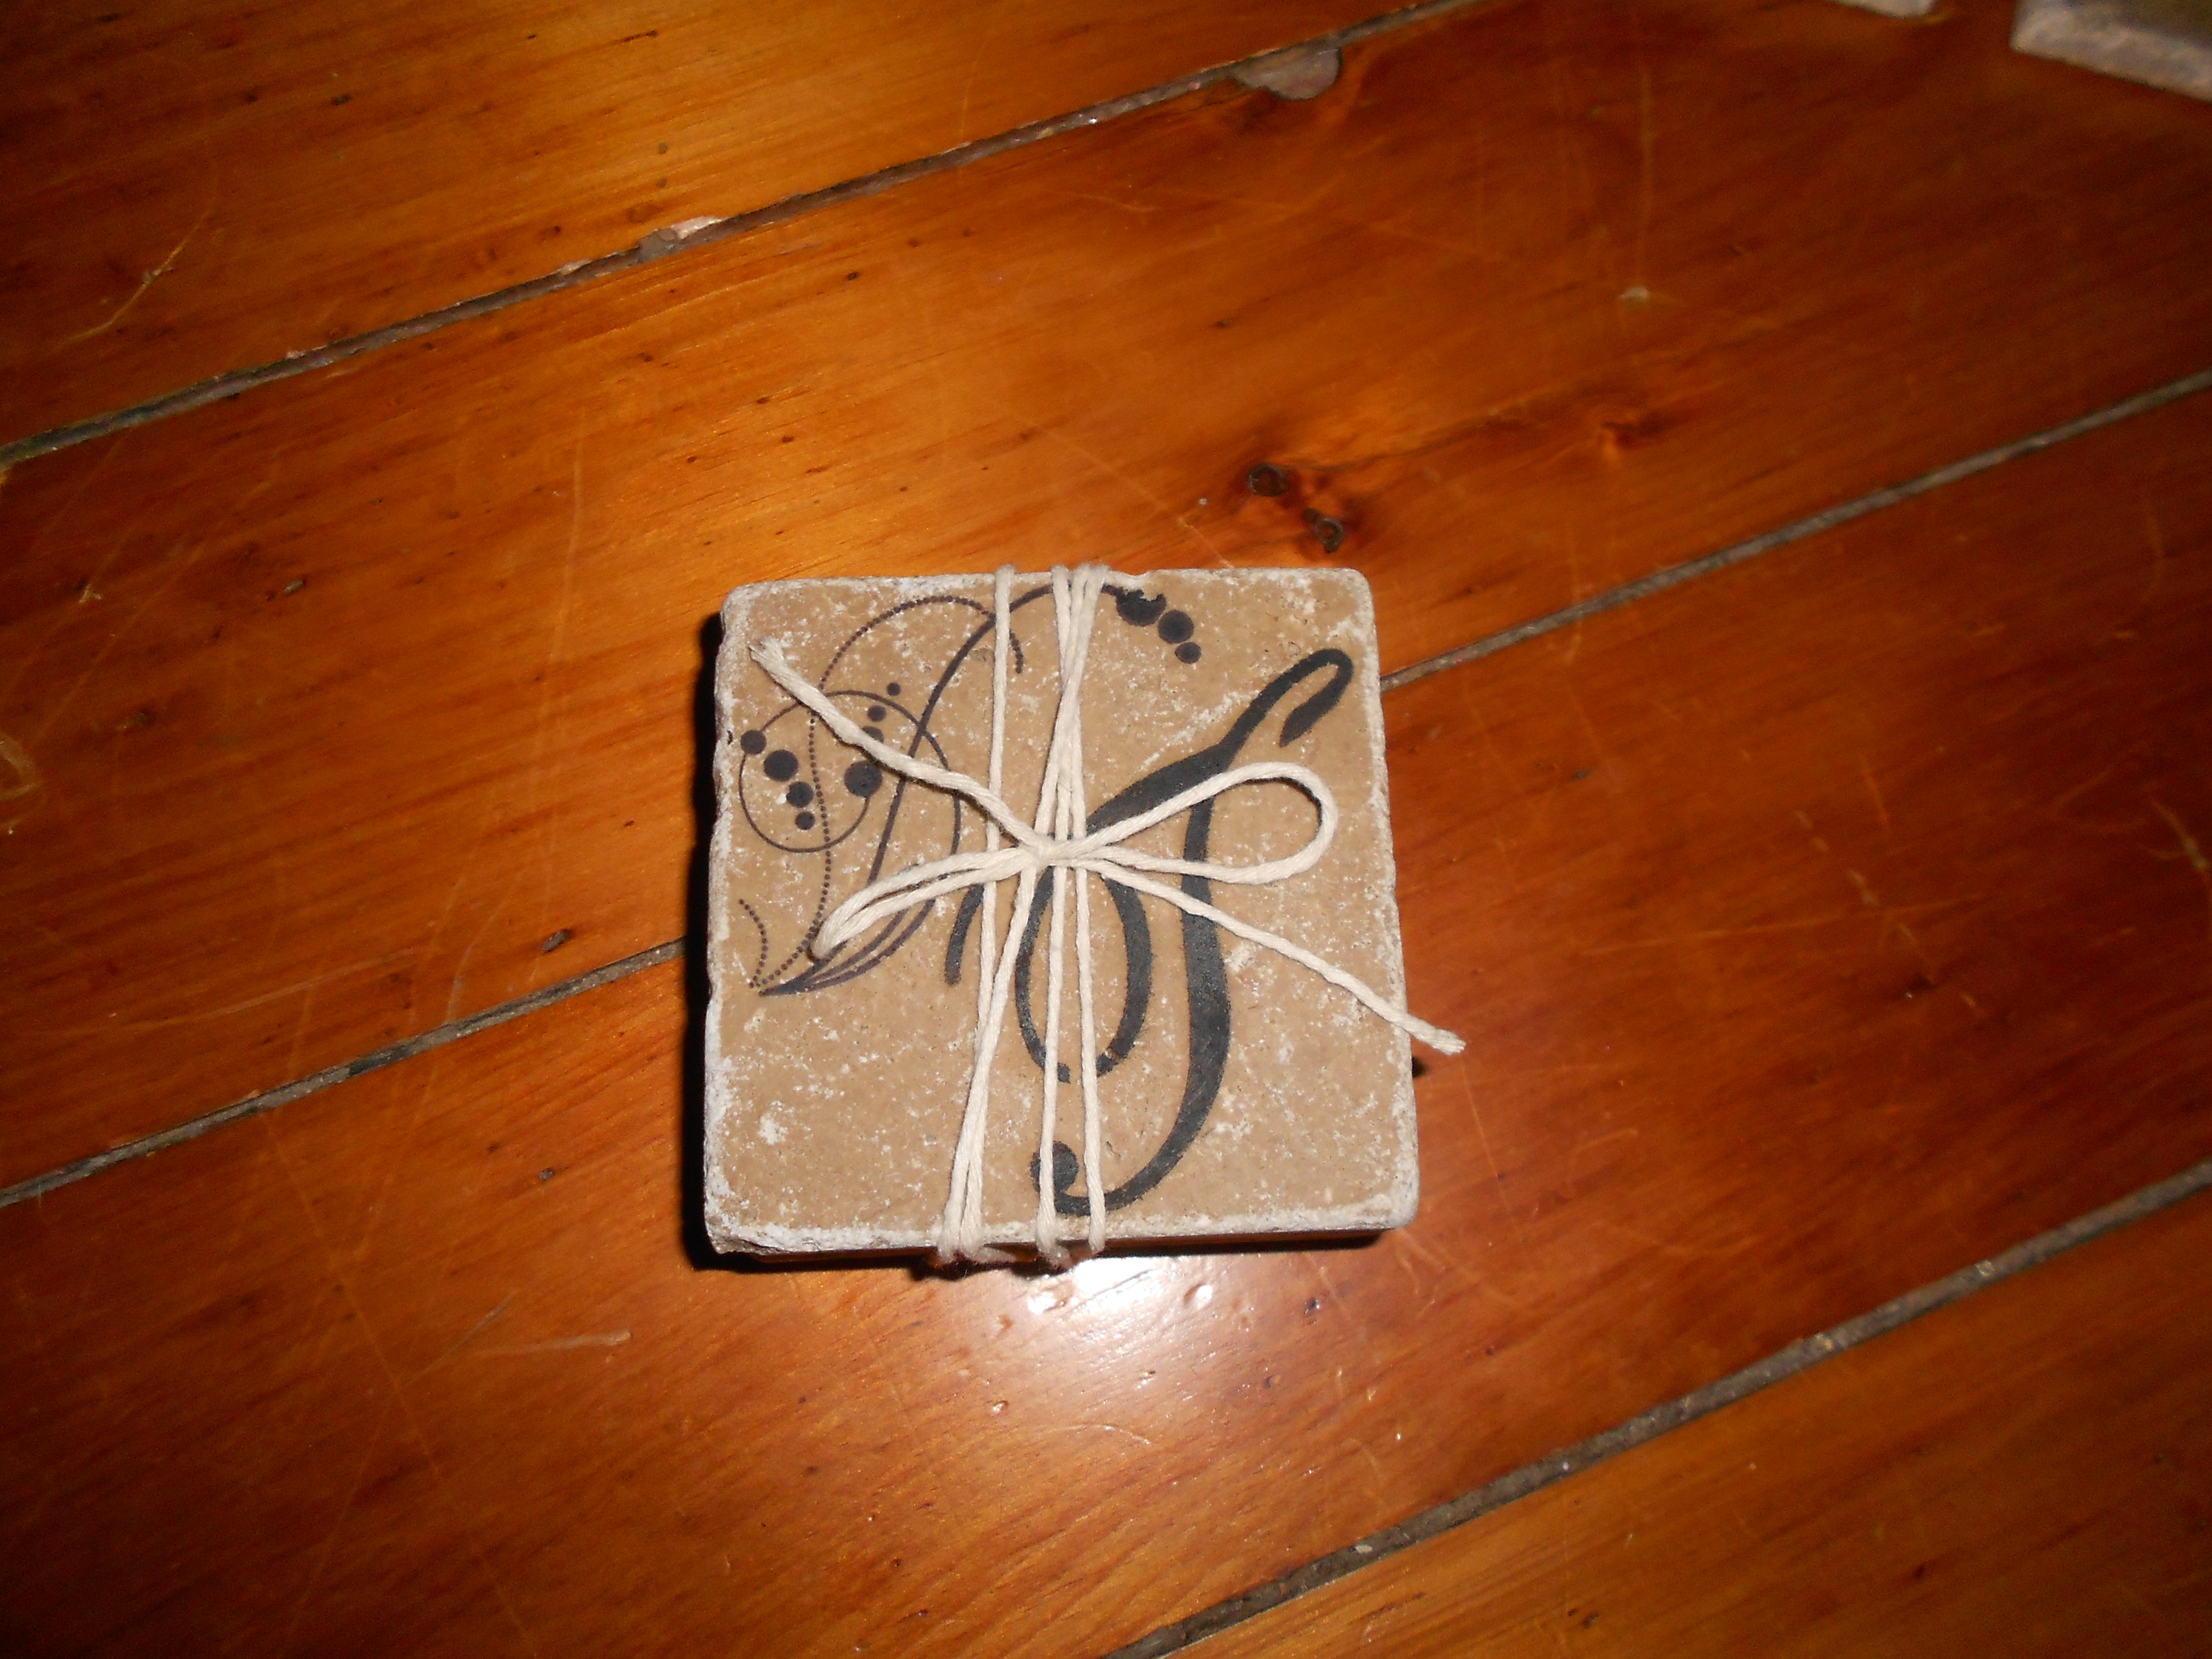
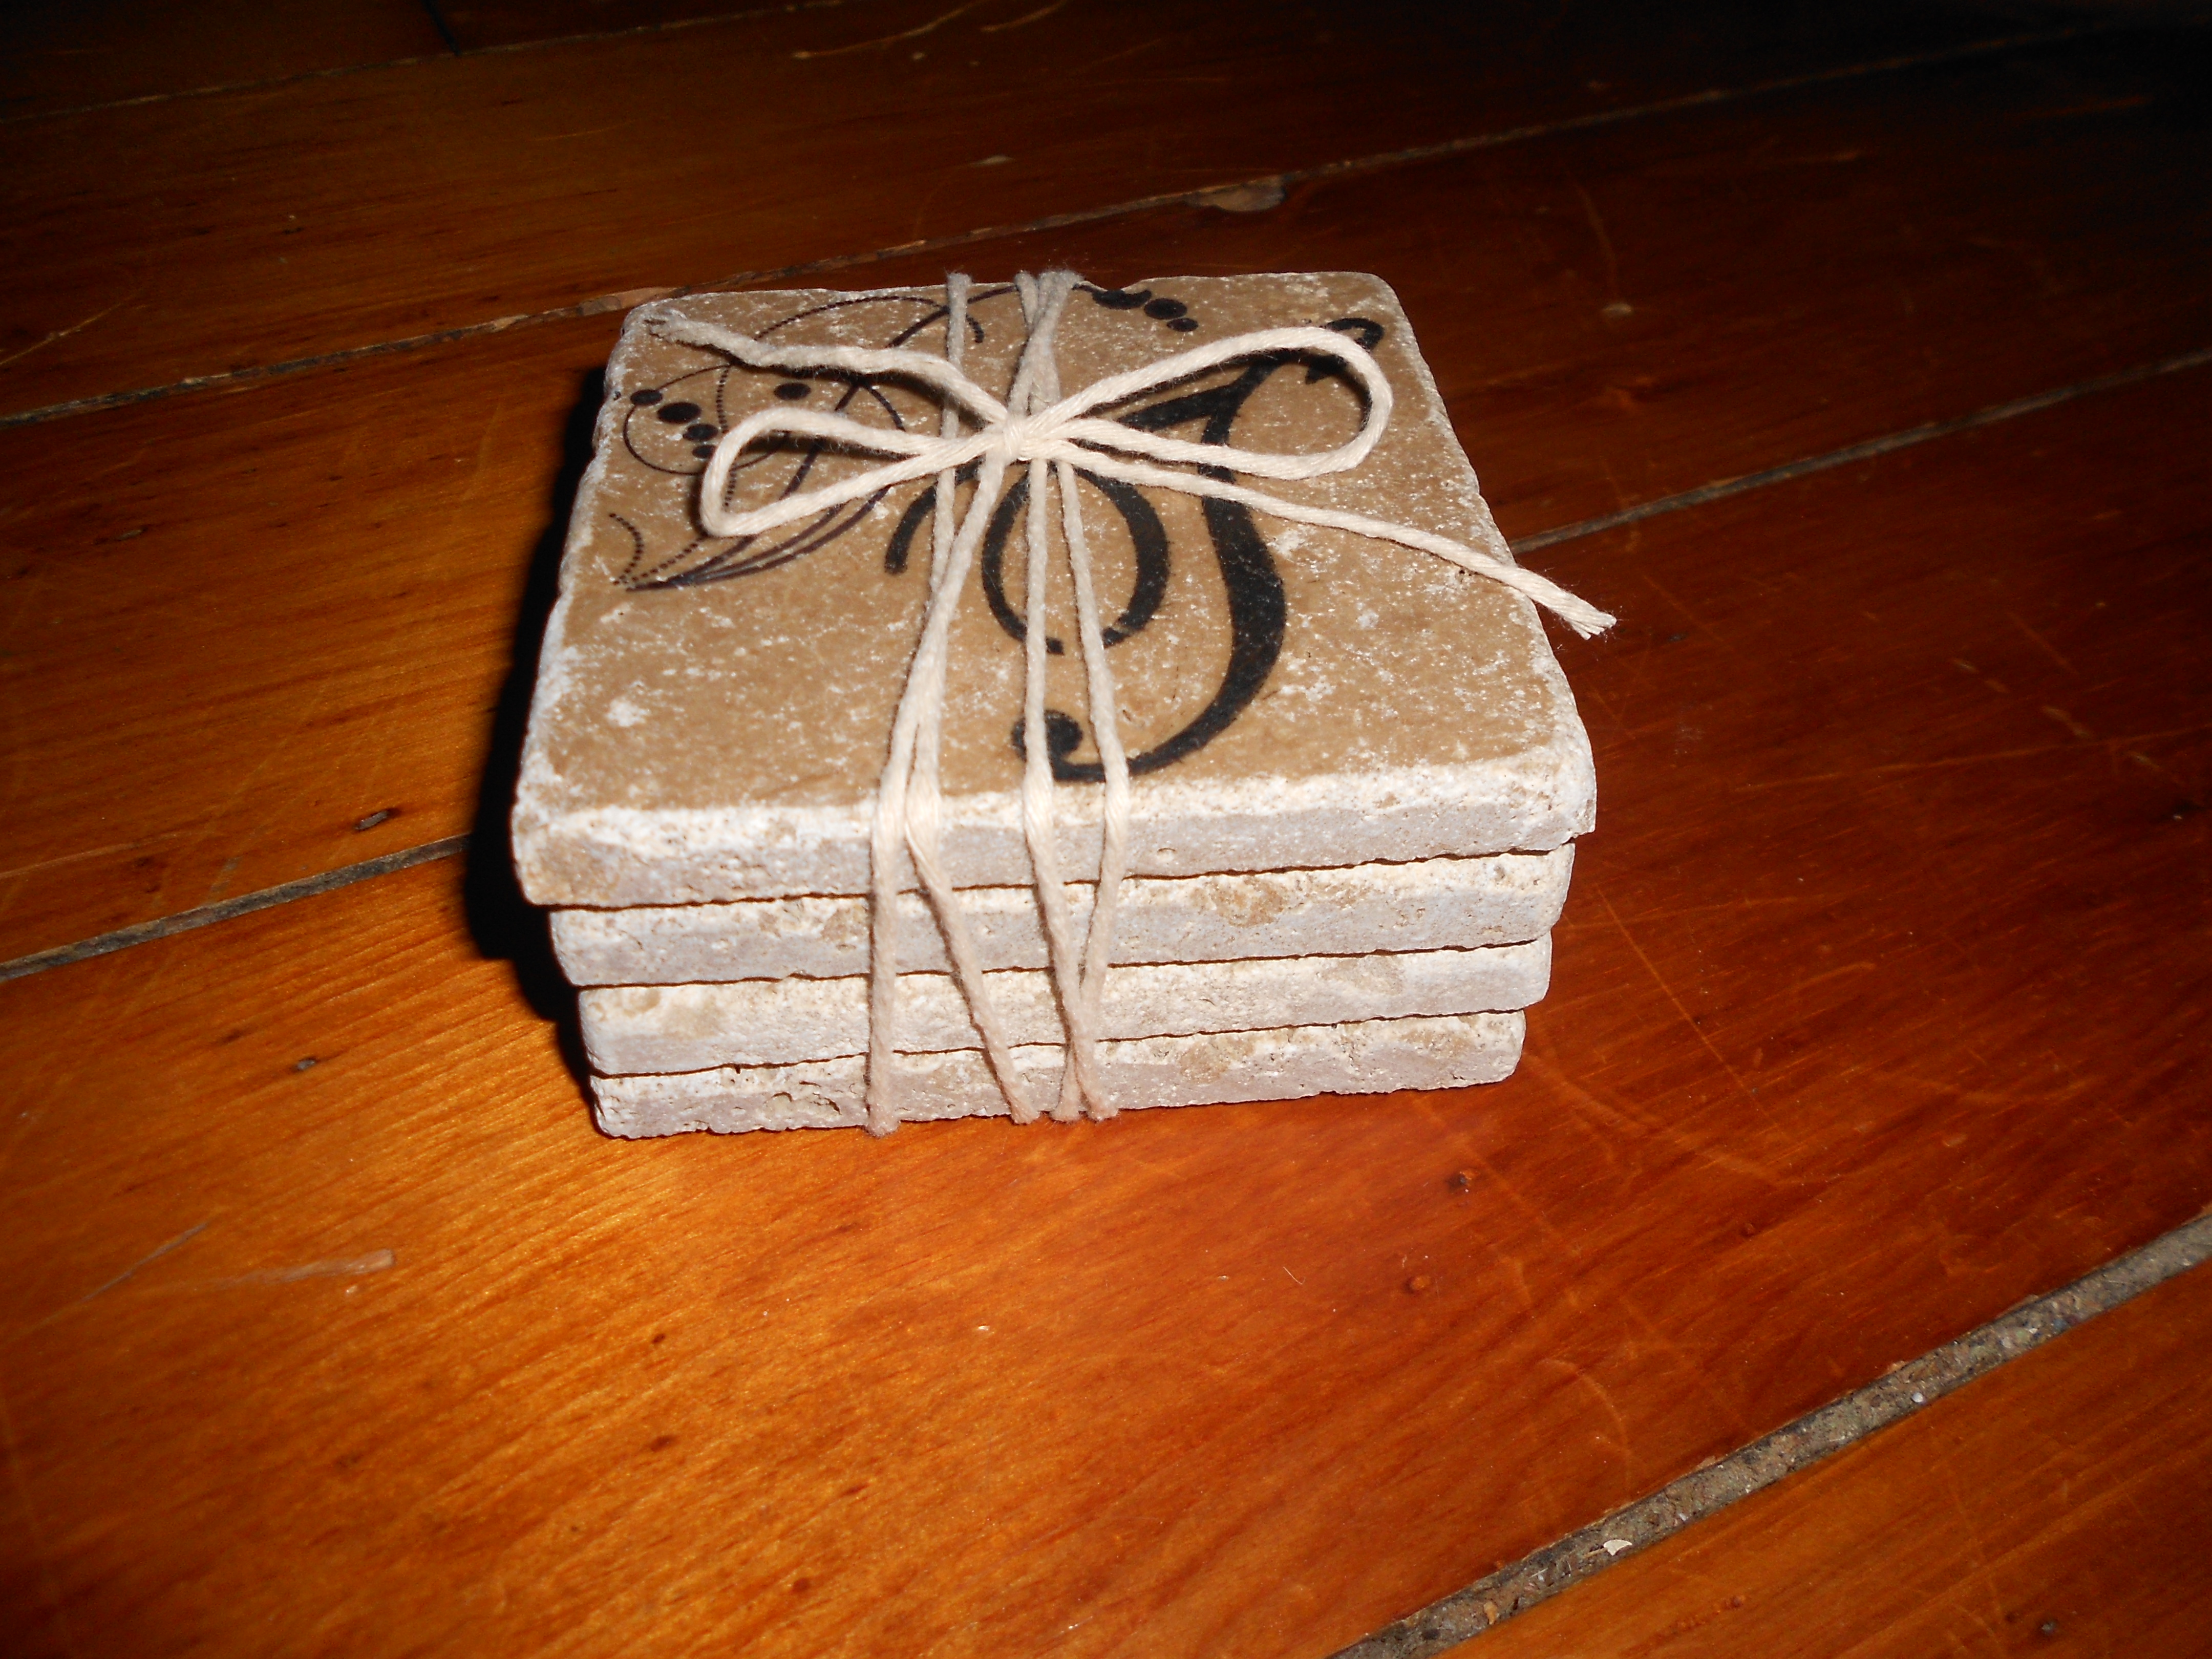
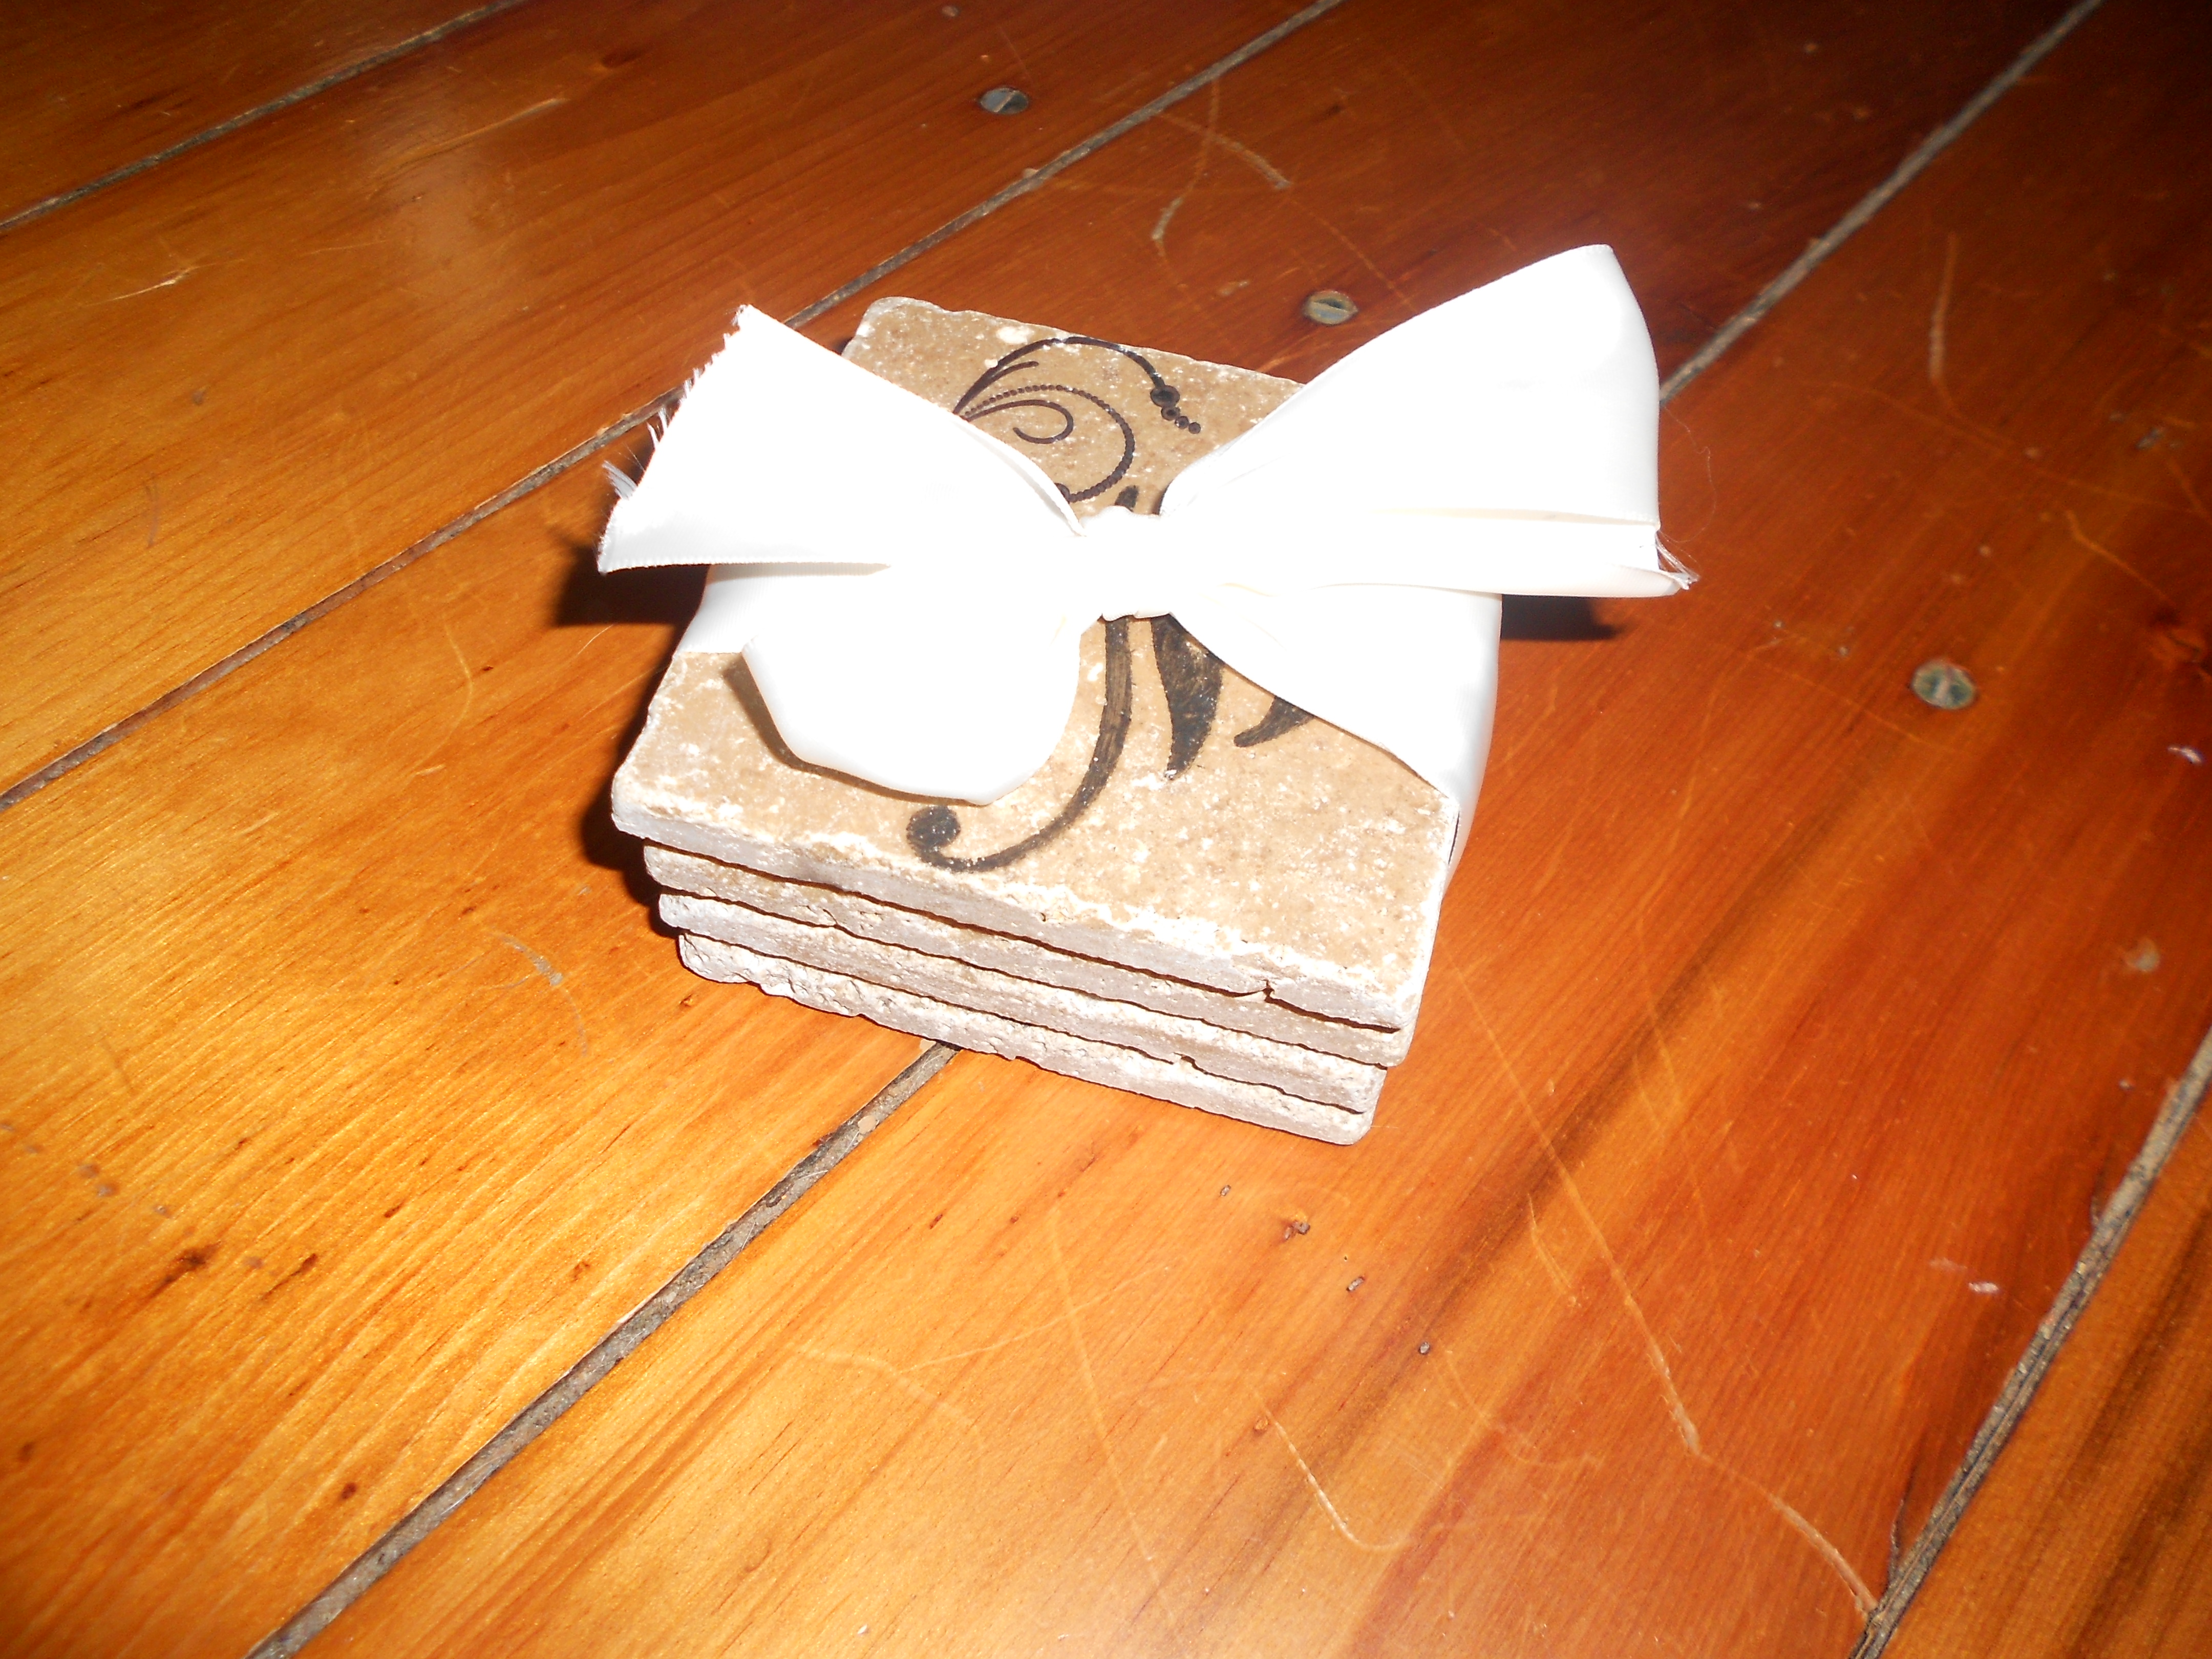
What do you think? I think they turned out great and it was a lot of fun making gifts this year instead of buying something no one needs! 🙂
A Little Monogram
Like everyone else lately, I have been completely addicted to Pinterest. I have been seeing many ideas for monogram letters and it has been on my to-do list (which is always long) to make one for us. I finally got around to this quick project!
I made my letter “L” out of cardboard, by drawing the letter freehand and then cutting it out with a utility knife.

I then traced the letter on scrapbook paper that was perfect for our decor. I used some twine and some fabric. I have other embellishment ideas, but this is where I left it for now. Cute and simple.

Things are always changing in the house, but for right now our “L” is in the living room, tucked into a frame.


What do you think? Any ideas? 🙂
Little Random Project
We have been hard at work over here. Finally one tiny, random project to show for it! lol. At a garage sale recently we found a couple of items to keep us even more busy, including this vintage wooden rocking horse. Rough shape, but only $2, so we decided to give him a little work.
Before:

And after some cleaning up and a new tail and handle…


There is not much in this little room… yet… but I think this will make a super cute addition some day.

We have also been celebrating! More news to come! And, we are exactly four months away from our wedding date!!


Yard Work And Such
We inherited a lot of yard maintenance to take care of from the previous owners. I mean A LOT. With six acres I am sure that some of that is inevitable, but this is just over the top. The must have never done yard work once while they lived here. Never. The weeds, even in the close to the house areas, were over my head. The trees had split and grown funky many years ago. The rock garden was more like a dirt pit scattered with rocks. Need I go on? So, point being, this is our first spring here and we have been putting in a lot of hard work out there. I can’t wait to get a new shipment of rock and show you how the “for now” patio area is coming. But, for right now I thought I would show you just how much tree trimming we accomplished the other day.

Here is the shot looking back at the house and you can see how the rock beds are coming along and things are even turning green now!

And that is only the front! Hey, we have neighbors! 🙂 There were many other trees like this all over the property, not to mention weeds that had become their own trees all around the house, barns, and outbuildings. We have even uncovered some things we didn’t know were there when we moved in!! No joke! The other day we found an old metal lawn chair set up by a cattle shoot. They had made a shooting range down there and we couldn’t even see it! We found an old wheel borrow with what used to be flowers planted in it, various pieces of junk, both useful and non, and even learned we have an old hand-pumped well! And it works! Yea, so anyways, on to the fun part. With all of this hard work I just knew there would be some enjoyment in the end. Trimmed branches and a wine bottle…


Just a touch of spring, for the yard and for the house! Just in time for Easter. Gorgeous! 🙂
DIY Serving Tray
This has been on my to-do list since we moved it. Or maybe even before. But it became even more urgent when we bought the new couch with an ottoman. Now I have no room for a coffee table, but that means nowhere safe to put drinks and essentials. However, the previous owners left us lots of junk in the barns, so this one was a snap.
Gross old window uncovered in a heap in the barn:

Add some barn door hardware as handles:

The window was in surprisingly great shape once it was cleaned up, so I added a little paint and distressed the edges, added the hardware, and then used an Uppercase Living decal I had packed away on the glass. (I had minor trouble with the decal, so it may get a new one in the future. Talk about frustration!) And here you have our new serving tray:

Just finished this little guy and we already love it. We think it looks cute in that rustic way, but is also super handy!


Well, what do you think? We are happy with the way this quick and easy project came out! Have you ever tried anything like this?
Kitchen Curtains
I don’t sew. I wish I could, but I am just not good at it. I hope to start practicing and at least be able to make a basic straight line someday, but for now, I don’t sew. So, when I am on the hunt for new curtains and all of the pretty options are out of my price range, what do I do? I get out the iron and the hem tape and I “fake glue” myself a pair.
Remember these kitchen curtains?

The valances above the windows were here when we moved in. They were fine. Actually, they were god quality and in good shape. Just not our favorite color choices. The curtain on the door was brought from my old house. I used it to cover the window temporarily, until we could figure out what we wanted in here. Now the floral curtain is on the door window just beyond that, which leads outside. After all these months of looking at these mismatched curtains, I finally wanted to get busy. I knew I wanted something more neutral, as we plan to paint in the near future. I liked the shape of the valances, and I didn’t mind the deep red roller shade (for now?). Then I happened upon the perfect twist of fun stripes and neutral colors…


Ticking fabric. A little rustic and old school, yet funky and fresh as curtains. The cream/tan combo will go well with the new colors to come. And I tied the faux roller shade with twine.


And I did all of it with iron on hem tape, even the tab tops! What do you think??
More projects to come 🙂
