New Old Dresser
This old house has plenty of character, but really lacks storage. I get by because no one is using the spare bedroom currently, so outgrown baby items, my vacuum, and luggage all live in there. The bathroom, however, is still in desperate need of storage. I still use my old quilt rack to hang towels. I love this, but not so much when towels have to be stacked 7 high because there is no cupboard for the extras. So, I set out to buy a large old dresser to refinish, in hopes that it could serve as storage in the bathroom.
I started with this guy for $40 on a garage sale:

Great vintage bones, ugly paint job. So I sanded, patched one spot, and painted him gray.

He was already looking gorgeous. Then I added some charcoal tinted furniture paste wax.

I was loving it. The hardest part was picking hardware. I didn’t want the hardware to pull too much attention, so I ended up choosing twisted iron pulls that reminded me of the Threshers, and little black knobs for the top. Now he’s finished and gorgeous. Oh, and one more dilemma. Do I really put it in the barhroom, or do I give it to Brantley as he transitions to his big boy furniture? OR, do I sell it? 😉


What do you think?! ♡
Quick Paint Job
Winter is always my dreary time. Usually I don’t seem to get much done. But lately, I have been on a roll of projects! Last week I whipped out a tiny and speedy paint project. I used the same charcoal chalk paint from the small wall in the kitchen and painted the opposite facing wall in the dining room. I didn’t like the green, but love this dark, fresh color now! Here is the (messy) before:

Check out the after (forgive the Christmas decor that wouldn’t normally be there :)) :


And I just adore the new canvas of B! I’m even thinking about painting the small chunk of wall going up the stairs behind this wall. I think that will balance everything out well. Small bits at a time. After all, I have to paint after little man goes to bed 🙂 What do you think?!
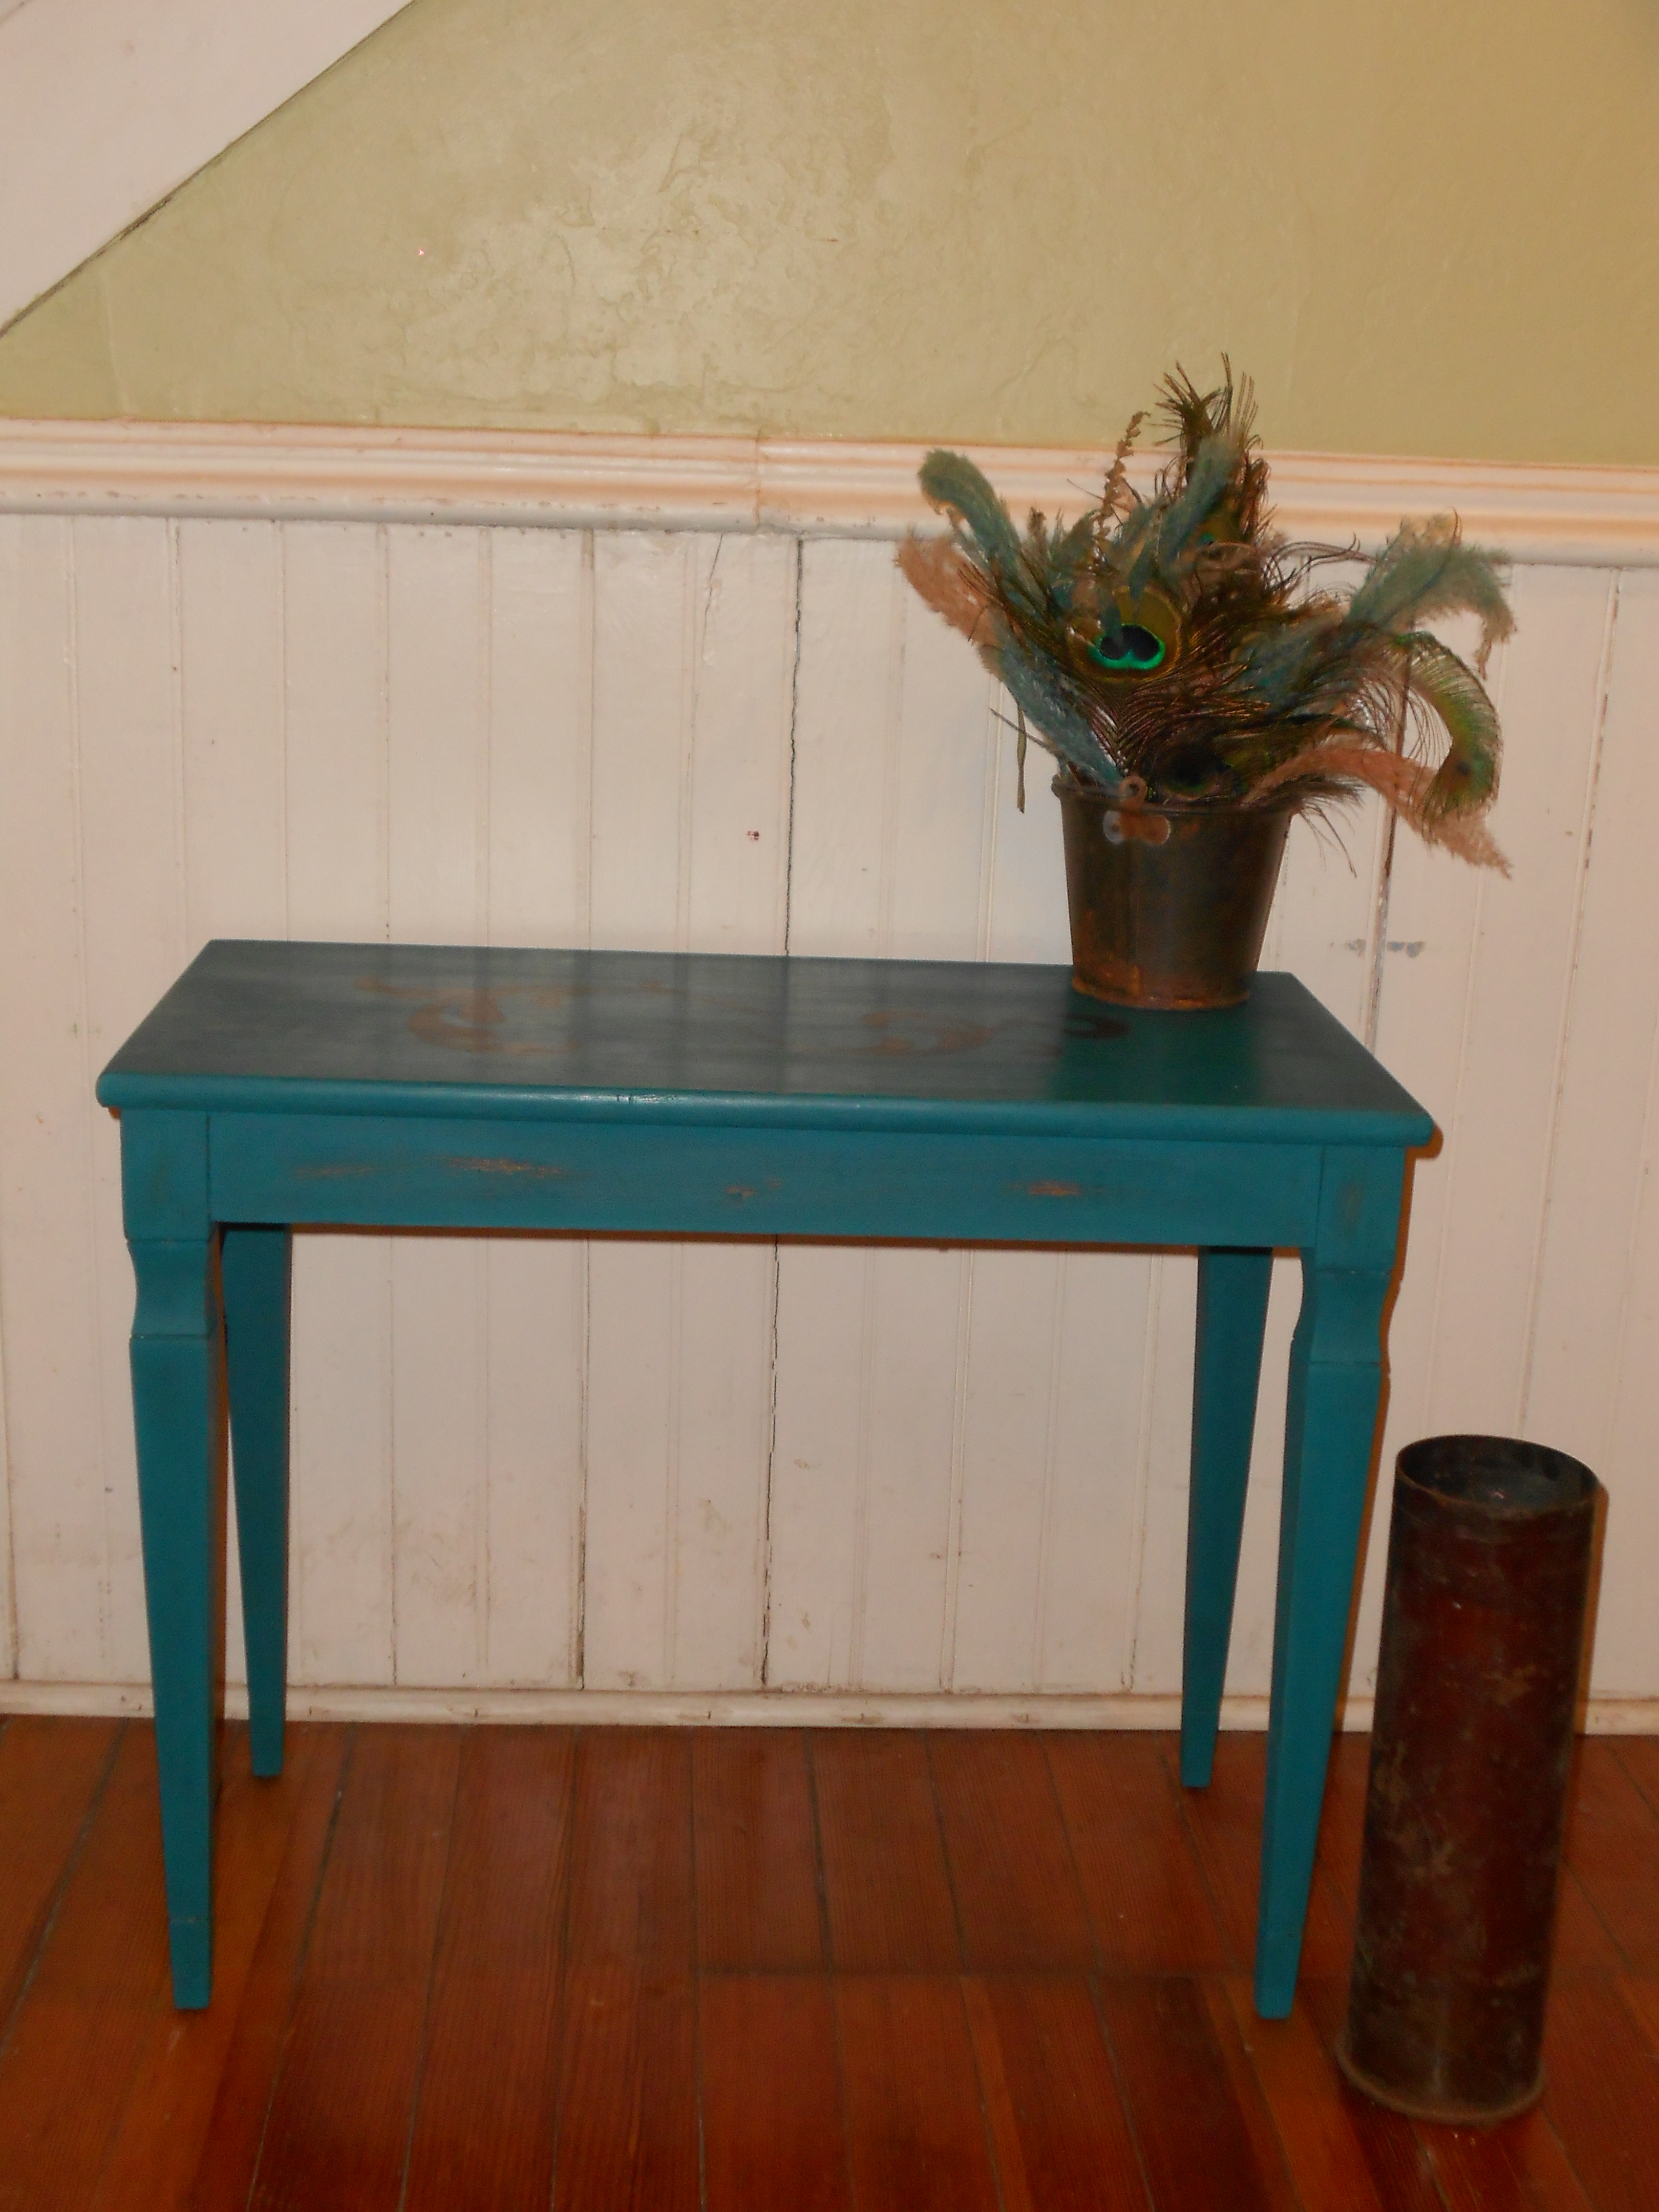
Piano Bench Project
I’m in love. I really don’t want to sell this project. My house is going to overflow.
I found this old piano bench, beat up and sad, left behind in the basement of the rental property we own.

After filling, sanding, painting, stenciling, and waxing, this is what she looks like now:
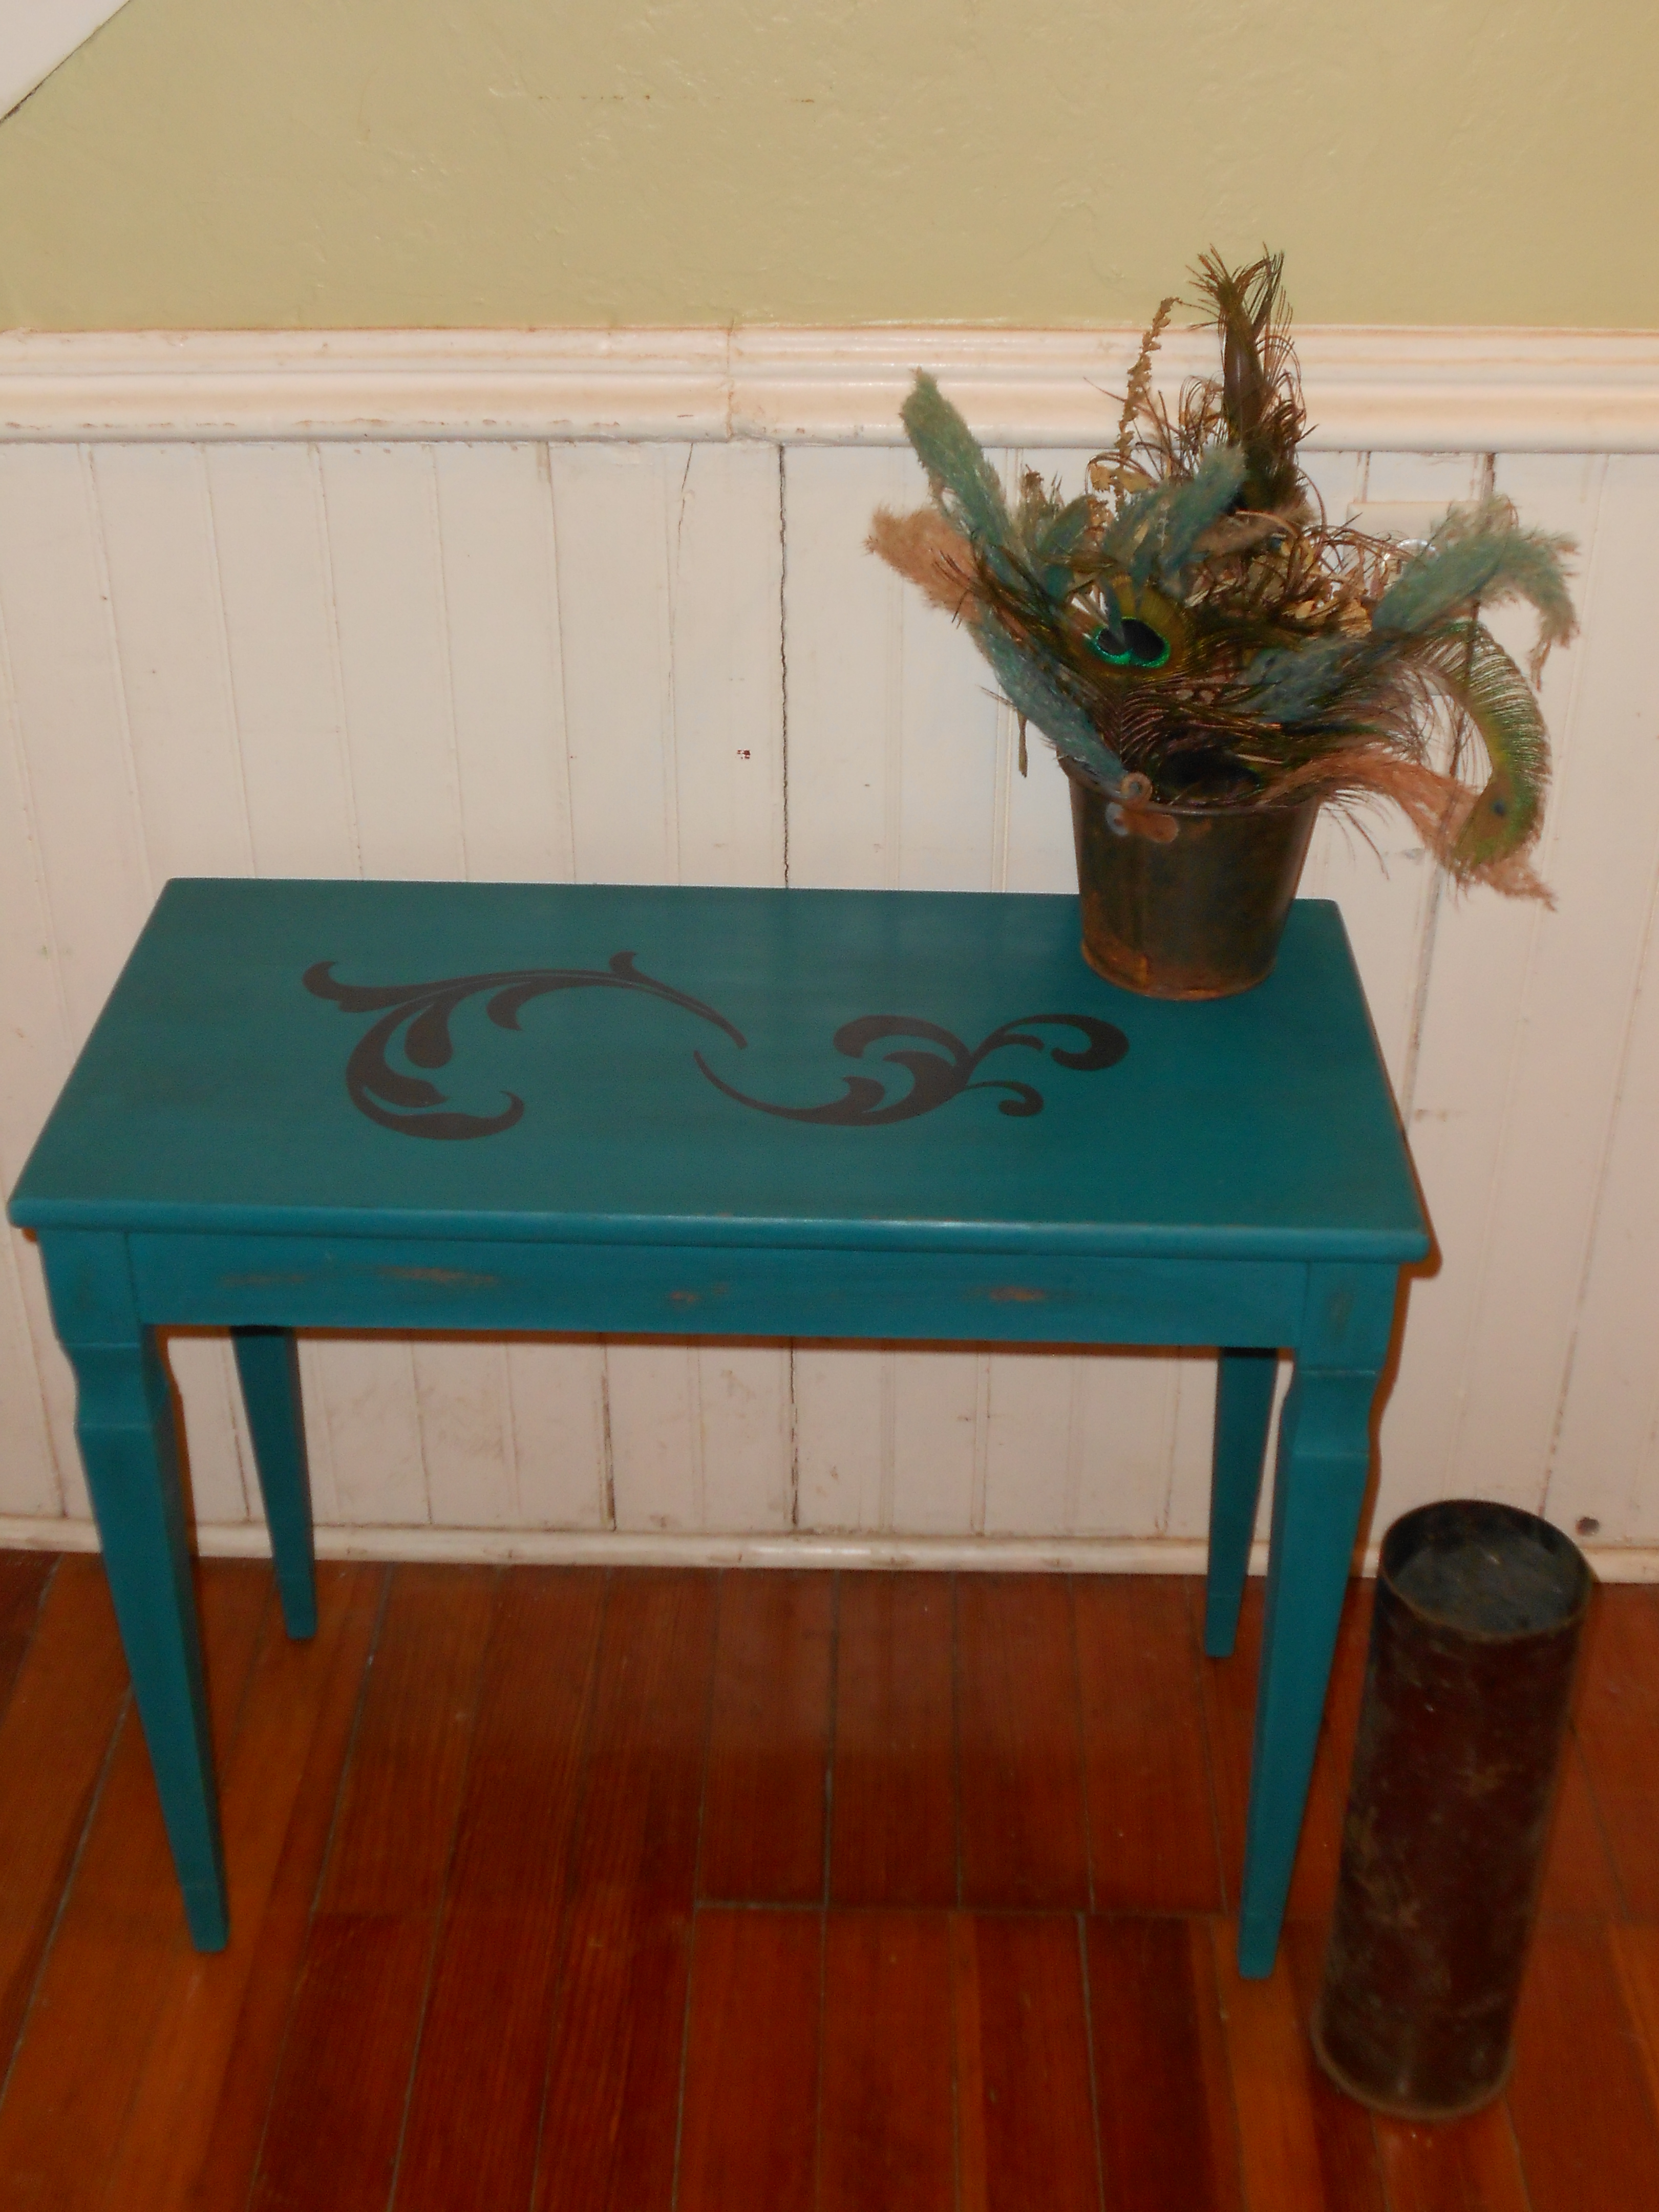
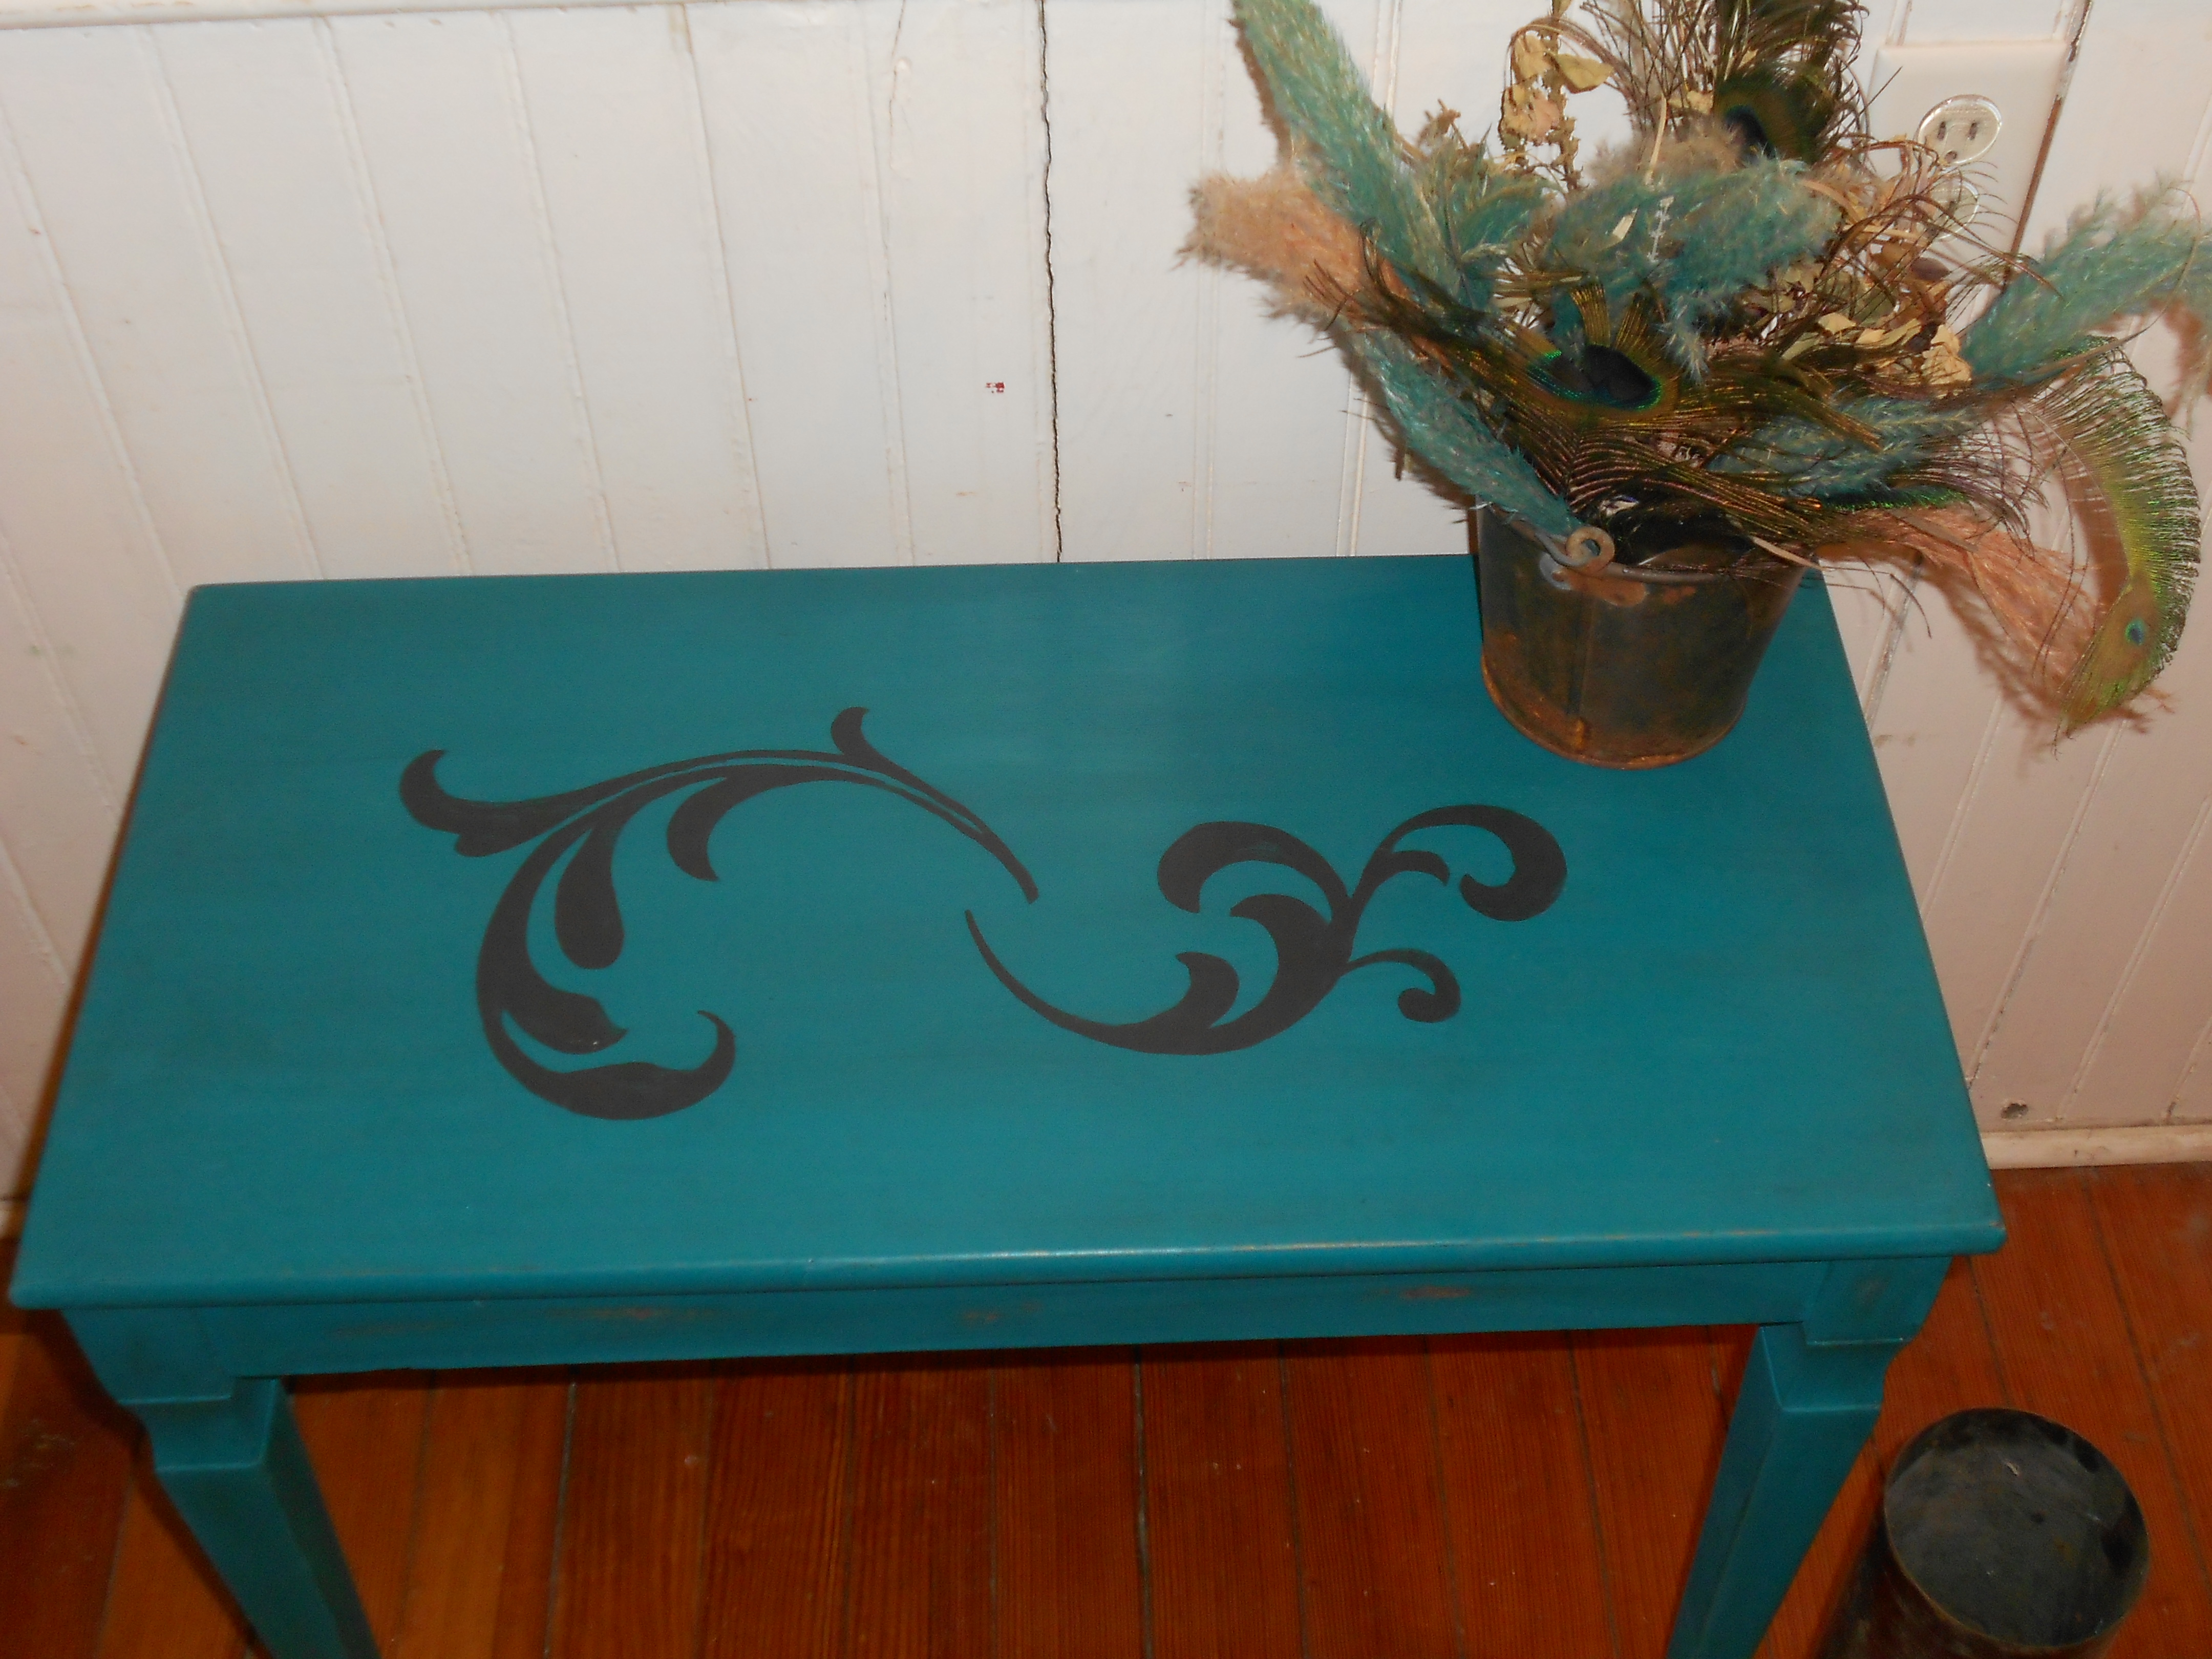
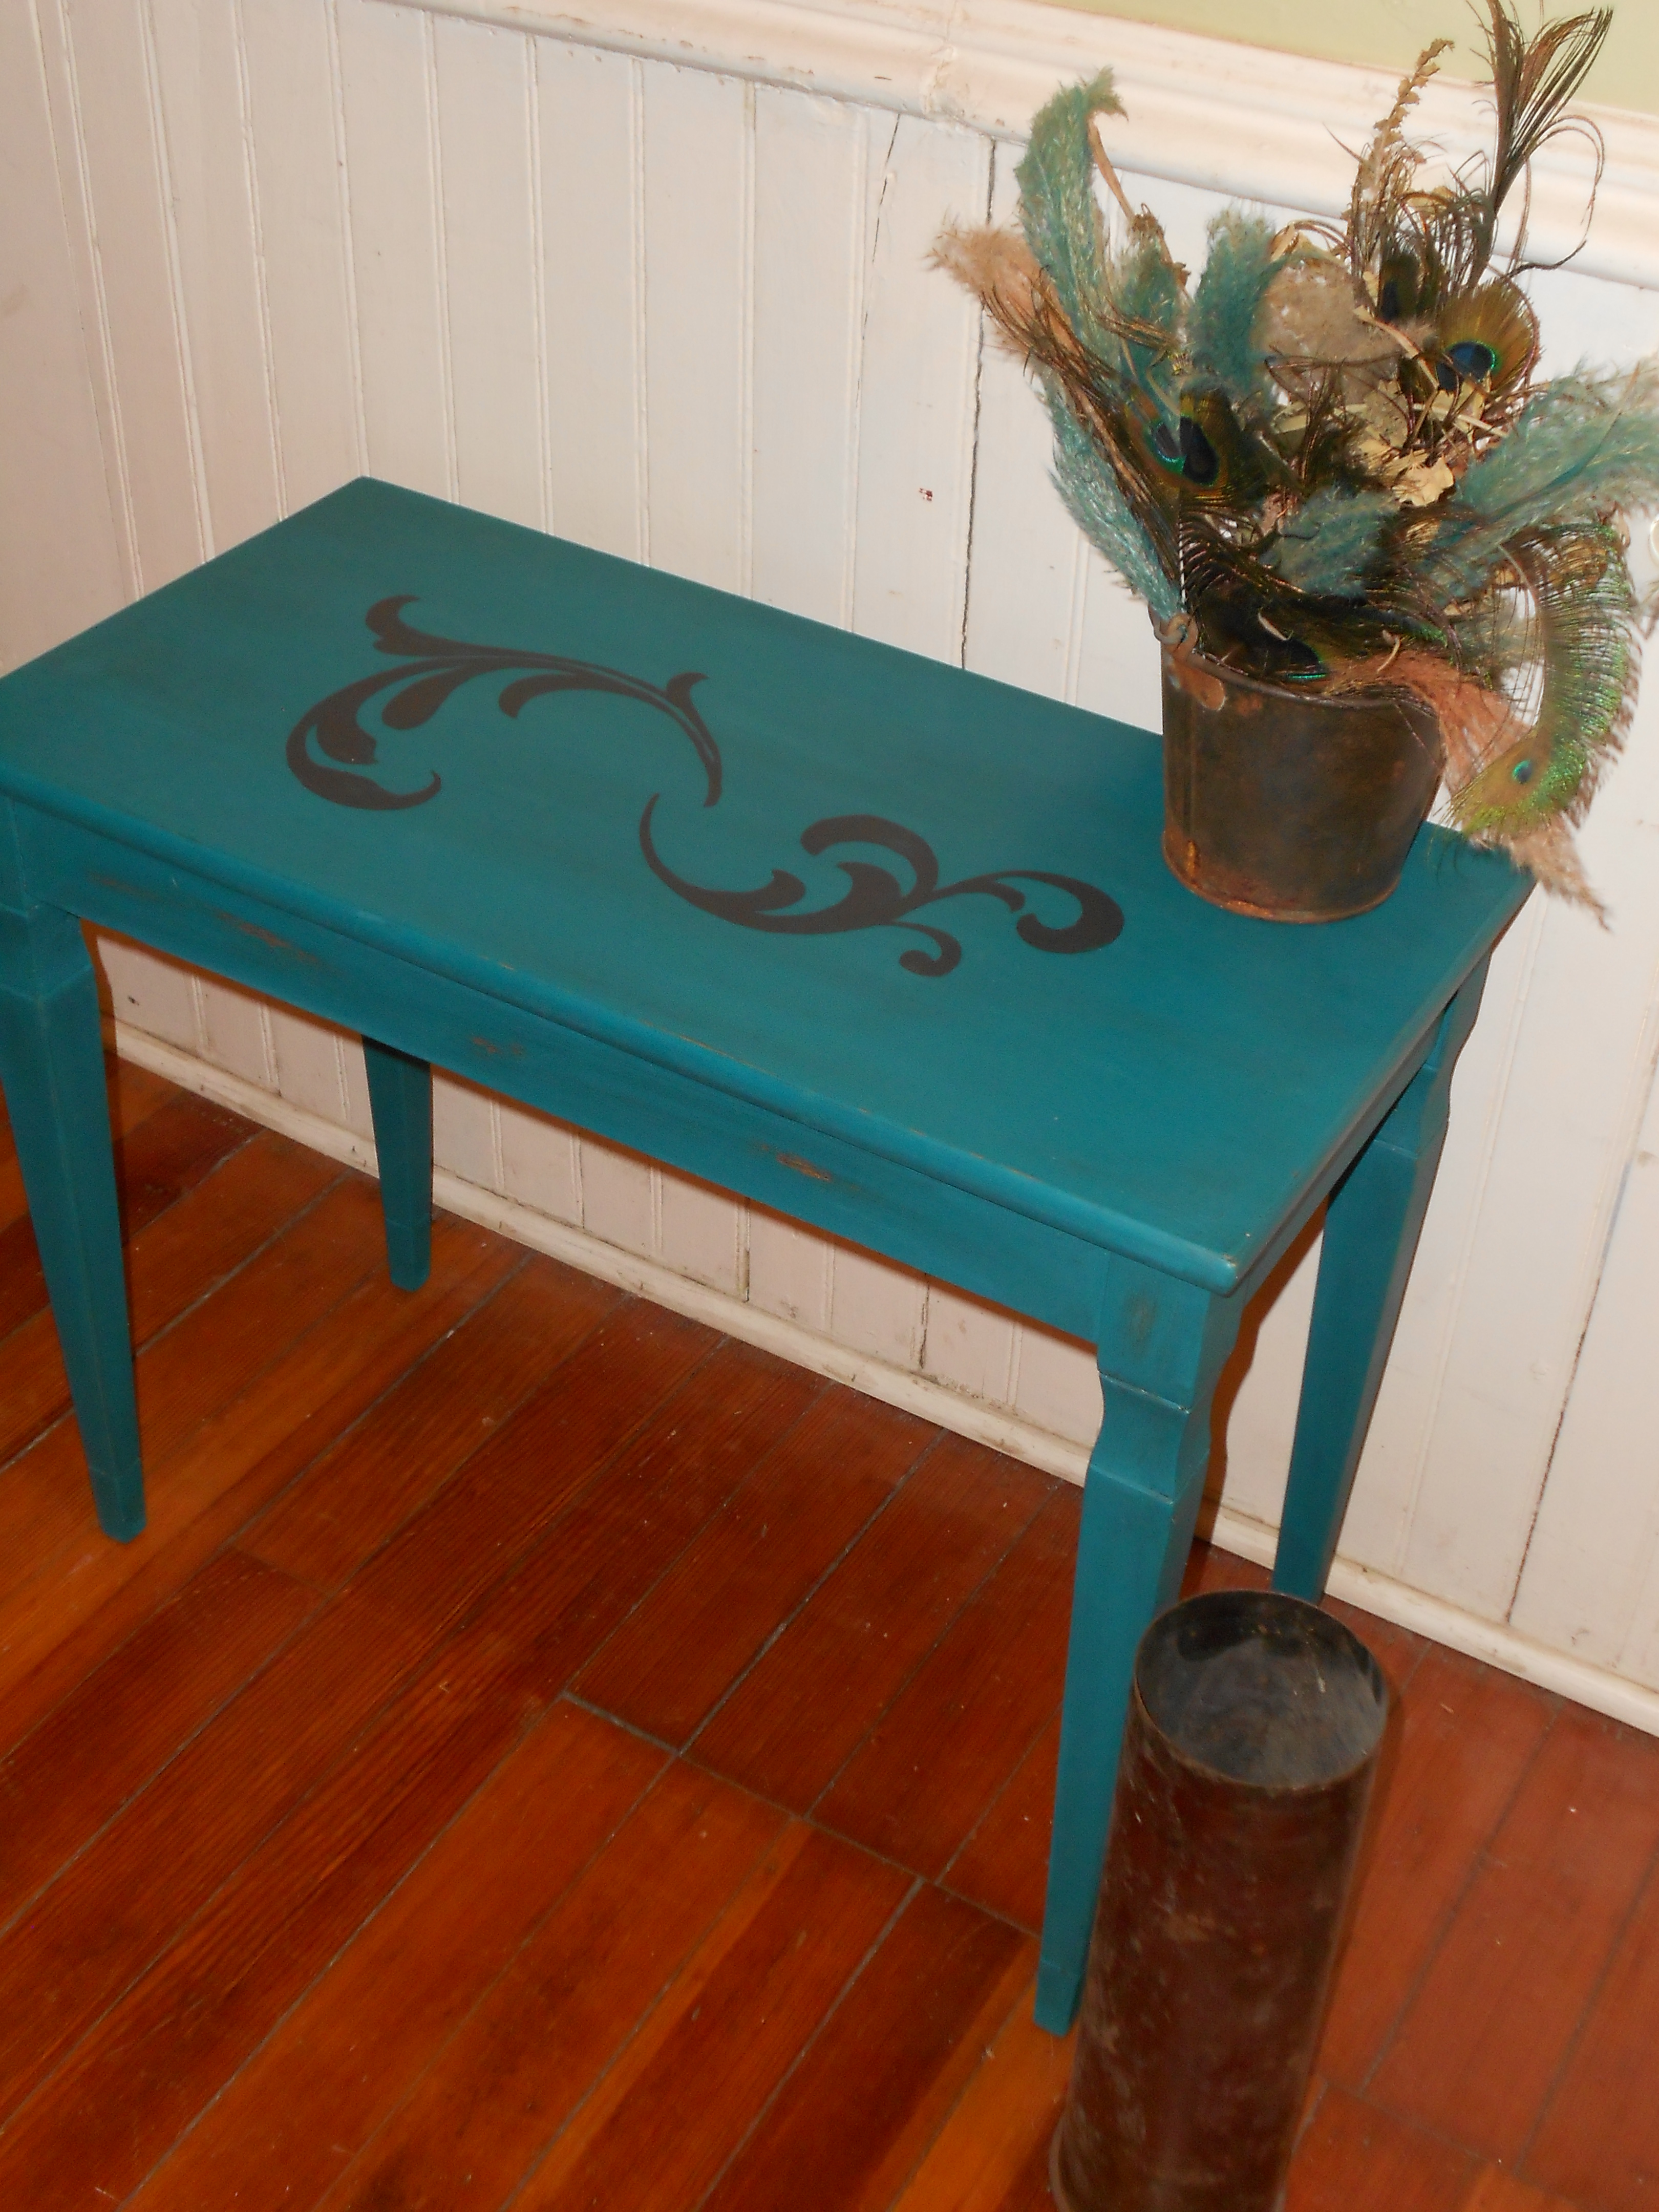
I love how the waxing turns out. The finish is protected and it is more wipable now. I used regular paste furniture wax and then tinted it with a charcoal paint. I am so excited to keep perfecting this technique. What do you think?
A Vintage Nursery Project
I know I just now finally shared the nursery with you, but I also just finished a fun little project in there.
I was given this beat up little vintage dresser the other day , with plans to turn it into a book shelf for toys.

Suddenly it struck me. Those two drawers could also be another project, perfect for some storage! I cleaned, sanded, painted, roughed, waxed, added wheels and knobs, and viola!


I absolutely love how they turned out! B can now store toys or clothes in them, and they should fit under any bed, so he can use them for a long time! My helper approves.


This was my first time using paste wax. I tinted my wax myself with paint. I really like how it gives the drawers a barn board feel. I think with a little practice this could be a new favorite technique! What do you think?
A Nursery!
So, this big news was big a year ago. Oops. But, the nursery is still cute, so I wanted to share!


I just love how it turned out! The blue walls became a soft gray, we added barn board shelves to hold a collection of John Deere tractors, I made a mobile from small shed antlers, and the giant bull poster from the Angus producers ties the farm colors together!


I love the vintage games and trucks and tractors on the book shelves. Don’t worry, the green lamp did eventually get a little white shade!


And a stash of cowboy boots and cloth diapers to boot! 🙂
So, like I mentioned, this was news a whole year ago. So here is a peak of what else a year can do.

😉
Chair Project
Hi there! Recently I found an old, scuffy, beat up antique oak chair at a garage sale. $5 later and I had another project to start in on. Before:

The oak finished was pretty spotted and scratched and the leather seat was so old that it was rotting. I started by gently scraping any paint splatters off of the oak. I also pried the old leather seat and padding off. I used a stain refresher to touch up the oak stain. I didn’t think that painting this one would do, and it wasn’t bad enough that it needed to be stripped and completely restained. Fortunately, this method seems to have refreshed the old chair fairly nicely. It still has a bit of antique charm in the uneven coloring, but I think I like it. I then cut new batting to make a cushion and then stapled down the cute flower-y print. I then used black upholstery tacks to add black trimming around the cushion. Here we go:

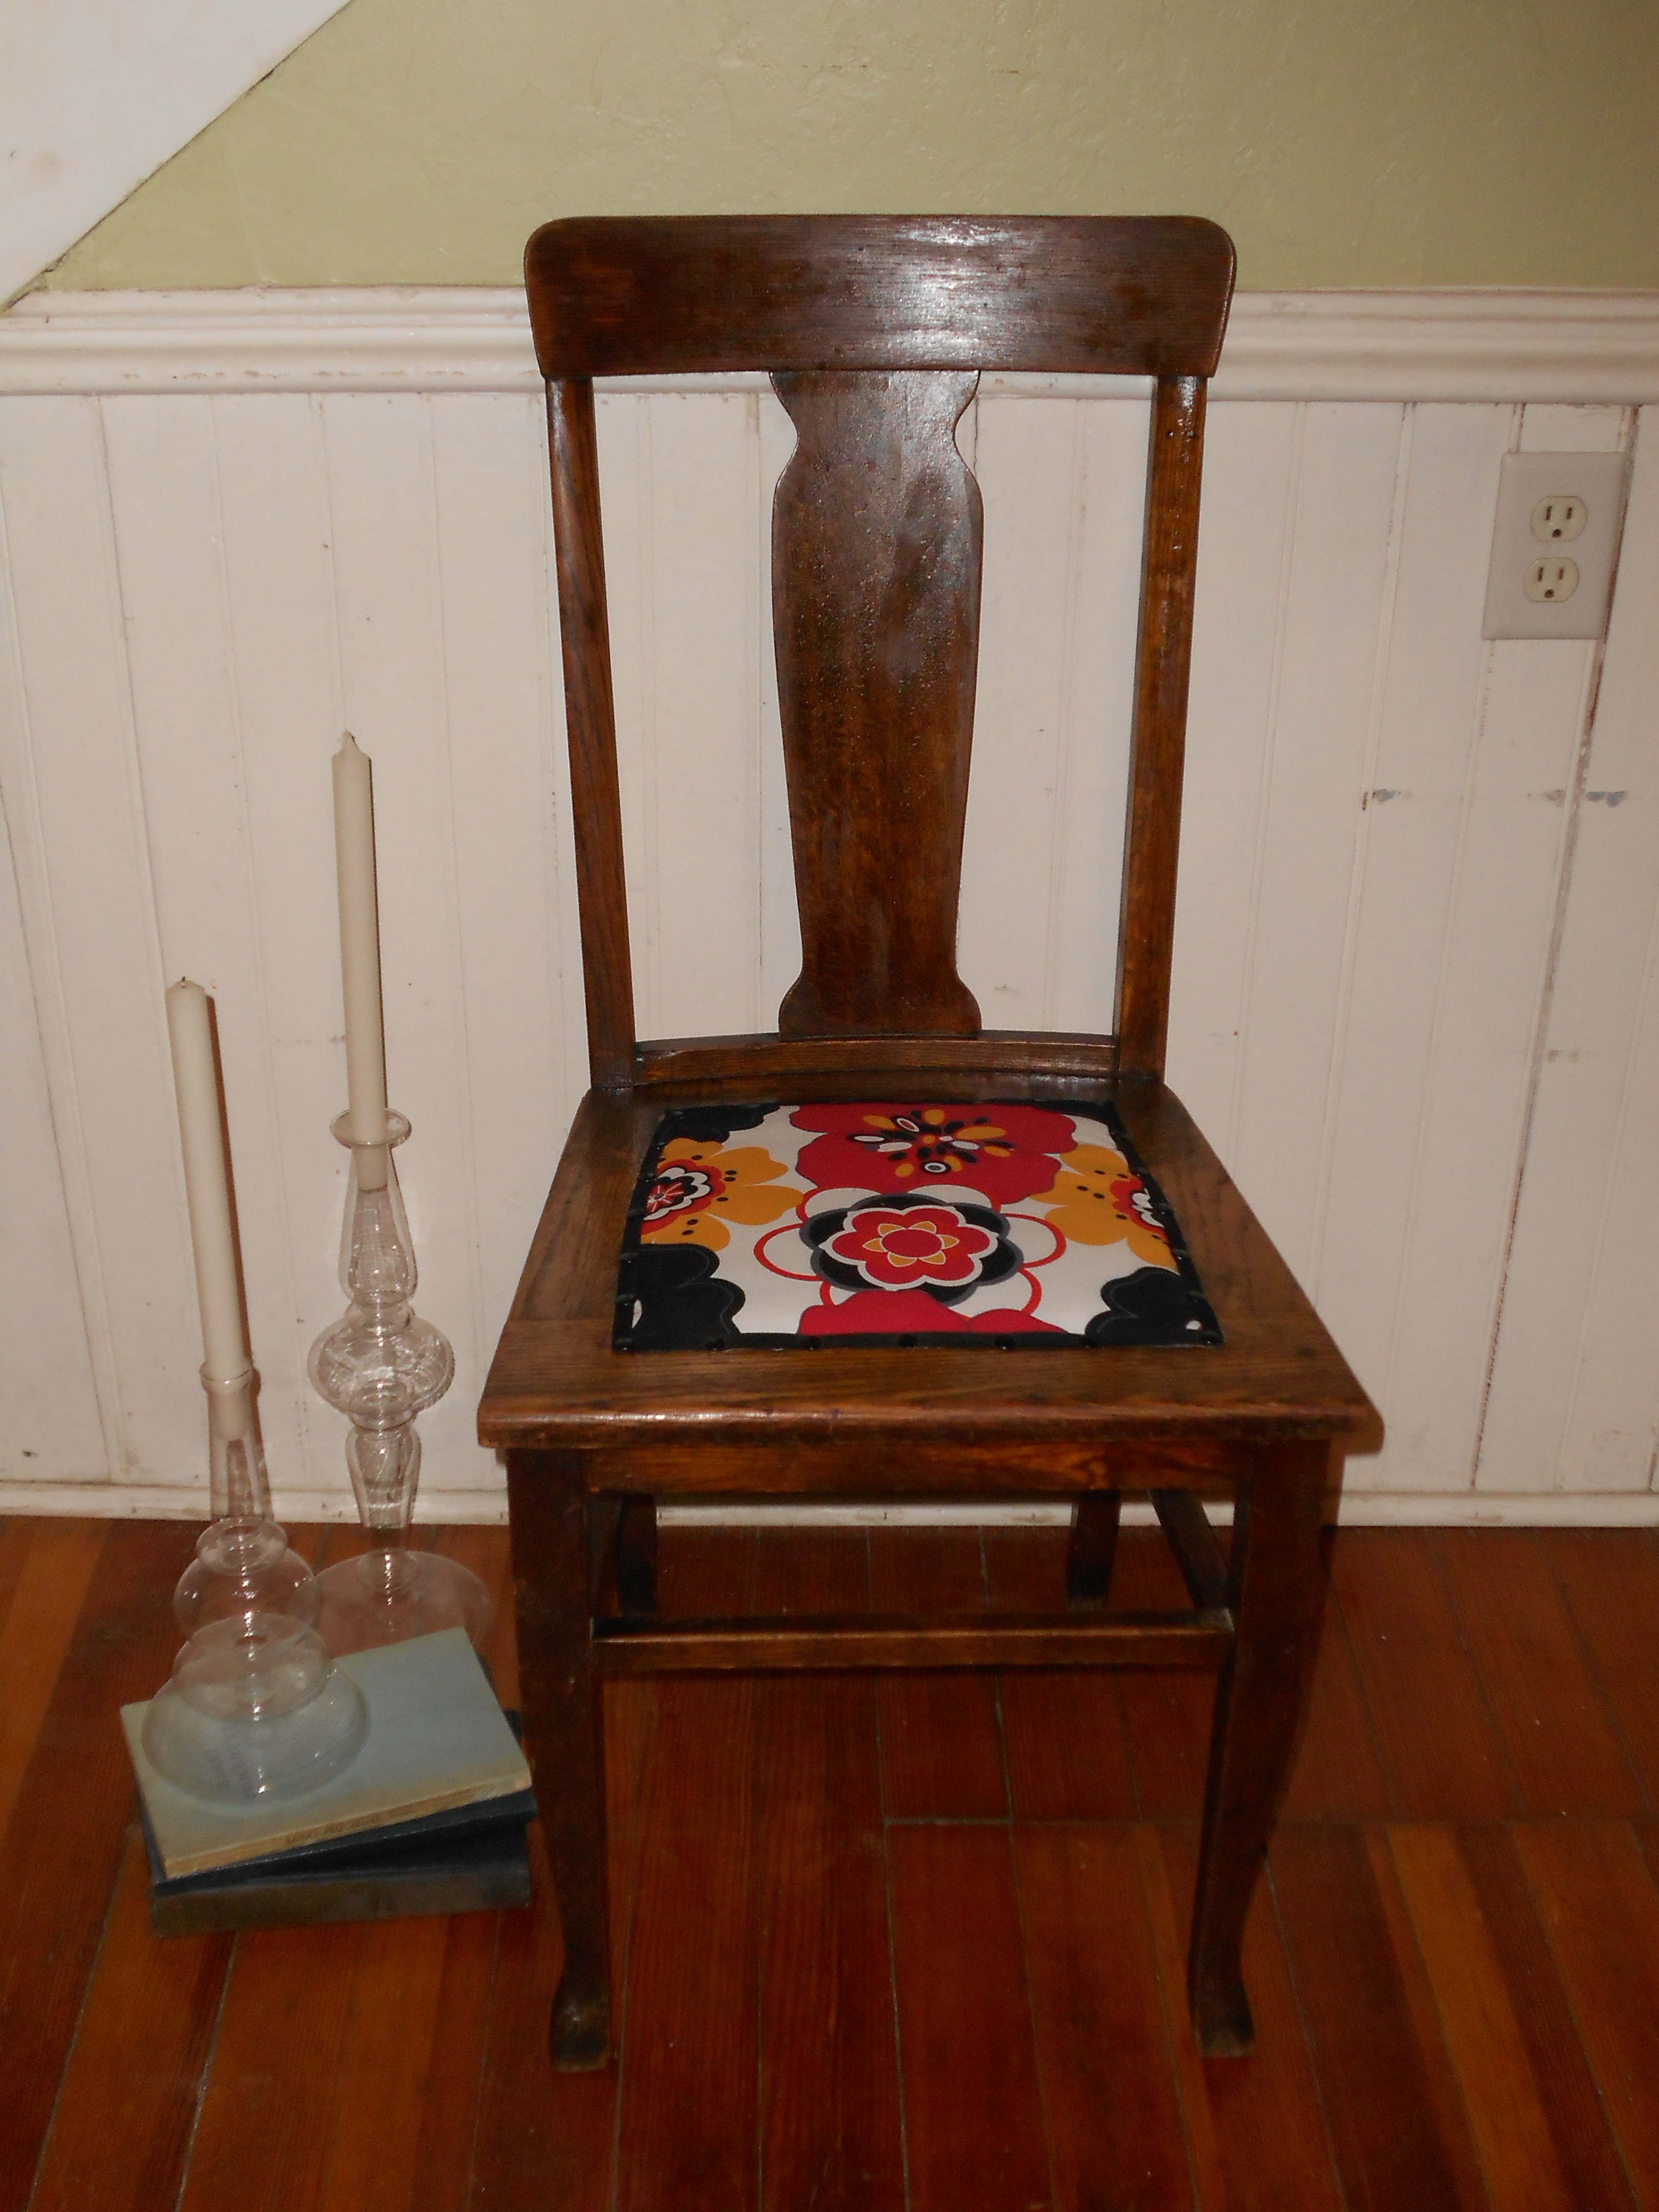

I think it turned out very well! 🙂
Little Side Table Project
Hi all! I want to share some wedding projects and some other big news very soon, but for today I wanted to stop by with a quick project.
We found this little side table at a garage sale for .50 cents. Yup, .50 cents.
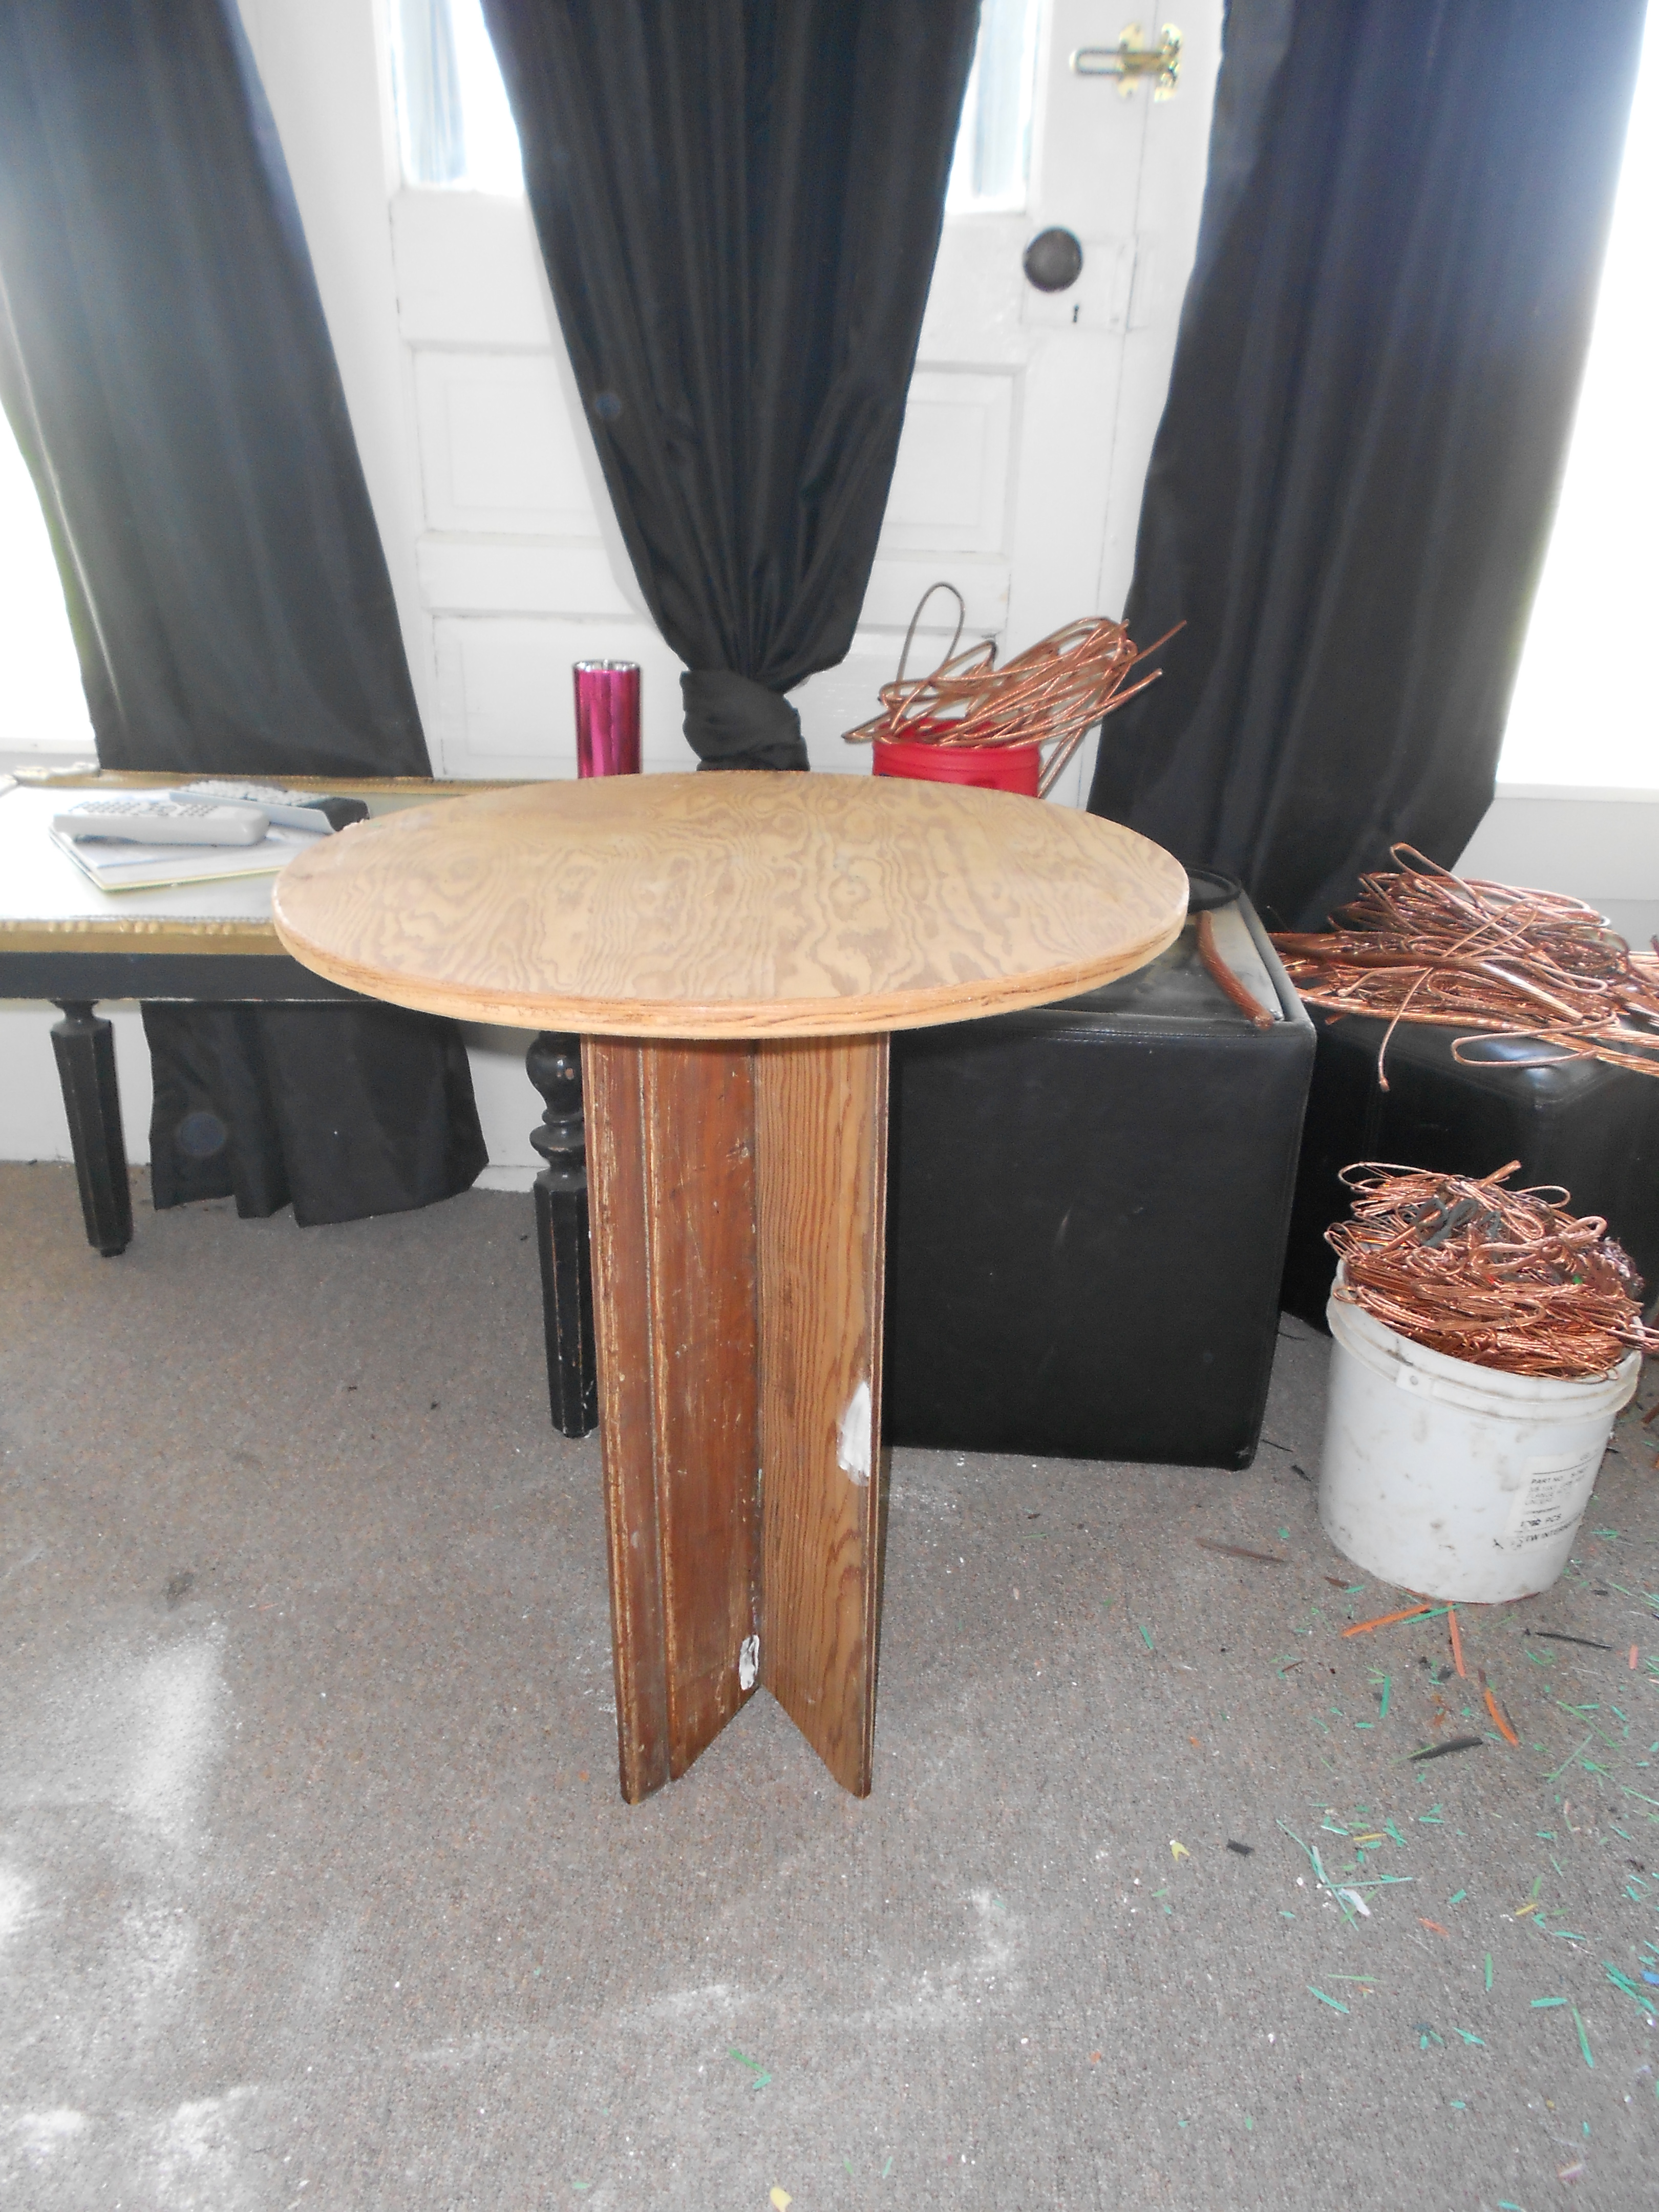
Shabby, yes, a bit. But, I loved the round shape and primitive pedestal. So, I patched, sanded and painted. I picked a burgundy-ish color and then I stenciled my favorite paisley on the top in silver. I thought this was a bit modern to mix with this little table. I roughed up the edges and faded out the design on the top. I think it turned out really cute!
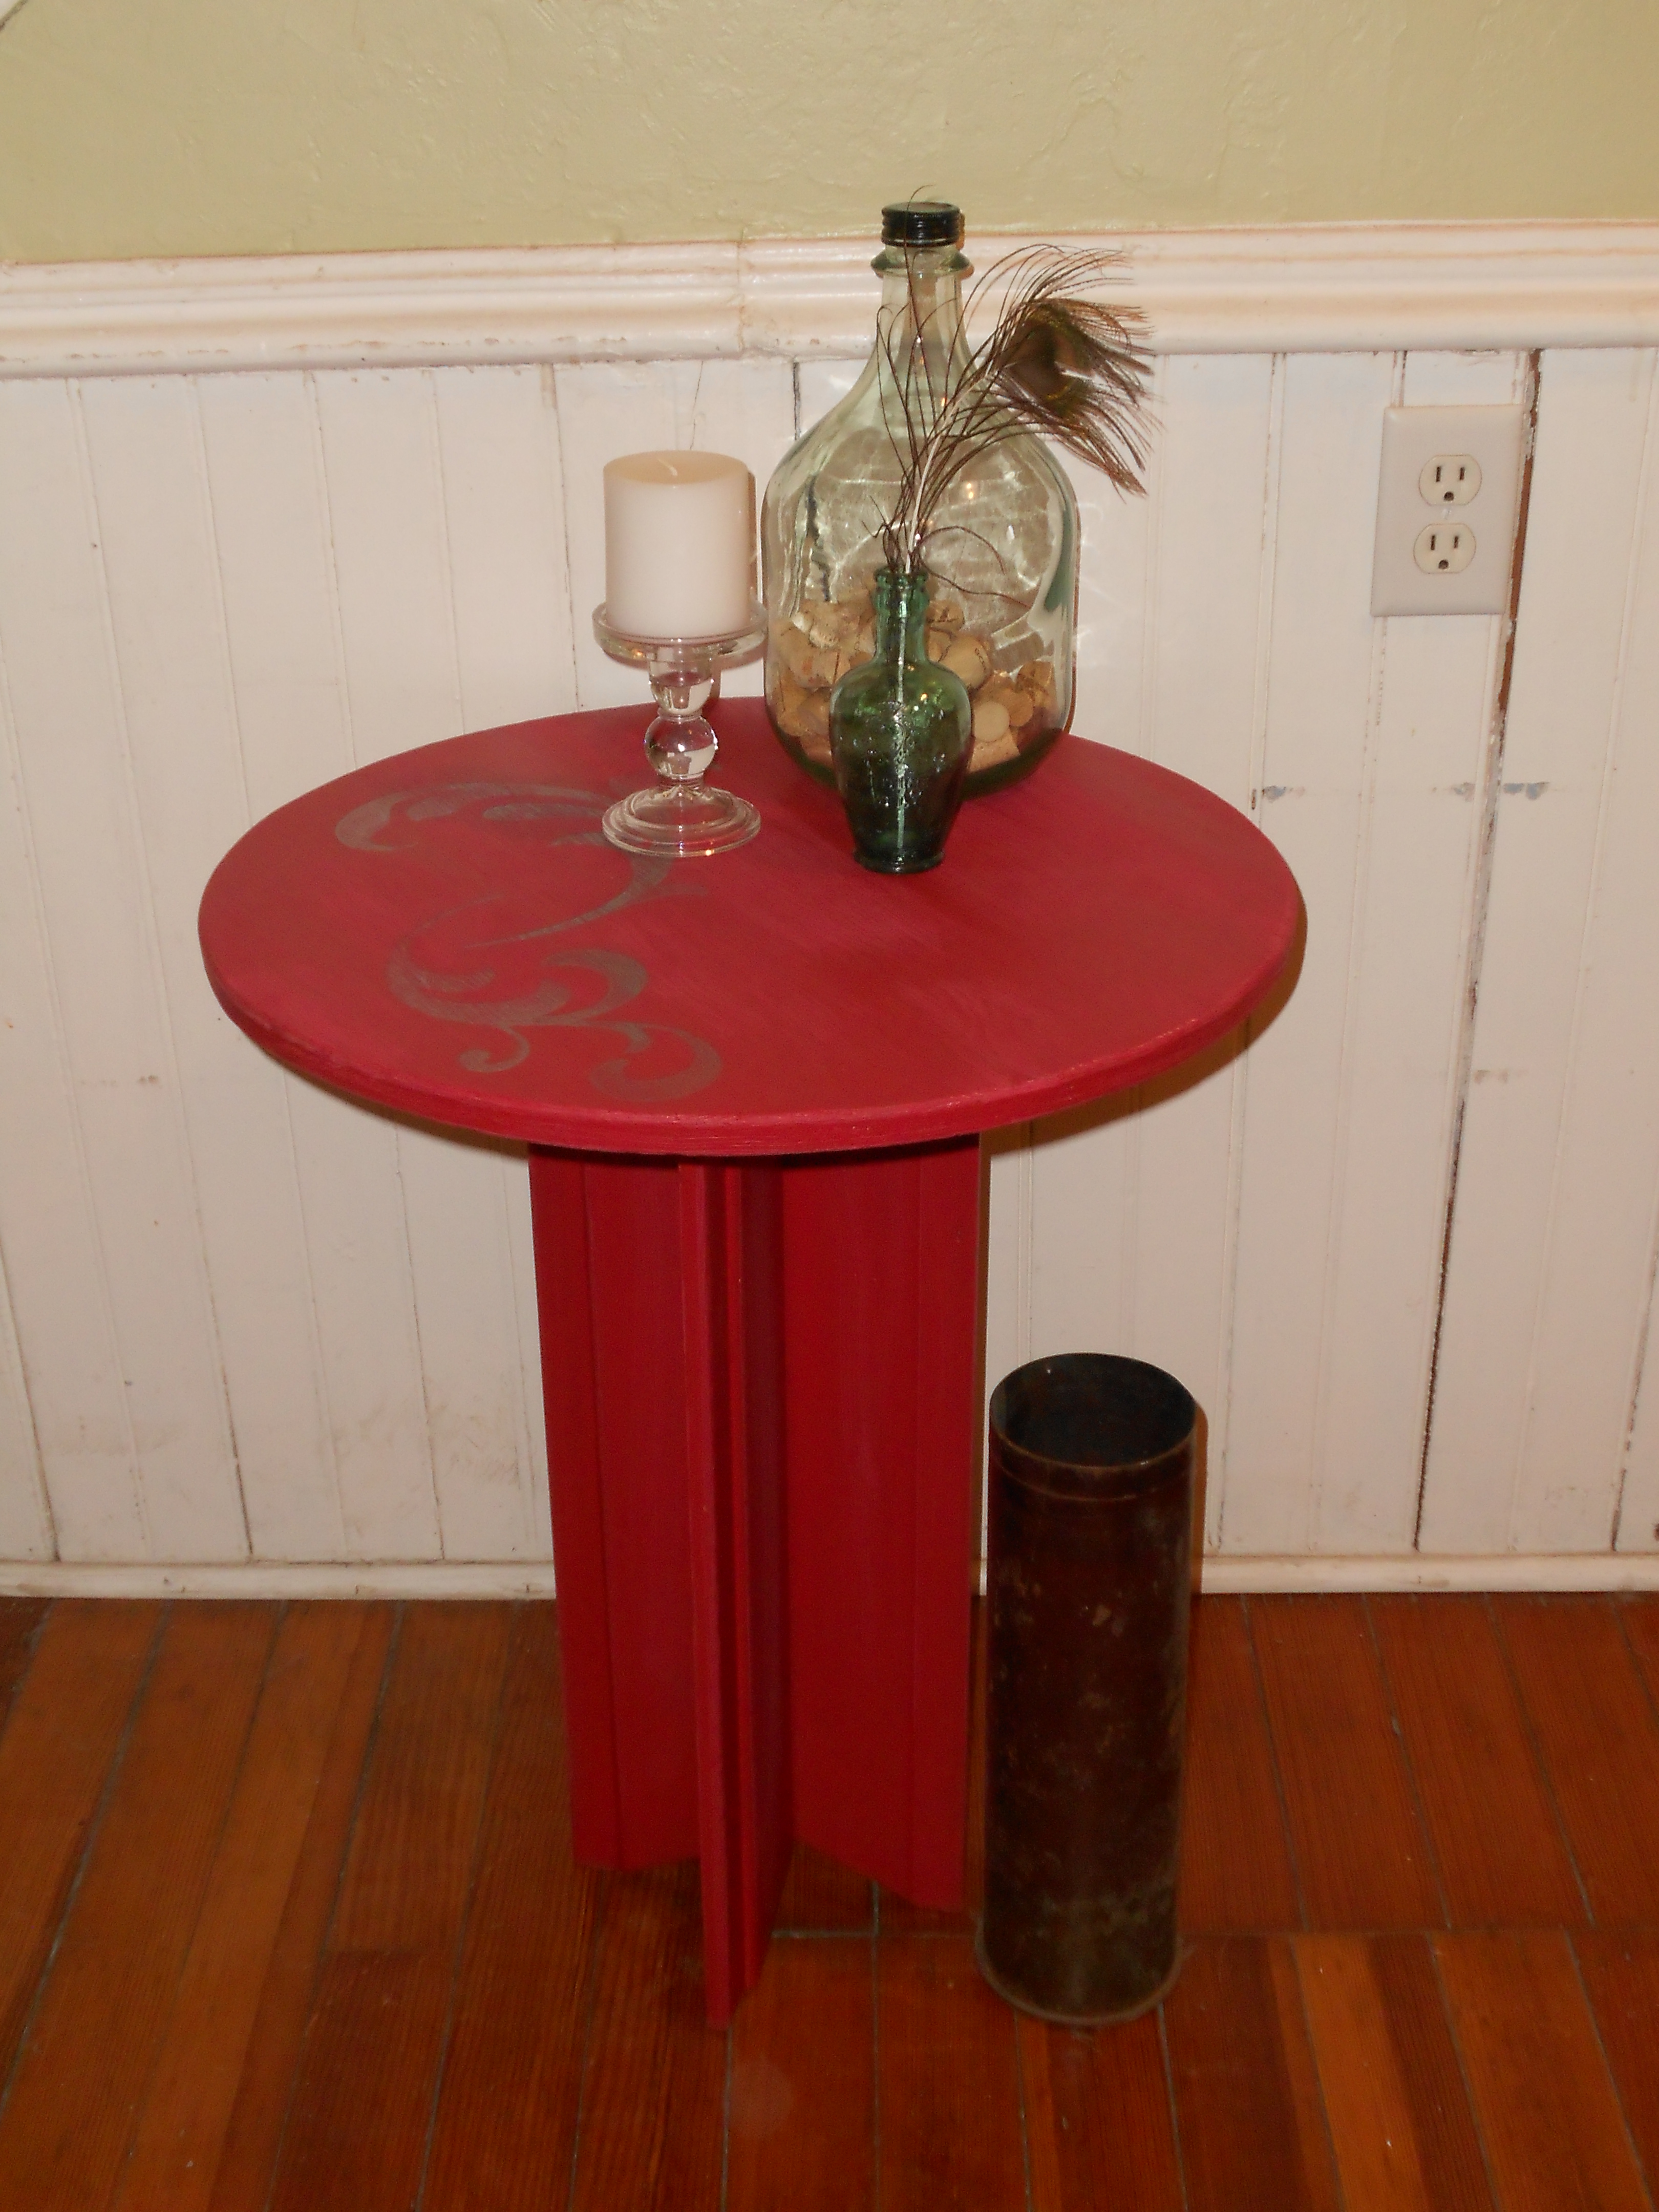

What do you think? Well, this little guy already found a new happy home 🙂
Vintage Kids Desk Redo
Over the summer we found an old kids desk for $2 at a garage sale. Jeremy might have thought I was crazy, but I knew this baby had potential.
Before:
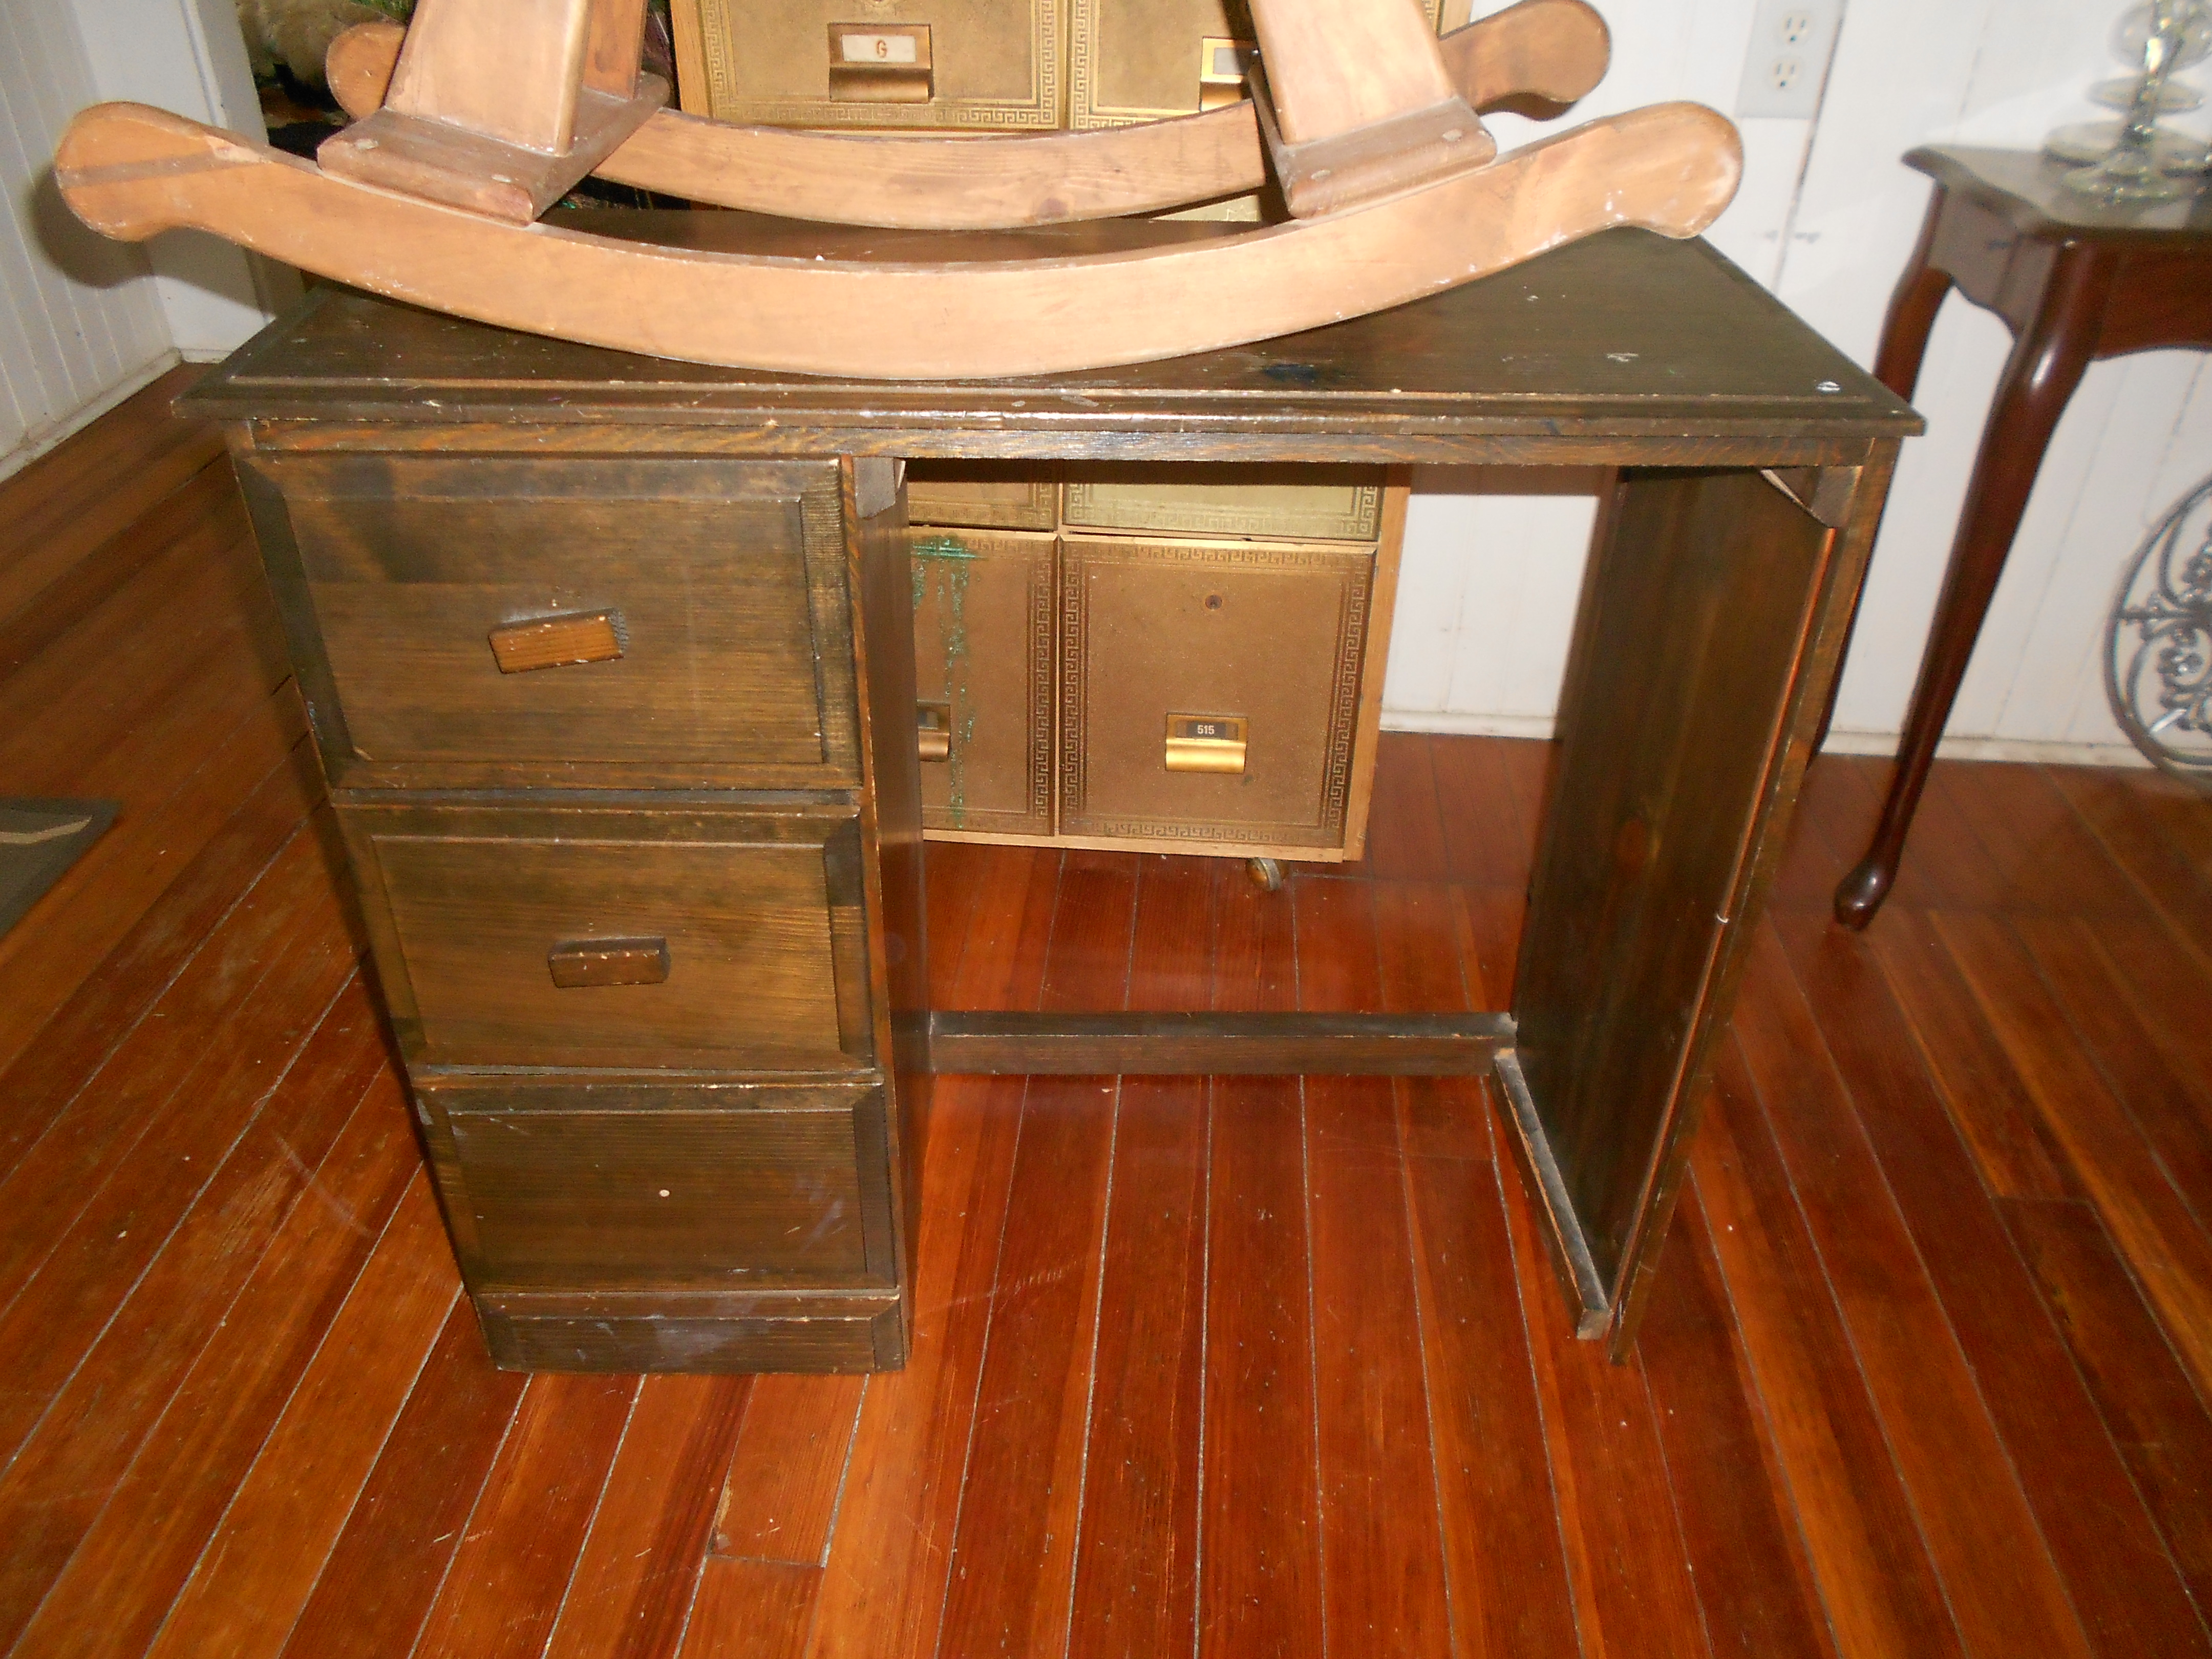
I sanded her down, and painted a few coats of this lovely grey. Then roughed it up with some distressing. The finishing touch was the adorable new yellow knobs! Here is how she turned out:

Adorable, no?


I’m pretty proud of this little baby and hope that someone else loves it and wants to give it a new home too! 🙂
Toy Box
A project done! The abused vintage toy box started out like this:
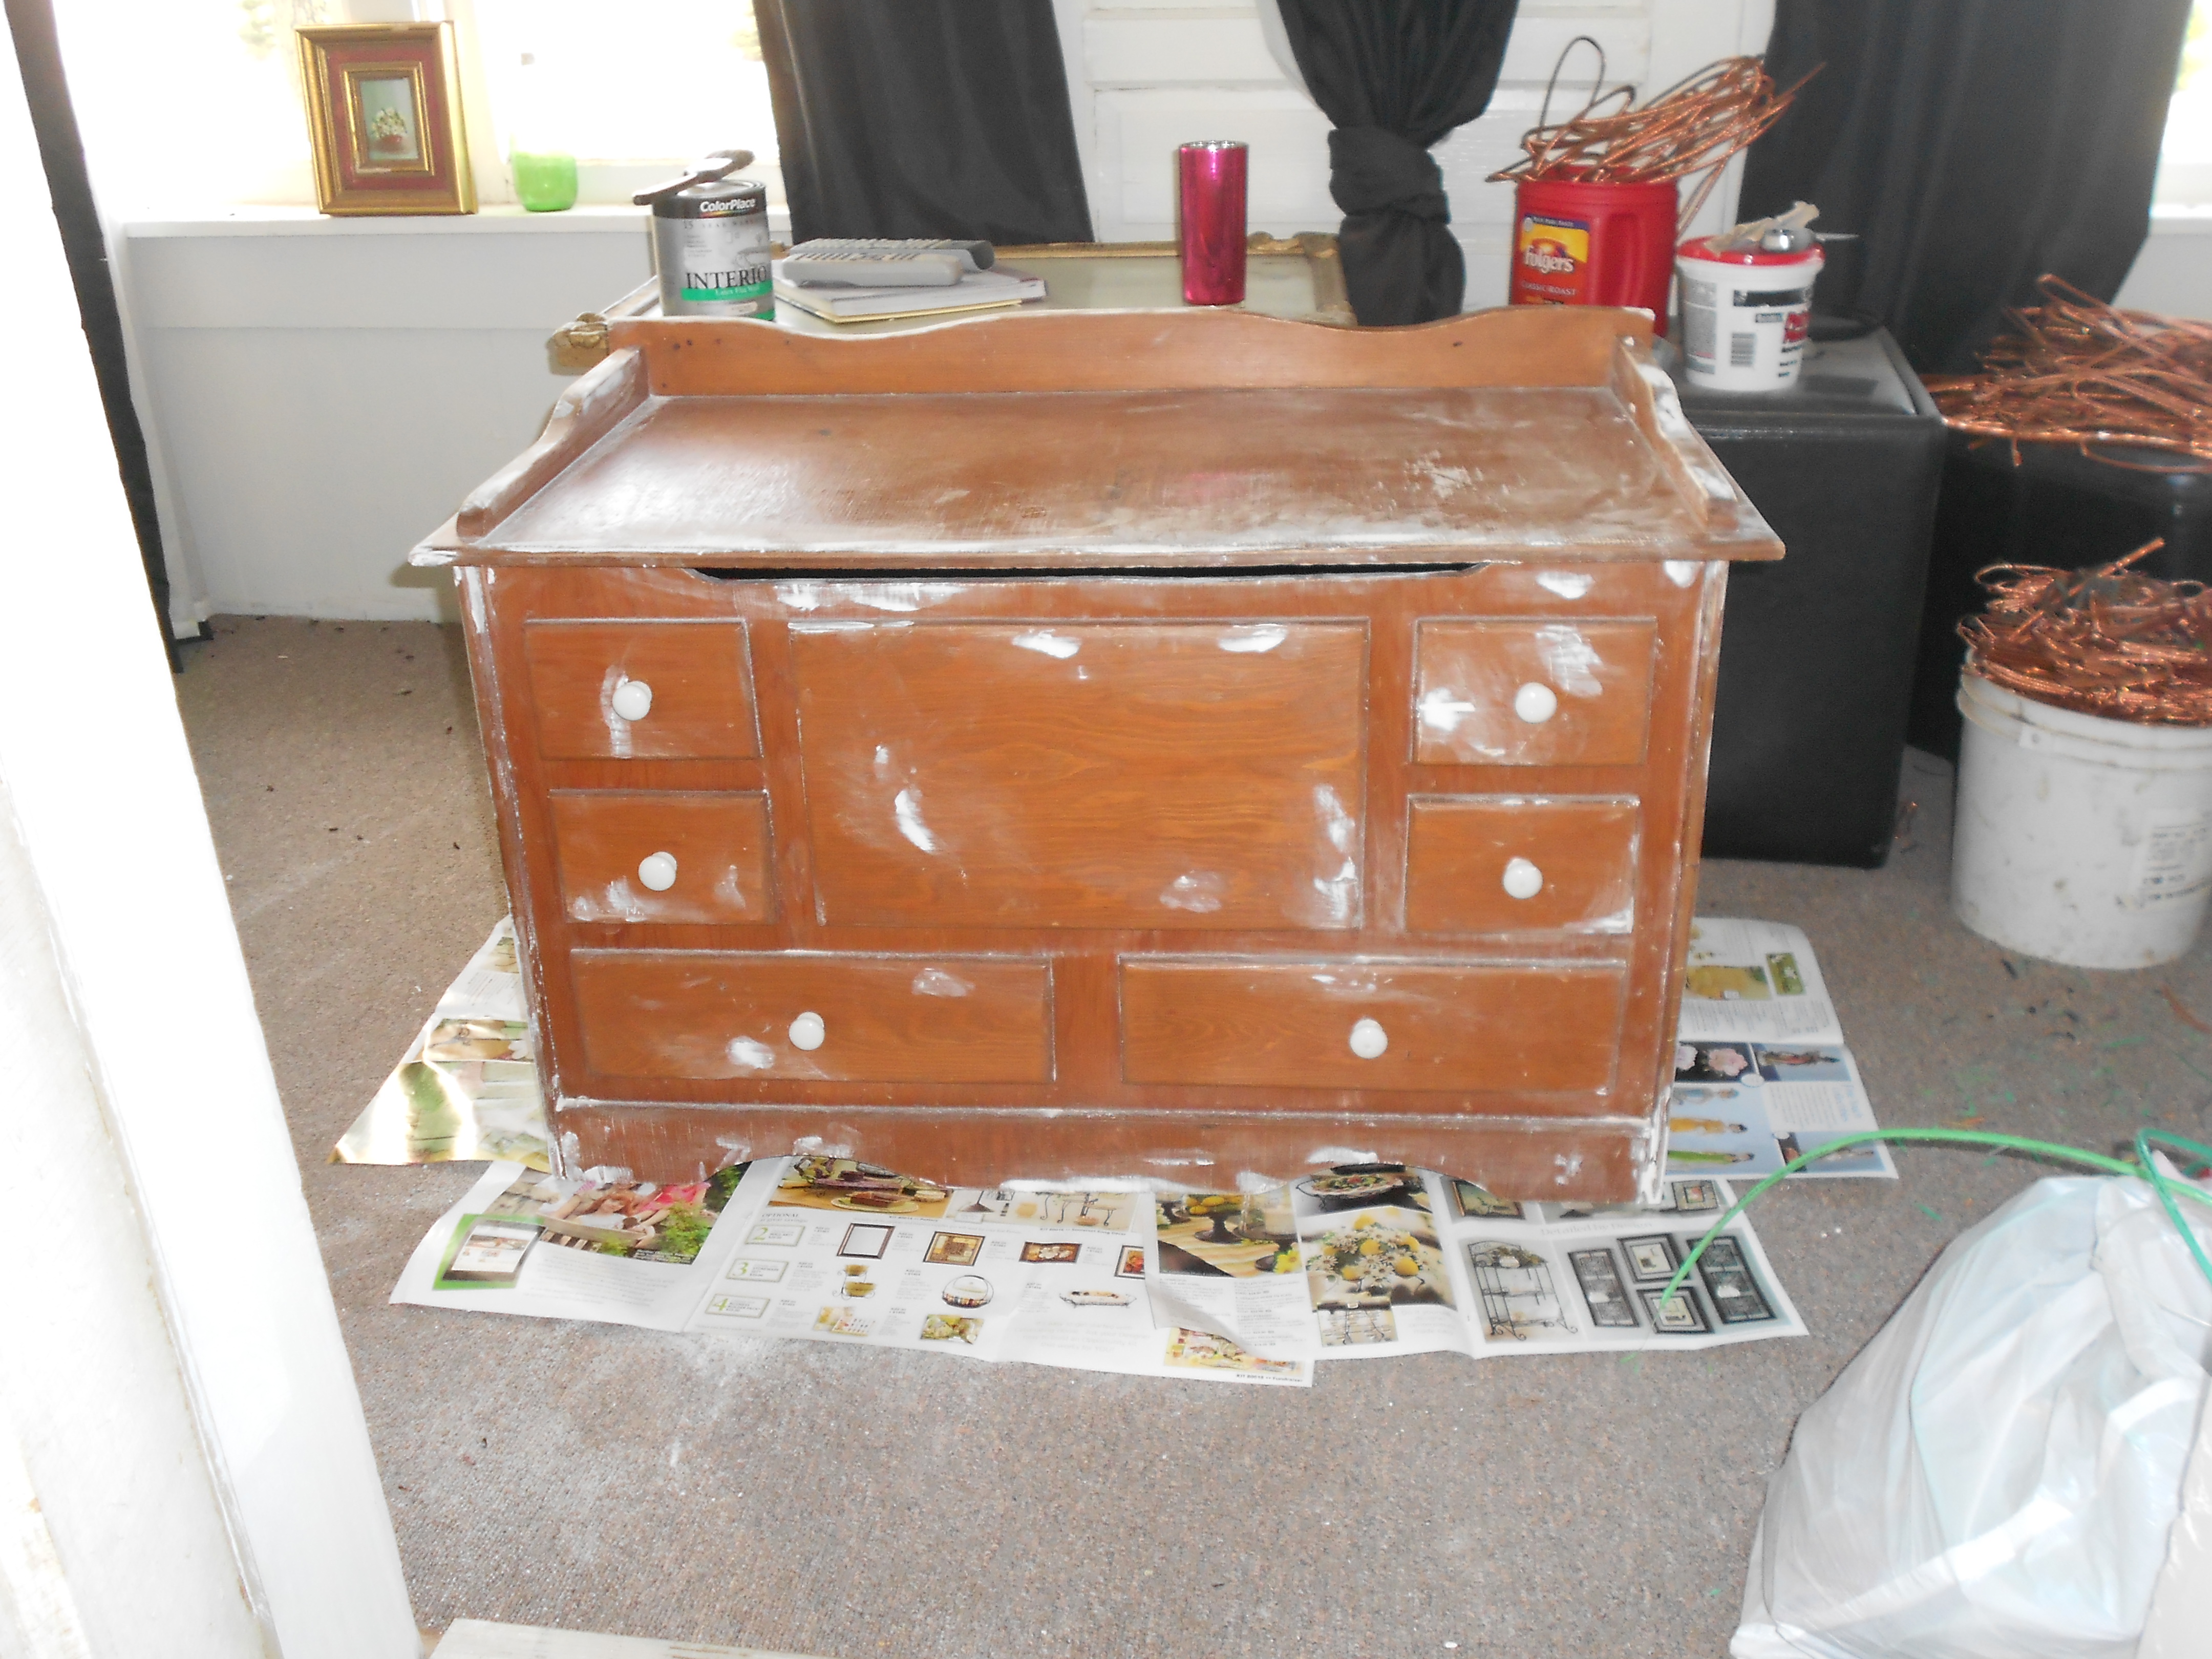
The white is actually wood filler, added by me. But, you get the picture. It was old, and rough, and needed lots of wood filler and love. I sanded and filled and sanded some more. Finally I chose turquoise paint and white for the inside. Not as creative as I originally sought out to be, but it turned out fun so I left it there. I antiqued the edges a bit and roughed up the “wear spots”. I like how it turned out simple and fun!
After:
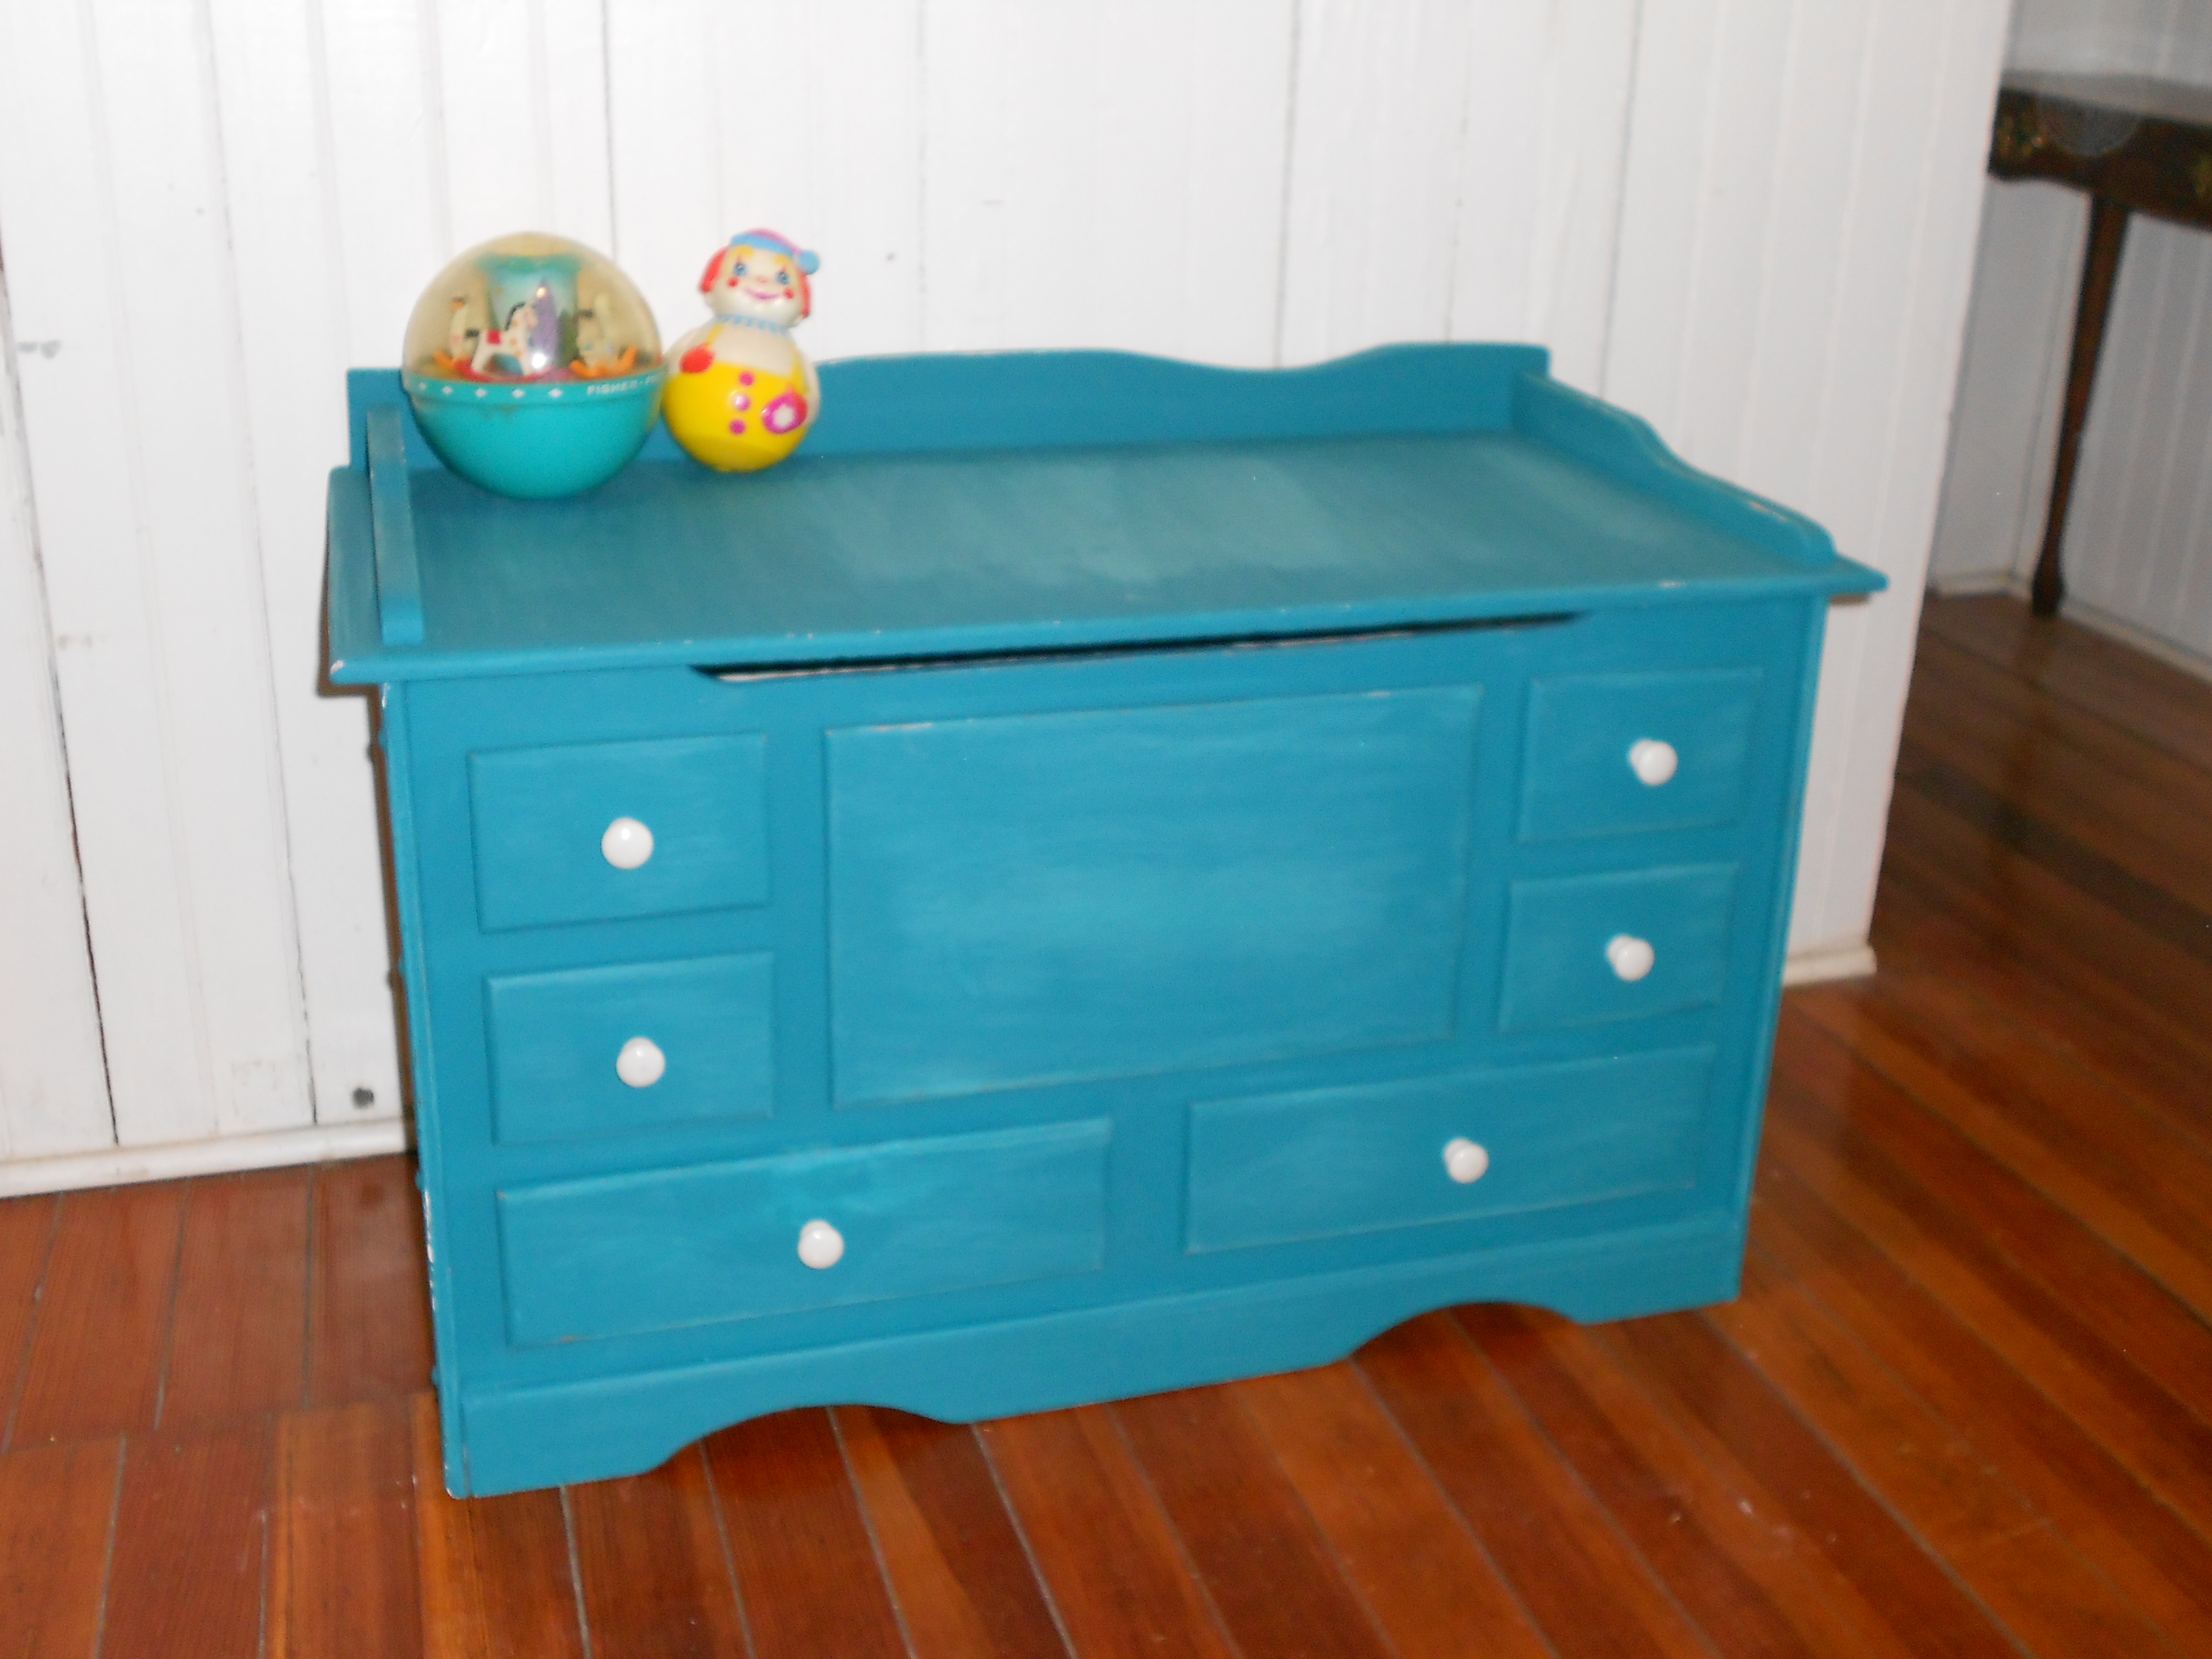

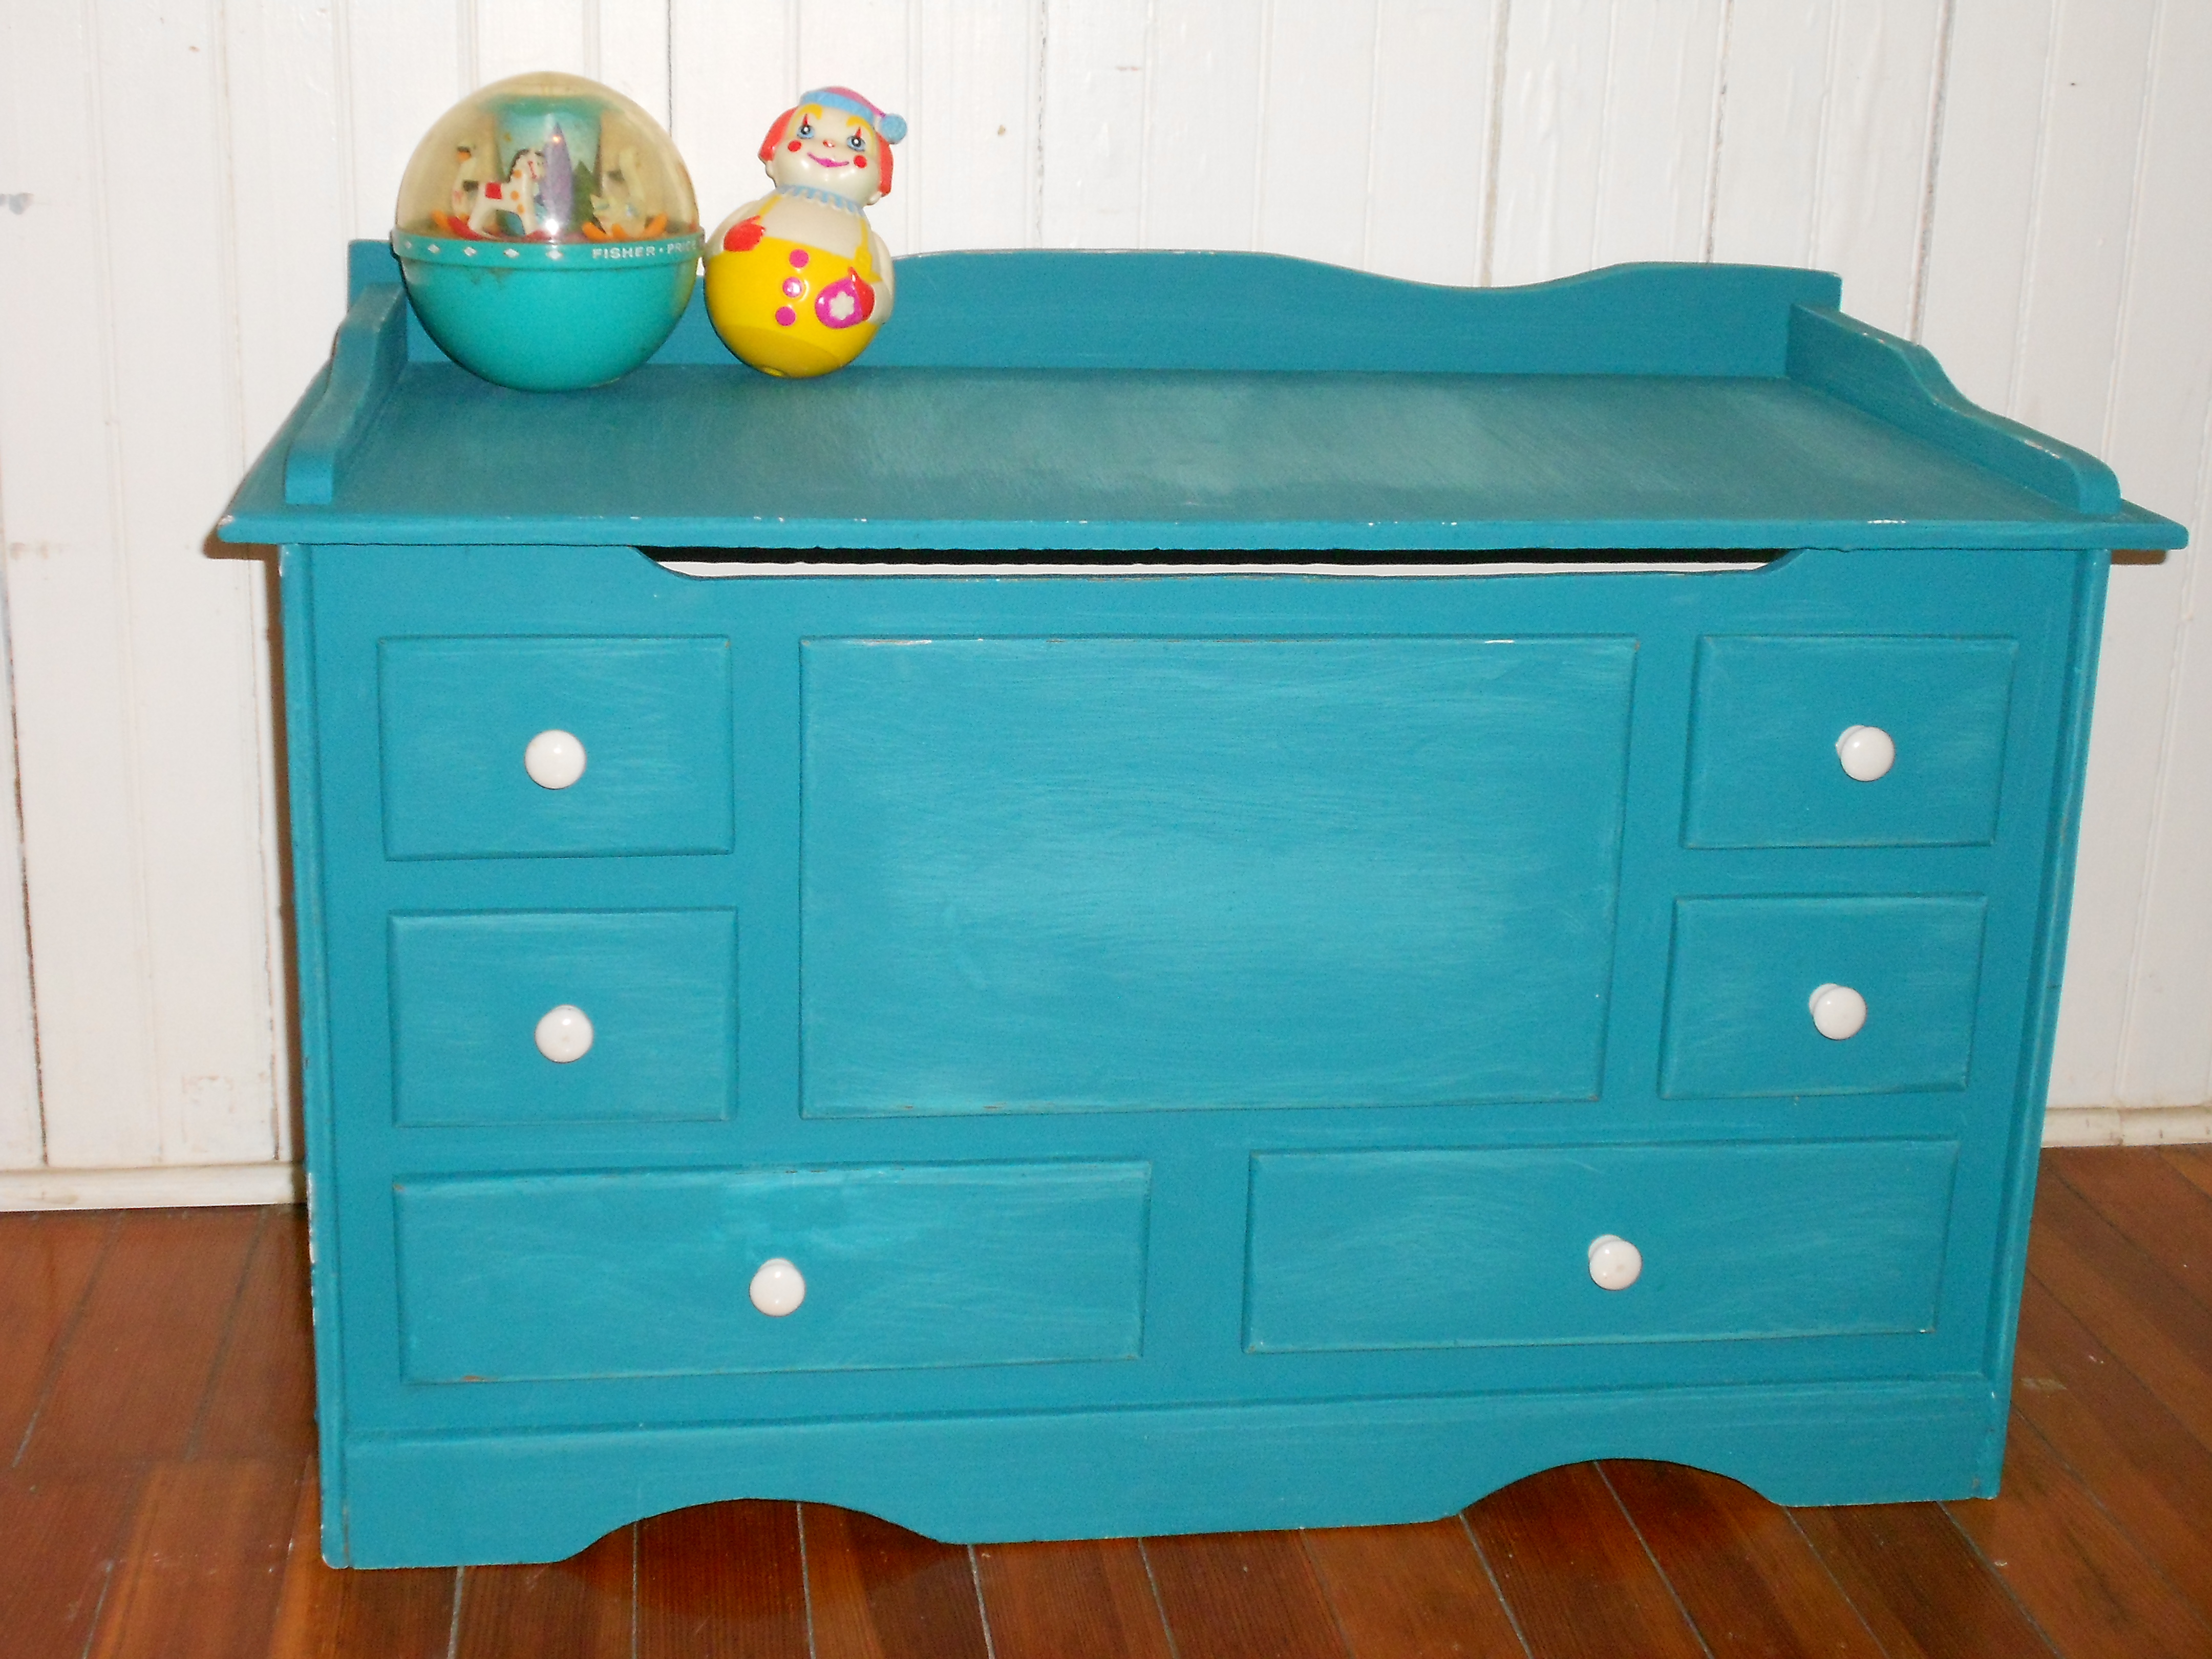
What do you think? I think it turned out super adorable. I was going to replace the handles, but the old ones are vintage ceramic and actually cleaned up nicely. I’m even tempted to keep this one! Why keep a toy box? … more news to come! 😉
Some Handmade Gifts
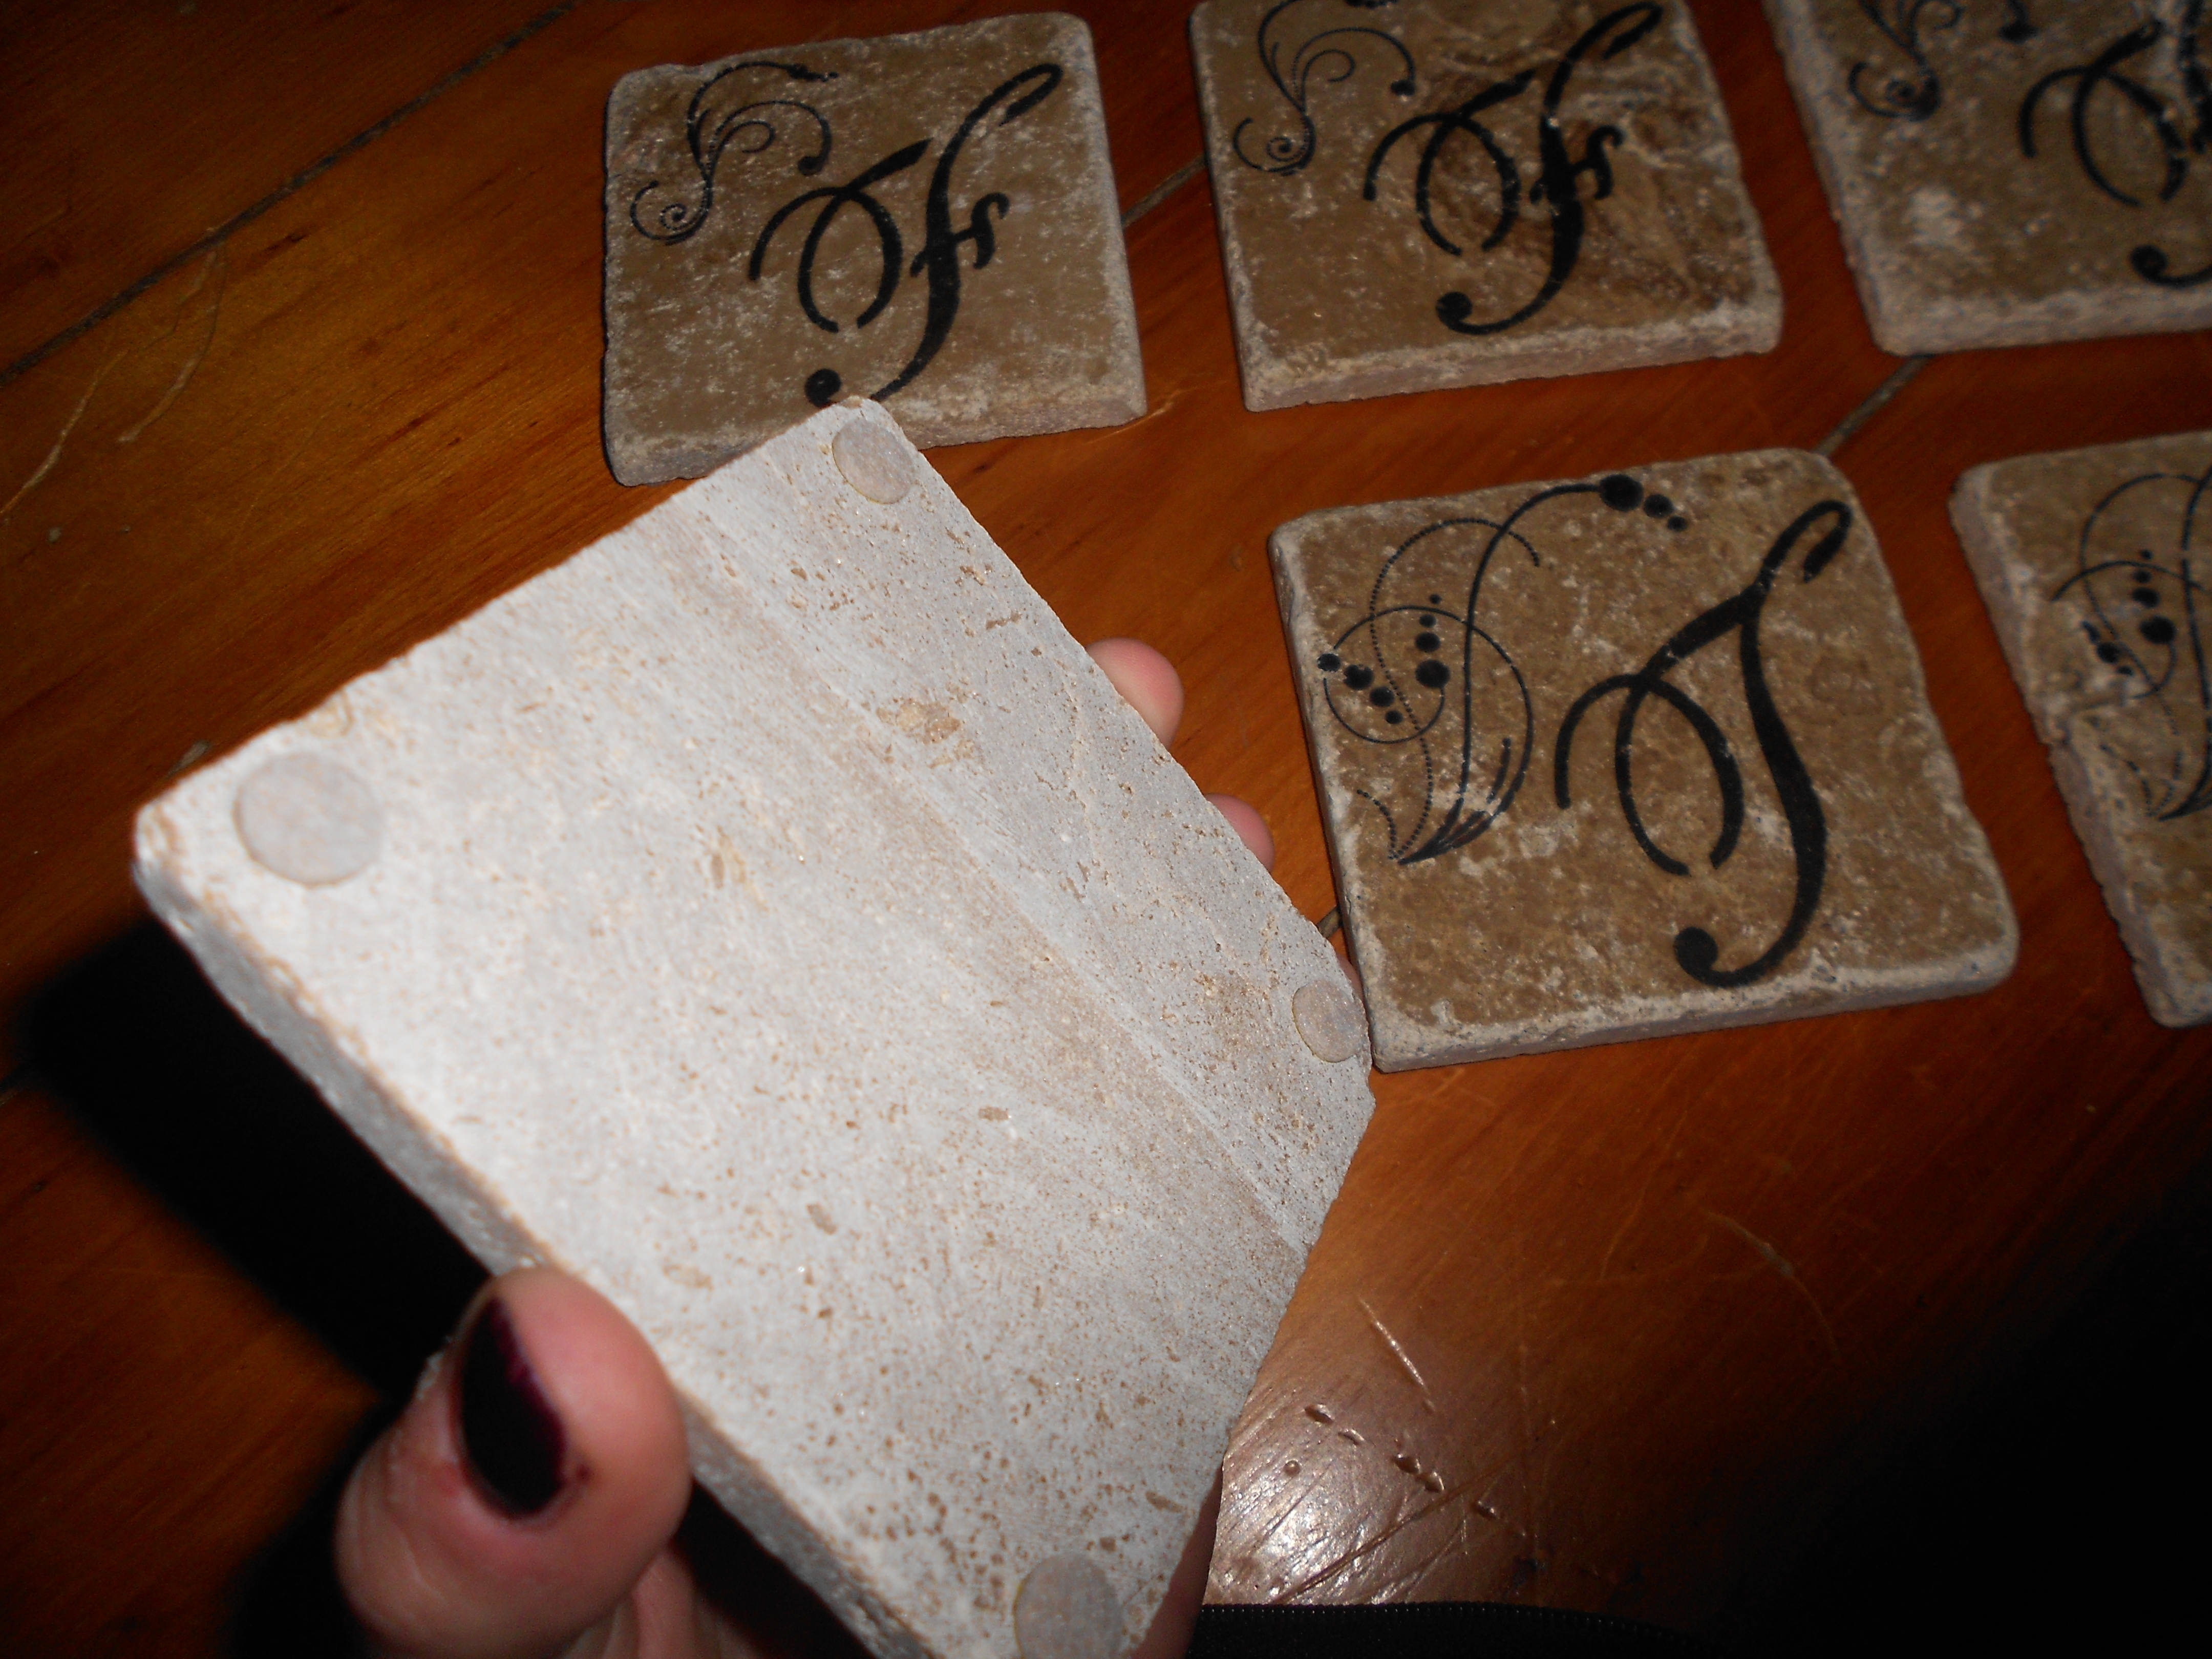
Hi there! I wanted to do a quick post to show you what we made for our family members for Christmas (and an upcoming wedding!). I started with a few simple stone tiles from Menard’s. I used a flat round brush, a stencil, and some solid paint pots. I dabbed the paint on over the stencil without wiping. I then added some clear coat and some felt pads to the bottom corners. Now…we have personalized coasters! I know I have seen this done before, but I had to share because they turned out so sweet and simple. And, they didn’t break the bank!
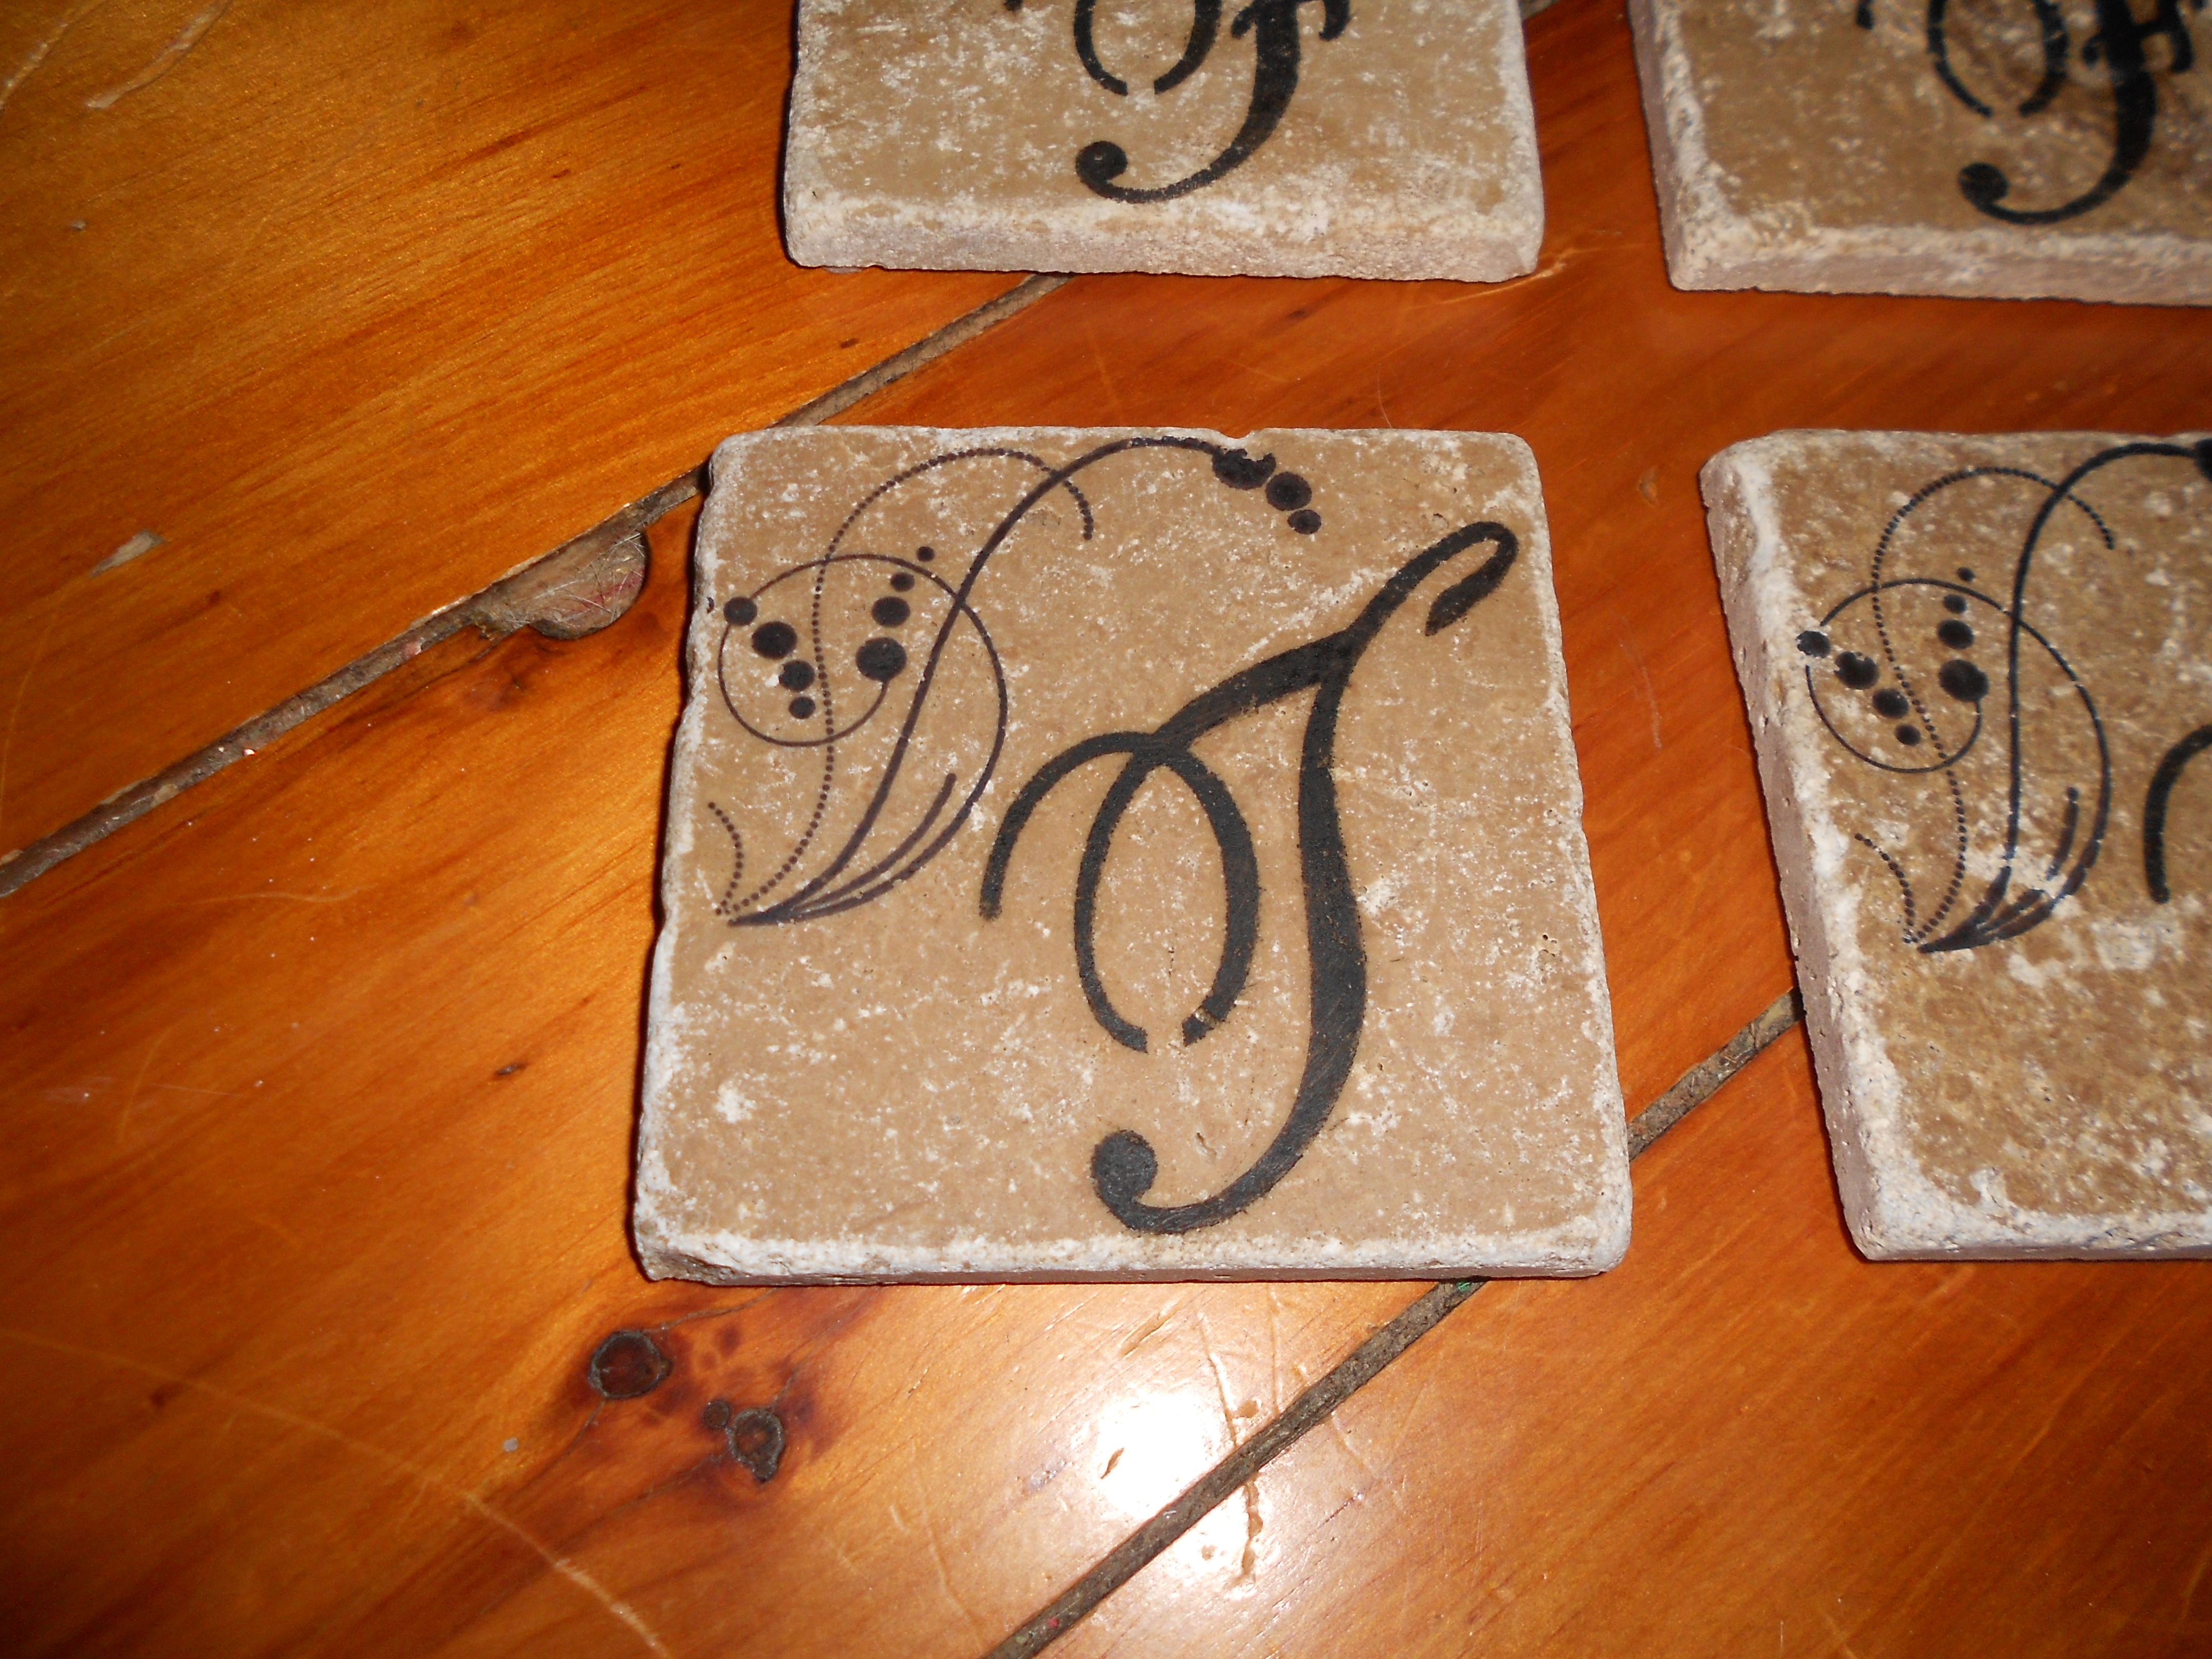

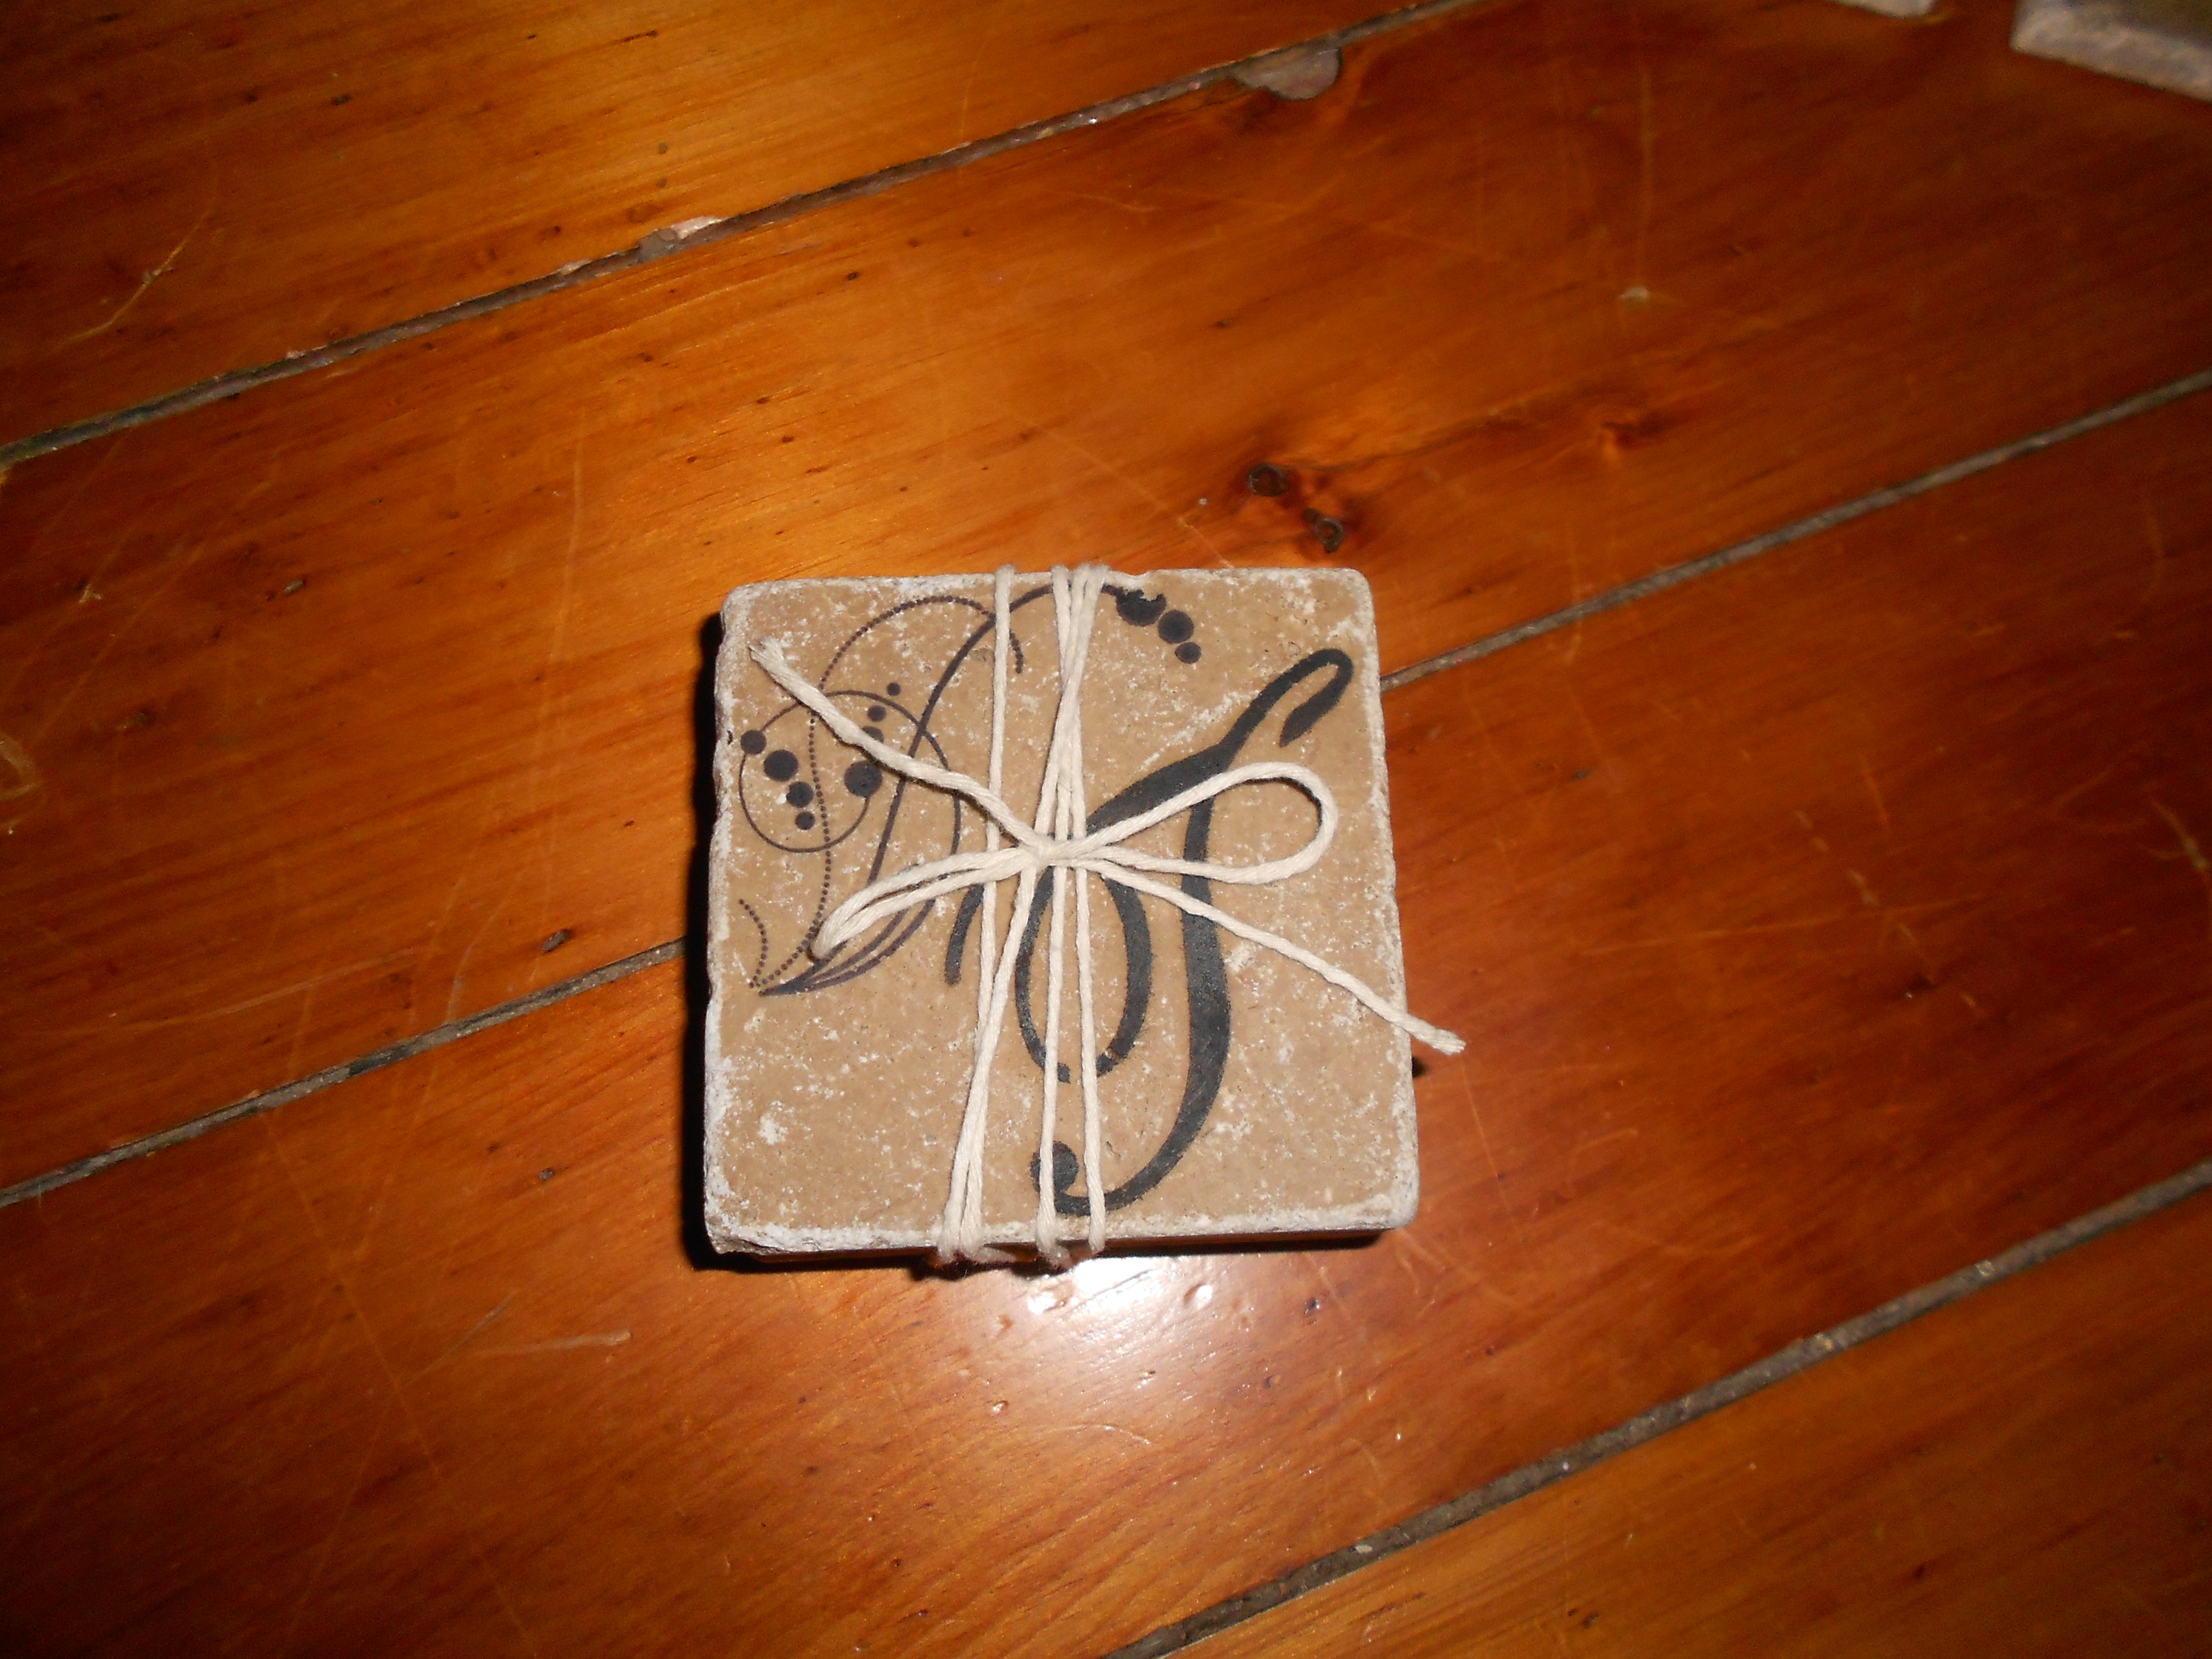
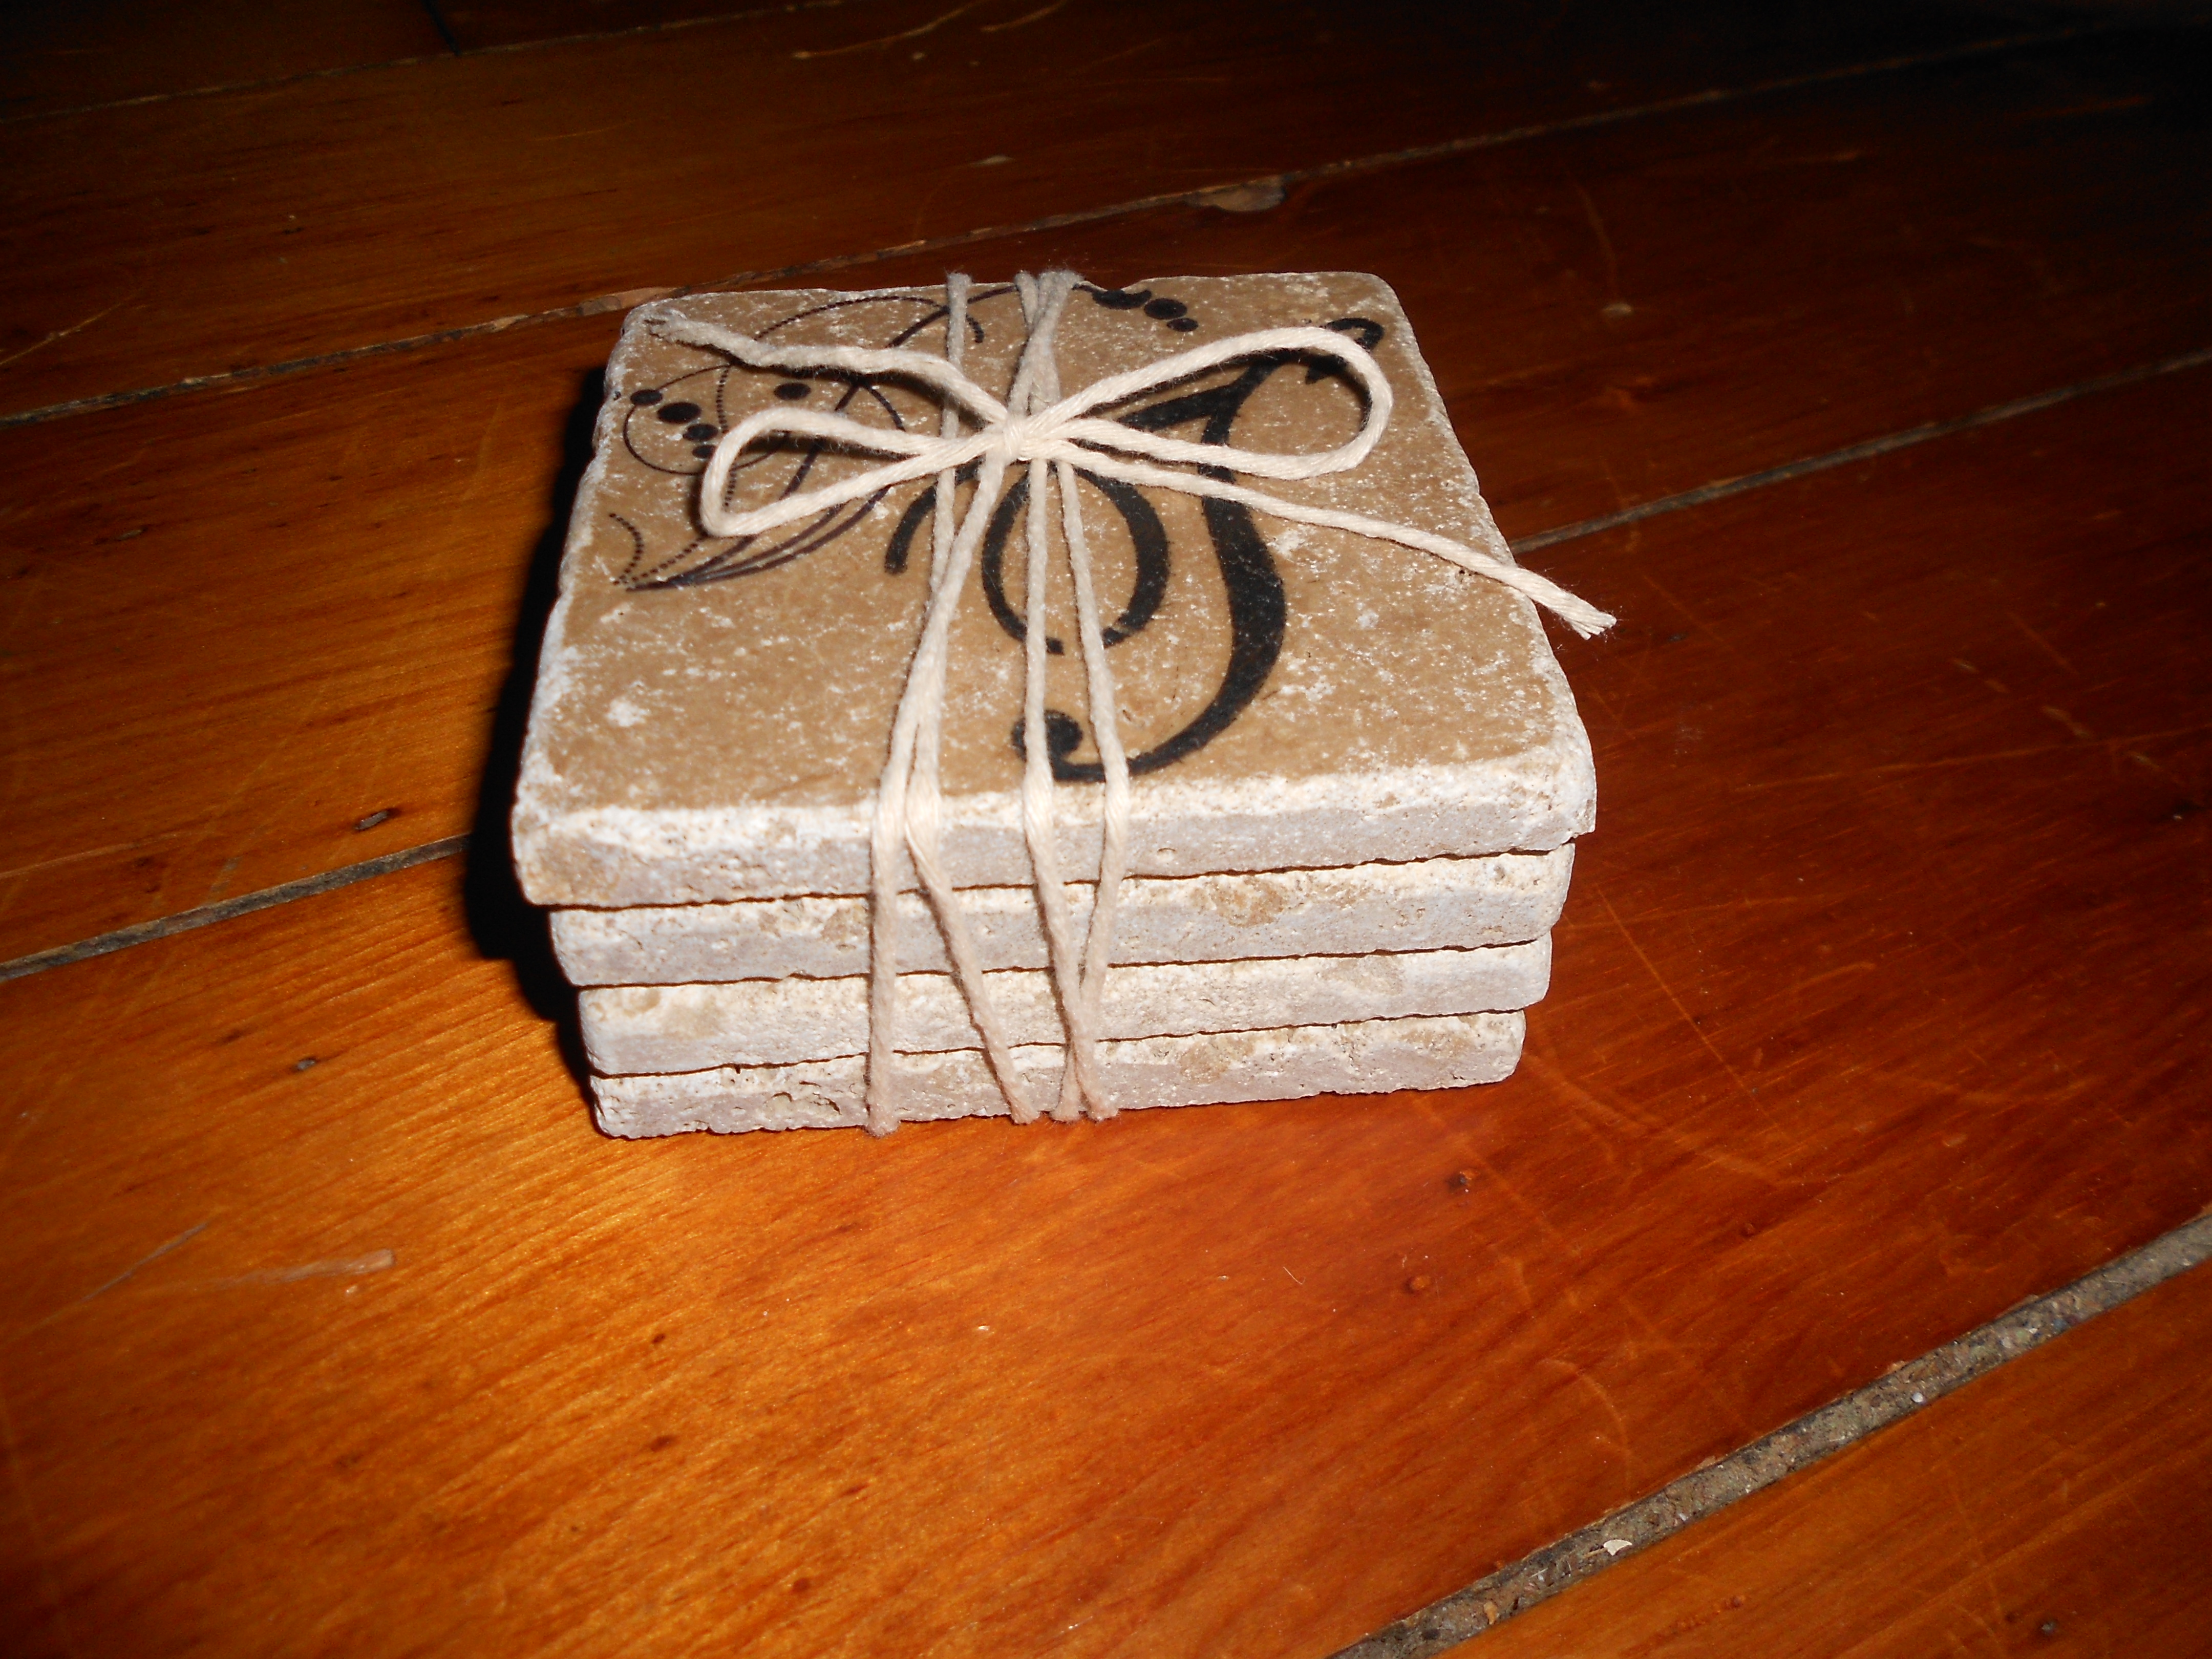
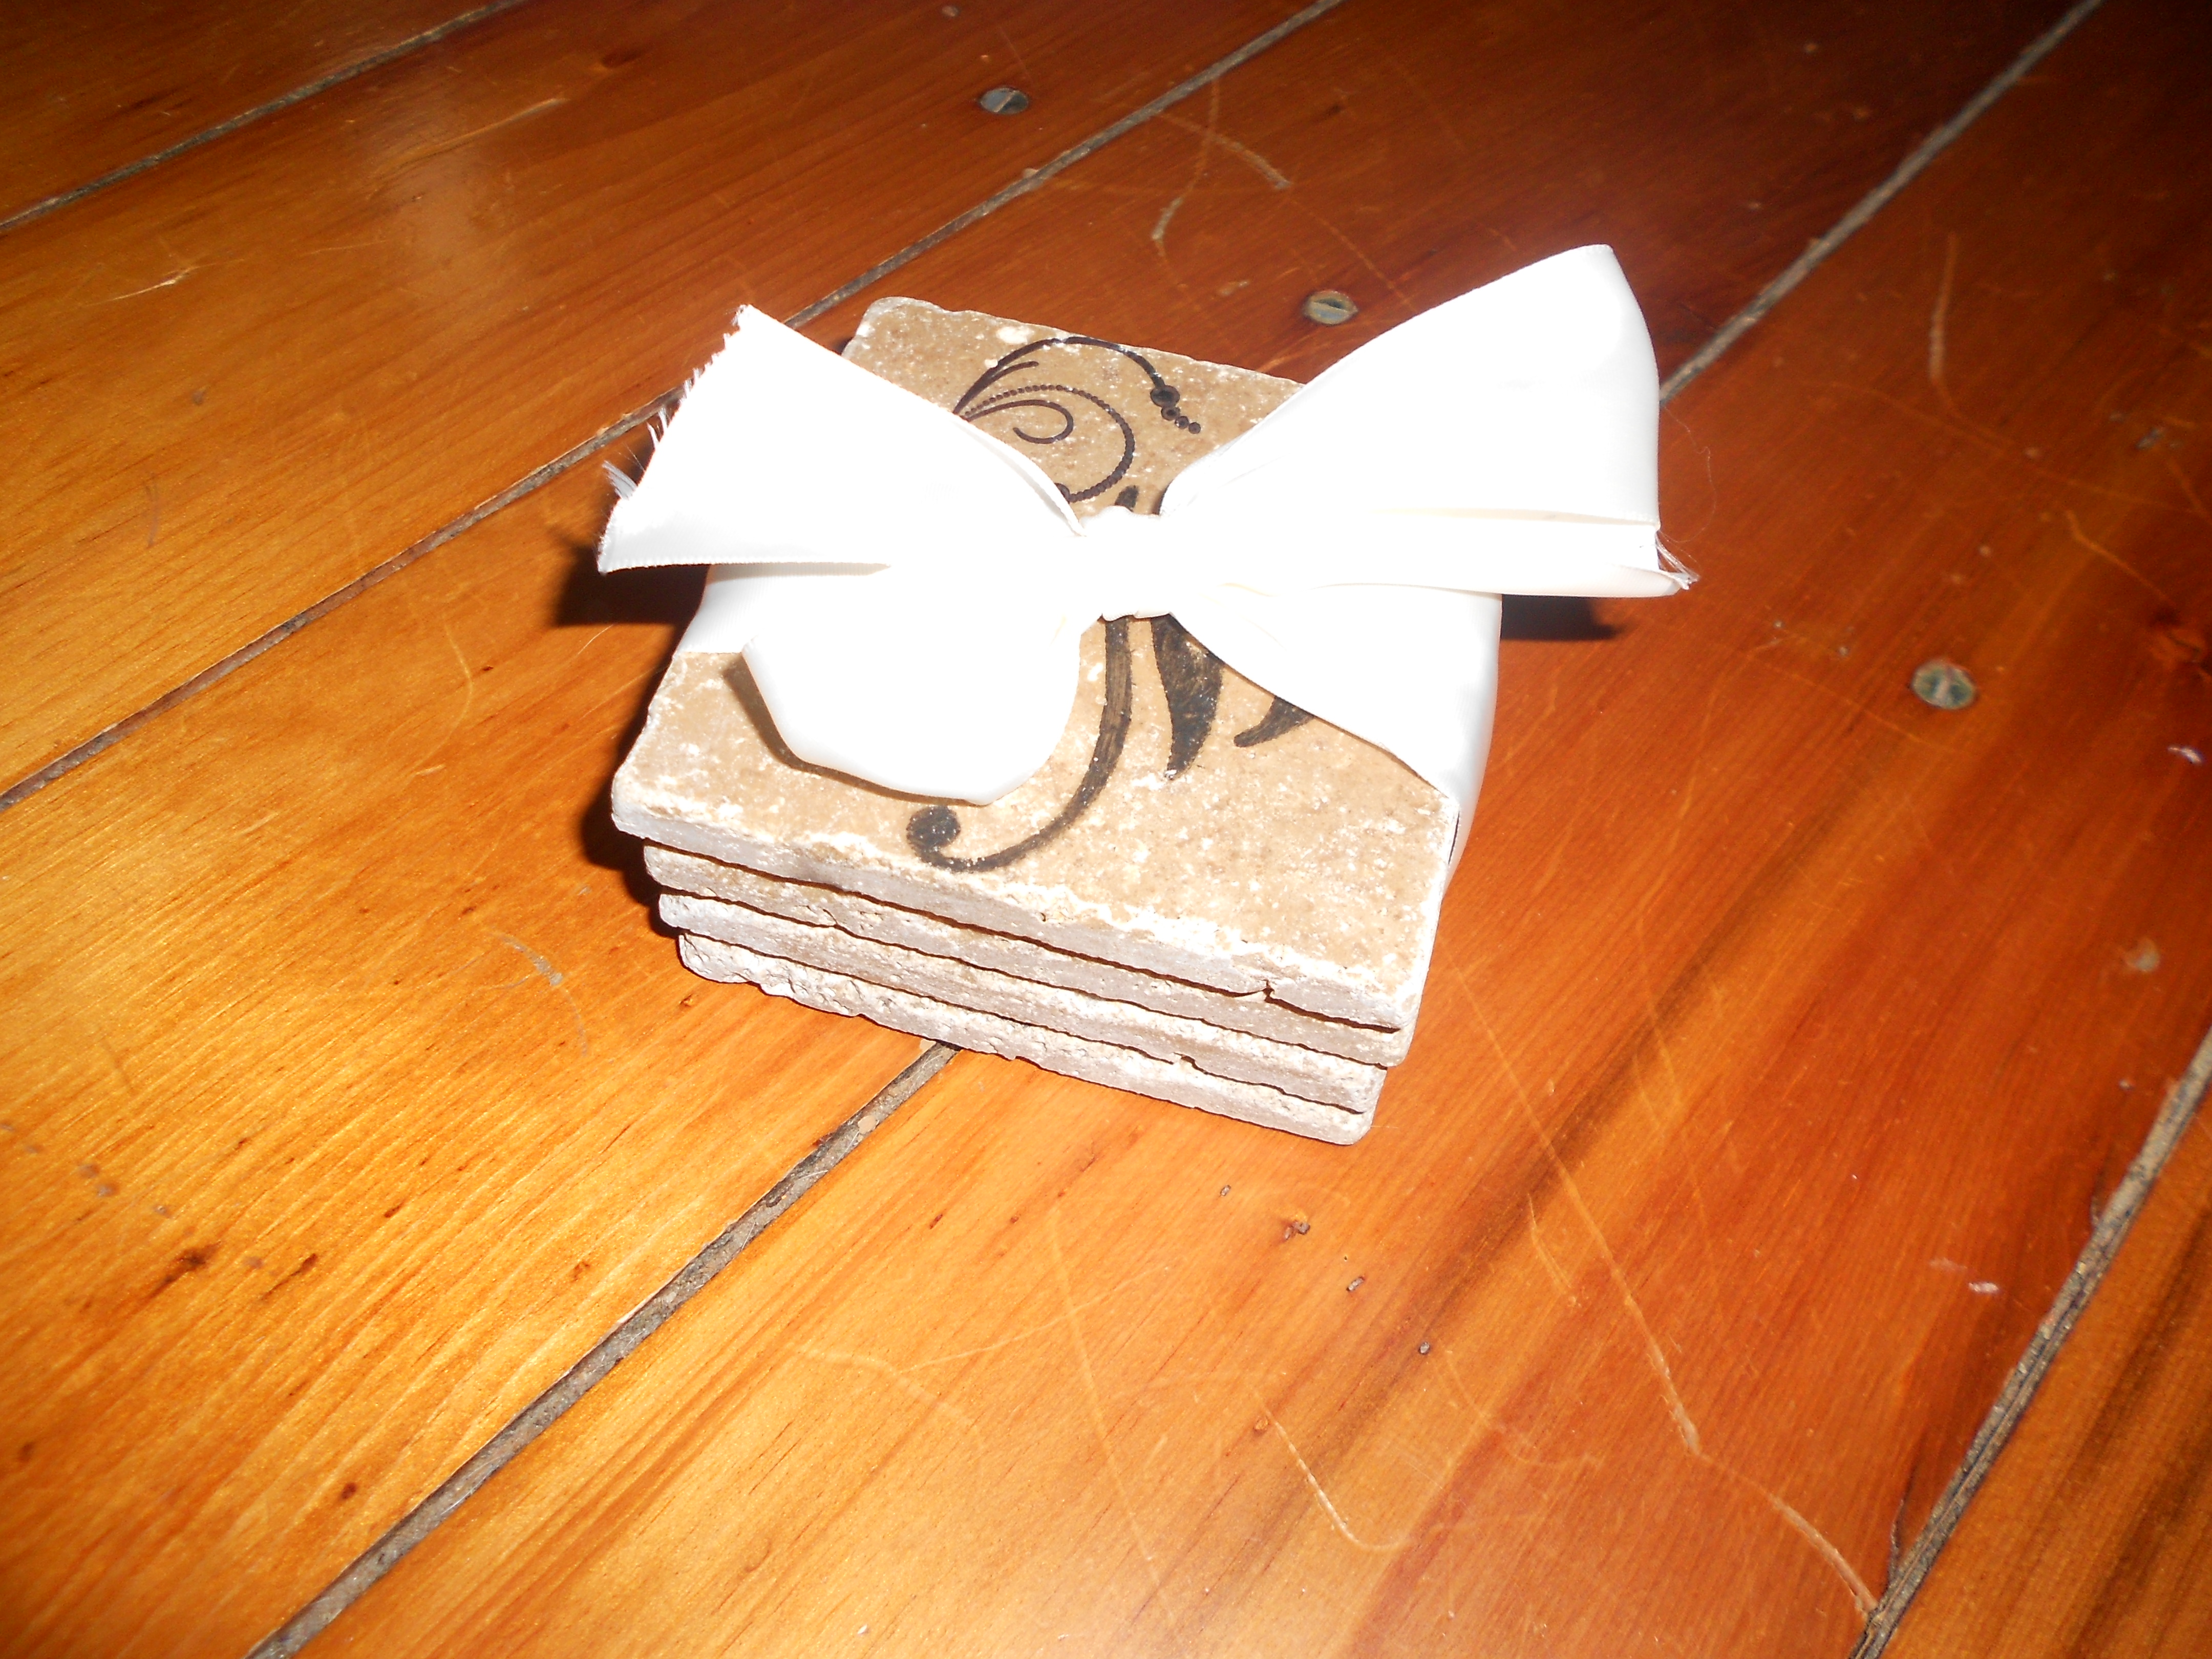
What do you think? I think they turned out great and it was a lot of fun making gifts this year instead of buying something no one needs! 🙂
