Piano Bench Project
I’m in love. I really don’t want to sell this project. My house is going to overflow.
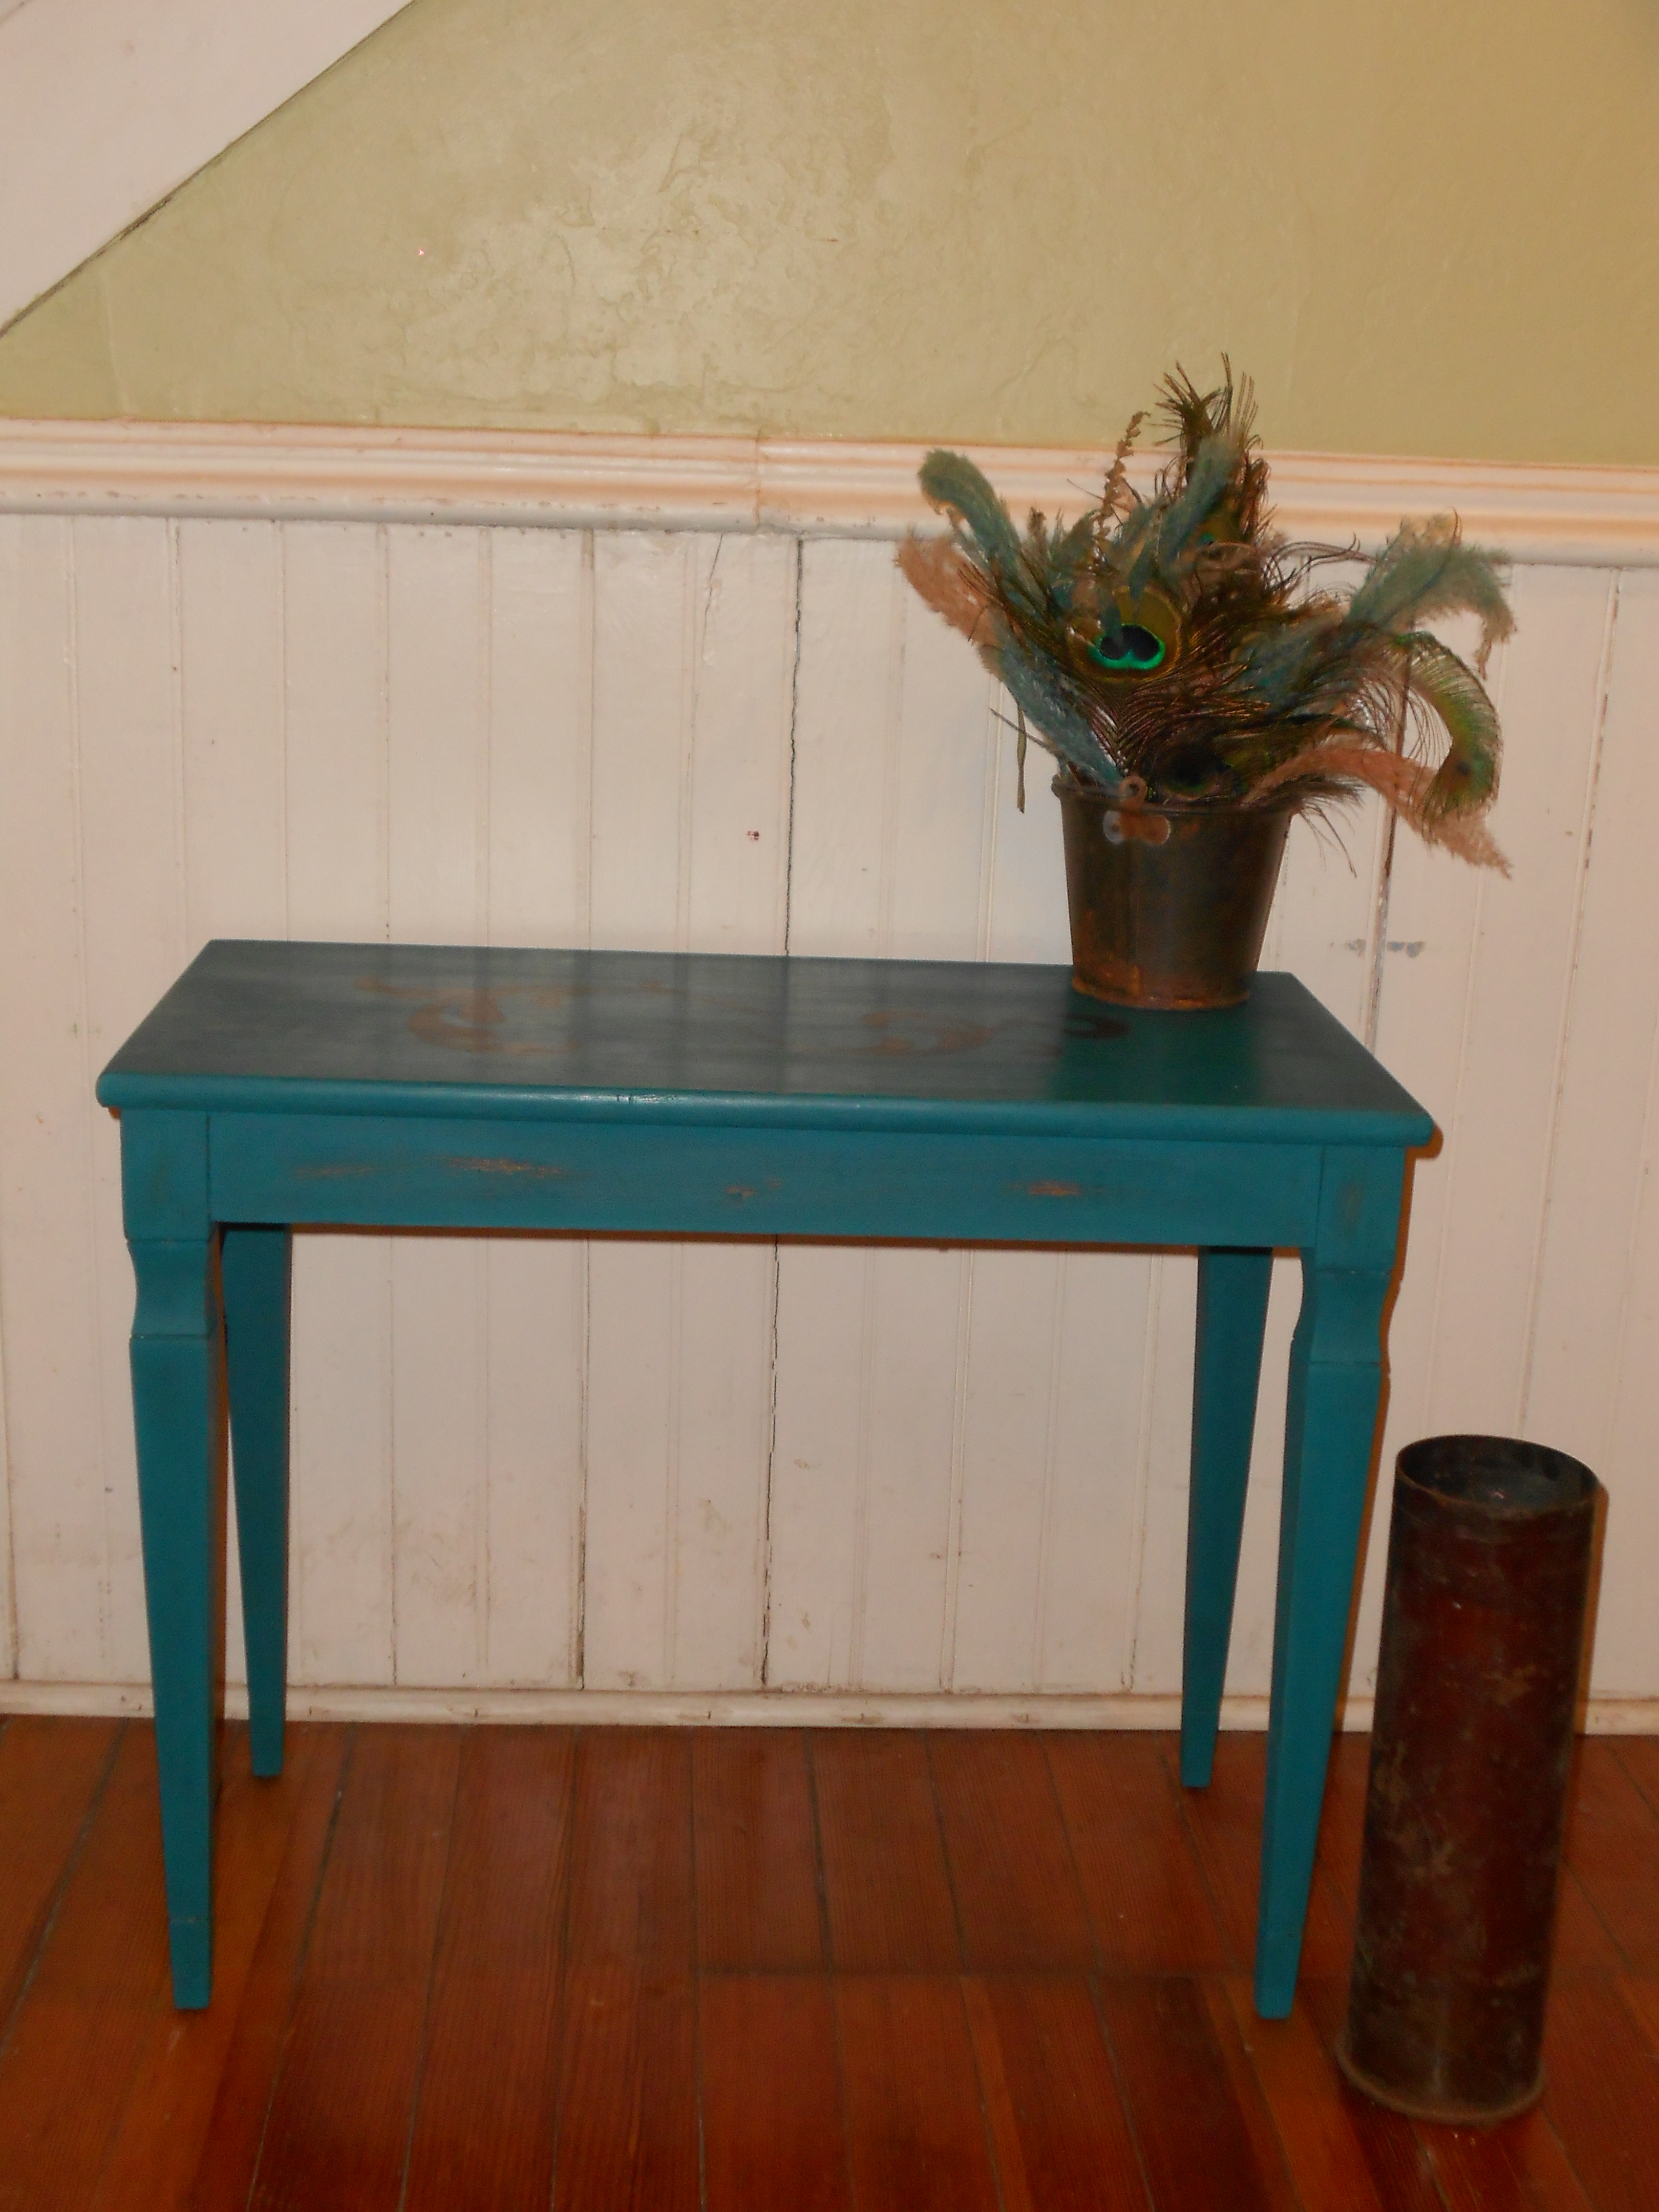
I found this old piano bench, beat up and sad, left behind in the basement of the rental property we own.

After filling, sanding, painting, stenciling, and waxing, this is what she looks like now:
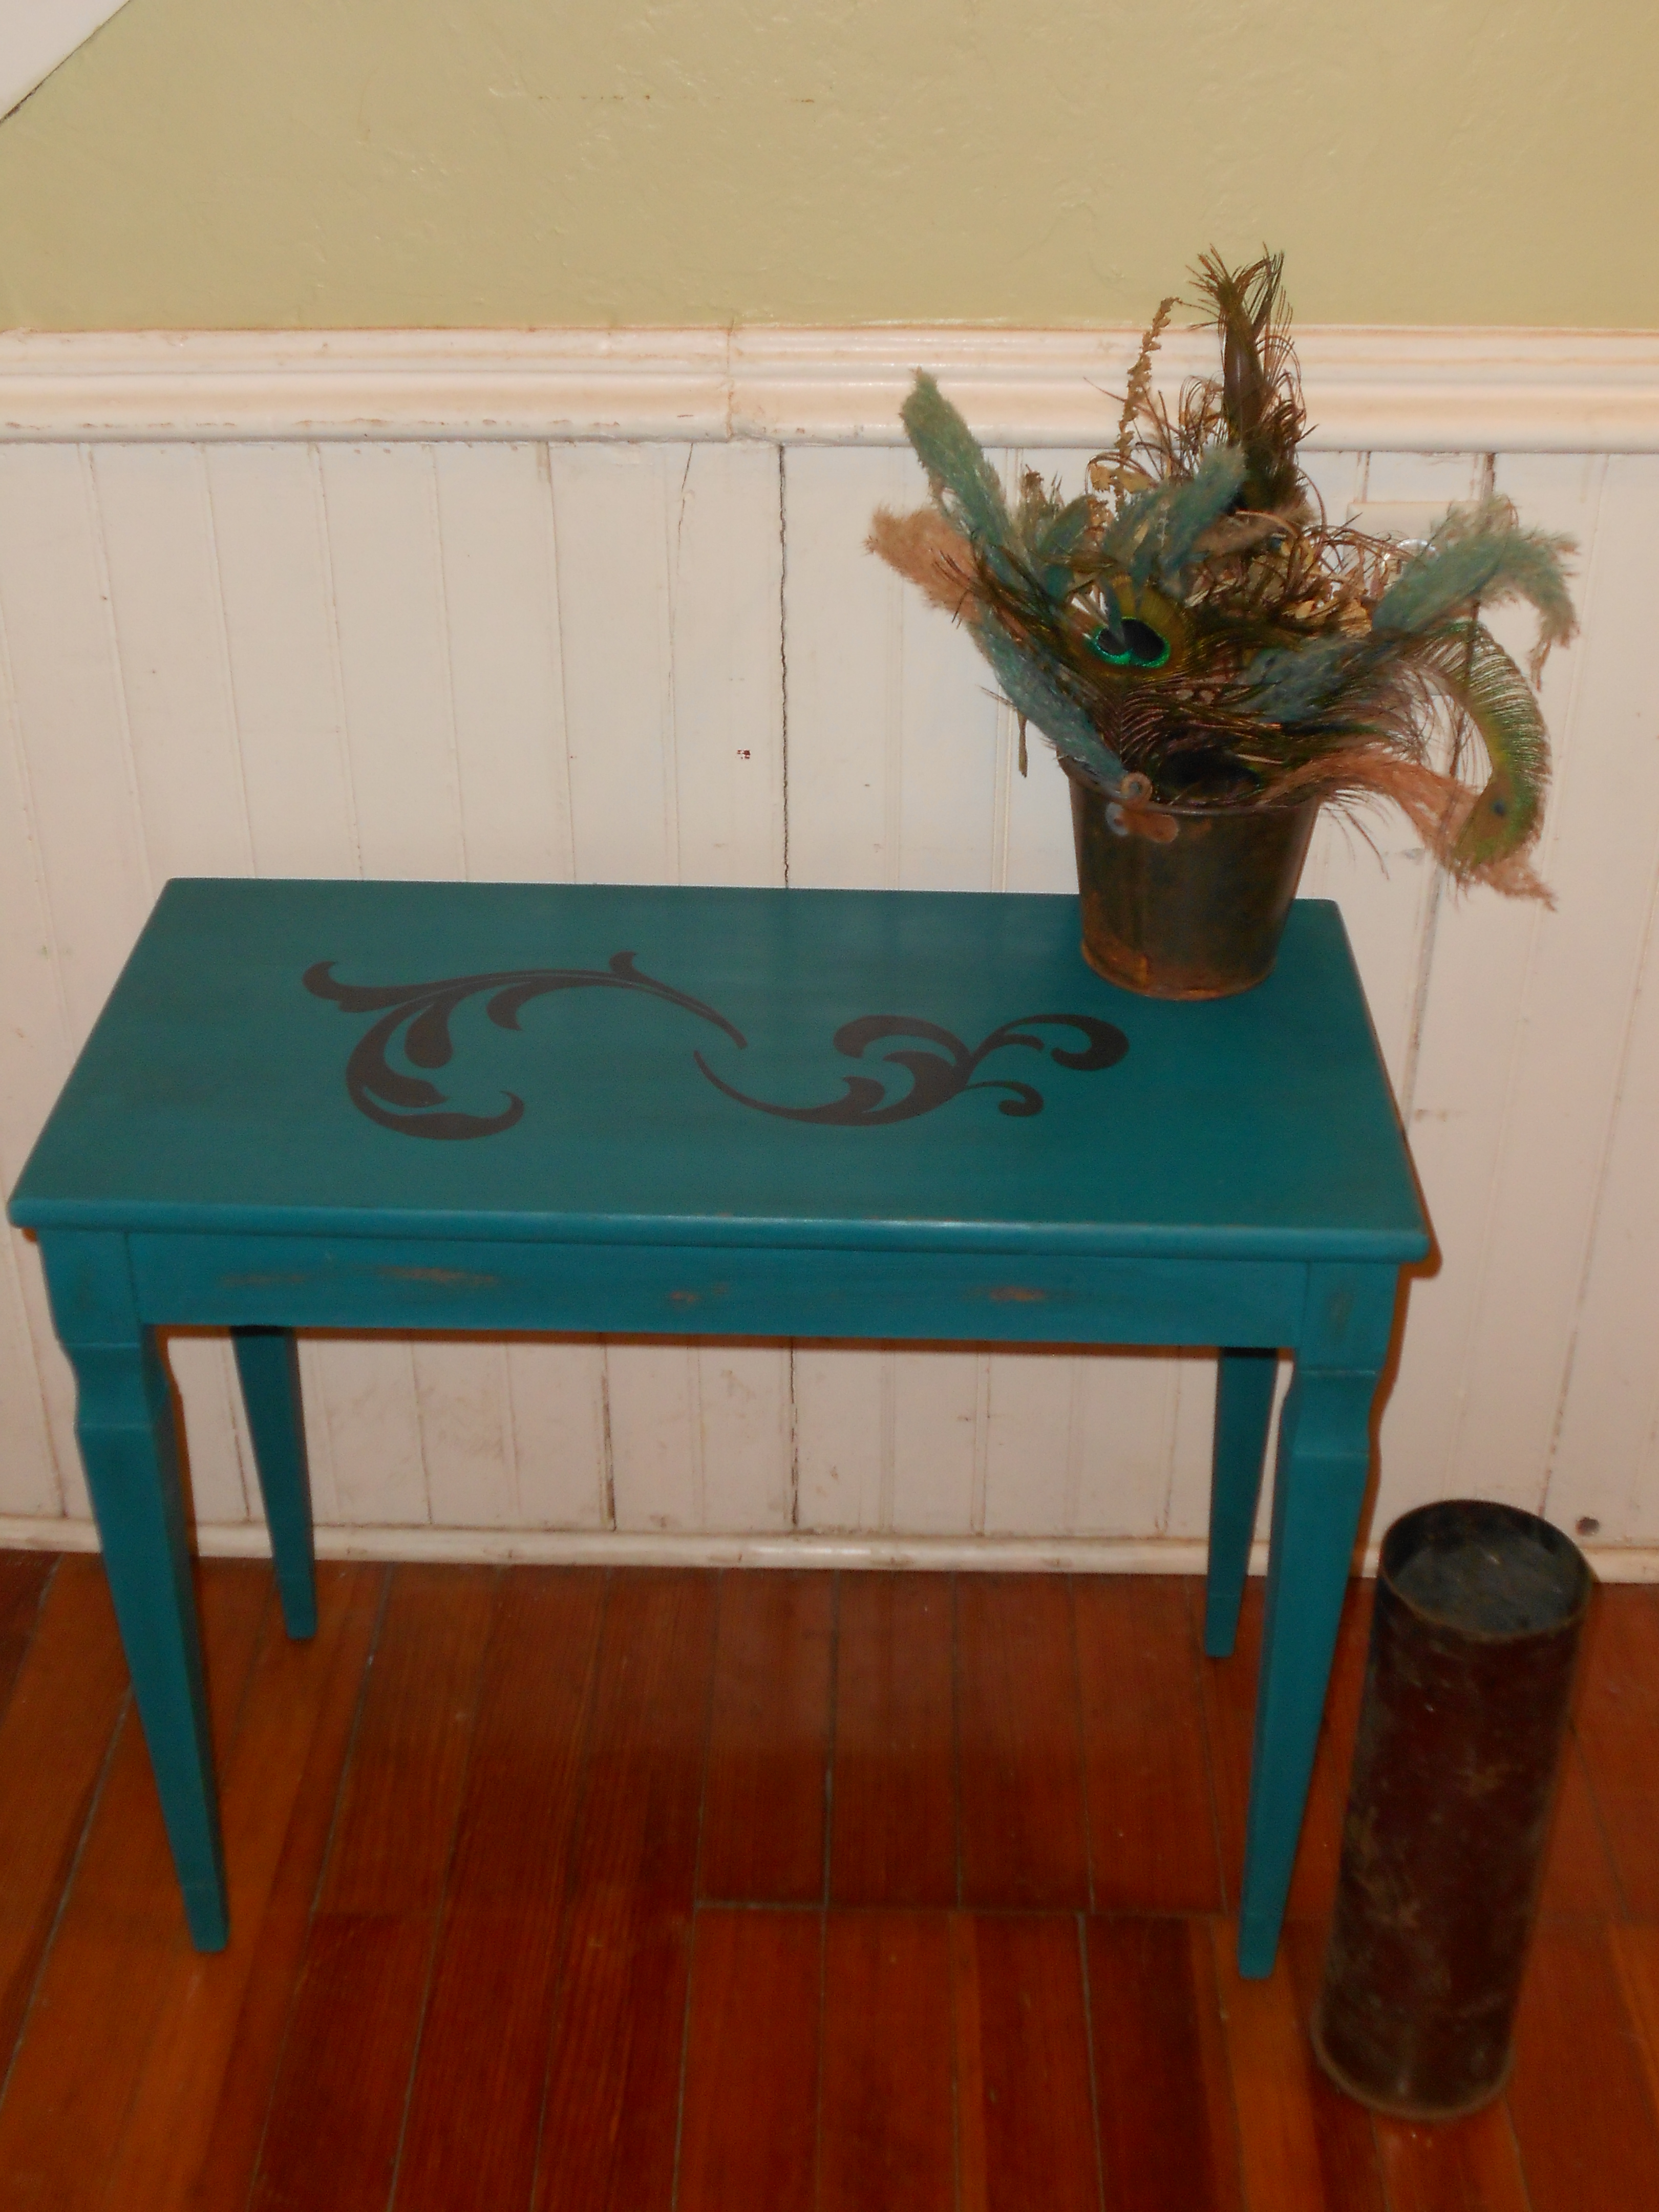
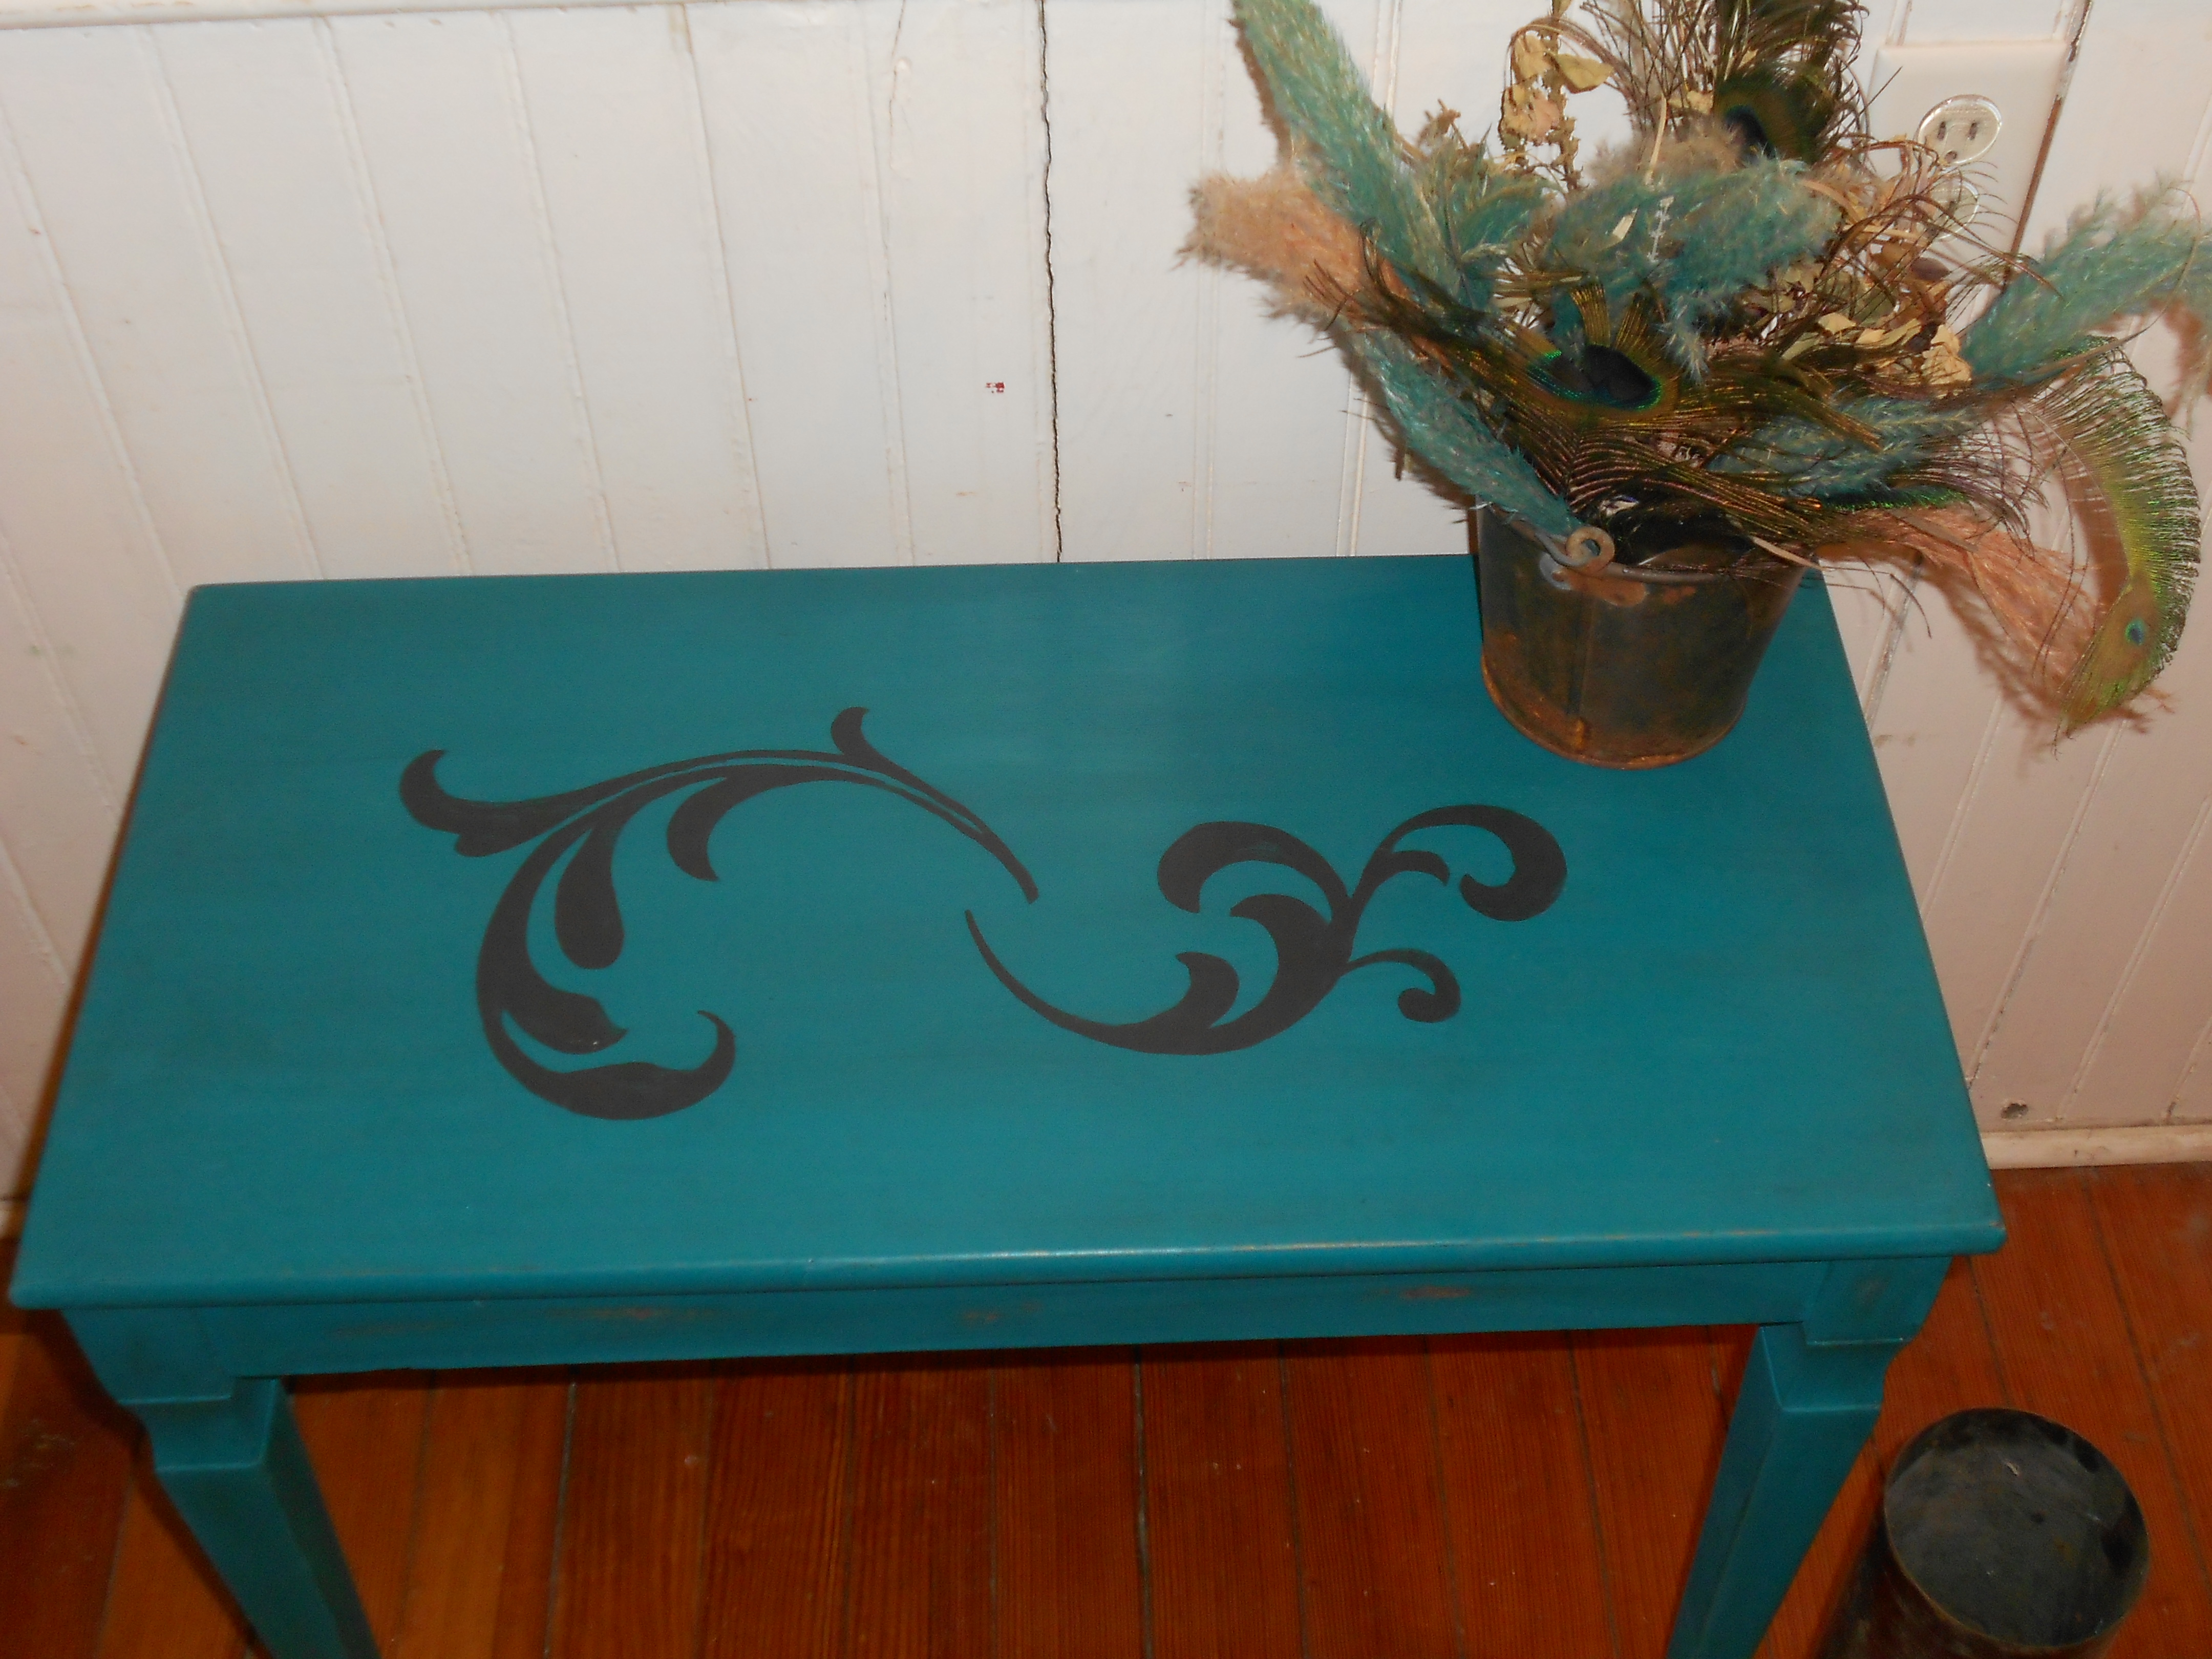
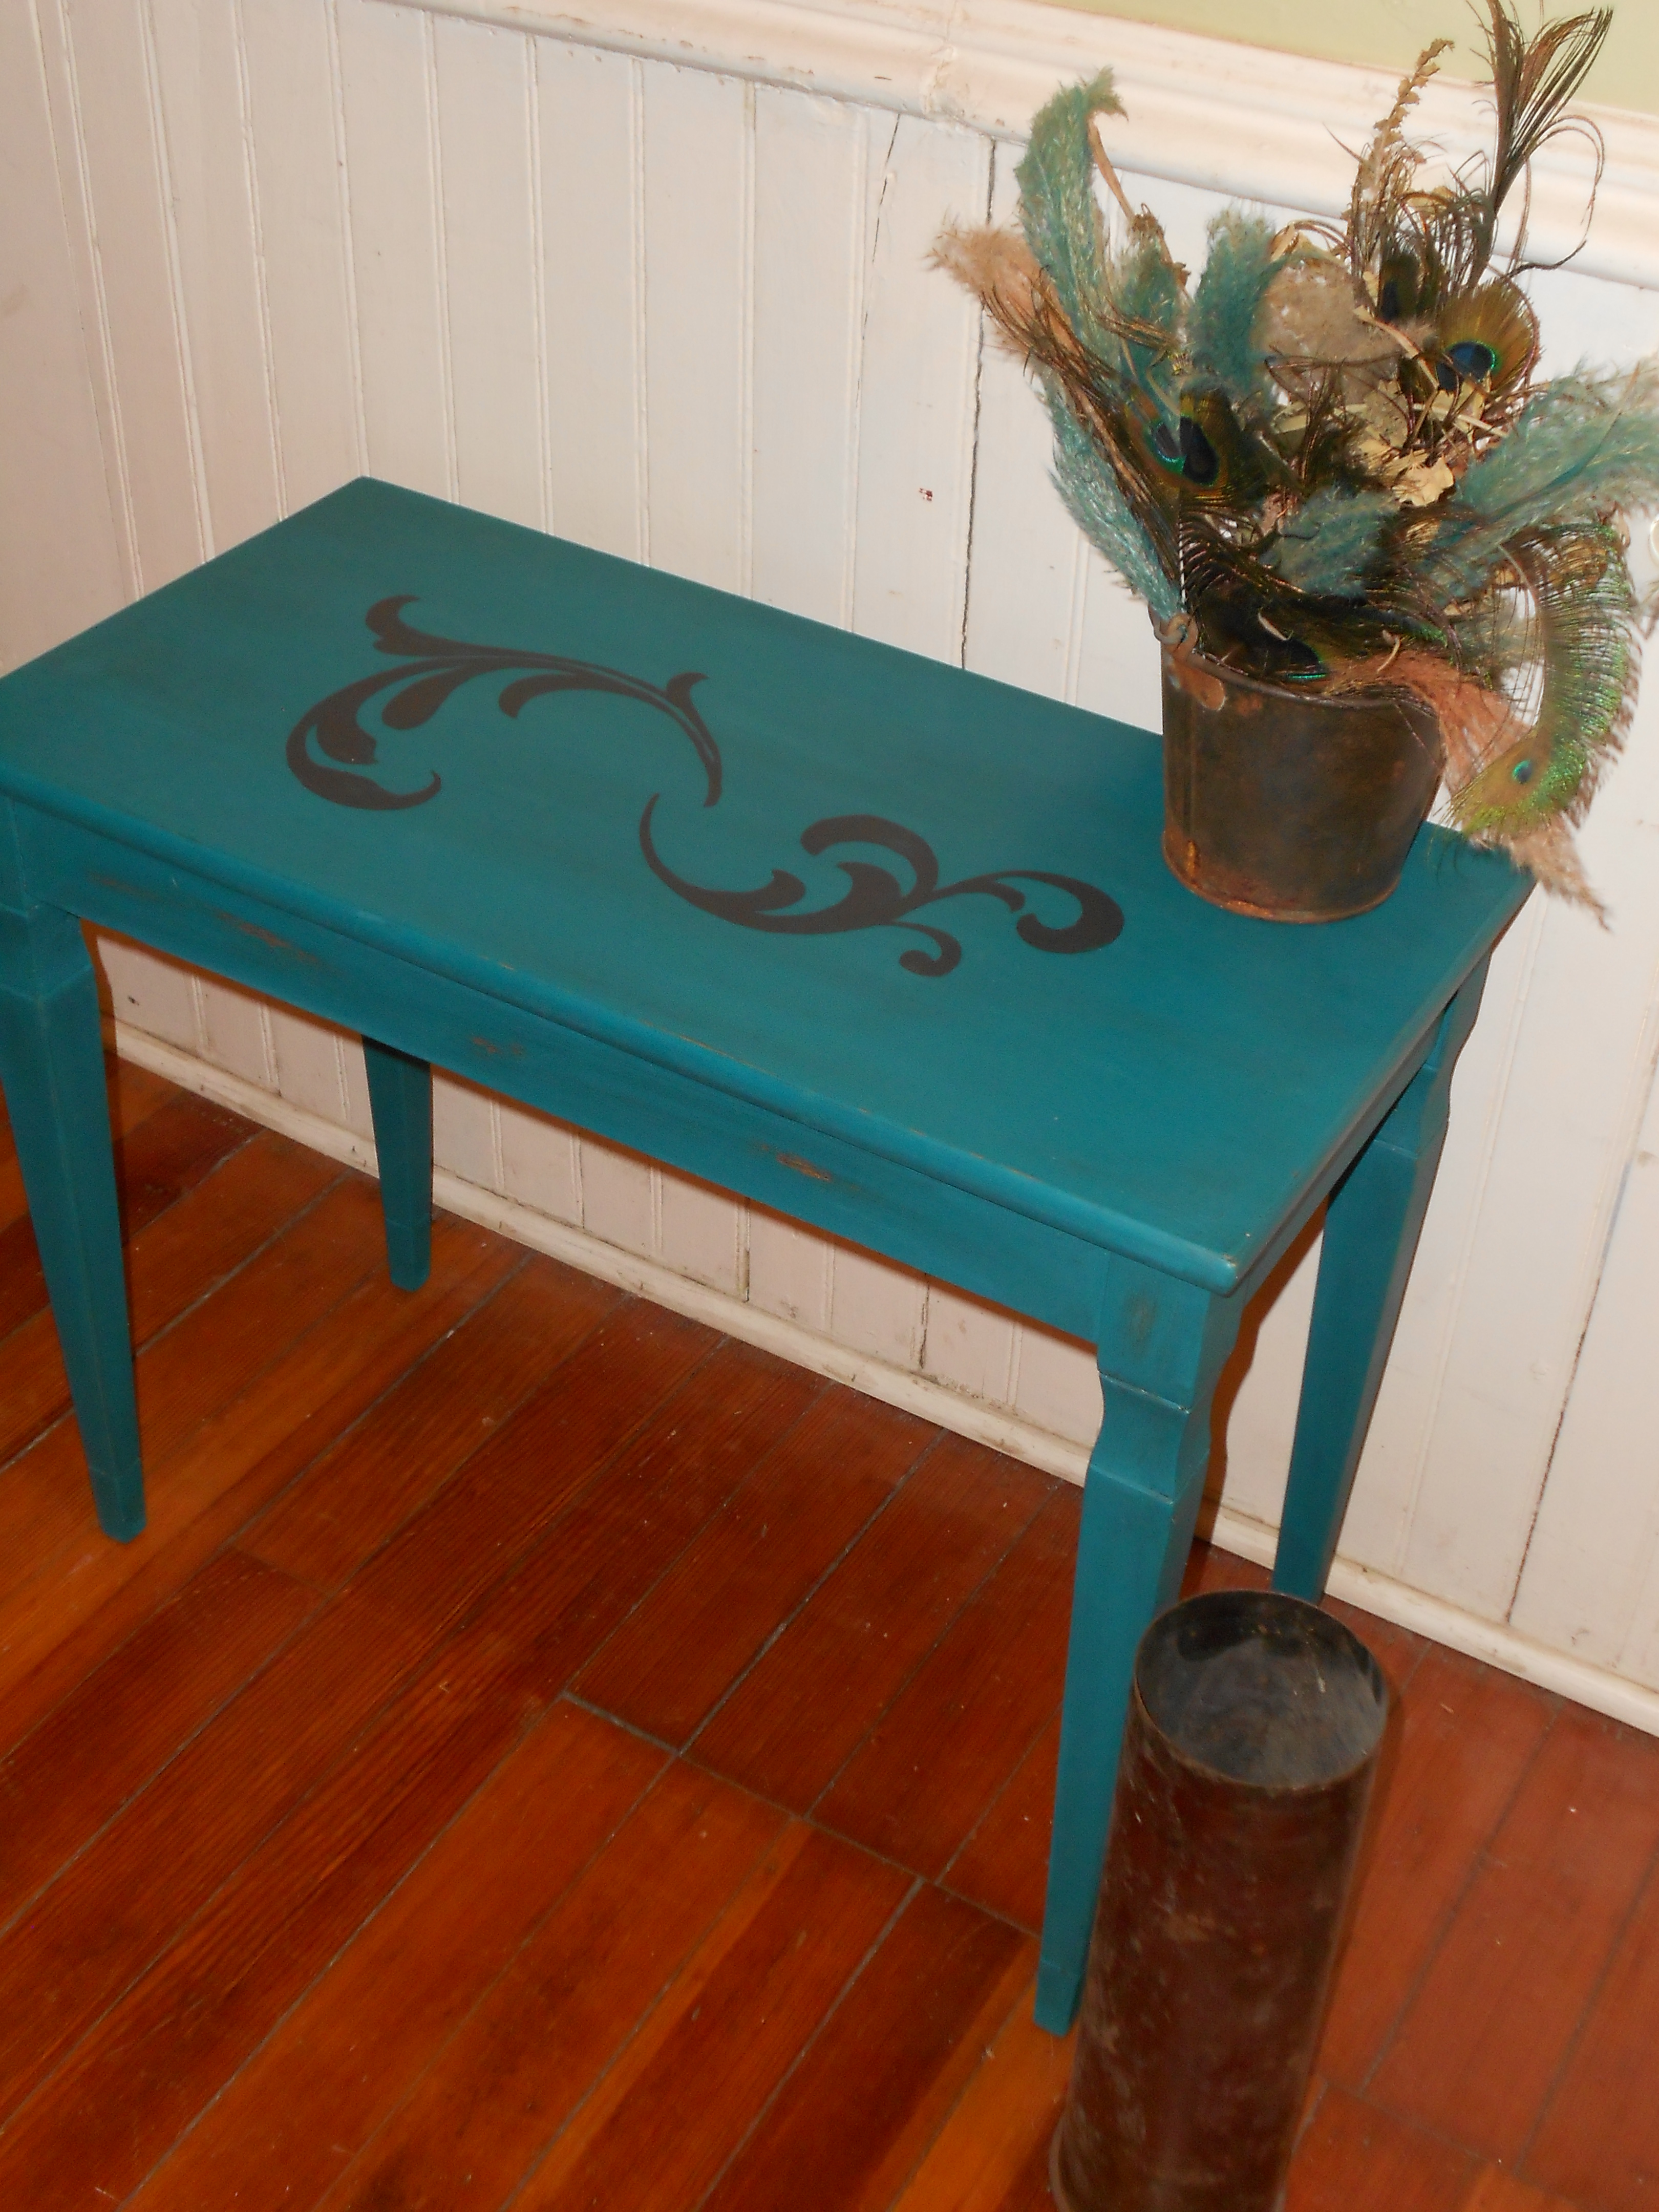
I love how the waxing turns out. The finish is protected and it is more wipable now. I used regular paste furniture wax and then tinted it with a charcoal paint. I am so excited to keep perfecting this technique. What do you think?
Nightstand Redo
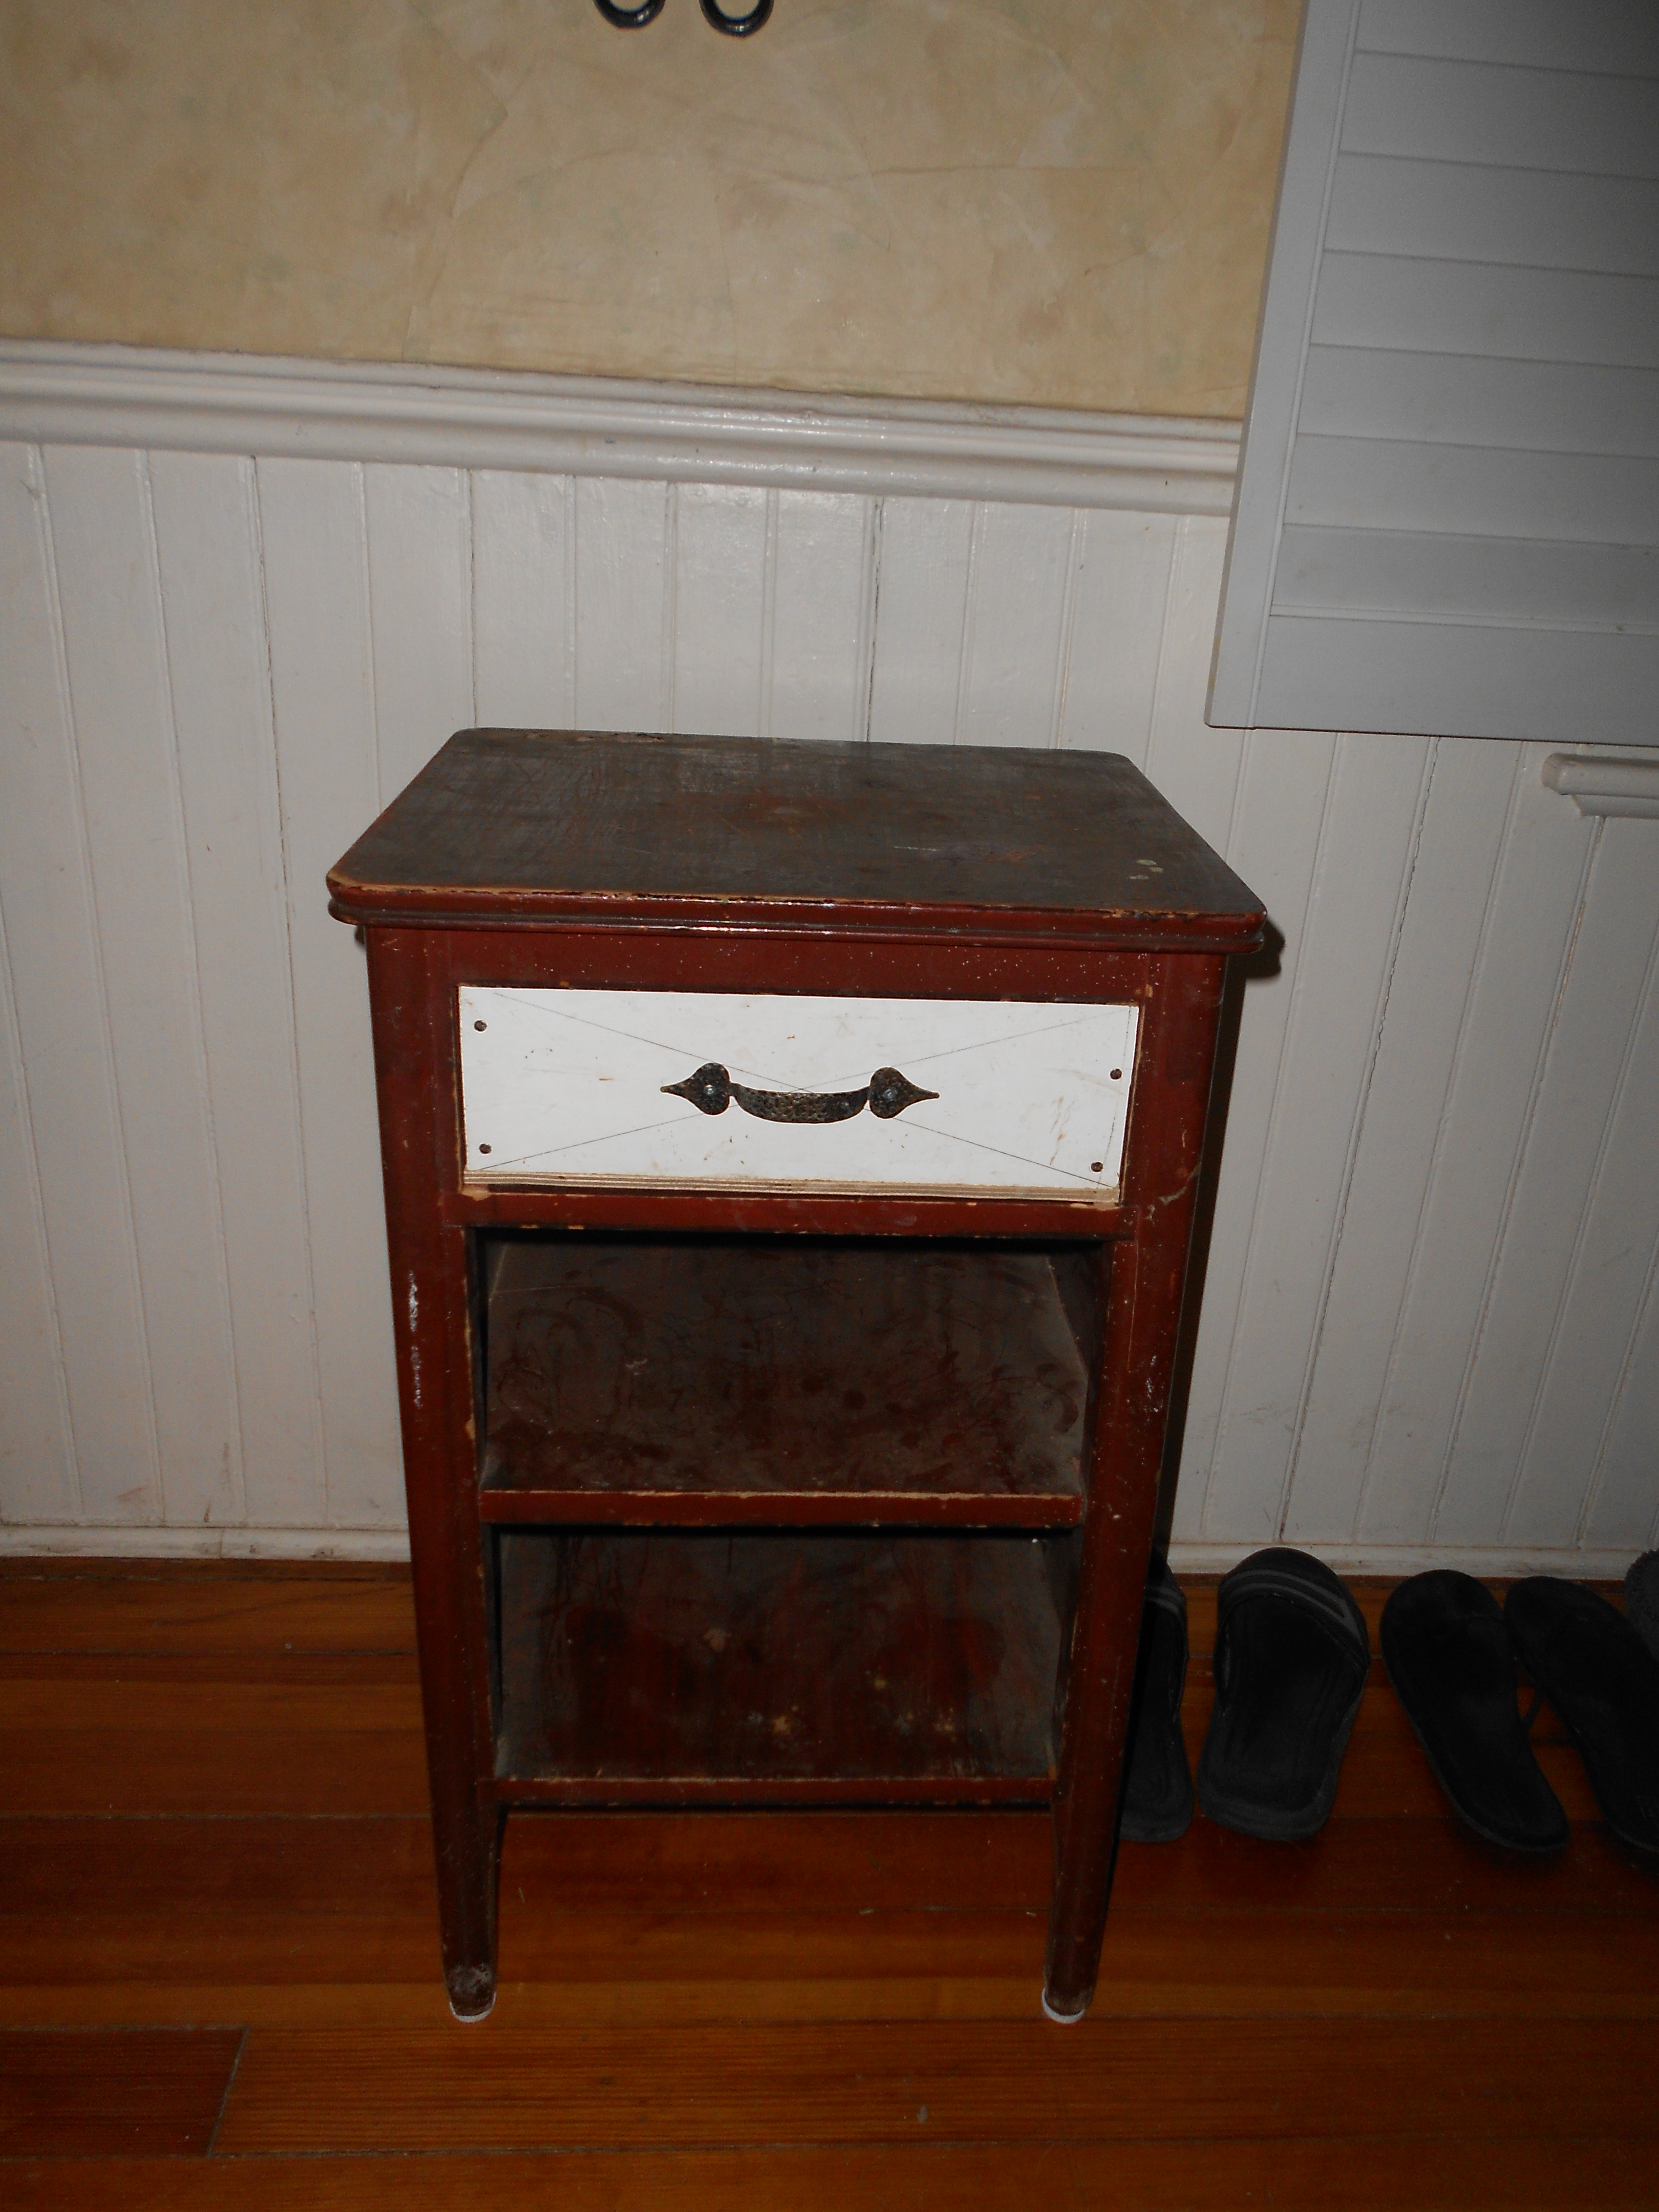
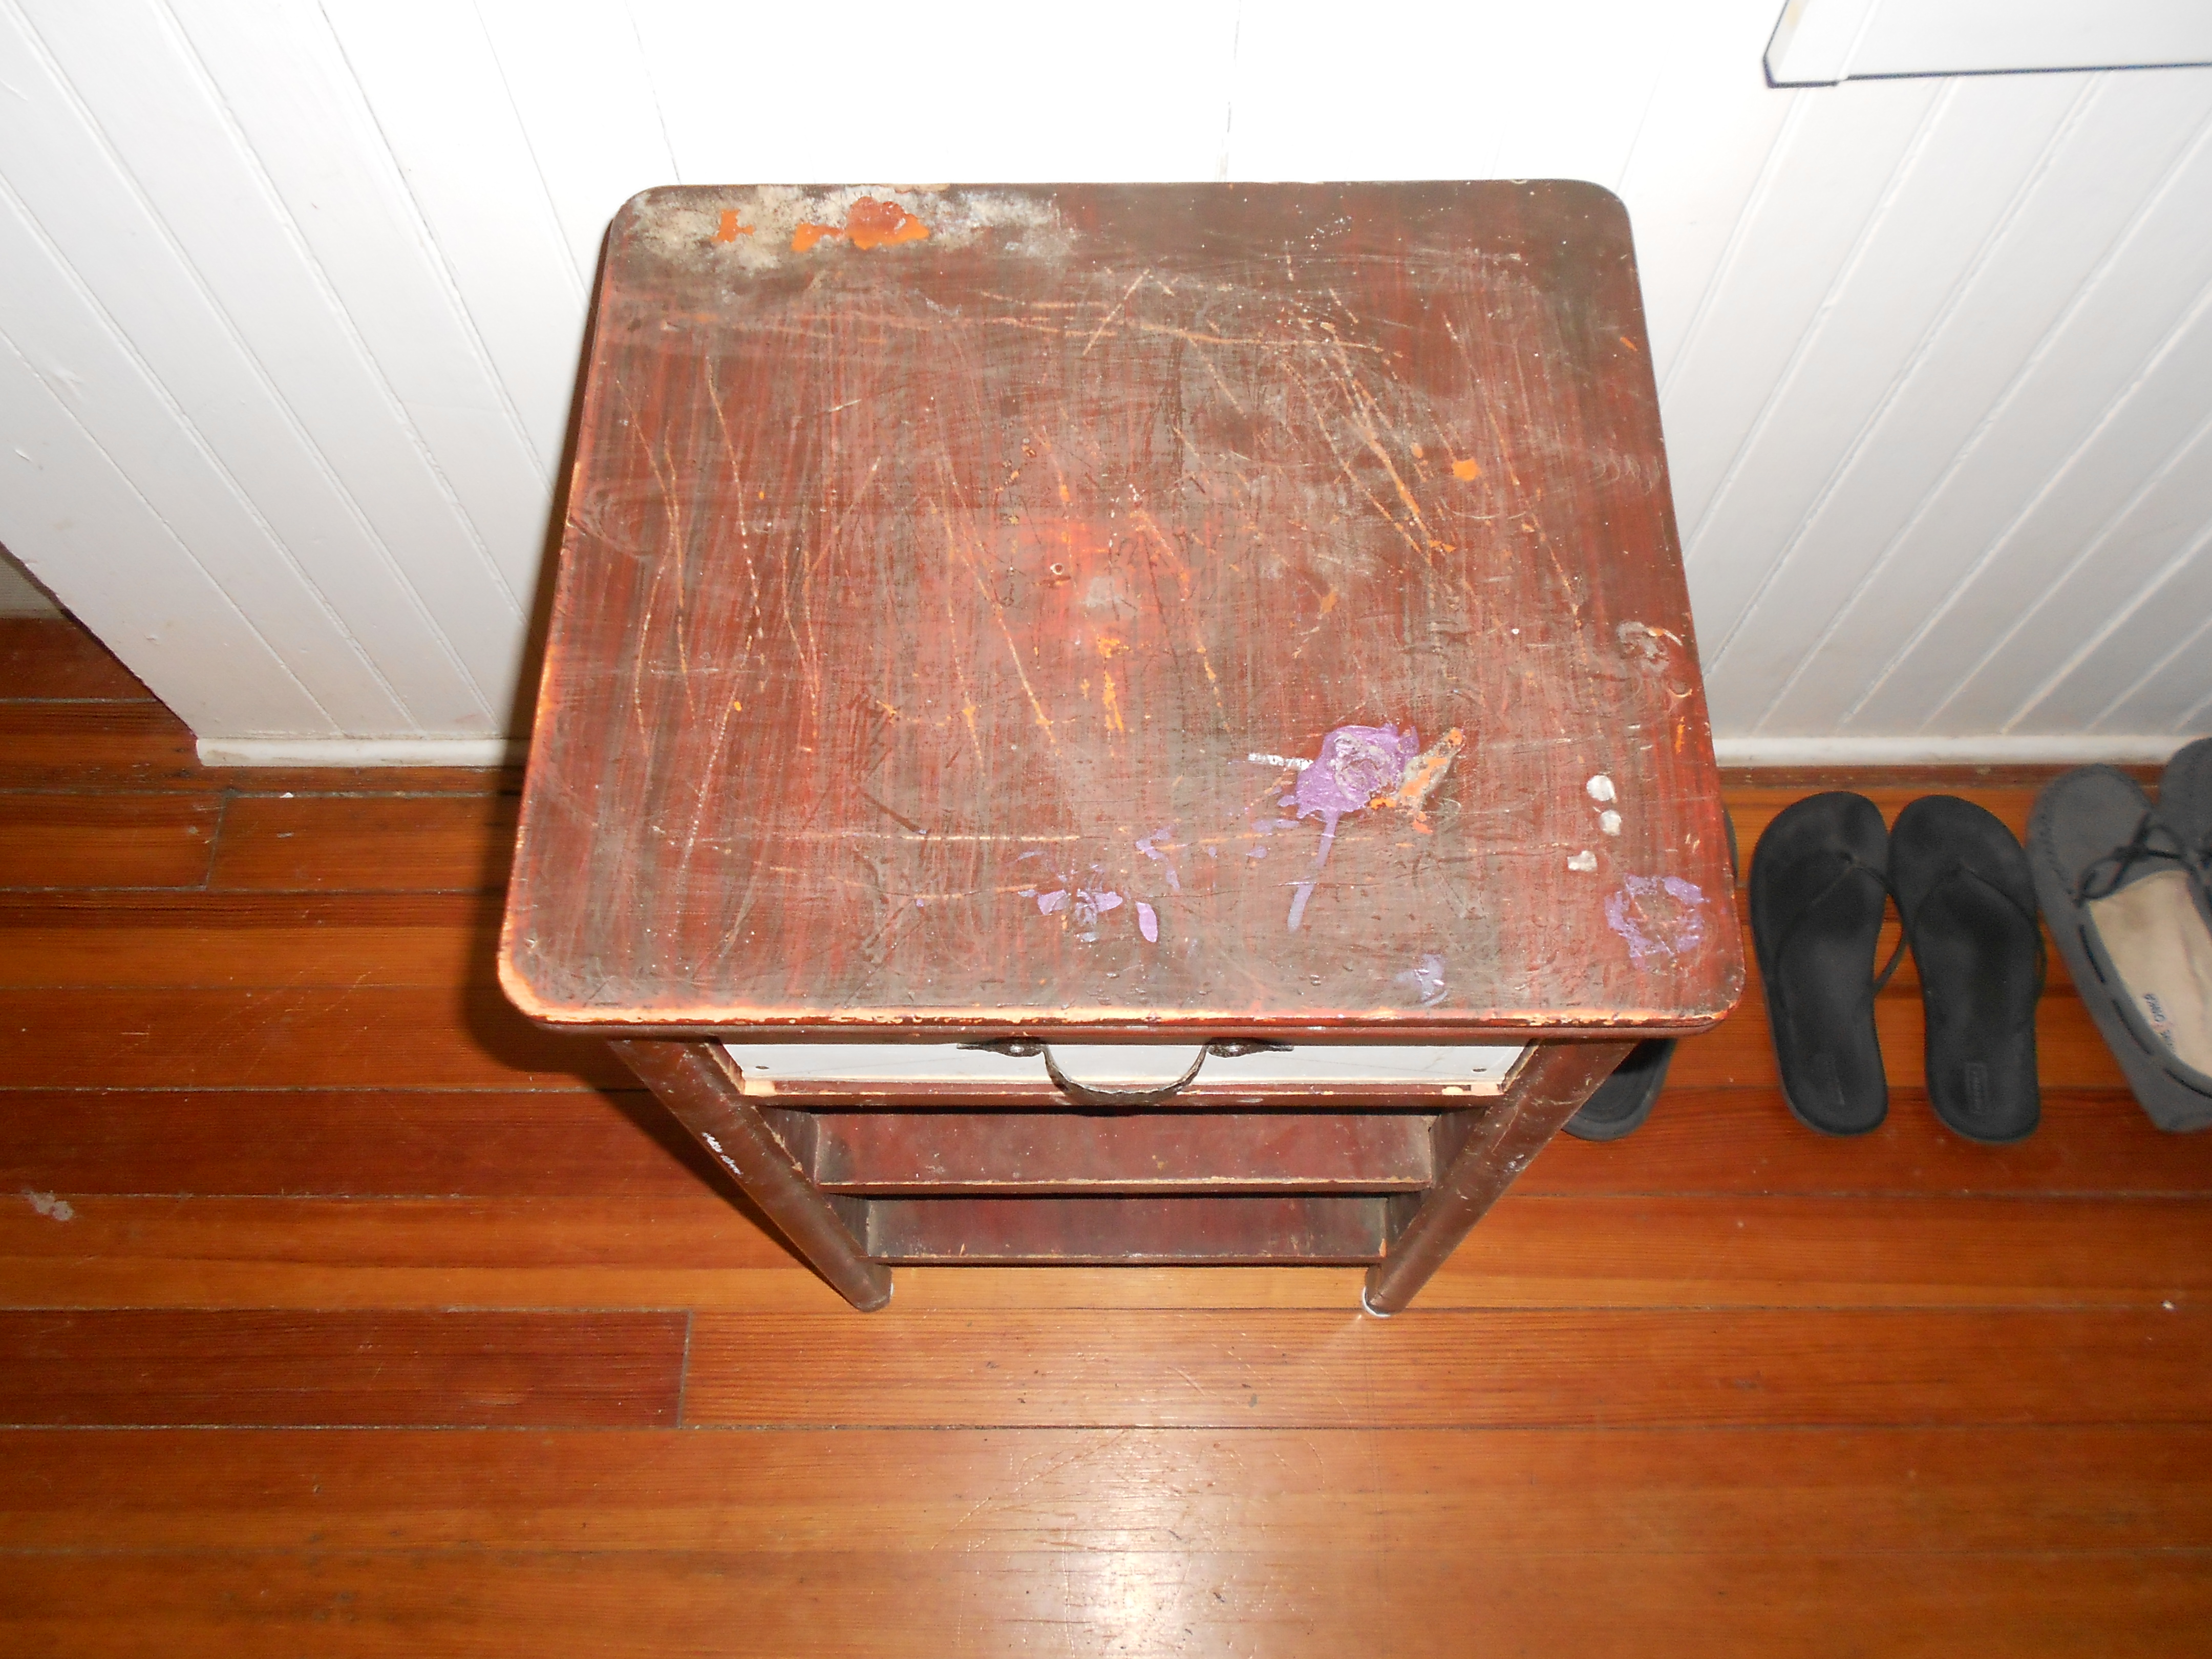
I found this ugly little nightstand/size table at a yard sale. You can’t beat $2, plus although it was rough and ugly, I thought it had cute potential. Here is the before:
And here is the updated and no longer ugly after:
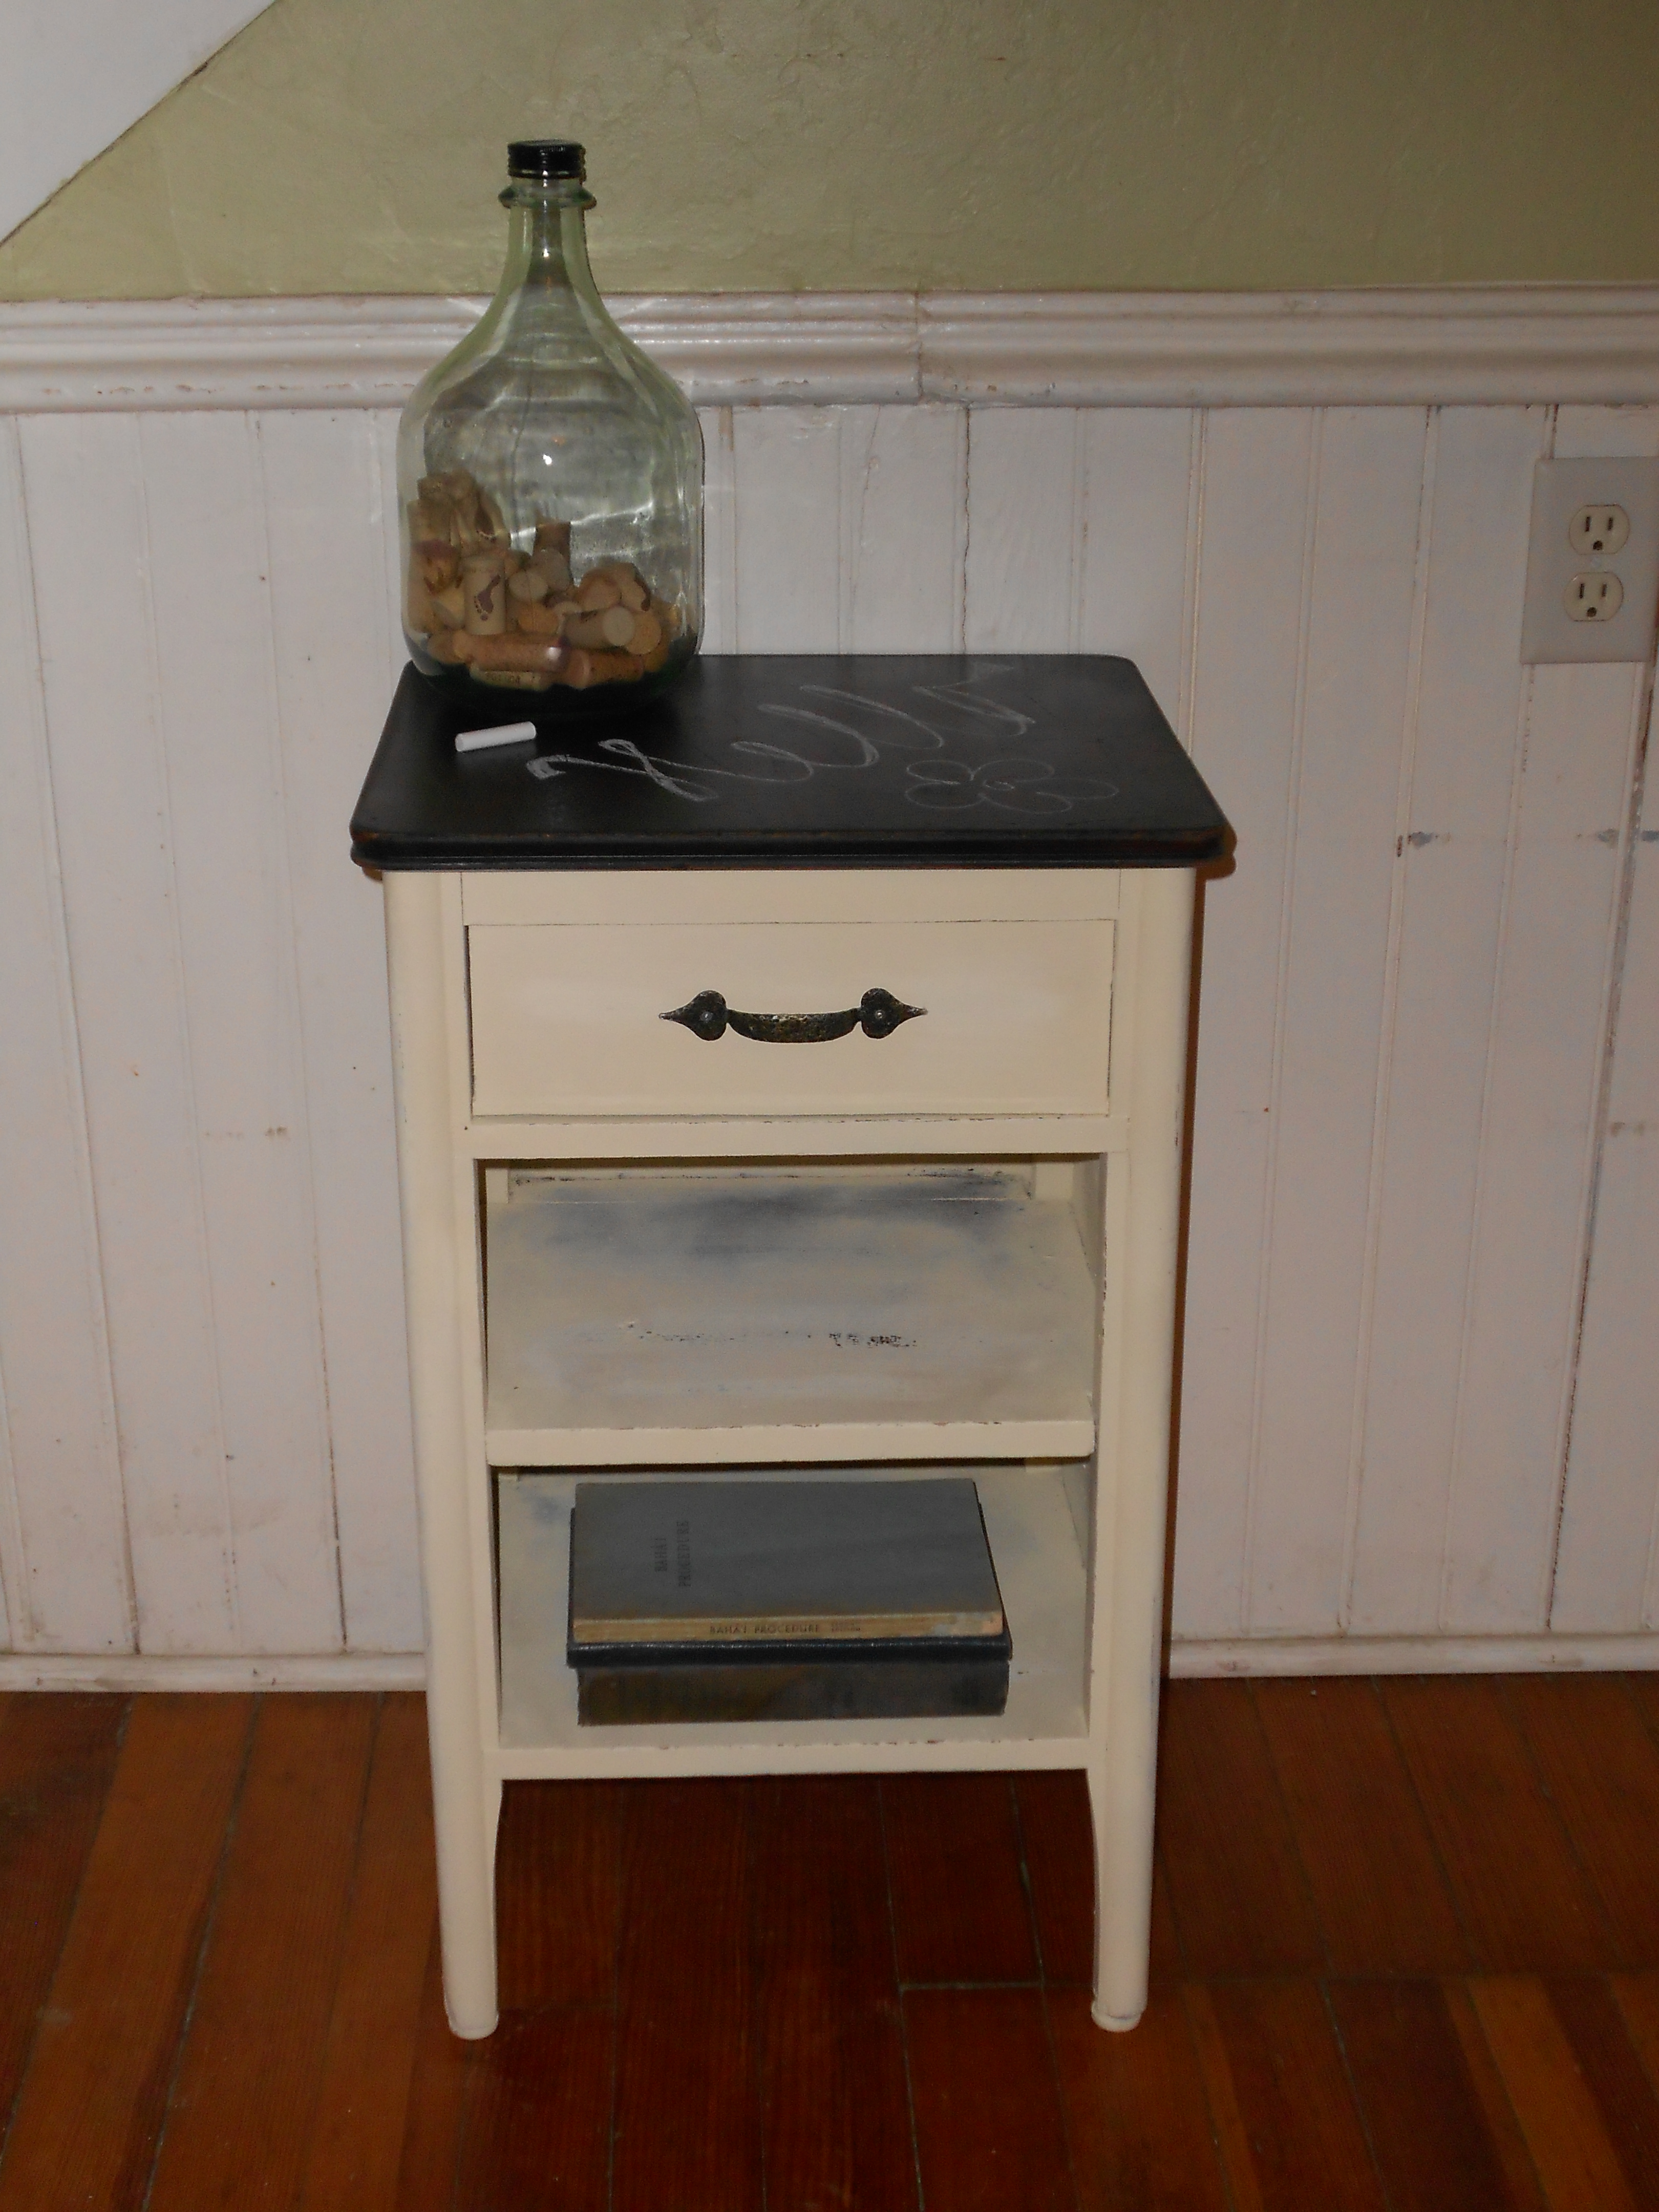

I sanded it down and taped off the top from the bottom. I painted the bottom of the table in a satin cream color. I then painted the top in a black chalkboard paint. To finish it off I roughed up the edges to give it a worn look. I put the same handle back on rather than replacing this one because I thought it matched the style well. Overall I think it turned out adorably. What do you think? 🙂
Vintage Kids Desk Redo
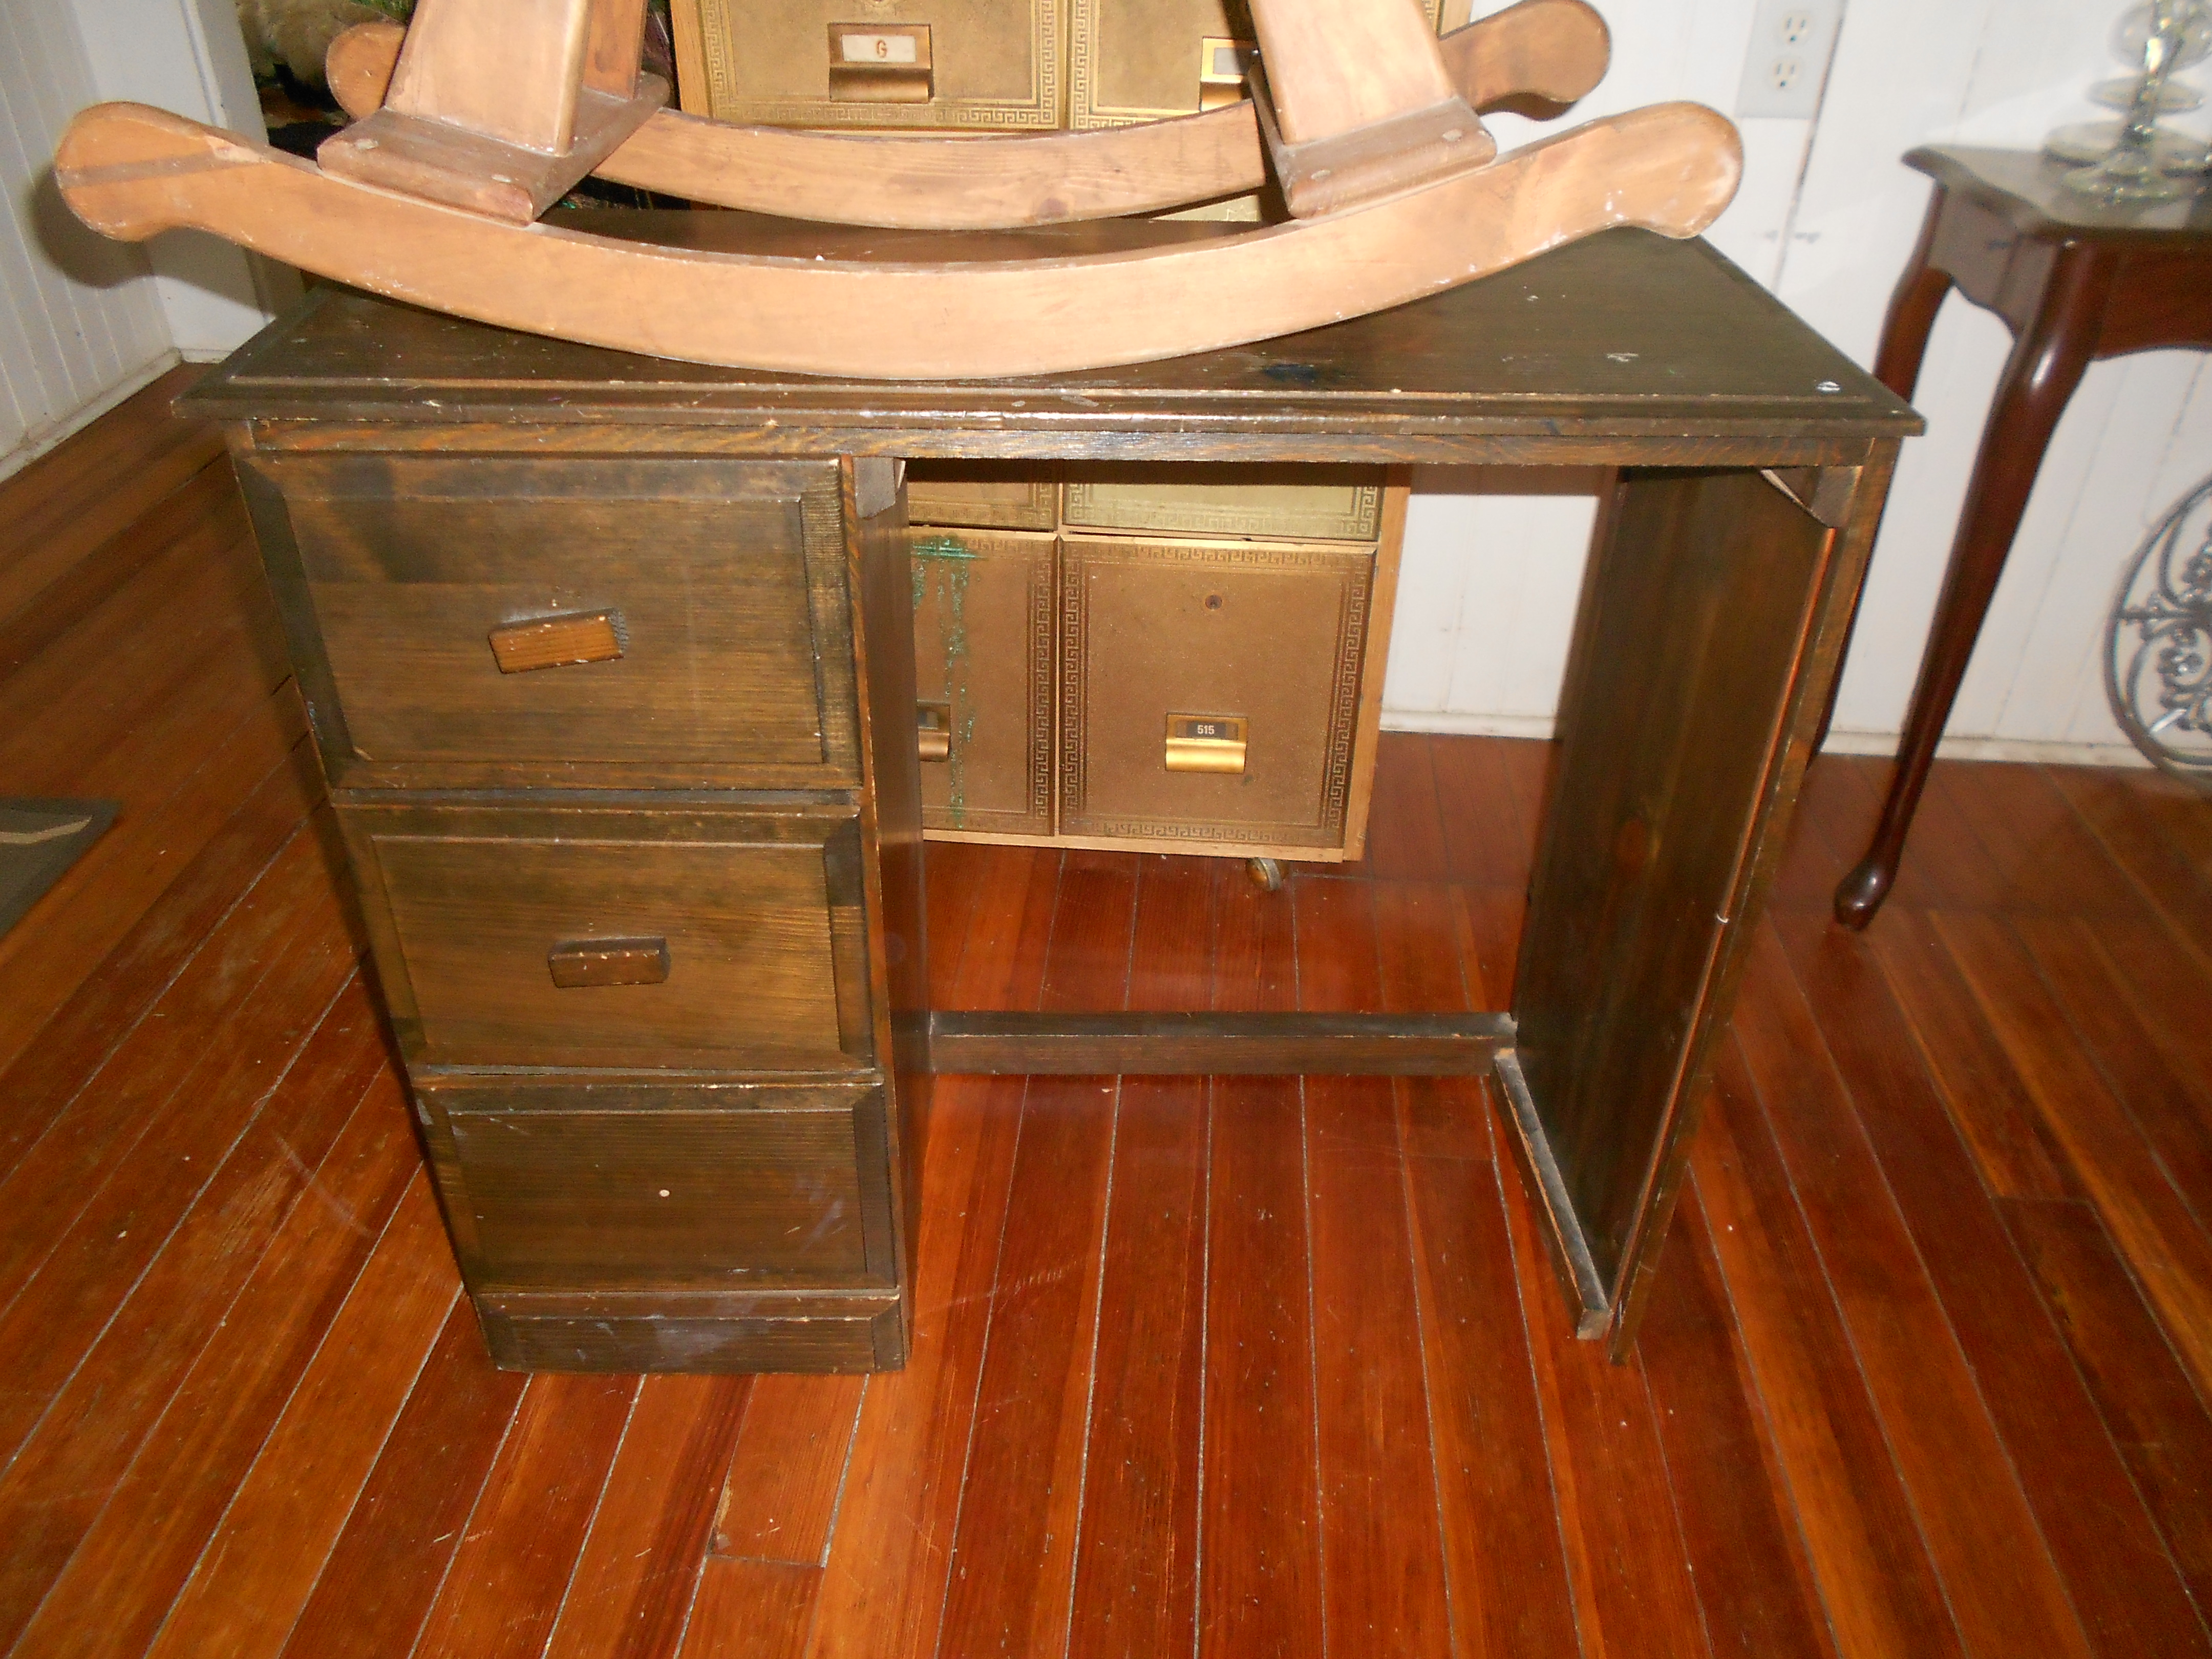
Over the summer we found an old kids desk for $2 at a garage sale. Jeremy might have thought I was crazy, but I knew this baby had potential.
Before:
I sanded her down, and painted a few coats of this lovely grey. Then roughed it up with some distressing. The finishing touch was the adorable new yellow knobs! Here is how she turned out:

Adorable, no?


I’m pretty proud of this little baby and hope that someone else loves it and wants to give it a new home too! 🙂
Toy Box
A project done! The abused vintage toy box started out like this:
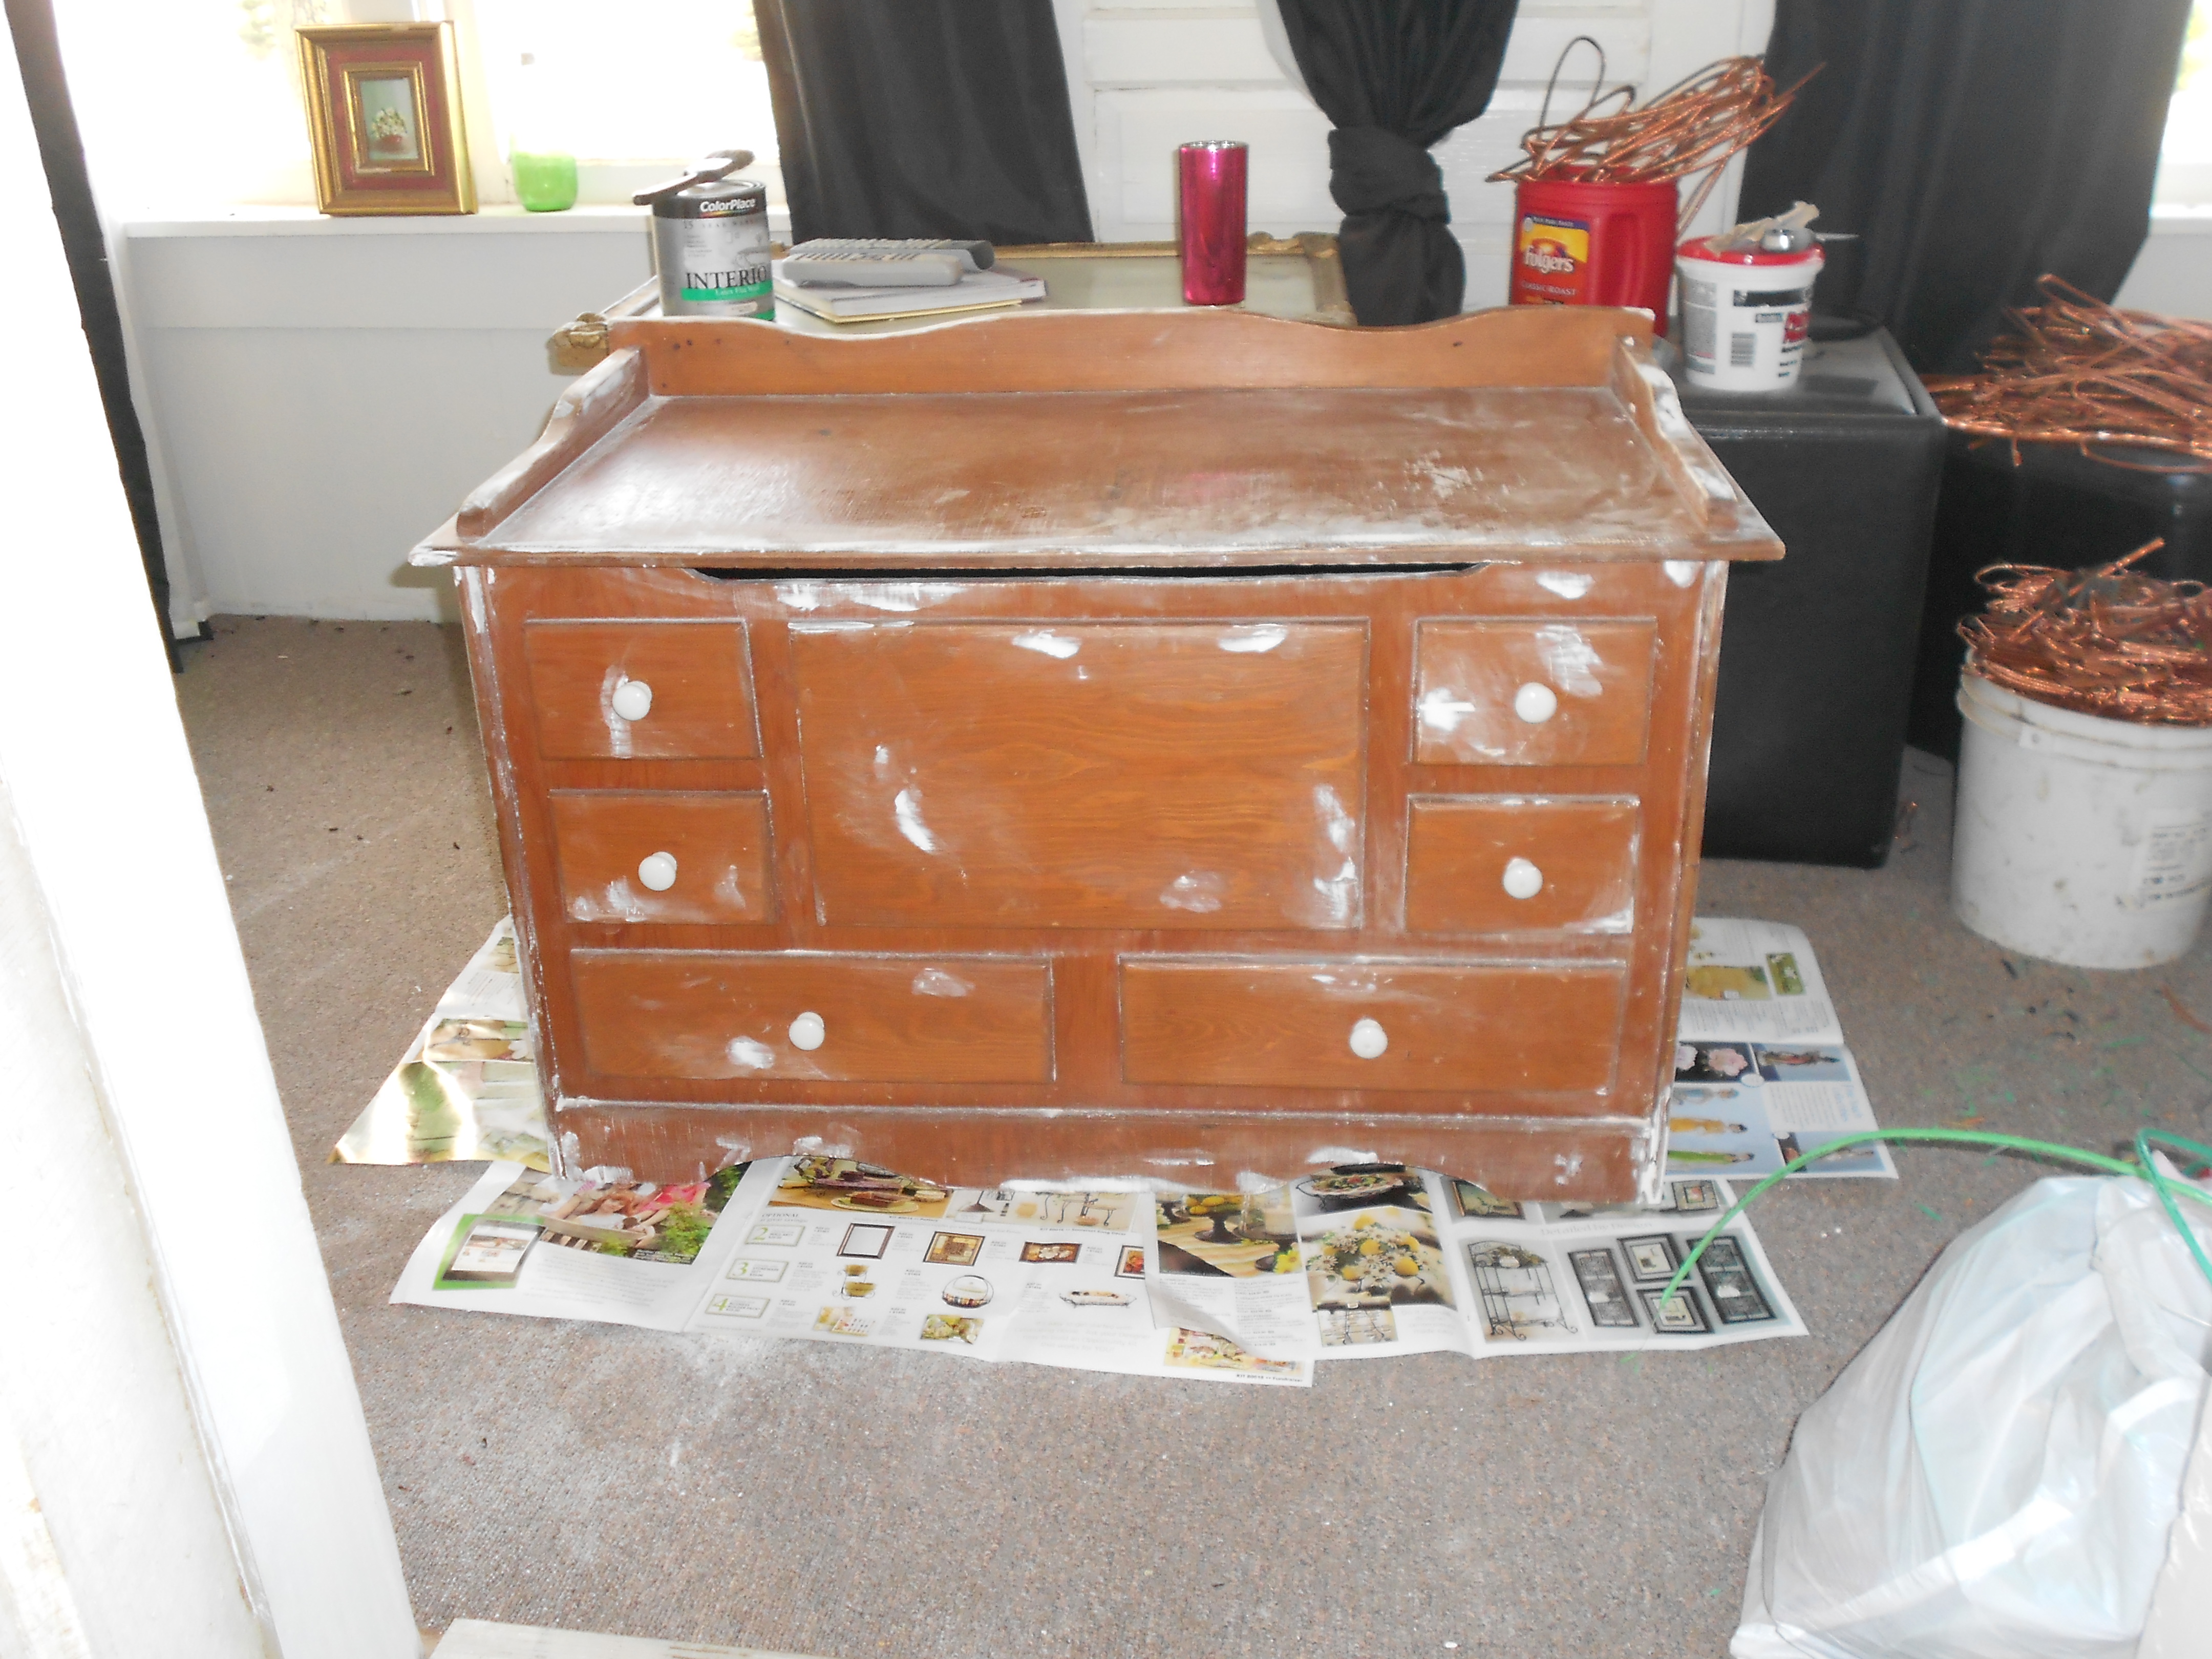
The white is actually wood filler, added by me. But, you get the picture. It was old, and rough, and needed lots of wood filler and love. I sanded and filled and sanded some more. Finally I chose turquoise paint and white for the inside. Not as creative as I originally sought out to be, but it turned out fun so I left it there. I antiqued the edges a bit and roughed up the “wear spots”. I like how it turned out simple and fun!
After:
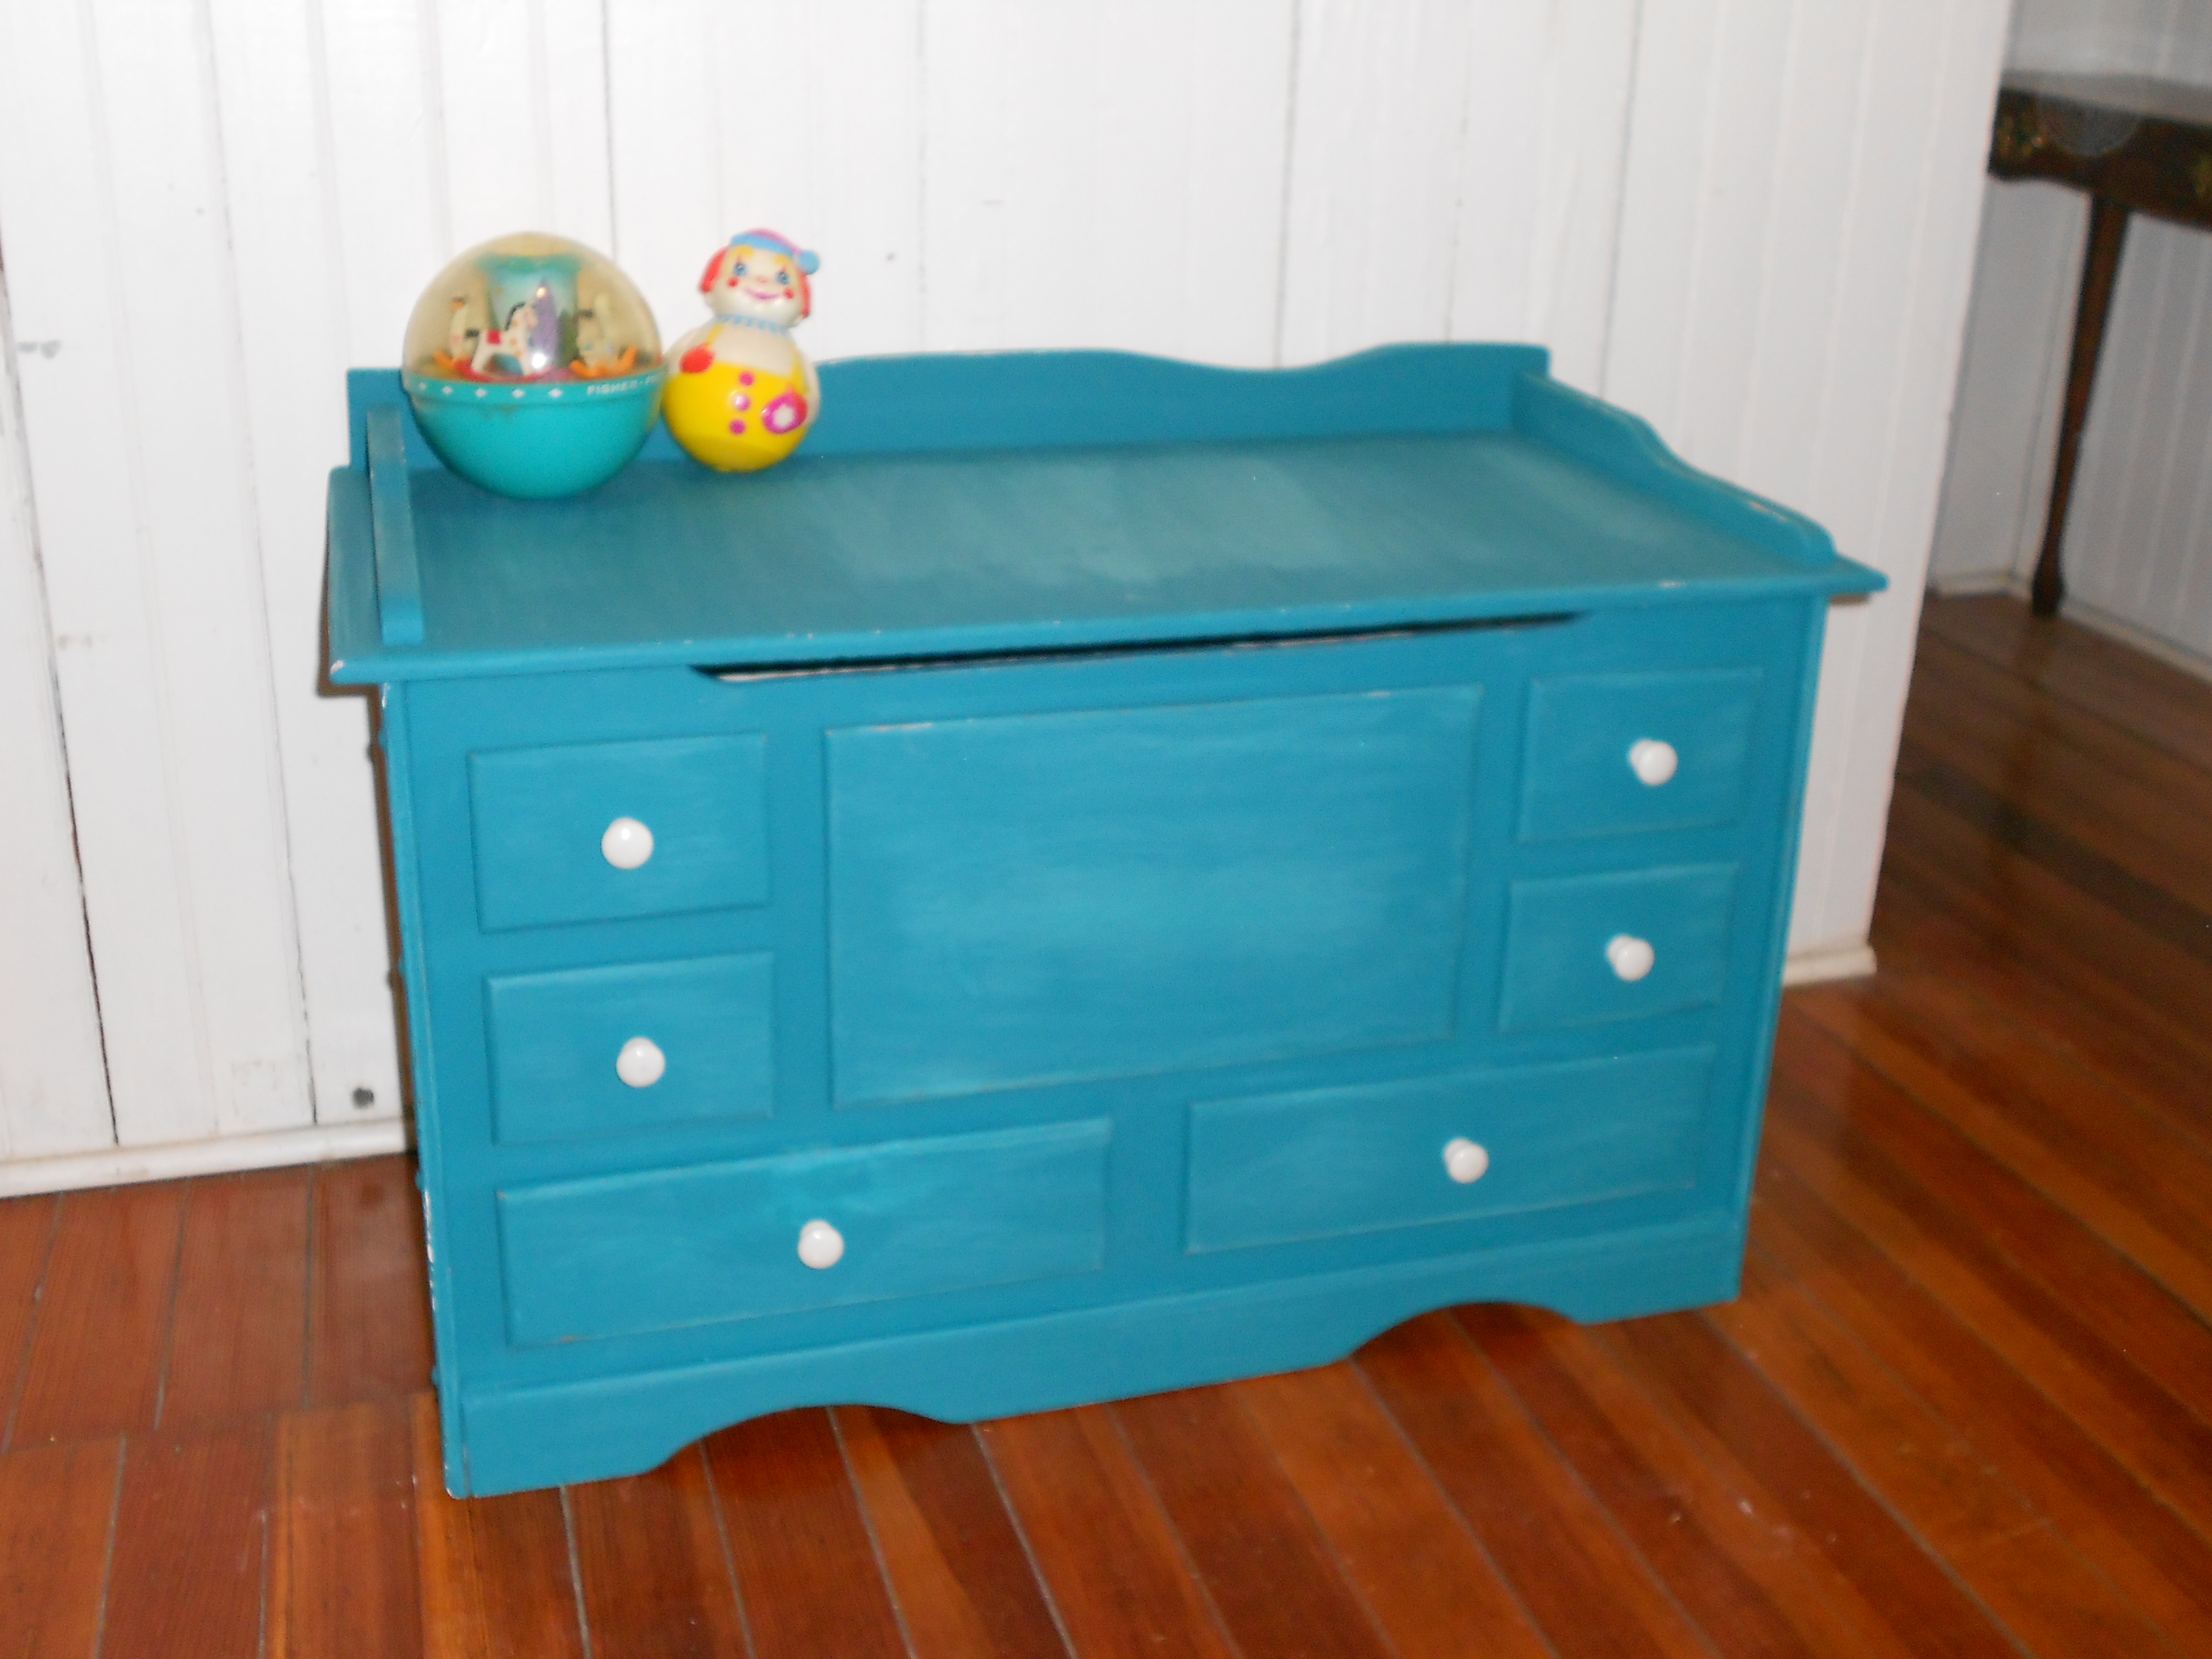

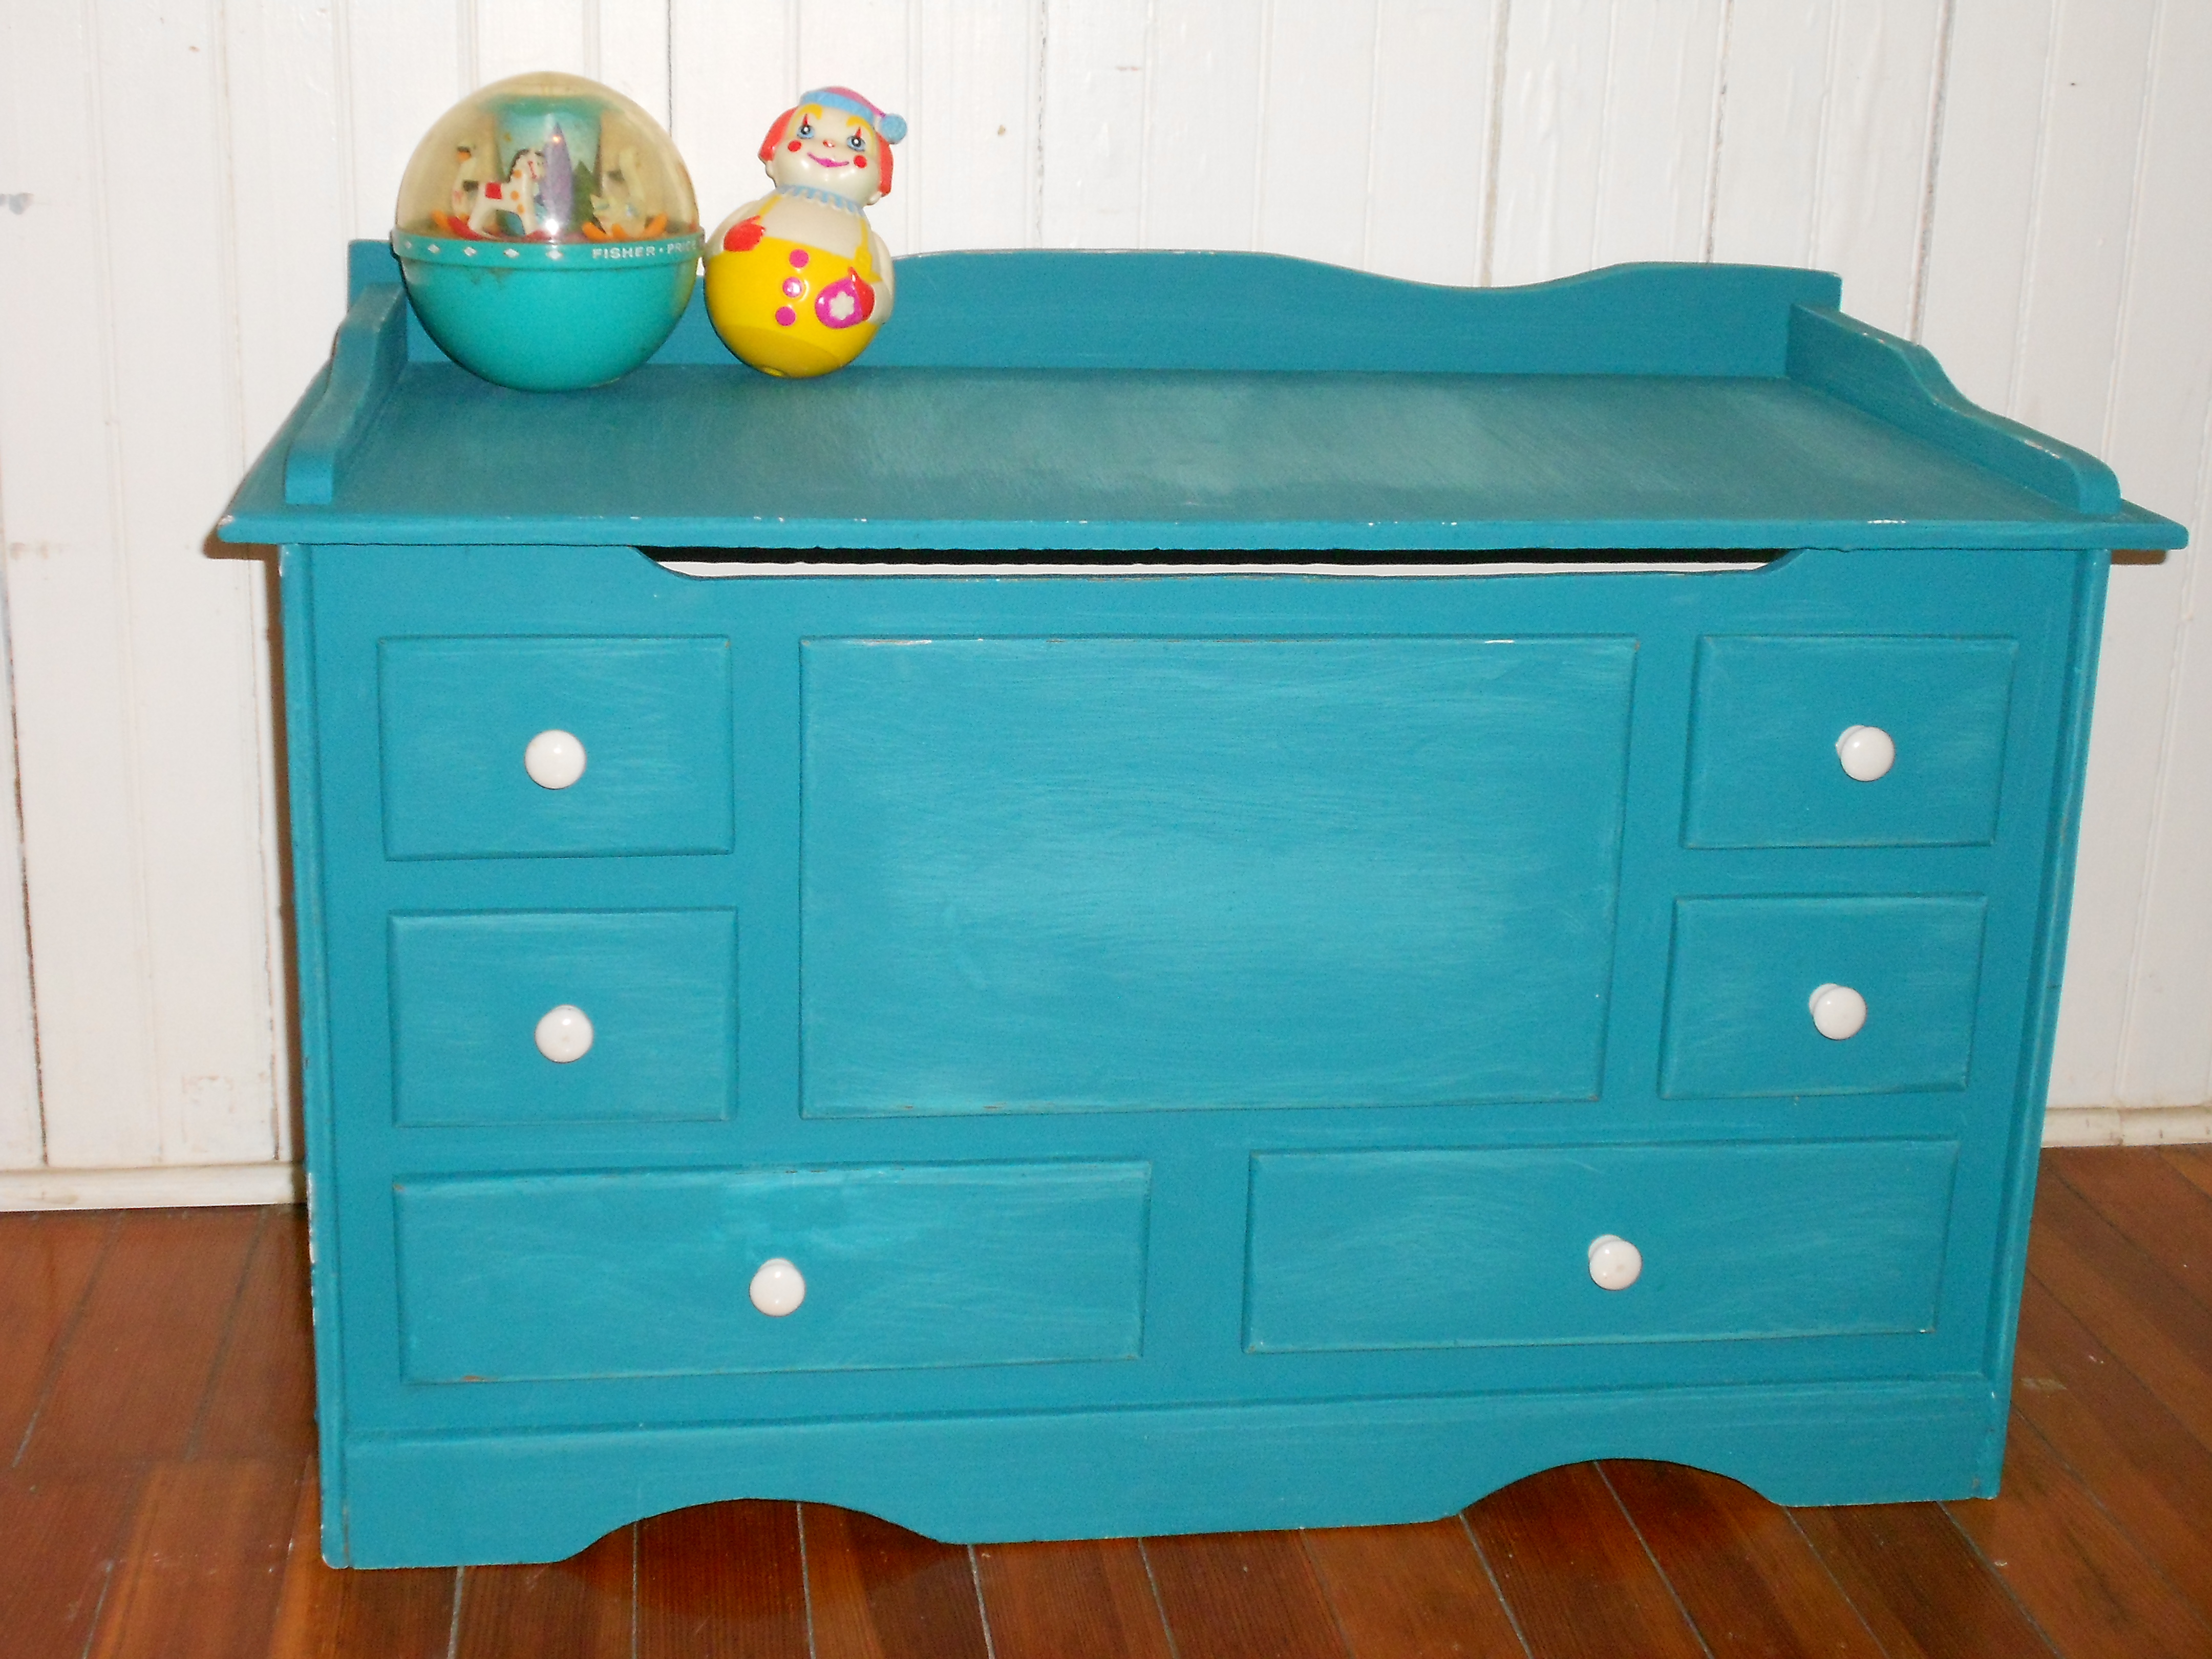
What do you think? I think it turned out super adorable. I was going to replace the handles, but the old ones are vintage ceramic and actually cleaned up nicely. I’m even tempted to keep this one! Why keep a toy box? … more news to come! 😉
Mini Paint Project
I have finally completed a tiny project that has bugging me on my to-do list forever now!
Remember the little downstairs bathroom with the cute antique cupboard… (tiny room = bad photos, sorry!)

Well, here is the very sad, and a little scary inside of this cupboard…

So, a little paint and some pretty things to make the cupboard useful, and… viola!

The cupboard is antique, and therefore has many bumps and cracks, so it will never be “perfect,” but now its not such an eyesore. When company is over I will not be so embarrassed to let them reach in for another roll of toilet paper or necessity!

I even did a bit of decorating to the necessities in the cupboard. These antique jars got new fun lids. And a small box got a bright cover to hold small things.


Aah, much better! What do you think? More projects on the way too! 🙂
Fun Chair Love
Hi, all! Wow, have things been busy around here. Wedding is 45 days away! But, while I had a moment away from wedding projects I thought I would share some fun chairs that I absolutely adore!
Anything turquoise, especially in leather…mmm…

This room is a little too silver and modern for me normally, but this curvy chair done in a patchwork of prints is just awesome!

I love this dark walled room and even more love this zebra chair!

I have no words for how cool this chair is… AND, I can’t read all of the post, but this one was definitely a very neat DIY, so go check out the site!

Hope you enjoyed as much as I did! Updates coming soon!
Little Random Project
We have been hard at work over here. Finally one tiny, random project to show for it! lol. At a garage sale recently we found a couple of items to keep us even more busy, including this vintage wooden rocking horse. Rough shape, but only $2, so we decided to give him a little work.
Before:

And after some cleaning up and a new tail and handle…


There is not much in this little room… yet… but I think this will make a super cute addition some day.

We have also been celebrating! More news to come! And, we are exactly four months away from our wedding date!!


Chair Love
Fell in love. Immediately. Swoon.

I can’t get over it. Love the curtains too. Hope it brightens your day like it does mine! 🙂
DIY Serving Tray
This has been on my to-do list since we moved it. Or maybe even before. But it became even more urgent when we bought the new couch with an ottoman. Now I have no room for a coffee table, but that means nowhere safe to put drinks and essentials. However, the previous owners left us lots of junk in the barns, so this one was a snap.
Gross old window uncovered in a heap in the barn:

Add some barn door hardware as handles:

The window was in surprisingly great shape once it was cleaned up, so I added a little paint and distressed the edges, added the hardware, and then used an Uppercase Living decal I had packed away on the glass. (I had minor trouble with the decal, so it may get a new one in the future. Talk about frustration!) And here you have our new serving tray:

Just finished this little guy and we already love it. We think it looks cute in that rustic way, but is also super handy!


Well, what do you think? We are happy with the way this quick and easy project came out! Have you ever tried anything like this?
Spring Changes
Spring feels like it is here! I am so ready. My house, not yet. One thing that needed a quick change up was the curtains in the upstairs hallway. If you recall from the tour, one side of the hall had a silky striped curtain, and the other side had sheers that matched in style and color, but they had leaves on them. I never liked that the windows didn’t look the same. Plus, with the warm weather and the windows being opened, this was happening:

So, after brainstorming a while I decided to layer the two different curtains and then tie them back. I used a tension rod for now, which is held up on the main rod. It worked like a charm!


What do you think? The tie backs now hold the curtains from whipping in the wind and I think the whole layered look is more cohesive for the hallway. Super easy and I love the results. I love a project like that!


I feel better about the little thing done! Now on to tackle the yard. Six acres of lawn that the previous owners never, ever weeded. We have high hopes, and little time. I have started on the rock gardens and things are looking up. I will give you all a peek when we get some thing planted. Here is a shot of our back door area. There is a rocky, weedy disaster going on back here that we plan to take care of asap!

It is looking pretty bad back there, so I can’t wait to show you all what it turns into!
