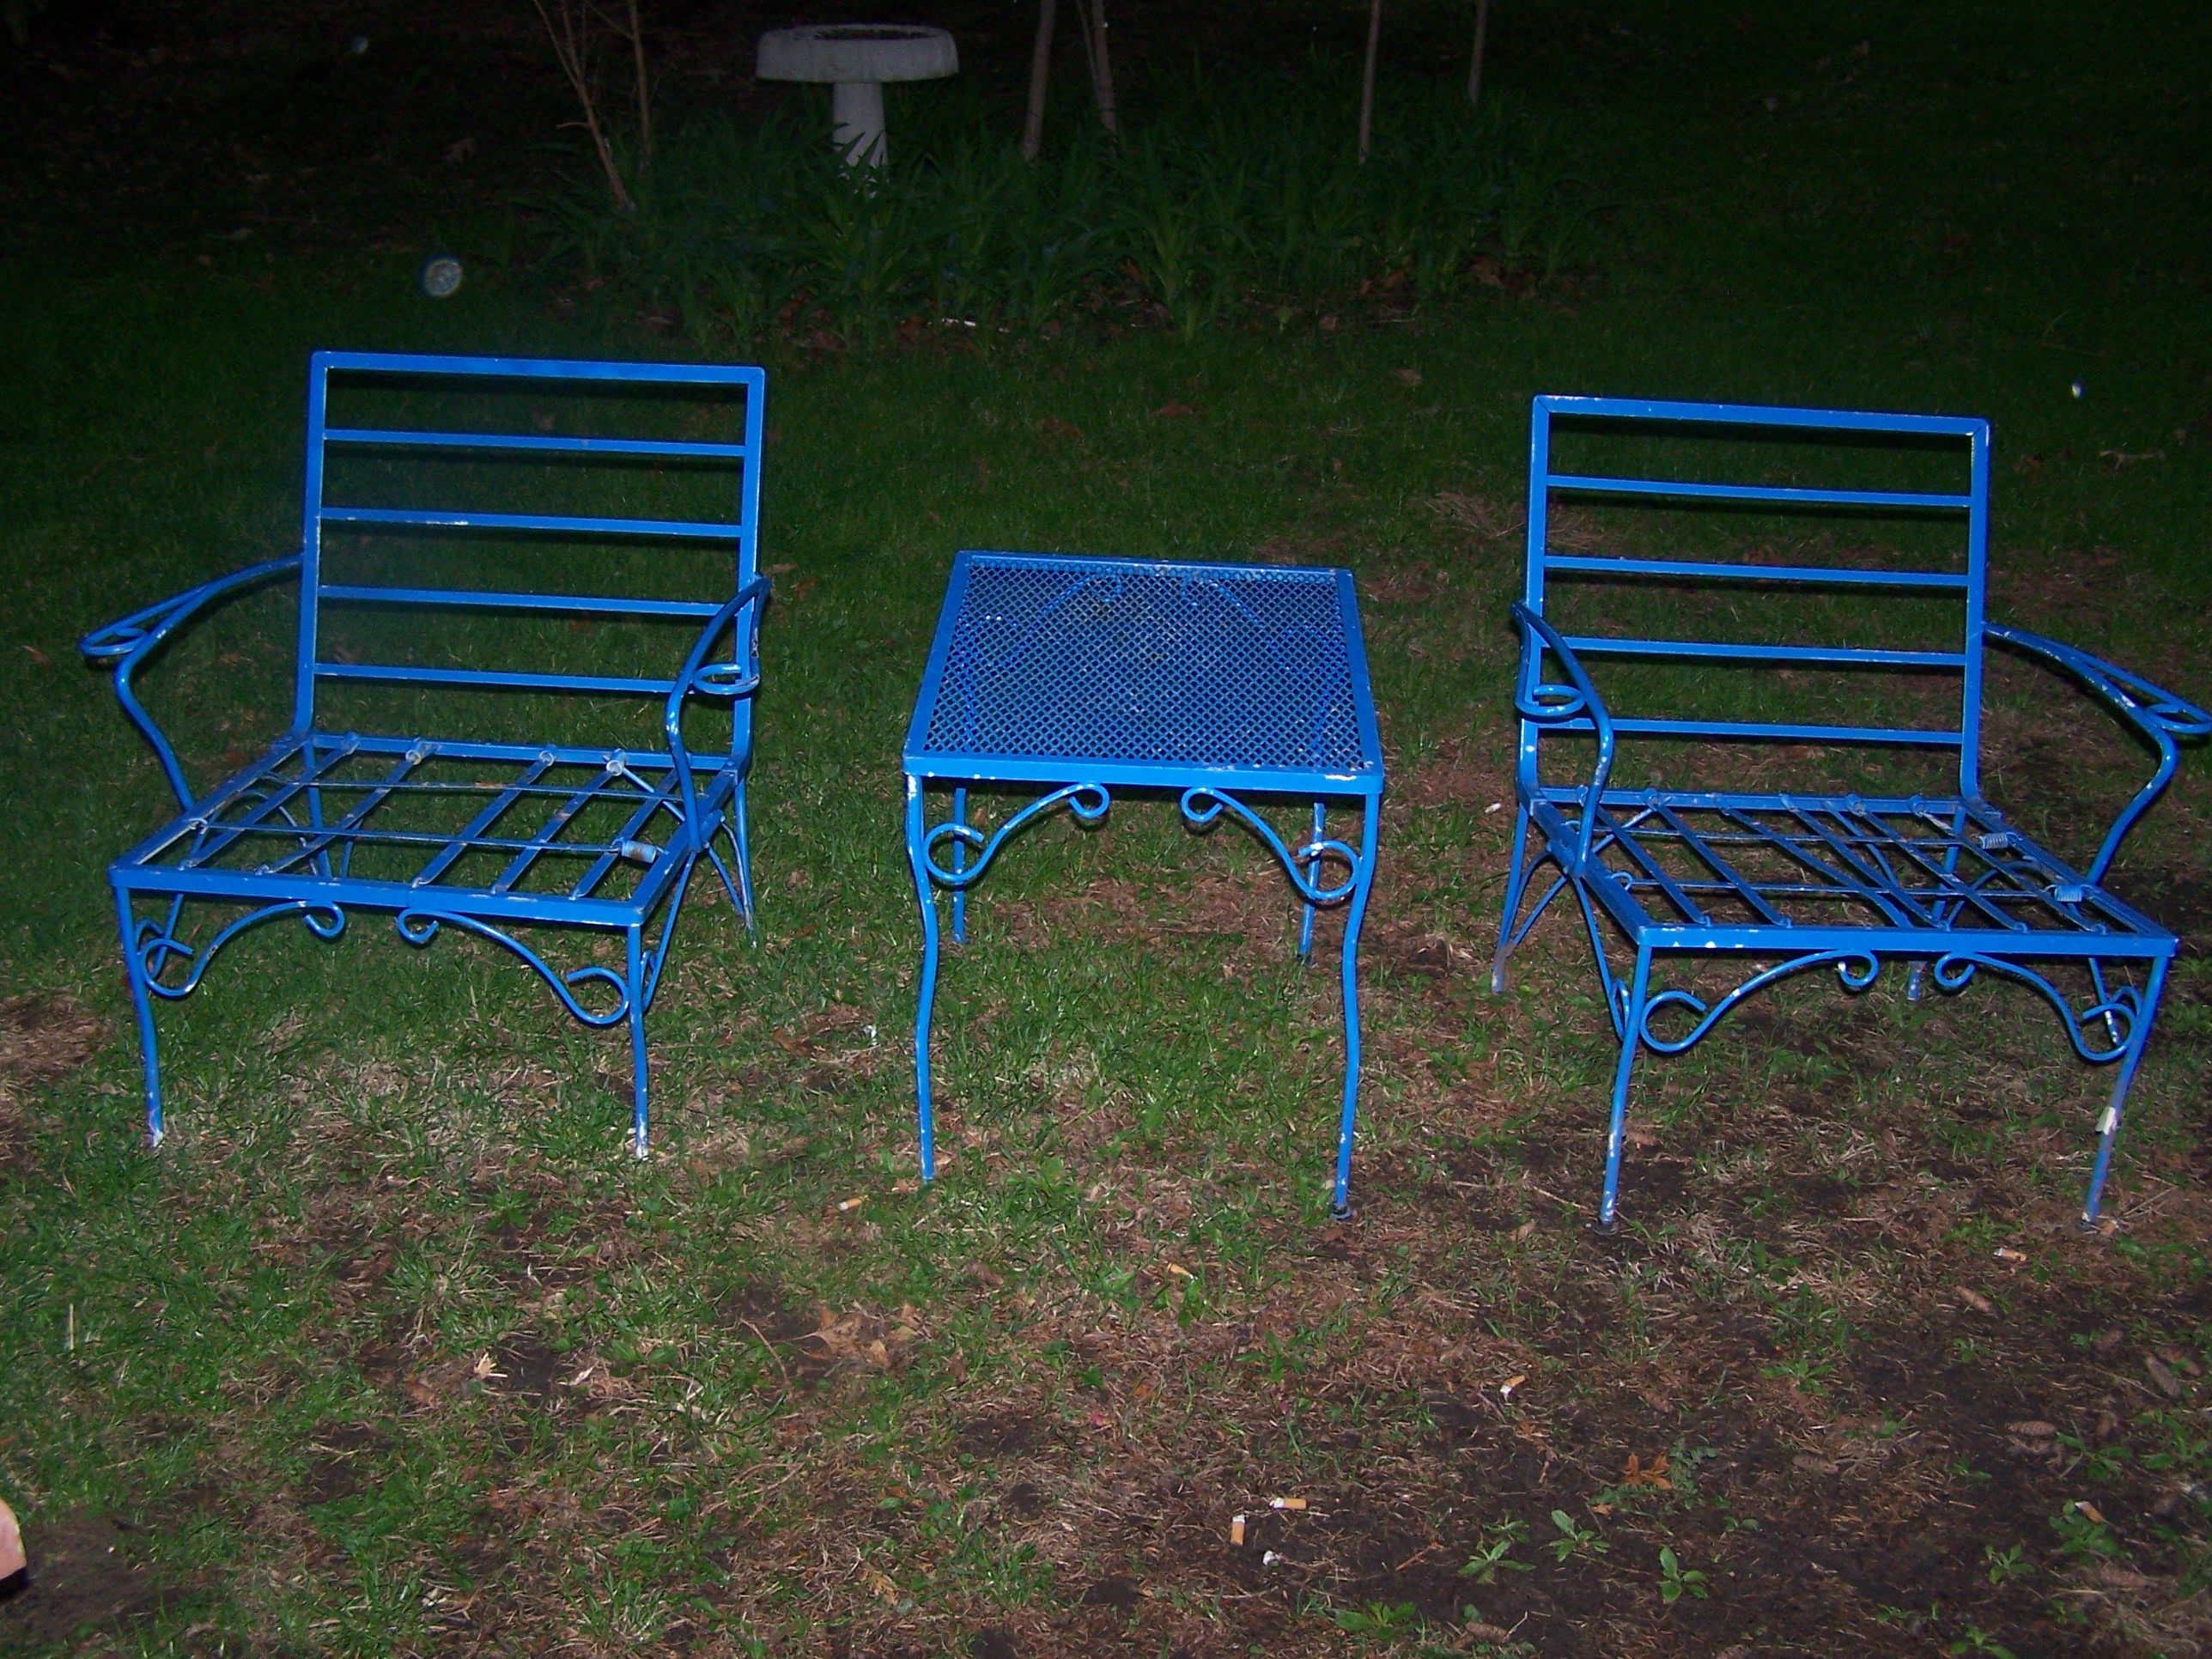
Lawn Chair Project
It hasn’t stopped raining here for days, so please excuse the dark, dreary photos. But, I had to share the other garage sale day find with you. Lawn chairs! They were a steal, and they will be fixed up with some paint and cushions, so don’t be alarmed! Right now I think they kind of look like they belong next to some plastic flamingos in, well, not my yard. But, they will.


Really that shade of blue is bright and fun, and has started to grow on me. But, I think it would look out of place in our back yard. I’m not sure what color I am thinking, however. I know we always lean towards black. We are blah. But, black might bring them up to date and they could be dressed up and brightened with some bold patterned cushions. Yes? No? Ideas? Always something to work on, but I love it! 🙂
Also, I wanted to let you all know that I am going to start selling off some of our projects. I love to keep busy and remake fun things, but our house is getting full. So, I am going to keep doing what I love, but start selling the things I make or remake. Right now I have a coffee table in the works, so stay tuned. I will post befores and afters of the items I plan to sell. For now they will be listed on Craigslist, or you can contact me through the blog. But, we are thinking that in the future I might rent a booth at one of our local antique shops. Check back, and let me know if you are interested in anything, or are looking for something in particular! 🙂
Garage Sale Day Find
Garage sale day in our little town was Saturday! This day has to be one of my favorite spring days. Scouring someone else’s junk for that perfect treasure is a great way to kick off the season. I even got Tony in on the fun. We didn’t find much to bring home with us, but a few treasures makes the day worth it. We brought home a few vintage glass marbles and a couple large dice for the collection. But here is our bargain beauty:

This is an antique set of mailboxes from a post office in Champagne Illinois. I came back twice to check it out, and at the end of the day he said it was too heavy for him to carry back home, so he gave me a sweet deal! It took two men to load it into my truck and we took the drawers out to get it into the house, but since it is on wheels it is easily movable in the house. I love it right here in the kitchen. The drawers were the perfect addition to the “landing strip” area. Tony was thrilled to have his own drawer for his pocket junk. I love its mismatched drawers, and the vintage numbers and letters above the handles. I know, I know. Some of you probably think this guy is tacky (my mom didn’t like it!), but we think its great. And, the drawers are big enough to function in the house! Here it is in the landing strip area:

I’m not sure if the school desk should stay now or not. But, for now, this is what the area looks like. Suggestions?
Also- we did pick up one other thing at the garage sales, but that project will have to wait… 🙂
Chair Love Remake
Well, I did some hardcore spring cleaning yesterday. But, I will have to post about that later. For now, I stumbled upon this gorgeously shaped chair. It is beautiful in all its shabby glory, but even more beautiful after Cat remade it. This before and after comes from design*sponge. Cat used the doily technique and spray painted this cute little find:


Tomorrow is all town garage sale day in my little home town, so wish me luck as I try to find such a great chair to spruce up! 🙂
A Touch Of Spring
I am taking a bit of a break from projects (you know, like a day or two!) after finishing the cabinets. But, I did bring home a touch of spring. Lillies, especially tiger, are my favorite flowers. I added them to a wine bottle, and viola! Spring is here! Enjoy!


Kitchen Cabinets!
They are done. Yes, they are done! I love love it! Remember, as you look at the pictures, though, that the old white on white counter-tops look won’t last long. We will be getting the new dark counter-tops in a few weeks. Also, notice the new cabinet in between the stove and the fridge- now the dog food can be hidden! (It will also get a counter-top!) A before to freshen your memory:

Here you go:


Well? What do you think? I think it feels so nice and new and clean in there! Remember, things will keep changing for a while. In addition to new counter-tops there will be a hood where the old microwave is, and the cabinet above the fridge will change. We also have a few more projects for in here… like new lights and something to do with antique rolling pins… so let me know what you think, and stay tuned!
One More Sneak Peak- Countertops
So, I guess I should have, but I didn’t plan for the unexpected road blocks when finishing the kitchen. Like, accidentally buying a couple too few hinges! It is done, but not picture ready. So I have one more sneak peak for you until then. Here is the sample card for the counter-tops we are getting. I originally wanted pure black, but there is no standard laminate in pure black. I picked black because it was to look like slate. Laminate is, unfortunately, what we can afford right now. So, this was the most black laminate we could get. It is probably going to look like marble. This may be great to some, but I am concerned it is too far from my original vision. Will it look to country? It does tie in the browns from the floor and the white from the cabinets. It will take about two weeks to get them in since they are extra long… so please, ease my mind until then! No, really, give me your true opinions!

Kitchen Sneak Peak
The kitchen is almost done! I’m exhausted, but it was totally worth it. Here is a little sneak peak for you until I am ready for the final reveal:


If you like these little snap shots then stay tuned for the rest…
A New Headboard
I think this was Tony’s favorite project yet! My mom had an old brass headboard for a king size bed. She was going to throw it out, so I snatched it right up. After a coat of primer and a couple coats of black paint…


He was so excited last night after we got it hung that he said the bedroom looks like a hotel now. I take that as a compliment! I was afraid that the black would be too much next to the black art above, but I think it worked out well. Always a work in progress…

I think the pups approve too!
Progress- The Kitchen!
We have been hard at work painting those kitchen cabinets. Not finished yet, but getting close. I just thought that we would update you on some of the process and the progress.
Here are some before shots of the dark, mismatched, and very worn cabinets:


I started by using a palm sander to sand the stain off of all showing cabinet surfaces. They then looked like this:

Next, I removed all of the old hardware and filled the existing holes with wood putty. I did not need to fill the holes from the hinges, however, because we were lucky enough to purchase new hinges that fit in the old holes. But the handles are completely different sizes and shapes, so these holes and to be filled. I also swiped some of the putty across any cracks and dents I found. By the way, the new wood putty they have out there is more of a foam than putty. It is super easy to use. I sanded the putty spots down once they were dry. For the larger holes I puttied and sanded a second time so that they came out very flat with the wood. Here’s a shot of that step before sanding (after sanding they look much smoother):


I then started the painting process (the lengthy part!). I decided to start with only the bottom cabinets. There would not be enough floor space to paint all of the doors at the same time. I taped off walls, trim and floors with painter’s tape. I also taped down papers on the floor. (Actually, this is kind of weird, but I taped down puppy pee pads. We had a bunch left from when the puppy was still having accidents. She never liked to use them, but instead of throwing them out they made great drop clothes!) I then applied to coats of Kilz primer.


You can see that the first coat goes on kind of streak-y, but the second coat covers much more evenly. We now have the bottom cabinets painted with two coats of white semi-gloss paint, and we are hanging the hardware and doors tonight. More updates to come… but isn’t it starting to look gooood?! 🙂
Typewriter Table Detailed
Sorry, I forgot to upload new pictures yesterday. But, today you get to see a lot of progress from the weekend! Here is the typewriter table that I showed you before. It is now finished and detailed!


Once I finished the second coat of white spray paint I arranged cardboard scrap-booking stencils in the placement I liked. I traced and filled the stencils with a paint pen. These little guys work great! I have used it on a couple of projects now and it always does the trick. I think it is super cute and ready to be used!
