Piano Bench Project
I’m in love. I really don’t want to sell this project. My house is going to overflow.
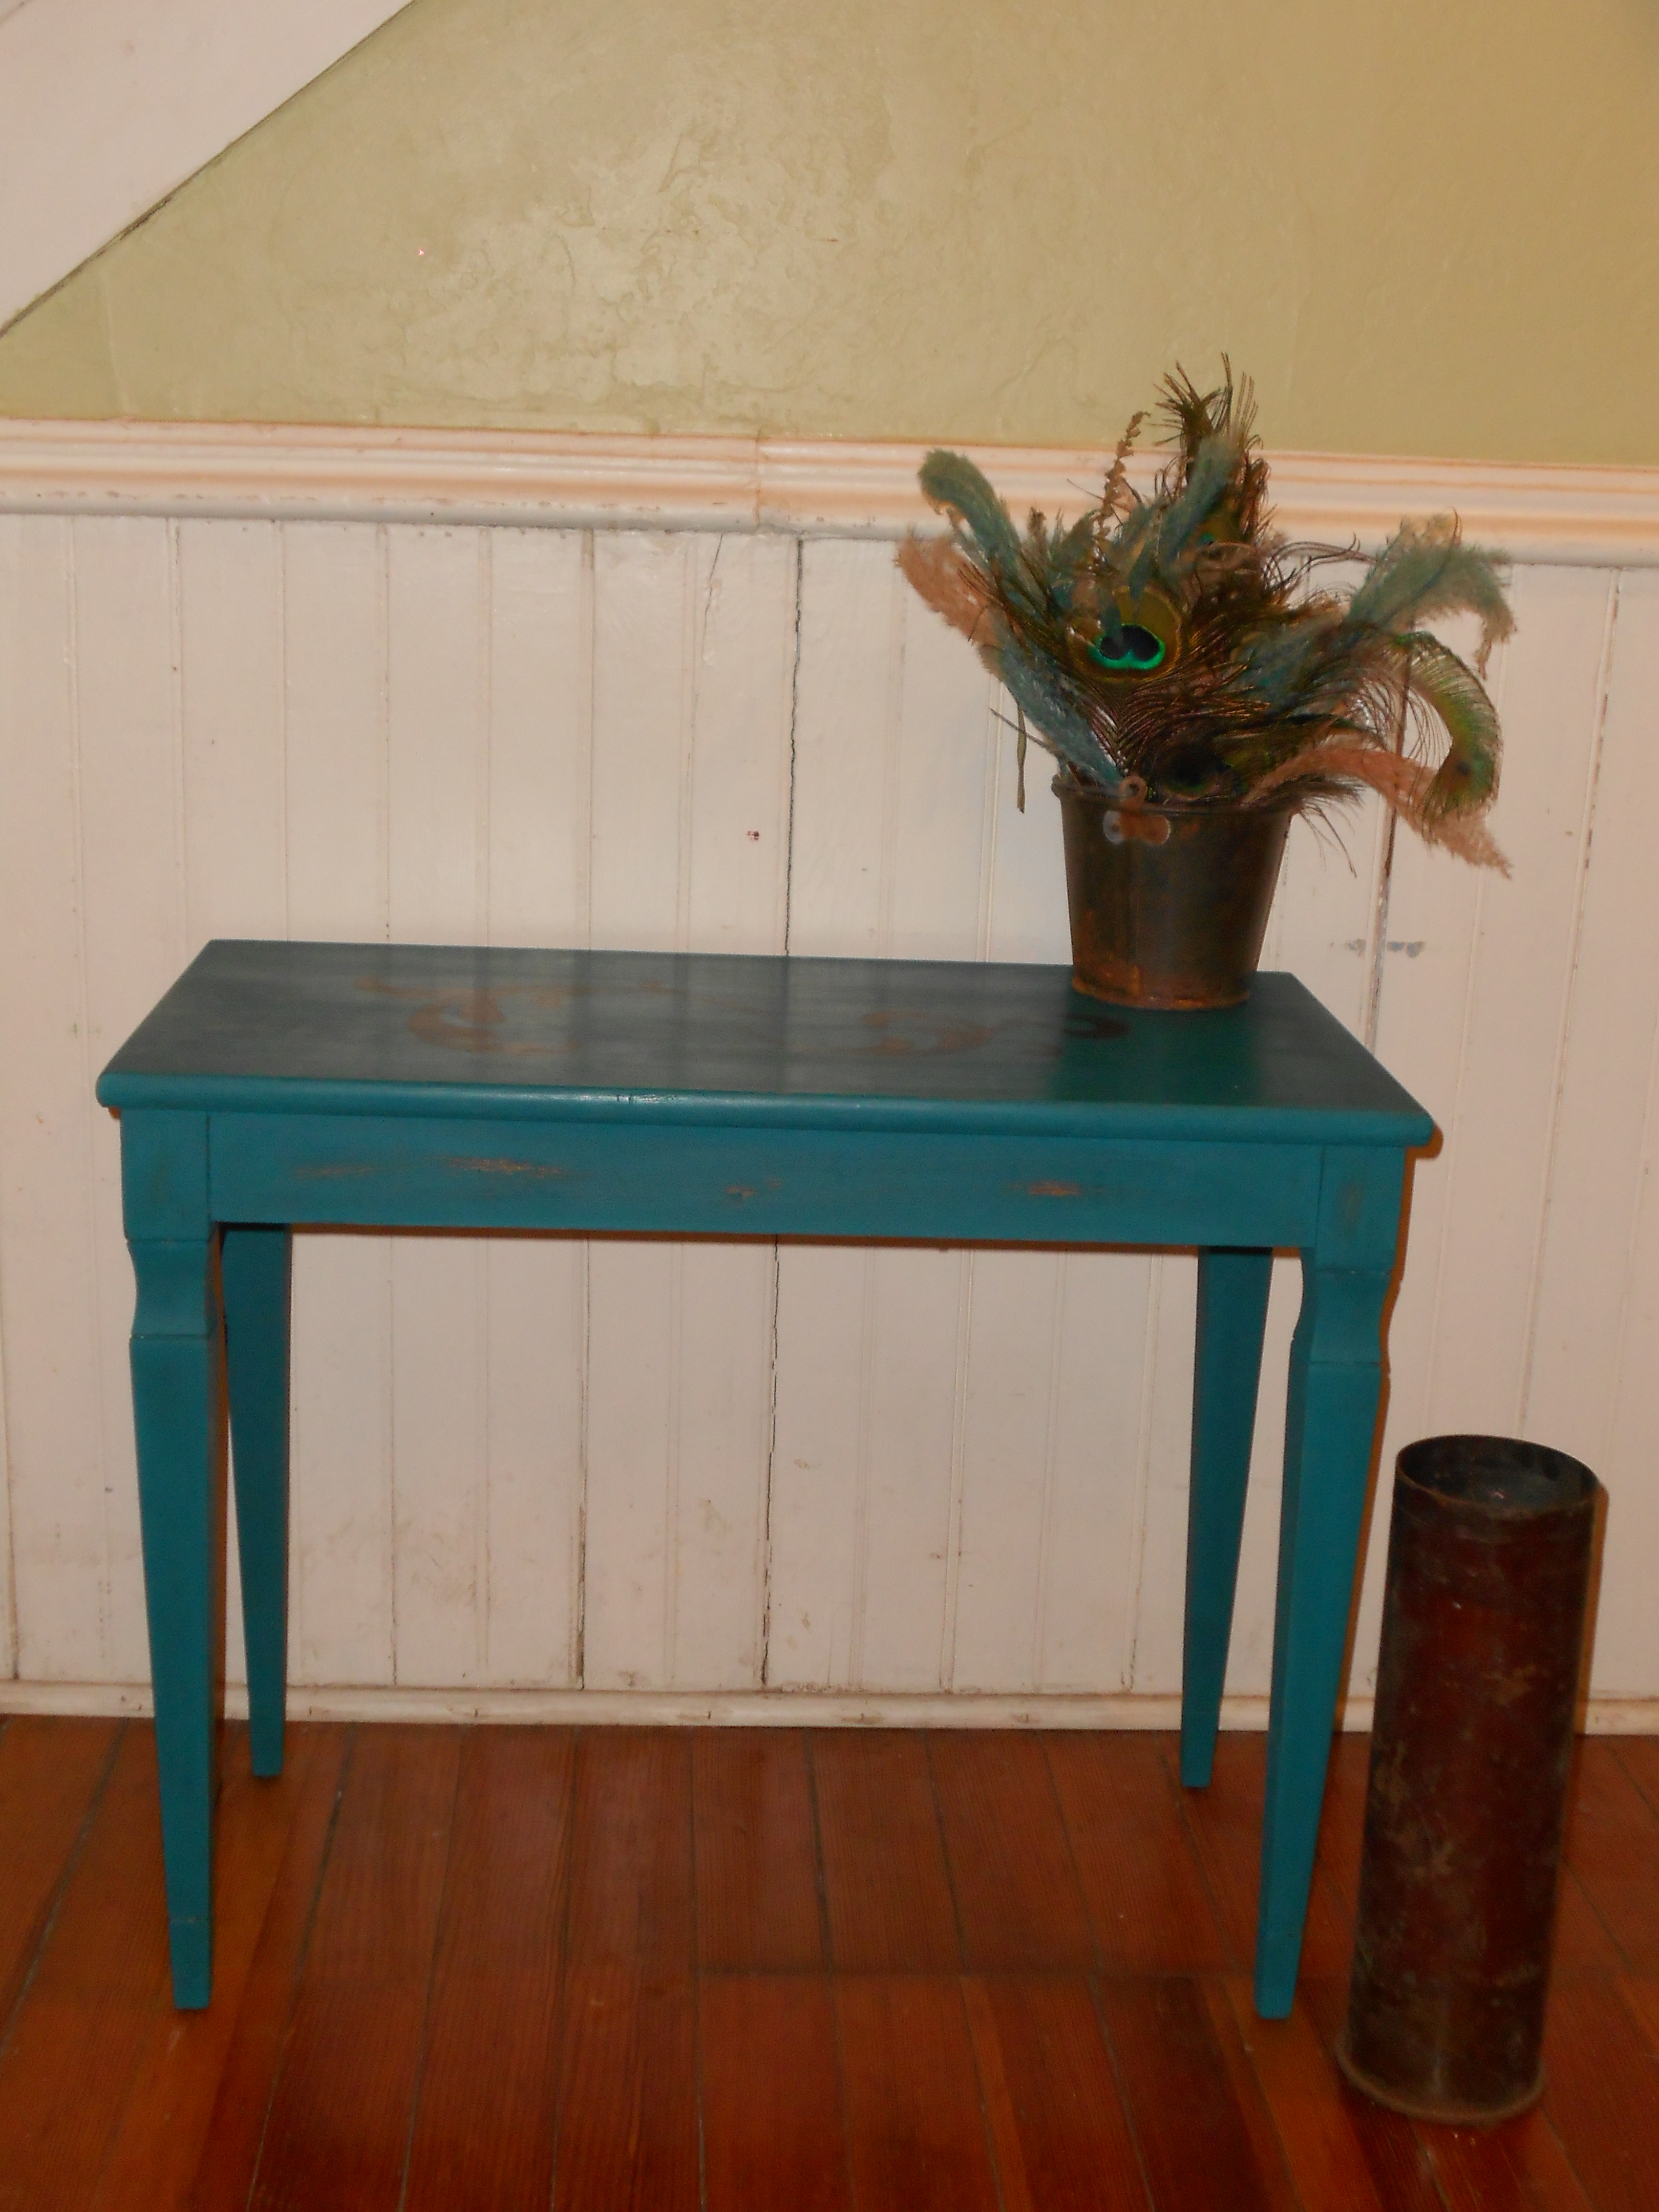
I found this old piano bench, beat up and sad, left behind in the basement of the rental property we own.

After filling, sanding, painting, stenciling, and waxing, this is what she looks like now:
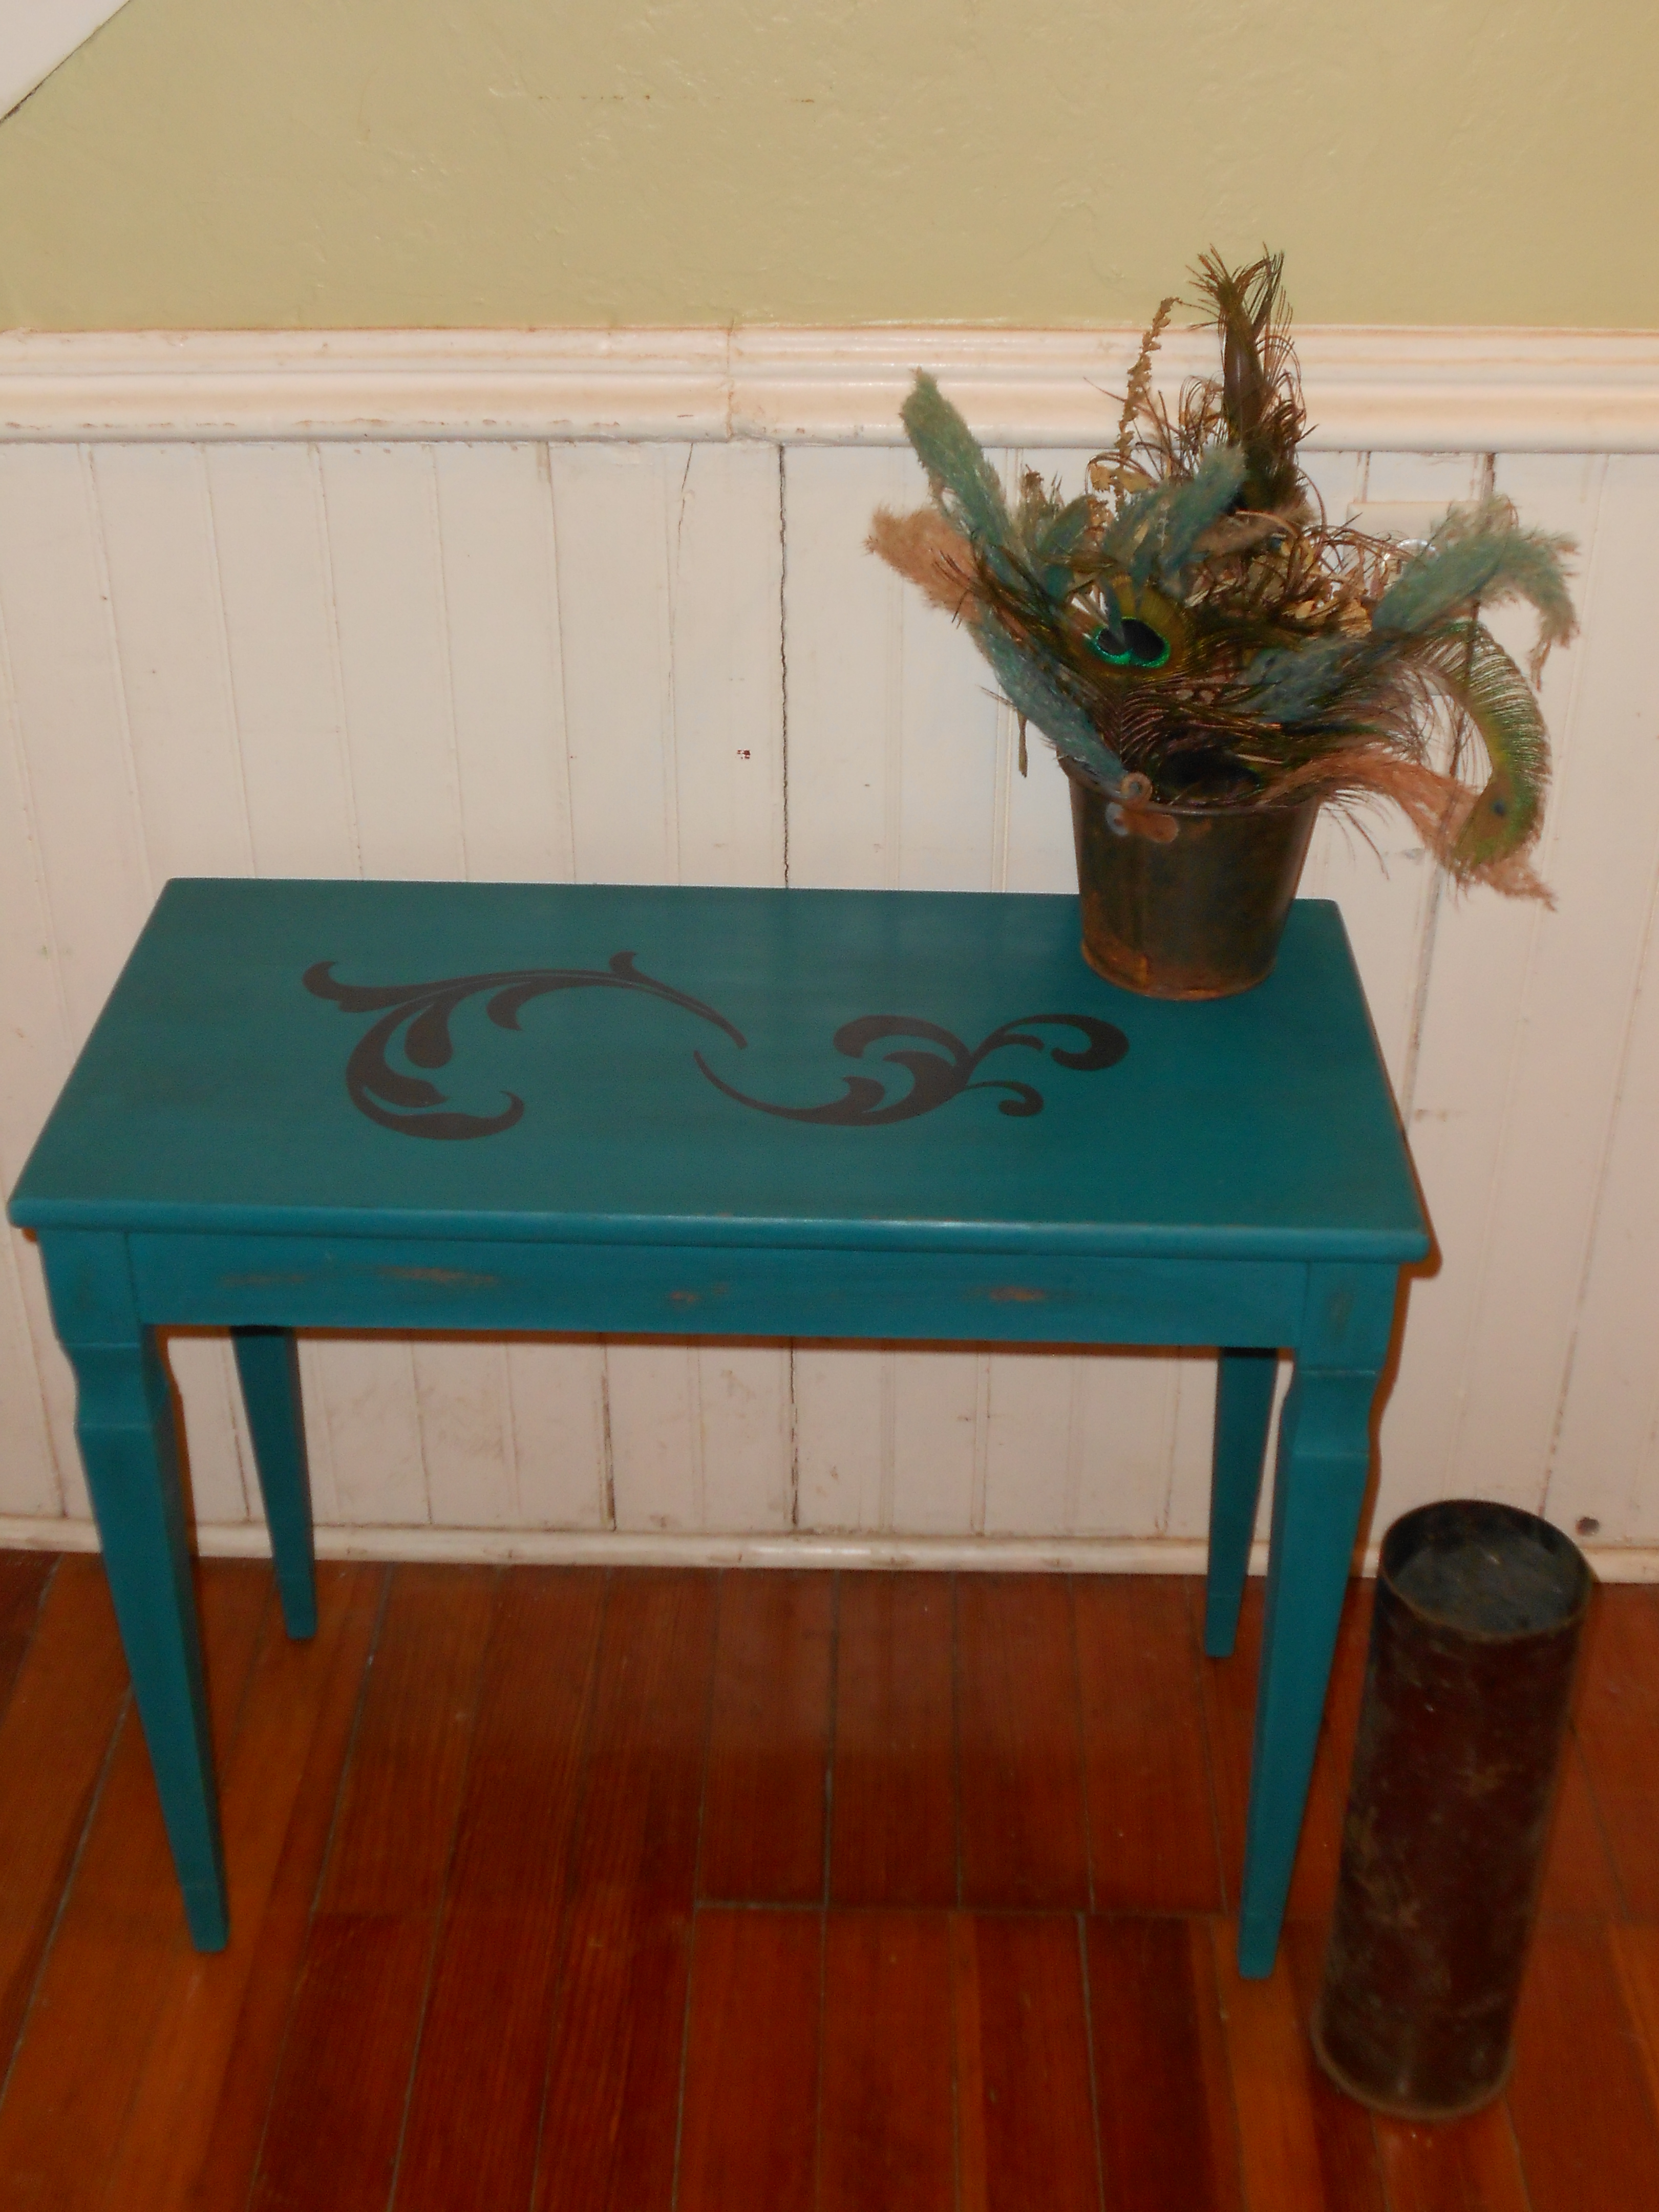
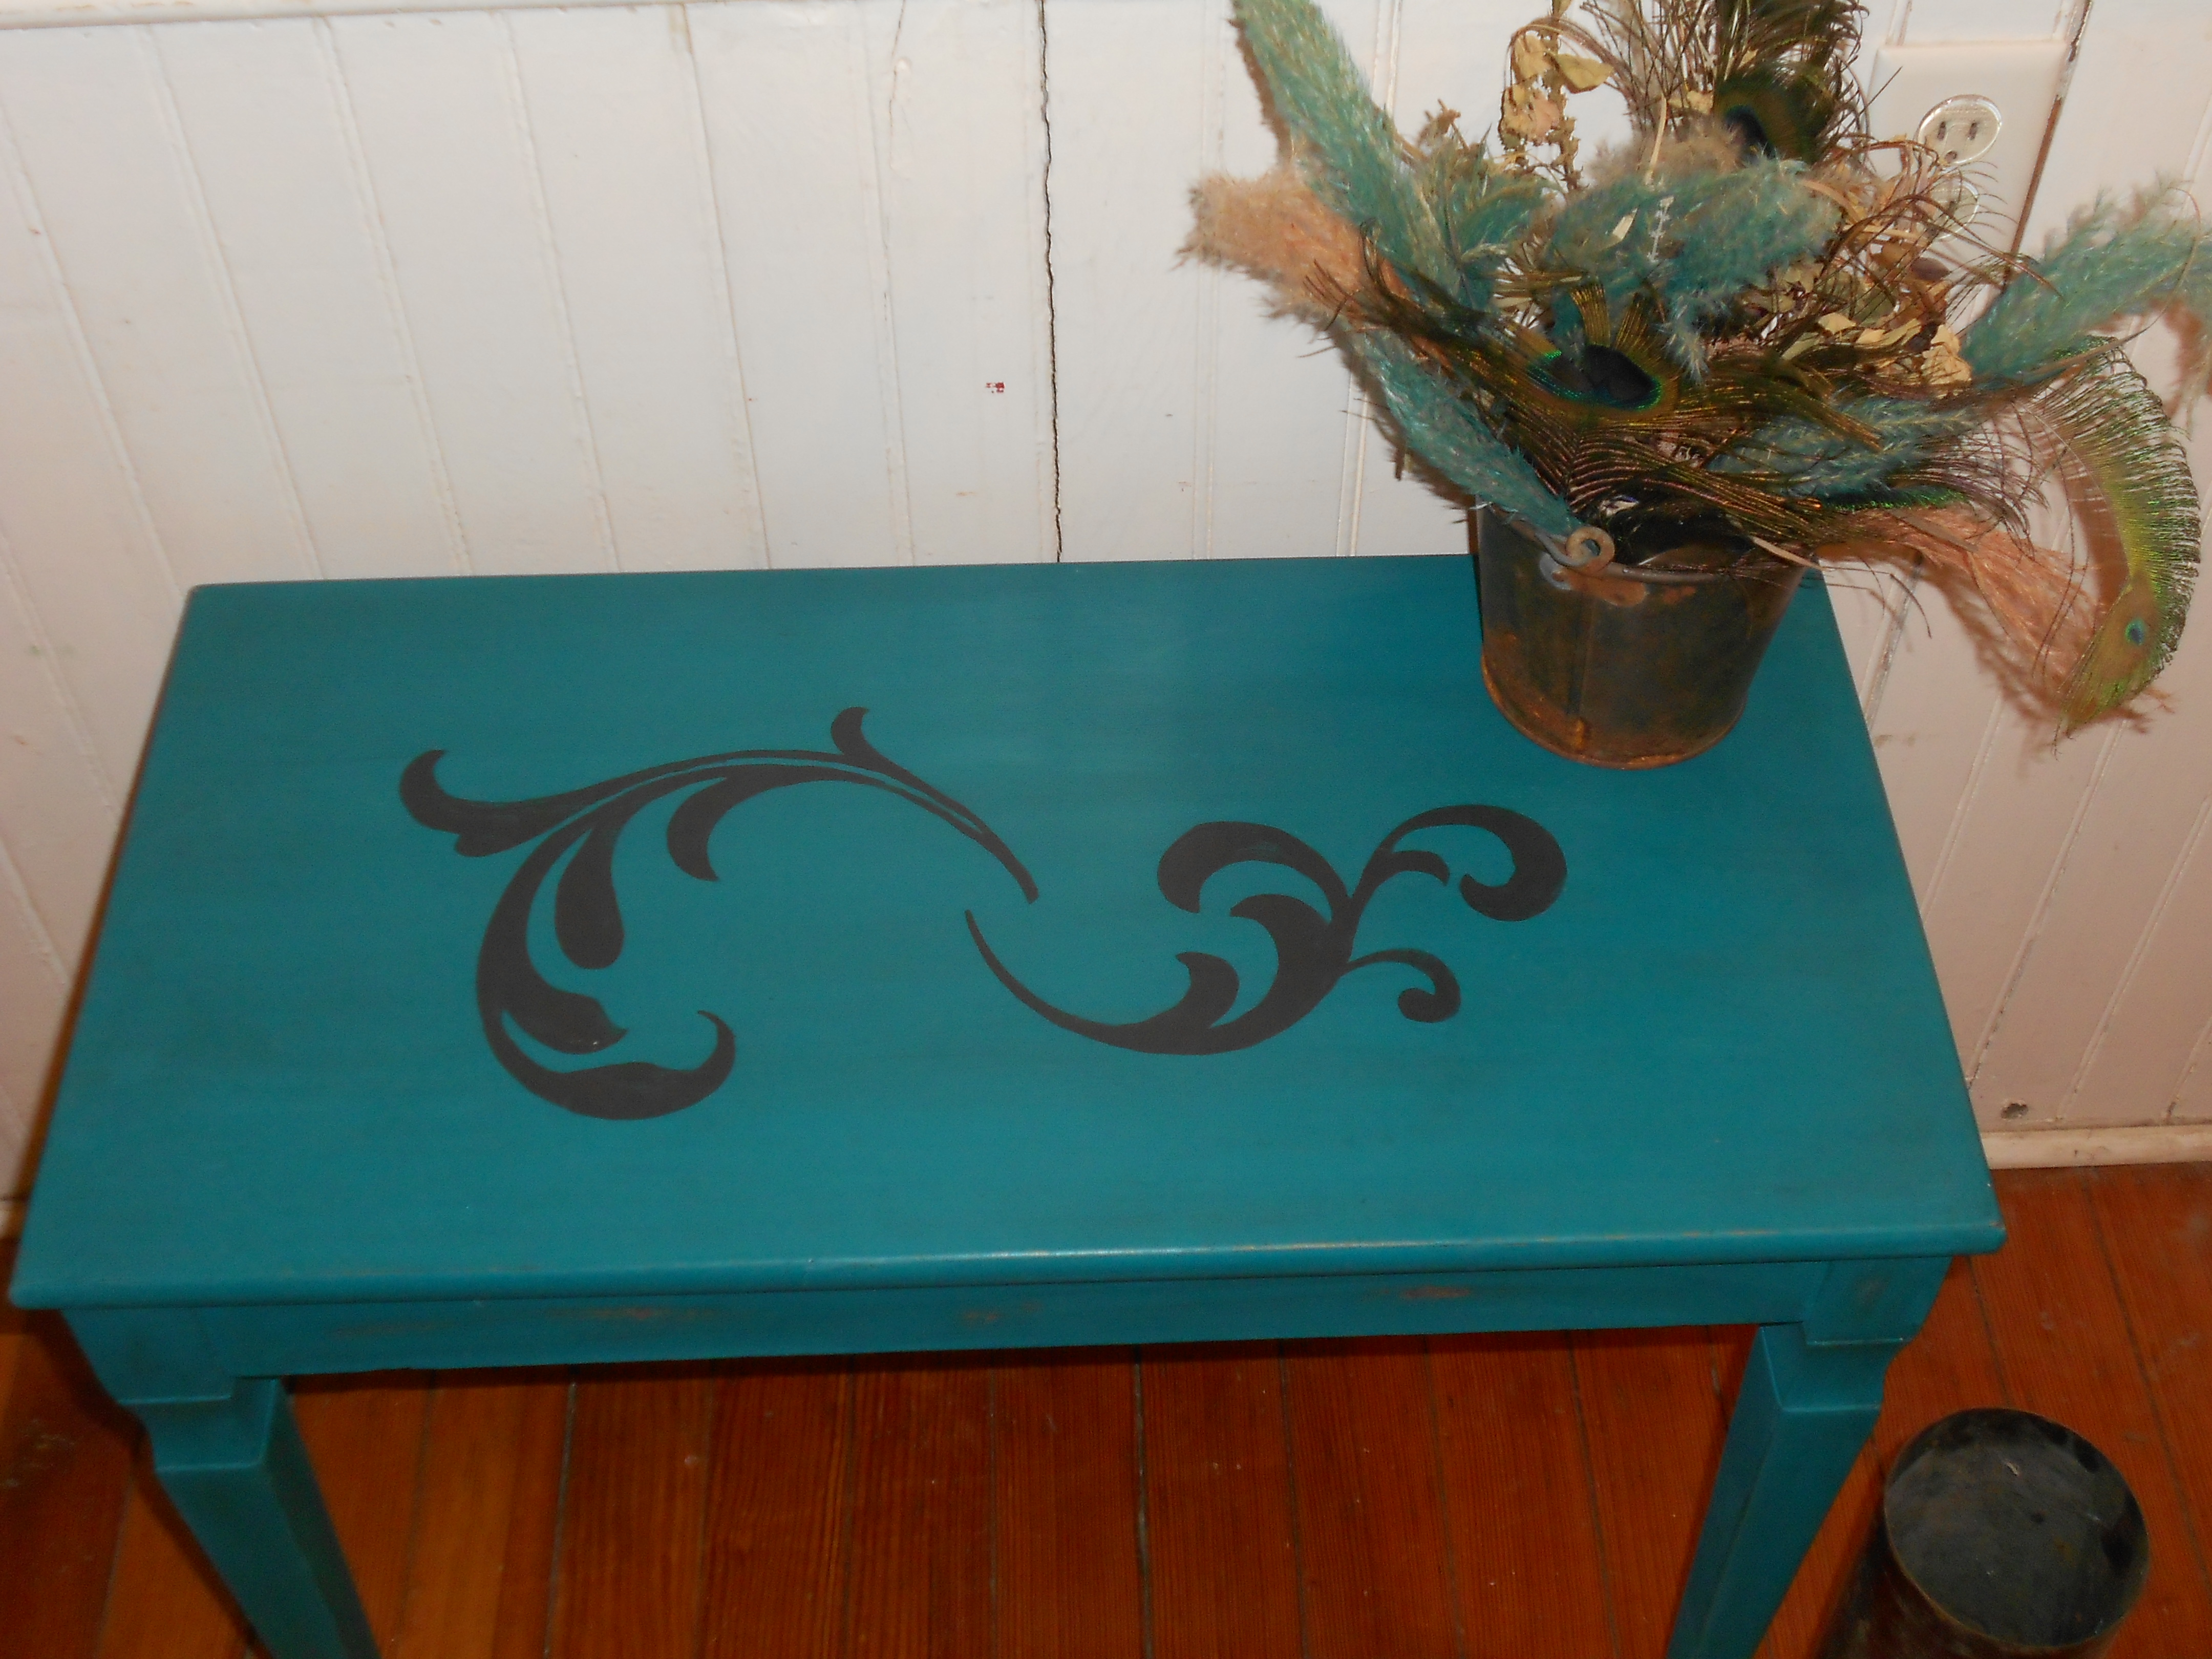
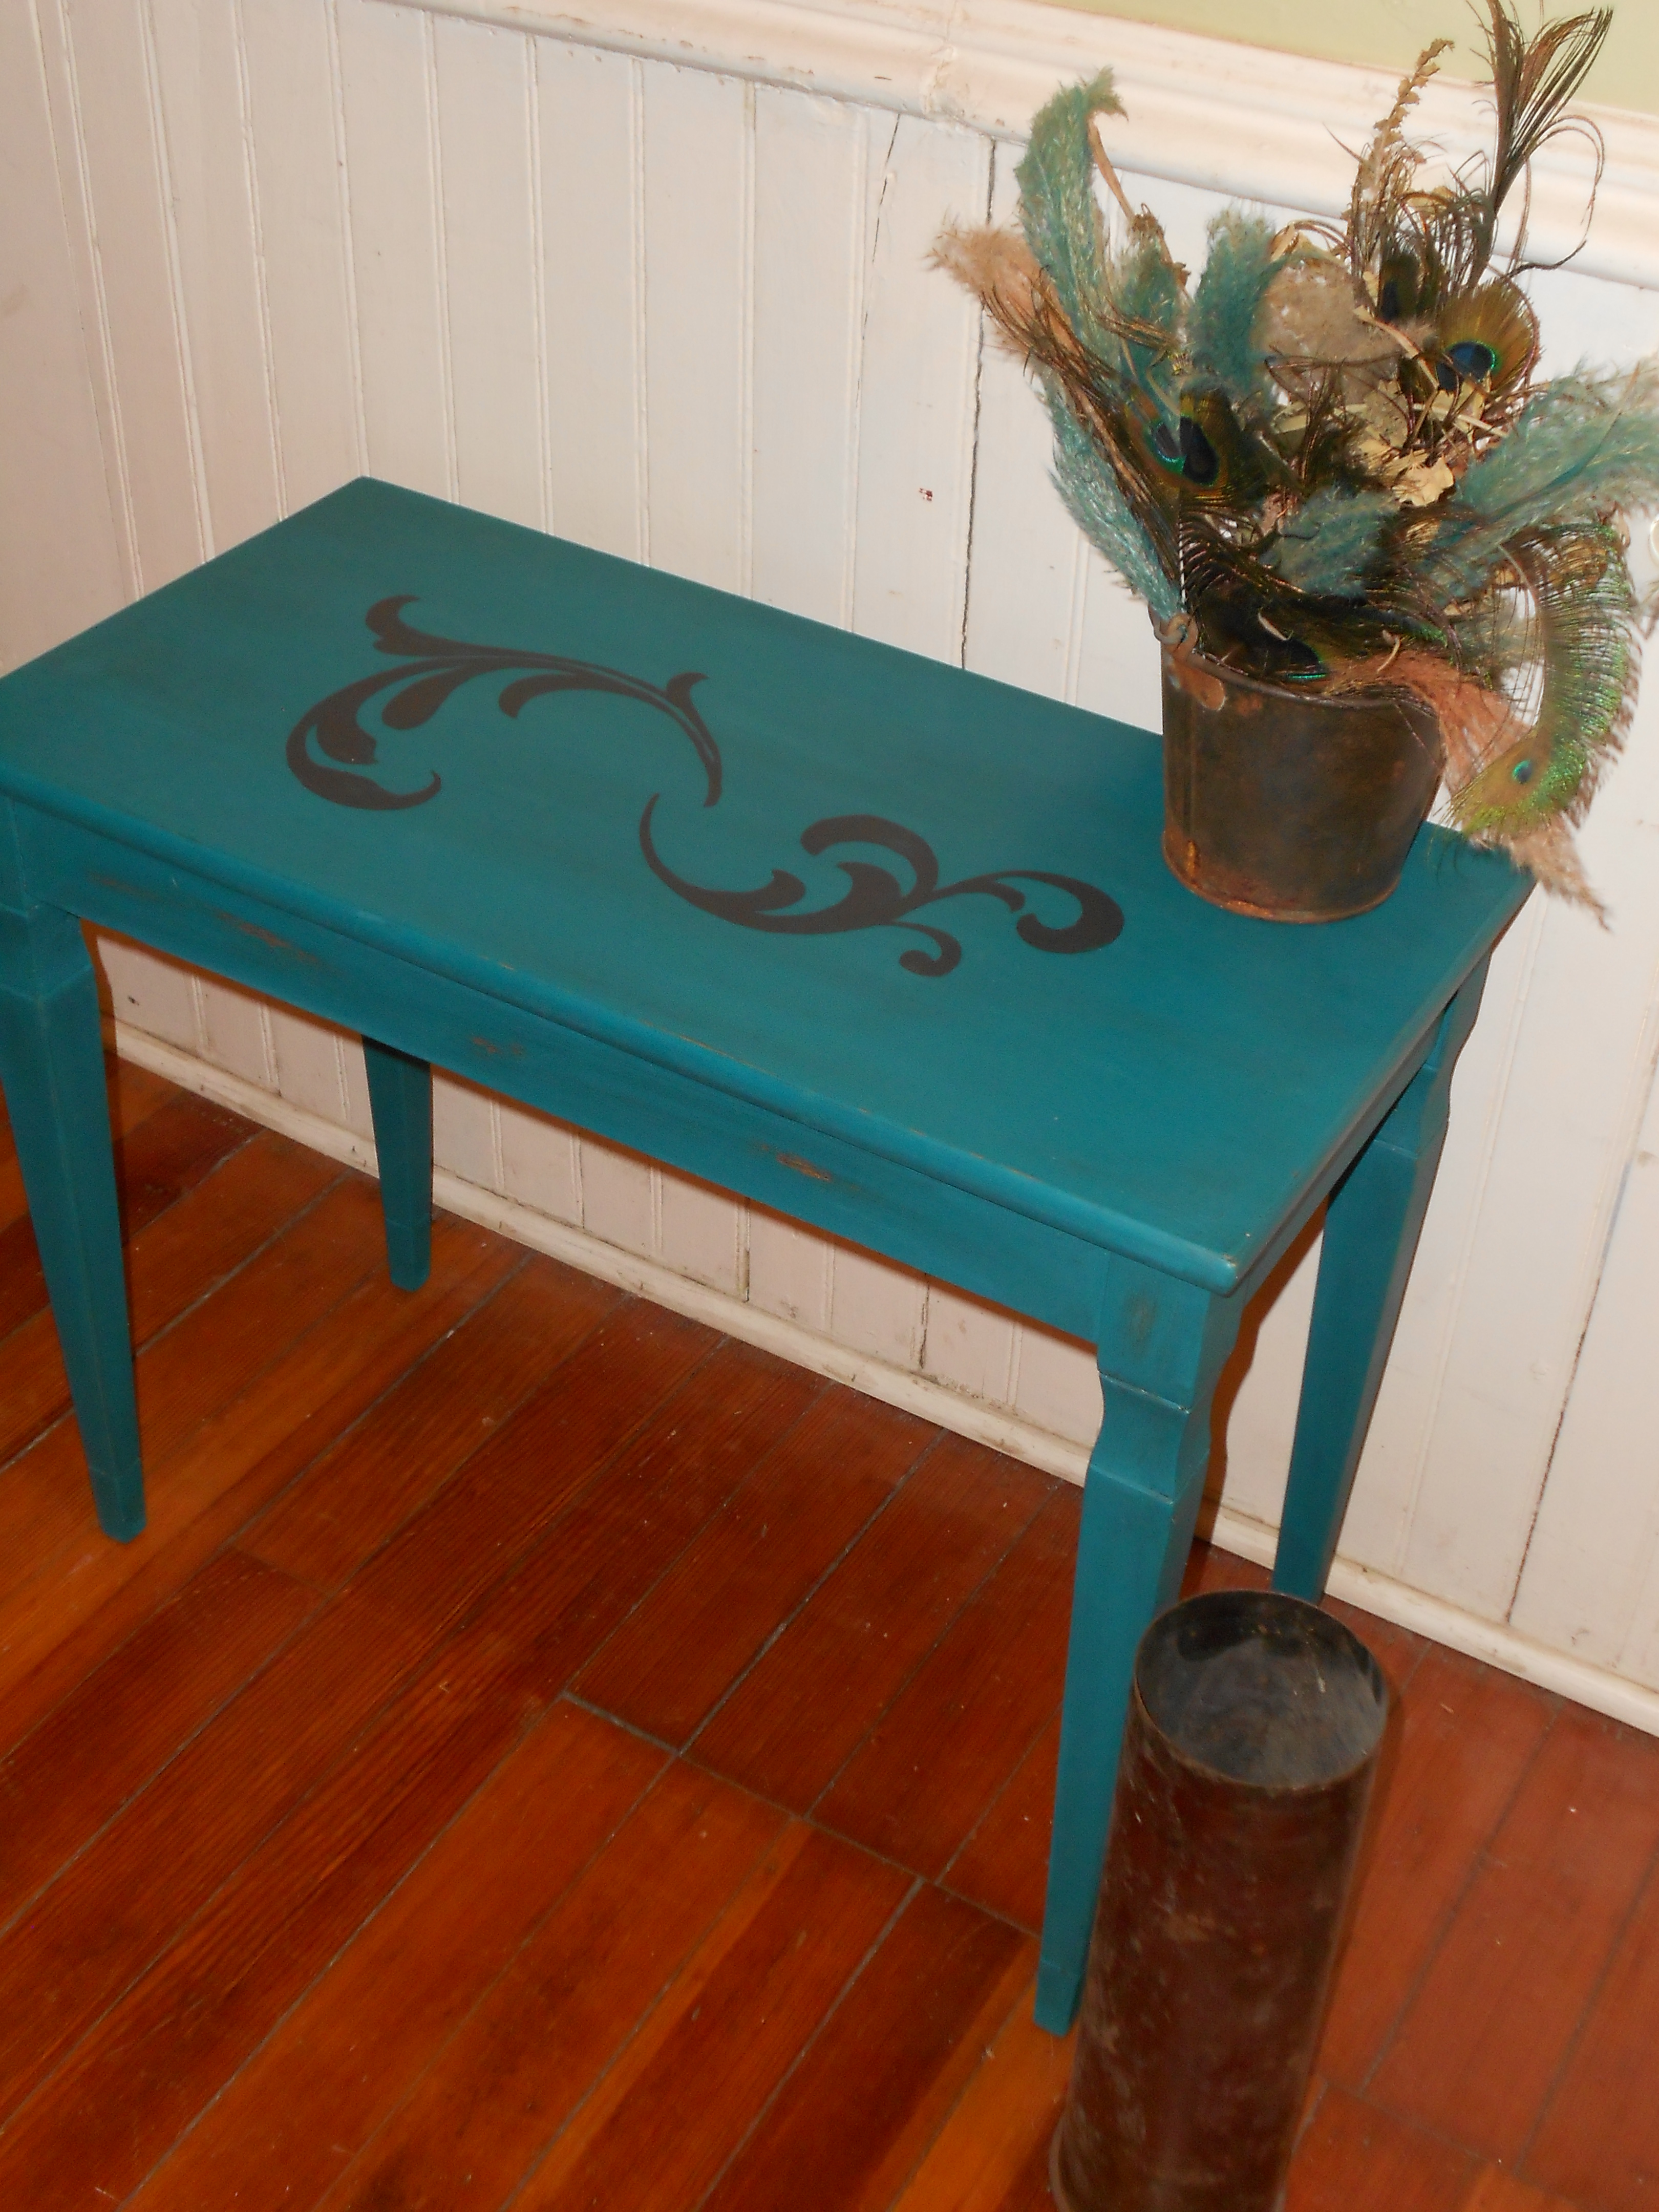
I love how the waxing turns out. The finish is protected and it is more wipable now. I used regular paste furniture wax and then tinted it with a charcoal paint. I am so excited to keep perfecting this technique. What do you think?
A Vintage Nursery Project
I know I just now finally shared the nursery with you, but I also just finished a fun little project in there.
I was given this beat up little vintage dresser the other day , with plans to turn it into a book shelf for toys.

Suddenly it struck me. Those two drawers could also be another project, perfect for some storage! I cleaned, sanded, painted, roughed, waxed, added wheels and knobs, and viola!


I absolutely love how they turned out! B can now store toys or clothes in them, and they should fit under any bed, so he can use them for a long time! My helper approves.


This was my first time using paste wax. I tinted my wax myself with paint. I really like how it gives the drawers a barn board feel. I think with a little practice this could be a new favorite technique! What do you think?
Little Side Table Project
Hi all! I want to share some wedding projects and some other big news very soon, but for today I wanted to stop by with a quick project.
We found this little side table at a garage sale for .50 cents. Yup, .50 cents.
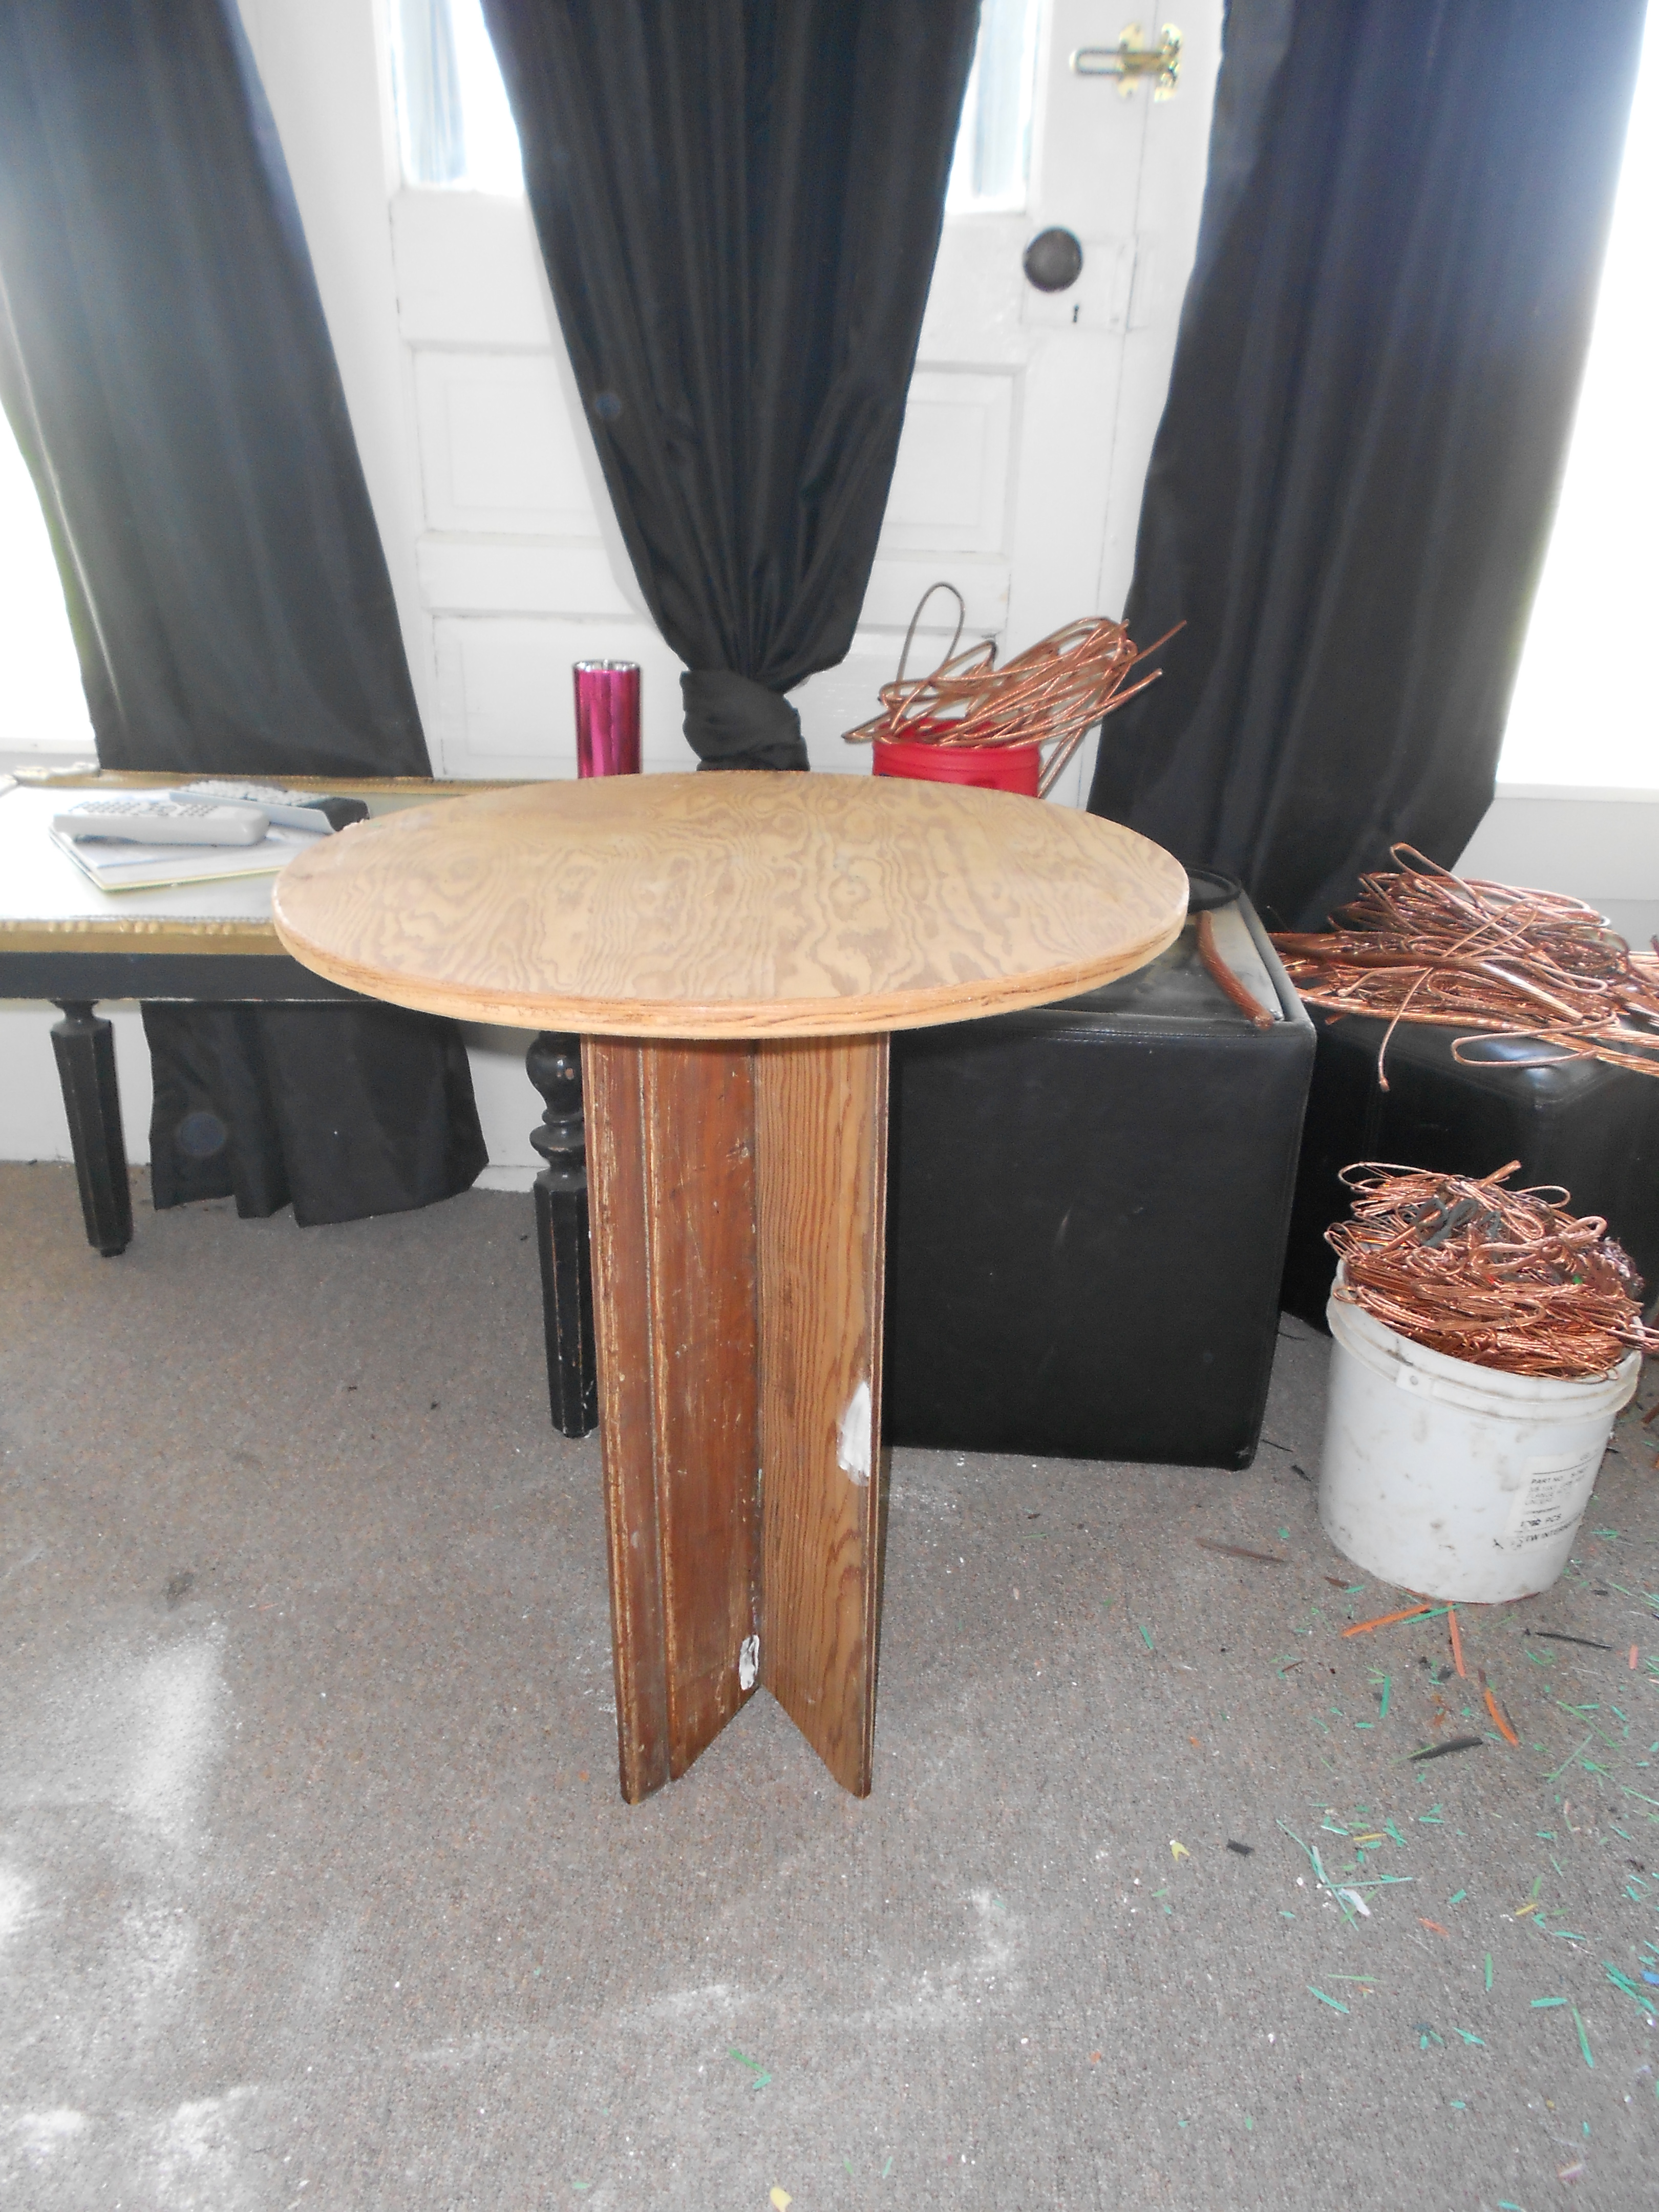
Shabby, yes, a bit. But, I loved the round shape and primitive pedestal. So, I patched, sanded and painted. I picked a burgundy-ish color and then I stenciled my favorite paisley on the top in silver. I thought this was a bit modern to mix with this little table. I roughed up the edges and faded out the design on the top. I think it turned out really cute!
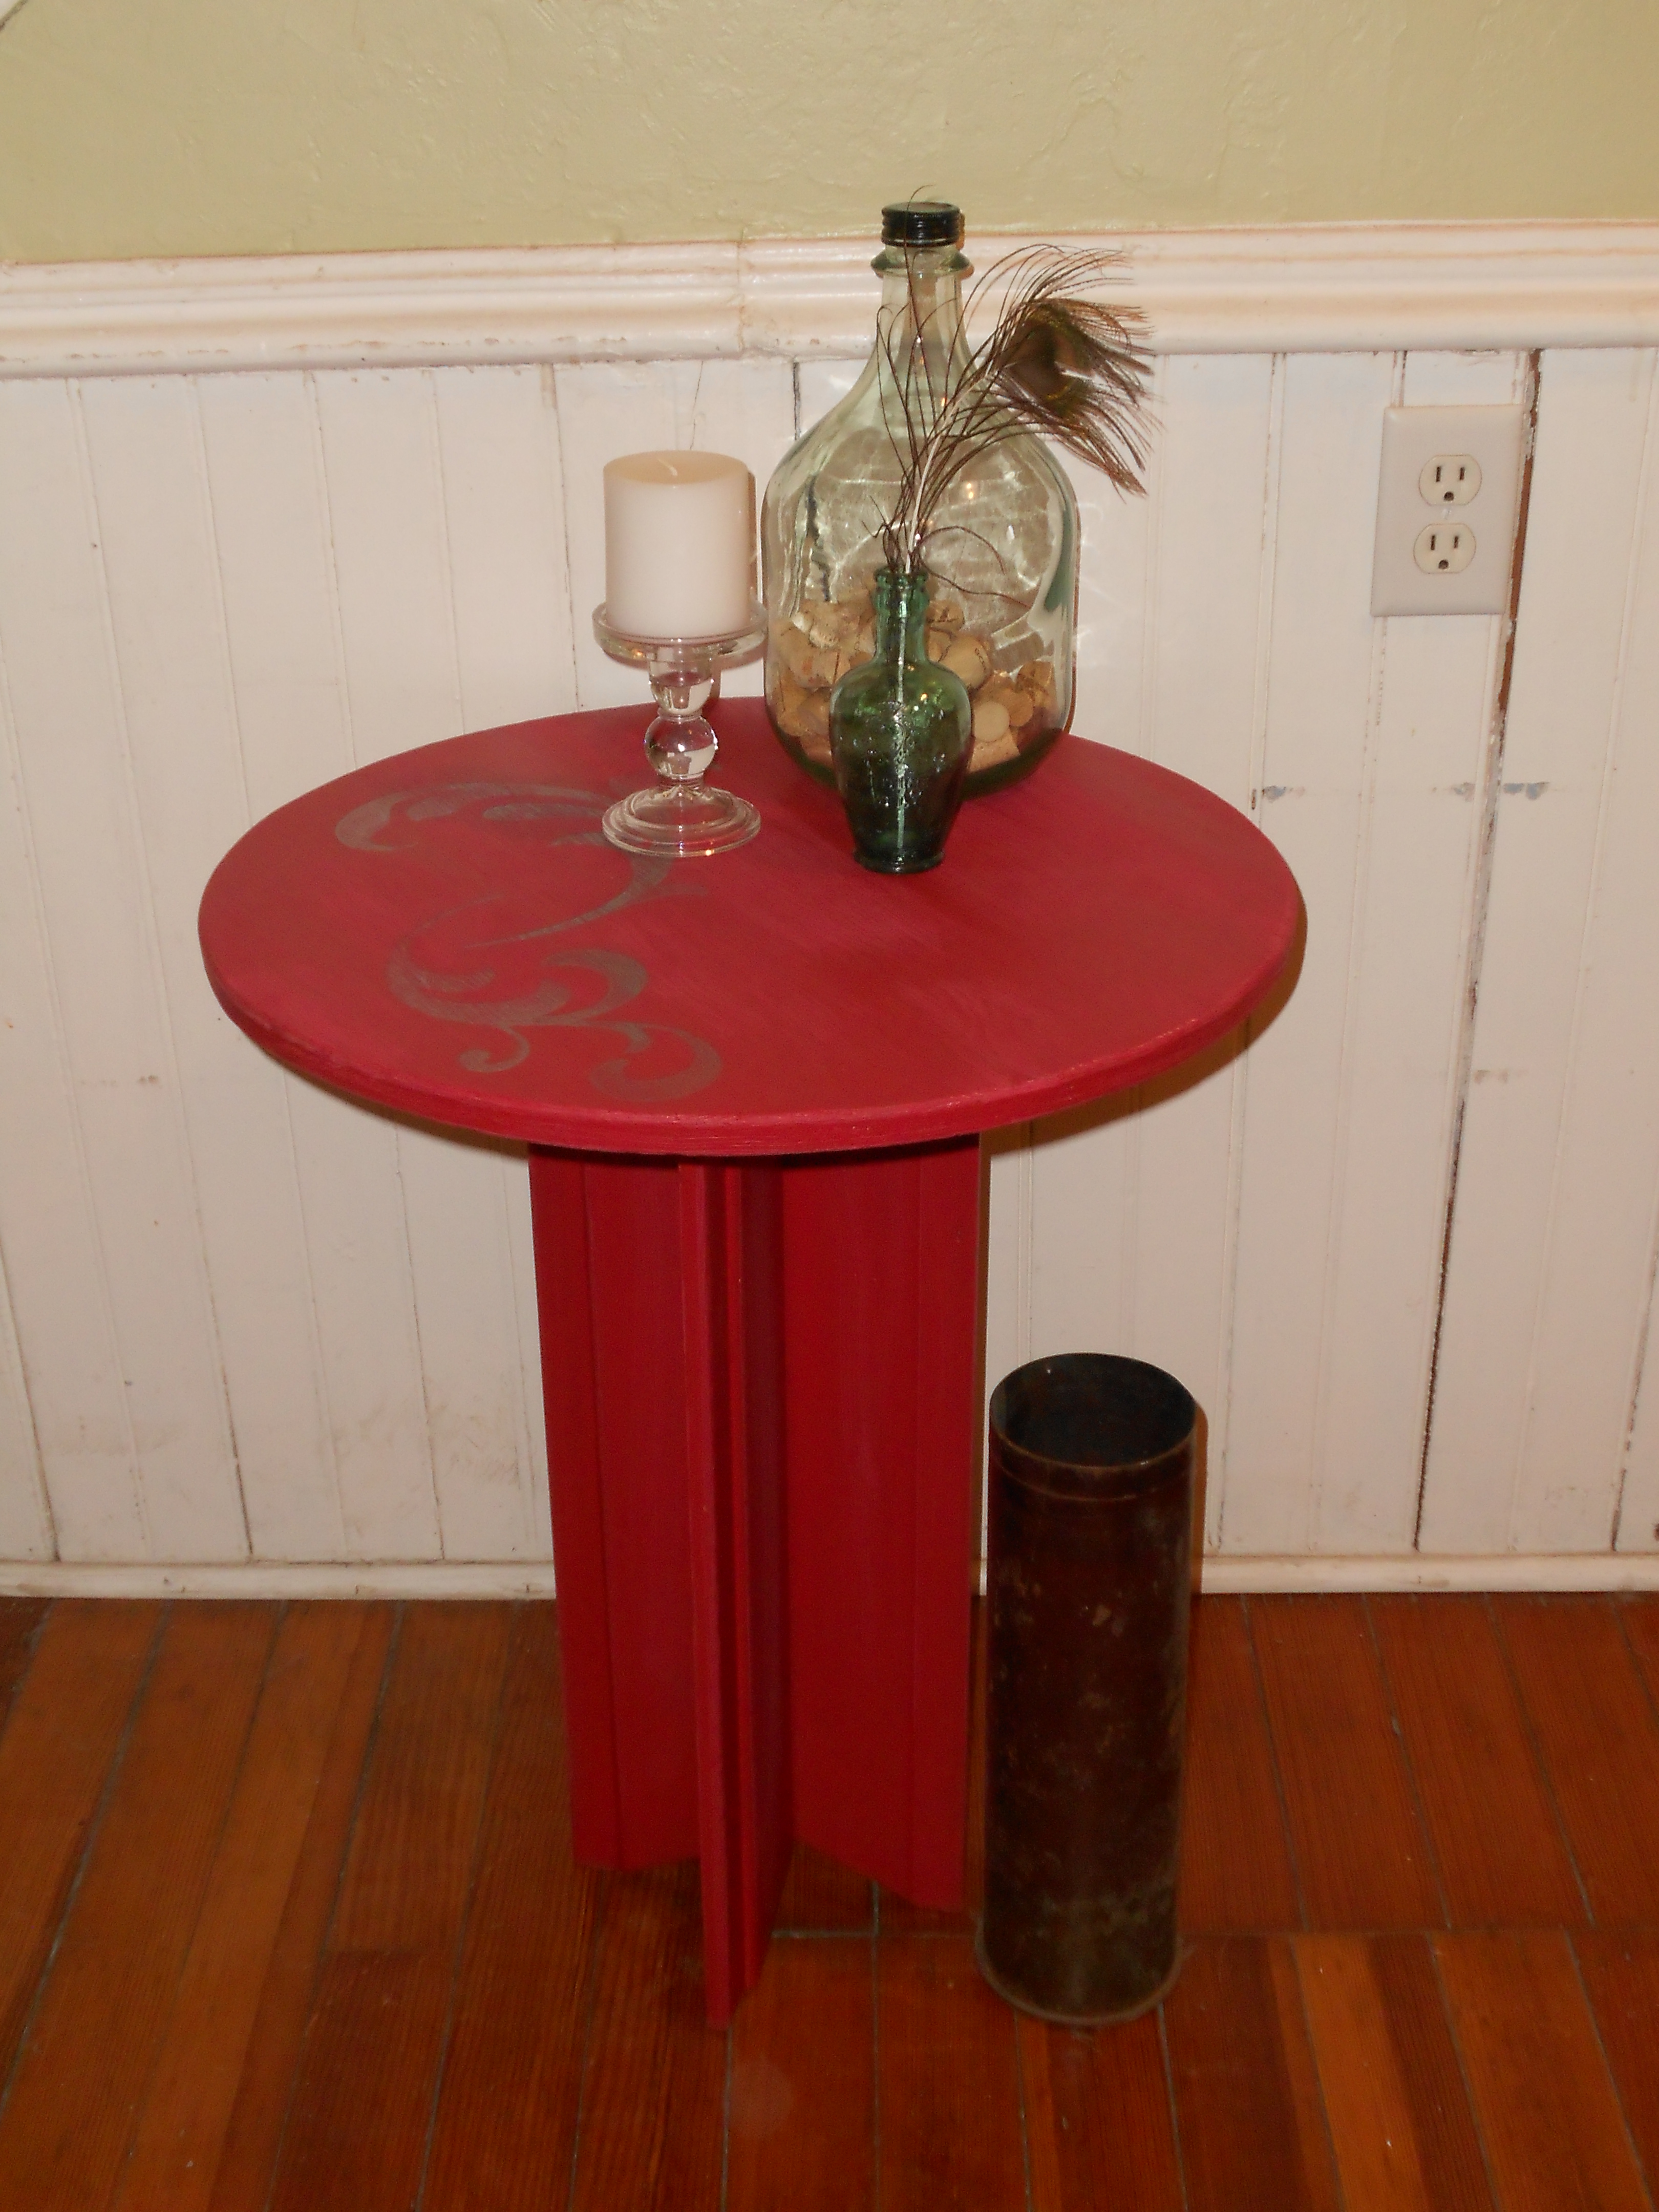

What do you think? Well, this little guy already found a new happy home 🙂
Little Random Project
We have been hard at work over here. Finally one tiny, random project to show for it! lol. At a garage sale recently we found a couple of items to keep us even more busy, including this vintage wooden rocking horse. Rough shape, but only $2, so we decided to give him a little work.
Before:

And after some cleaning up and a new tail and handle…


There is not much in this little room… yet… but I think this will make a super cute addition some day.

We have also been celebrating! More news to come! And, we are exactly four months away from our wedding date!!


DIY Serving Tray
This has been on my to-do list since we moved it. Or maybe even before. But it became even more urgent when we bought the new couch with an ottoman. Now I have no room for a coffee table, but that means nowhere safe to put drinks and essentials. However, the previous owners left us lots of junk in the barns, so this one was a snap.
Gross old window uncovered in a heap in the barn:

Add some barn door hardware as handles:

The window was in surprisingly great shape once it was cleaned up, so I added a little paint and distressed the edges, added the hardware, and then used an Uppercase Living decal I had packed away on the glass. (I had minor trouble with the decal, so it may get a new one in the future. Talk about frustration!) And here you have our new serving tray:

Just finished this little guy and we already love it. We think it looks cute in that rustic way, but is also super handy!


Well, what do you think? We are happy with the way this quick and easy project came out! Have you ever tried anything like this?
Rustic Blue Chair Love
I finally got the chance to finish a little antique chair project over the holiday weekend. This little guy was found at a late garage sale. Shabby pink paint hid the cute chunky style of this cutie. Enter my rustic blue paint…
Before…


And after…


Well, what do you think? I think this one turned out super adorable! For sale now in the shop! 🙂
A Quick Doorstop Project
The main level in our new house has a small bathroom in the laundry area (yes!), which is super handy, but sometimes a bit wierd. We like to leave the door at least half open so that you know the room is not occupied, but you also dont want the door flung wide open to see everything (let’s face it, even when clean, bathrooms just aren’t that appealing!).
So, to stop the door from flopping about annoyingly, I made a doorstop. Cost? Free!
I went out to the barn and grabbed an old brick, then cleaned it off. I used some soft, thick, scrap fabric I had on hand, and wrapped the brick like a present. I secured the fabric with a glue gun. Last, I added ribbon trim, also scrap, to the seam for a finished look… Viola!


Nothing fancy, or groundbreaking, but it was cheap and does the job. I don’t think it looks half bad either, if I do say so myself! And, you get a sneak peak of the bathroom/laundry room! Just a note, if you are thinking about a project like this, it works great! I love how this thick, soft fabric slides easily and quietly on the tile floor with a scoot of the foot. I recommend!
Sun Porch Make Over
One of the rooms on the lower level of the new house that I have not yet given you a tour of is the “sun porch.” This room is on the back side of the dining room. We saw potential, but it was initially a bland, useless room. Before:


Unfortunately, these photos are only “semi-before” shots. We do have some things in there. But, you can see the room is blah and in rough shape. What you can’t see is that the walls are blotchy paint, everything is dingy and dirty, and the carpet piece is missing a chunk.
Here are a few perkier after shots:

The carpet is the same… for now. I plan to do some stenciling on it!

The ceiling still needs to be painted. I am waiting to find the perfect light blue…


Here is the view back out the antique stained glass window into the dining room…

And my helpers…

Better, no? 🙂
A Gift Basket
I work for a non-profit agency and part of our yearly activity is to do a bit of fundraising to help out. This year we decided to make gift baskets and then auction them off. I volunteered to make a gift basket and then of course panicked, not knowing what to put in it!
So, I decided to make a basket of hot cocoa and coffees and all the fixins. I got this idea because a while back in a magazine I saw some antique spoons coated with chocolate and given as a gift with some drinks as stirers. I started off with some vintage silver spoons and some chocolate…


Then I wrapped these cuties up. I added some cute vintage mason jars and a tag for the cocoa…


I think it turned out pretty well, and it was super easy! Hope it raises some money! 🙂
Desk Chair Redo
I was in an office chair conundrum at the new house. The office is large enough to hold the futon, DVD rack, desk, book shelf, and even file cabinet. But, its just not very comfortable. I loved using the comfy and gorgeous blue wingback chair in my last home office, but in this office there just isn’t enough space for a nice layout with the chair. So, the blue wingback moved to our bedroom. More pictures of that to come. Then there was no office chair. What to do?
During a recent (and quick) trip down to the creepy basement to store a few boxes I noticed a computer chair with wheels! It was ugly. No other way to put it. But, it was sturdy and heavy duty, and in good shape other than the abused crudiness of it.
The before:

First step? Remove the ugly arms. Then it was some paint and fabric…

Not too bad, eh?


So, what do you think? I think for being a completely free project it turned out super cute and will work for us for a while, while we have zero money. Oh, and don’t worry about the BRIGHT red walls. Come winter they will no longer be so obnoxious. It is especially strong paired with a big red filing cabinet and on the other wall is a red futon and ottoman! lol.
