A New Mud Room
Check out this horrible mud room!

I know it doesn’t show it well, but behind the open back door is a small closet and then a sink. Yuck.
It is an old farm house, so once upon a time the sink had a purpose. Now it was just wasting space. Valuable space. We knew this room could be better utilized. Little did we know, we would, as usual, open a giant can of worms…
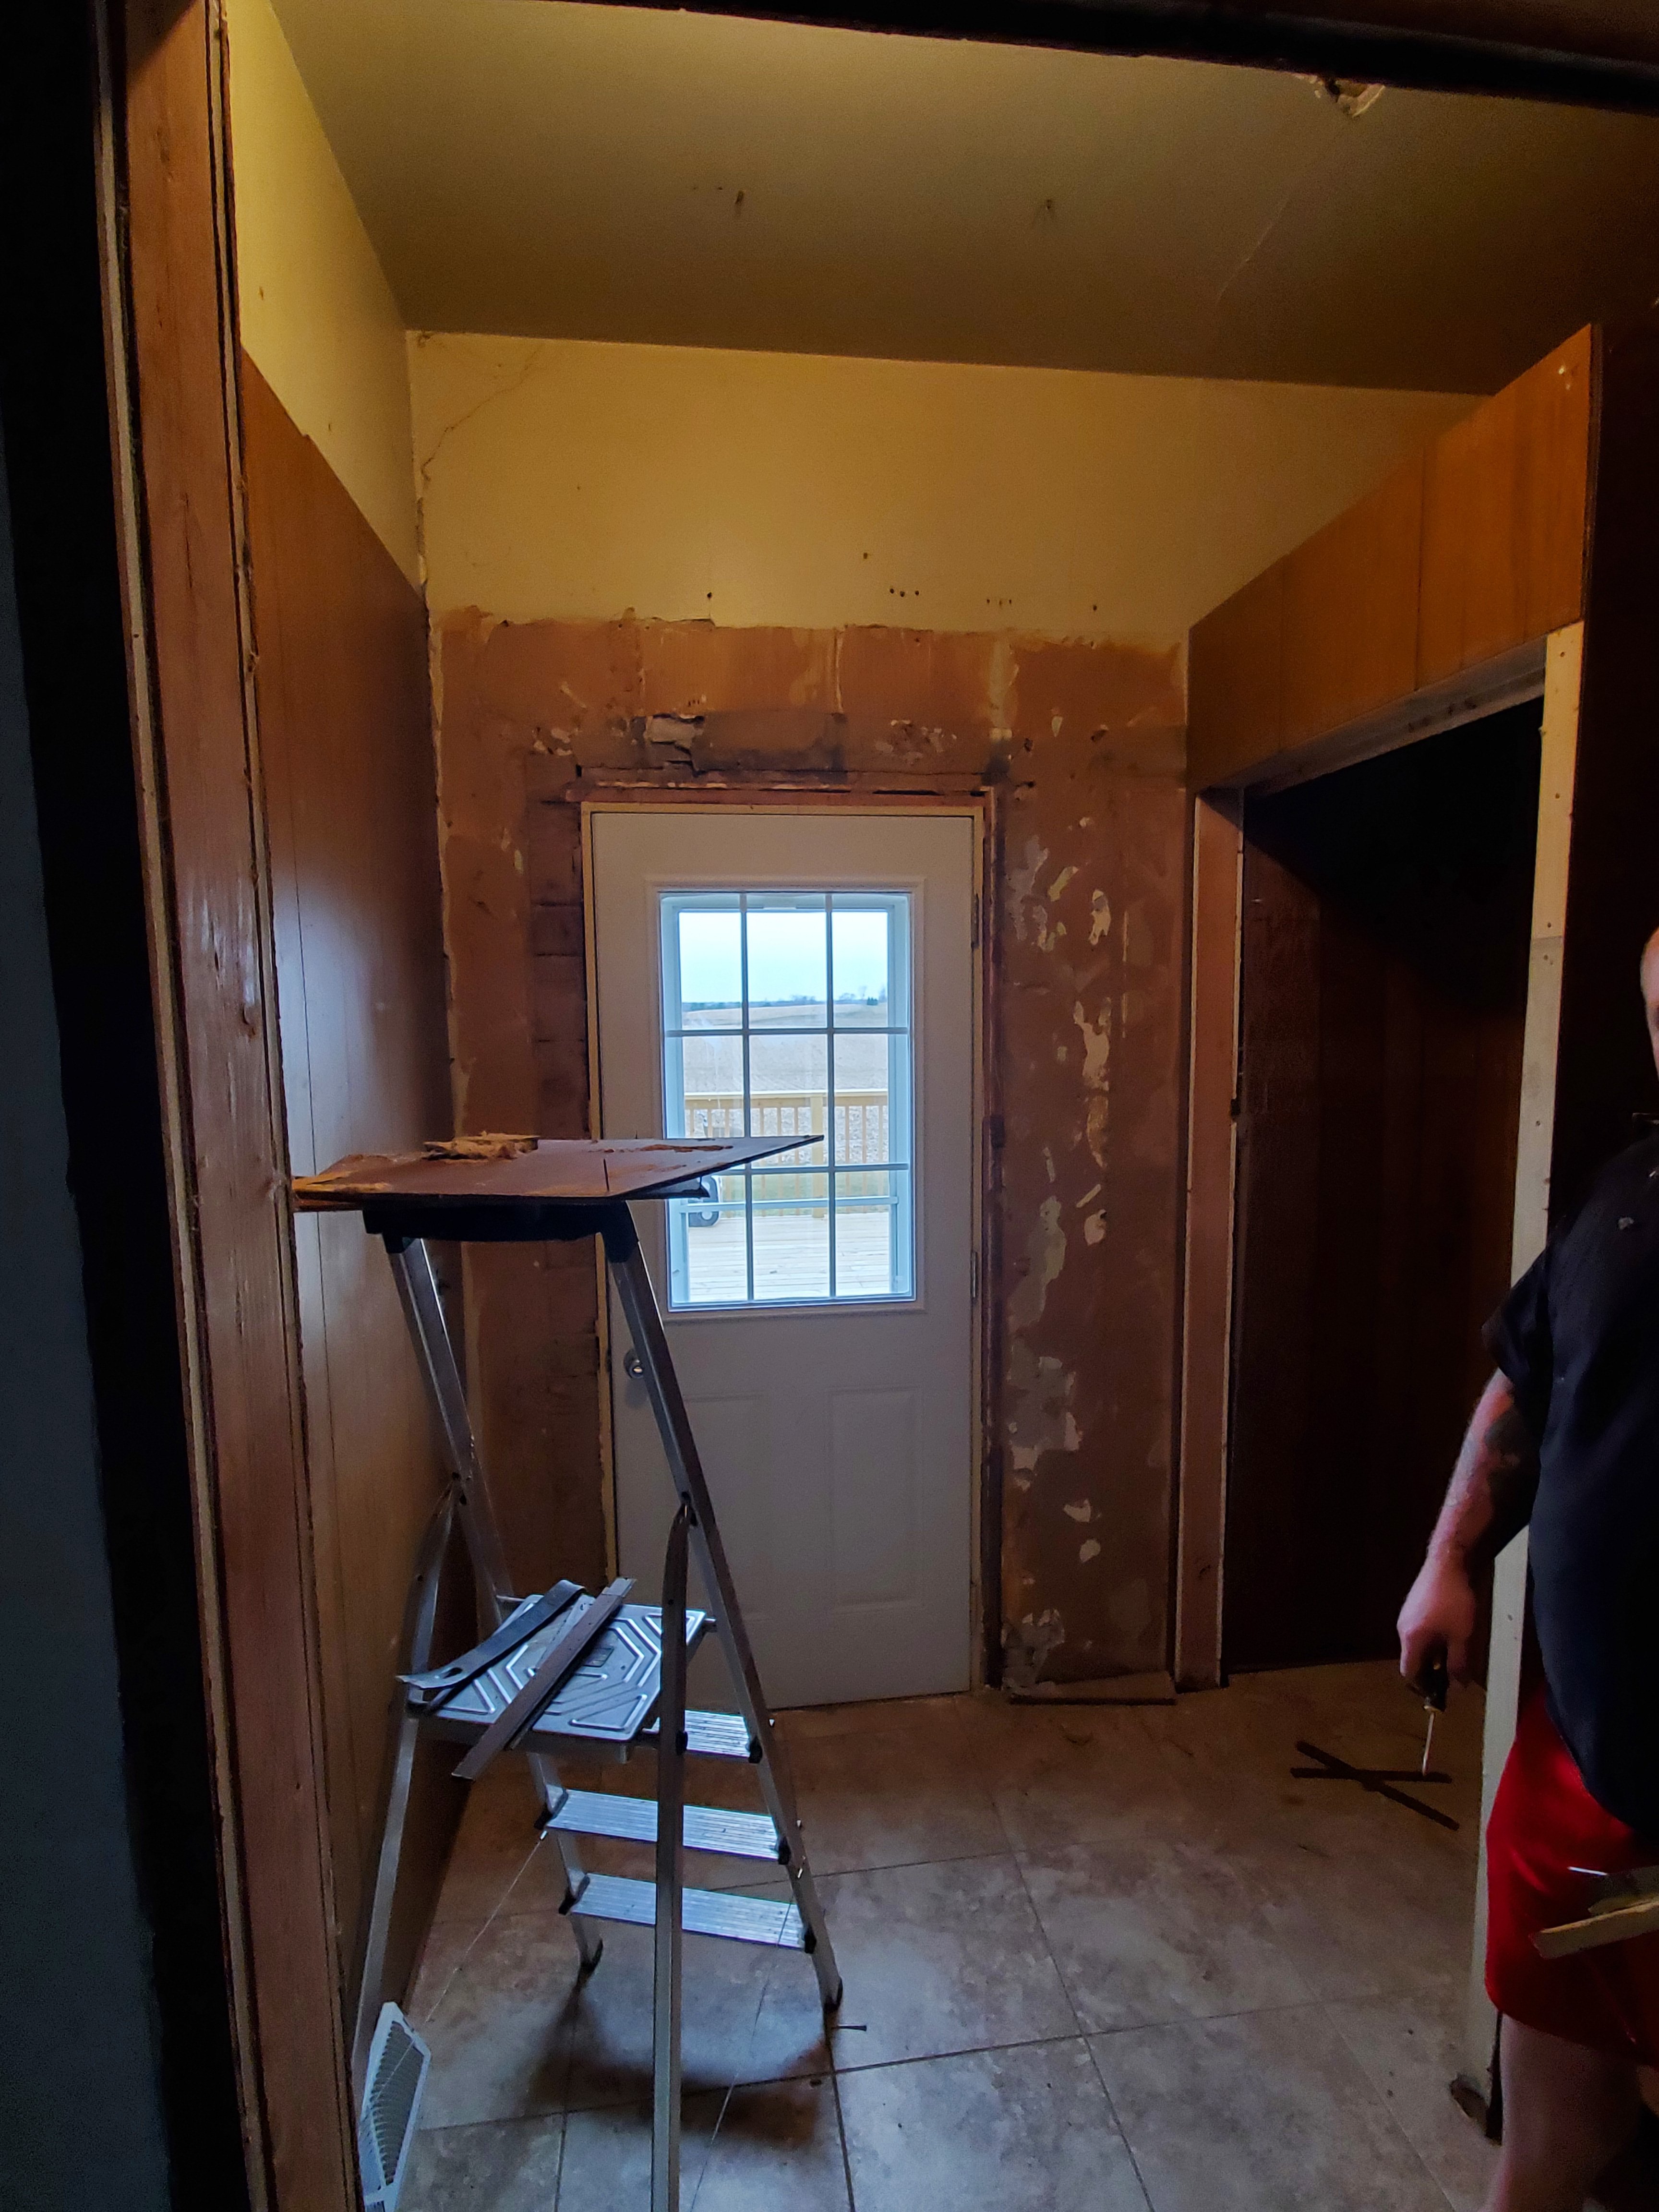
We thought we’d tear out the sink and old paneling, paint, add barn doors and call it a day. No.
The walls had to be redone down to the studs. A new false wall had to be added above the closet, since we were taking out the drop ceiling. Then we found that the paneling went behind the flooring. This removal ruined the flooring (not sad about it) and in removing the tile we found we had a rotten spot and needed to even replace subflooring. The house is 1862, but still, whew!

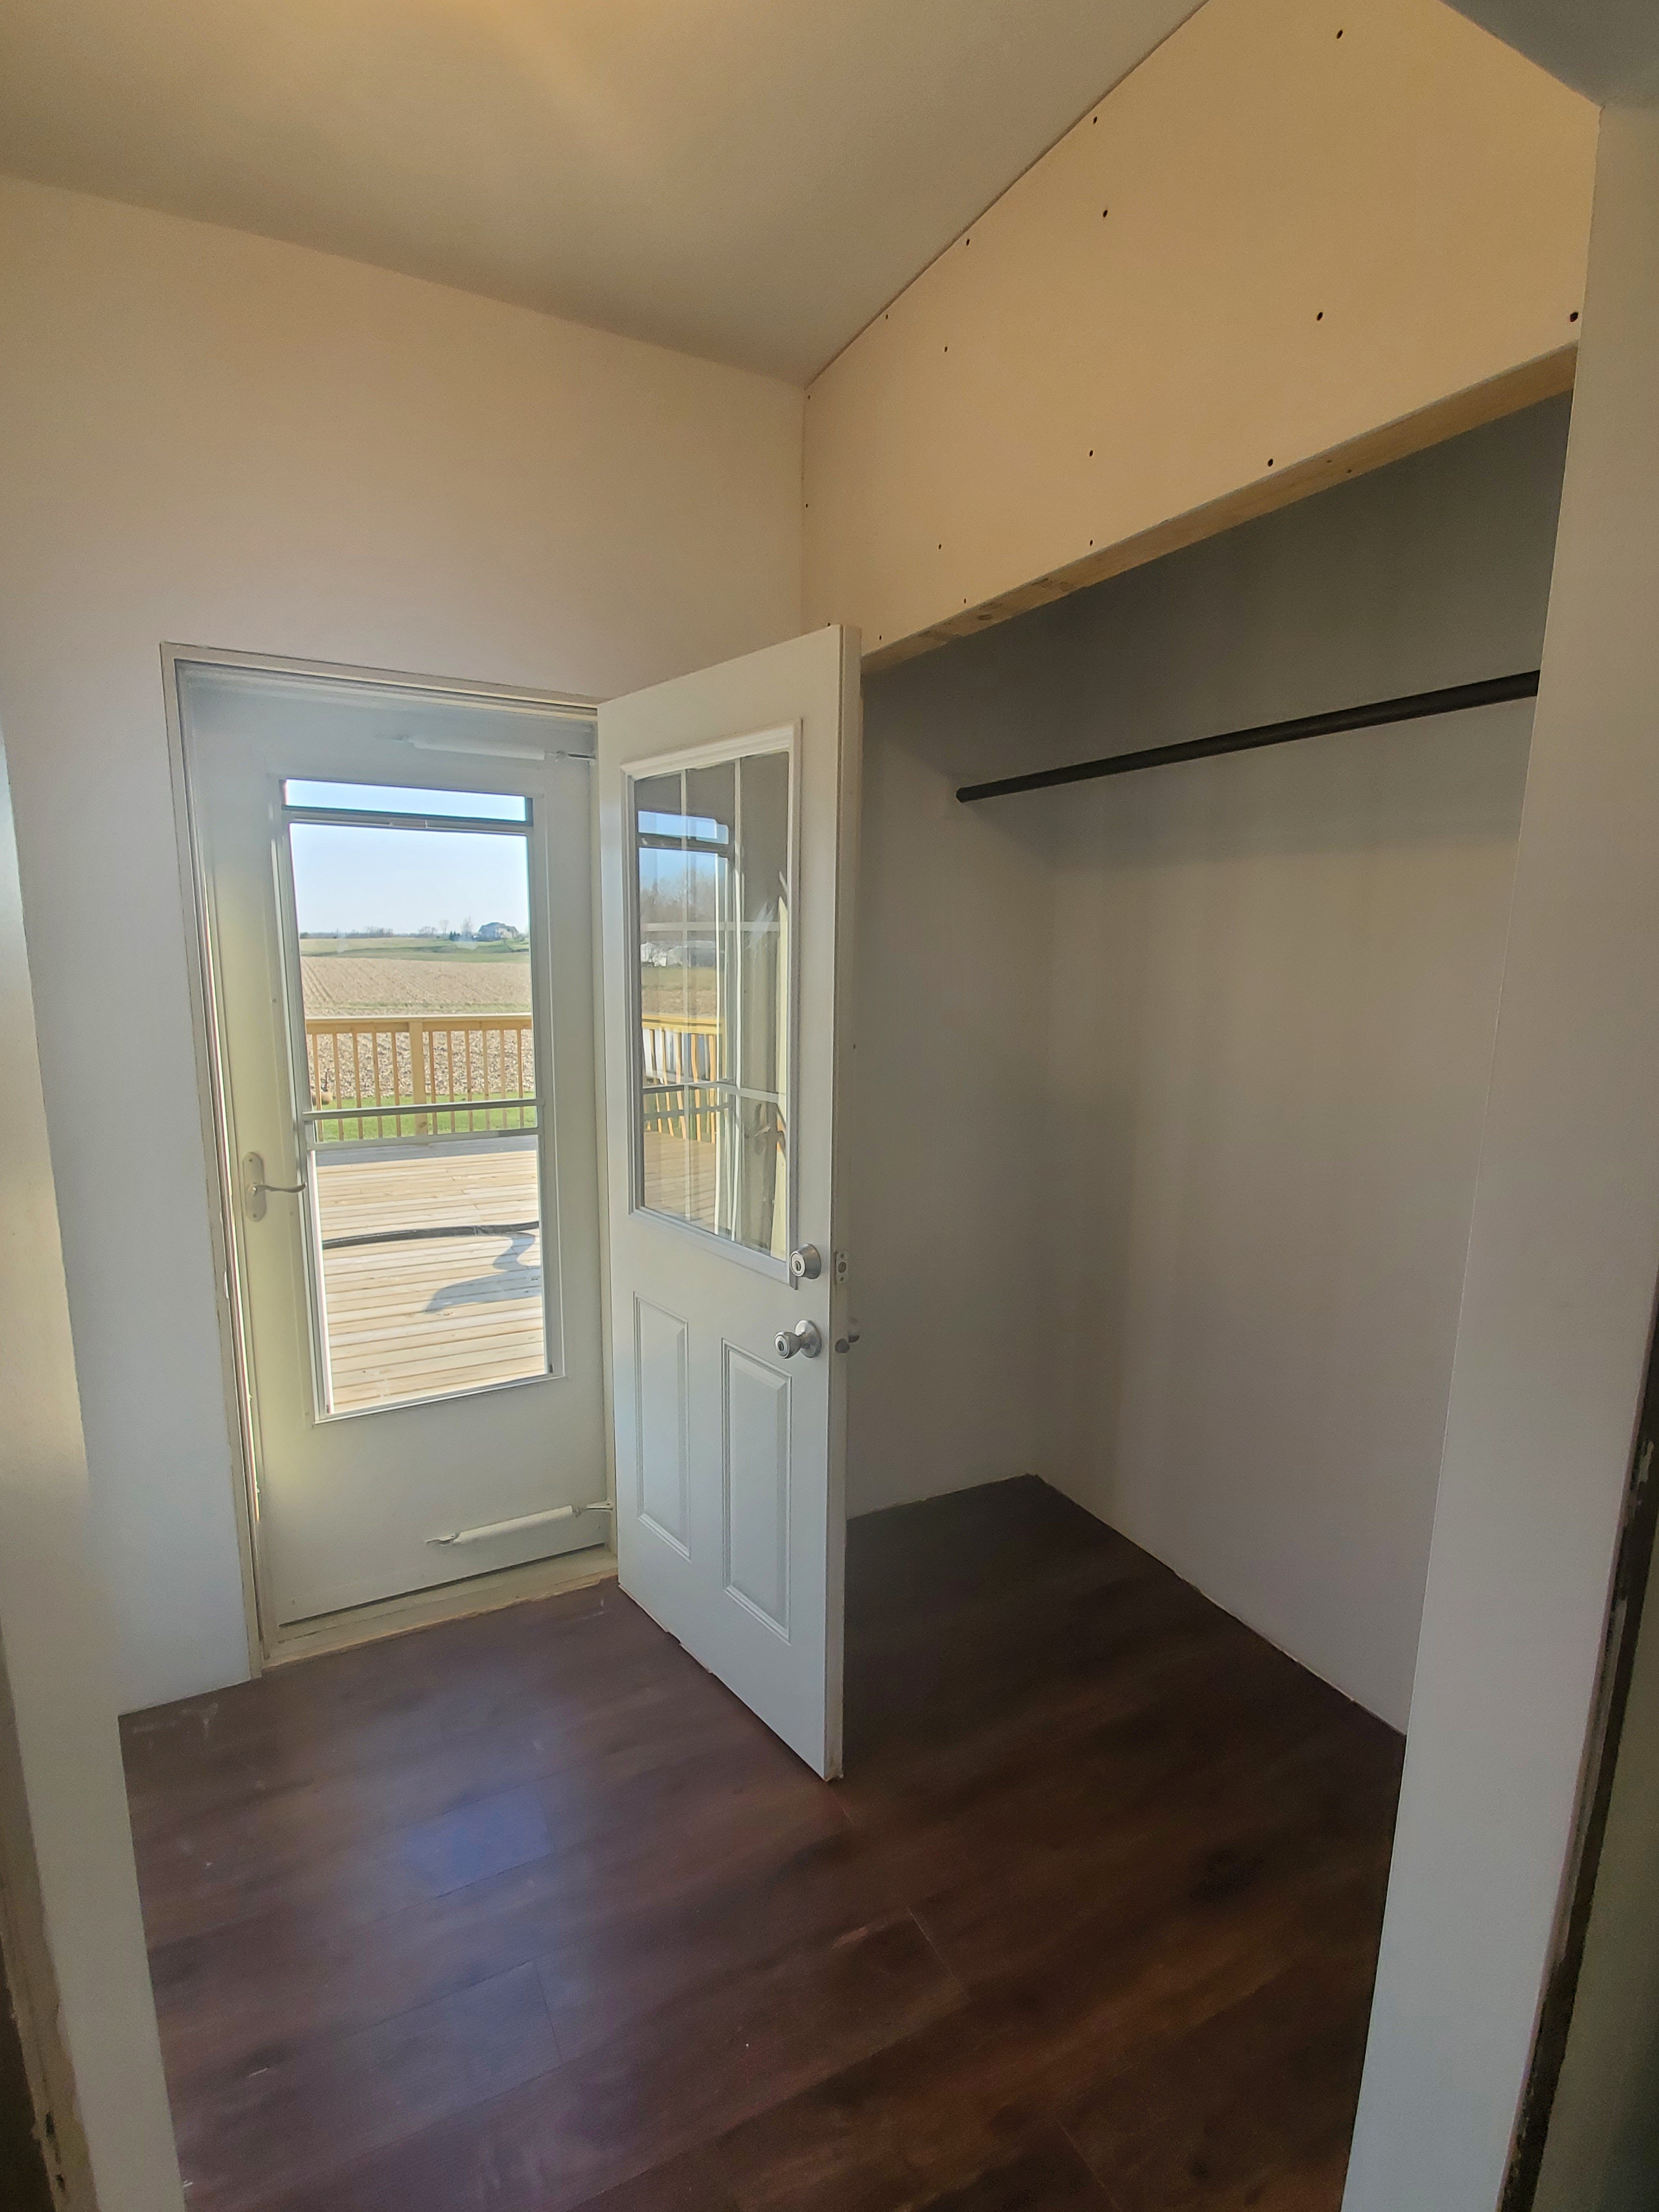

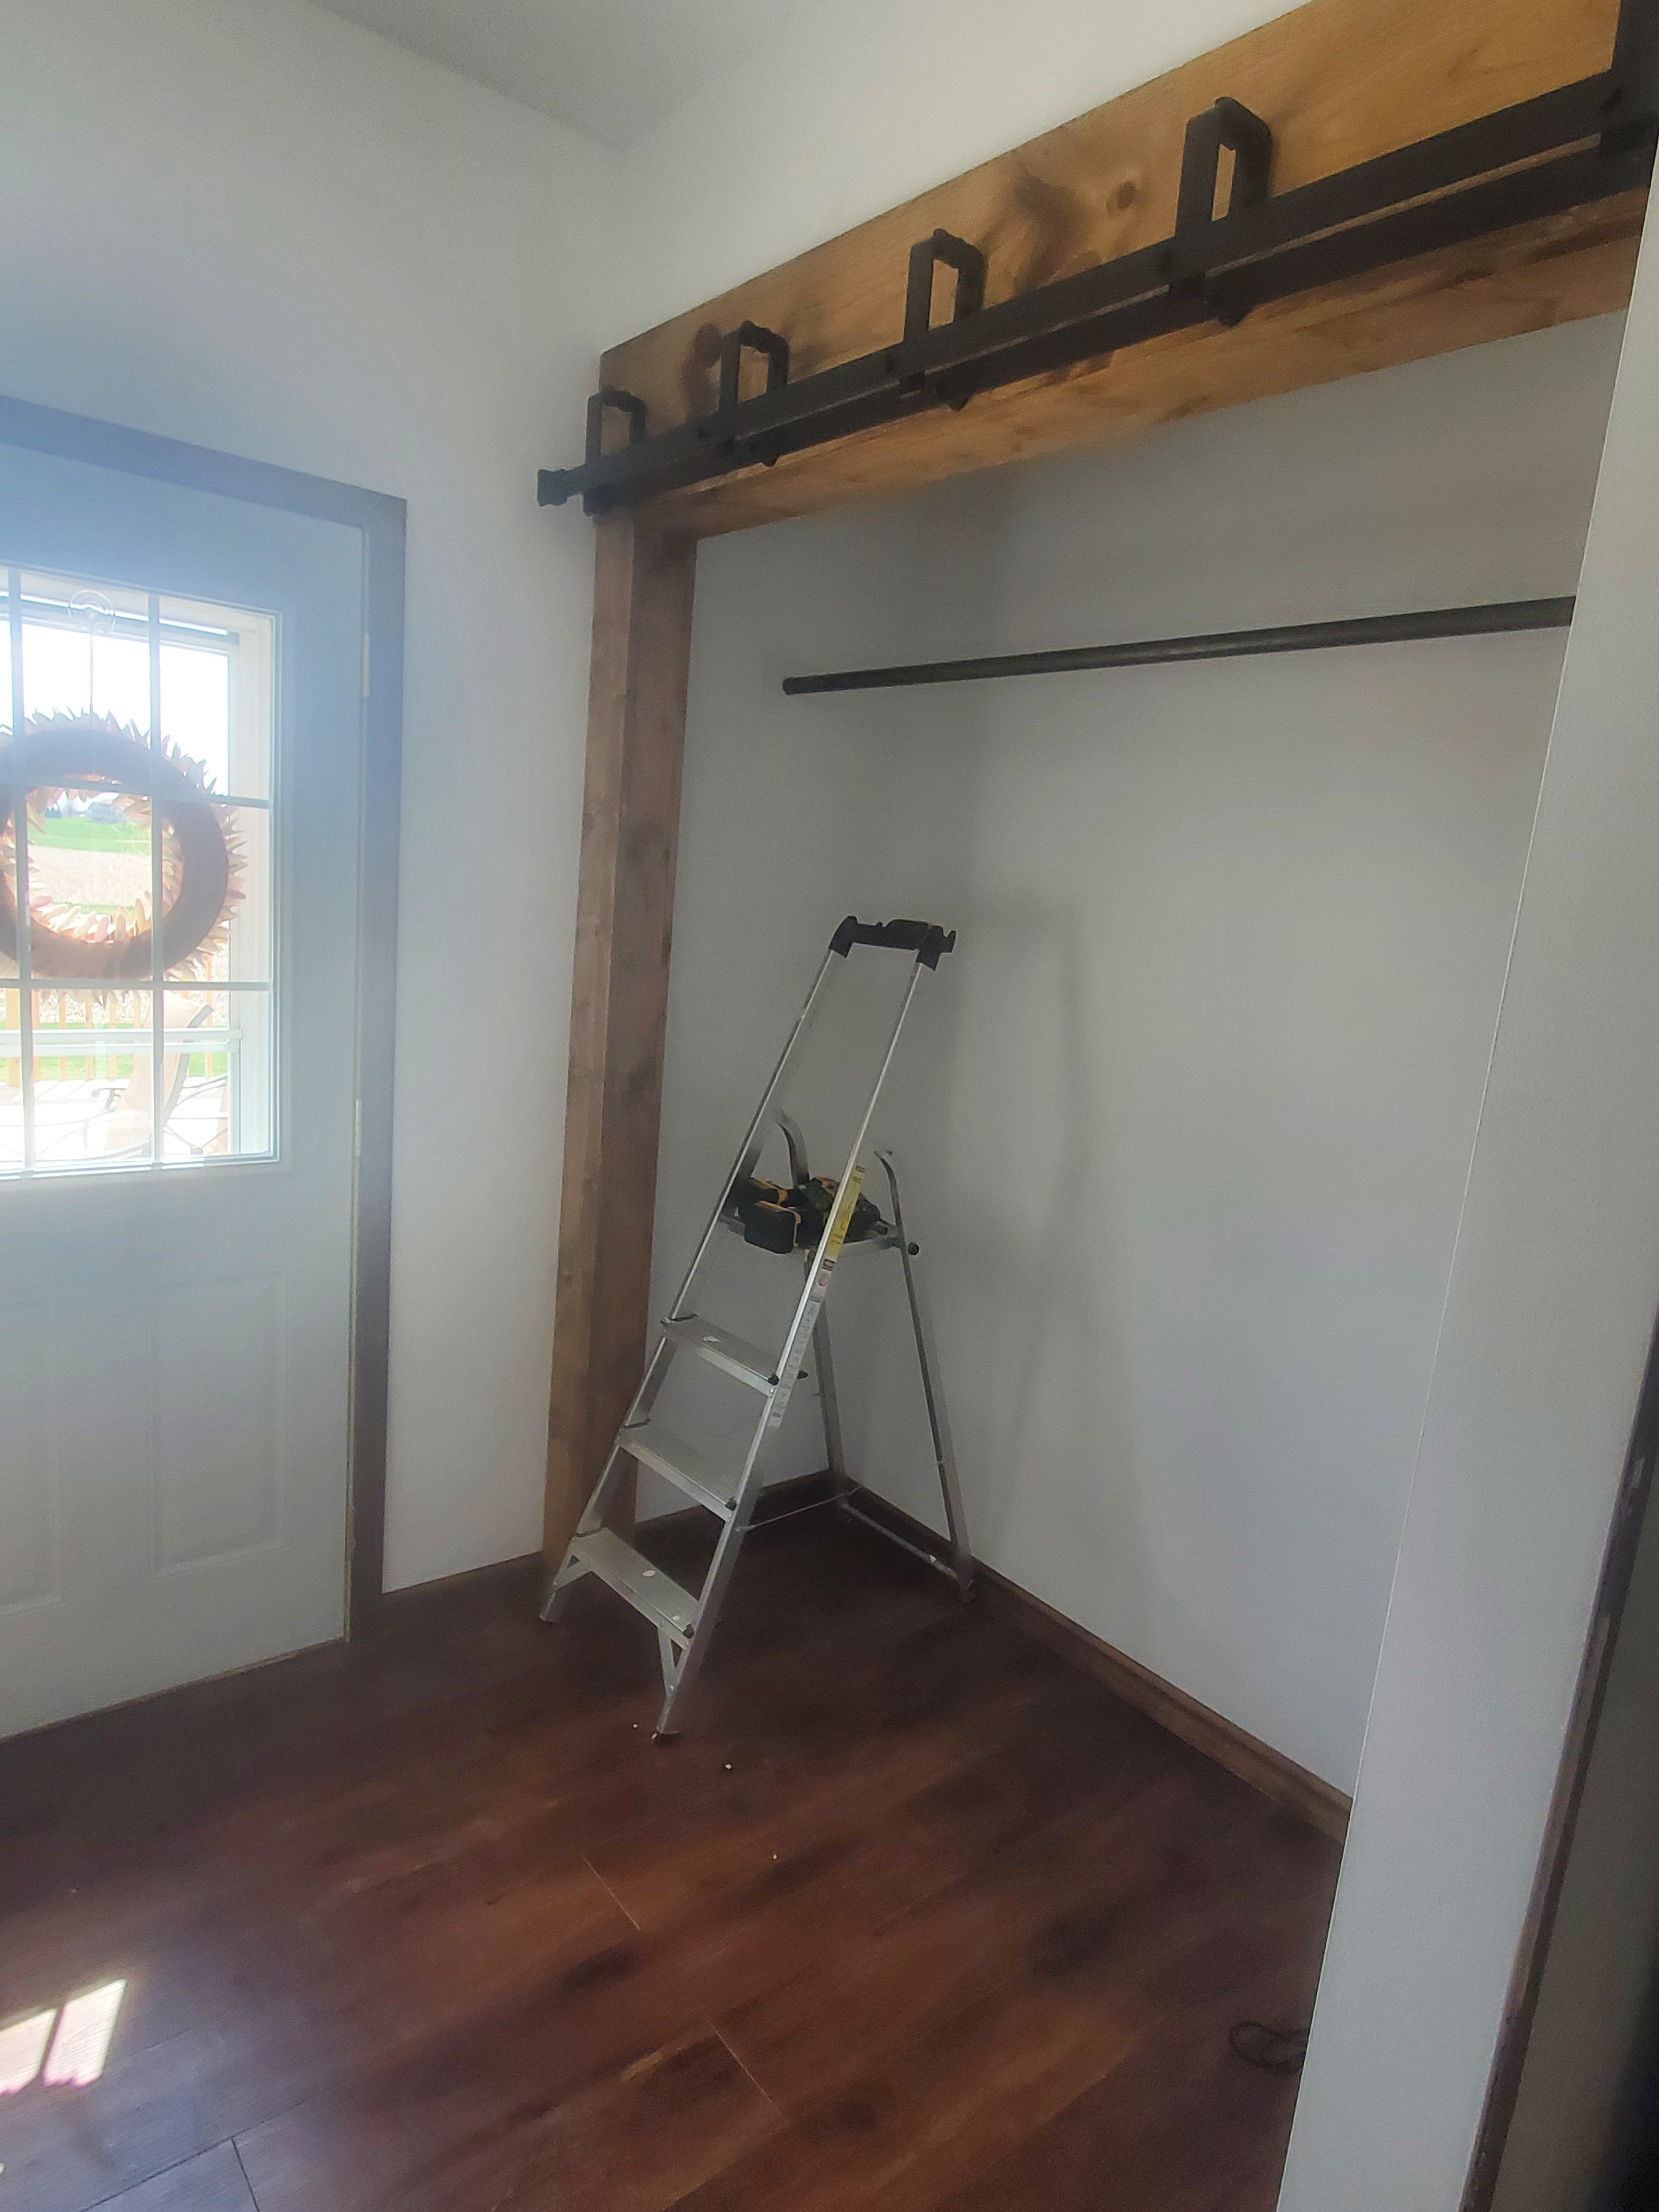
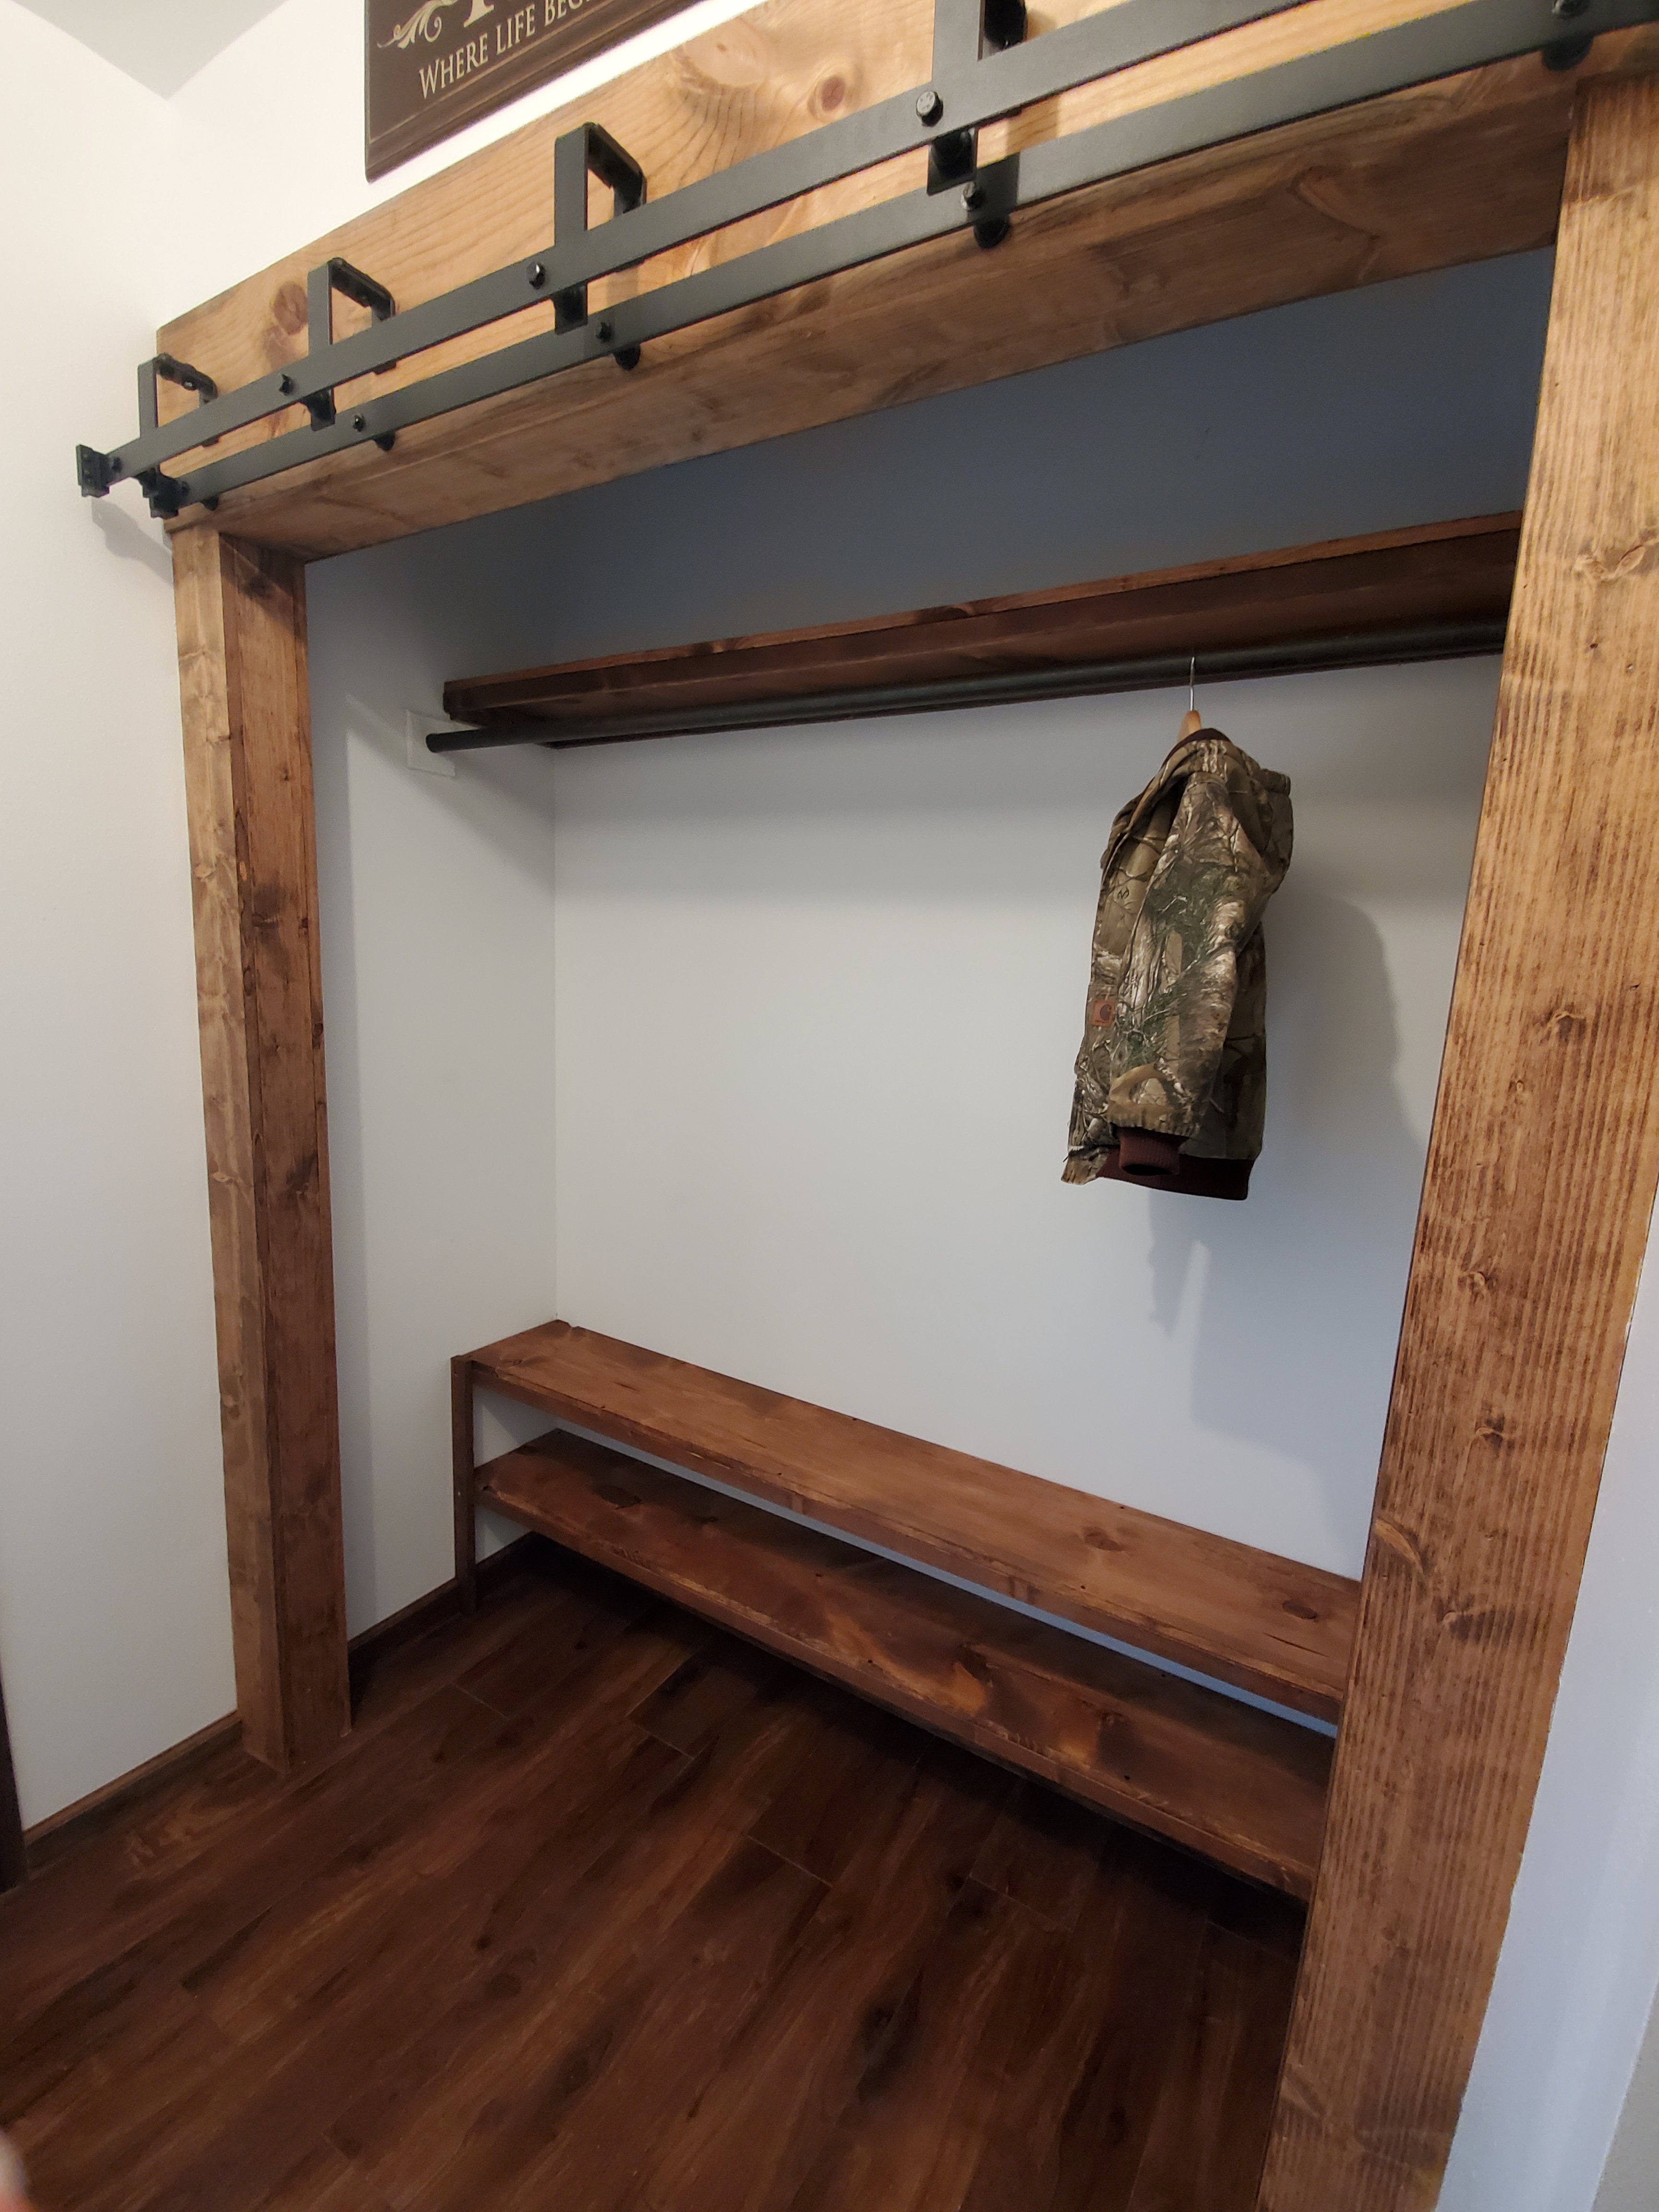
We did make the closet go all the way across the space and Jason built custom barn doors and trim. Gorgeous!
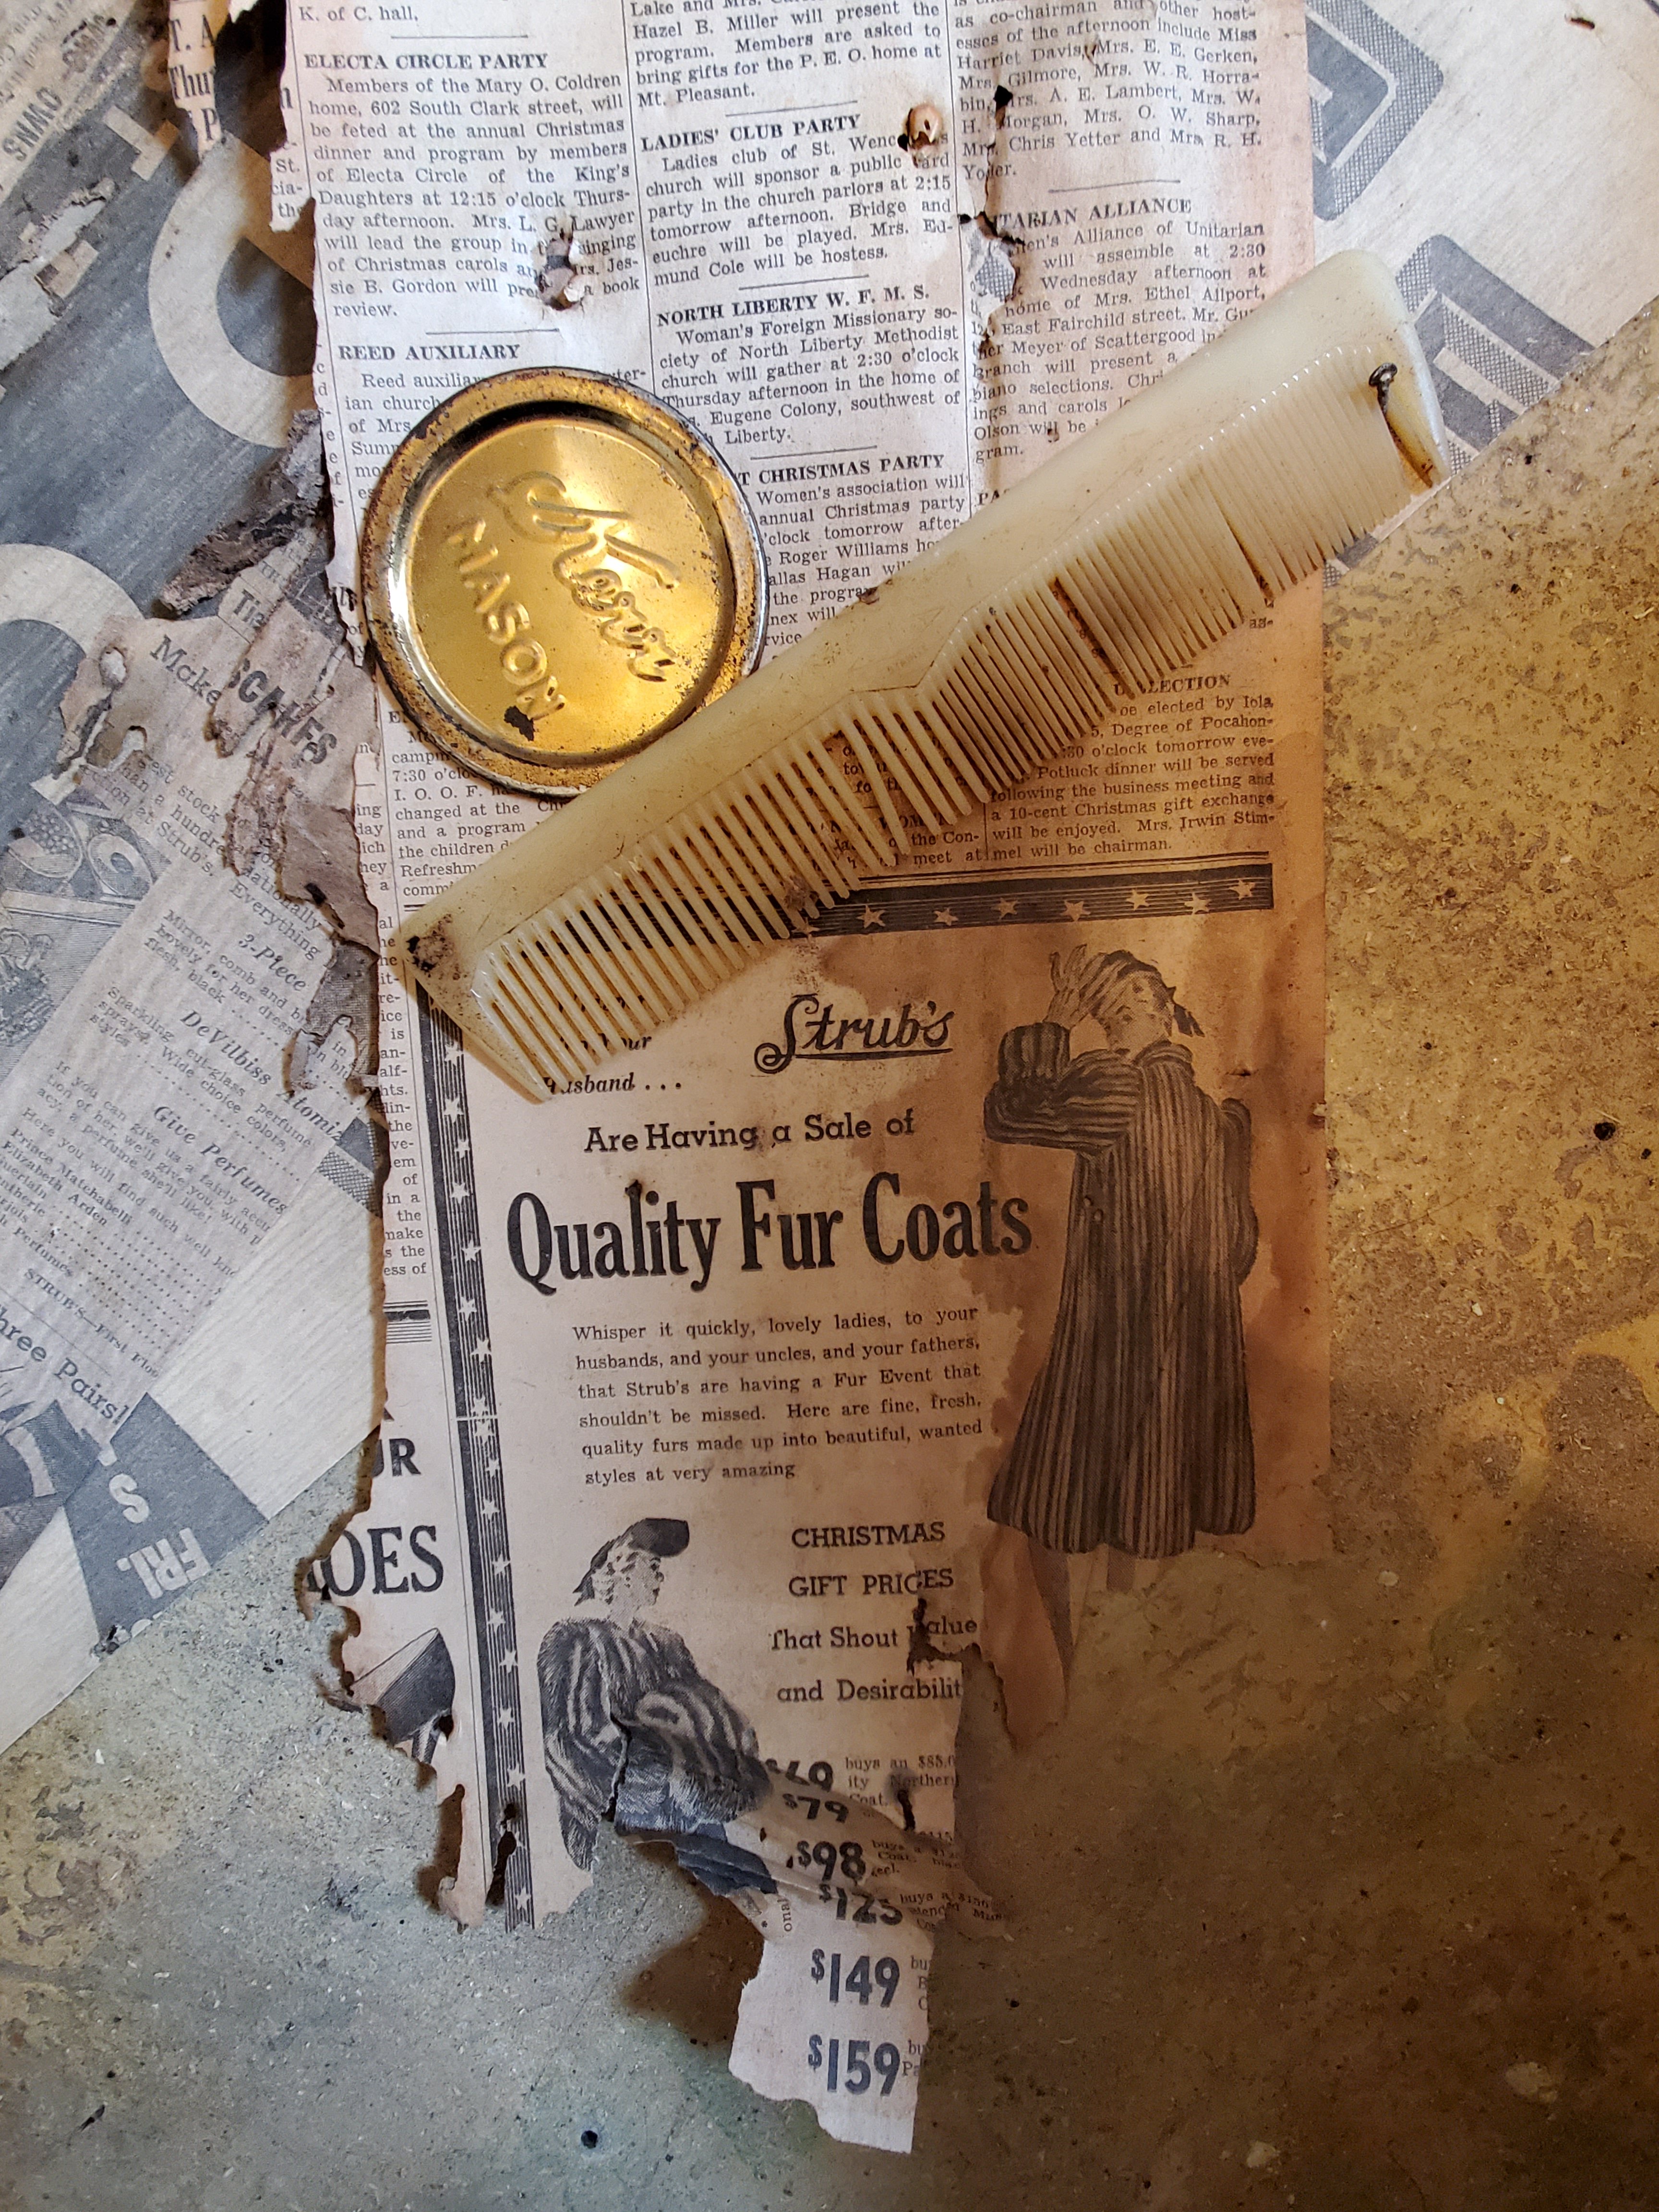
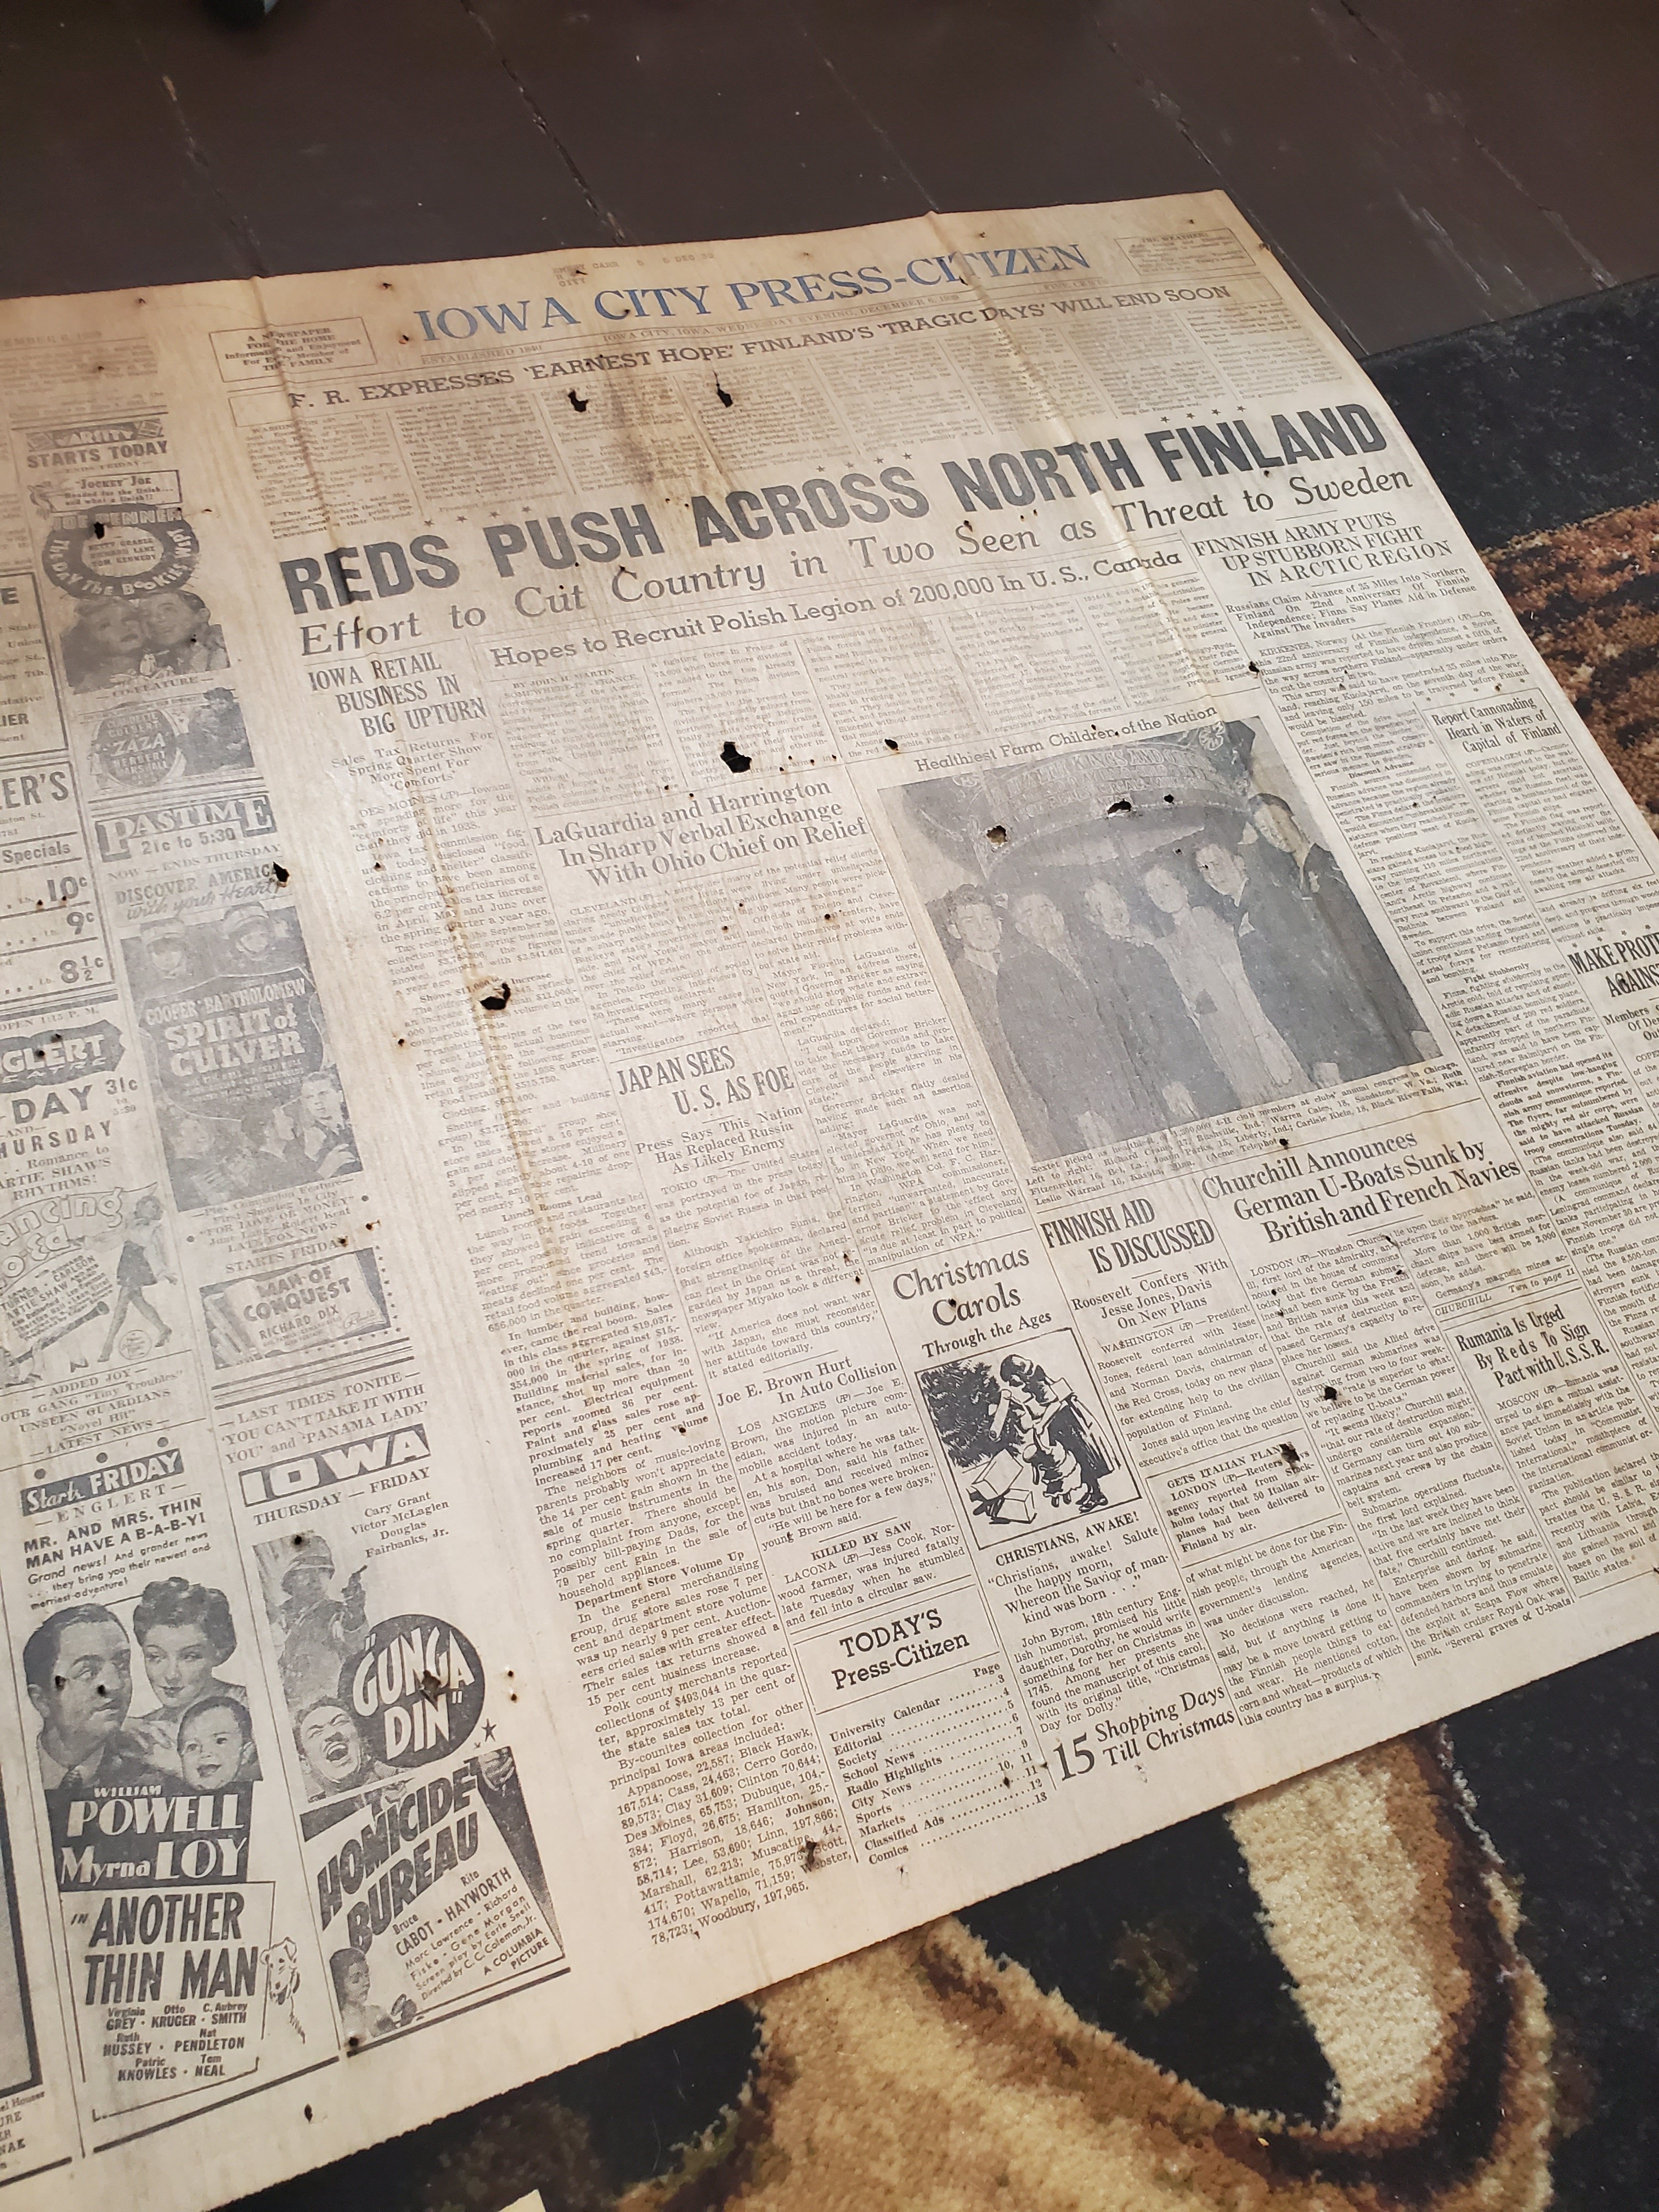
Look what we found under the flooring! Lots of these old papers from the 40s!
But now… she’s about done. (I say about, because we do still have an antique flag we are making a custom frame for to hang about the coat rack, but still, very close)

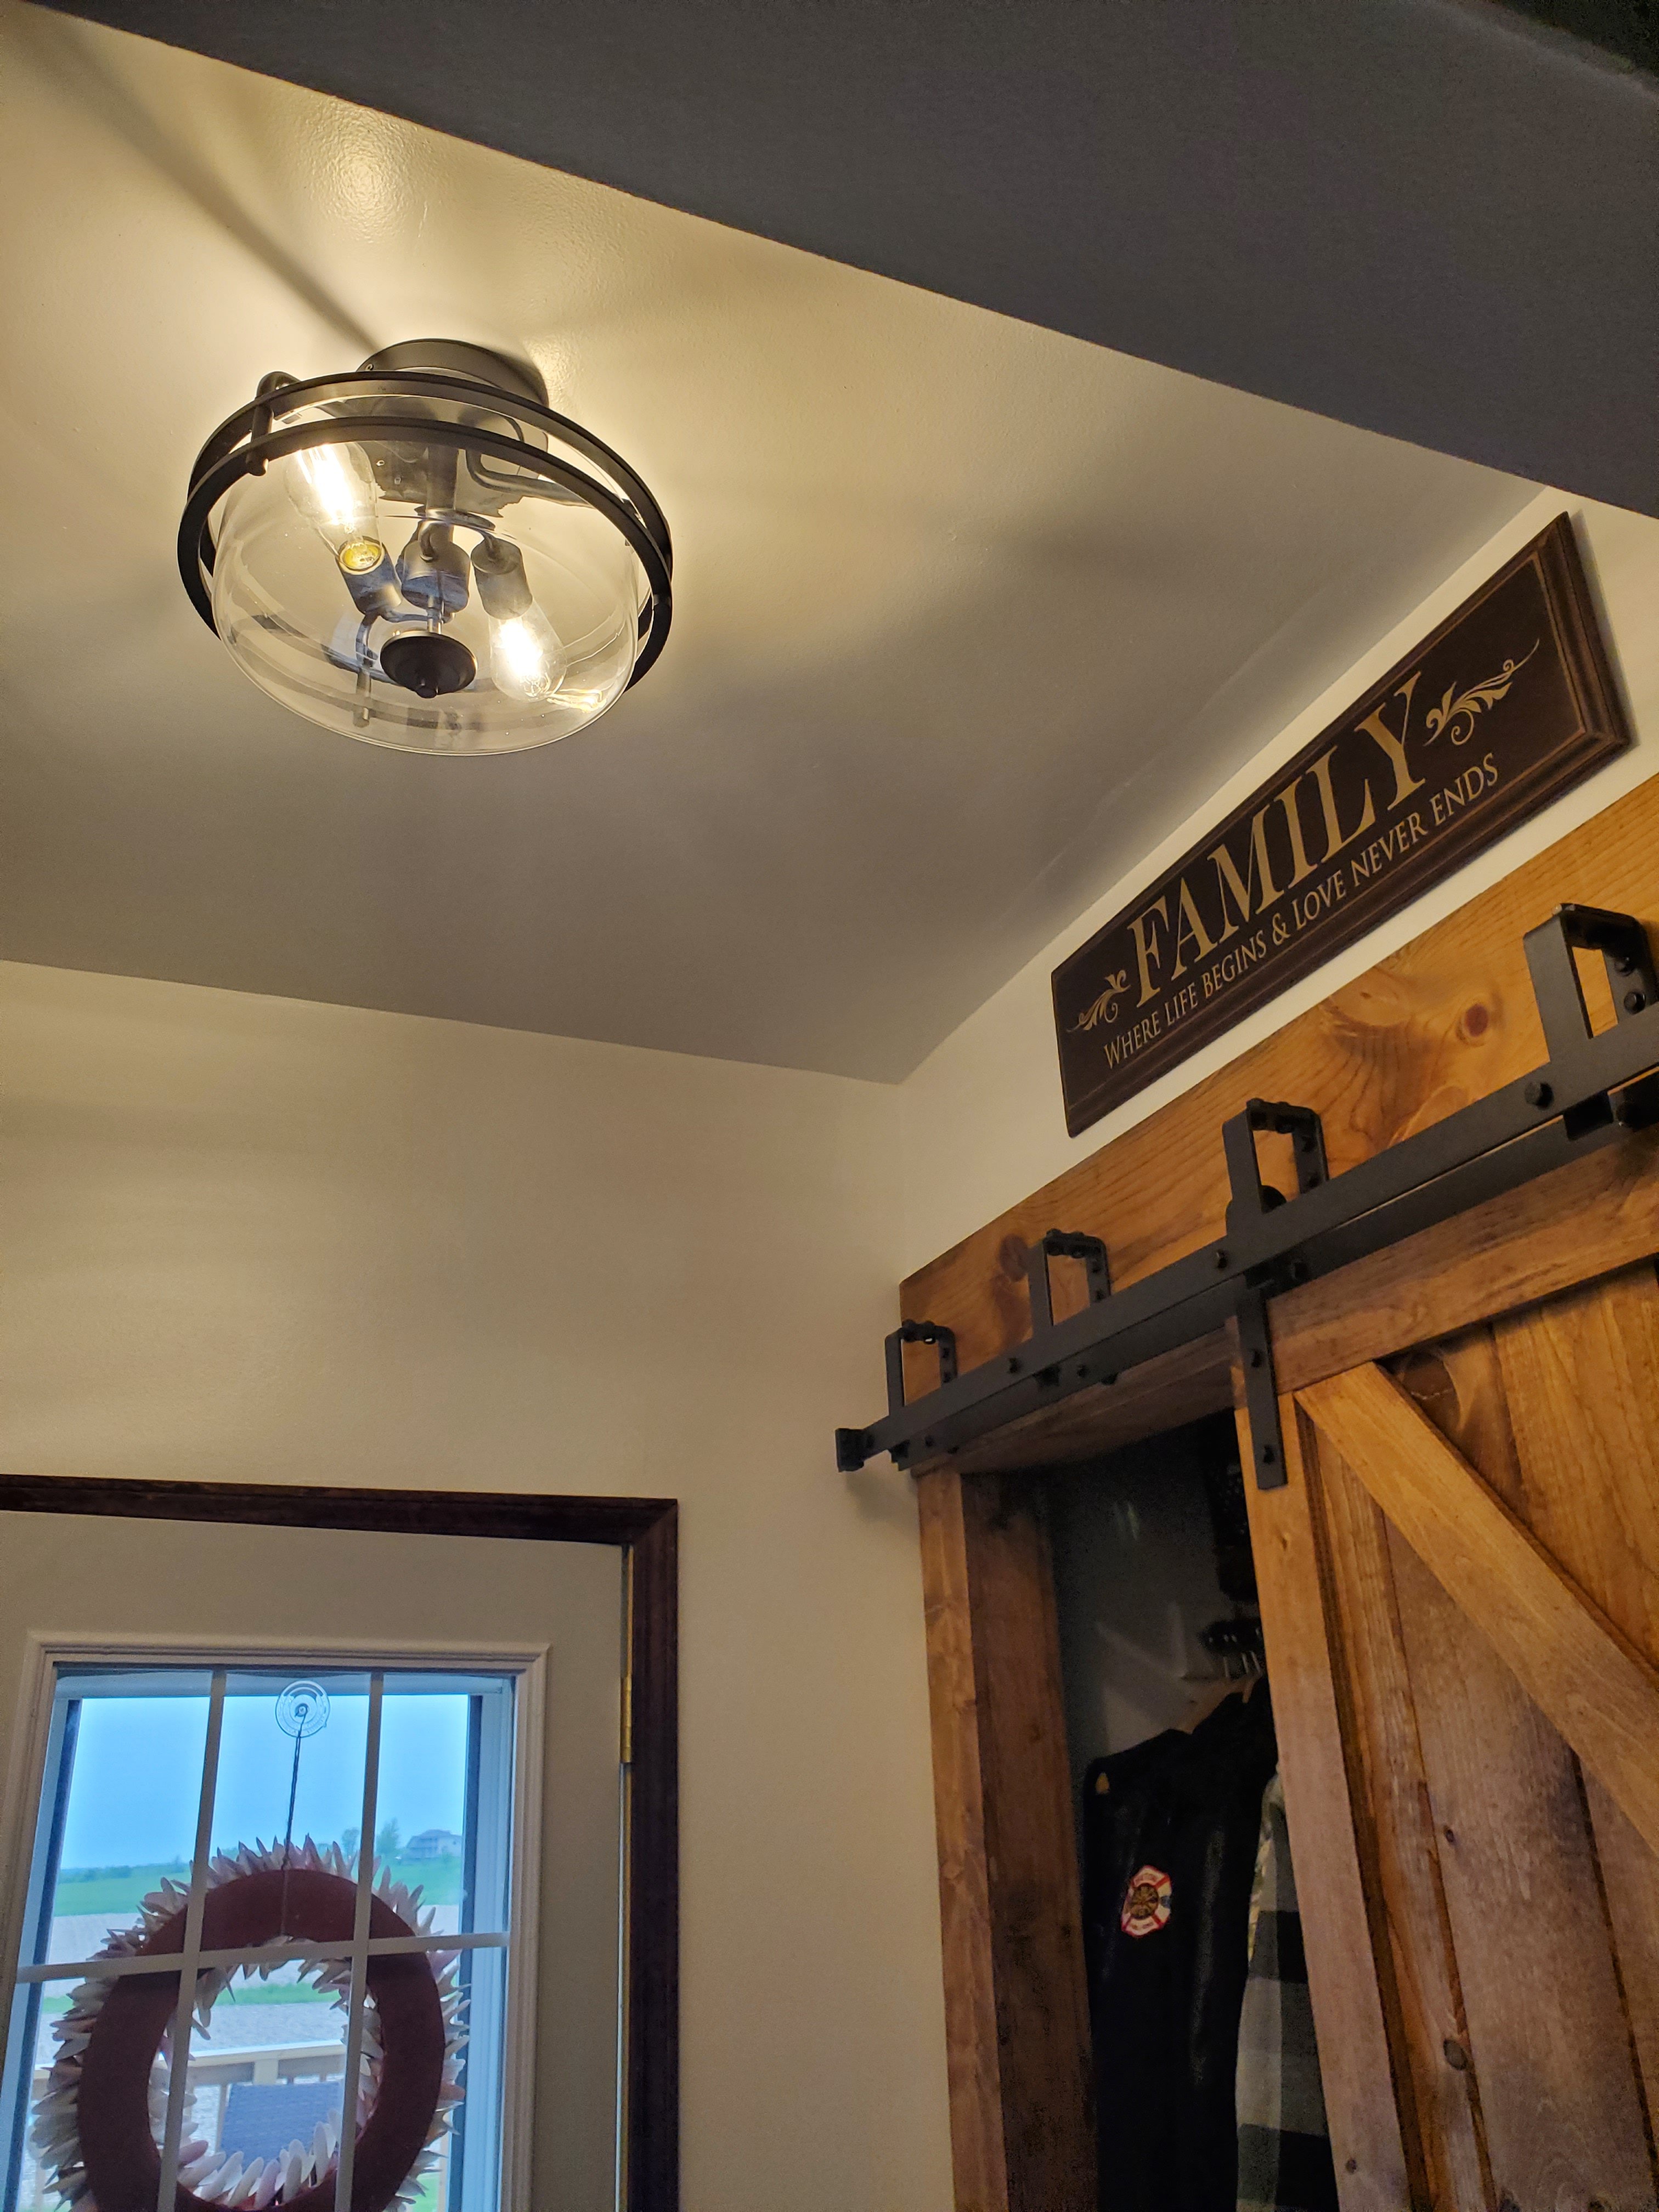


What do you think?! I think I love it so much that I need to add a chair for company. Come in further and you will see the dining room and hallway that we need to do the same too. 🤣
XX,
Jess
Deck Updates- Easy Ways to Make Outdoor Spaces Cozy
Summer is finally on the way! And we’ve been getting the deck and yard all ready.
Last year getting the deck built was our project. This year making the deck cozy and entertaining worthy is my mission. So we added a few things. Not done yet, but progress!


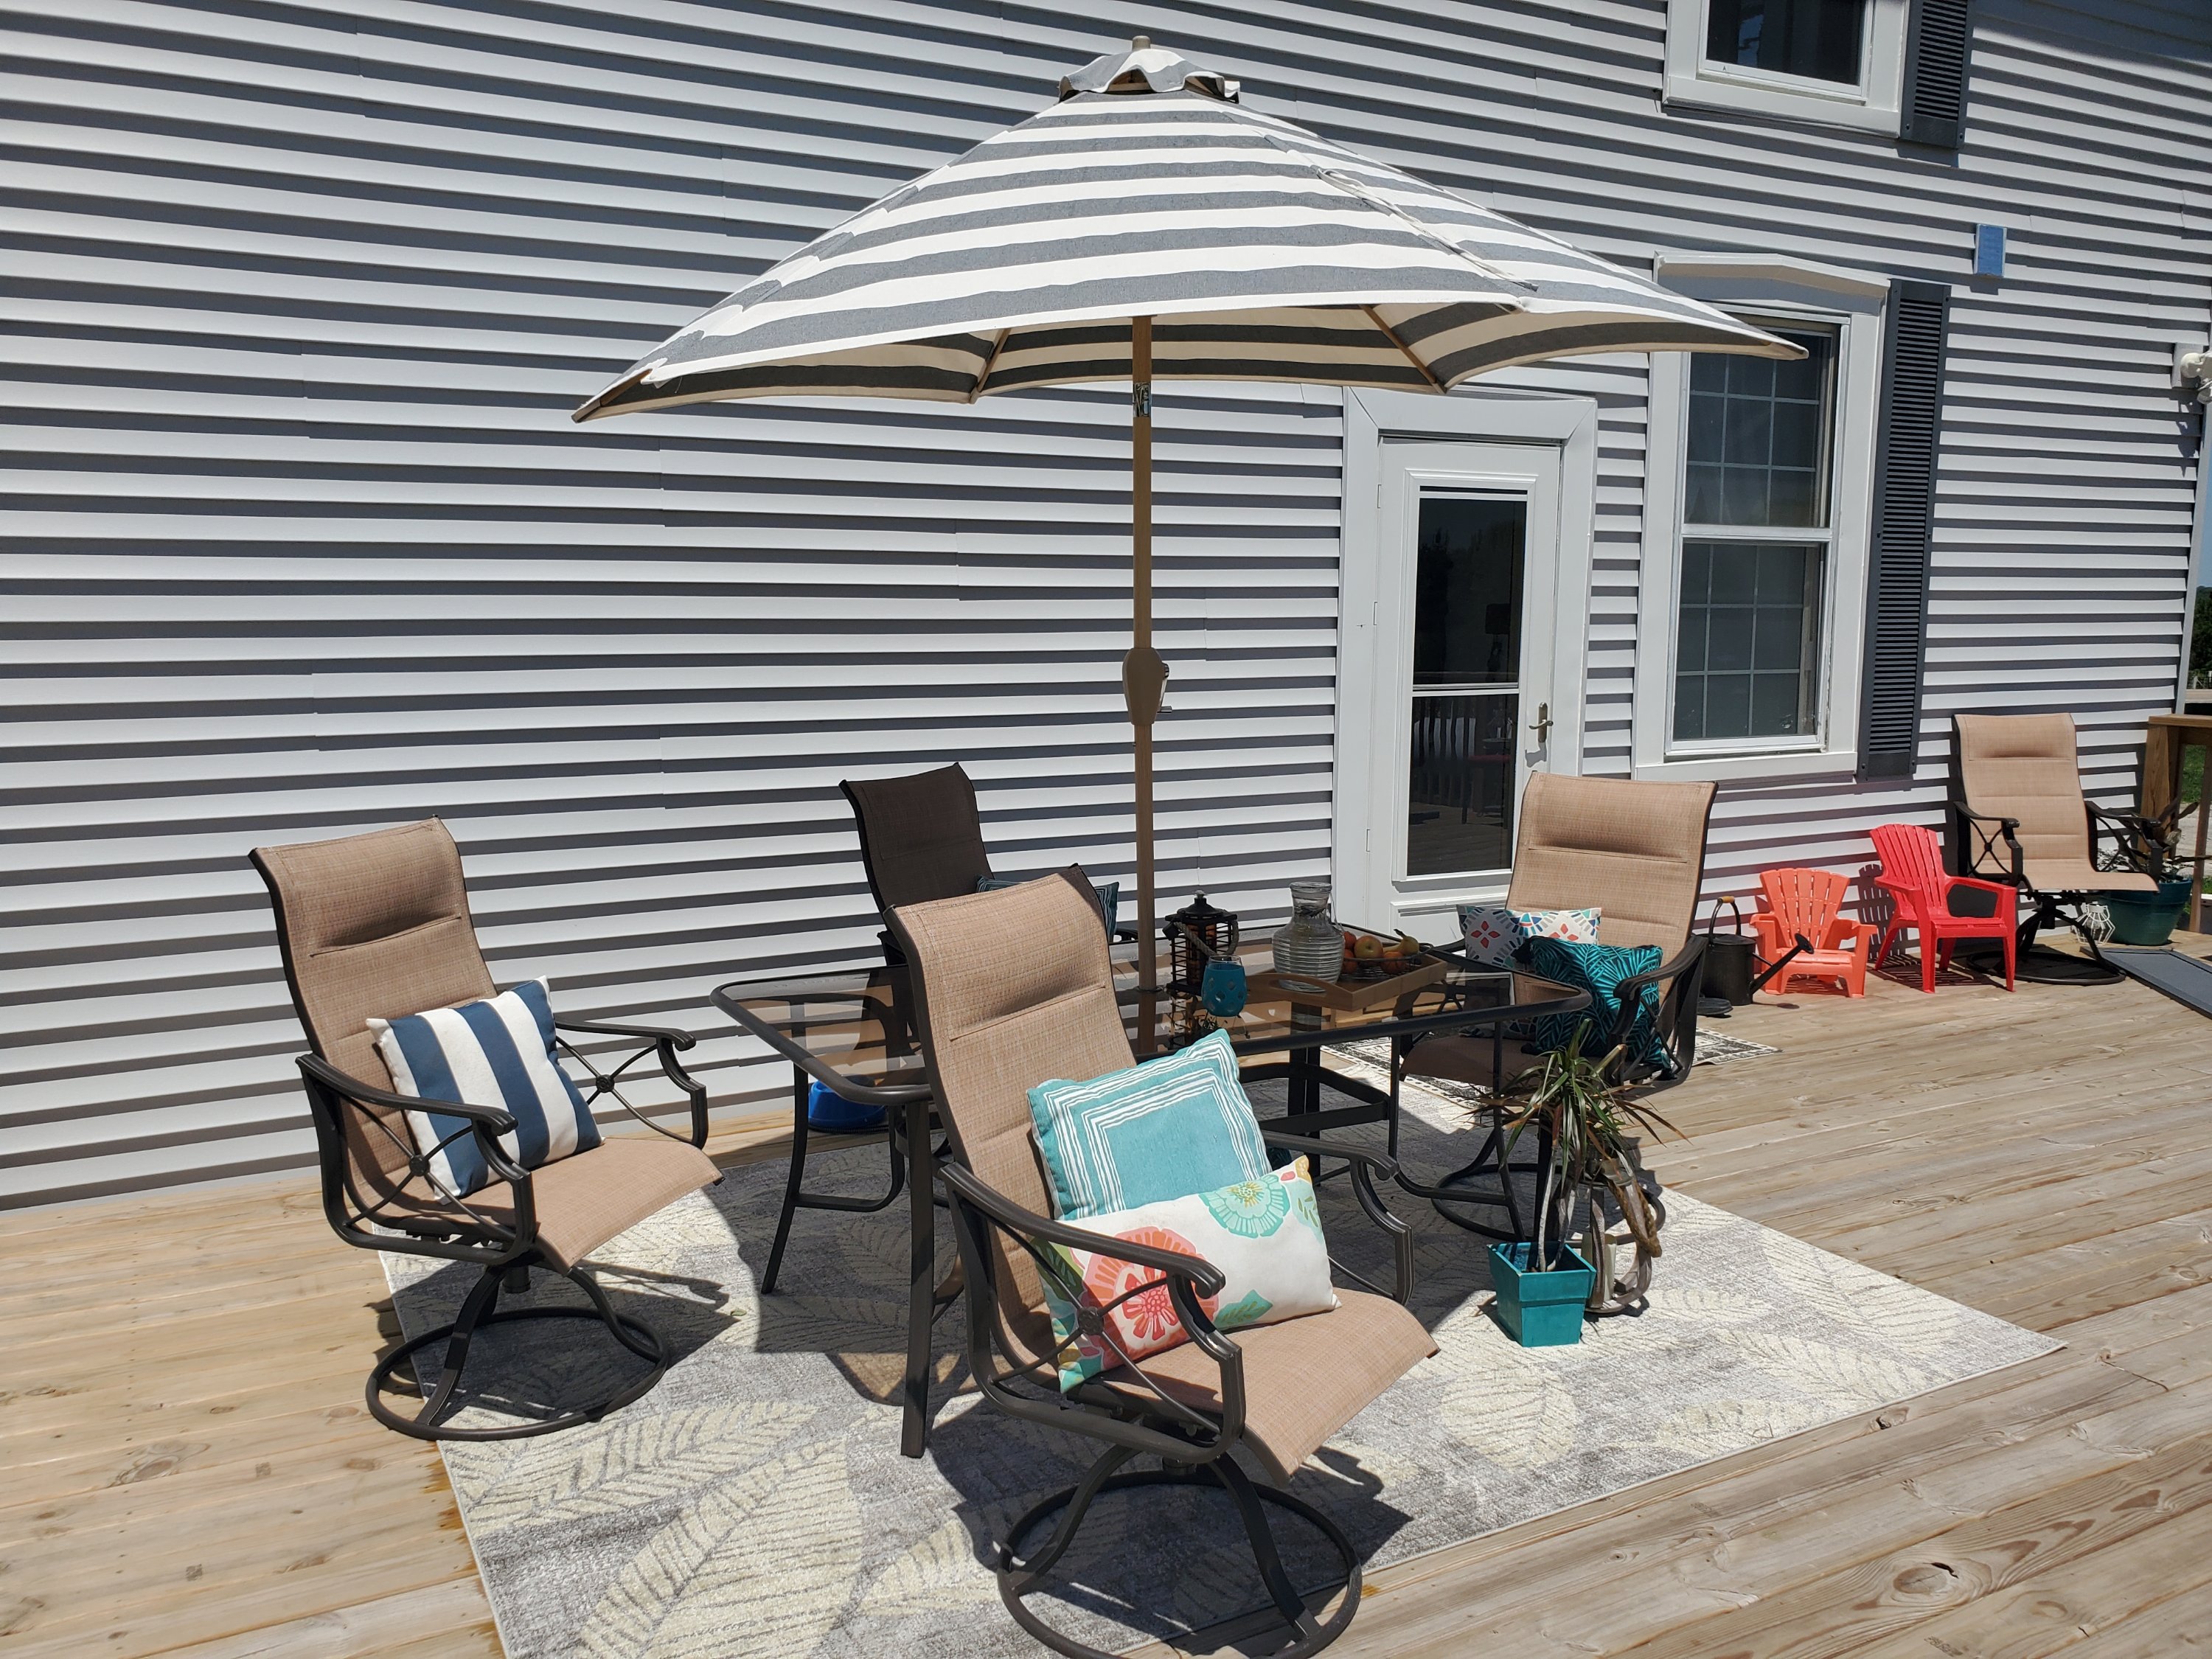


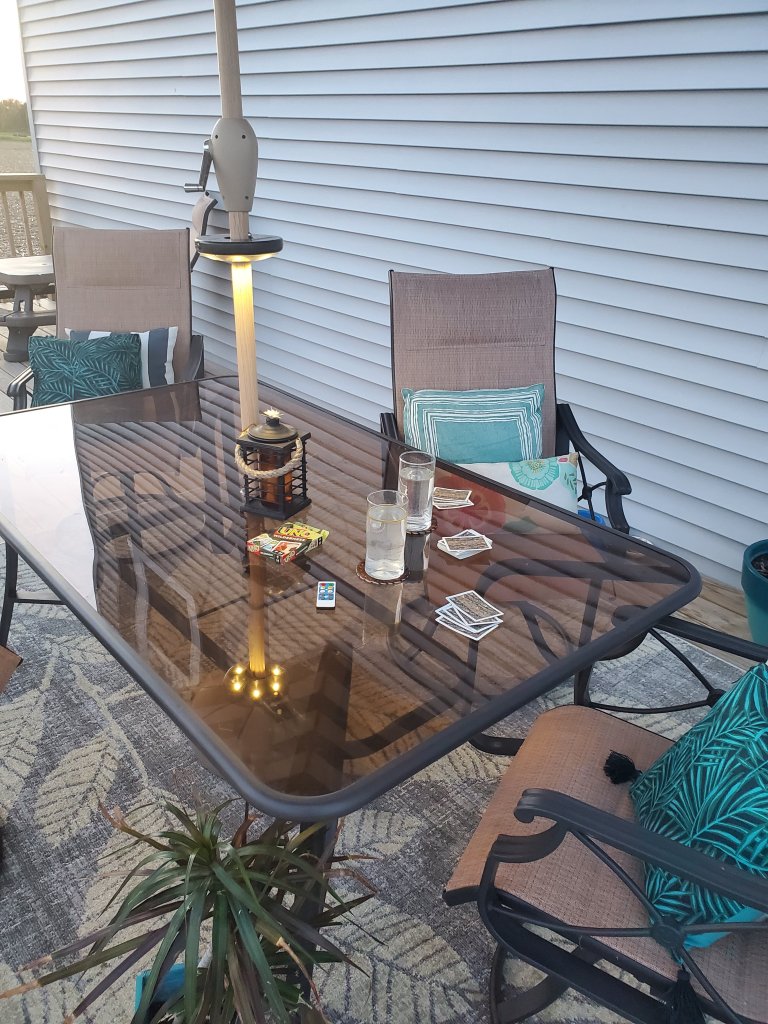
Plenty of cushions and a new rug make it cozy! Rug is from Mark and Day, our favorite rug place! (You can still use my code at Mark and Day too- JESSI10). AND, they are doing a free rug pad promotion right now too!
Some cushions and Walmart and Dollar General, but old, and the two darker green are new from Target Dollar Spot. Scotch Guard them to keep them longer, and I take in or put in a deck box when weather is bad. 😉
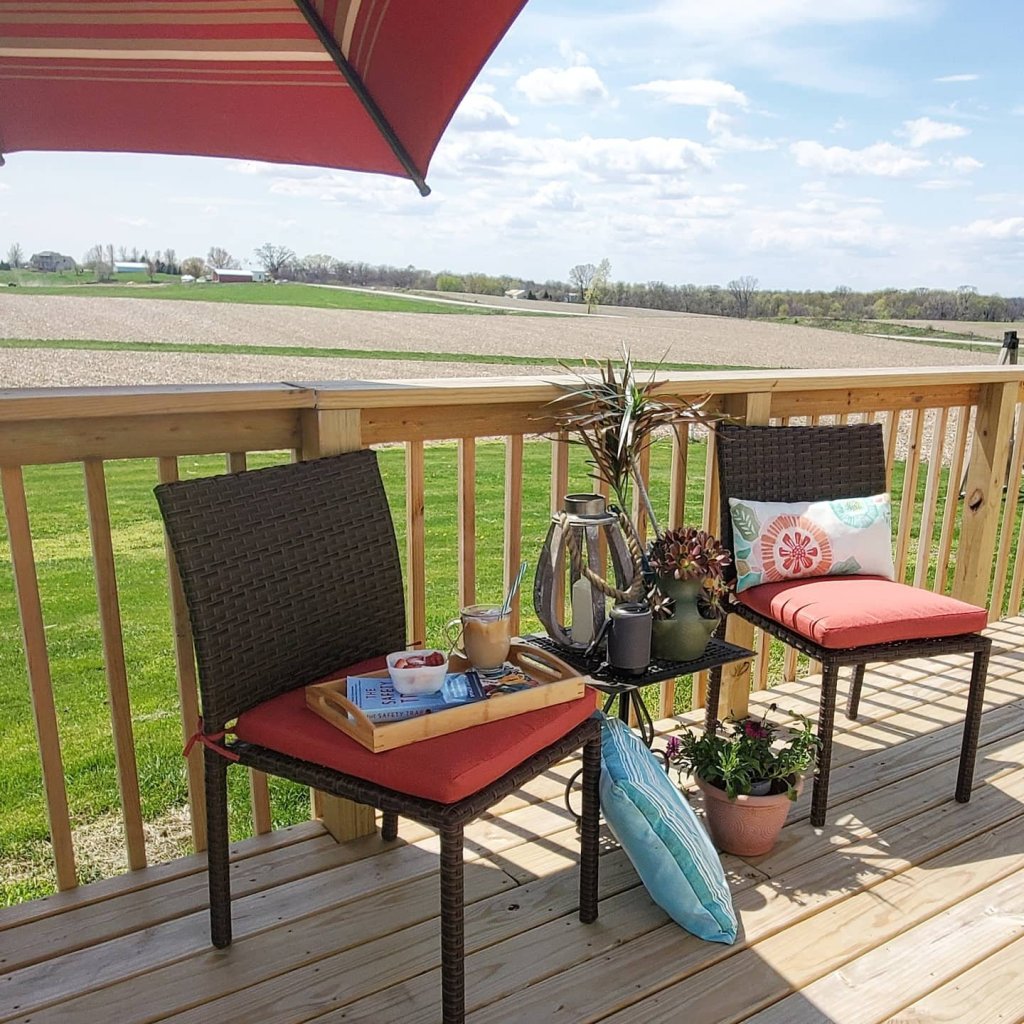
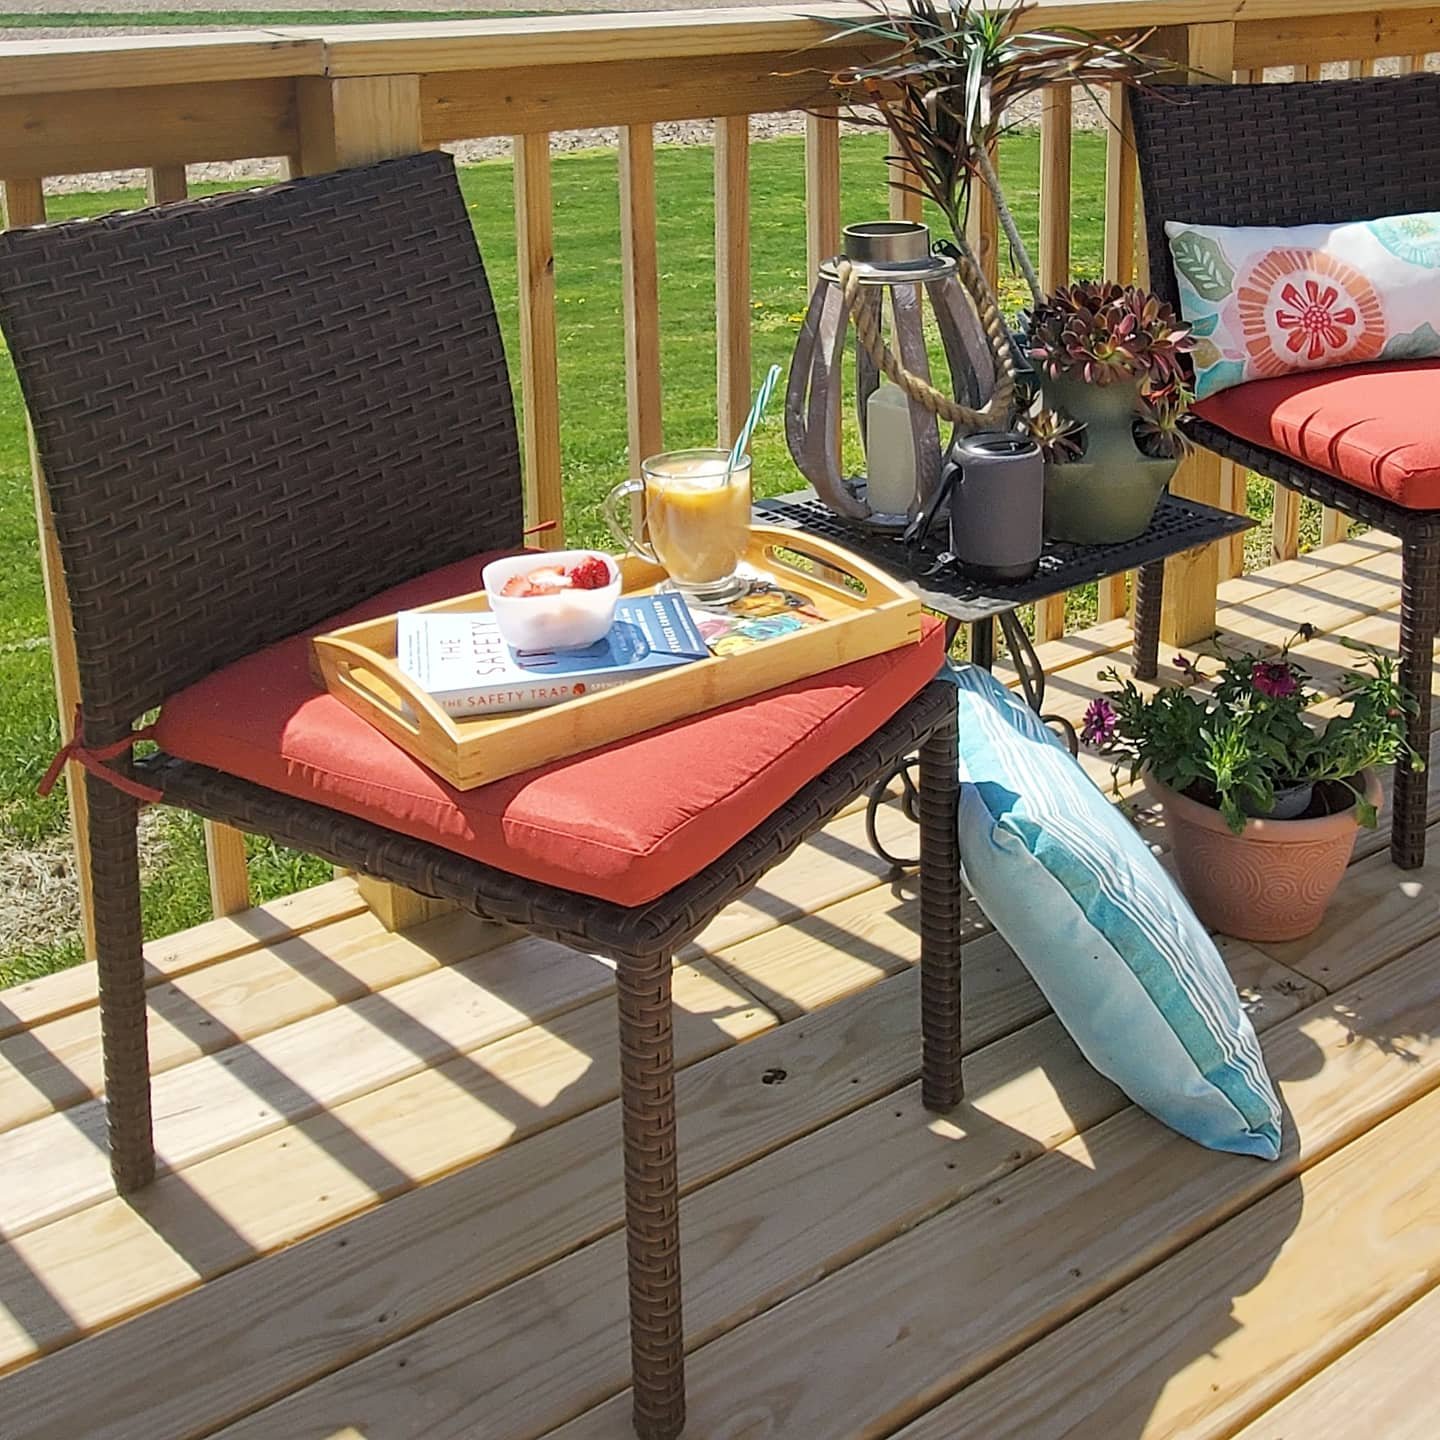
The other cozy trick is to add little areas. When we have company, chairs can get pulled anywhere, but they start out set up in cozy little spots. These stackable chairs we got to have extra seating, are from Best Choice Products. Different rugs also help tie different conversation areas together.
Another easy thing to add for coziness is plants. Plants bring brightness and life to spaces, and same with outdoor spaces! You don’t have to have a green thumb, mine mostly isn’t 😉, even fake plants do the trick.
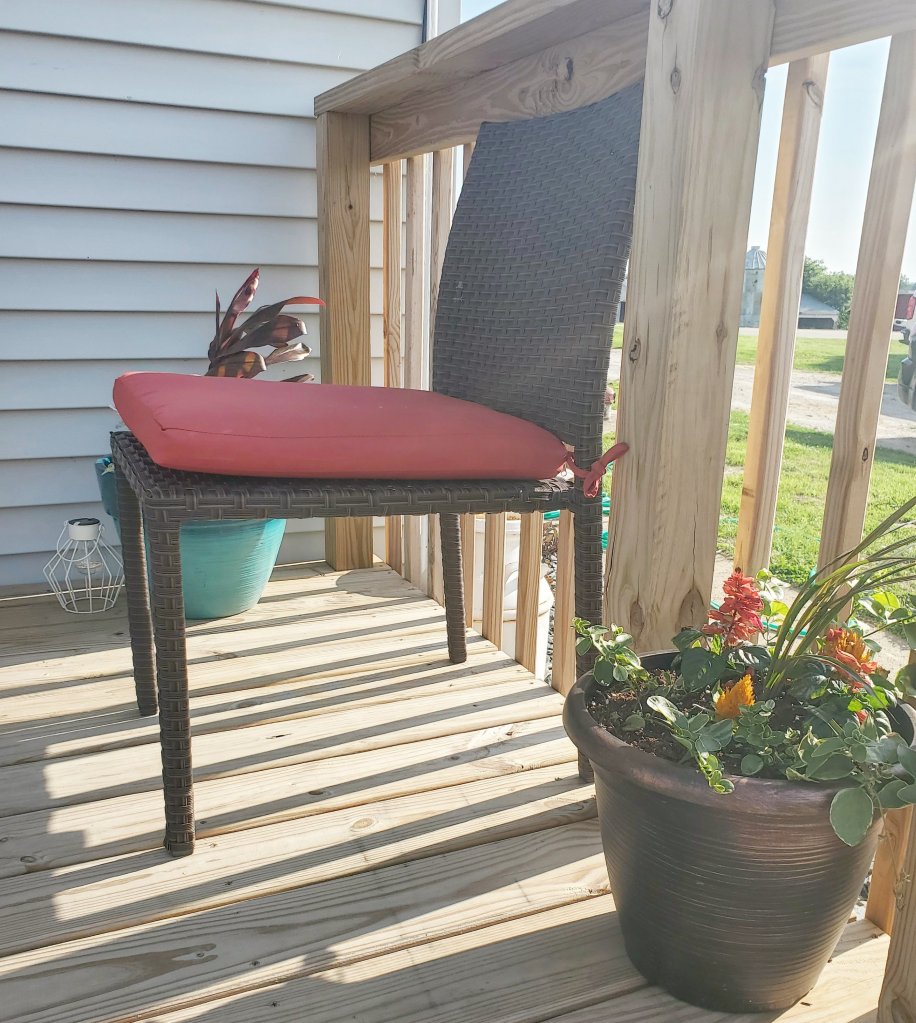
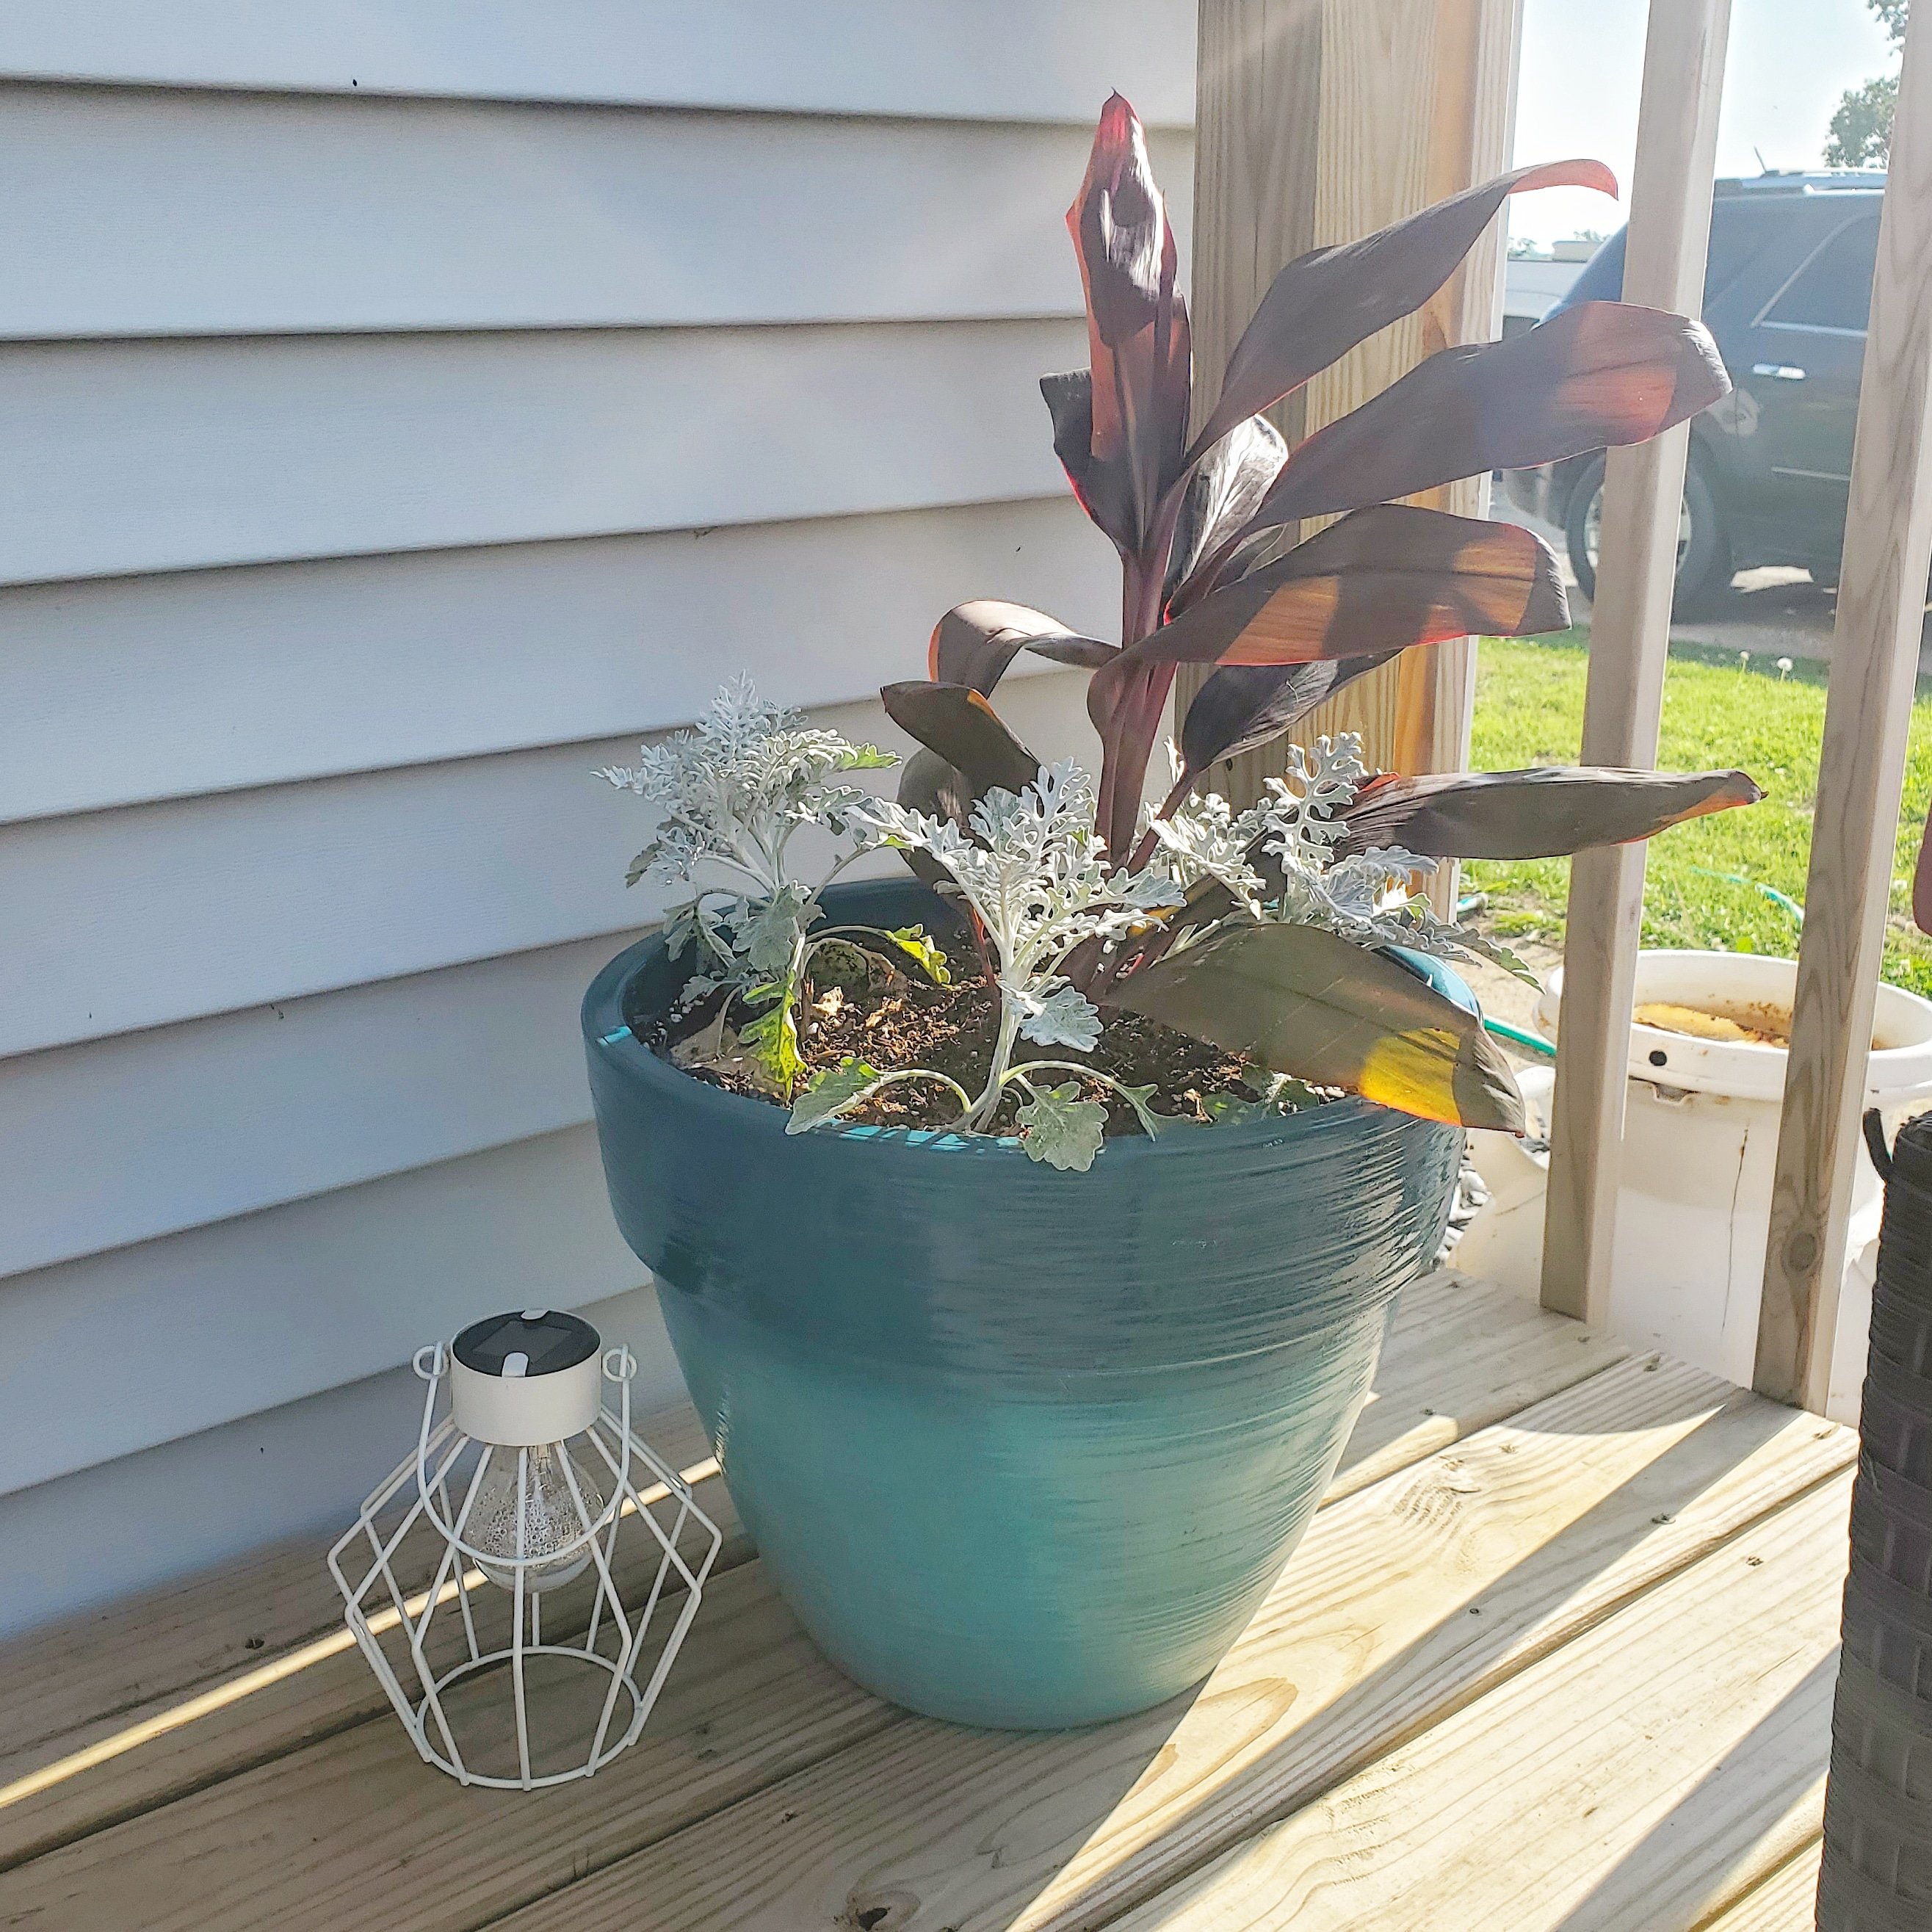
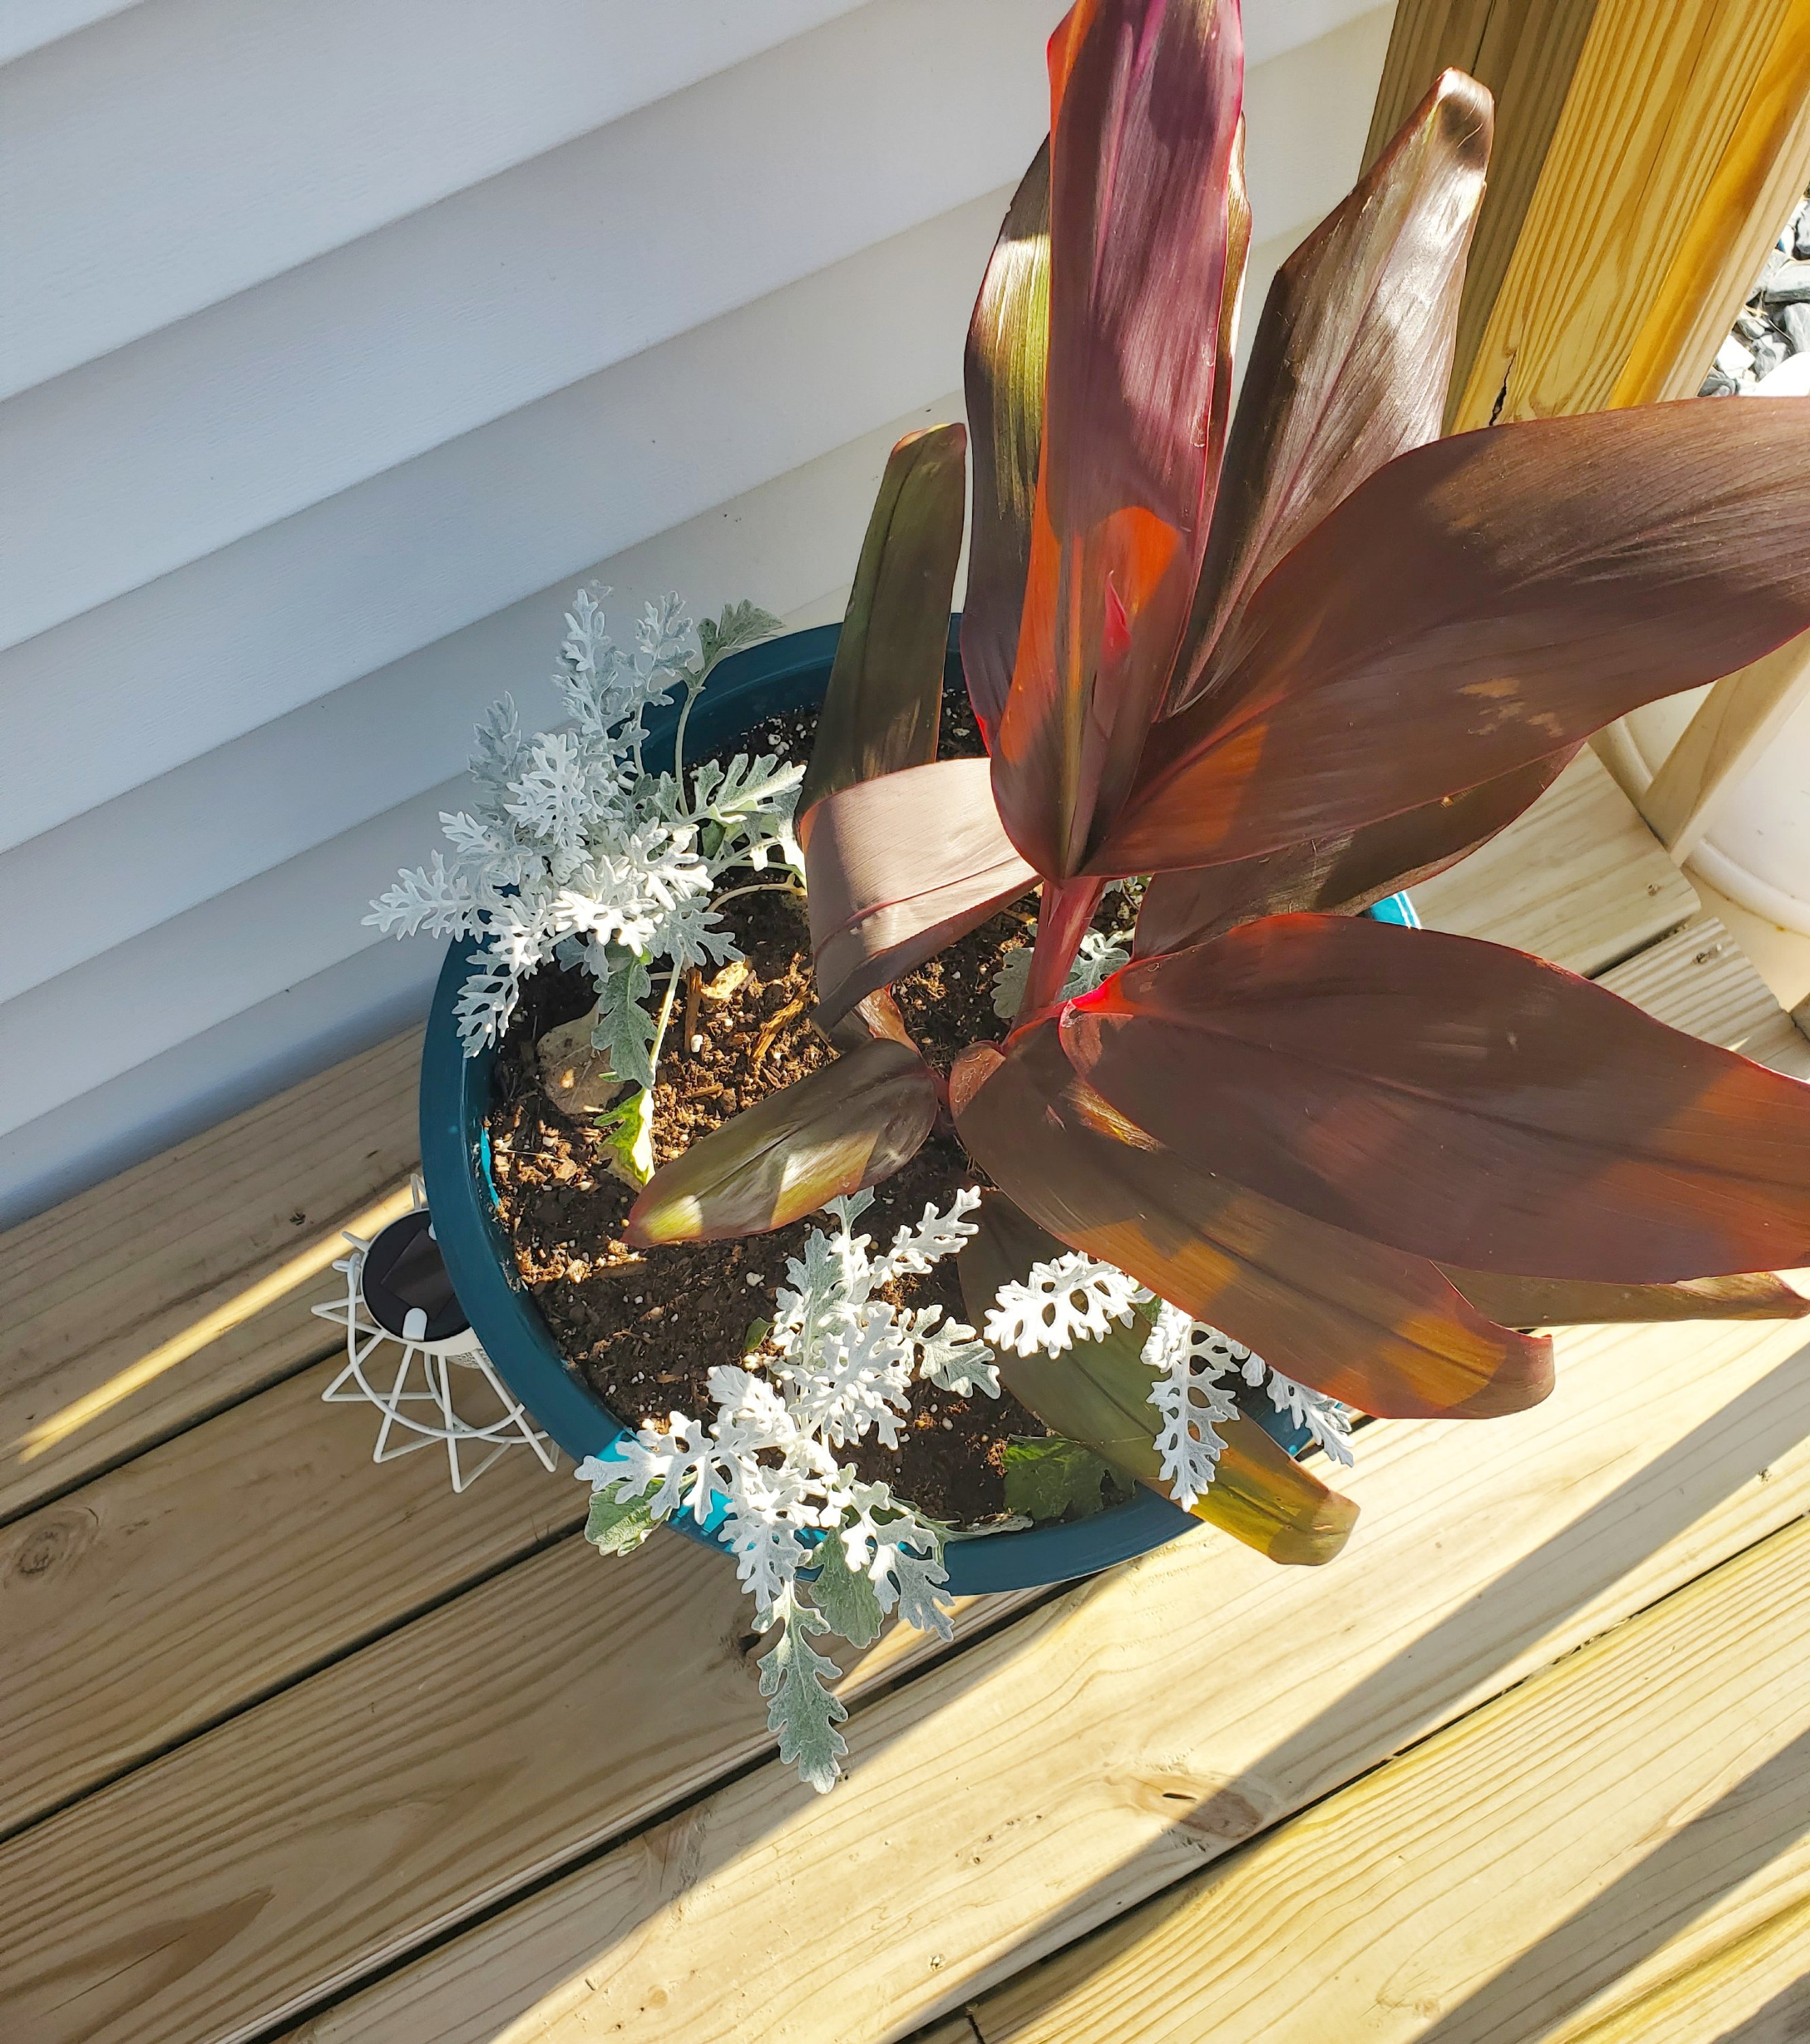
I like my plants colorful! Plus, remember the rule of three, add a centerpiece, and outer plants that will grow and hang and you will be potting like a pro. These were all recently planted, but will soon be big snd overflowing! 🤩
One more cozy add is lighting and sound. This can be super simple too. My lanterns are all inexpensive and have solar lights in them. We also added this umbrella light from Brilliant Evolution recently and it adds such a beautiful glow in the evening! You can use code JESSICA15OFF on their lighting too!
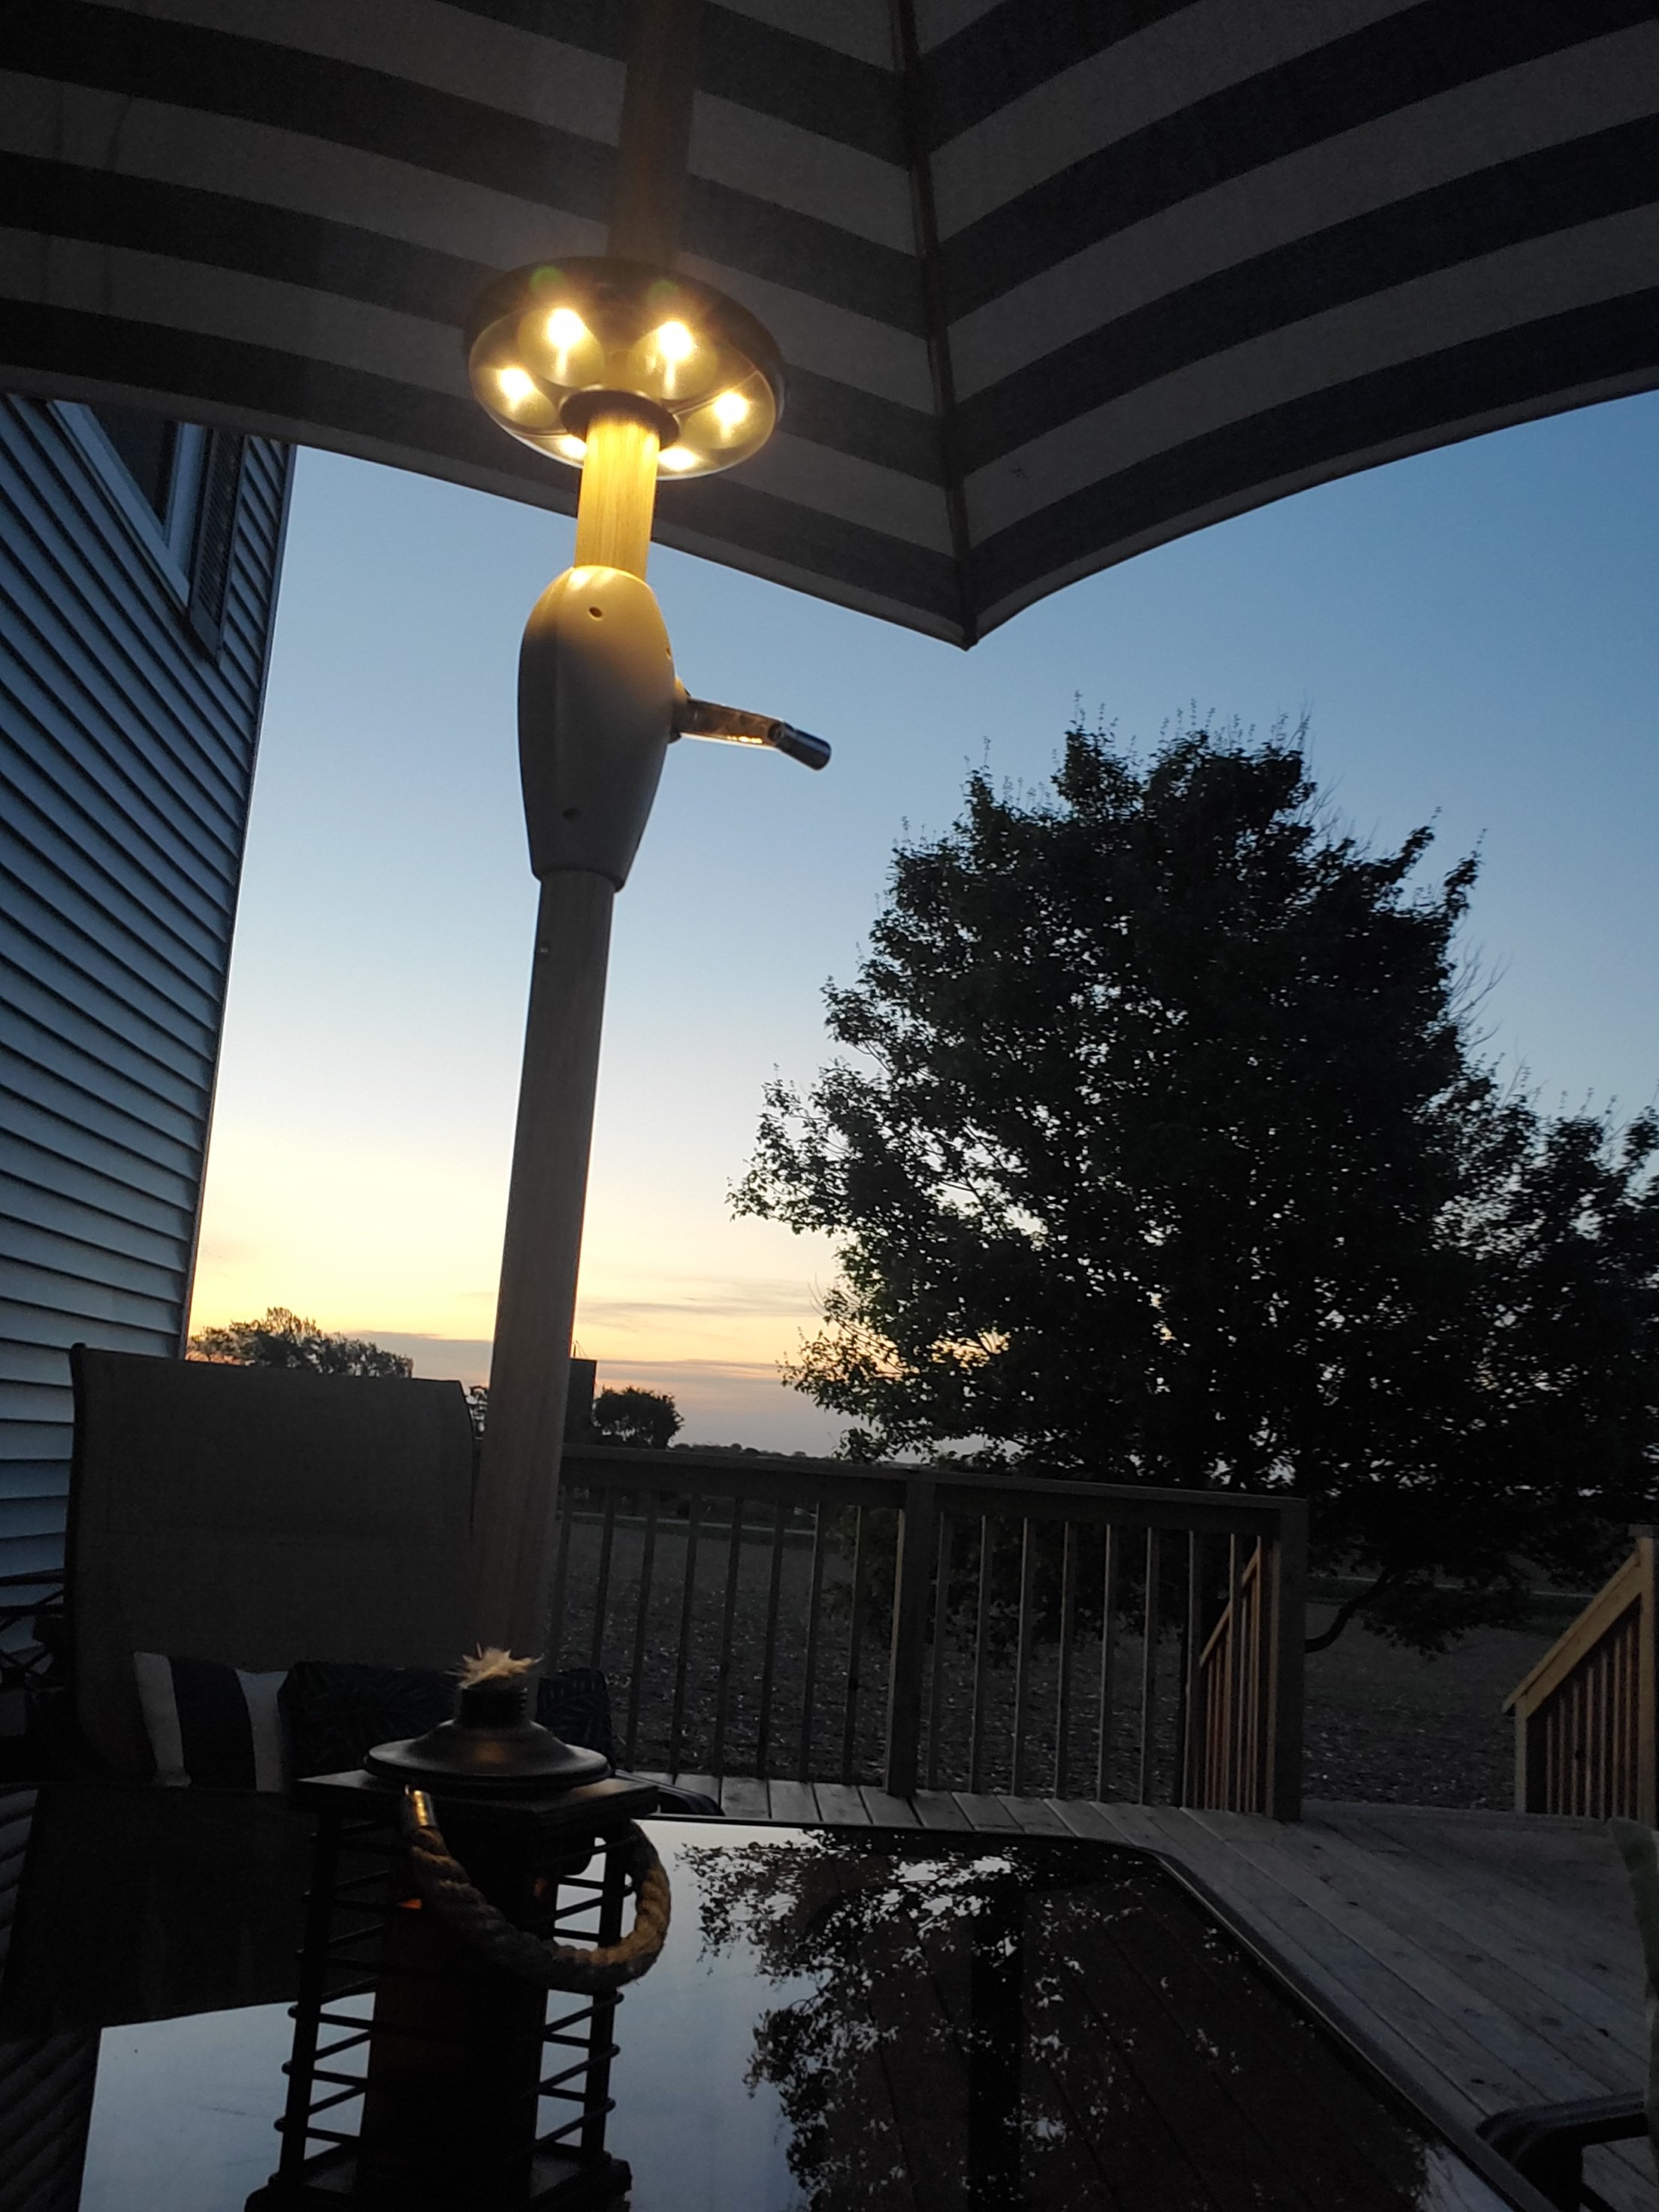

The quickest, easiest DIY to up your outdoor game!
Right now I use a simple Bluetooth speaker sat on the table too, but we are in process of installing a whole system with speakers on the house wall. Either way, tunes add to the vibe!
What else would you add?!
XX,
Jess
Gift Ideas for Her!
I’ve found the cutest, affordable jewelry, perfect for sentimental gifting! JoyCuff!
JoyCuff has such cute pieces! Check out this 18k gold initial necklace!

I love how you can choose an initial, making it a sentimental gift for yourself or someone you love!

I completely adore anything customized with my boys’ names or initials and this momento gives me all the feels! I think this would be an amazing gift for a mama (hello Mother’s Day!), your bestie, a grad, or even yourself!

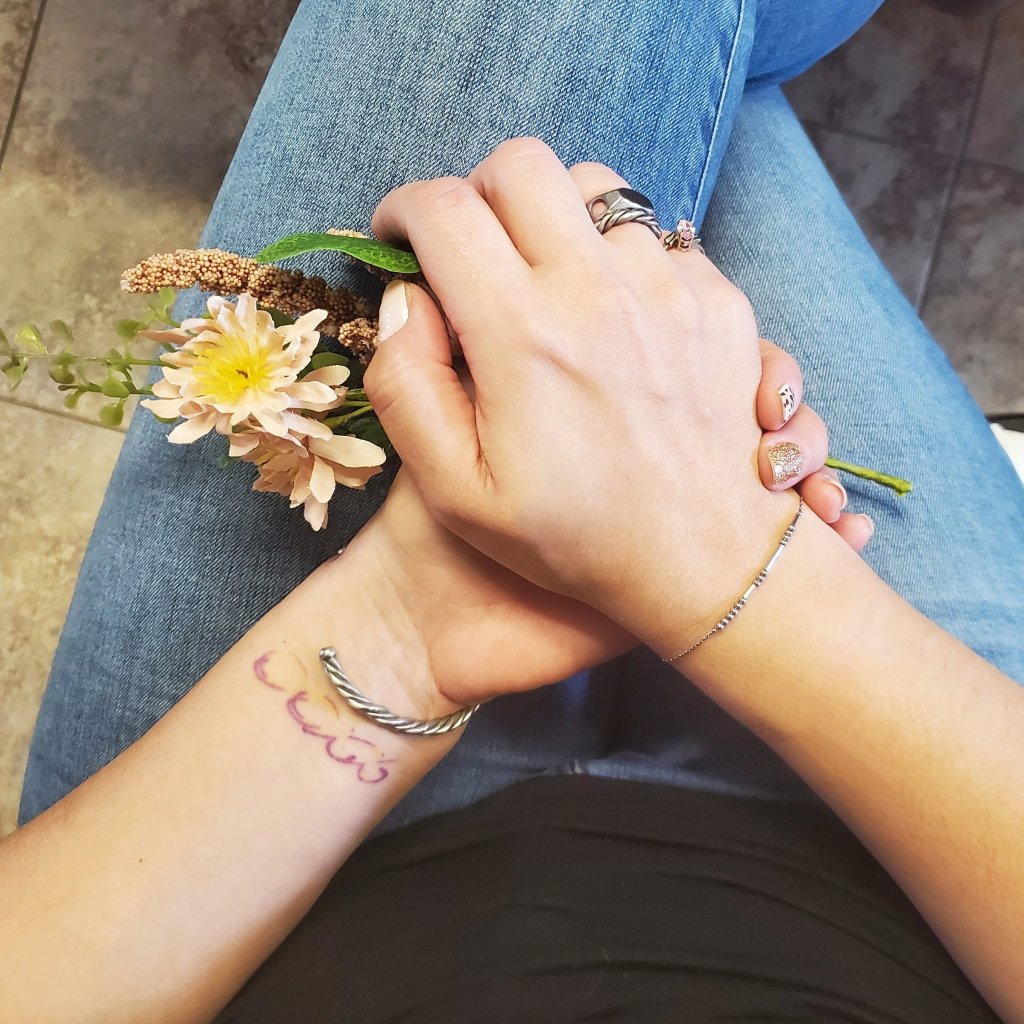
I also adore their Morse code bracelets! They have the cutest sayings coded in the beads! This one says “badass”!


Yup, mamas are badasses. Another perfect mama gift for that BA chick in your life. My gal pals are all getting one for Mother’s Day!

They even have sayings and mantra bracelets that are super cute!
Use code 20JESS01 at this link on all your purchases too!
AND, if you want to win a Badass Morse code bracelets, check out my giveaway on Instagram, here!!
XX,
Jess
Toddler Packing
I’ve posted before about baby must haves and essentials, and talked about diaper bag supplies for babies, but what about when babies become toddlers?! Little different, right?!
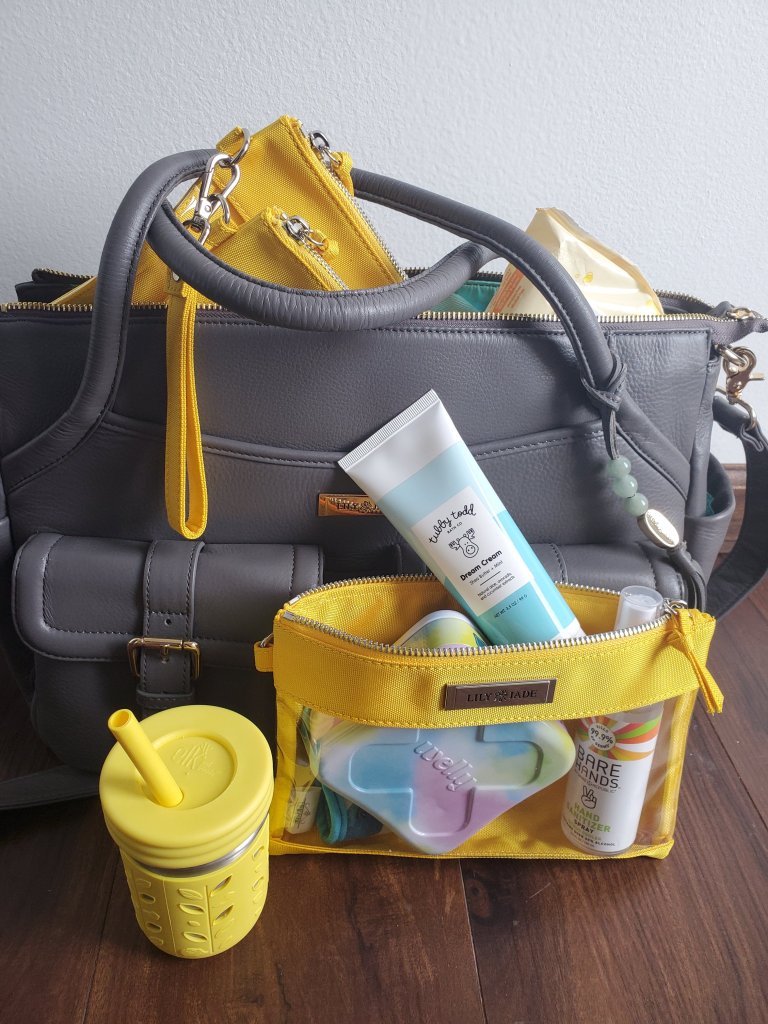
No worries, I’ve rounded up everything I pack for a trip out with my toddler. All very handy!
Don’t worry, I’m an over packer, you can pick what you think would be helpful from the list. 😉

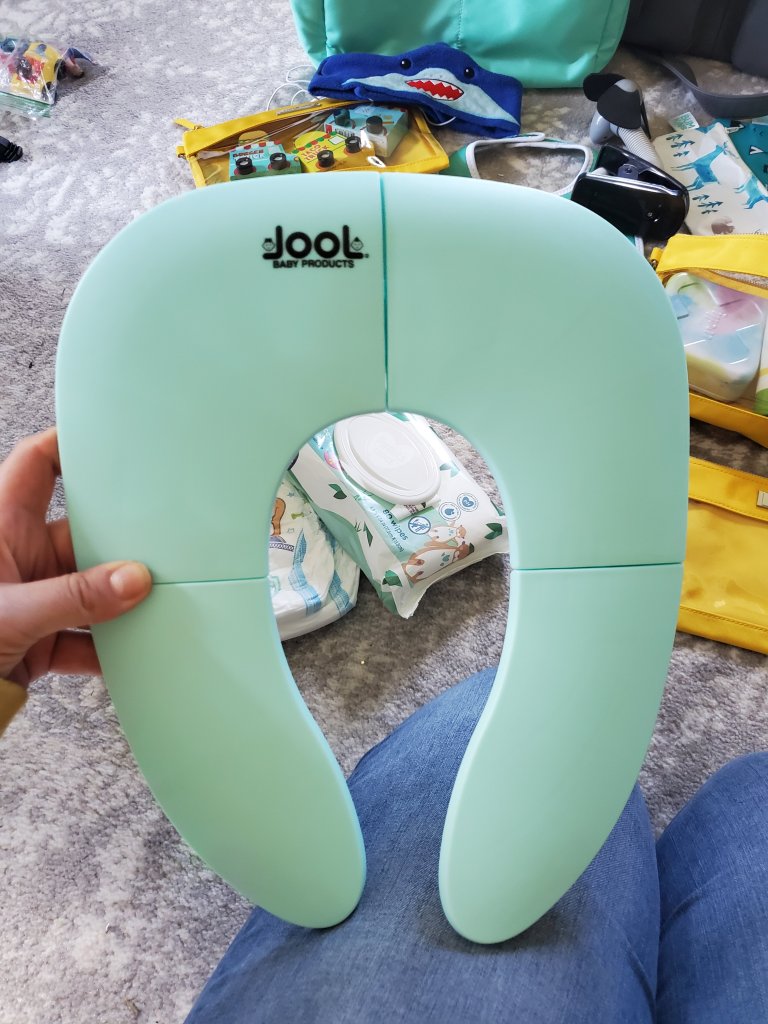
First, diapers, wipes, changing pad and extra change of clothes. Even if you toddler is potty training or has learned, these are super handy for emergencies. Believe me, I know. Also, a folding potty seat. Game changer. (This changing pad is so nice, and super wipeable/cleanable! )

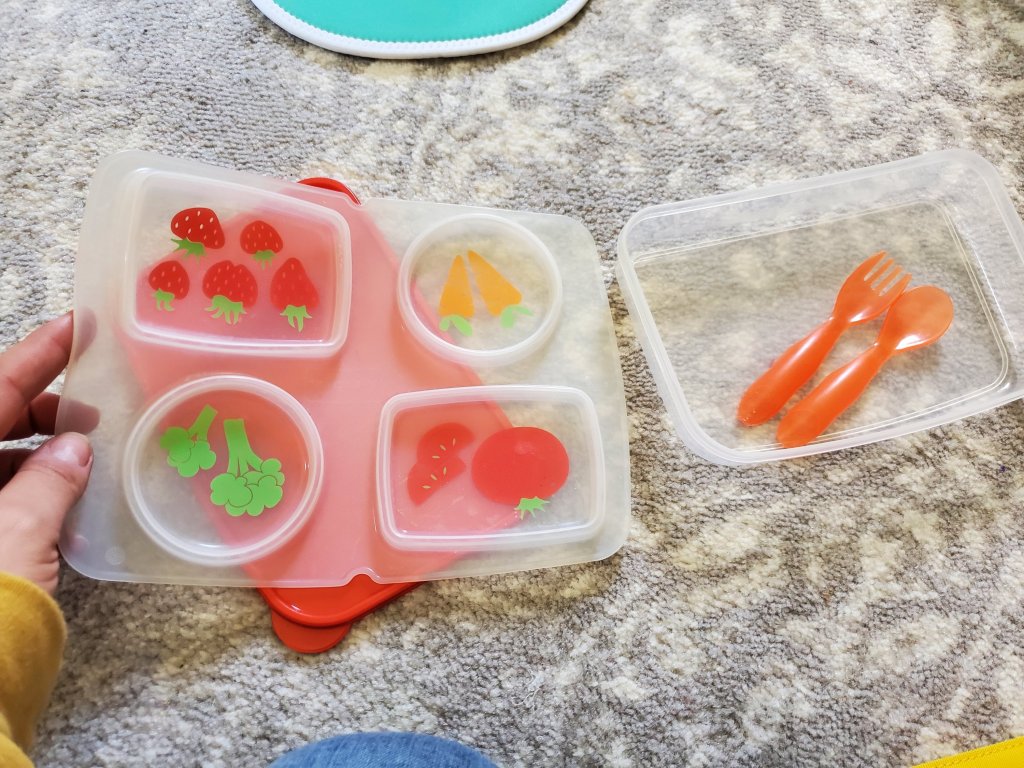
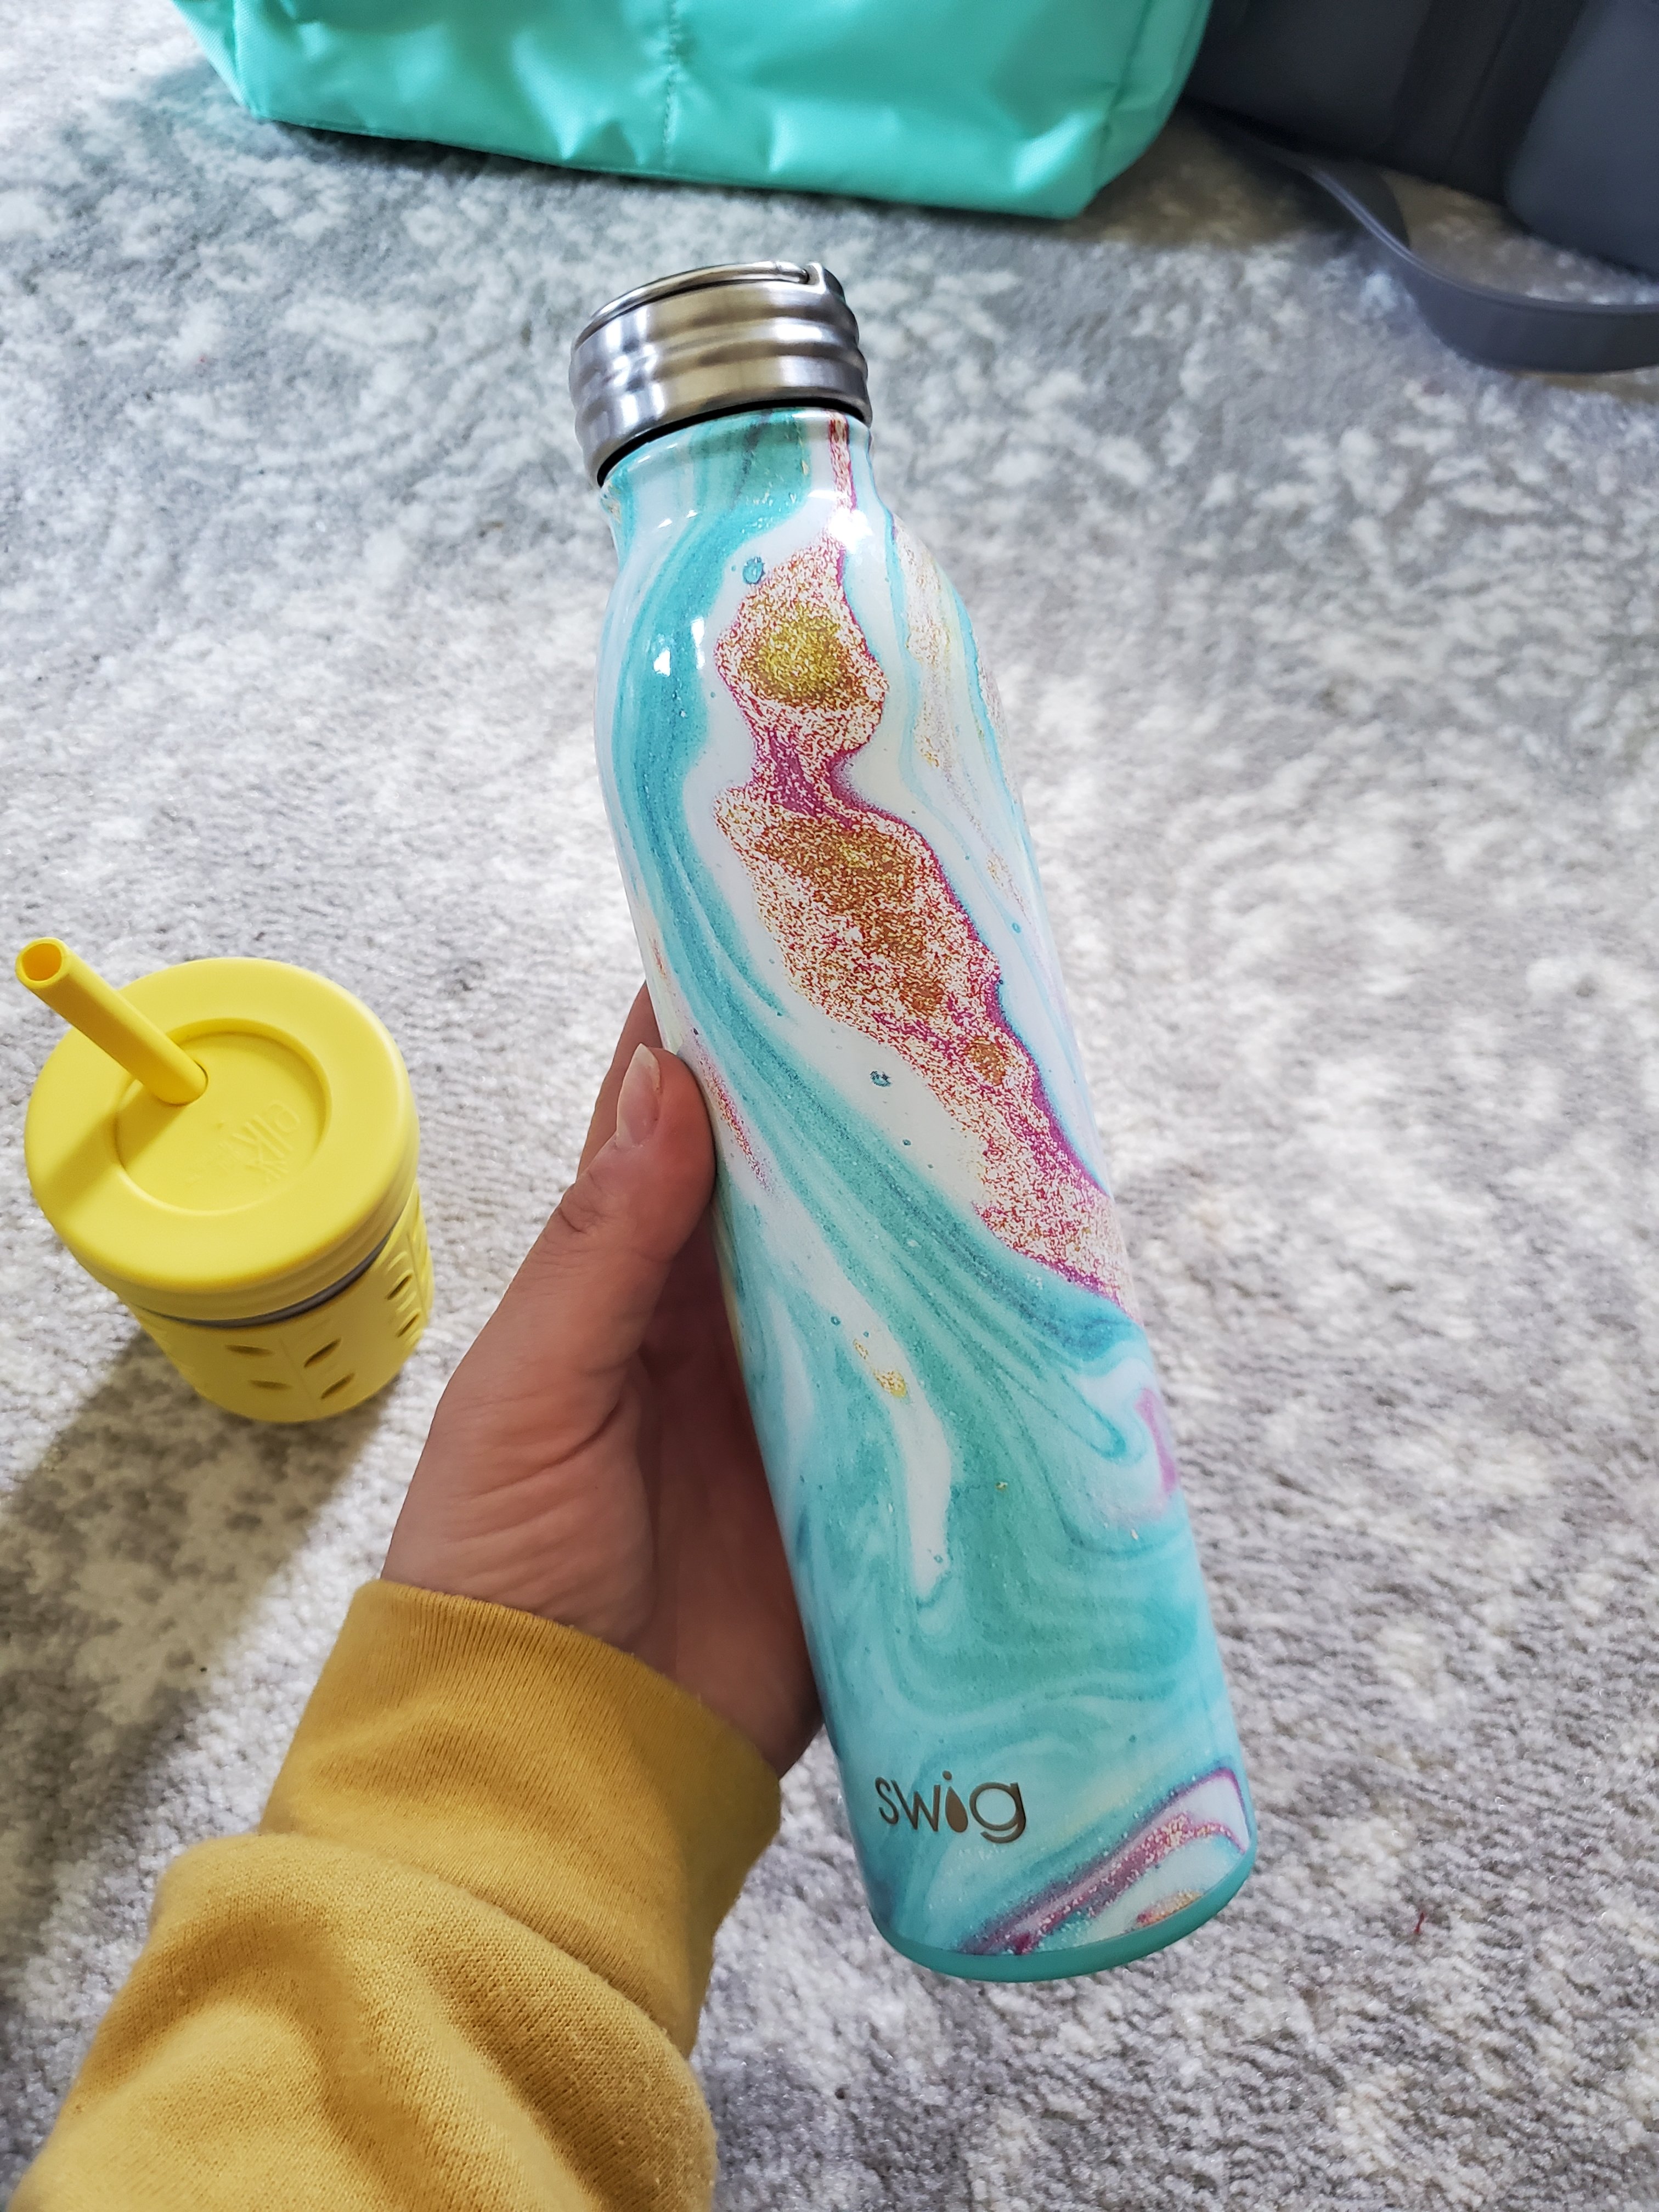
Feeding supplies. Always snacks and water. I bring an extra bottle to refill our cups too (and use code Jessimarie15 on Swig bottles and mugs! 🙌) Having a bib, even if grown out of them at home, is super handy for keeping nice clothes tidy. I stash a fold up plate and silverware too, for when the eating situation is less than toddler friendly.
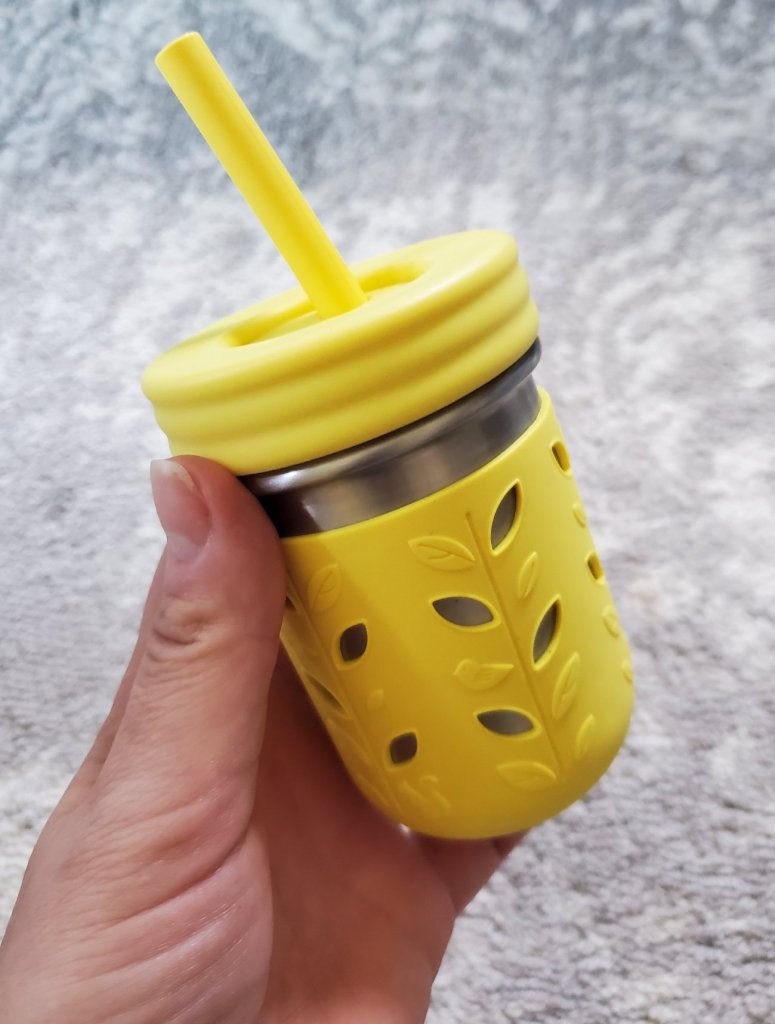
Also, these cups from Elk and Friends have solid lids that make packing snacks super easy too! 👌
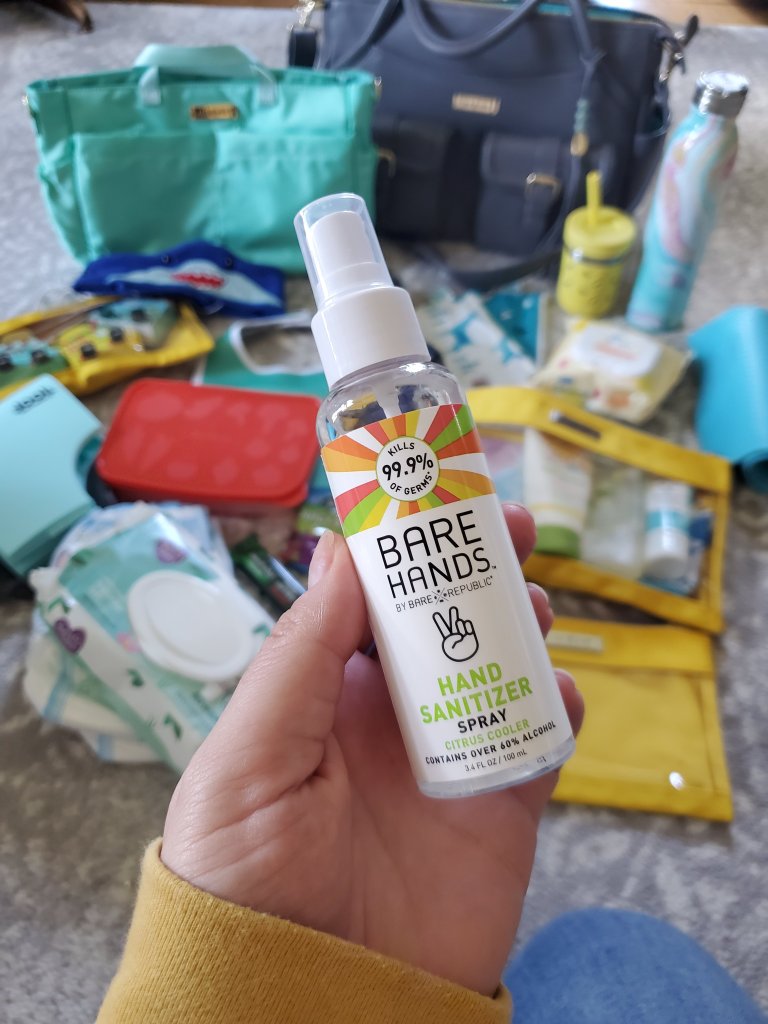
This is where face wipes and wash clothes come in handy. And kid friendly sanitizer.
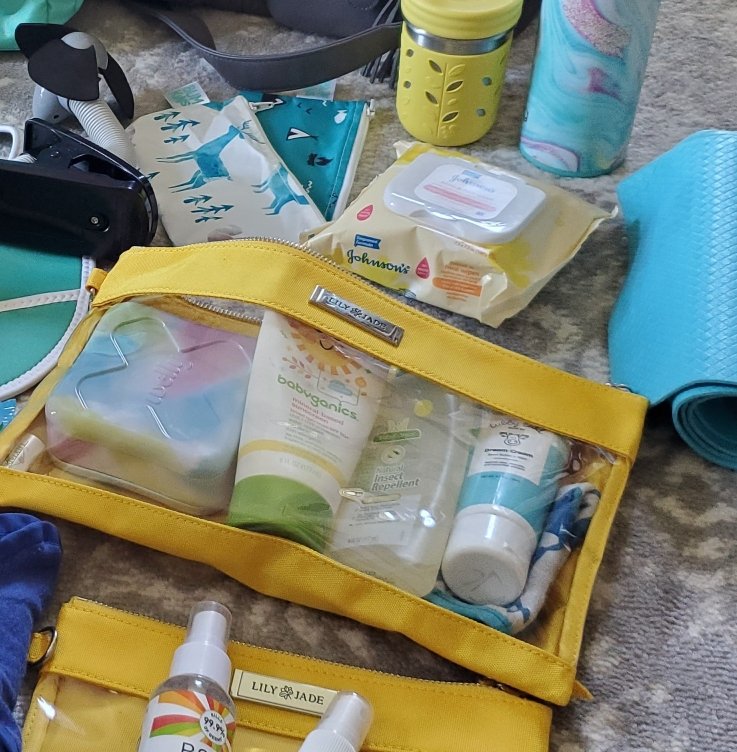
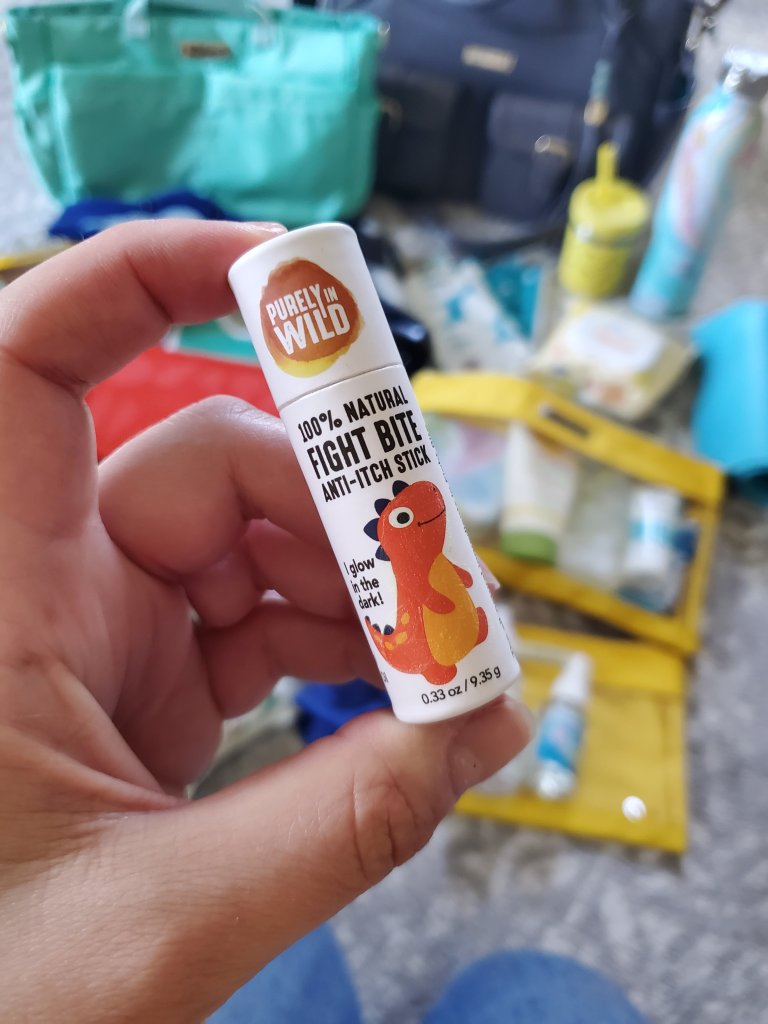
I always have safe sunscreen and bug spray. Plus Fight Bite is amazing for taking away bug bite and poison ivy itch!!
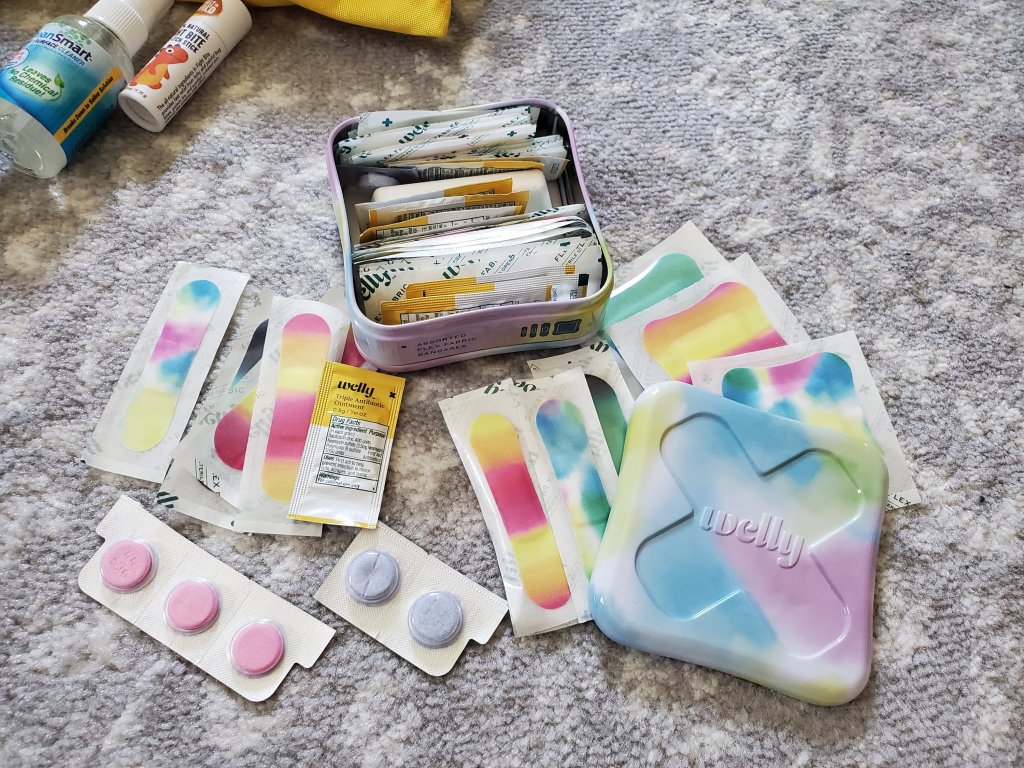
Bandaids and medicine are a must! These metal kits from Welly come loaded and are so handy. I buy the bandaid kit and med kit and swap half and half to put in places like the diaper bag, car, camper, etc. Their meds include stomach soother, fever relief, and allergy relief. And are rated for ages 2 and over. So handy!!
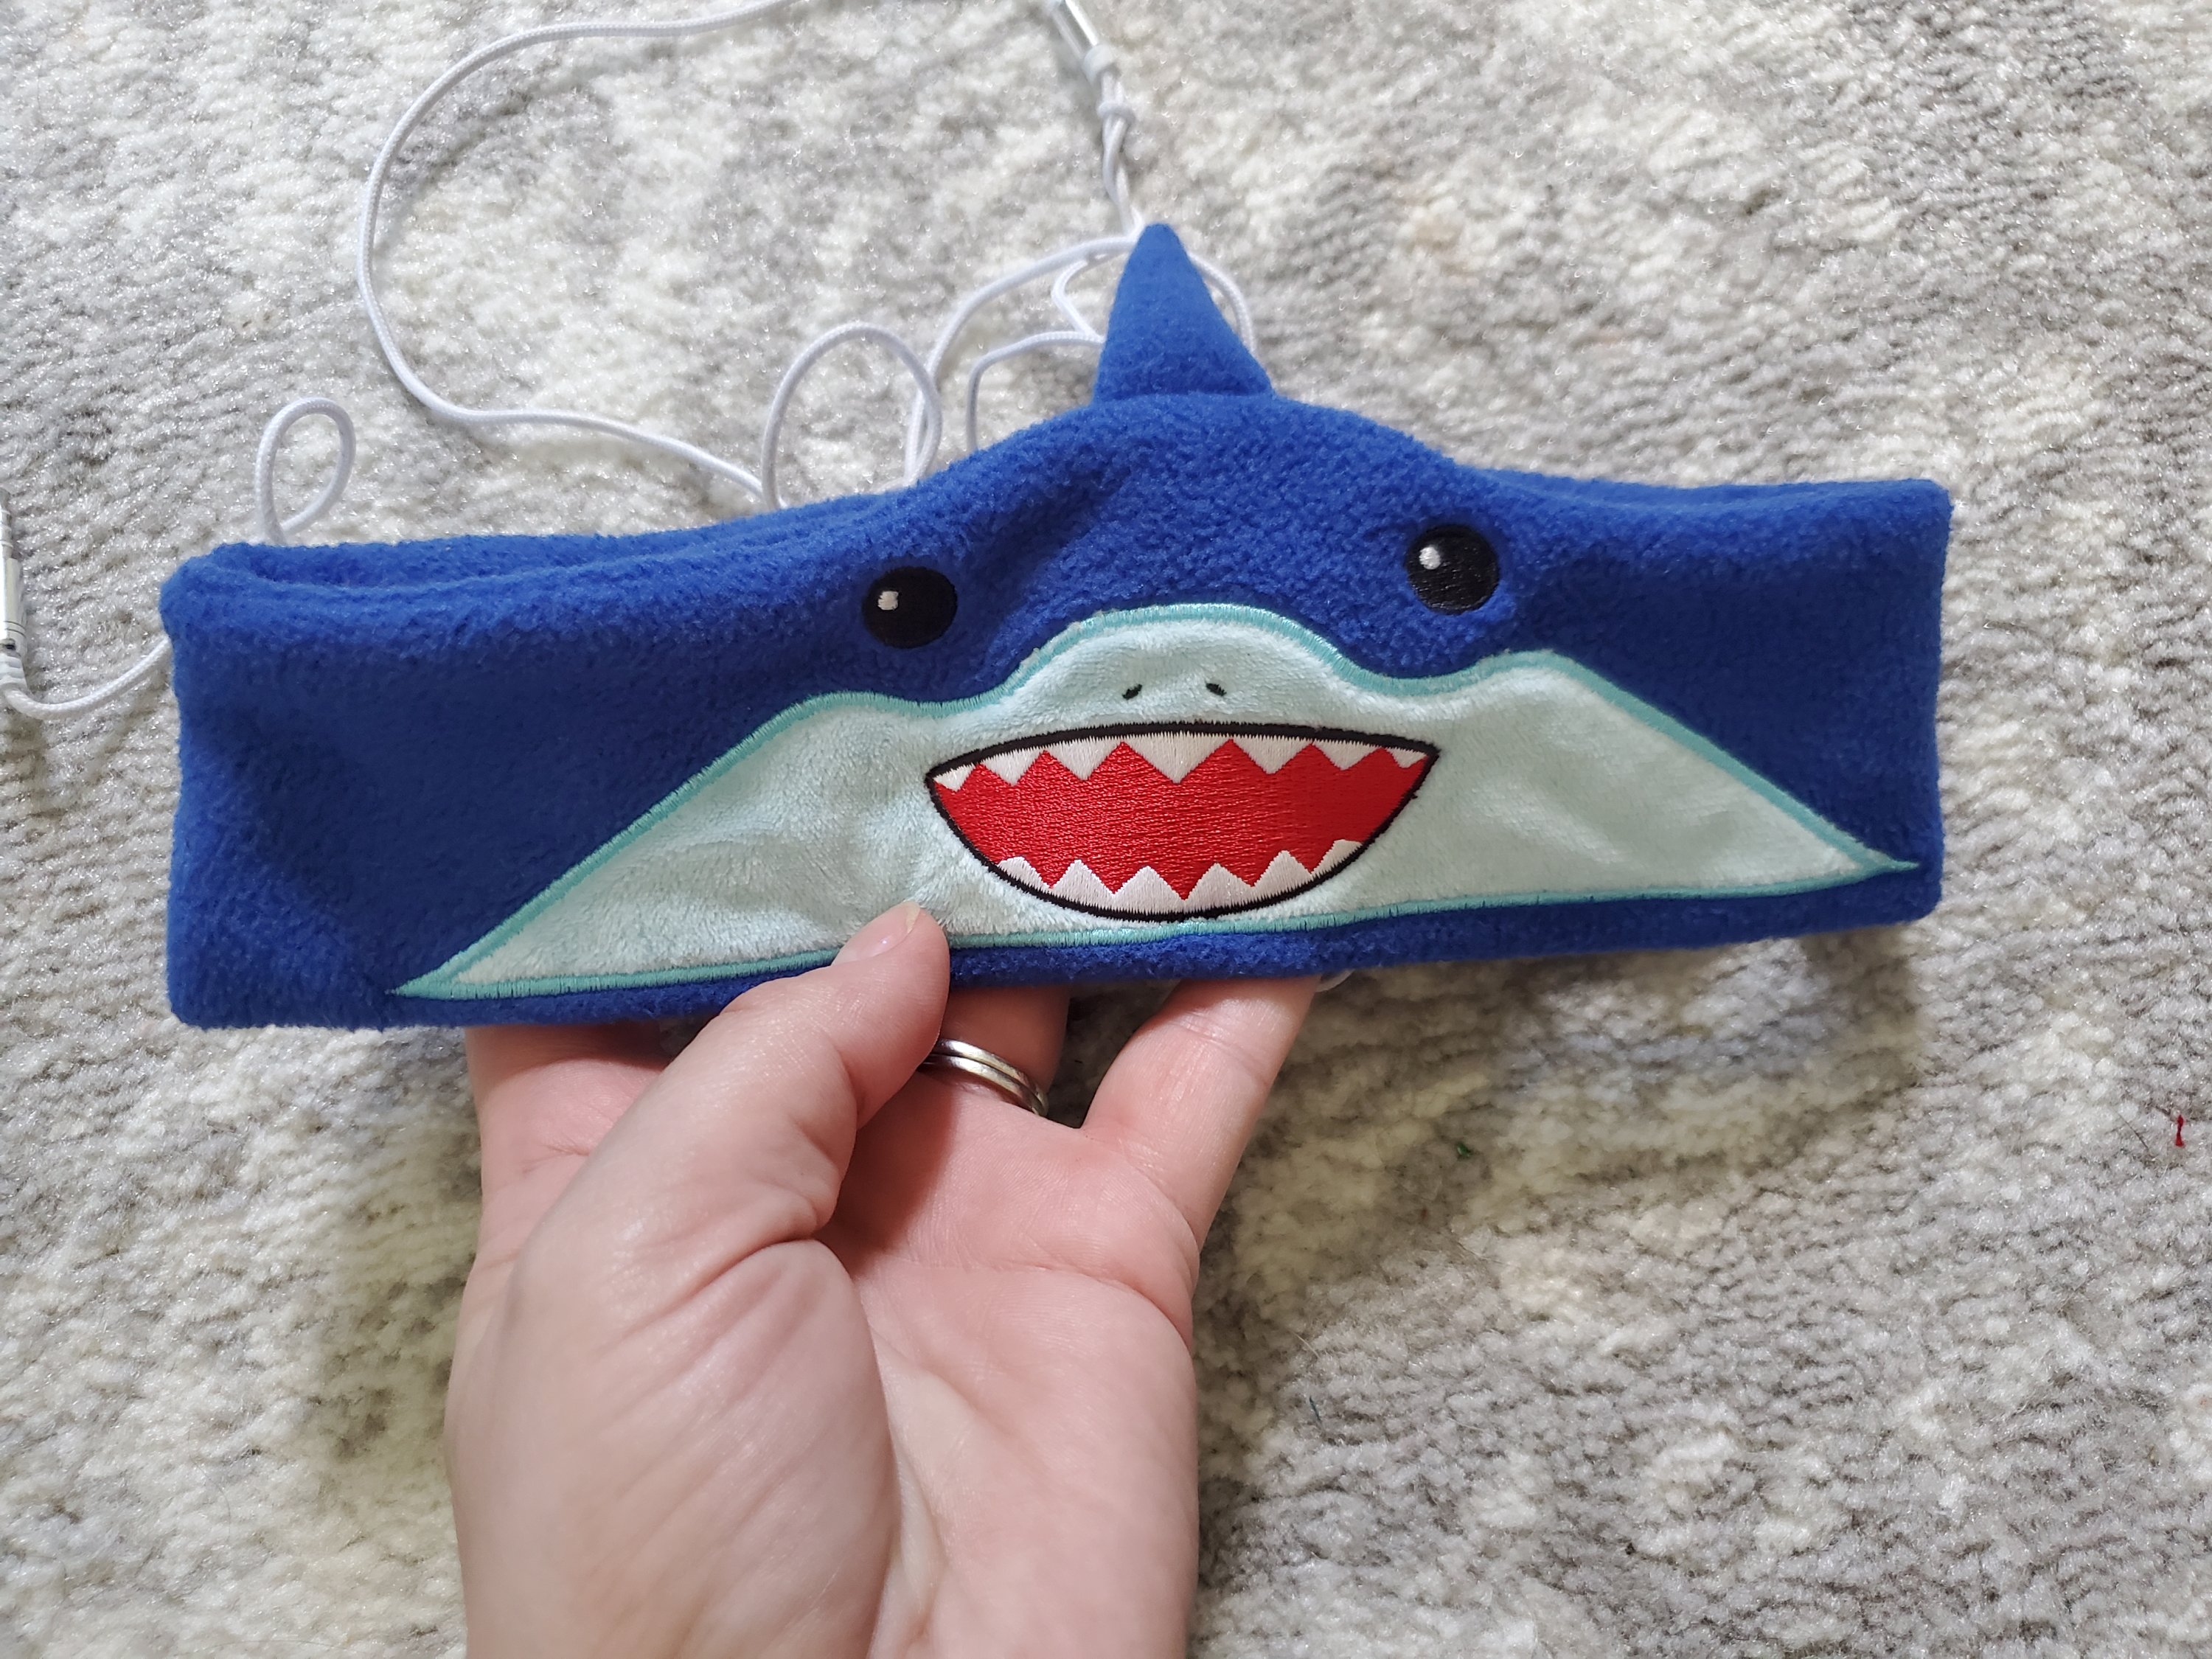
I like to pack a pouch of toys that the kids rarely see so that they are interesting. And soft headphones. So handy when they need to swipe my phone for entertainment.

A clip on fan for the stroller is helpful too!

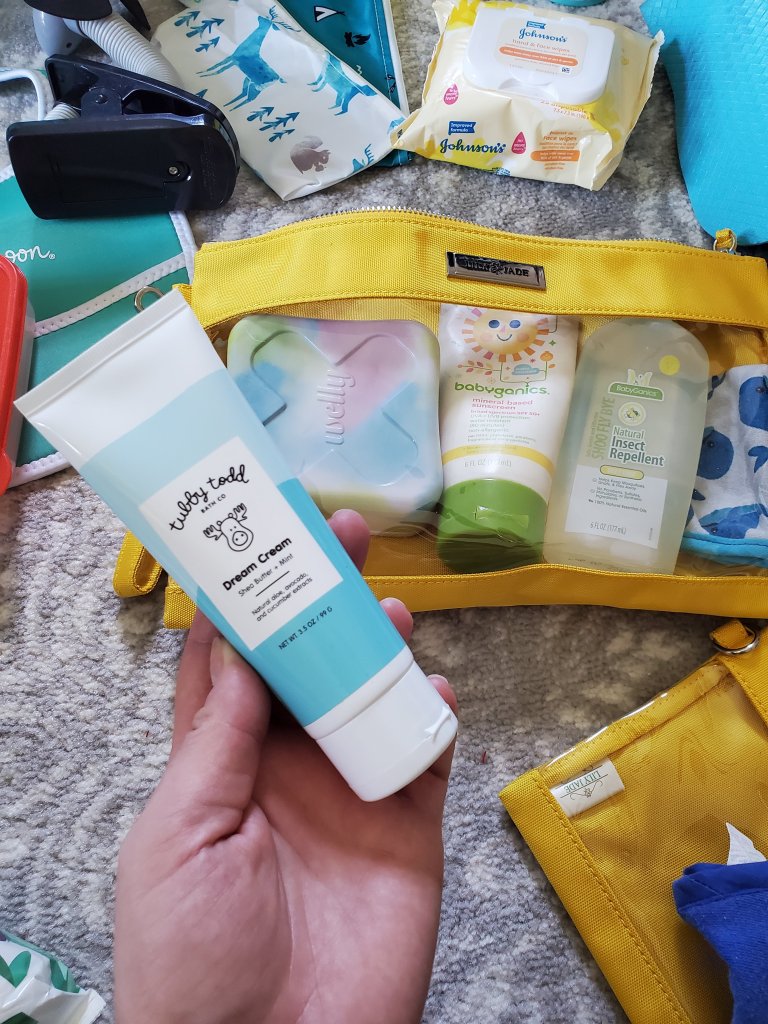
And our Tubby Todd Dream Cream goes everywhere with us. Great for dry skin, rashes, etc and works for the whole fam. (This link saves you 10% automatically! 😉)
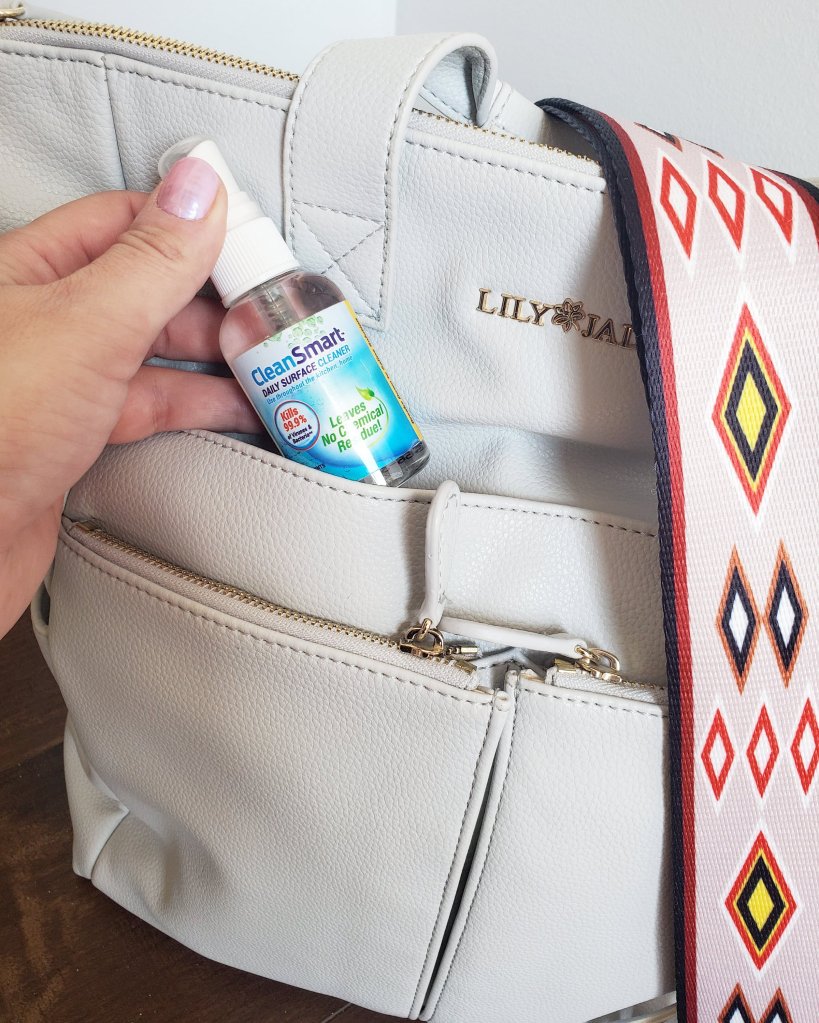
I also always add a mini CleanSmart spray. This guy disinfects surfaces with just a spray and is safe for the kiddos! CleanSmart and sanitizer both go in an easily accessible side pocket, not a pouch, for quick grabbing.

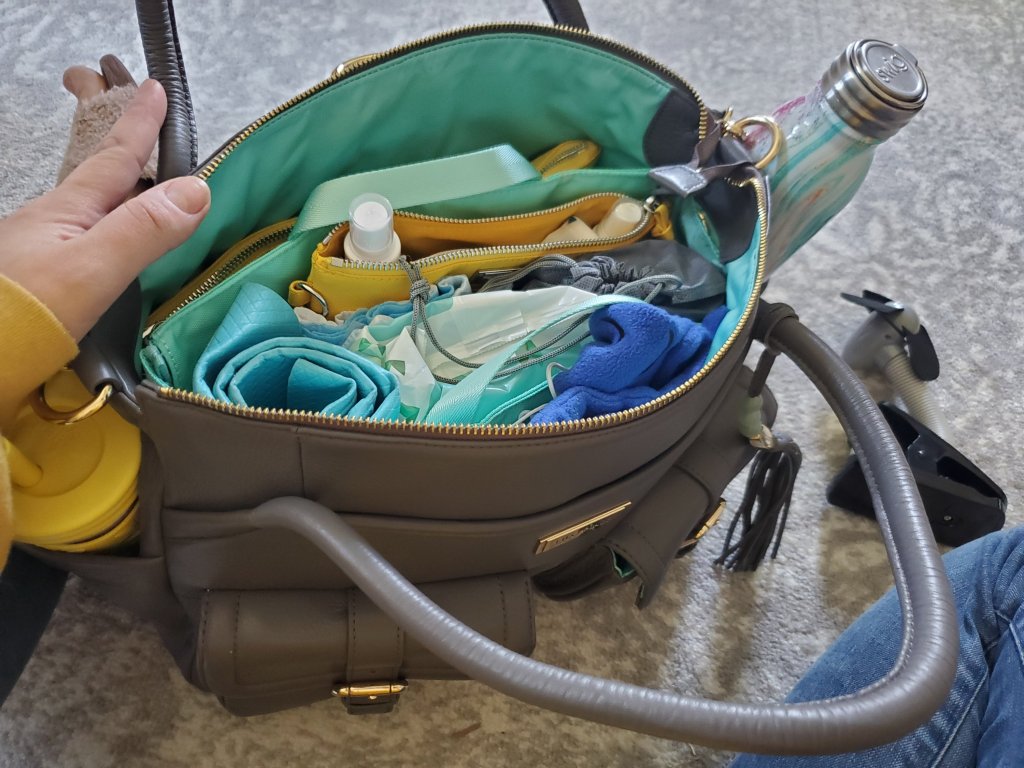
Our Lily Jade diaper bags are our favorite and their packing cases make great spots for all the things we need. I like to pack them by category. I even use one pouch for “mom stuff.” Think lip gloss, lotion, Tylenol, etc.
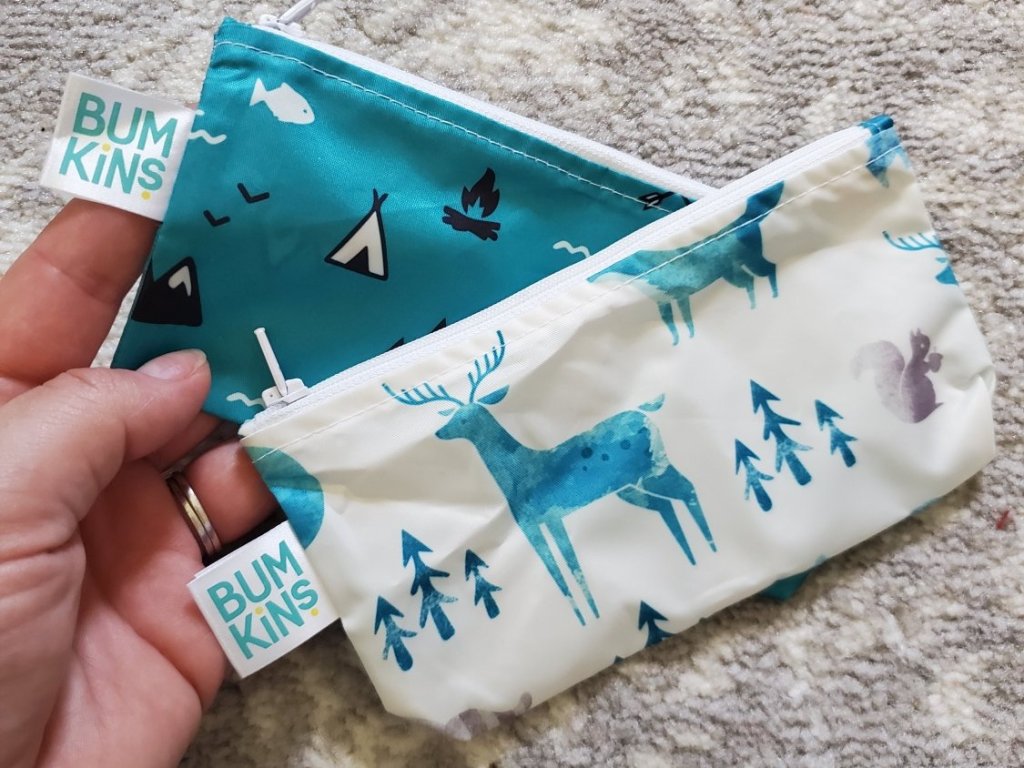
I also always add some Bumkins pouches. Handy to pack snacks or to stash things on the go. We’ve even filled one with shells and treasures on an adventure before. 🤣
Anything I’m forgetting? Always forgetting something. Hope this helps! 😉
Jess
XX
Guest/Play Room Update
Added a new rug! Small update, but so gorgeous I had to share!


Rug is from Mark and Day, and I LOVE their selection and prices! Highly recommend! AND, you can use that link and save 10% 😍
Wall hangings, shelves and a couch coming soon…
Plus, a total gut of our mudroom in process to share soon! 😉
Jess
XX
New Way to Clean!
Let’s face it, life’s messy. Kids, pets, busy lives… husbands. 🤣
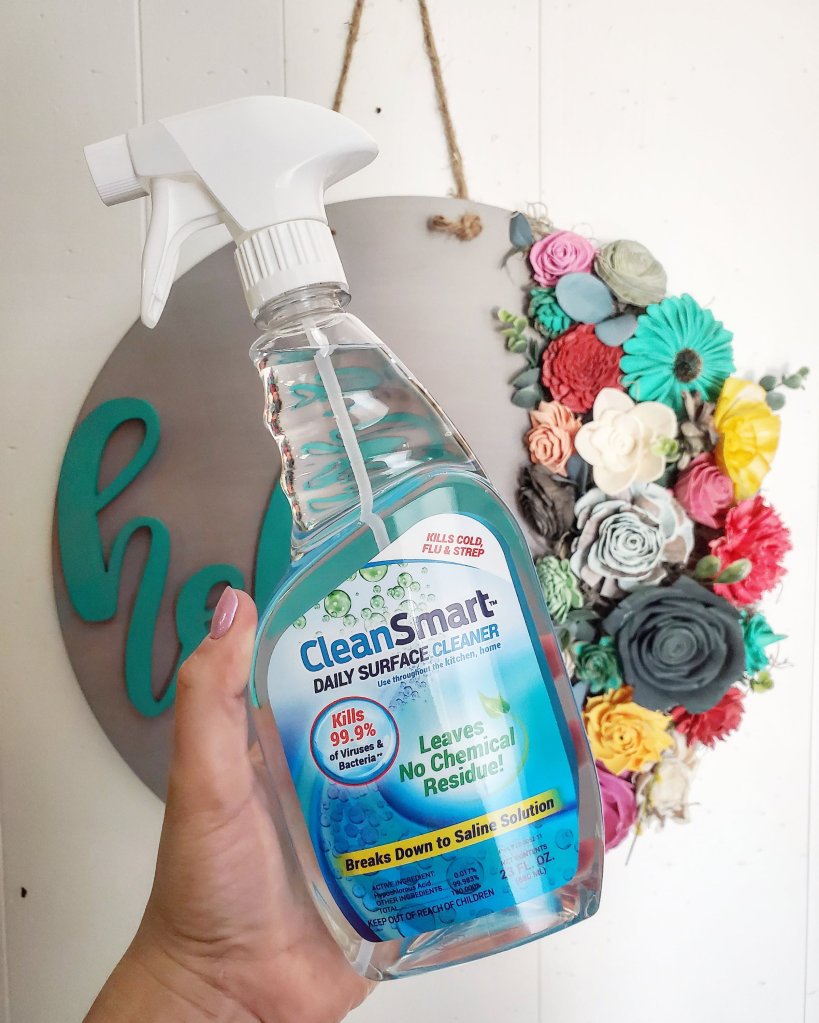
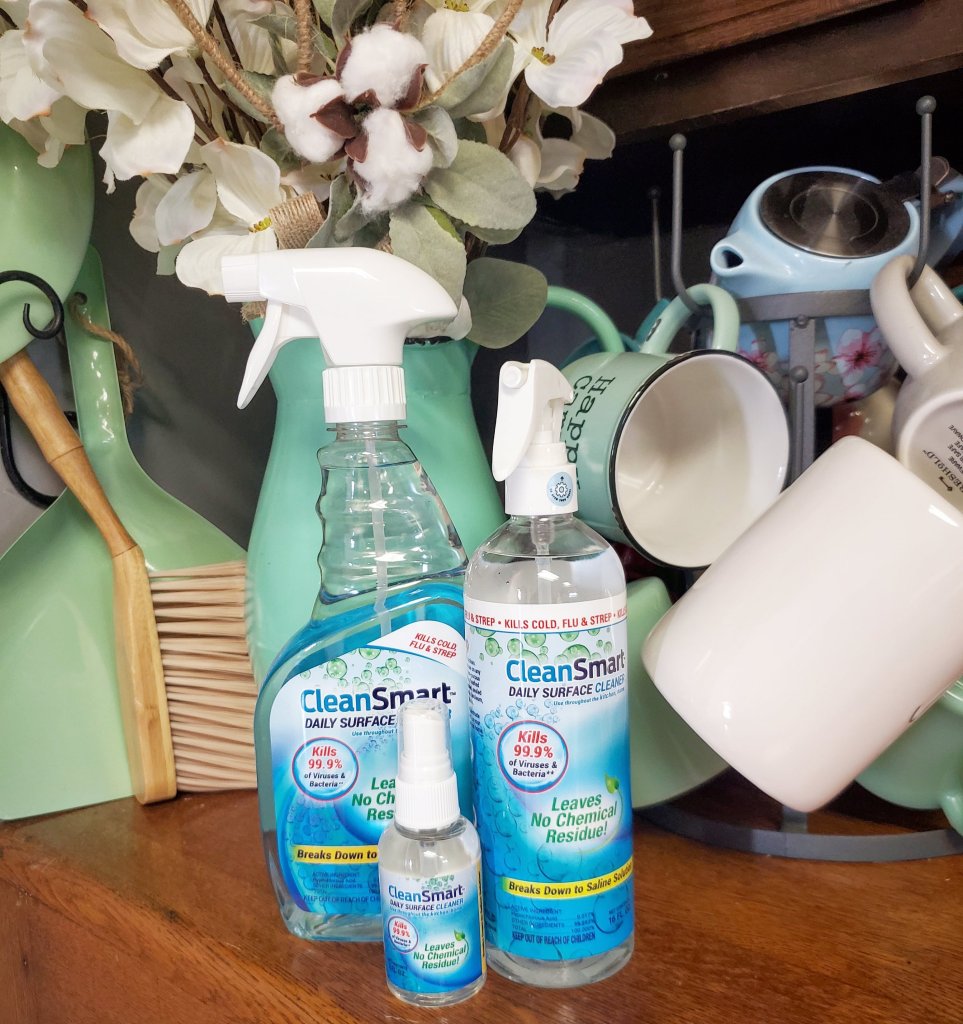
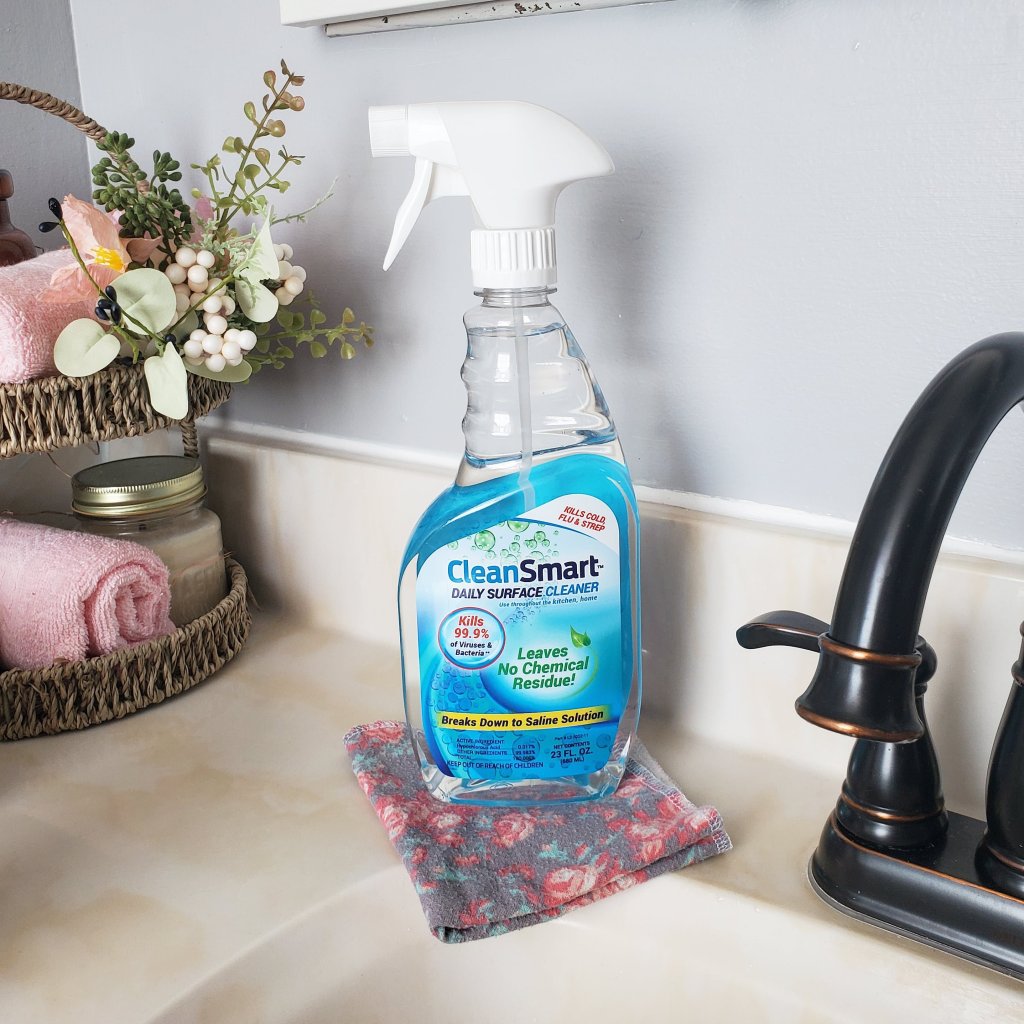
I’ve found something that makes it very simpler to keep it all clean. CleanSmart. Period. Spray it on. Walk away. That simple. How?! This cleaner is made with natural Hypochlorus Acid and made with 100% natural ingredients. It dissolves to saline solution and leaves no chemical residue. And no fumes!
This cleaner can be used on anything, door knobs and appliances to countertops, highchairs, toys, and switches. It’s even safe for use on baby’s pacifier, and safe to spray around food and pets.
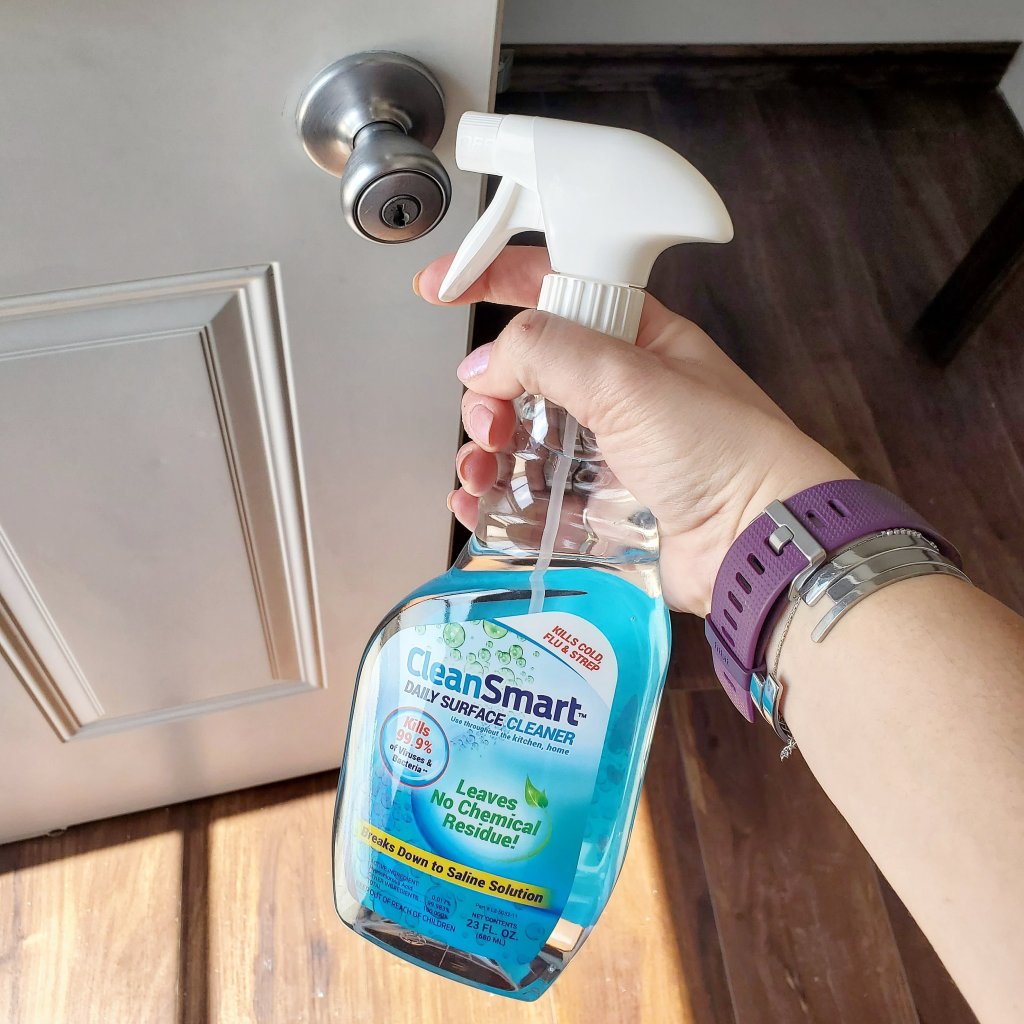


Plus, CleanSmart kills 99.9% of germs, including Coronavirus, cold, flu, strep, RSV, staph, MRSA, E. Coli, salmonella, and listeria, to name a few! The EPA has approved CleanSmart to kill a while list of germs!
I even throw the mini bottle in my diaper bag to spray down items as we go (think shopping cart handles!)
So what I’m saying is, get some! Seriously. CleanSmart will change your house cleaning game. How much more simple can it get than spraying and done?! I’m so pumped that not only is it easy, but effective and safe for my whole family and the Earth. 😉
It’s now available on Amazon Prime too!!
Let me know what you think!
Jess,
XX
Guest/Play Room Transformation
When we moved in a few years ago the rooms were all boring and ugly…
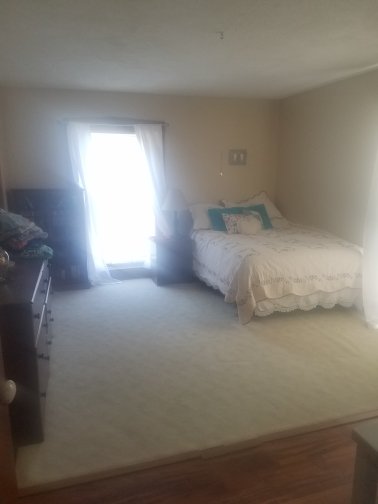
Then we painted and added some fun flair to make this one a bright teen room…

Then, the teen grew up and moved out, so we had an empty space. 💡 We had an idea! A play room. But also make it a guest room, so that we still have a space for company to sleep…
And so the room became a guest/play room.
Paint again. Tone down those walls. New floors. New furniture. Make it fun, but grown up enough for guests… viola!
We went gray on the walls, but a touch darker than normal since we have lots of sunshine in here. We did snap in wood floor, since they are durable and easy to clean. Then the fun part…
We added a wall mural from PhotoWall! What better way to keep it fun for play and interesting but adult for guests?!
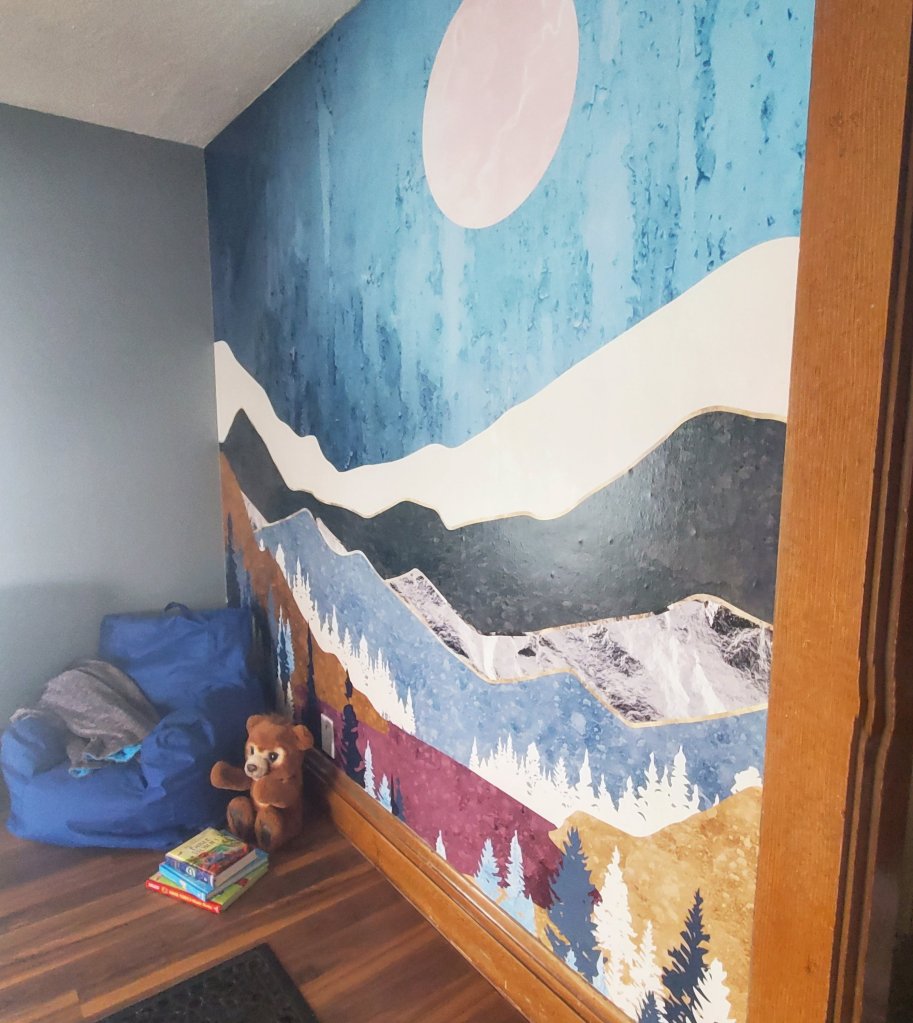

How cool is that?! It was actually super easy to install, just wallpaper in vertical strips, and it even comes with the paste. The boys are in LOVE with their new space!
You can head to PhotoWall too and use code ‘makemineeclectic25’ for 25% off any of their art, canvases, or wallpapers!

Next we will add furniture, so stay tuned…
XX,
Jess
Sensory Play Part 2
I wanted to follow up with some more sensory play ideas we have found since getting our table. If you are new here, here is the first post on sensory play, where we talk about our table and some items that are super helpful!
First, get a funnel. These come in a pack of three and are collapsible silicone. Makes putting it all back SO much easier!


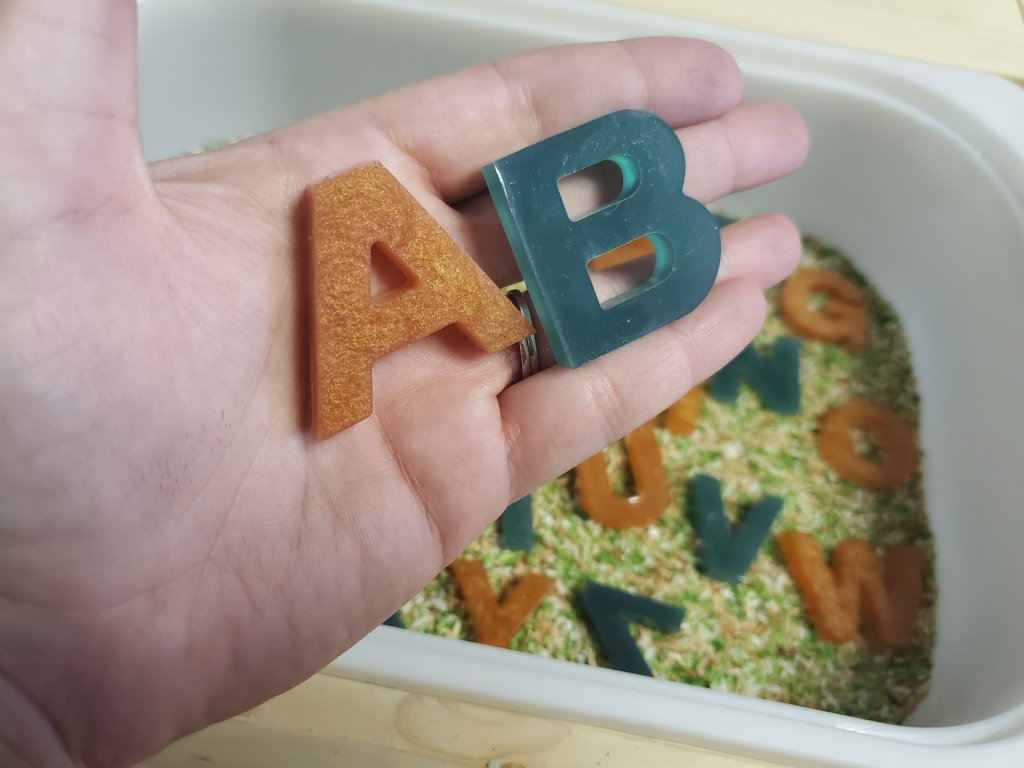
Another thing we’ve fallen in love with are these super cute jars from Busy Littles! You can even customize your jar with her, just message her on Instagram to order!
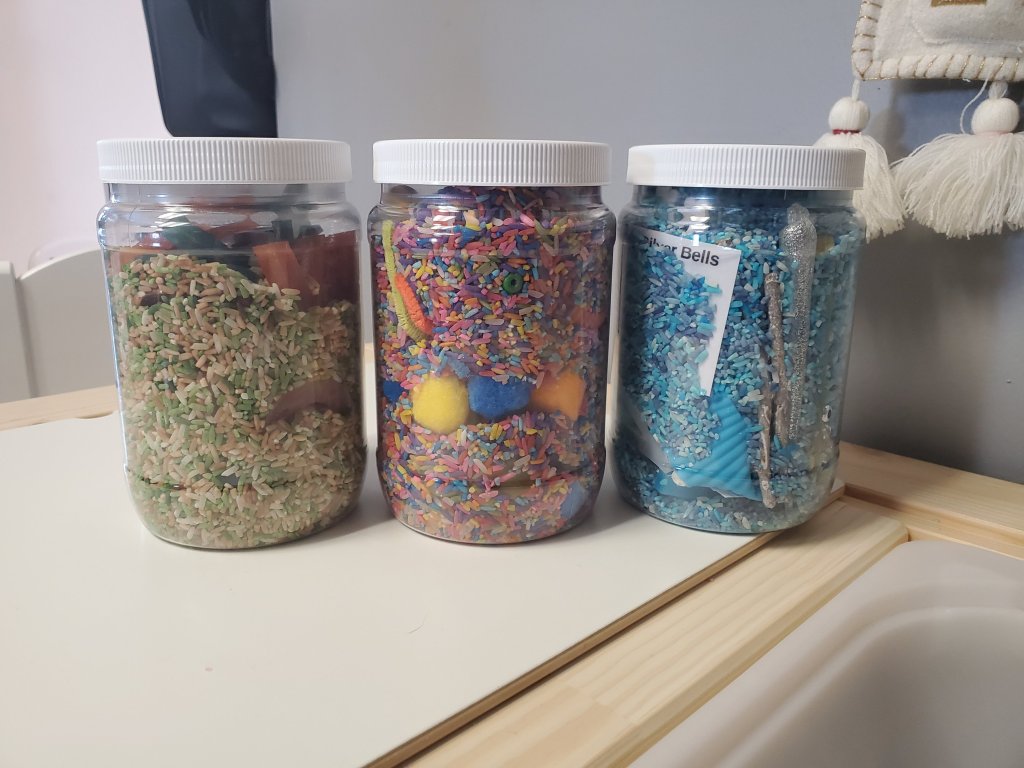

These are so fun because she adds acrylic letters and numbers that she makes! We got an alphabet that she customized to a camo theme! We also got one of her winter jars and a rainbow number jar. The boys LOVE them all!
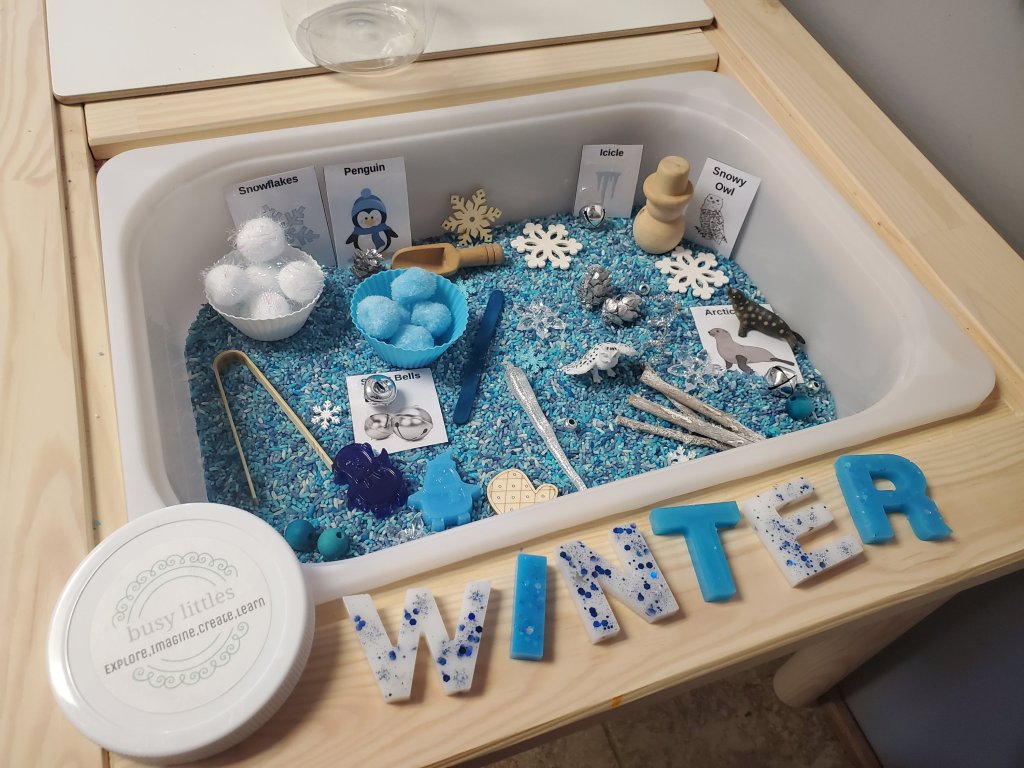
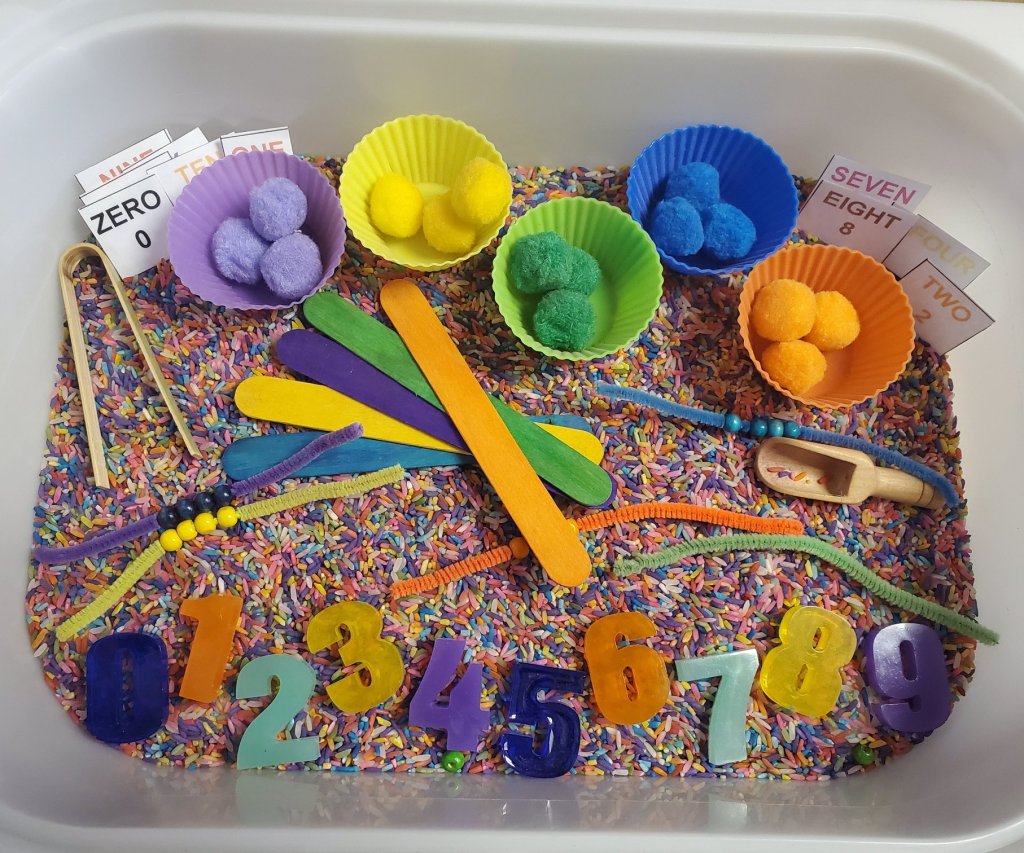

So, what have we learned? That ANYTHING can be added to a sensory bin! The boys love that they can mix, stir, explore, dump, and keep the fun going for hours. Ok, minutes. They are kids. But still, its impressive. And anything that entertains both a 7 year old and a 2 year old is impressive in my book!
Also, here’s a peak at the Christmas box from Little Creators Texas too! We still love these also!

Have you tried sensory play yet?!
Jess,
XX
Sensory Play
I have been working hard to make Barrett’s time while Brantley is in study time more educational and interactive (and Brantley’s breaks too) and include less cartoons.
So I’ve added some sensory play! And its going SO well over here that I thought I would share some of the things we are using and loving!
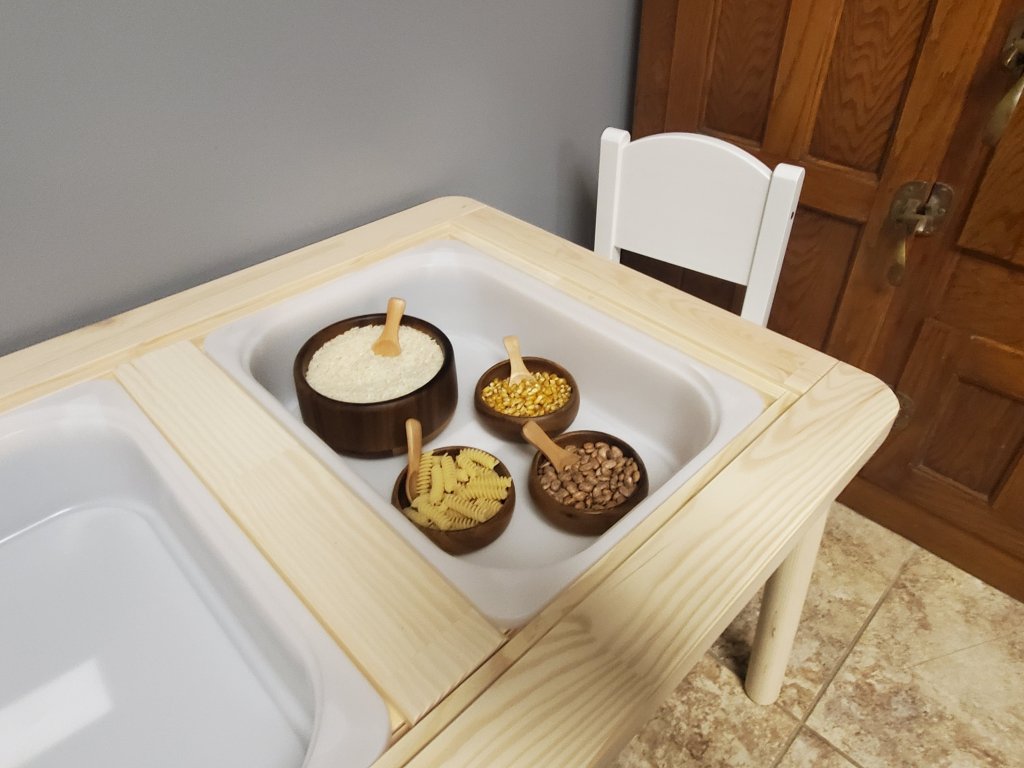
First, it’s totally not necessary, but the table we got it super handy! I got the boys the Ikea Flisat table. Its under $50 and is great quality. The two tops are removable and their Trofast bins hang from underneath. This concept is awesome! I can take the bins out to wash them, refill them, or even store things in them. The table tops are wipeable and not the type that get crud caught in the vinyl edge, these are solid! I also added the Sundvik chairs, as opposed to the stools they recommend with the table.
We now use this area for all kinds of crafts, coloring, sensory bins, and even snacks.
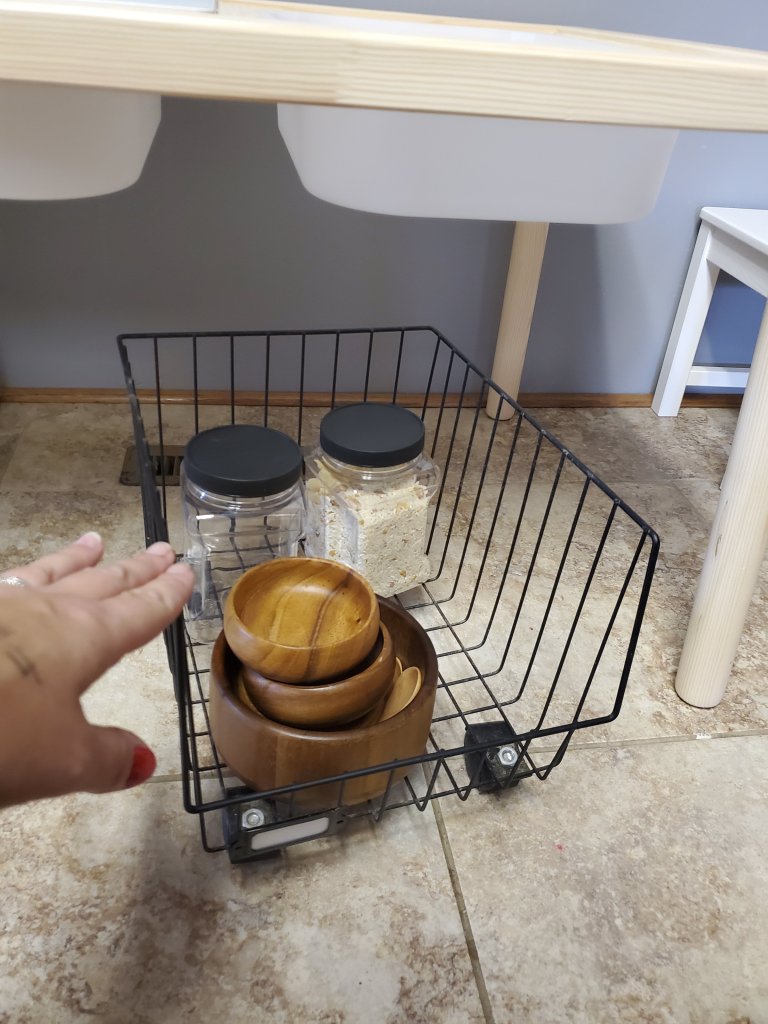
The large wooden bowl is from Walmart for about $7. The small set is 4 from Amazon. I also added the set of wooden spoons from Amazon. I even have my own set of wood bowls for charcuterie boards because they were so cute. 😂

Sometimes we add things like rice, beans, popcorn kernels, and pastas to the dishes. This is a huge hit. Albeit a little messy. 😉
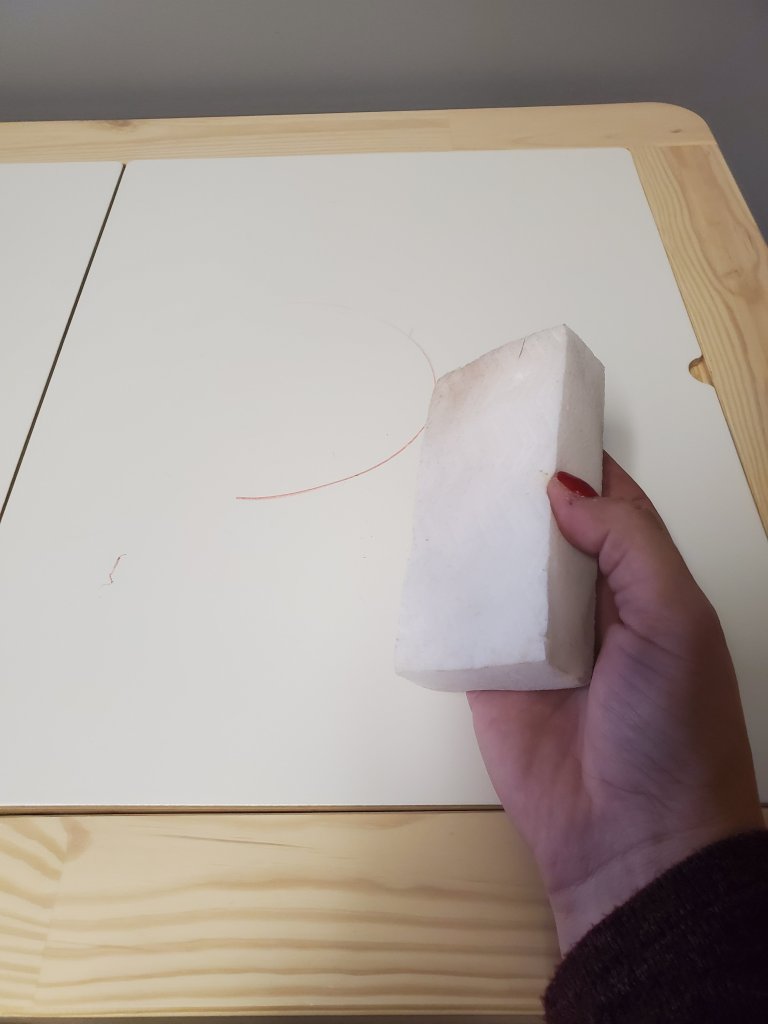
I highly recommend some Magic Erasers (these things are like mom gold!) and a little broom like this one for clean up.

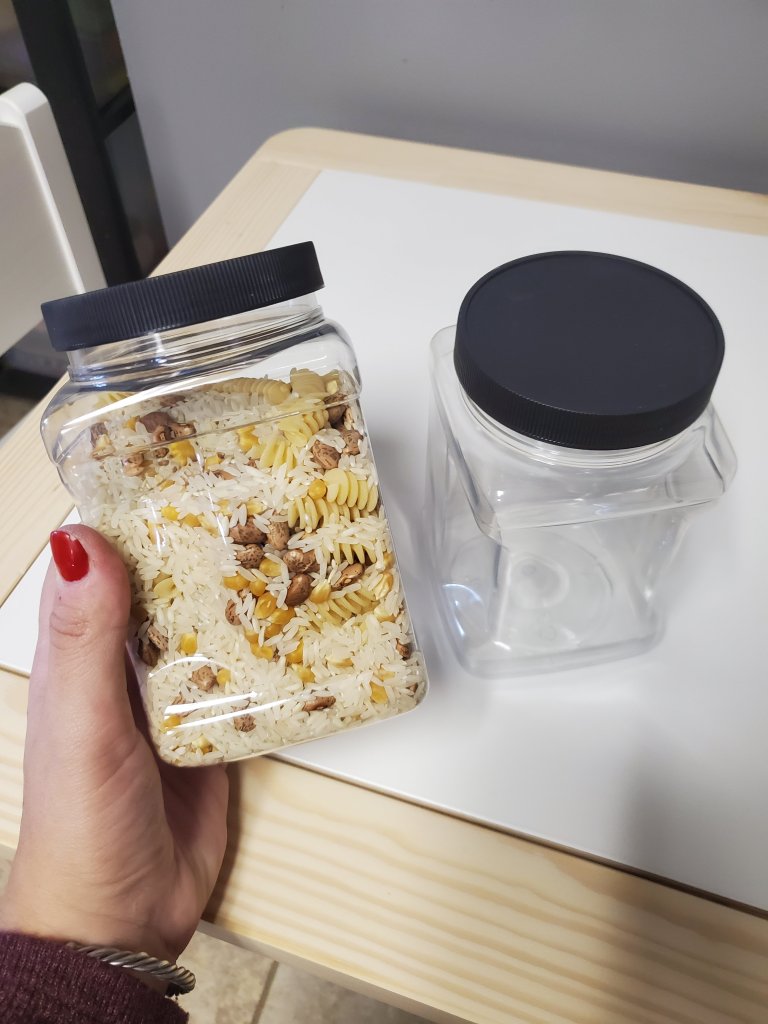
These plastic jars are awesome for saving some of the fillers or kids’ creations for a while to use again.
And this wire bin (similar) actually has two more that stack on top, but the bottom one on wheels fits perfectly under the table to corral some things.
You don’t need a ton of stuff and can definitely wrangle some things from around the house. These are just the items we started with to keep organized in making sensory fun.
One thing I’m loving so that I don’t have to think up all the ideas on my own is the premade and themed kits from Little Creators Texas. Her play dough kits are so fun! Here the boys are playing with the fall themed kit. They LOVE it and keep coming back to play again!


I also have some kinetic sand, fake snow, and water beads that we can switch into the tubs. And you can add in any little bits like pinecones, blocks, wooden people,, letters,, shapes… the list is endless. This set up has already given these two hours of entertainment. I am impressed. And I can say that I see their wheels spinning and them learning from this kind of interactive play already. I highly recommend.
We already have lots of ideas for new things to try too, so if this kind of thing interests you, be sure to follow me on Instagram, where I will show more things we use for interactive and sensory play!
Have you made any sensory bins yourself? What did you use?
Xx,
Jess
The Best Chex Mix
I have it. The Best. Chex. Mix. Recipe.
I promise.
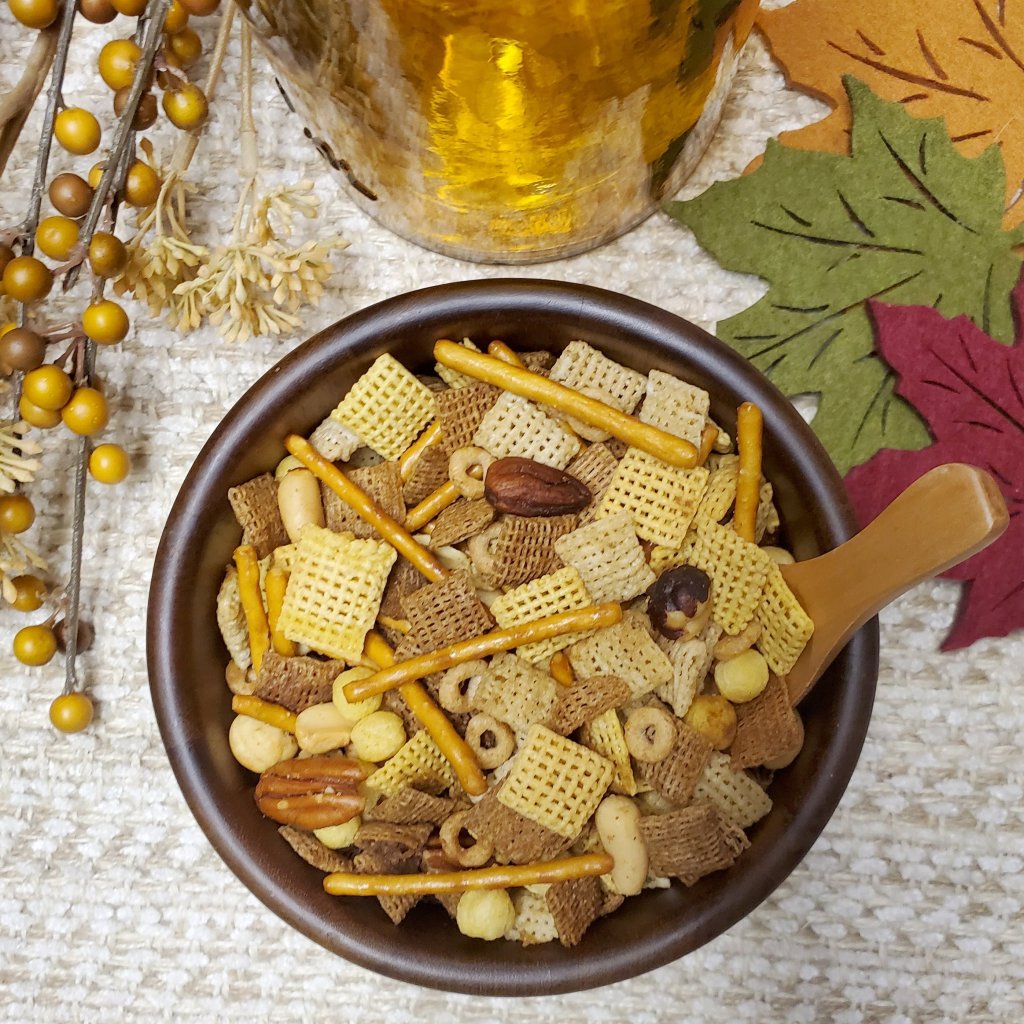
This recipe has been a family tradition since we were kids, and still is today for my kiddos. Its super easy and EVERYONE is a fan. We freeze a couple bags and it serves family, friends, guests, and gift recipients all season long. And is always welcomed.
I hope you all enjoy like we do!
1/2 c. Butter or Margarine
1 1/2 tsp. Seasoned Salt
4 1/2 tsp. Worchestershire Sauce
Sprinkle of Garlic Powder to taste
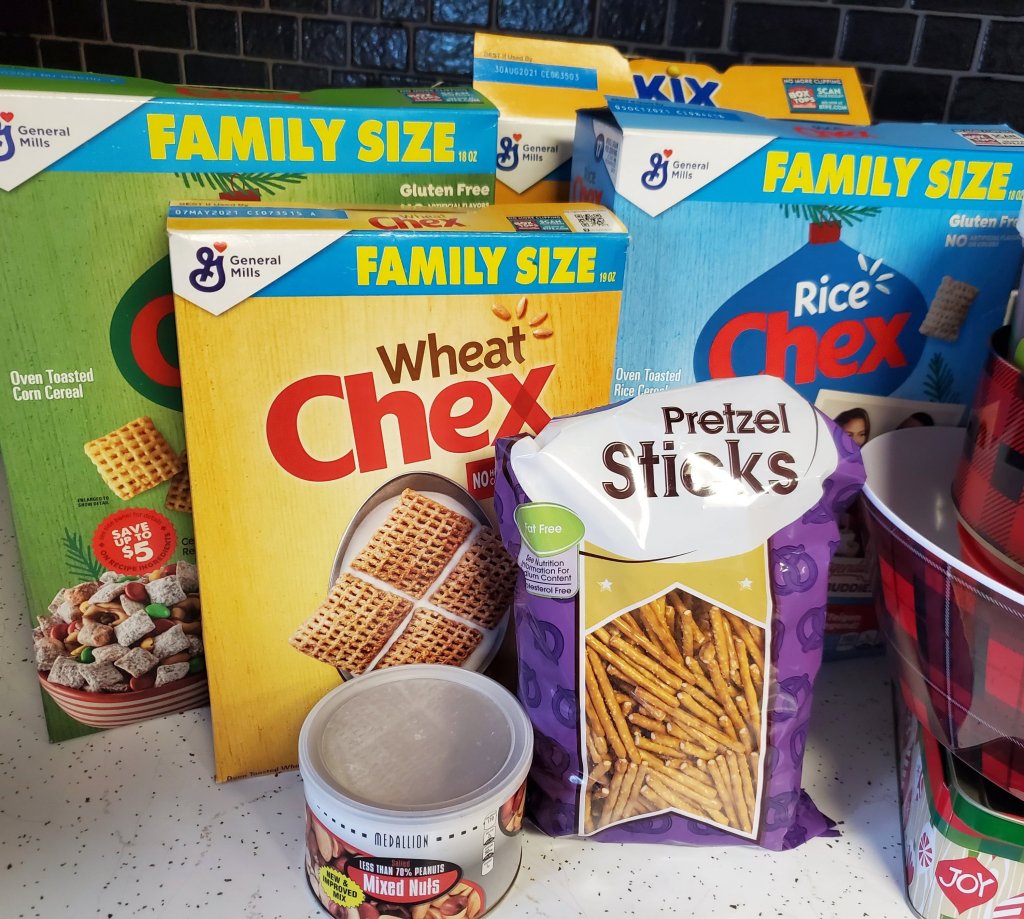
2 c. Corn Chex
2 c. Rice Chex
2 c. Wheat Chex
1 c. Cheerios
1 c. Pretzel Sticks
1 c. Mixed Nuts
1 c. Mix Cereal
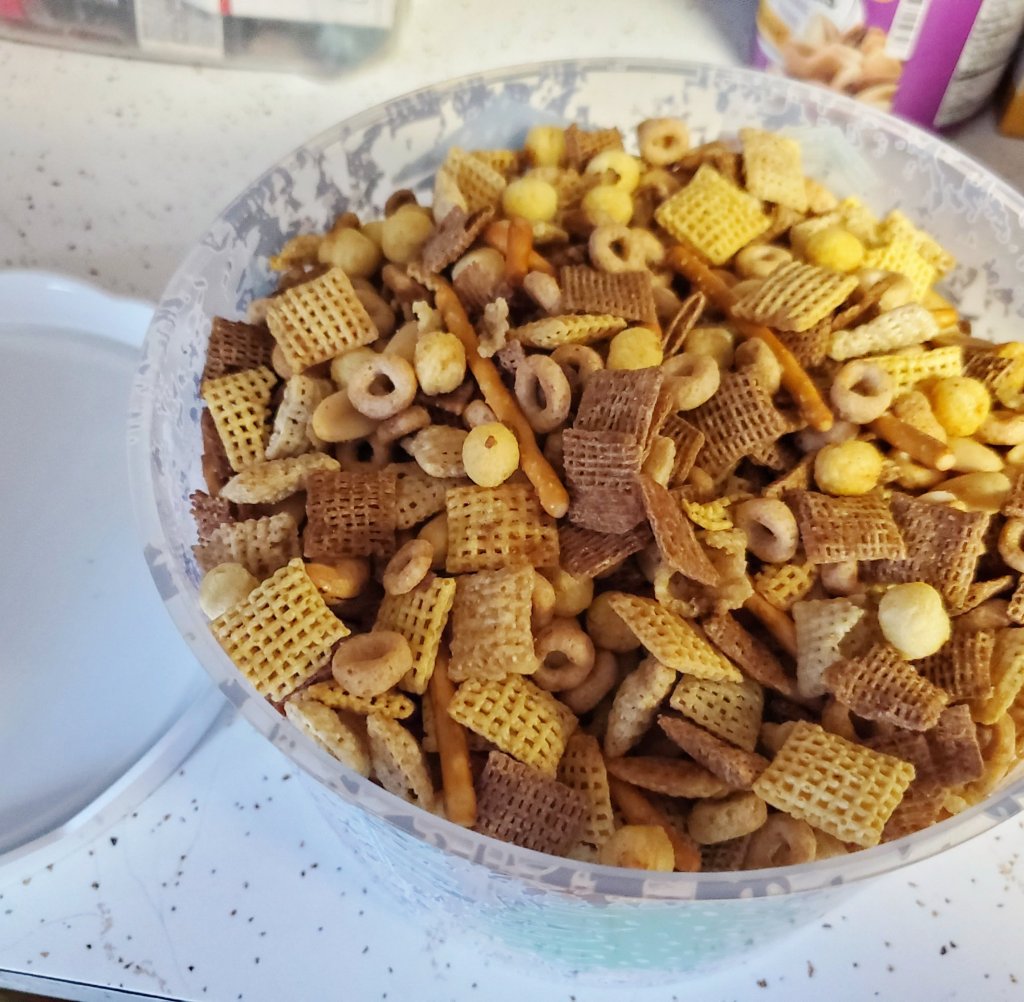
Heat margarine at 250° in shallow roasting pan until melted. Remove and stir in seasoned salt and worchestershire sauce. Add cereal and nuts. Mix until all pieces are coated. Heat in oven 1 hour. Stir every 15 minutes. Spread to cool.
Best part is, it doubles well! Make a double batch and use a large pan. Easy!
Let me know what you think!
Jess,
XX
