Progress- The Kitchen!
We have been hard at work painting those kitchen cabinets. Not finished yet, but getting close. I just thought that we would update you on some of the process and the progress.
Here are some before shots of the dark, mismatched, and very worn cabinets:


I started by using a palm sander to sand the stain off of all showing cabinet surfaces. They then looked like this:

Next, I removed all of the old hardware and filled the existing holes with wood putty. I did not need to fill the holes from the hinges, however, because we were lucky enough to purchase new hinges that fit in the old holes. But the handles are completely different sizes and shapes, so these holes and to be filled. I also swiped some of the putty across any cracks and dents I found. By the way, the new wood putty they have out there is more of a foam than putty. It is super easy to use. I sanded the putty spots down once they were dry. For the larger holes I puttied and sanded a second time so that they came out very flat with the wood. Here’s a shot of that step before sanding (after sanding they look much smoother):


I then started the painting process (the lengthy part!). I decided to start with only the bottom cabinets. There would not be enough floor space to paint all of the doors at the same time. I taped off walls, trim and floors with painter’s tape. I also taped down papers on the floor. (Actually, this is kind of weird, but I taped down puppy pee pads. We had a bunch left from when the puppy was still having accidents. She never liked to use them, but instead of throwing them out they made great drop clothes!) I then applied to coats of Kilz primer.


You can see that the first coat goes on kind of streak-y, but the second coat covers much more evenly. We now have the bottom cabinets painted with two coats of white semi-gloss paint, and we are hanging the hardware and doors tonight. More updates to come… but isn’t it starting to look gooood?! 🙂
Typewriter Table Detailed
Sorry, I forgot to upload new pictures yesterday. But, today you get to see a lot of progress from the weekend! Here is the typewriter table that I showed you before. It is now finished and detailed!


Once I finished the second coat of white spray paint I arranged cardboard scrap-booking stencils in the placement I liked. I traced and filled the stencils with a paint pen. These little guys work great! I have used it on a couple of projects now and it always does the trick. I think it is super cute and ready to be used!
Sweet Little Details
I really believe that it’s the little details in a home that make your space special. Ok, that sounds cheesy. But, it is true. We have made some major repairs, spend lots of money, and in the end it’s the little projects worth a few bucks that make me so proud of our home. I have been excited for days about the new towel bar we hung in the bathroom. This is not only a convenience, but looks so much better than having the towel laying on the sink all the time- and, it only cost me about $3!
So, last night while finishing up the living room curtains we also hung up some coffee mugs in the kitchen. I bought a few new red mugs at Wal Mart for $2 apiece. I got a few cup hooks, and viola! Instant face-lift for the kitchen space. I love my bird of paradise mugs, but these look much more updated and will go great once we finishing the painting of the cabinets. Tony actually hung a separate board under the cabinet so that the screws for the hooks wouldn’t go all the way through. He also had to slightly open up the cup hooks, as the mug handles were a bit wider than standard ones. All in all I think they look great and will be awesome in the new kitchen too!


I know I said that I would be starting to work on the cabinet painting last week, but I got a bit lazy. I really am going to work on it this week, so check back for updates and tips on the cabinet painting!
More Curtains!
Last night we finished hanging curtains in the living room. I am so excited to not have these flowery old lady curtains any more:

 I really wish I would have remembered to take specific before shots of these. They even had poufy, paper-stuffed valences!
I’m not too sure about the new curtains we chose, so I need your opinions and suggestions. They are, no doubt, better than the before, but not exactly what we had in mind. We wanted to stay inexpensive for right now, so we got these at WalMart (no Ikea near us!). We originally picked a charcoal color, but when we got home we realized that the packages we grabbed were all black! They do need some steaming, but here they are:


I think it is a huge improvement, but it still feels a little off. Tony likes the blinds on one window (this is the previous family’s doing- not mine!) but, I think the small window should have sheers as well so the two match. What do you think?
Either way, these are much more our taste, style, and colors, and best of all- no foofy grandma curtains! 🙂
Oh, and I realize that we really need a rod that is meant to be showing, but we aren’t going to spend the money on a custom length one right now. So, the white bar has to stay and we just have to deal with it for a little while!
Mini Bar Makes More Progress
I think the mini bar project is almost done (the mini bar we made out of a re-purposed vintage TV armoire). We are going to leave the wood as-is, at least until we see what it looks like next to the black desk (which is still in progress). We are planning on changing out the handles, but haven’t found the perfect Hollywood Regency looking pair yet. Yesterday we got the mirror for the back and the glass for the bottom cut and installed. We also hung a stemware rack under the top and I lined the drawer with some fabulous material. I would like to find a very simple mountable wine rack to hang under the top on the other side, so if you have one of those to recommend…! So, here it is, looking gorgeous!


Chandelier For The Porch
Here it is. This is the fancy project I completely with the ugly, little, pink basket.
Here is the before picture:

Here is what I made:


I took a 75cent basket from the Salvation Army and spray painted it black. I hung crystals and beads on it and added a length of chain. I added some mini candles in jars and viola! We now have a chandelier above the ice cream table on the porch! I found this idea on Apartment Therapy and think its super cute. What do you think?


Whats In Store For Next Week
Over the weekend I have a long list of fun little projects to tackle. If I get myself into gear and get them done you can plan to see updates next week. I hope to be working on the kitchen curtains, painting some pots, planting flowers, cleaning up the yard, building a fire pit, and working on redoing a headboard for the master bedroom. It sounds like a lot, I know, but I think I have most of it covered! And, my favorite little project…
Check out what I do with this ugly little pink basket!

Check back all next week for updates, photos, and how-tos of my many projects! Have a great weekend!
Another Project Finally Finished
Remember that little stool with the opening lid I got from my grandma a few months ago? It has been on my to do list to redo the stool for a while now, and it is finally finished. See the before here: http://www.makemineeclectic.wordpress.com/2008/12/31/new-little-project/
I took the lid off, which actually made recovering and painting much easier, and ripped up the fabric. I tacked down new fabric and replaced the old black backing since it was still in good shape. Backing helps cover the ugly seems when they are on something like this, as the lid being lifted will constantly expose this back area. I then sanded and painted the wood bottom, put the top back on, and TaDa!


Much better, don’t you think!?
Bookend Project
I have said it before, but I love repurposing items. Especially in these times, finding new life for old items is the greenest option. Some things you hate to ruin by transforming them, but for the most part I believe that reusing old or obsolete items is a far better choice than letting them waste away in some one’s unloving basement, or worse yet, a landfill. Plus, repurposing is often much cheaper than buying new items, as well as healthier for the planet. So, when I get the chance to make a new addition to our home, and at the same time get a new project with old items, I jump on it!
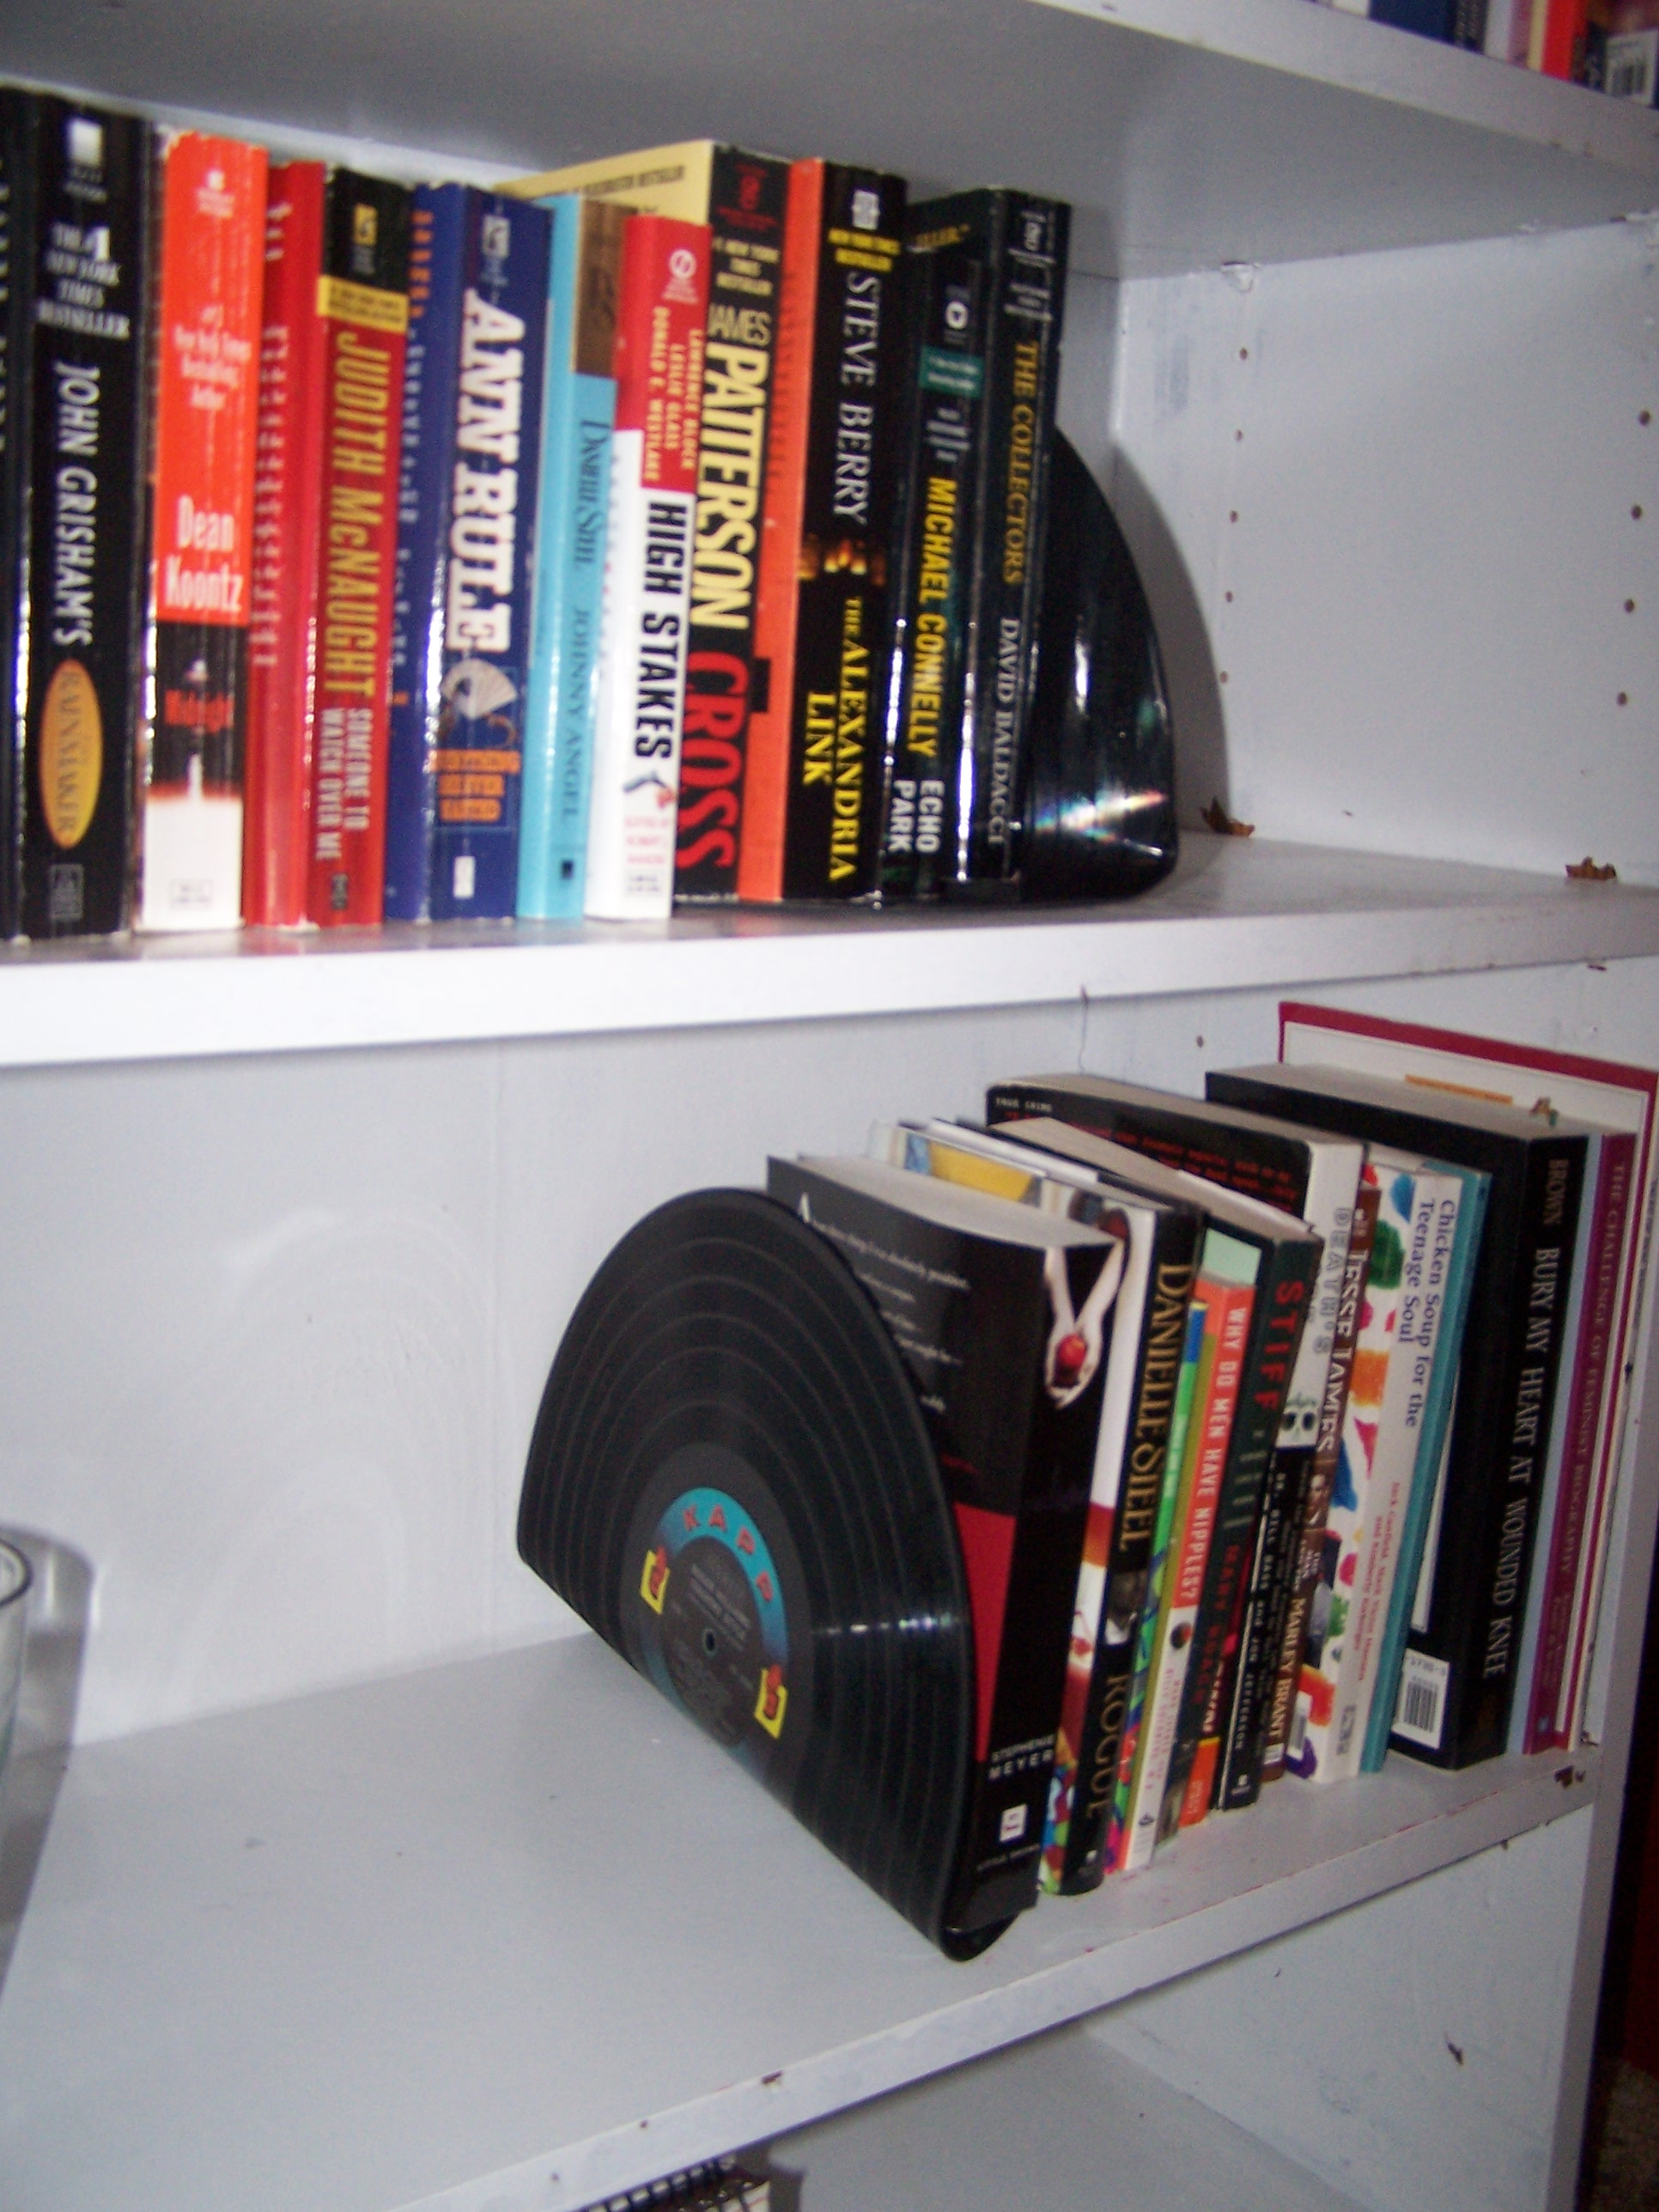
In college I made bowls out of records as a dorm floor project. I still have mine in our office on the book shelf. The other day I saw a project online where book ends were being made out of old records, and decided that would be a perfect addition to the shelves, and even fit in with our music themed office.
I made a stop yesterday at the Salvation Army and picked up two records. They weren’t anything special, just old records in decent shape and with pretty labels. Last night we boiled some water and dumped it in the kitchen sink. The water softens the record and you use a utensil to bend it.
Overall the project was easy and turned out pretty cute!


Cooling off under a box.

Office Storage
I love the matching office supplies my mom got me a year or two ago. There is a pencil cup, tray, two boxes, and a magazine box, and they are all in different forms of black and white damask with little bits of red here and there. I was thinking lately that I just needed a few more storage pieces for office things. I had recently seen a post online about making your own magazine boxes with cereal boxes. Last night I dug into this project as well.
I cut the cereal box top off and cut the sides on an angle. I then recovered the box by glueing some black and white skull material (I have a thing for skulls right now) over all outter sufaces. It was easy and cheap and I think it goes well in the office space. Now I have one more storage box. More to come in the future.

I didn't take a before picture of the empty cereal box, but here is the finished product.

There it sits next to the other box on the shelf of our pocket office.
Also, another little office update. Tony finally installed the frame for the projector picture. The wall at least appears empty for a reason now. I kind of like it. It almost looks a little purposefully quirky when the projector isn’t on.

