Quick and Easy Halloween DIY
Happy Spooky Season!
Maybe its that we’ve been cooped up way too long and missed too many “normal” things, I don’t know, but we are going all out extra for Halloween this year. Our house, or yard, our decor, even our snacks, have all gone completely spooky. I’m loving it!
If Halloween time is your thing, or even if it’s not so much, but you want to show the kiddos just a little festive fun, then I have a super easy and cute DIY project for you!
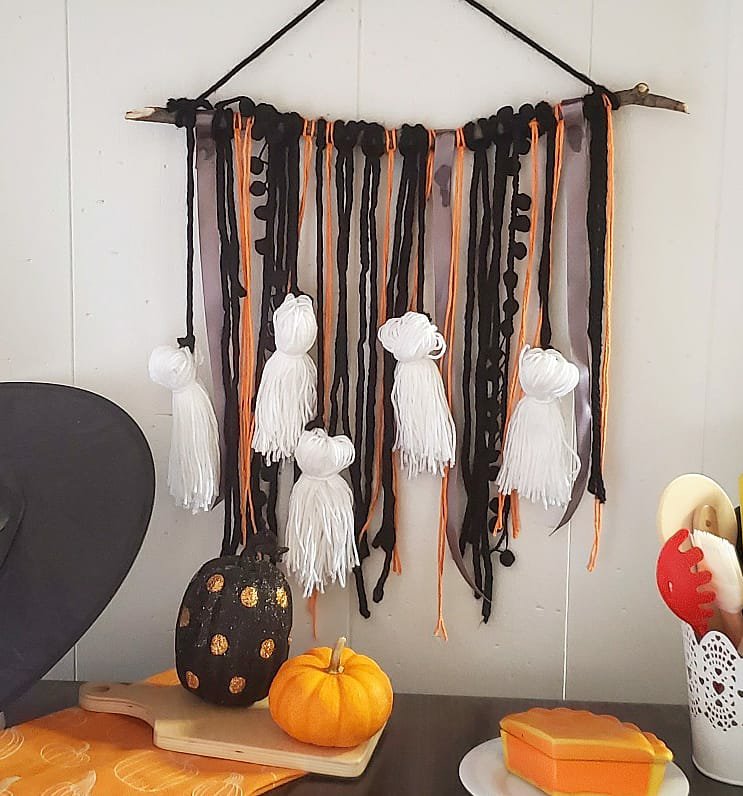
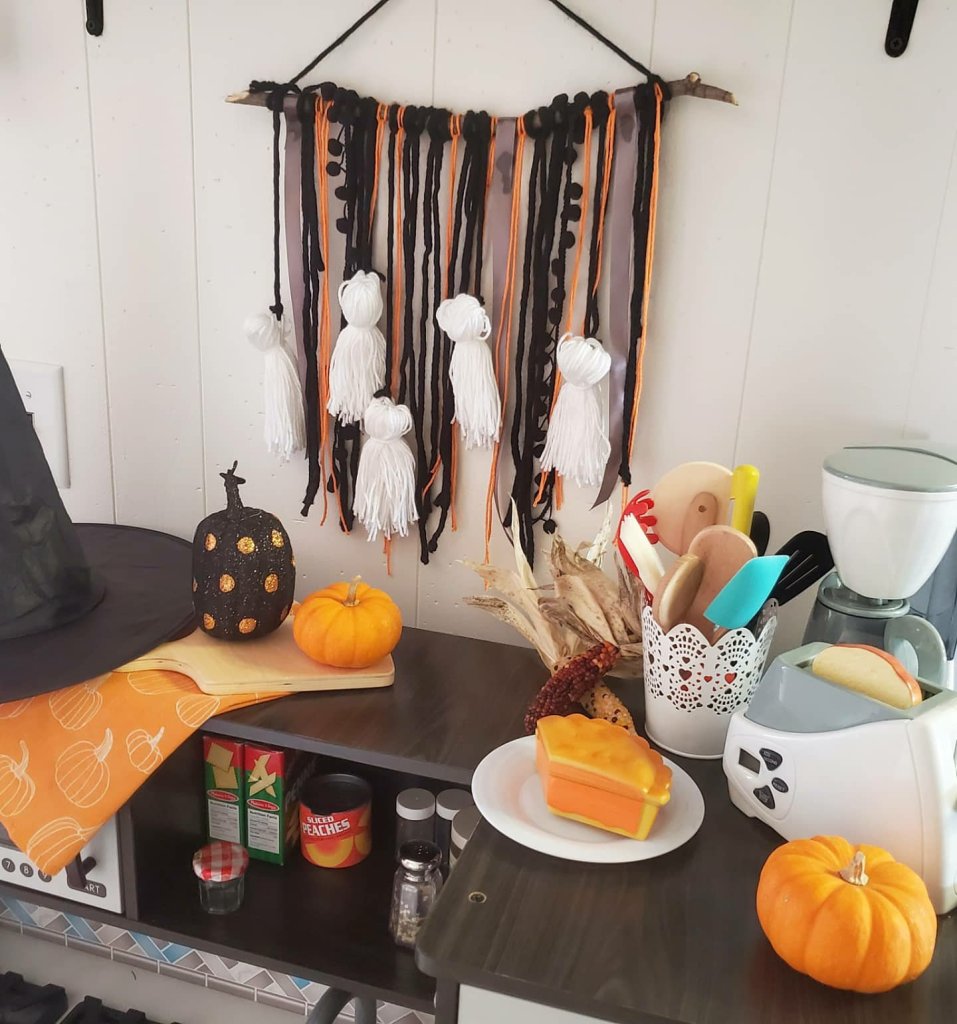
Faux Ghost Macrame Wall Hanging!
Supplies: -stick
-yarn and ribbons in various colors and textures
That’s it! Super easy, but such a cute payoff.
I cut the branch from a tree in the yard, even a dowel would work. Mine is a bit over a foot long. I started with it longer and then cut it off as I worked to make sure I knew I liked it. Decide how long you want things to hang. Mine is all random lengths, but around 14-16 inches. When you cut your pieces of yard, double this. You will fold them in half. I eyeball all of this and er on the long side. You can trim them down later.

With the piece of yarn folded in half, lay it over the stick. Bring your looped end under the stick, then stick the ends back through the loop and pull tight. Viola! I glued the ribbon together in the back around the stick instead of this method so as not to crease it. I love the ball tassel ribbon to give texture too and tied these in a knot around the stick.
The ghosts. Also simple. Wrap white yarn around a book about 50 times. Cut the strings on each end of the book and keep them in a bunch. Fold the bunch over and tie a piece of yarn around it. I took black yarn through a small chunk of the white ghost head yarn on each side and tied this together in back and then tied the black to the stick.
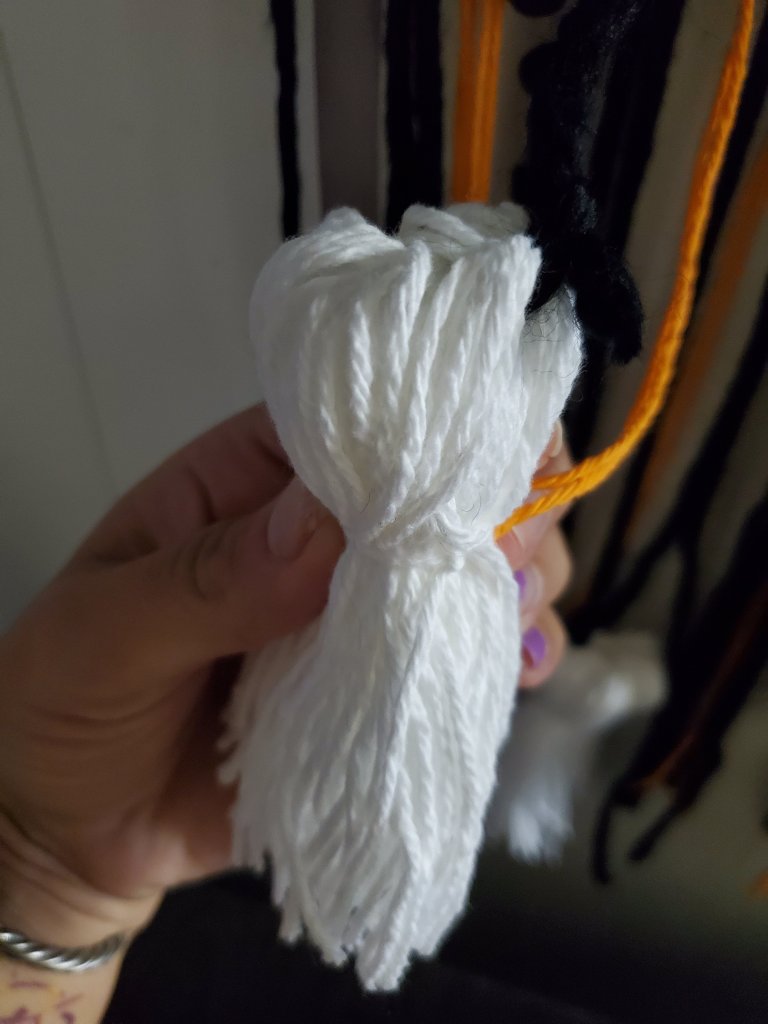
There is no right or wrong with any of this! Keep it fun and super simple. You could glue eyes and mouth on the ghosts too if you want! You can add more or less pieces to the stick too.
Enjoy! 😉
Xx,
Jess
Deck Reveal
Its been a two year wait since moving into this house and several weeks of work this summer… but she’s finally done! We have a deck!!
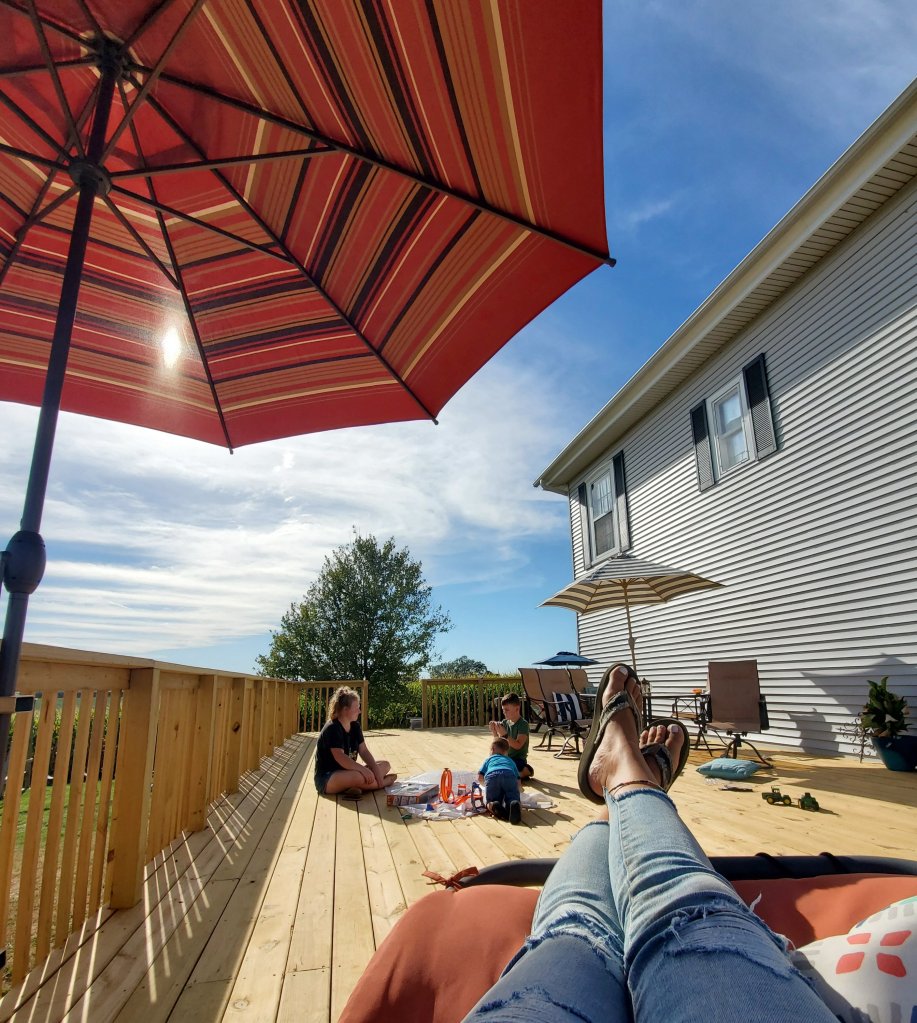
Now mom has a spot to relax and watch the family magic happen! 😉
Yes, its huge! The land directly behind the house used to be another house attached. This left the ground hilly, dead, full of bricks and glass, and in general, useless. So, cover it up we did. We filled in two giant cisterns and started a deck slab. Next year we will add a pergola to the blank spot of house where the table is now. We will put a pool in down below and then the following year add another piece of deck to half wrap around the pool. It will be the ultimate dream area when we are finished.
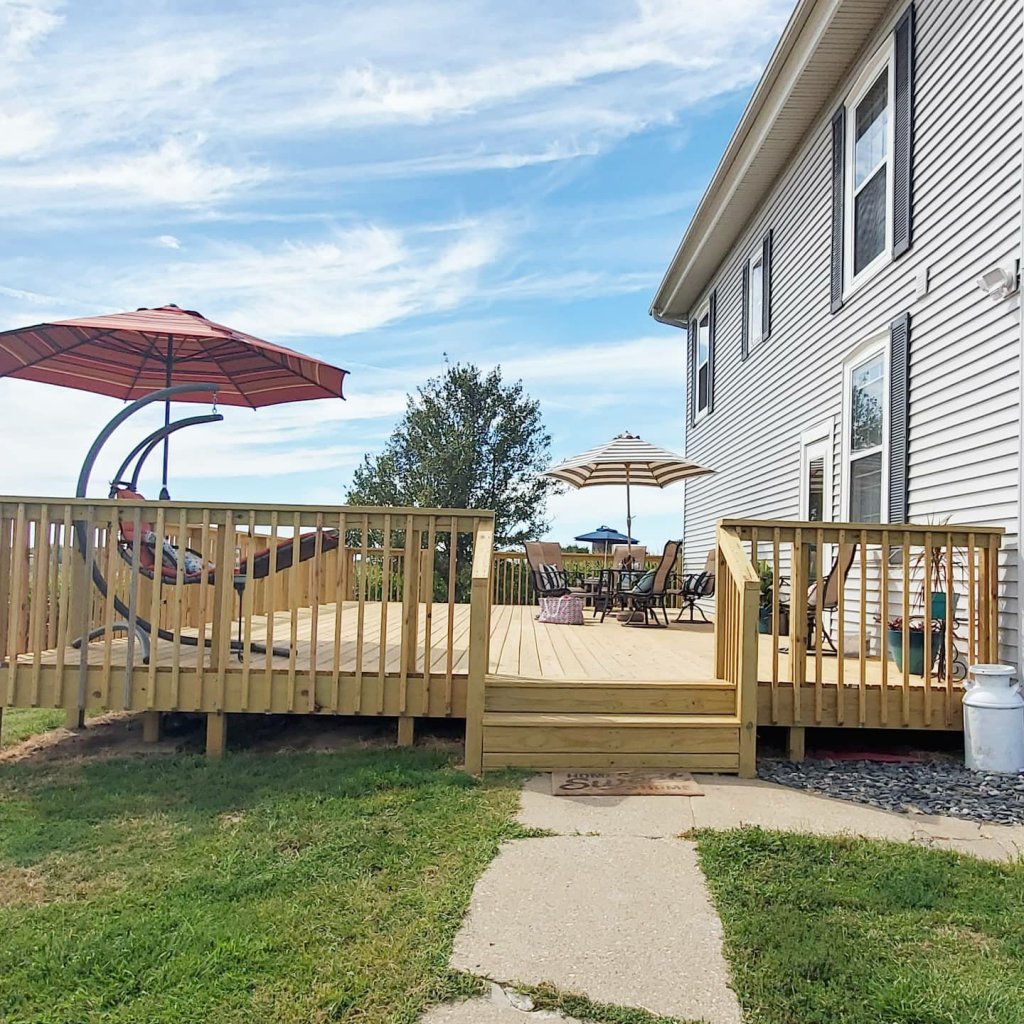

We do still want to add trellis to the bottom to keep everything out, but that will happen this fall.
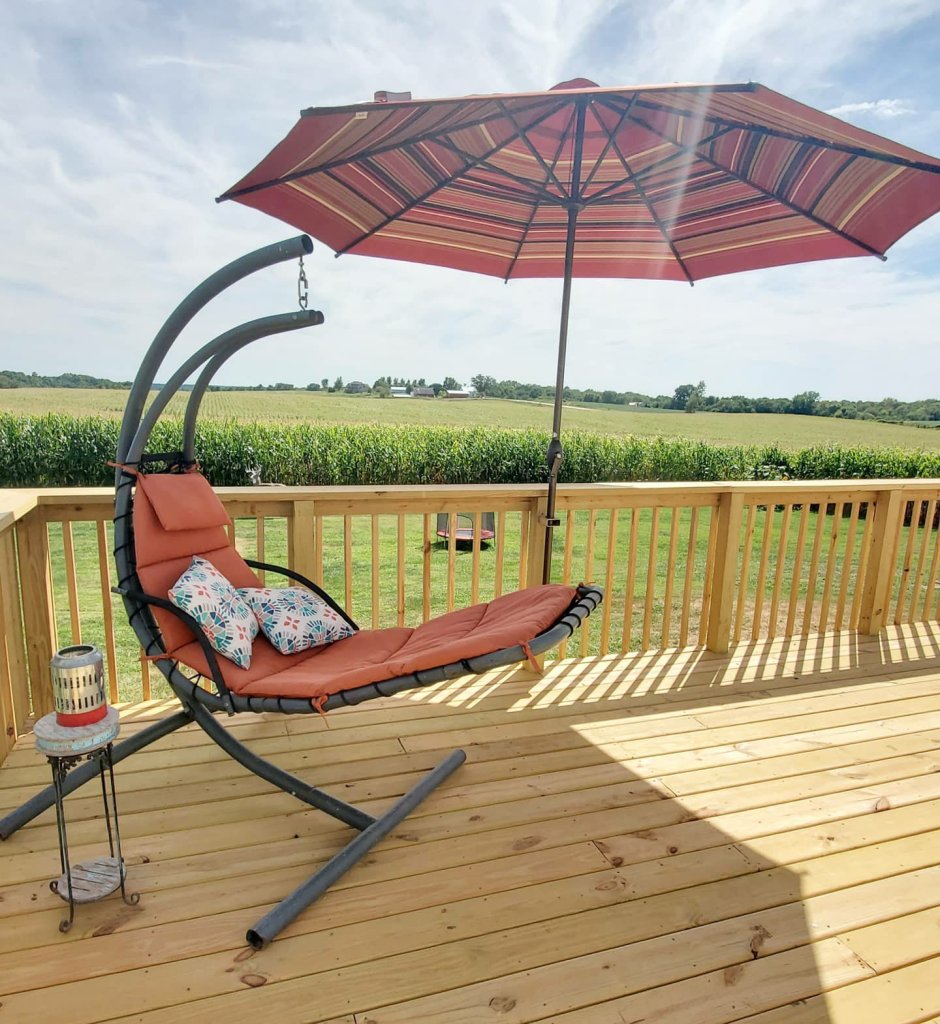
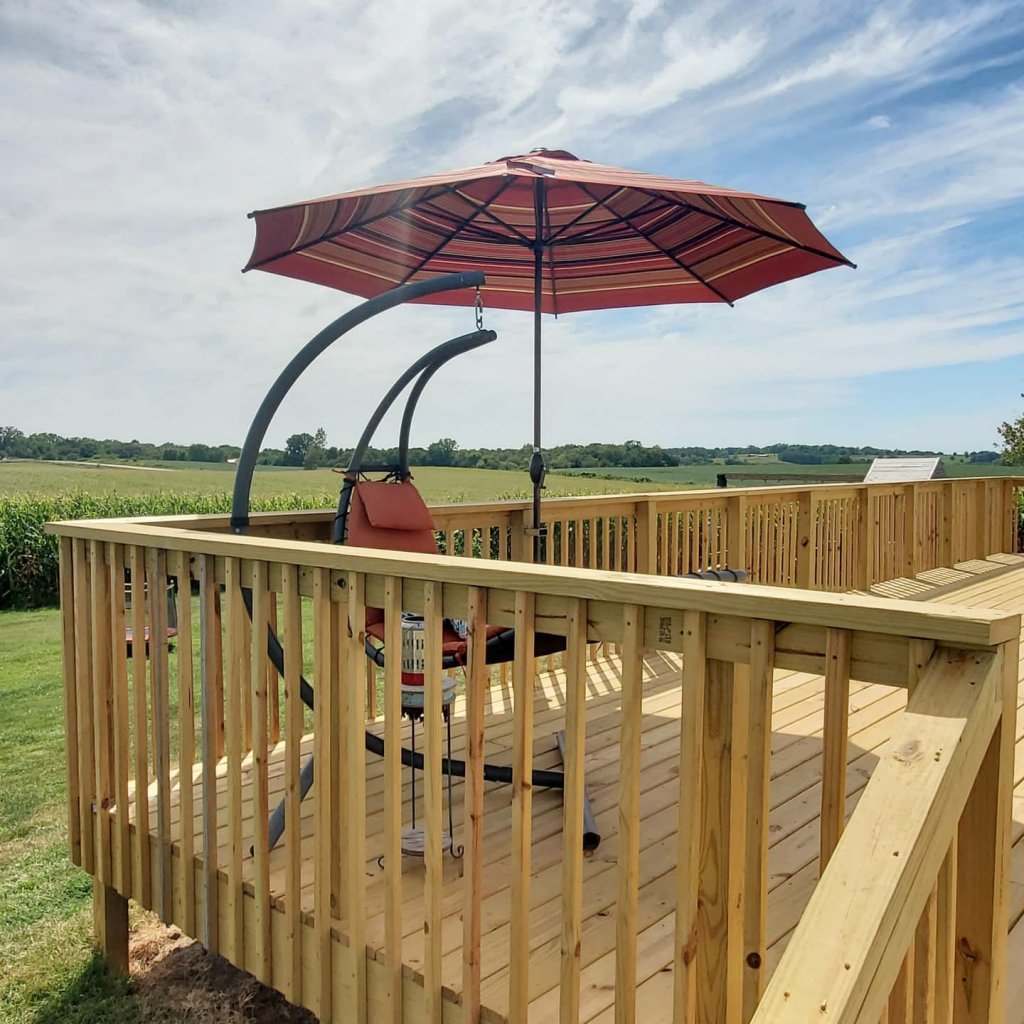
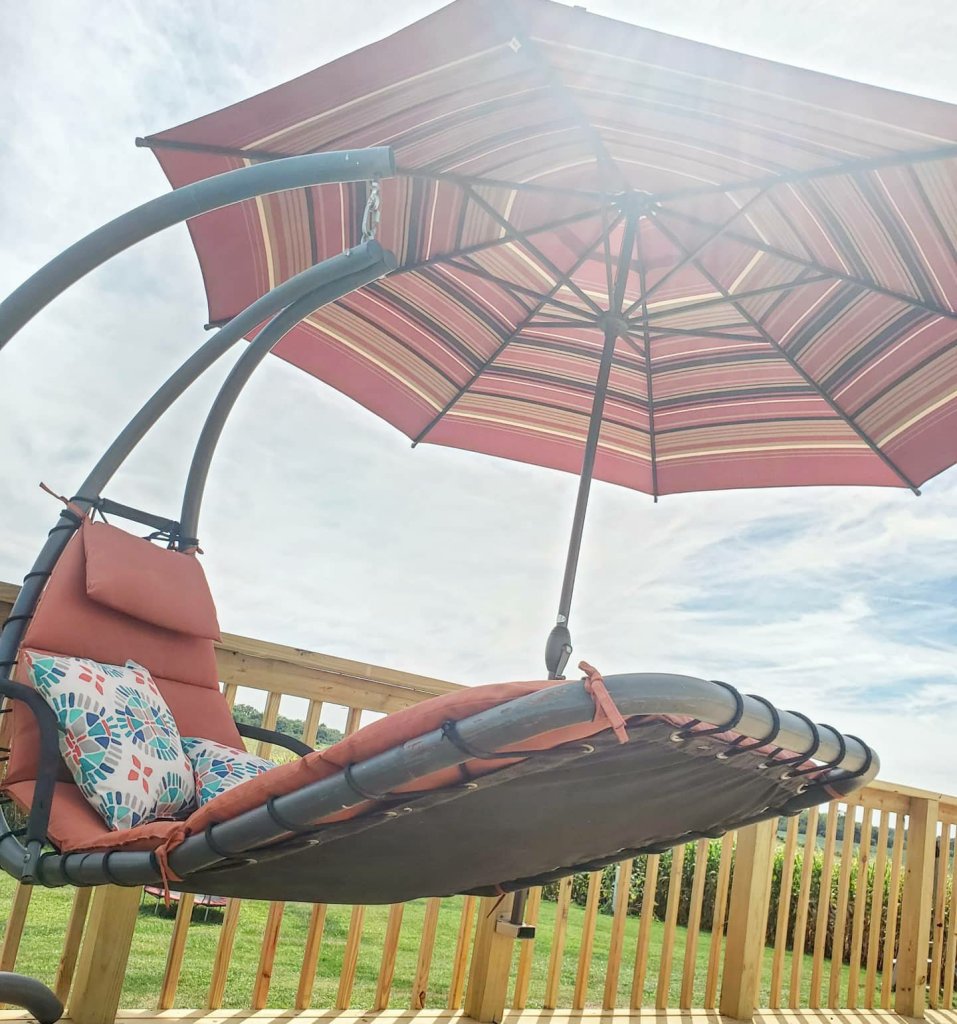
One thing that was super important to us when adding the deck was having some shade, as we have very little from the one small existing tree.
My favorite umbrellas?! From Abba Patio! (You can use code La10 on your order with them too!) The 11 foot red stripe is gorgeous! And so easy to use. We custom installed it with brackets we made, but it can go on a table or a base as well. This keep it so much cooler in the shaded areas!!

Next I need to find some outdoor rugs to tie in the different areas. Suggestions?? I’m being so indecisive!
Also, looking for an outdoor sectional. Maybe a hot tub?! 😜
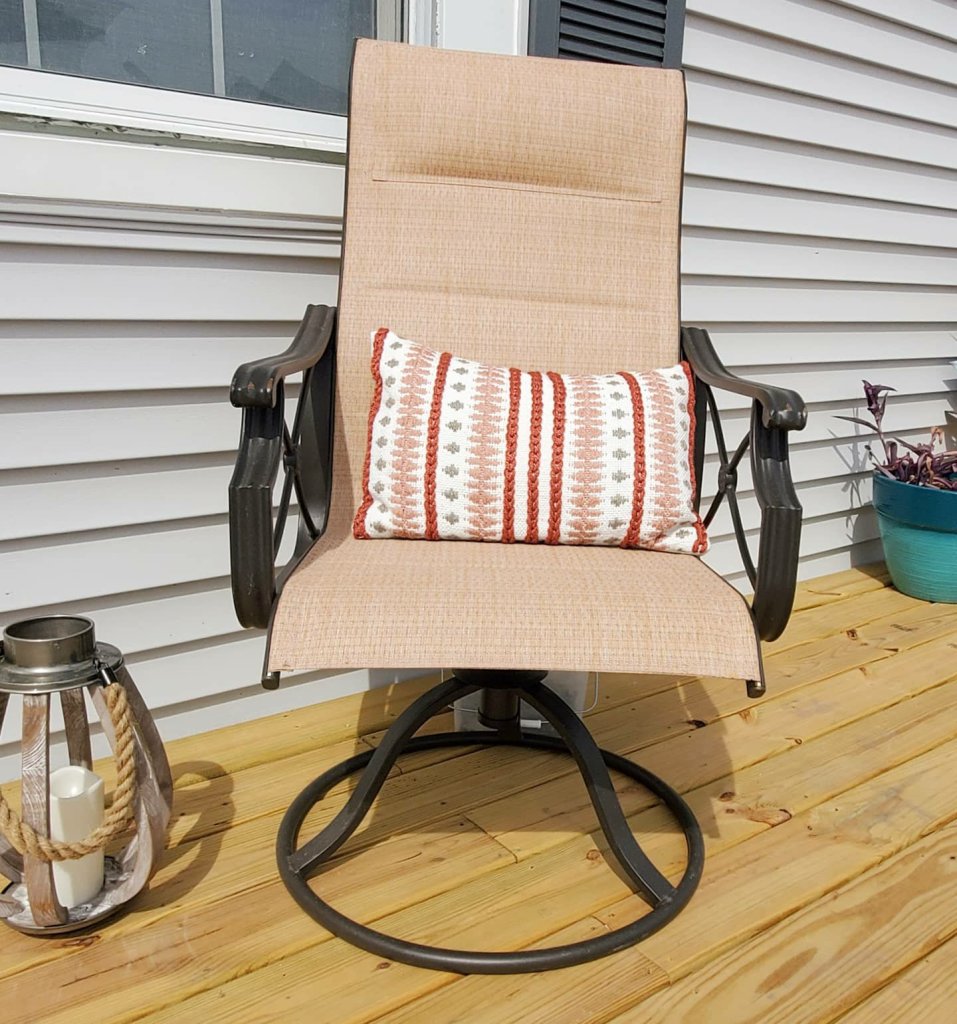
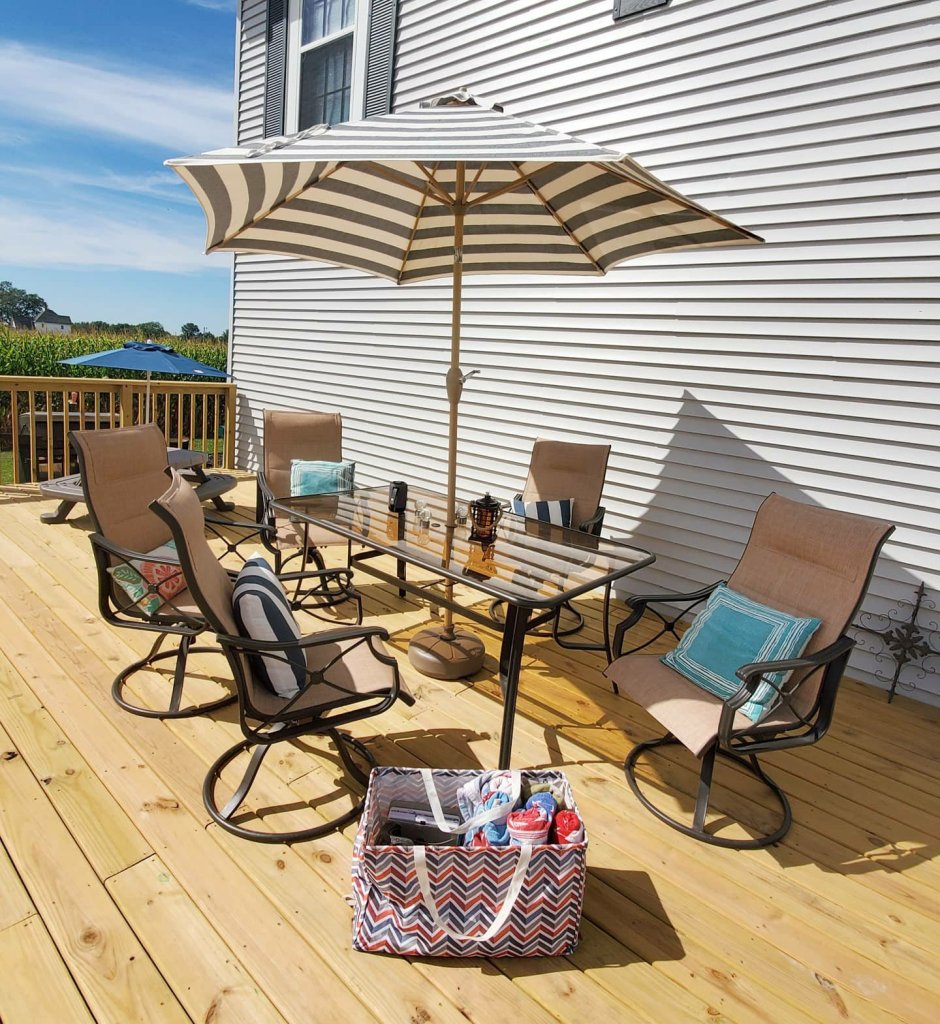
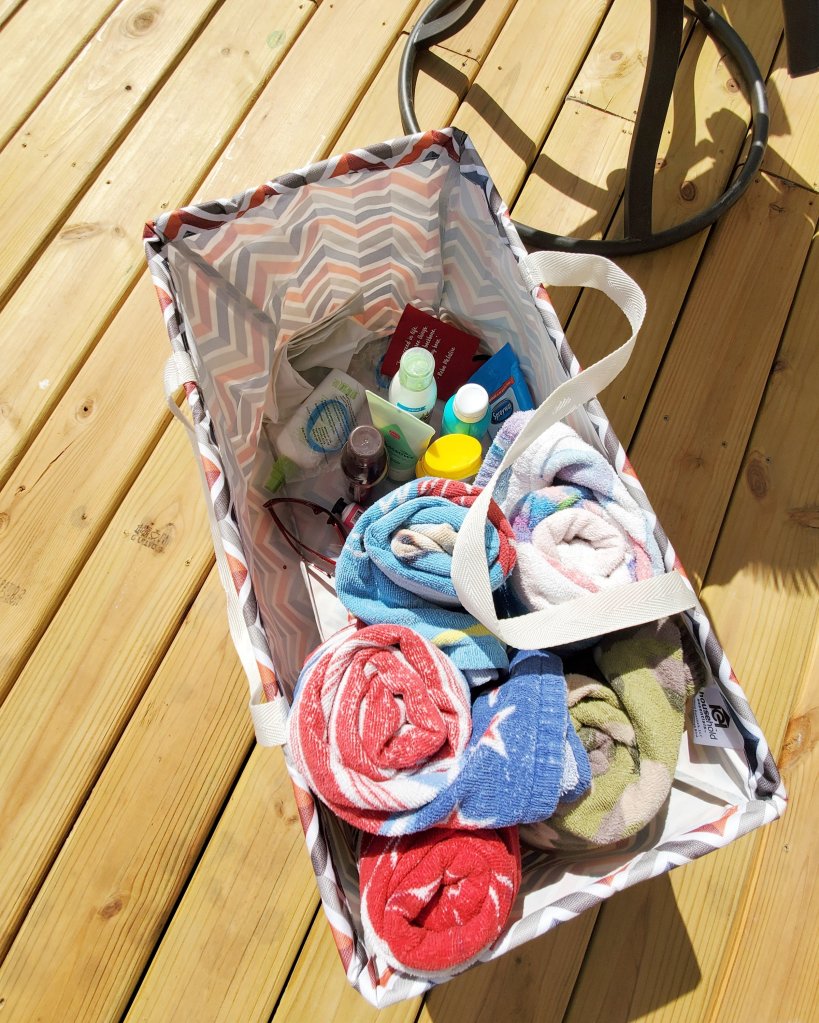
The table and chairs are from Menards. The wood lantern is from Walmart, along with the orange striped pillow and turquoise planters. The beach bag below is from Amazon.

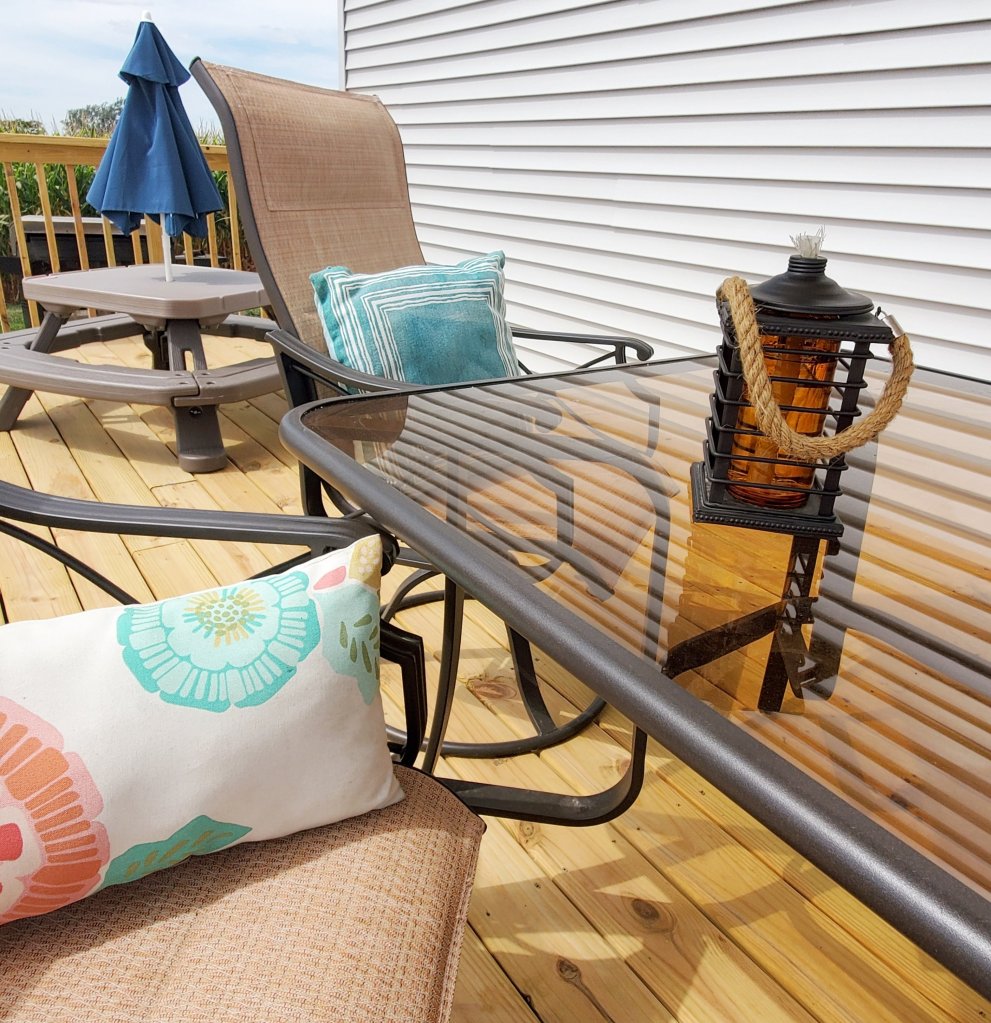
The kids table is Step 2 and an awesome thing to have if you have littles. We use it all the time!
Tip- use a beach bag or tote like the one below to hold your deck or patio essentials. We take it in at night and bring out each day. Super helpful to keep things corralled while not getting ruined being left outside. We keep sunscreen, bug spray, santizer, sunglasses, beach towels, a speaker, and anything we want for the day inside. So handy!!
XX,
Jess
Why I Love My Cricut
This is a sponsored post written by me on behalf of <a href=”Cricuthttps://lnk2.io/wjcWg2L”>Cricut</a>. All opinions are 100% mine.
I have had my Cricut Explore Air 2 for a few months now, and to say I’m in love is an understatement! I’ve always been a crafter, but this things really helps me step up my game! Here I am going to talk about the 5 things that I love about my Cricut!
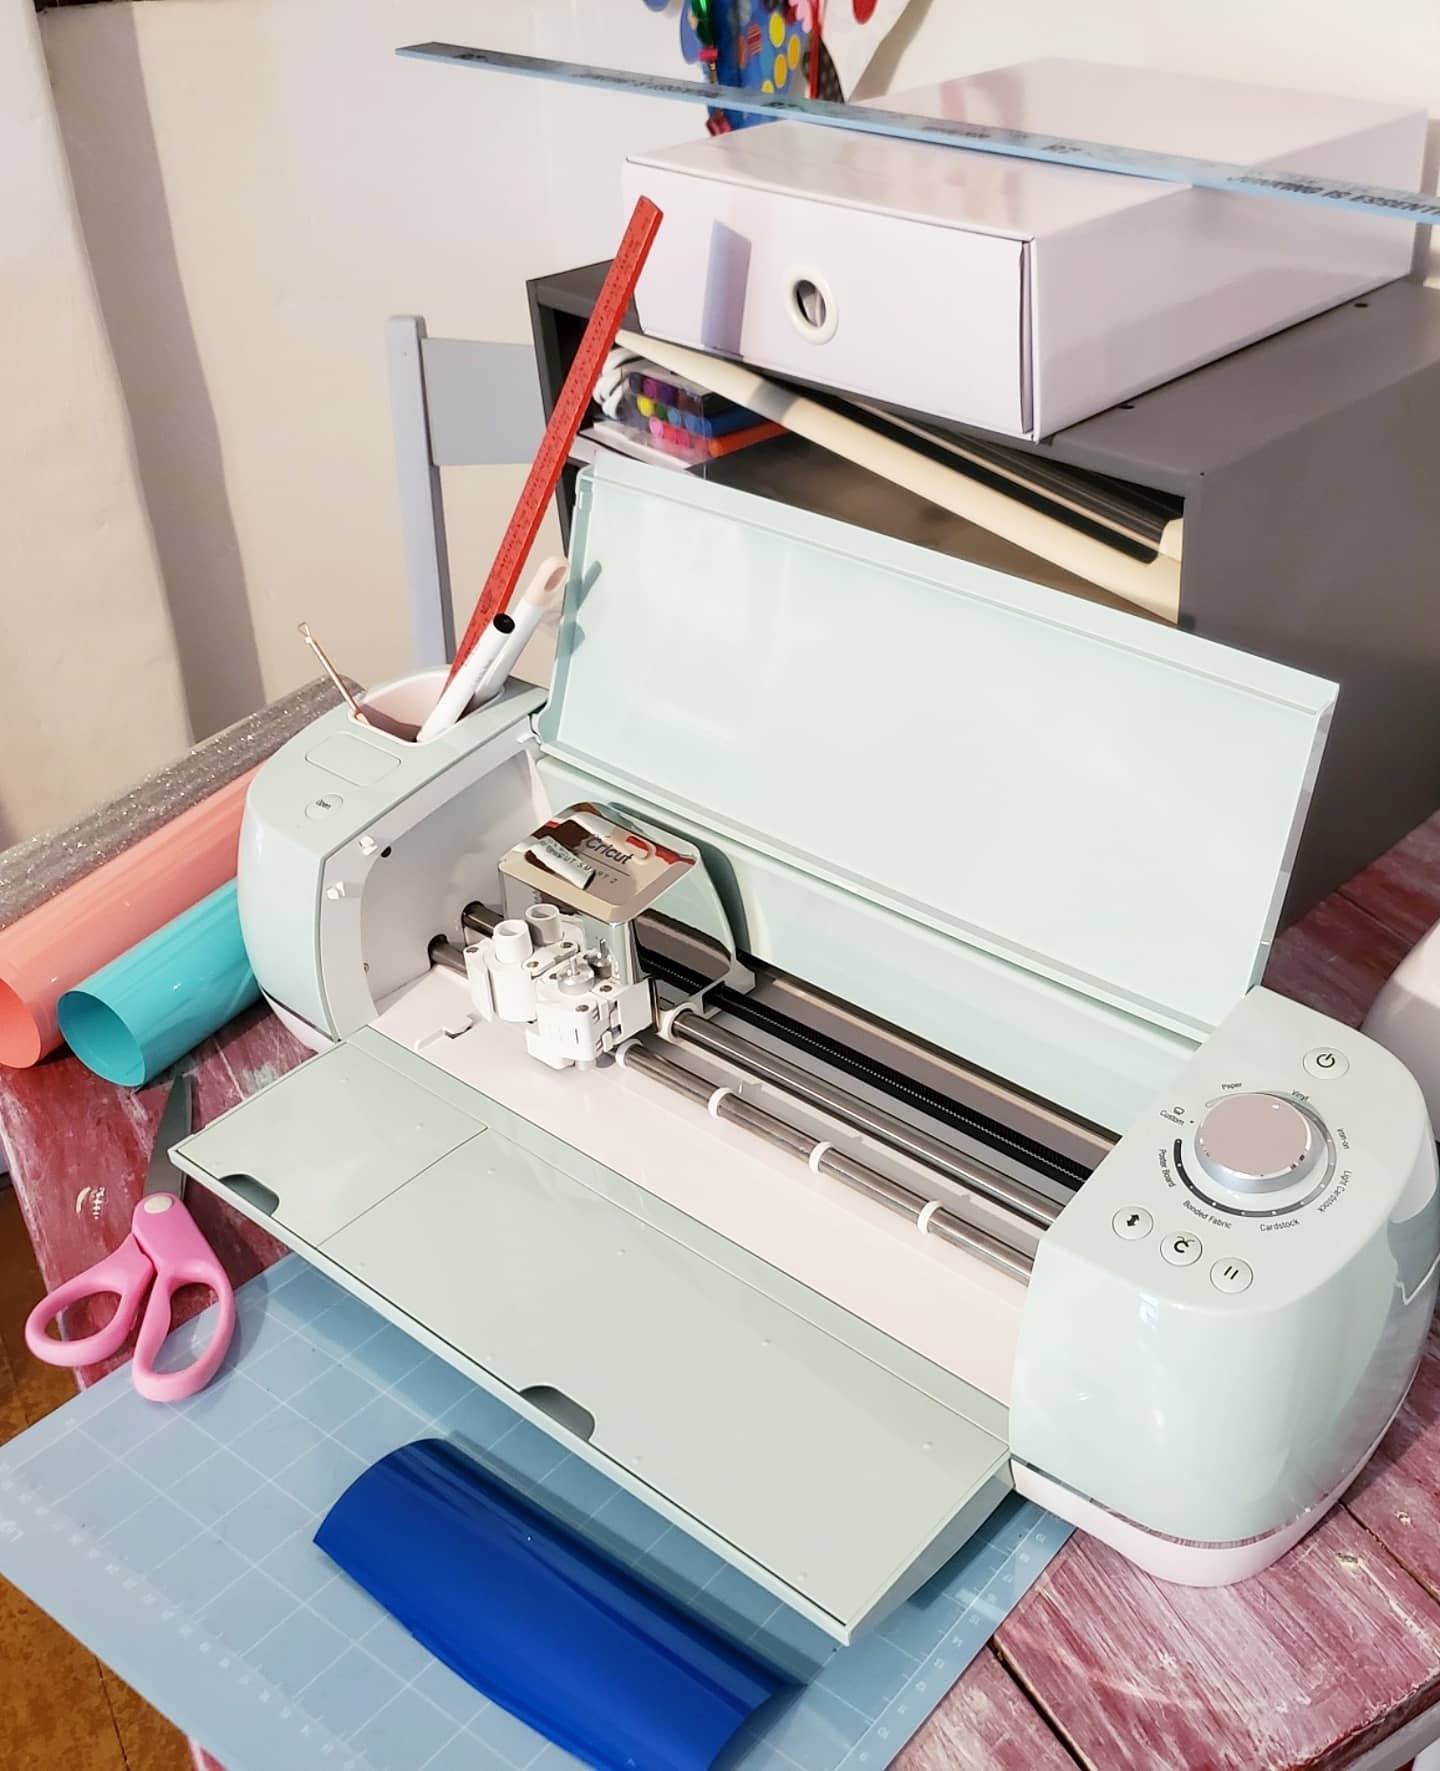
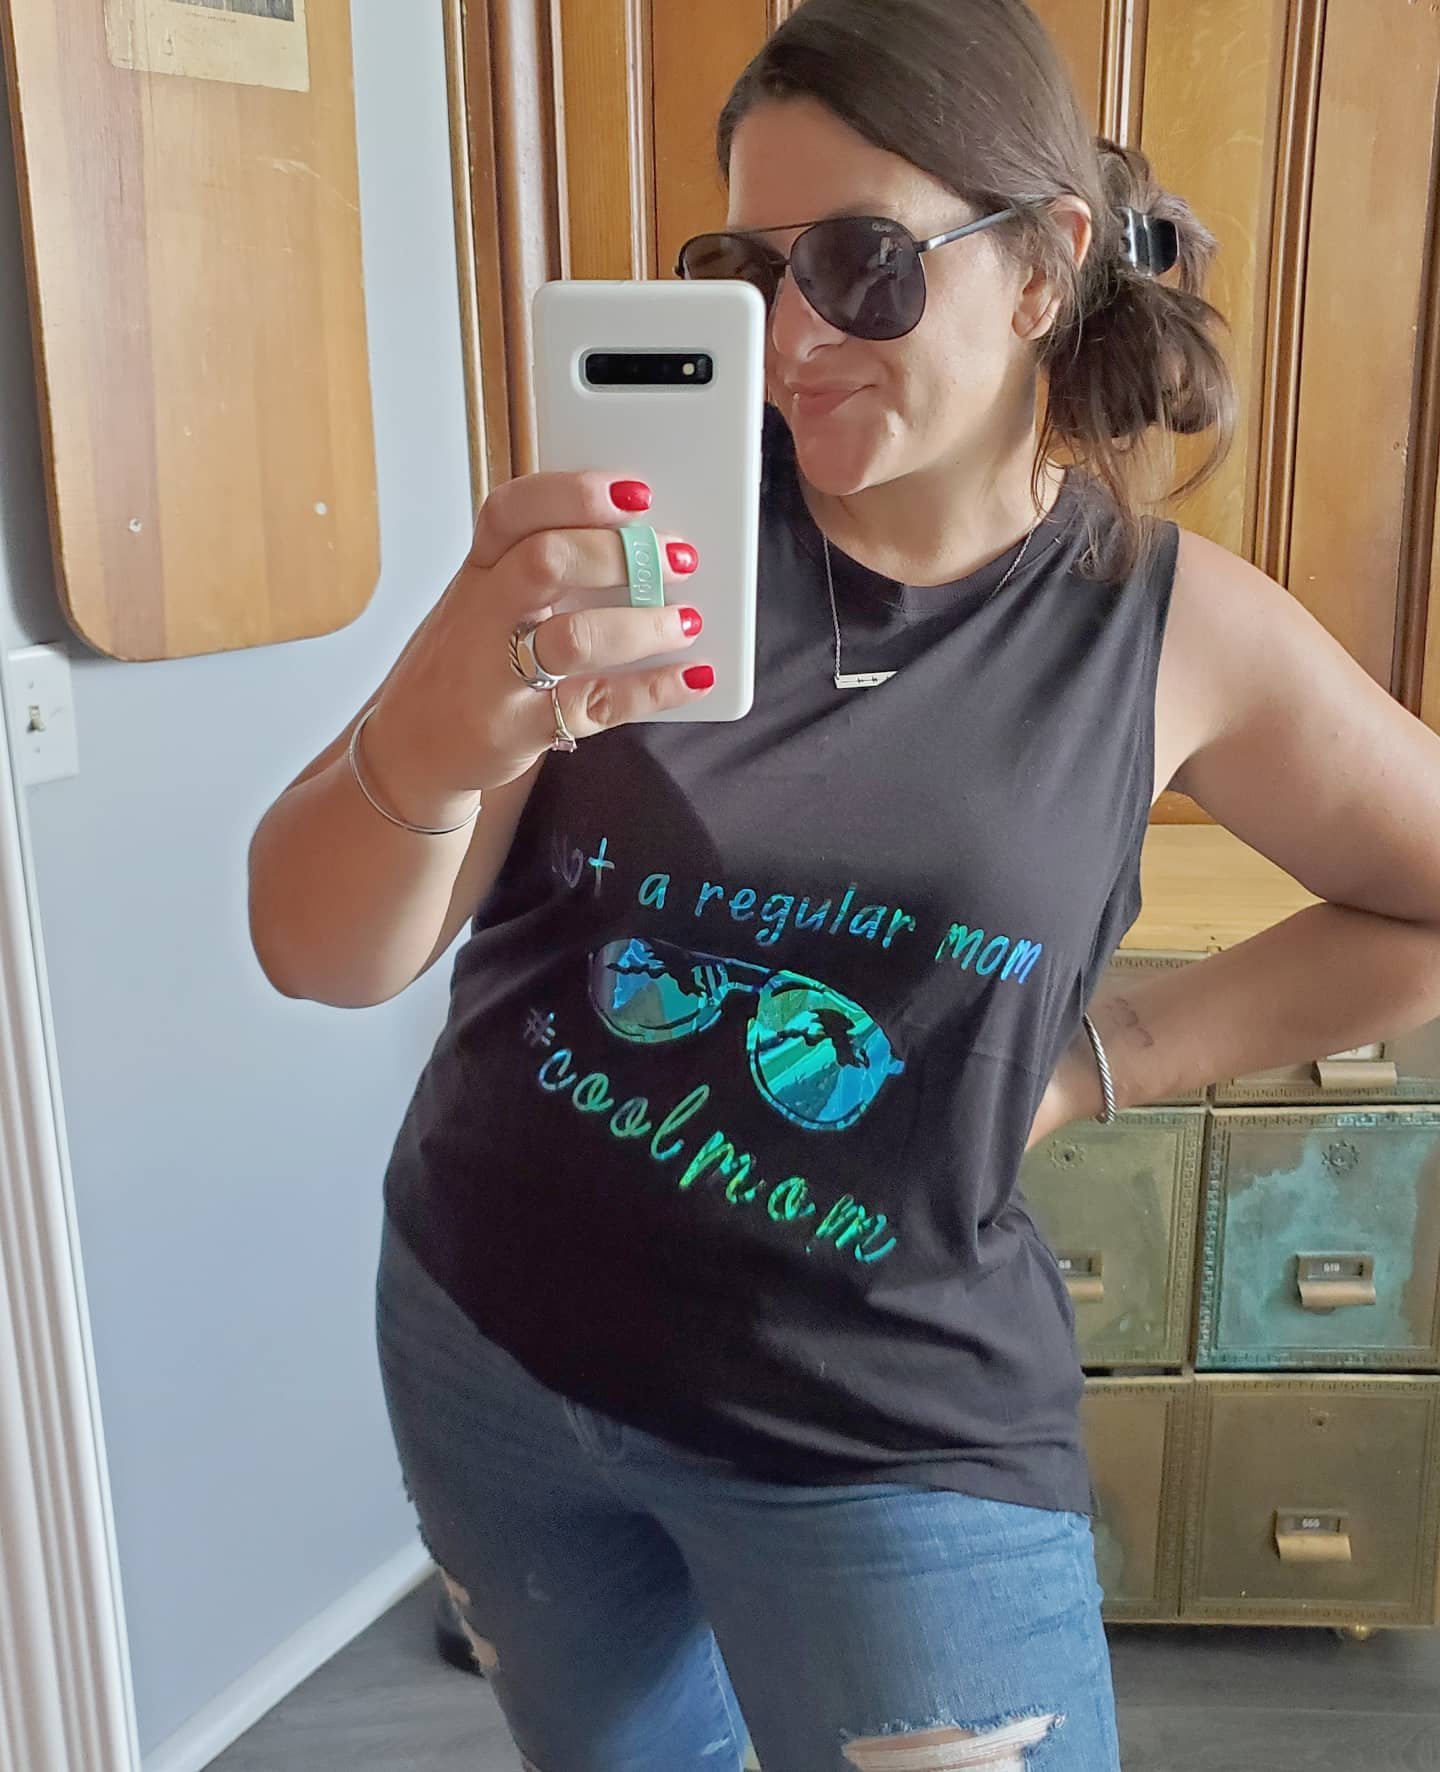
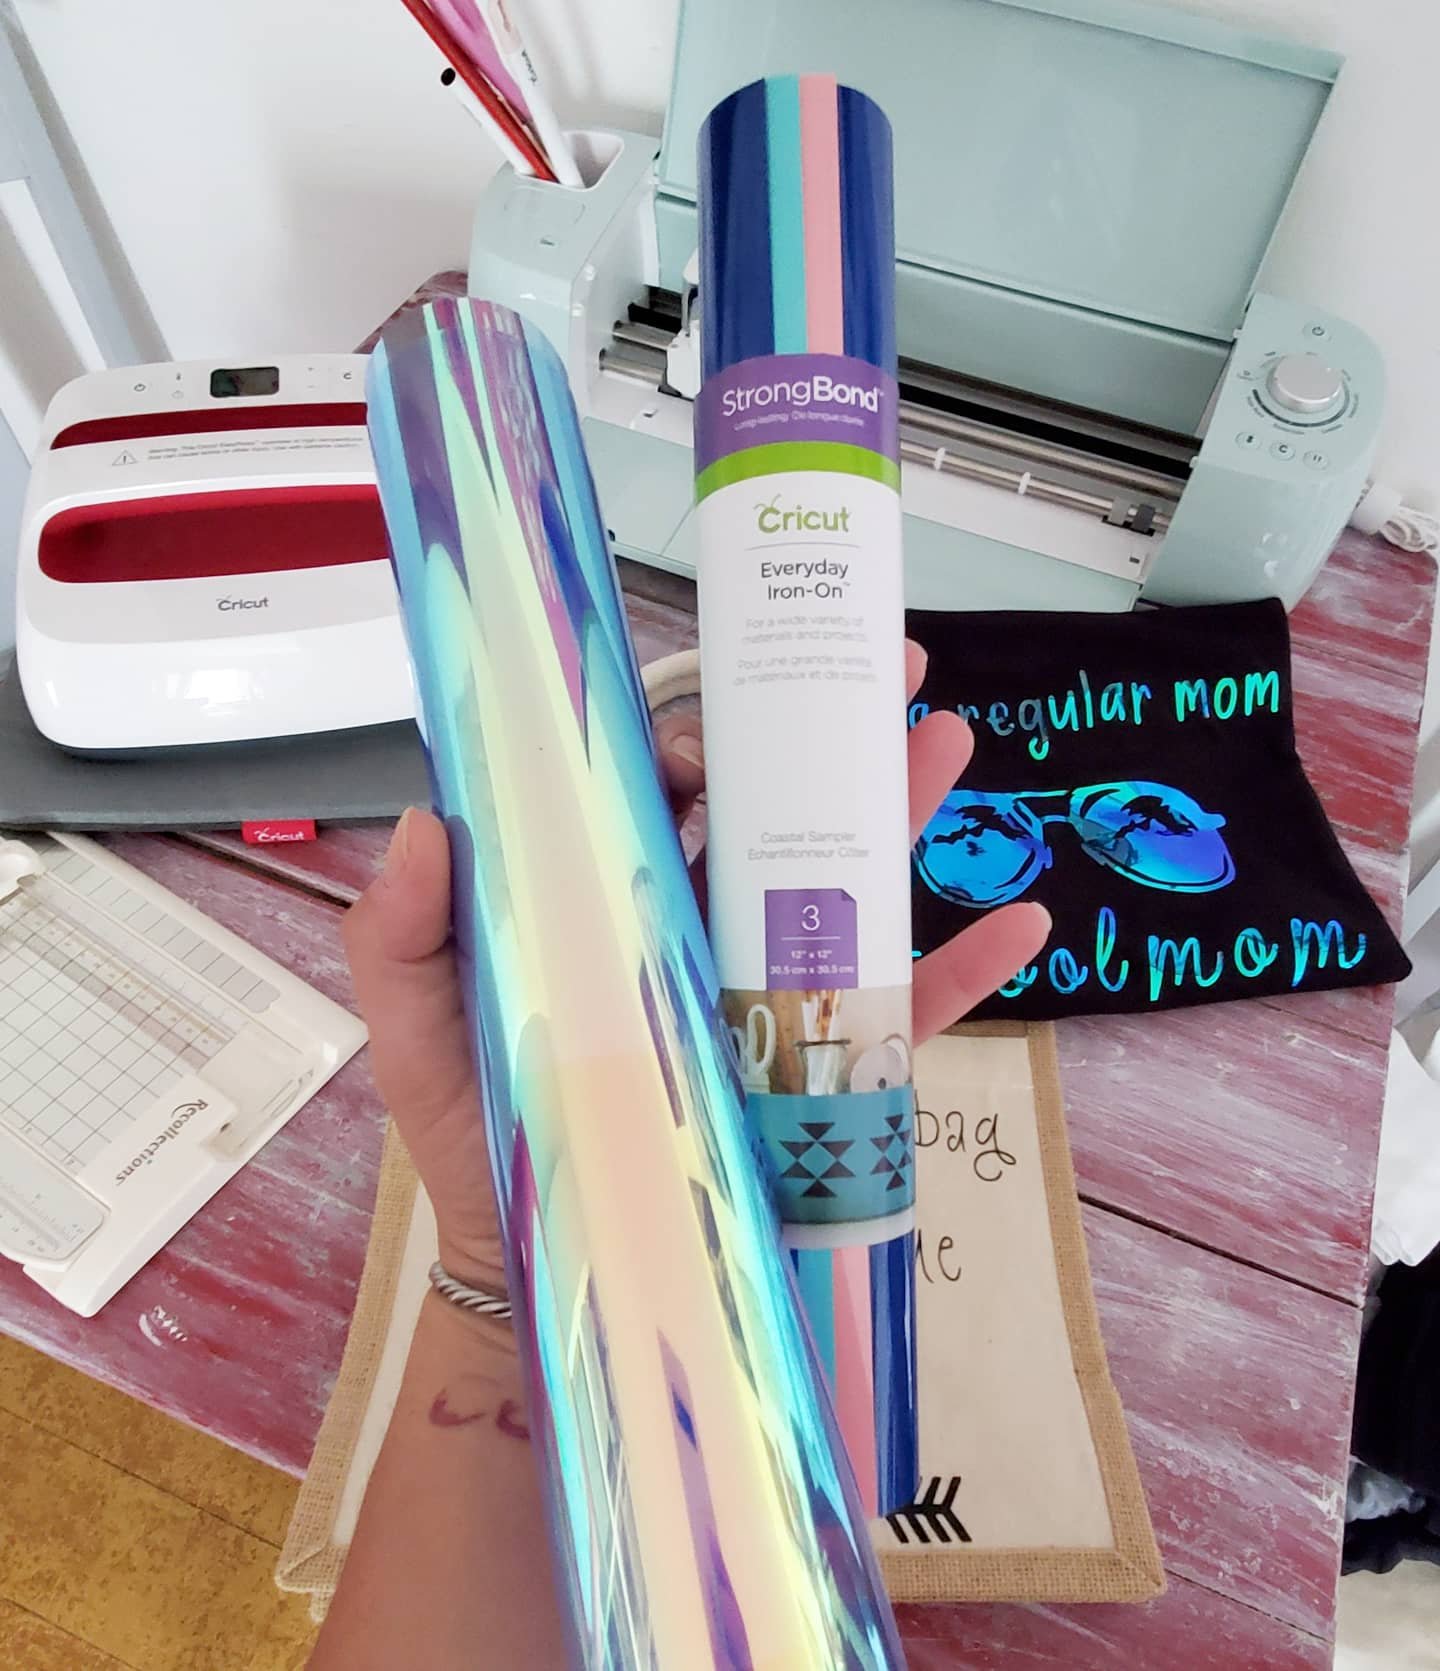
1. Its easy to use! I was truly shocked at how easy this machine is! Not going to lie, I was intimidated at first. I worried where to start and if I would be able to figure it all out. Yup. I was. Best place to start? Pick a project and jump in. They really mean it when they say their motto is “beginners luck every time.” I learn tricks and get braver each time I use my machine, but I definitely agree that picking a beginner level project and diving in head first is a great way to start and will prove to you how easy it is! Check out this shirt I made as one of my very first projects:
2. Support! That brings me to the second thing I love about my Cricut. Its like having a whole community of creators to support you. Have a question? Worried about where to begin or which type of project to do? They’ve got an answer! Not only does Cricut have a team you can email or chat with, but they have numerous pages where you can reach out to their pros or other crafters with tons of experience. They’ve all started somewhere and learned lots and are at the ready to make sure you love your machine and projects. I would know. I wasn’t sure how to customize the design I wanted to make myself for this bag, and the Facebook page group had almost immediate answers for me!

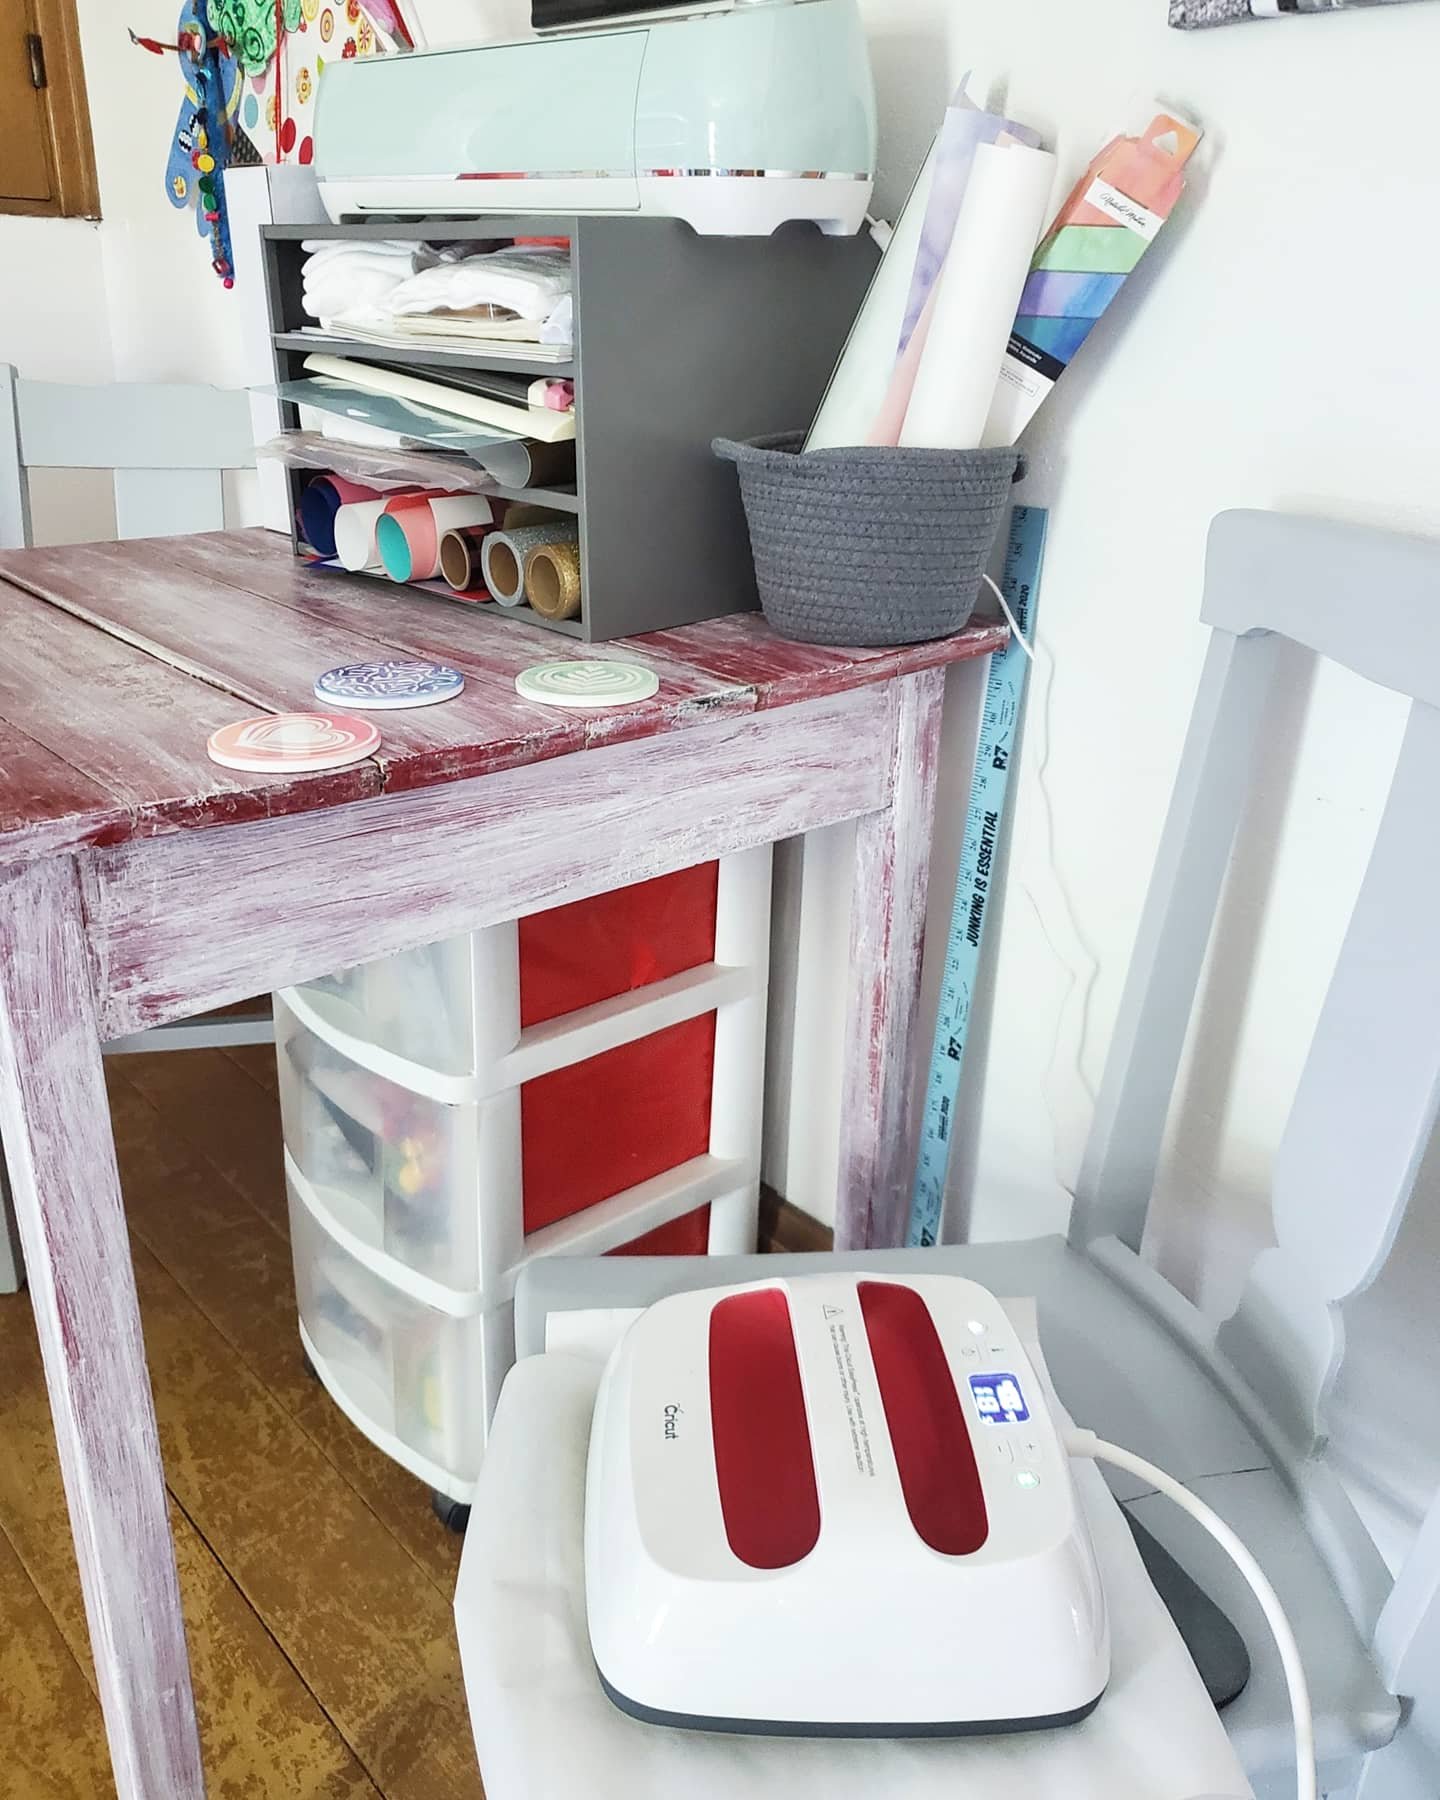
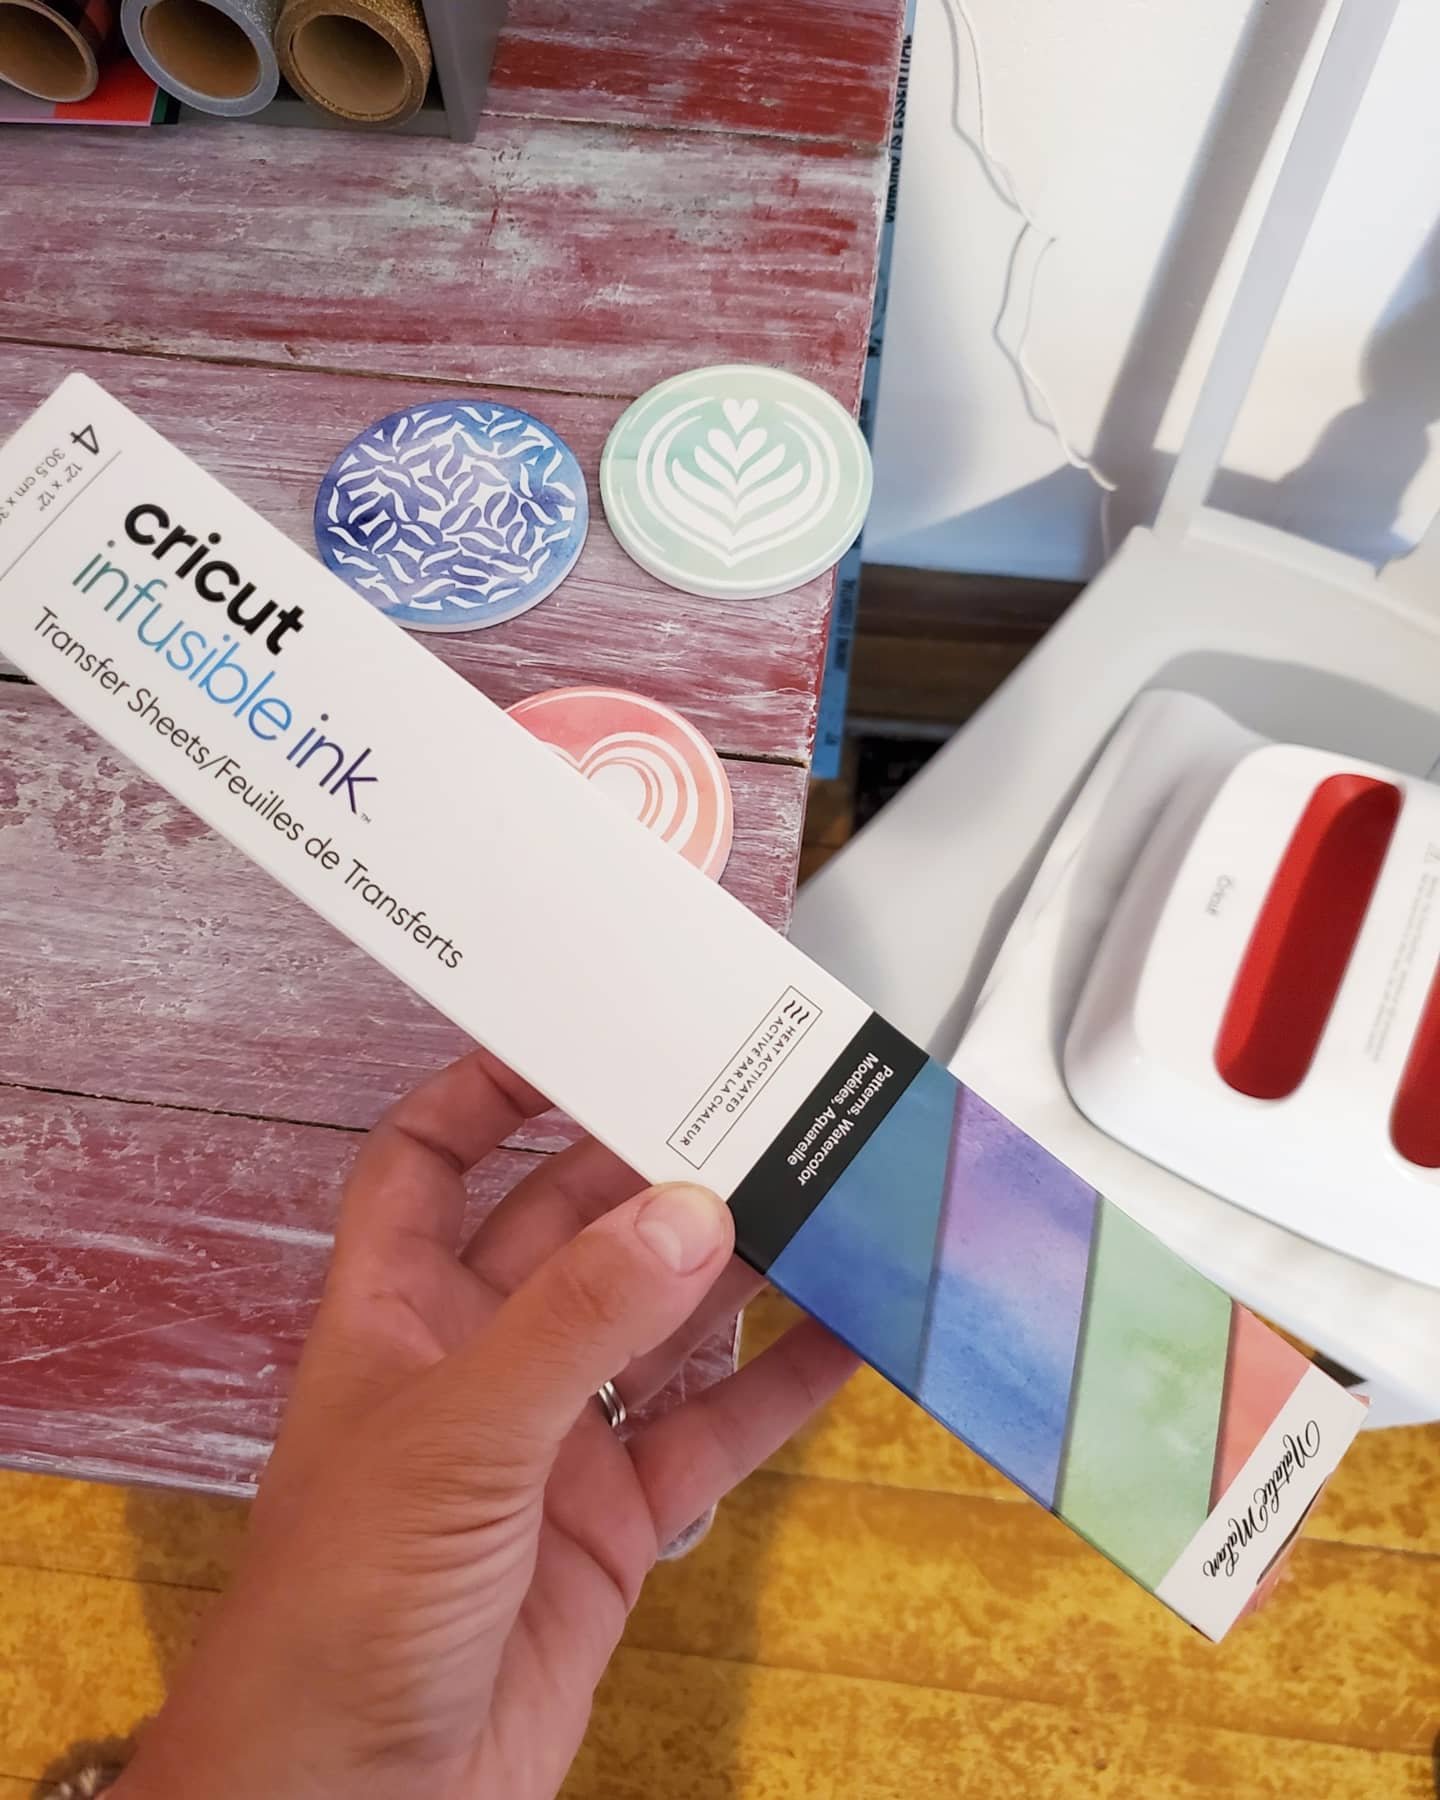
3. Ideas! This also leads me to another thing I love about Cricut, the ideas! I never worry about having a creative block. There’s no way. The ideas of projects to make are endless, for every single occasion you cak dream of. Really. You can find ideas galore on Pinterest, and Instagram, or Cricuts’s Facebook page. And my favorite place for inspiration? The Cricut emails! They send seasonal emails showing the new ideas and templates added to Design Space, their app for making. How did I know about the new infusible ink and coaster blanks to make these? One of their idea emails! Light bulb!

4. The options! Got a bright idea to make? You can! And Cricut can help you do it! The options they supply for you is endless. Or almost. Not only do they help with the ideas, but they make it easy to find all of the supplies you need to make visions come to fruition. They have coasters, bags, shirts, materials, pens, markers, vinyls, decals, iron ons, and the widest variety of patterns in their supplies you could imagine! Sparkles, holographics, leopard, wood grain…their possibilities are never ending! Not to mention, cricut has other machines like the EasyPress, and tools like mats, cutters, Nd weeders, to make all of the options come to life!

5. Capabilities! This machine not only cuts paper and vinyls. I was shocked to learn what all it really can do. Like blown away. It can cut leather, poster board, felt, fabric and even wood. But it doesn’t just cut, it can score. And it can draw! Yup! Shocked?! Me too. You can insert pens and markers into the blade holder and it can draw or write, making handmade cards, letters, signs… mind blown.
The capabilities combined with the Cricut options alone shows you that the possibilities are truly endless. I cannot wait to do another project every time I finish one! And now all of my gifts will be one of a kind made by yours truly!
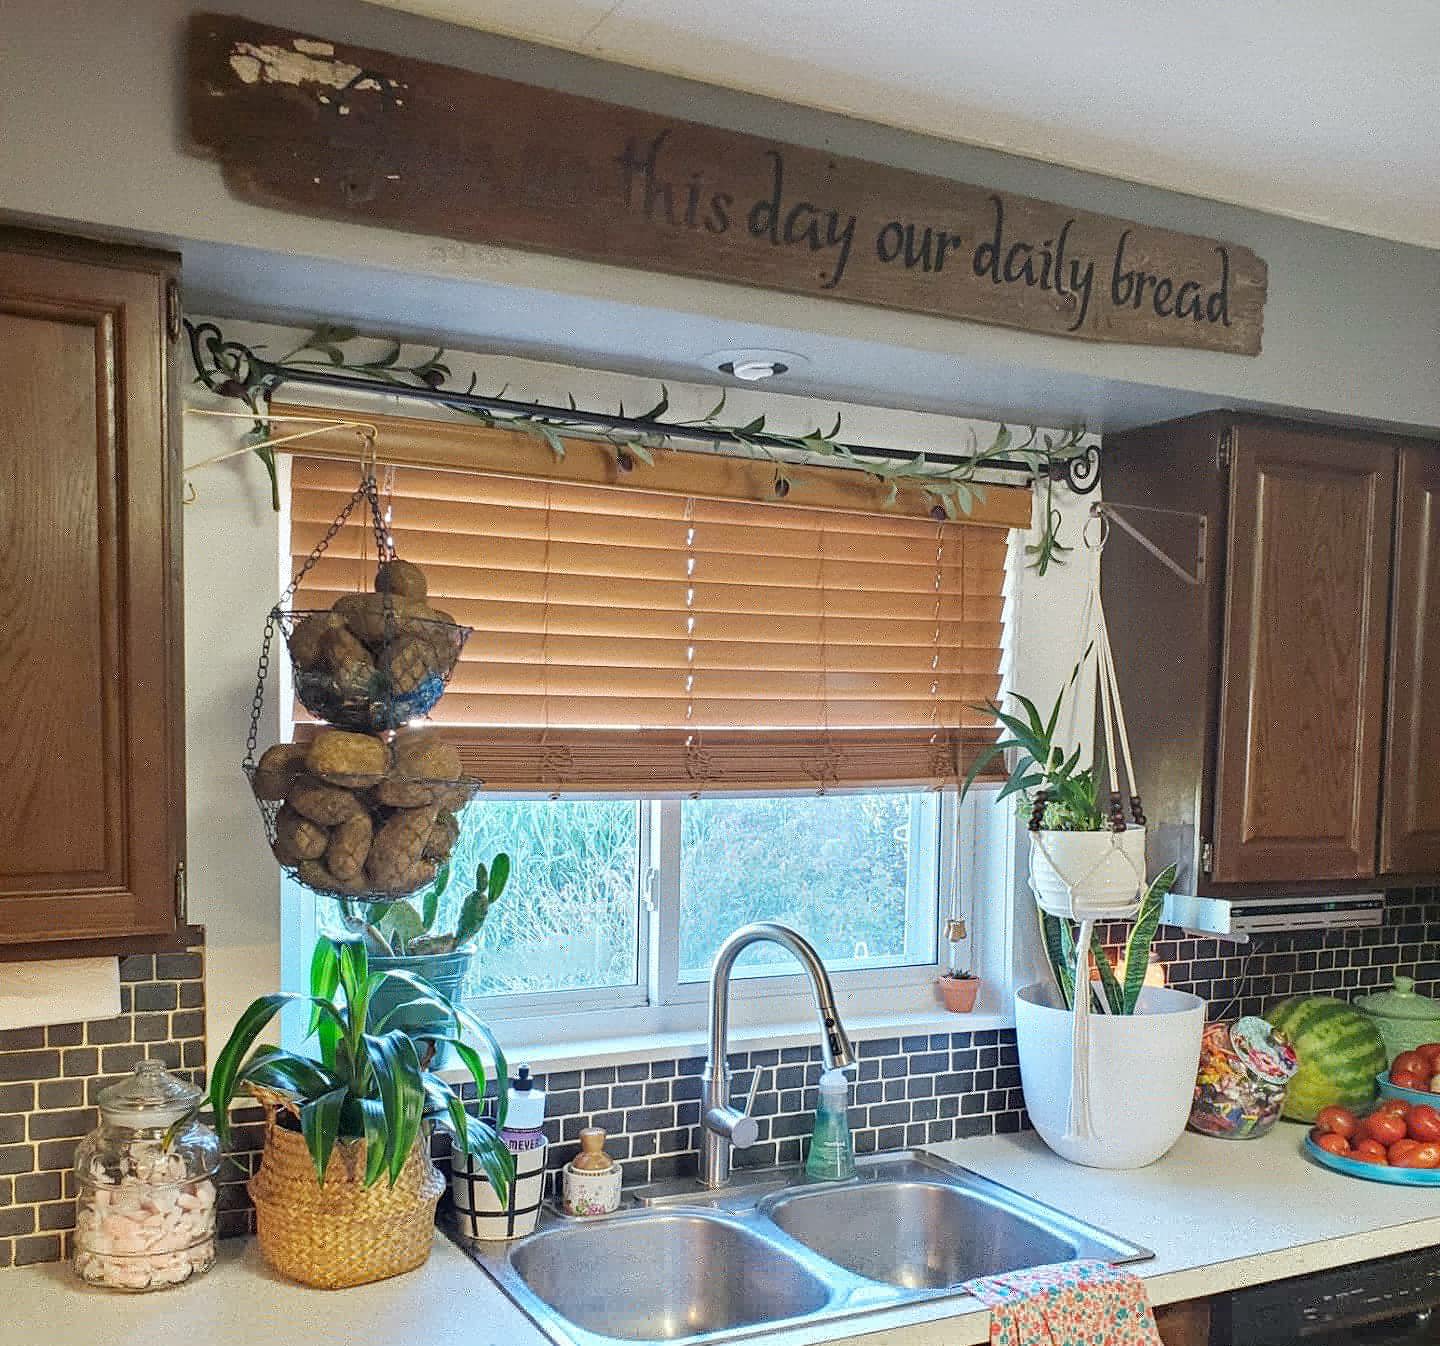
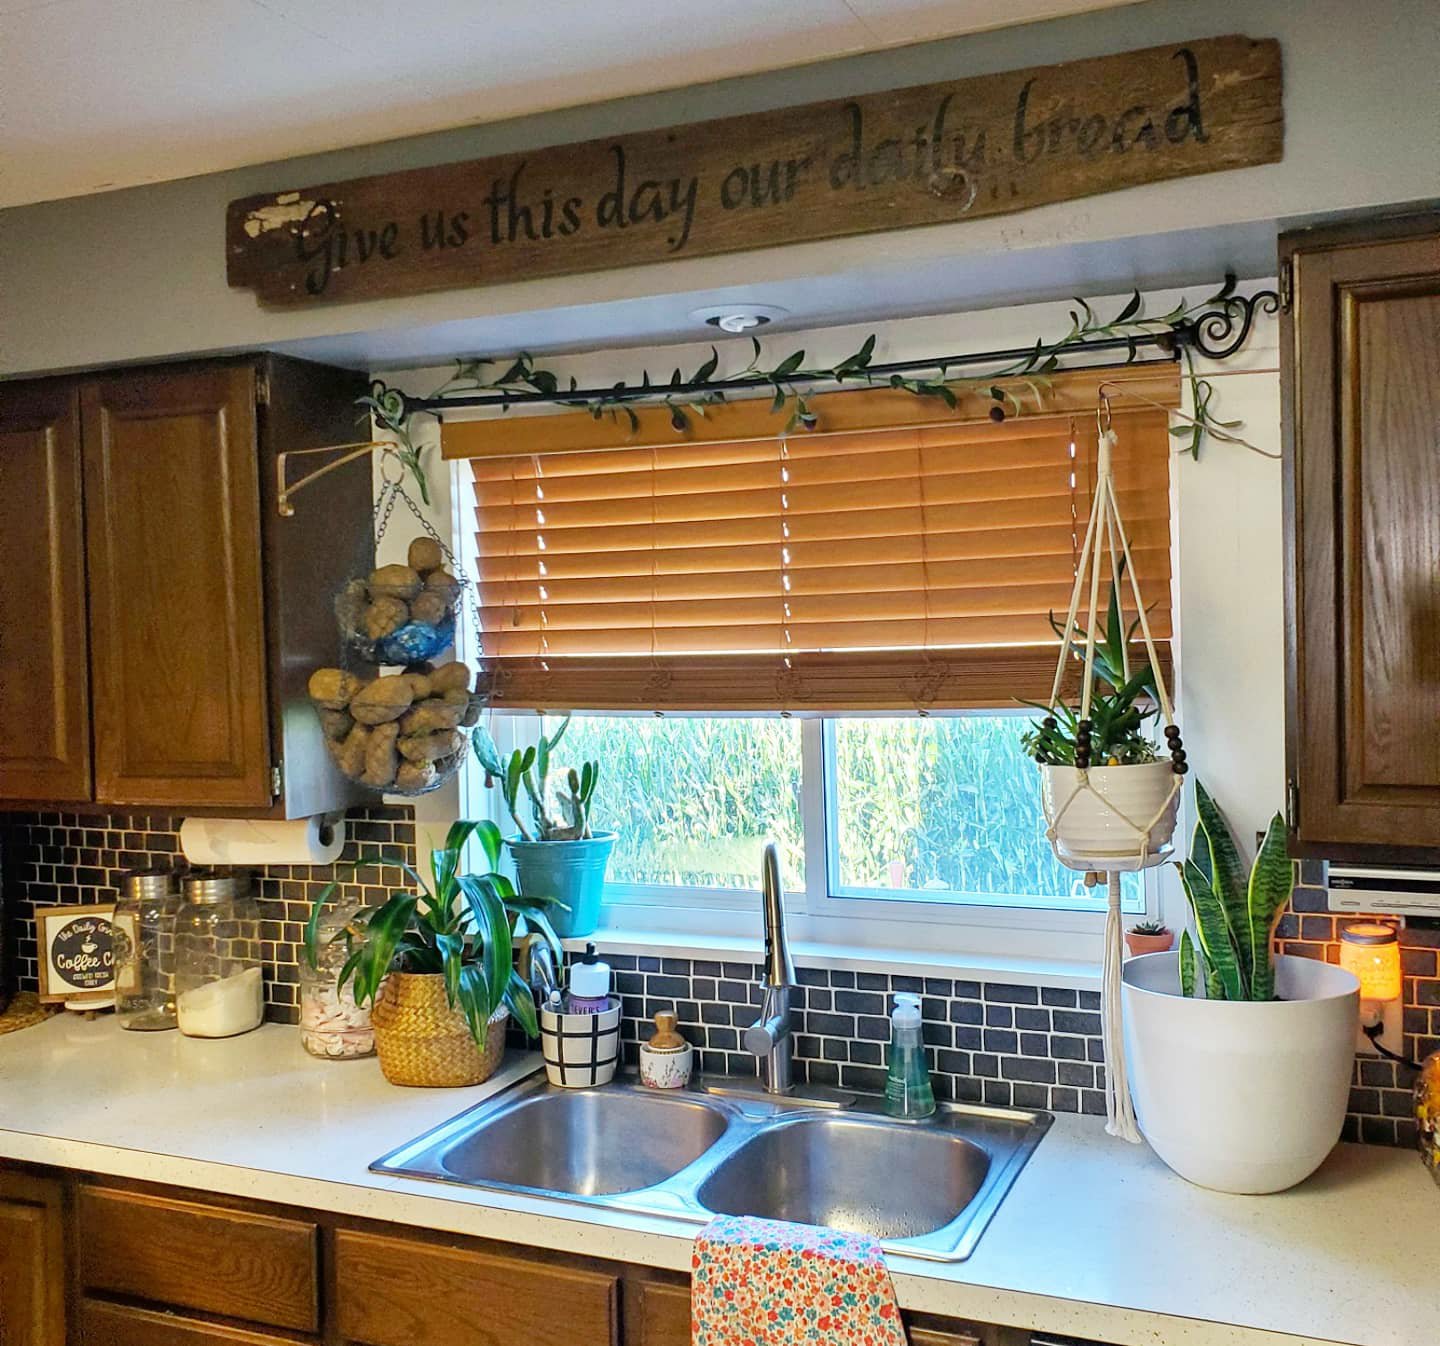
Here’s a quick breakdown of my latest project, a sign for our kitchen.
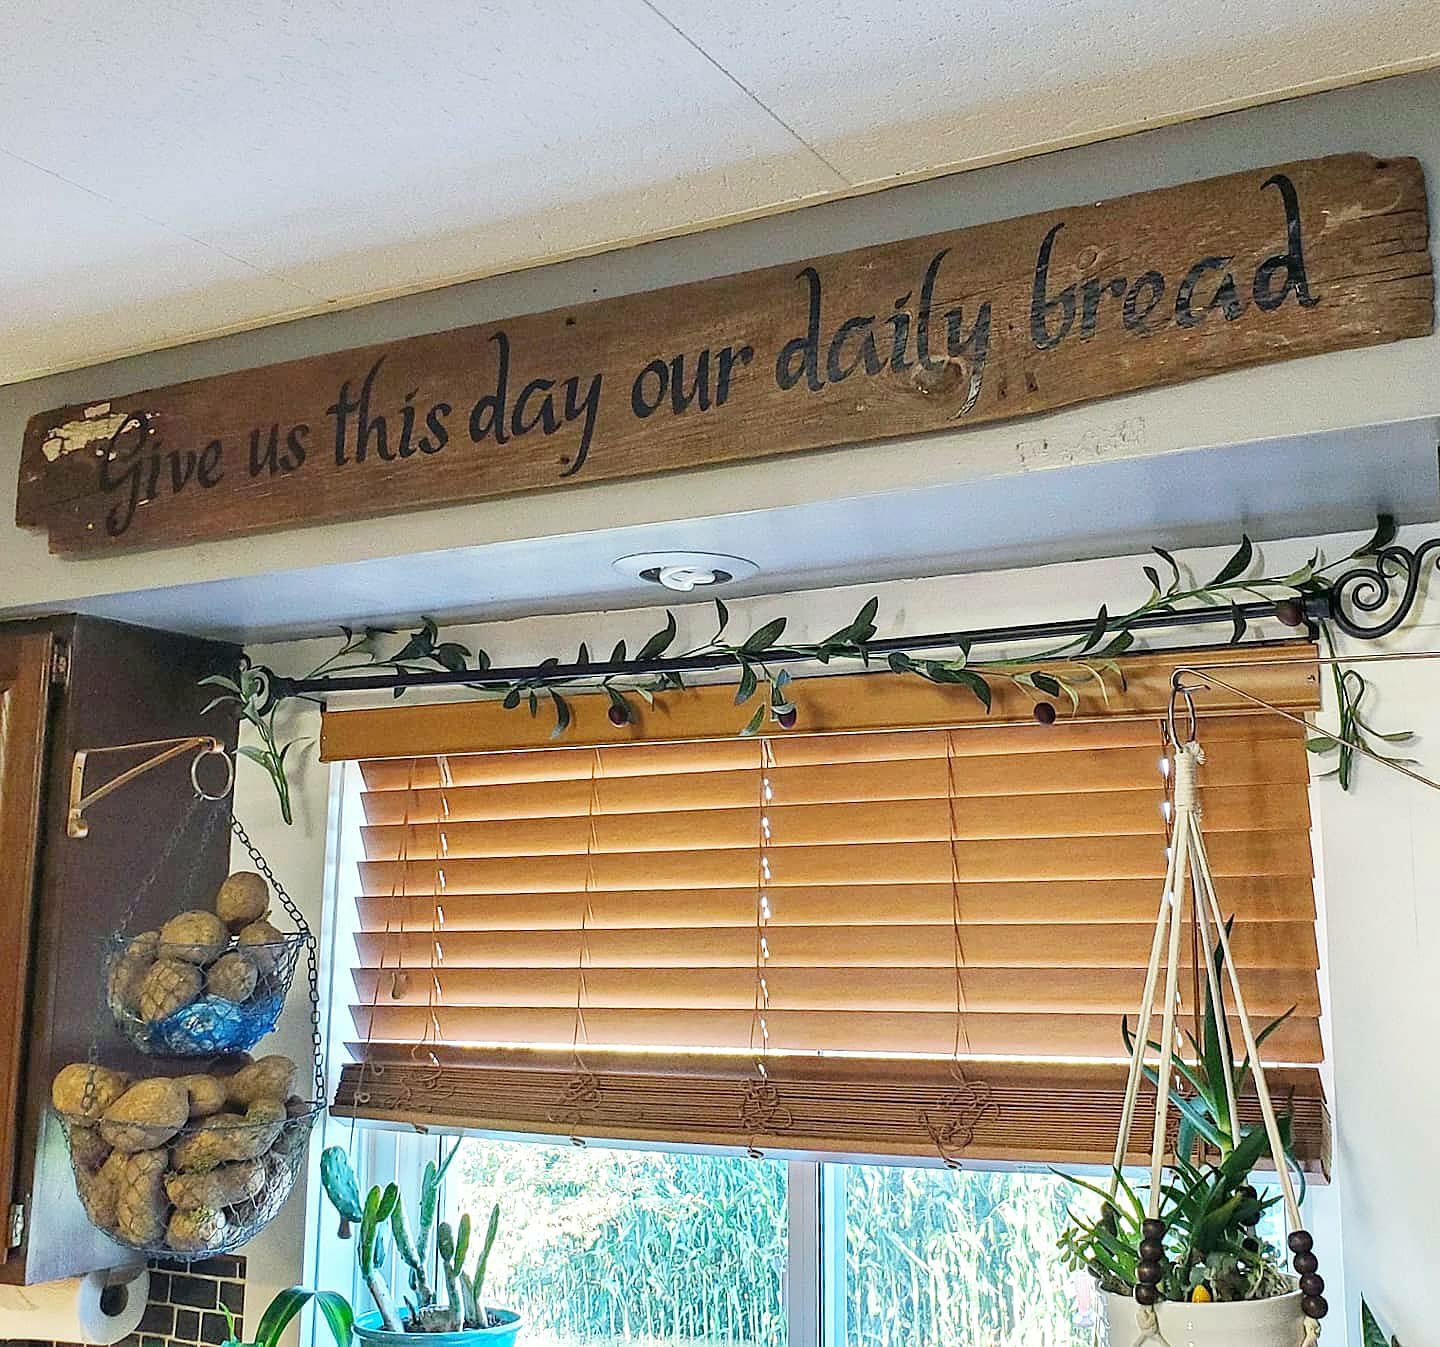
Choose a board and a quote. My board is a faded, chipped, barn board from our barn. (I’m sure to some the white paint left on one corner and the odd shape caused by years of cattle wear are not pretty, but we loved this board! 😉
Then, start on the Design Space app, and find my design template here. My board is 5ft long, but you can edit the design to adjust measurements. Once you send the design to the machine and it cuts it on vinyl, weed the excess pieces out. Use transfer tape to pick up your design and stick it down in place on your board. You could add flourishes to the ends of your quote too! You can change this design and even choose your own color vinyl. I used matte clear coat over the board to ensure no edges lift since I chose an old, rippled barn board for my project. Add a hanger or two on the back and hang. Easy peasy and a great one-of-a-kind, beginner-friendly project!
Have questions? Need help or ideas? Just ask! 😘
XX,
Jess
Muscatine Iowa Area Sightseeing
Summer is here! We’ve been quarantined long enough, so we are off to see all the sights, but distantly! So, we thought we would round up some of the things to do and see outside and at a distance, here in Muscatine area, Iowa. Enjoy!
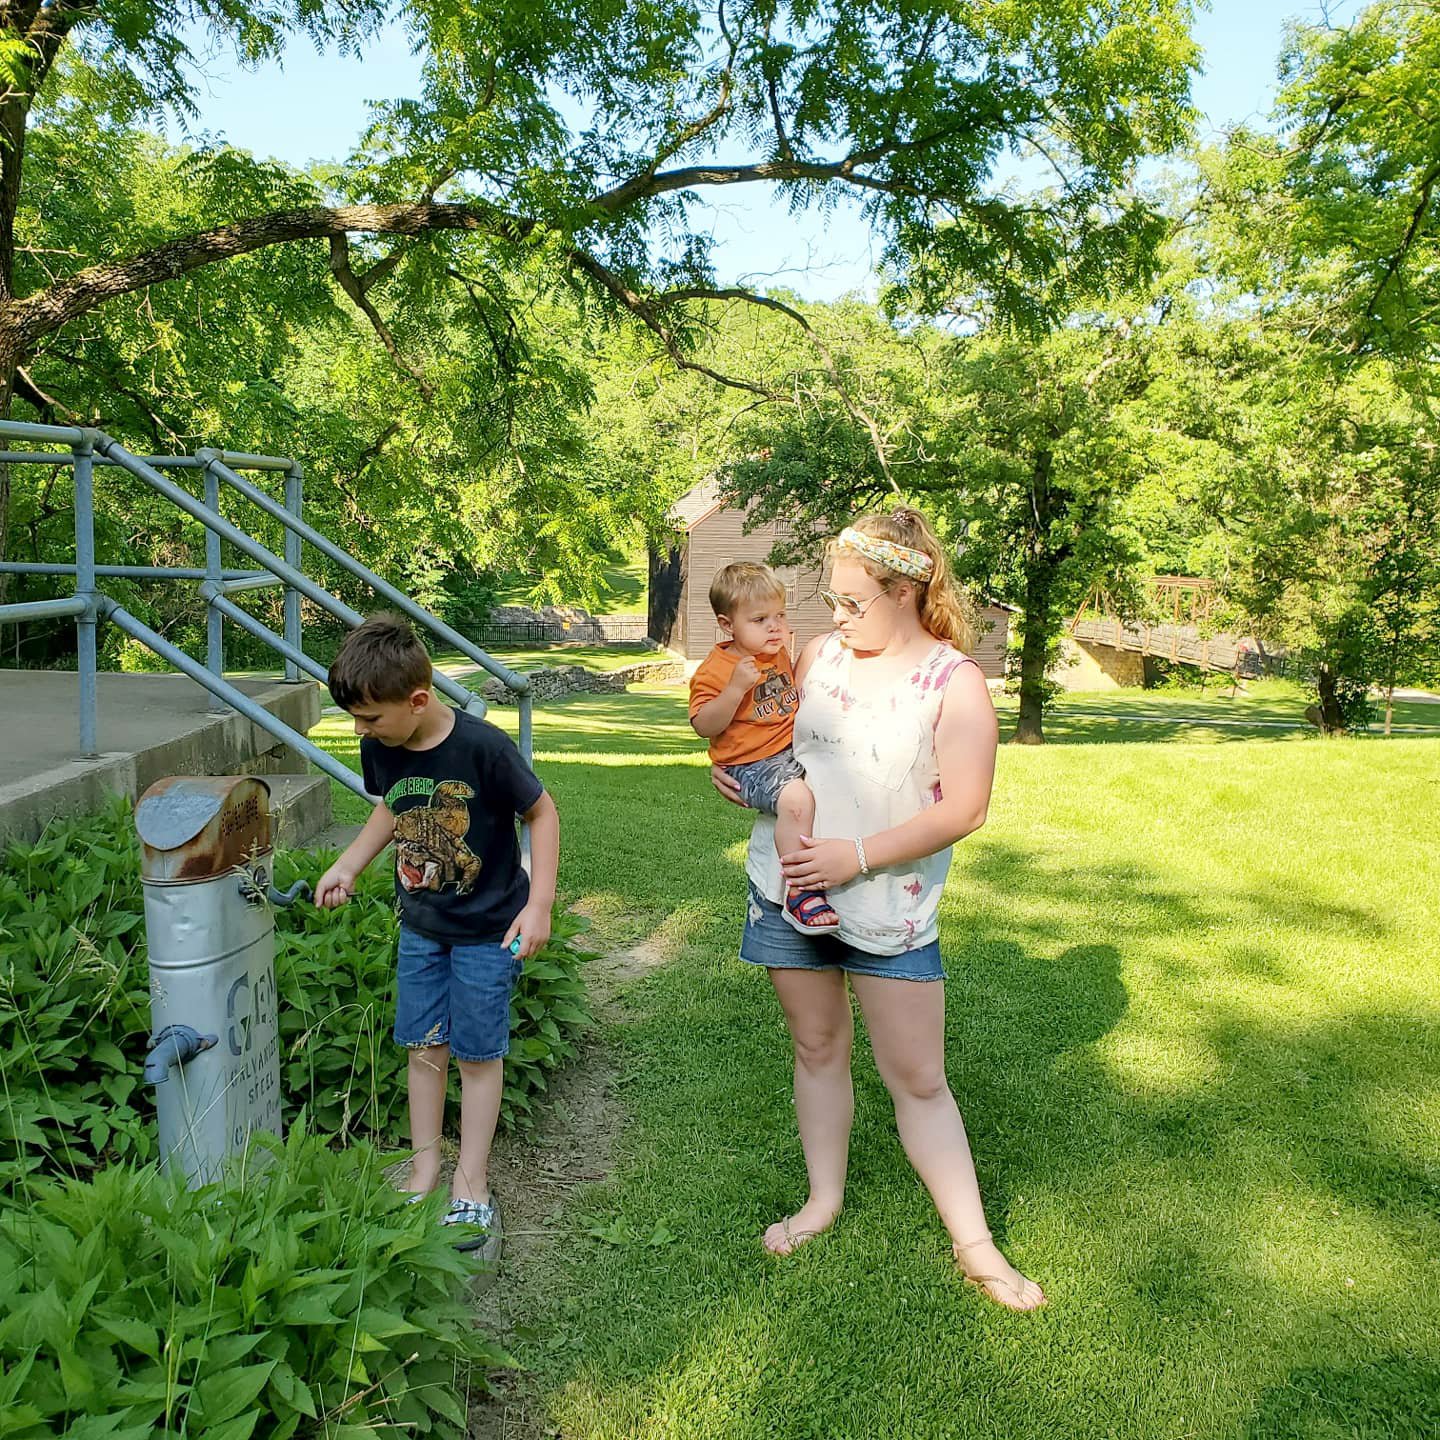
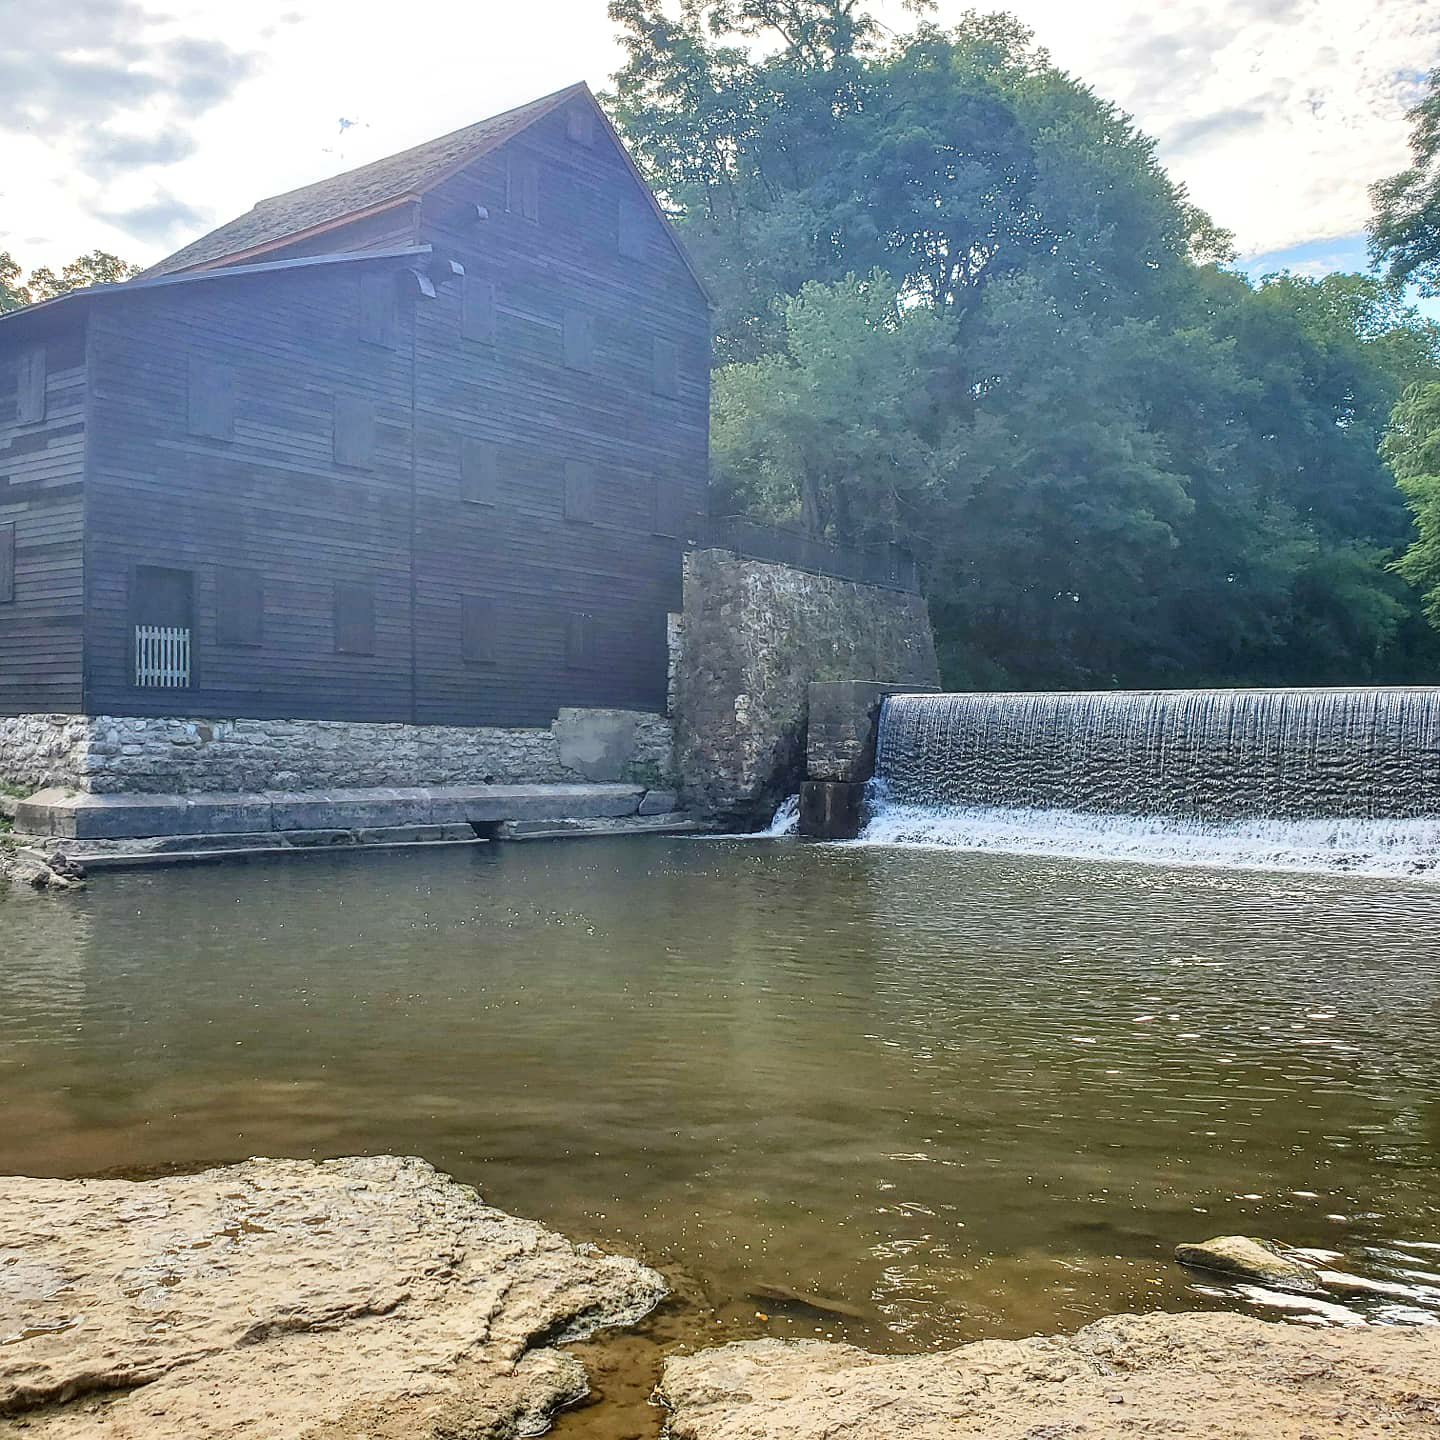
1. Wilcat Den and Saw Mill- this is one of my family’s favorites in the area. Its historic and beautiful and there is plenty to do here! You can camp or stop for the day, hike the many trails, and explore the historic buildings. There is a school and an old church and even a mill. The old bridge over the stream at the mill is a gorgeous sight to behold. PLUS… you can swim in the stream and go up to the waterfall! Its an amazing experience and the whole family loves doing it!


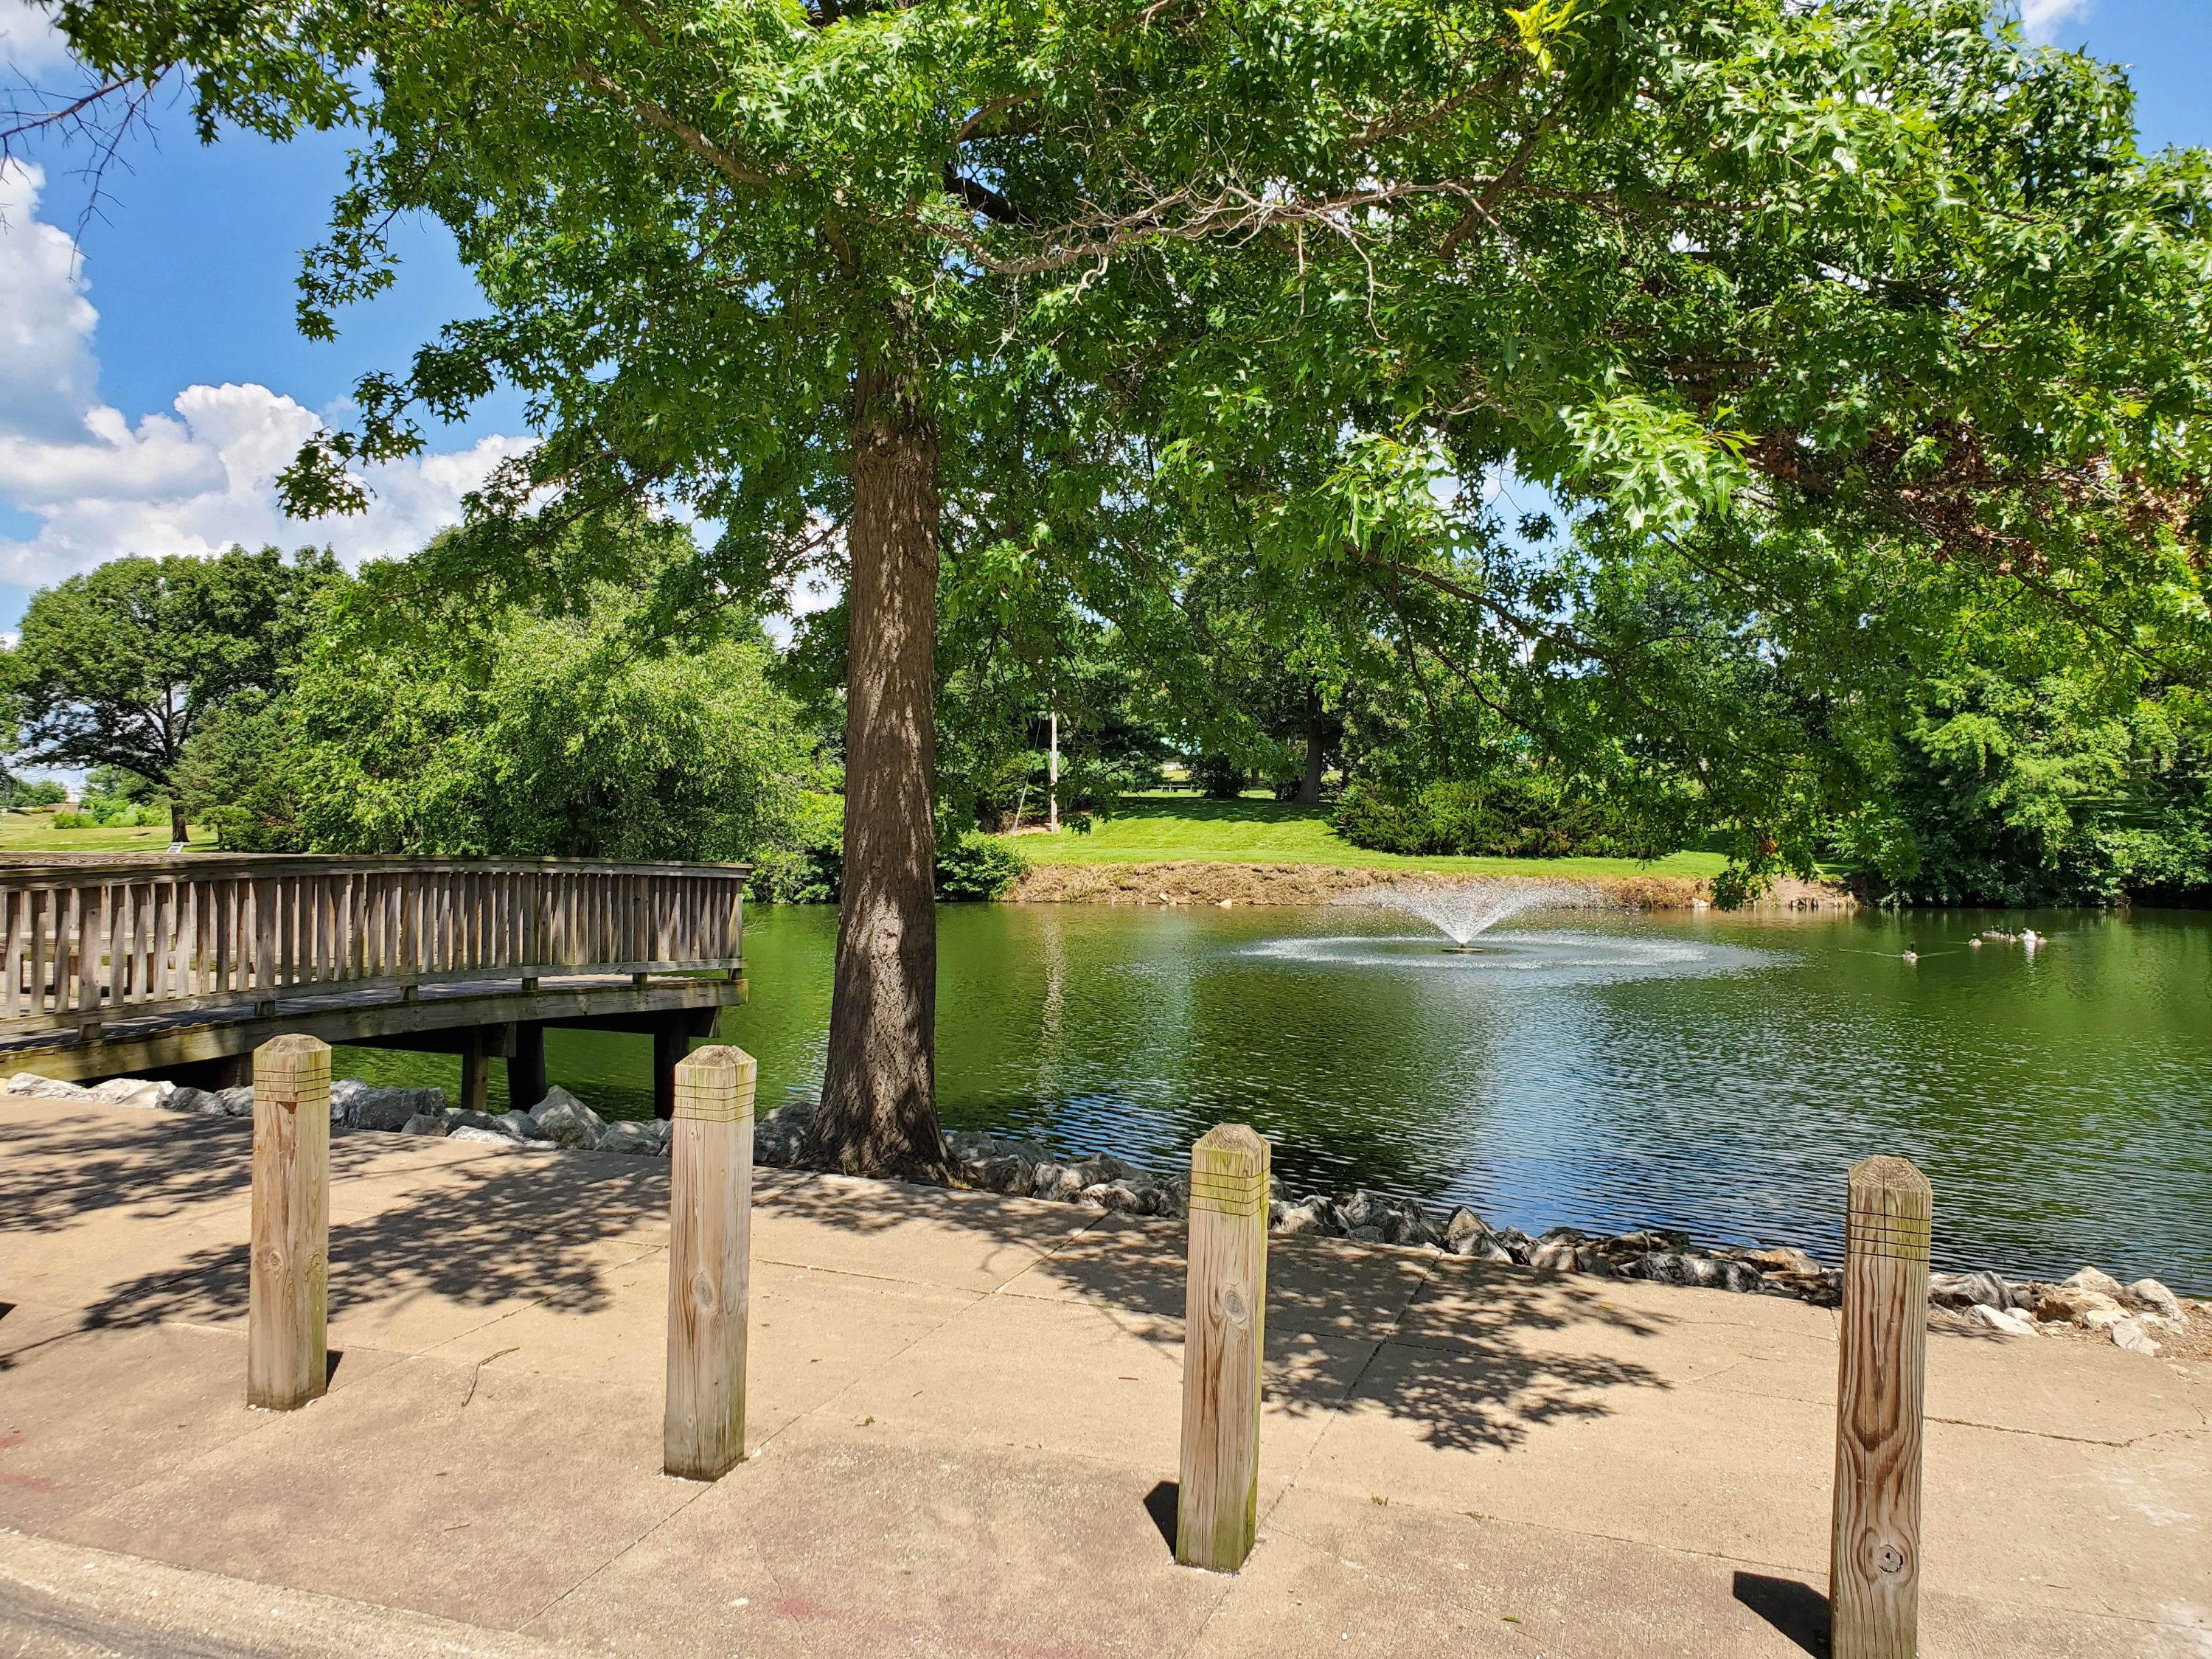
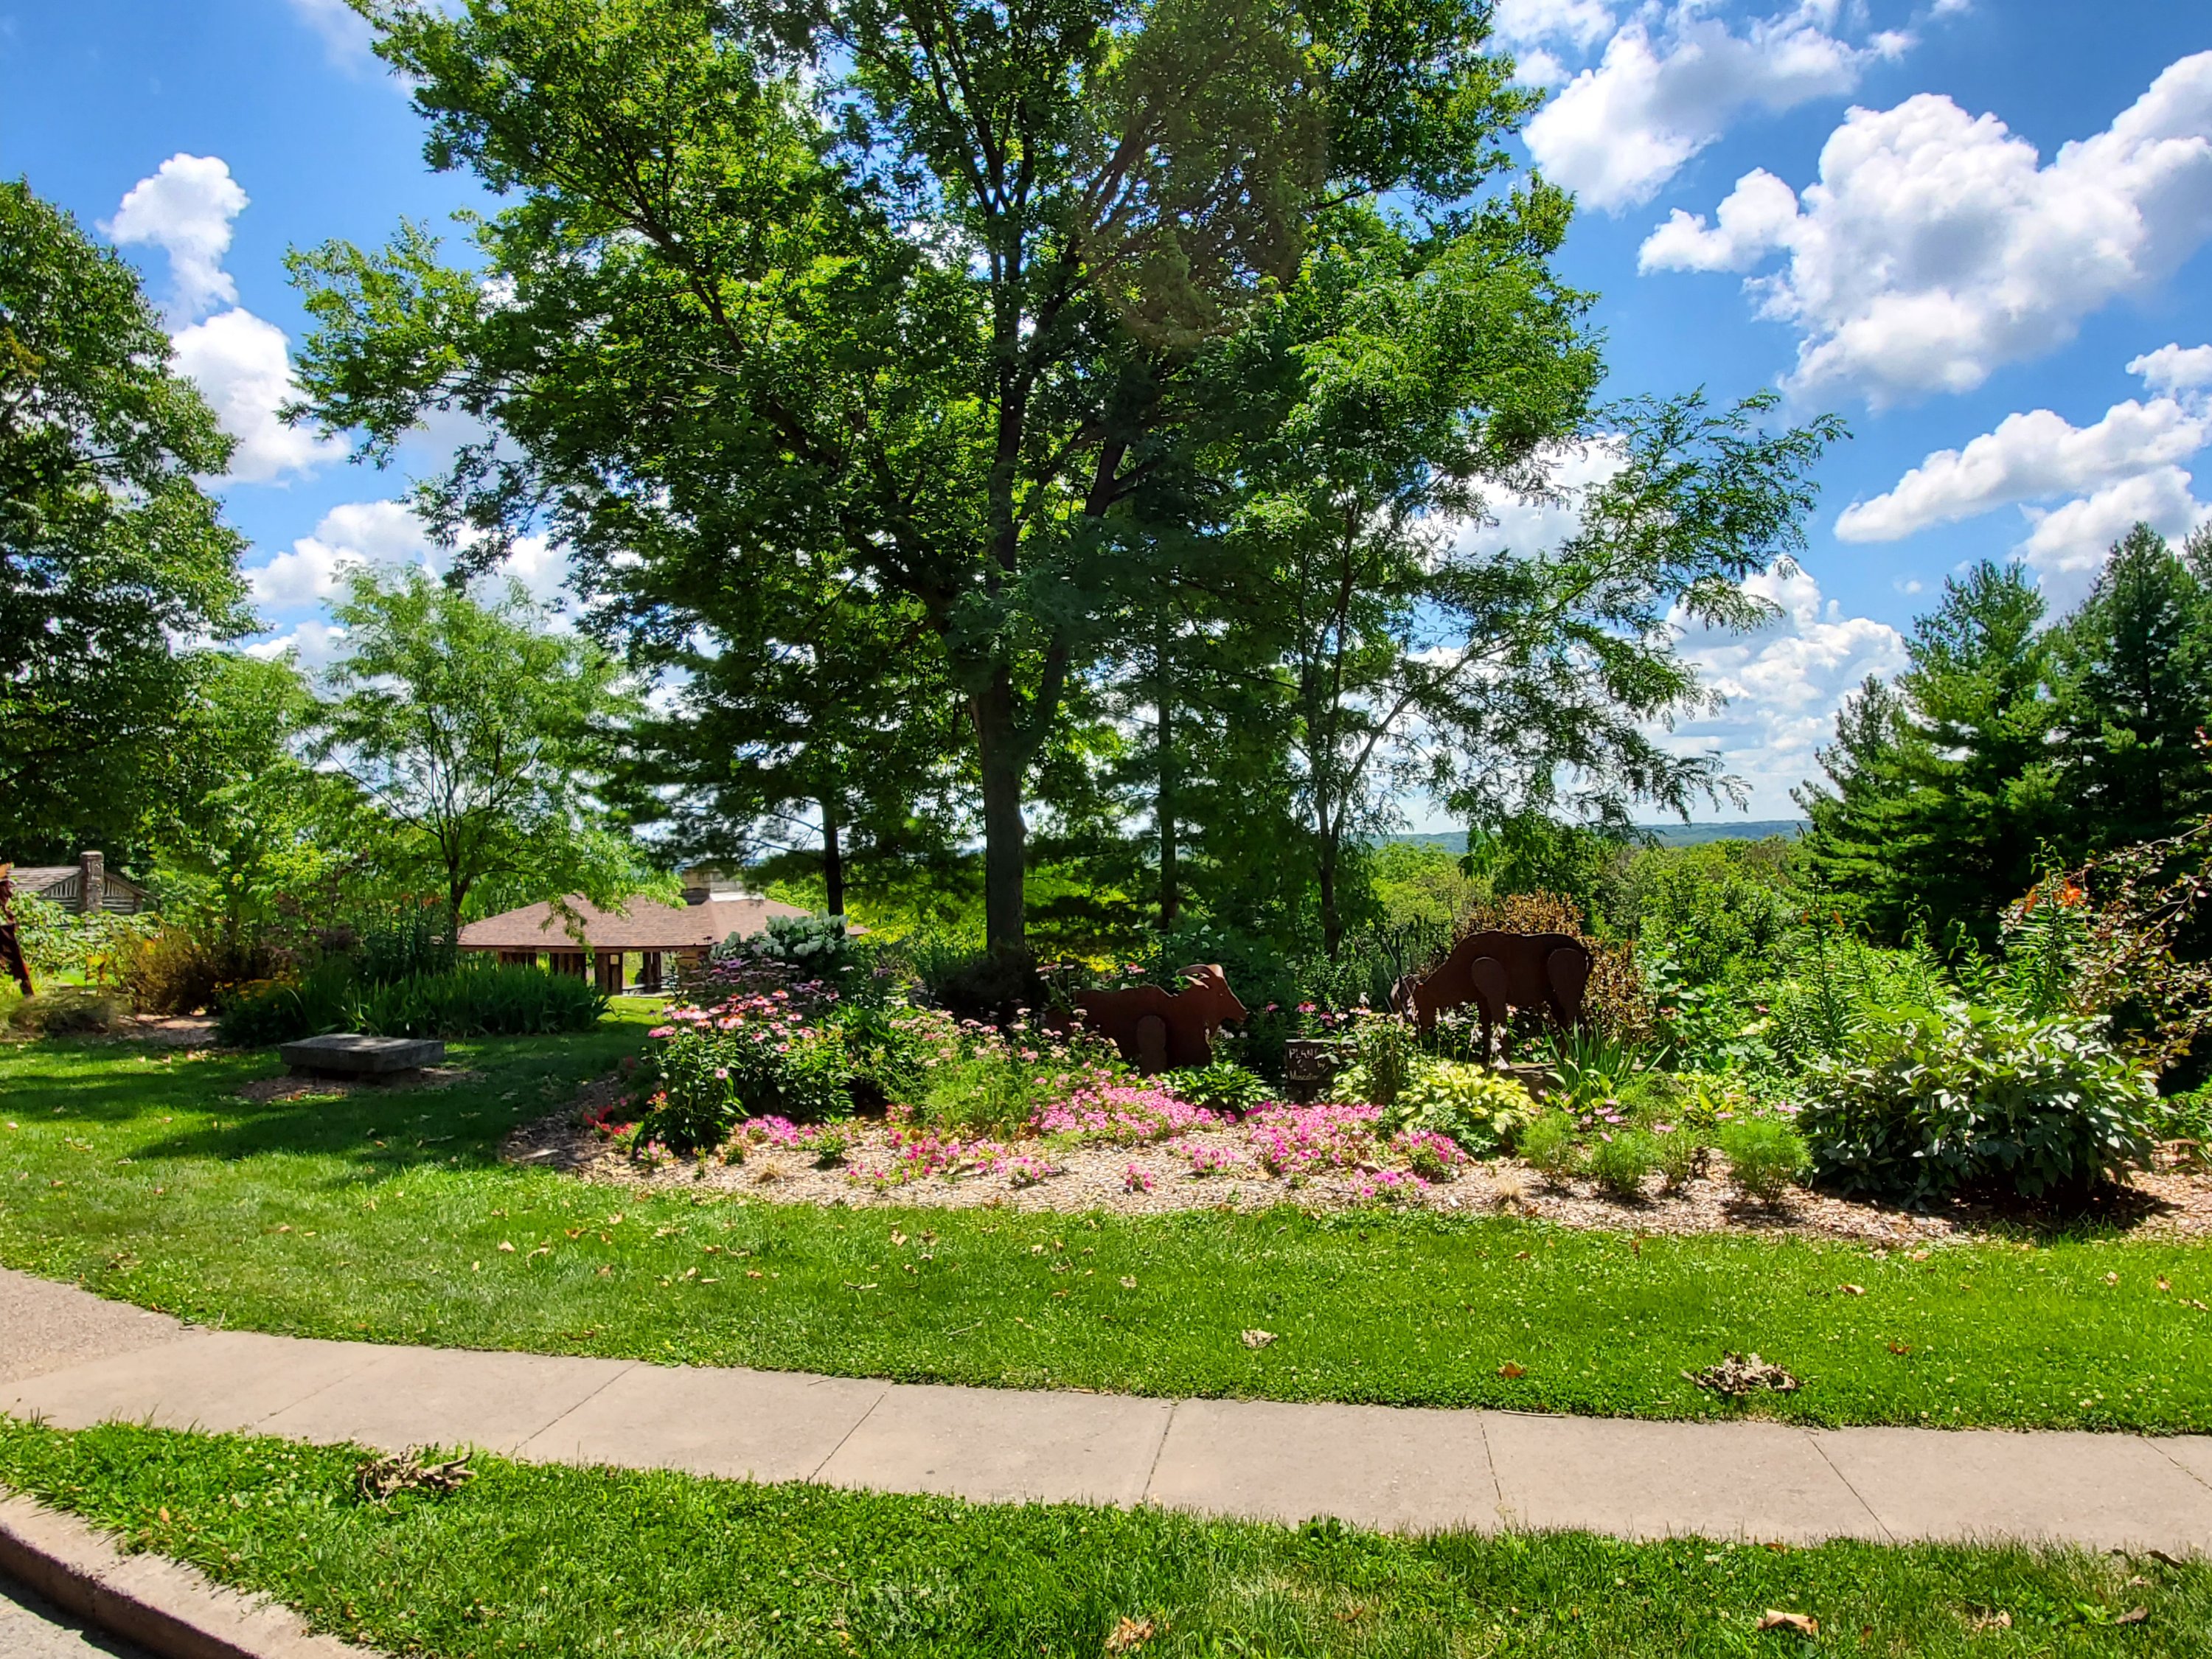
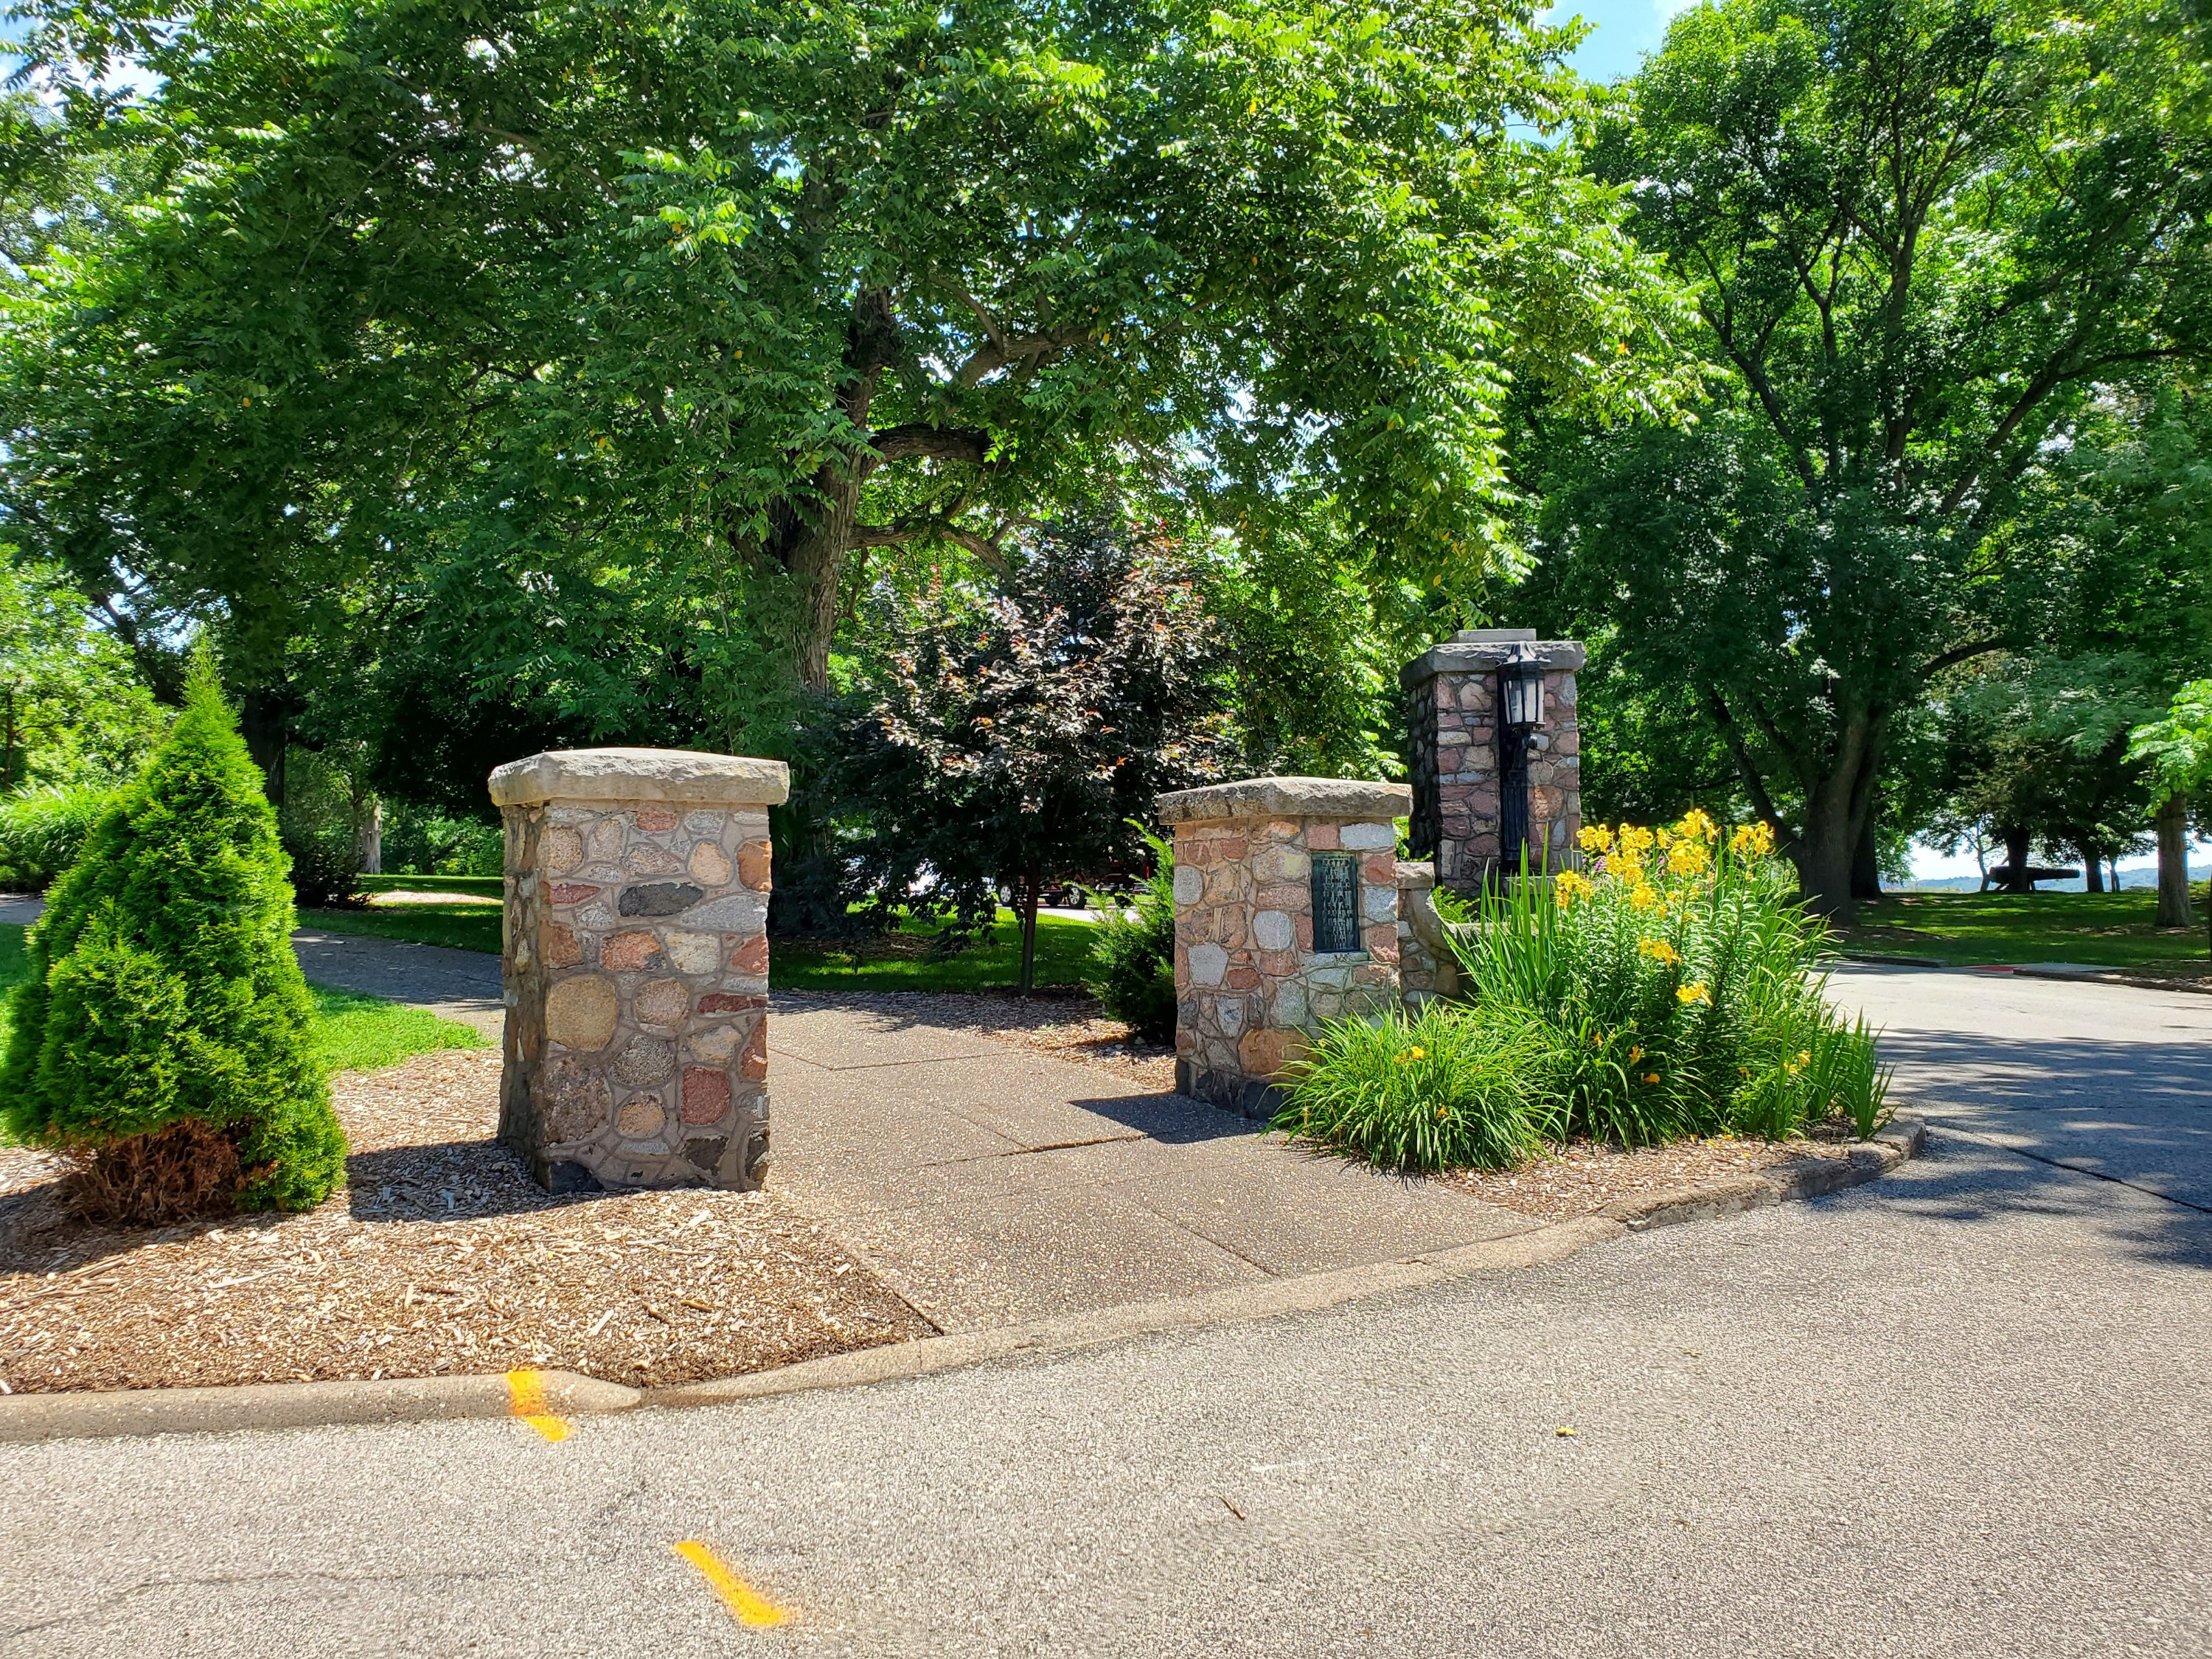
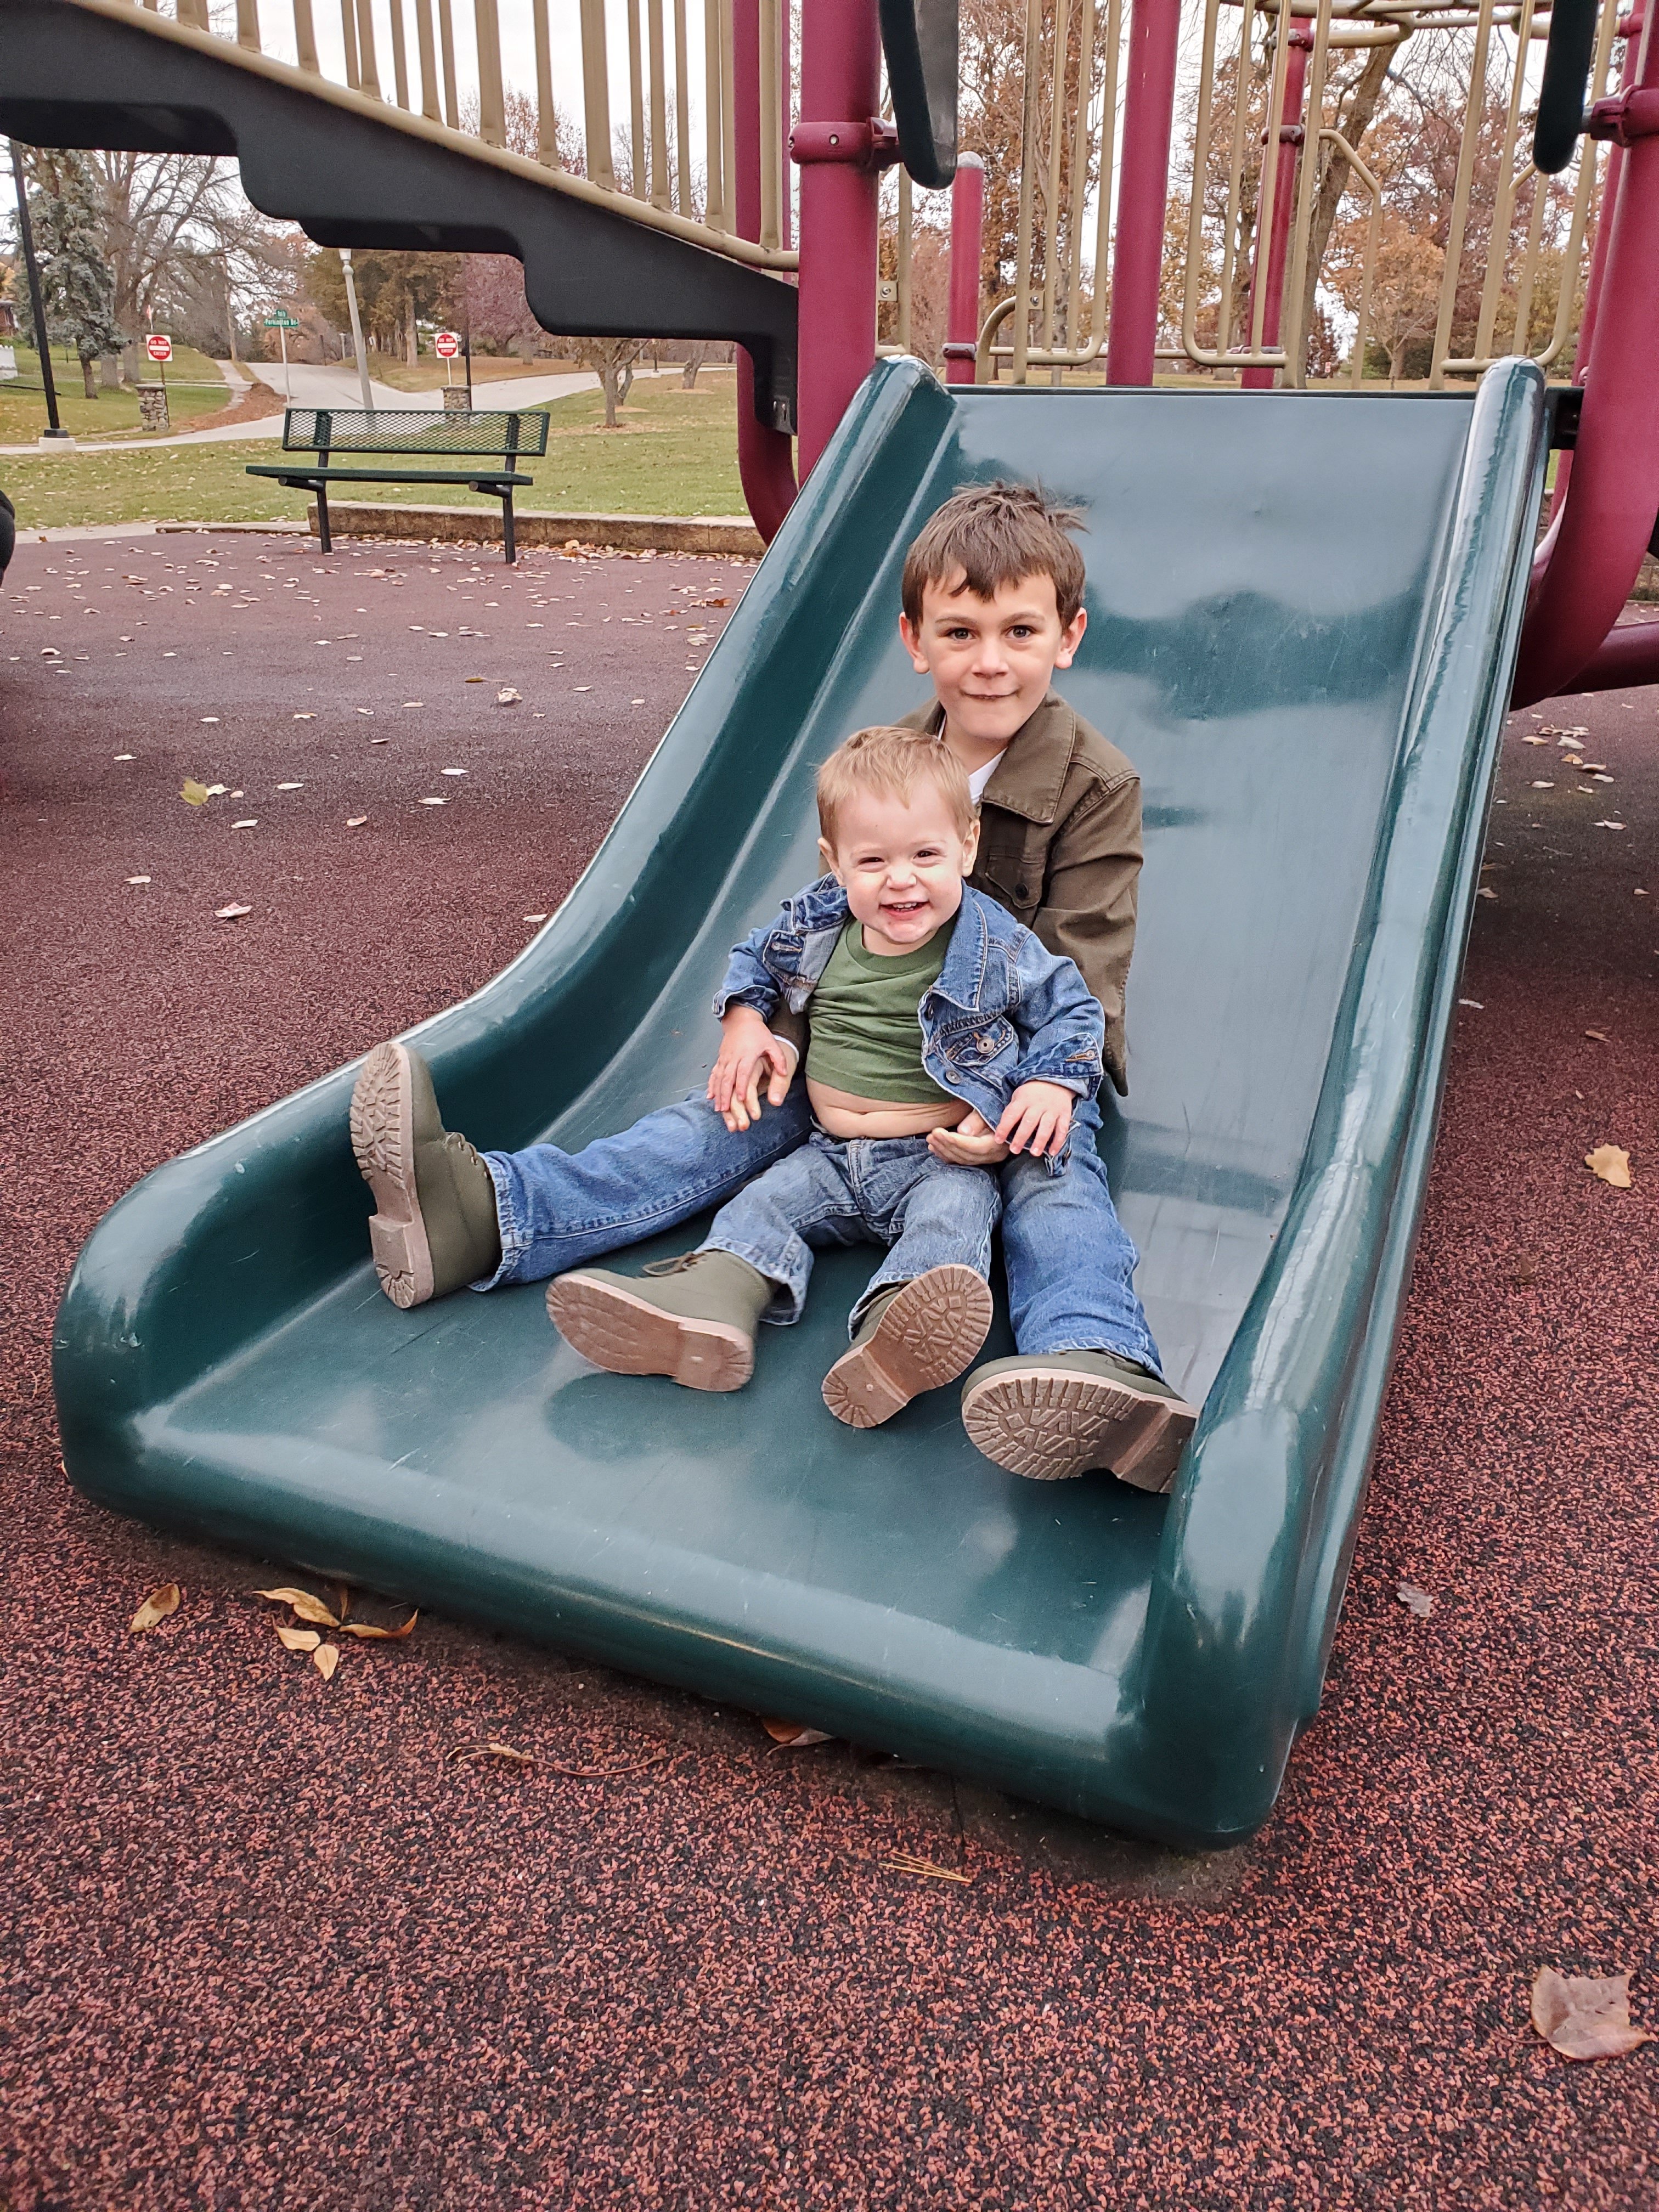
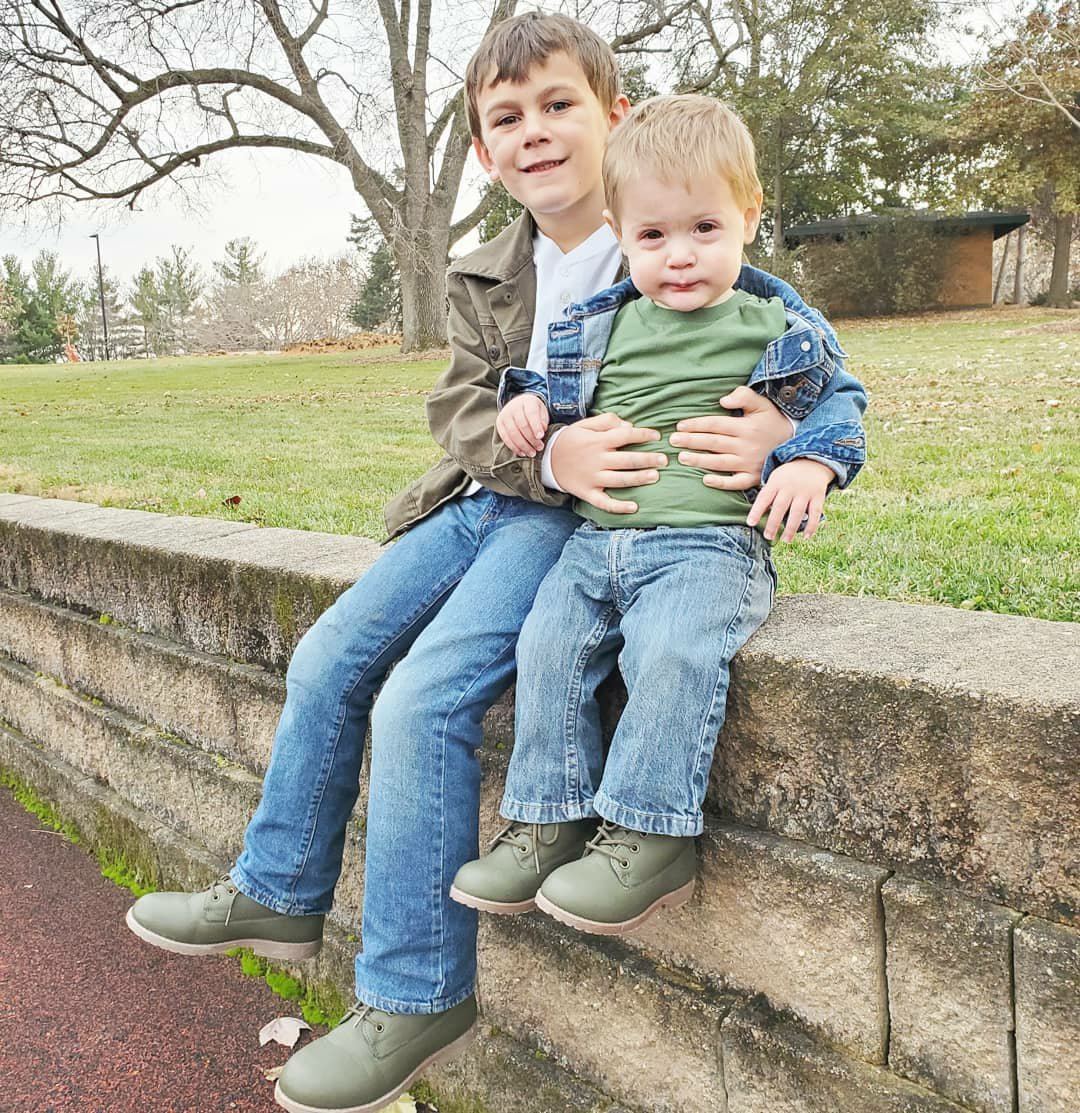
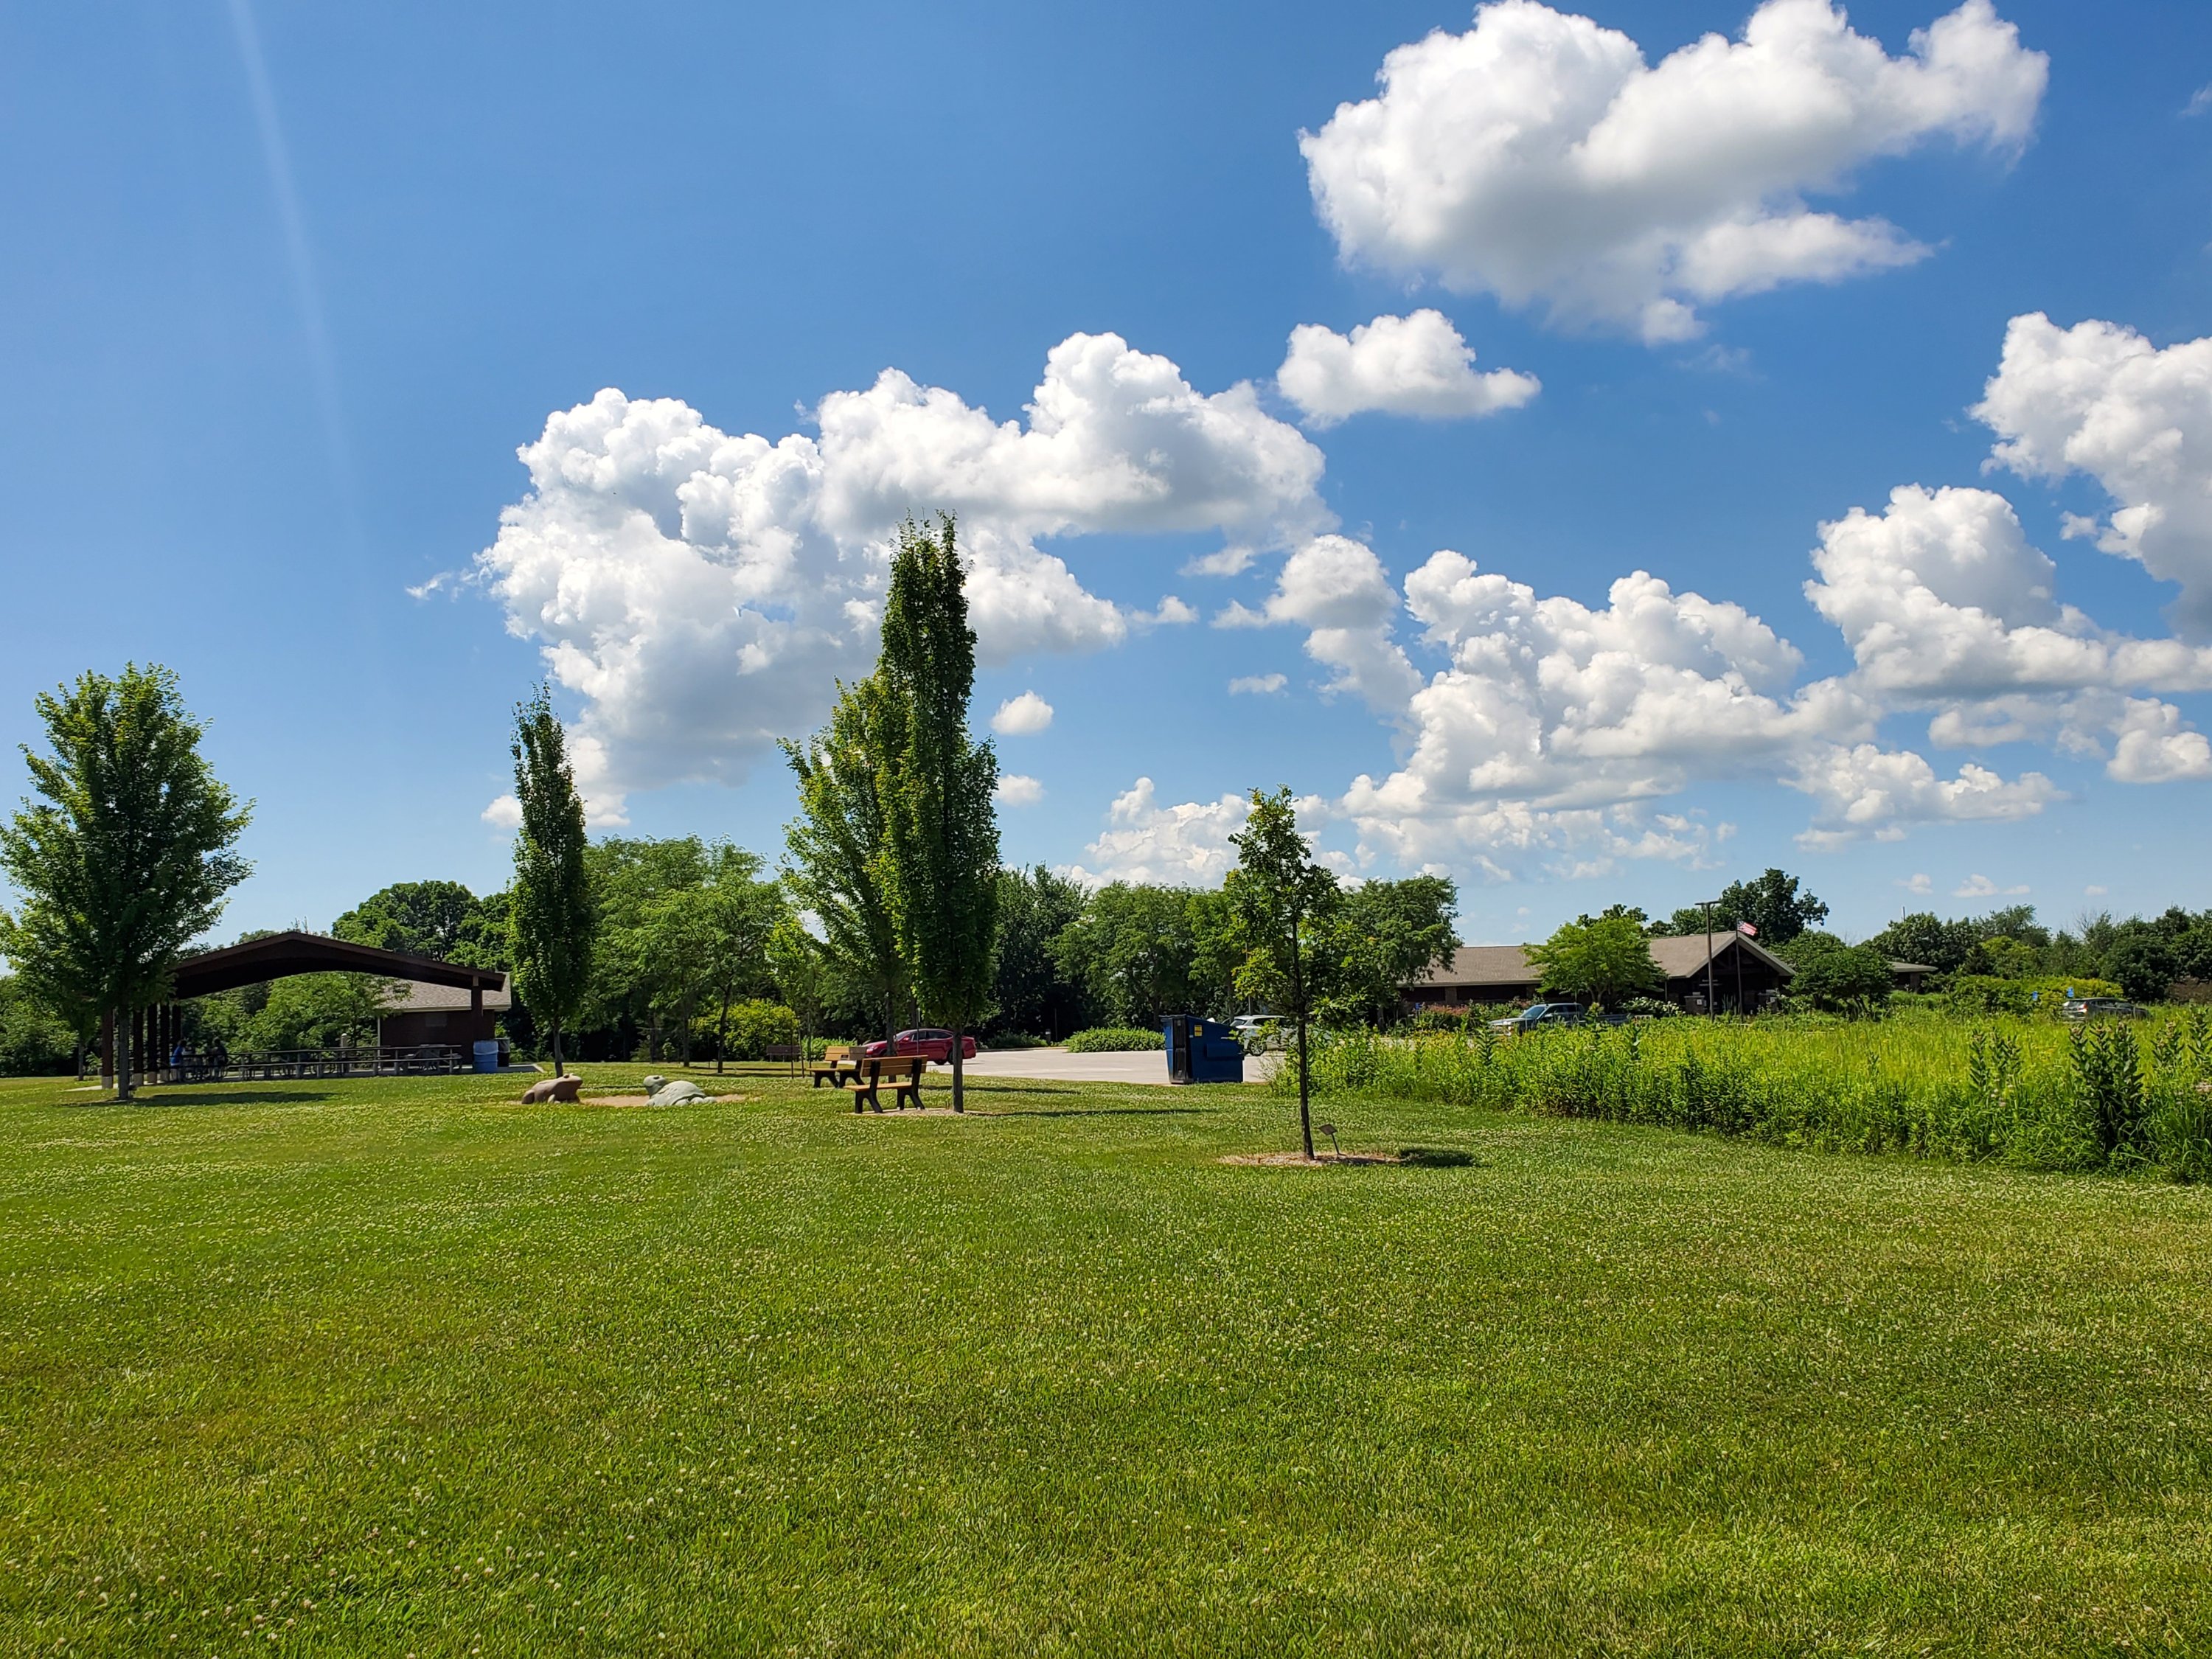
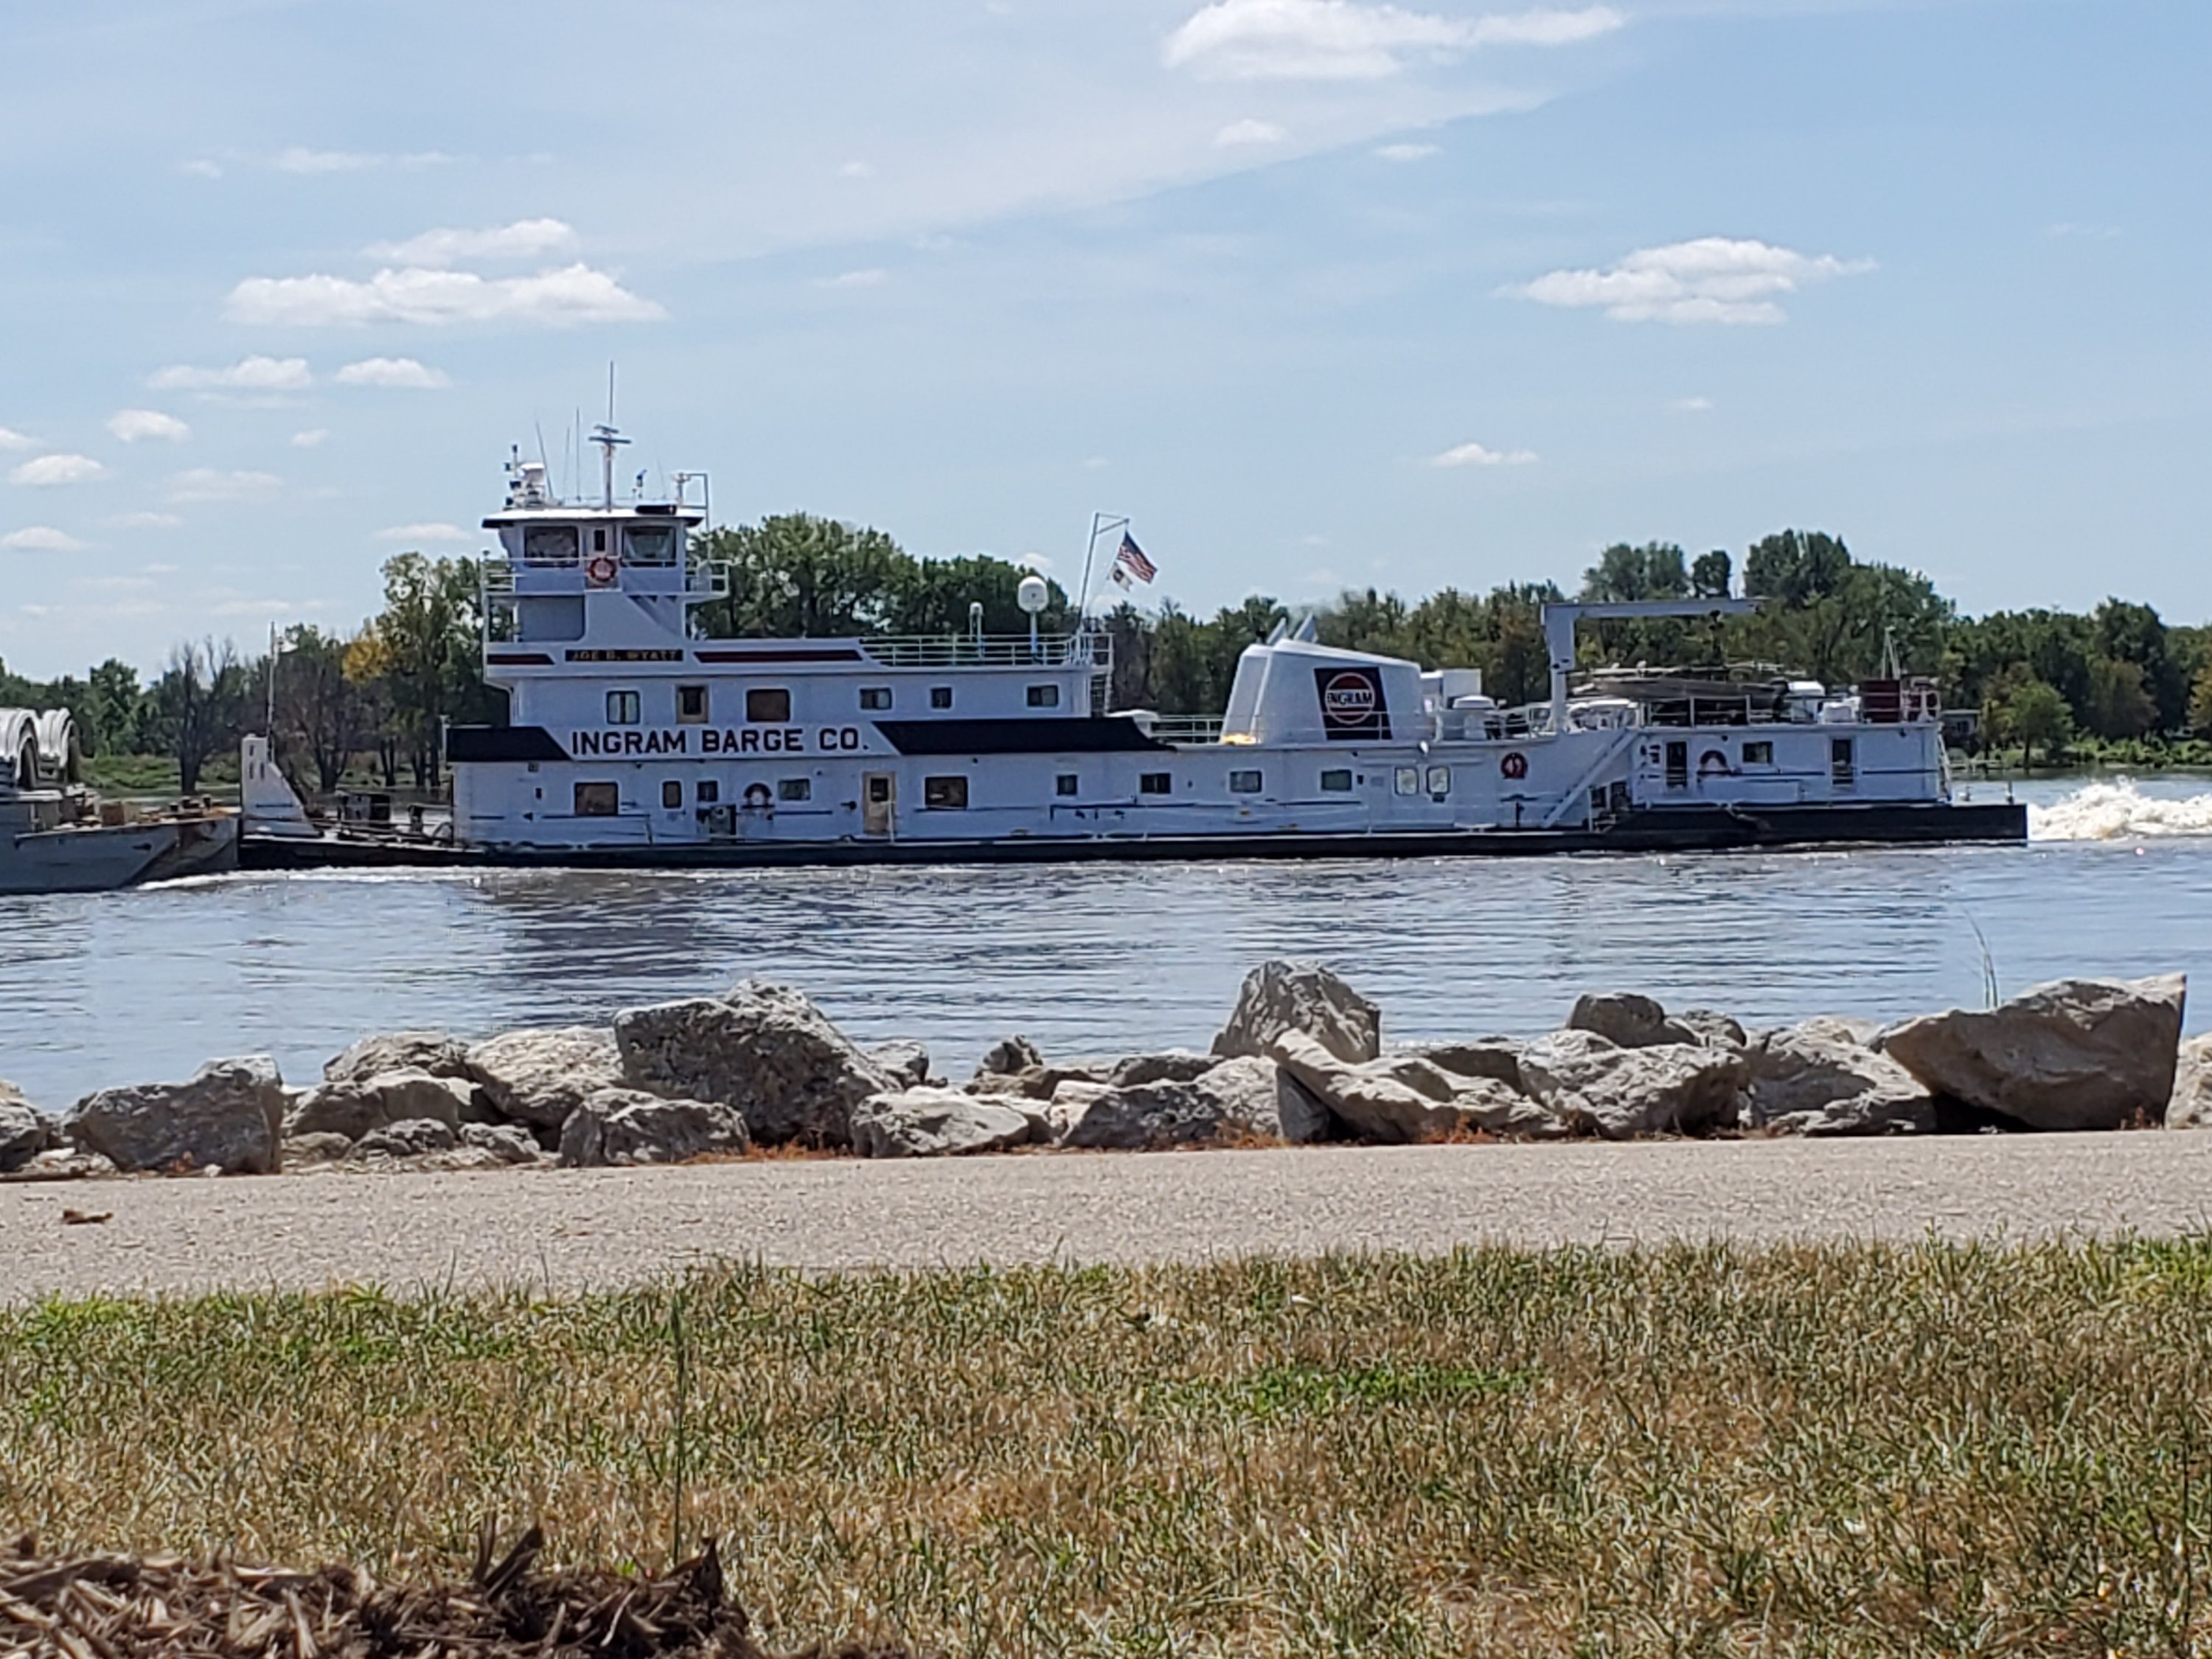
2. Weed Park- one of the best parks I’ve found, anywhere. Picnic areas, pavilions, historical plaques and sights, gorgeous views of the Mississippi, beautiful landscaping, and a pond with ducks, geese, and fishing for kids. Plus, they have two playgrounds that are awesome. And once back to normal they have a waterpark. Totally worth a visit for everyone in the family.

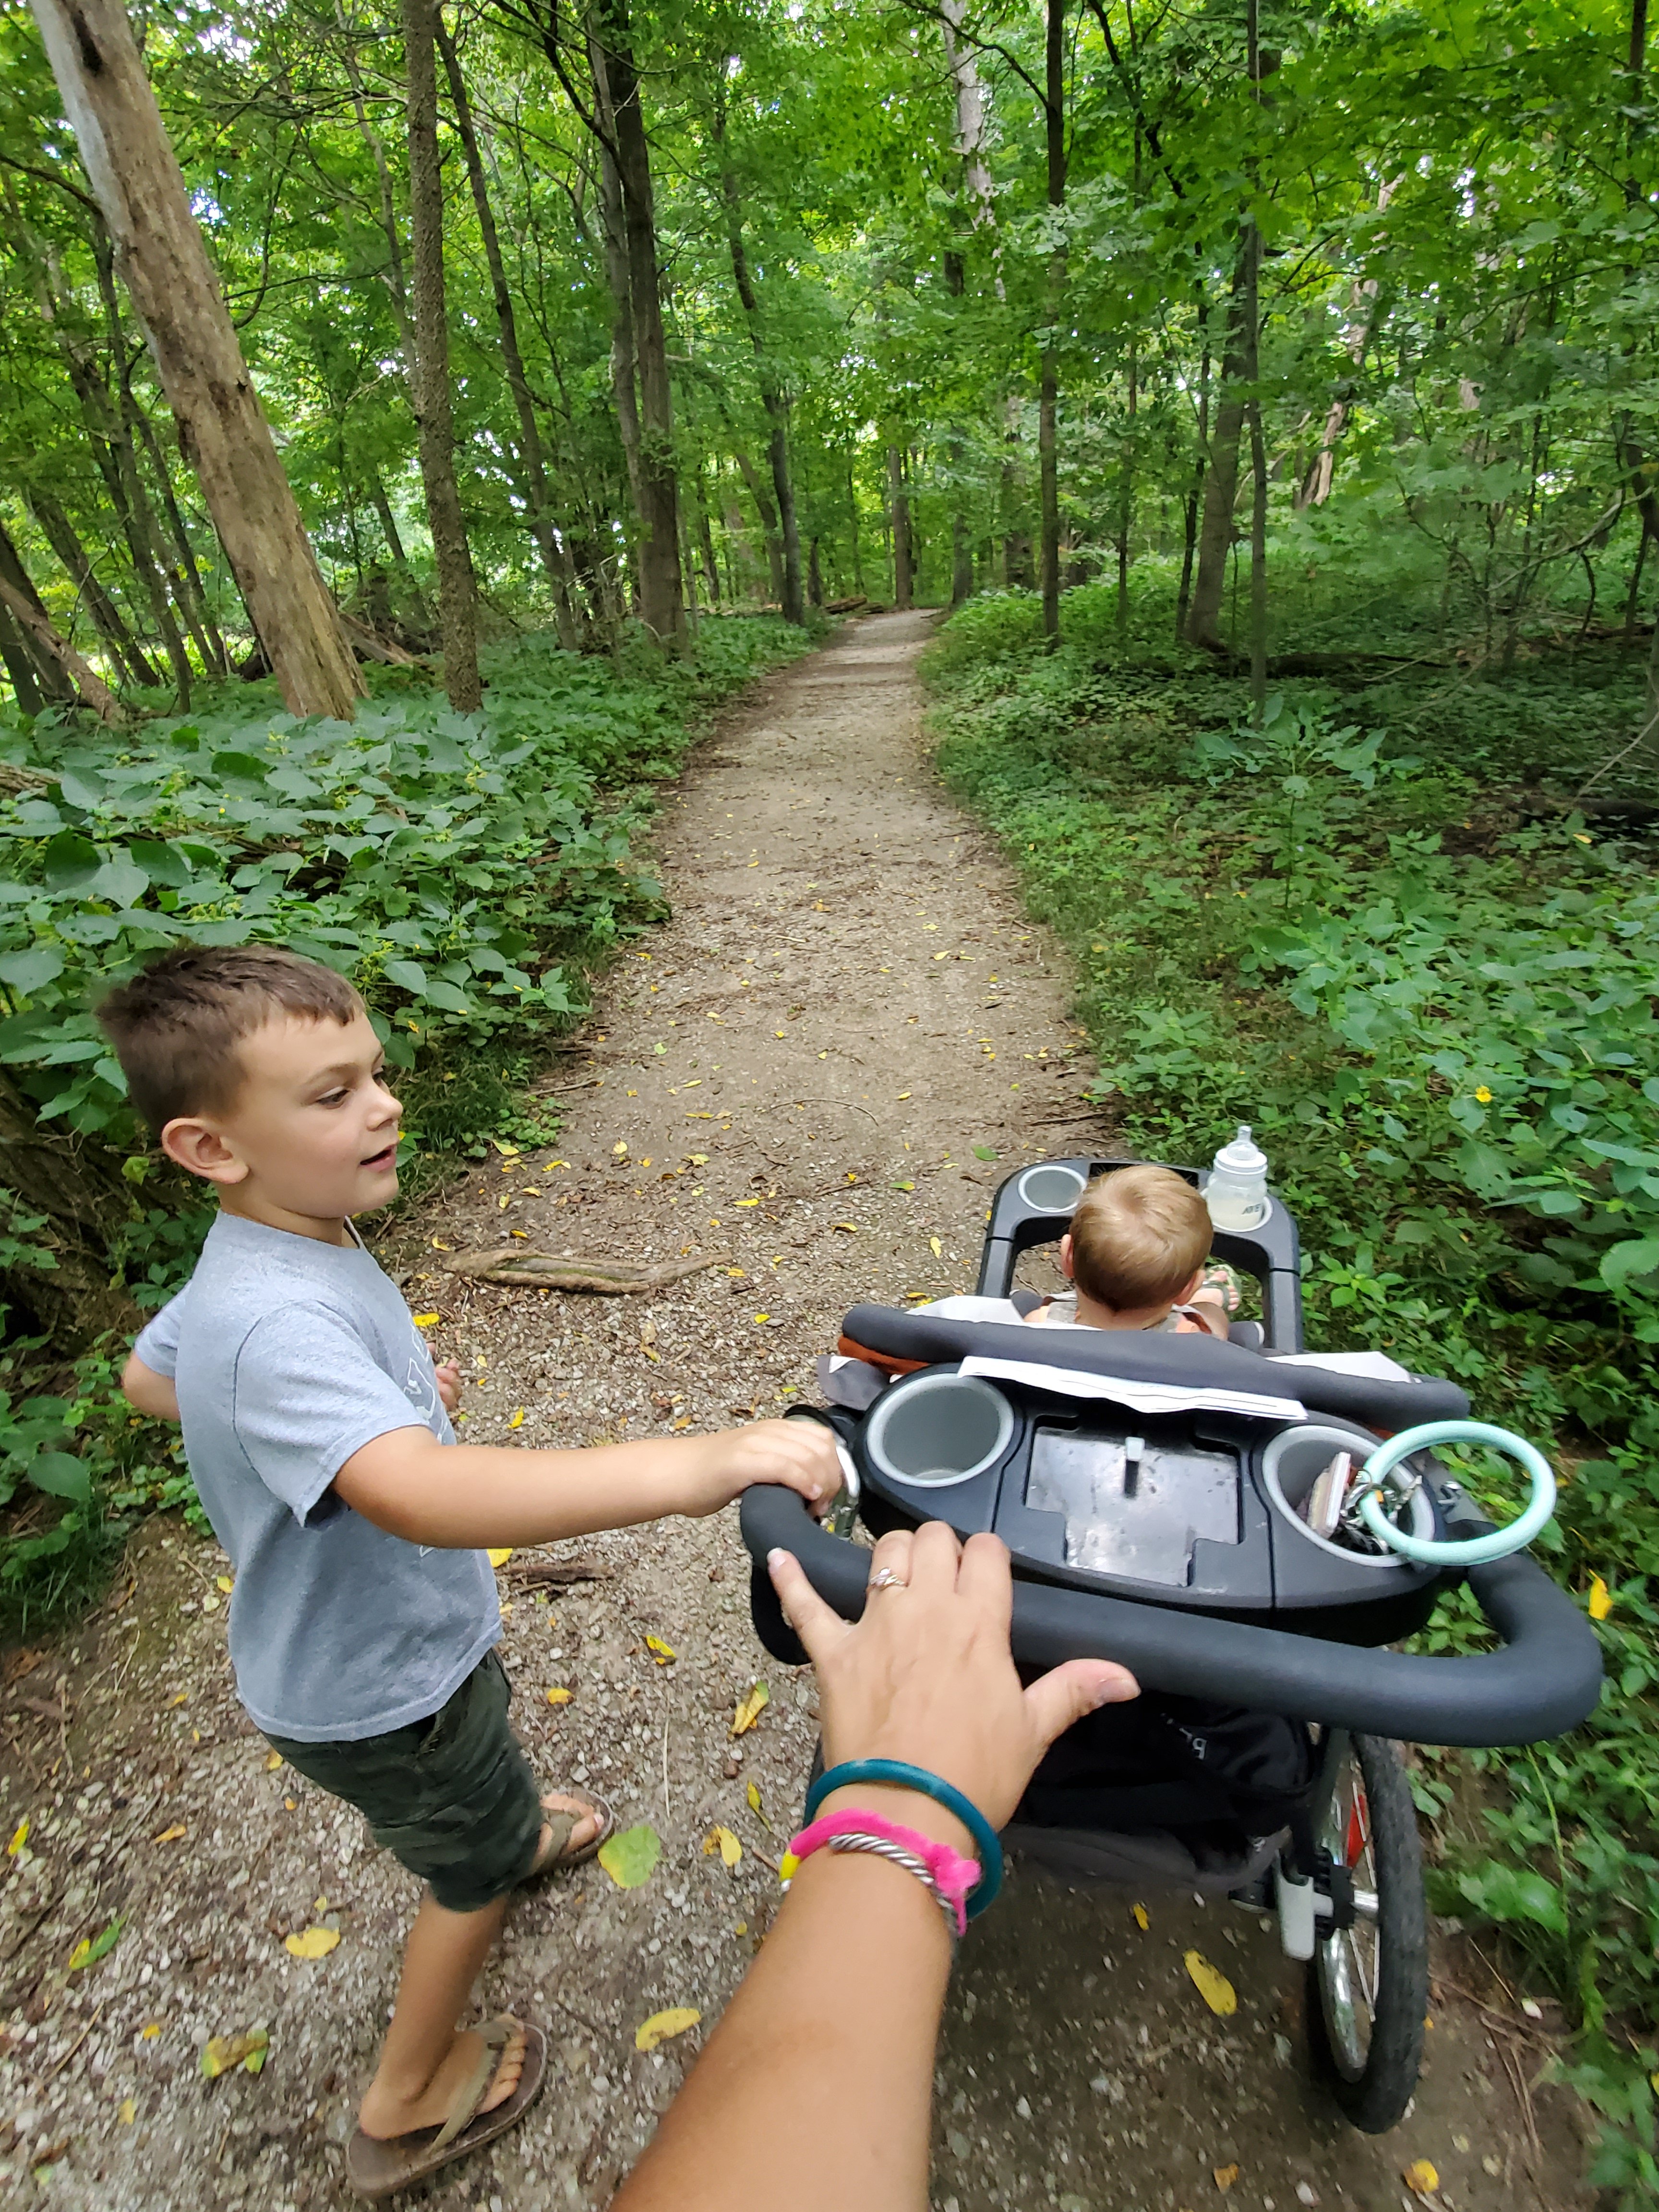
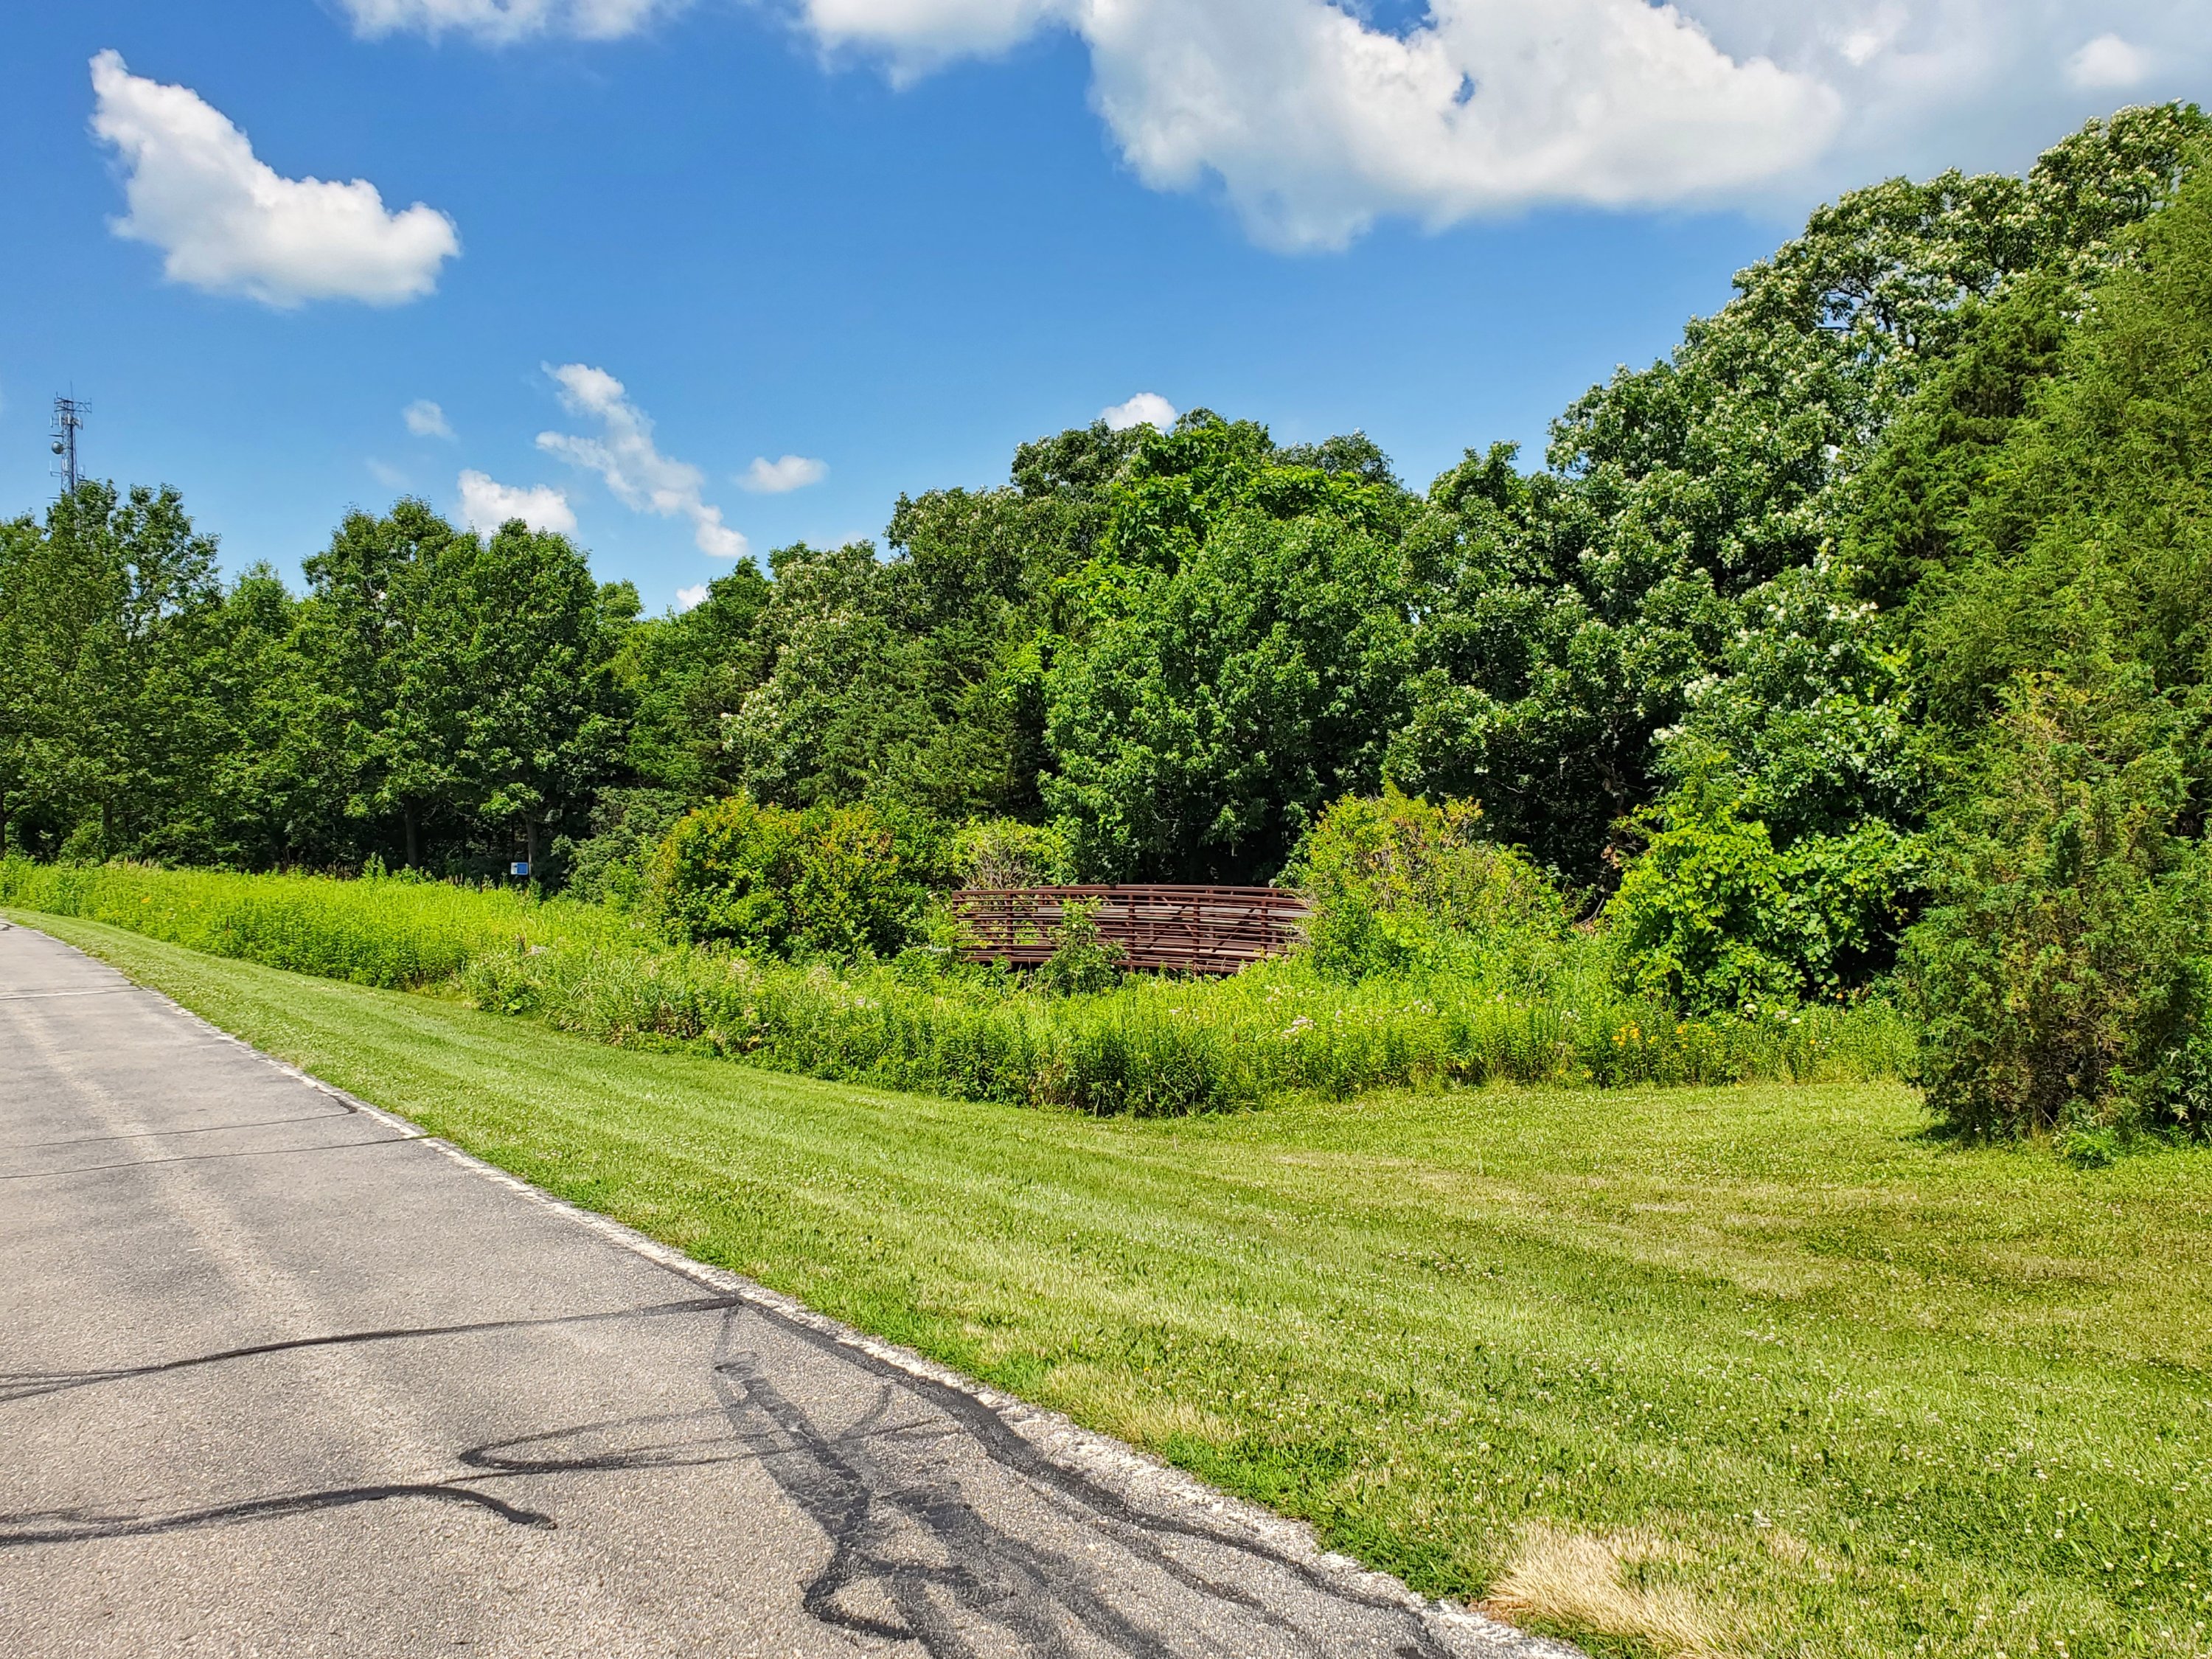
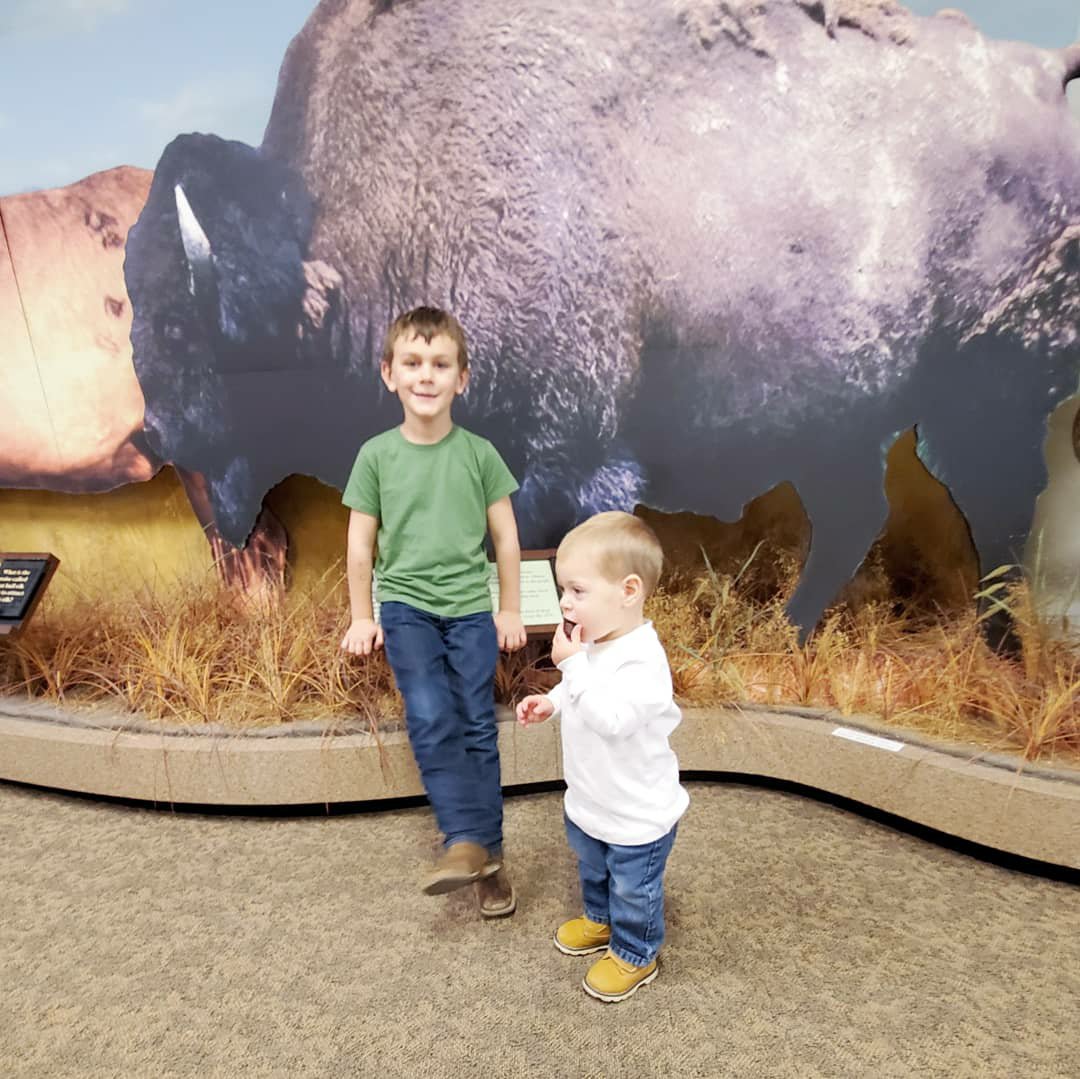
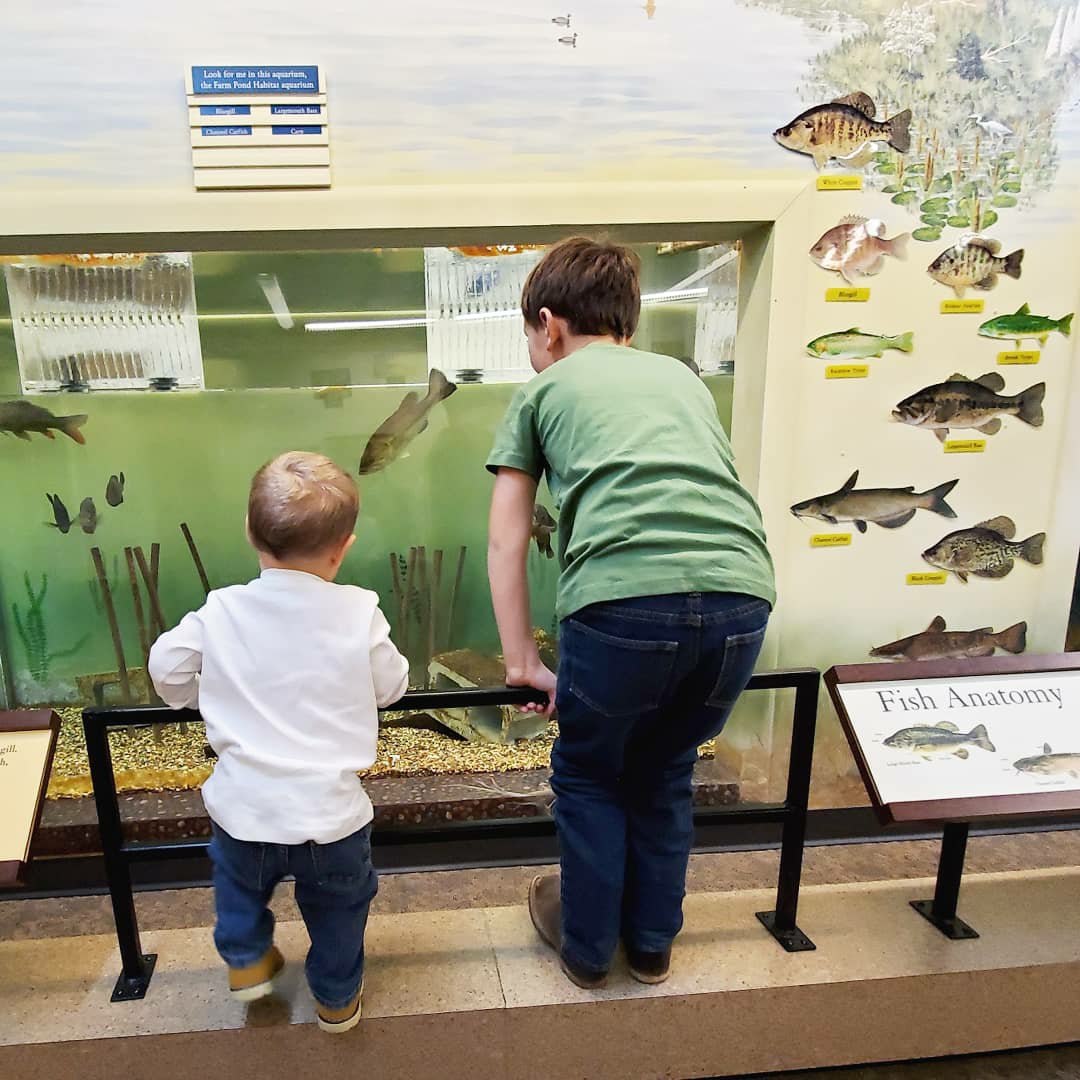
3. Discovery Park- during normal times, they have an indoor center to see interactive wildlife features and even take classes. Currently, you can still see all they have to offer outside. There are numerous trails to walk, most paved, through gorgeous views, wildflower patches and even see wild animals. They have a butterfly garden and owls outside to view too. They also have a pond where you can fish!


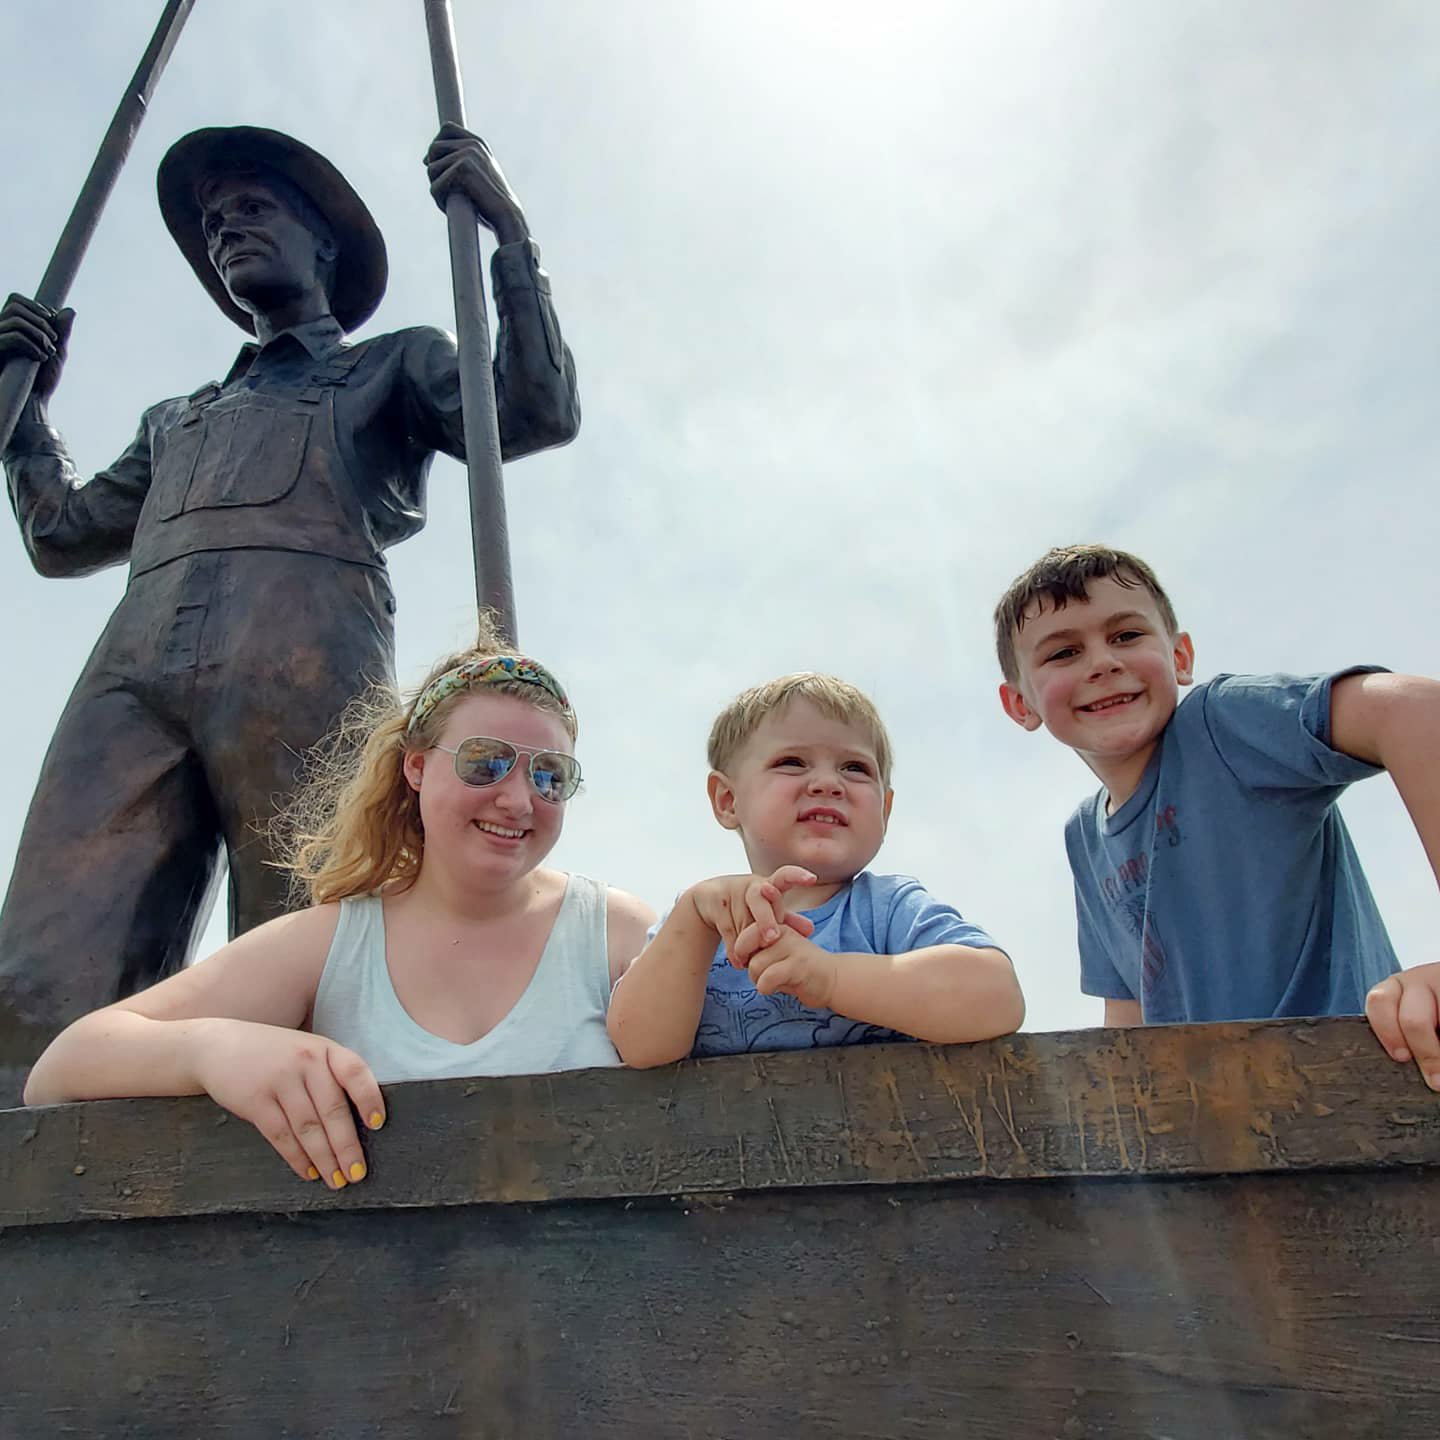
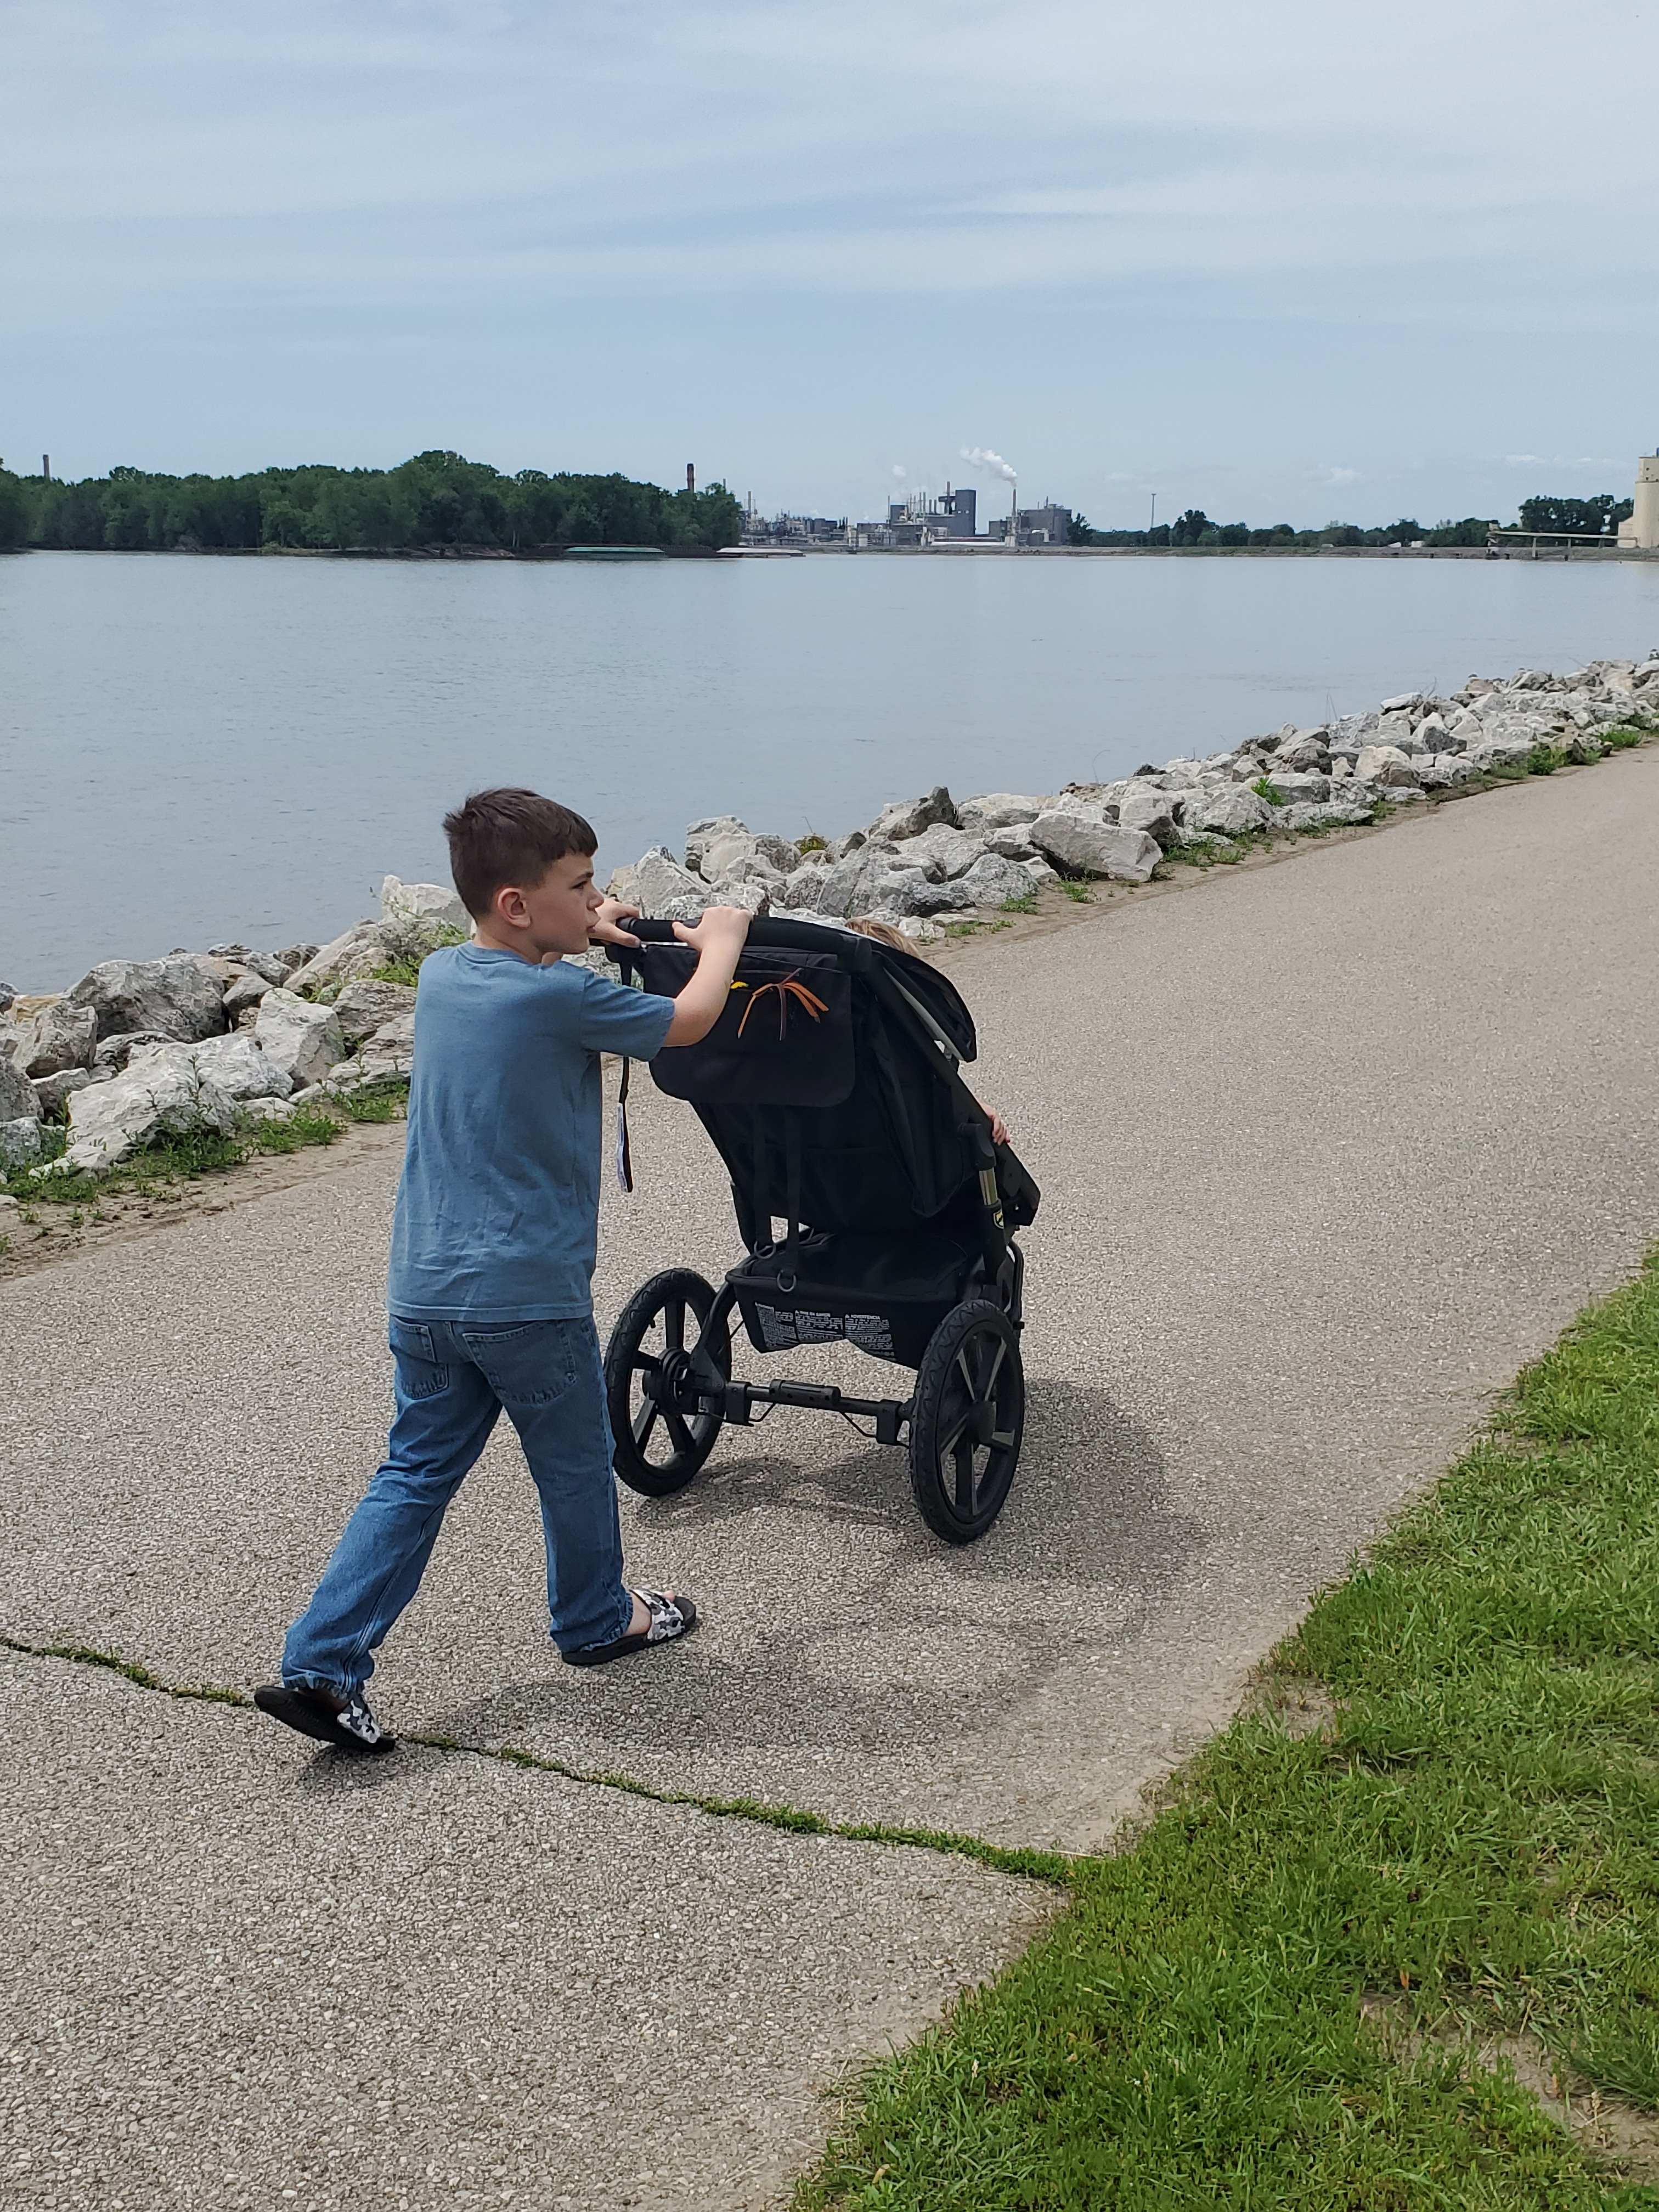
4. Muscatine River Front- plenty to do down here, even distantly! You may not be visiting the pearl button factory museum right now, and even the splash pad is not turned on yet, but it’s still a beautiful, relaxing, and even entertaining area of Muscatine. You can walk the gorgeous river front, even stopping to read the plaques about the city history. You can play at the play ground. You can even take photos with the clam digger statue. And there are a few downtown restaurants up the block that offer outside dining!

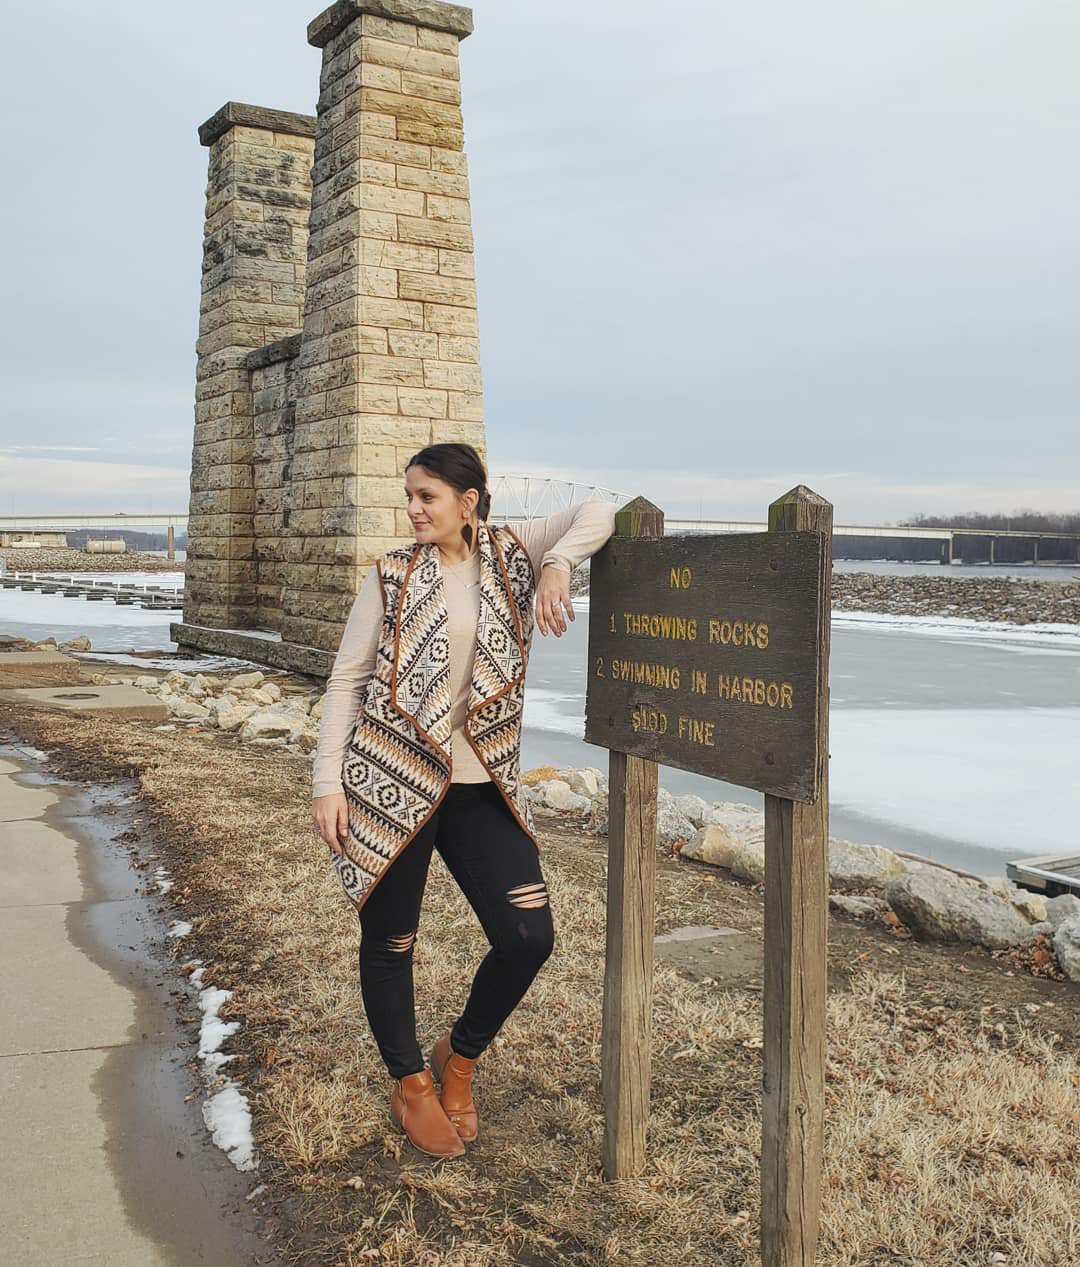

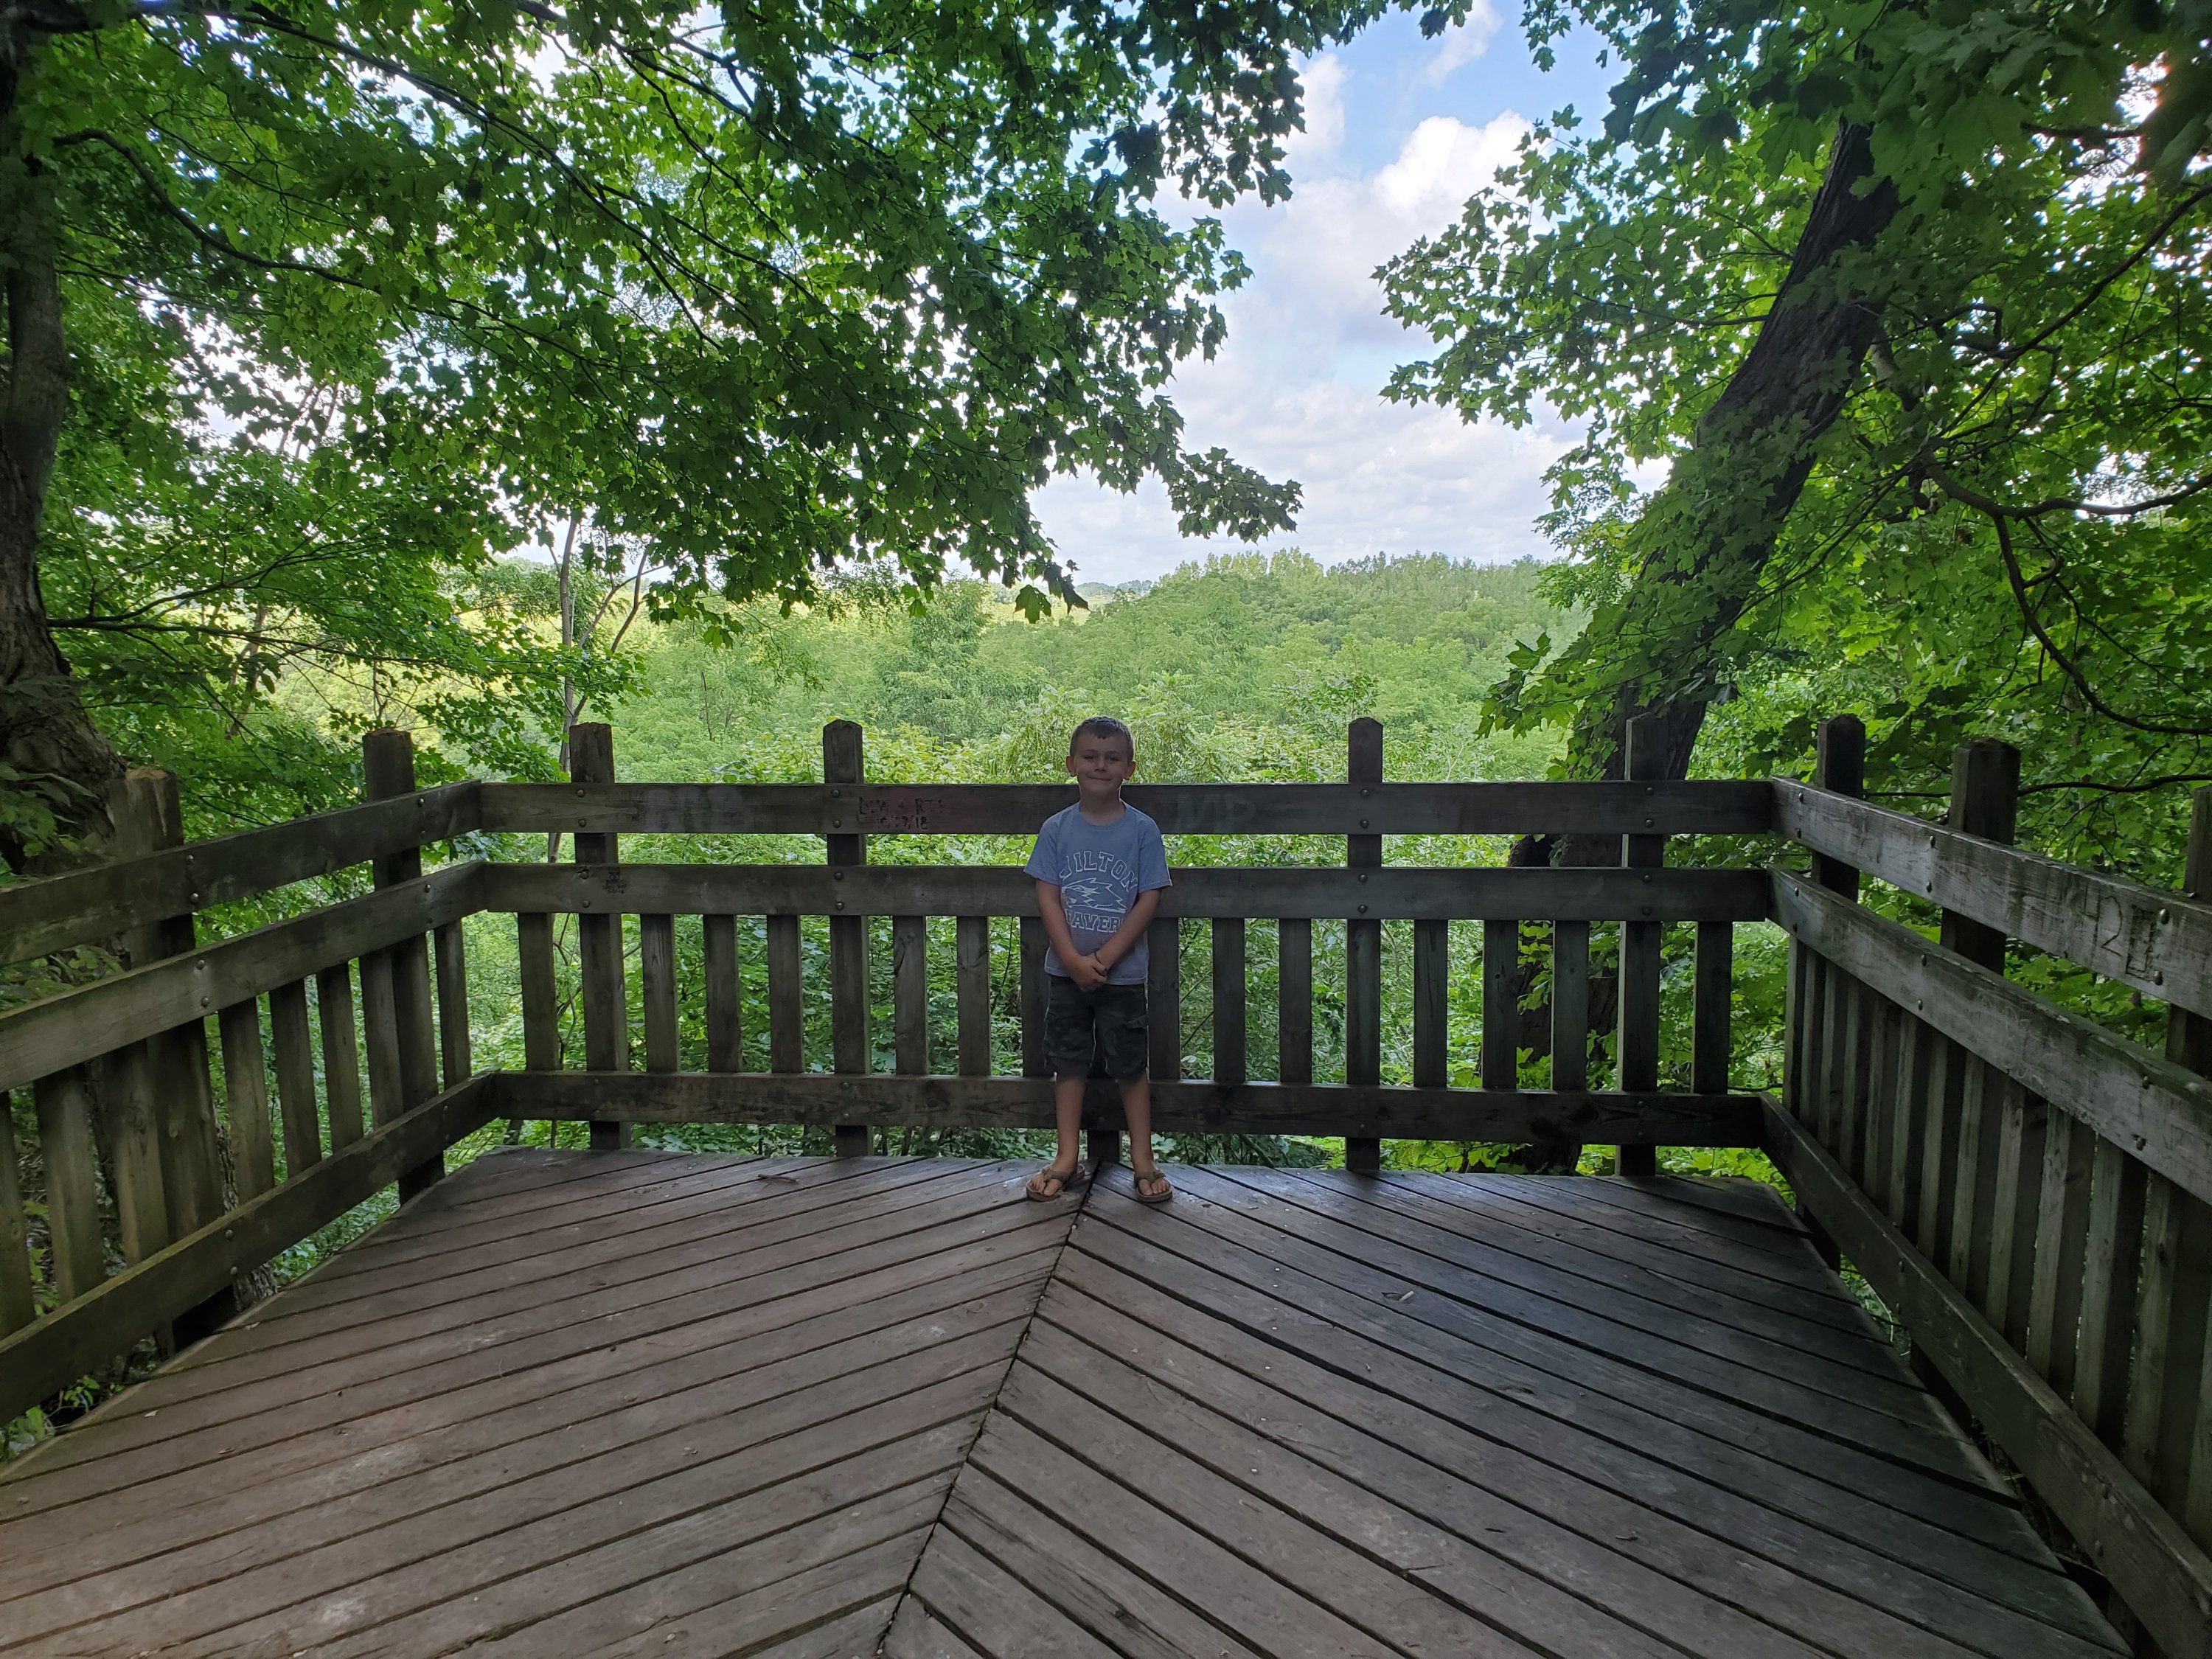
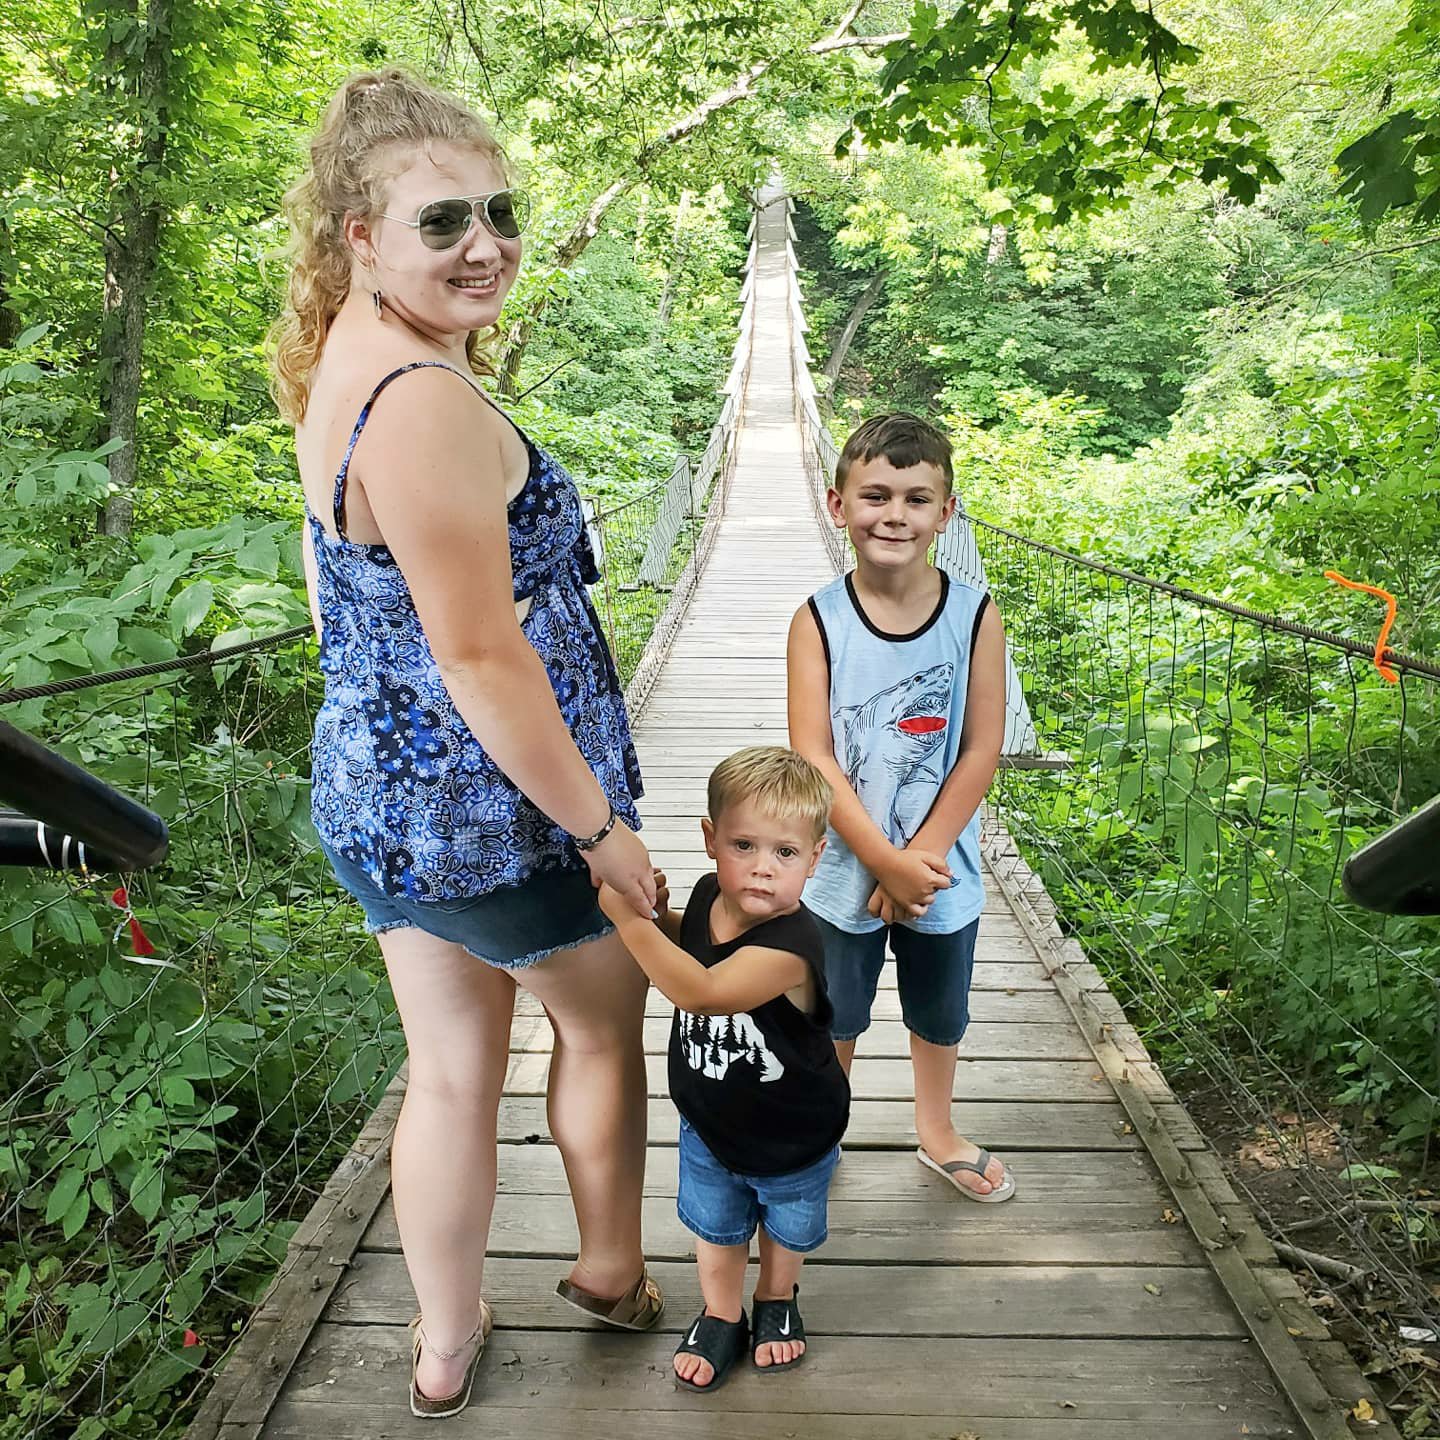
5. Swinging Bridge- you have to drive about 15 minutes out of town for this one, but worth the drive. The Swinging Bridge in Columbus Junction is a sight to not miss. We visit each year for the views and a photo. Read about the bridge’s history, walk across if you dare, snap some photos, and even hike the lower trails. You will love this one!!


While you are out in the Columbus Junction area, you can see the historical marker for Convict Highway! 😉 Just a super old road, but you can read about how the convicts of the time built it!
Muscatine also offers several parks with awesome playgrounds, a skate park, and a disk golf course. Plus plenty of sites indoors once that is safe again!
We also love to camp and boat. I can recommend places for that too! Enjoy! 😉
XX,
Jess
Permalink Comments Off on Muscatine Iowa Area Sightseeing
I’m in the House and I’m Saving Astronauts!
Me may be in the house, but we aren’t bored! We have been saving astronauts around here!
Yes, astronauts. We found a new family fun activity and had to share!

It’s interactive and had us all using our brains!

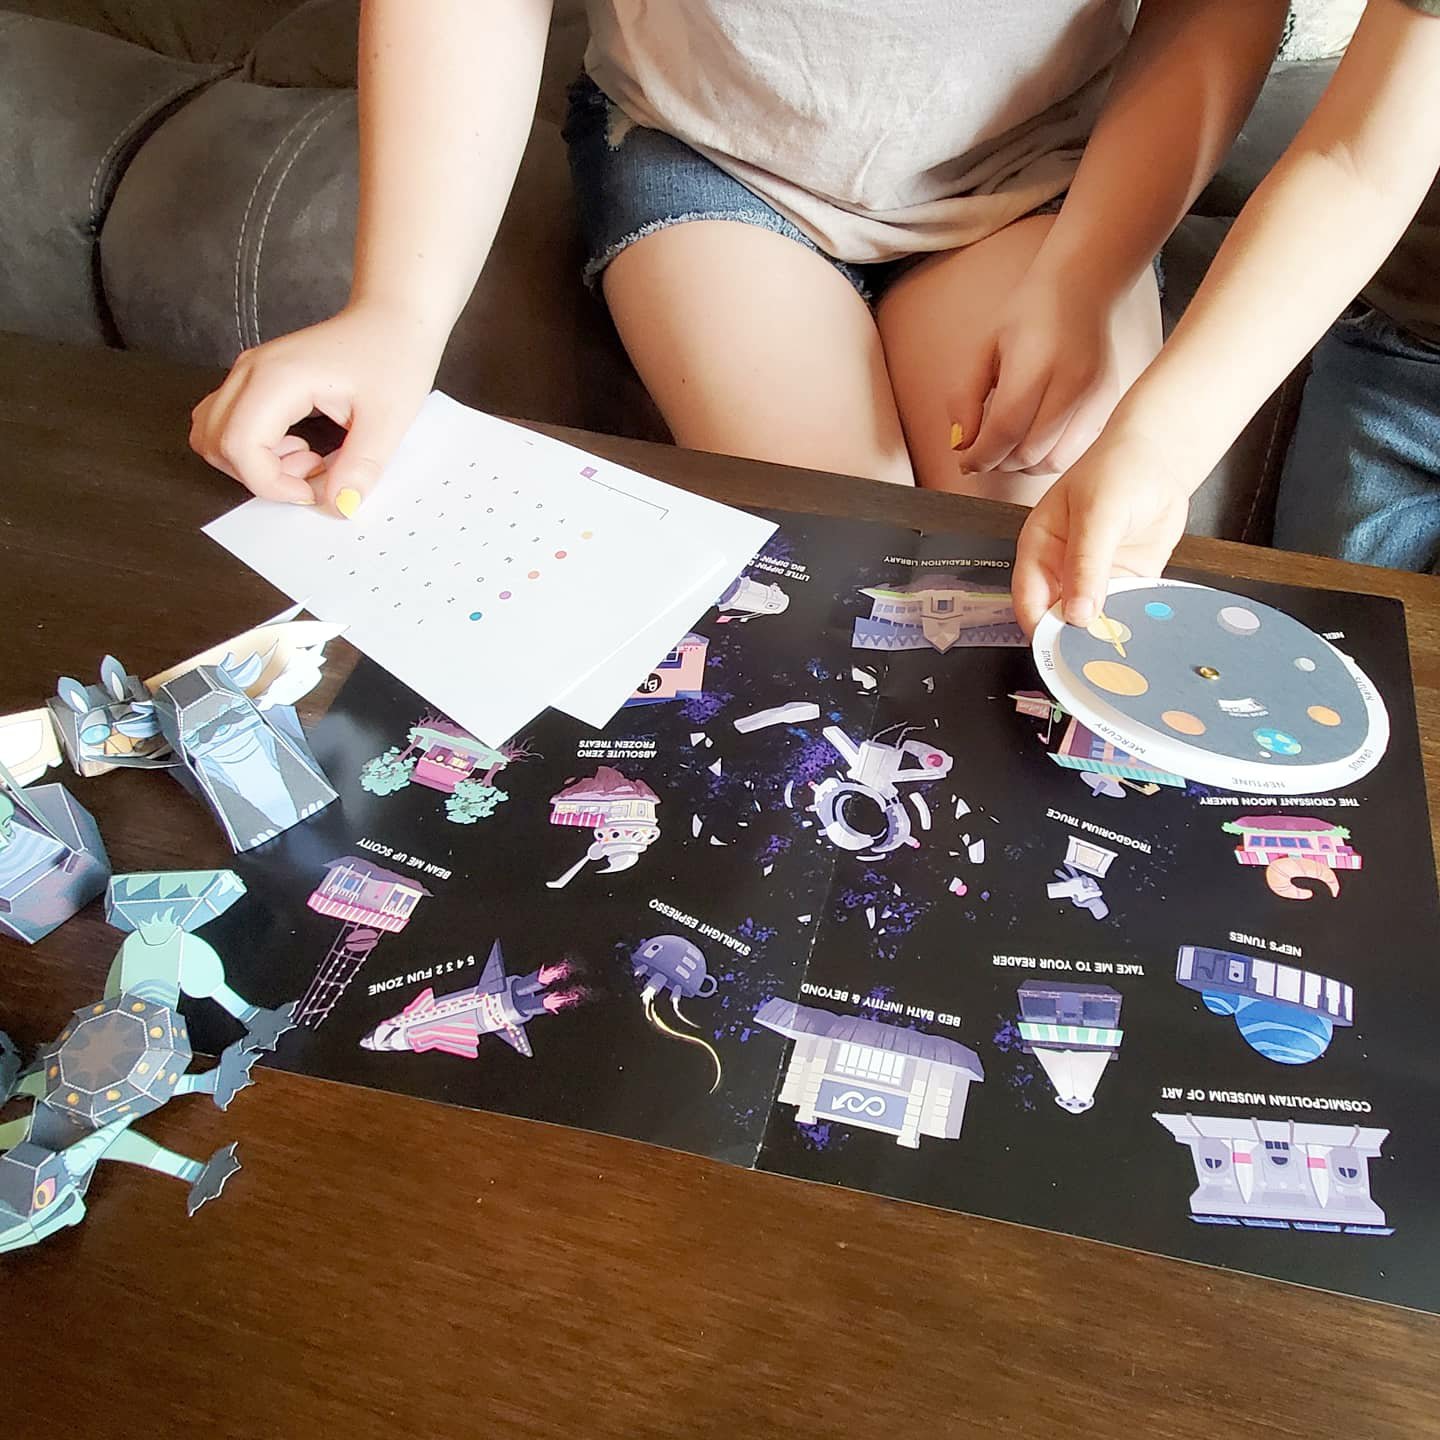
We recieved a packet with a map, puzzles, and clues. You get started by texting the abandoned astronaut lost in another dimension. She texts back and asks for you help. She gives you clues, helping your family work through the puzzles and brain teasers in order to find the information that will help to return her to Earth.
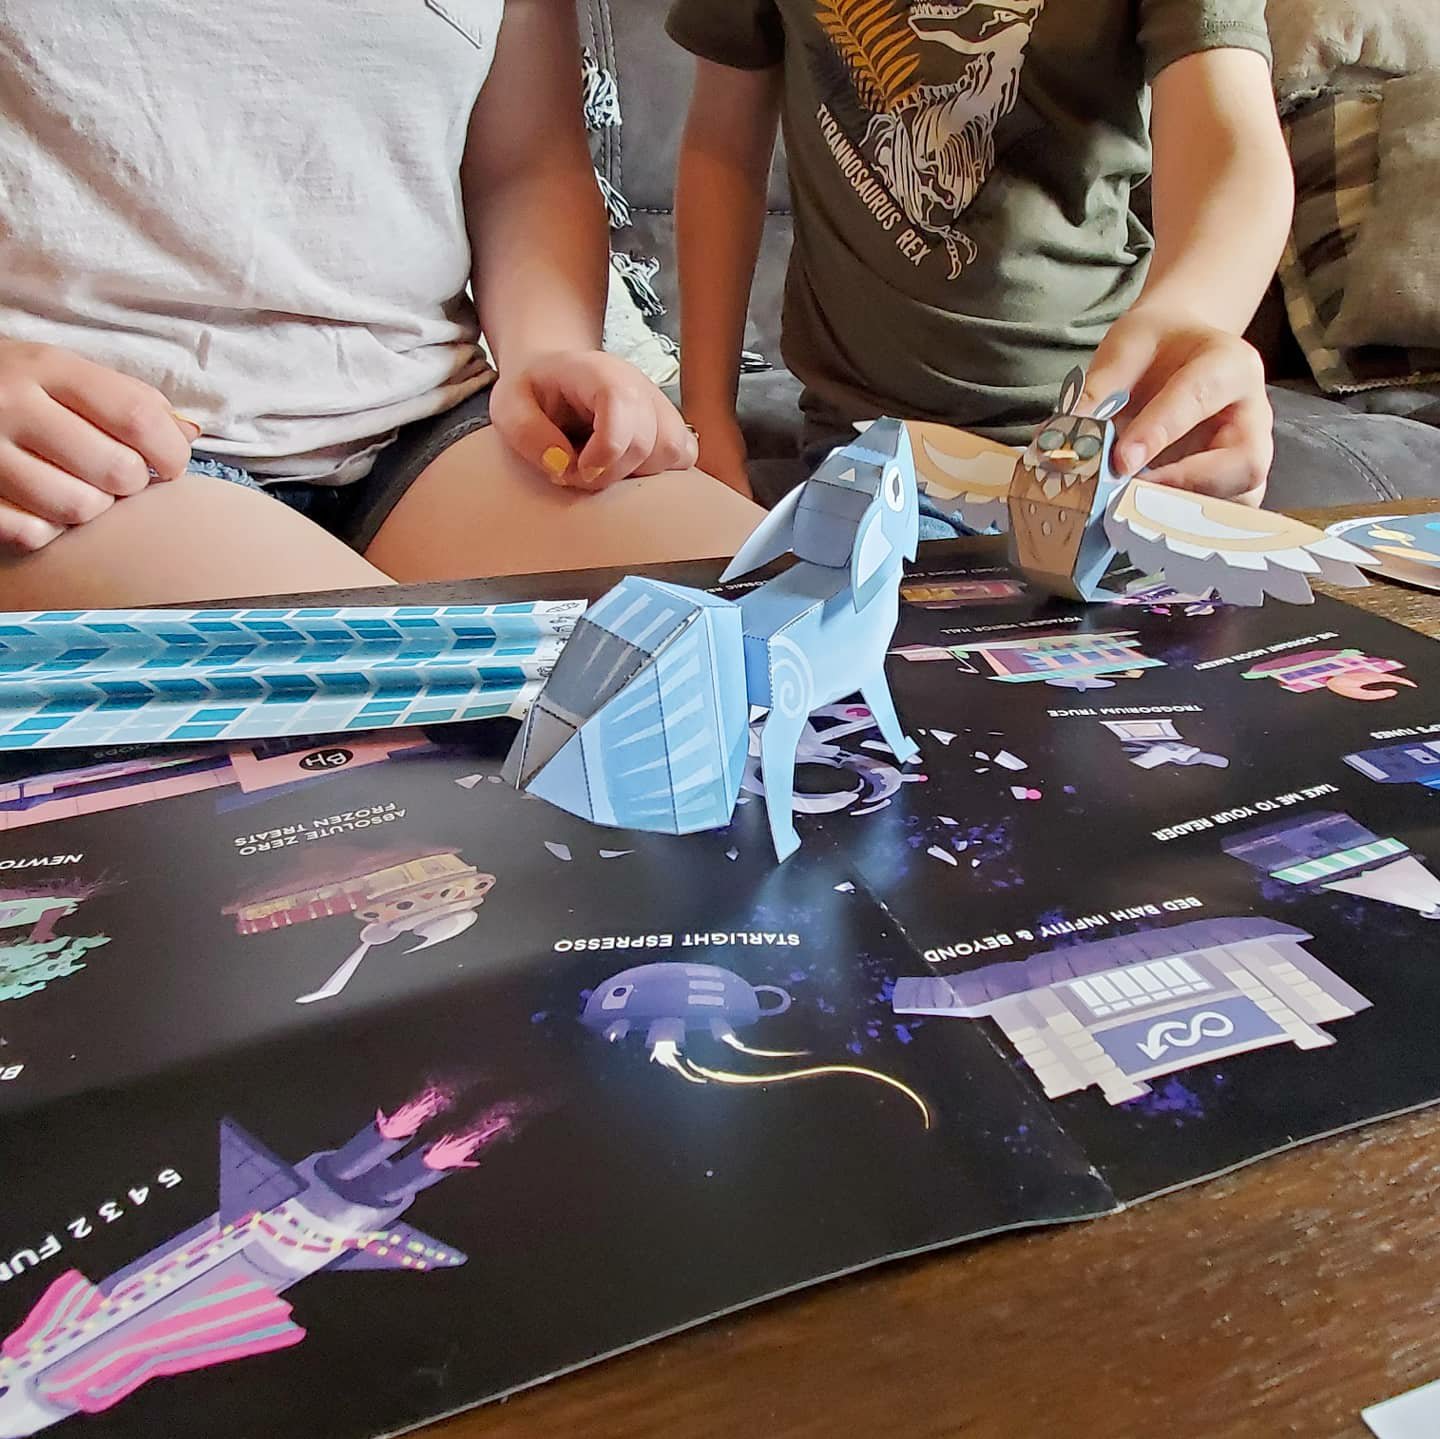
Through communicating with the astronaut via text, we were able to figure out the puzzles and find the clues to return her home safely! It was like we were really in this with her!
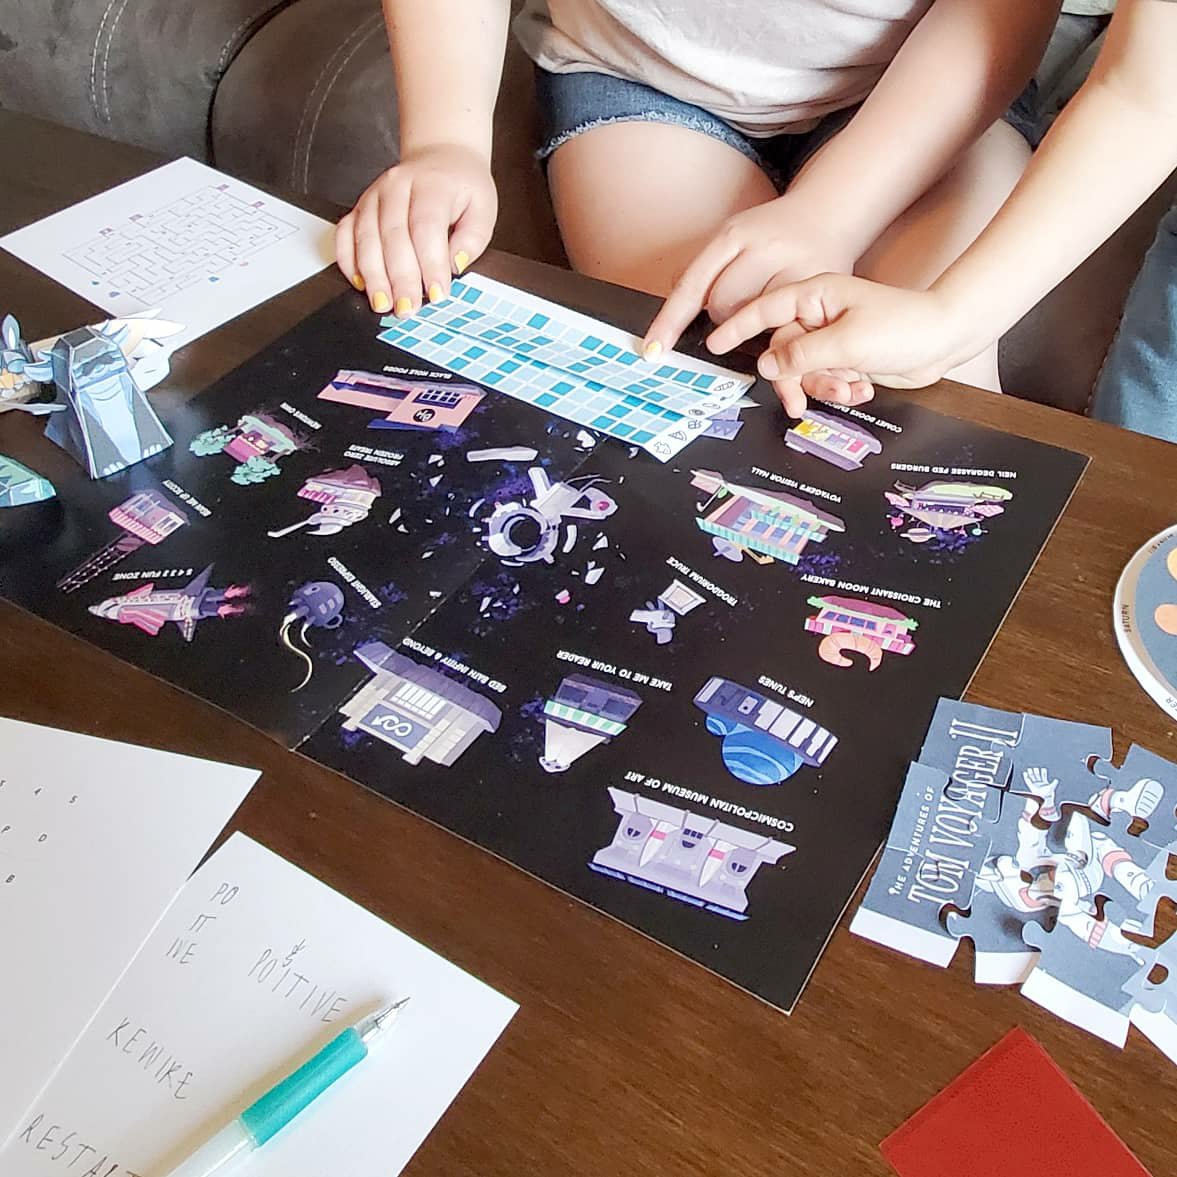
We all played together (while the 2 year old napped) and it definitely was fun for all ages! The puzzles even had the teen and adults wracking our brains. The 7 year old loved helping and setting up our clue station. He was super amused with how you figure out some of the clues!

Overall, we all had a blast! What a fun way to get in some family time and do something totally different during these times where we are cooped up a little too much! We highly recommend!
Right now you can use code jessimariel for 10% off at Adventurous.co. Also, go give them a follow on IG at @adventurousco
I hope you all enjoy! Let me know what you think! 😉
Xx,
Jess
*I have been gifted the game and compensated for the post, but all opinions are my own!*
Permalink Comments Off on I’m in the House and I’m Saving Astronauts!
Quarantine Ideas
We remind the kids every day that we are “safe at home”, not “stuck at home”. And truly, we are blessed. But, sometimes it can be a little overwhelming having everyone here full time. I want to keep them all entertained, educated, occupied, happy…
Here are just a few ideas that may help during this time!
1. Follow my craft idea board on Pinterest! I add ideas to it as I see them, so check it out for some of the things we have tried and some we still hope to try!
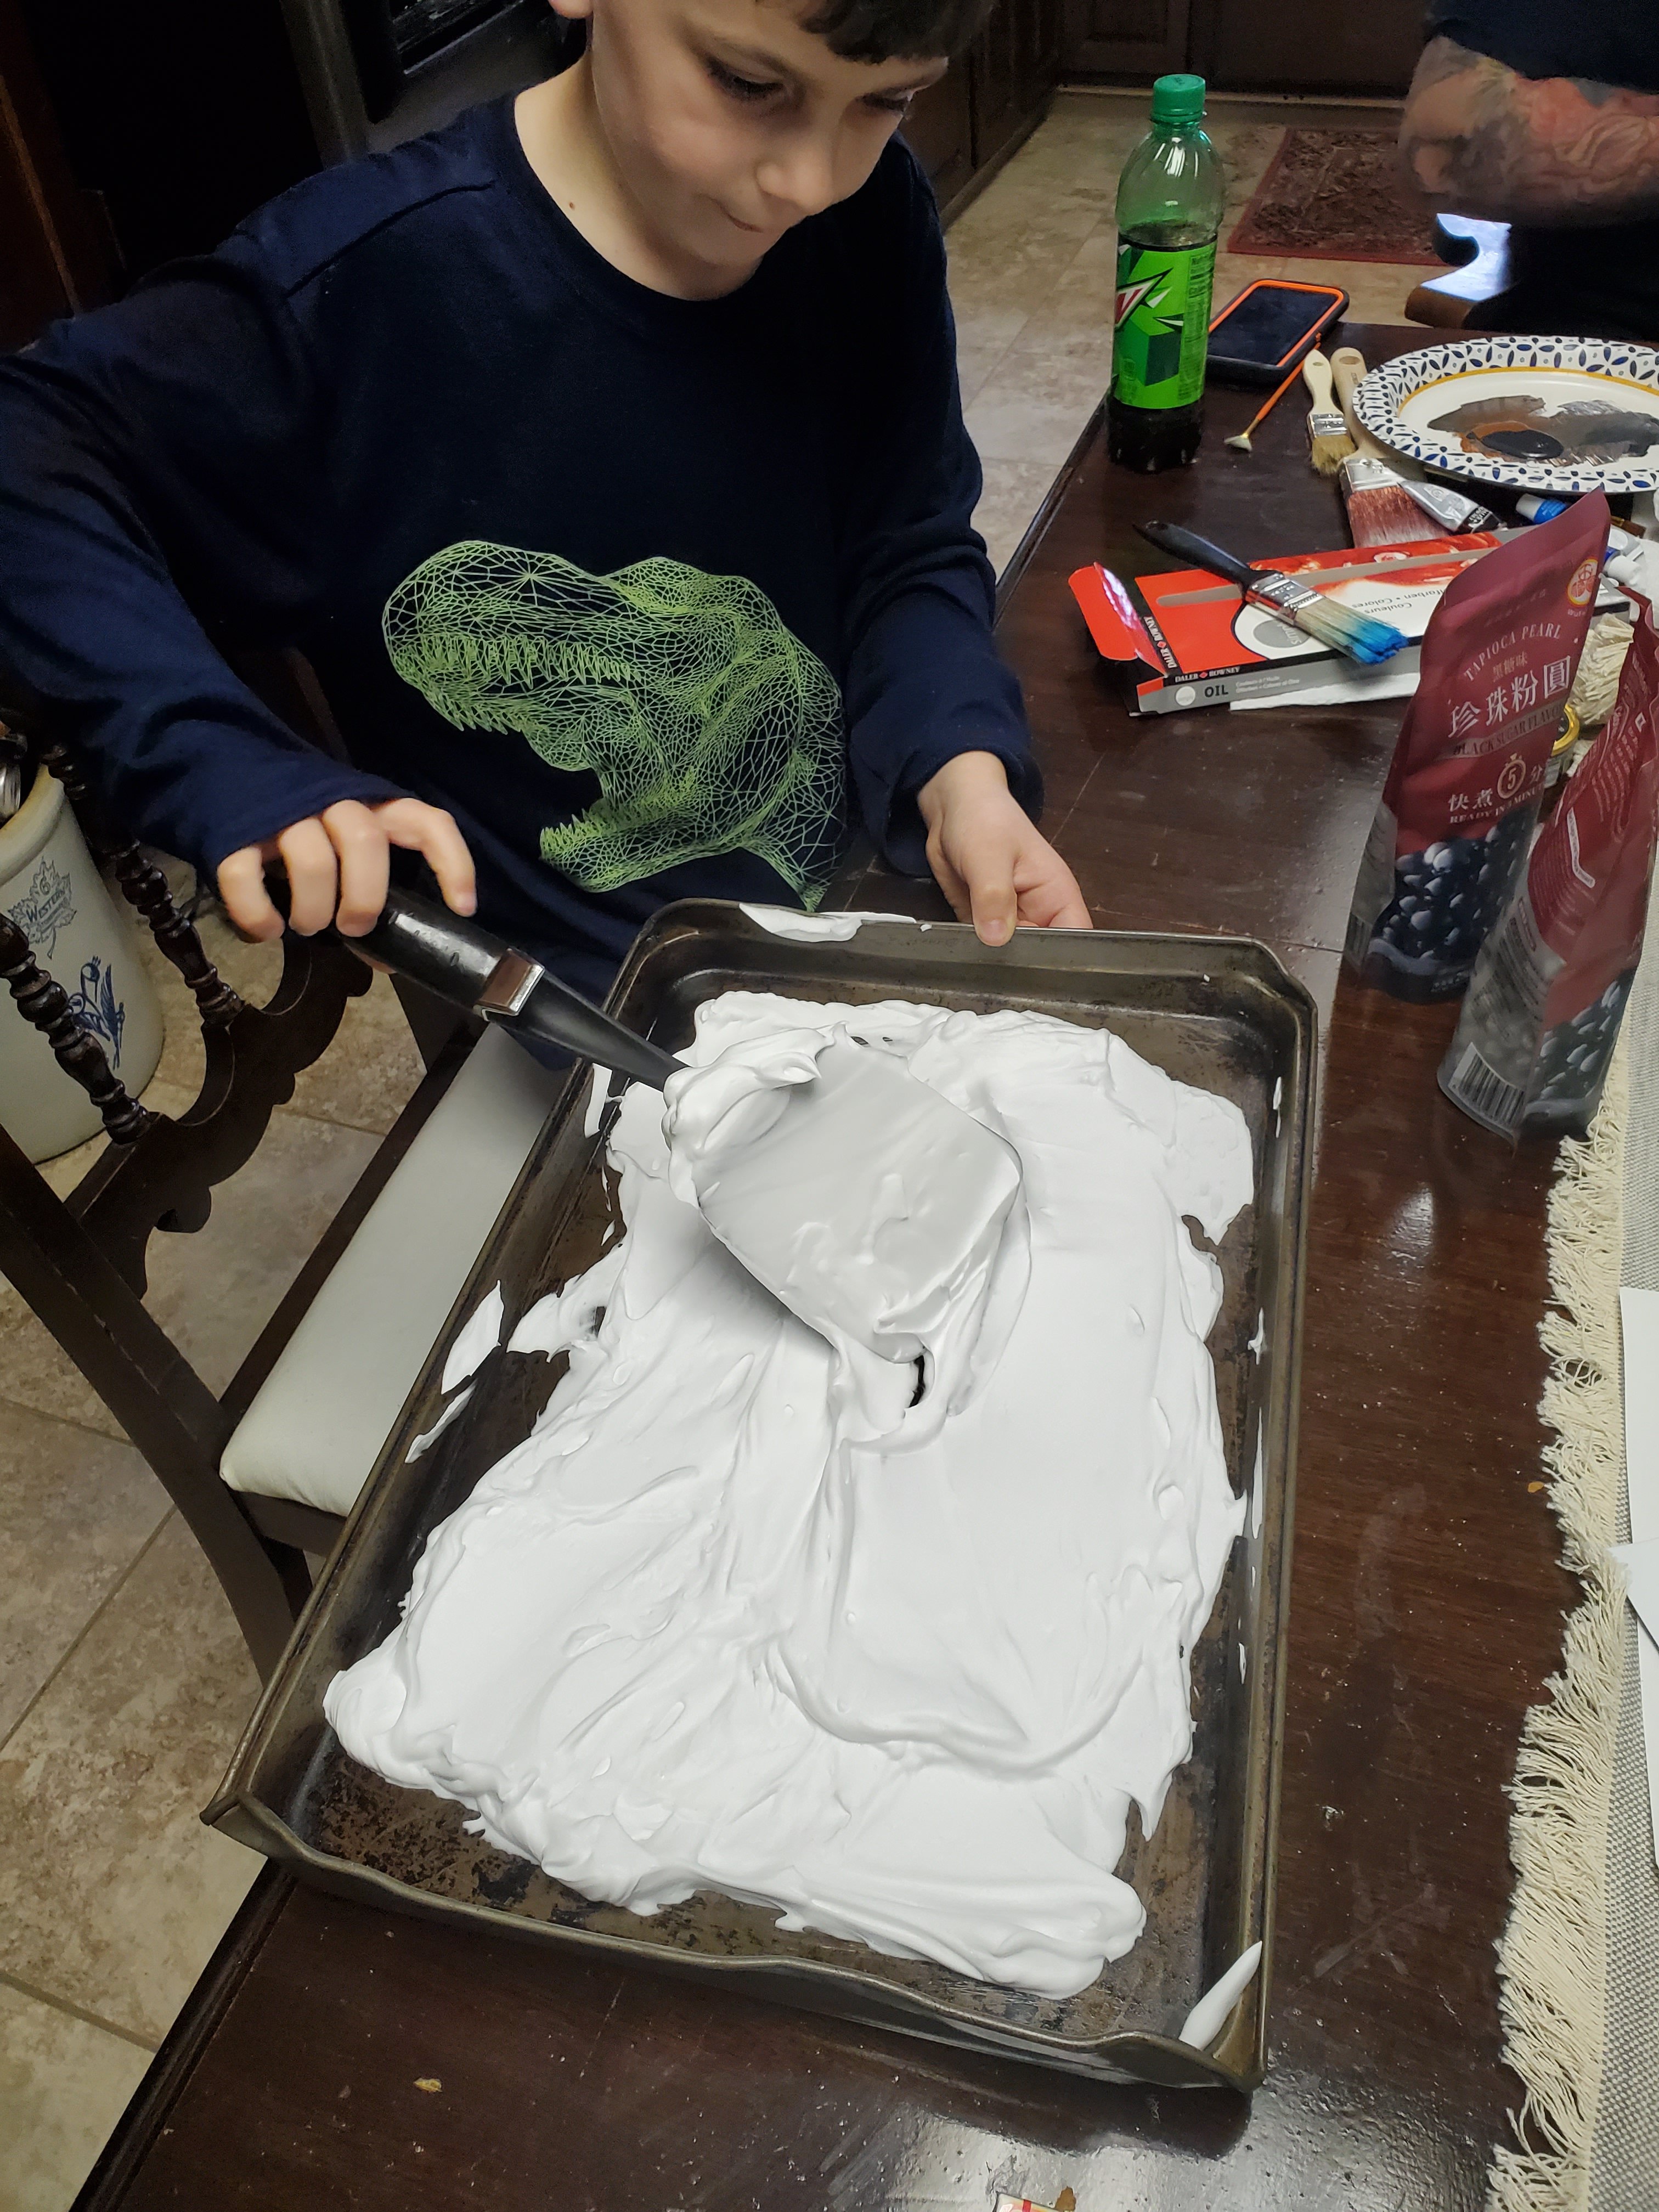
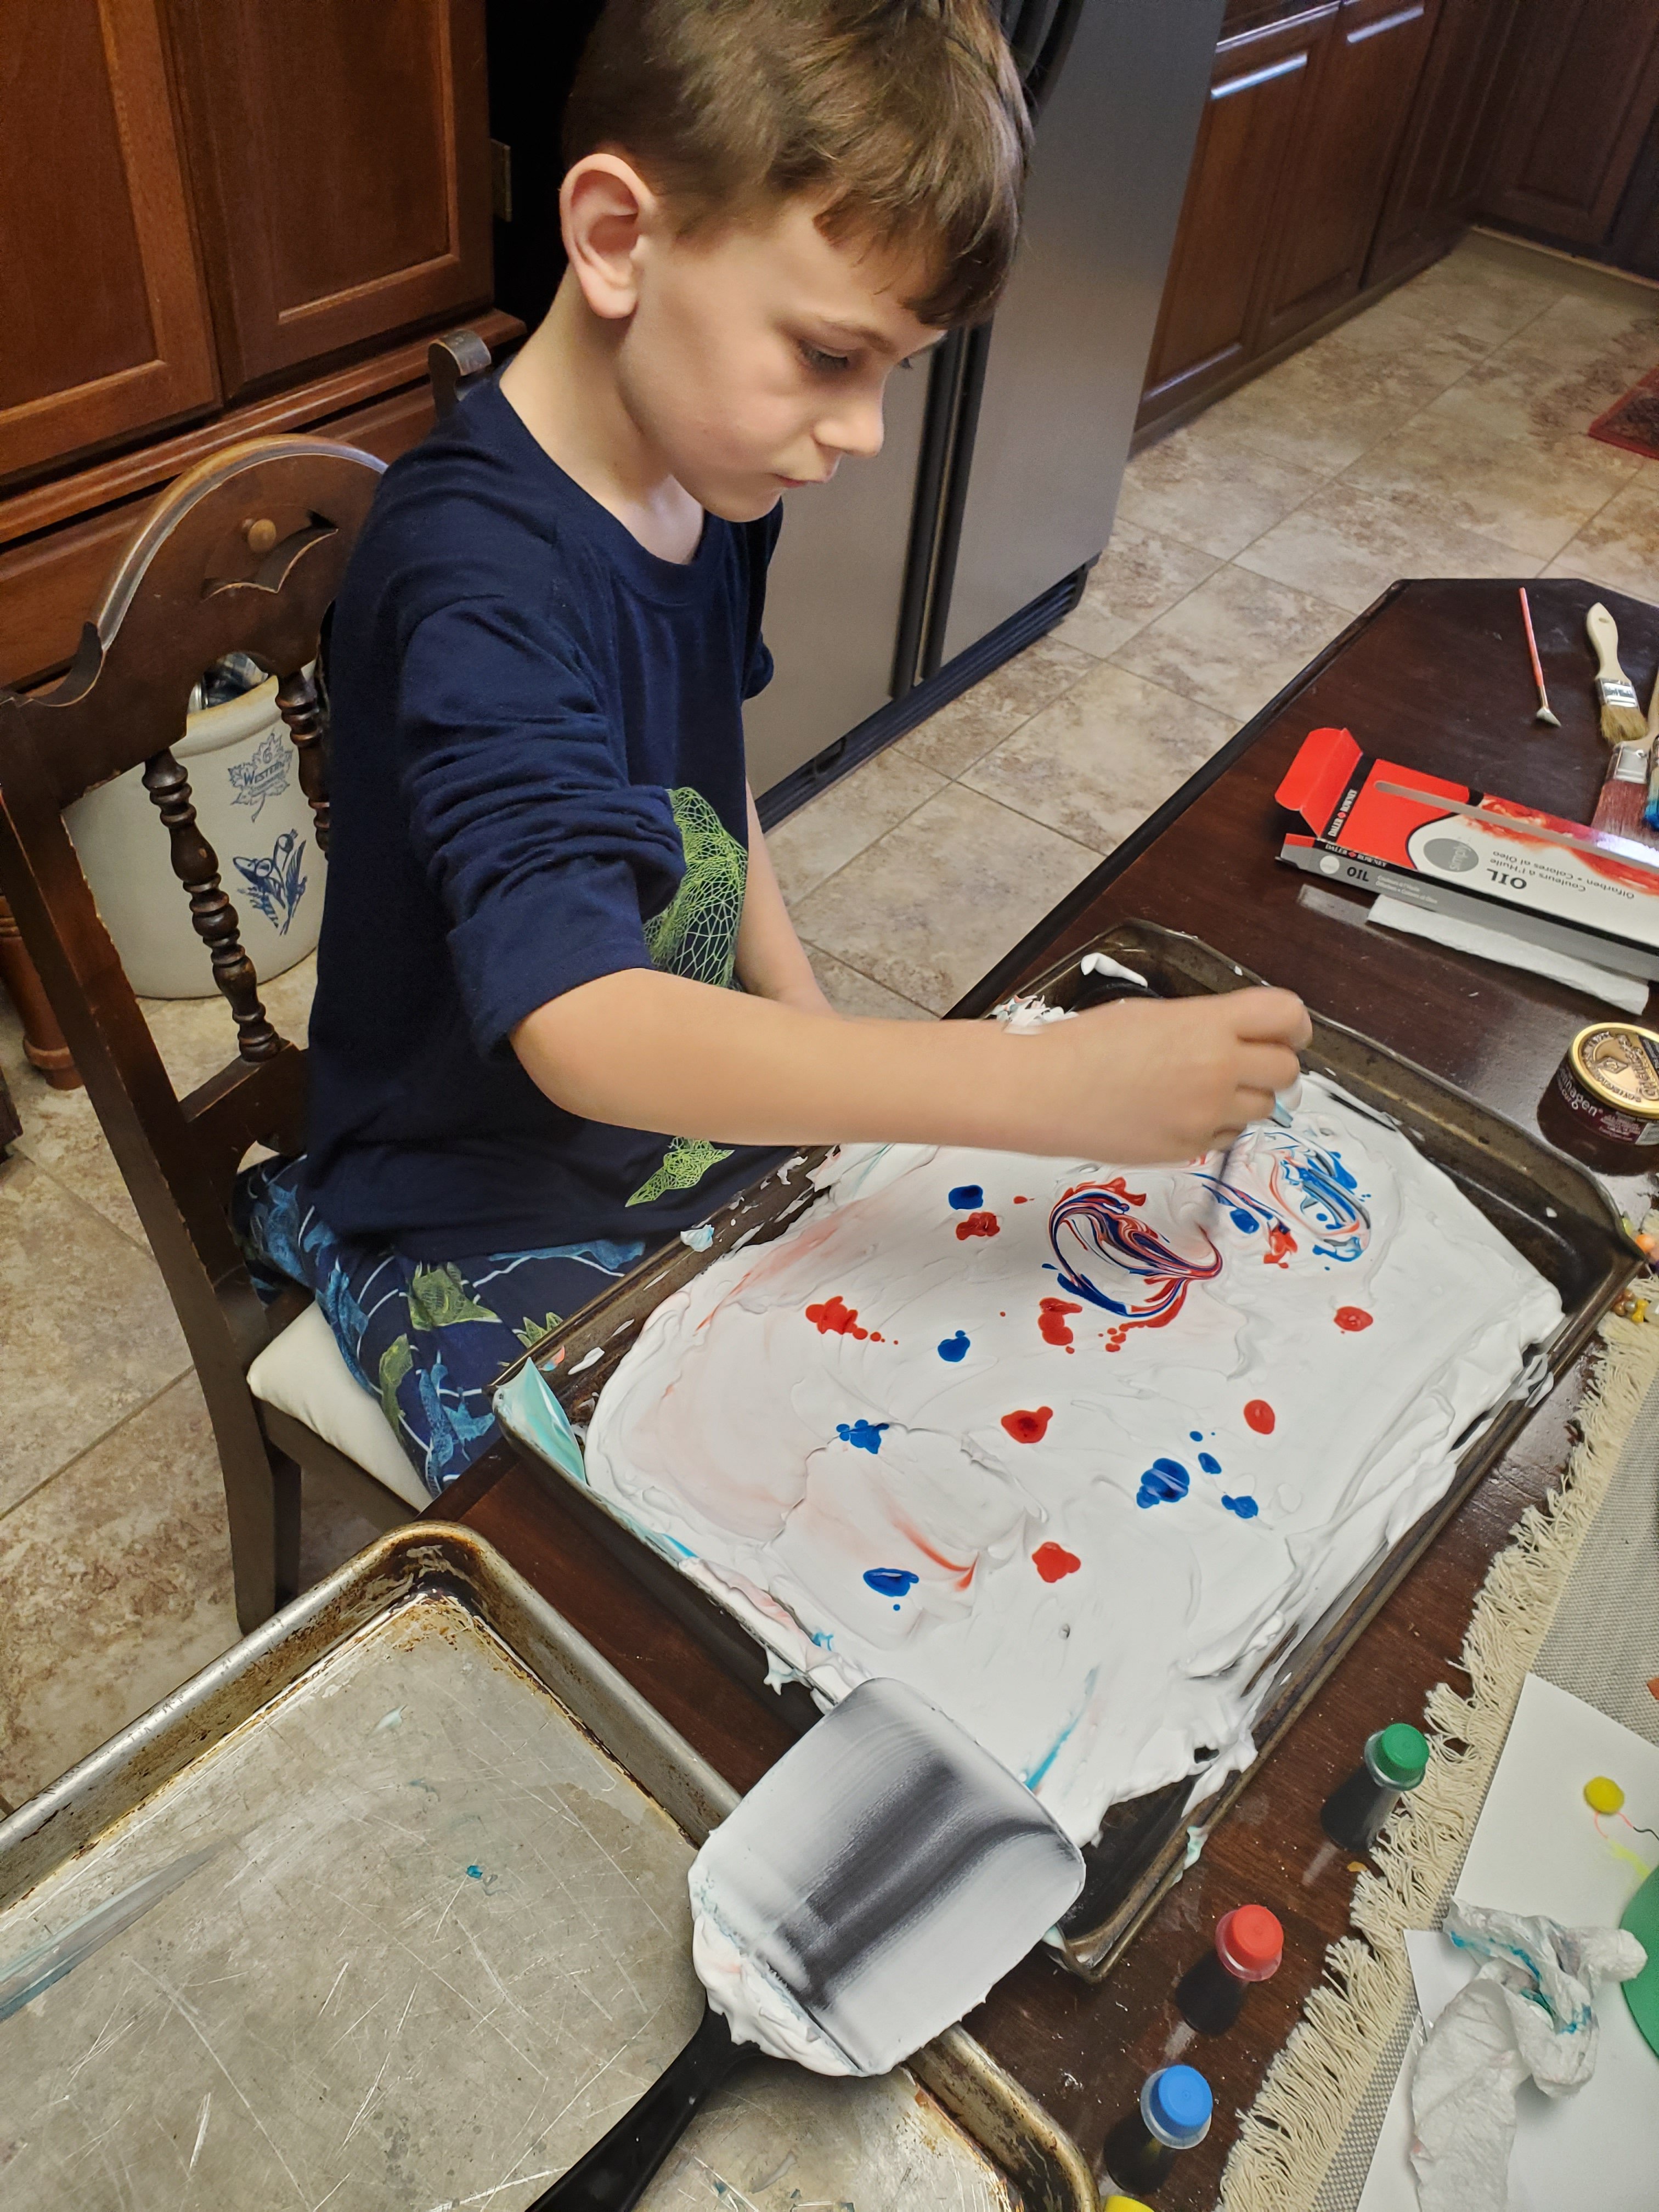
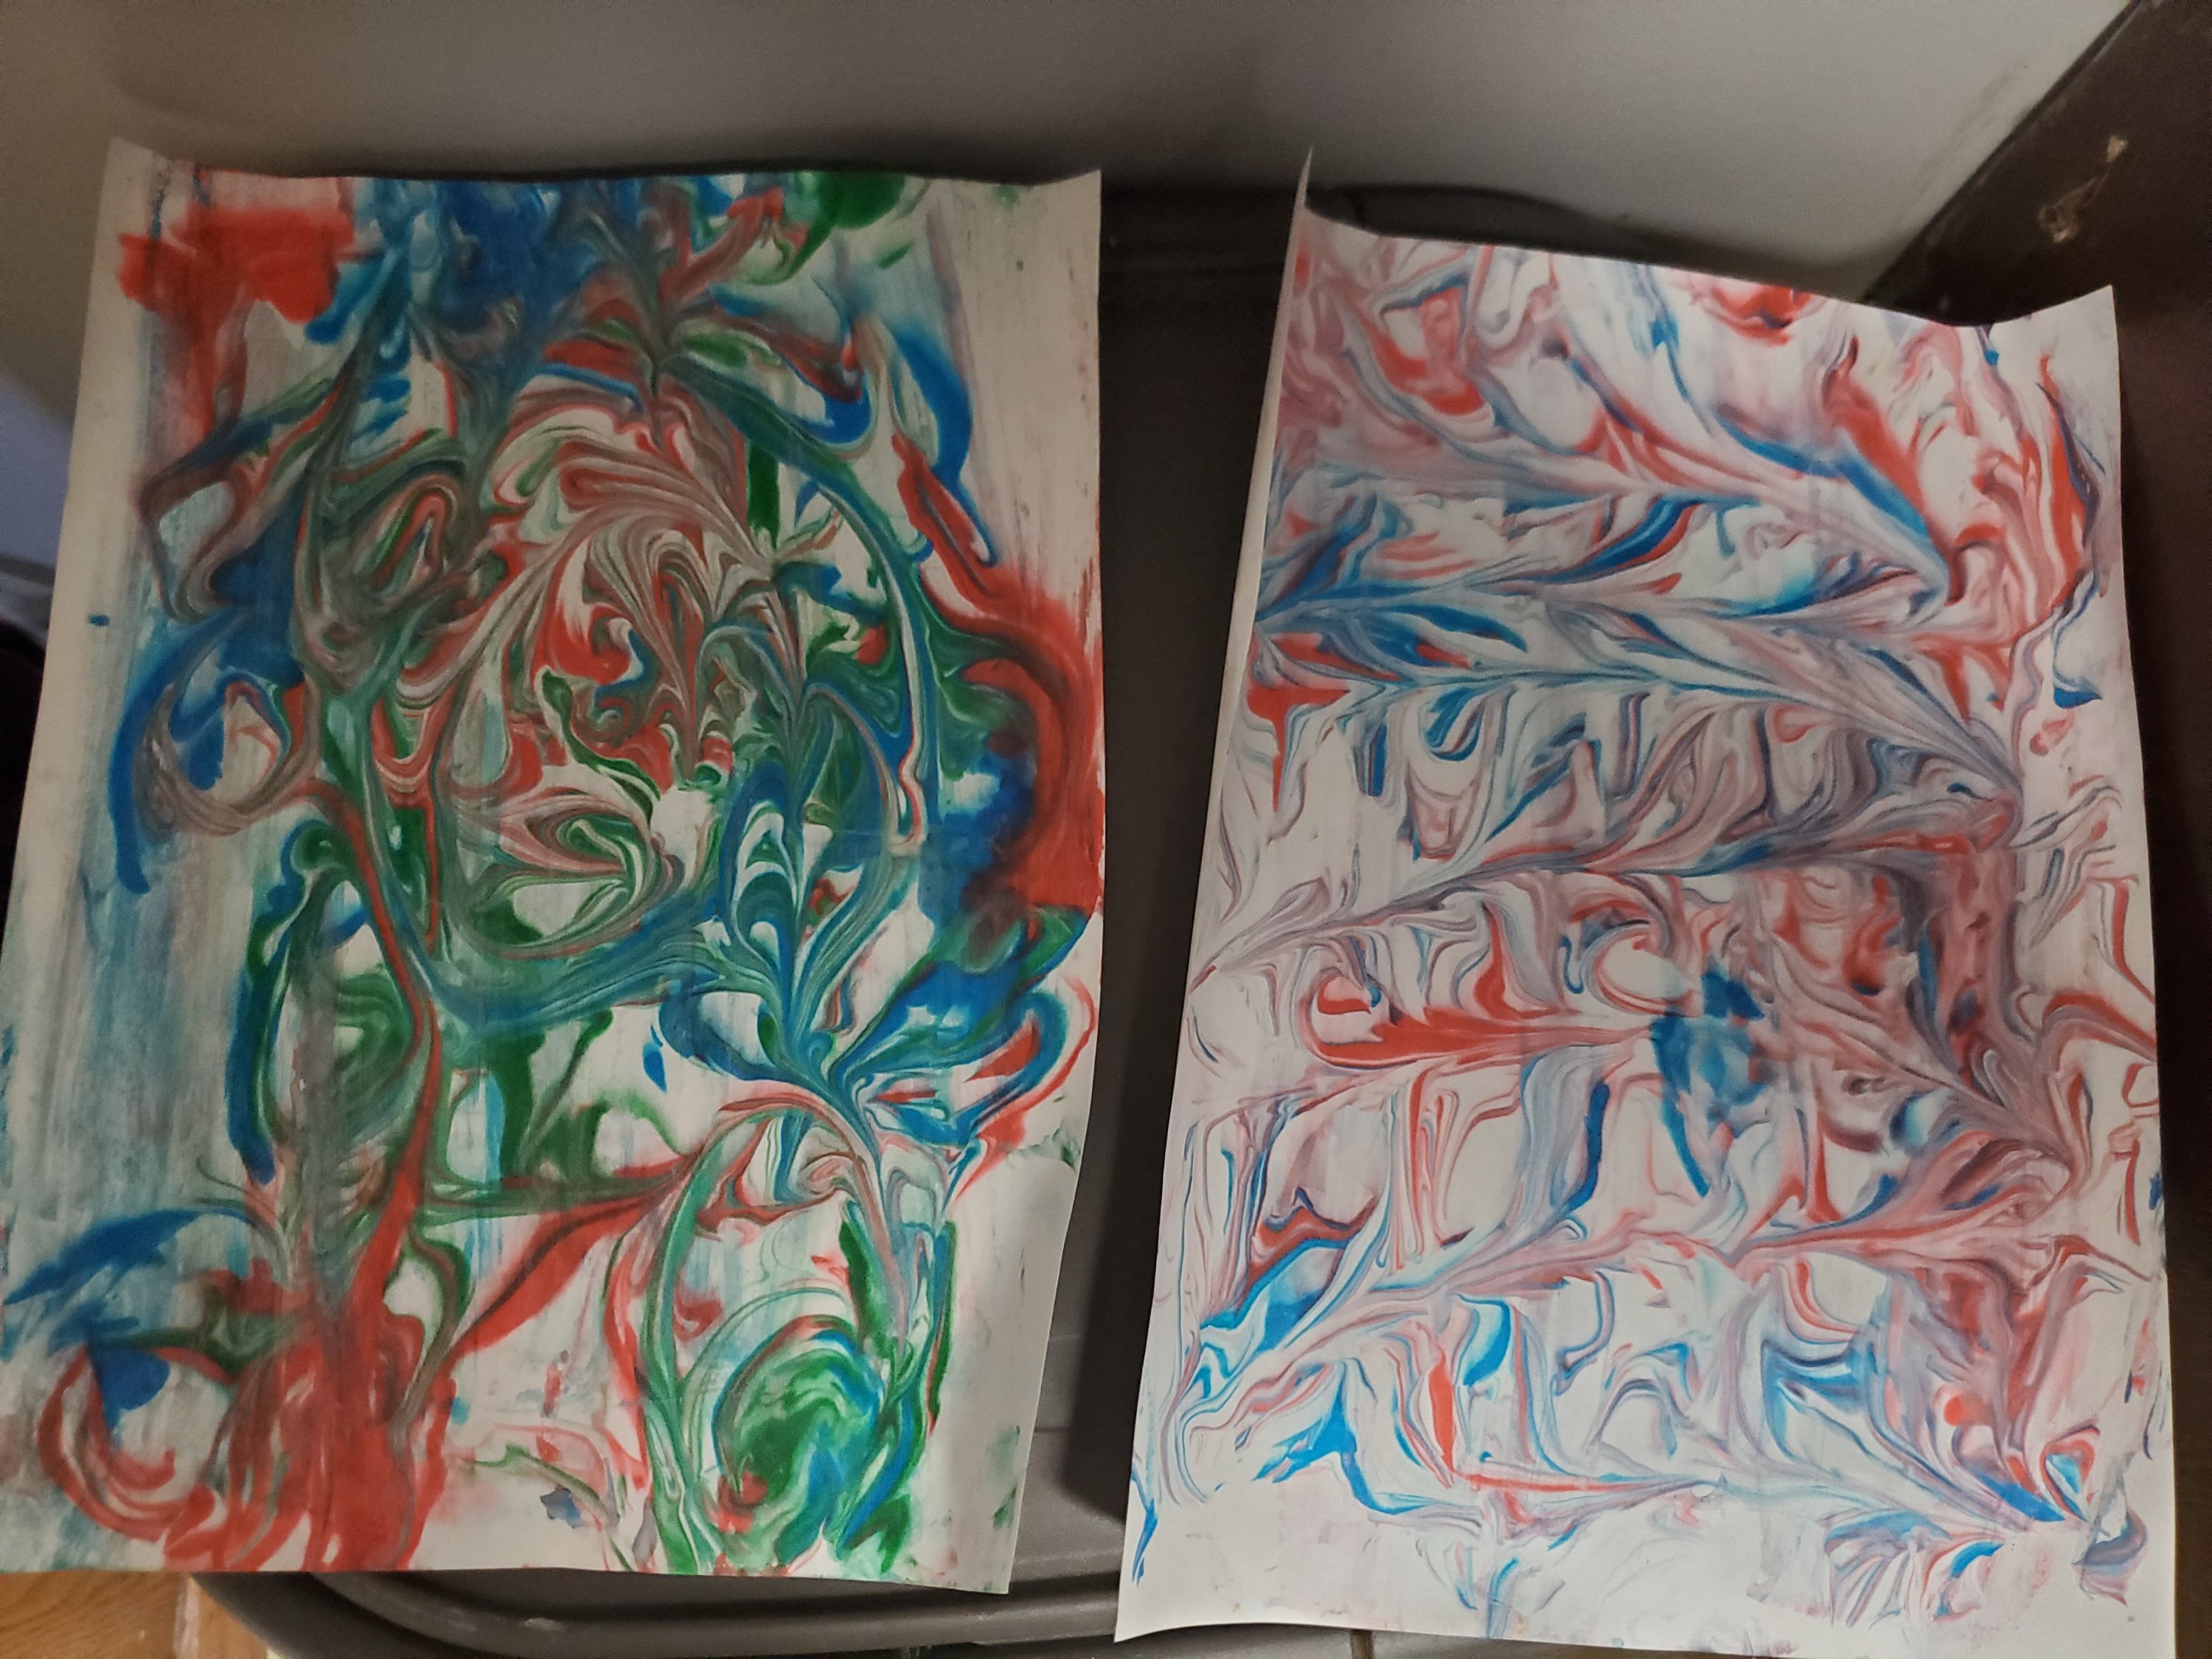
We have loved some of these! One true favorite was shaving cream art! Smear down shaving cream in a pan, add drops of food coloring and swirl them in any pattern with the end of a paintbrush. Lay a thick piece of paper on the colored cream and press. Lift up and scrape cream off the paper with a spatula. Look what it leaves behind!
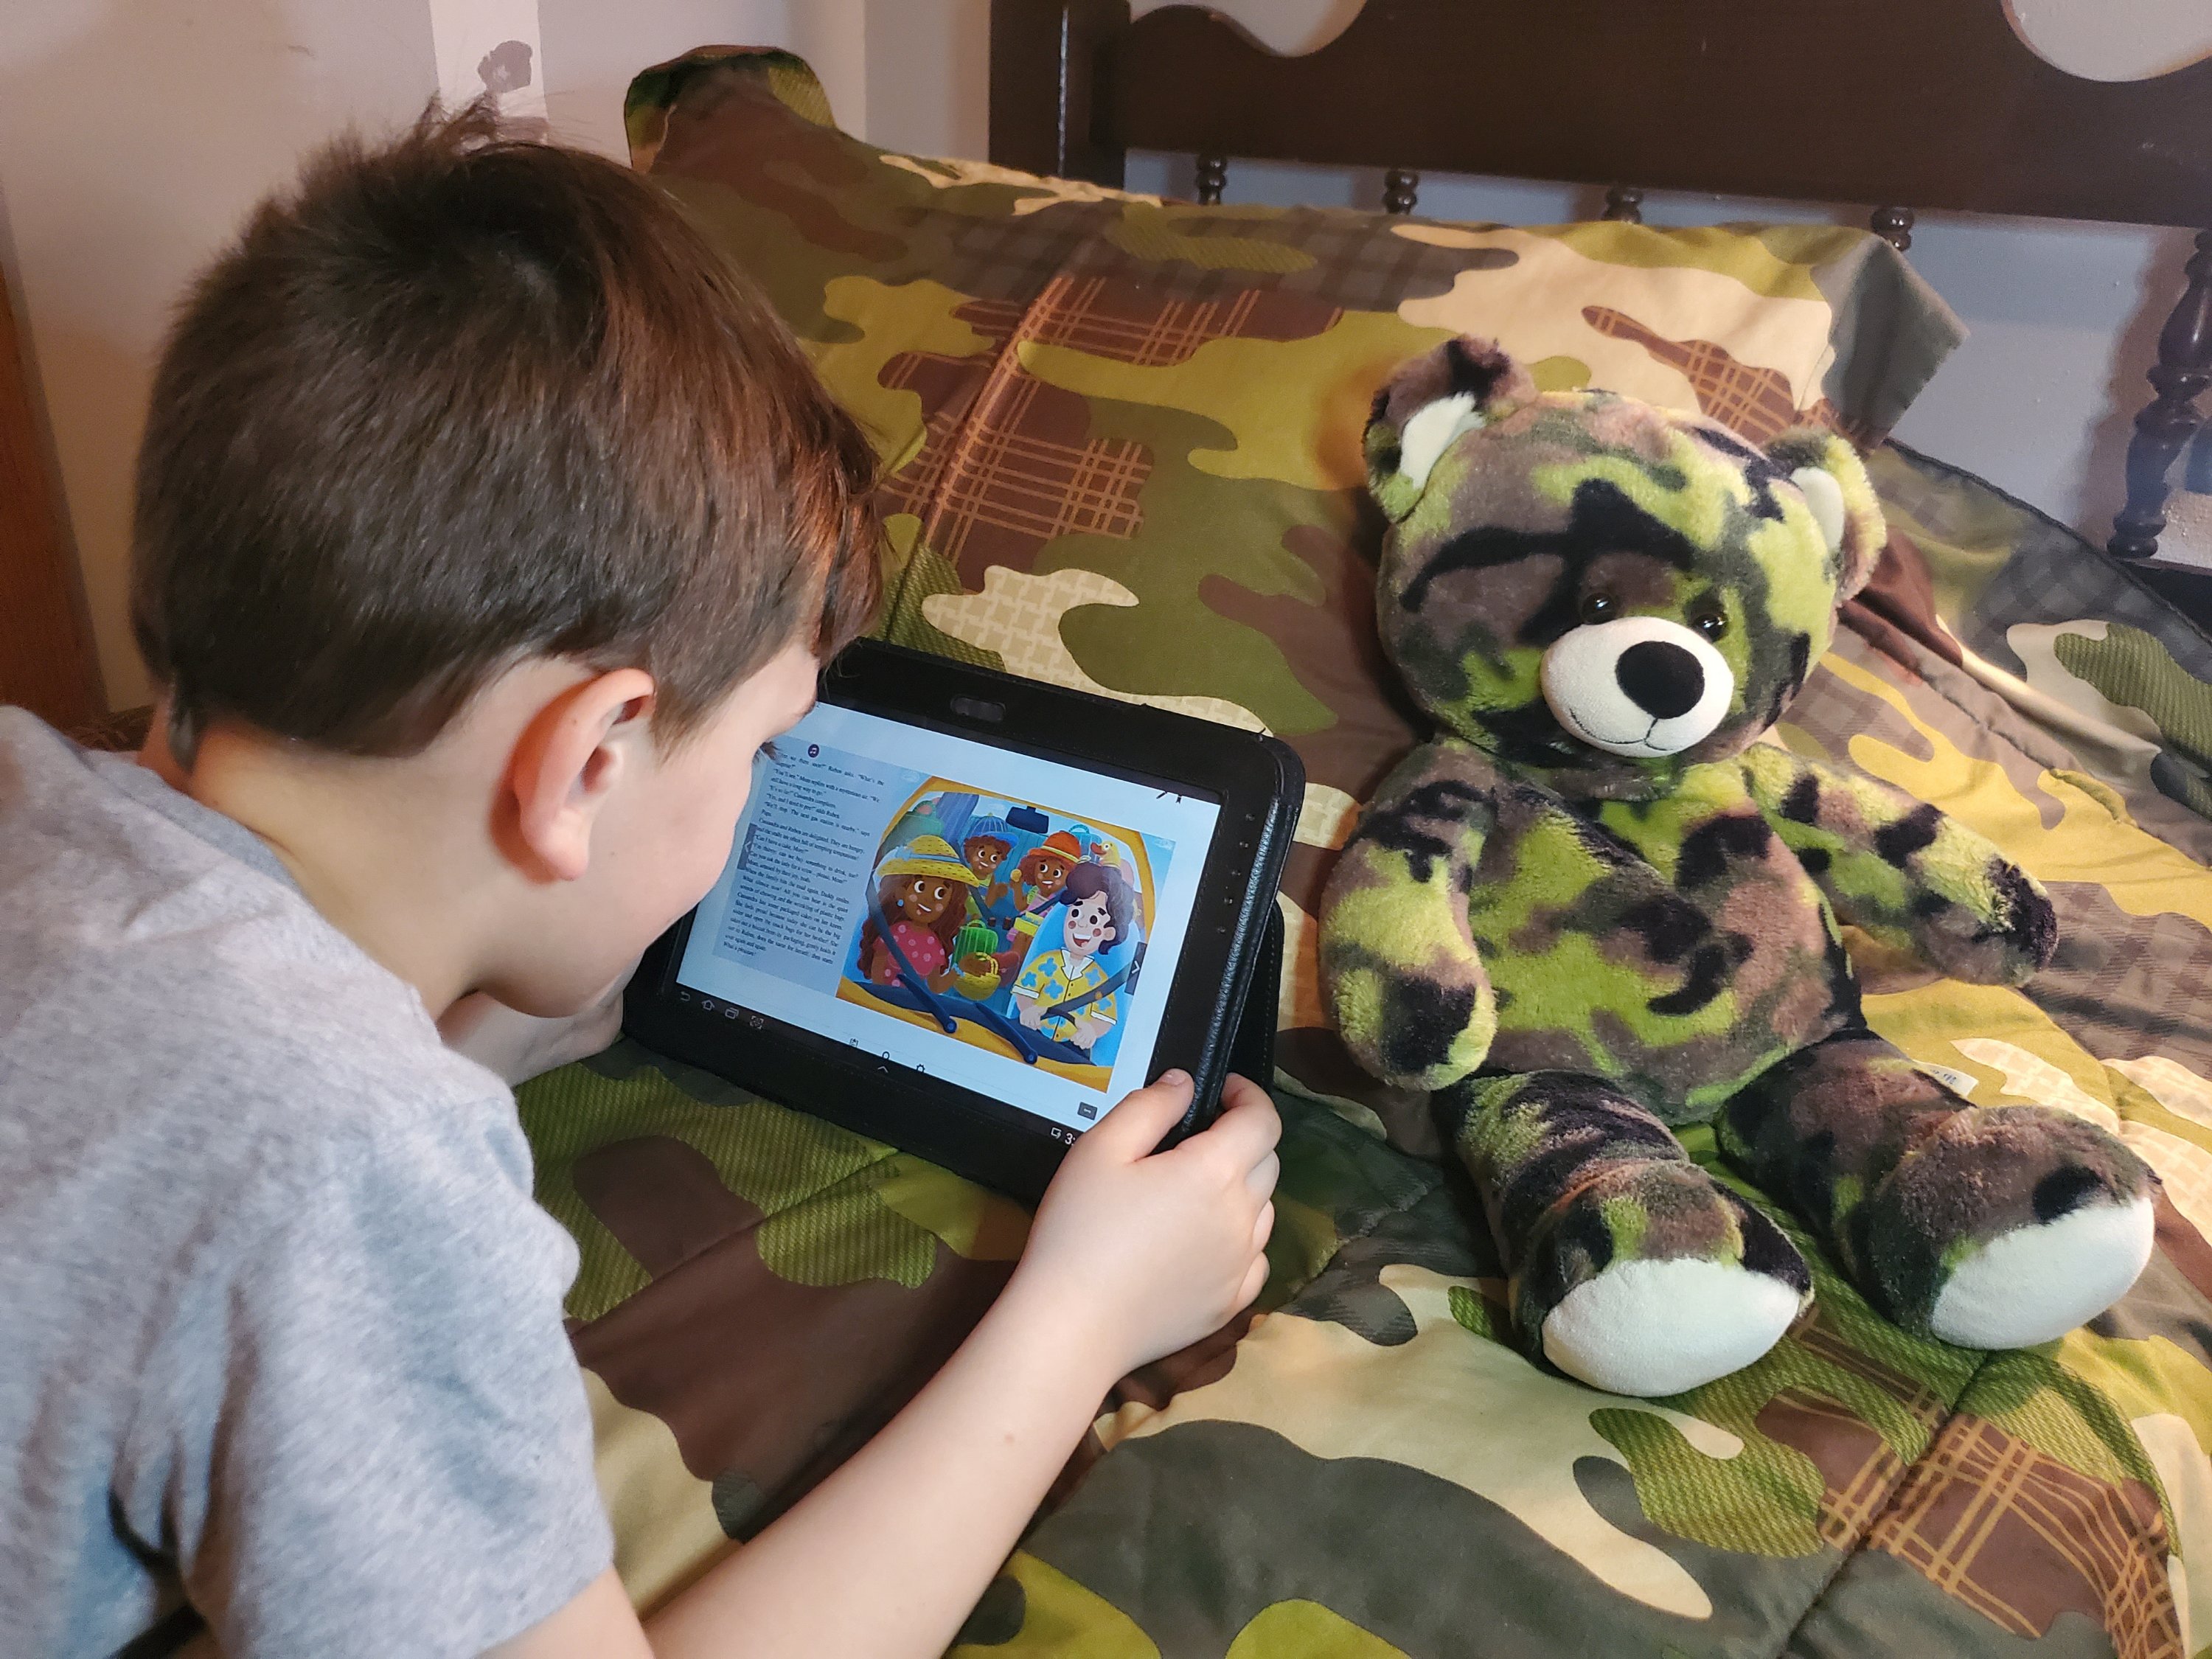
2. Educational apps that make learning fun! I know we all try to limit screen time. But we all need a break and a little help too! There are several we love, but one that the 6 year old can use by himself is Book Prunelle. It’s an ebook platform for kids , featuring powerful stories to inspire them to become the next generation of conscious kids. They tackle challenging topics in an entertaining and child-friendly way to help kids grown mindful and kind-hearted. Cool, right?!
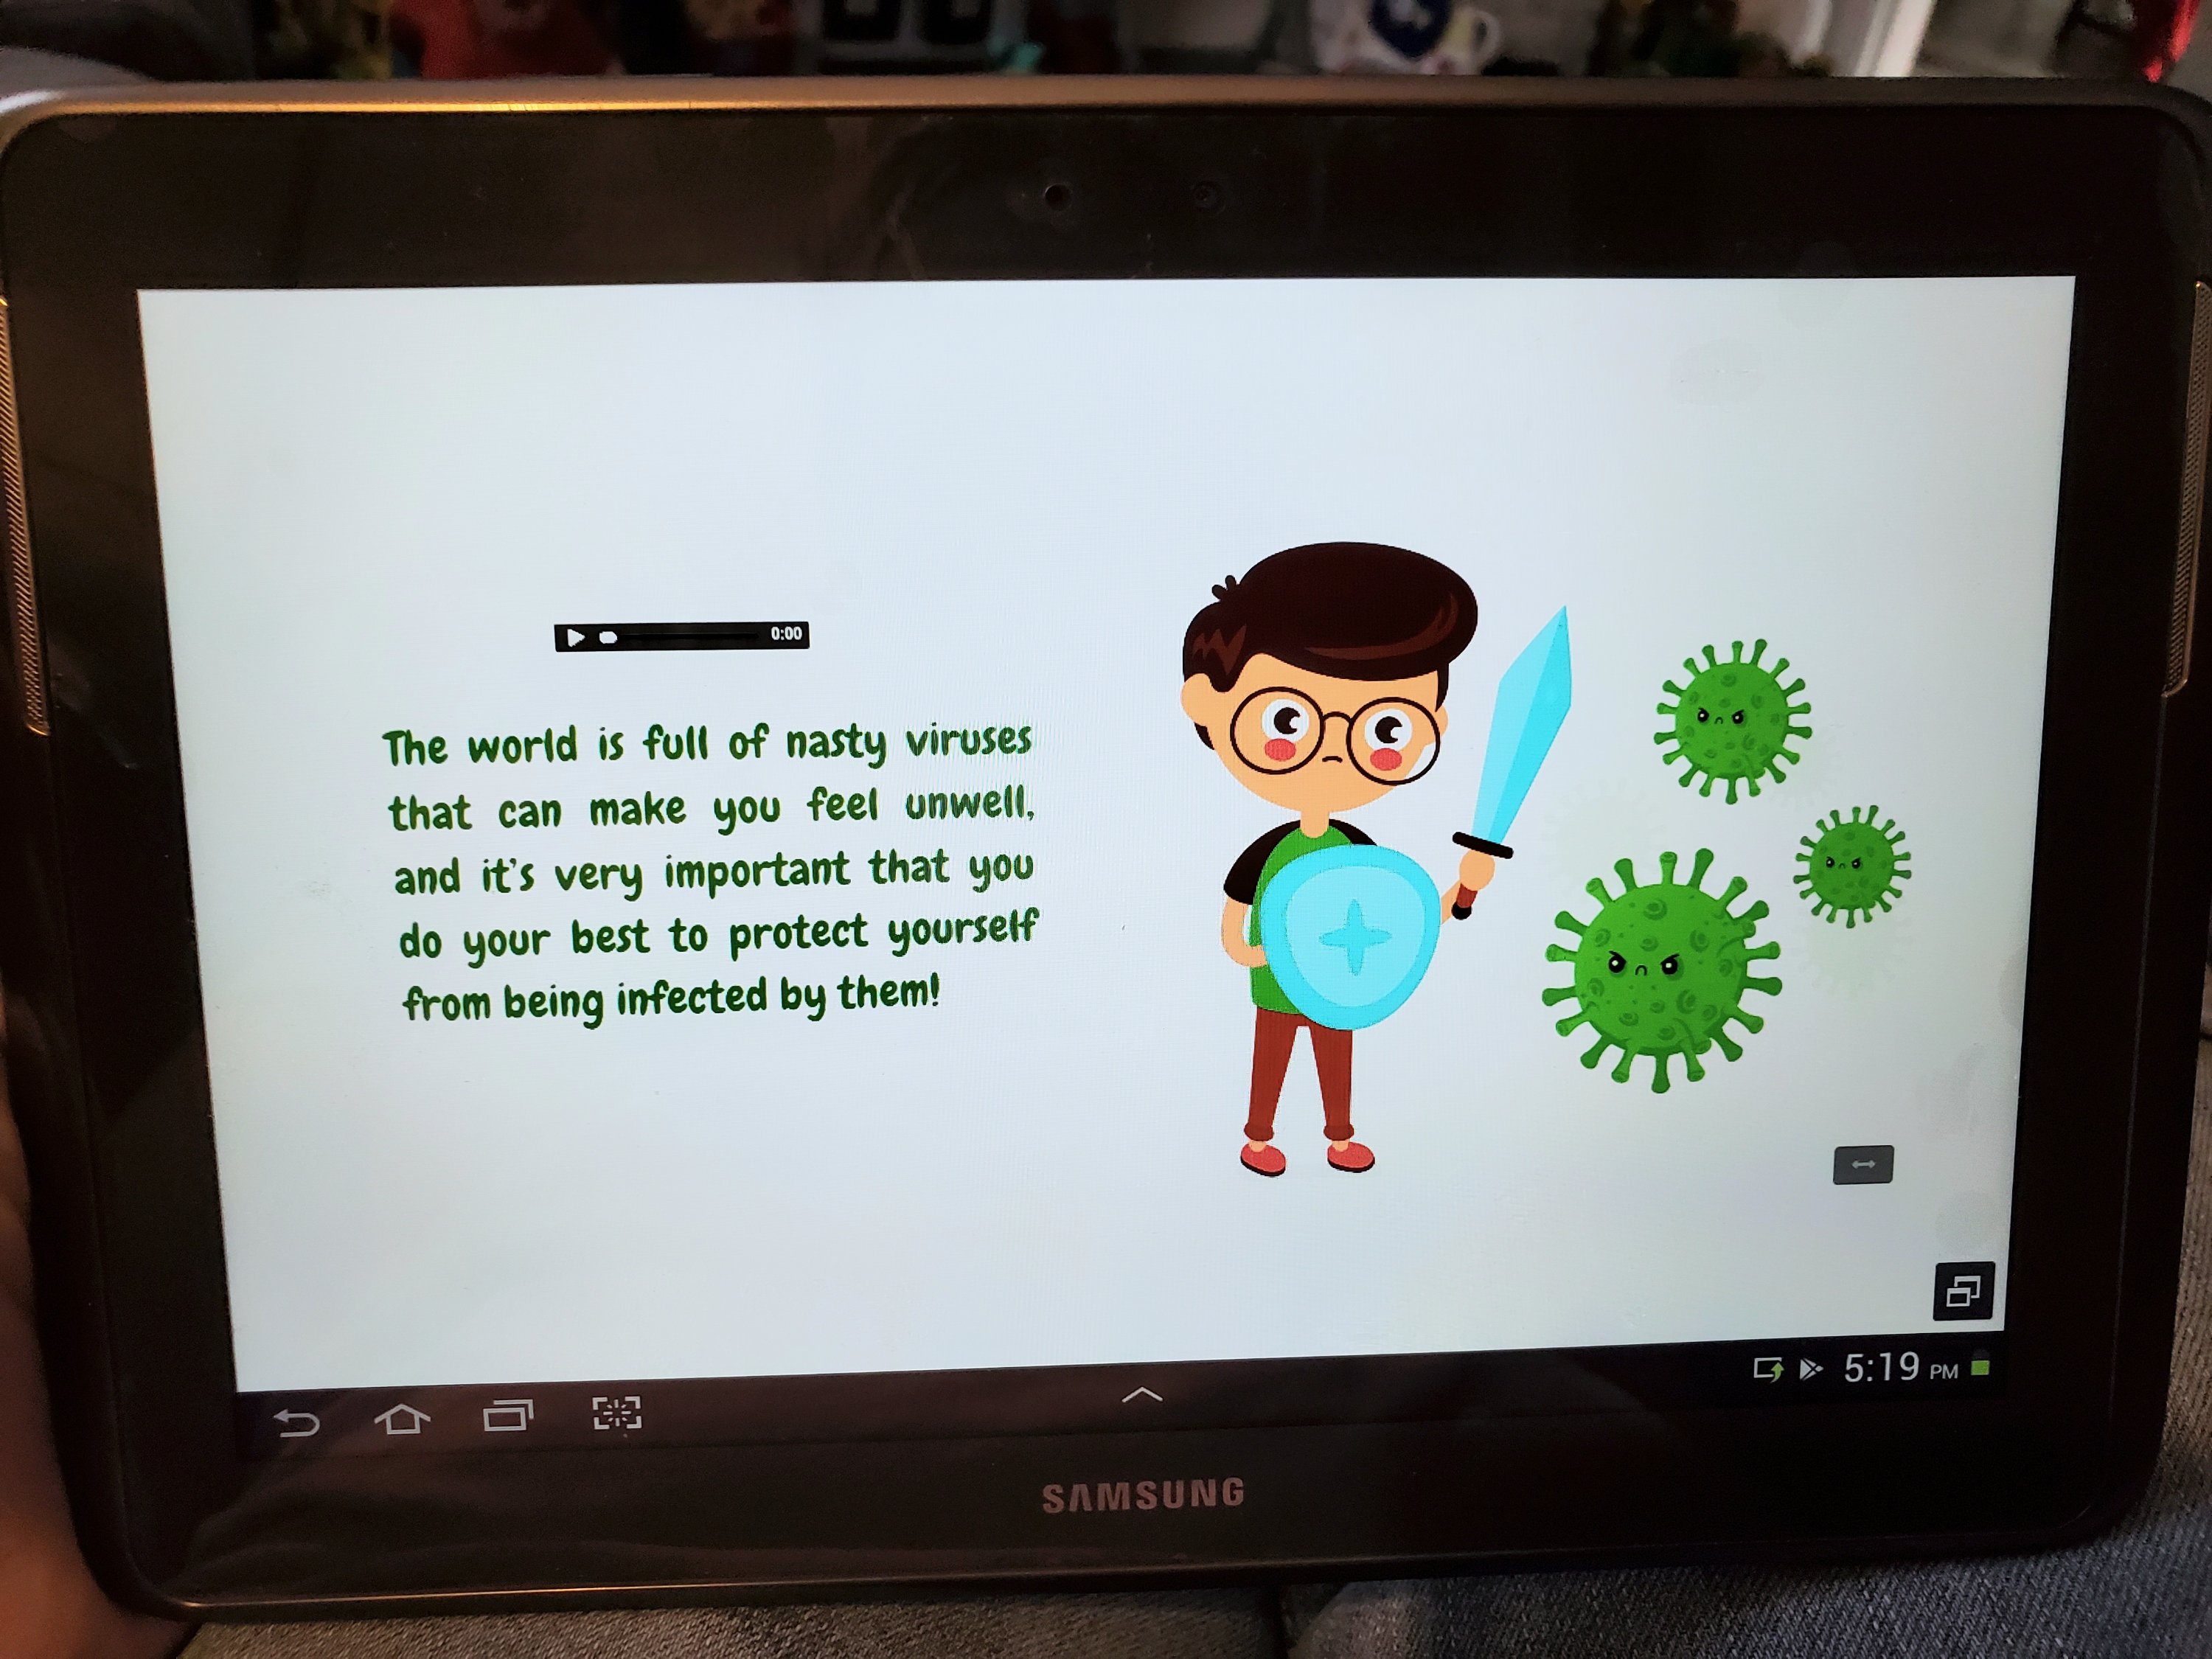
You pay for a subscription by month or year, but right now you can try the first month for free! And you can use the code JESSIMARIEL5 off of either subscription too!
They have books like this one explaining the Corona Virus in terms kids understand!
3. Read with Dolly on Thursdays! The boys both loved this for some reason! Dolly Parton reads a story live on YouTube every Thursday and saves it to her channel to watch anytime. The boys were glued. And mom cleaned the kitchen! 😉
4. Duo appto facetime anyone. Maybe you knew about this? I did not, but was so happy to learn! With this app, any type of phone can video call one another. Now the kids can video call with grandma and grandpa!
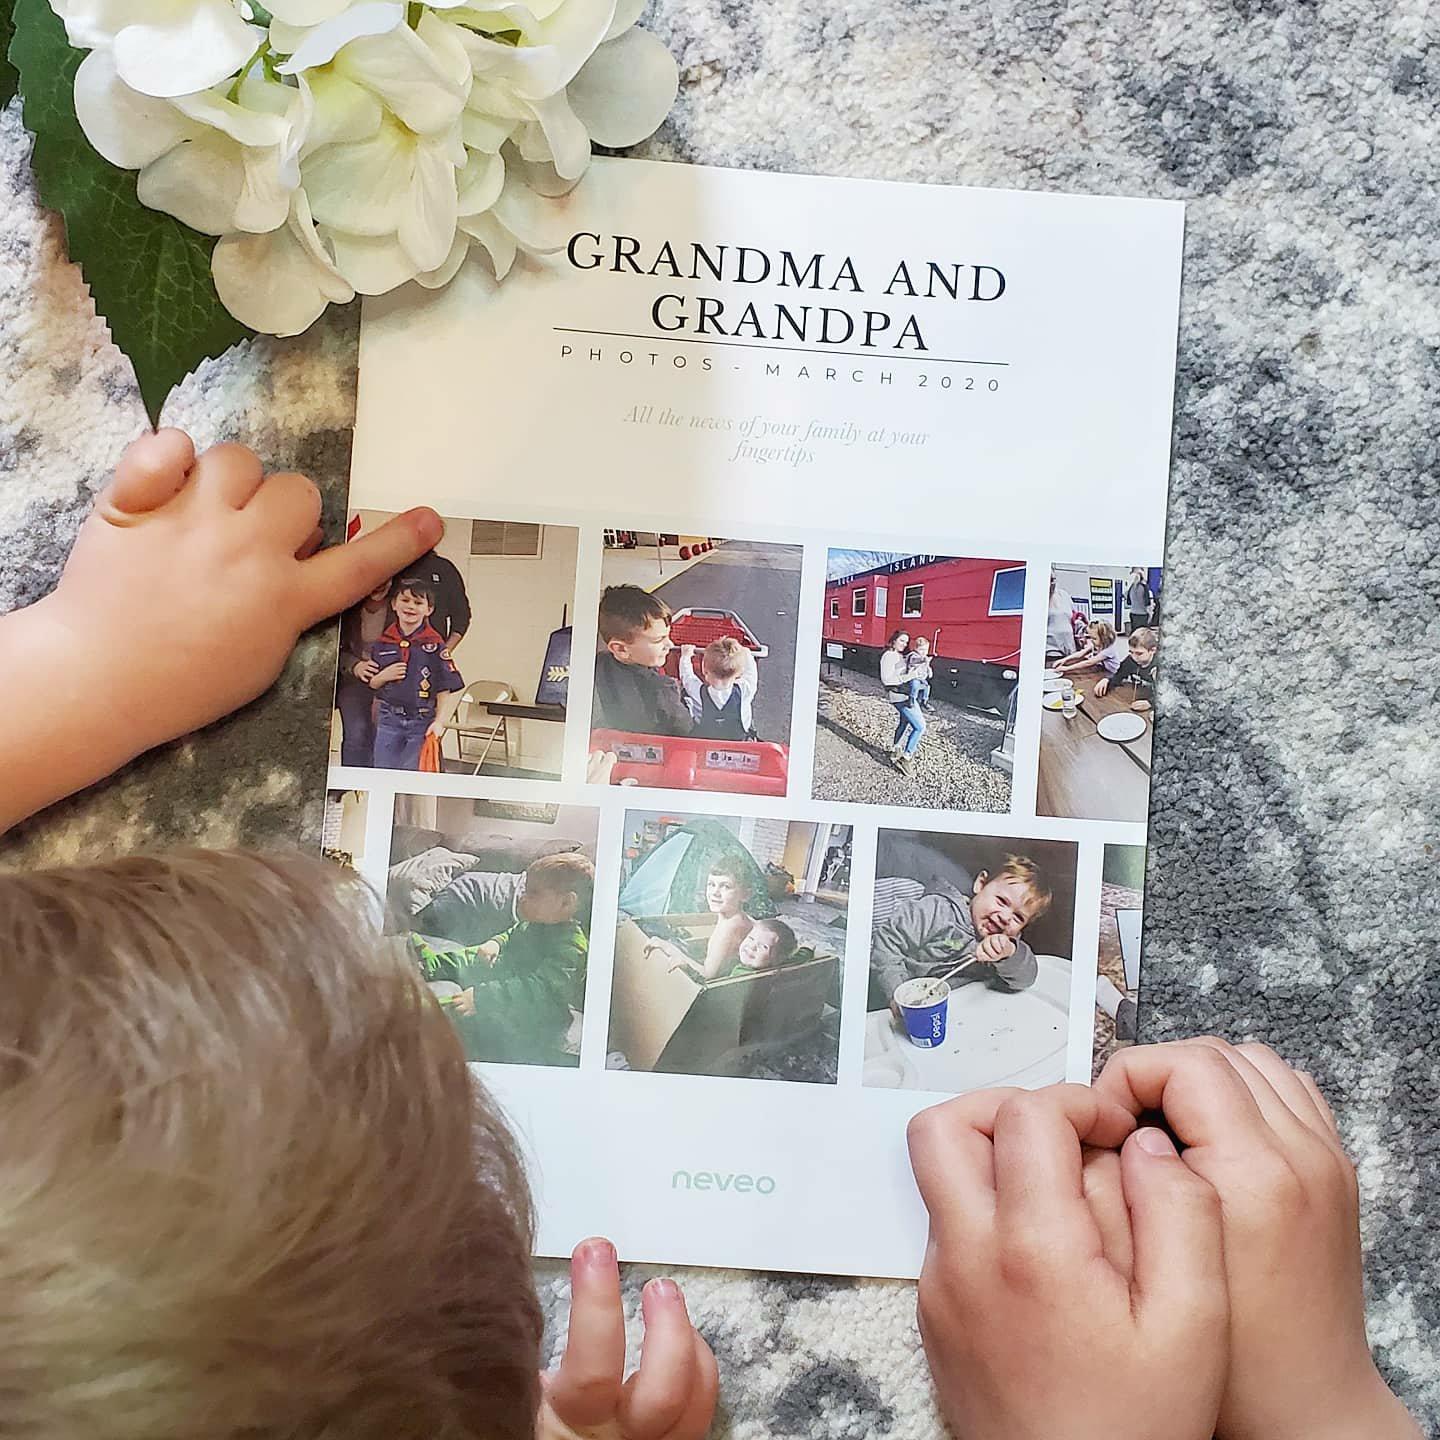
5. Neveo journal making! Neveo lets you add photos all month to an app and at the end of the month they put together your pictures and captions into a journal to be send to grandparents, friends, etc. So helpful for keeping up with some of those seniors that can’t get out right now! Use the code SUPPORT for two free months of 50 photo journals!
I hope these little ideas help even a tad bit. Hang in there. Give yourself grace. We’ve got this.
XX,
Jess
Permalink Comments Off on Quarantine Ideas
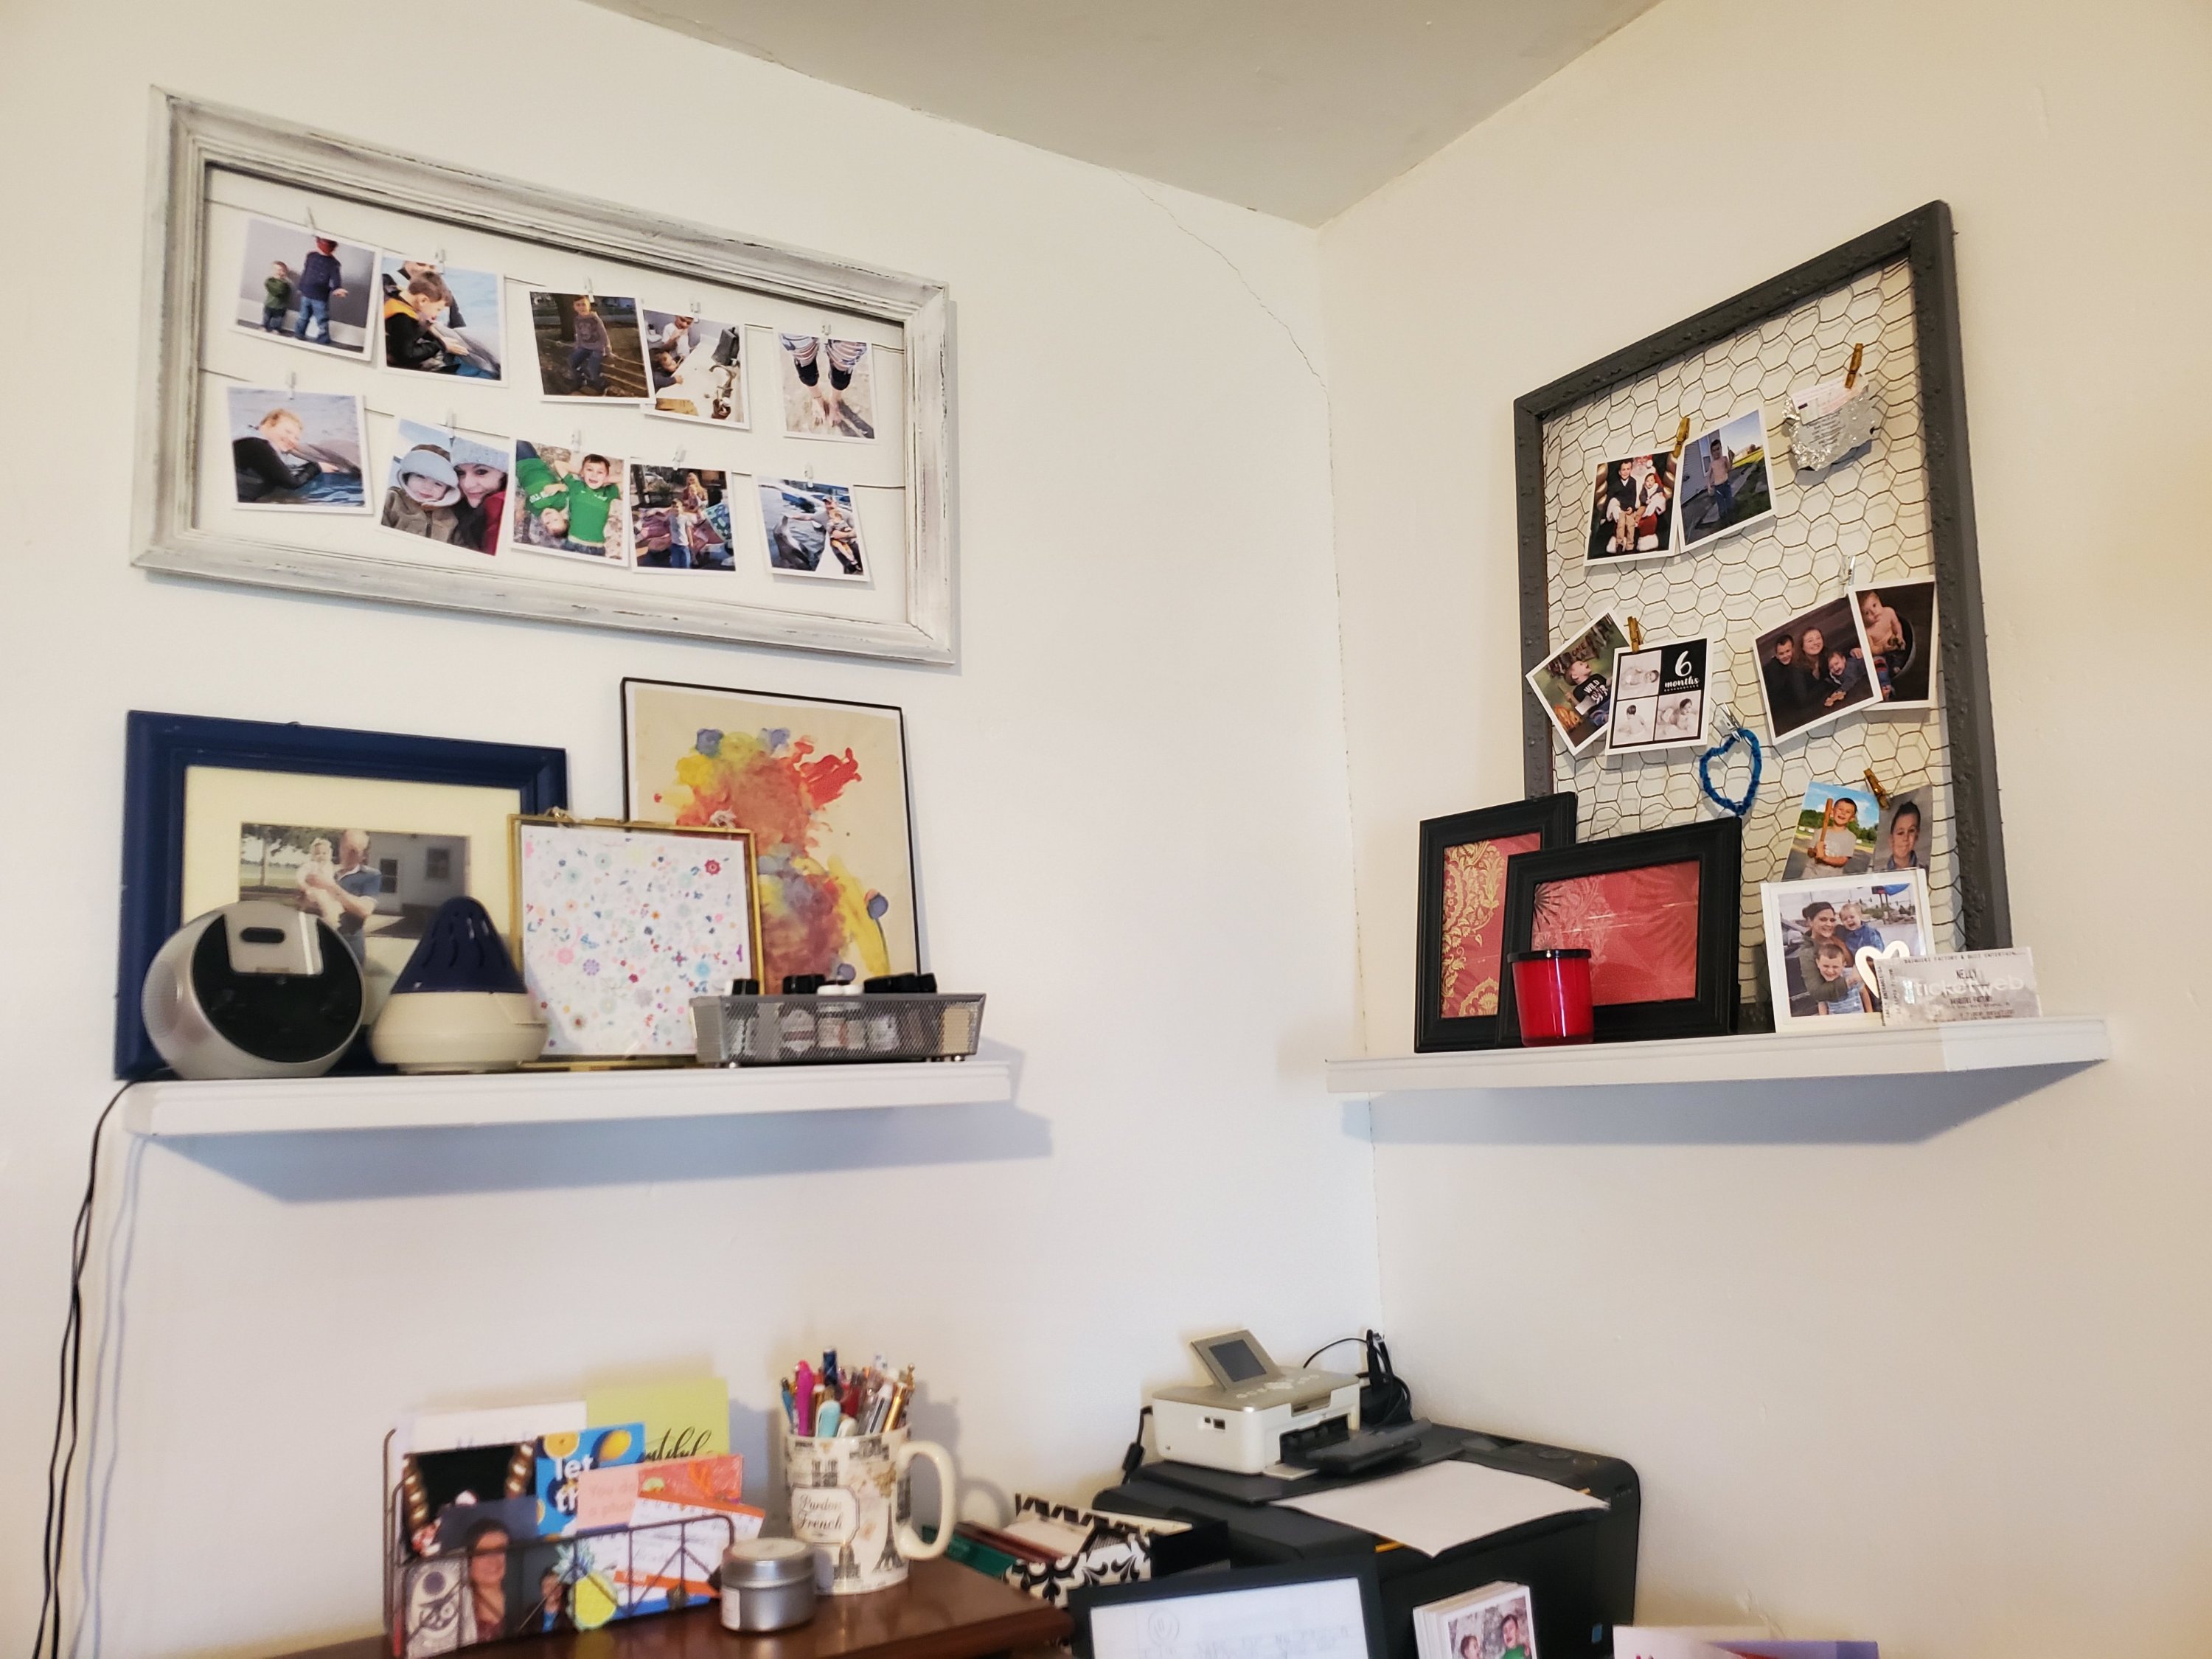
Frame Hanger Project
I love old picture frames. All kinds. I’ve got a hallway of empty ones upstairs. Sometimes I fill them. Sometimes I paint them. And sometimes I do something fun with them…

This frame I once painted black with a silver line. Years ago. I was over it. (Ignore the ugly paneling in the upstairs hall we hope to rip out soon)
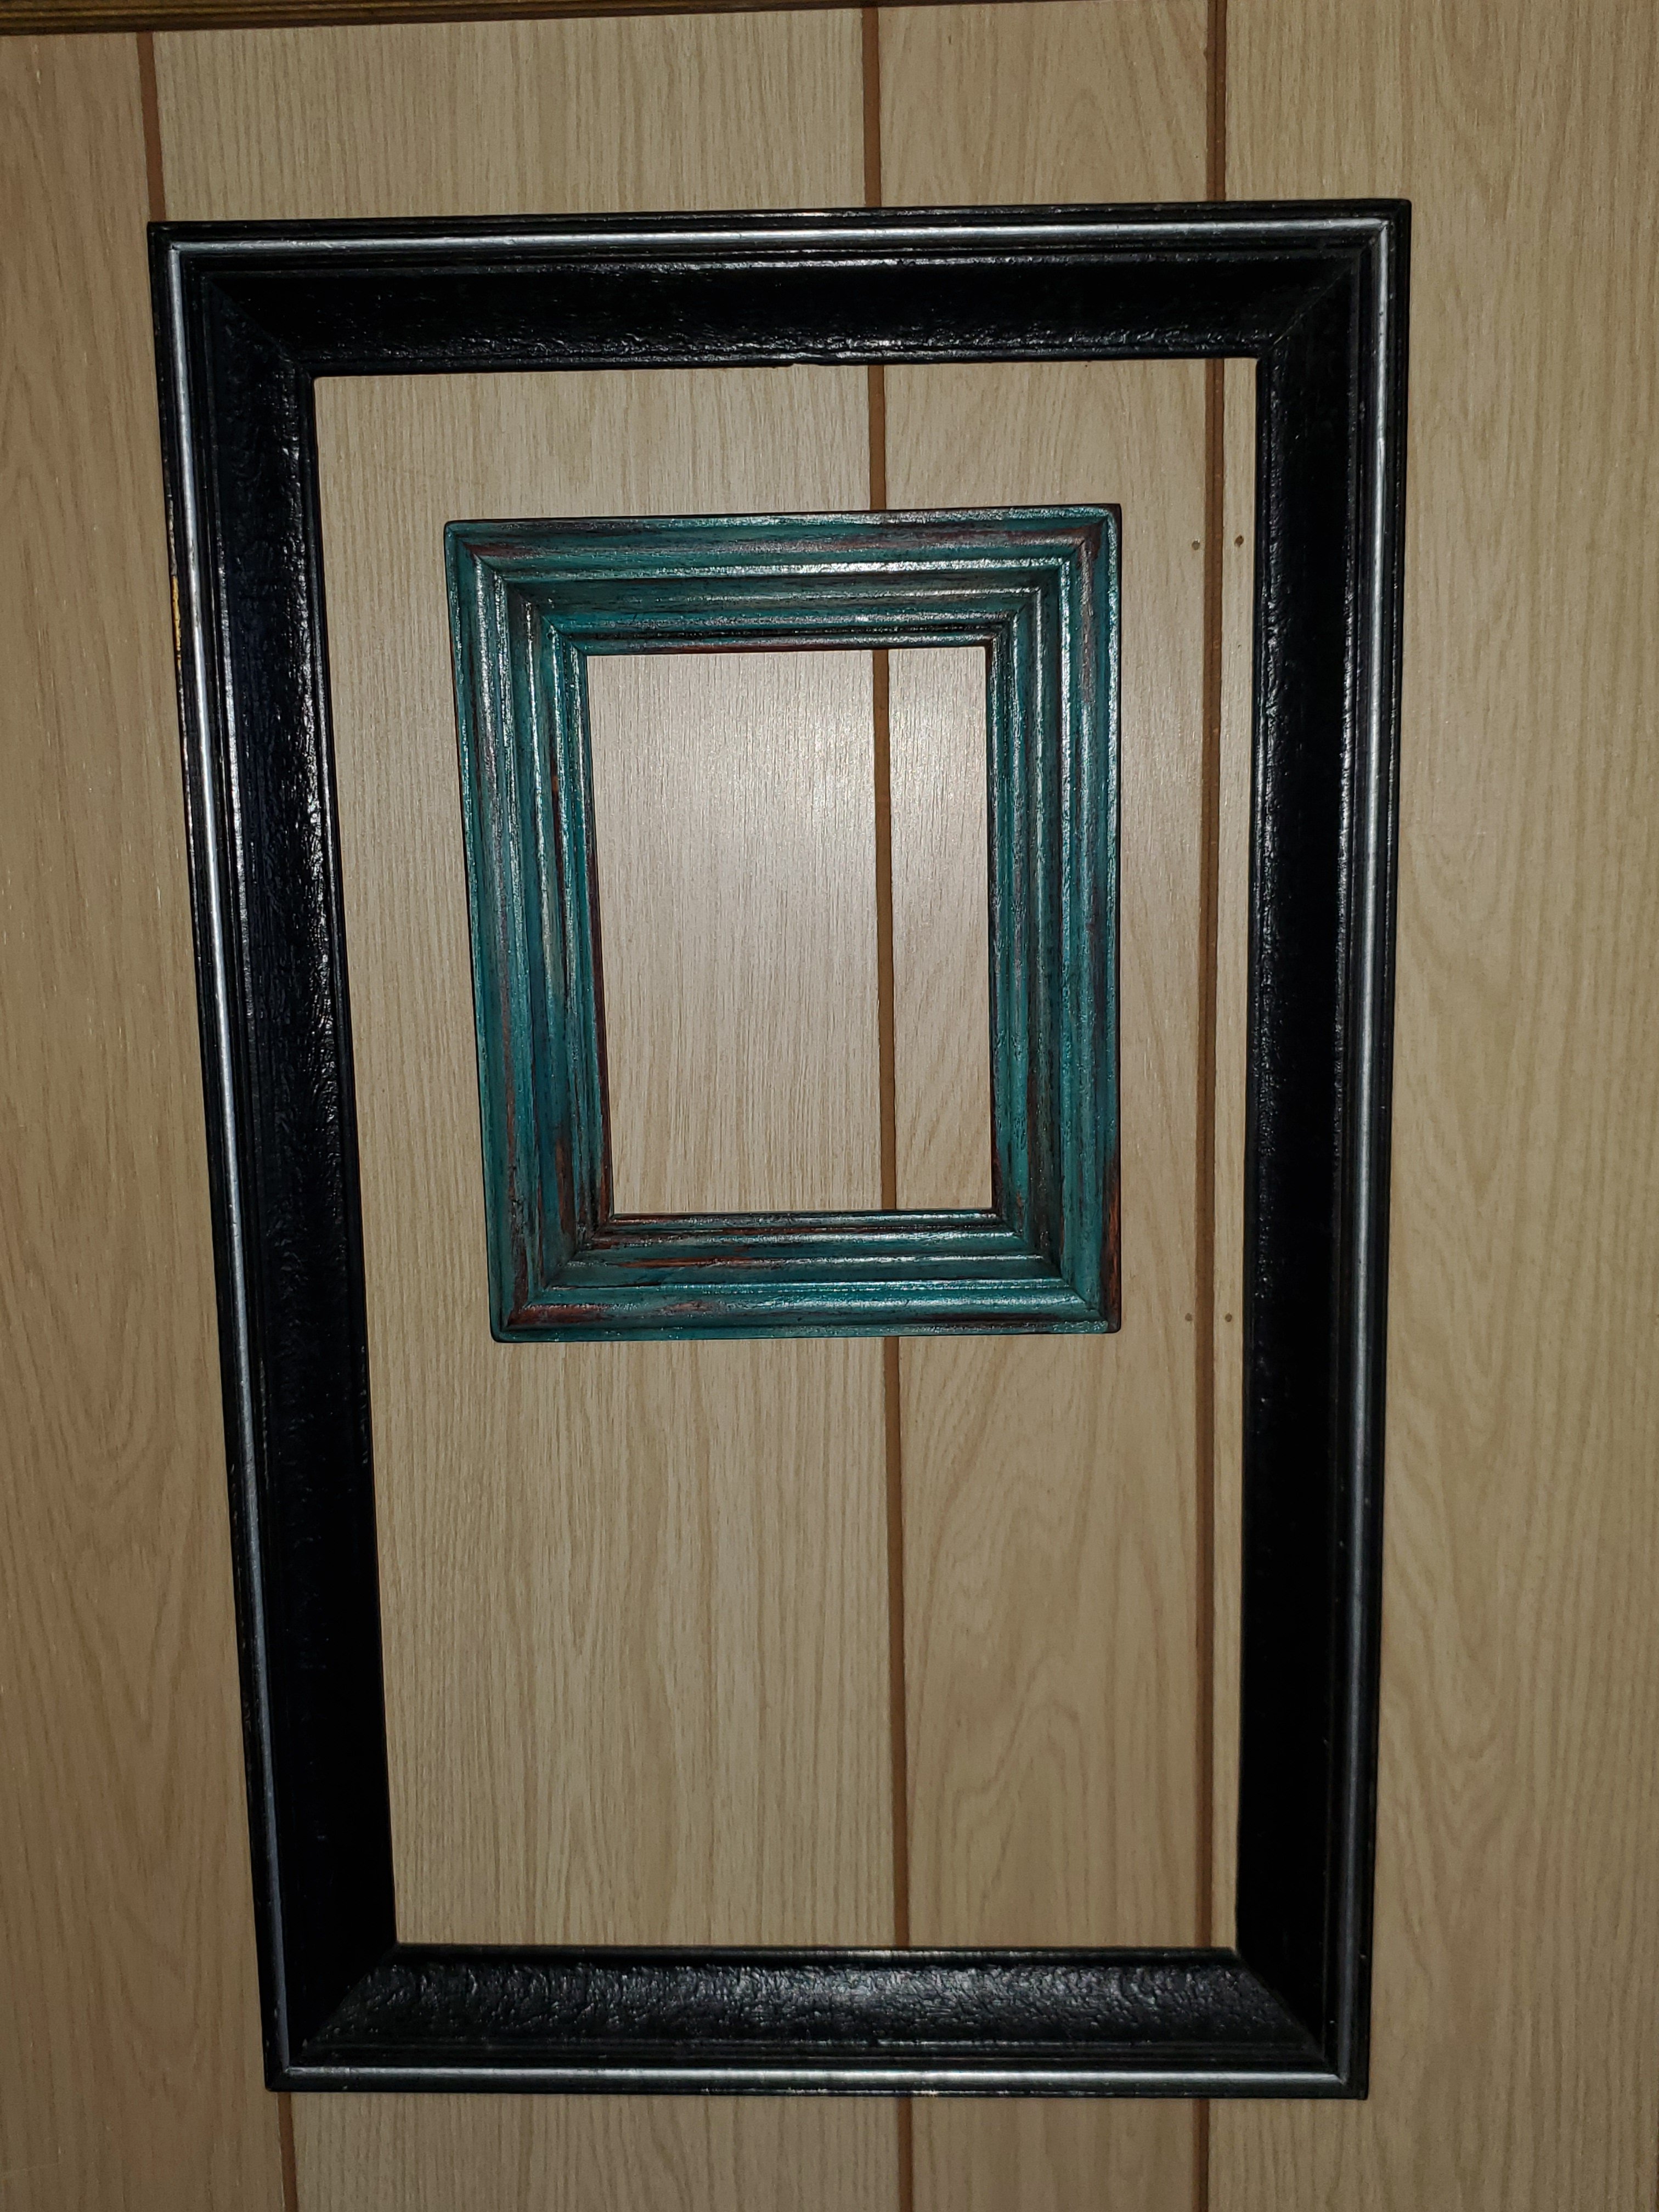
I wanted something lighter and brighter for my office. And I needed a place to hang some of my beautiful Parabo Press photos. (If you haven’t ordered from them, you must. They are gorgeous)
So first I lightly sanded the frame. Then I painted it white. I used wall paint for this project because it’s what I had. And its quarantine. And this step wasn’t super important for this project. It took 2-3 coats, but doesn’t need to be perfect.
Then I sanded with a foam sanding block. I scraped the edges and roughed up the centers. Go slowly and start lightly. Keep going until you love it.
Then, because I wanted just a little something more for this one, I used a small brush and “dry brushed” on some charcoal gray paint. This means I dipped a tiny amount on the brush and then swiped most of it off onto a paper plate. When the brush is almost dry, wipe it on the frame. It will give you just a tiny bit of paint and give a smudge-y look. I used a paper towel to rub this in as I added it too. It came out nice and weathered.
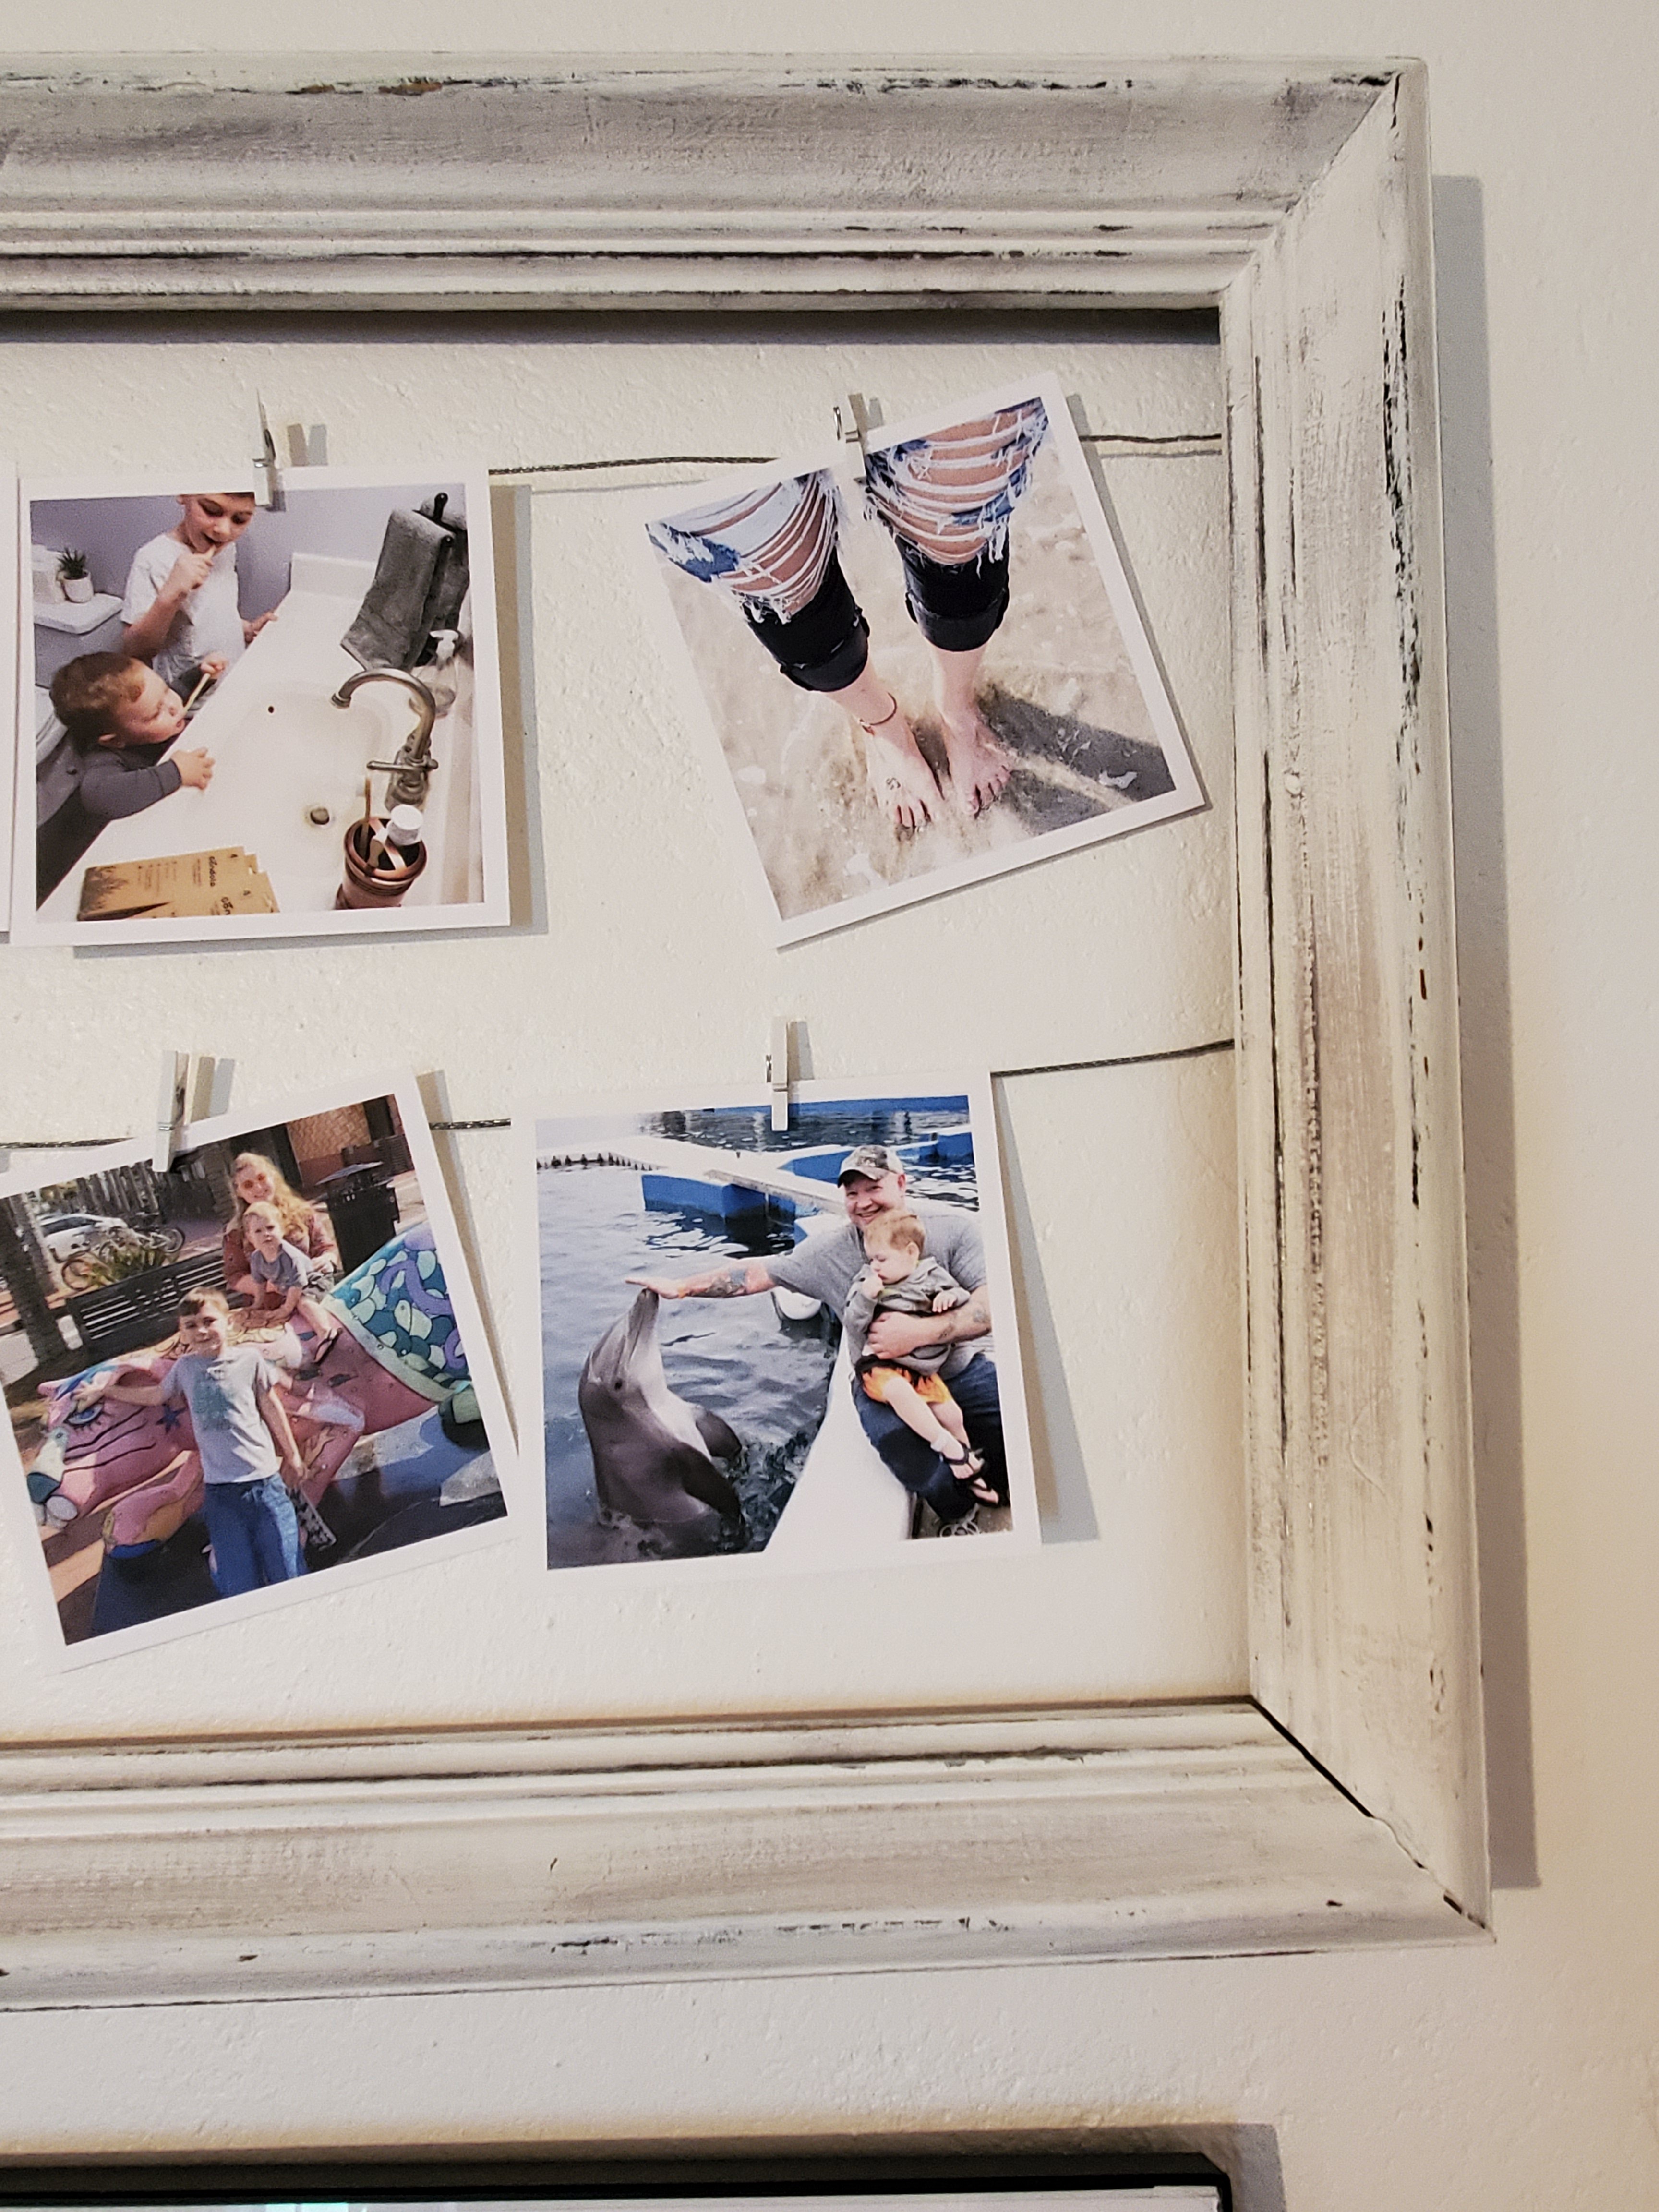
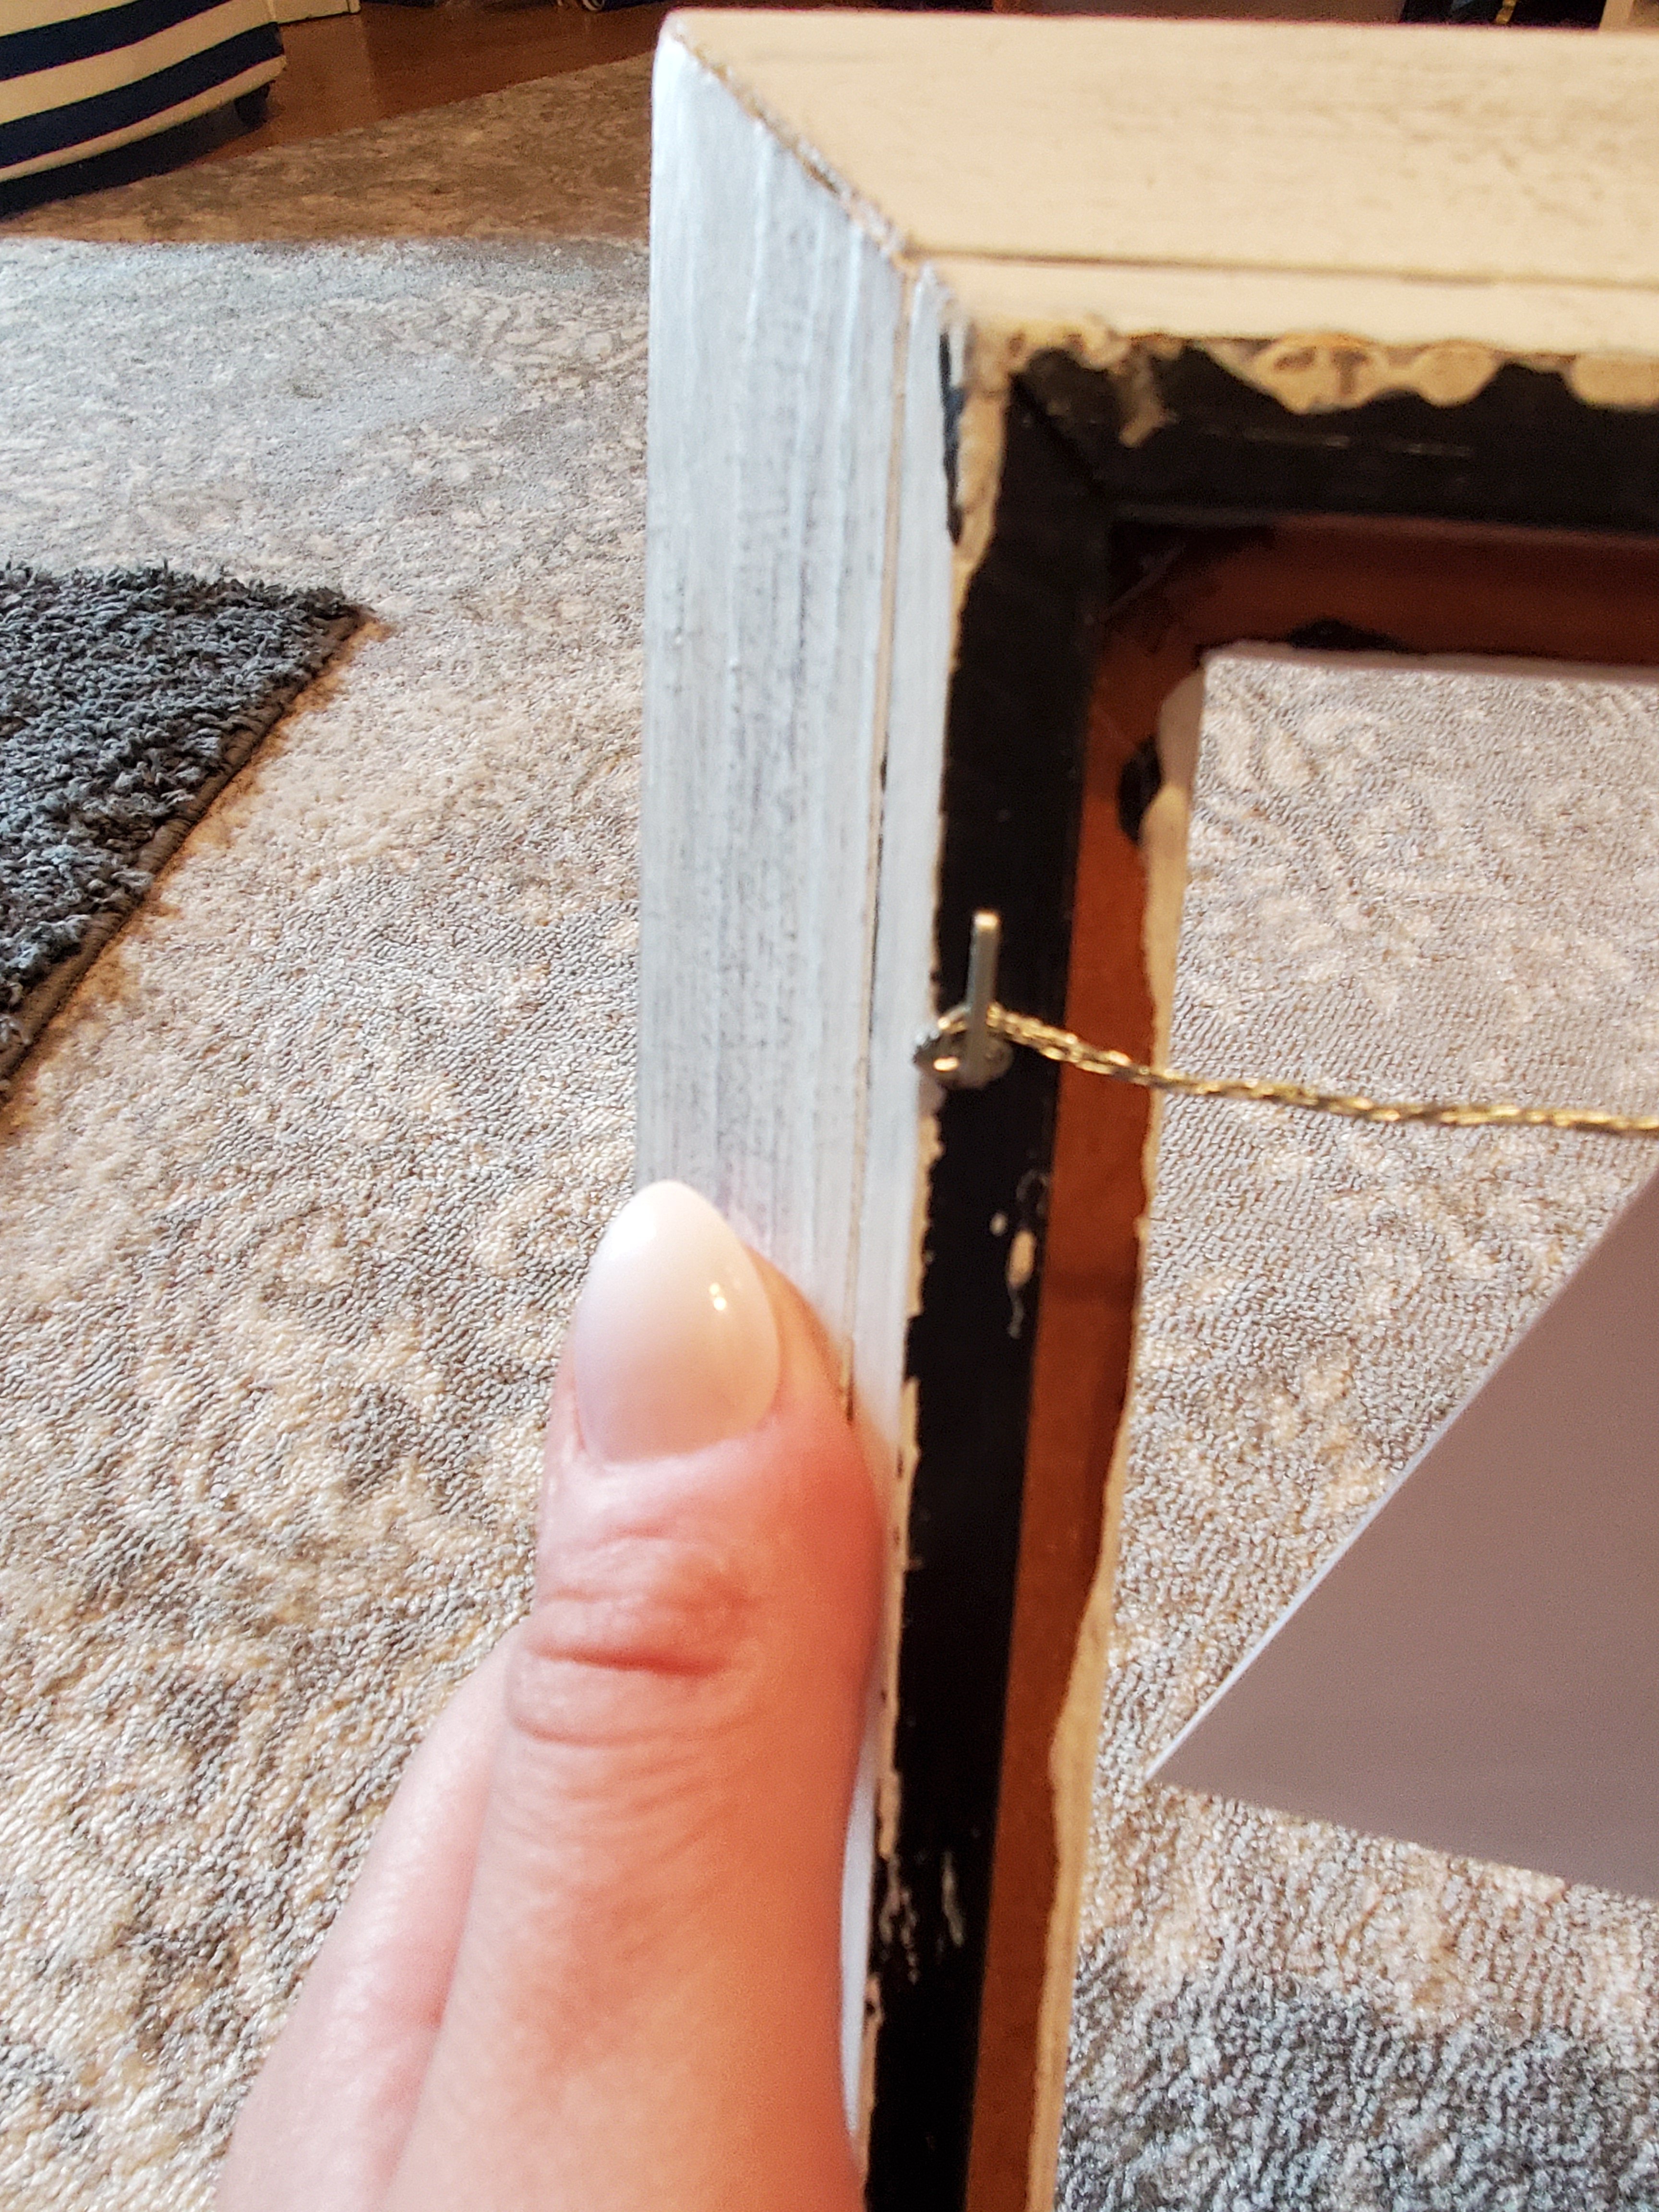
Then to add some wire. You could use twine or ribbon, or whatever you have. I had some picture hanging wire from a hanging kit. I cut it slightly longer than the width of the frame, maybe a half inch extra on each side. Then I pulled it tight across the frame and used a staple fun to staple it in place. I twisted the extra ends into a little ball to help keep it in place.
You can get tiny clothes pins on Amazon.
And viola!

I’ve also done this before with chicken wire…
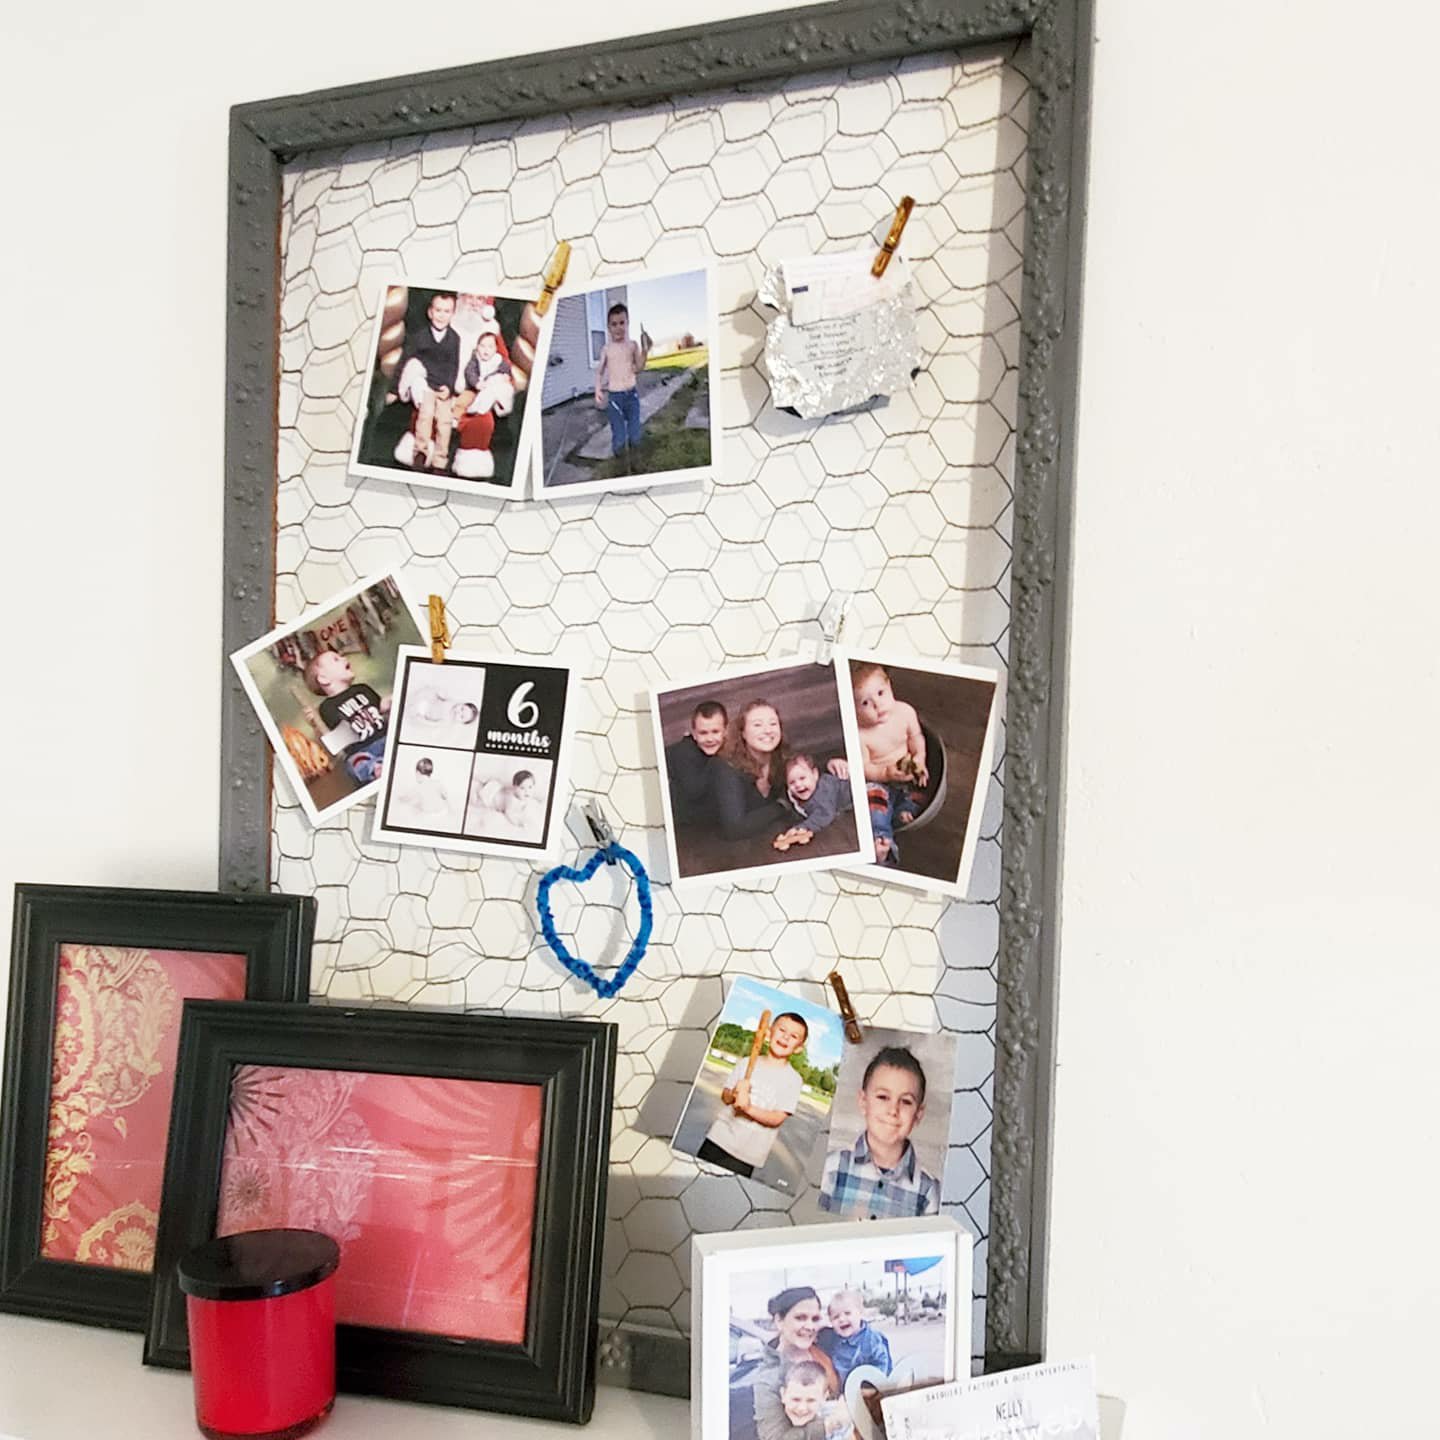
What do you think?
Doing any quarantine projects?!
XX,
Jess
Permalink Comments Off on Frame Hanger Project
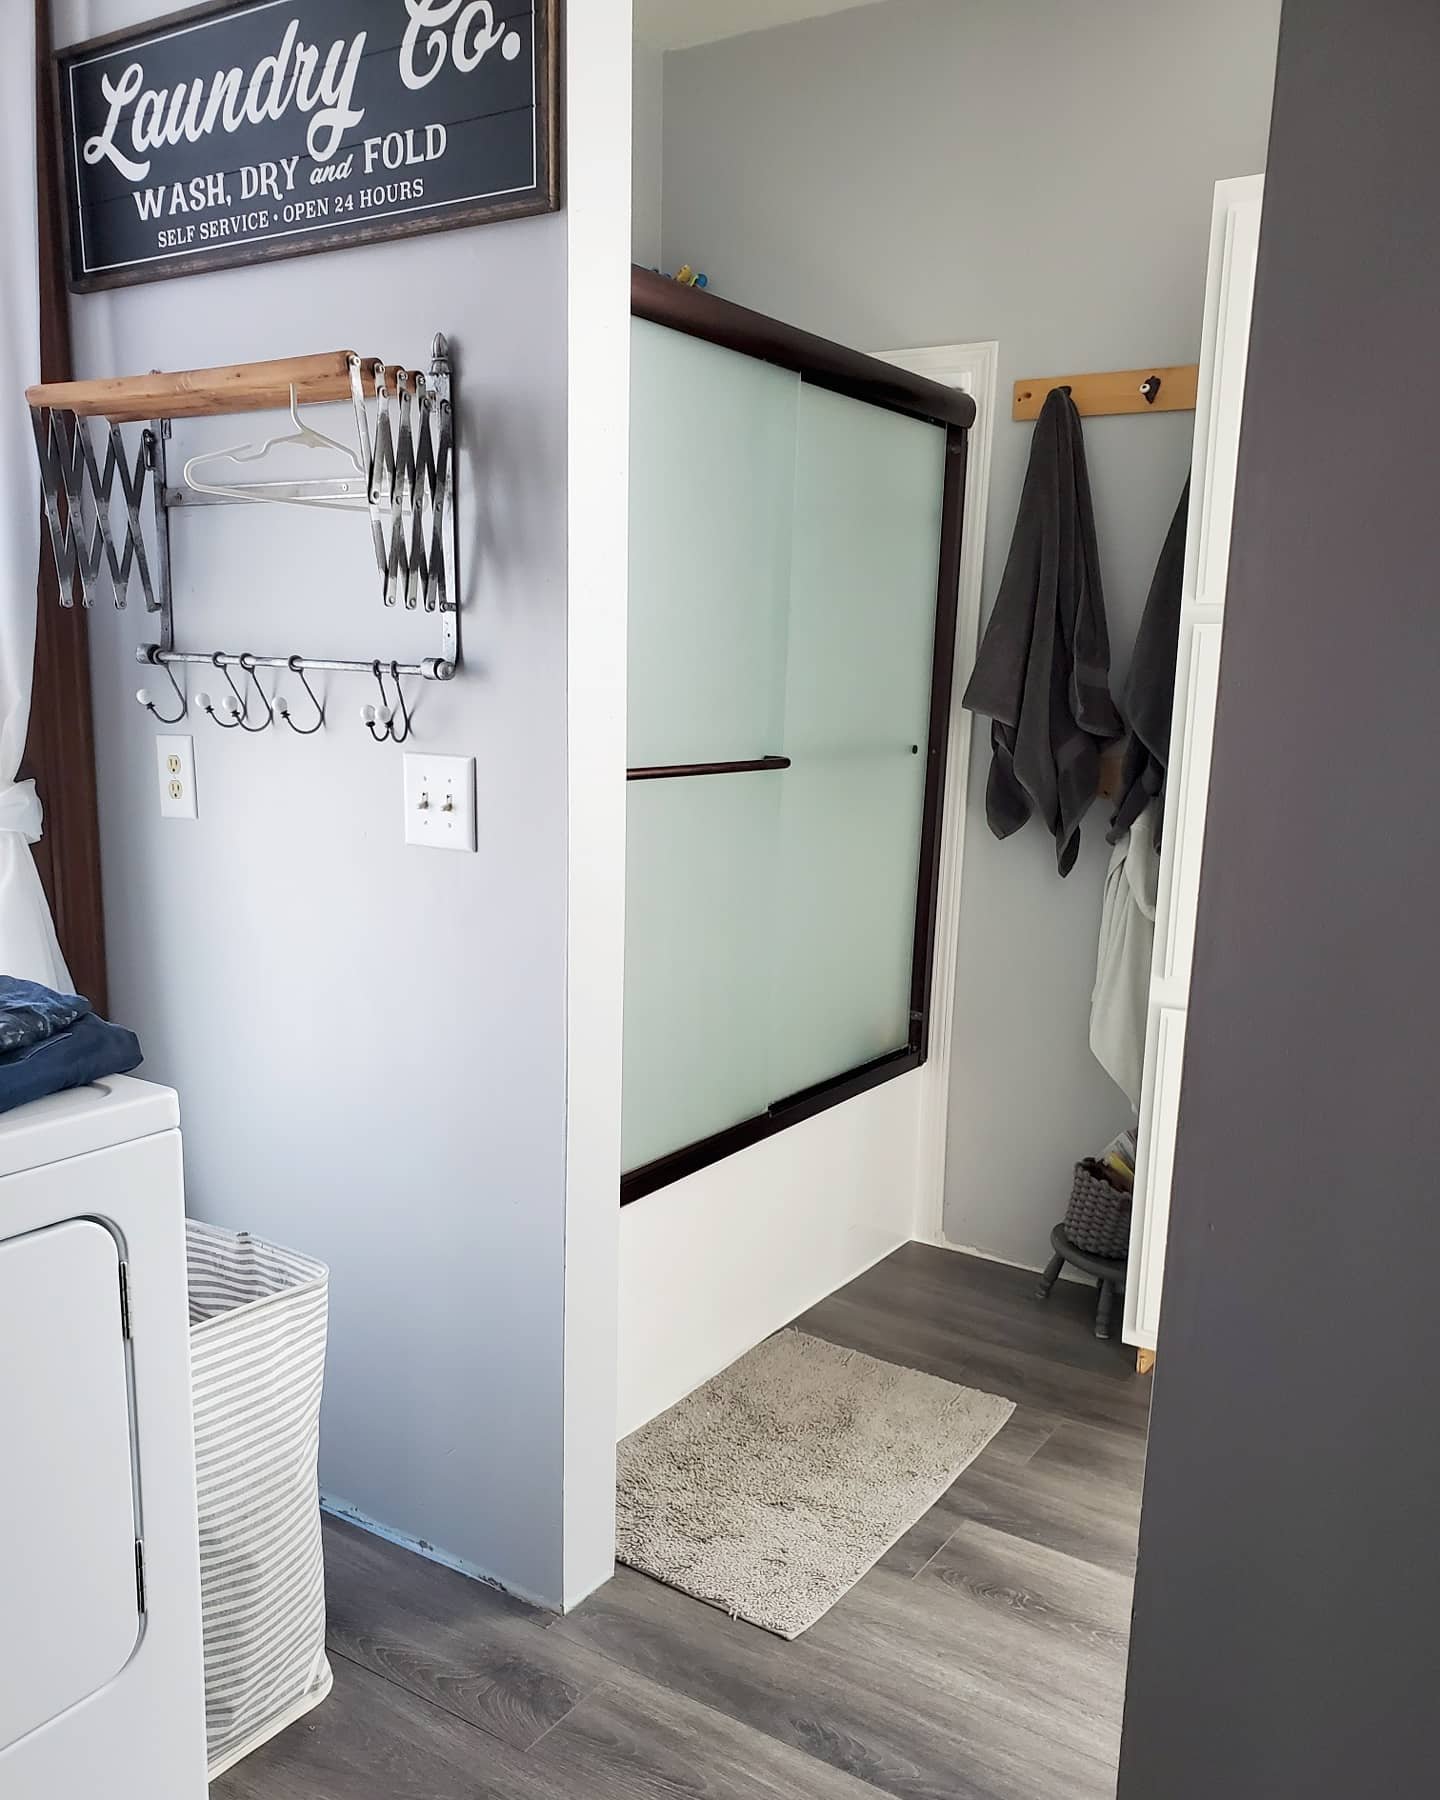
Bathroom Update
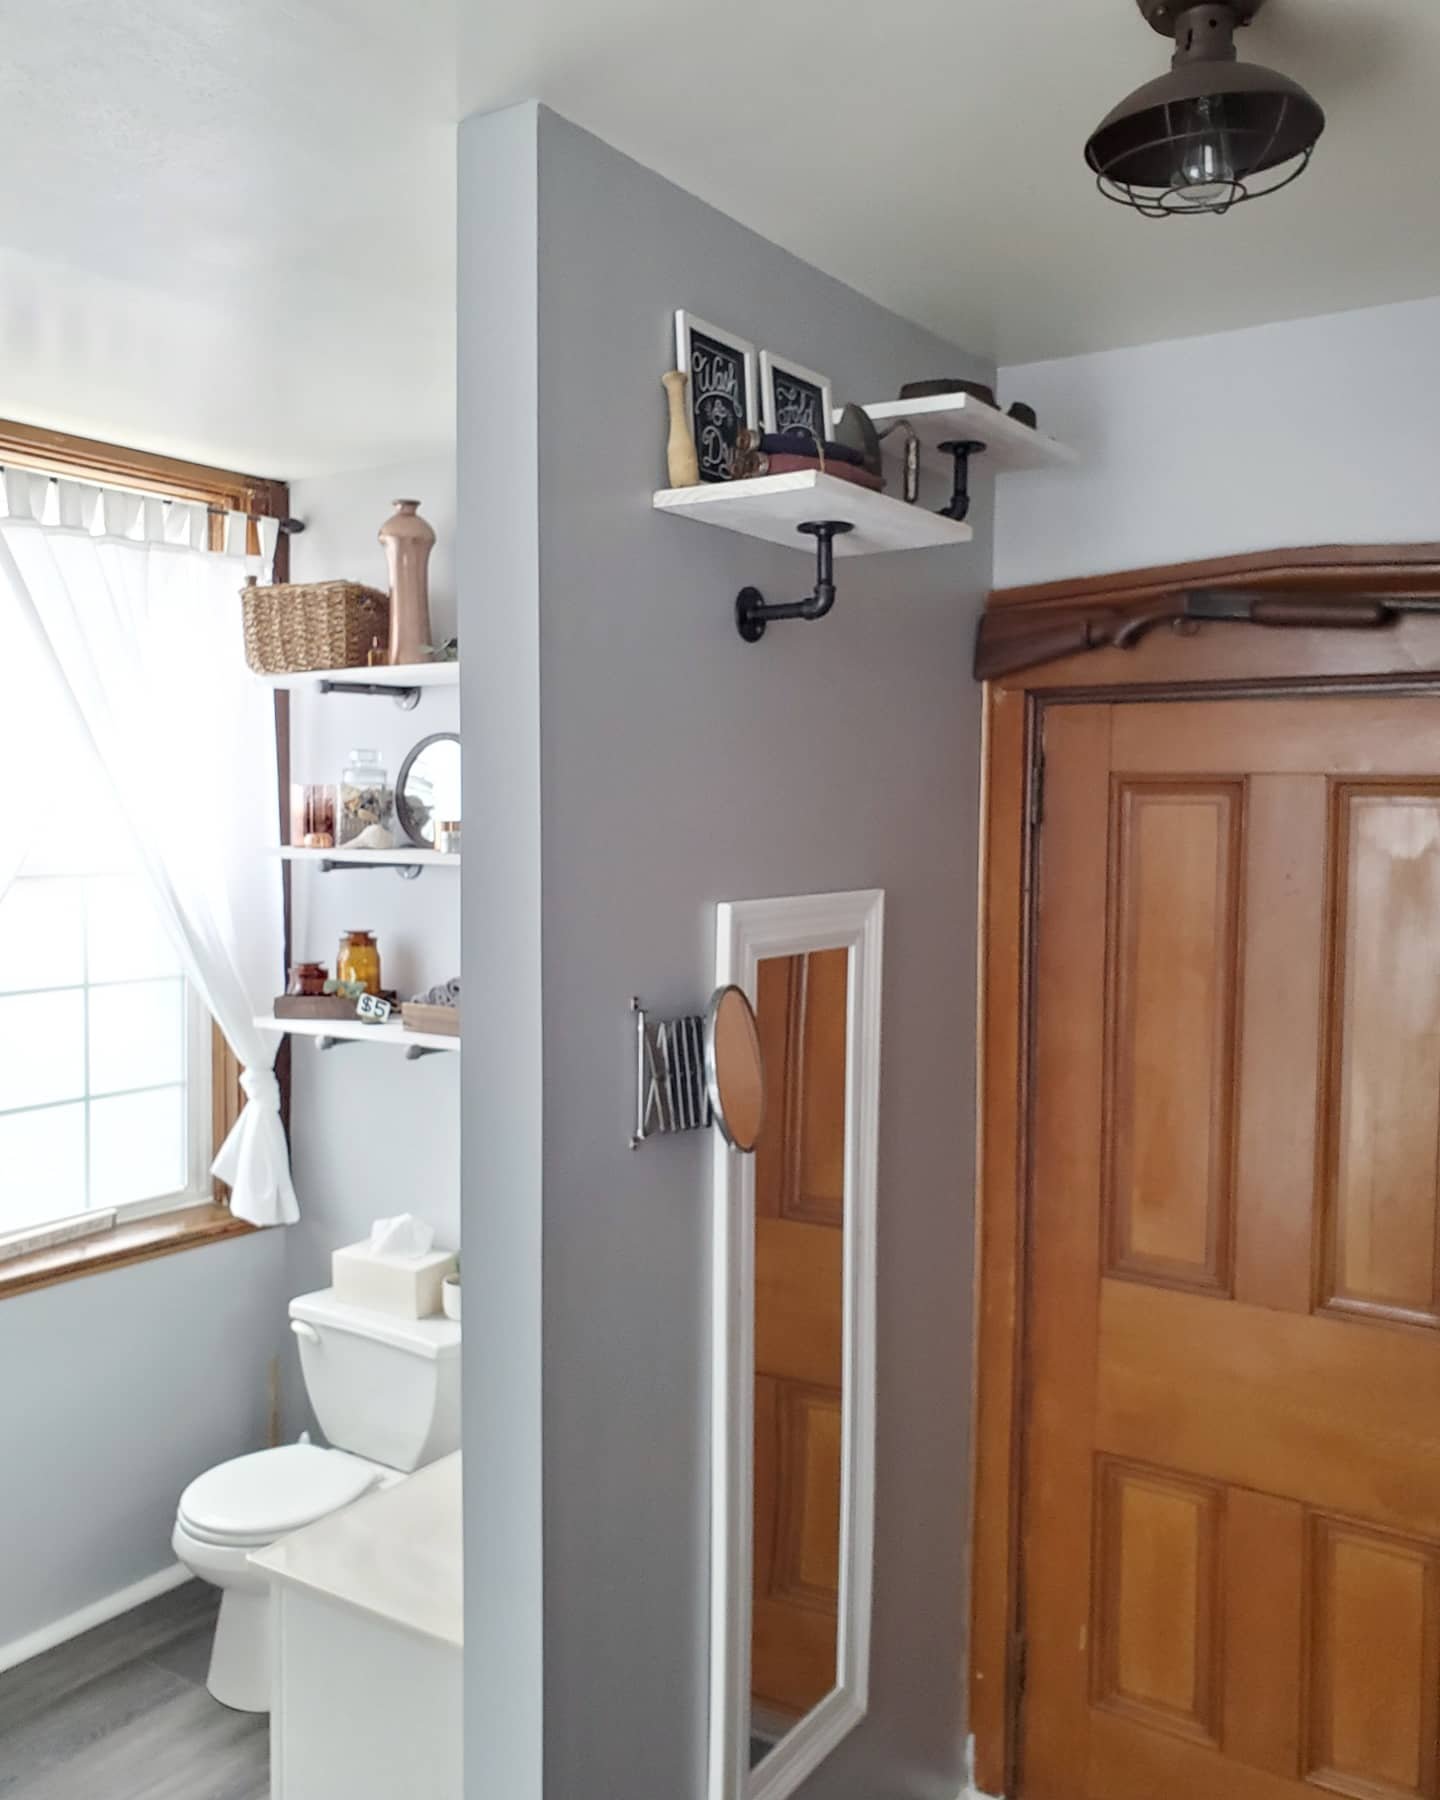
I thought we were going to live with the 85% bathroom update for a while. But we got a little shove to take it to 98% done now. 🤣 What this means is that we redid the flooring! Yay! And we added a mirror and a couple more custom shelves in the laundry room.

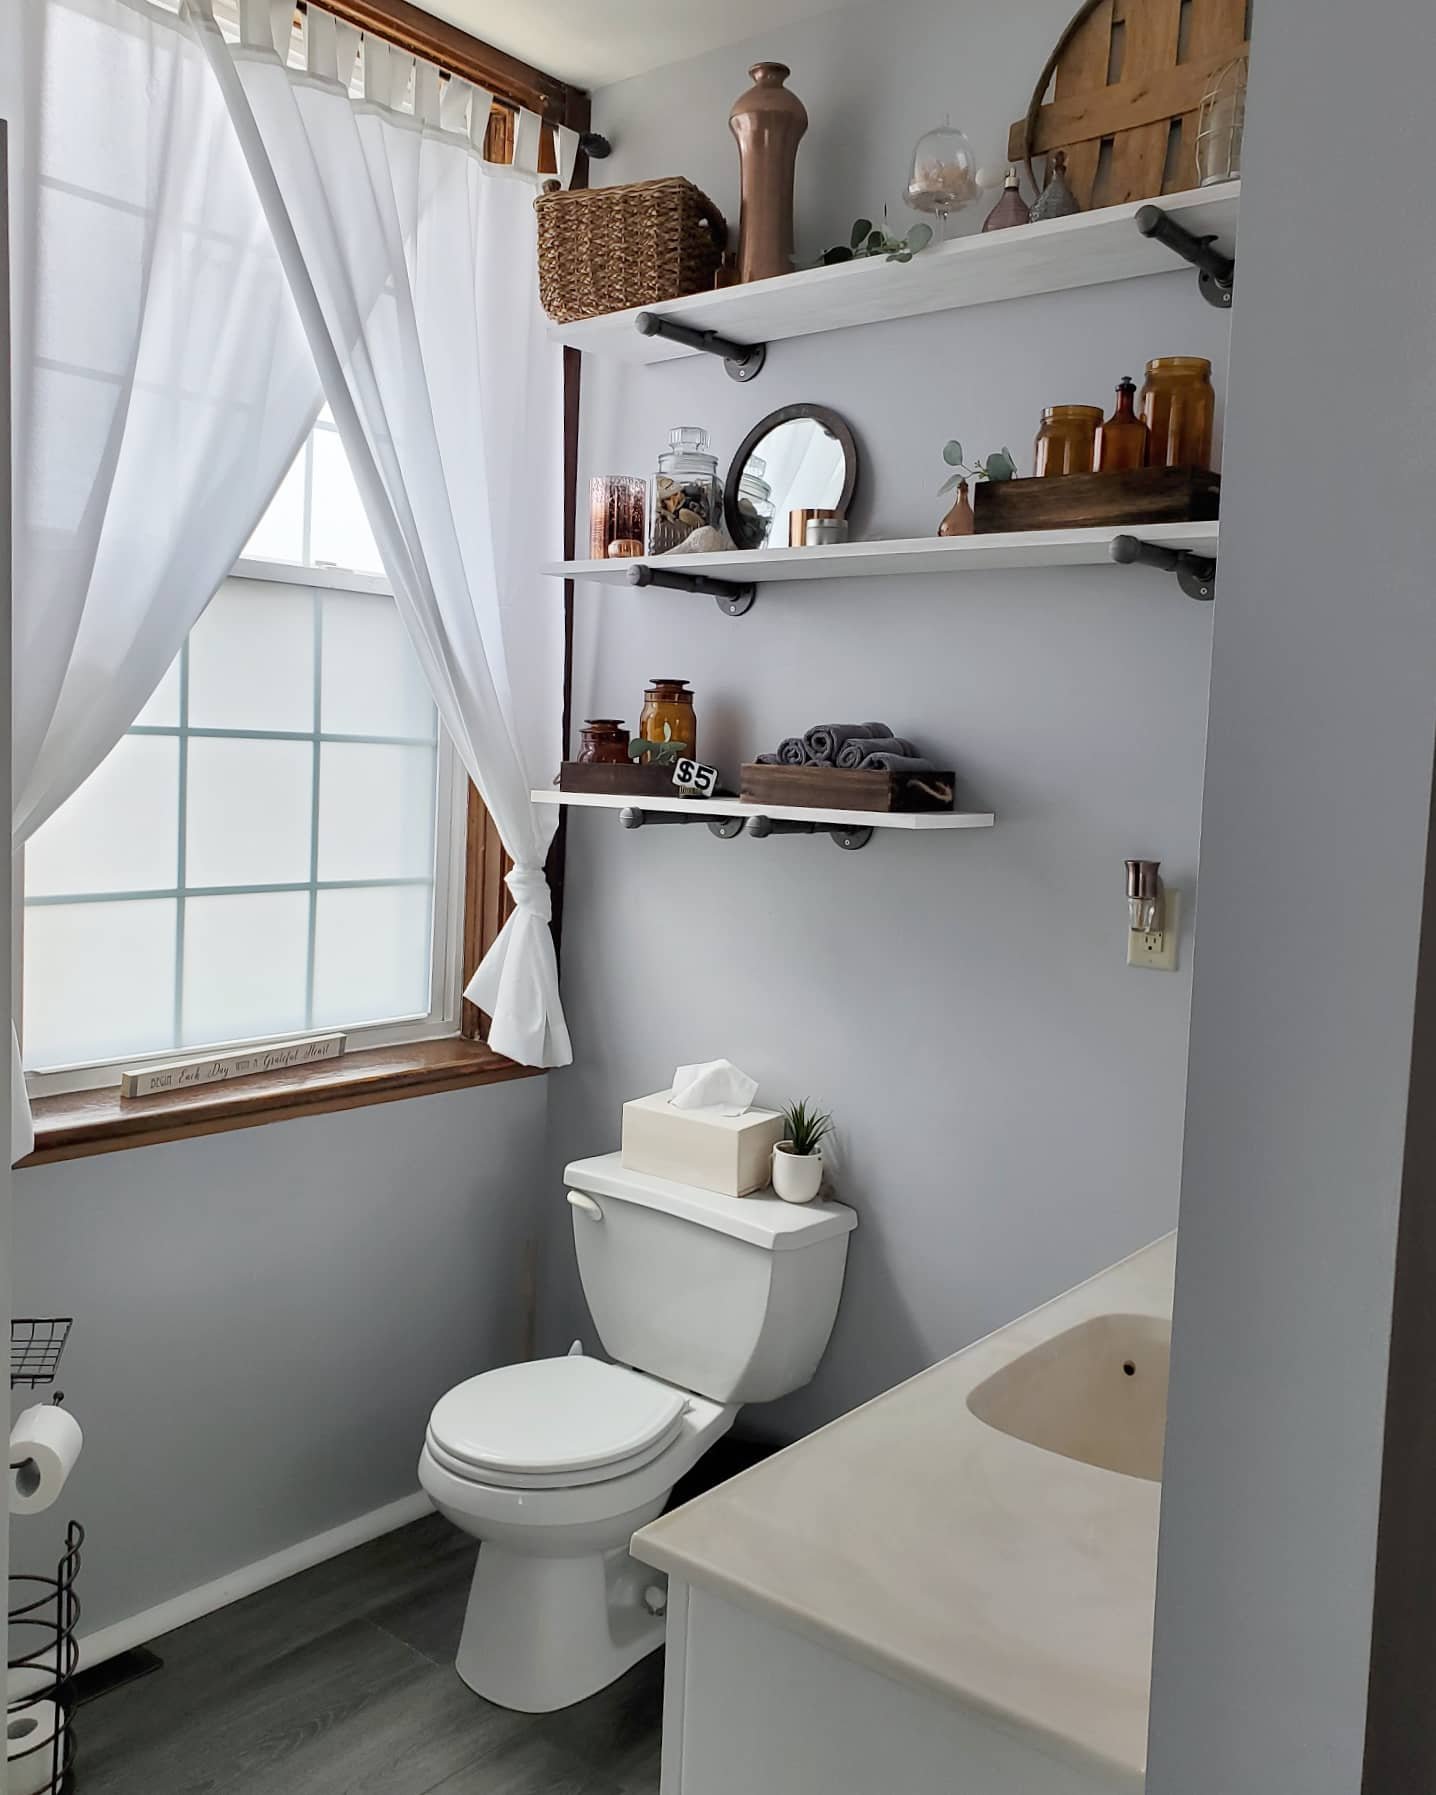
We used snap-in wood and vinyl flooring and it was super easy! Except for dealing with the uniqueness of an antique house with crooked walls and missing trim, etc, but we managed and it’s been amazing and seems super durable already. We ended up going with large quarter round as trim because we need to hide some of those flaws from a very old house. But I love the look here!
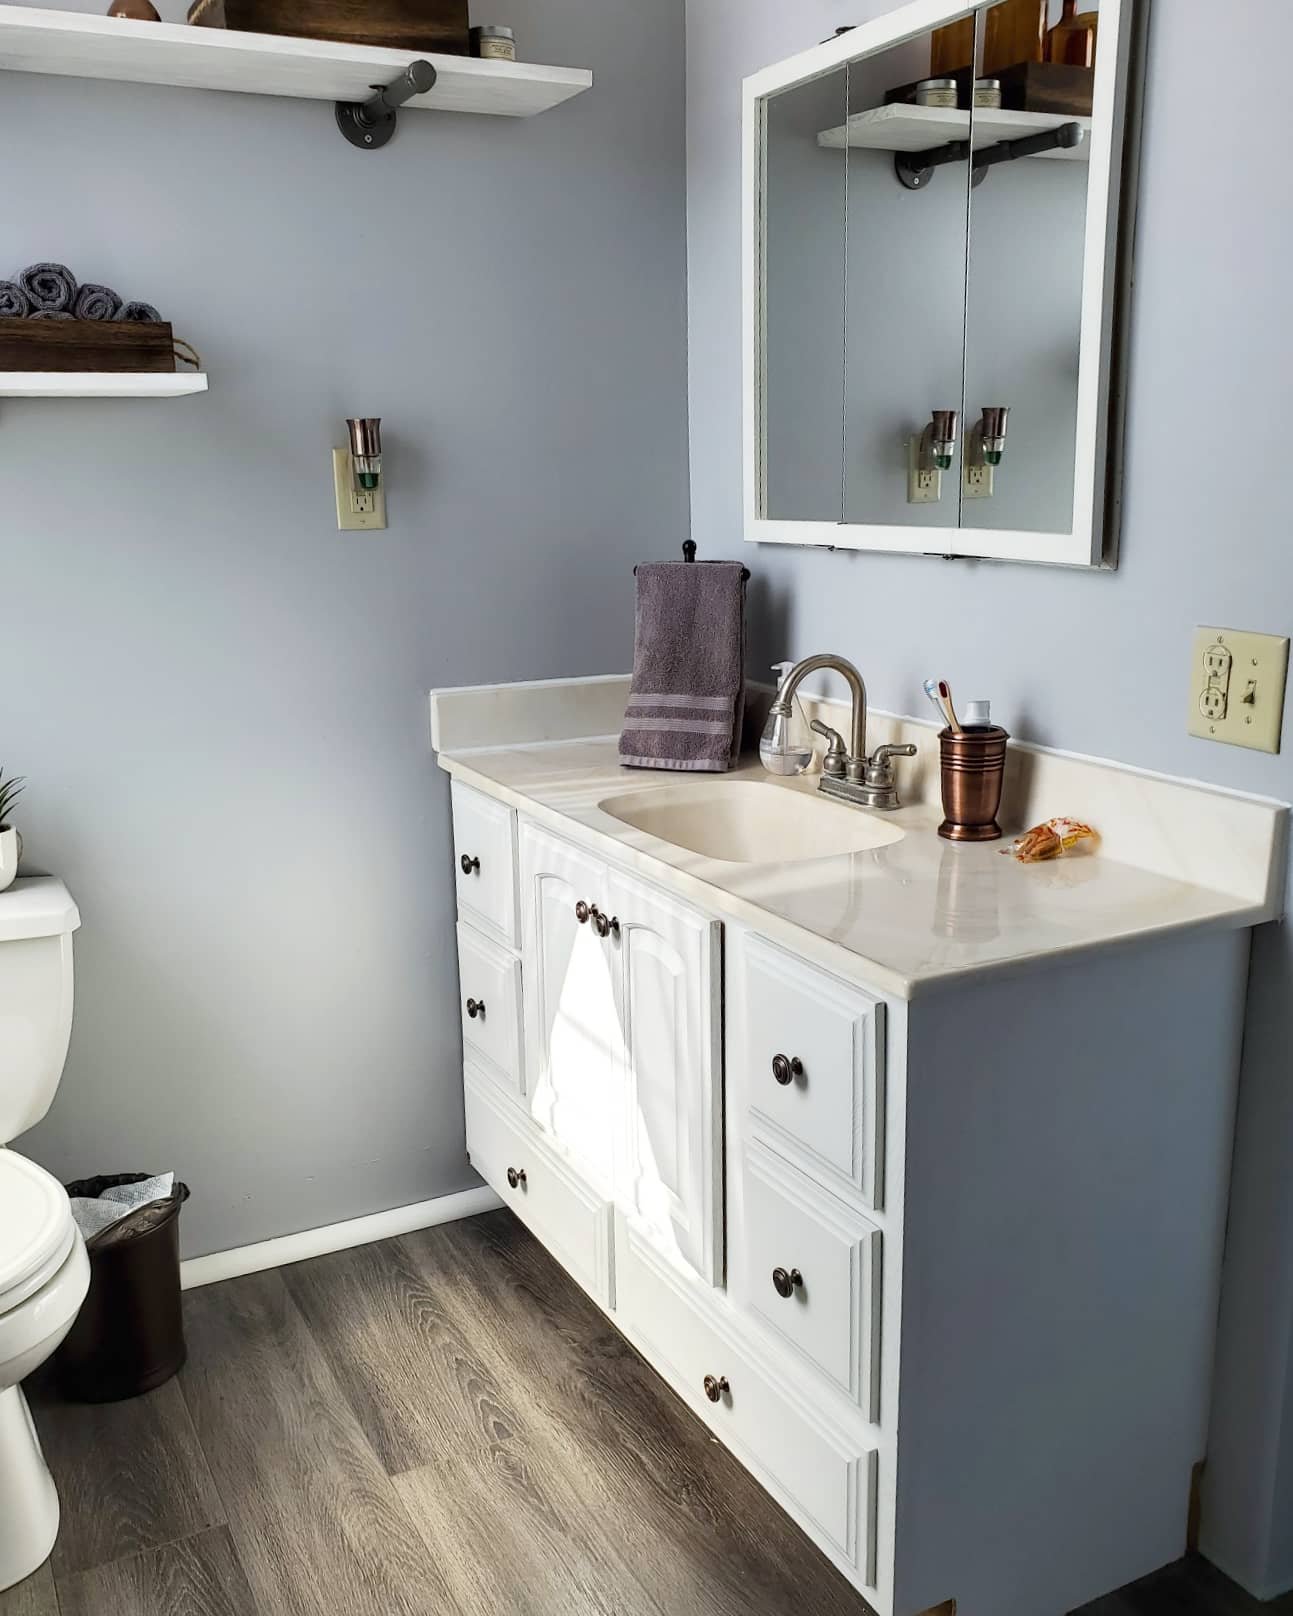
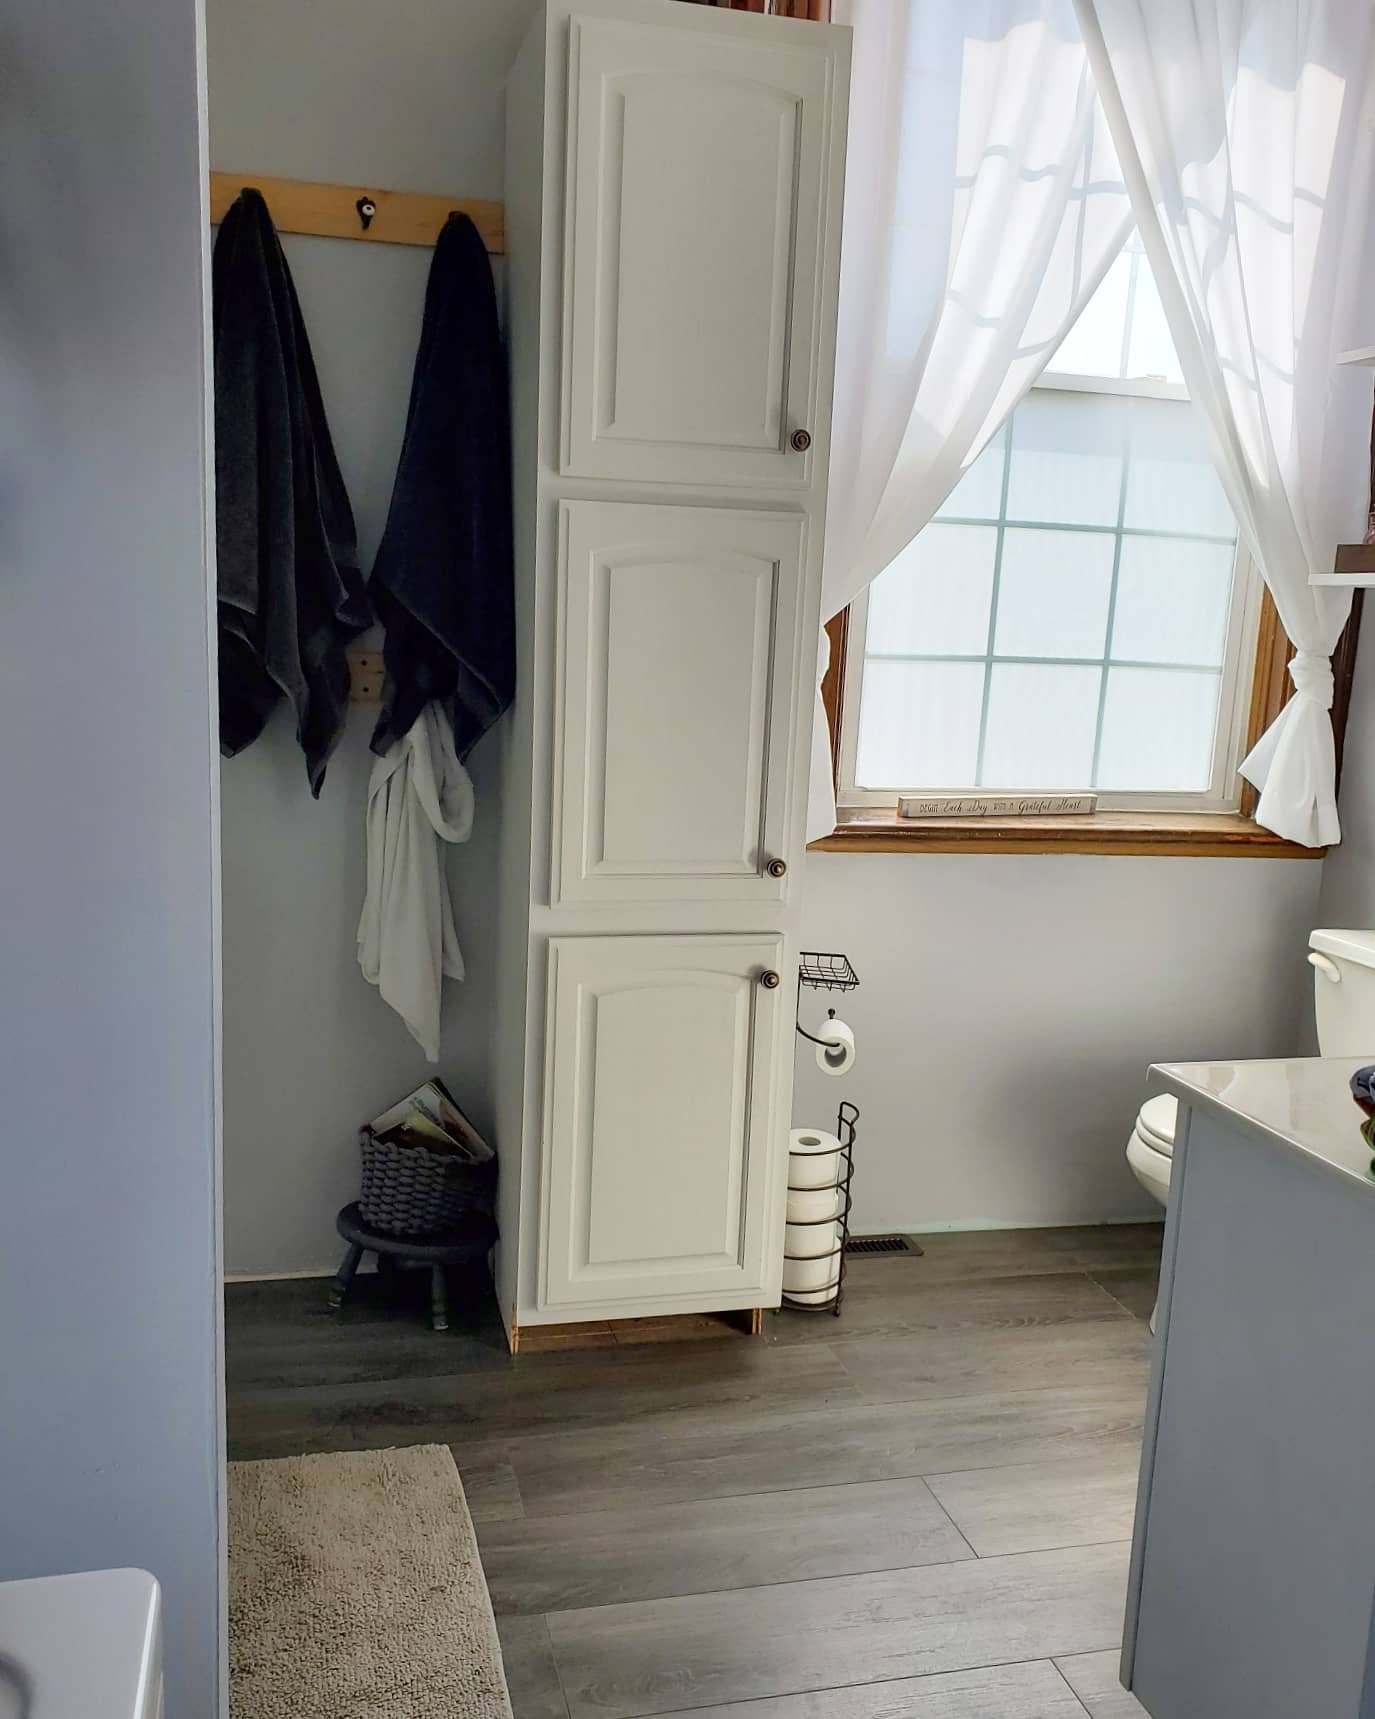
The ONLY thing left is to replace the faucet. Soon. We are going to live with the sink and counter top for a while, but I can deal with that.
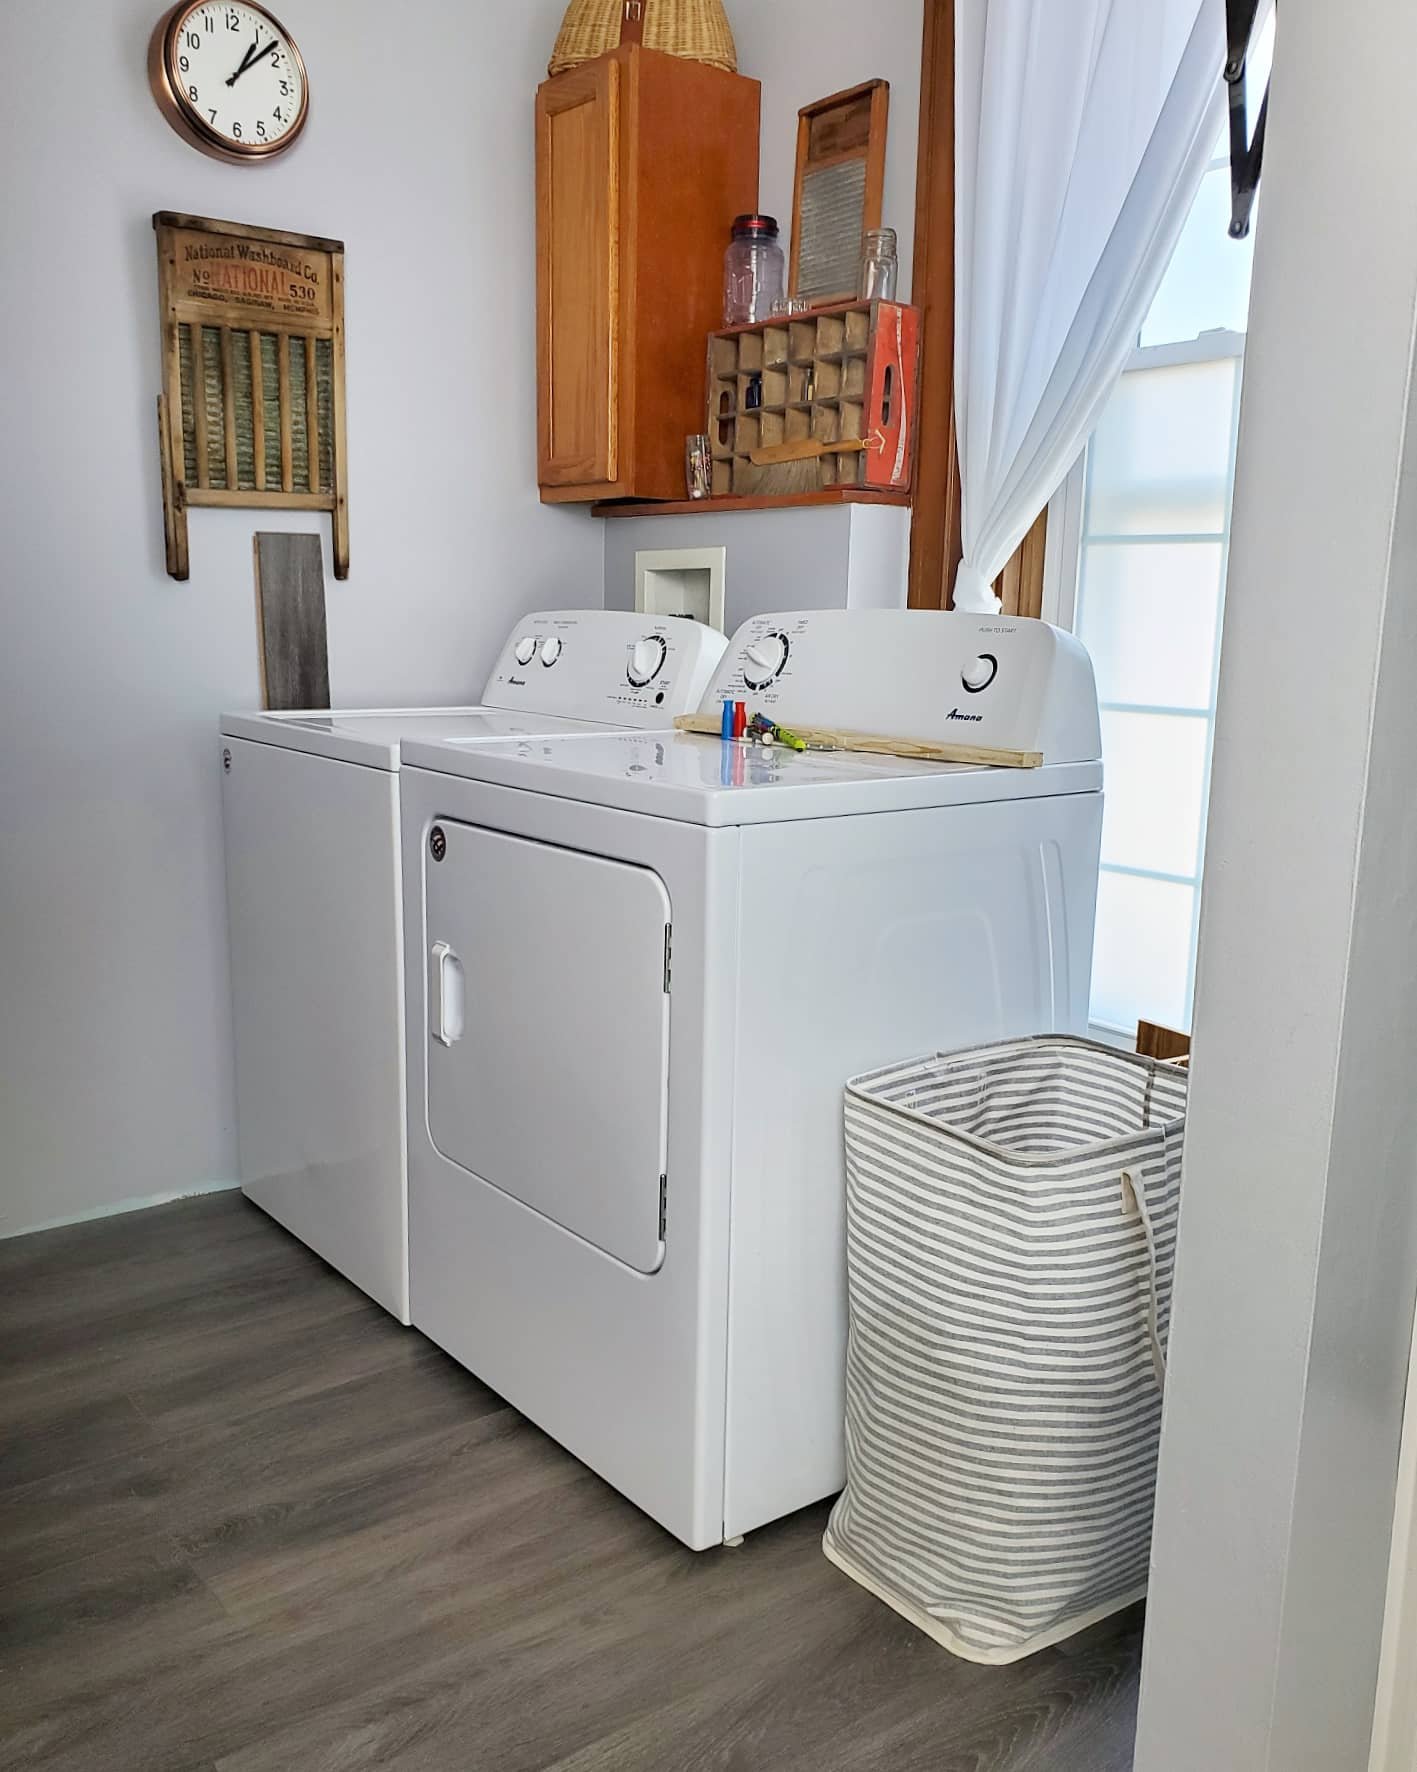
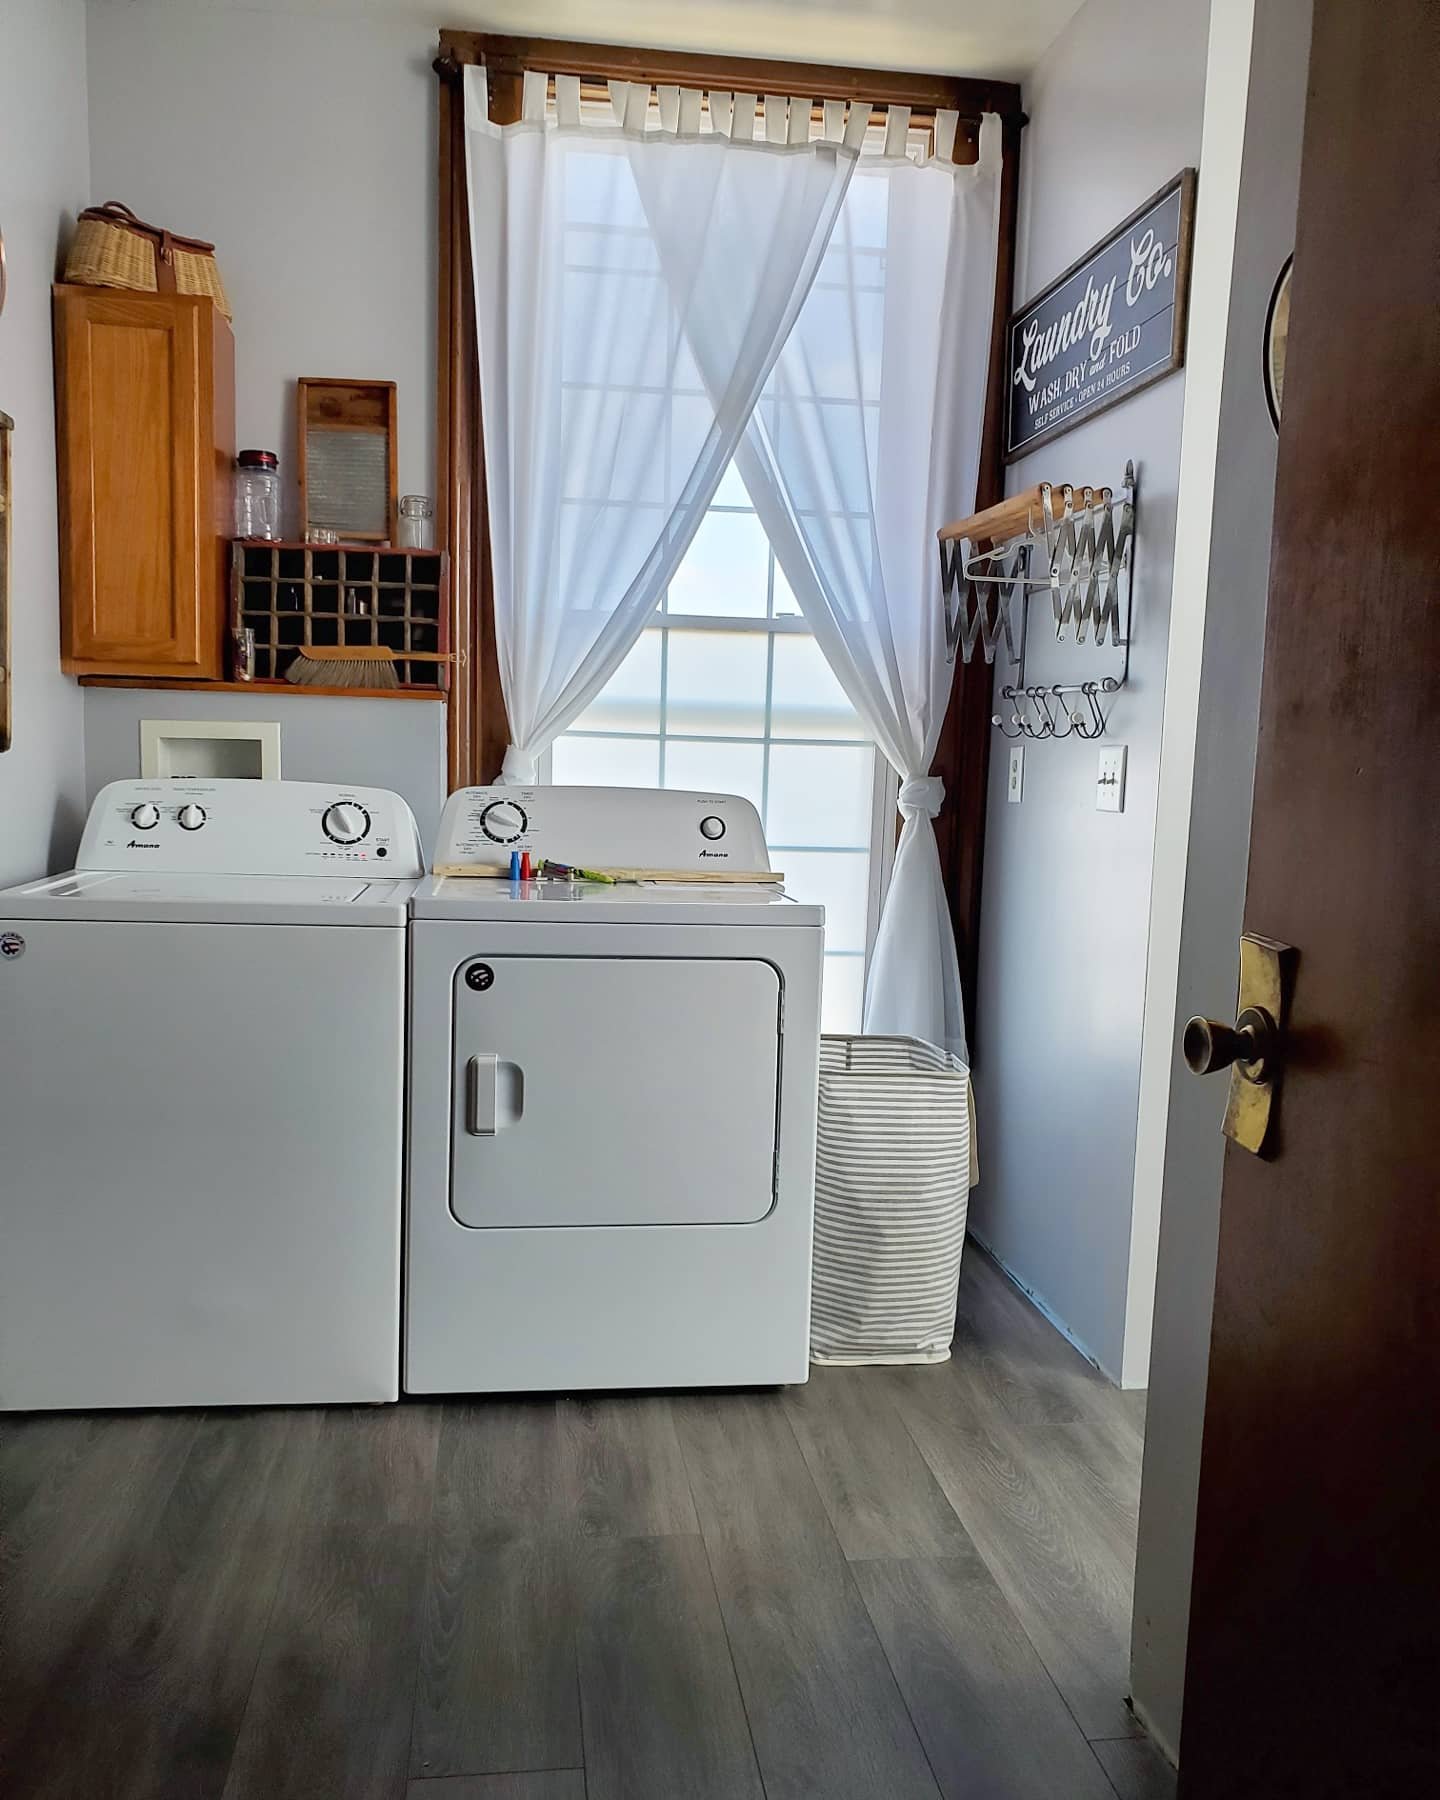
How cute are the little shelves holding laundry items?! We made them the same way, with plumbing pipes and hand whitewashed boards.


Remember, this is a mini refresh, (see the before shots, yikes, 2 posts back!) not a total overhaul, so this girl will still have to dream of one day having a stacking washer and dryer and wall cabinetry. This is gorgeous to me for now! 😉
Xx,
Jess
Permalink Comments Off on Bathroom Update
Best For Baby And The Environment
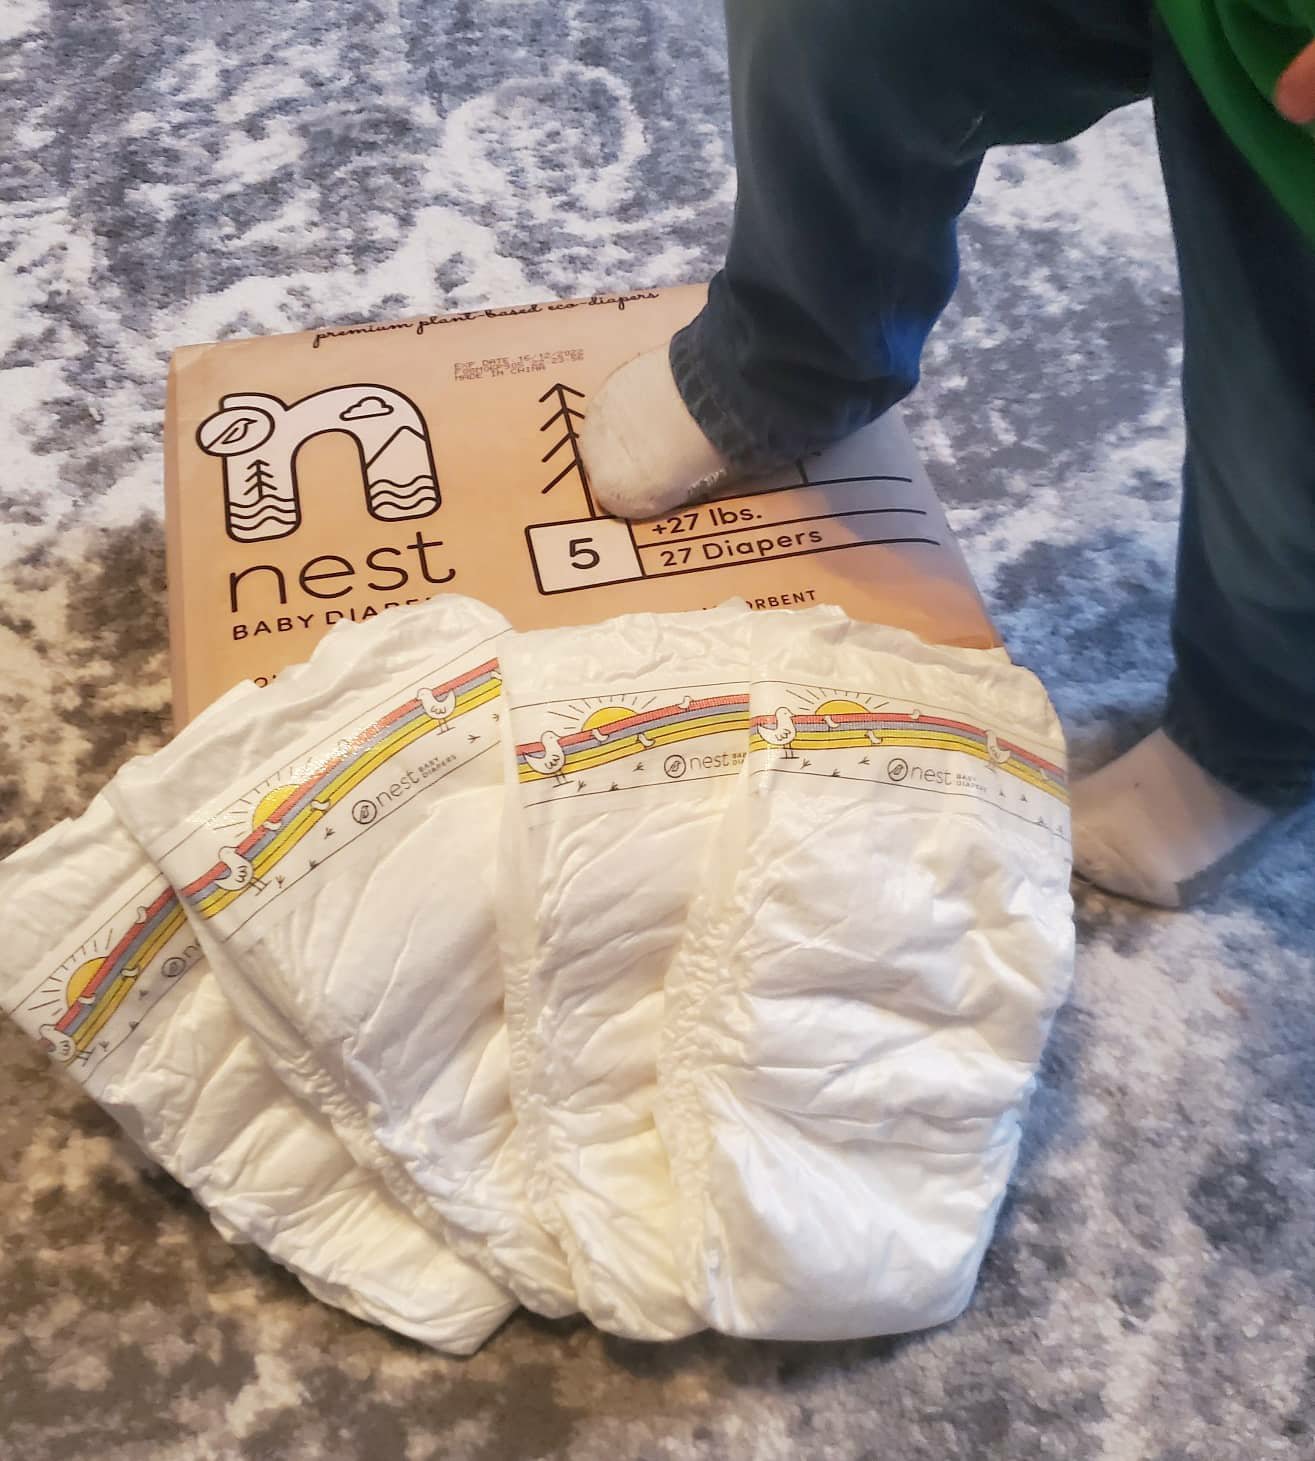
Two kids in and we’ve tried them all. Diapers. A must have. But they also must work. And I’ve found the ones!

First of all, these work. They do their job. I know that every kiddo is different and different things work best for each, but these are universally amazing. They have a slightly bigger fit, which seems helpful in preventing leaks! Daytime, and even all night, we have yet to experience a leak!

Next, they are easy on sensitive skin. Second babe gets rashy easily and diapers usually seem to add moisture and make this worse. Not these. Nest’s diapers are hypoallergenic, with skin-safe materials throughout. They are free of harmful chemicals and known allergens. Soft, super absorbent, and easy on all skin types.

Third, I want to use a brand that is more eco friendly. Nest’s diapers are made of all plant based materials- wood, bamboo cane, and are completely compostable.

Lastly, I don’t want to break the bank for something that ultimately is a toilet. These diapers are competitively priced! And that combined with how well they work and their benefits makes them the ultimate win!

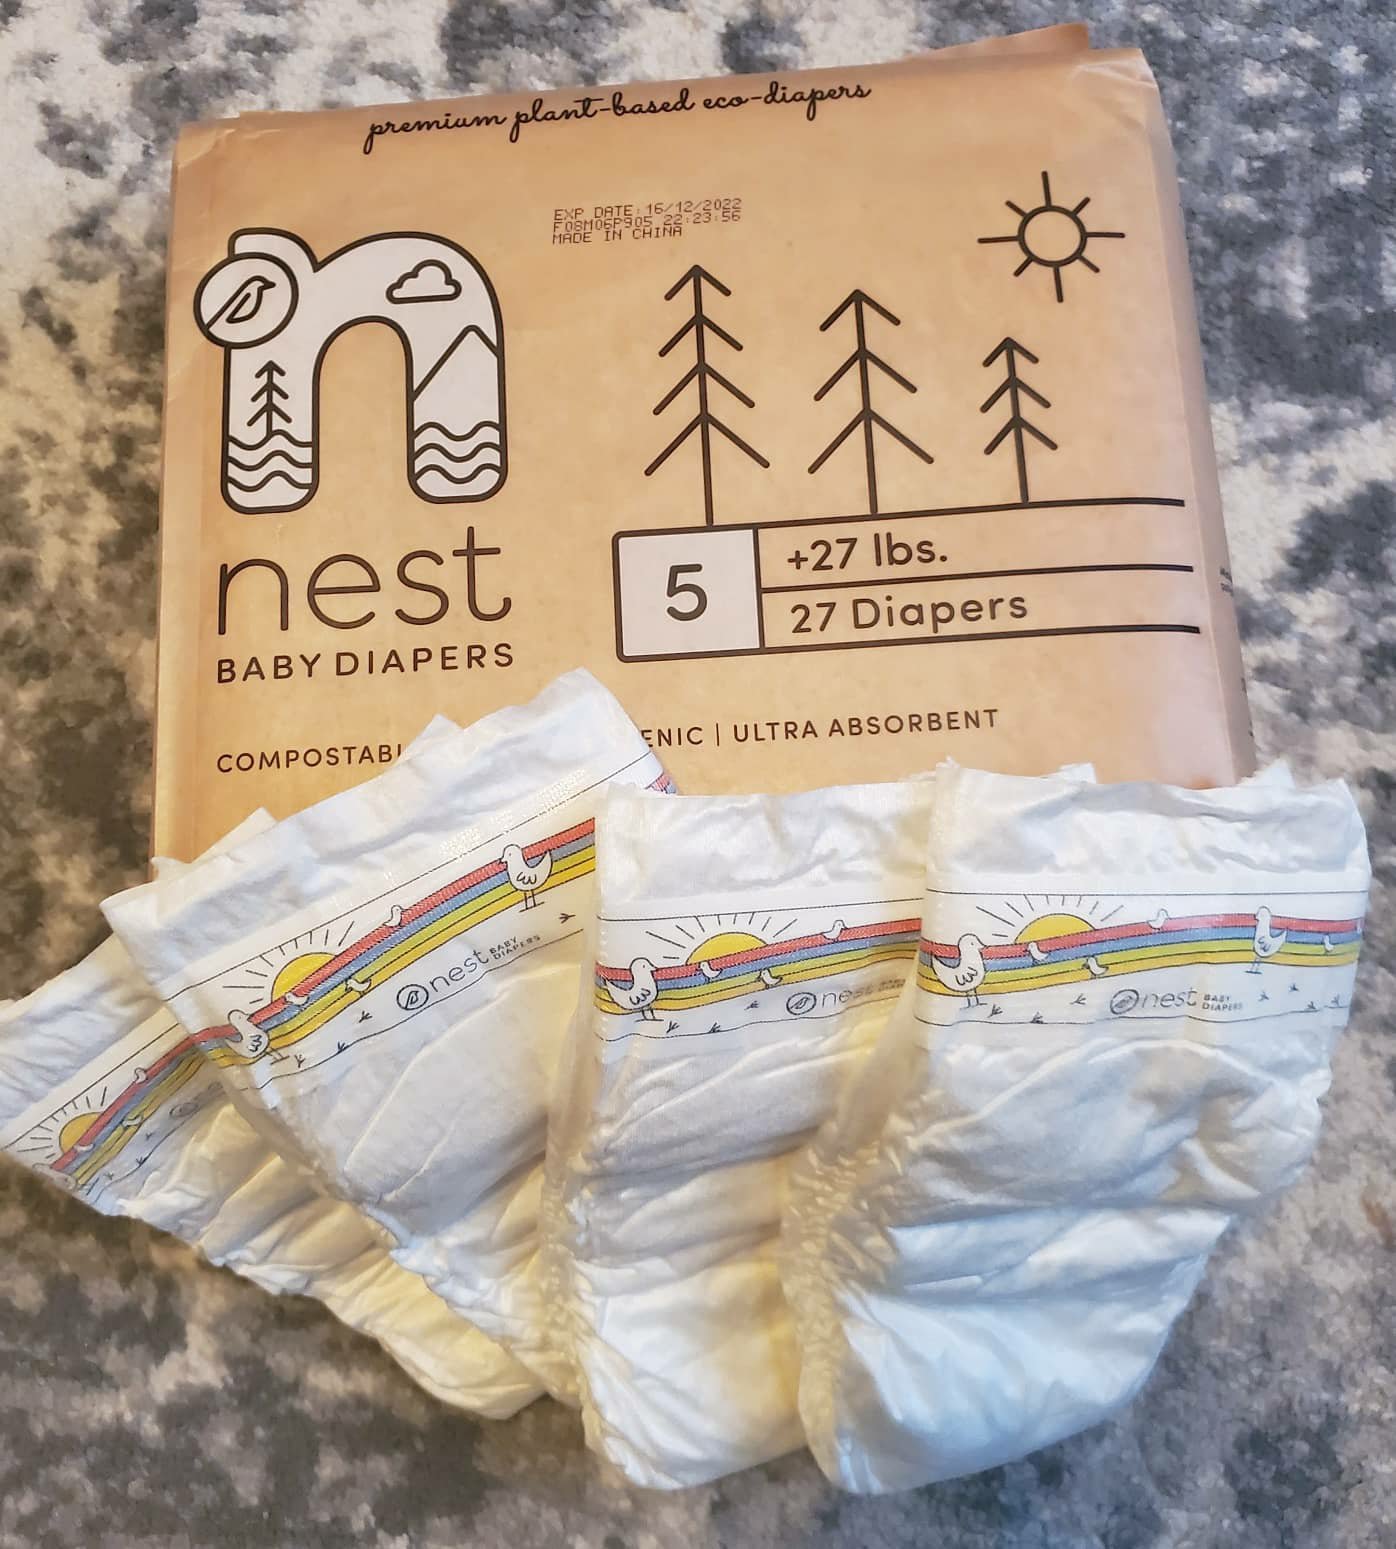

Eco-friendly, sustainable materials, soft, absorbent, gentle on sensitive skin, affordable and mailed right to you…what else could you want in a diaper?!
Find them in select Meijer stores now. Or here on Amazon too!
XX,
Jess
Permalink Comments Off on Best For Baby And The Environment
Saving a Little Fun Money
Money is tight, I’m right there with you. But I want to show my kids things and have fun too. Here are a few simple ways that I have found to grow a little bit of a “fun money” fund and set aside to do some family things, or whatever your heart desires!
Ibotta– (referral code irrqbz) This app really is legit. When I shop, just as I normally would for everyday items and necessities, I search the app for deals on things I got. If I I some, I scan my receipt and get money back. They add it to your account and you can cash out via paypal or other gift cards once you hit $20. It’s a little slow, but free money! Sometimes I check the app before I shop to see if there’s a good deal going on for something we use anyway even if it wasn’t on my list, but in general just shop as normal then scan. If you use my code we can help each other as a team to earn bonuses. Score! See below for how much I’ve earned this way!

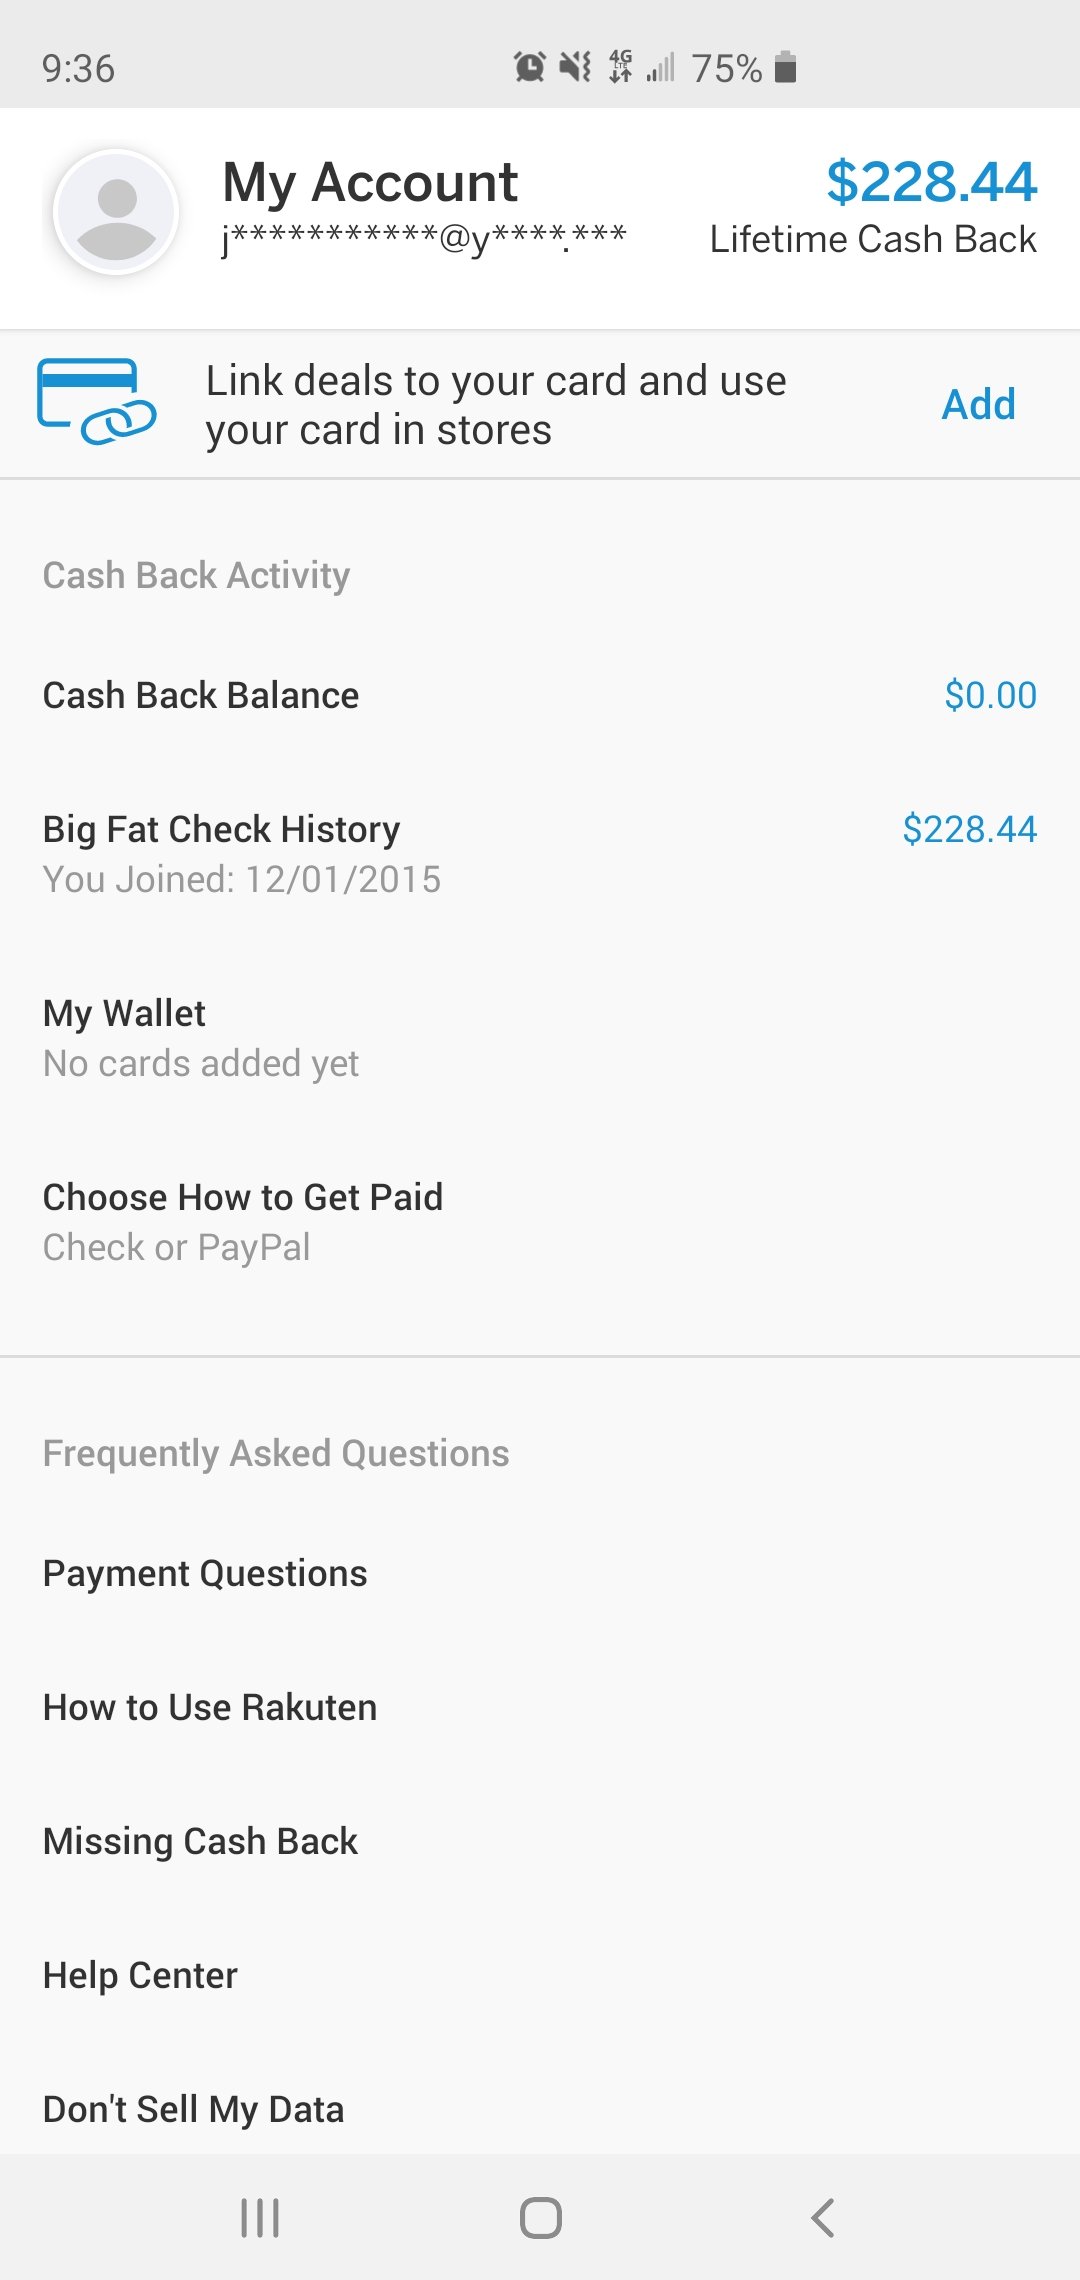
Ebates– Same idea, but use when shopping online. You start through the app and then search for the store you want to shop at. Money is added up and a check is sent out to you quarterly. I have cashed the checks and they are legit too! See below!
Receipt Hog– This one you just scan any receipts you get into the app. They give you points for each one. Once you add up to so many points you can cash out via PayPal or other methods. Super easy and I scan I receipts I’m already getting, gas, groceries, etc. I’ve made a little cash so far.

My big tip when doing this is to take the cash out directly and immediately add it to an envelope or jar and stash it away. Why? So that it doesn’t get spent on everyday stuff. This helps me to really keep it “extra” money and see it add up. I add money to this envelope that I get from anything extra, maybe selling some clothes or a furniture project I do.
A couple more to possibly try:
Door Dash- I’ve signed up to be a delivery driver just for some pocket cash, and since I’m always out and about anyway, but haven’t found any jobs in my area yet. Keep you posted!
Amazon Product testing- there are several sites you can do this through. But beware that you may eventually add up enough “income” that taxes may need to be filed. I’ve been told that the expenses would outweigh the income, so this may not be an issue. I’ve used PPOC before and made a little cash.
I also sell our clothes and items that we outgrow, especially baby things, through local resale shops or Stuff, Etc.
Good luck saving for something fun! What are you hoping to save up for?!
XX,
Jess
Permalink Comments Off on Saving a Little Fun Money
