Deck Reveal
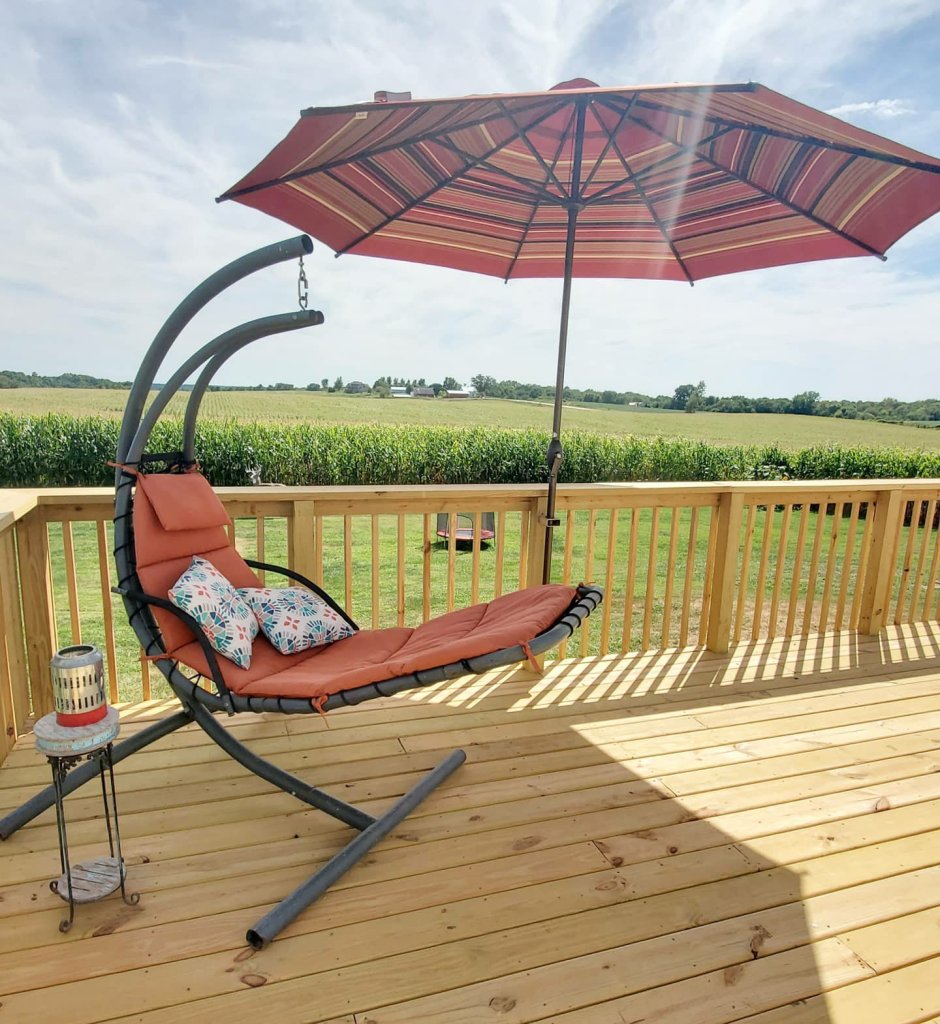
Its been a two year wait since moving into this house and several weeks of work this summer… but she’s finally done! We have a deck!!
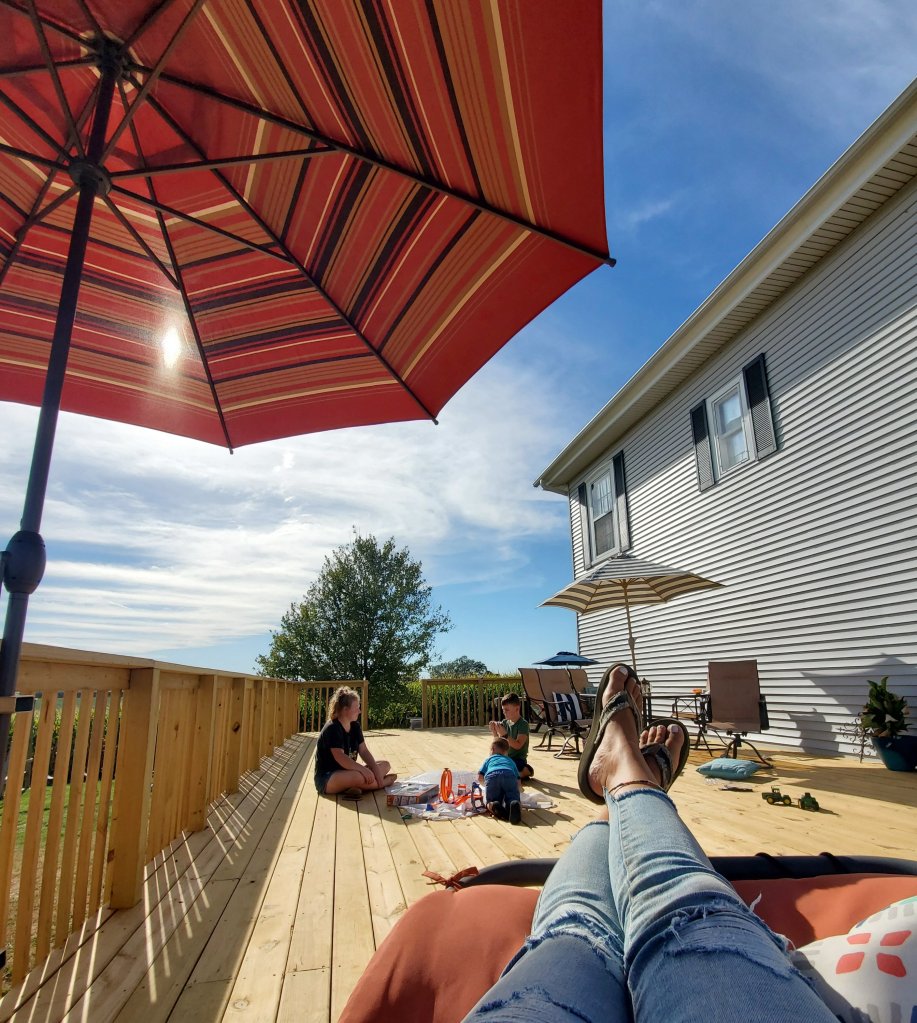
Now mom has a spot to relax and watch the family magic happen! 😉
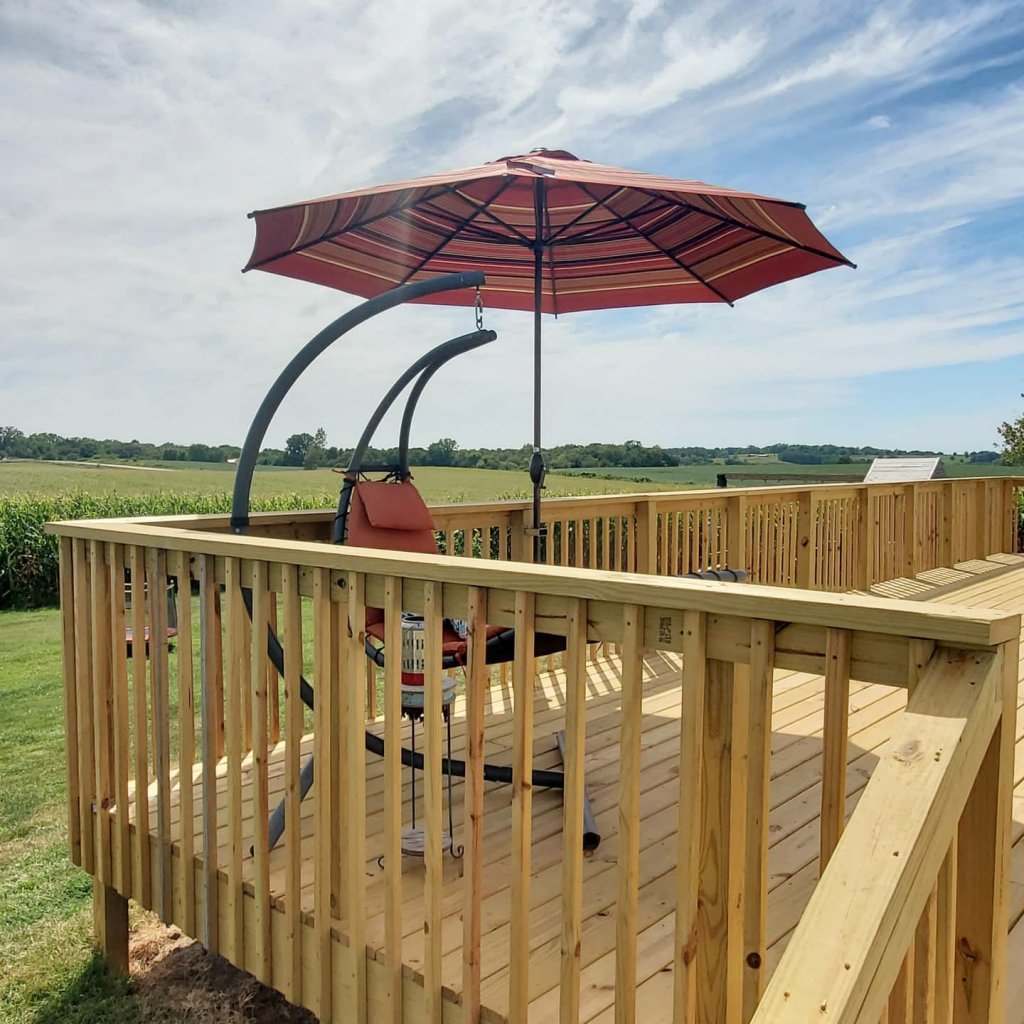
Yes, its huge! The land directly behind the house used to be another house attached. This left the ground hilly, dead, full of bricks and glass, and in general, useless. So, cover it up we did. We filled in two giant cisterns and started a deck slab. Next year we will add a pergola to the blank spot of house where the table is now. We will put a pool in down below and then the following year add another piece of deck to half wrap around the pool. It will be the ultimate dream area when we are finished.
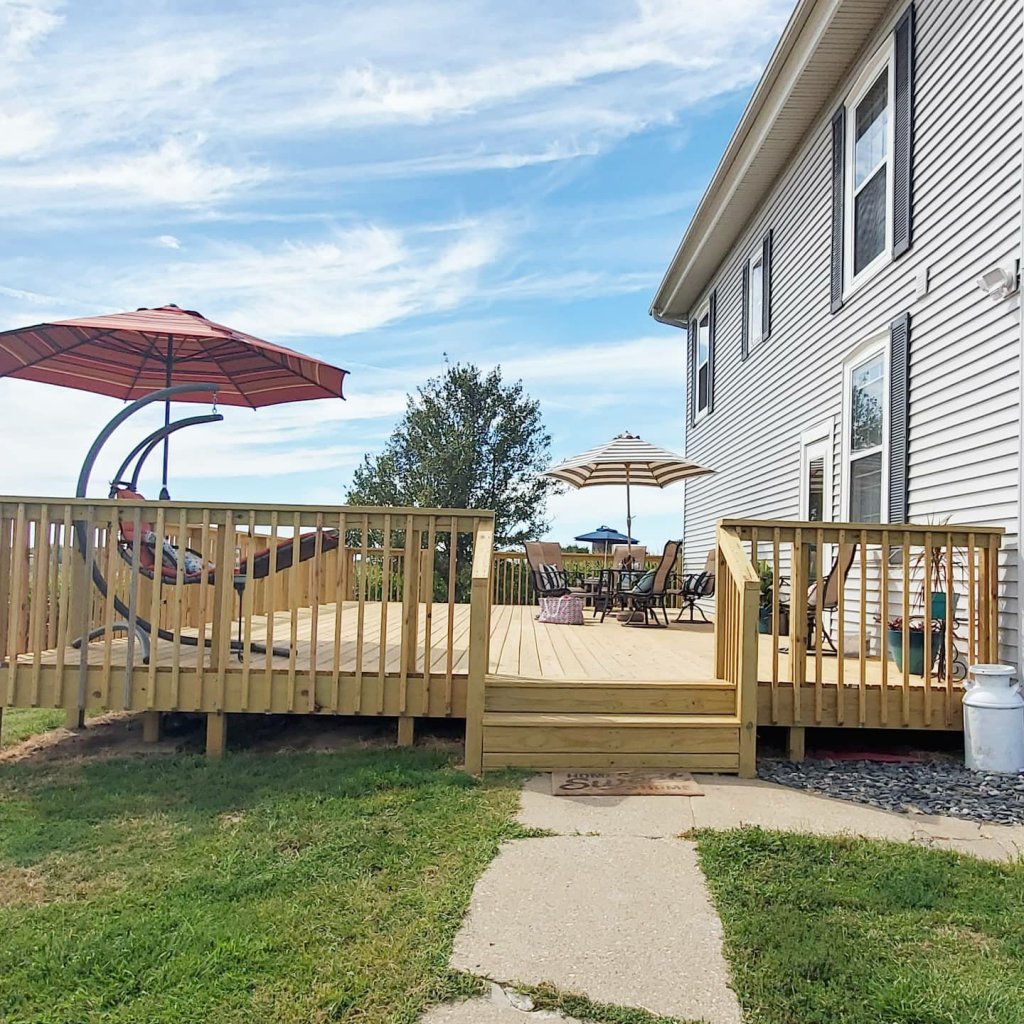

We do still want to add trellis to the bottom to keep everything out, but that will happen this fall.
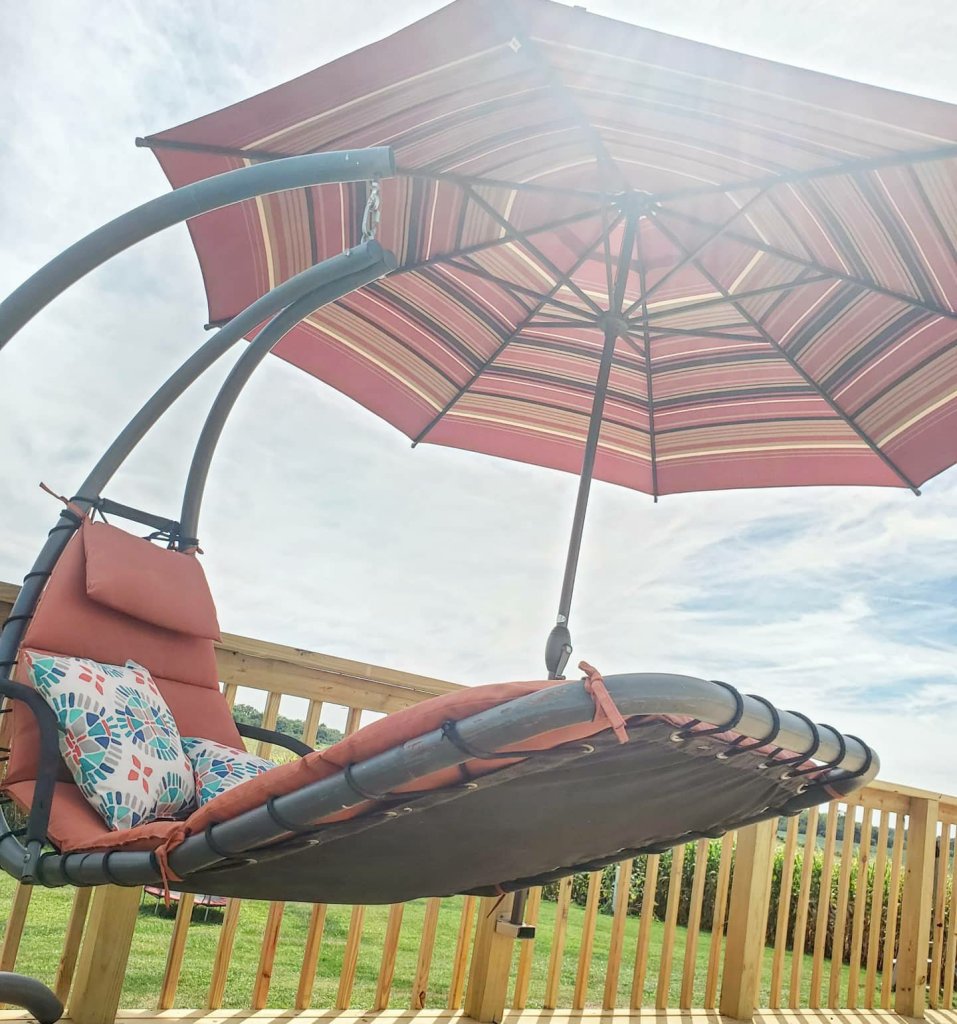
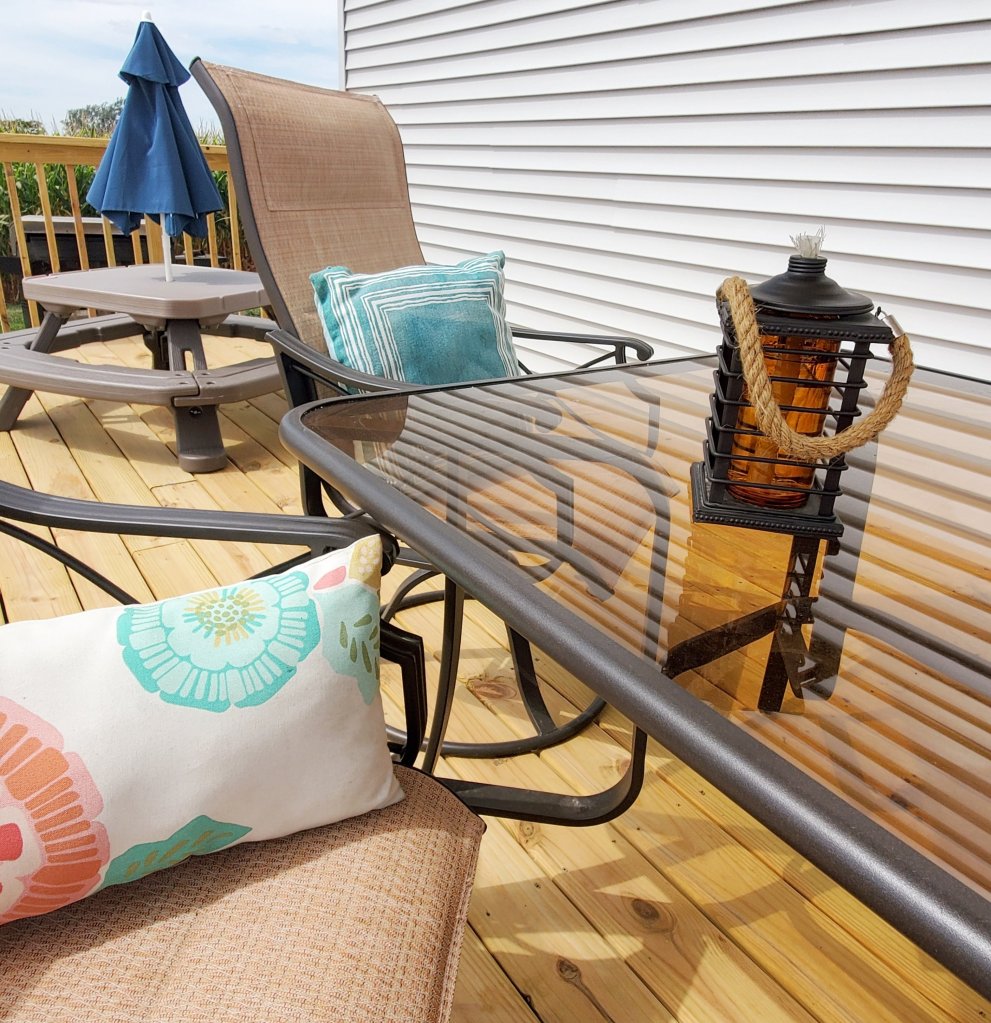
One thing that was super important to us when adding the deck was having some shade, as we have very little from the one small existing tree.
My favorite umbrellas?! From Abba Patio! (You can use code La10 on your order with them too!) The 11 foot red stripe is gorgeous! And so easy to use. We custom installed it with brackets we made, but it can go on a table or a base as well. This keep it so much cooler in the shaded areas!!

Next I need to find some outdoor rugs to tie in the different areas. Suggestions?? I’m being so indecisive!
Also, looking for an outdoor sectional. Maybe a hot tub?! 😜
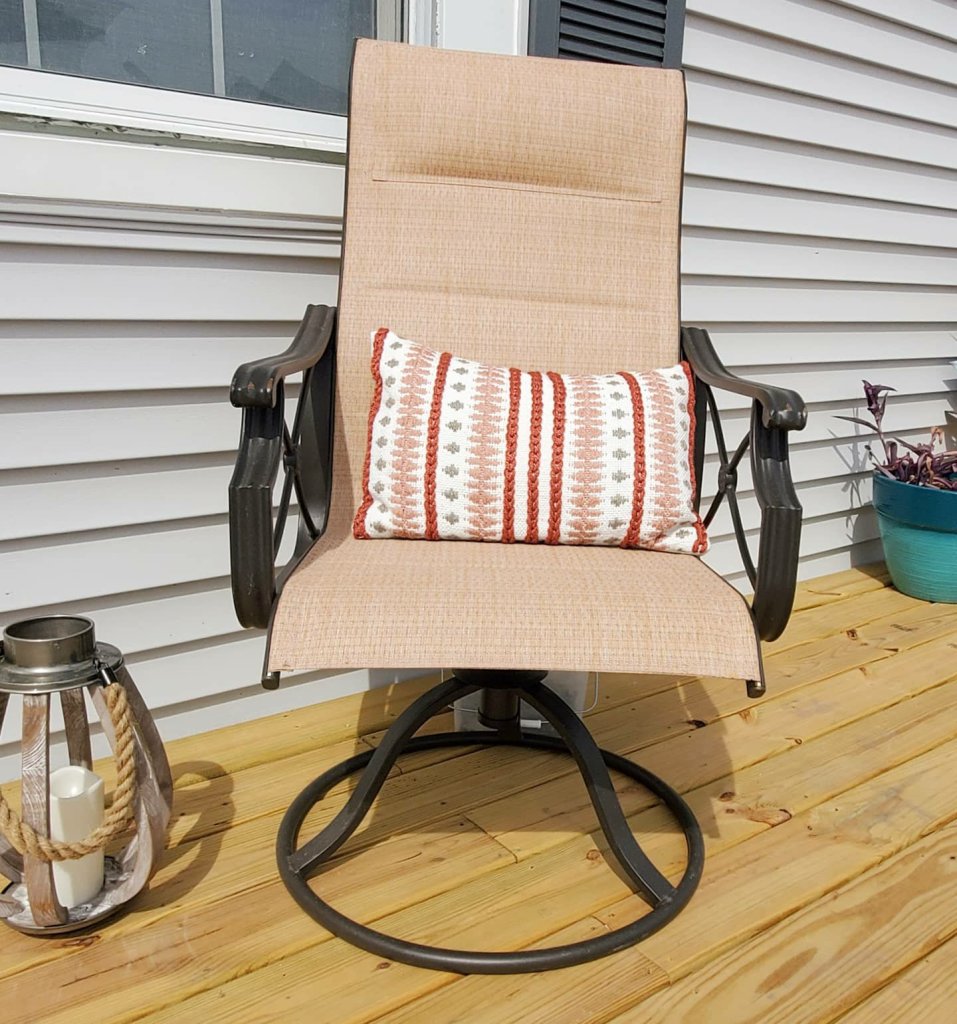
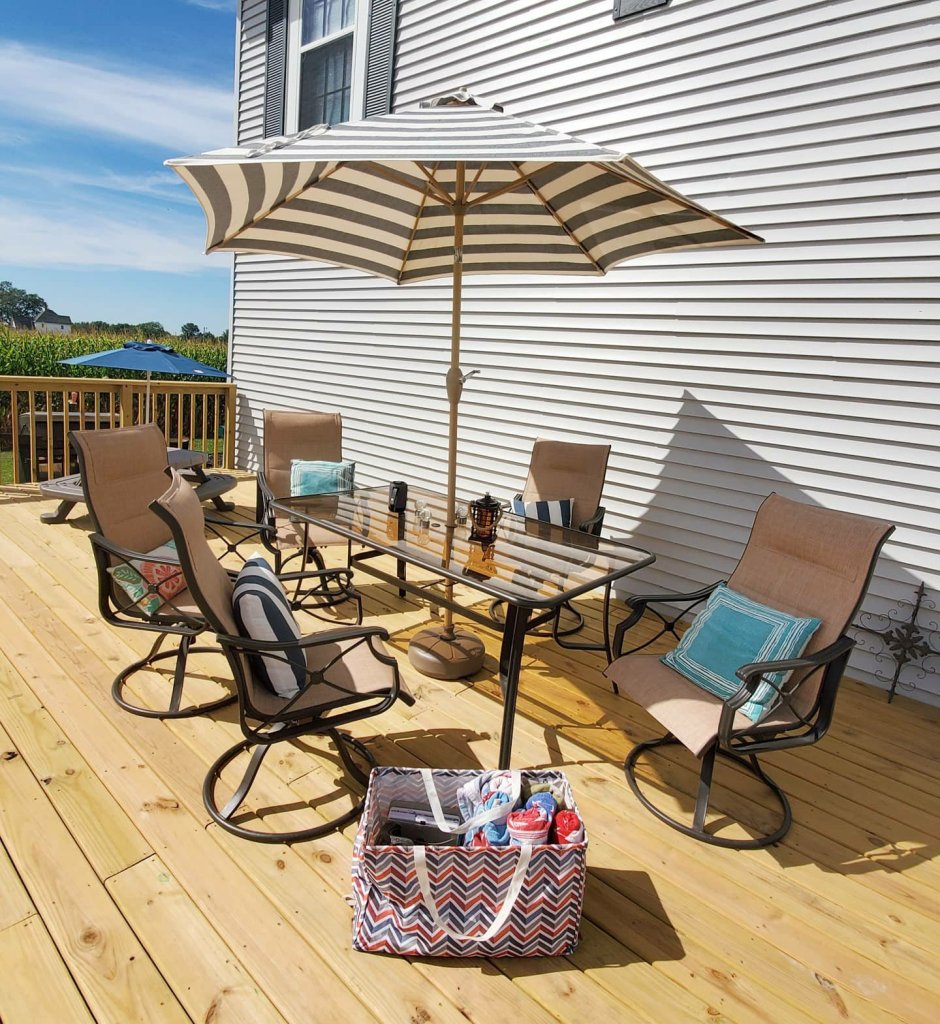
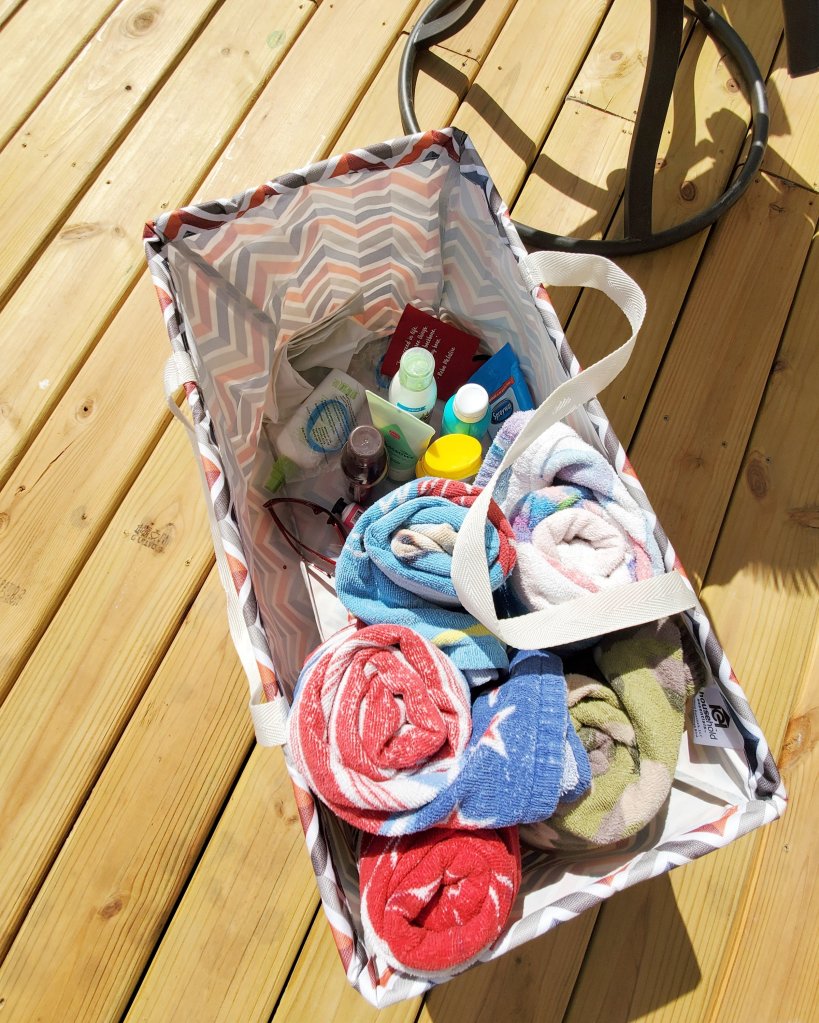
The table and chairs are from Menards. The wood lantern is from Walmart, along with the orange striped pillow and turquoise planters. The beach bag below is from Amazon.

The kids table is Step 2 and an awesome thing to have if you have littles. We use it all the time!
Tip- use a beach bag or tote like the one below to hold your deck or patio essentials. We take it in at night and bring out each day. Super helpful to keep things corralled while not getting ruined being left outside. We keep sunscreen, bug spray, santizer, sunglasses, beach towels, a speaker, and anything we want for the day inside. So handy!!
XX,
Jess
Why I Love My Cricut
This is a sponsored post written by me on behalf of <a href=”Cricuthttps://lnk2.io/wjcWg2L”>Cricut</a>. All opinions are 100% mine.
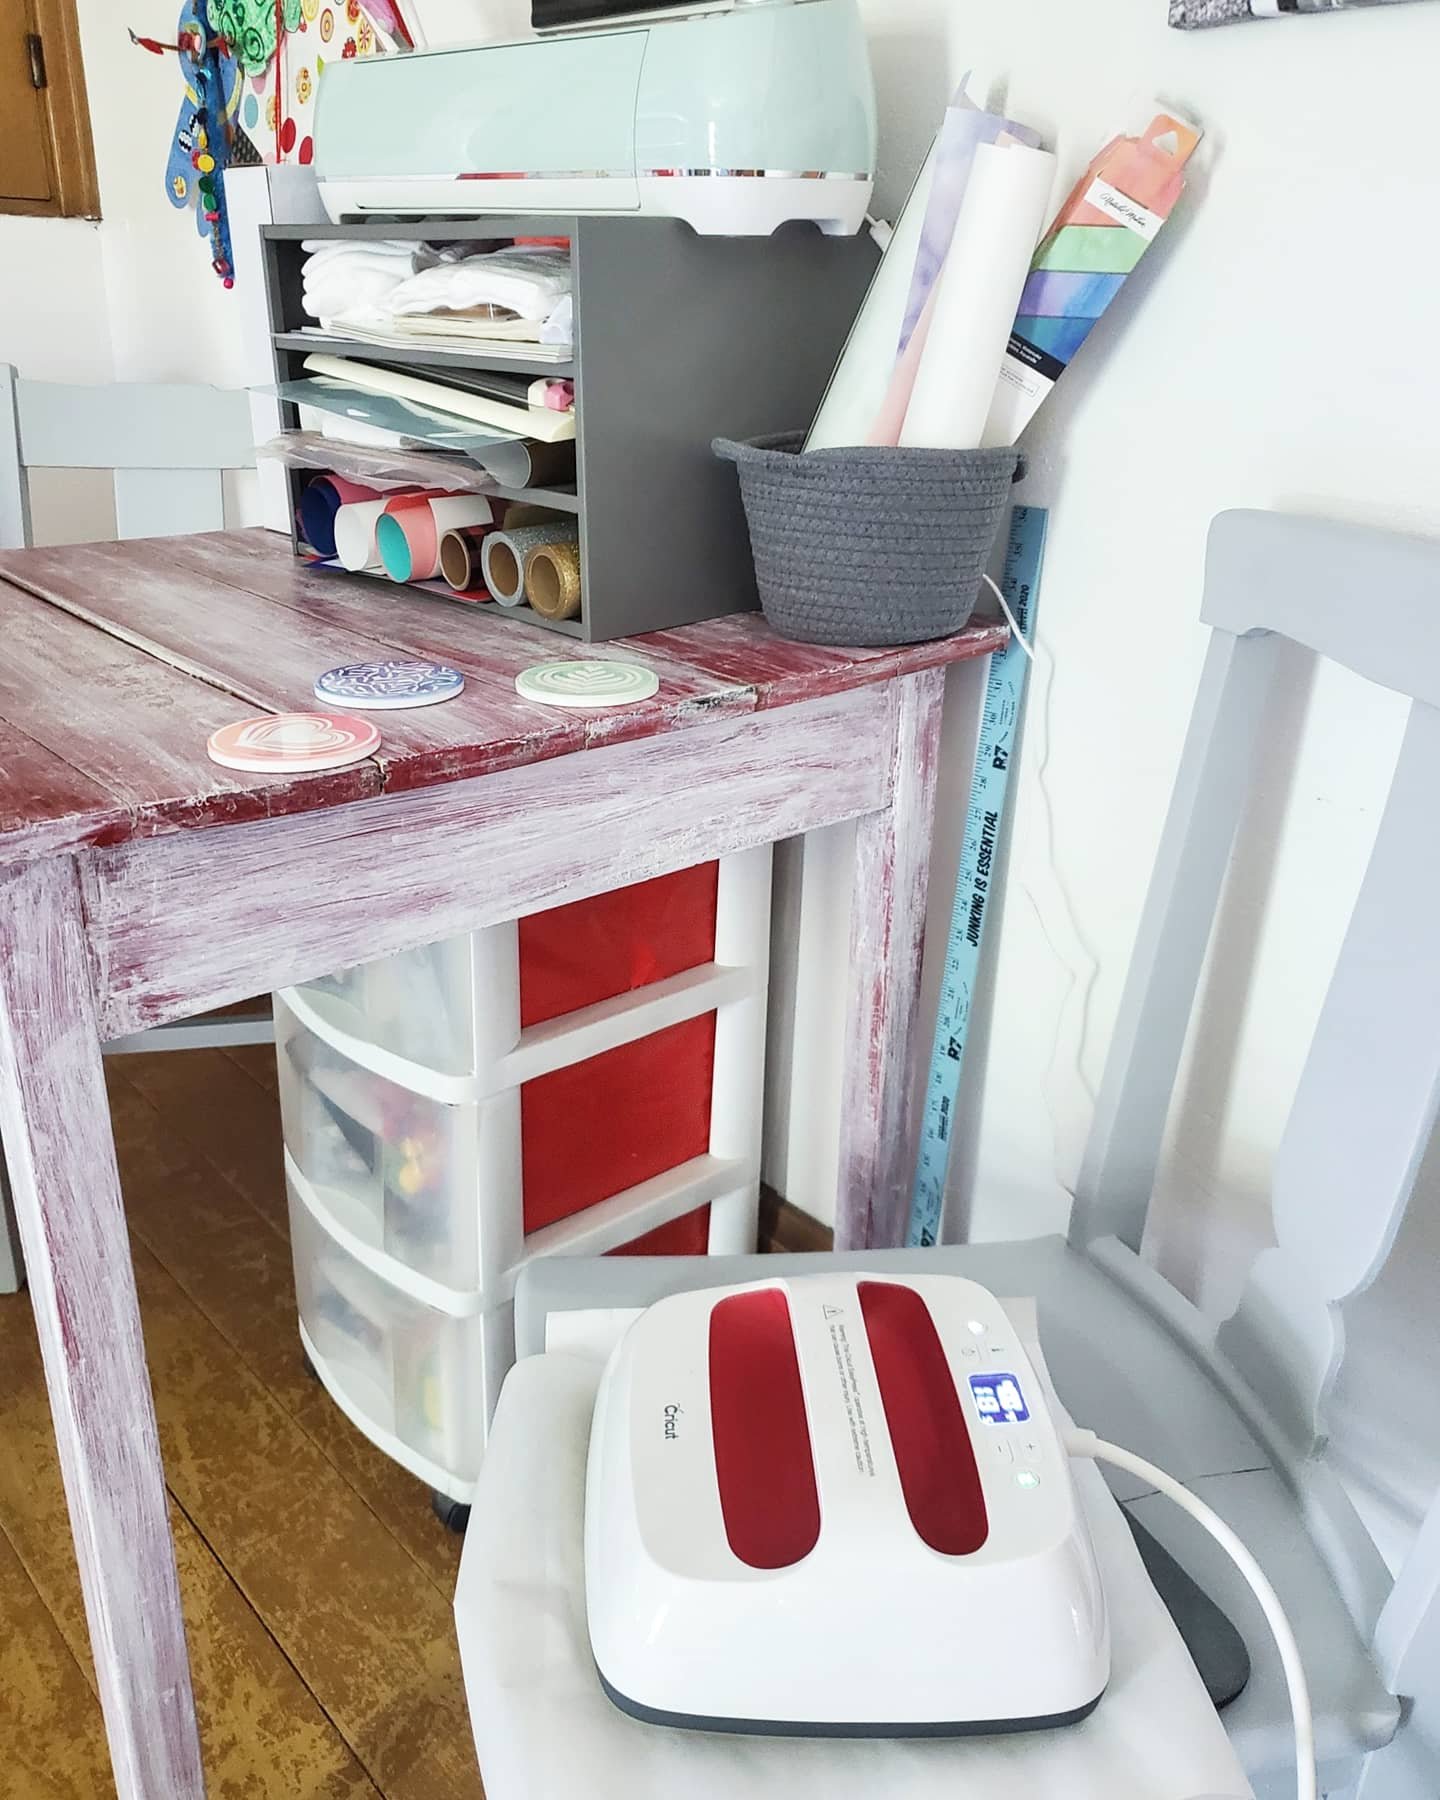
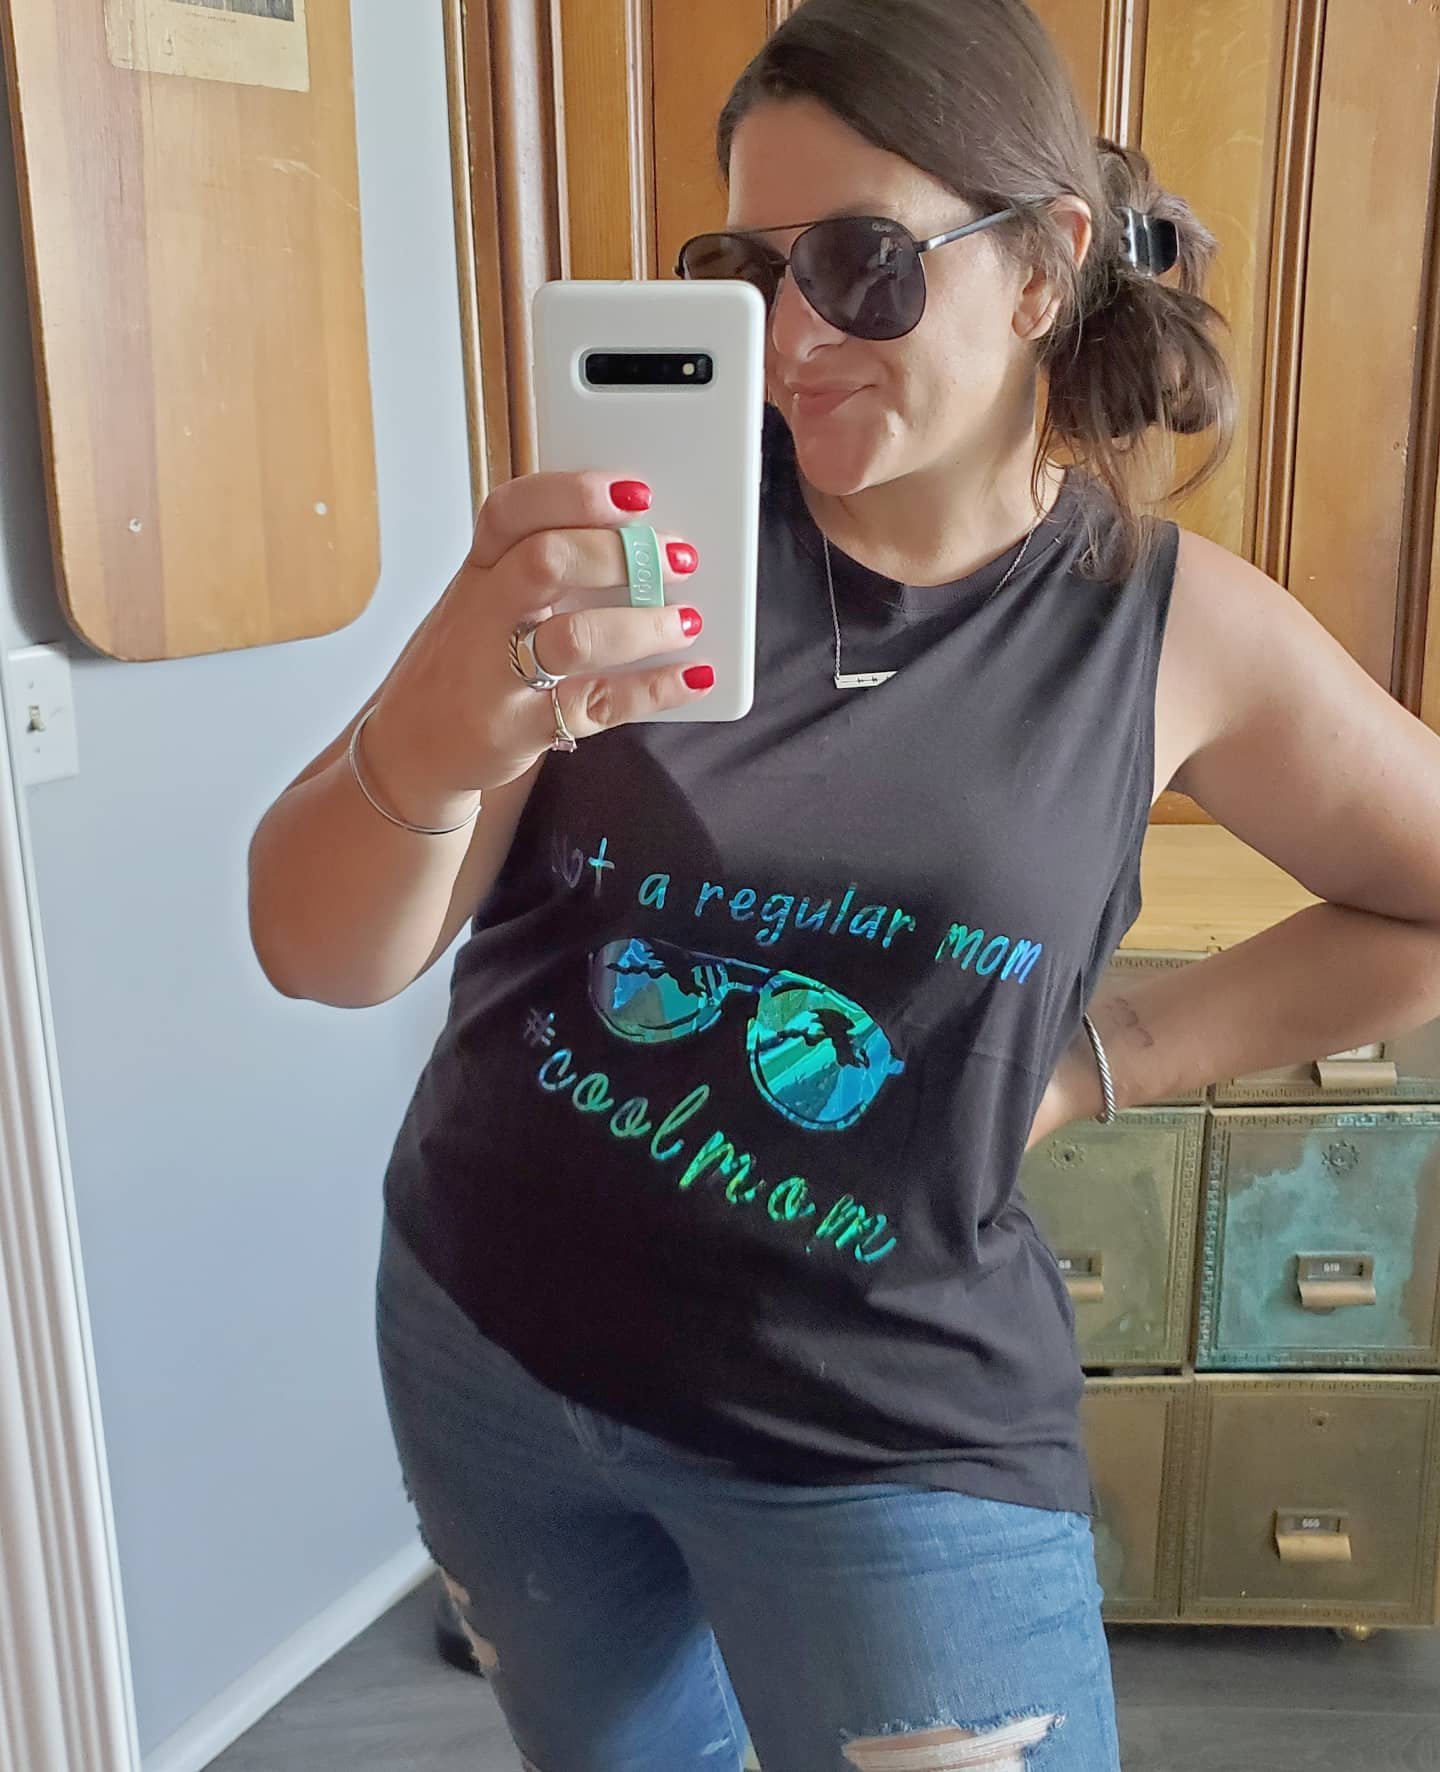
I have had my Cricut Explore Air 2 for a few months now, and to say I’m in love is an understatement! I’ve always been a crafter, but this things really helps me step up my game! Here I am going to talk about the 5 things that I love about my Cricut!
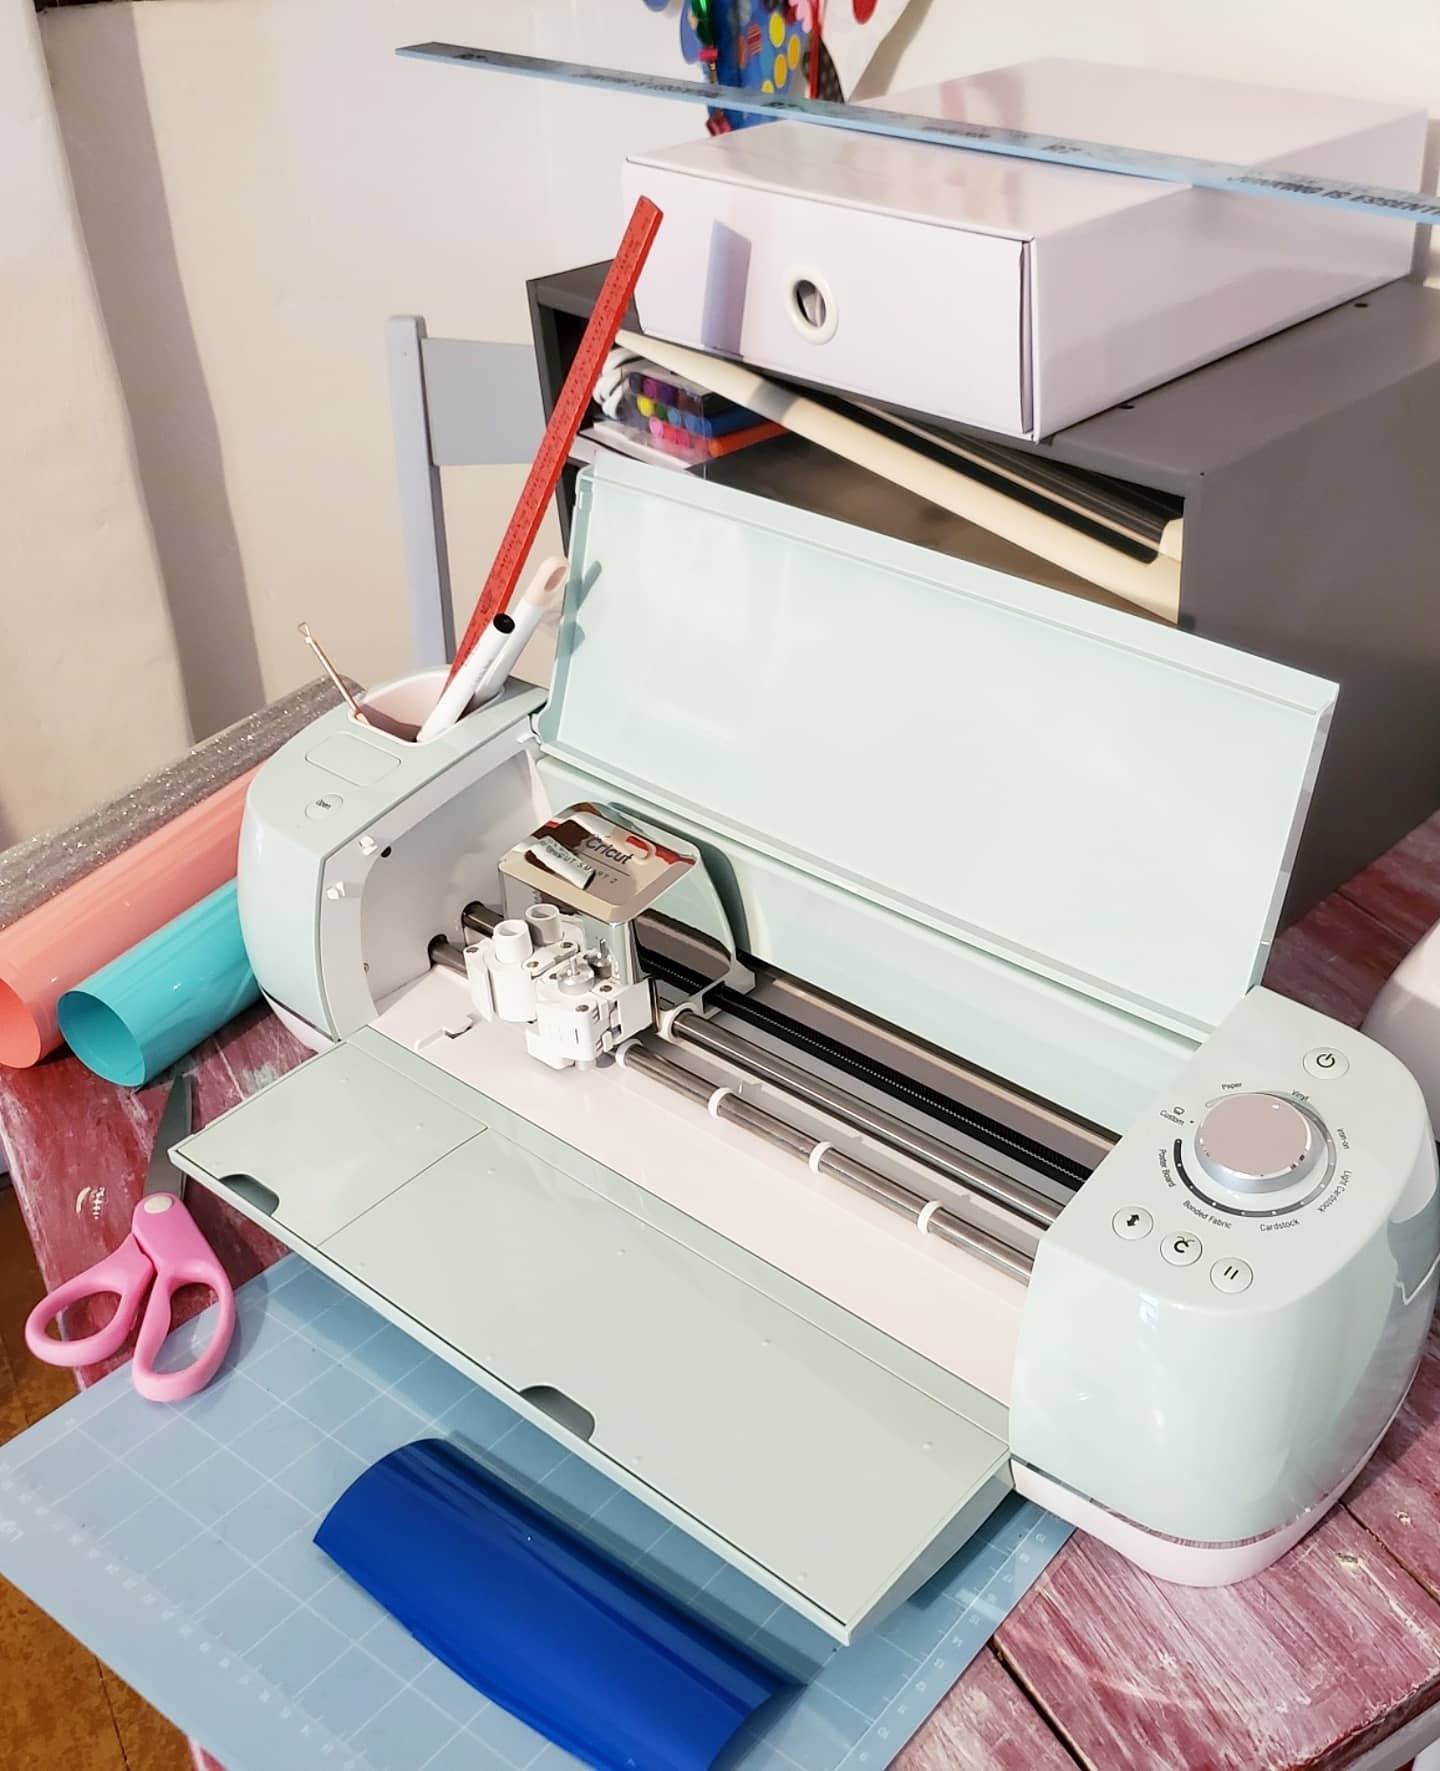
1. Its easy to use! I was truly shocked at how easy this machine is! Not going to lie, I was intimidated at first. I worried where to start and if I would be able to figure it all out. Yup. I was. Best place to start? Pick a project and jump in. They really mean it when they say their motto is “beginners luck every time.” I learn tricks and get braver each time I use my machine, but I definitely agree that picking a beginner level project and diving in head first is a great way to start and will prove to you how easy it is! Check out this shirt I made as one of my very first projects:
2. Support! That brings me to the second thing I love about my Cricut. Its like having a whole community of creators to support you. Have a question? Worried about where to begin or which type of project to do? They’ve got an answer! Not only does Cricut have a team you can email or chat with, but they have numerous pages where you can reach out to their pros or other crafters with tons of experience. They’ve all started somewhere and learned lots and are at the ready to make sure you love your machine and projects. I would know. I wasn’t sure how to customize the design I wanted to make myself for this bag, and the Facebook page group had almost immediate answers for me!

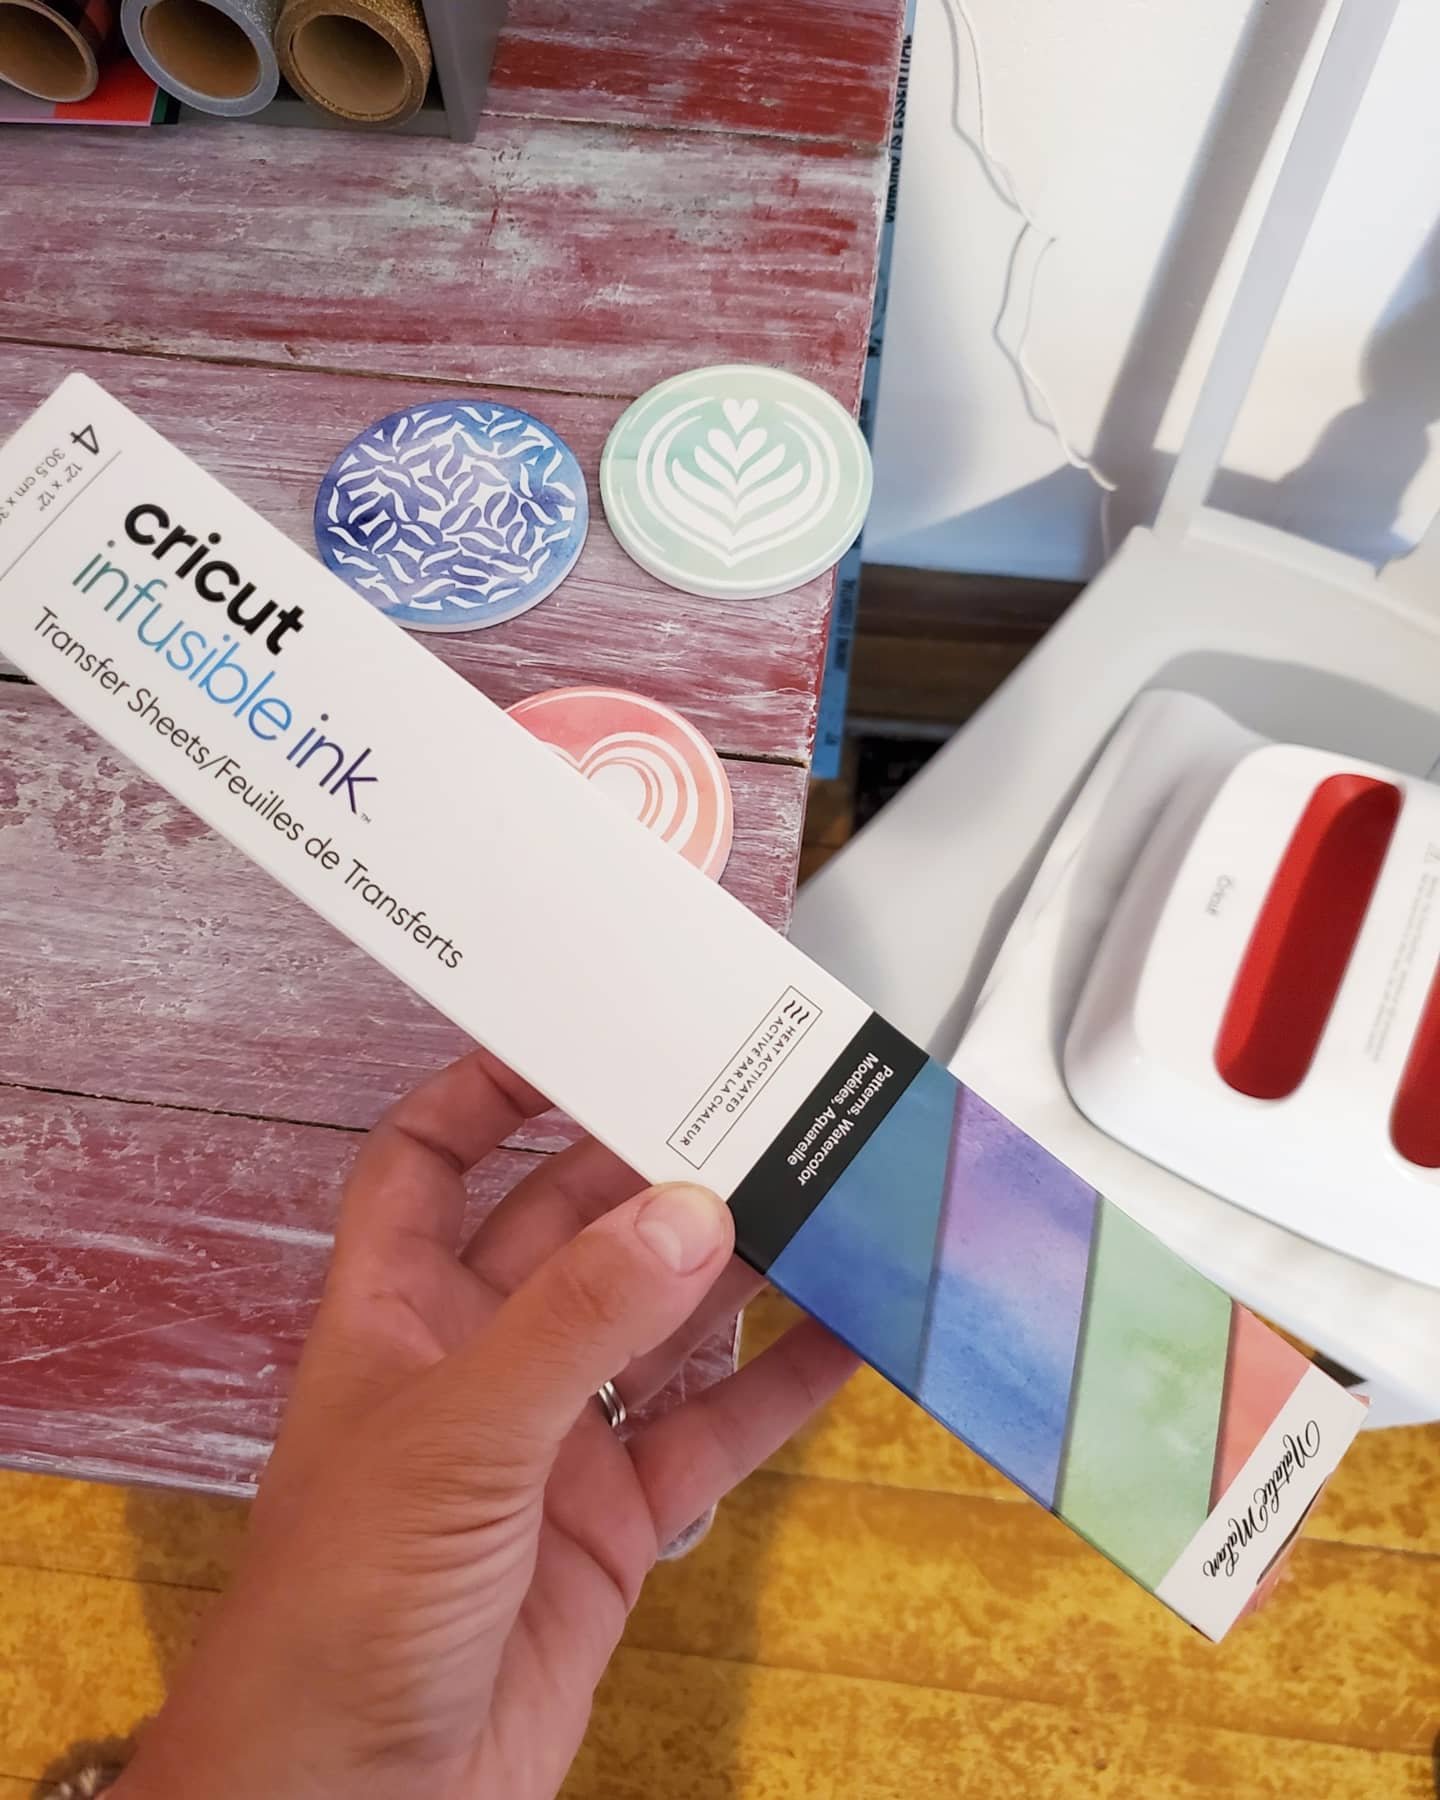
3. Ideas! This also leads me to another thing I love about Cricut, the ideas! I never worry about having a creative block. There’s no way. The ideas of projects to make are endless, for every single occasion you cak dream of. Really. You can find ideas galore on Pinterest, and Instagram, or Cricuts’s Facebook page. And my favorite place for inspiration? The Cricut emails! They send seasonal emails showing the new ideas and templates added to Design Space, their app for making. How did I know about the new infusible ink and coaster blanks to make these? One of their idea emails! Light bulb!

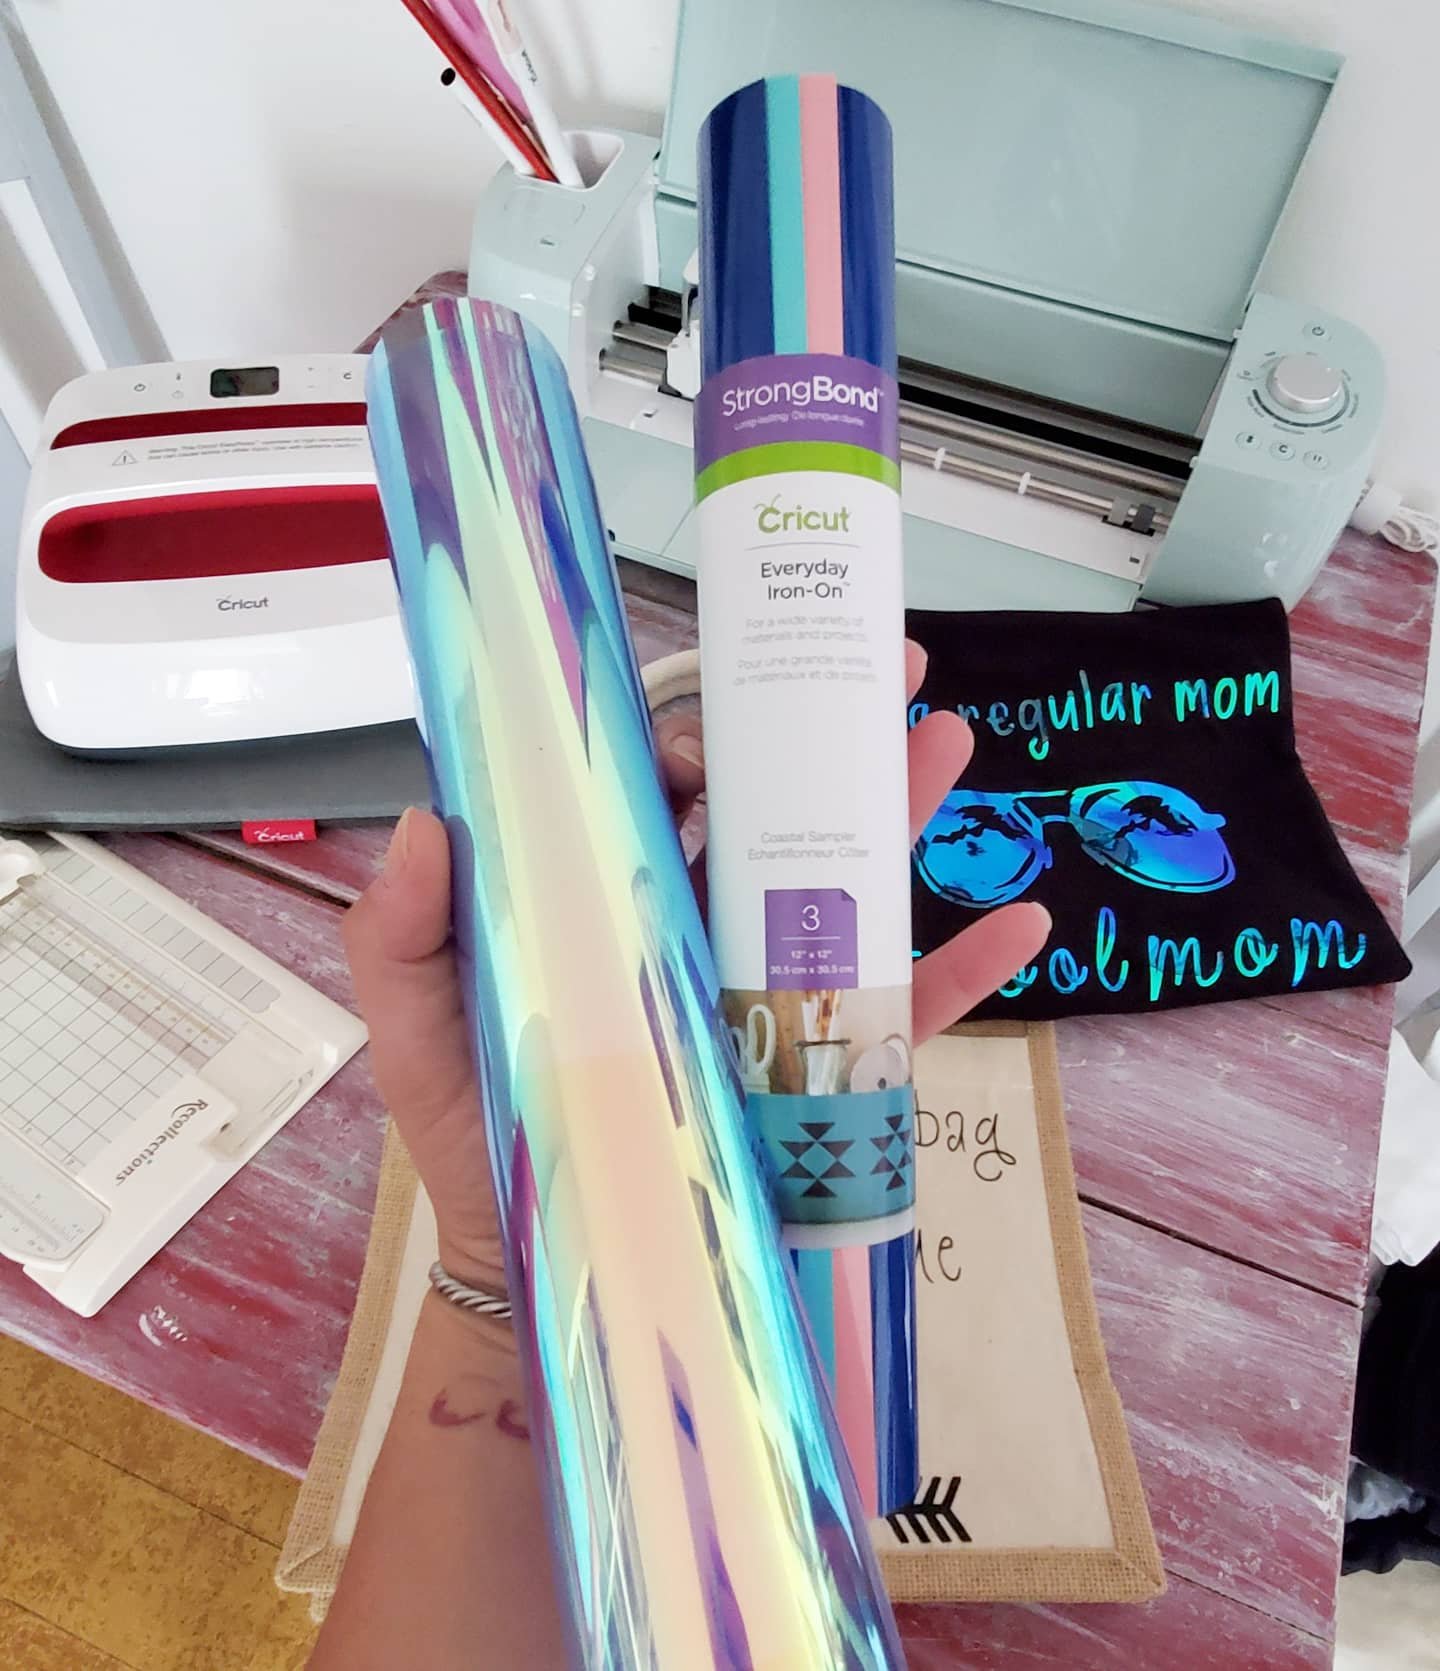
4. The options! Got a bright idea to make? You can! And Cricut can help you do it! The options they supply for you is endless. Or almost. Not only do they help with the ideas, but they make it easy to find all of the supplies you need to make visions come to fruition. They have coasters, bags, shirts, materials, pens, markers, vinyls, decals, iron ons, and the widest variety of patterns in their supplies you could imagine! Sparkles, holographics, leopard, wood grain…their possibilities are never ending! Not to mention, cricut has other machines like the EasyPress, and tools like mats, cutters, Nd weeders, to make all of the options come to life!

5. Capabilities! This machine not only cuts paper and vinyls. I was shocked to learn what all it really can do. Like blown away. It can cut leather, poster board, felt, fabric and even wood. But it doesn’t just cut, it can score. And it can draw! Yup! Shocked?! Me too. You can insert pens and markers into the blade holder and it can draw or write, making handmade cards, letters, signs… mind blown.
The capabilities combined with the Cricut options alone shows you that the possibilities are truly endless. I cannot wait to do another project every time I finish one! And now all of my gifts will be one of a kind made by yours truly!
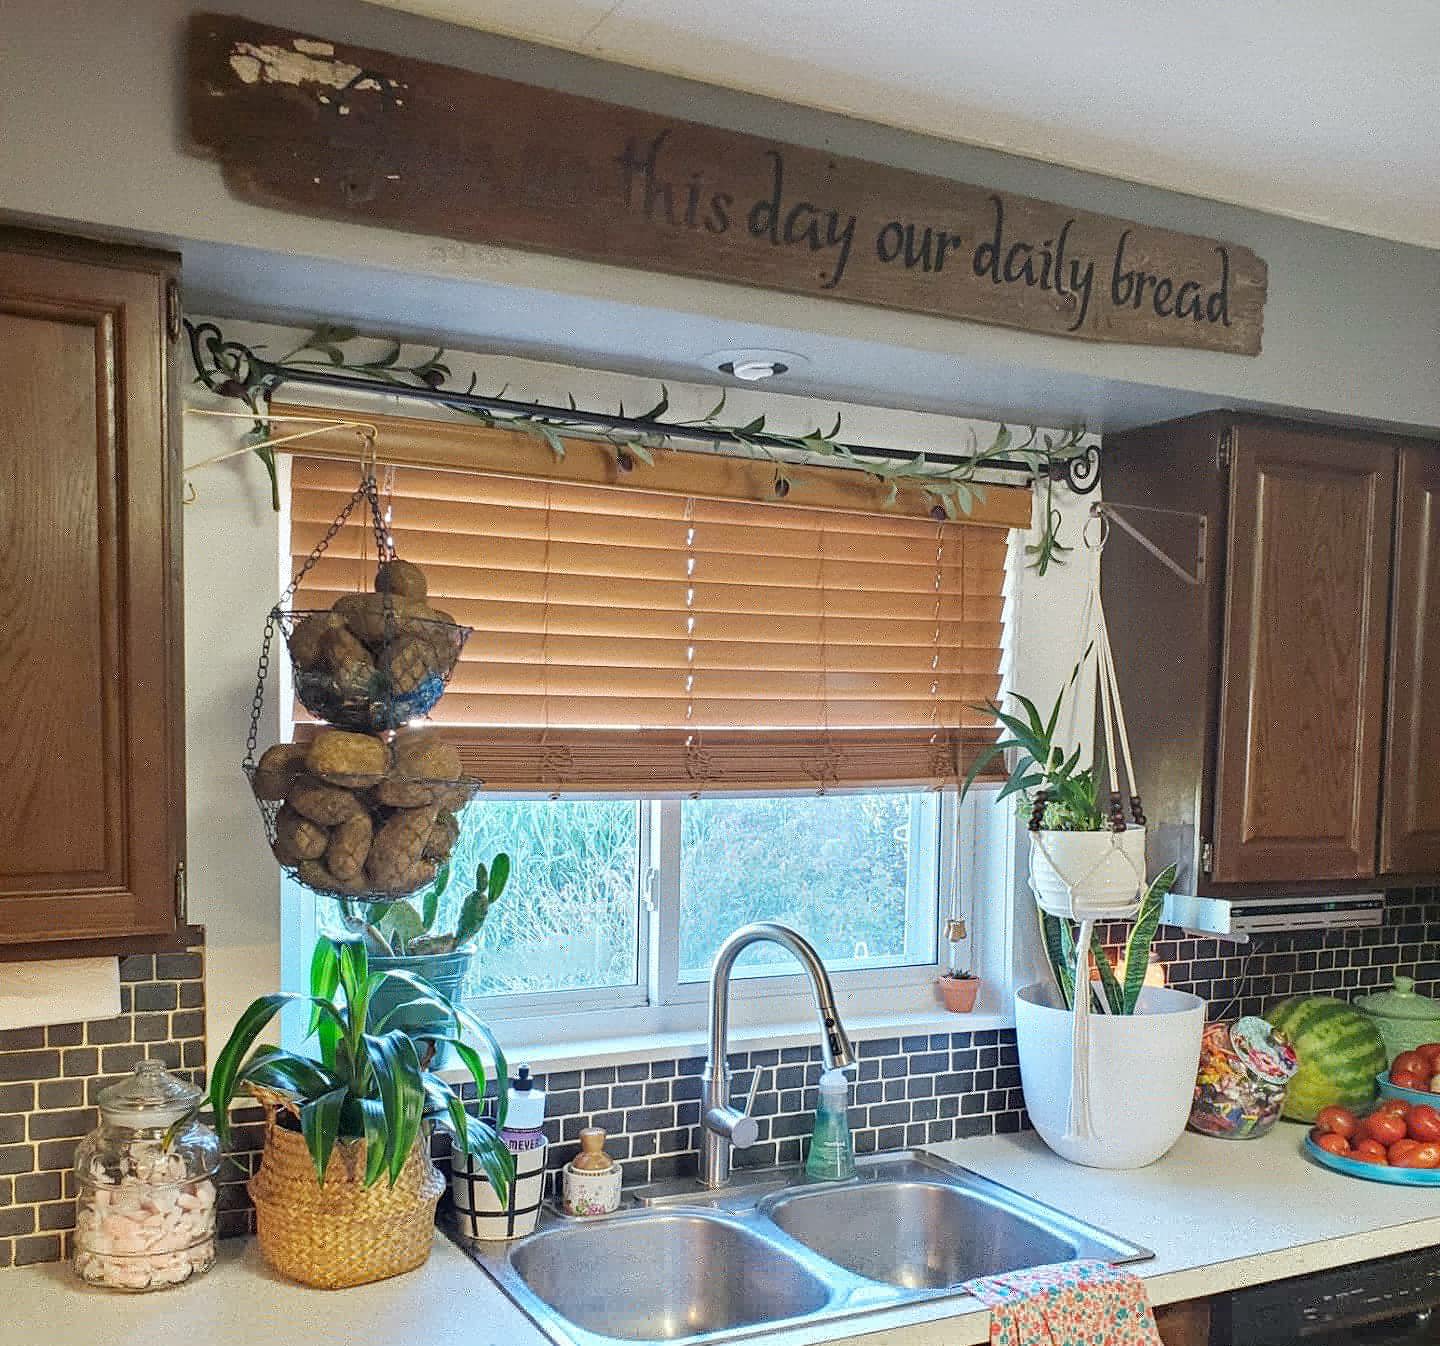
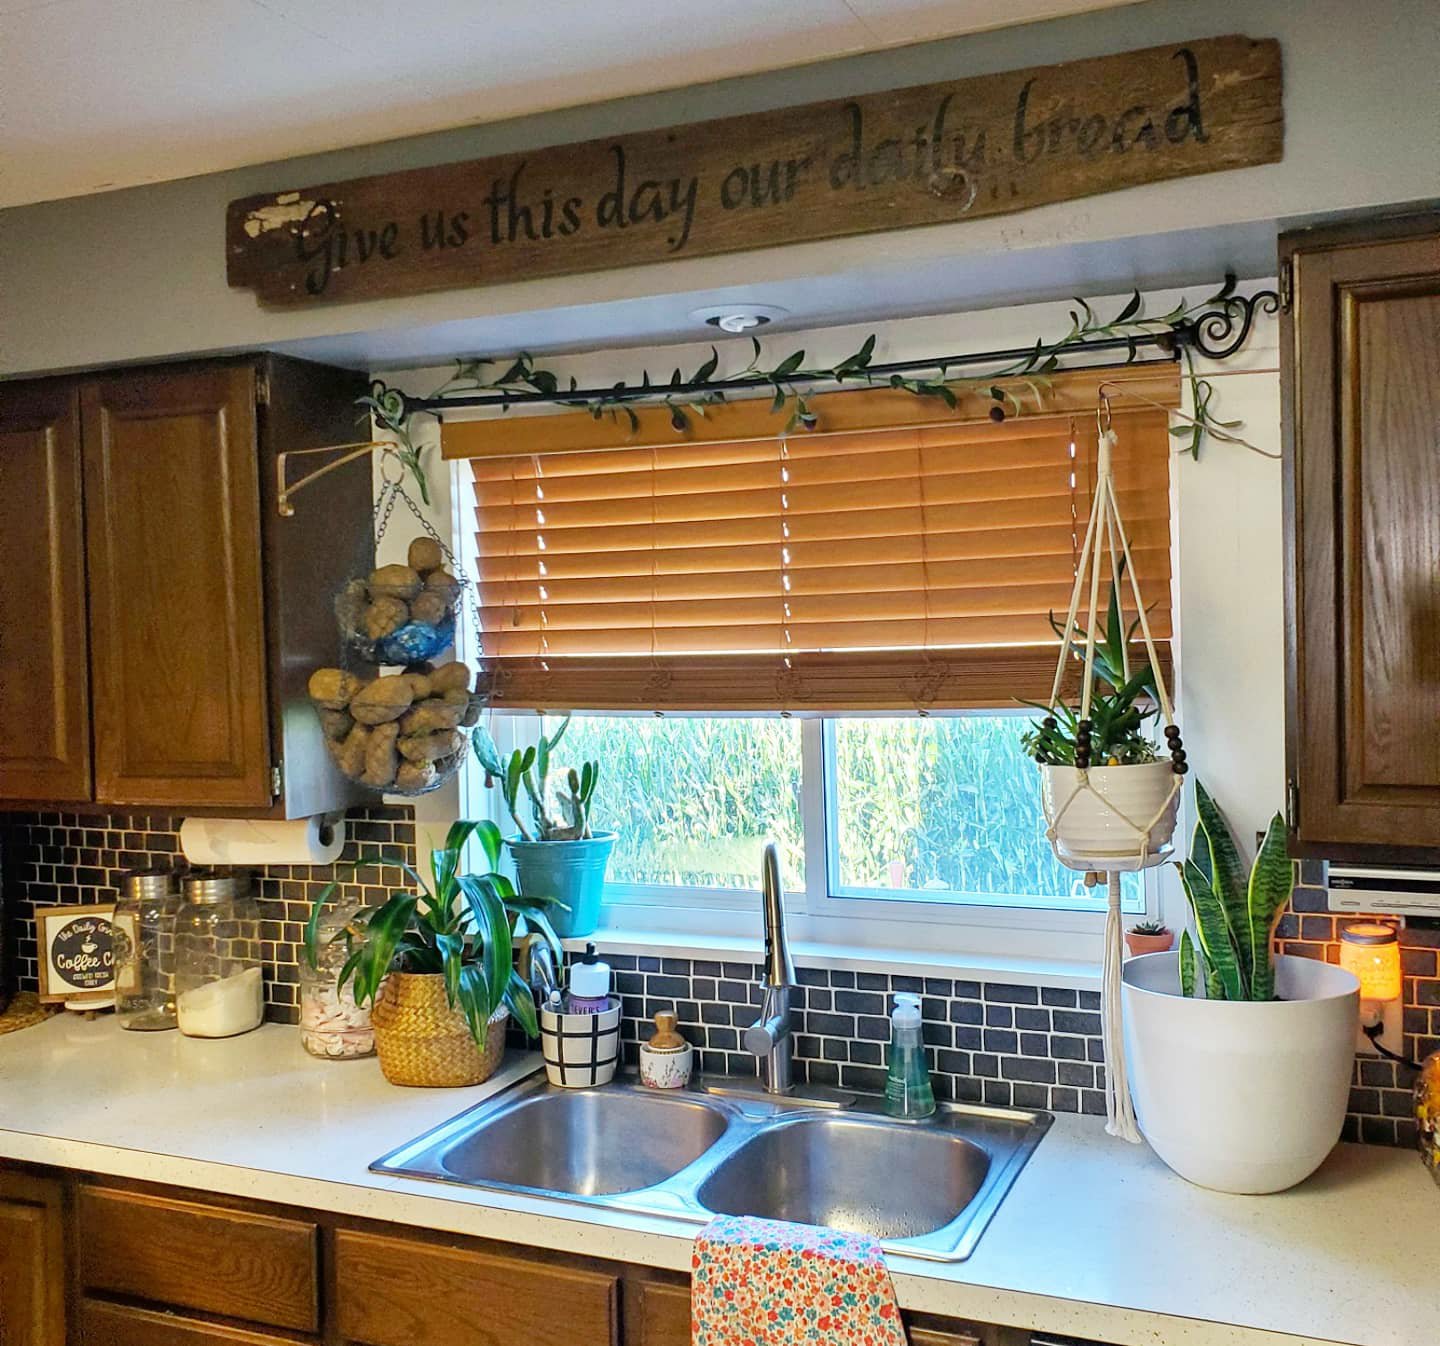
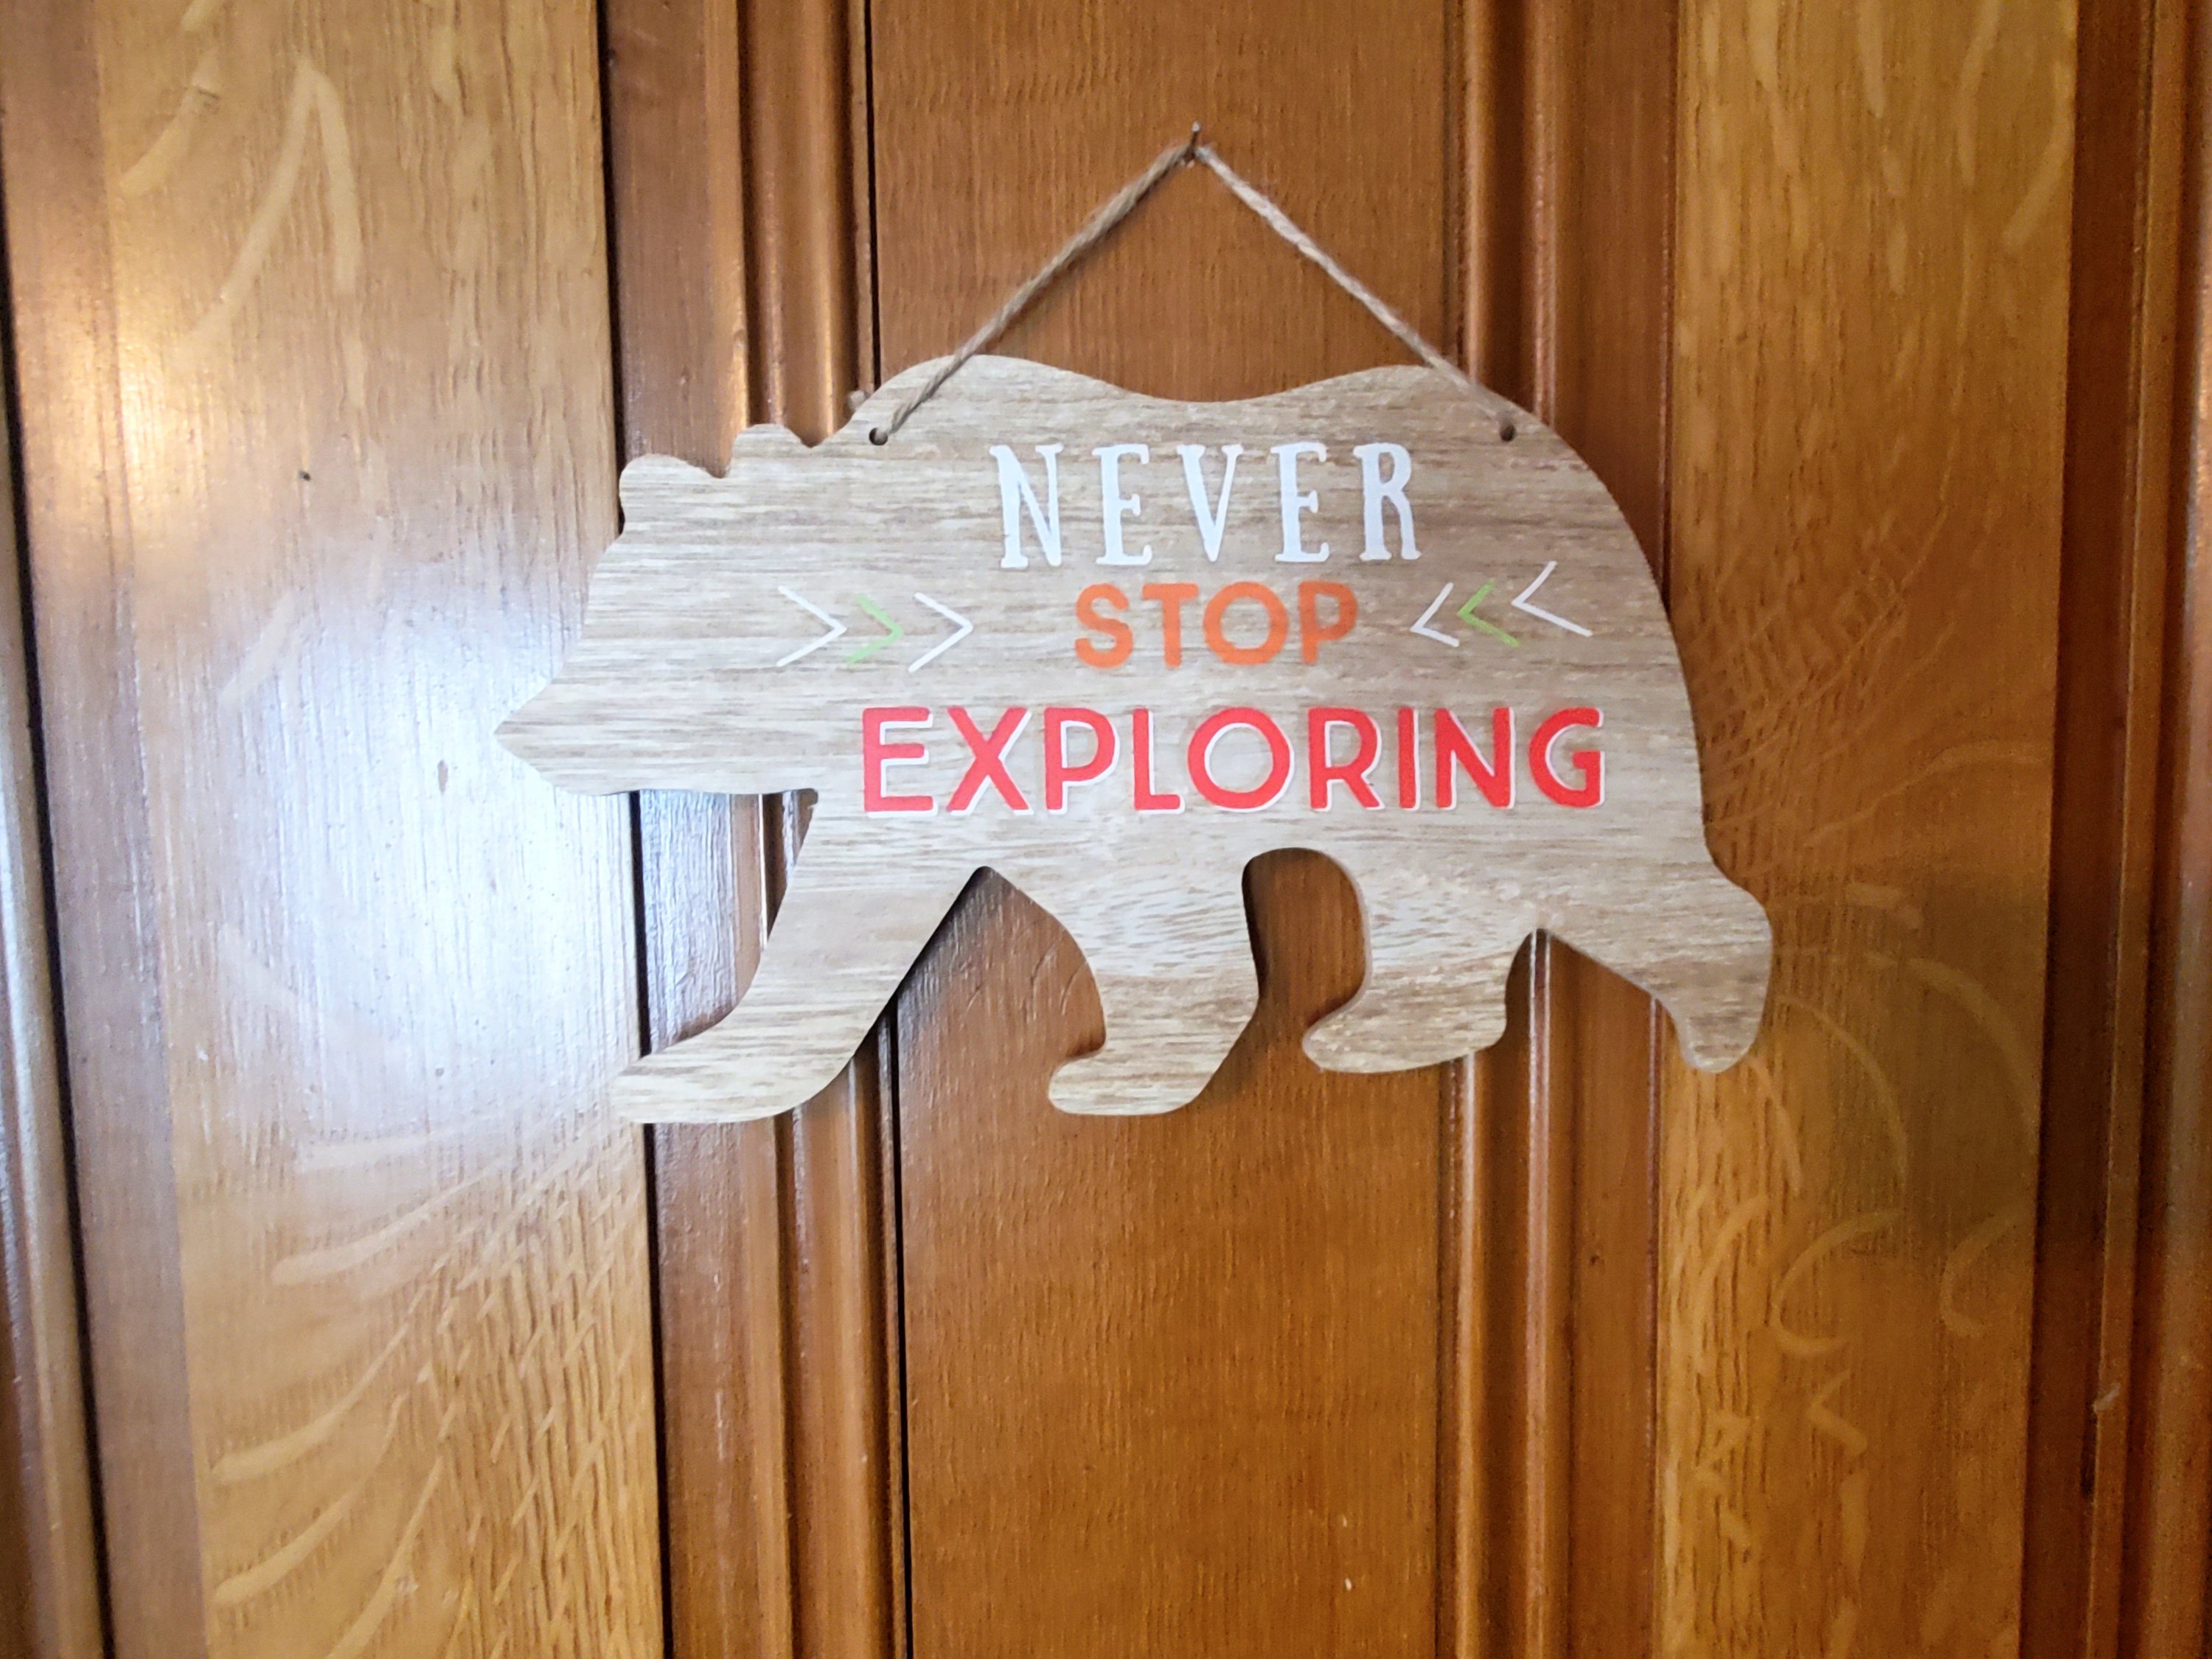
Here’s a quick breakdown of my latest project, a sign for our kitchen.
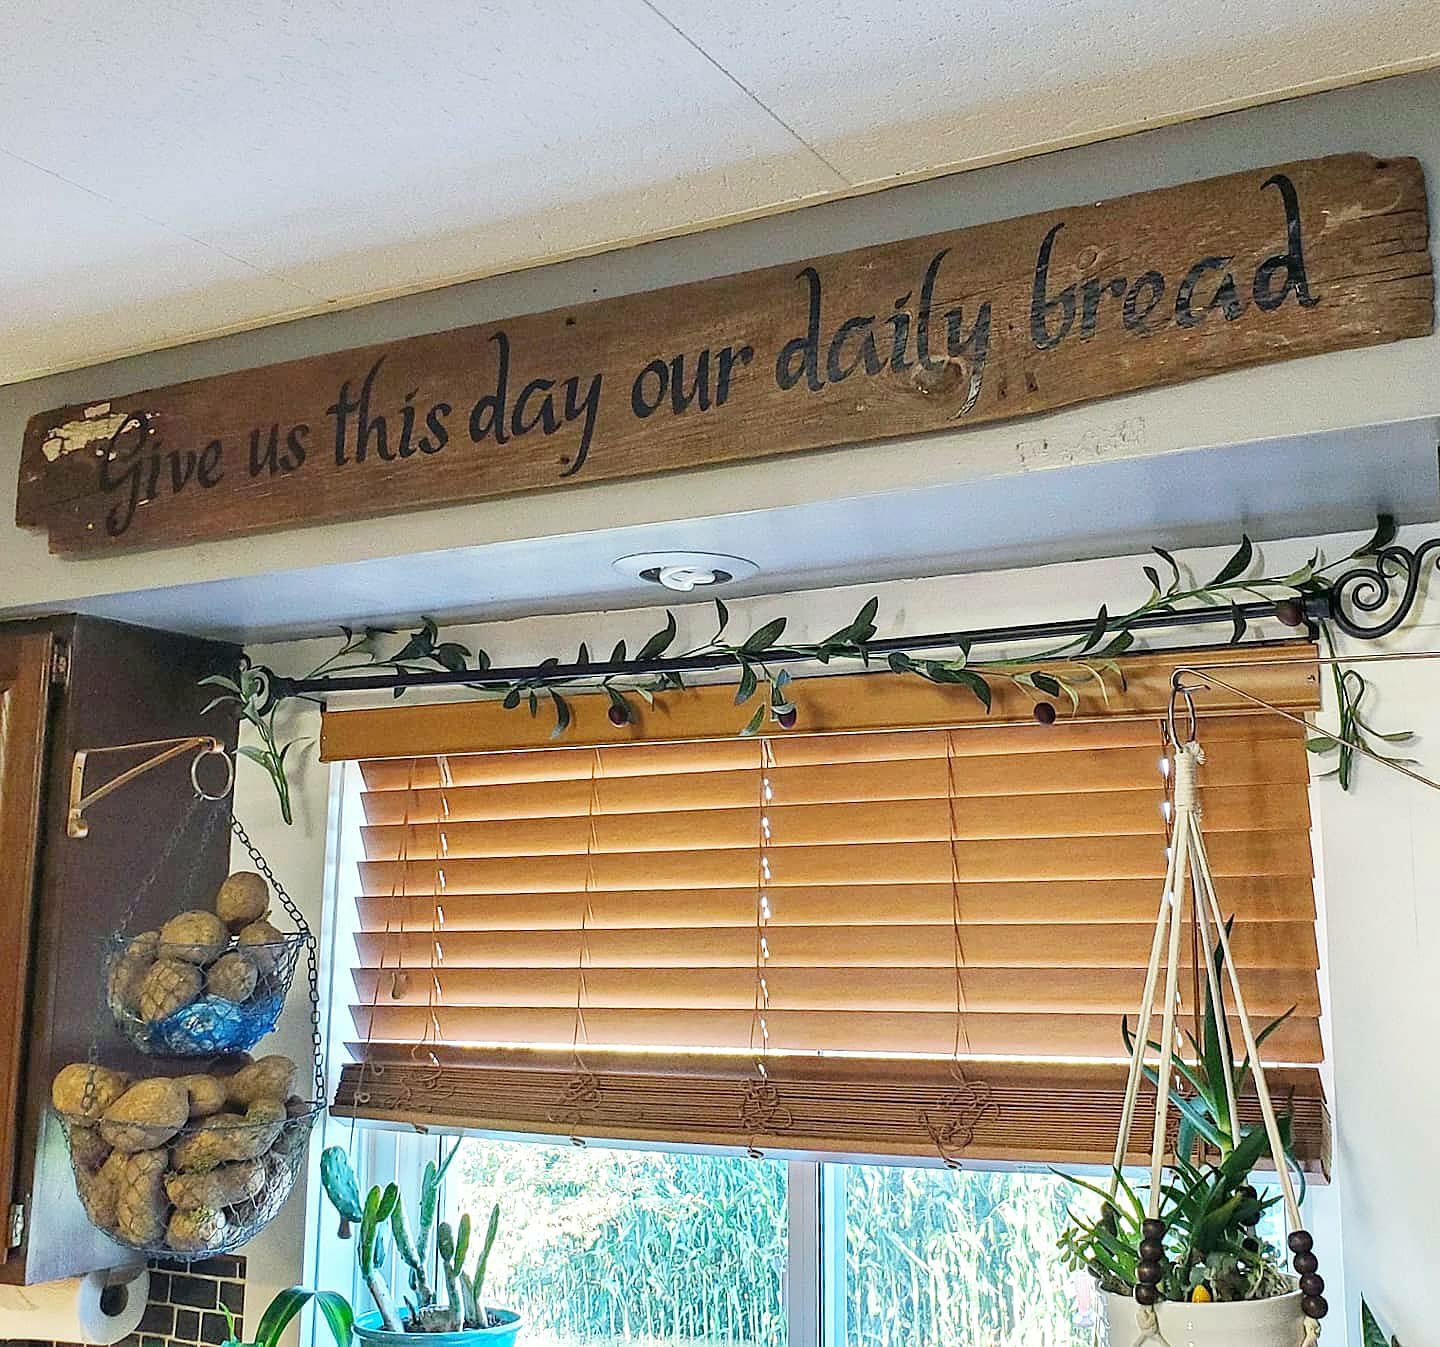
Choose a board and a quote. My board is a faded, chipped, barn board from our barn. (I’m sure to some the white paint left on one corner and the odd shape caused by years of cattle wear are not pretty, but we loved this board! 😉
Then, start on the Design Space app, and find my design template here. My board is 5ft long, but you can edit the design to adjust measurements. Once you send the design to the machine and it cuts it on vinyl, weed the excess pieces out. Use transfer tape to pick up your design and stick it down in place on your board. You could add flourishes to the ends of your quote too! You can change this design and even choose your own color vinyl. I used matte clear coat over the board to ensure no edges lift since I chose an old, rippled barn board for my project. Add a hanger or two on the back and hang. Easy peasy and a great one-of-a-kind, beginner-friendly project!
Have questions? Need help or ideas? Just ask! 😘
XX,
Jess
Muscatine Iowa Area Sightseeing
Summer is here! We’ve been quarantined long enough, so we are off to see all the sights, but distantly! So, we thought we would round up some of the things to do and see outside and at a distance, here in Muscatine area, Iowa. Enjoy!
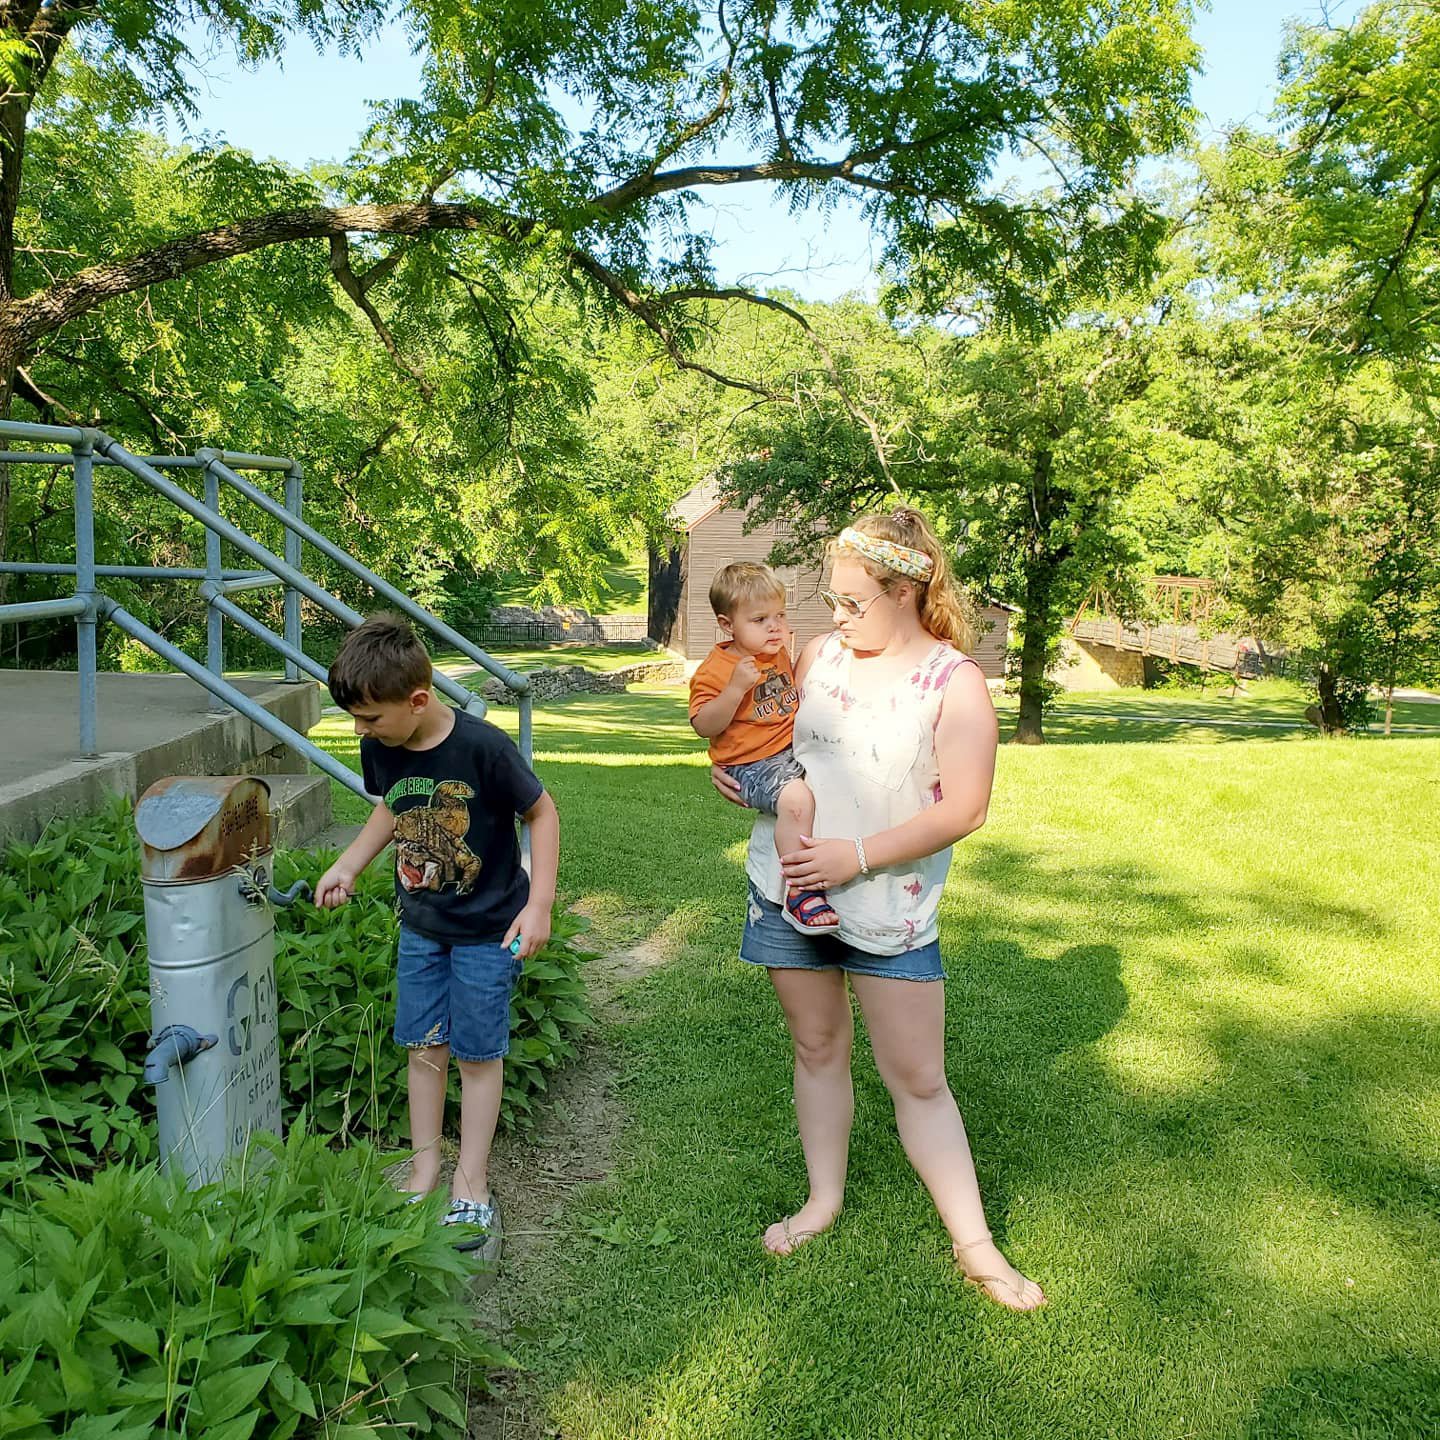
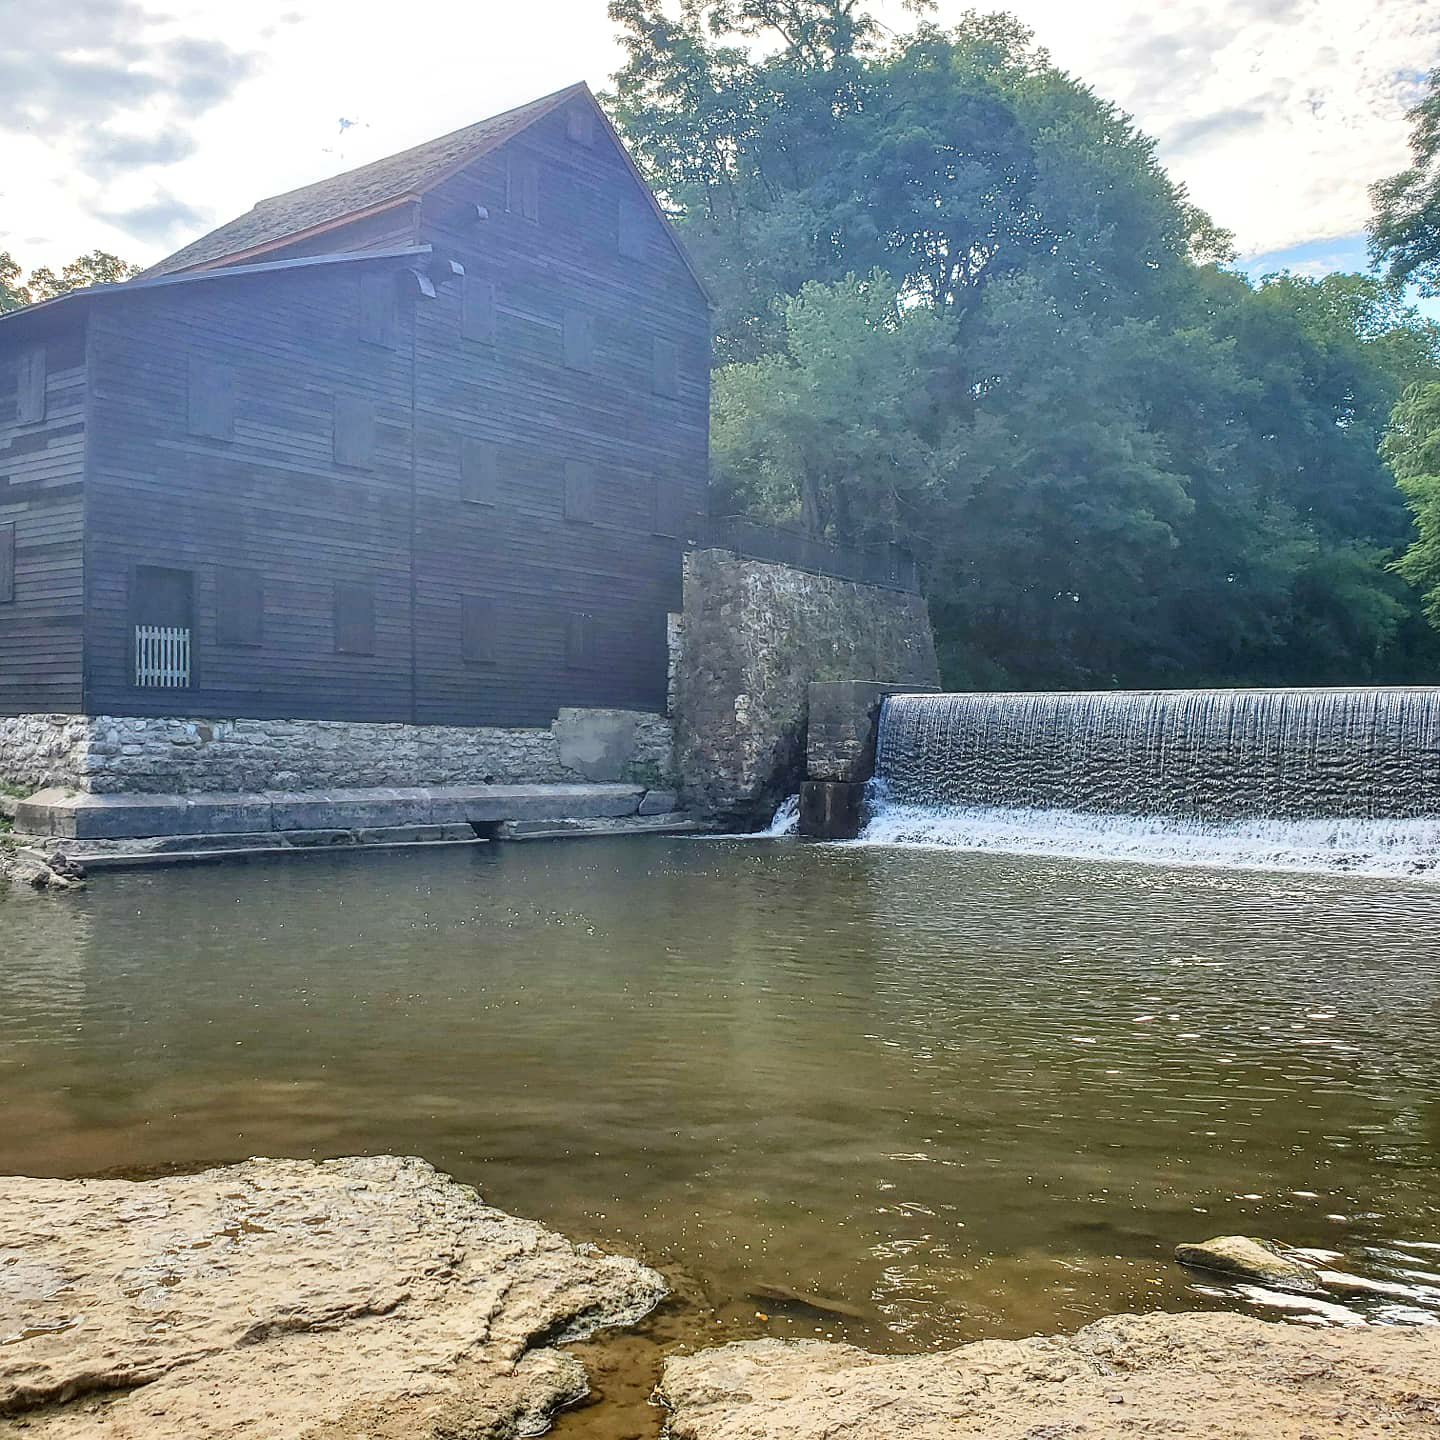
1. Wilcat Den and Saw Mill- this is one of my family’s favorites in the area. Its historic and beautiful and there is plenty to do here! You can camp or stop for the day, hike the many trails, and explore the historic buildings. There is a school and an old church and even a mill. The old bridge over the stream at the mill is a gorgeous sight to behold. PLUS… you can swim in the stream and go up to the waterfall! Its an amazing experience and the whole family loves doing it!


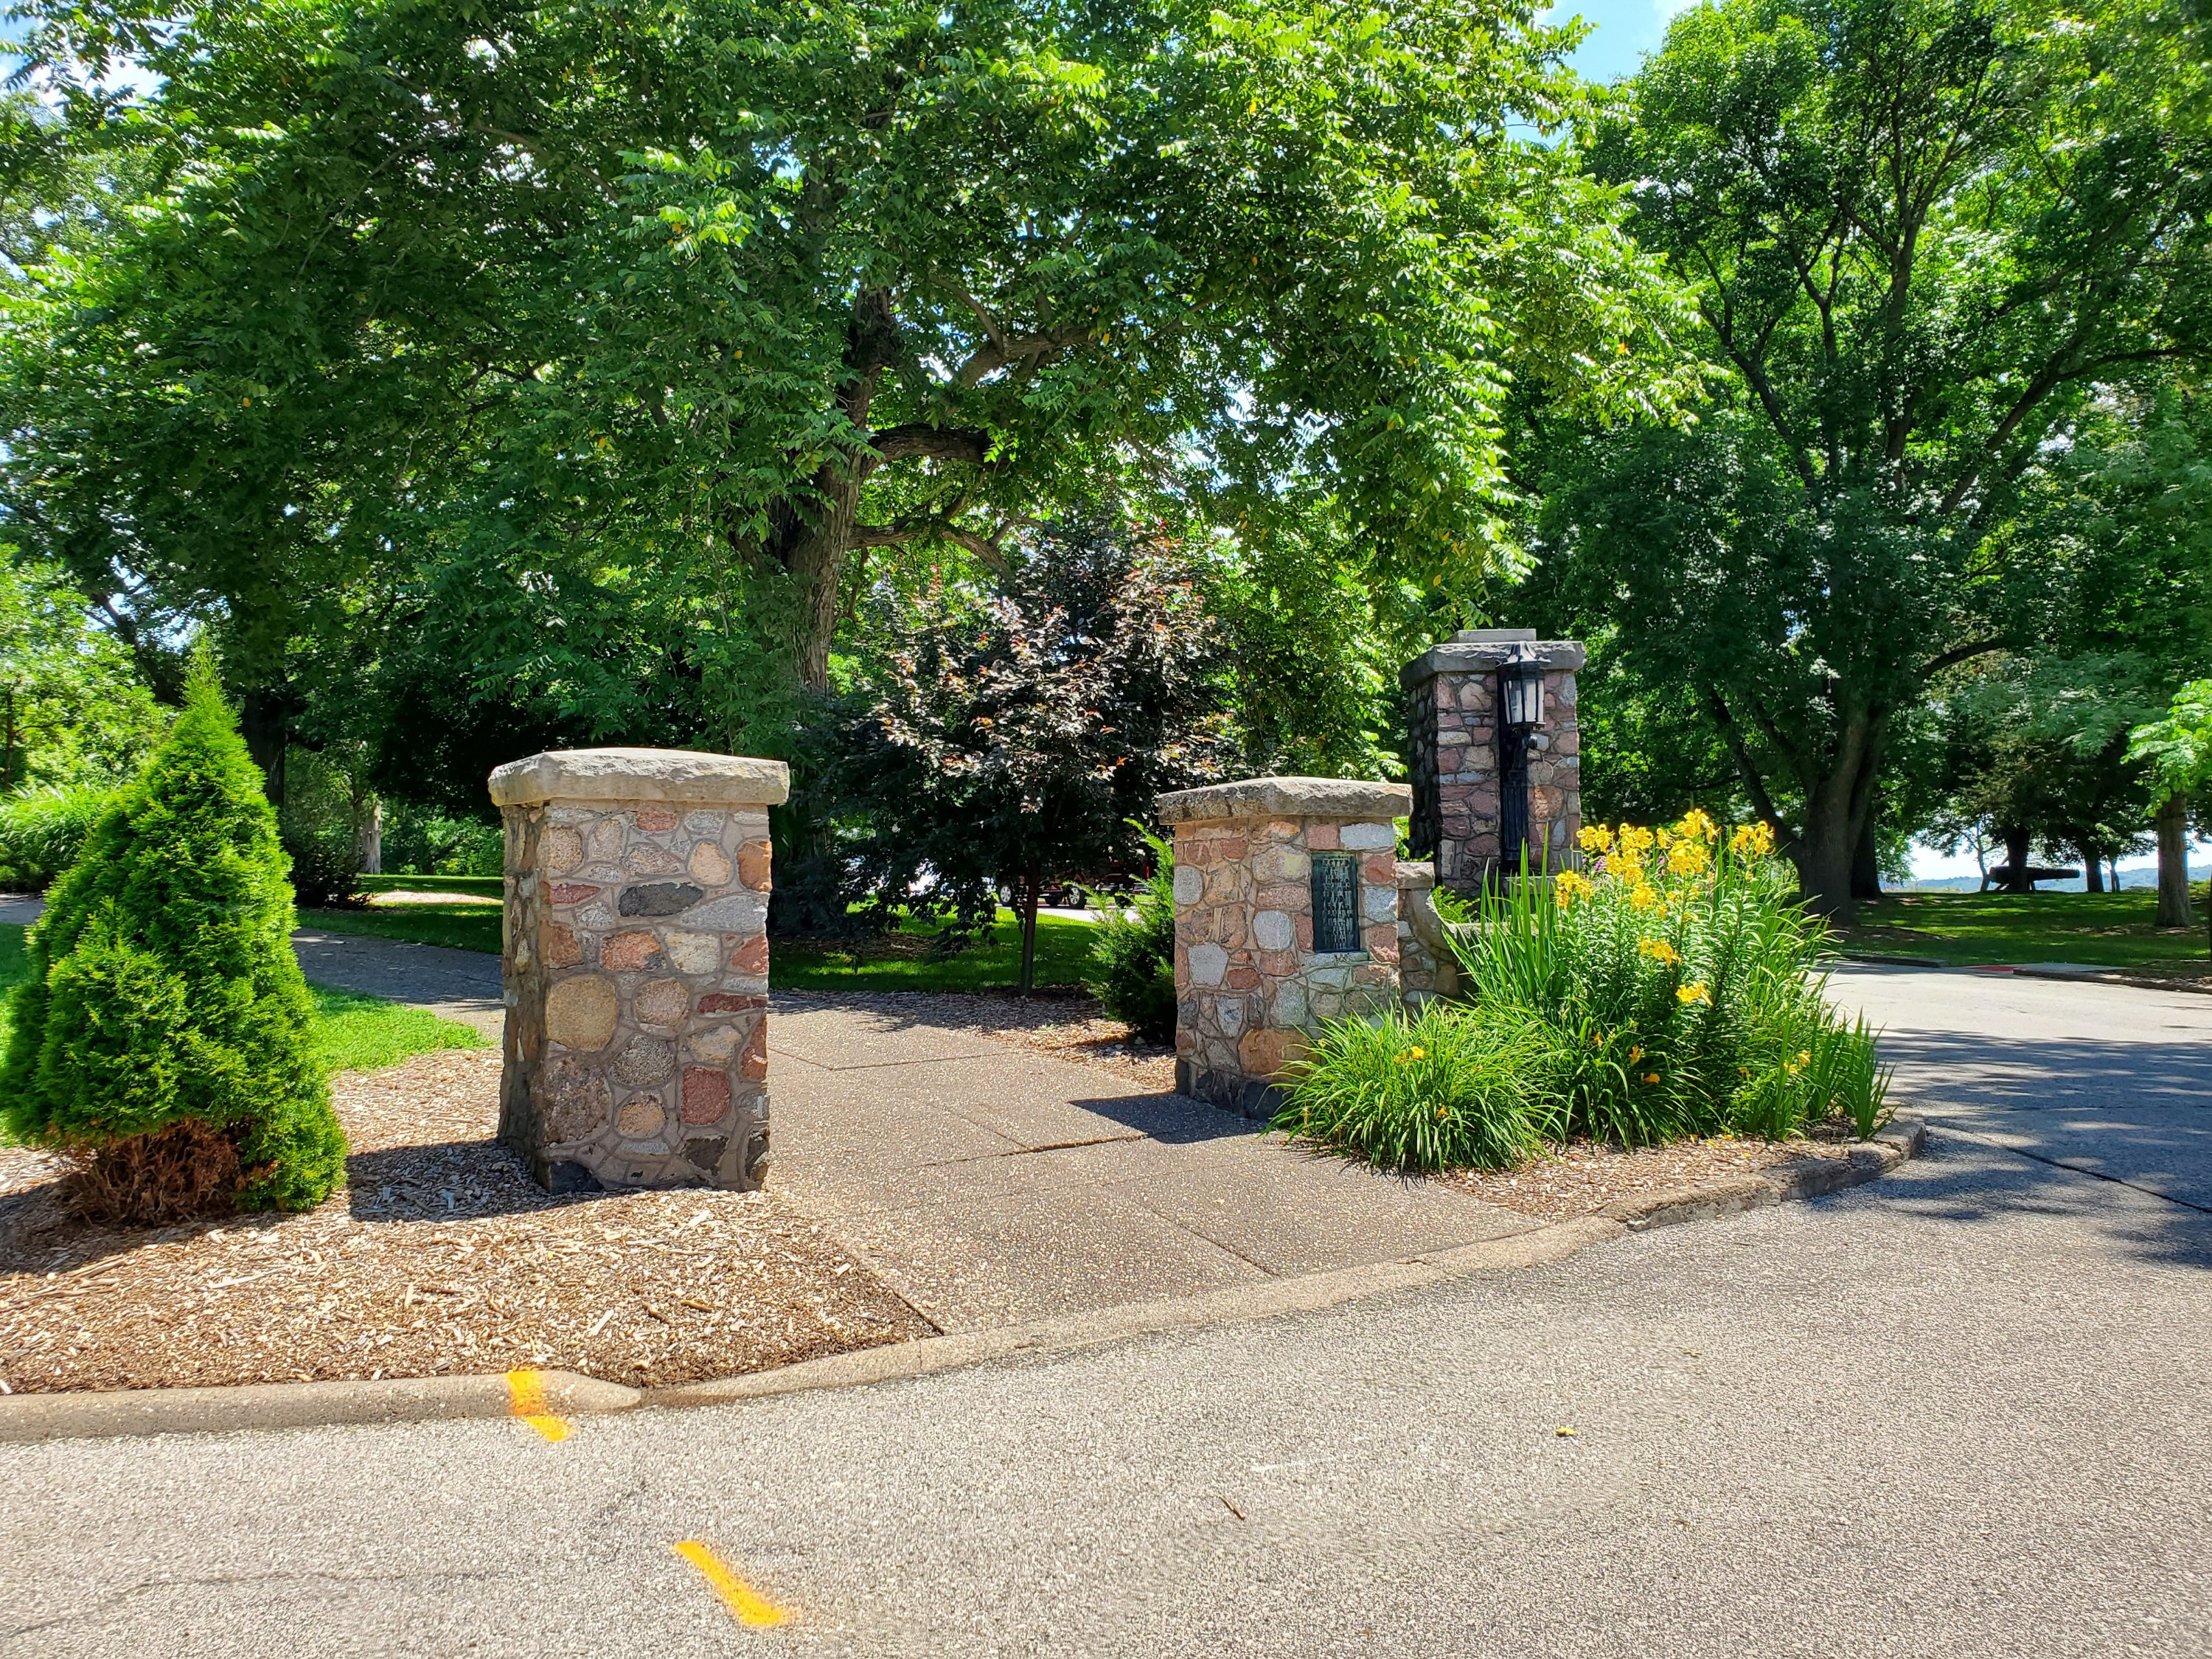
2. Weed Park- one of the best parks I’ve found, anywhere. Picnic areas, pavilions, historical plaques and sights, gorgeous views of the Mississippi, beautiful landscaping, and a pond with ducks, geese, and fishing for kids. Plus, they have two playgrounds that are awesome. And once back to normal they have a waterpark. Totally worth a visit for everyone in the family.

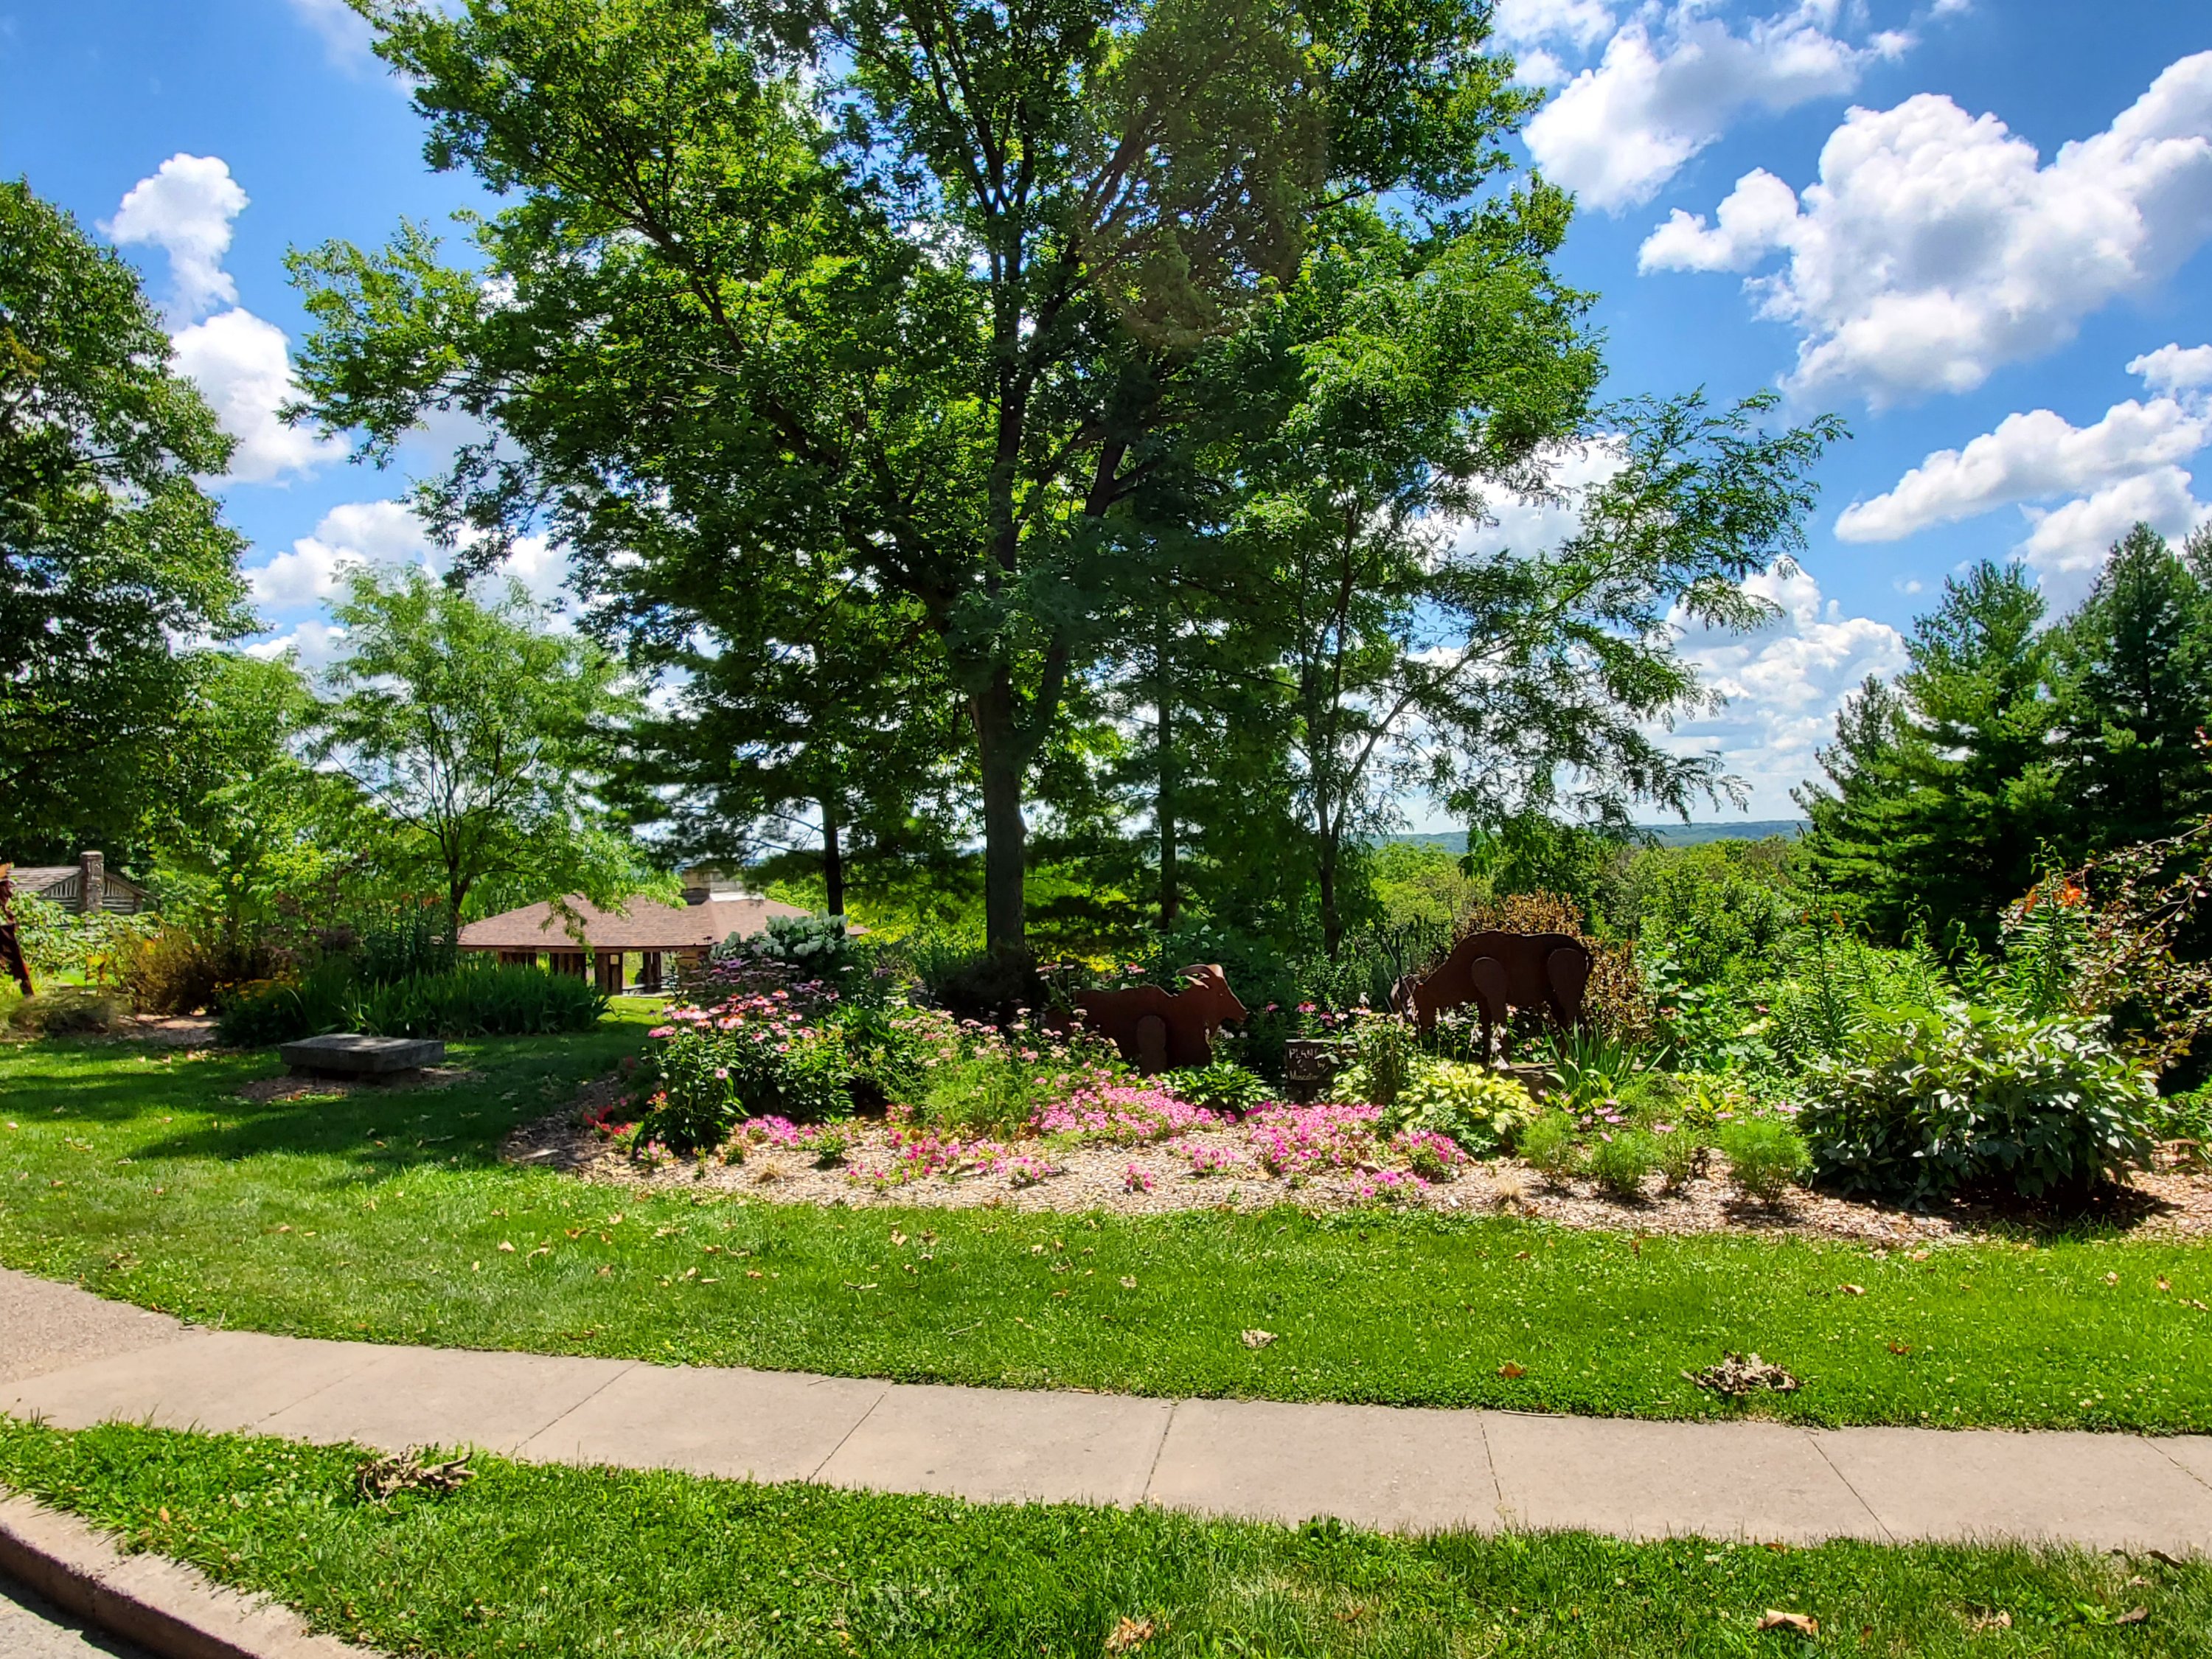


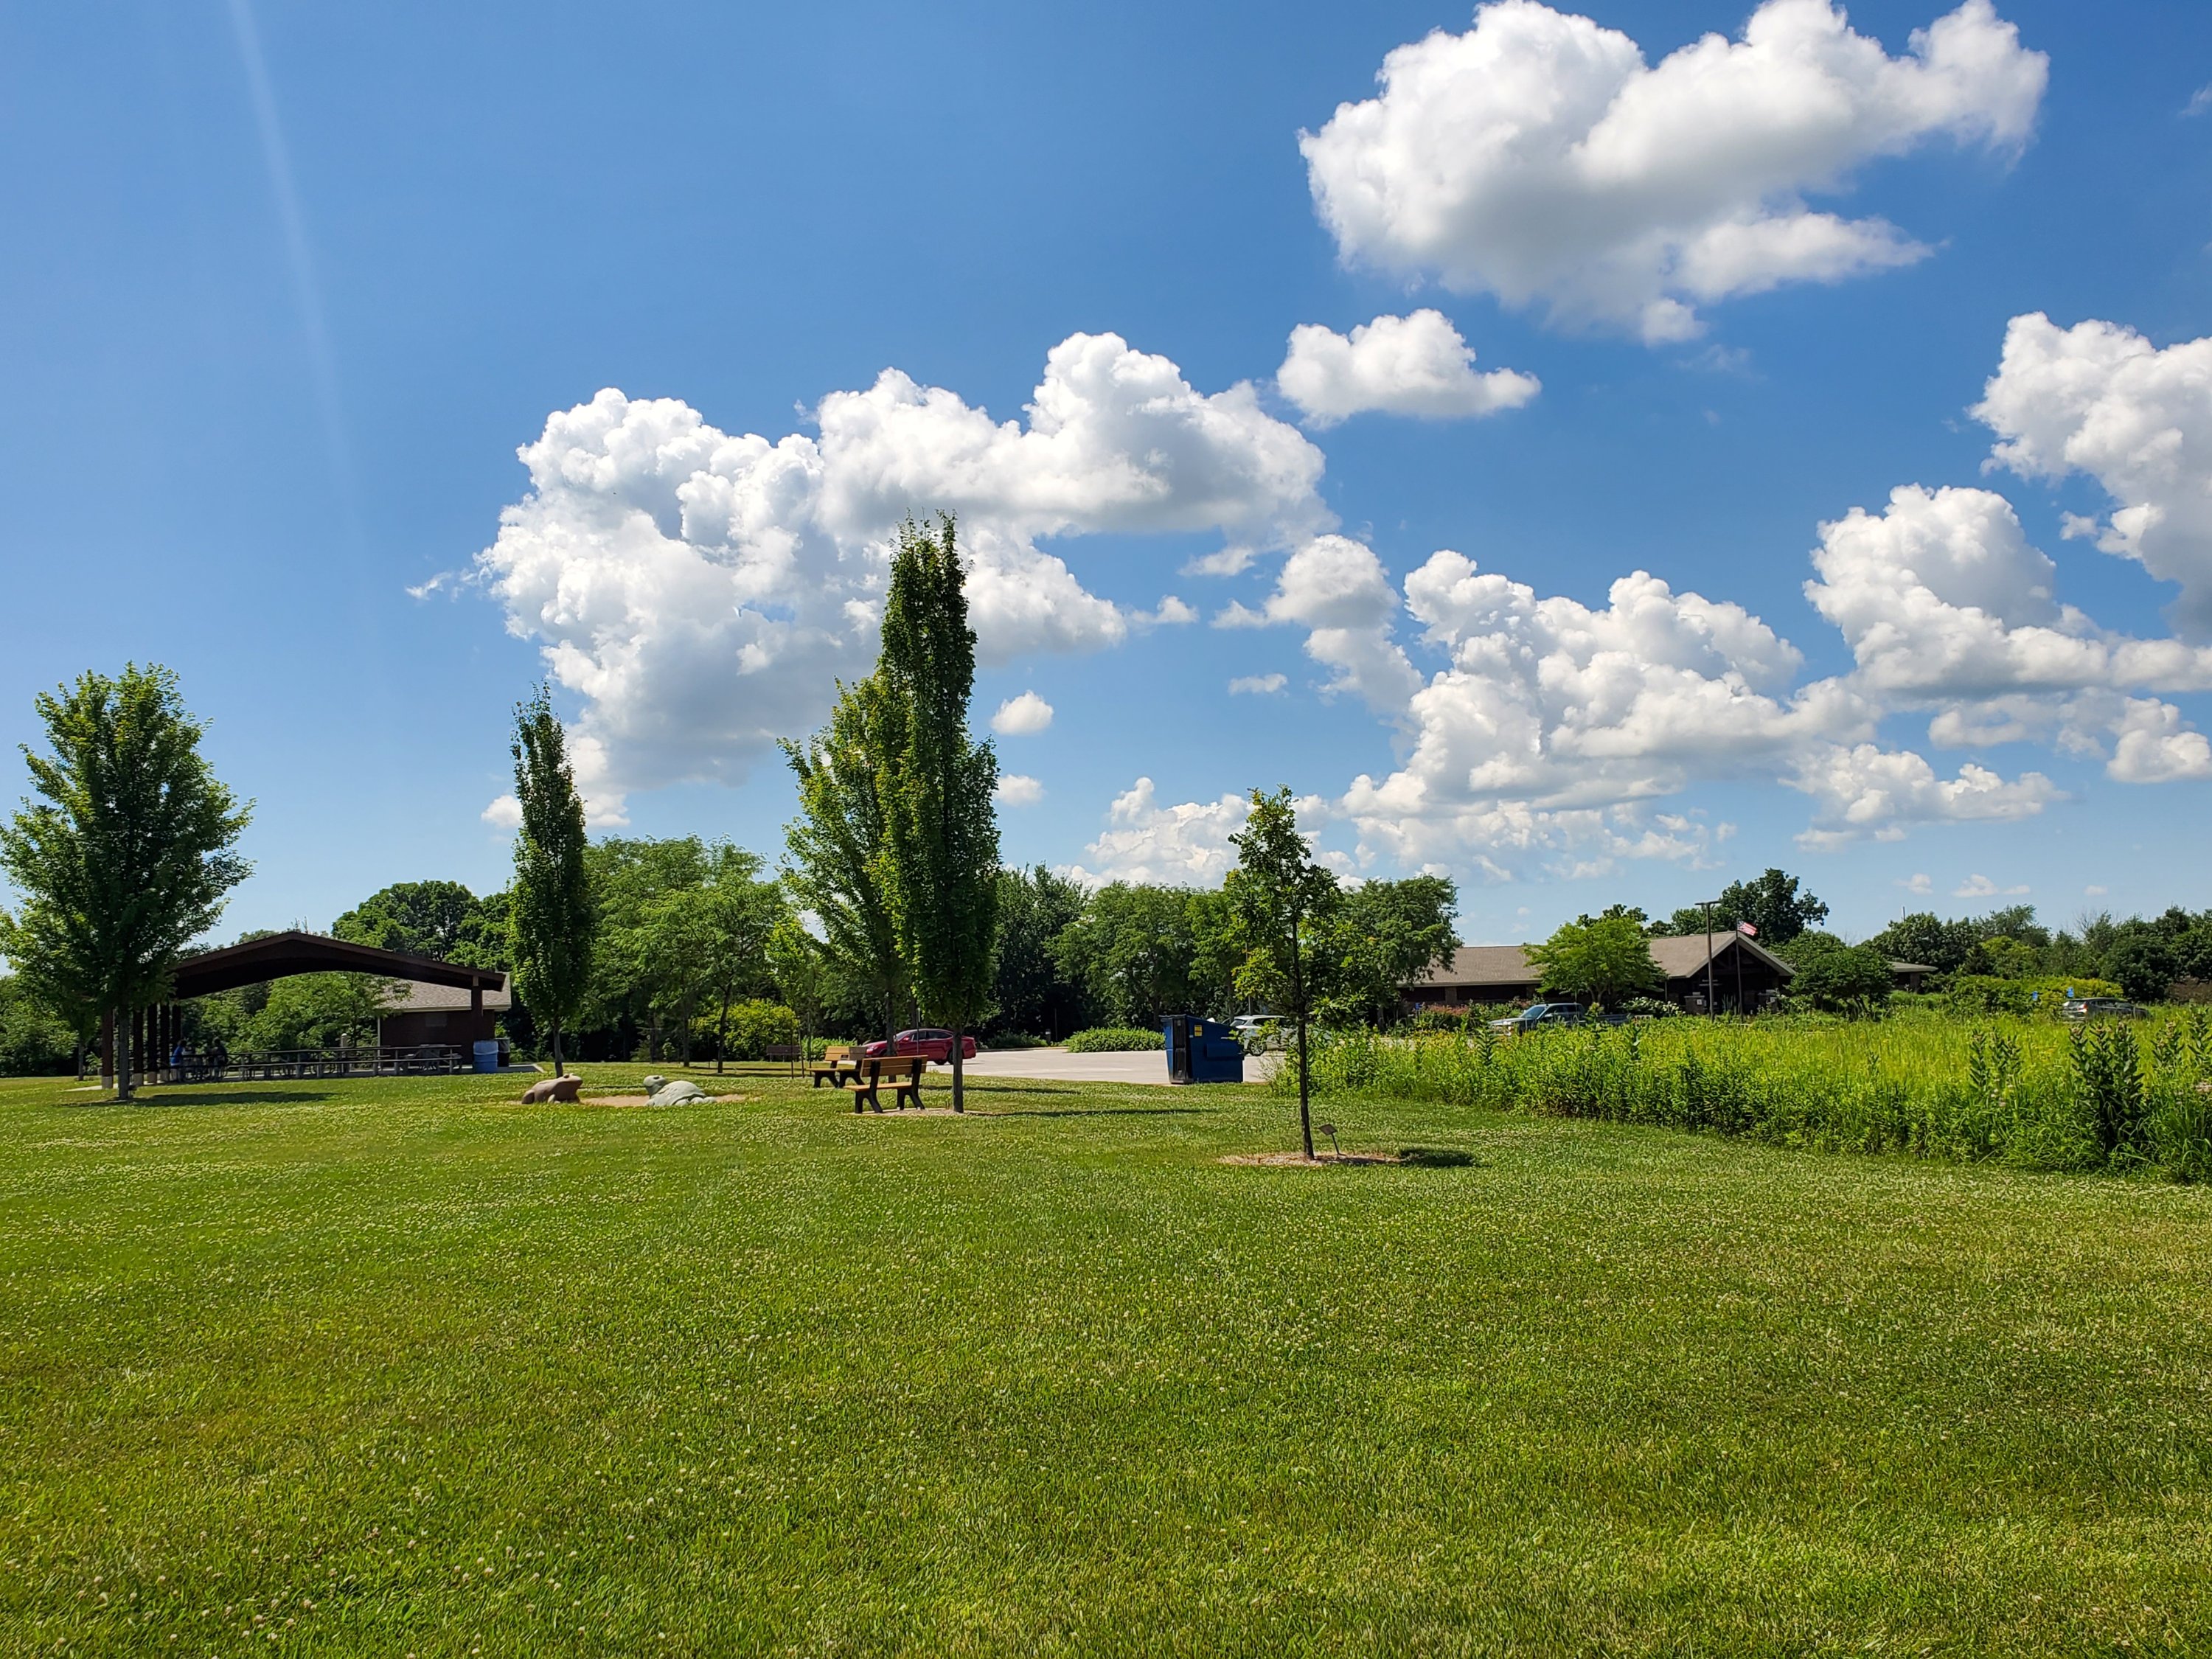
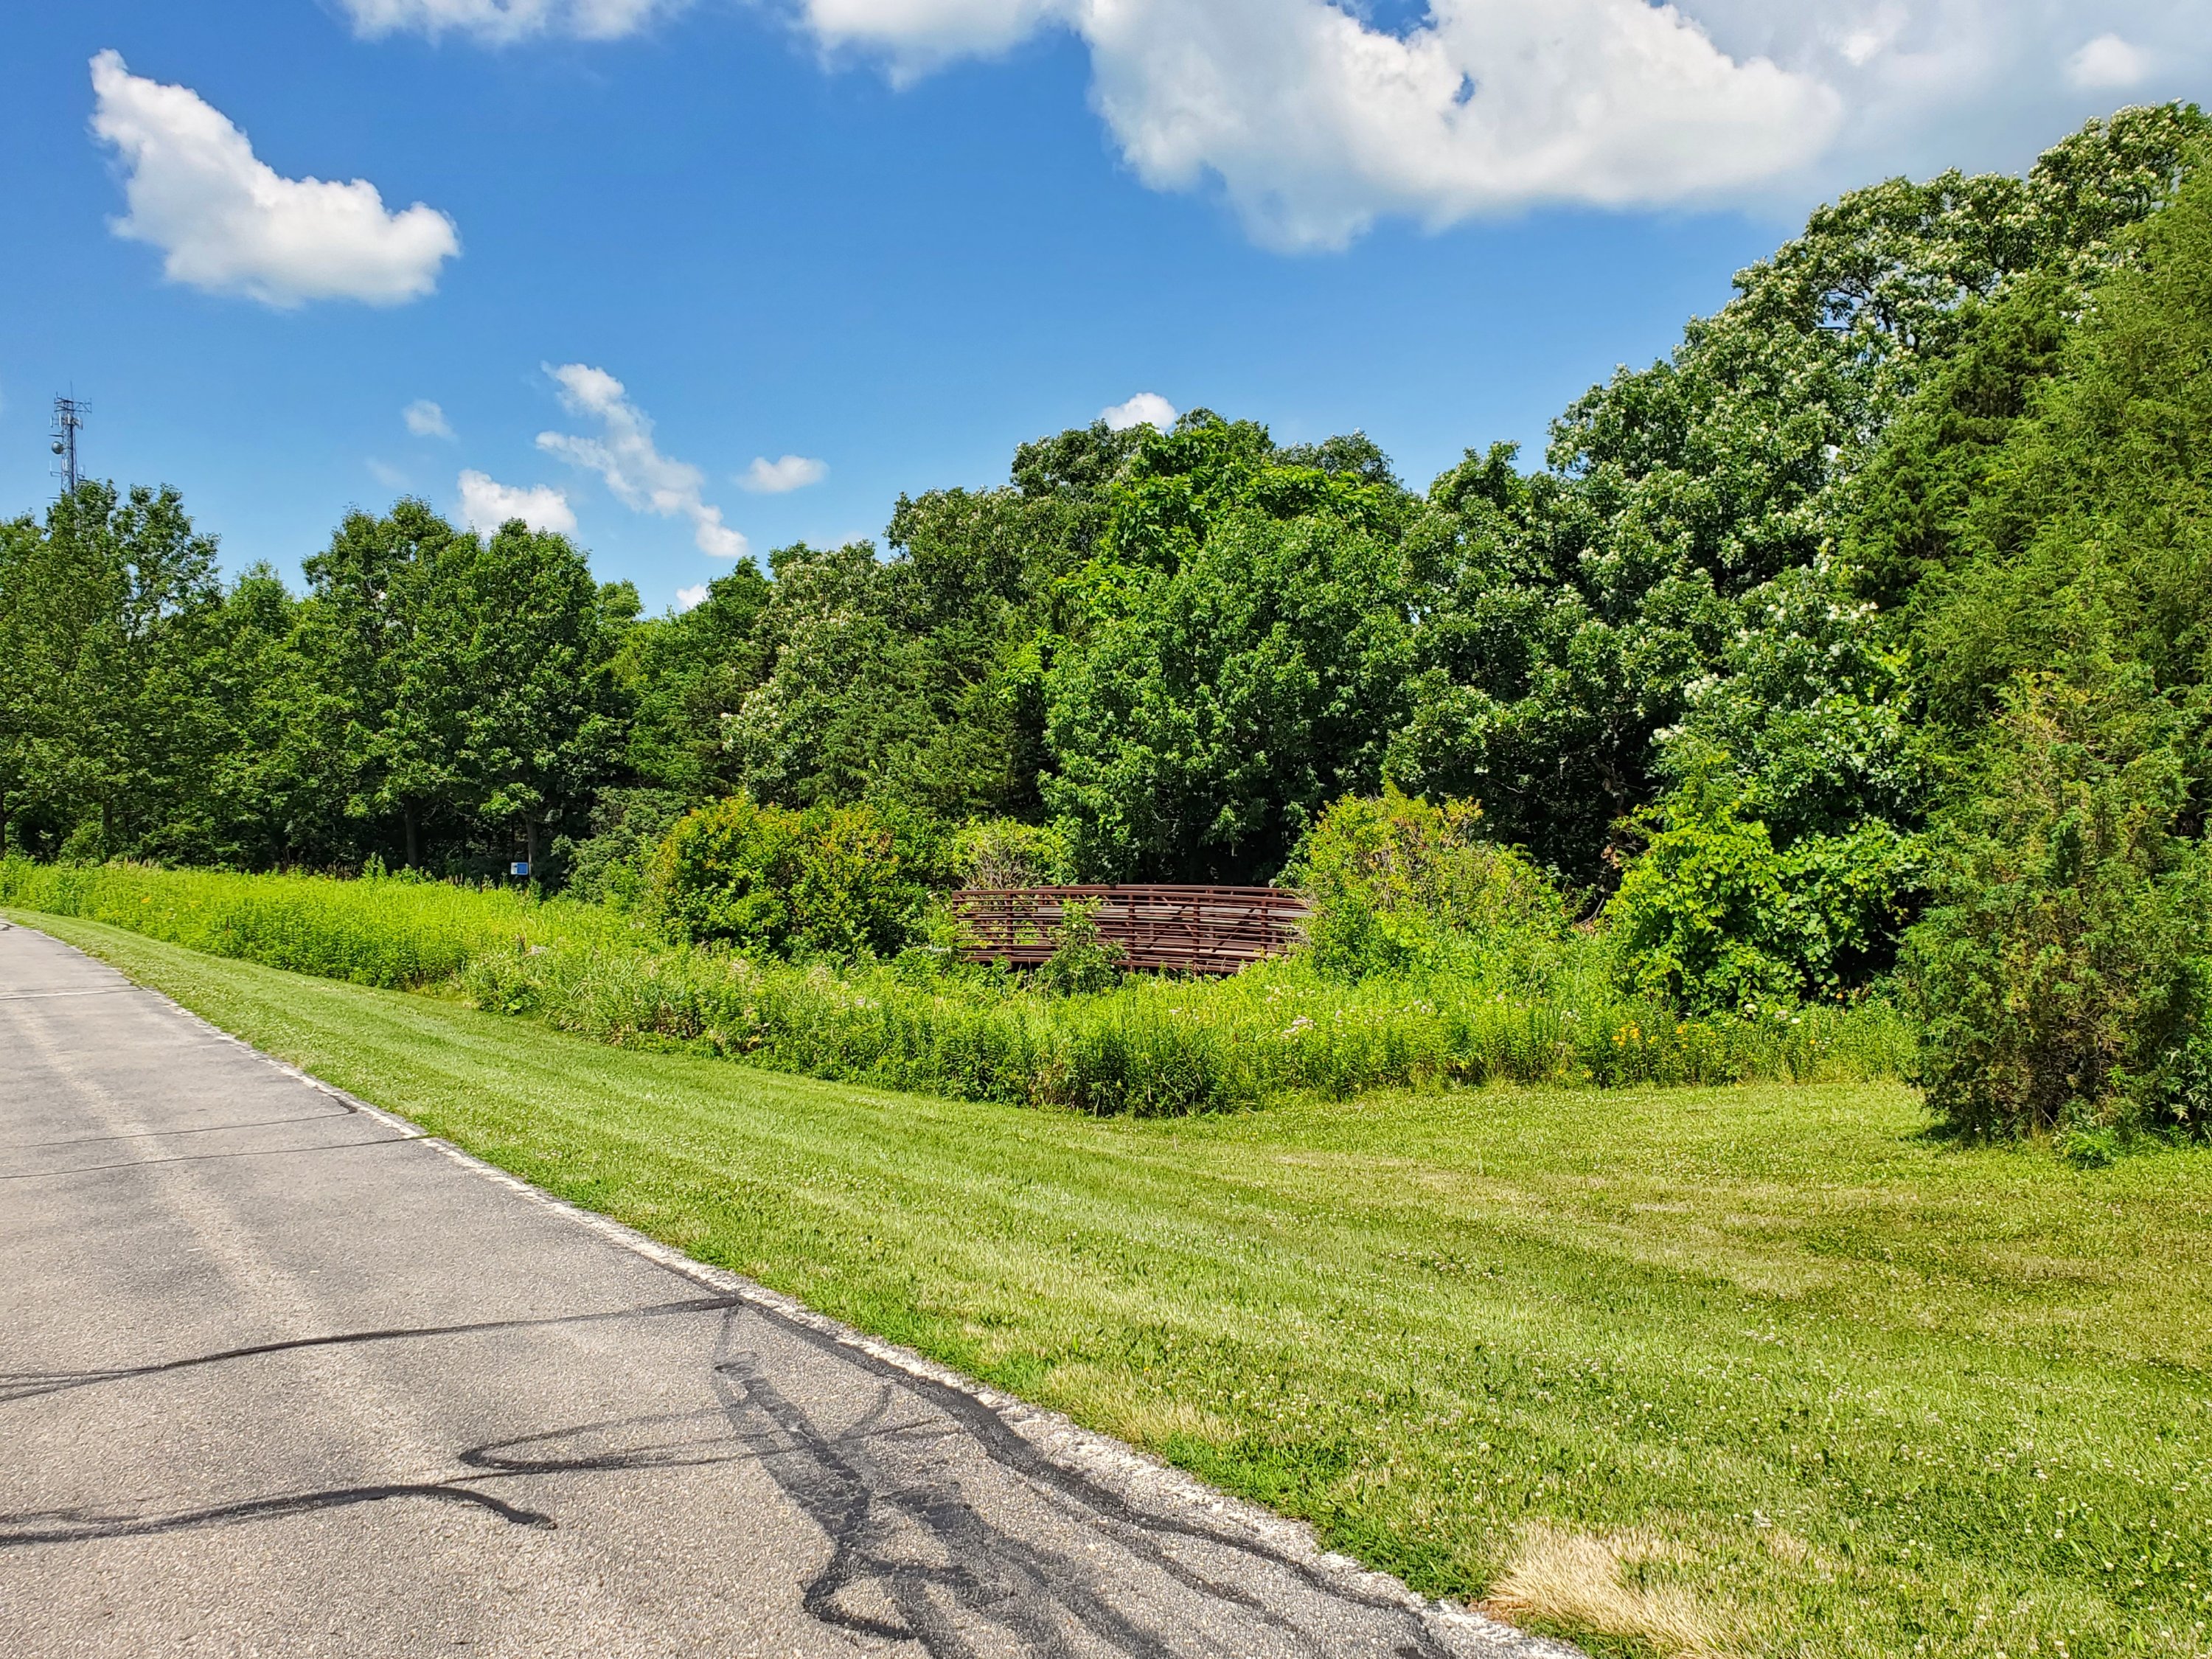
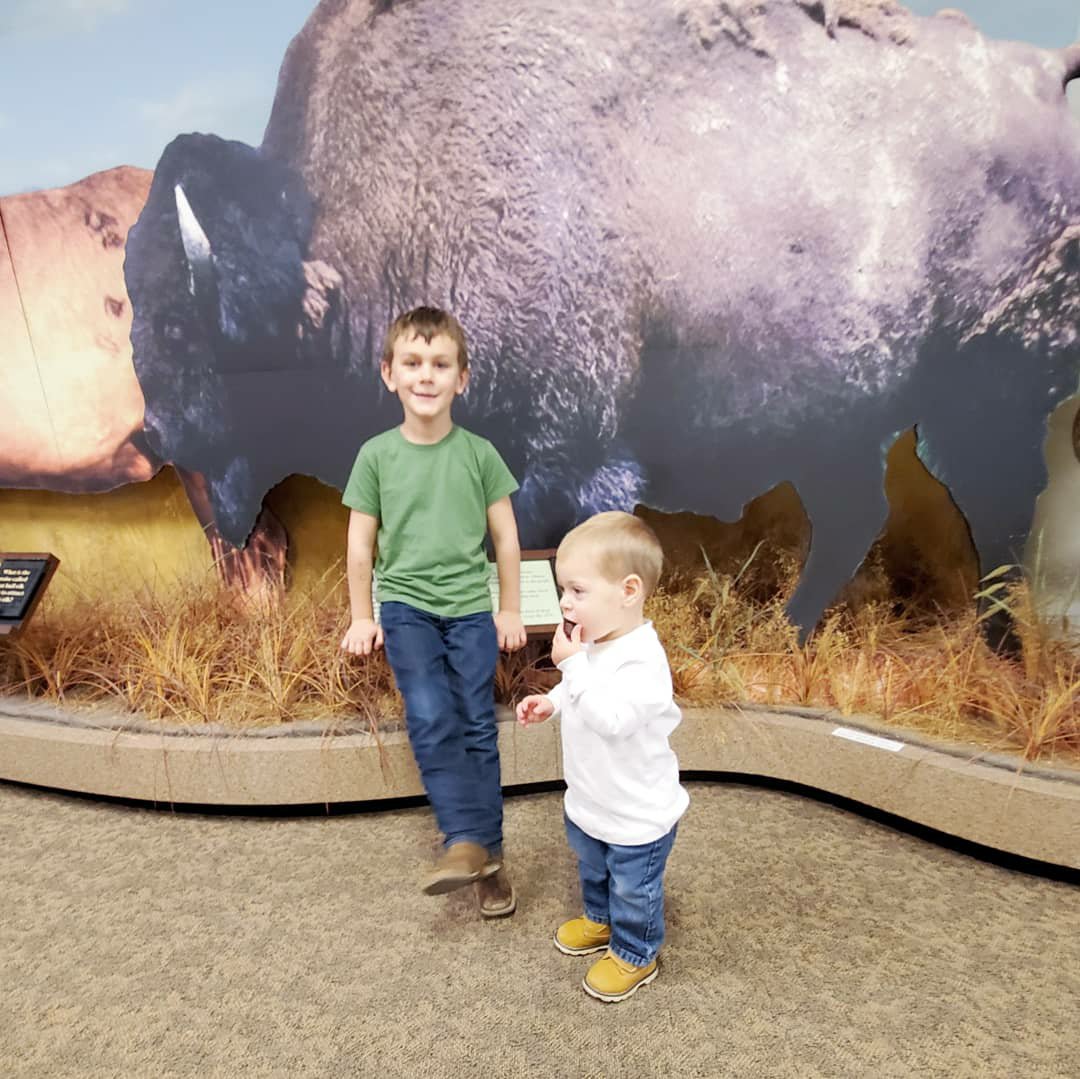
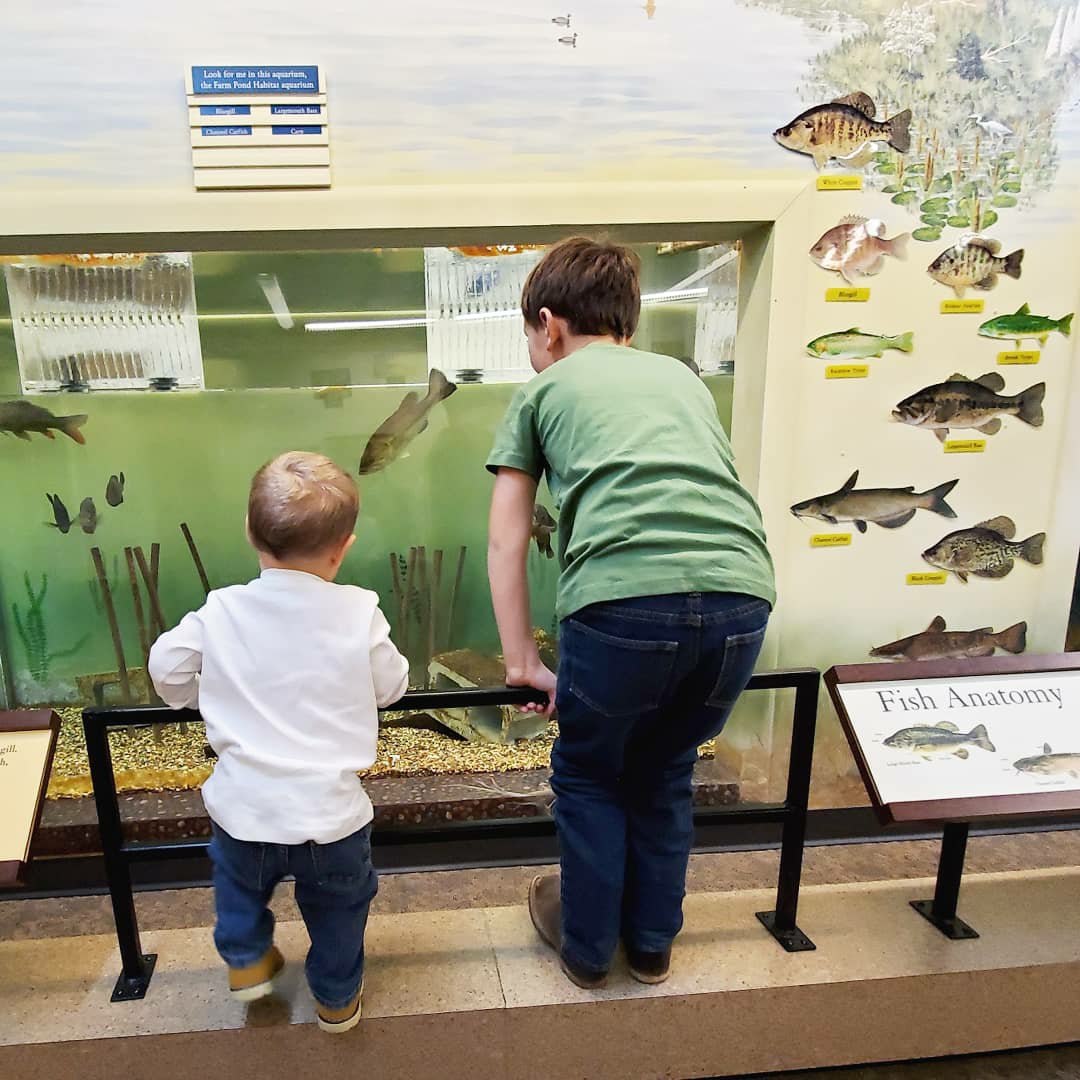
3. Discovery Park- during normal times, they have an indoor center to see interactive wildlife features and even take classes. Currently, you can still see all they have to offer outside. There are numerous trails to walk, most paved, through gorgeous views, wildflower patches and even see wild animals. They have a butterfly garden and owls outside to view too. They also have a pond where you can fish!


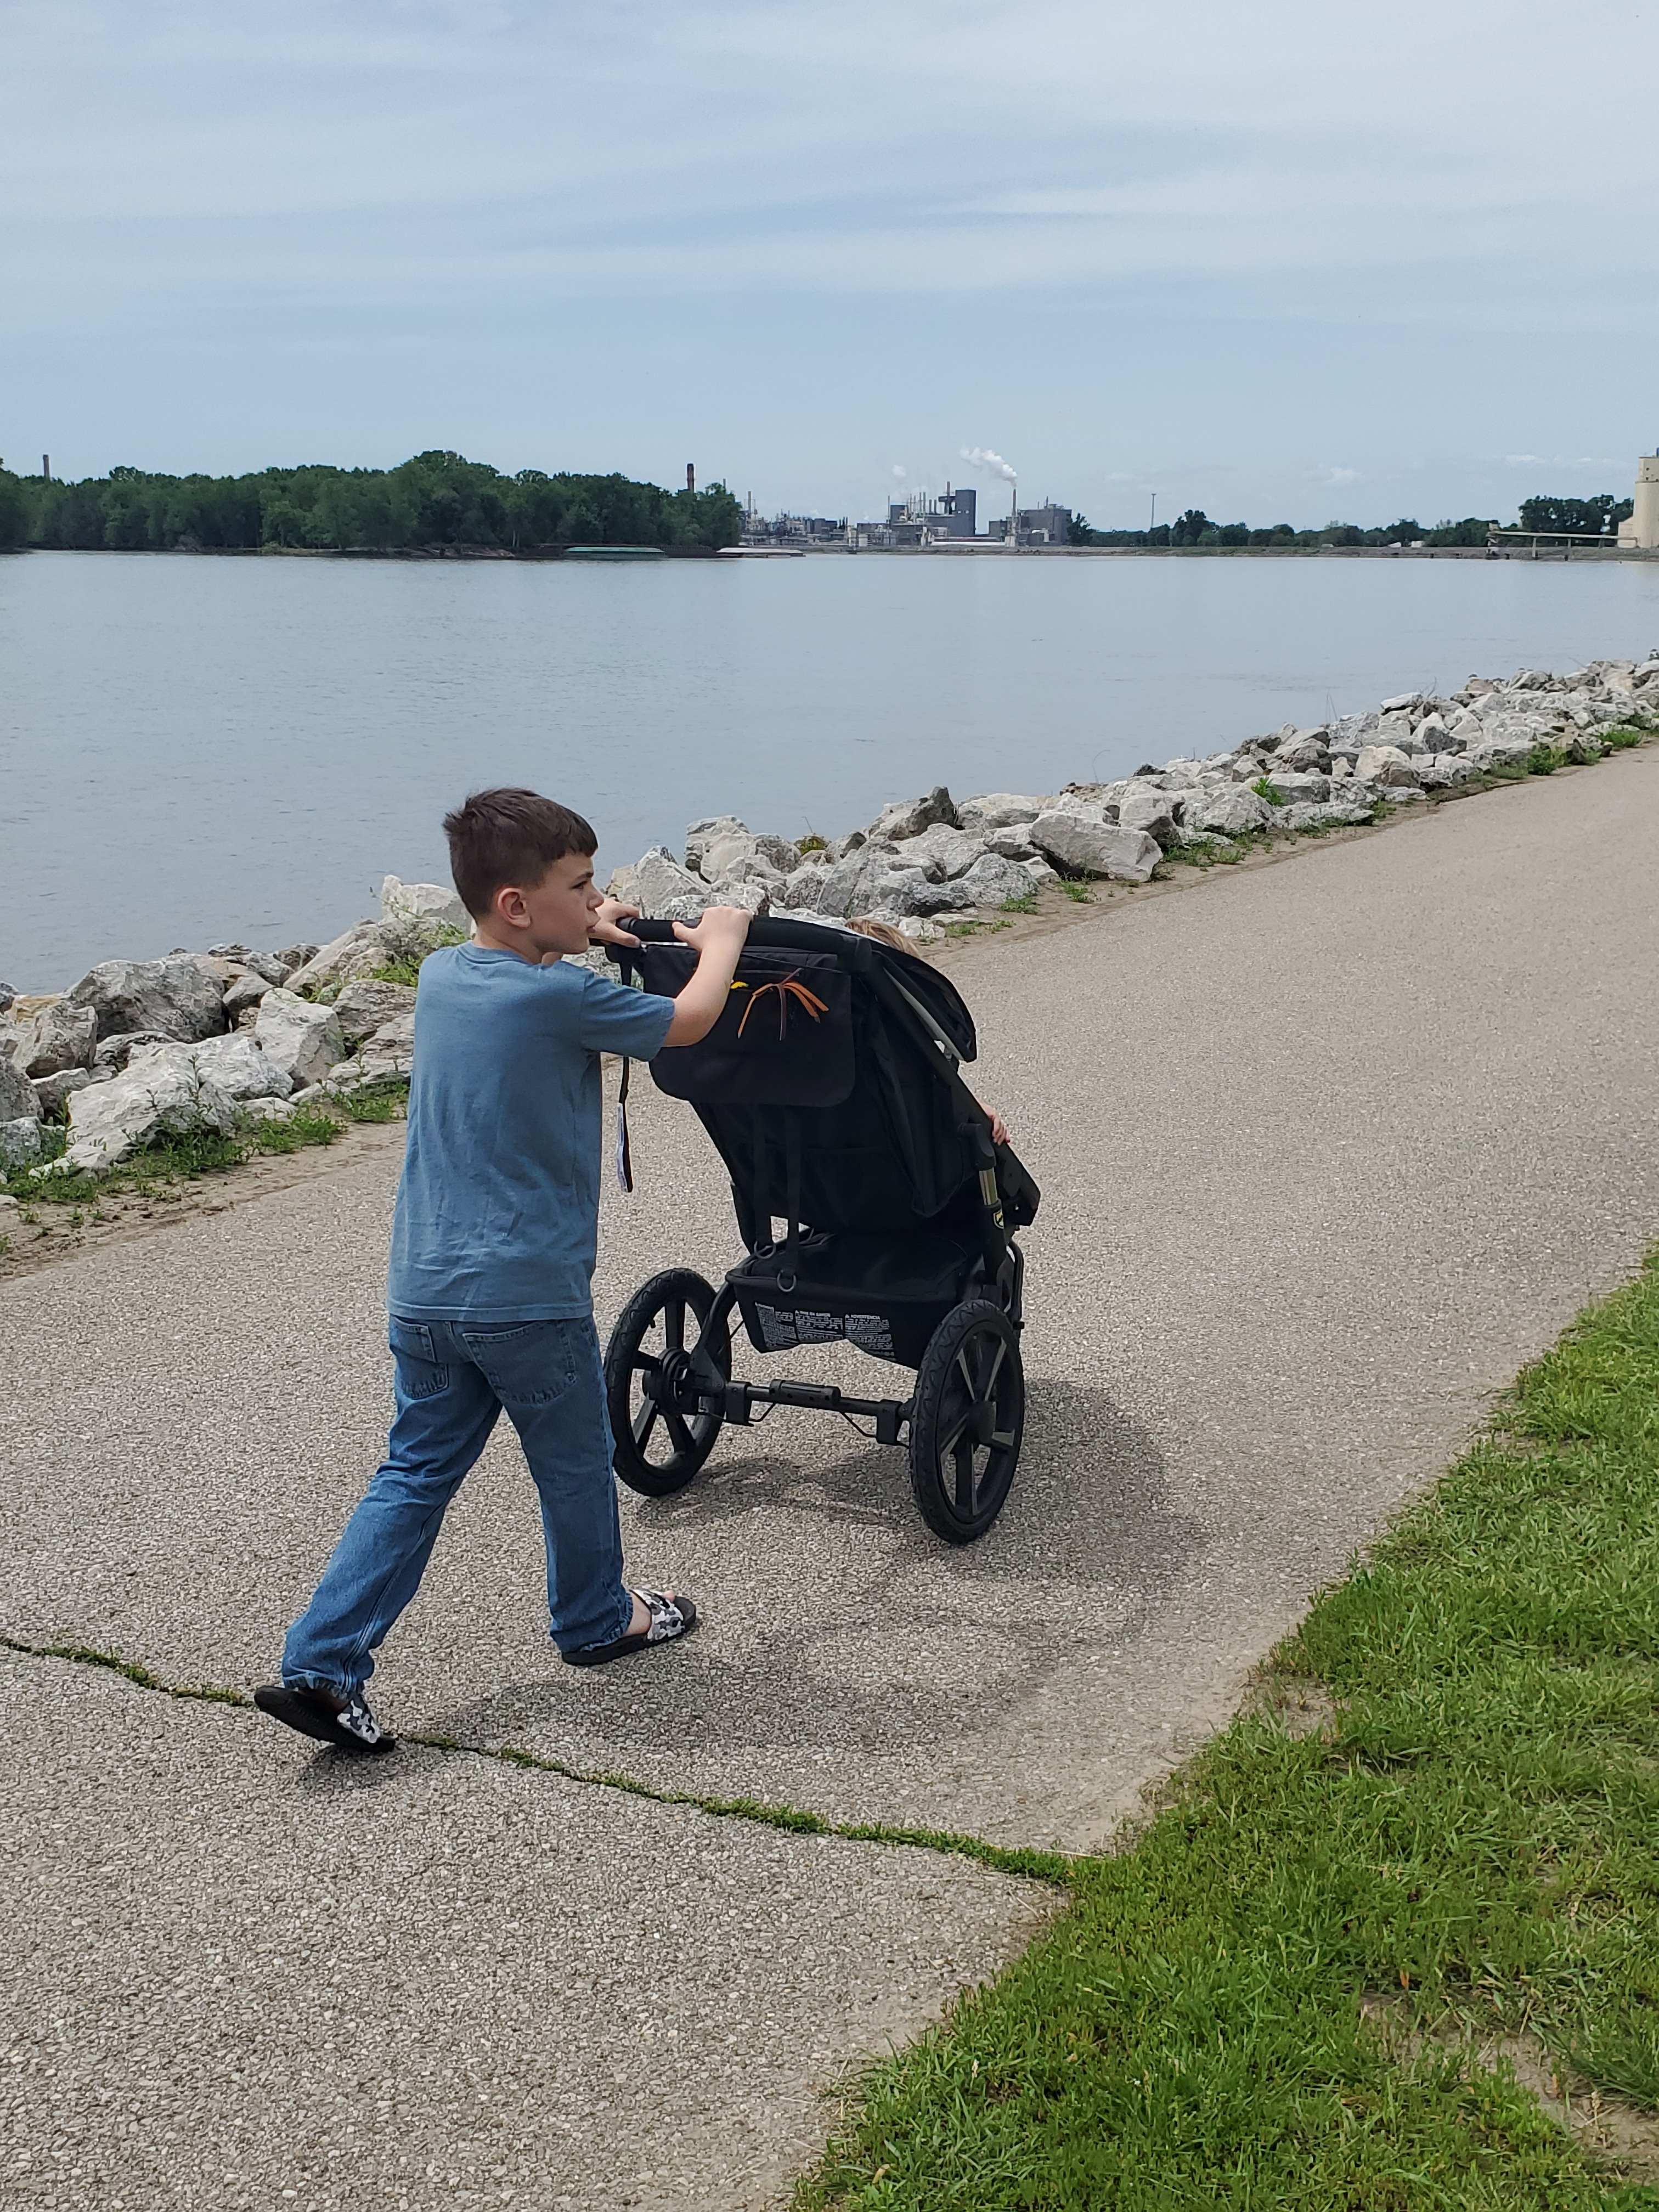
4. Muscatine River Front- plenty to do down here, even distantly! You may not be visiting the pearl button factory museum right now, and even the splash pad is not turned on yet, but it’s still a beautiful, relaxing, and even entertaining area of Muscatine. You can walk the gorgeous river front, even stopping to read the plaques about the city history. You can play at the play ground. You can even take photos with the clam digger statue. And there are a few downtown restaurants up the block that offer outside dining!


5. Swinging Bridge- you have to drive about 15 minutes out of town for this one, but worth the drive. The Swinging Bridge in Columbus Junction is a sight to not miss. We visit each year for the views and a photo. Read about the bridge’s history, walk across if you dare, snap some photos, and even hike the lower trails. You will love this one!!


While you are out in the Columbus Junction area, you can see the historical marker for Convict Highway! 😉 Just a super old road, but you can read about how the convicts of the time built it!
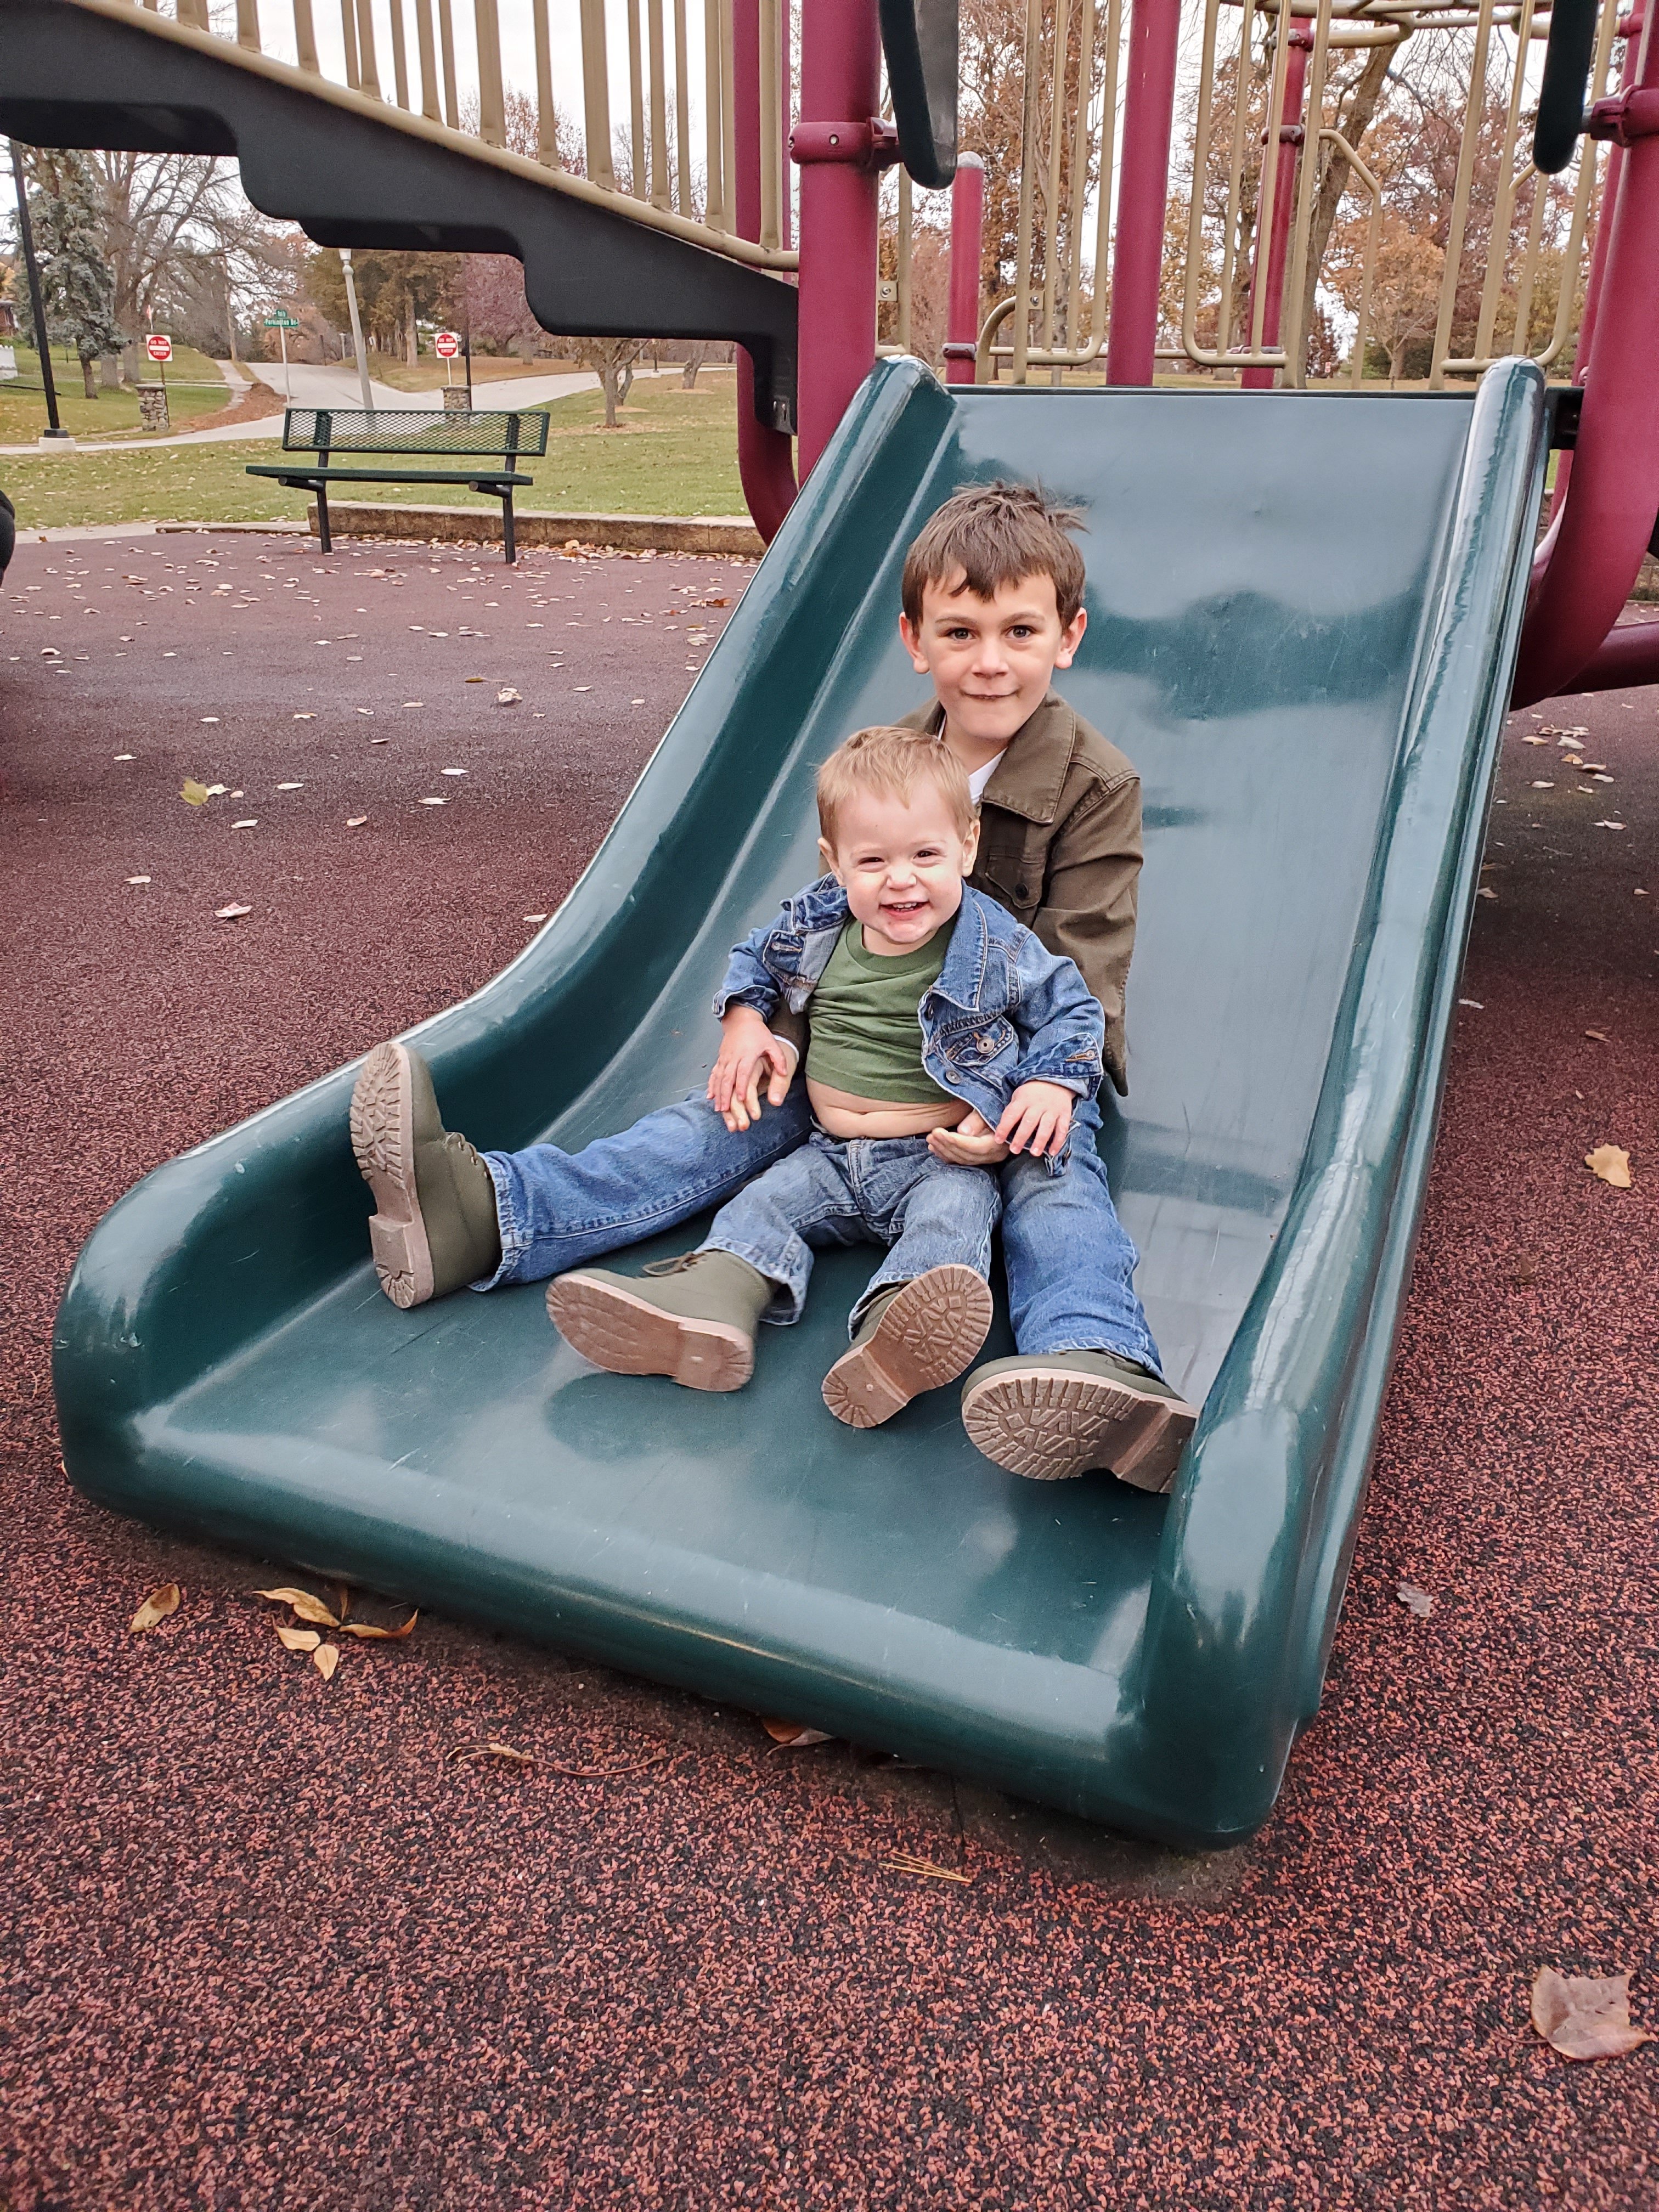
Muscatine also offers several parks with awesome playgrounds, a skate park, and a disk golf course. Plus plenty of sites indoors once that is safe again!
We also love to camp and boat. I can recommend places for that too! Enjoy! 😉
XX,
Jess
Permalink Comments Off on Muscatine Iowa Area Sightseeing
The Landing Strip
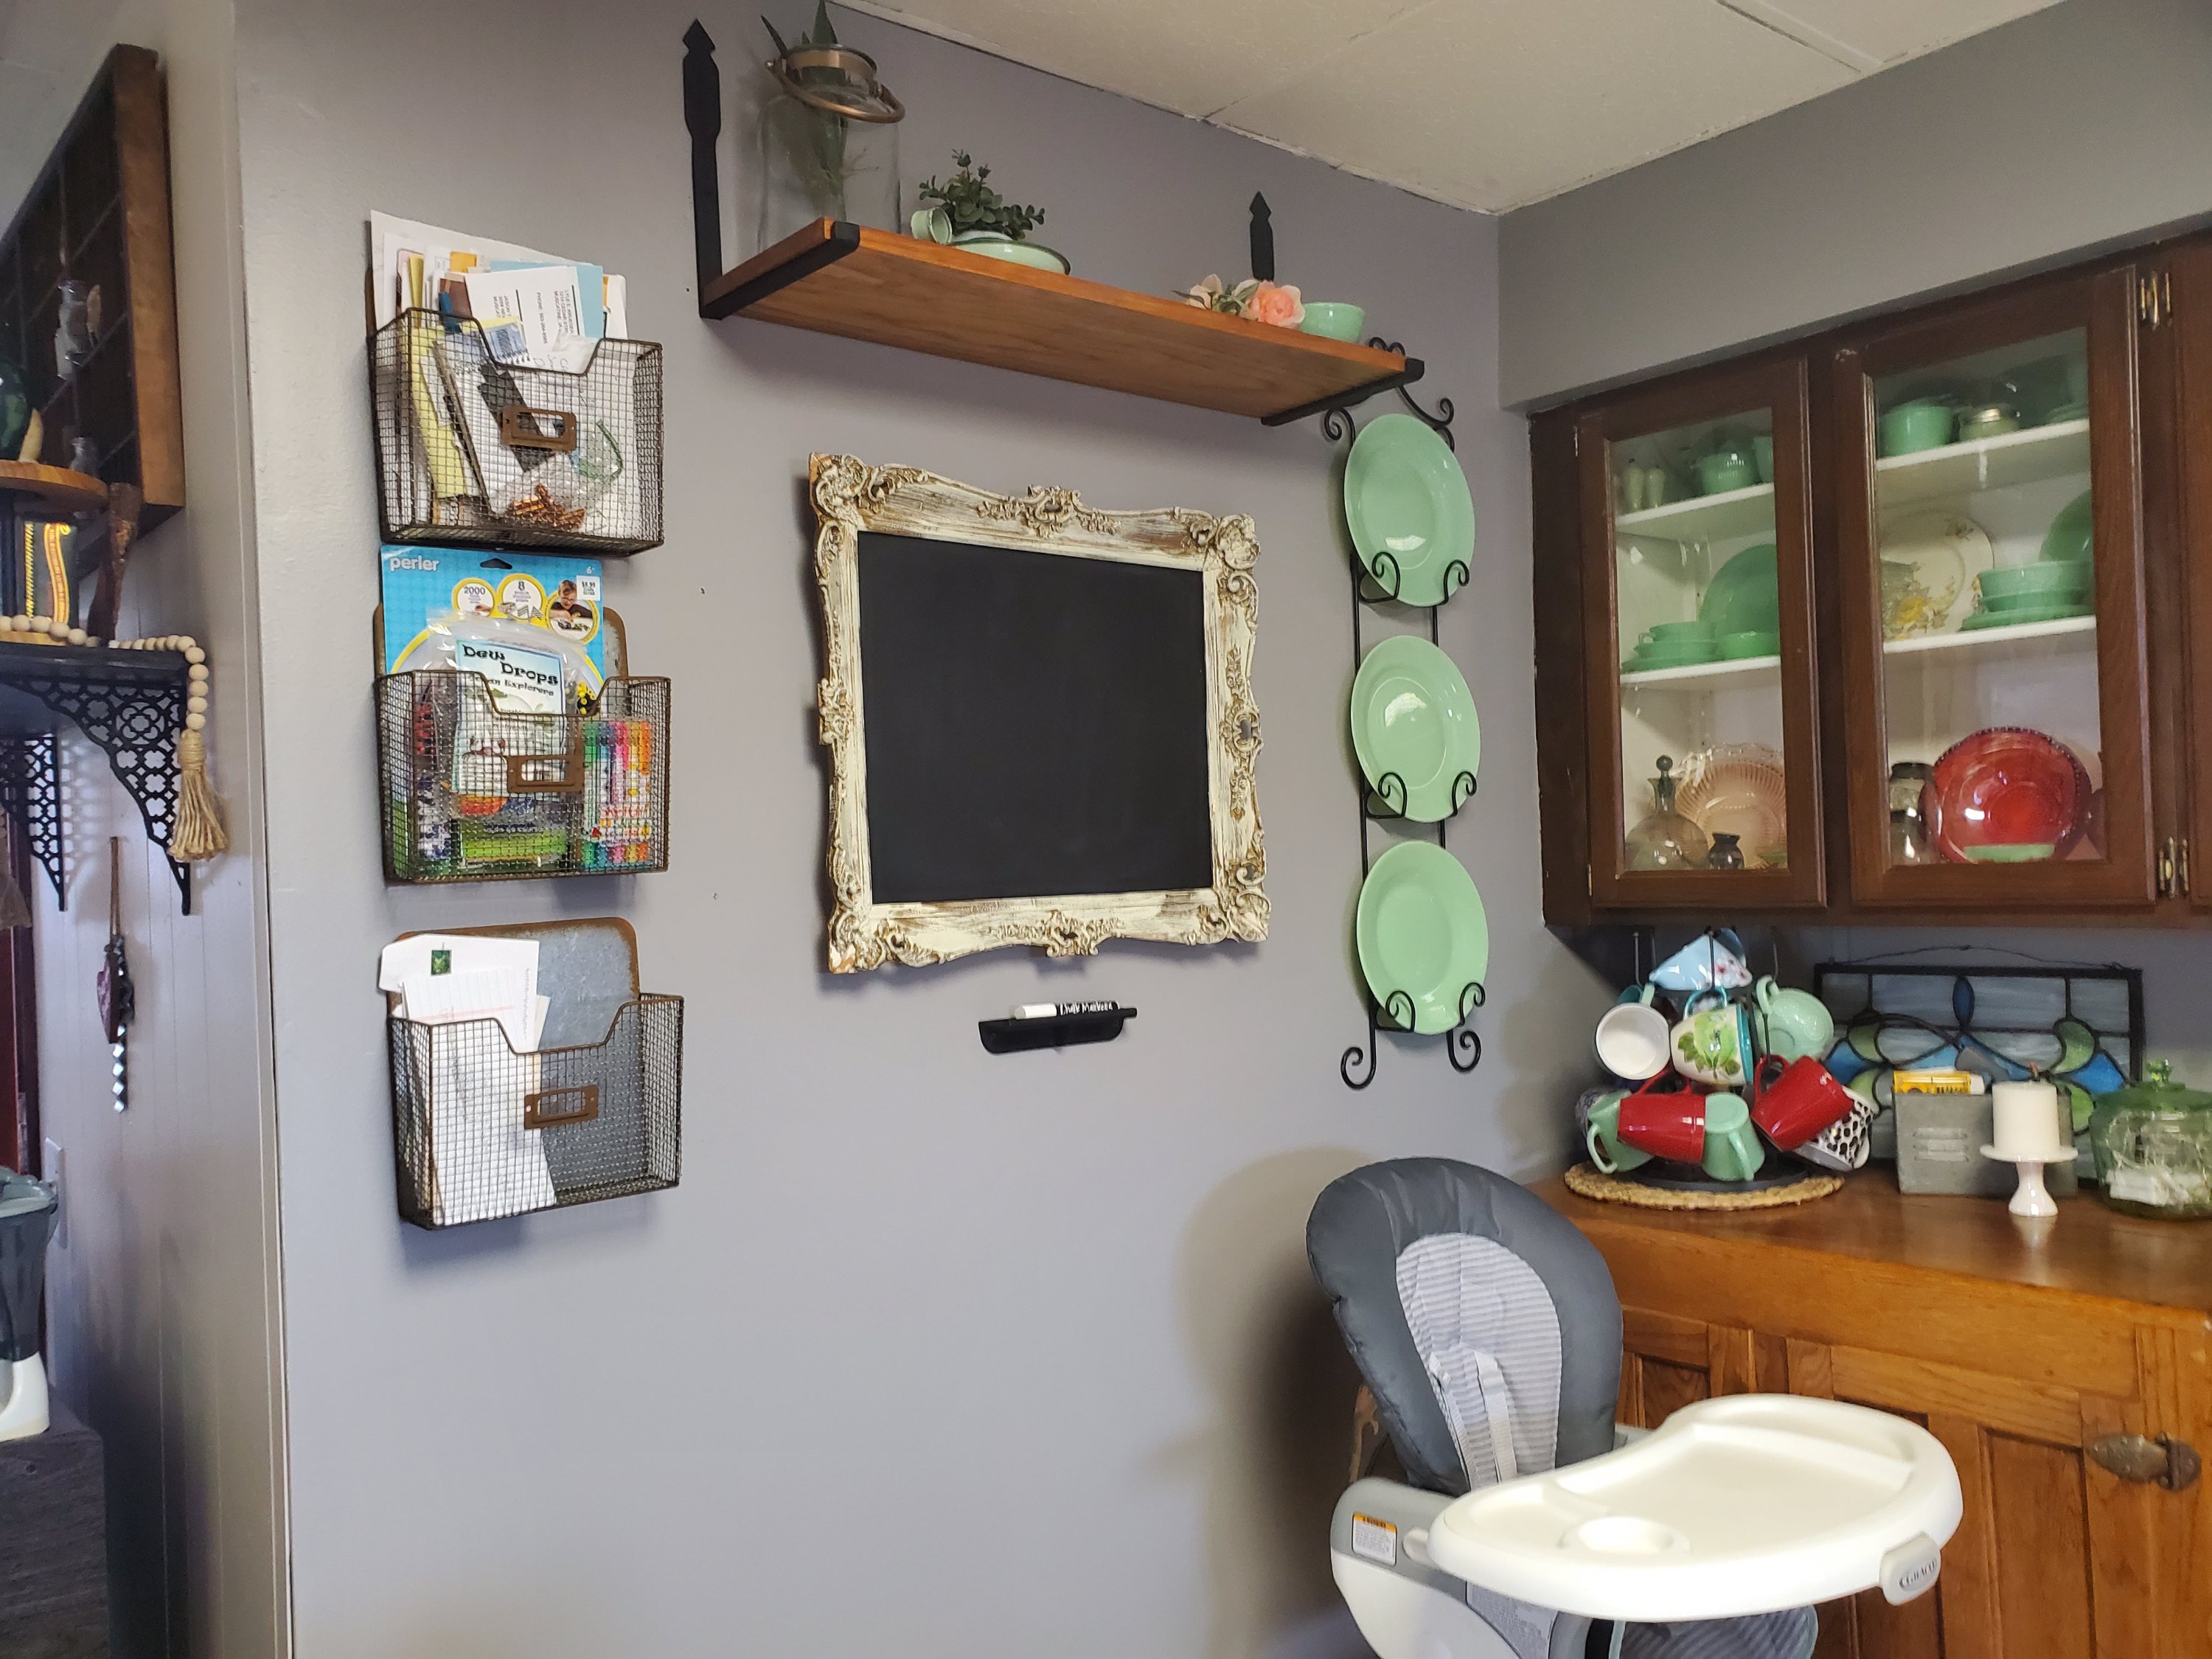
A landing strip, a command center, the drop spot. No matter what you call it, every house should have one. It’s a place for all the family “stuff”.
I call it a landing strip. In this house we actually have it split up a little, but it’s whatever works for you! When you come in our backdoor, we have hooks for each family member. Bag and coat go there. There’s a little hook station for car keys. And we have a small rack holding bug spray, sunscreen, sunglasses, wireless speaker, etc. But there’s still other “stuff” that accumulates. What do you do with it?! Enter our landing strip.
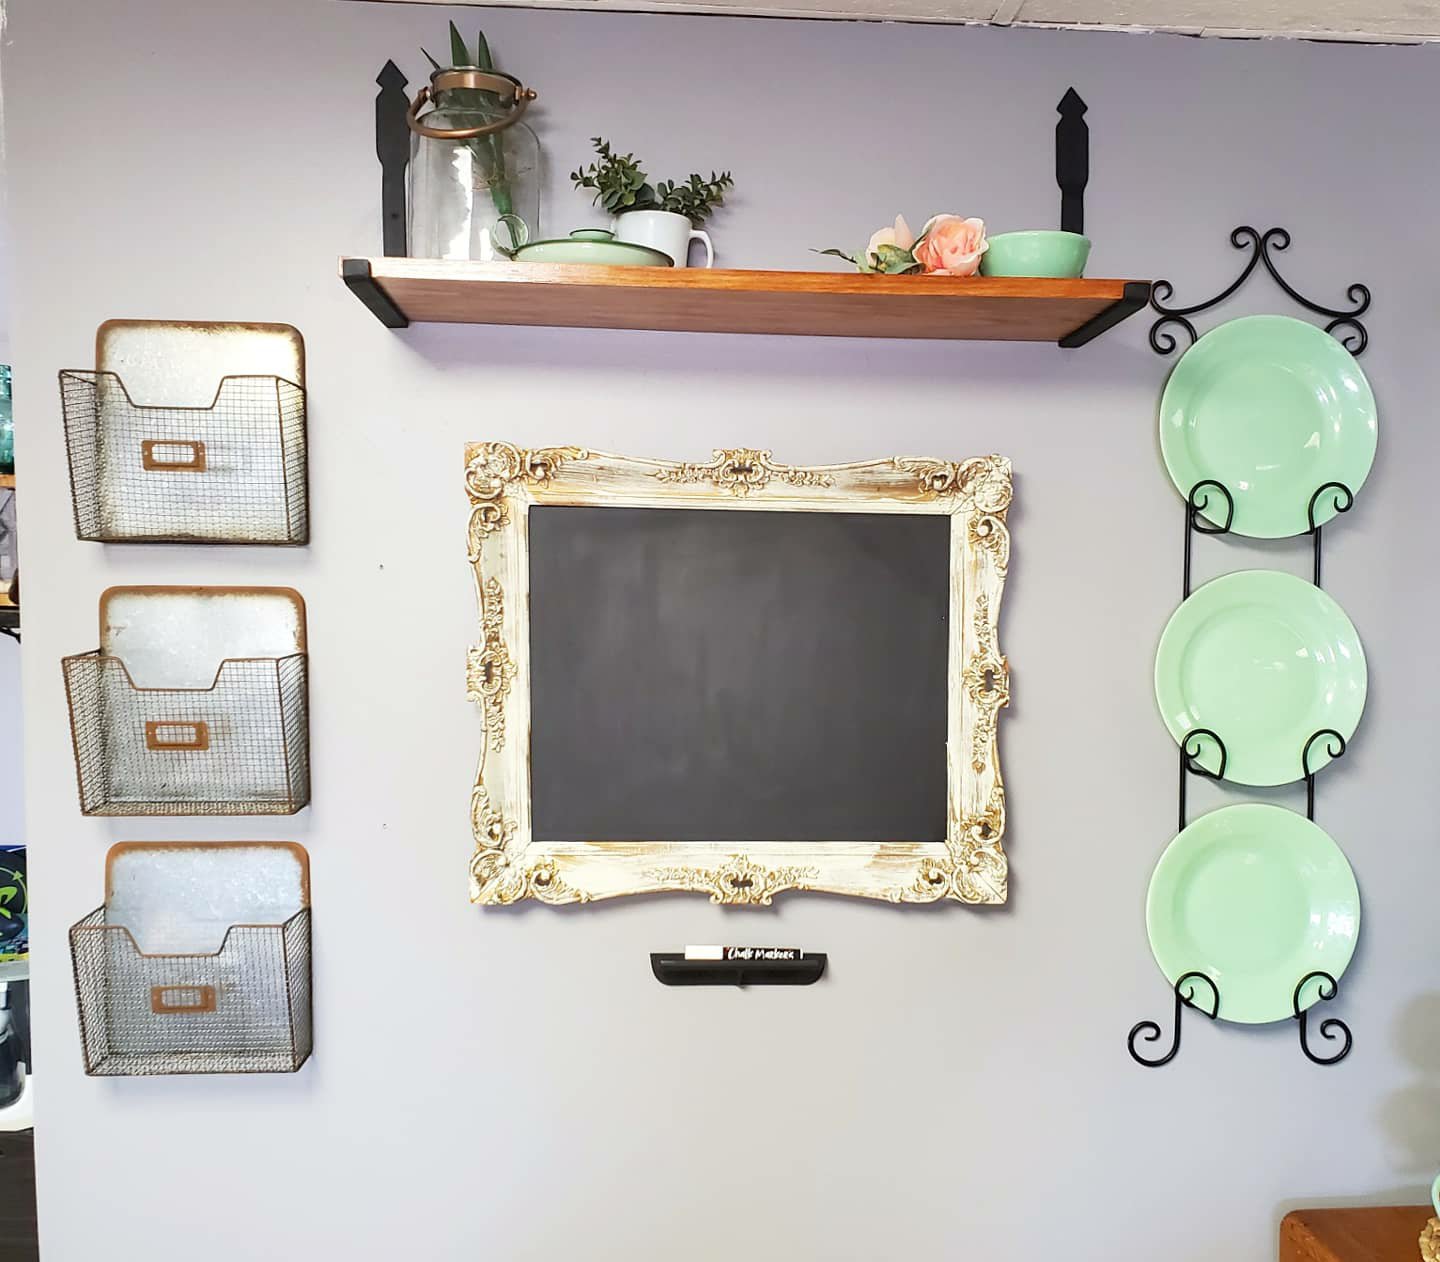
He we have a stash spot for everything else so that we stay organized and don’t lose important things! We use the chalk board for calendar notes and grocery lists. And each of the boys and mom and dad have a basket. We put bills in ours. The boys put homework and such in theirs. I keep a pen jar on the shelf. Here is stash stamps, a candle lighter, a marker, and pens. If you need more than that they you have to go upstairs to the office. 😆
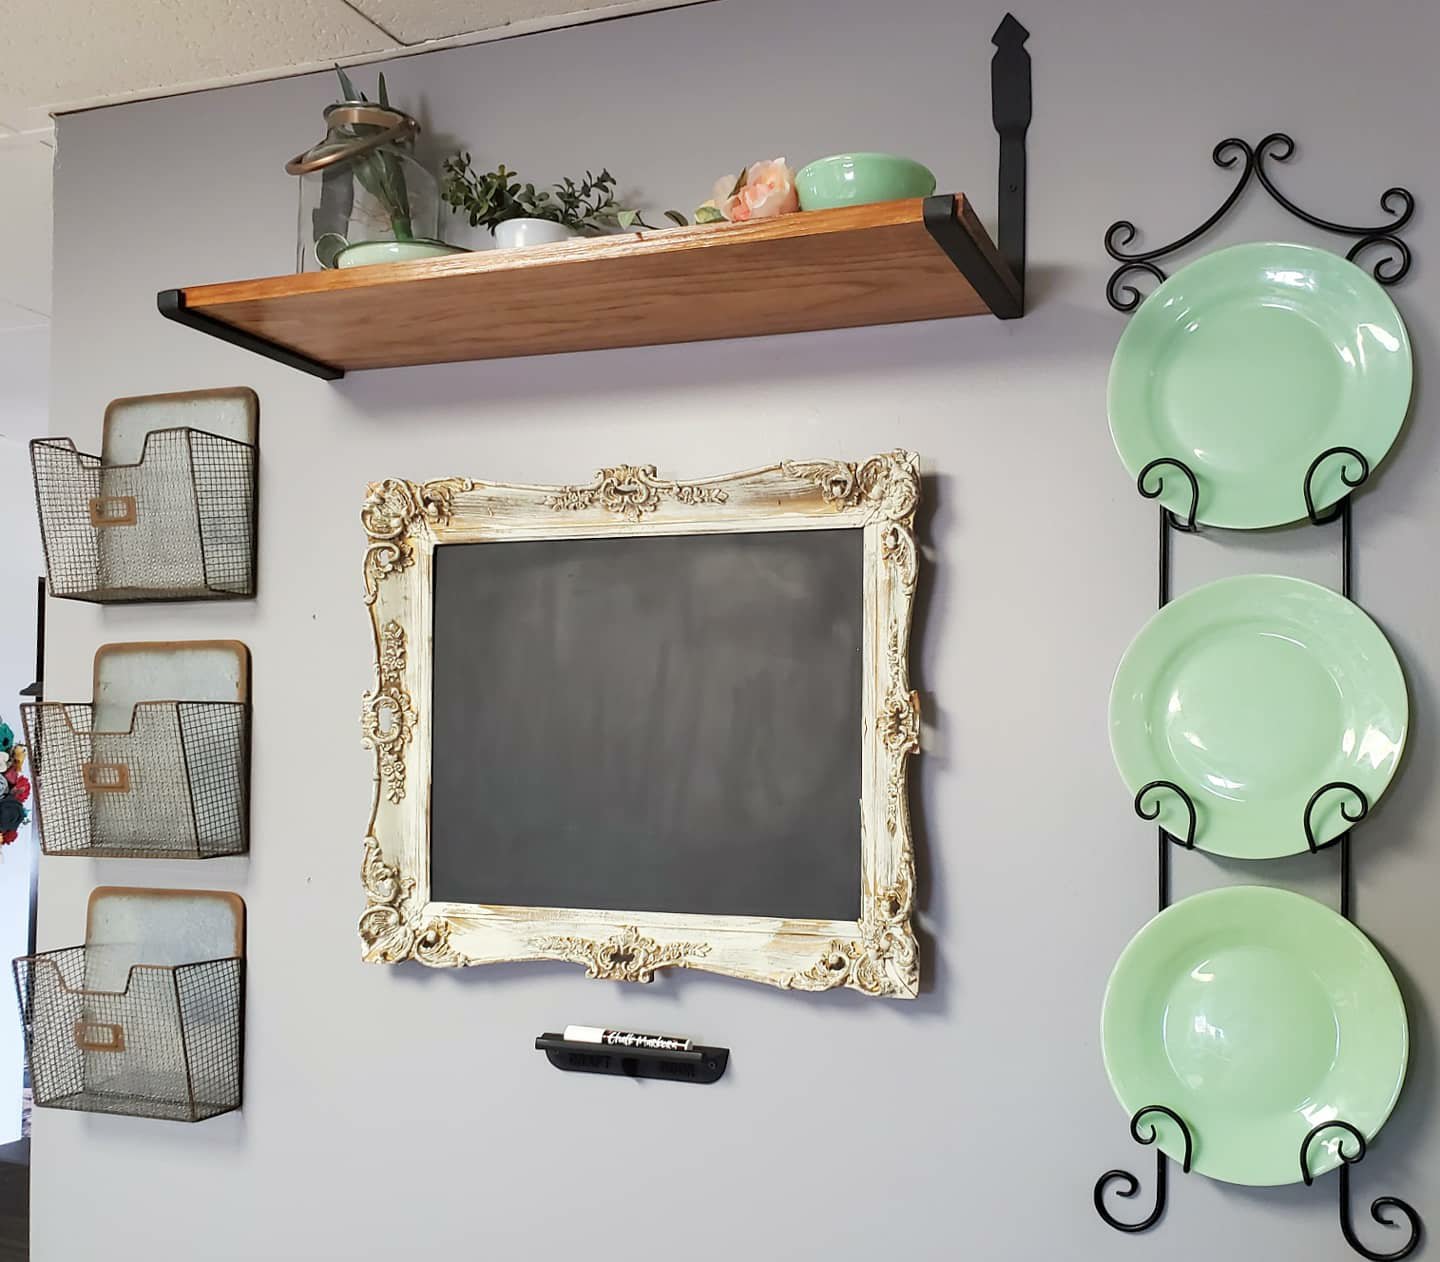

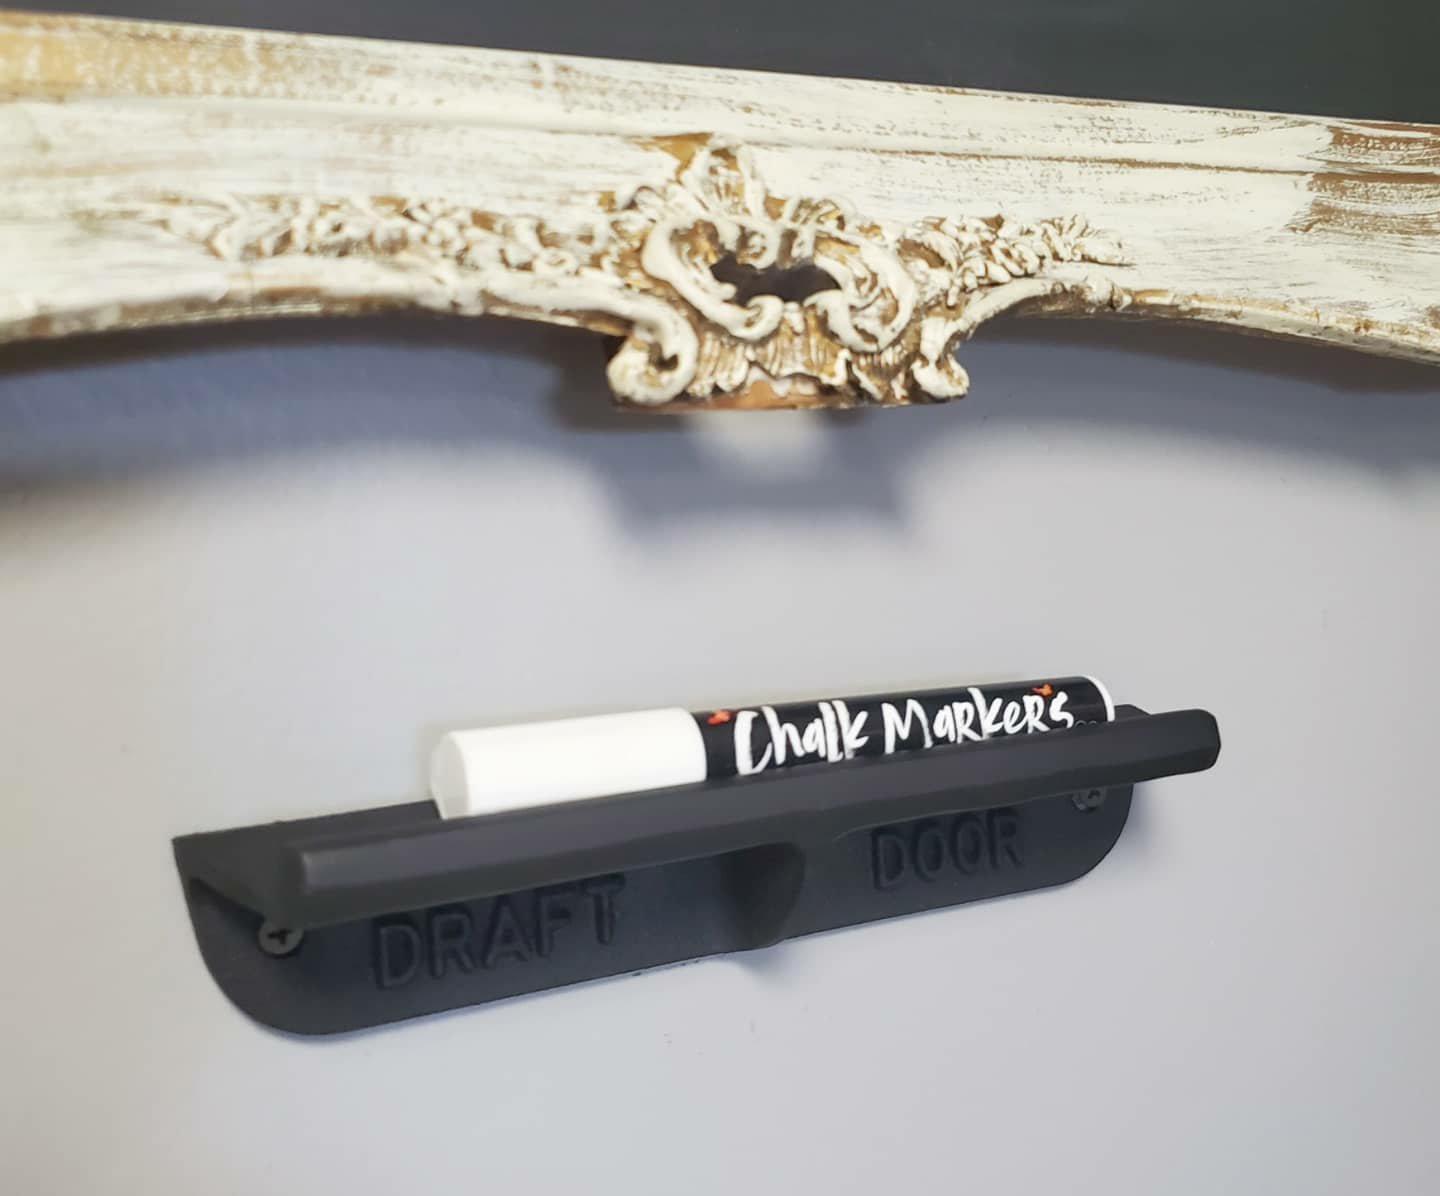
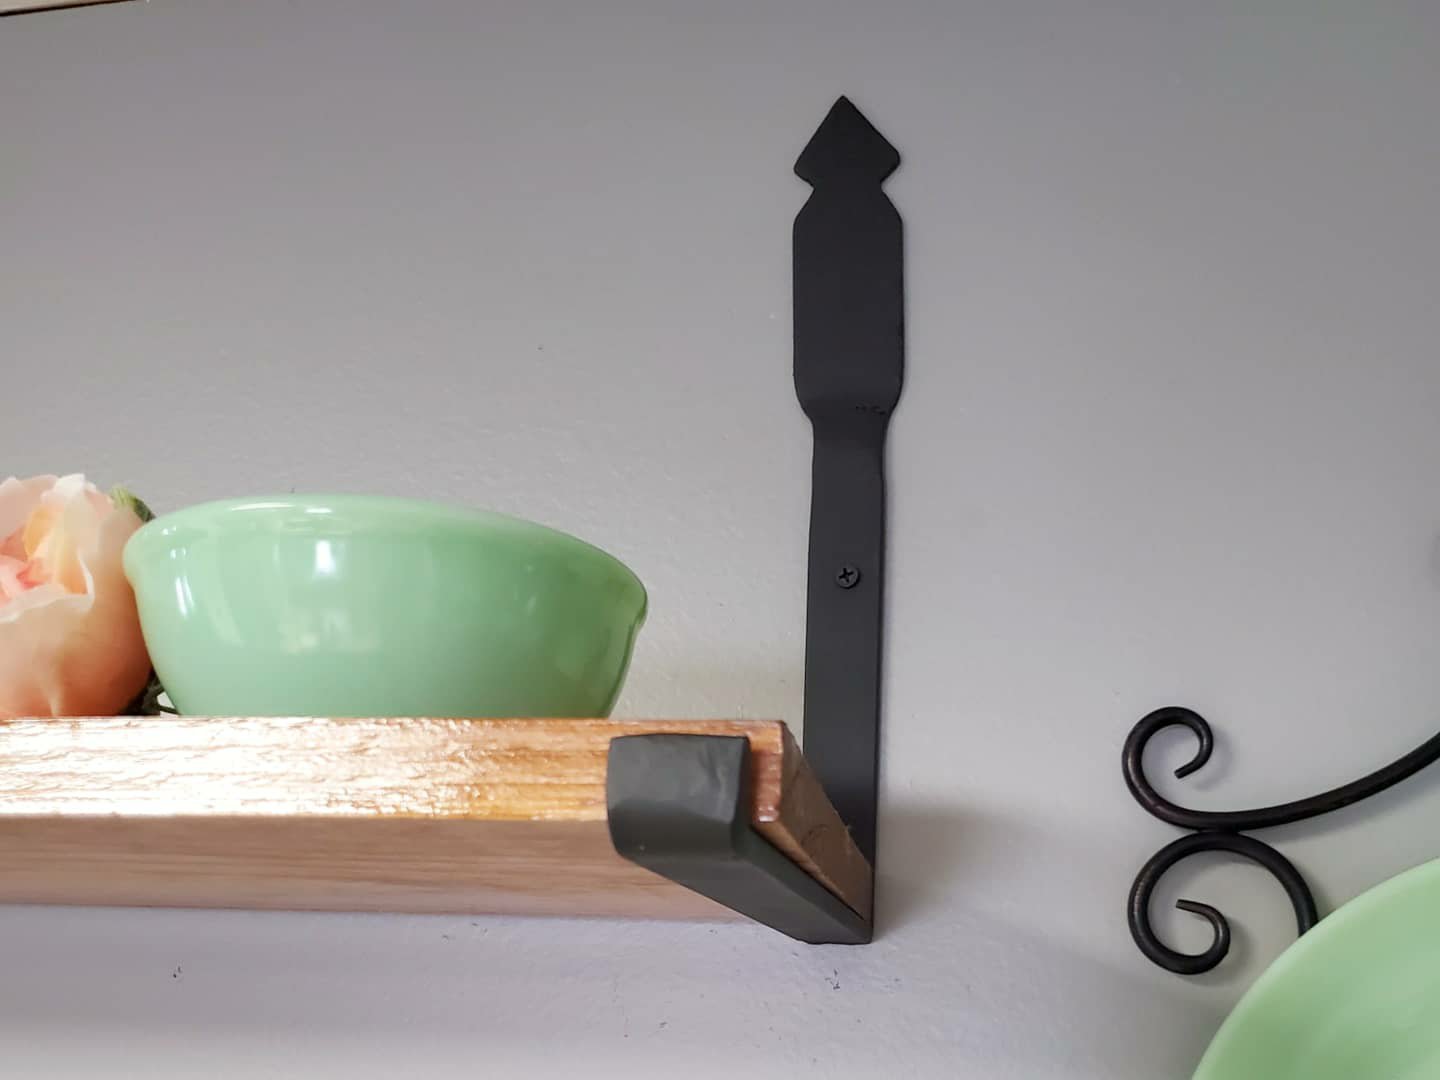
The antique mirror got a metal insert painted with chalk paint. The little chalk marker tray below it is an antique door stop out of an old barn. The baskets are from Hobby Lobby. The shelf is a custom design I requested from Jason. He added and welded the flourish at the top of the brackets.

Here’s my tid bit of advice. Have a place for the “stuff”, whatever you may call it. I truly believe in “a place for everything and everything in its place.” Even if you don’t organize that far, at least set up a zone with a calendar and pens and notepad. Have a spot where you put mail and homework. Always put your keys in the same location. I promise you that these tricks will prevent you from losing important things or searching frantically for the lost items!
And just for fun, here’s a shot of what it looks like more often than not. 😉
Anything else you would add?
XX,
Jess
Permalink Comments Off on The Landing Strip
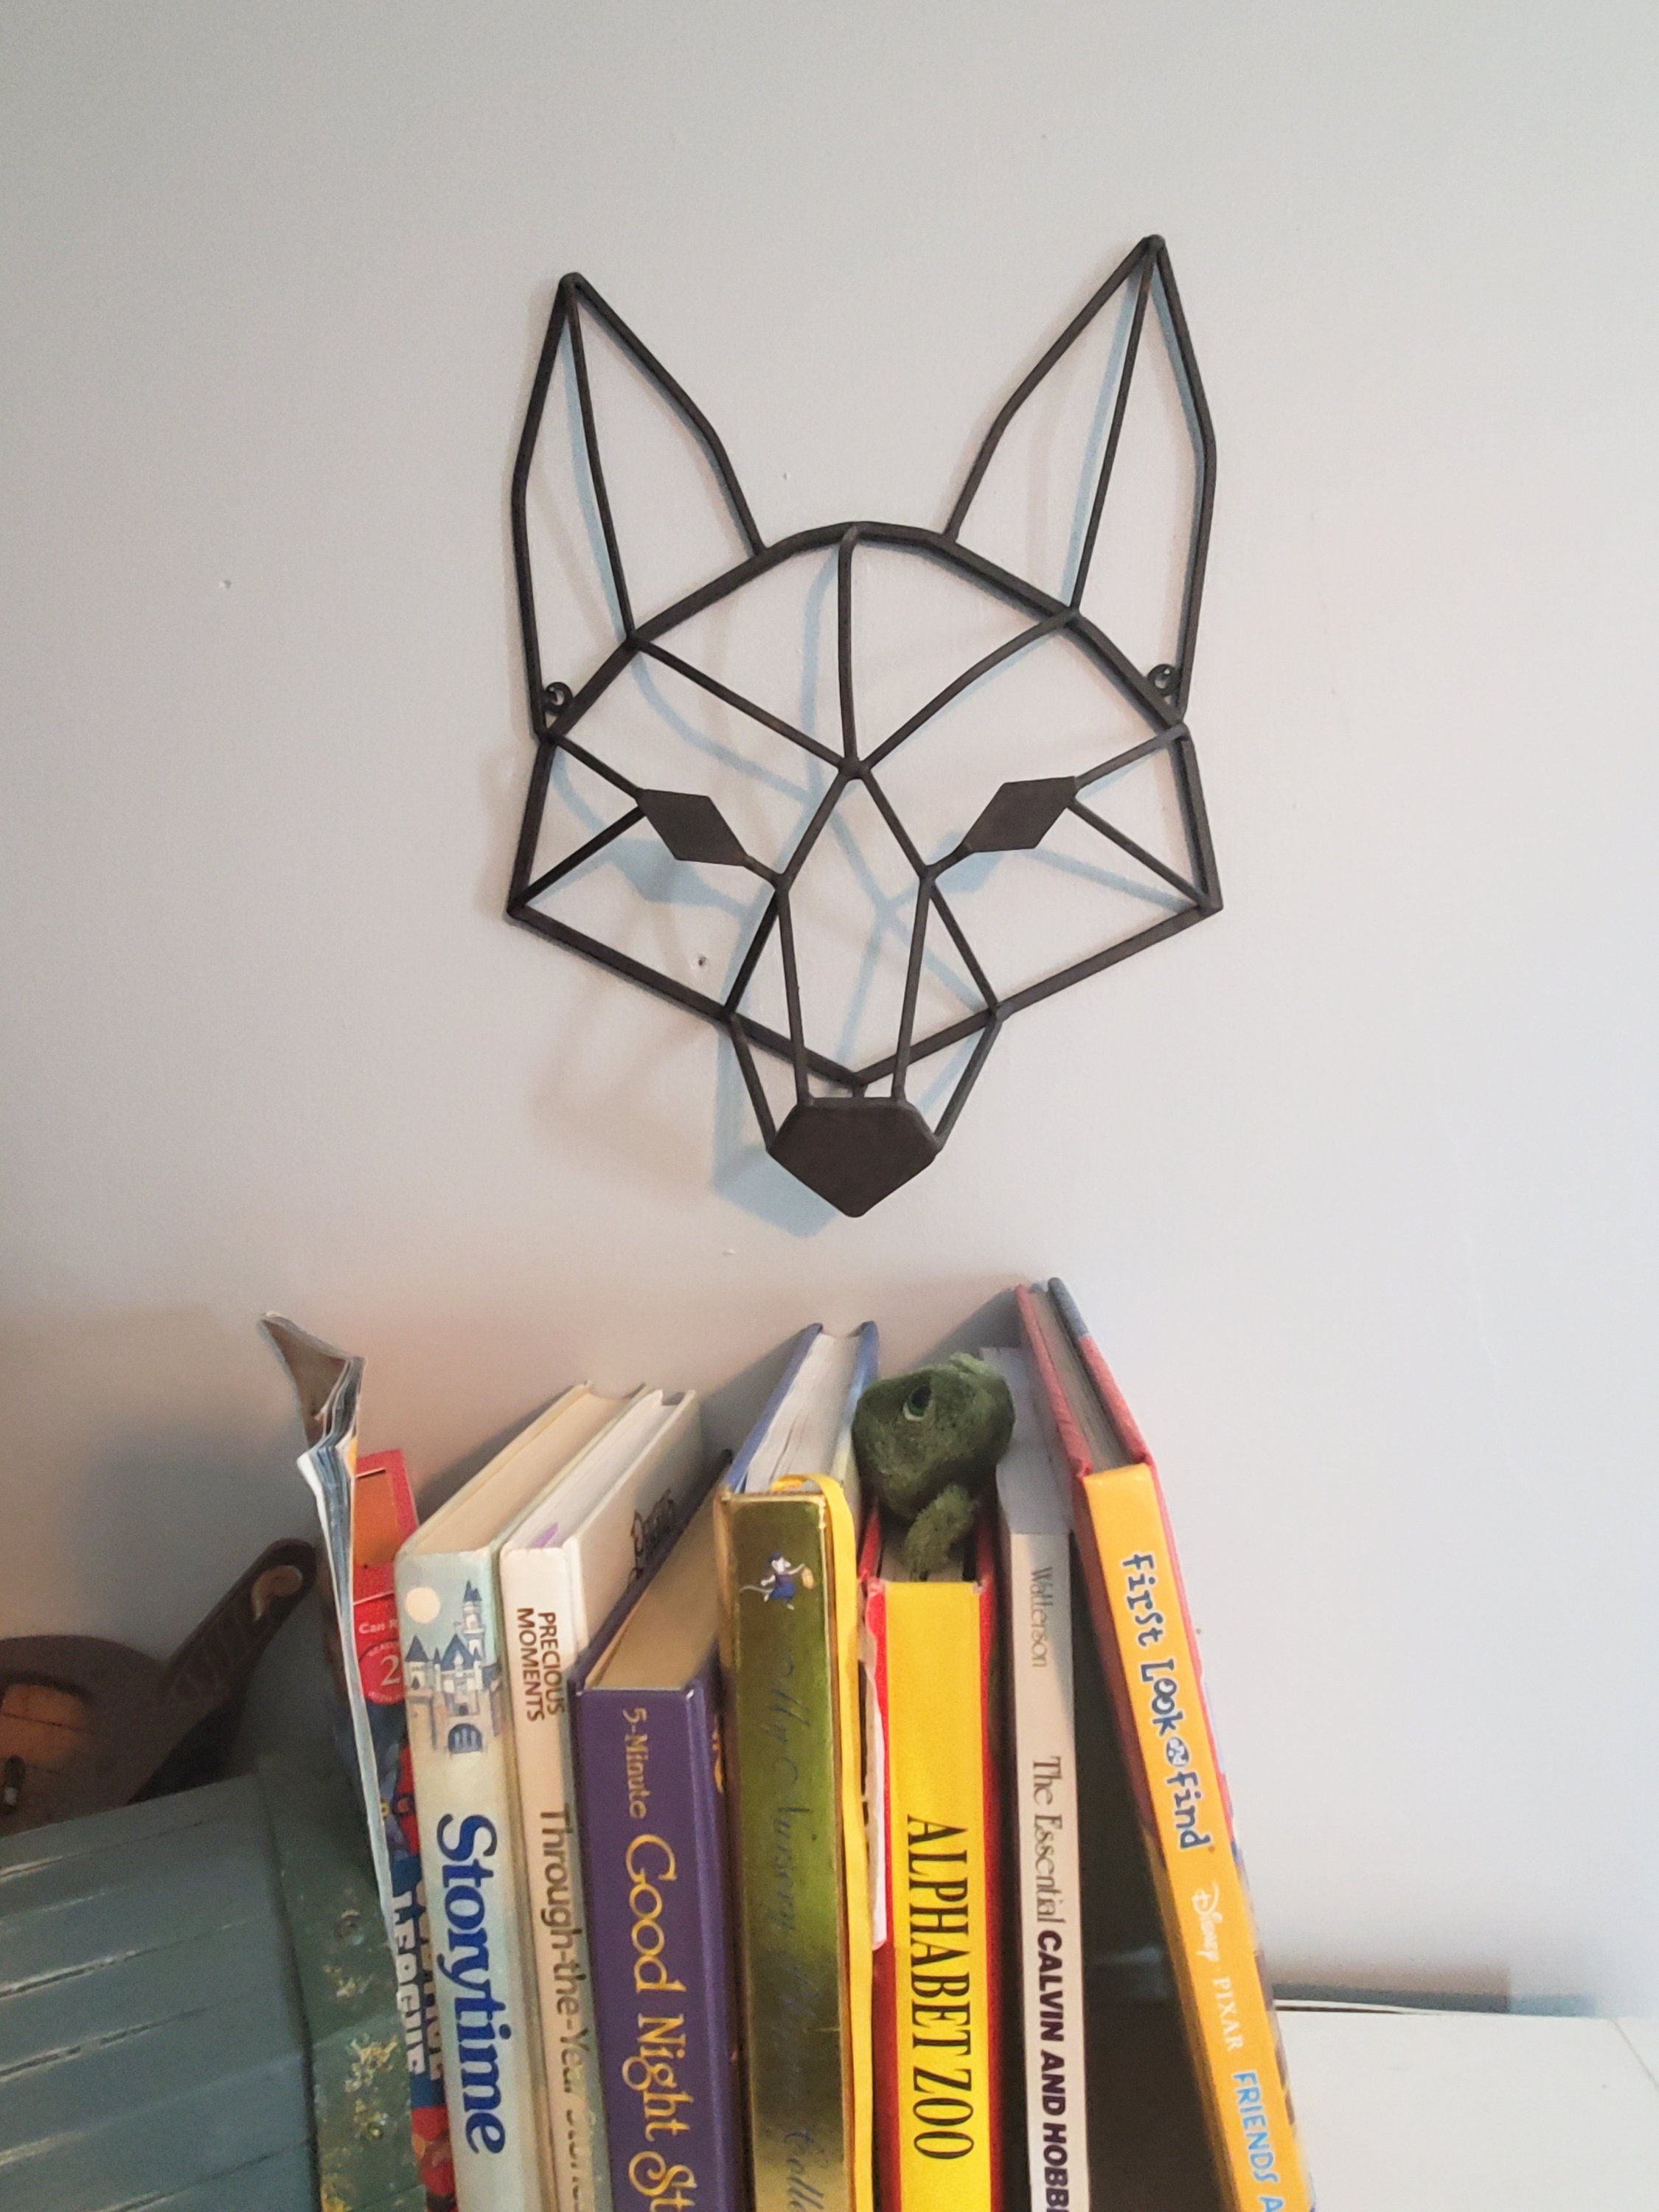
Frame Hanger Project
I love old picture frames. All kinds. I’ve got a hallway of empty ones upstairs. Sometimes I fill them. Sometimes I paint them. And sometimes I do something fun with them…

This frame I once painted black with a silver line. Years ago. I was over it. (Ignore the ugly paneling in the upstairs hall we hope to rip out soon)
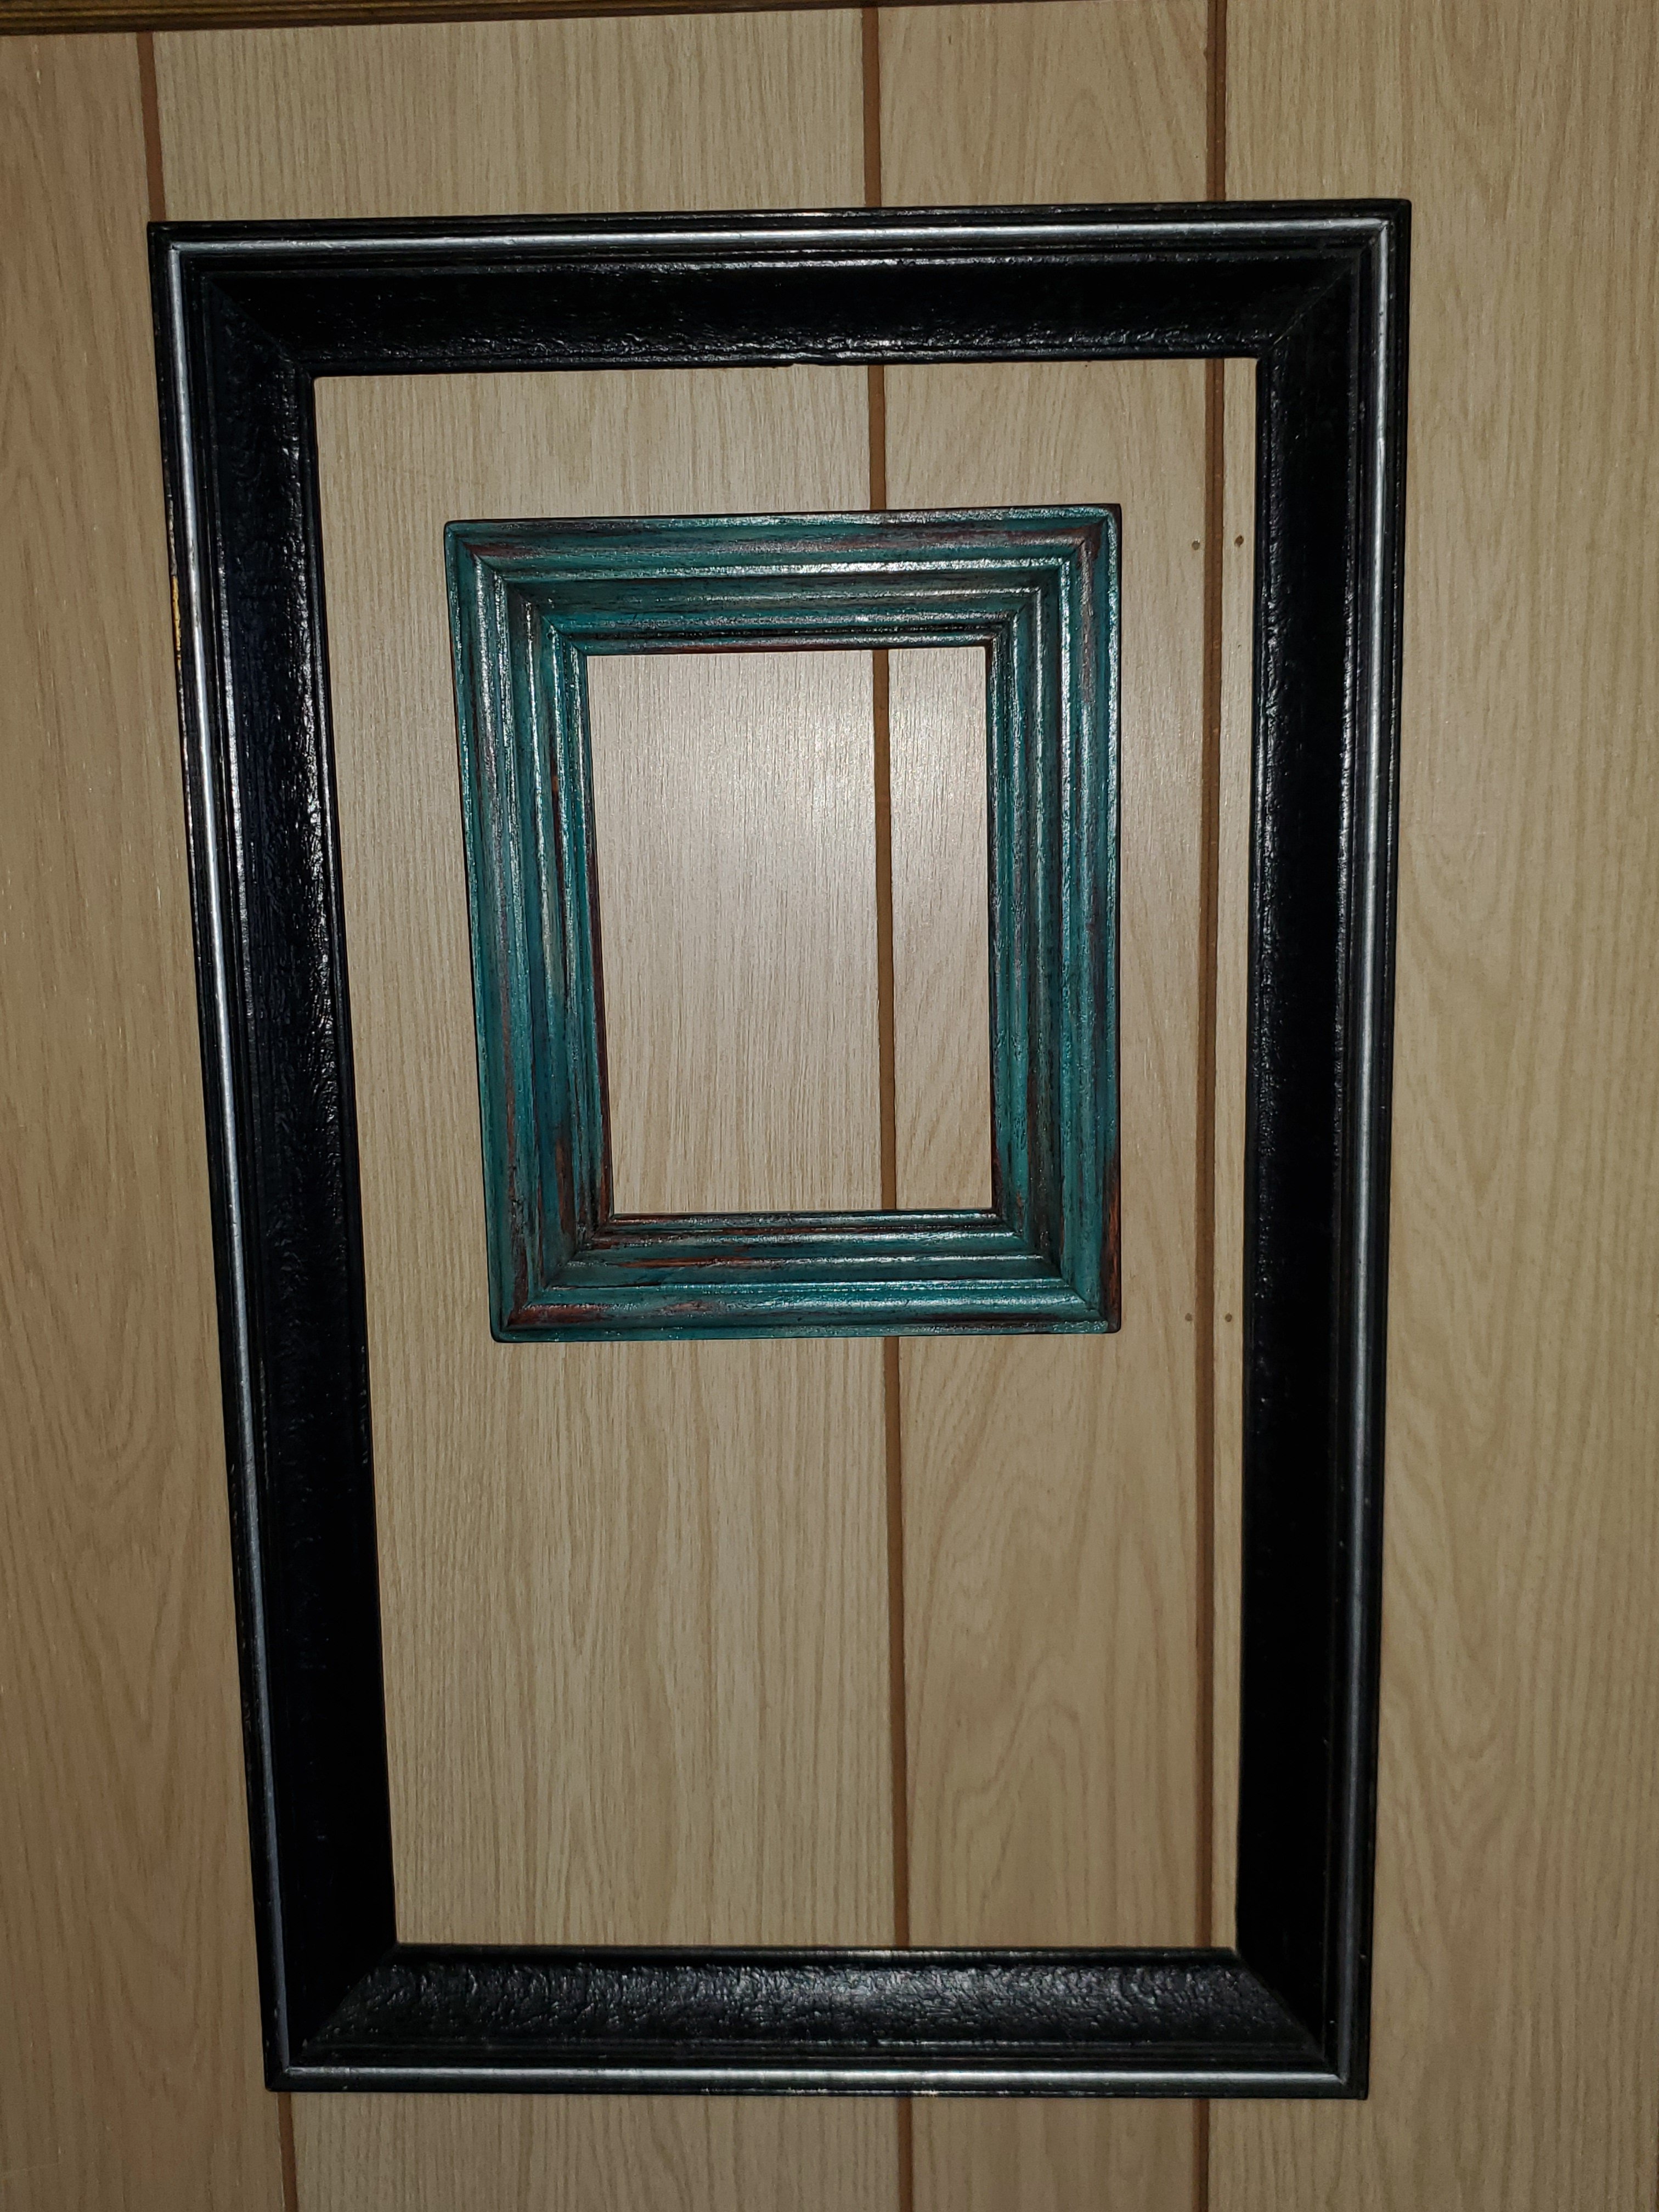
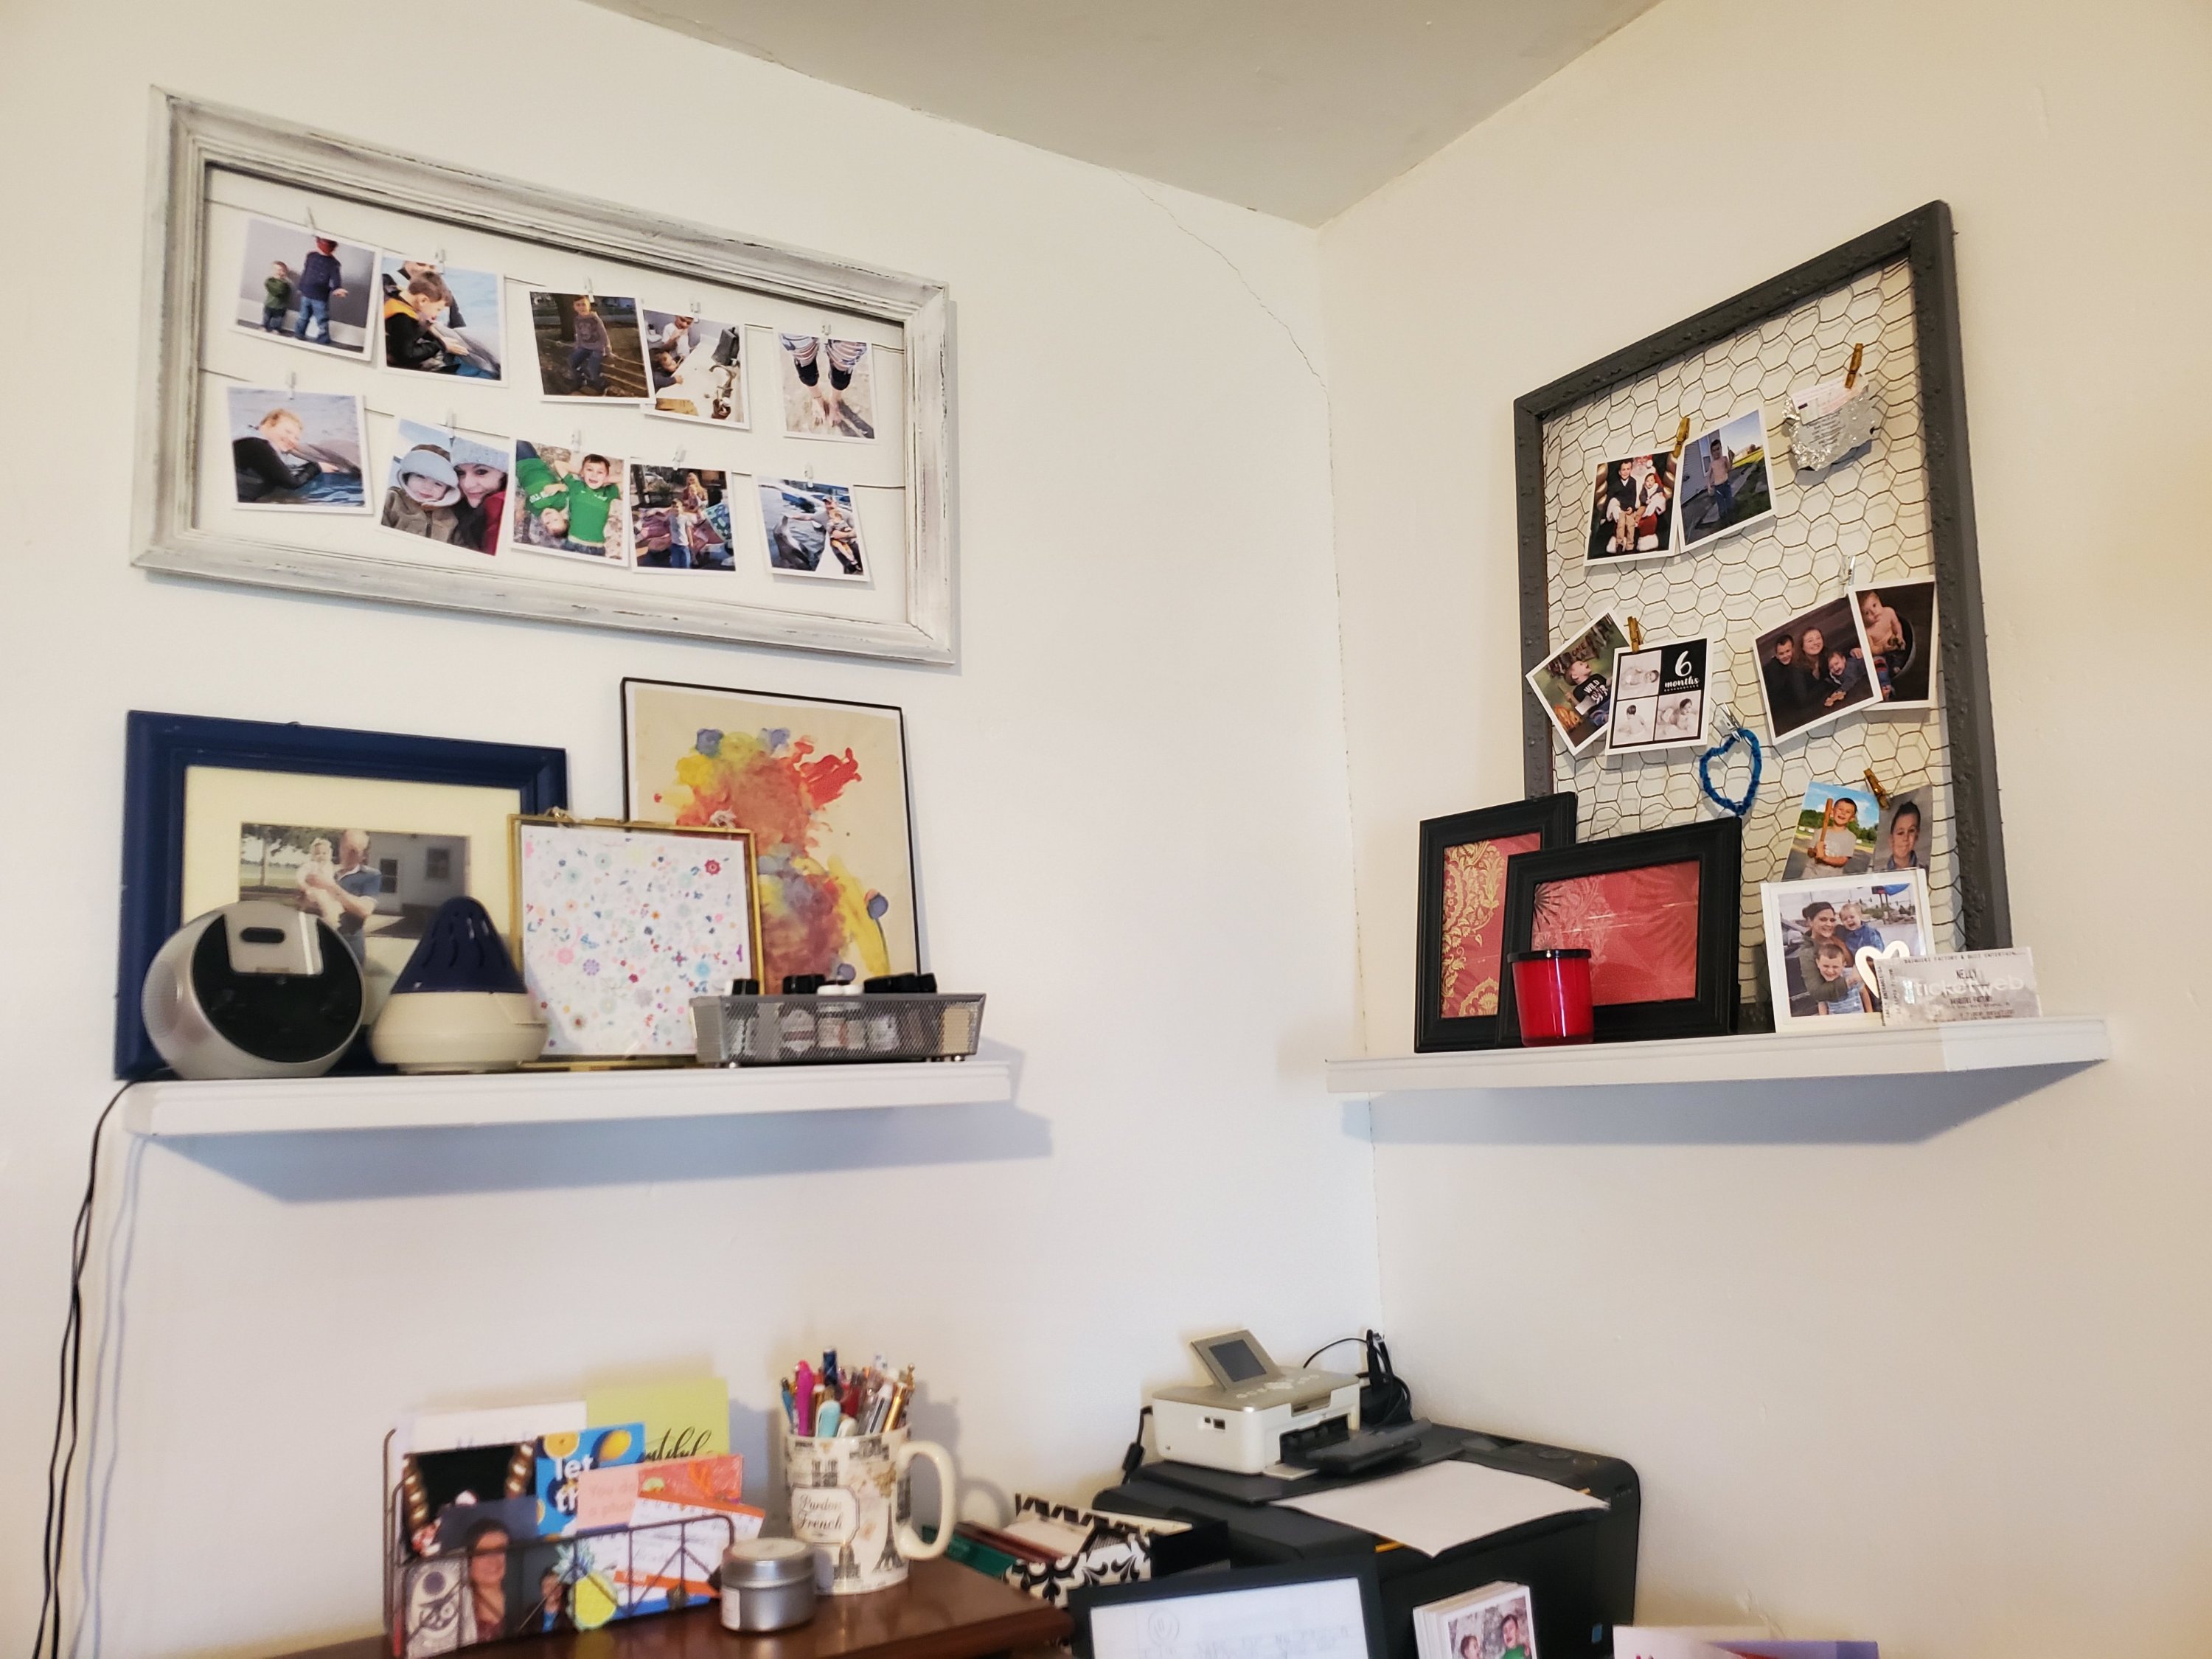
I wanted something lighter and brighter for my office. And I needed a place to hang some of my beautiful Parabo Press photos. (If you haven’t ordered from them, you must. They are gorgeous)
So first I lightly sanded the frame. Then I painted it white. I used wall paint for this project because it’s what I had. And its quarantine. And this step wasn’t super important for this project. It took 2-3 coats, but doesn’t need to be perfect.
Then I sanded with a foam sanding block. I scraped the edges and roughed up the centers. Go slowly and start lightly. Keep going until you love it.
Then, because I wanted just a little something more for this one, I used a small brush and “dry brushed” on some charcoal gray paint. This means I dipped a tiny amount on the brush and then swiped most of it off onto a paper plate. When the brush is almost dry, wipe it on the frame. It will give you just a tiny bit of paint and give a smudge-y look. I used a paper towel to rub this in as I added it too. It came out nice and weathered.
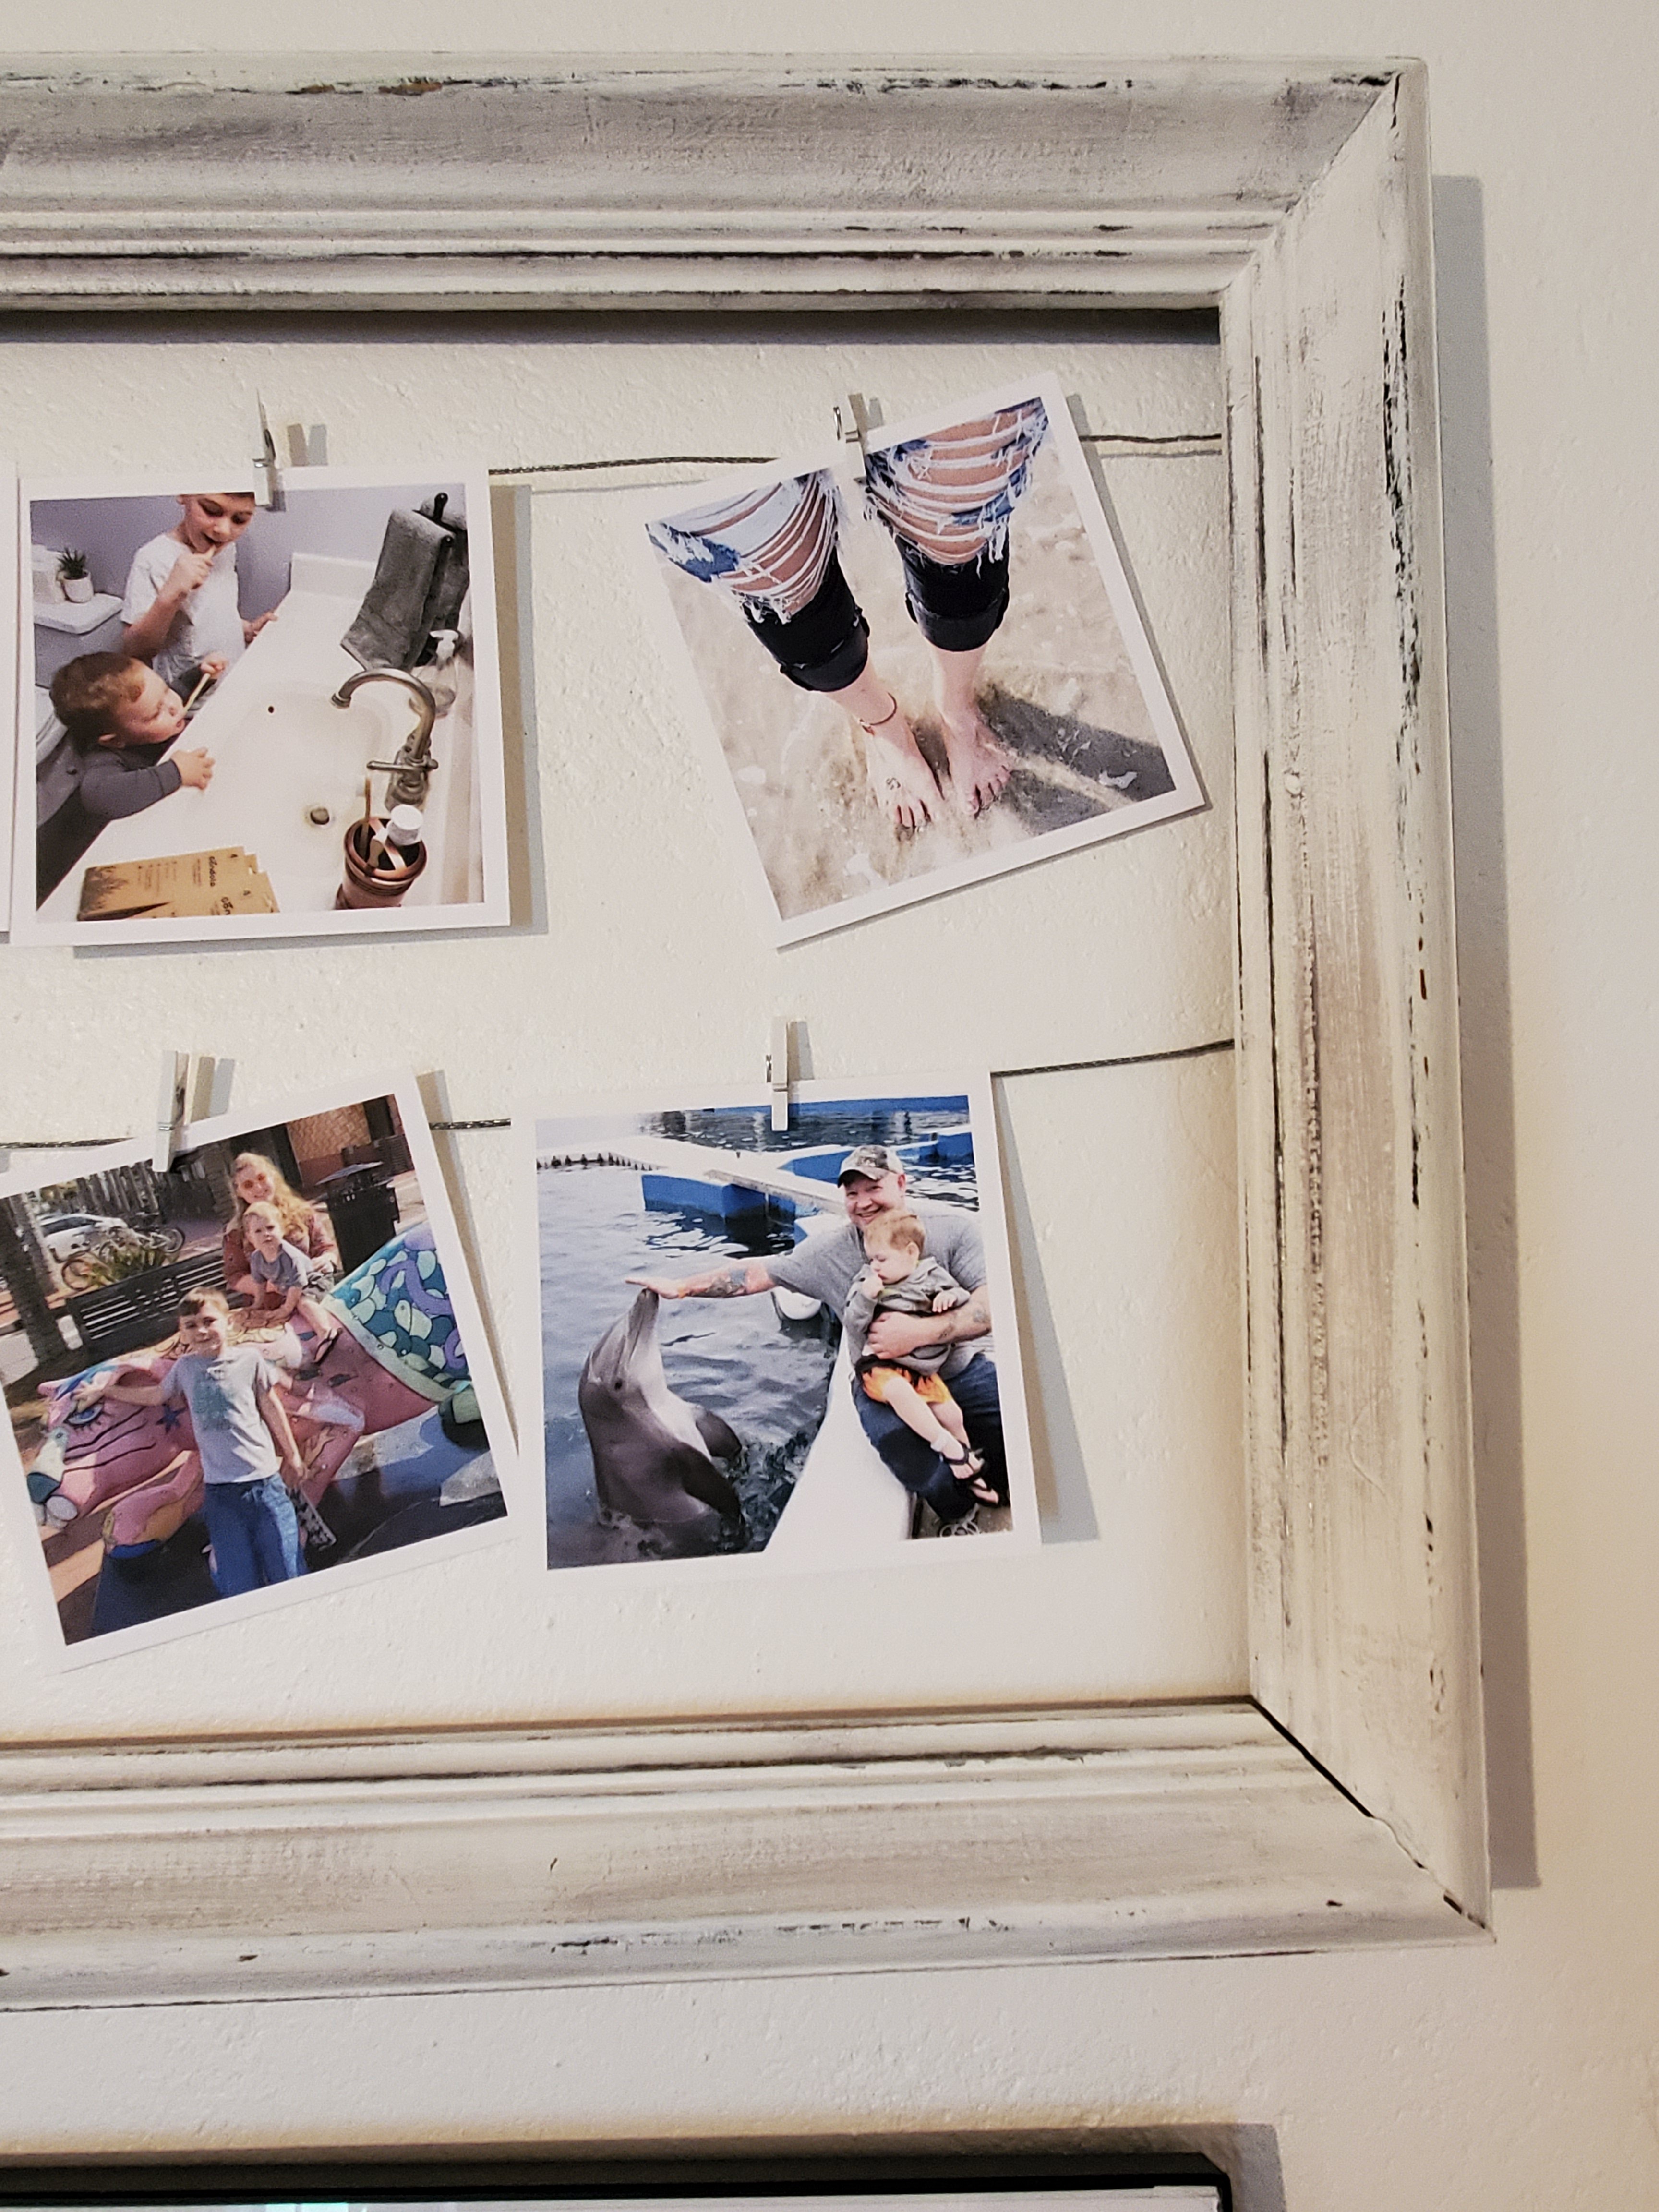
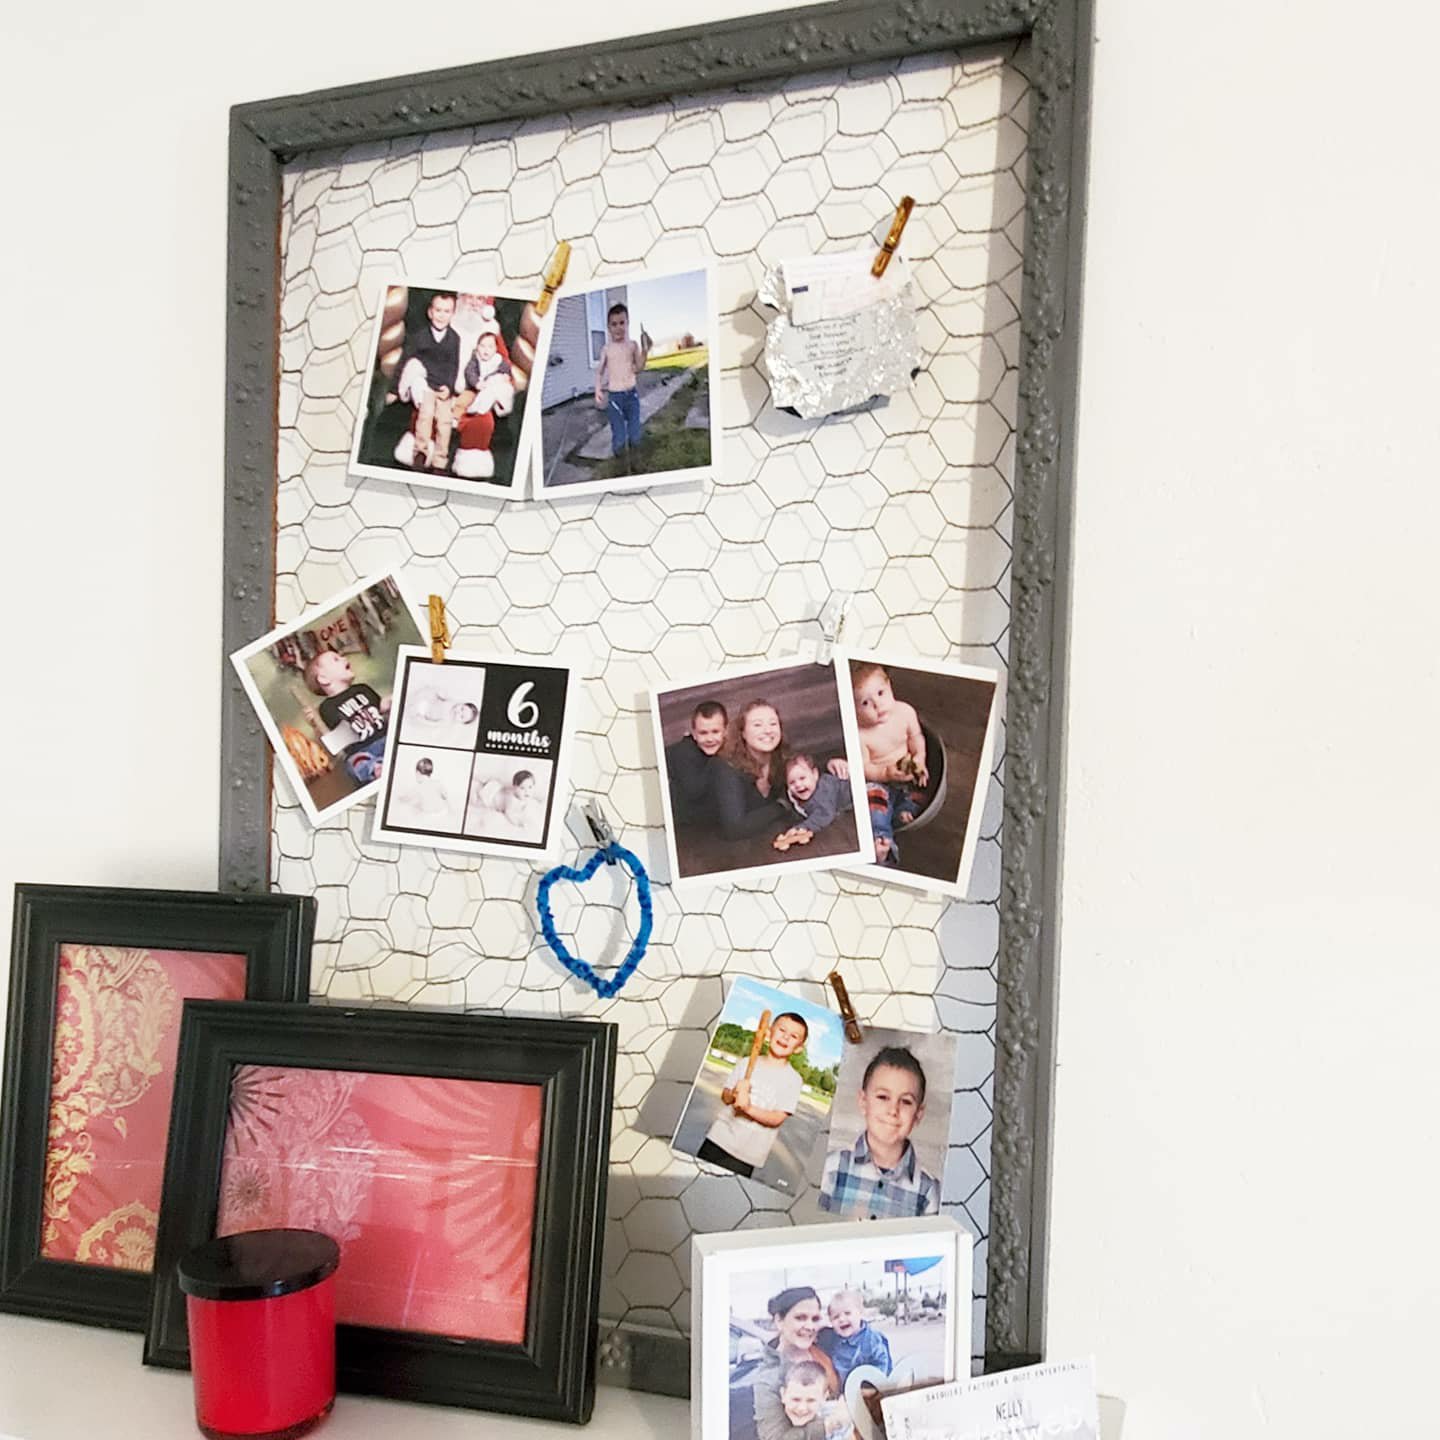
Then to add some wire. You could use twine or ribbon, or whatever you have. I had some picture hanging wire from a hanging kit. I cut it slightly longer than the width of the frame, maybe a half inch extra on each side. Then I pulled it tight across the frame and used a staple fun to staple it in place. I twisted the extra ends into a little ball to help keep it in place.
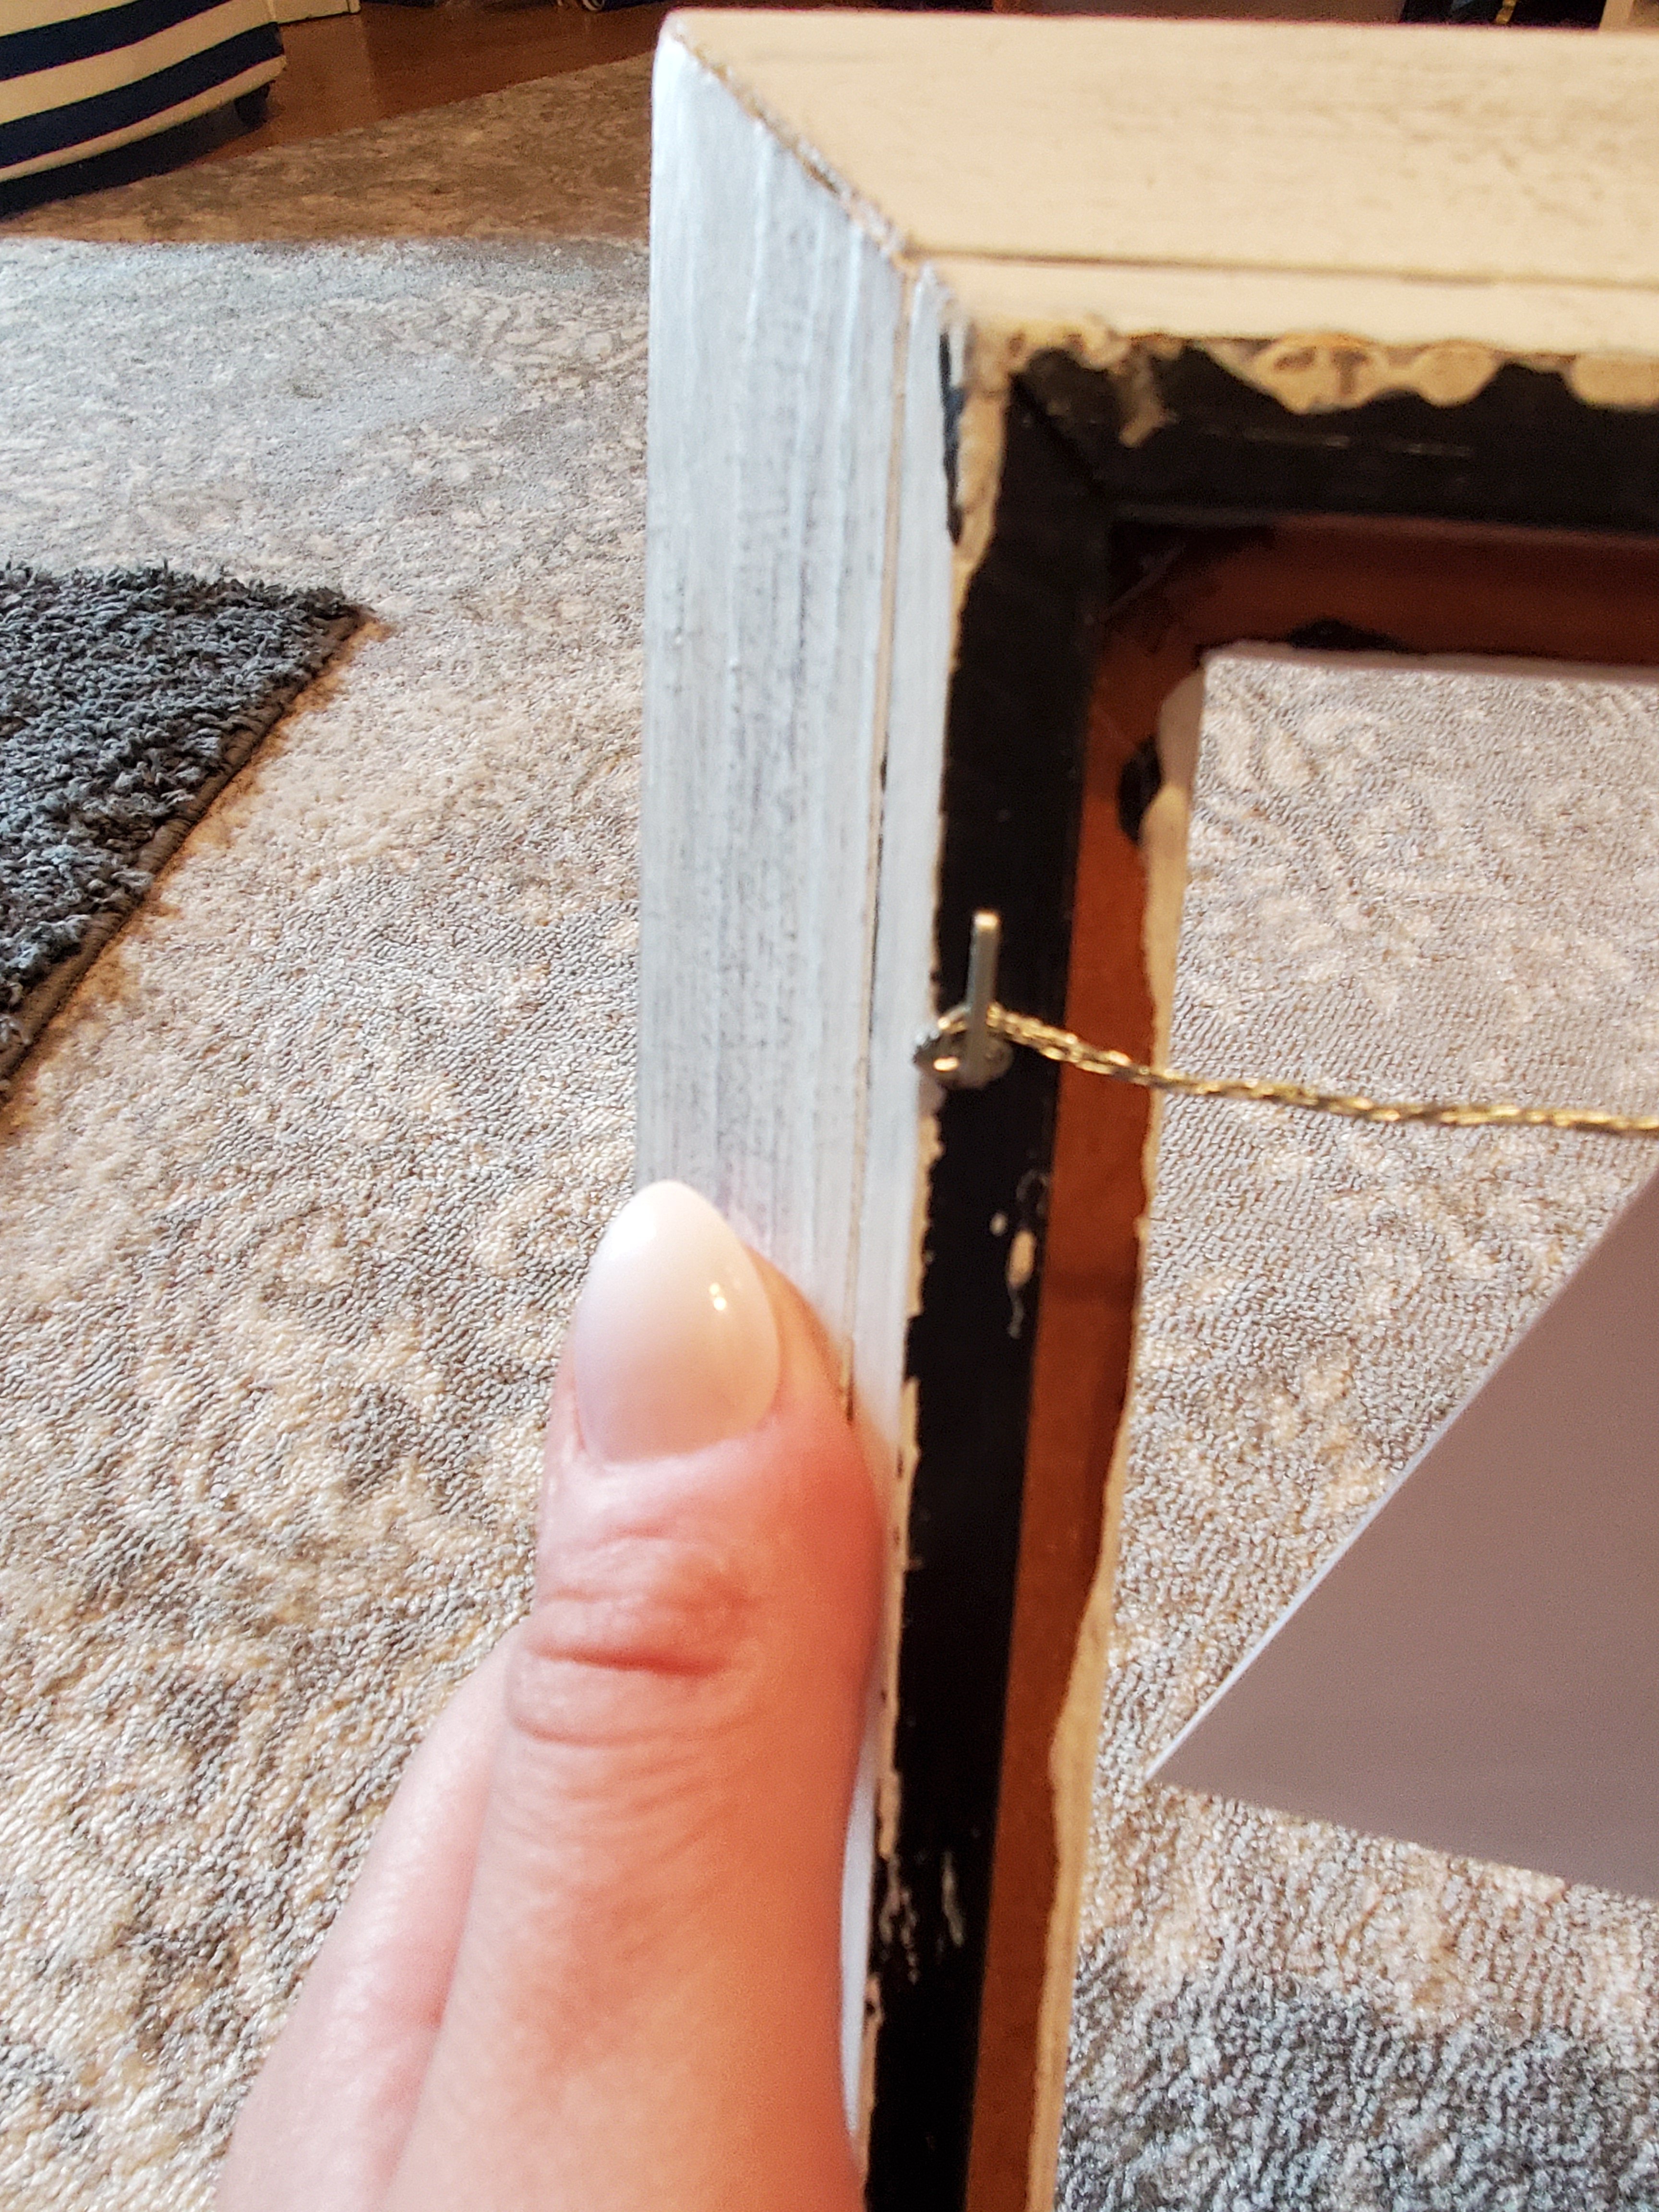
You can get tiny clothes pins on Amazon.
And viola!

I’ve also done this before with chicken wire…
What do you think?
Doing any quarantine projects?!
XX,
Jess
Permalink Comments Off on Frame Hanger Project
Bathroom Update
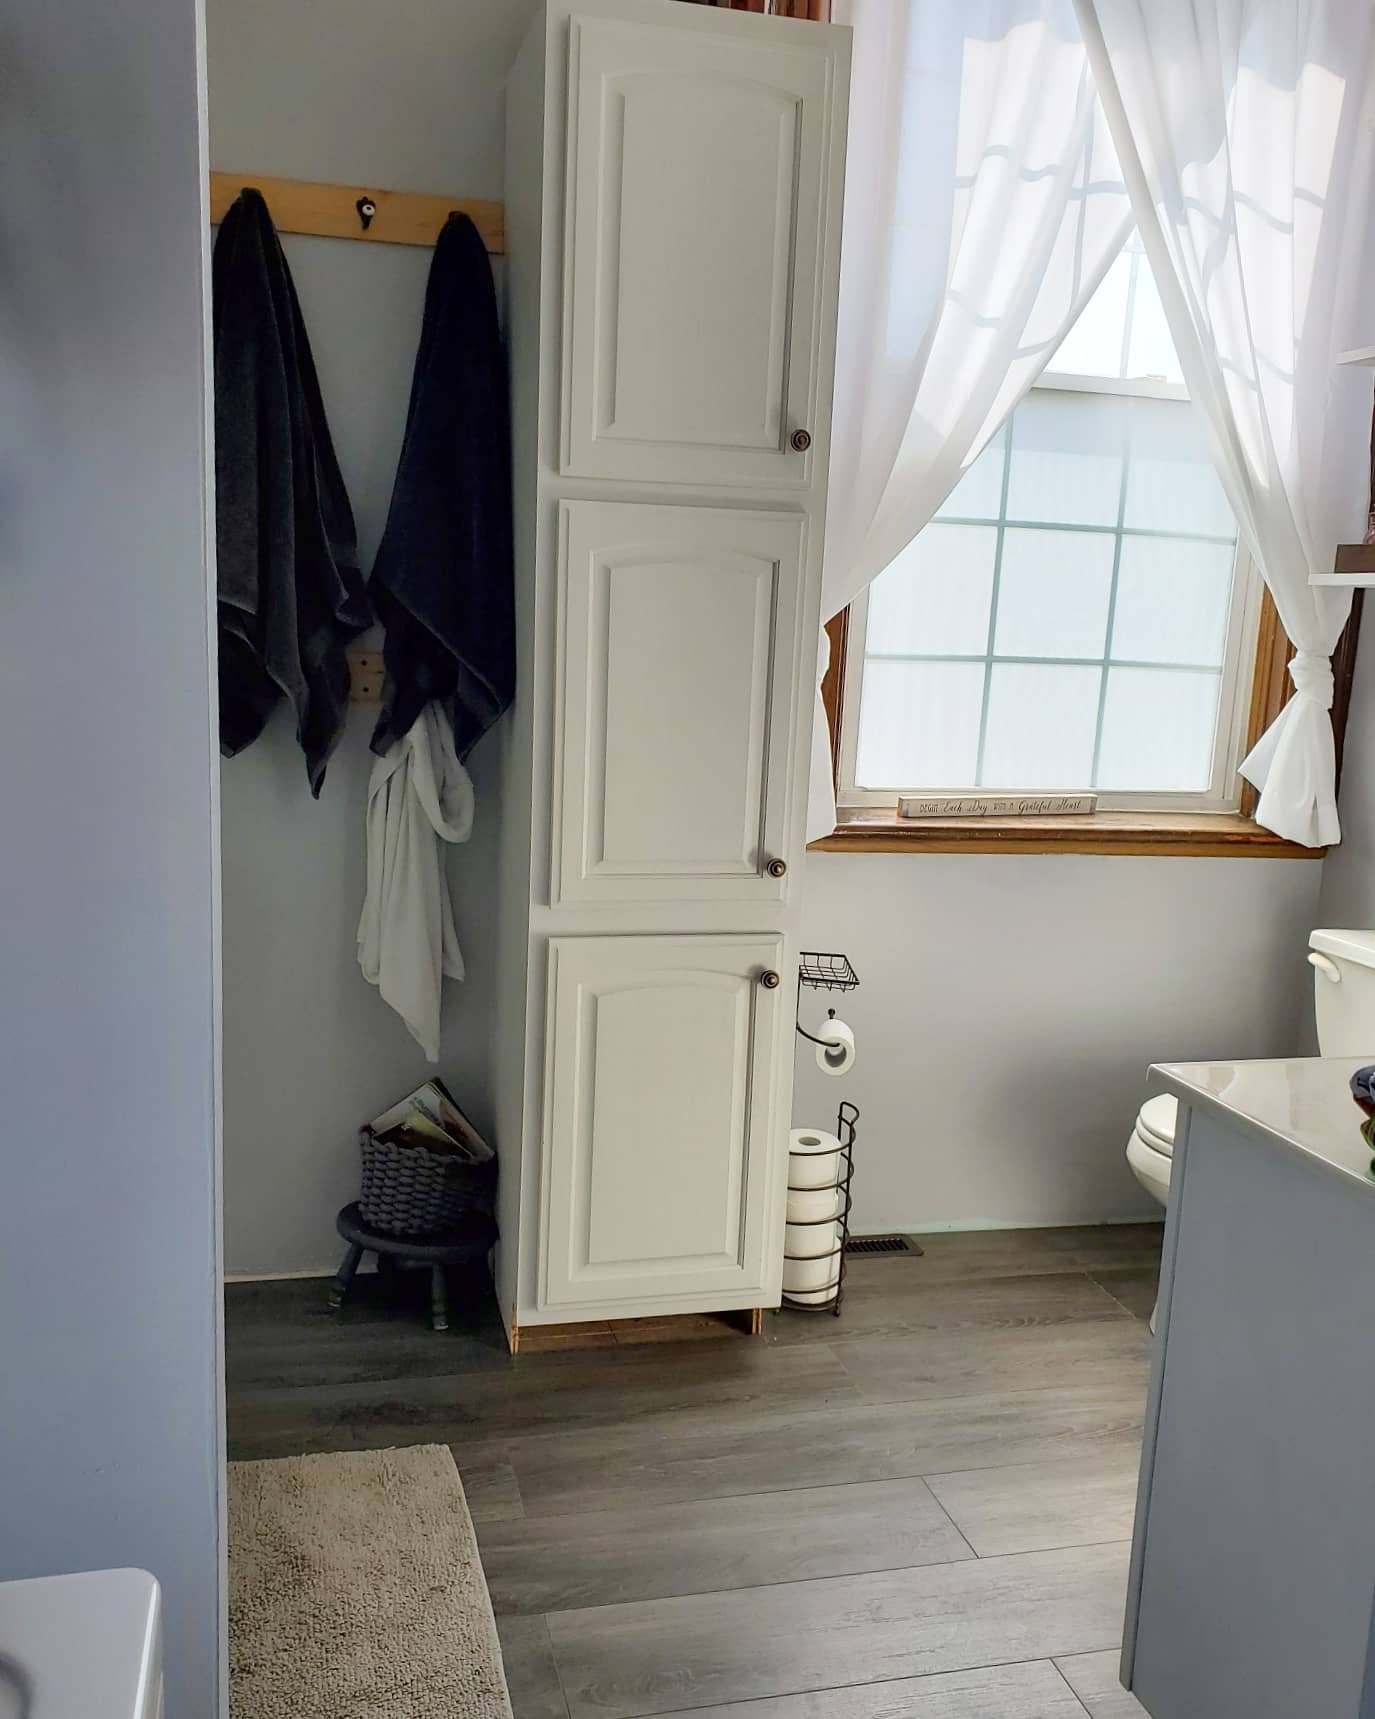
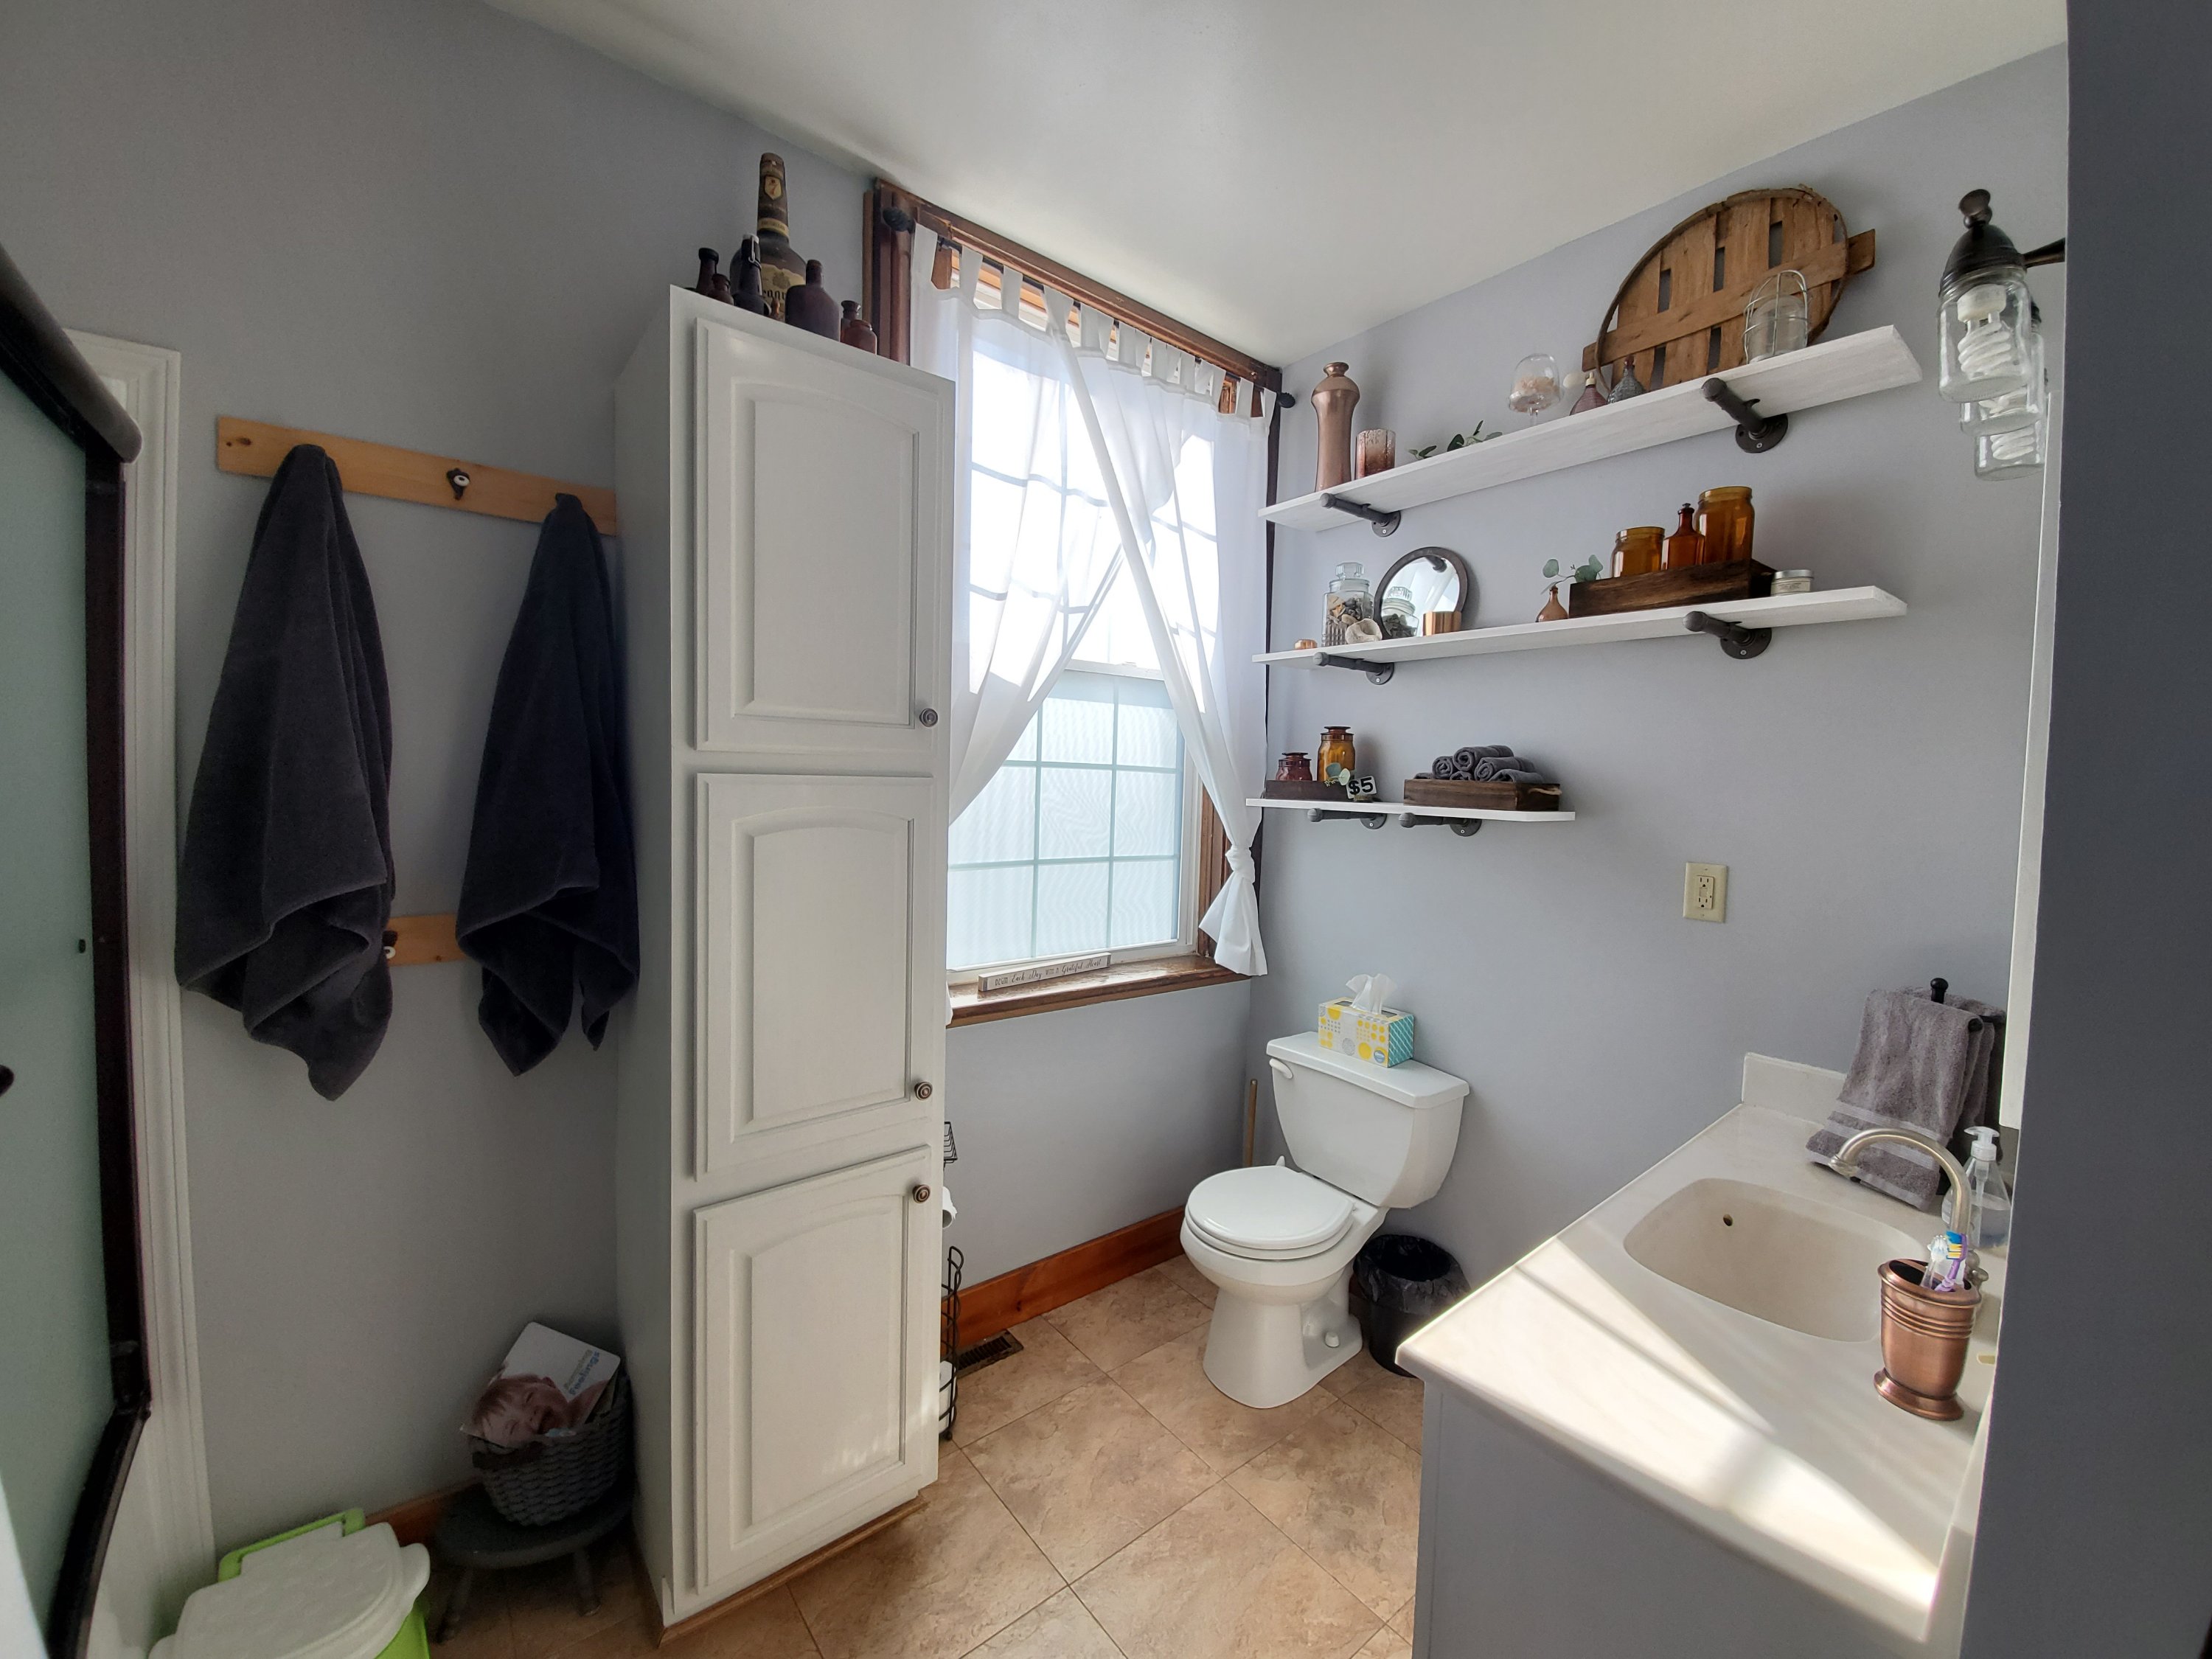
I thought we were going to live with the 85% bathroom update for a while. But we got a little shove to take it to 98% done now. 🤣 What this means is that we redid the flooring! Yay! And we added a mirror and a couple more custom shelves in the laundry room.

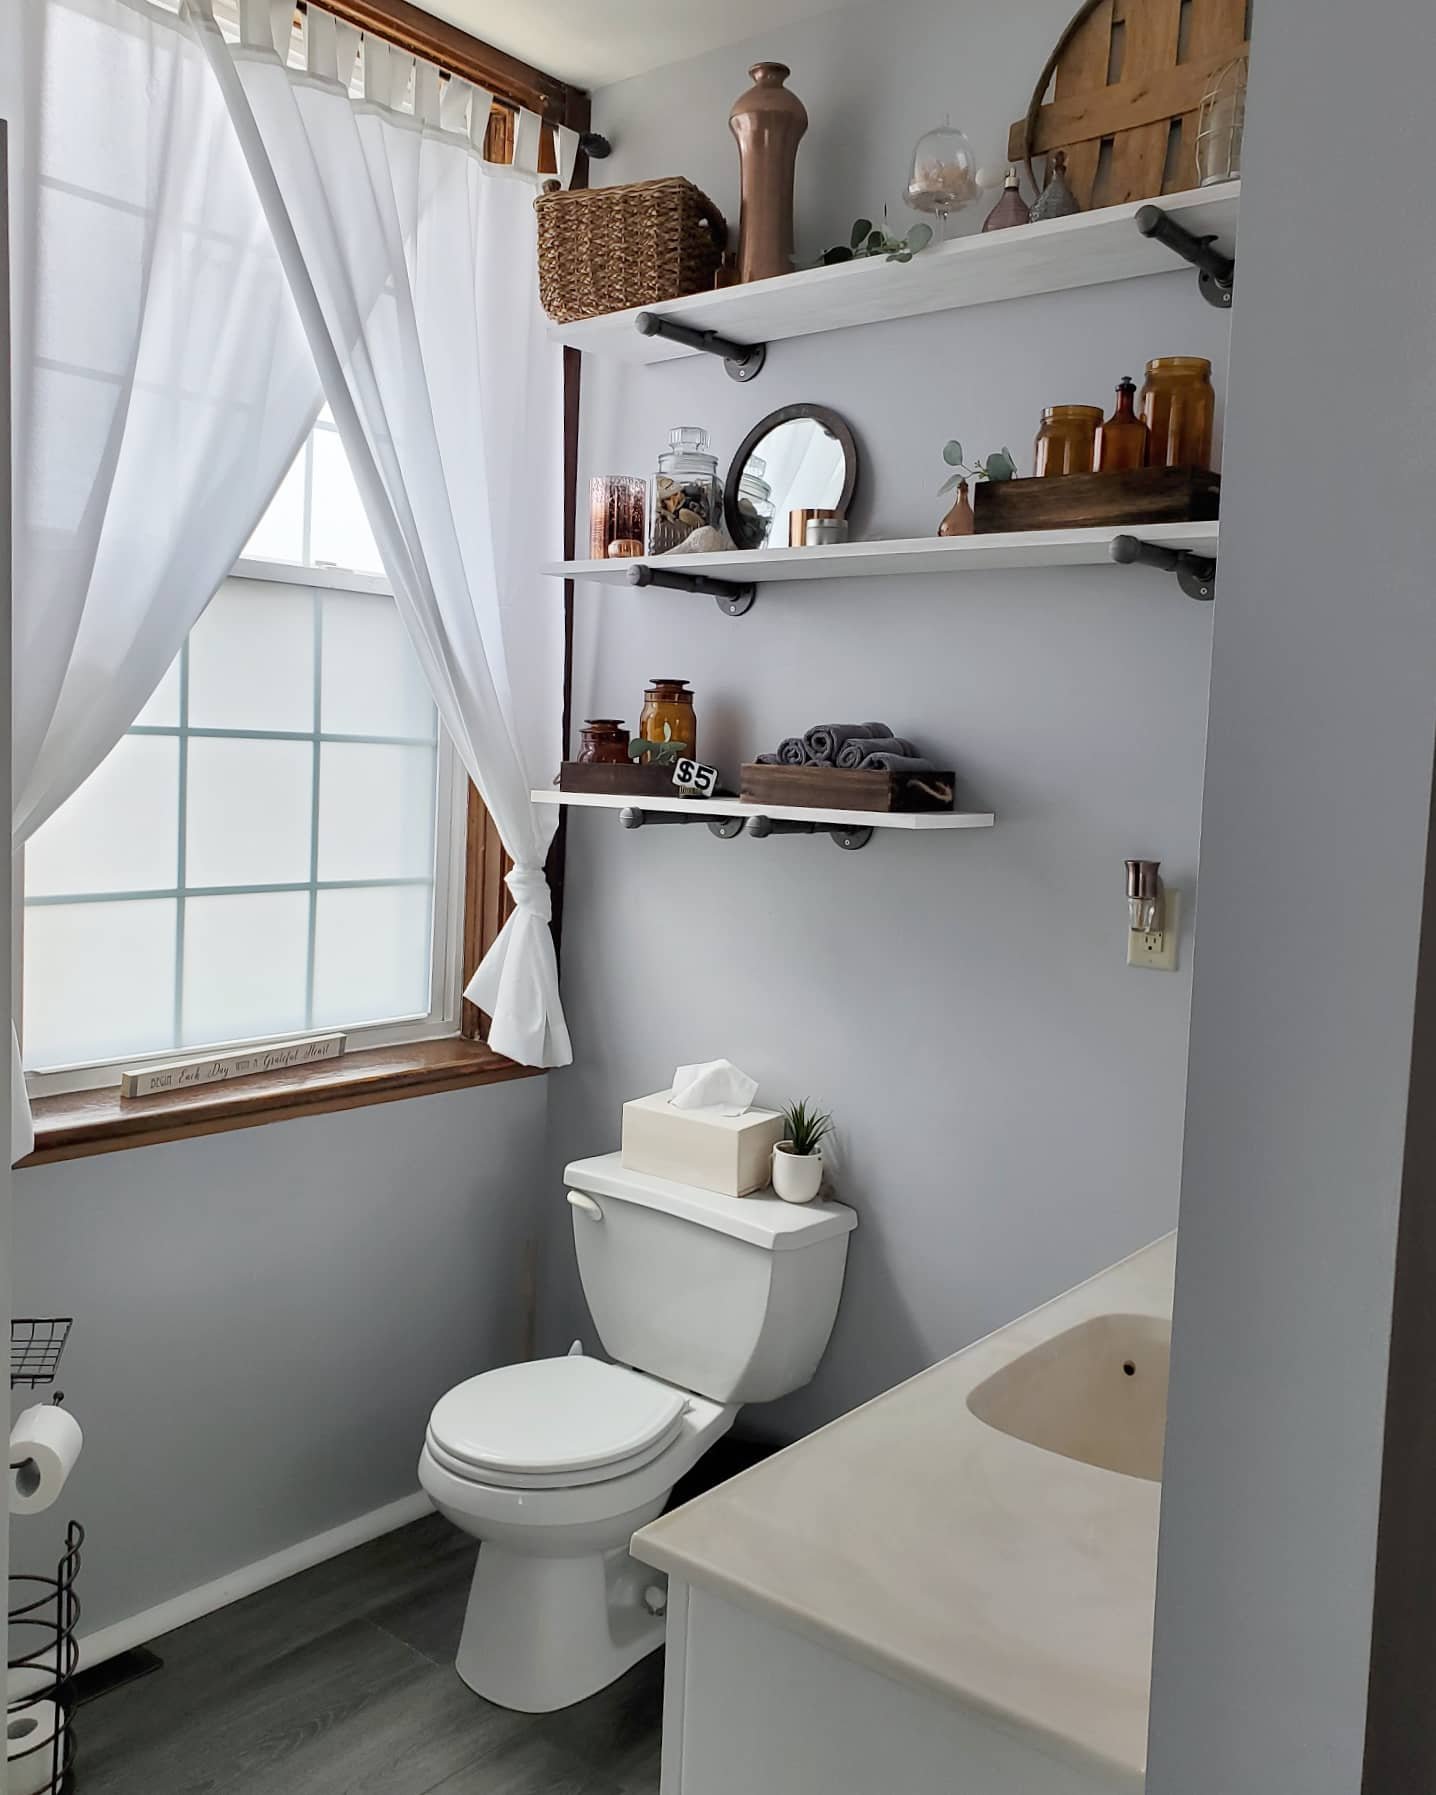
We used snap-in wood and vinyl flooring and it was super easy! Except for dealing with the uniqueness of an antique house with crooked walls and missing trim, etc, but we managed and it’s been amazing and seems super durable already. We ended up going with large quarter round as trim because we need to hide some of those flaws from a very old house. But I love the look here!
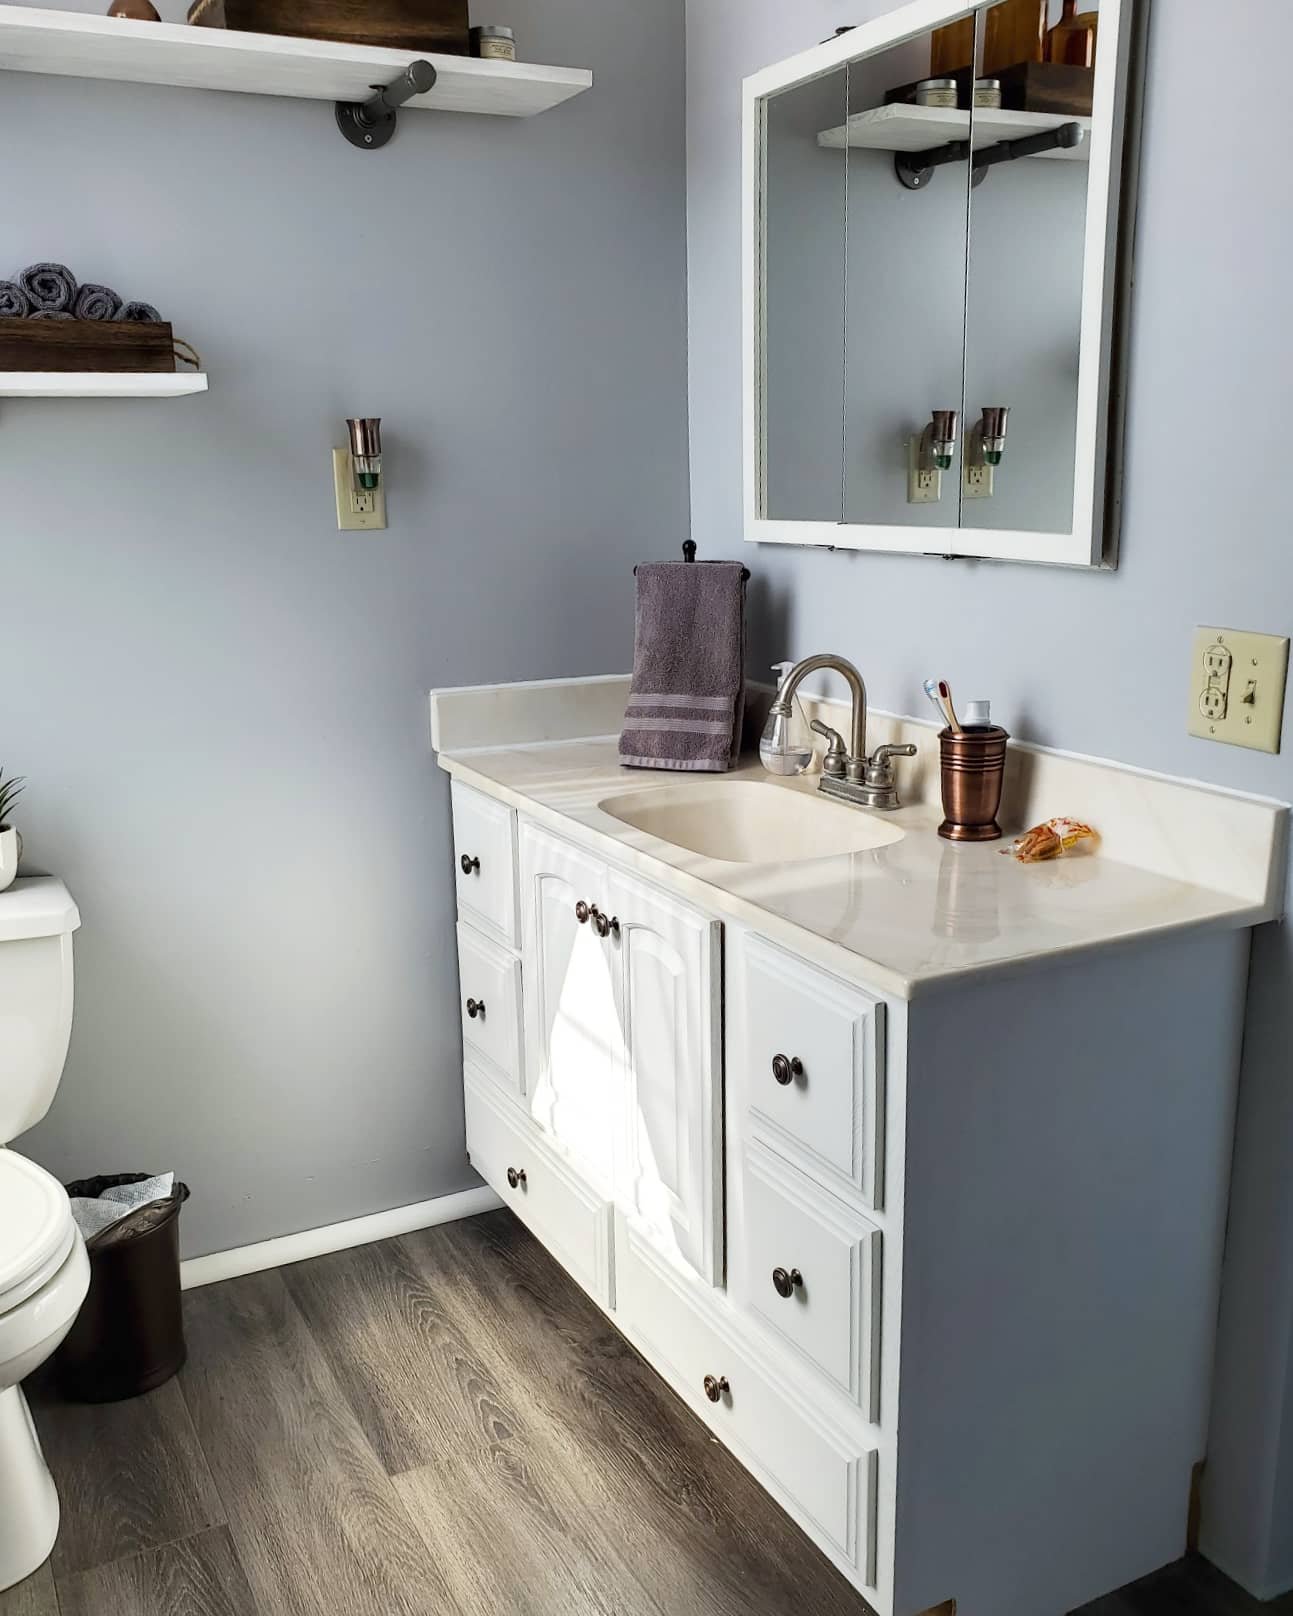
The ONLY thing left is to replace the faucet. Soon. We are going to live with the sink and counter top for a while, but I can deal with that.
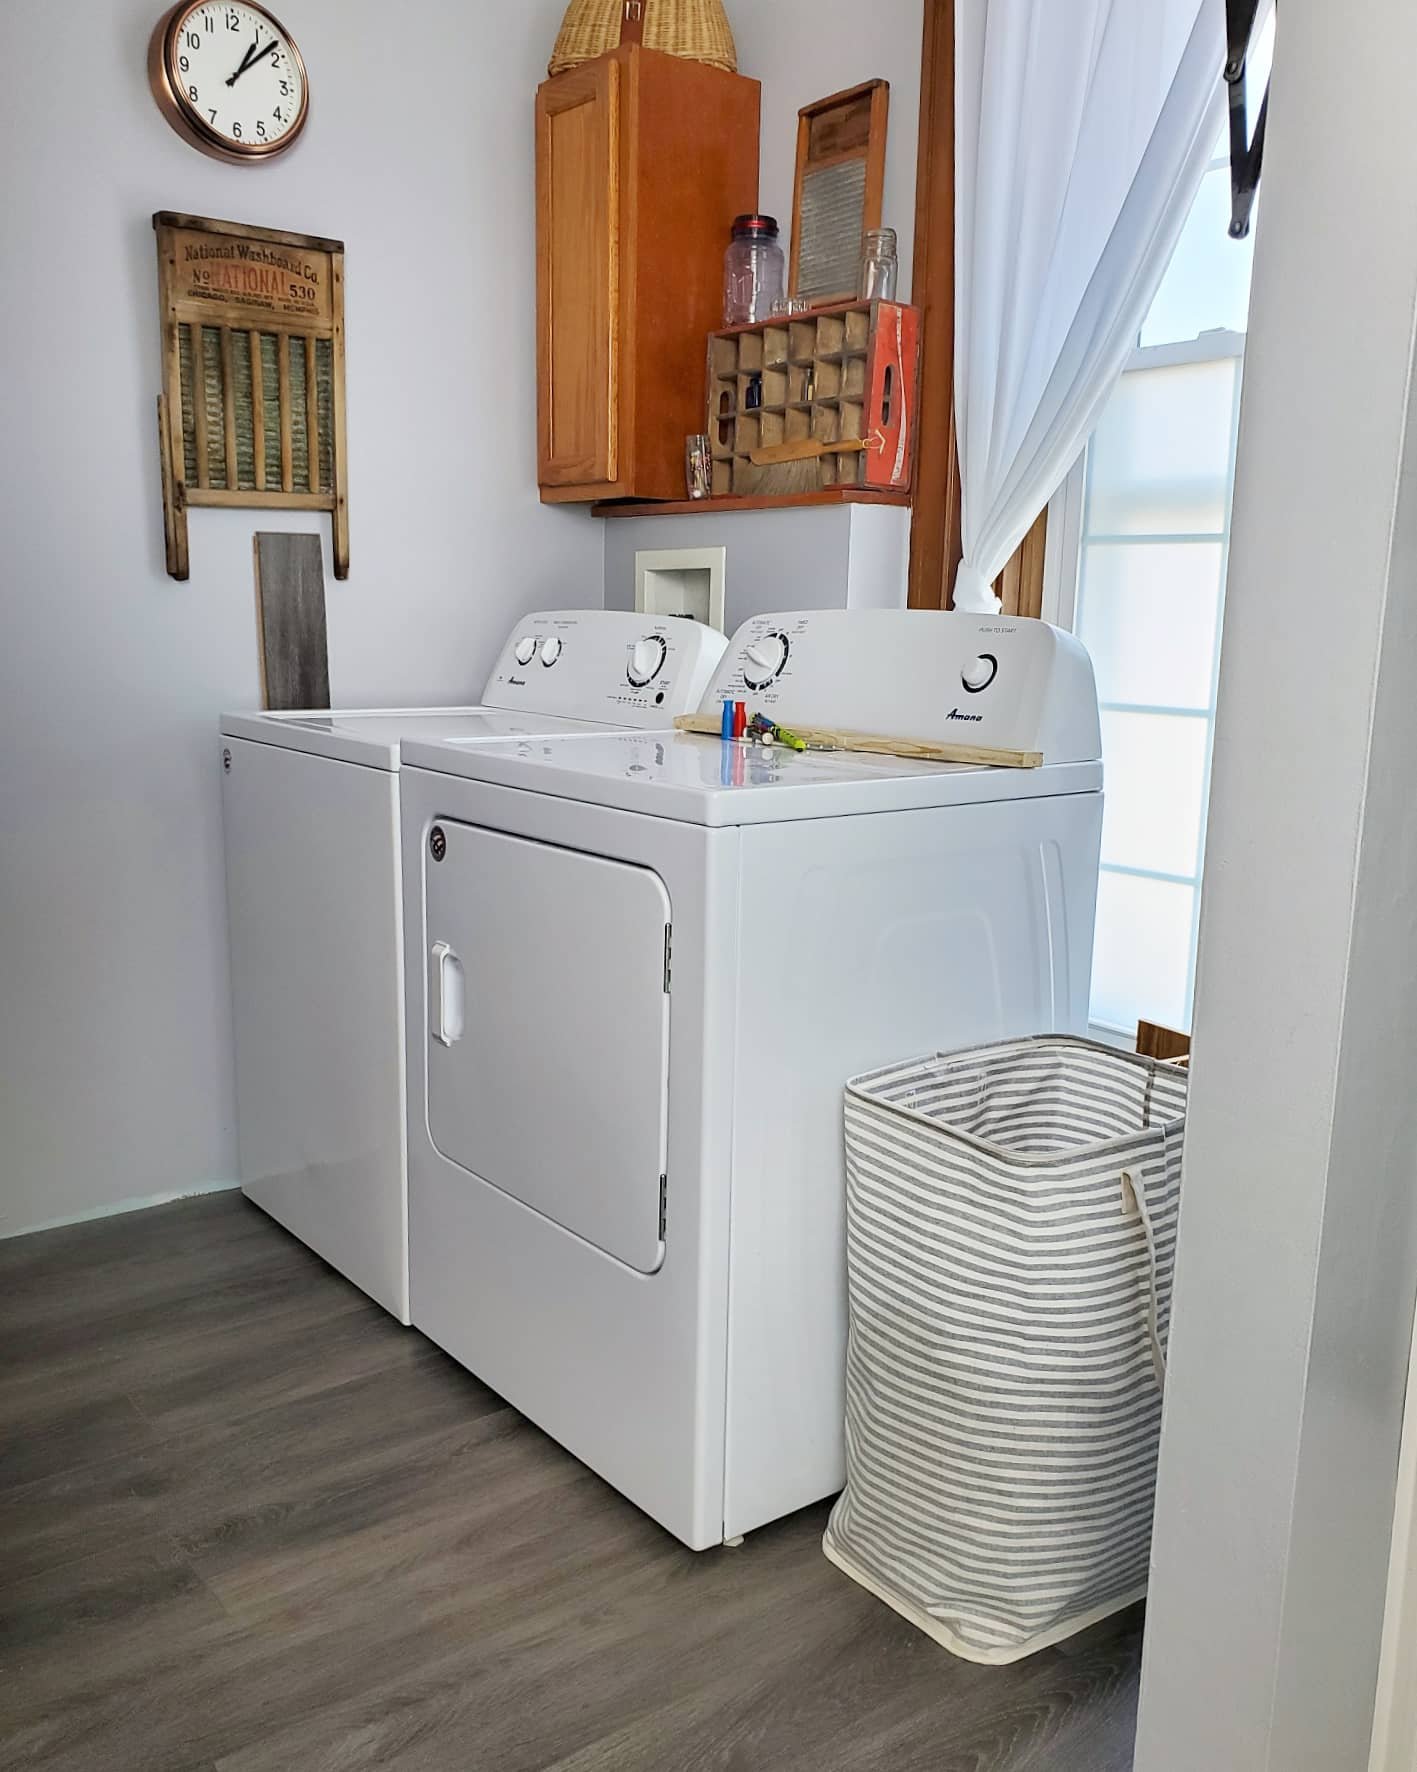
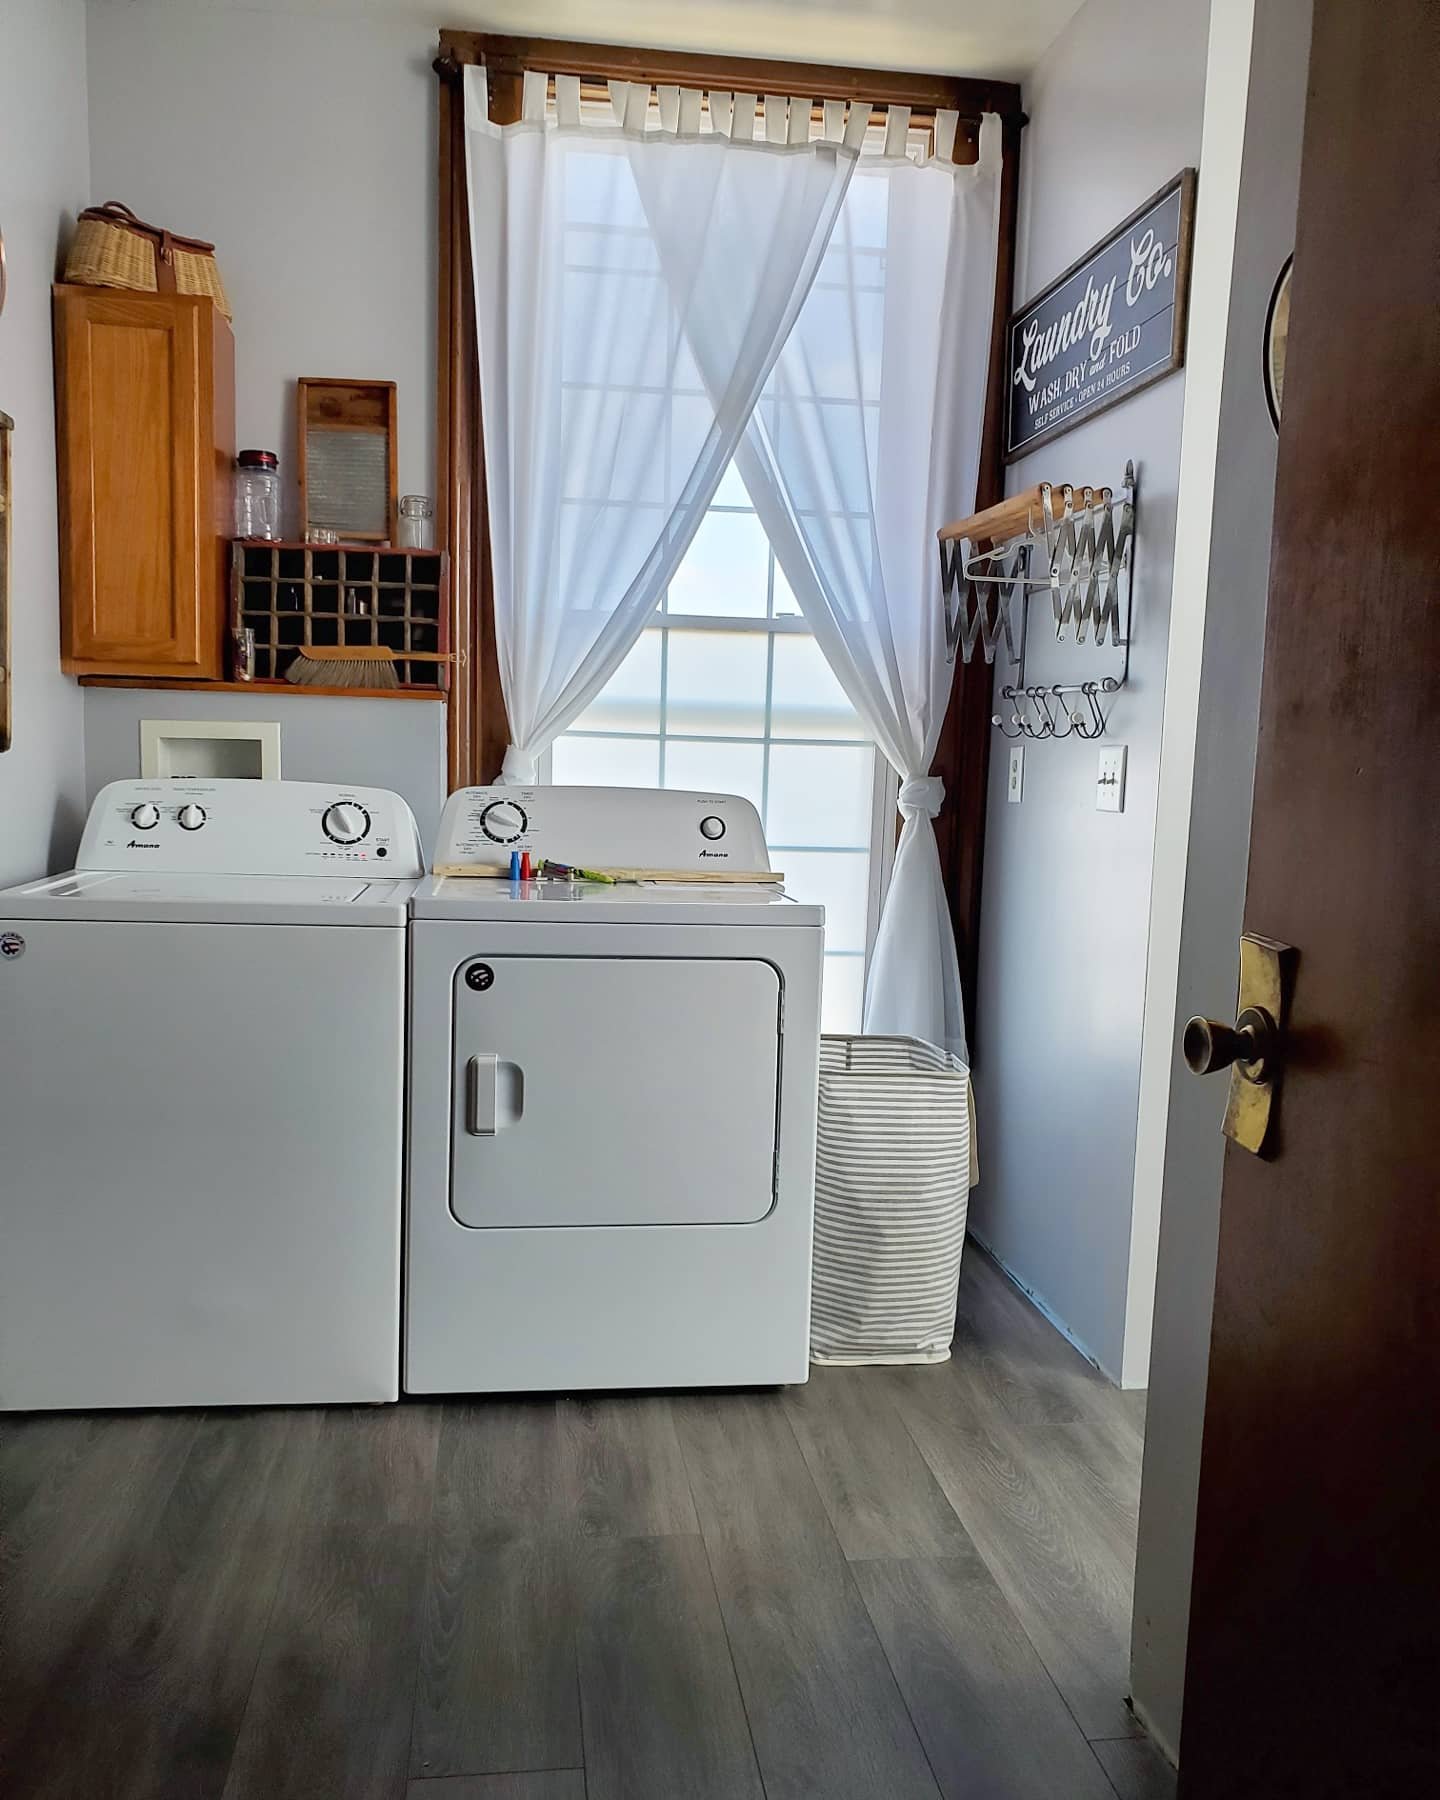
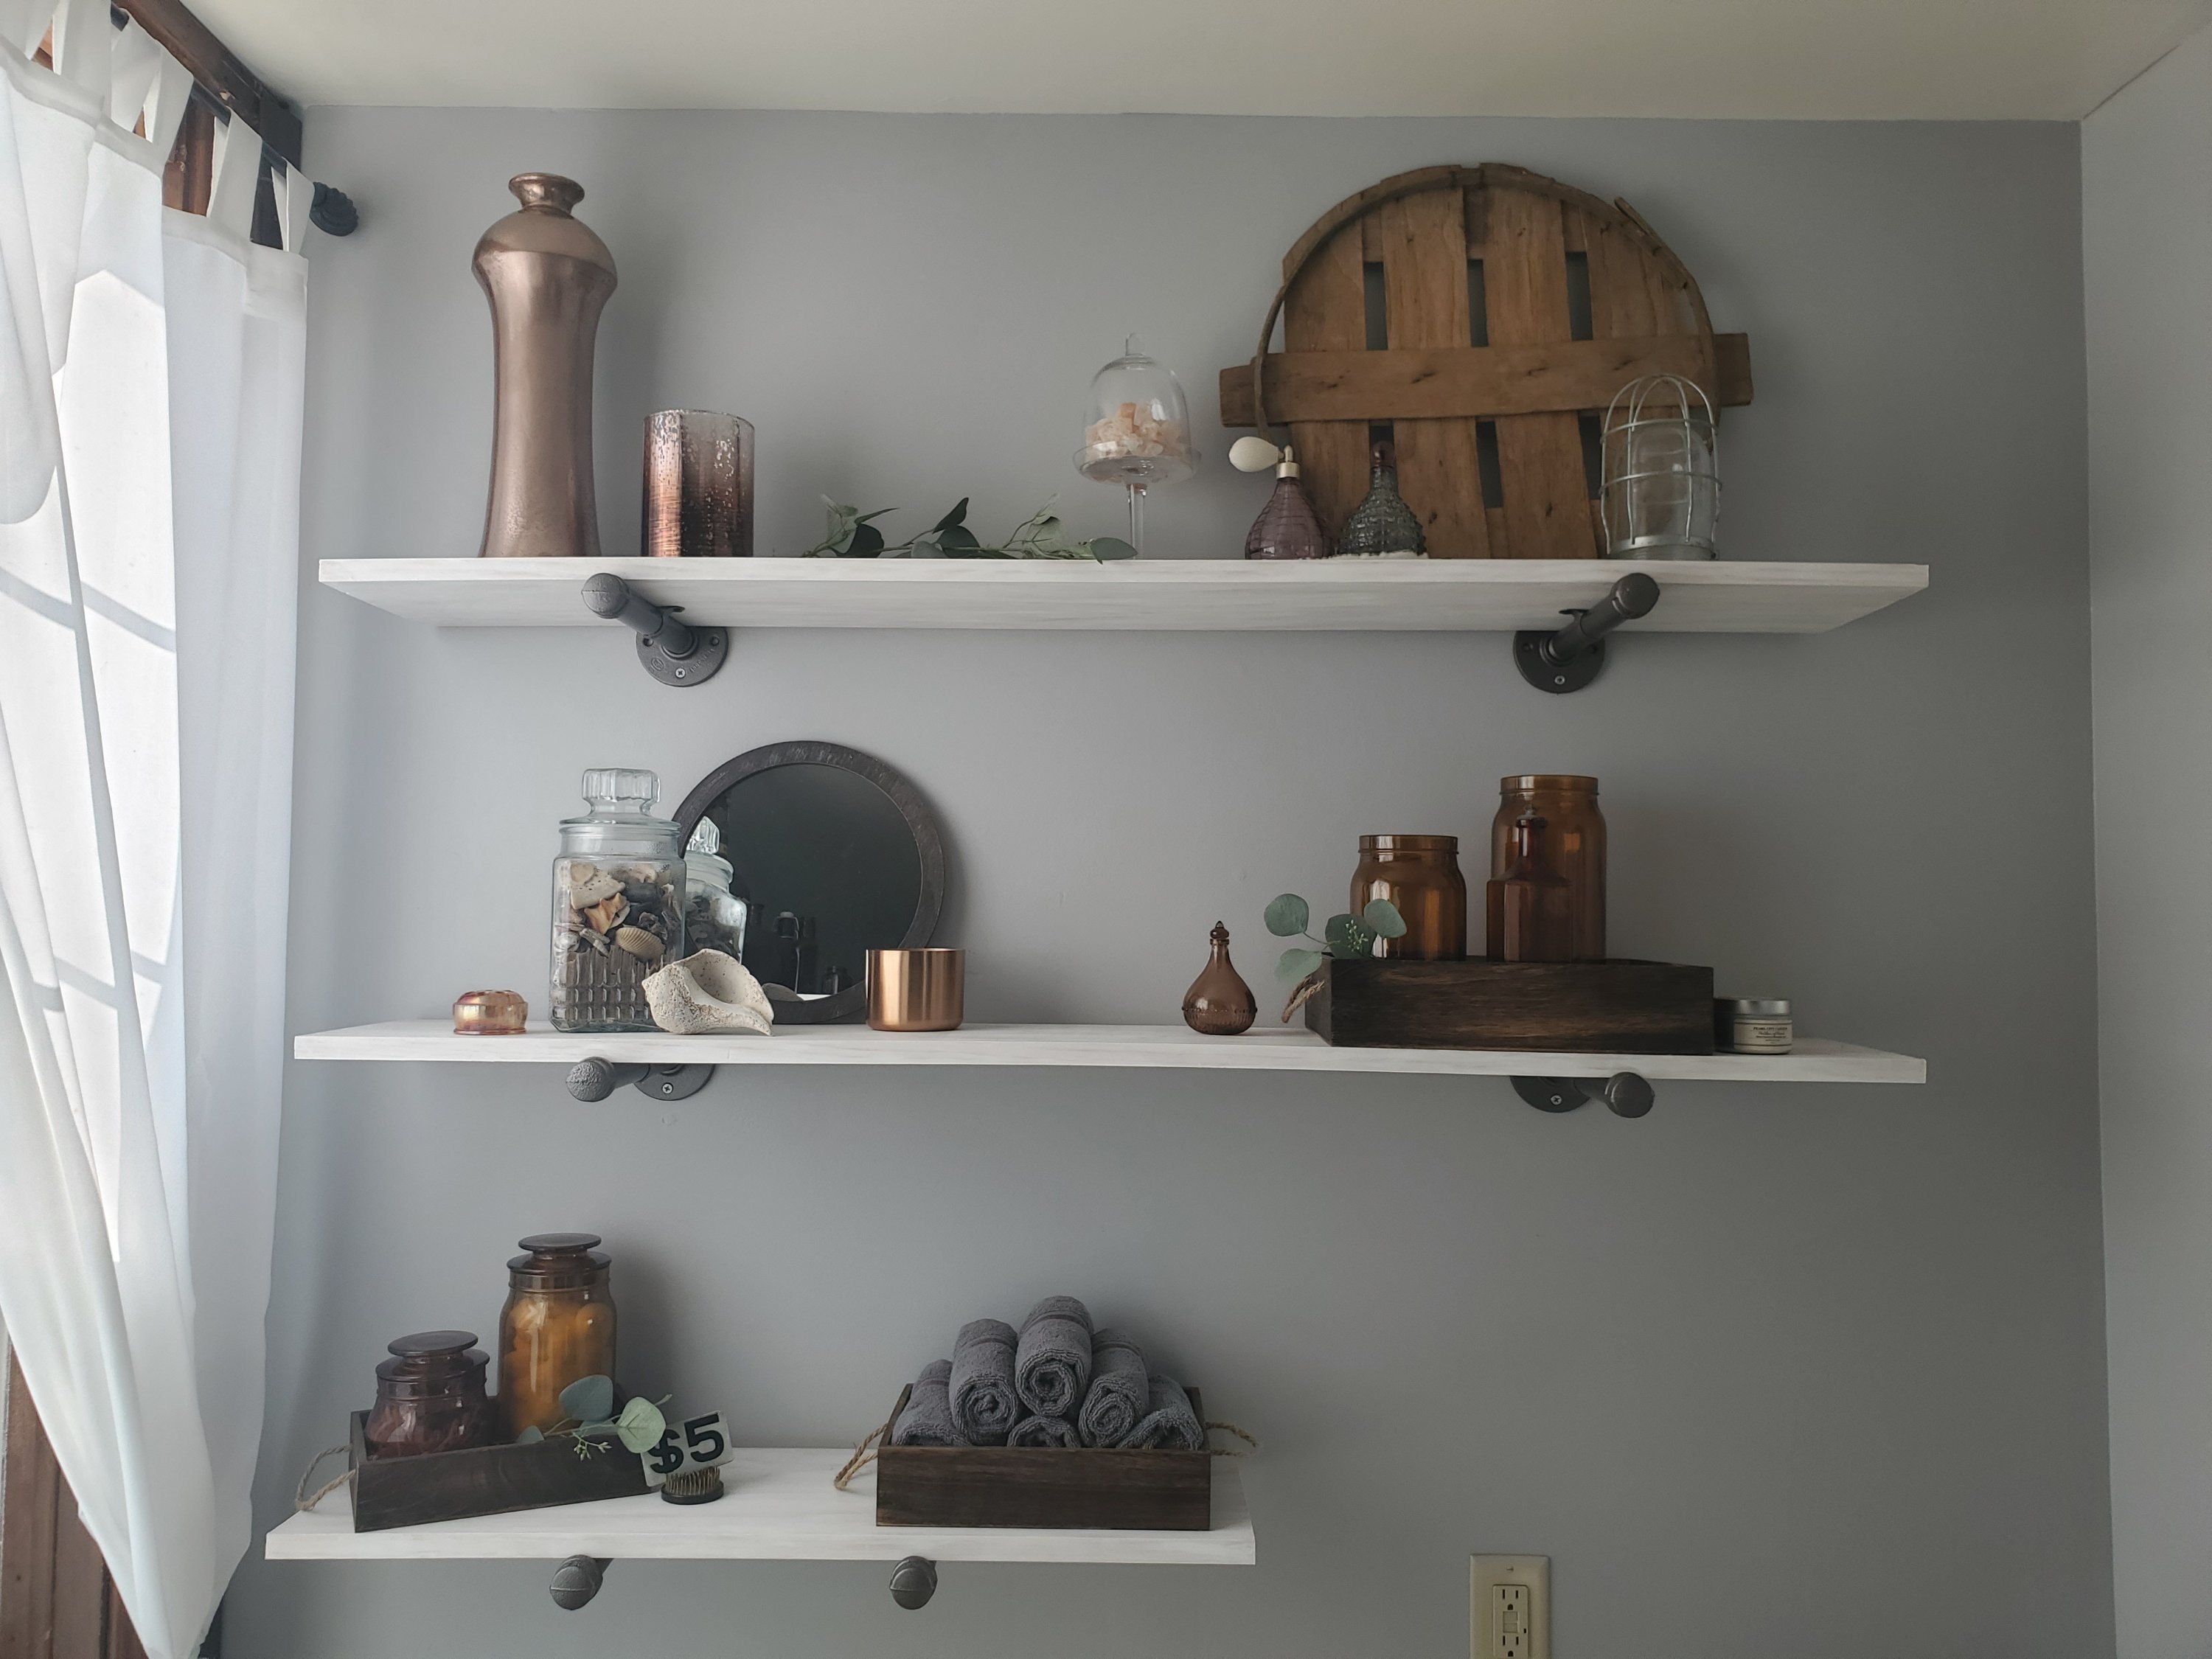
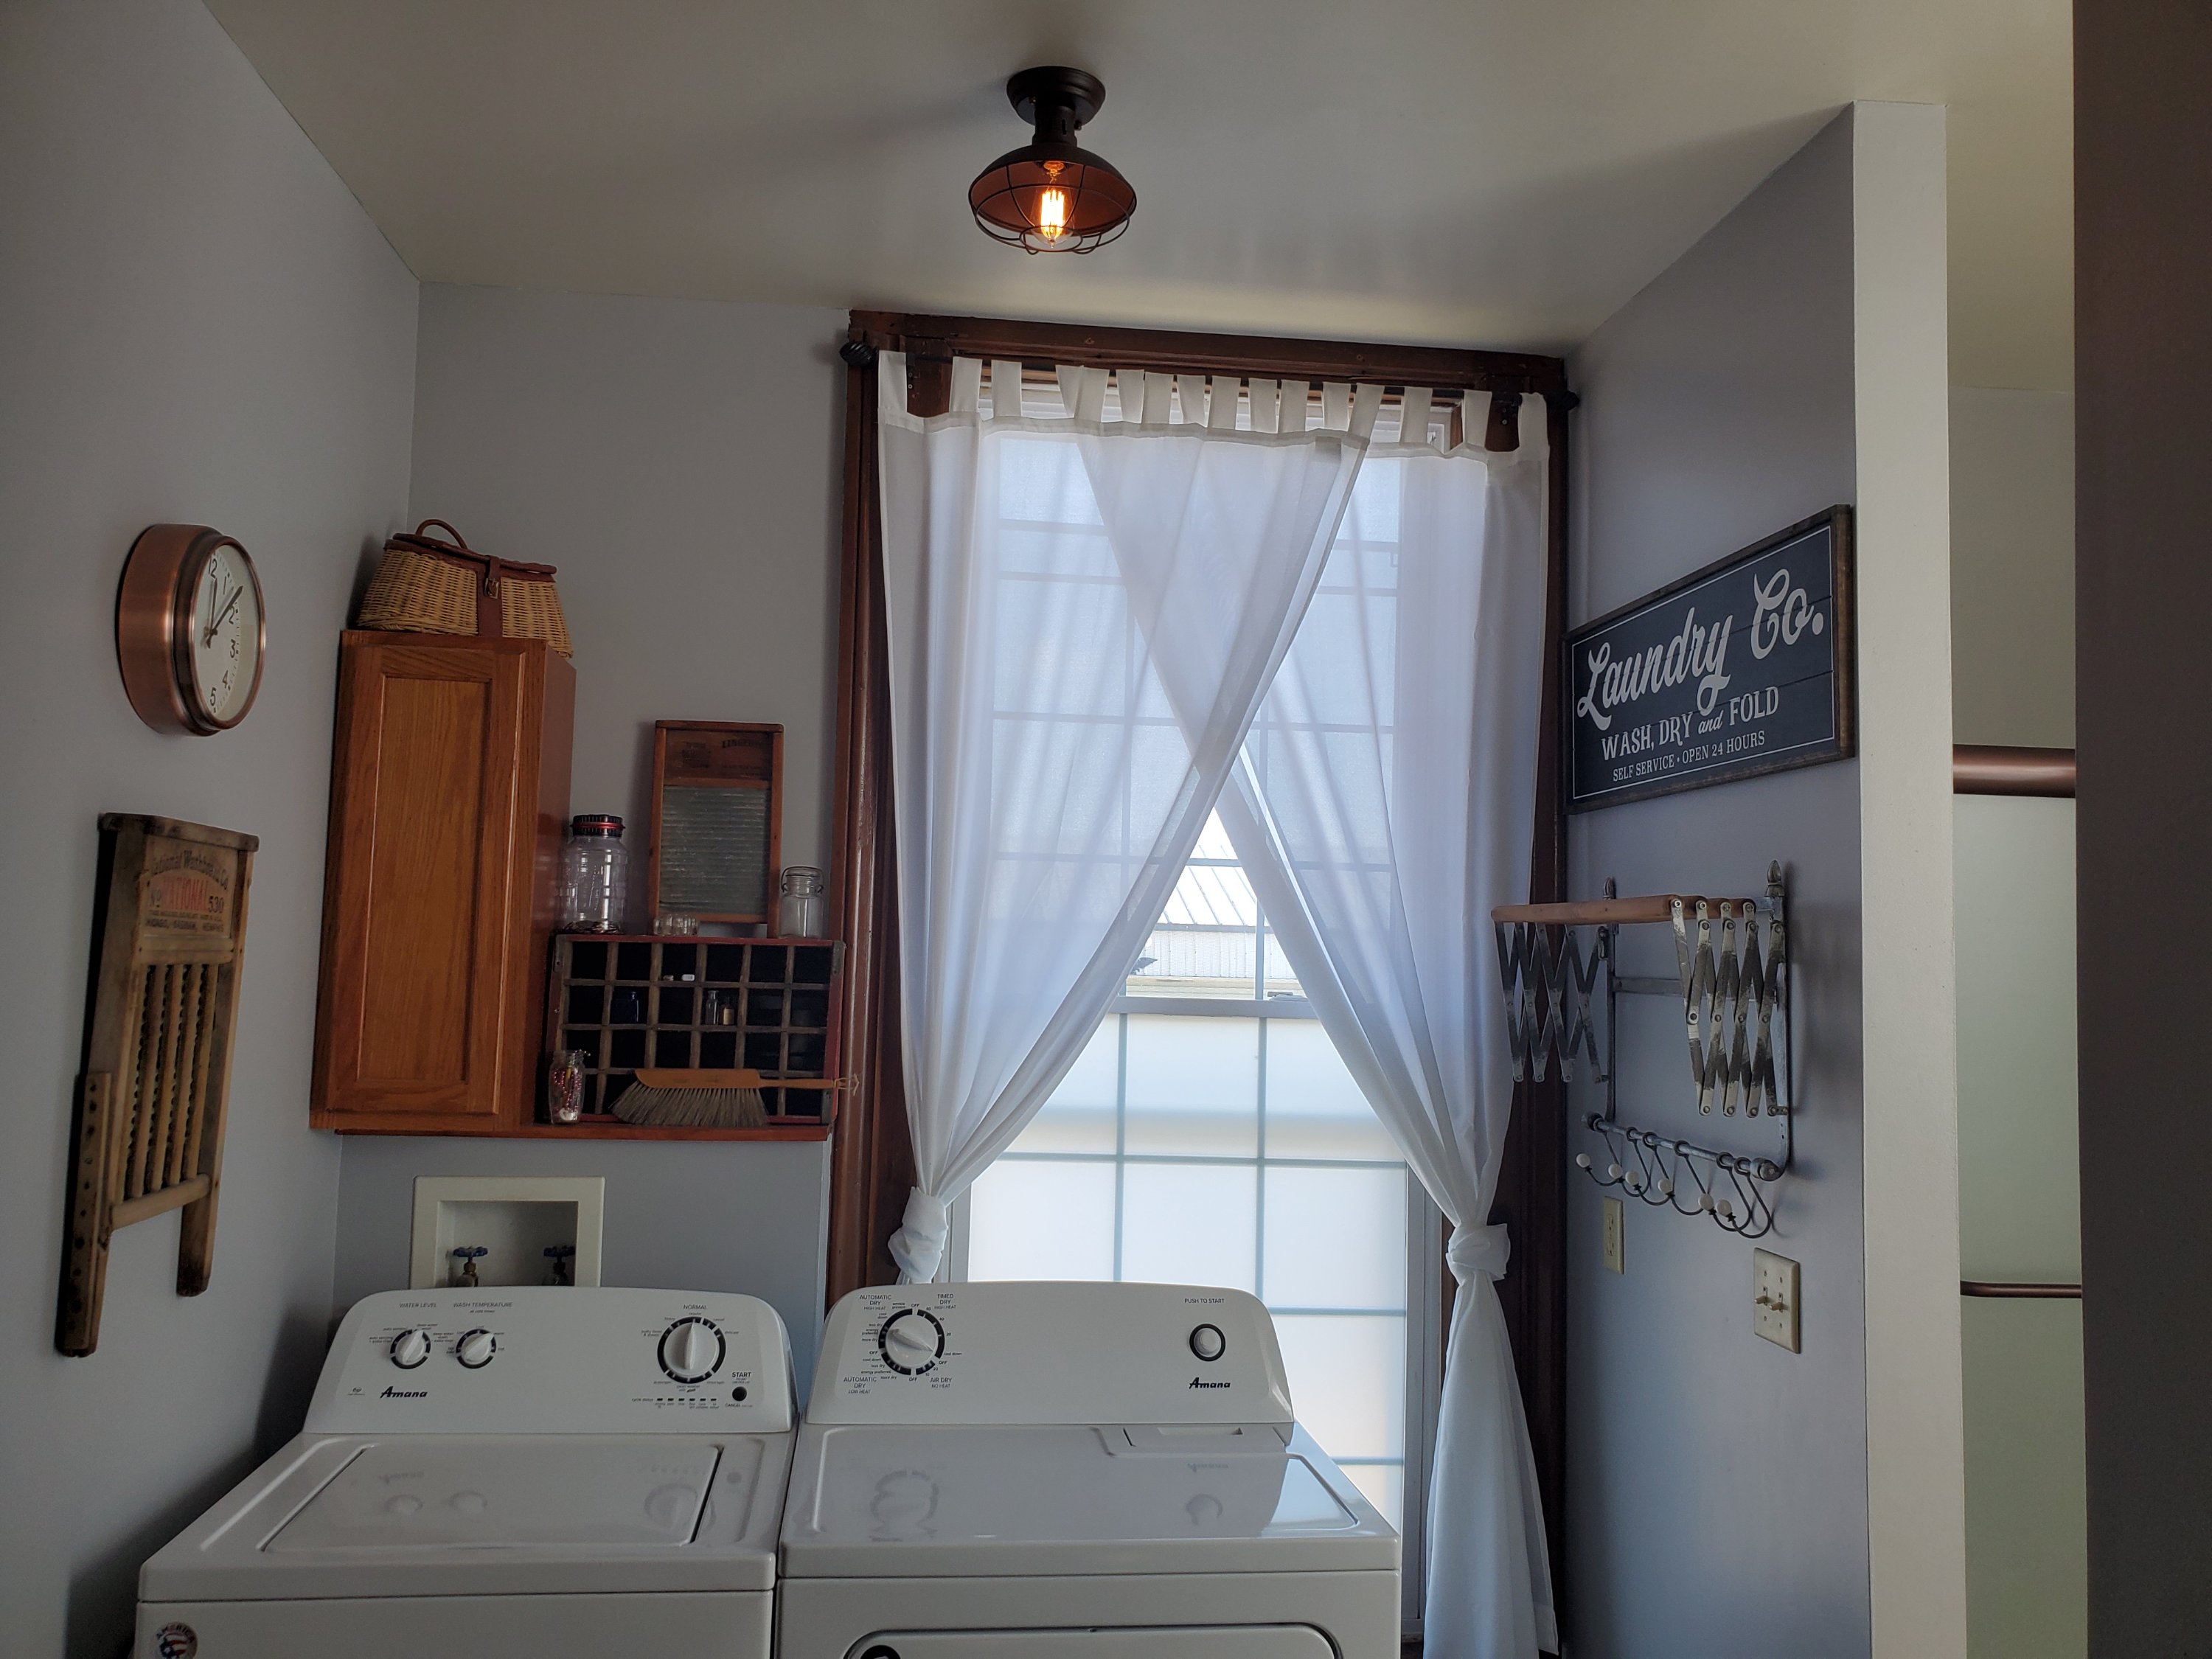
How cute are the little shelves holding laundry items?! We made them the same way, with plumbing pipes and hand whitewashed boards.
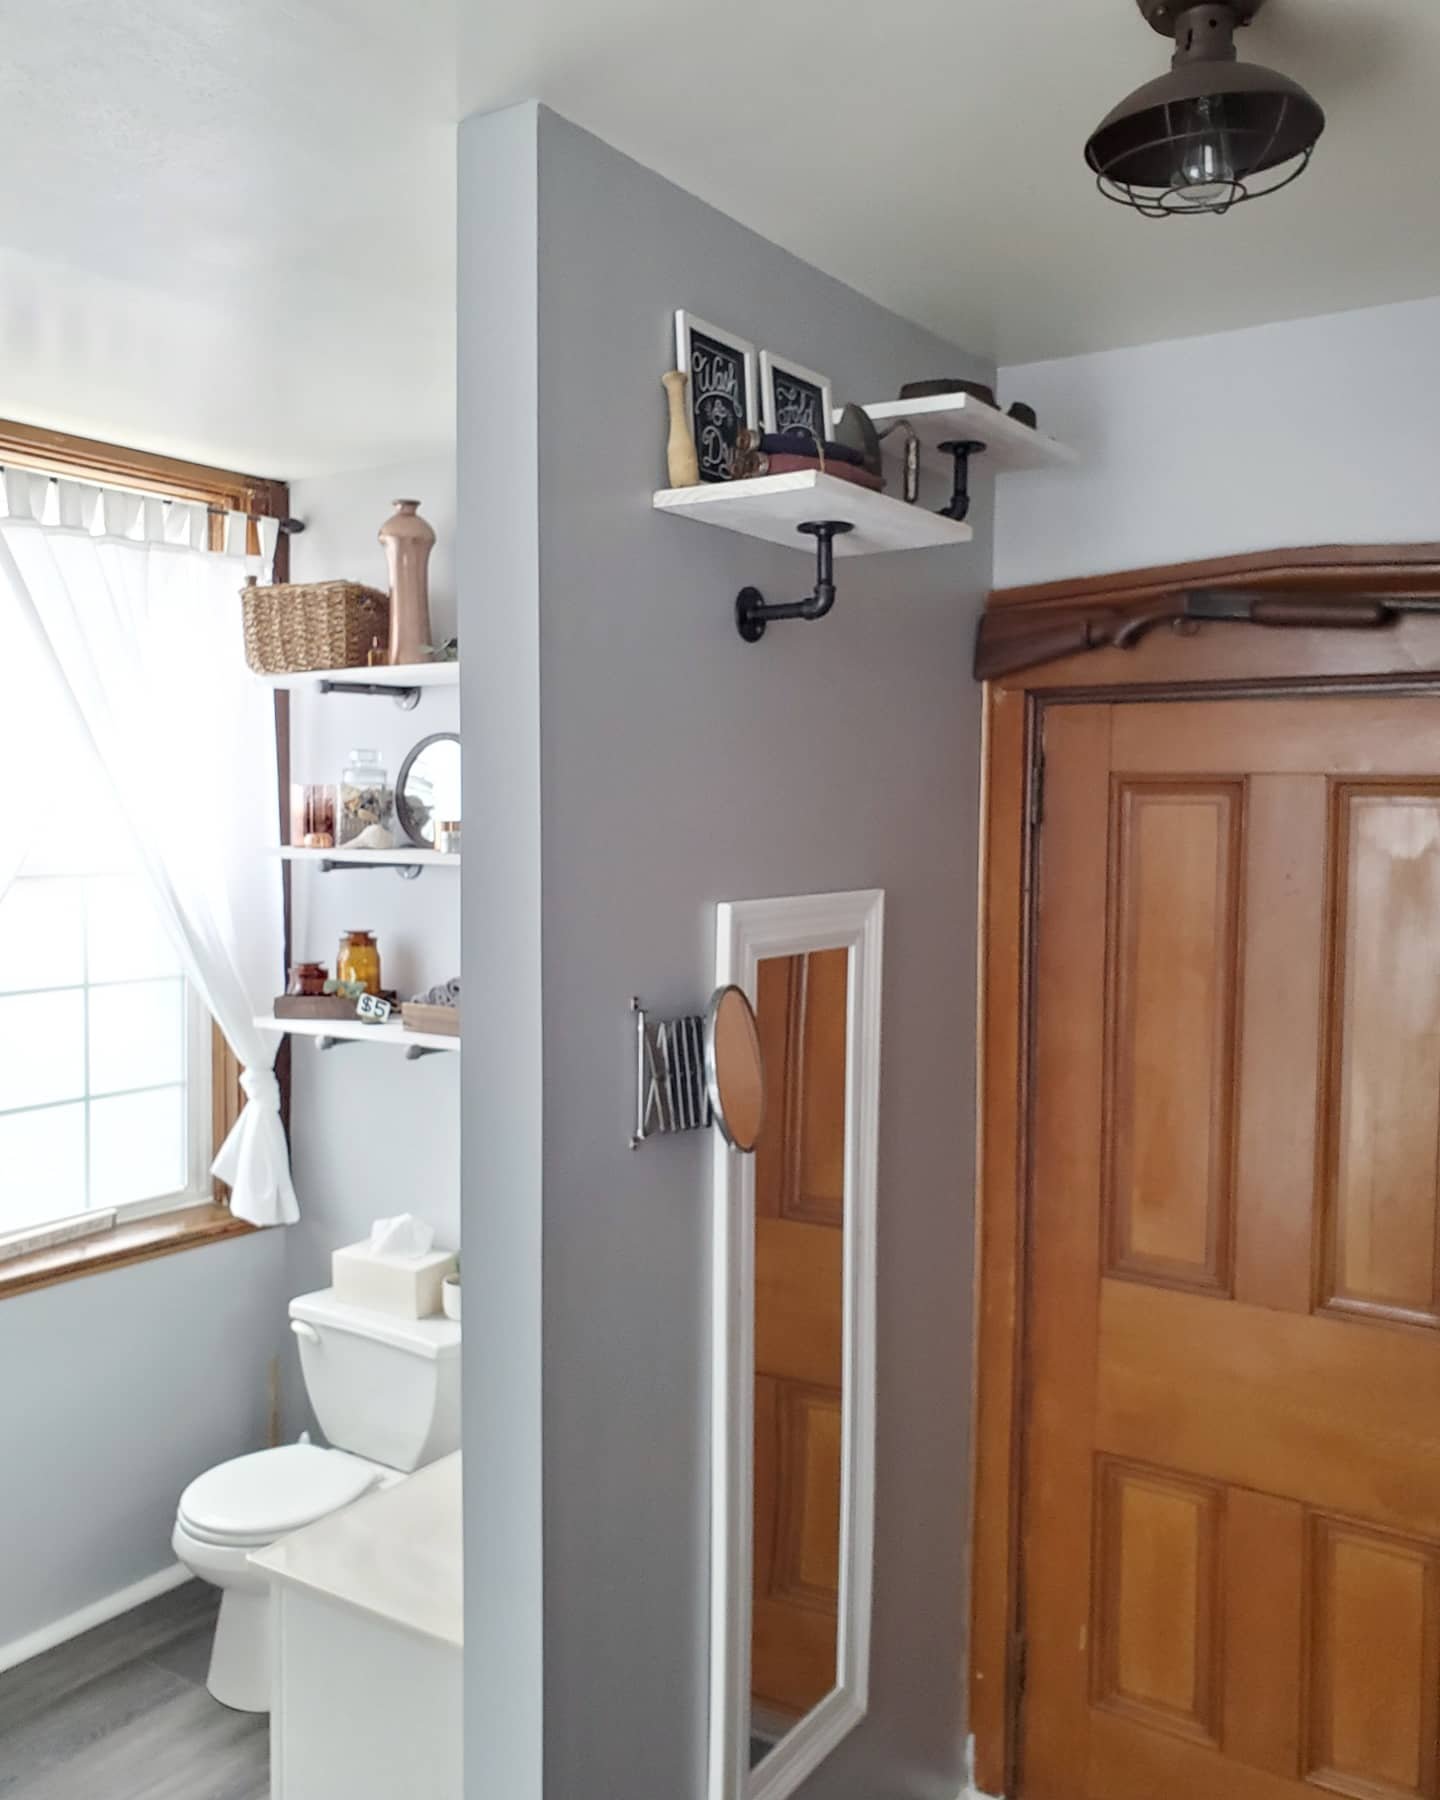


Remember, this is a mini refresh, (see the before shots, yikes, 2 posts back!) not a total overhaul, so this girl will still have to dream of one day having a stacking washer and dryer and wall cabinetry. This is gorgeous to me for now! 😉
Xx,
Jess
Permalink Comments Off on Bathroom Update
Bath/Laundry Room Update
We knew we wanted a fixer-upper, and we sure got it with this one! But we are enjoying putting in the work and making it into what we want for a home. The bathroom was no exception. We can’t afford a complete gut and overhaul of every room (I wish!), so this is a little refresh.
Before:
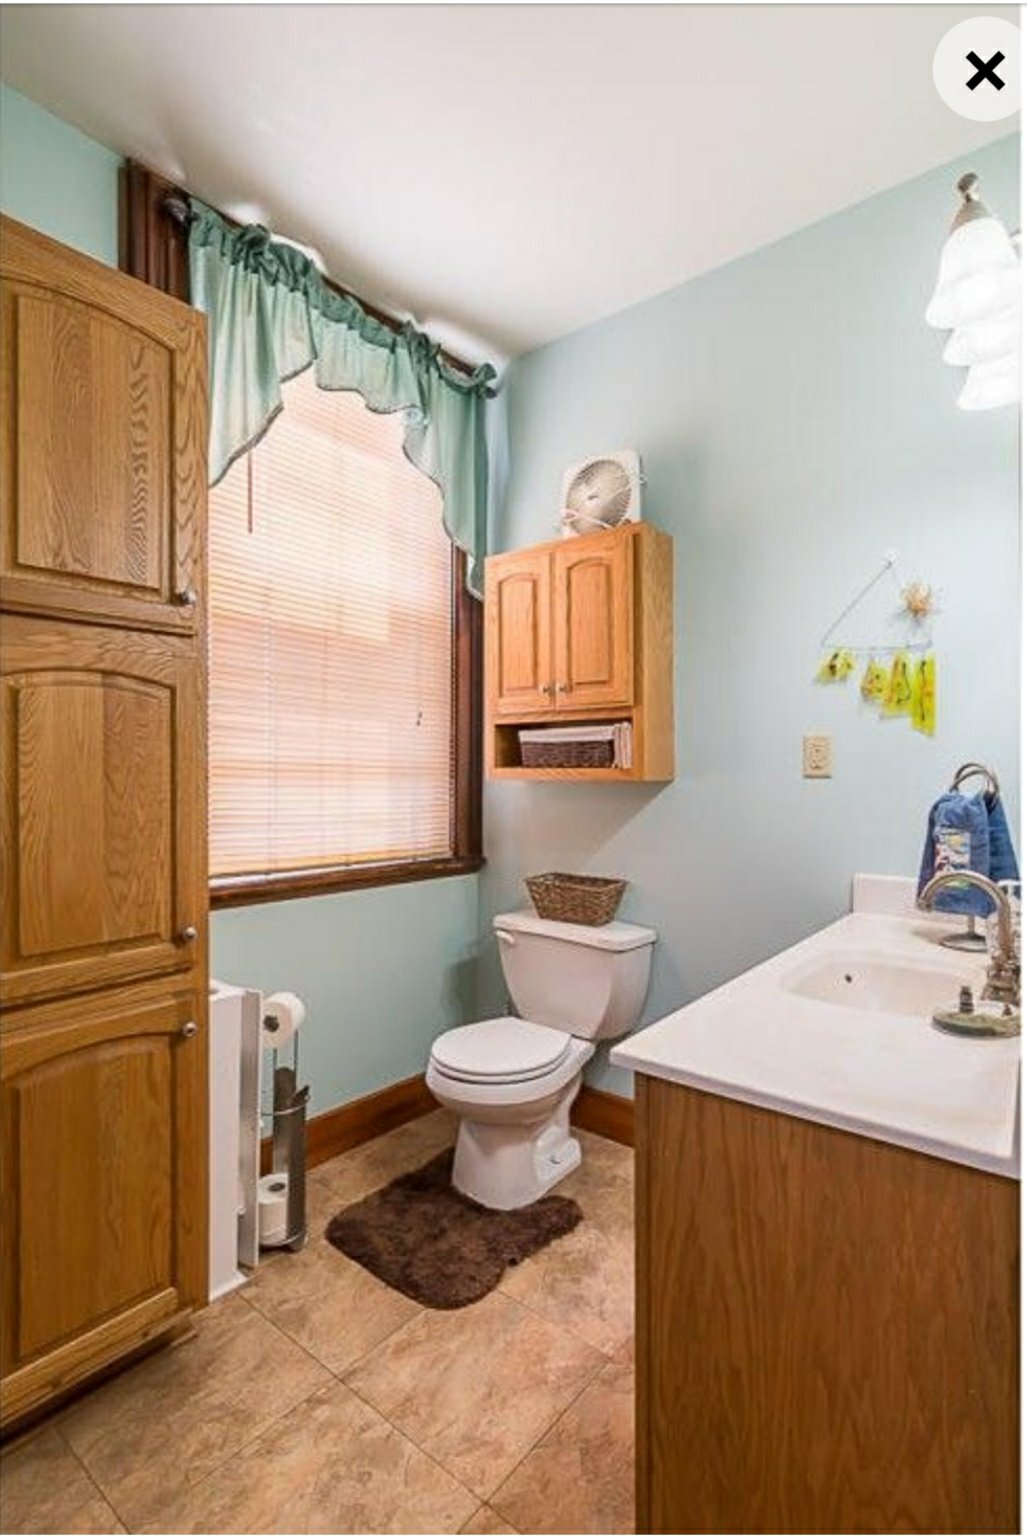
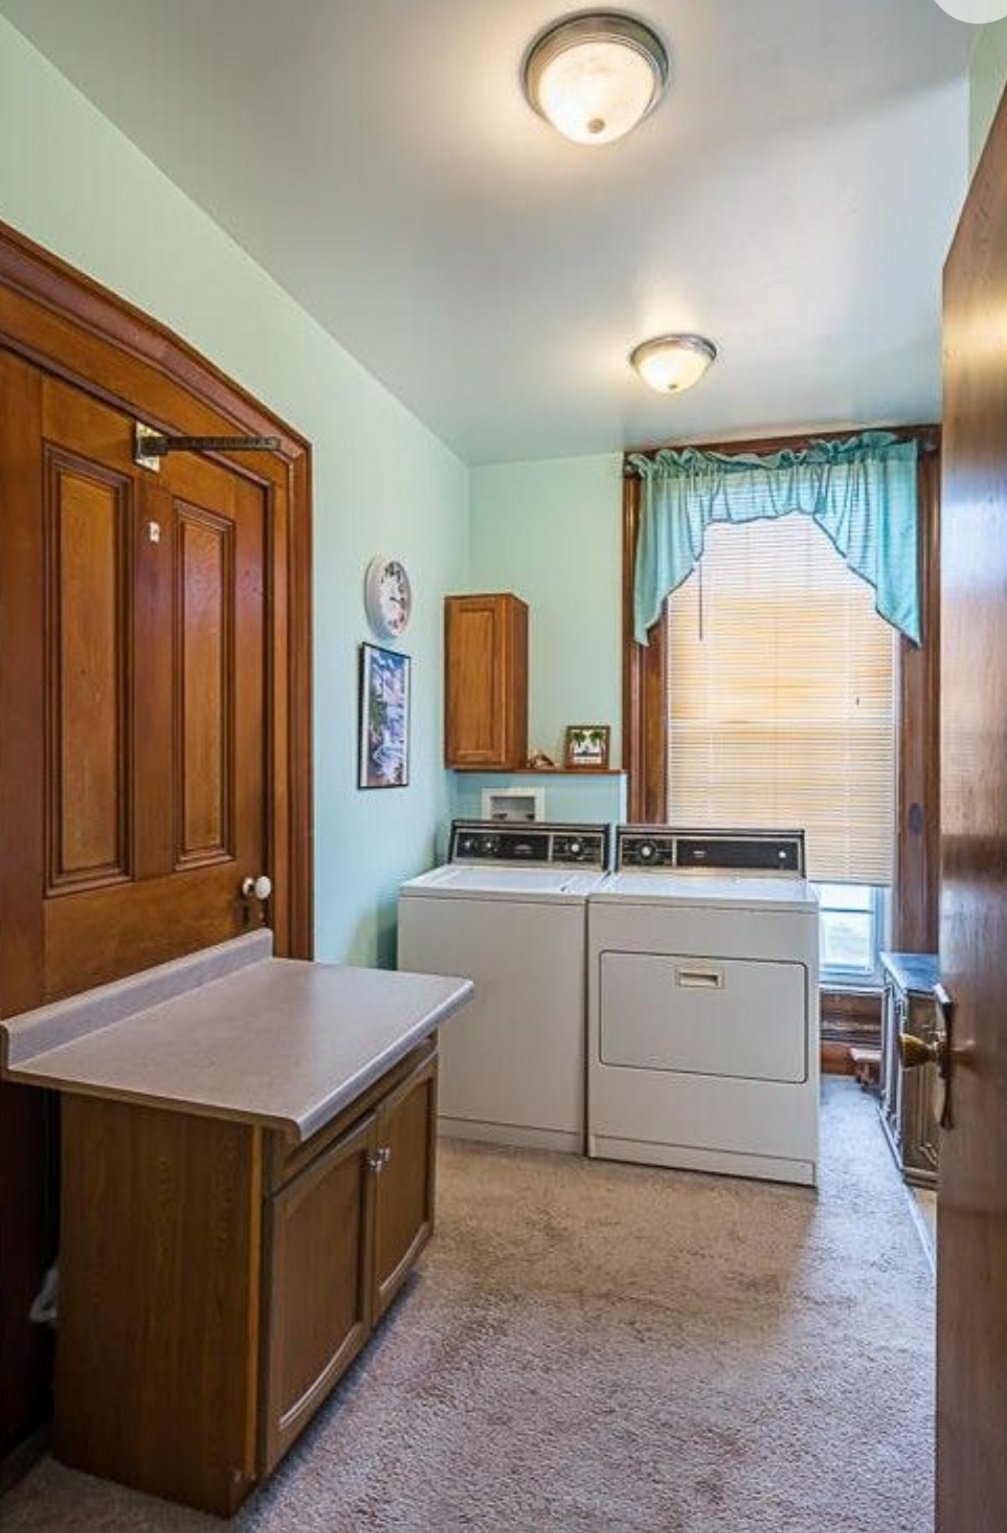
After:

We will put a new faucet in soon and plan to redo the bath and laundry room floors in a few months. But for now, wow. Its clean. Its peaceful. I’m in love.

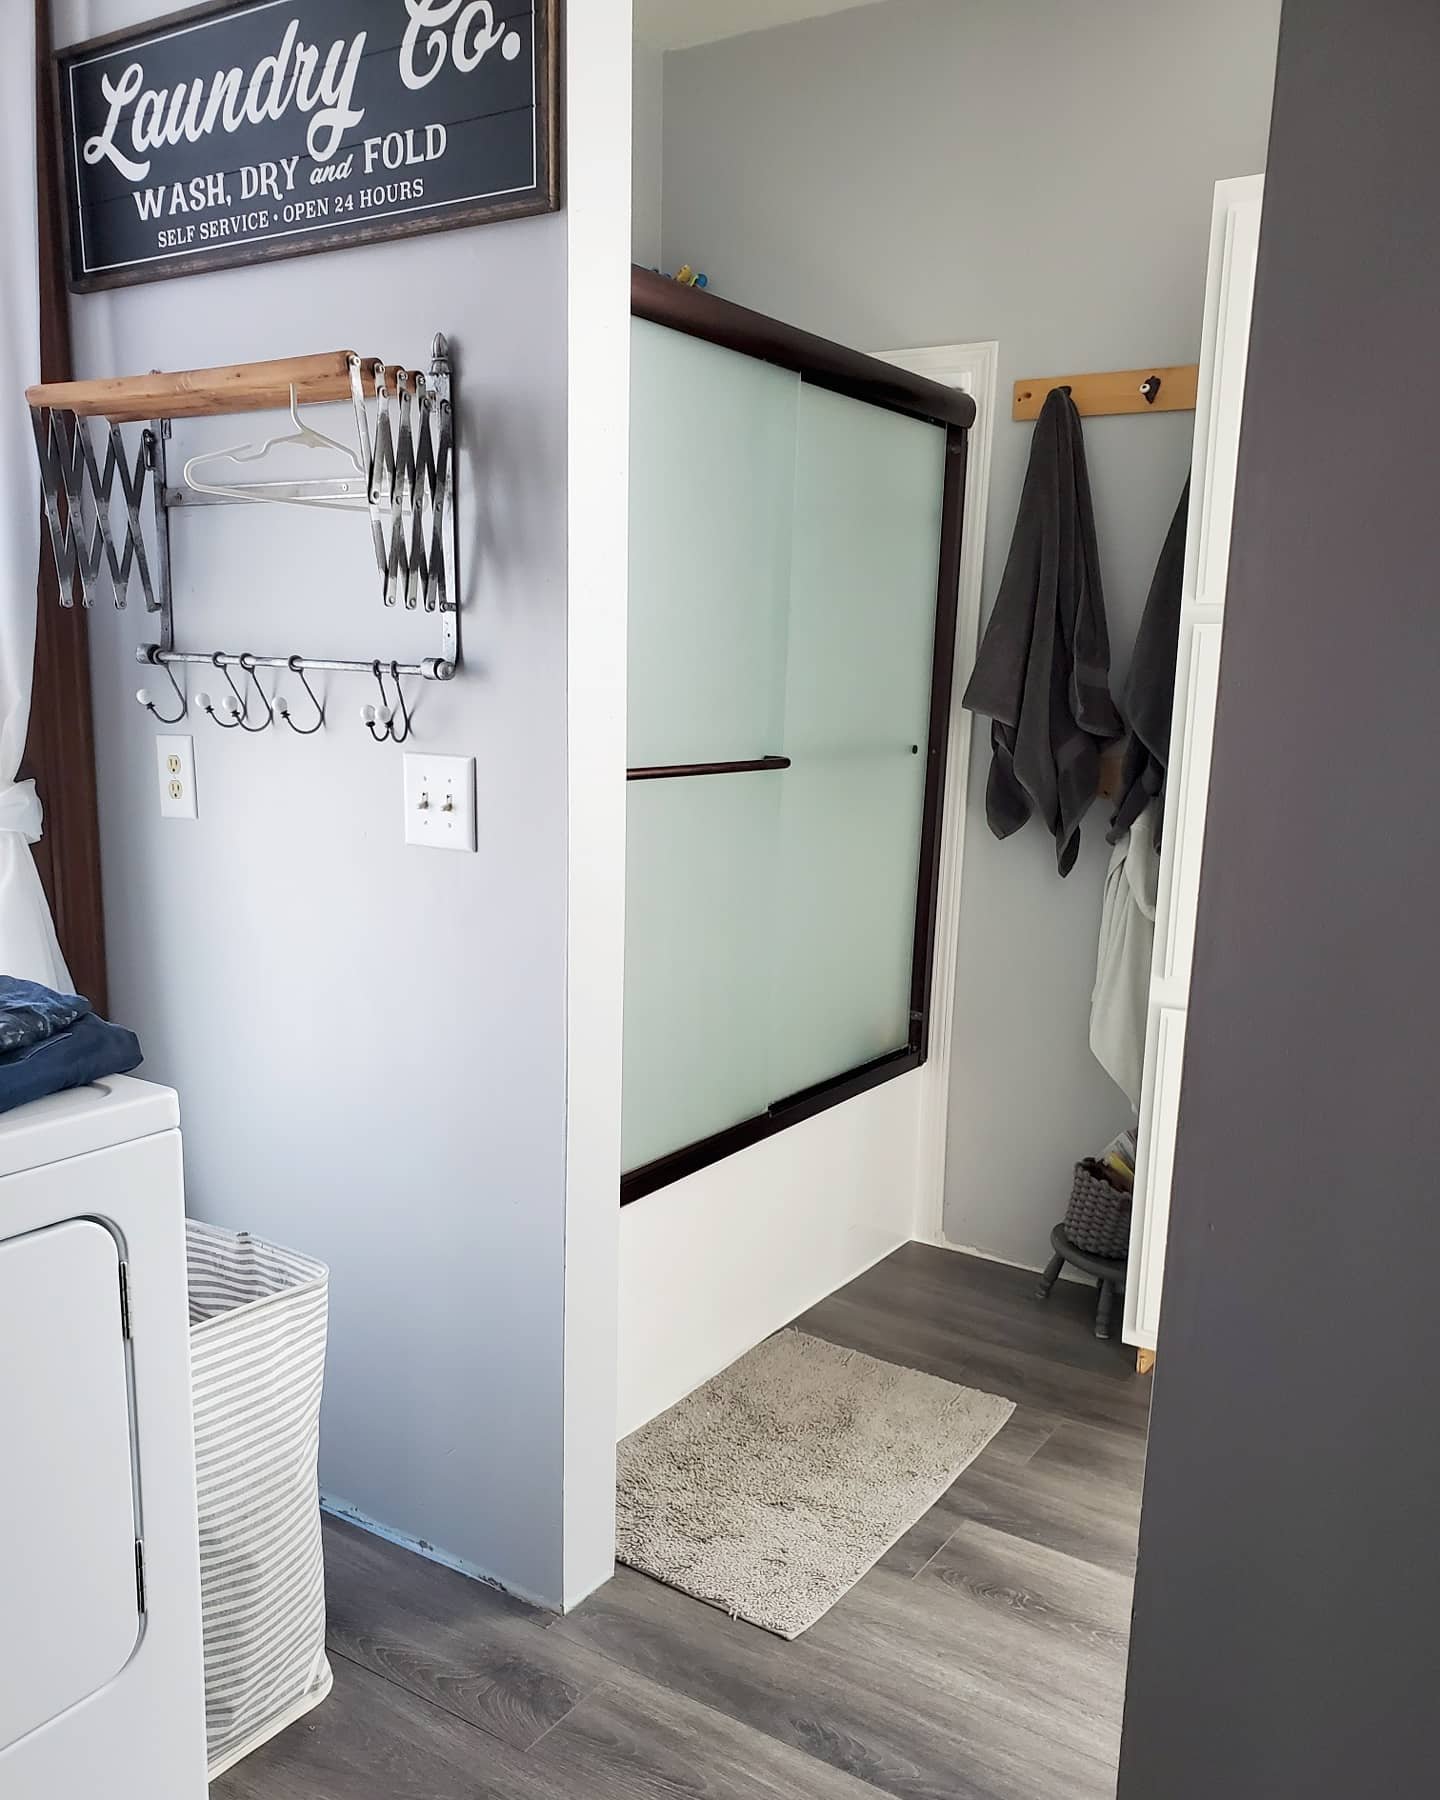
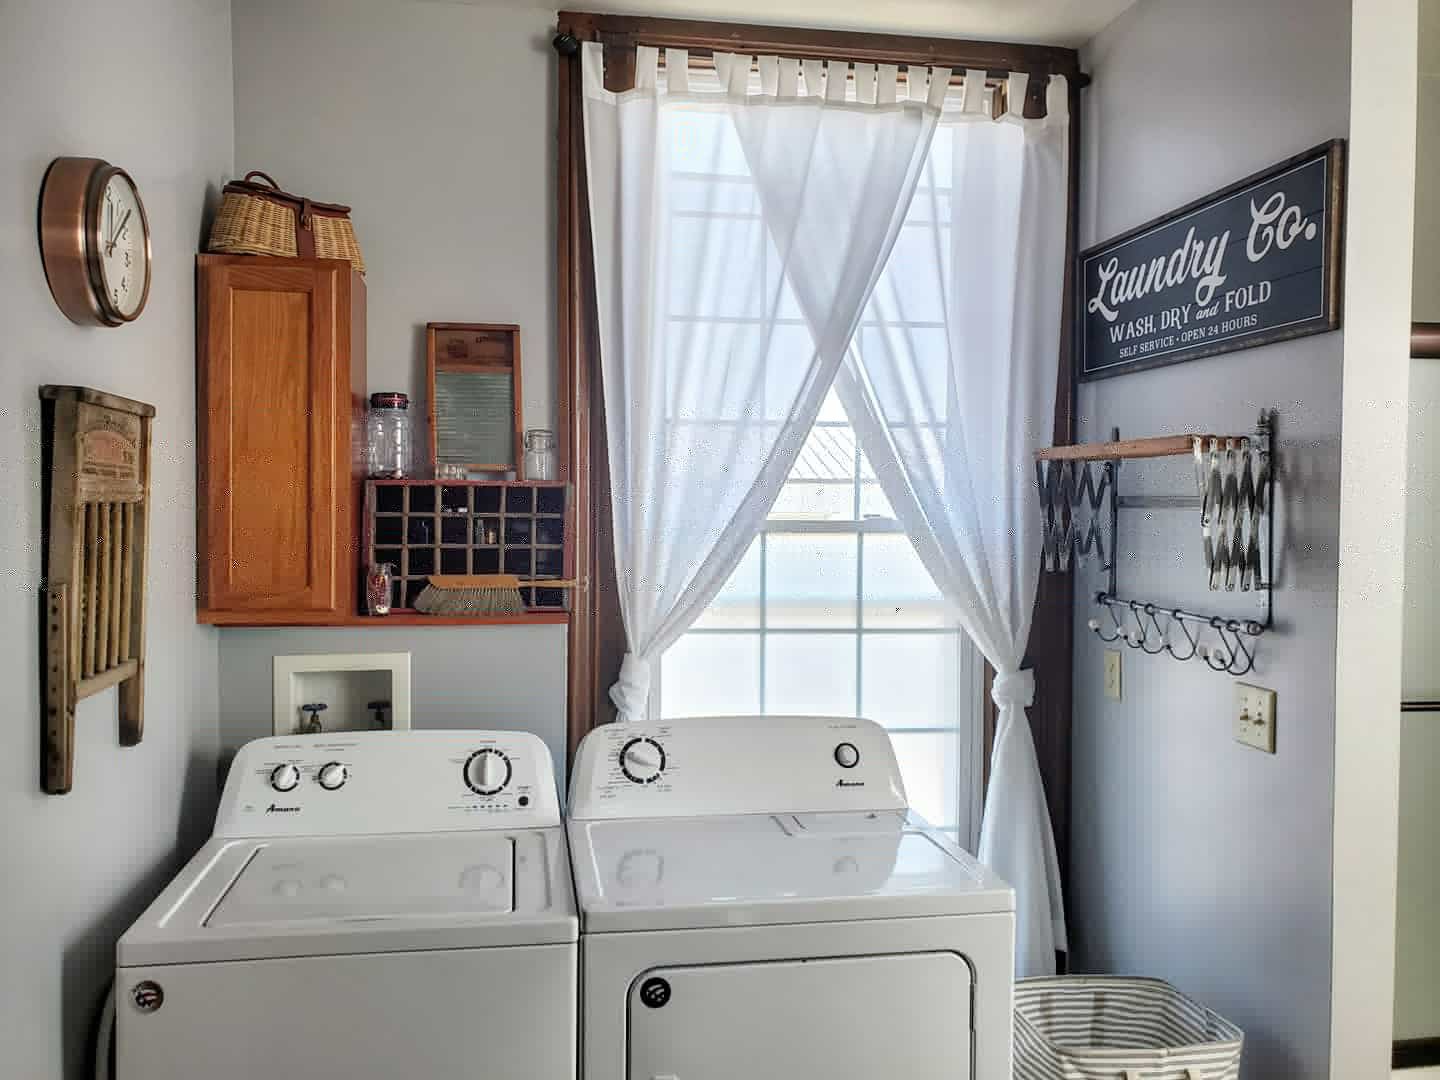
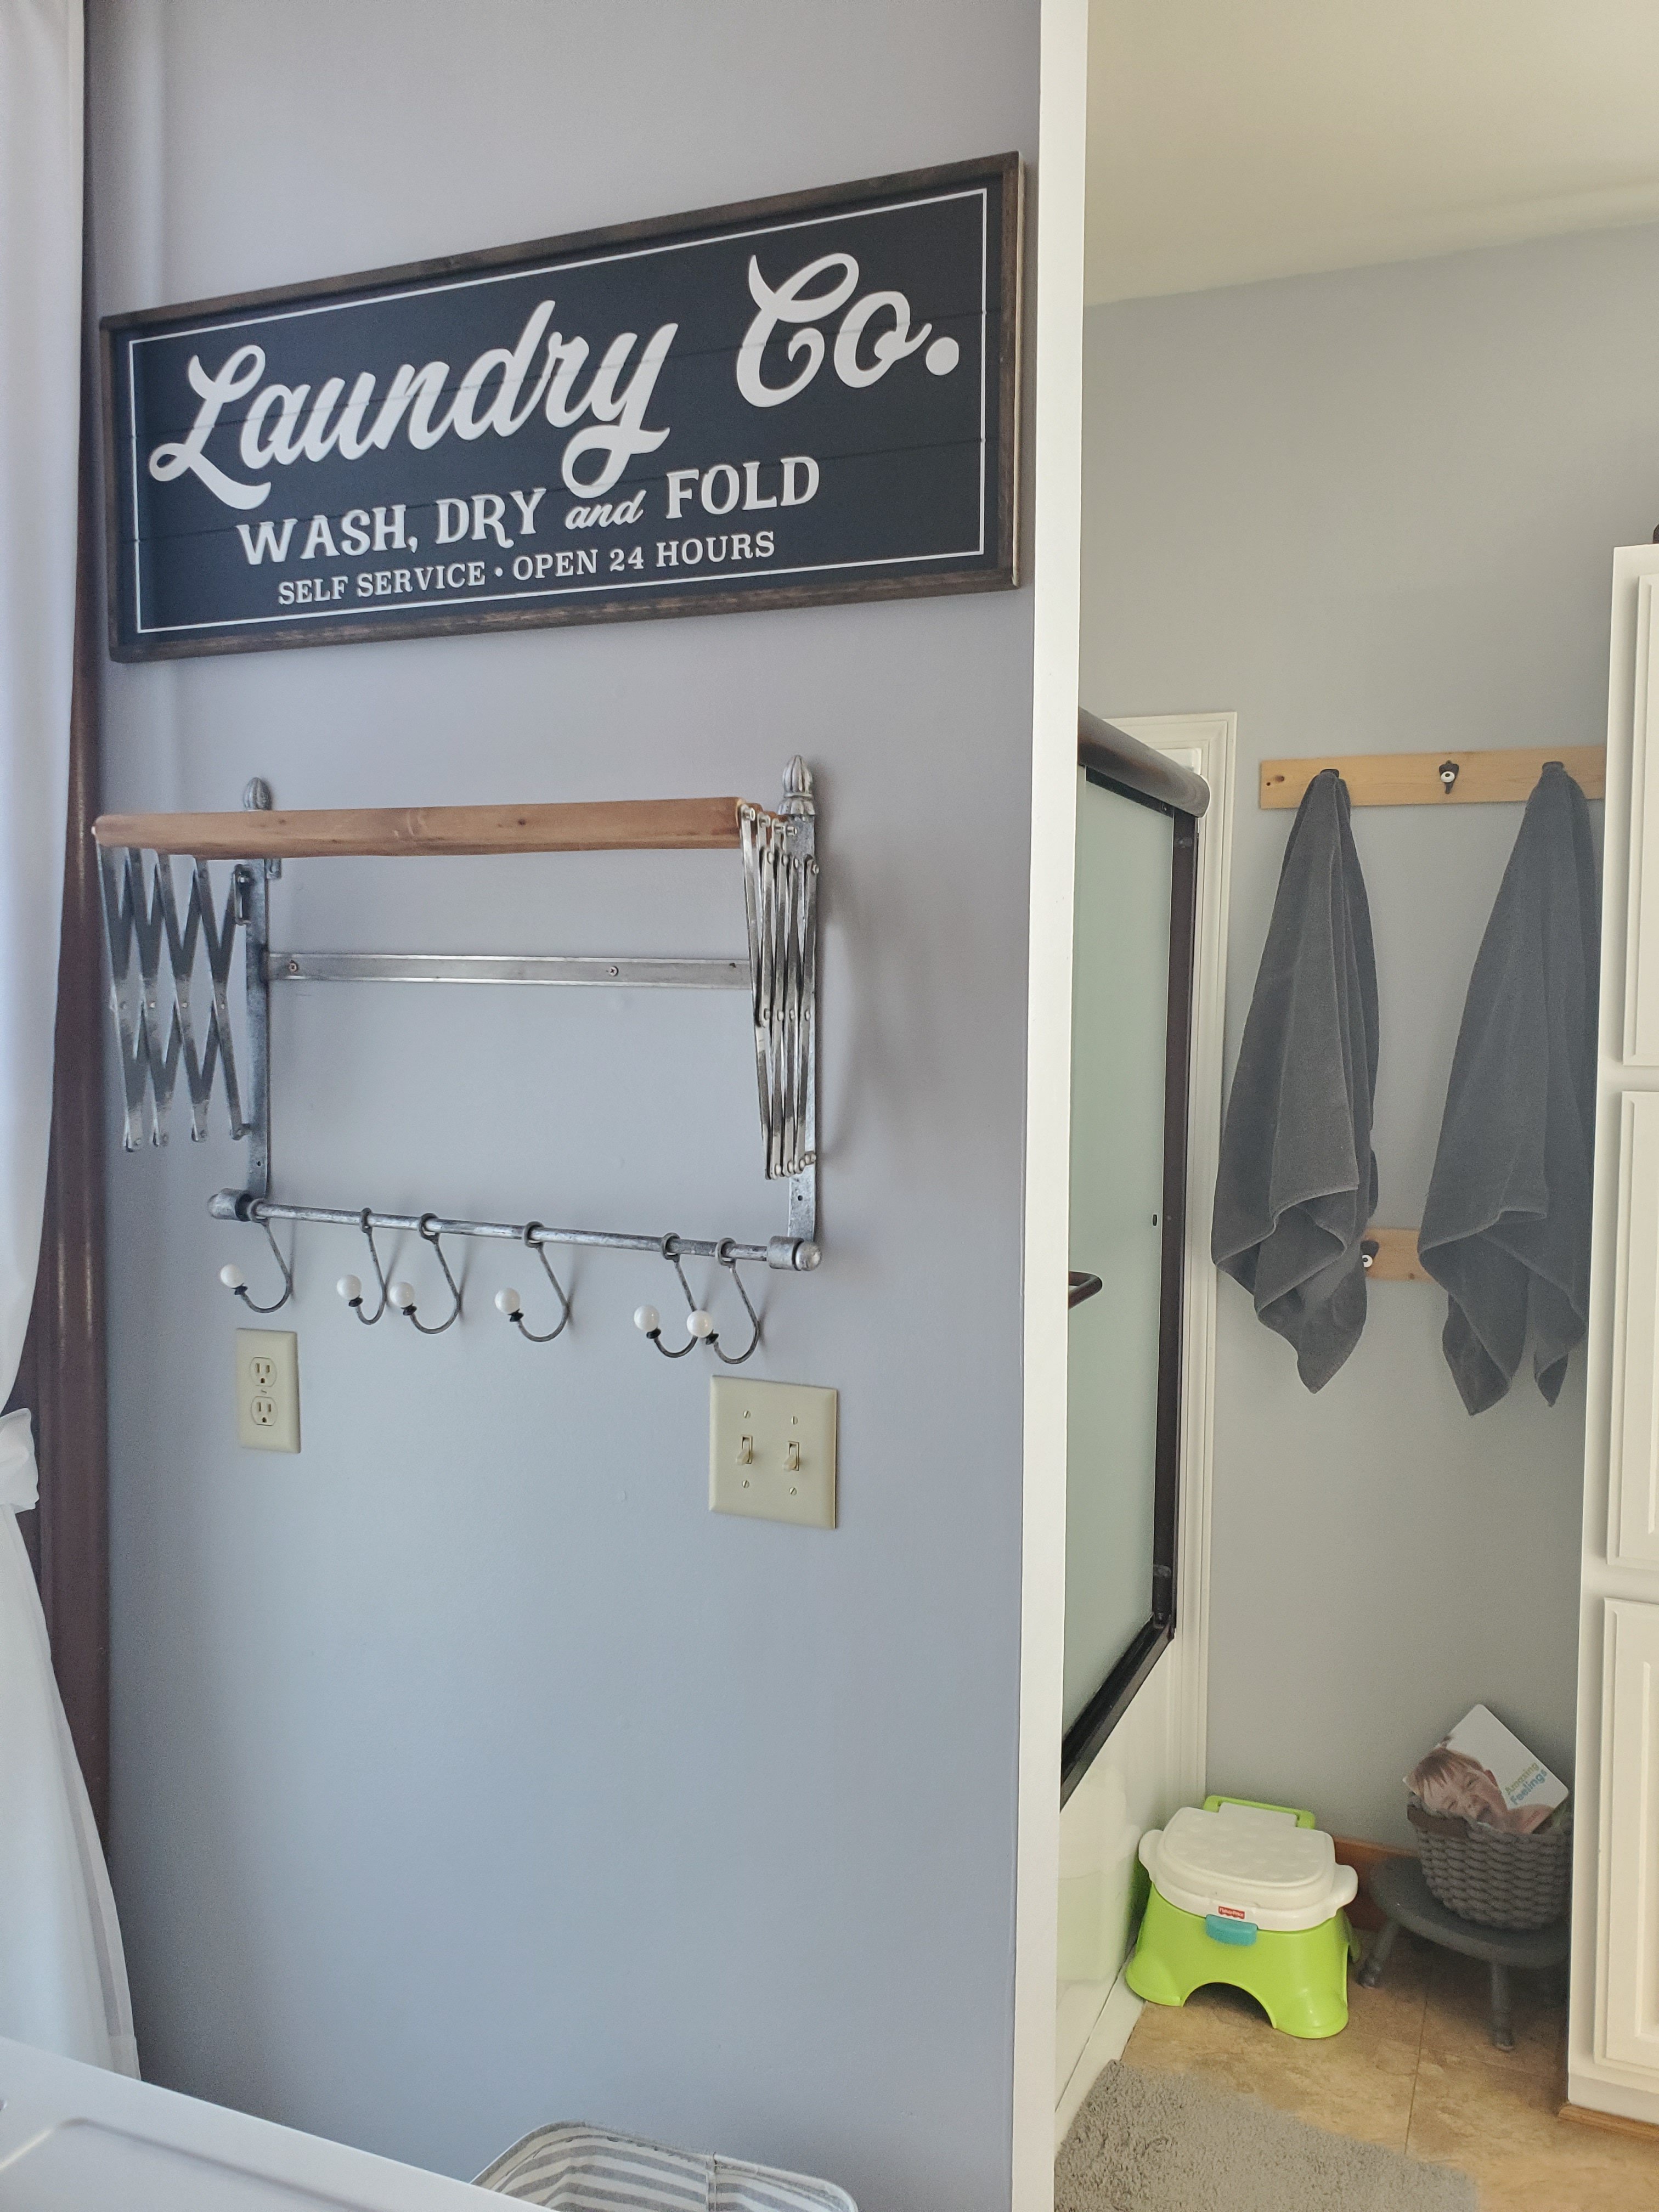
We made the bathroom hook boards because in old houses you are at the mercy of where the studs may or may not be when hanging things. Attach the hooks in the spacing you want and then attach the boards to the wall where the studs allow.
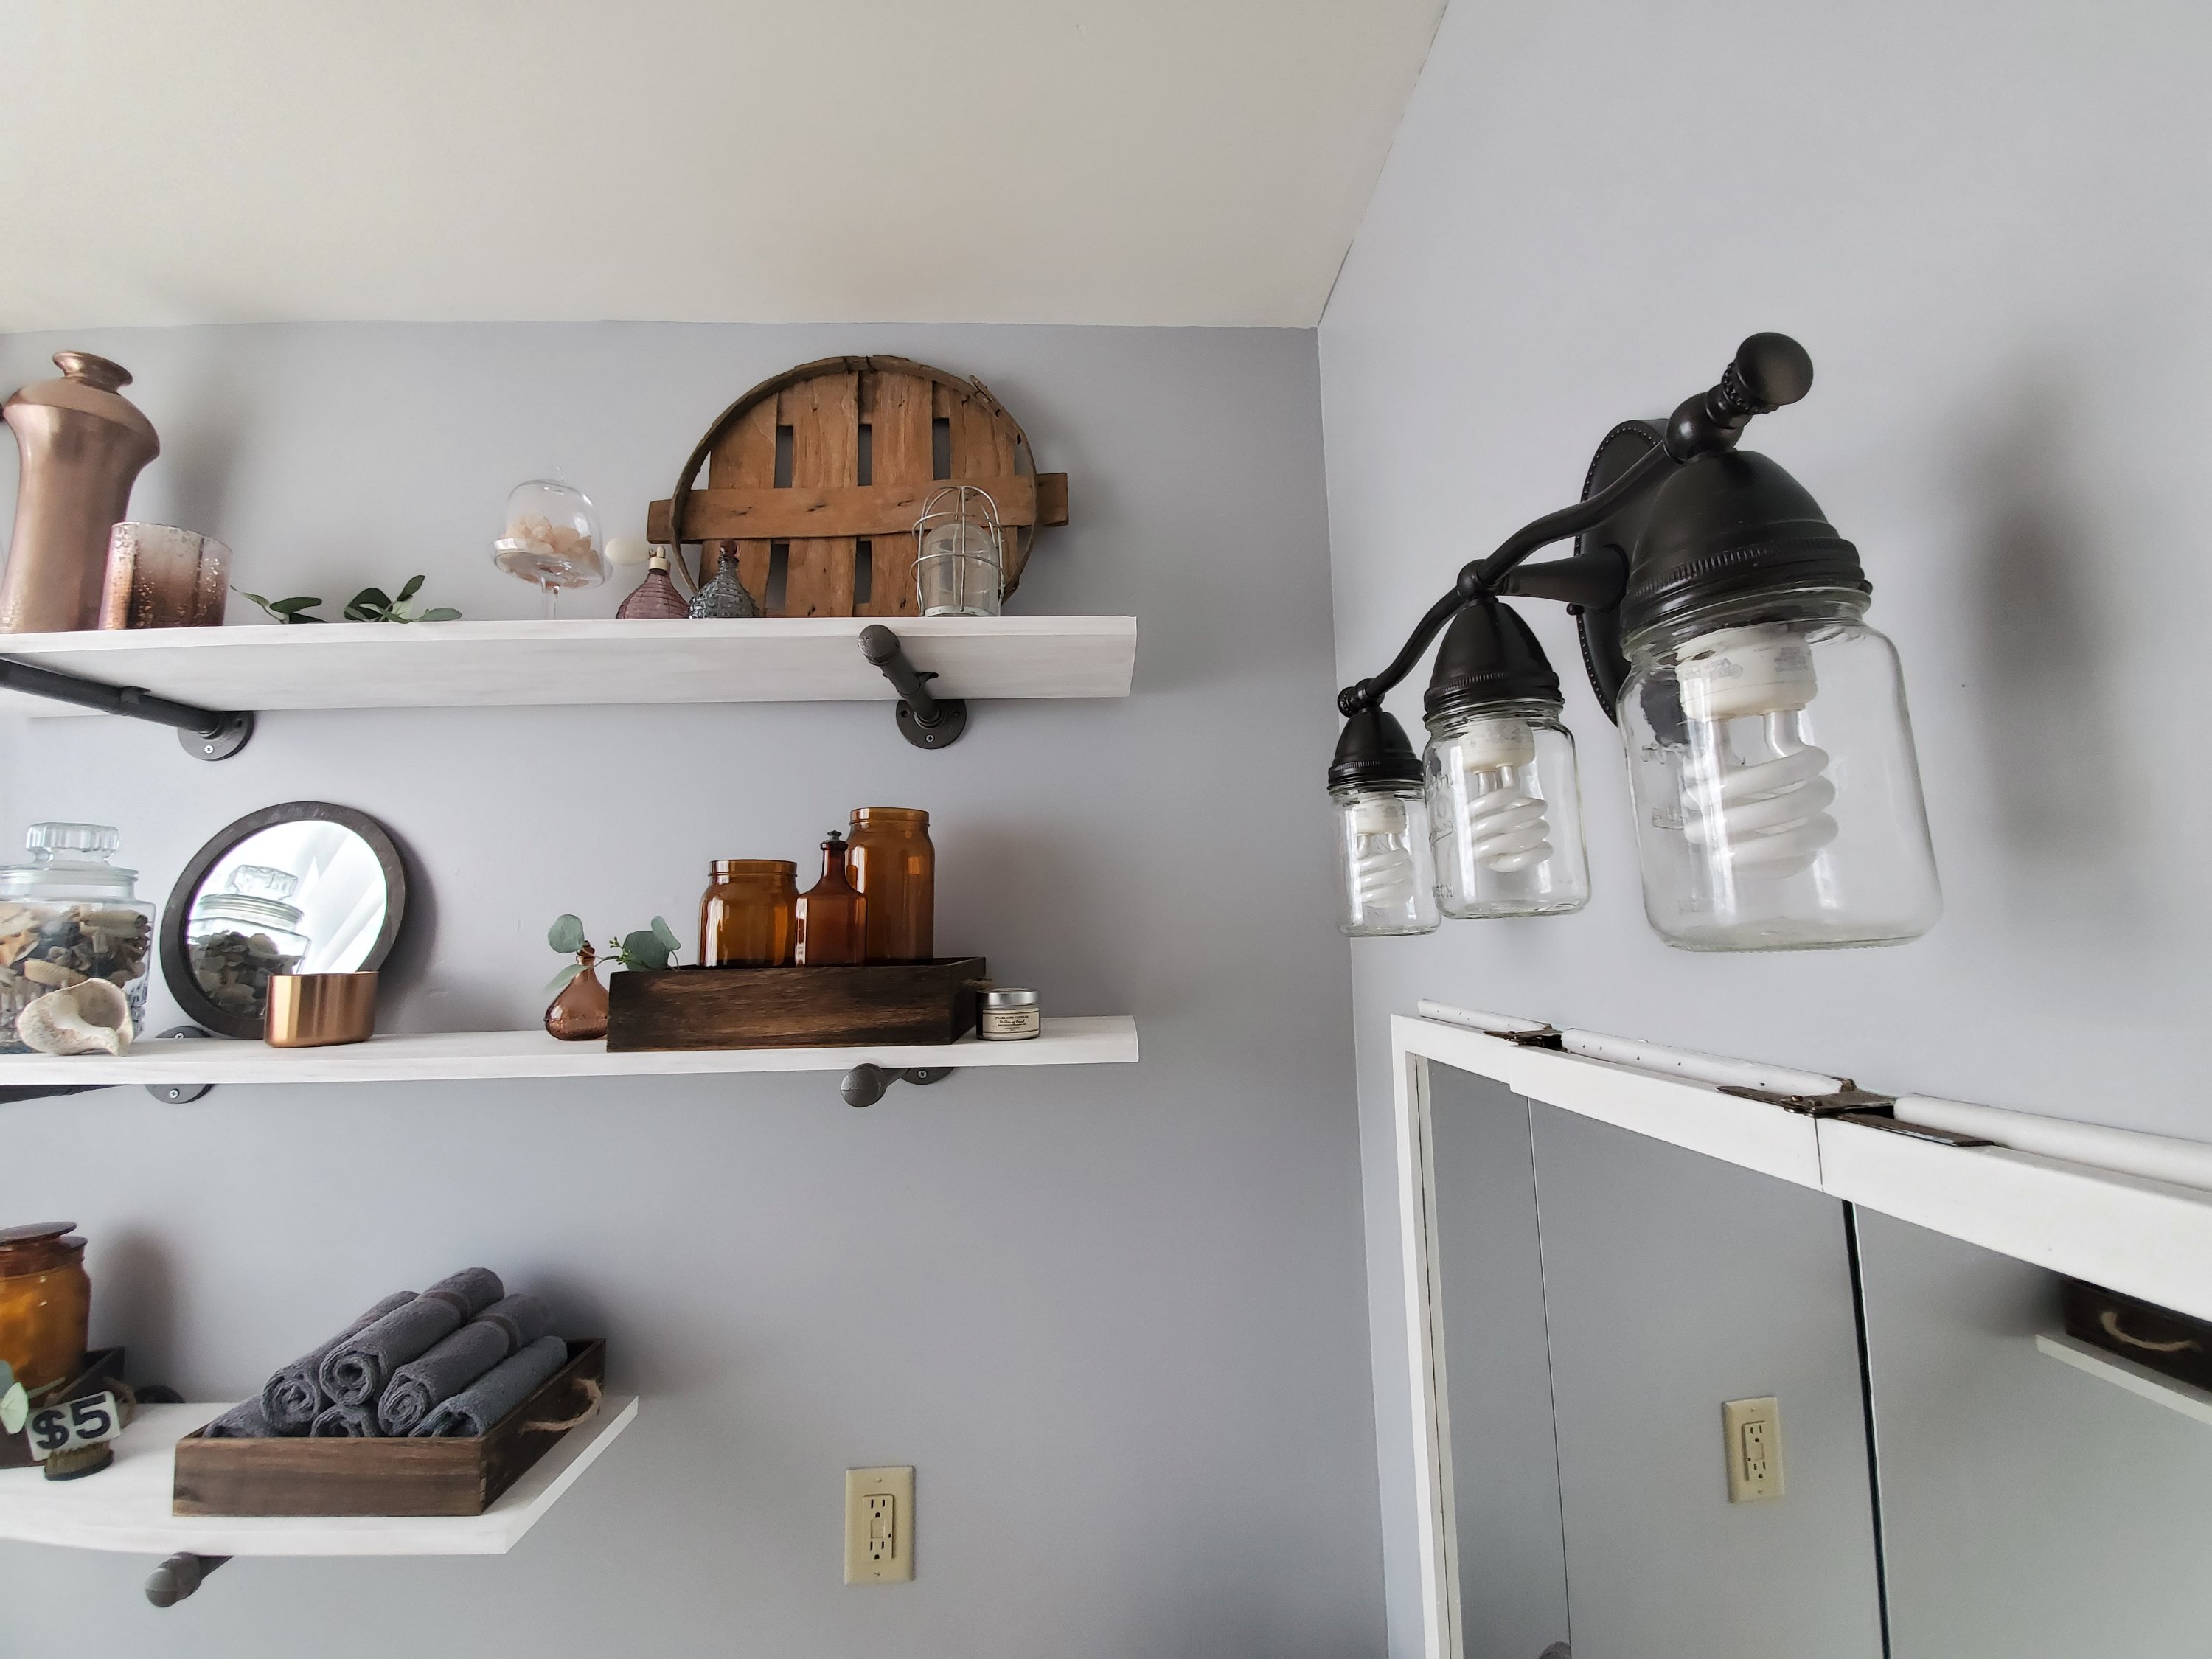
We also made the shelves ourselves and hand “grayed” the boards by smearing white paint with fingers. Tedious but so worth it. The brackets are plumbing hardware and can be found at Mendards. We painted the parts with a light oil rubbed bronze spray paint.
We made the jar light fixture by painting the old silver fixture with oil rubbed bronze paint and adding the jars. We took solid jar lids and made holes in them to fix the jars to the fixture. Once it’s all painted you can’t see what method you used to attach them.
All on a budget for a quick fix up. We did add a new shower, as ours was a walk in when we bought the house and we needed a tub for the kids. Paint and curtains, and especially shelving, make a huge, but affordable difference!
Here are some fun detail shots.

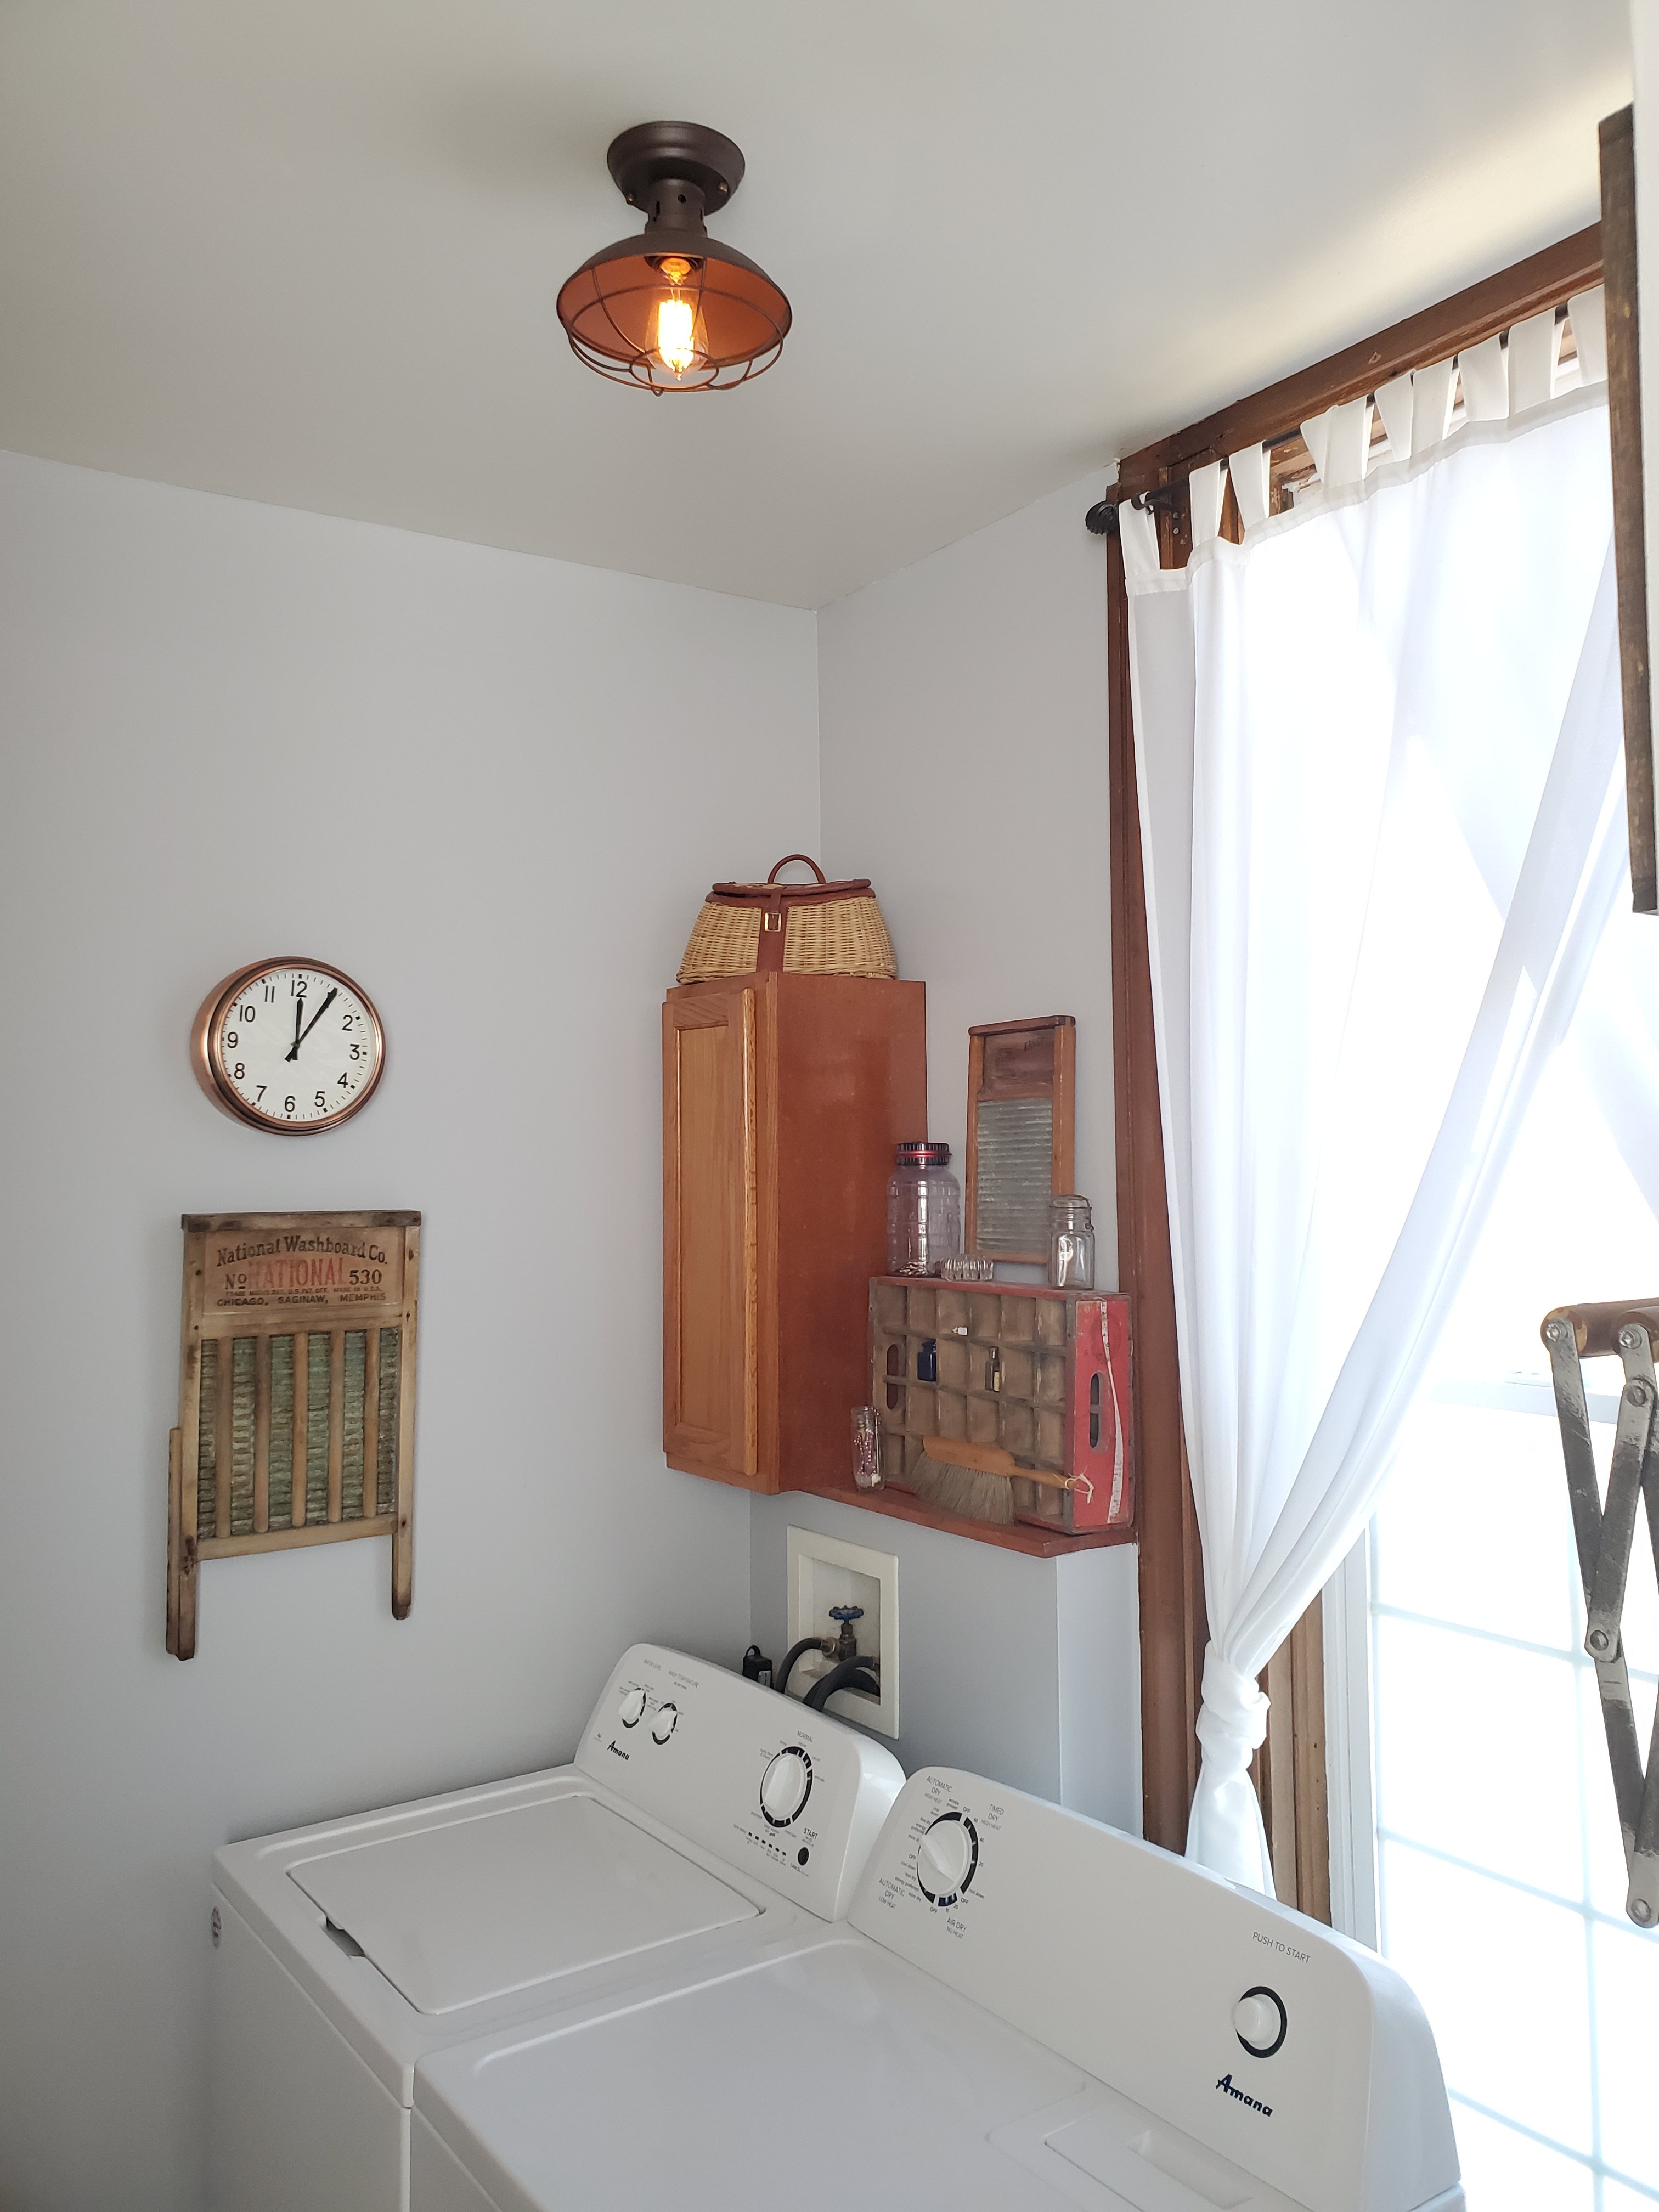

A few detail links:
What do you think? Any recommendations?
Xx,
Jess
Permalink Comments Off on Bath/Laundry Room Update
Quick and Easy Valentine’s DIY
I made these fabric hearts last year and loved them so much I put them out again this year!


It’s so simple that it doesn’t require much instruction, but a fun project for anyone because there are so many possibilities! I used scrap fabric that I had on hand, making this super inexpensive too! I picked a couple fabrics that complimented one another and had a rustic vibe. You could use anything at all! The only other supplies you need are liquid stitch (always handy to have a tube on hand!) and some stuffing. You can get both of these at your local craft store or a Walmart. The stuffing sold here at our Walmart was in too large of a bag and I knew I didn’t want a ton. So, quick fix was to buy a small pillow insert at Walmart. This was about $4 and I have plenty left for more projects.

Start by drawing a heart on cardboard. Try a cereal or cracker box! Then trace this heart onto the backside of your fabric. Do sets of two hearts in matching fabric. Then run a bead of the fabric glue around the heart. Leave a few inches unglued. I left a quarter inch or so around the edge. I used a few binder clips to hold these while drying. You could also set a book on them. When they are dry, stuff fabric into them. Doing it in this order allows you to fill them full and puffy without ungluing. Now add glue to the last few inches and clip to dry. You could always add sequins, embellishments, ribbon, or any extras too.

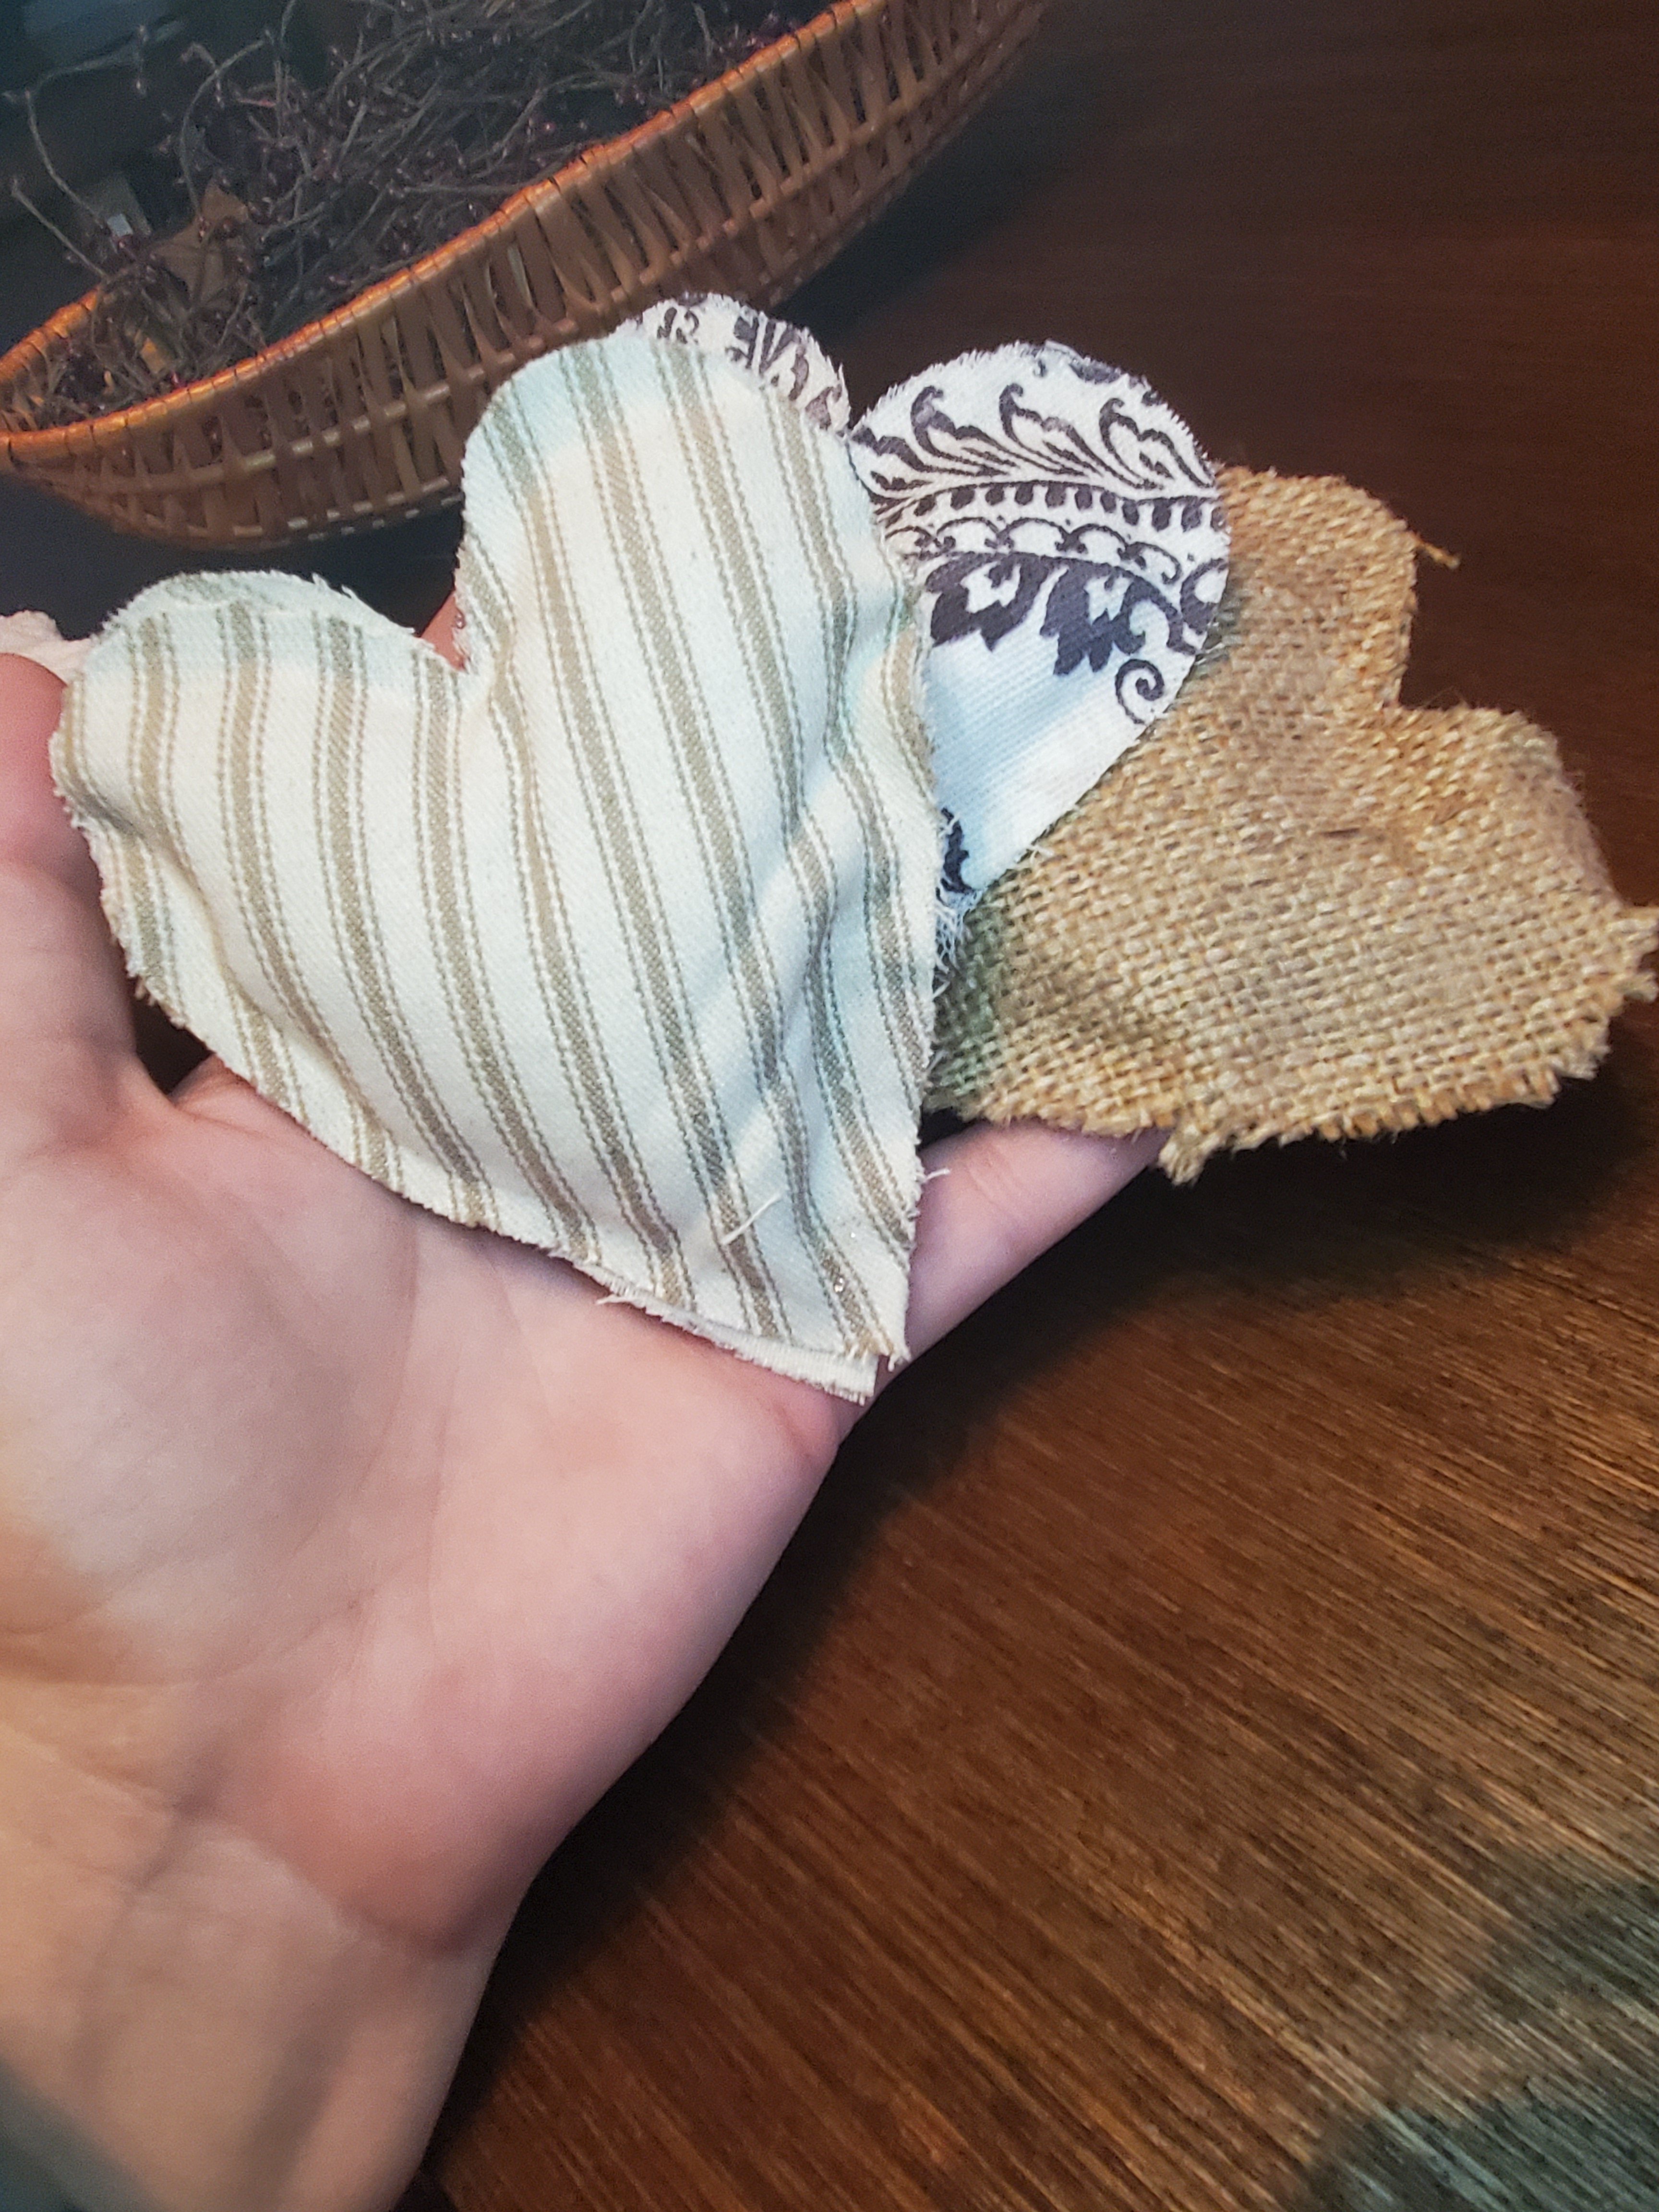
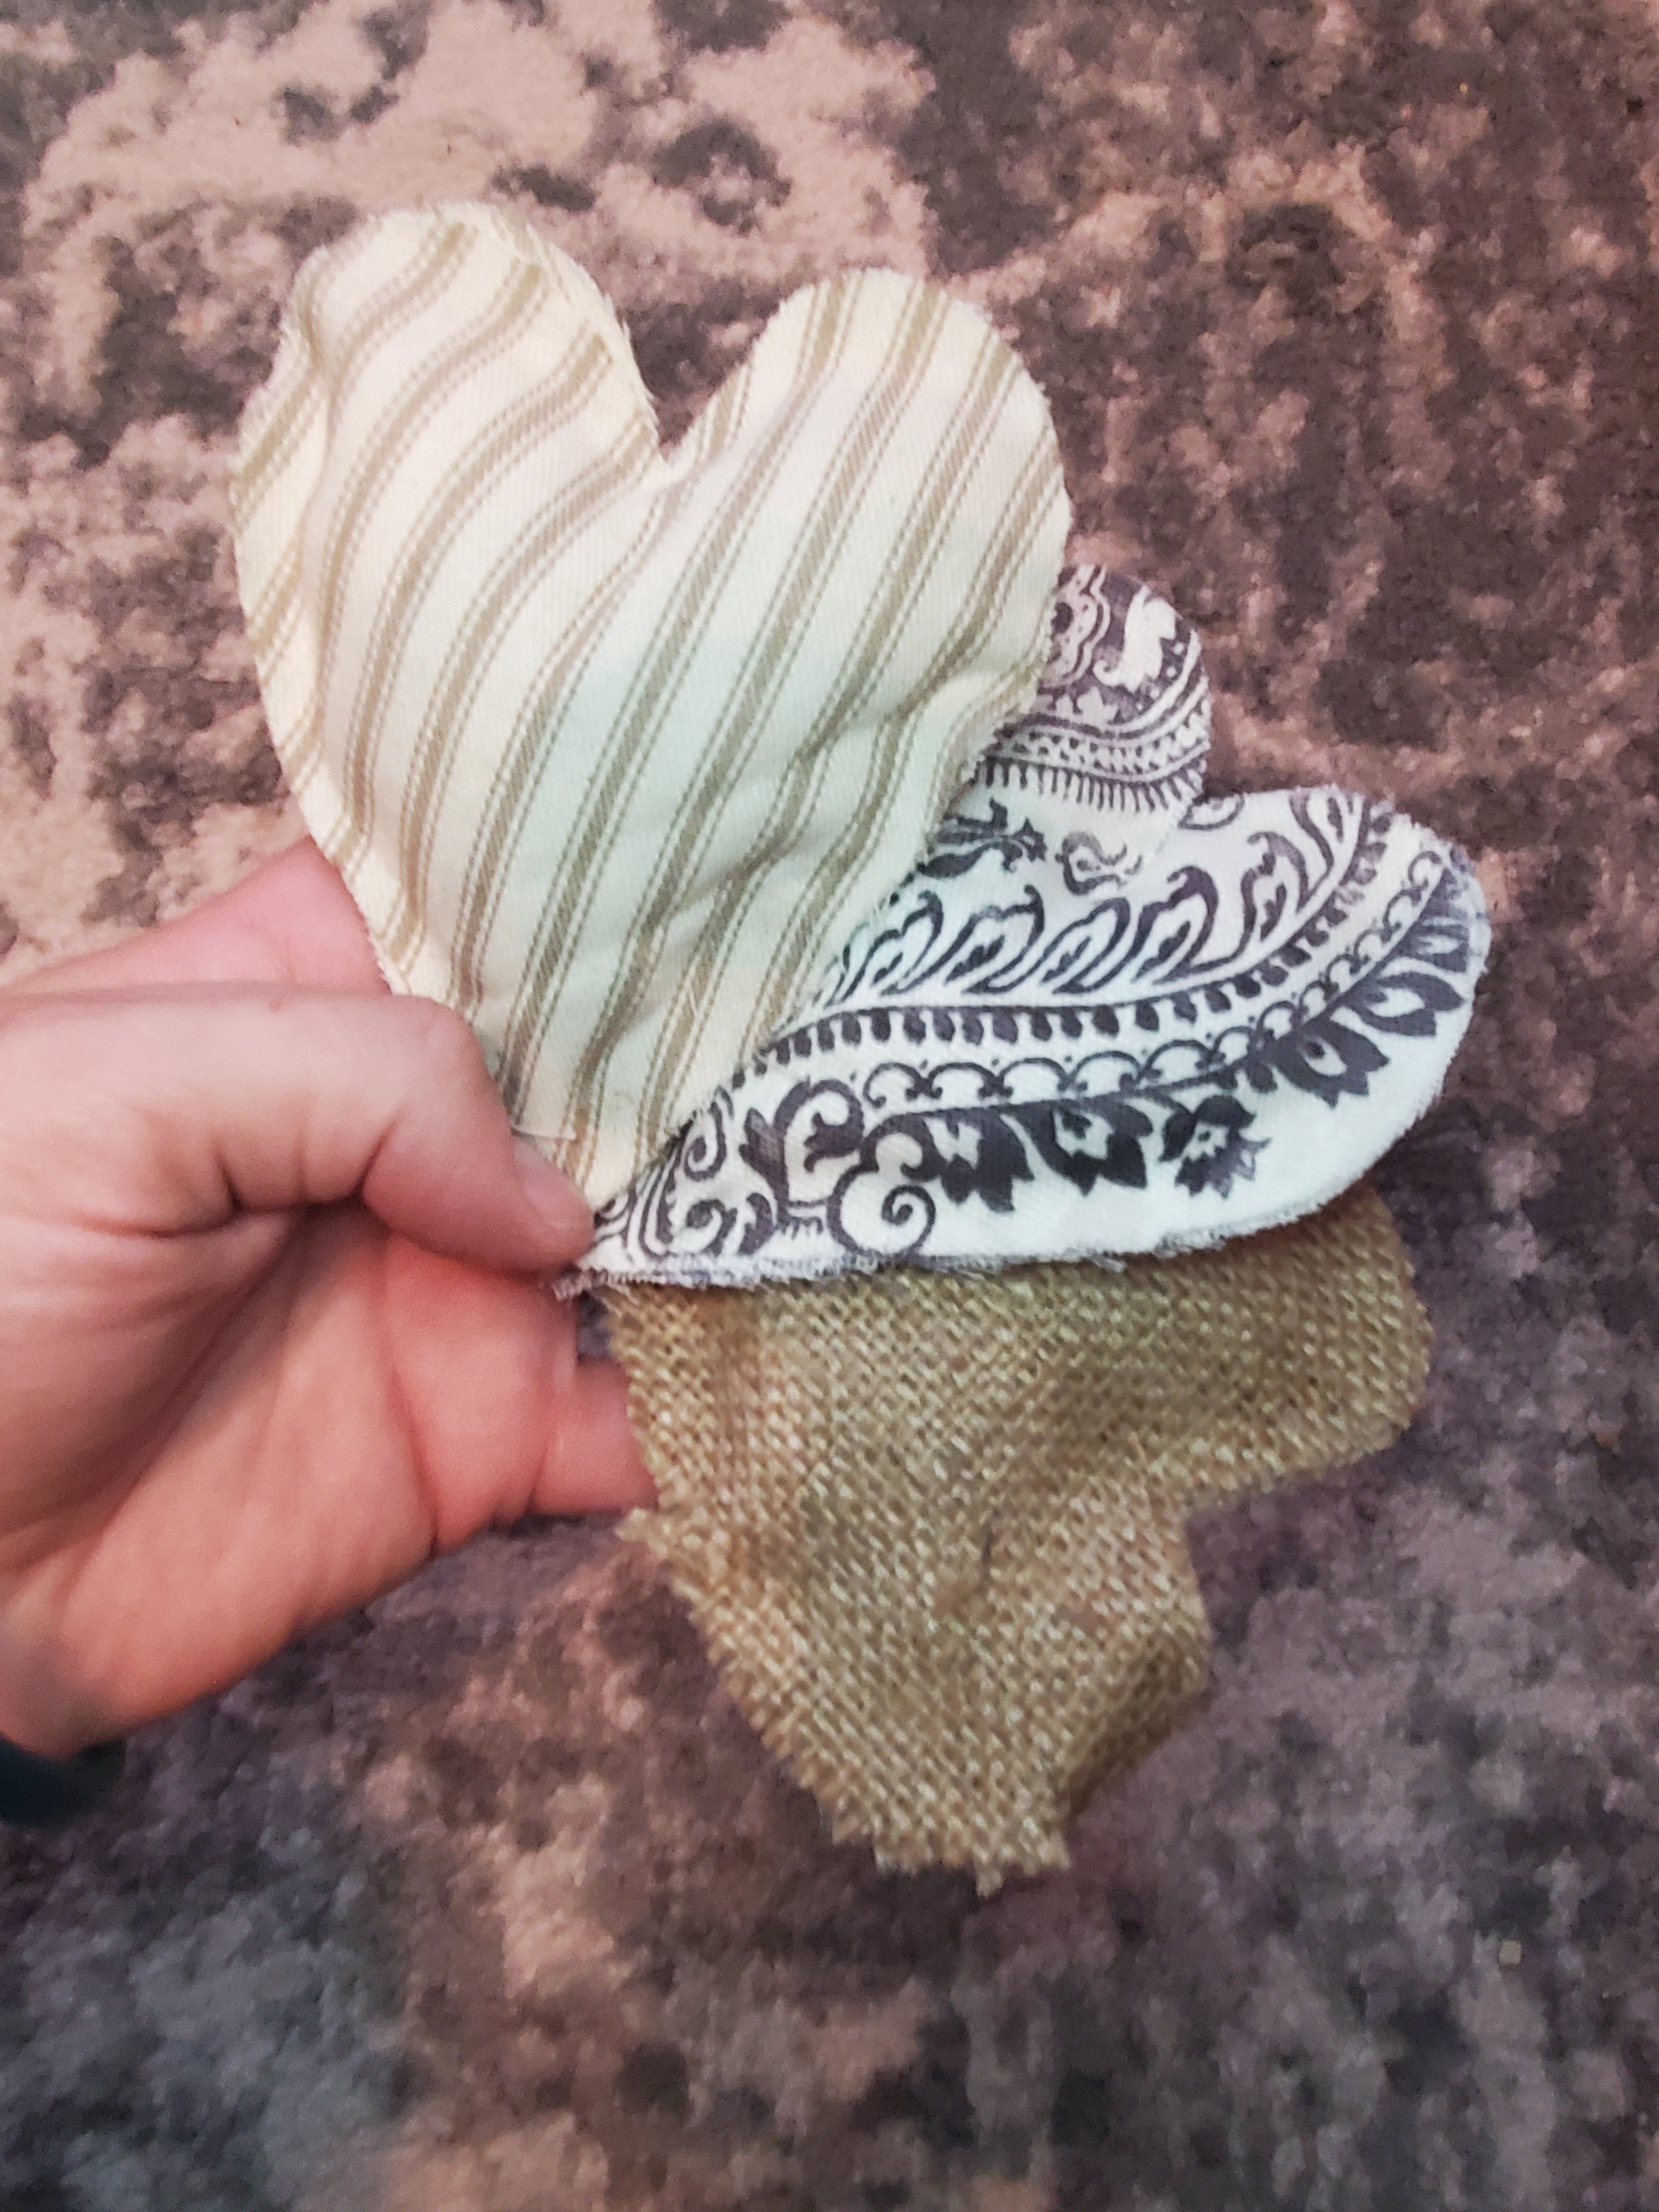
The other little white heart was super simple too. I used a cardboard hear, made little cuts around the outside, and wrapped yard around the heart. The cuts helps hold the yarn in place for the first layer of wrapping. Wrap all different directions. Glue with the fabric glue. Simple!

Viola! Hope you enjoy this quick and easy project!
Xx,
Jess
Permalink Comments Off on Quick and Easy Valentine’s DIY
Boys’ Room Reveal
I’ve worked on it for a year and I can finally say it’s as done as it’s getting right now. 🤣 When we moved to this house a year ago and I was pregnant, we decided the boys would share a room. This way I could have an office, and the office would double as a play room/workout room, so that kids could be in there while I worked if needed. I also knew that I wanted an outdoors-y theme that could work for both a baby and a young boy. Brantley already had a farm theme as a baby, with many pieces we wanted to incorporate, and he asked for camo bedding in his new room. If you’ve been here before, you also know that when we moved to this house it needed a lot of work. A lot. We ripped carpet out of this room, added electrical outlets and a light fixture, painted… and we still have more to do…eventually. But for now, here it is!
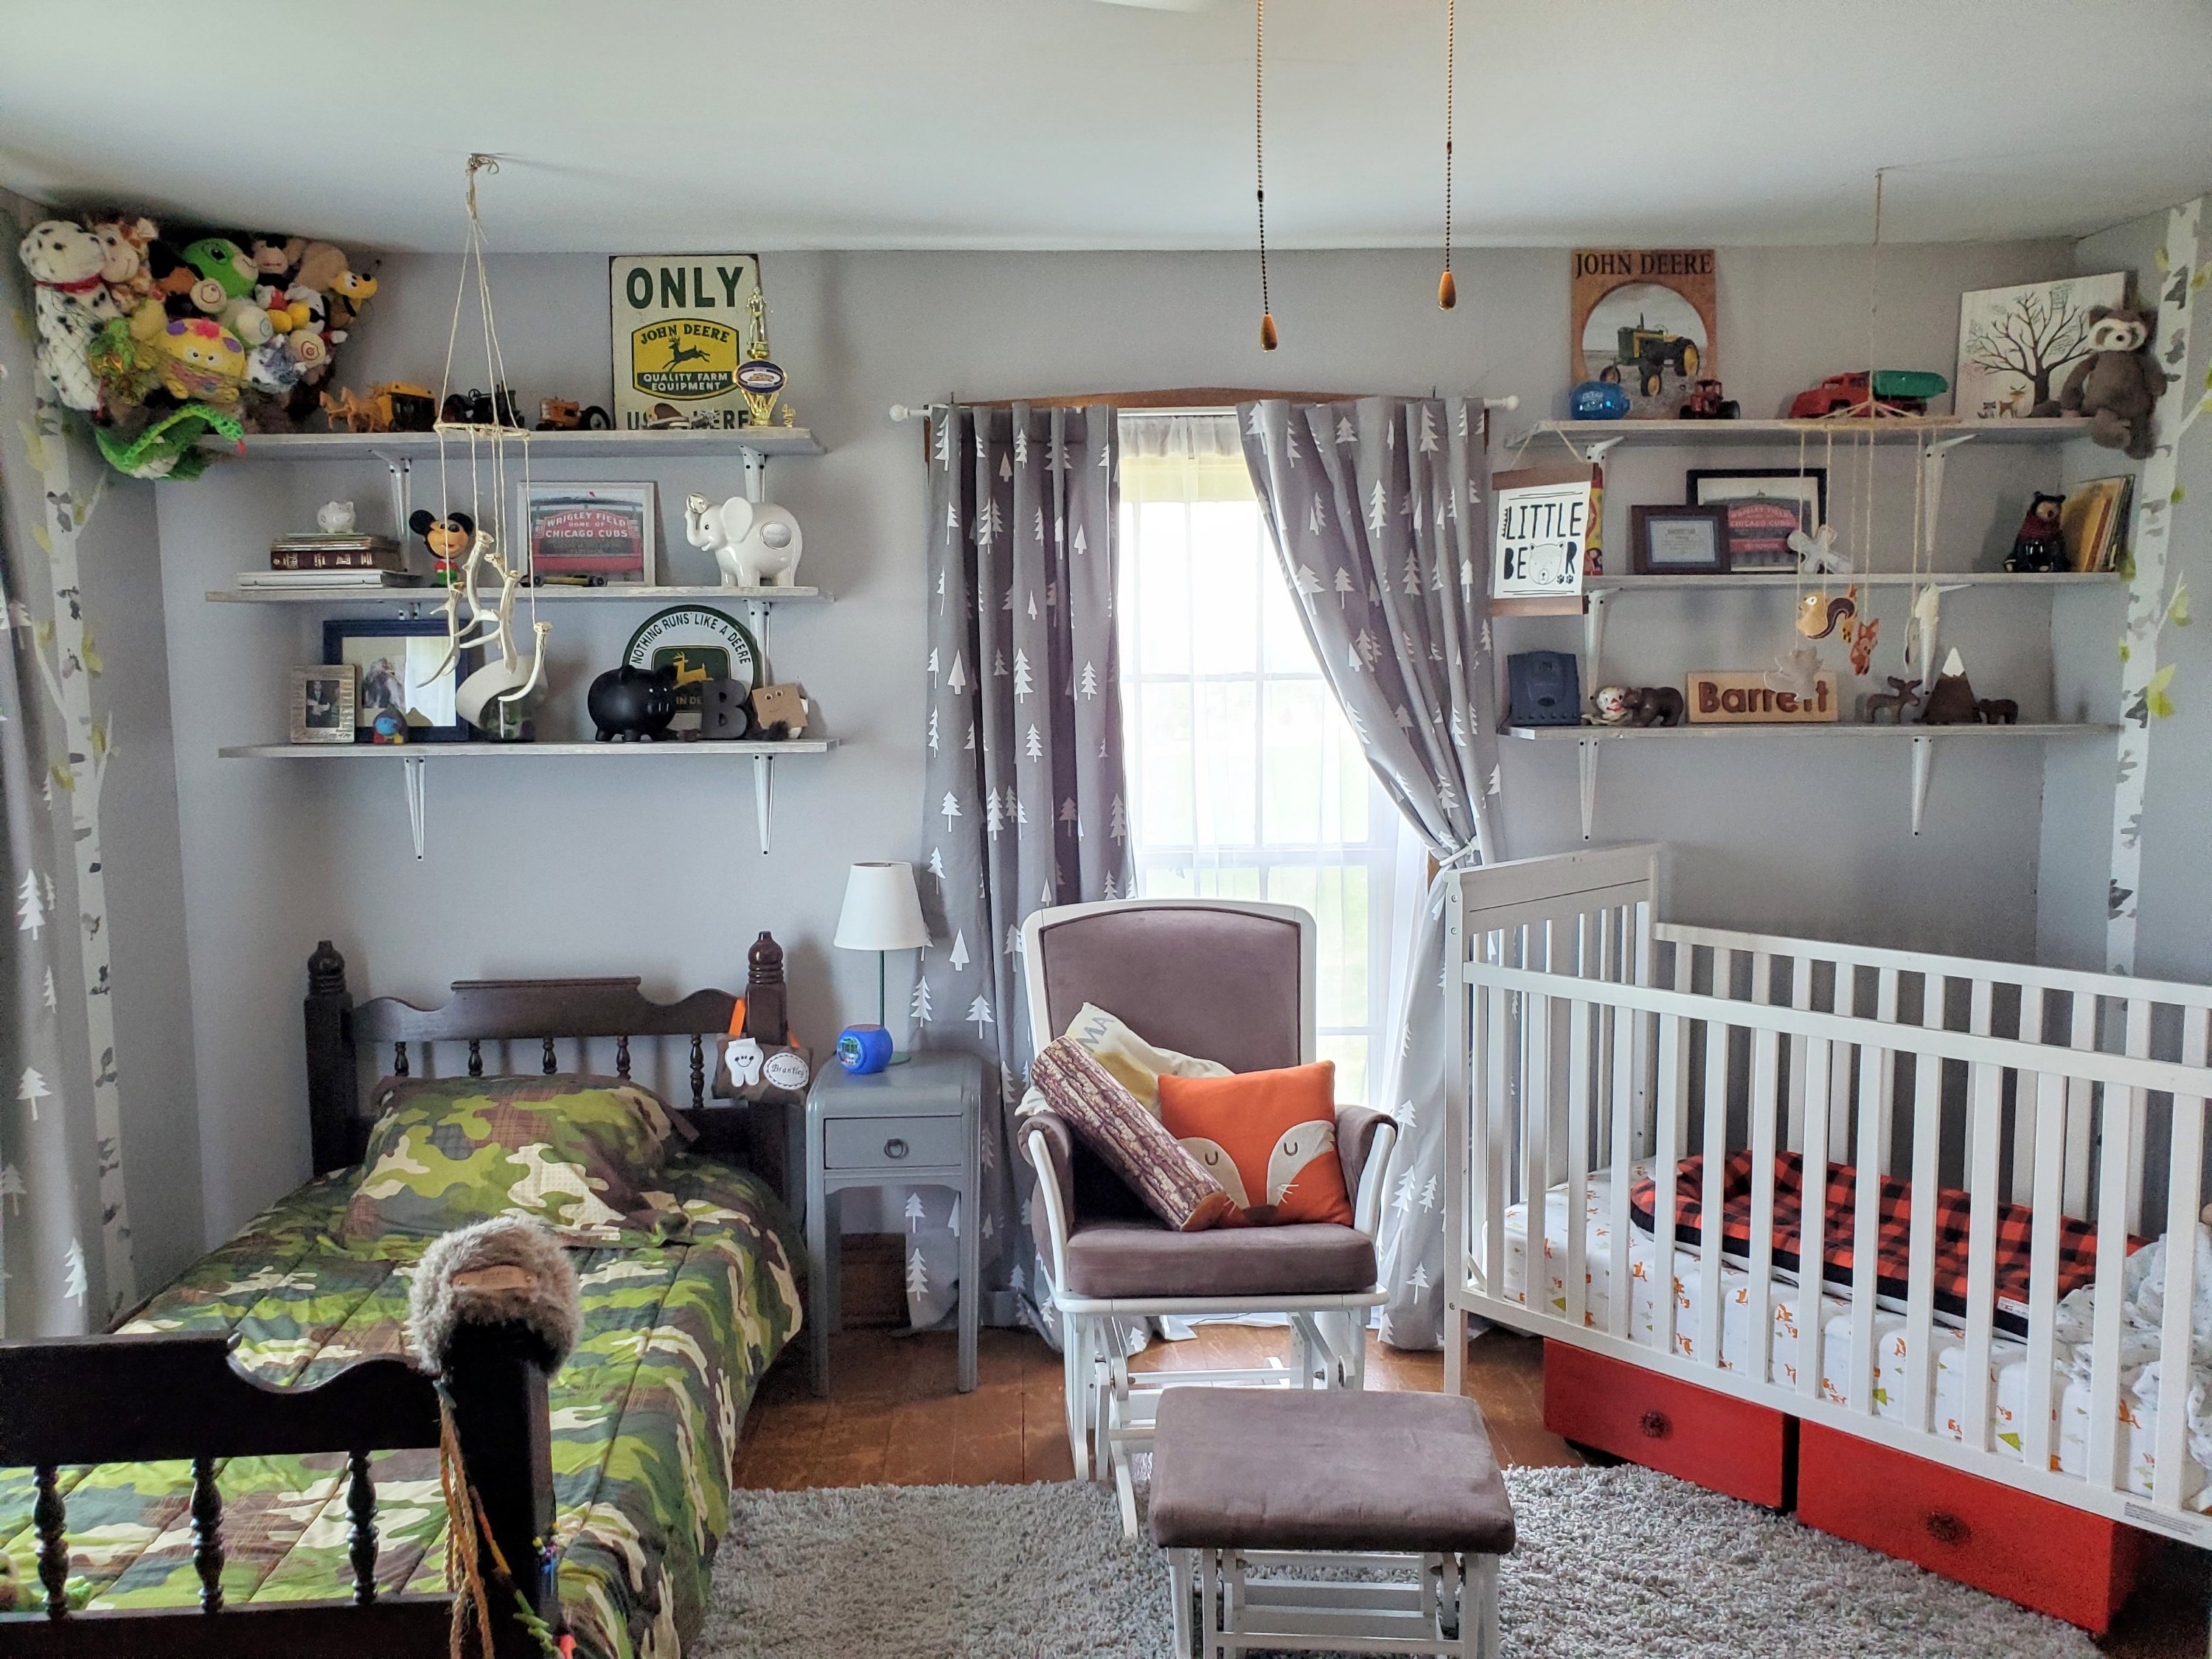
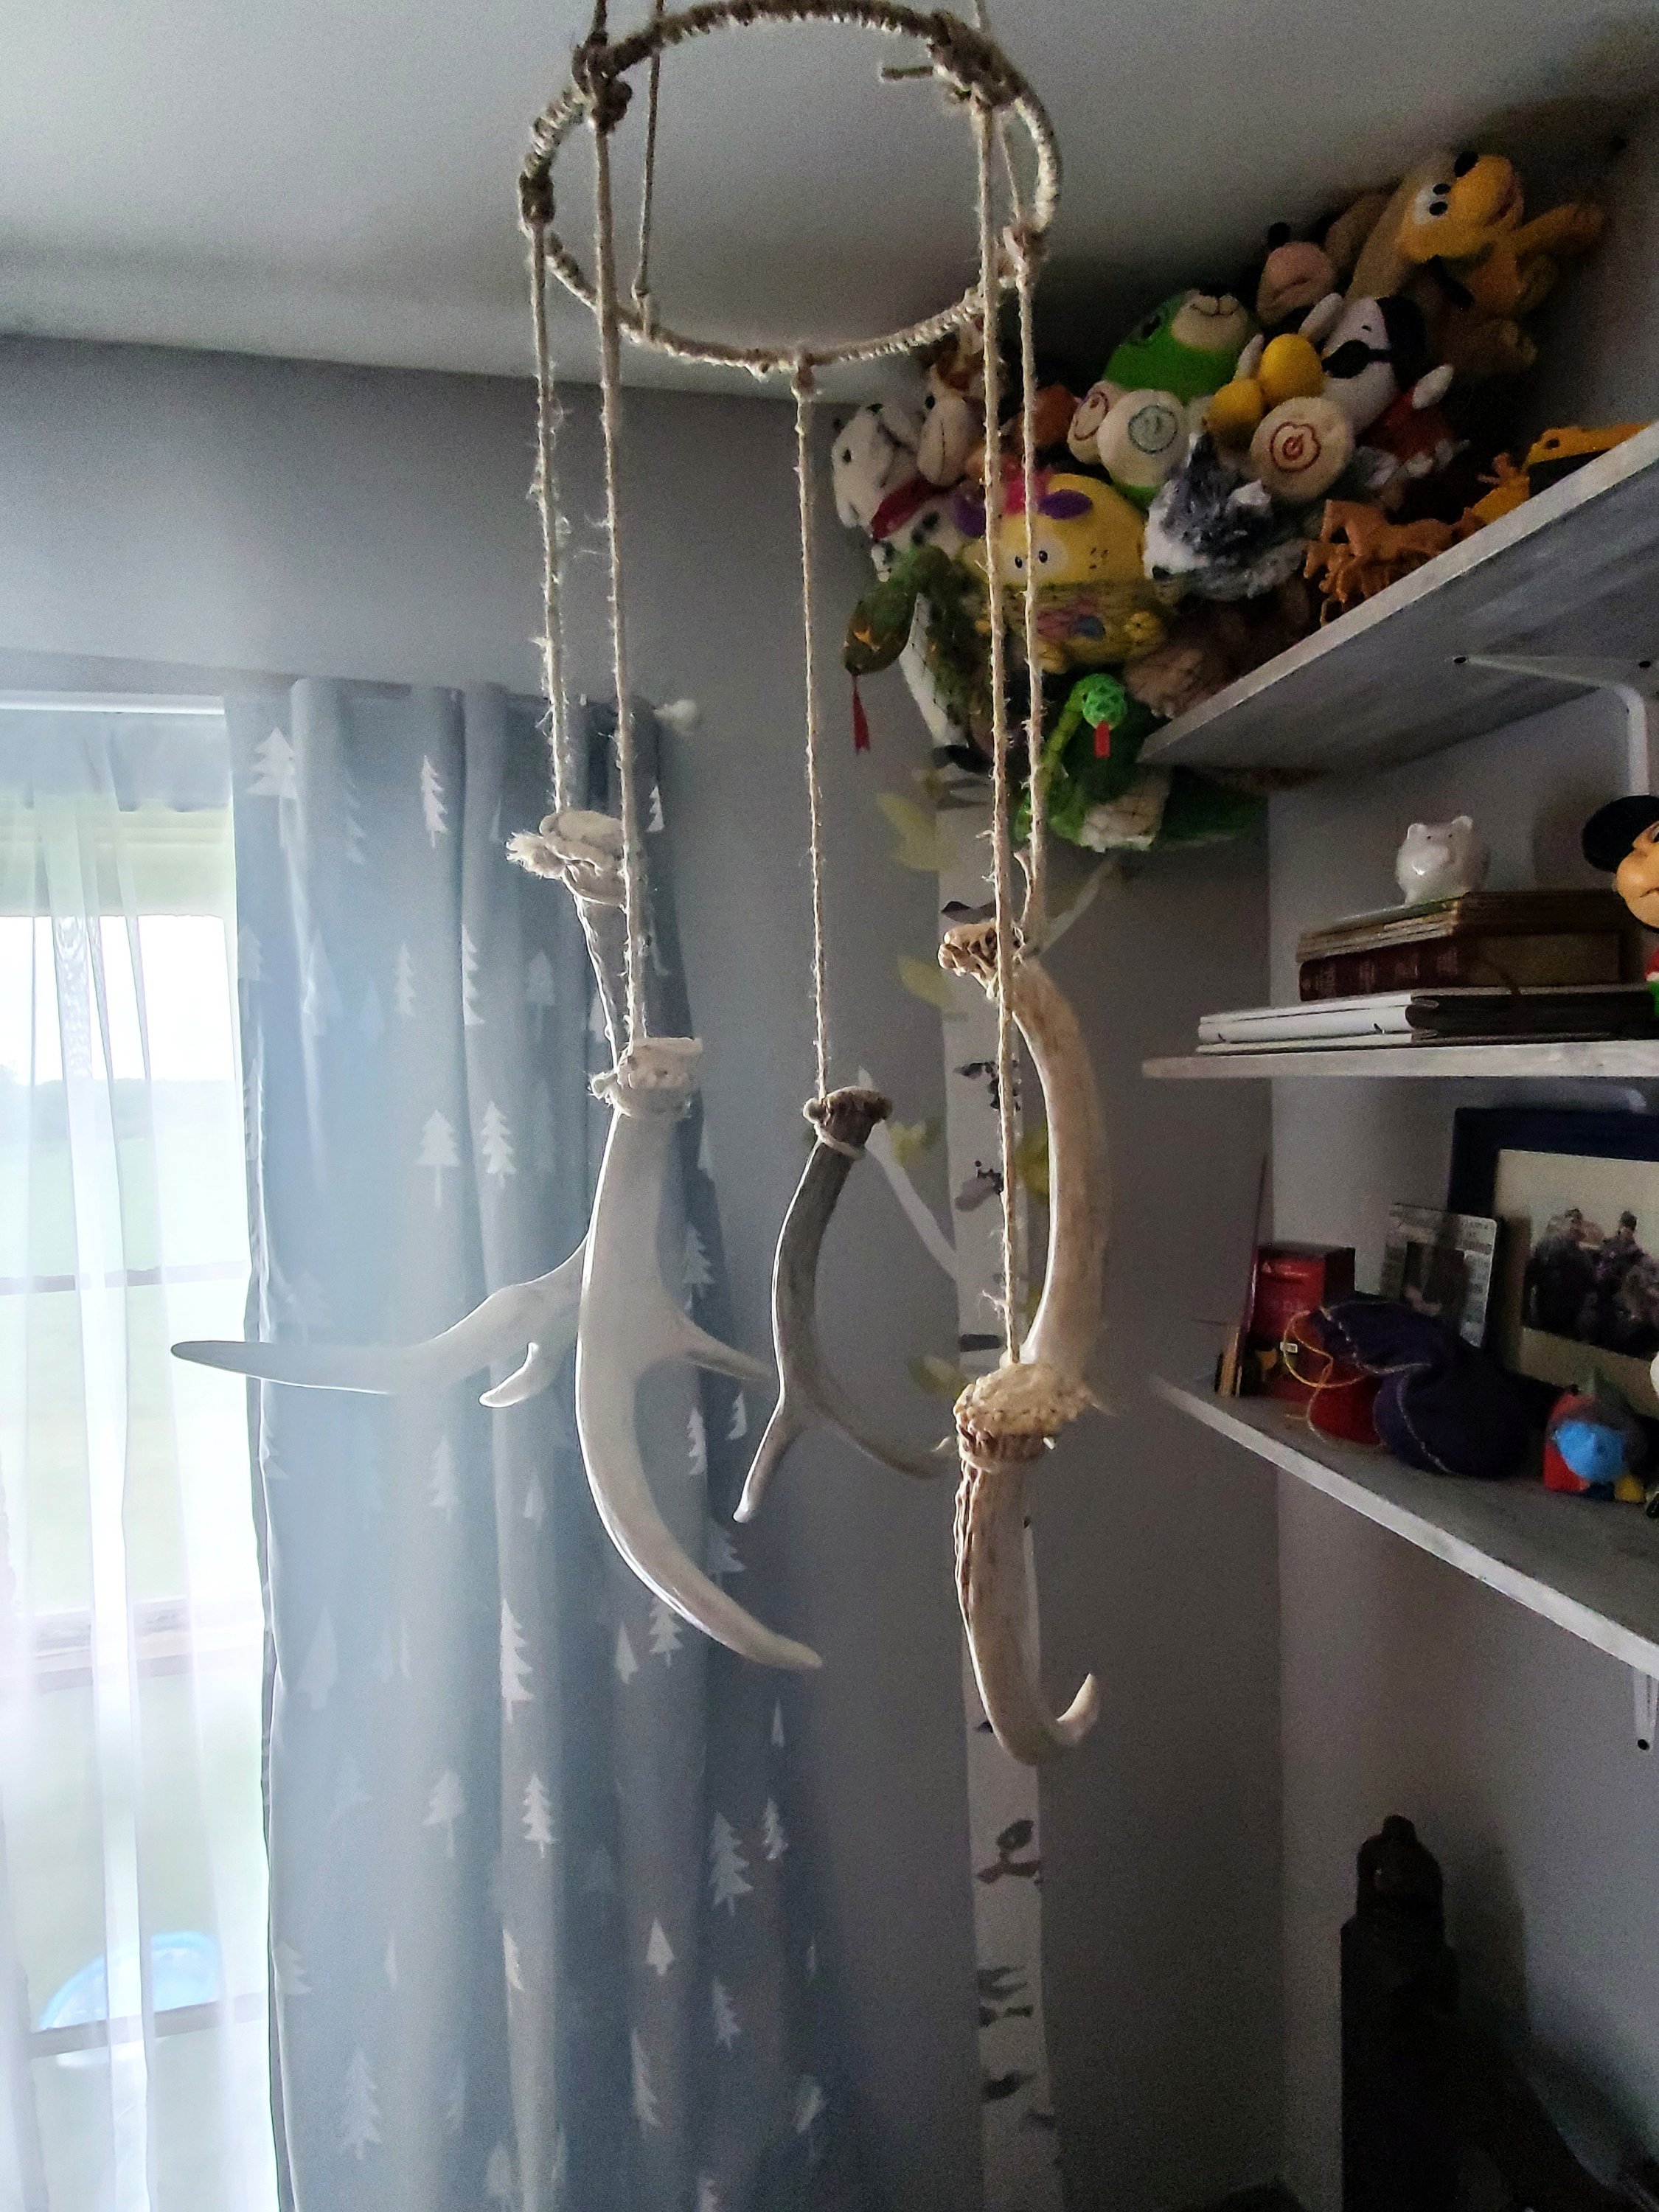
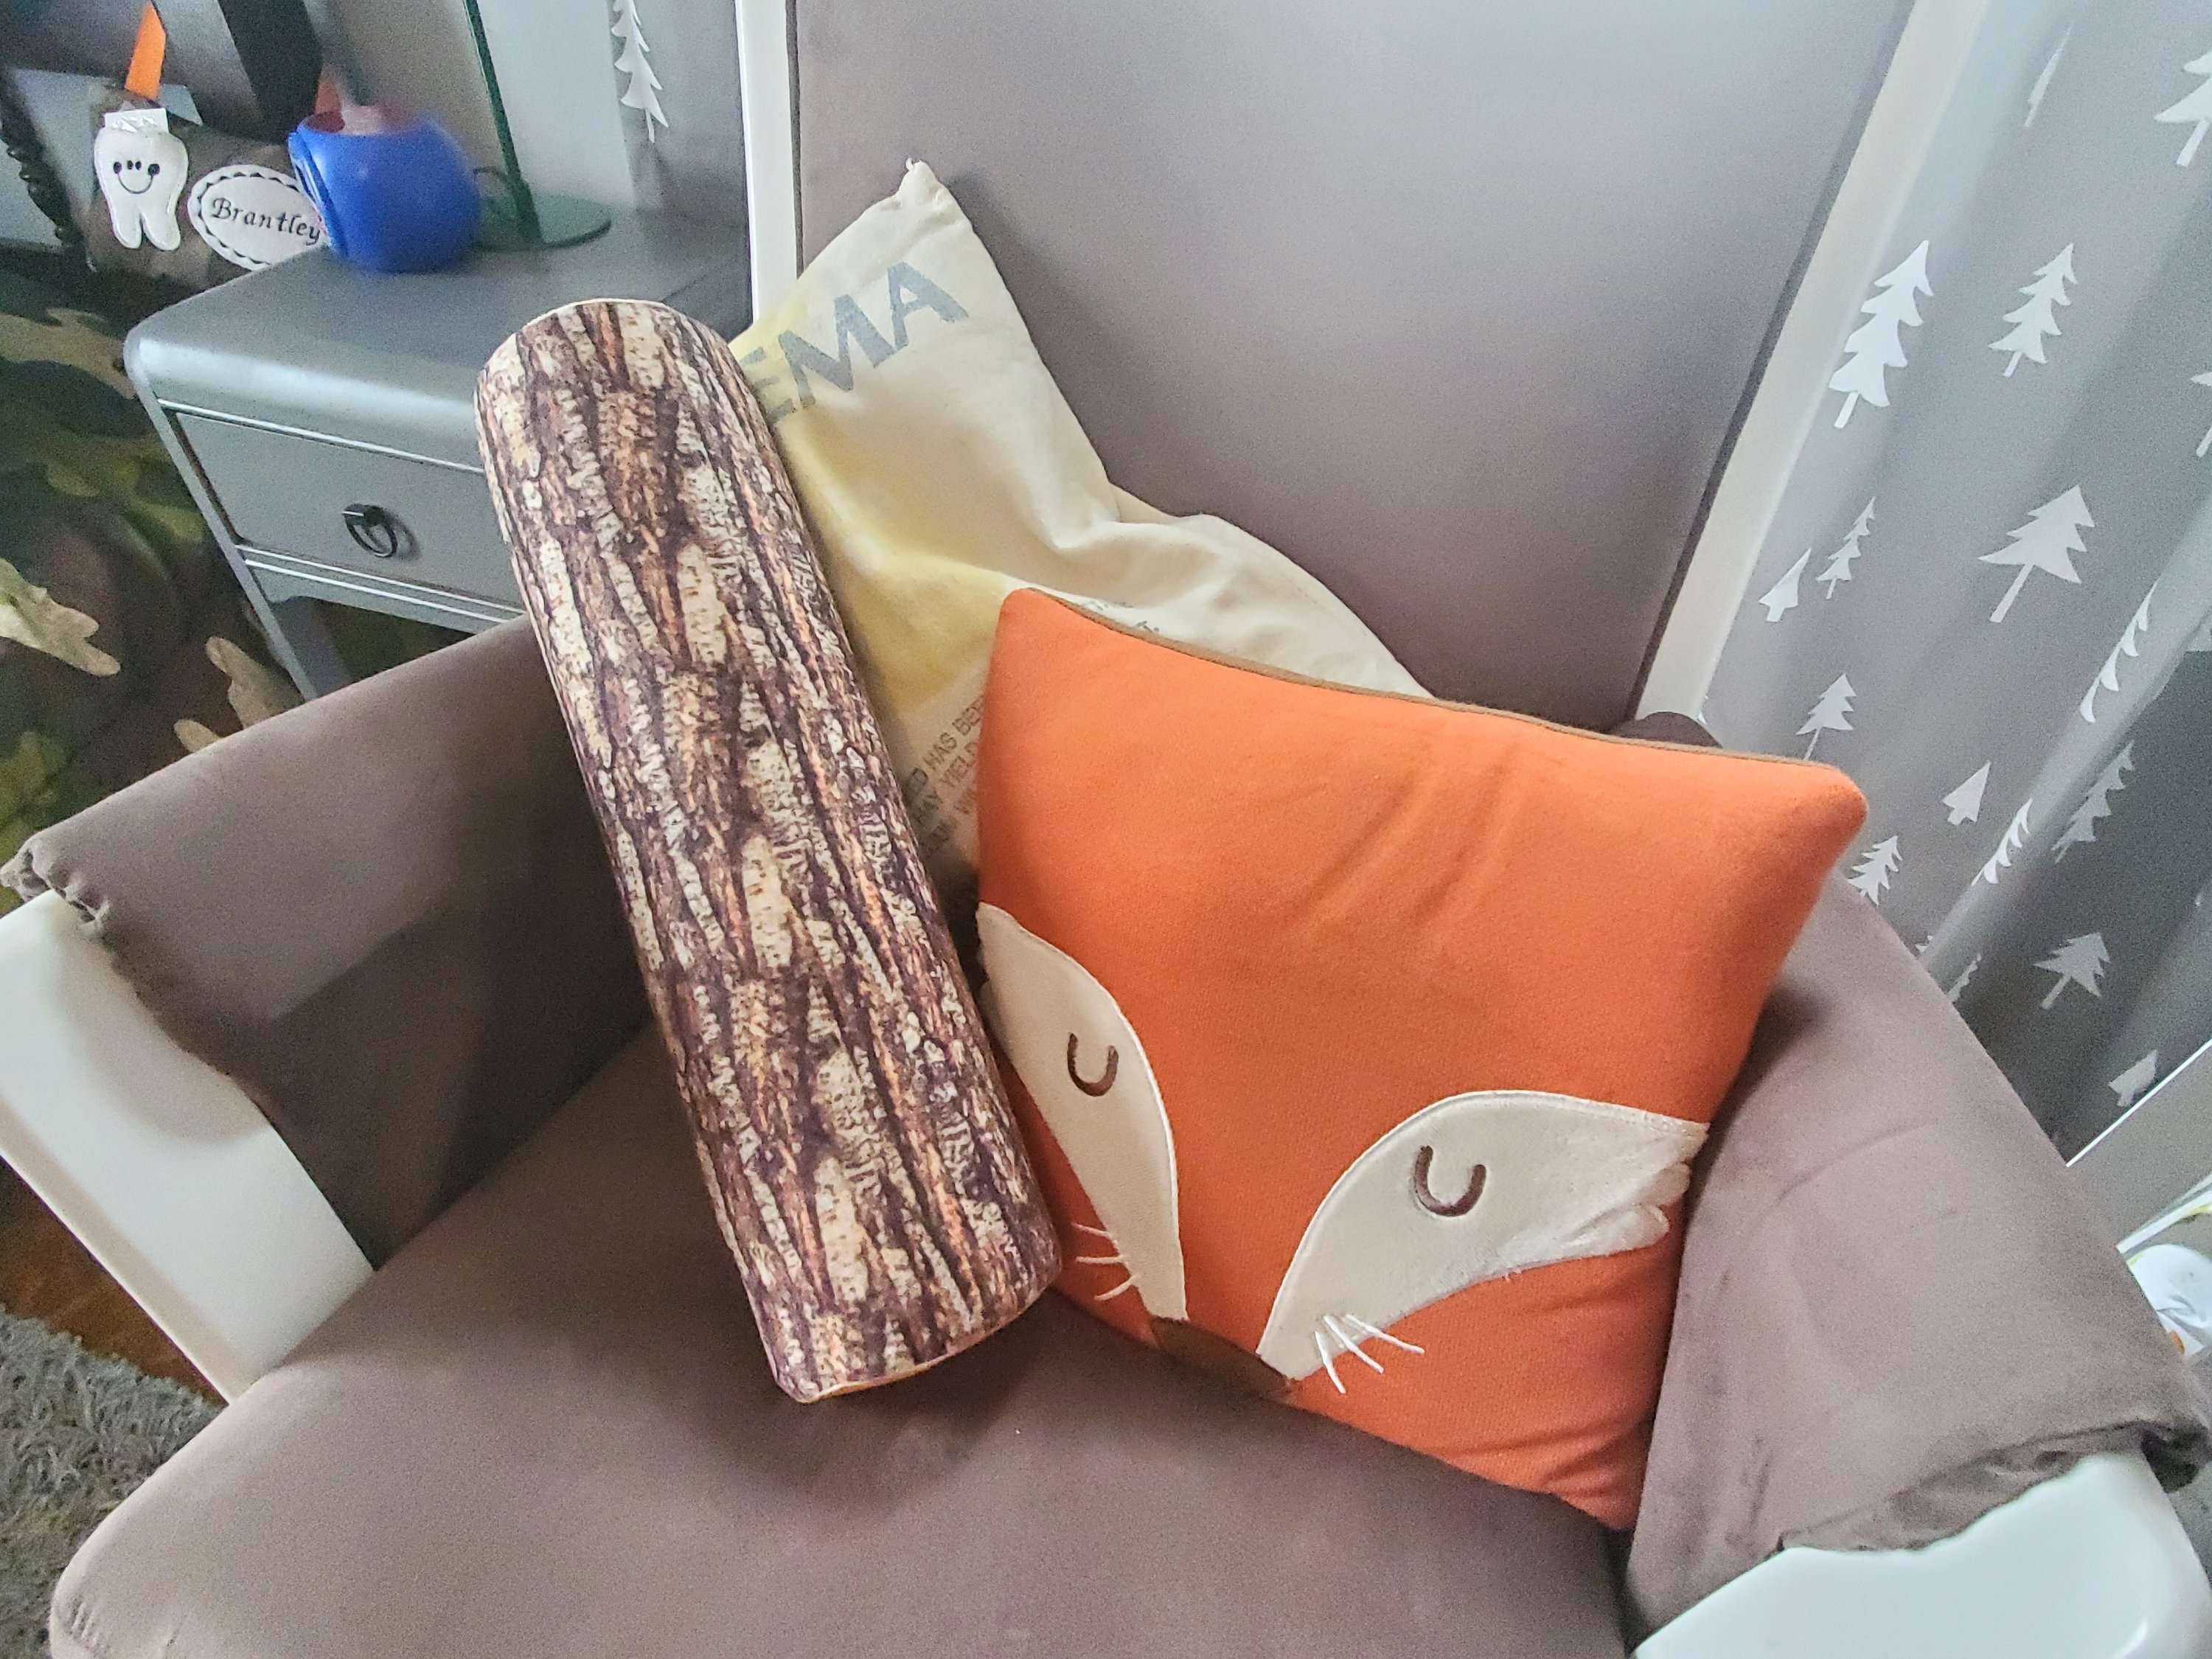
Each of the boys has a bit different theme on their side of the room, but with light gray walls, tree curtains, tree decals, and some animals throughout, it seems to flow for now.
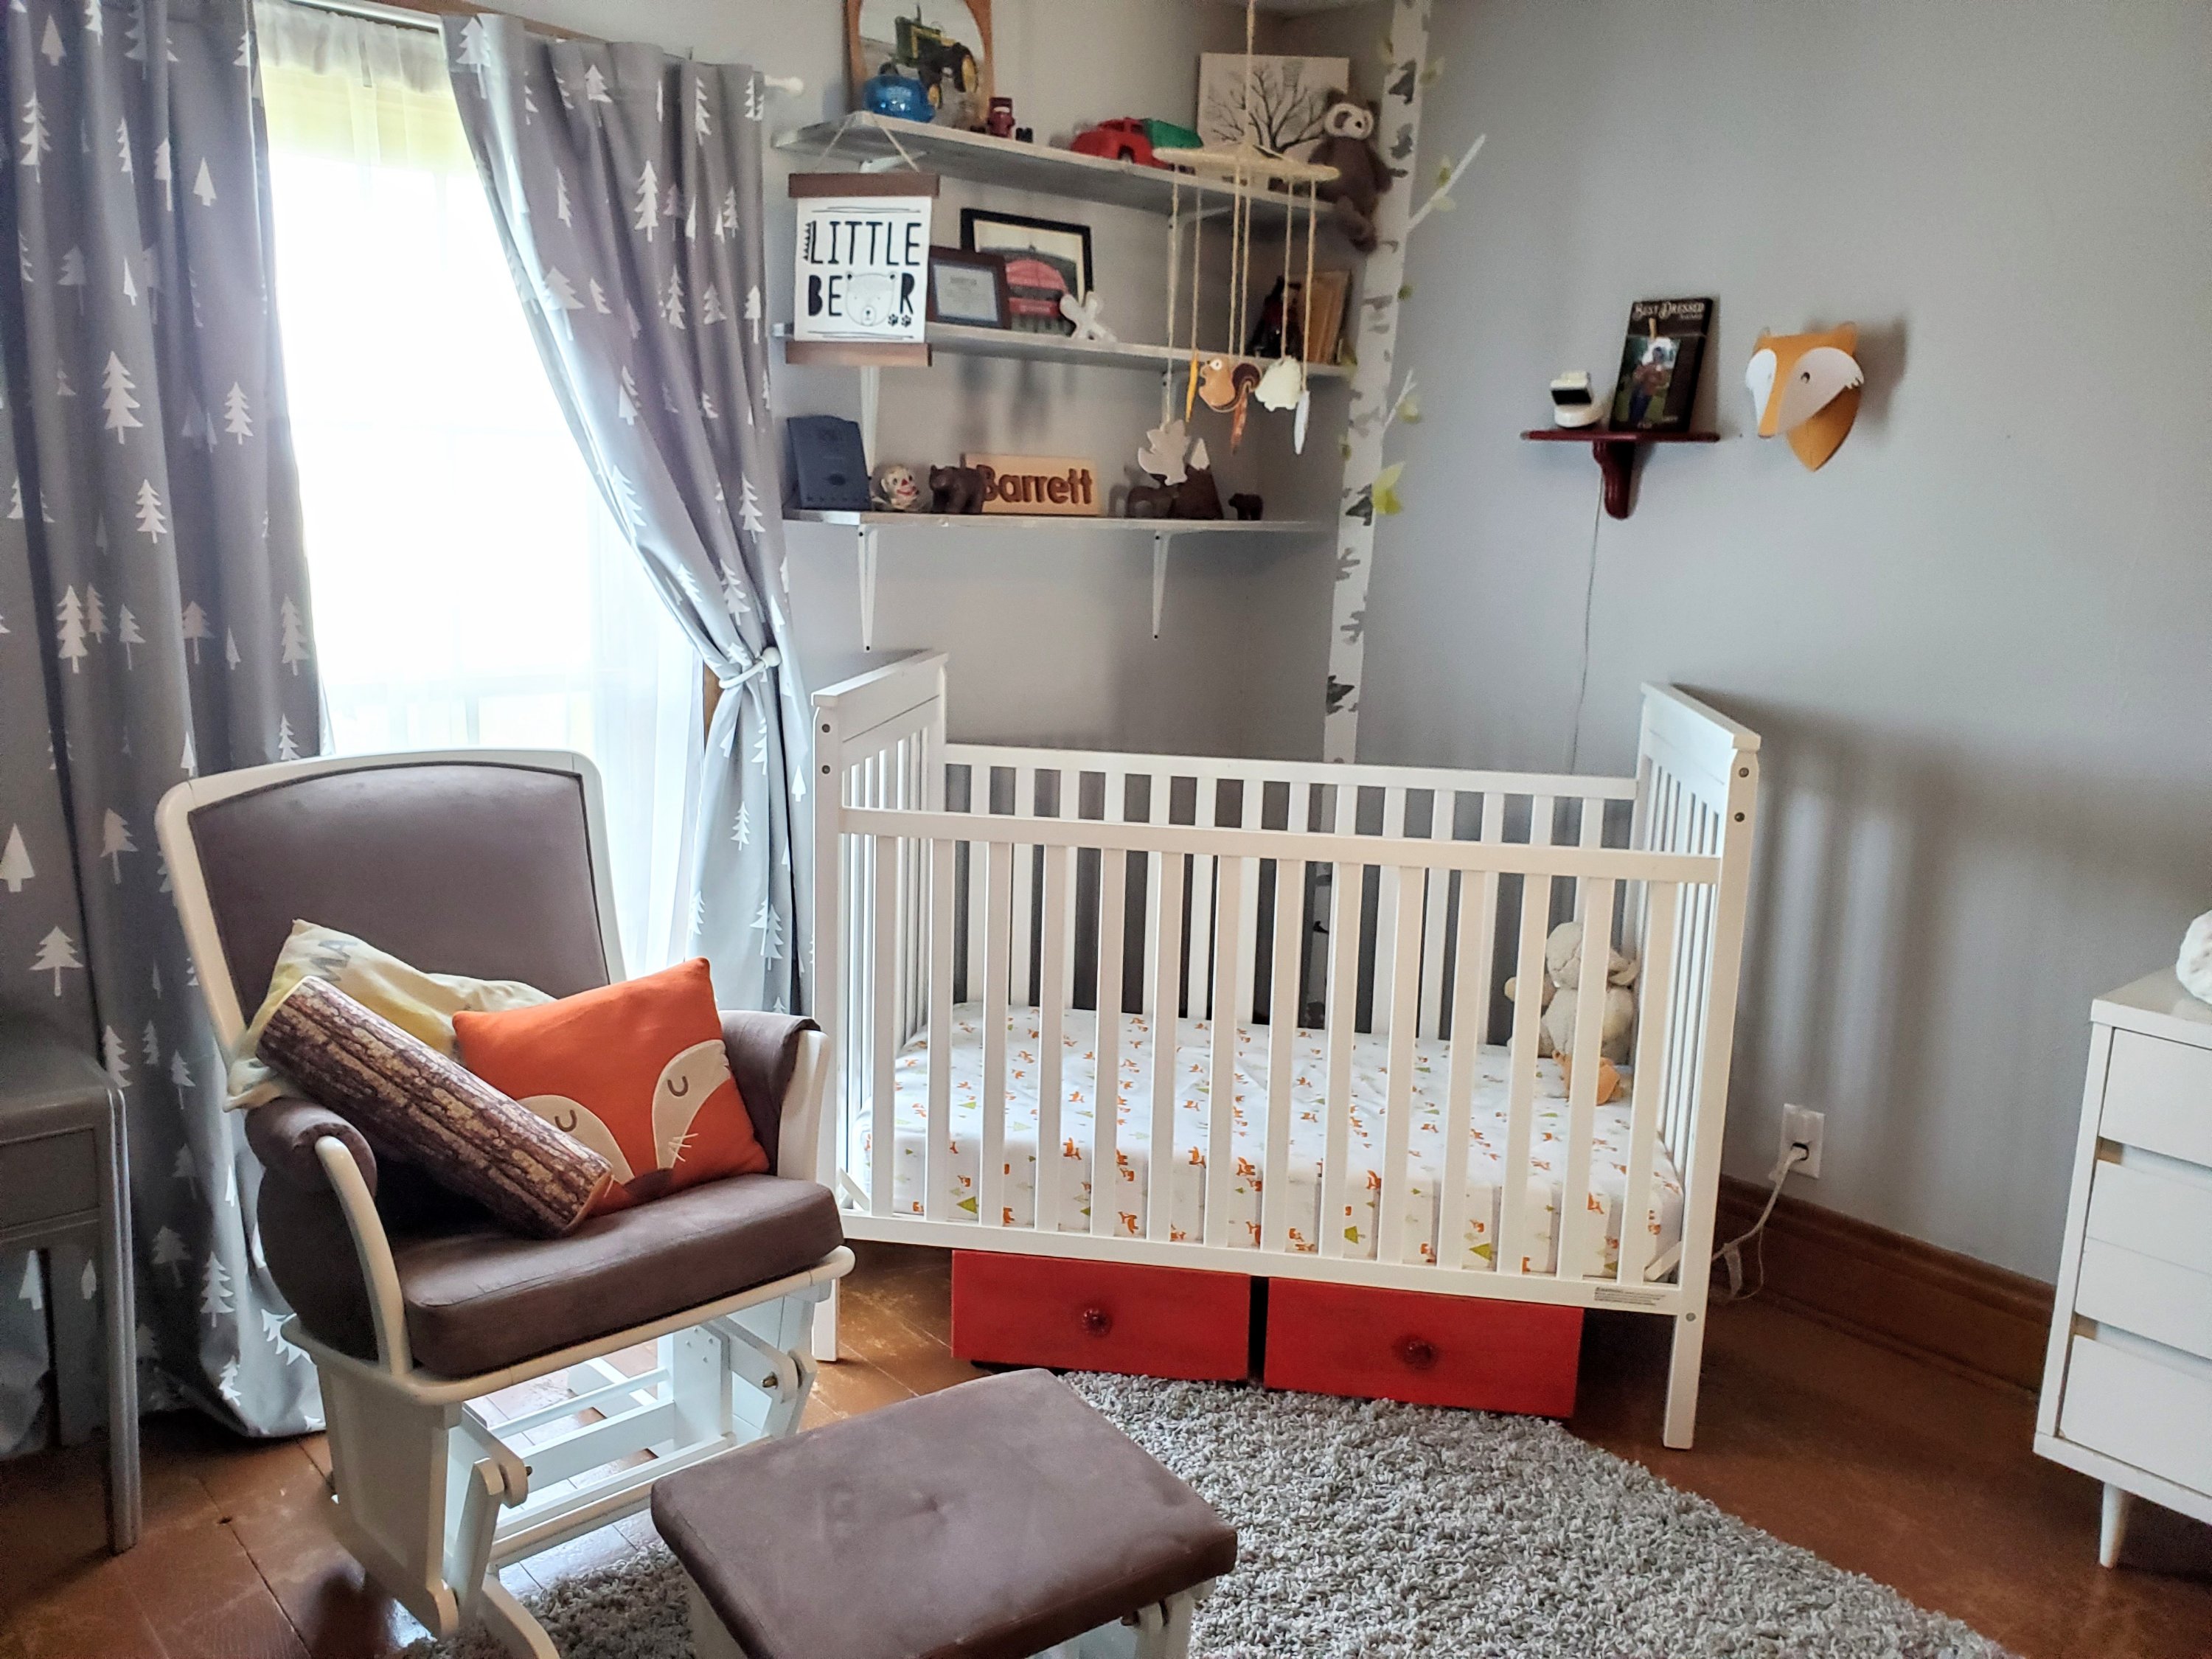

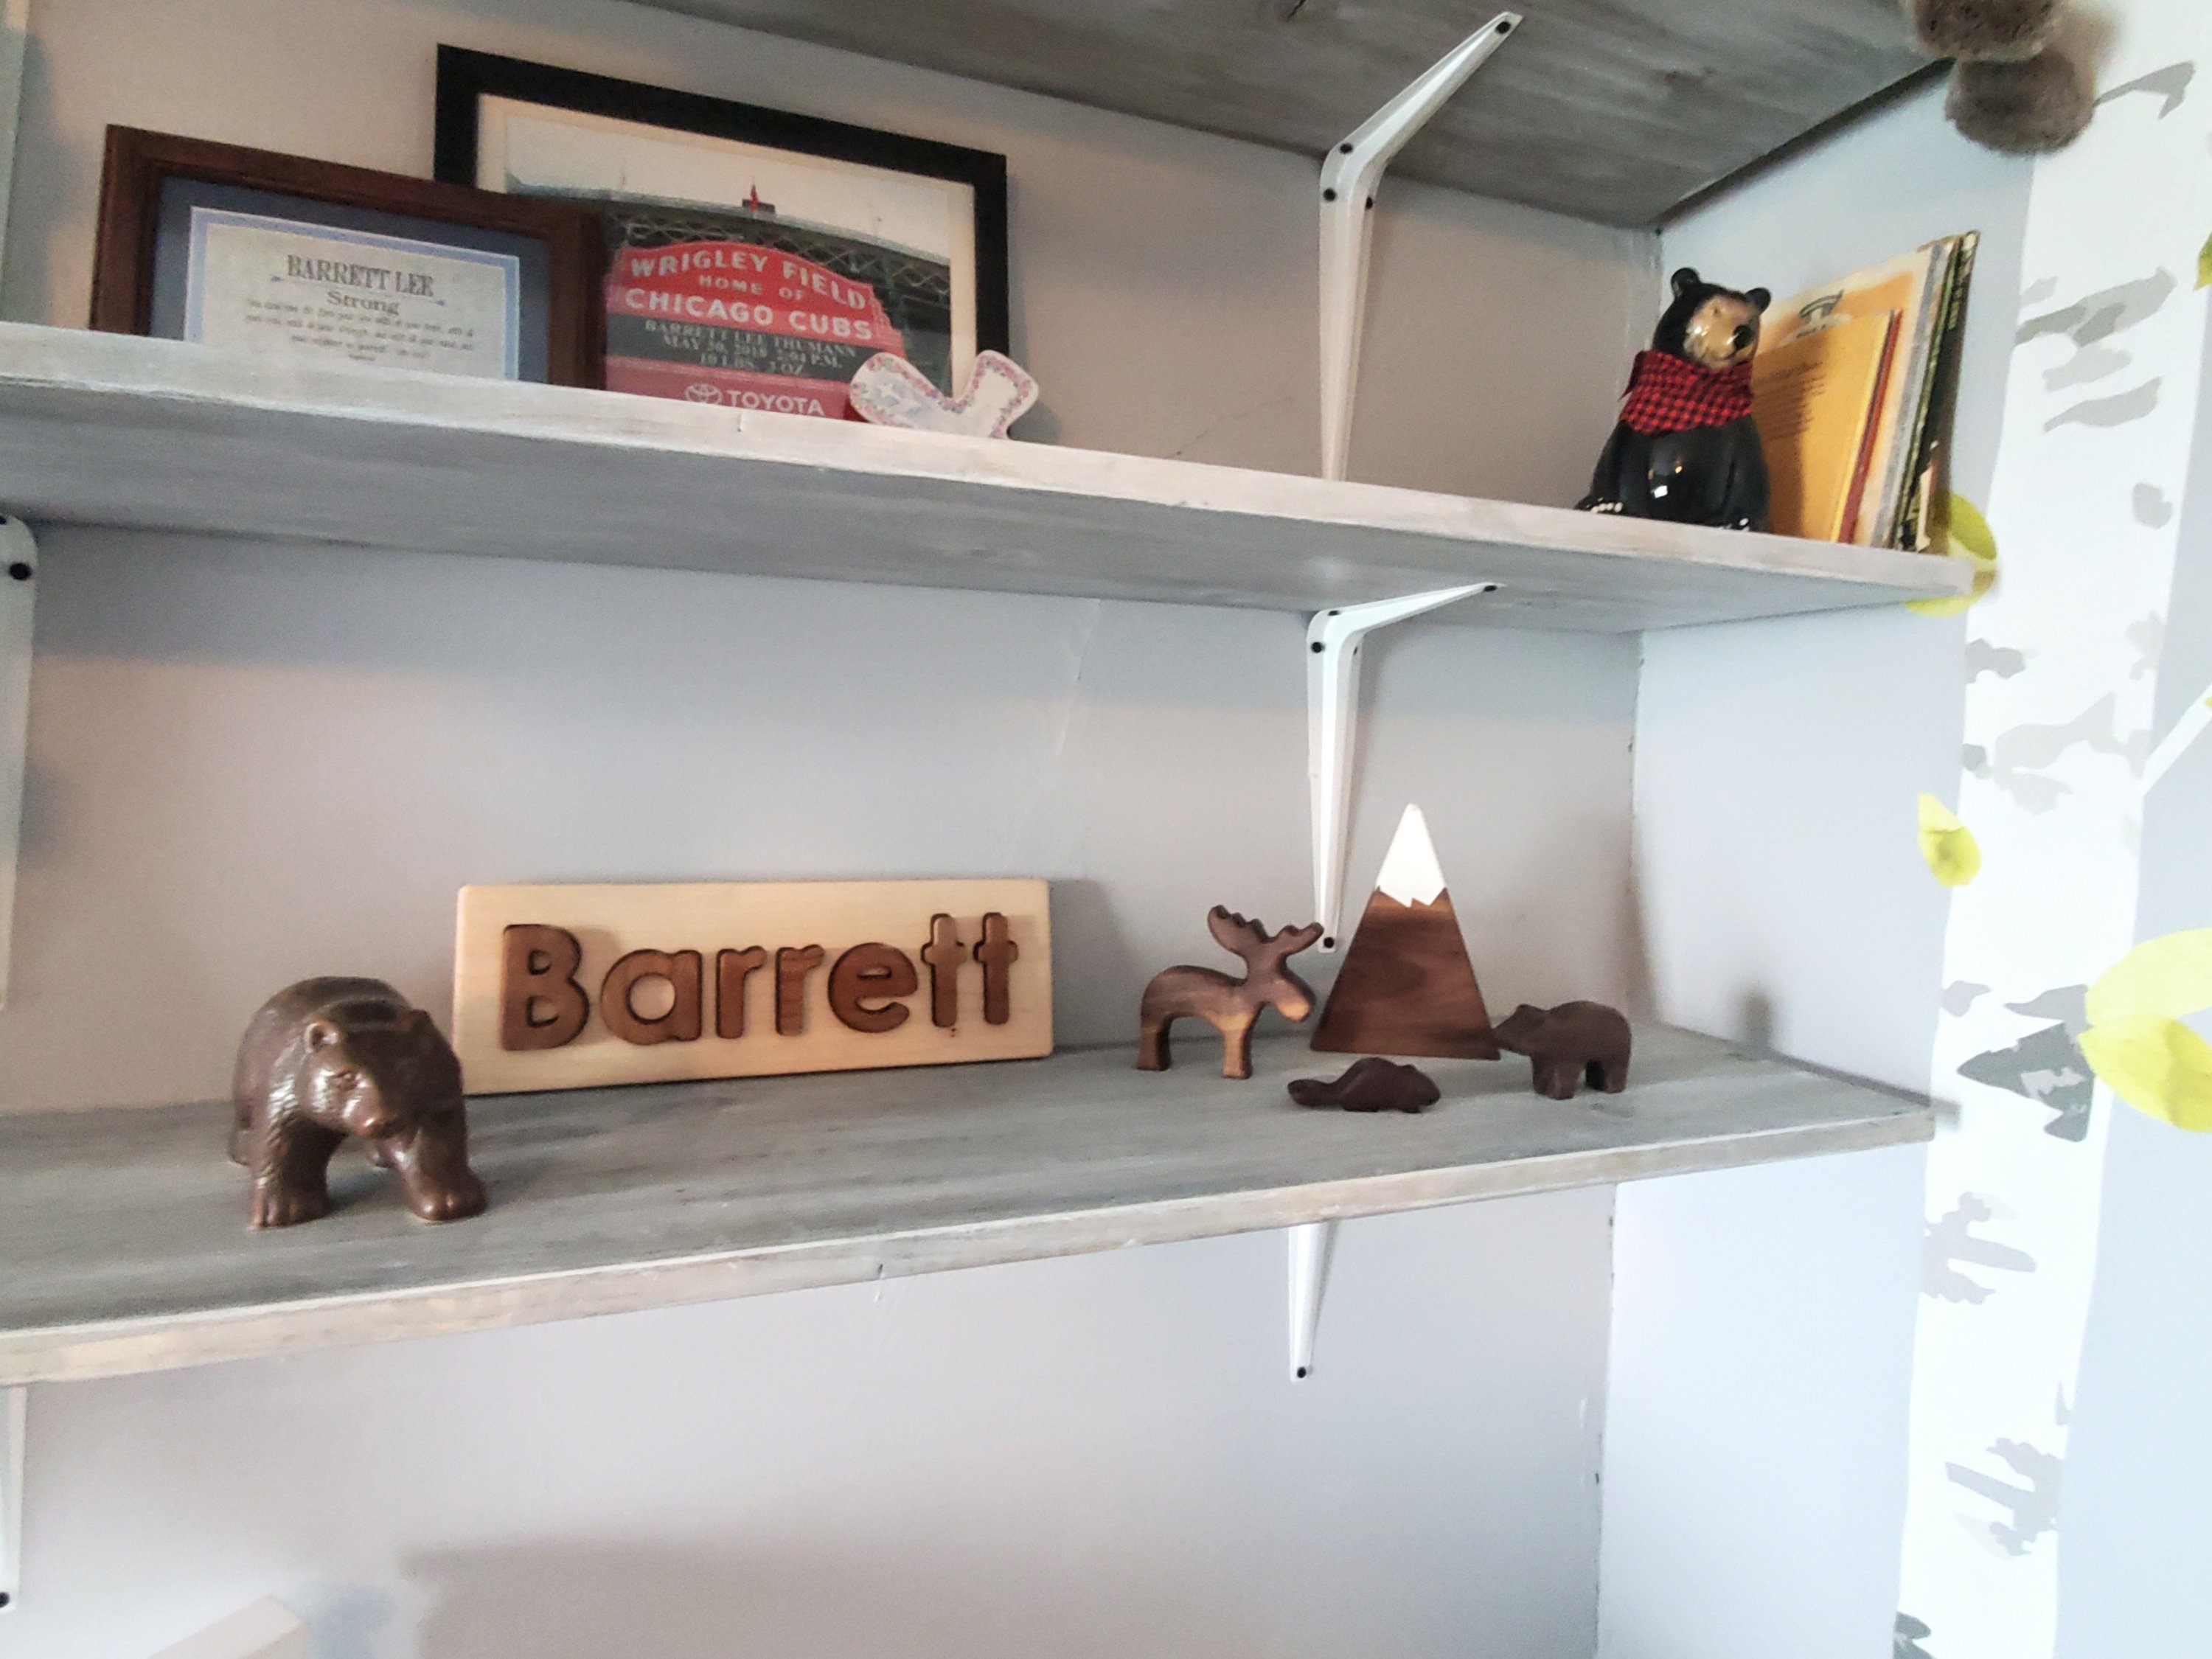
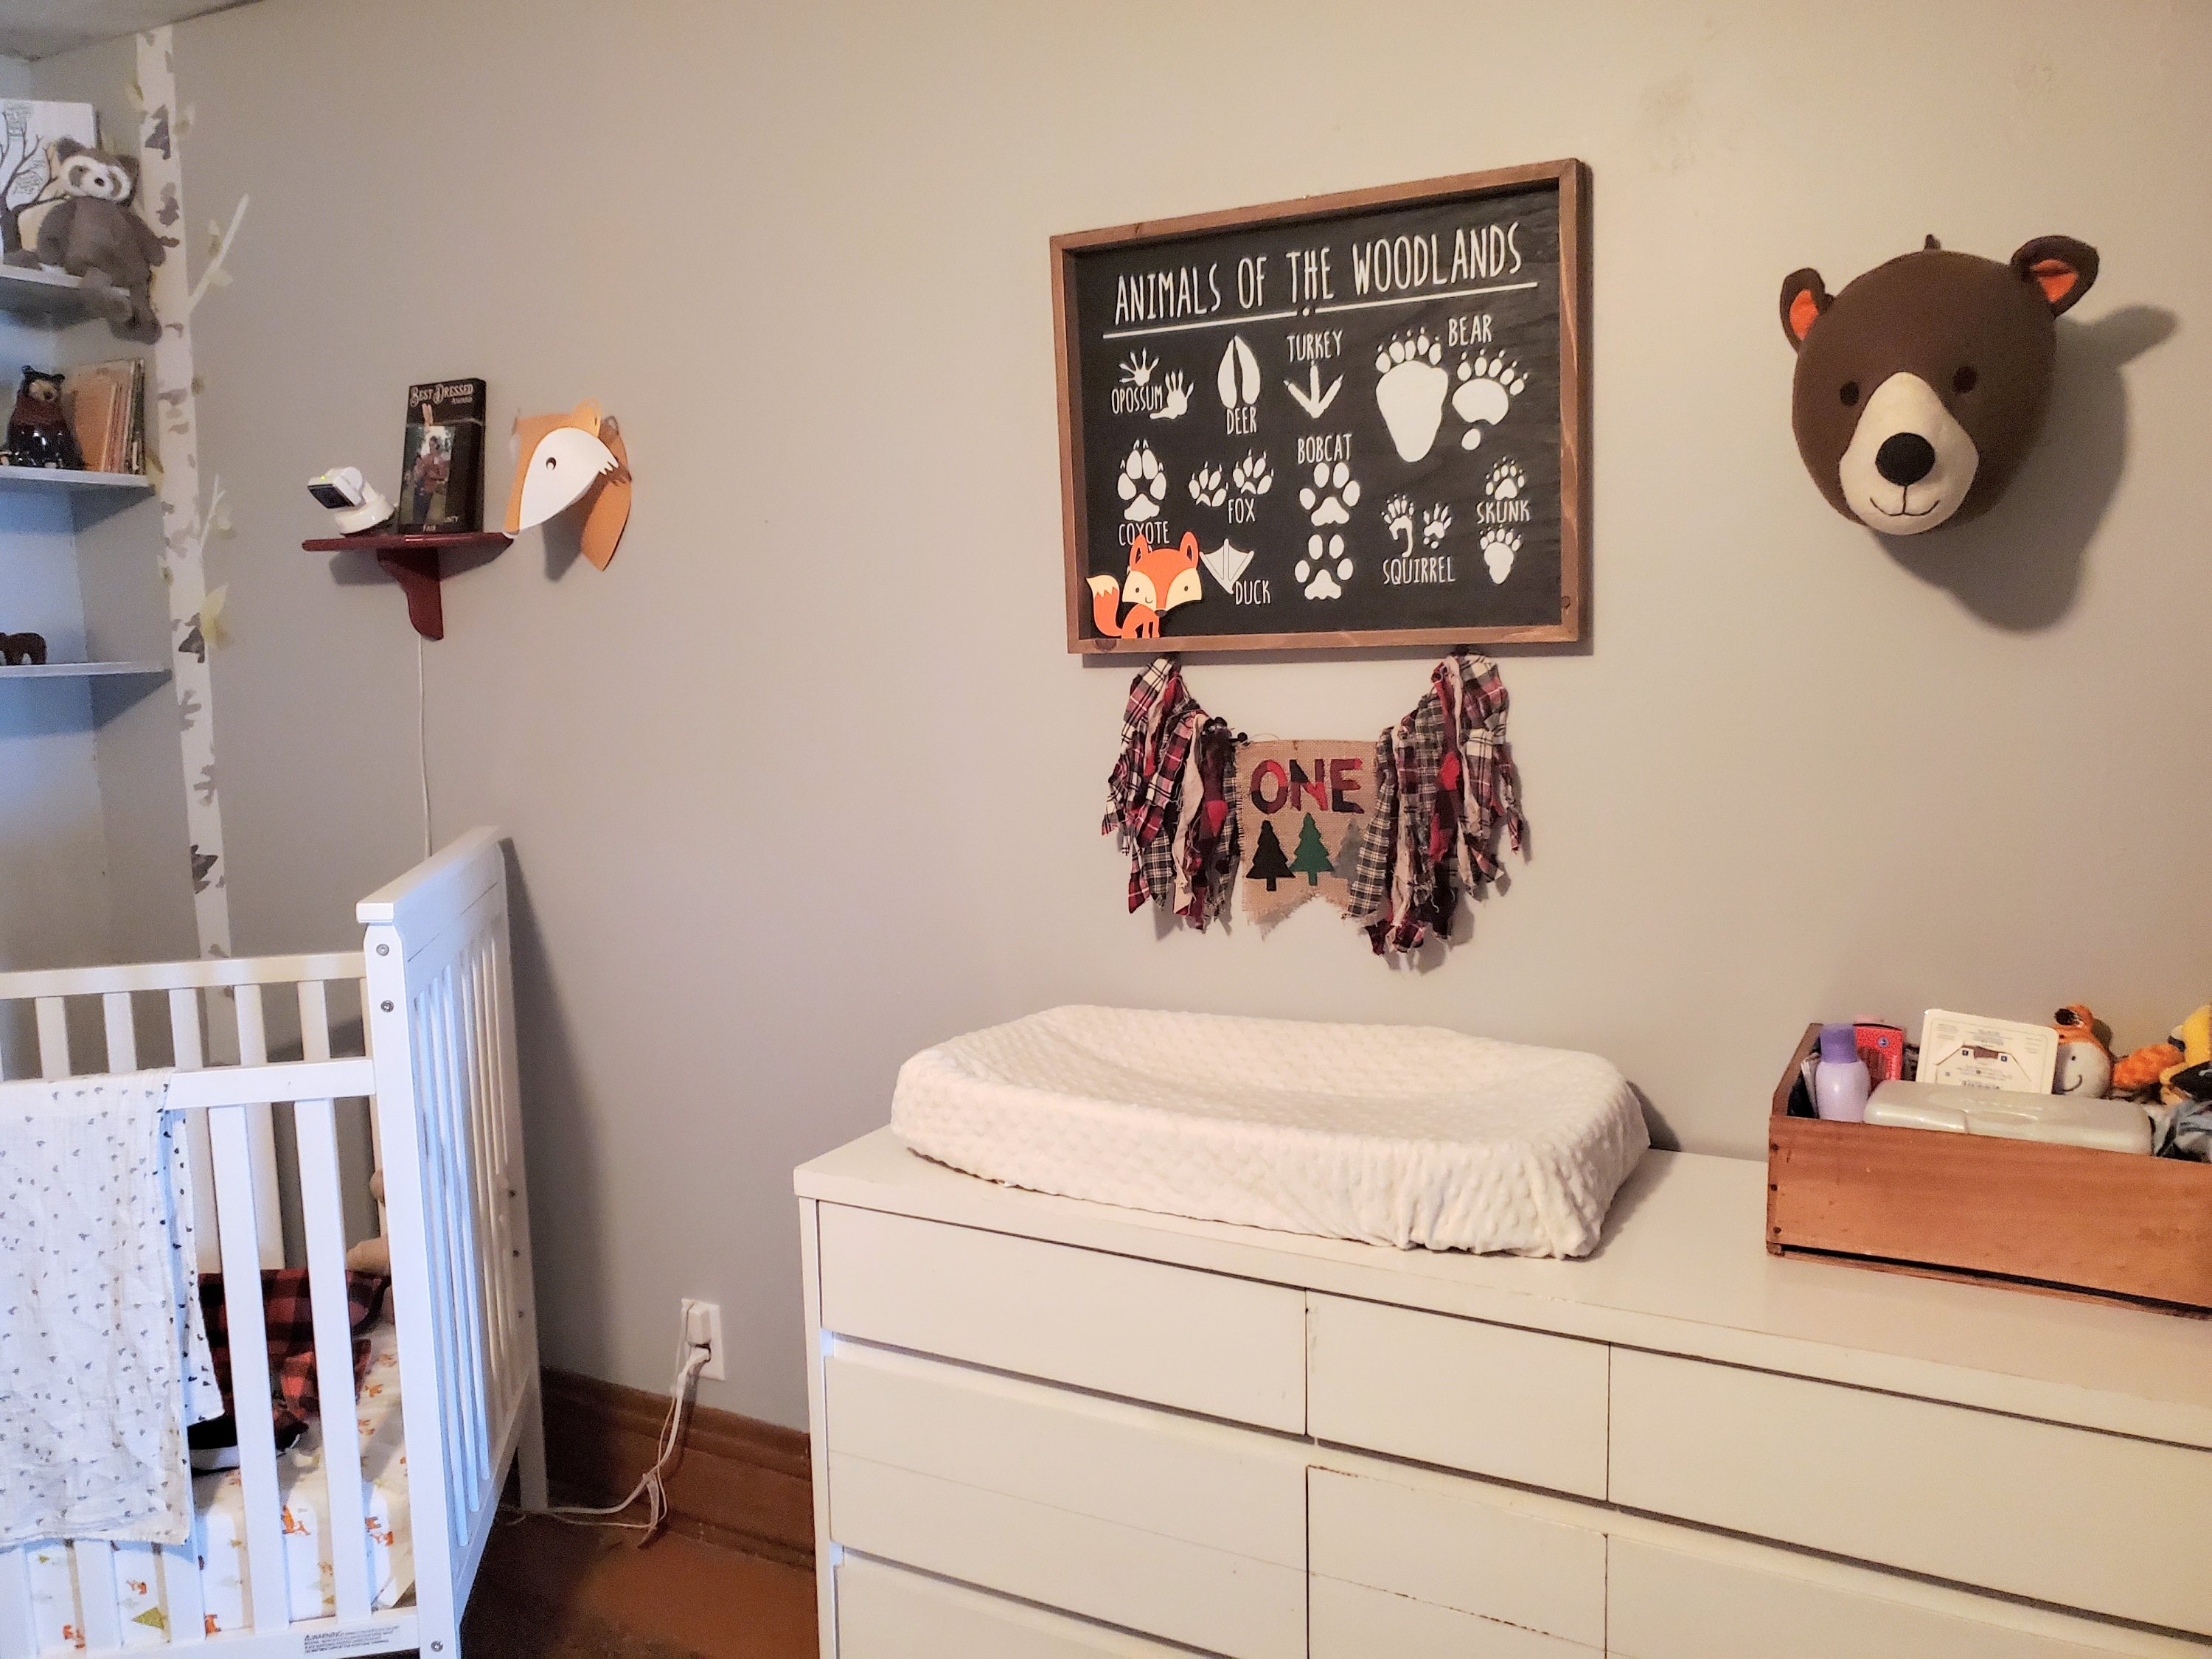
Barrett’s baby shower theme was woodland animals, knowing that I would use the animal and nature idea for his room.

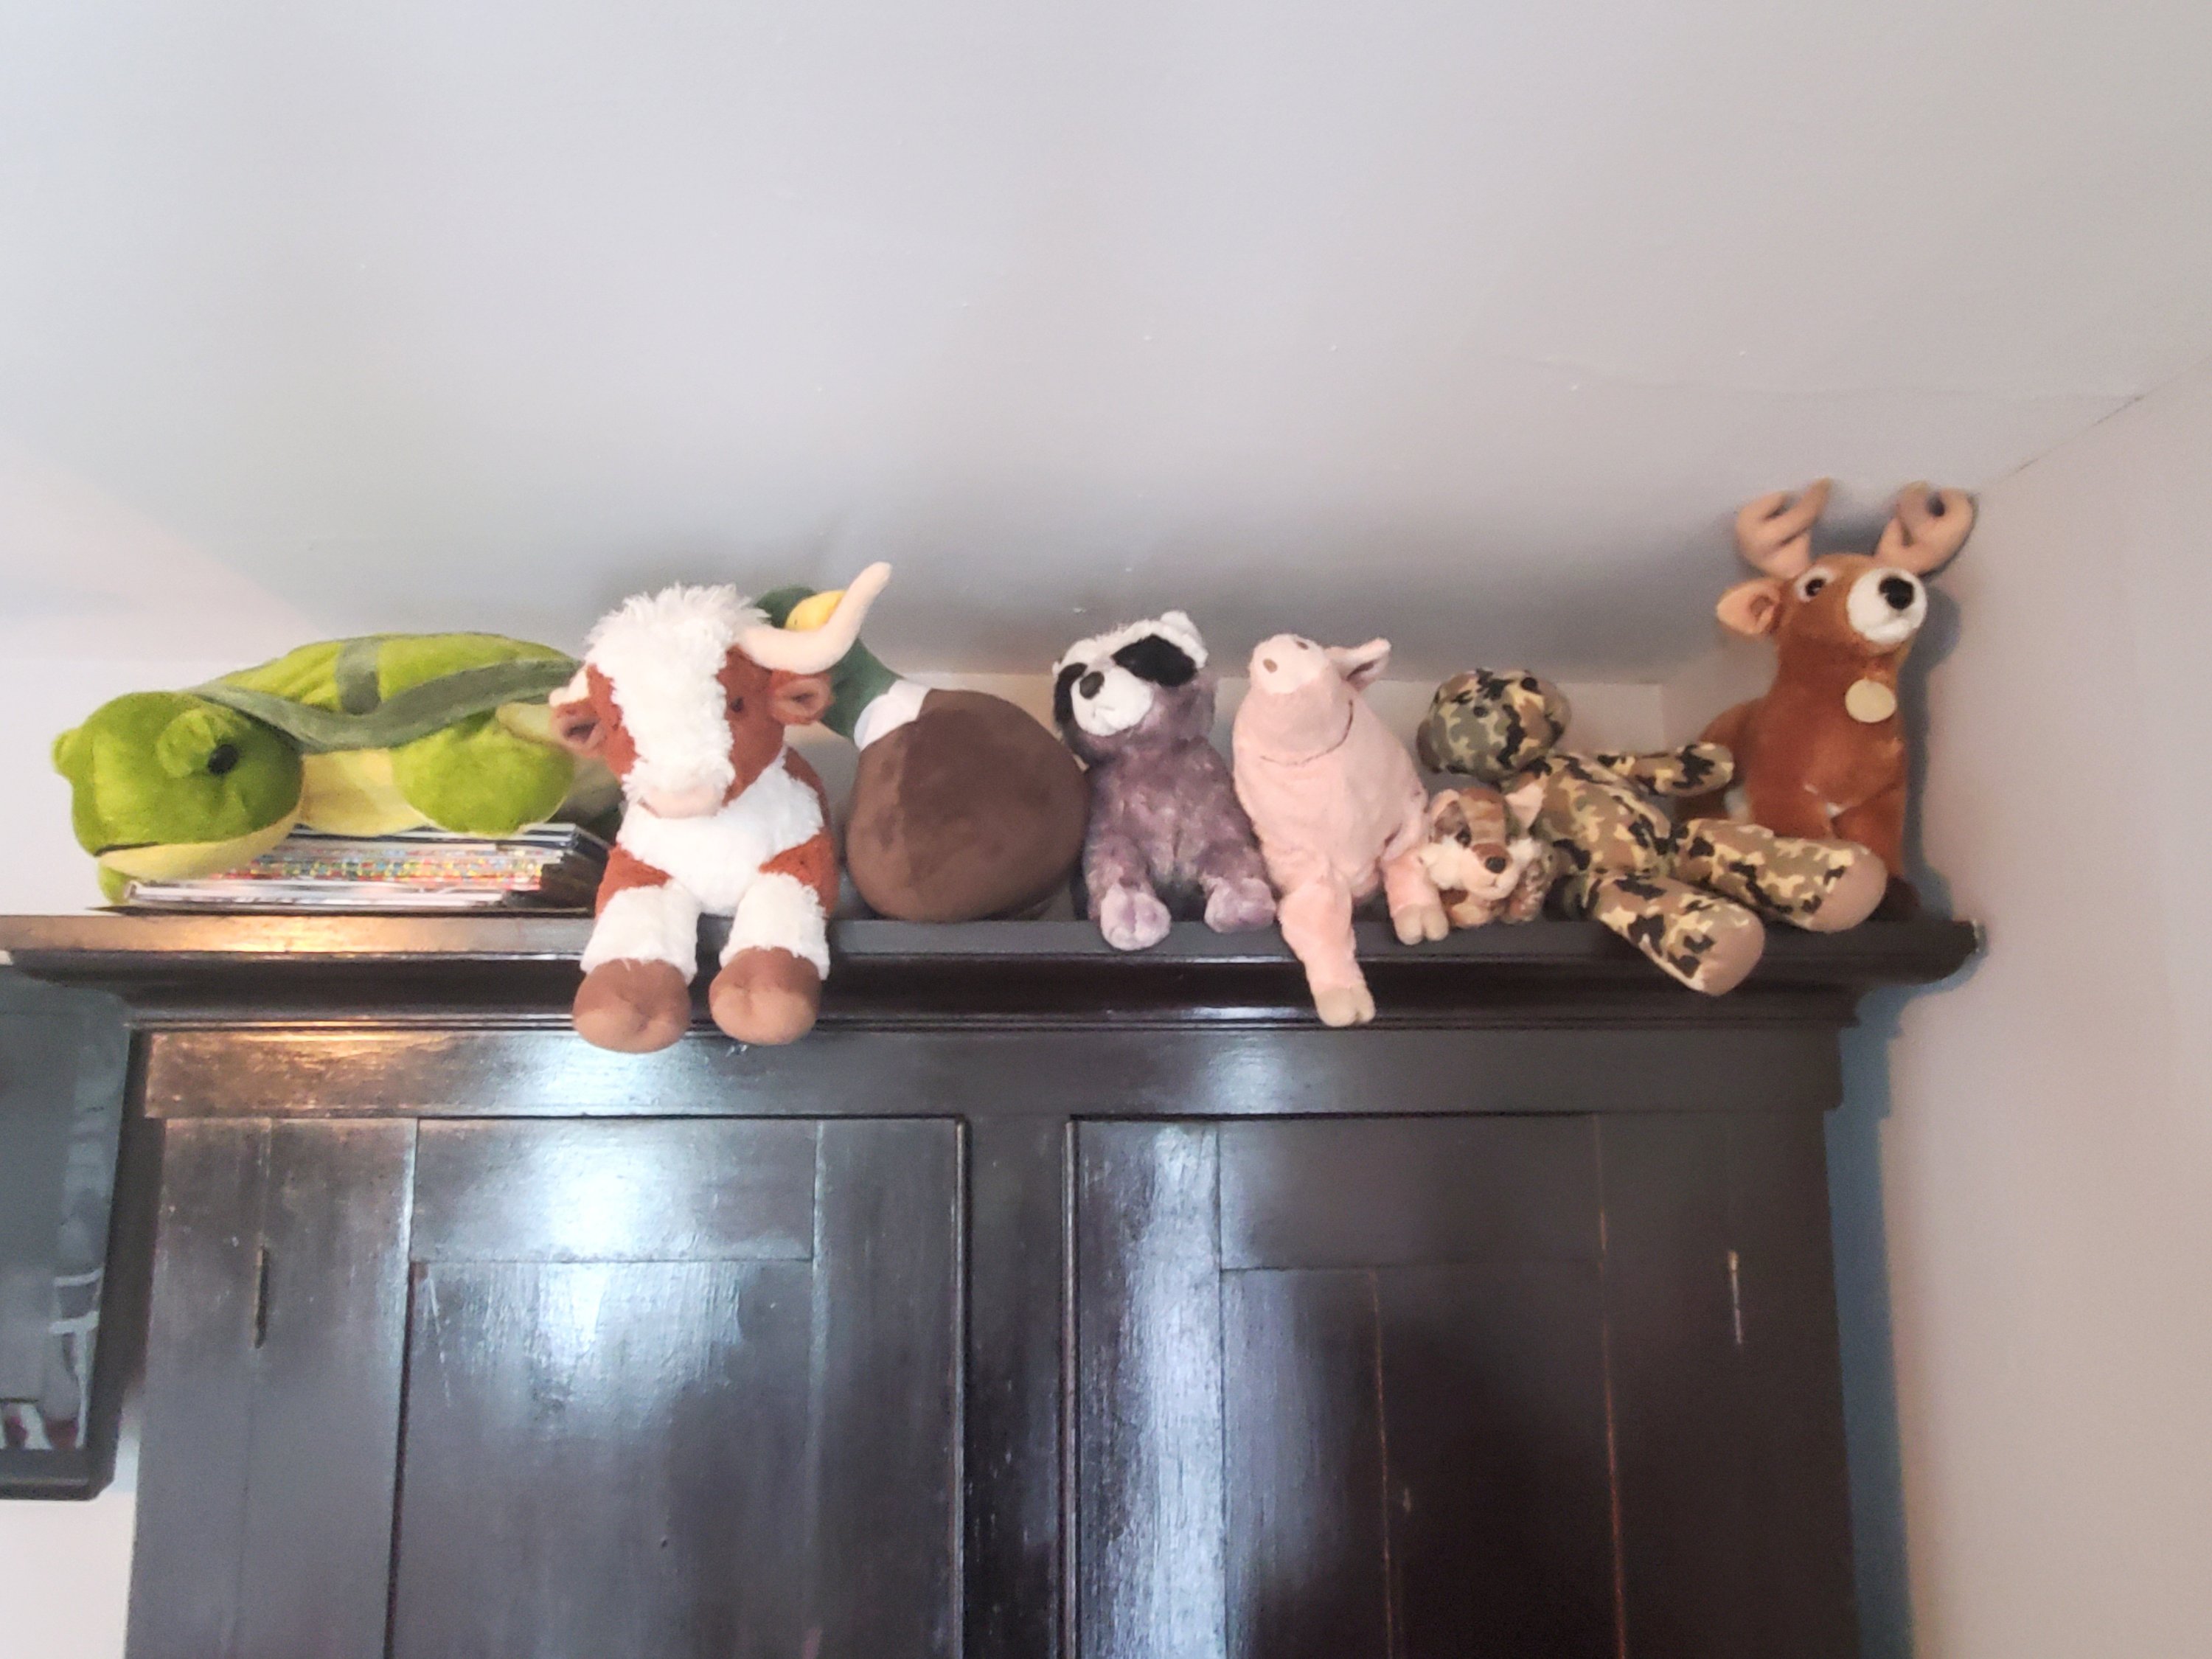
Brantley has kept some of his farm theme and added the camo to just be plain outdoorsy!

I made both of the boys’ mobiles, which Brantley has outgrown the need for, but are both too cute to get rid of for now.
What do you think? The way we organize clothes will change as the boys grow and we remodel some more. The room currently has no closet. Thanks, old 1862 house. It’s an evolving work in progress. But the boys love having their own space and even love sharing for now. 😆
XOXO,
Jess
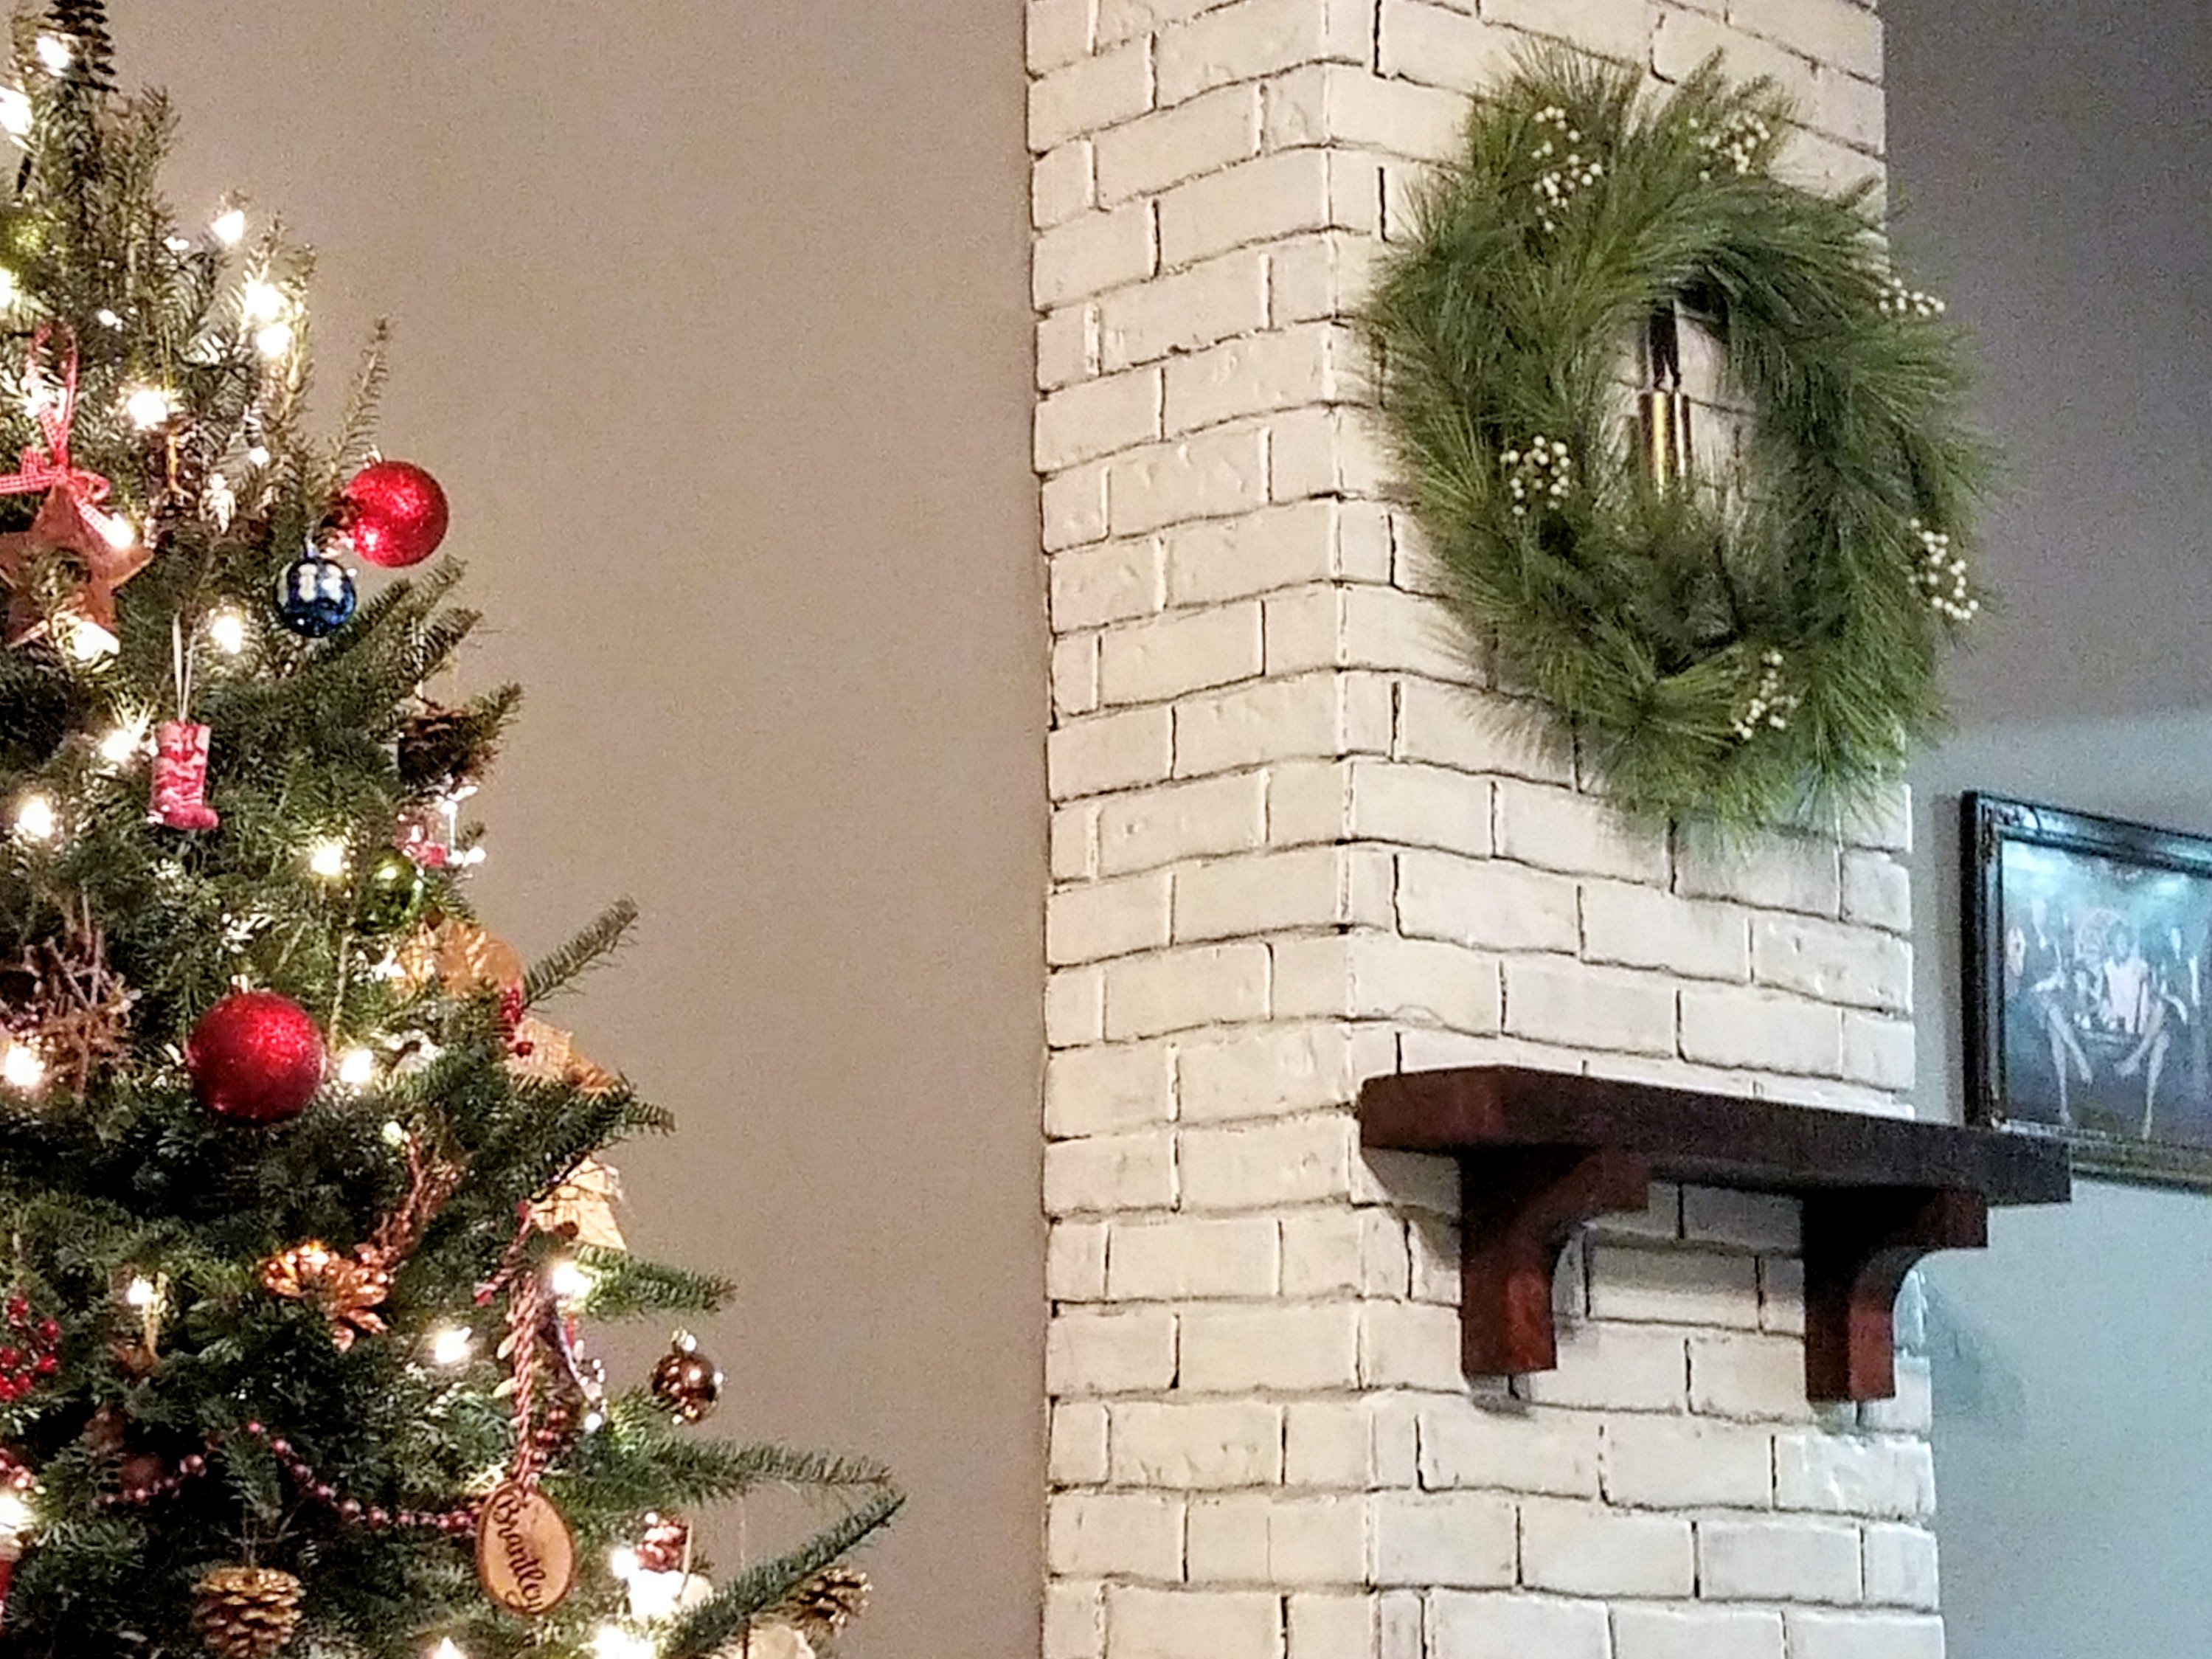
The Fake Chimney
This ancient house once had a chimney, two actually. In fact, one is still partially there. In the living room, you can see the shape of the old chimney up one wall. Usually I love character and uniqueness from times past. In this case, though, they covered this chimney up since there was no longer a fireplace. Then, since you could still see the shape of it, they added faux brick to it. Horrible, ugly, pinkish faux brick. It didn’t stand out nearly so bad when the little old lady who lived here previously had the room dark, dingy, and covered in nude paint and odd decor. But once we painted the walls grey, lightened the room, and completed changed the style, the chimney stood out like a sad, sore thumb.0ec56792a3b0f484bcf03c32a4763bf50bca28e68adedf8191

You get the picture here, but unfortunately this is even a mid-project shot. I really wish I had a picture of the drab room when the previous owner lived here to show!
We debated for a while. Do we tear it out? Do we paint it? Do we just take the faux brick off and embrace the odd shape in the room?
One day I said I was painting the bricks white and because we owned the paint and this was “free”, it would at the very least be a temporary solution and that we could always do something different down the road when we had more time. (Ha!)
No one stopped me, so I went forward with a brush and some paint. My plan was to add a couple of coats and make them completely white. One coat in I found that it was actually a bit difficult to get the paint down in all the crevices. We left the one, imperfect coat to dry for a night. The next day we realized the this “whitewashed” look was it. I didn’t need a second coat at all.

Then I wanted a faux mantel to finish it off. Several weeks of debating with each other ensued. I had a very specific picture in my mind of color, shape and size.
We finally have that little mantel, made of 100-some year old barnwood, added to our chimney. And I LOVE it.


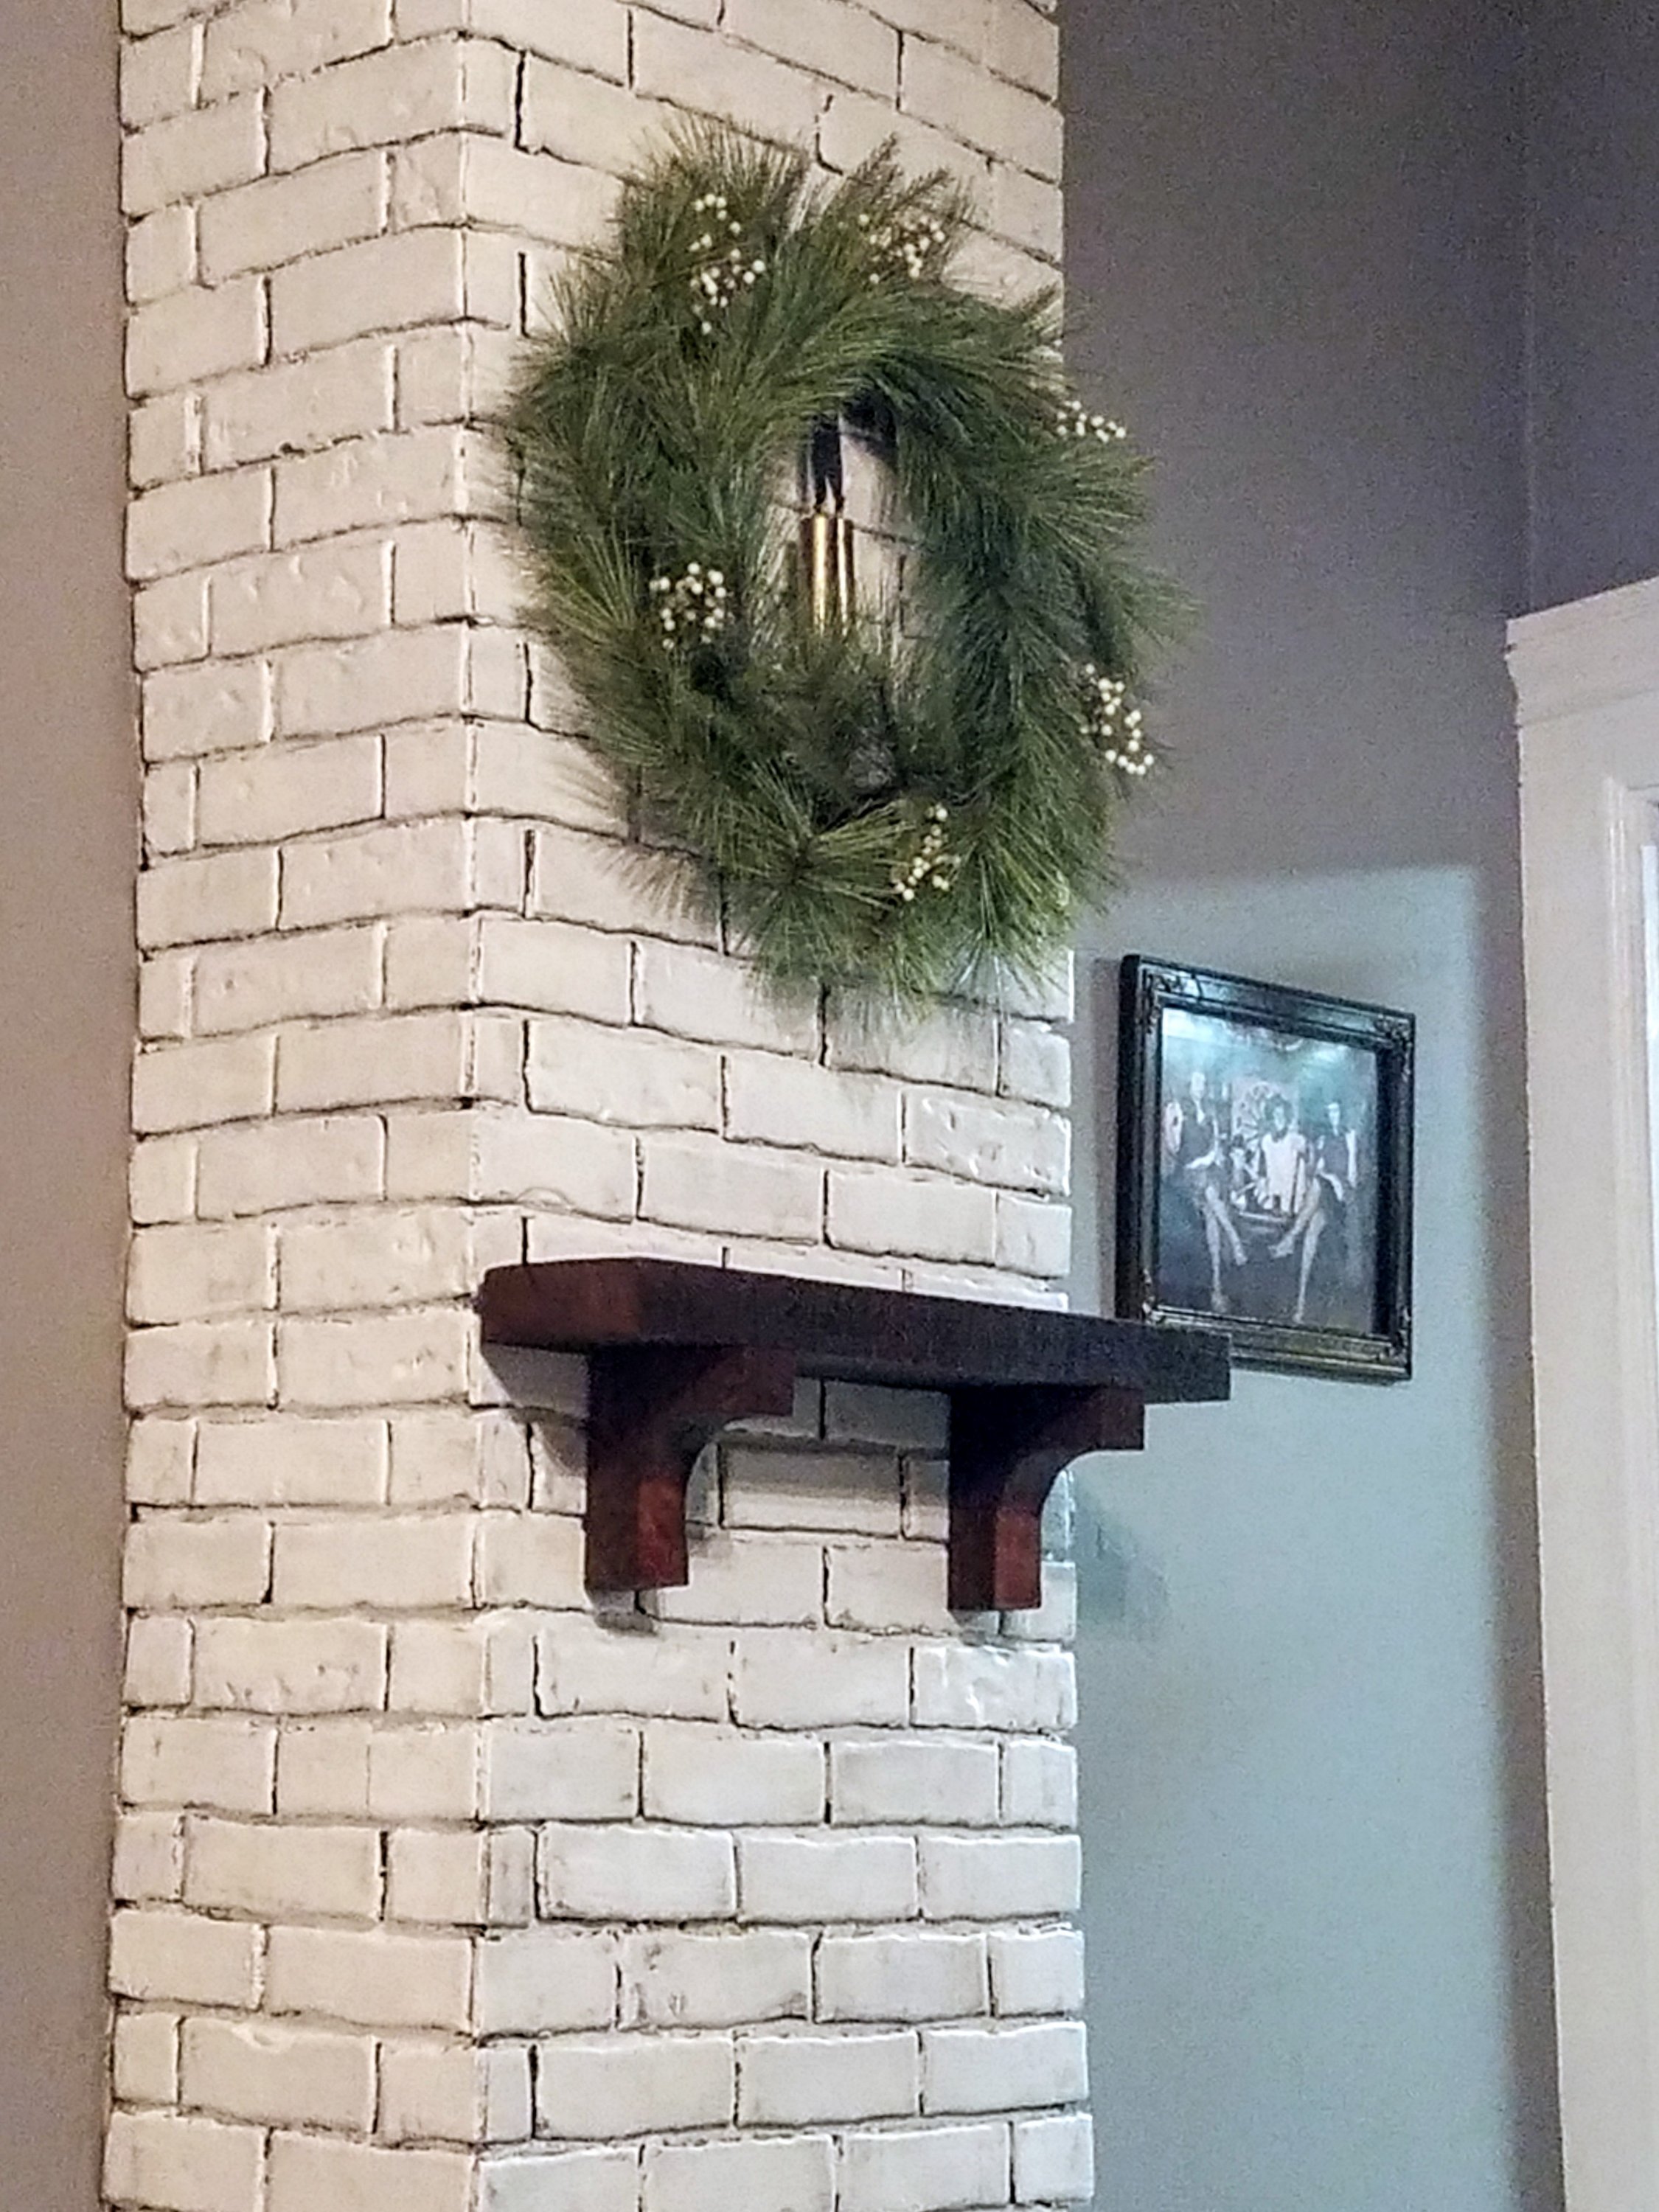
Sometimes tiny, simple, easy projects turn into more lengthy and complex ones. Ok, usually. But, when you are done and sit back and look at your work, that makes it all worth it
Don’t mind the empty wall next to it, at least the Christmas tree fills the space for now. I have plans for huge floating shelves all up and down there as “built-ins” for the room. Any guess how long that will take us? 😂