Make Stuffed Iowa Pork Loin With Us!
We got a new grill and have been trying out all kinds of new recipes and brushing up old favorites around here!
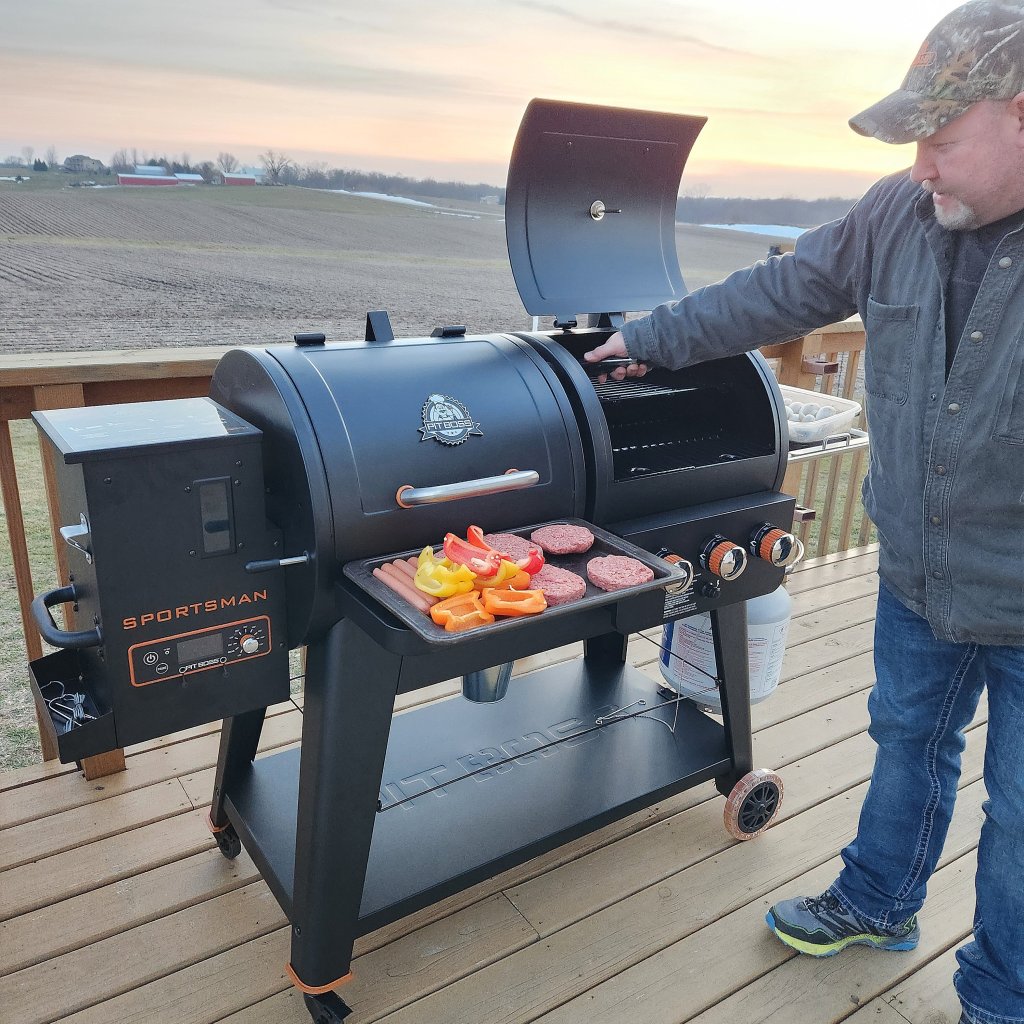
Let me tell you, Pit Boss is the ultimate grill, and we are in love!
We got the Sportsman 1230 Wood Pellet Gas Grill combo. This beauty can smoke, bake, braise, roast, grill, barbecue, char-grill and sear, all in one machine!
So, on to one of our favorite family recipes!
Stuffed Iowa Pork Loin
Ingredients
Vegetables
• 2 tablespoons olive oil (extra virgin)
• 1 small onion (or half of a large onion – chopped in small pieces)
• 1 teaspoon sea salt
• 4 garlic cloves (crushed)
• 1/4 teaspoon ground black pepper
• 6 mushrooms (baby portobello – chopped small)
• 2 cups baby spinach (chopped medium/small)
Pork and layering the filling
• 3.25 pounds pork loin (blot dry with paper towels)
• 1 tablespoon dijon mustard
• 1/2 cup crumbled bacon or bits
• 1/4 cup shredded cheddar cheese
• 1/4 large apple (chopped small)
• Meat seasoning or rub (we use Rufus Teague)
Instructions
• As you cook the onion, use that time to chop the other vegetables to save time.
• Heat a large sauté pan on medium heat, add olive oil, then add chopped onion and sauté for 7 minutes or until translucent. Stirring occasionally.
• Add salt, pepper, crushed garlic, stir and cook for 1 minute.
• Add mushrooms, stir and cook for 2 minutes.
• Add chopped spinach, stir and cook for 1 minute or until the spinach wilts. Set aside.
• Preheat smoker to 250 degrees.
• Butterfly the meat
• Spread the mustard evenly on the pork.
• Sprinkle on the shredded cheese, bacon and apple chunks.
• Spread on the vegetable mixture.
• Refold pork and sprinkle with grill seasoning or rub.
• Place the pork on the grill, add the meat thermometer, and smoke for roughly 3 hours or until inside temp reaches 145 degrees.
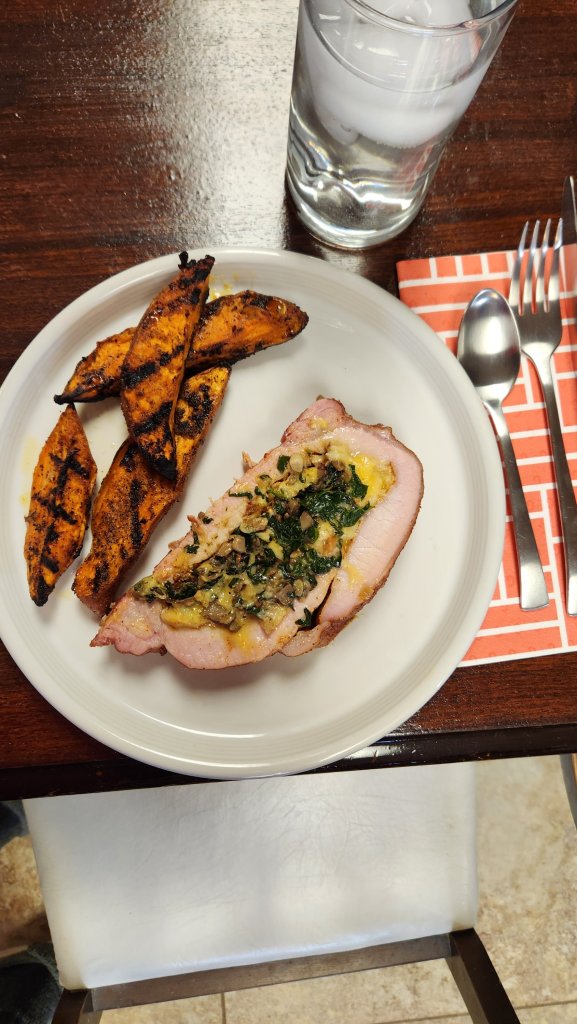
Viola!
We love ours with grilled sweat potato wedges!
Let me know what you think of the recipe!
And if you have any questions on the grill, ask away!
XO,
Jess
Eco-Friendly Laundry Switch
I try to use as many eco-friendly products and practices in our home as possible. But products have to work too. Especially when it comes to laundry for my dirty boys. 😜

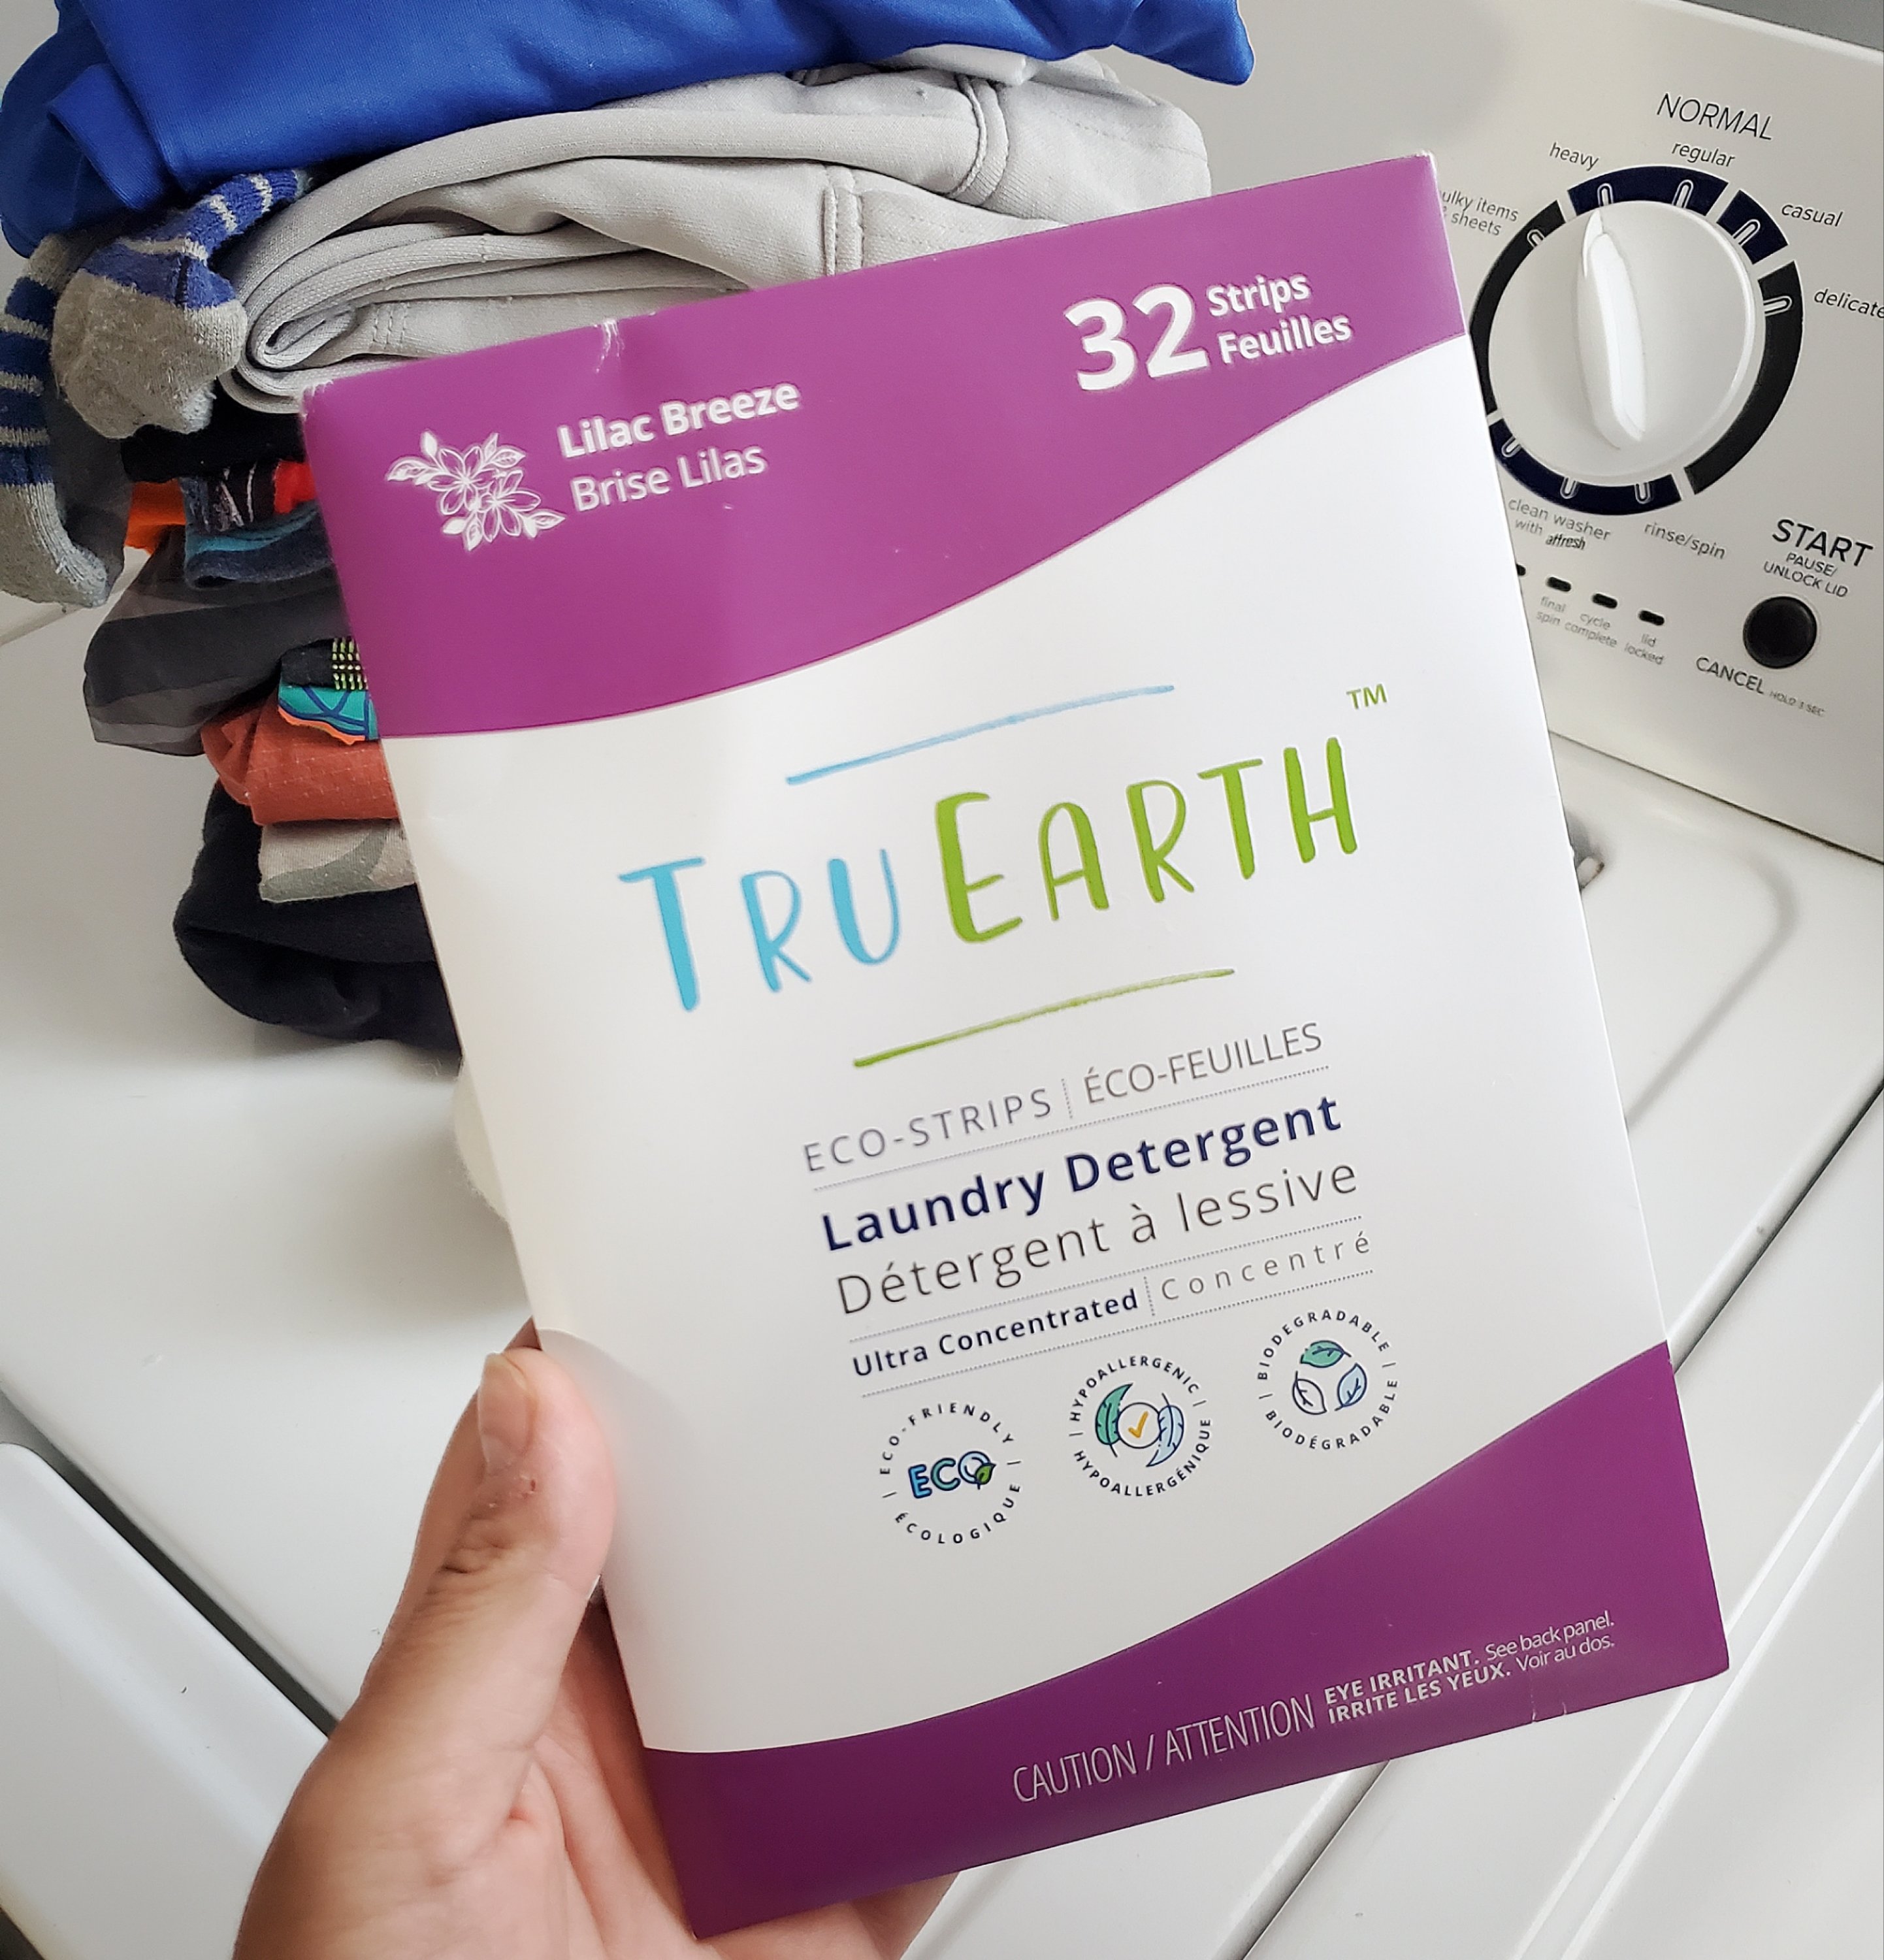
Enter Tru Earth Eco-Strips!
Each Tru Earth laundry strip packs ultra-concentrated, hypoallergenic, eco-friendly cleaning power into a tiny, pre-measured strip of liquidless laundry detergent that you just toss in the wash. 🤯

The smart hypoallergenic laundry detergent formulation seeks out and dislodges dirt molecules and stains, keeping them in suspension until they are rinsed away. It makes your laundry washing chore easier, healthier, more economical, and much kinder to our planet. That’s a mama win-win!!

Plus, Tru Earth strips are gentle for you skin too, even the most sensitive skin. They are hypoallergenic, paraben free, phosphate free, free of chlorine bleach and added dyes. Plus they are vegan and made in Canada!
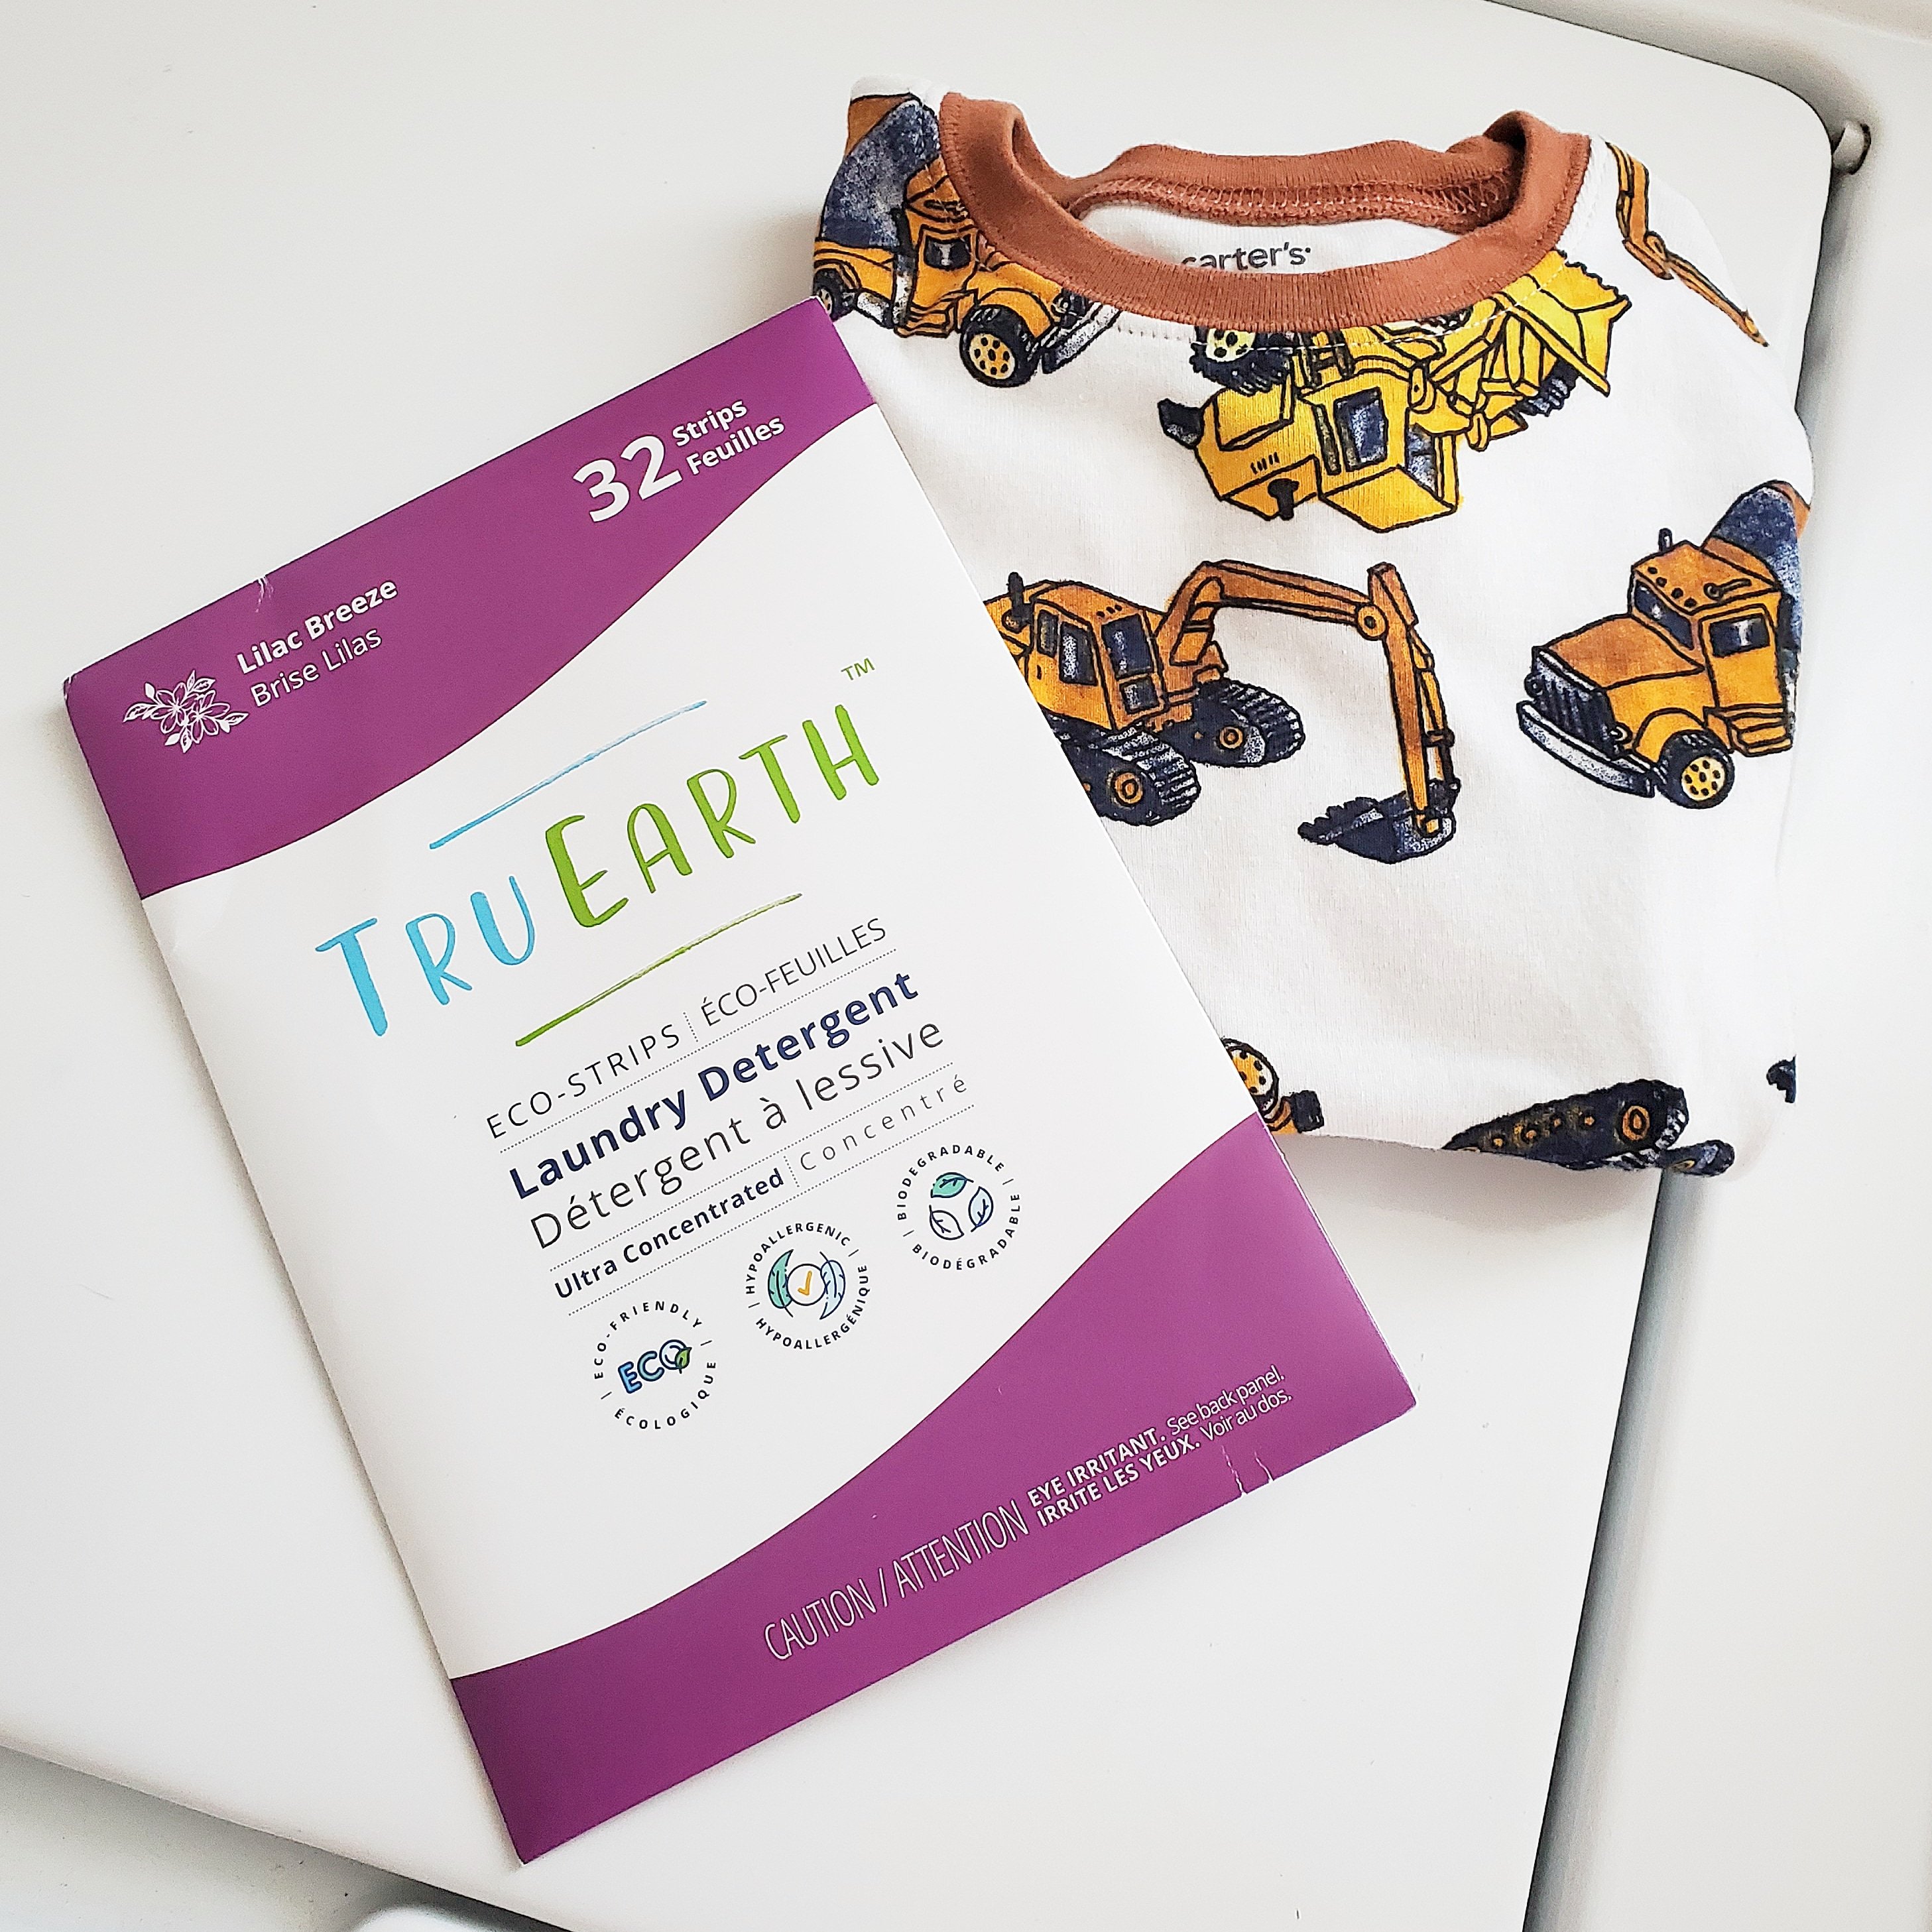
Best of all, they work. Even on muddy boy clothes and stinky baseball uniforms. Mom approved!

So if you want to make a switch that’s healthier for the planet and your family, Tru Earth laundry strips are it!
XX,
Jess (a mama with dirty boys and clean laundry 😉)
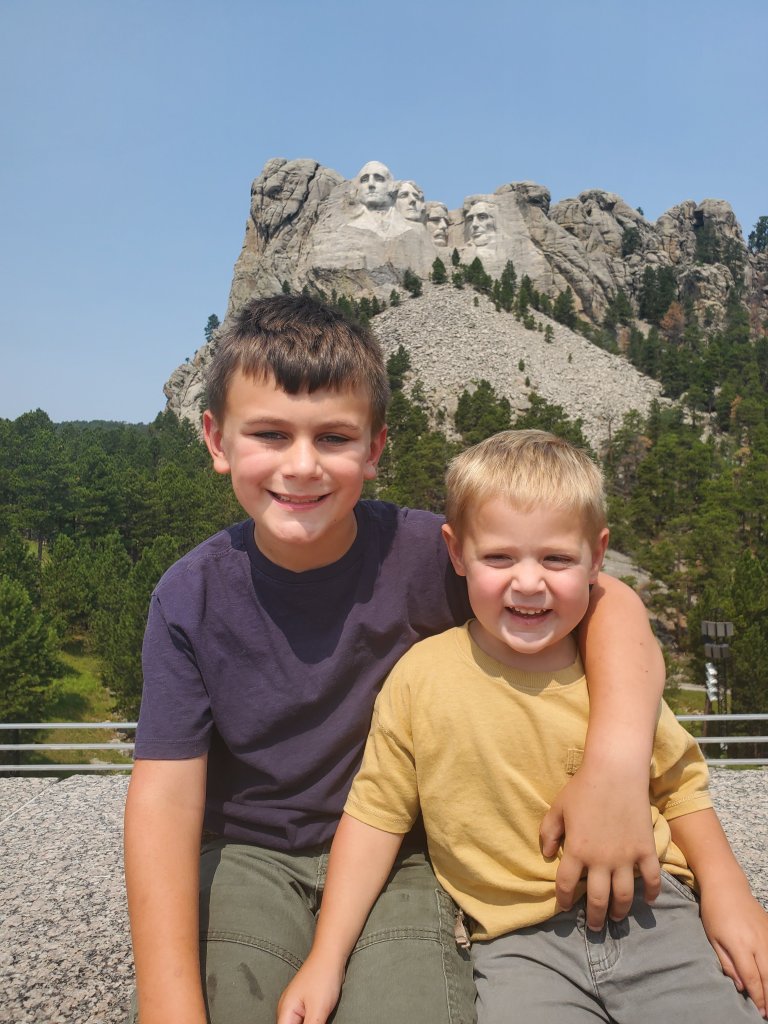
Mt. Rushmore Area Trip
We did it! Iowa to Minnesota, to South Dakota to Wyoming and back again! In a car. With little kids. Do it again? Definitely!
But there’s so much to do and so little time. So here are just a few of the things that we thought were must sees and a couple skips.
Mt. Rushmore. Obvious. But it’s impressive even to all ages. Inexpensive, only $10 for parking and free entry. It was busy, but not overly packed. Of course, we had to hit up the gift shop for something to commemorate the trip. You can do a tour and spend, more time, but it isn’t necessary for the full experience, and overall this stop won’t take a ton of time.
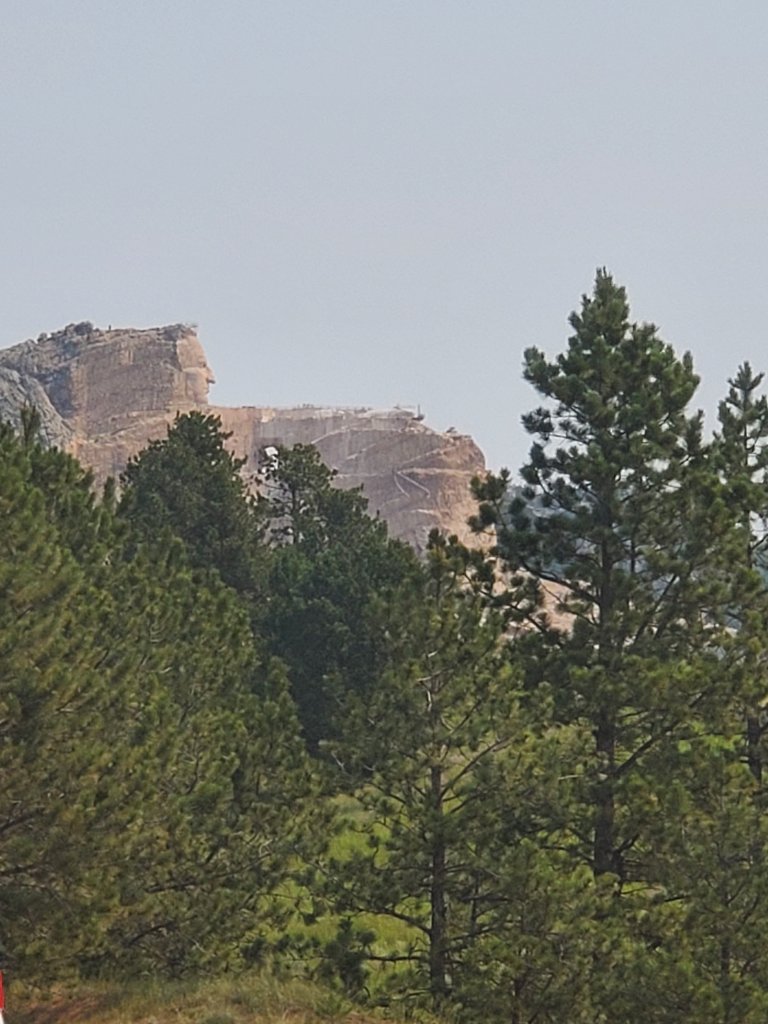
When near Mt. Rushmore, you should totally stop to see Crazy Horse monument. Do I think it’s worth going all the way in? Not yet. It’s still under construction, and amazing as the start is and really amazing as it will be when it’s done, I don’t think $30 for the car to get in is worth it just yet. We pulled over at the sign in a little lot and took pictures. I recommend that!
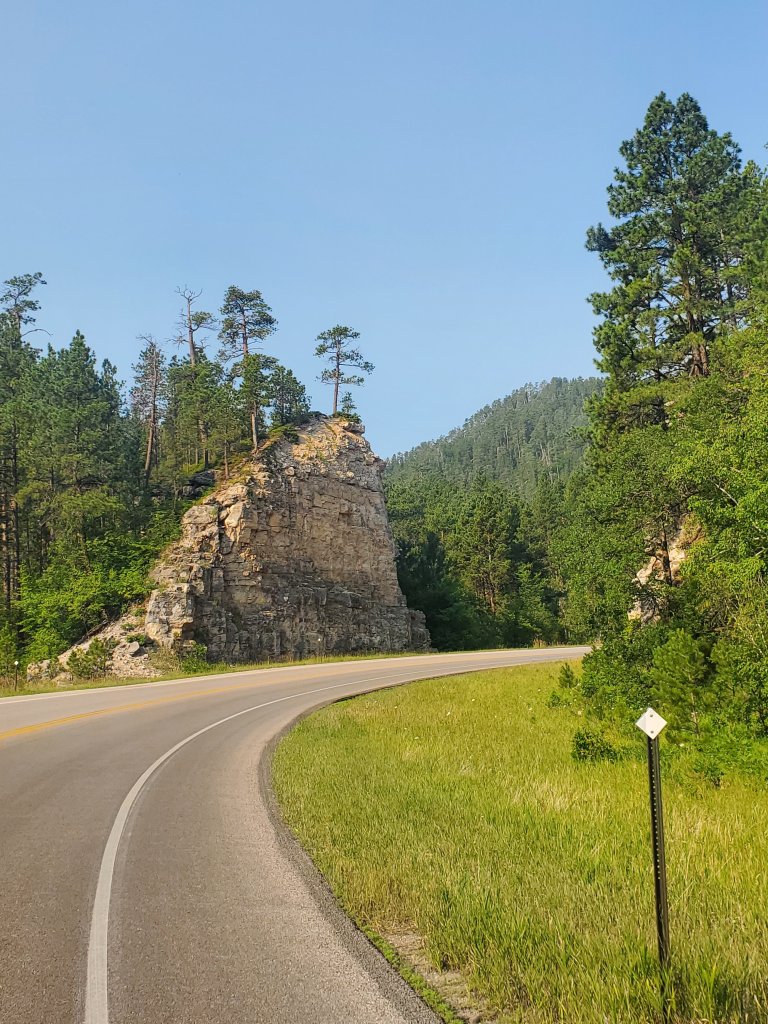
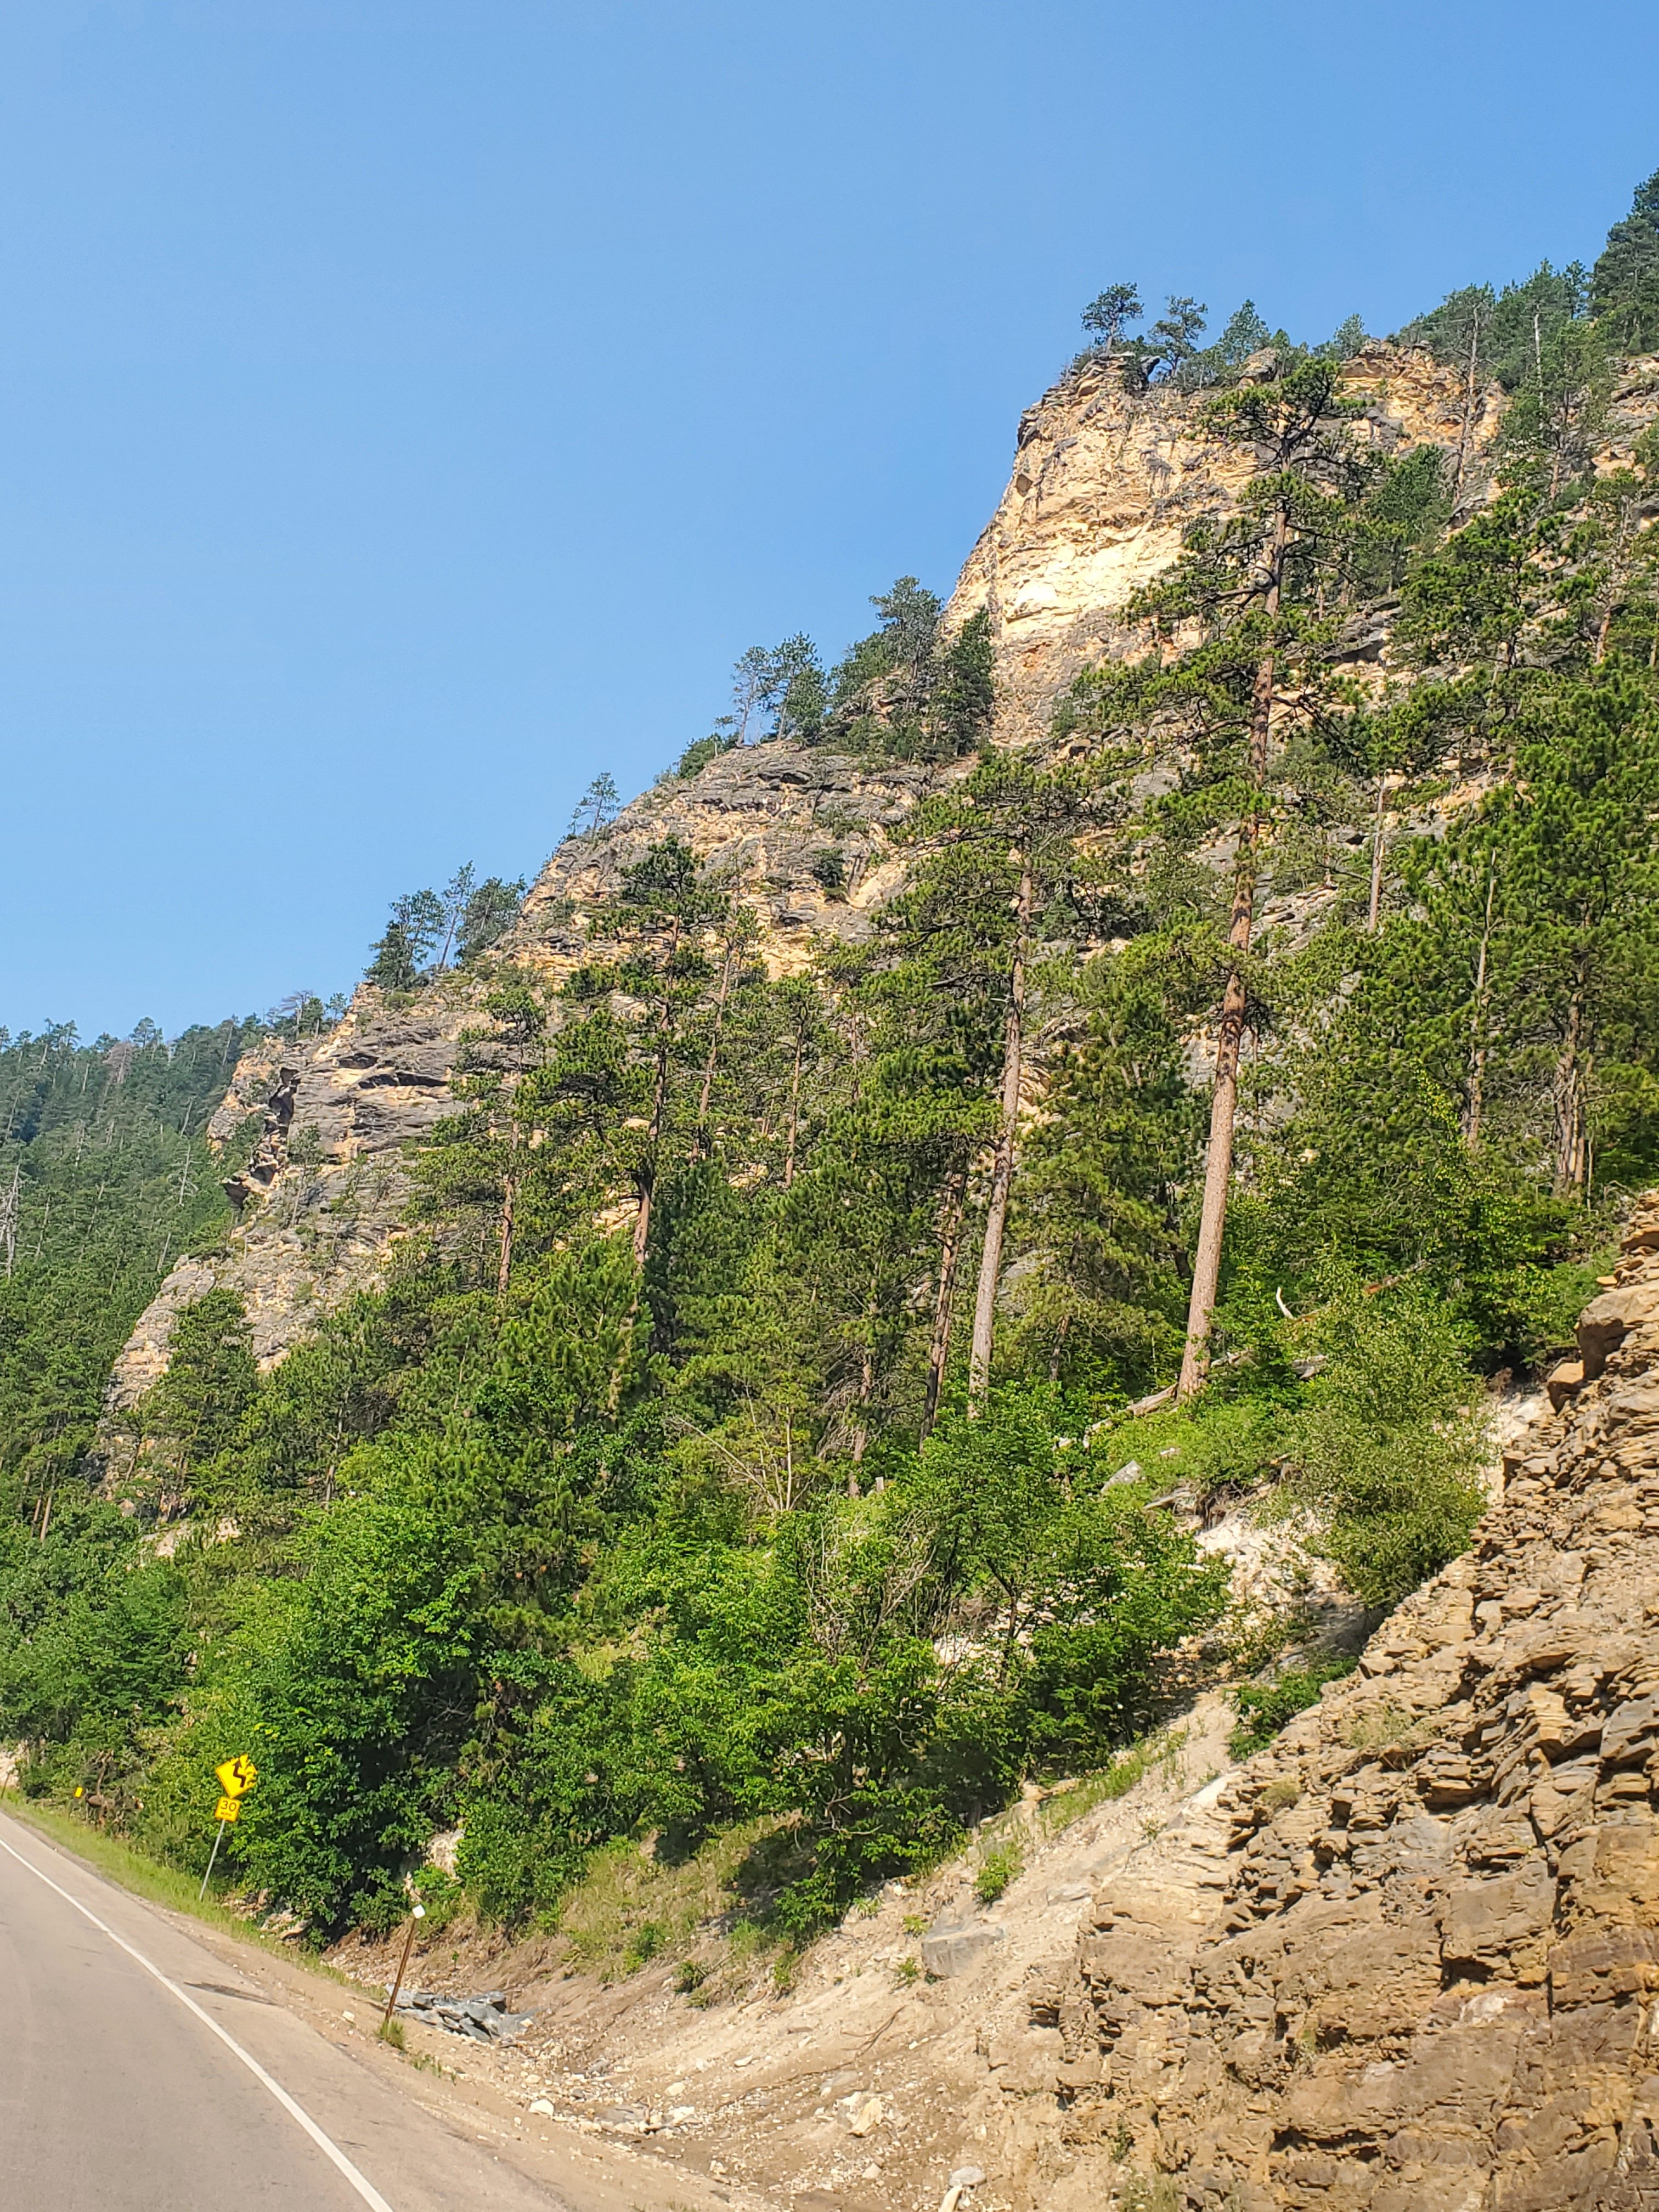
If you are in this area, driving through Black Hills National Park and Badlands National Park are must dos. There are plenty of pull over and look out spots. And the views are GORGEOUS.
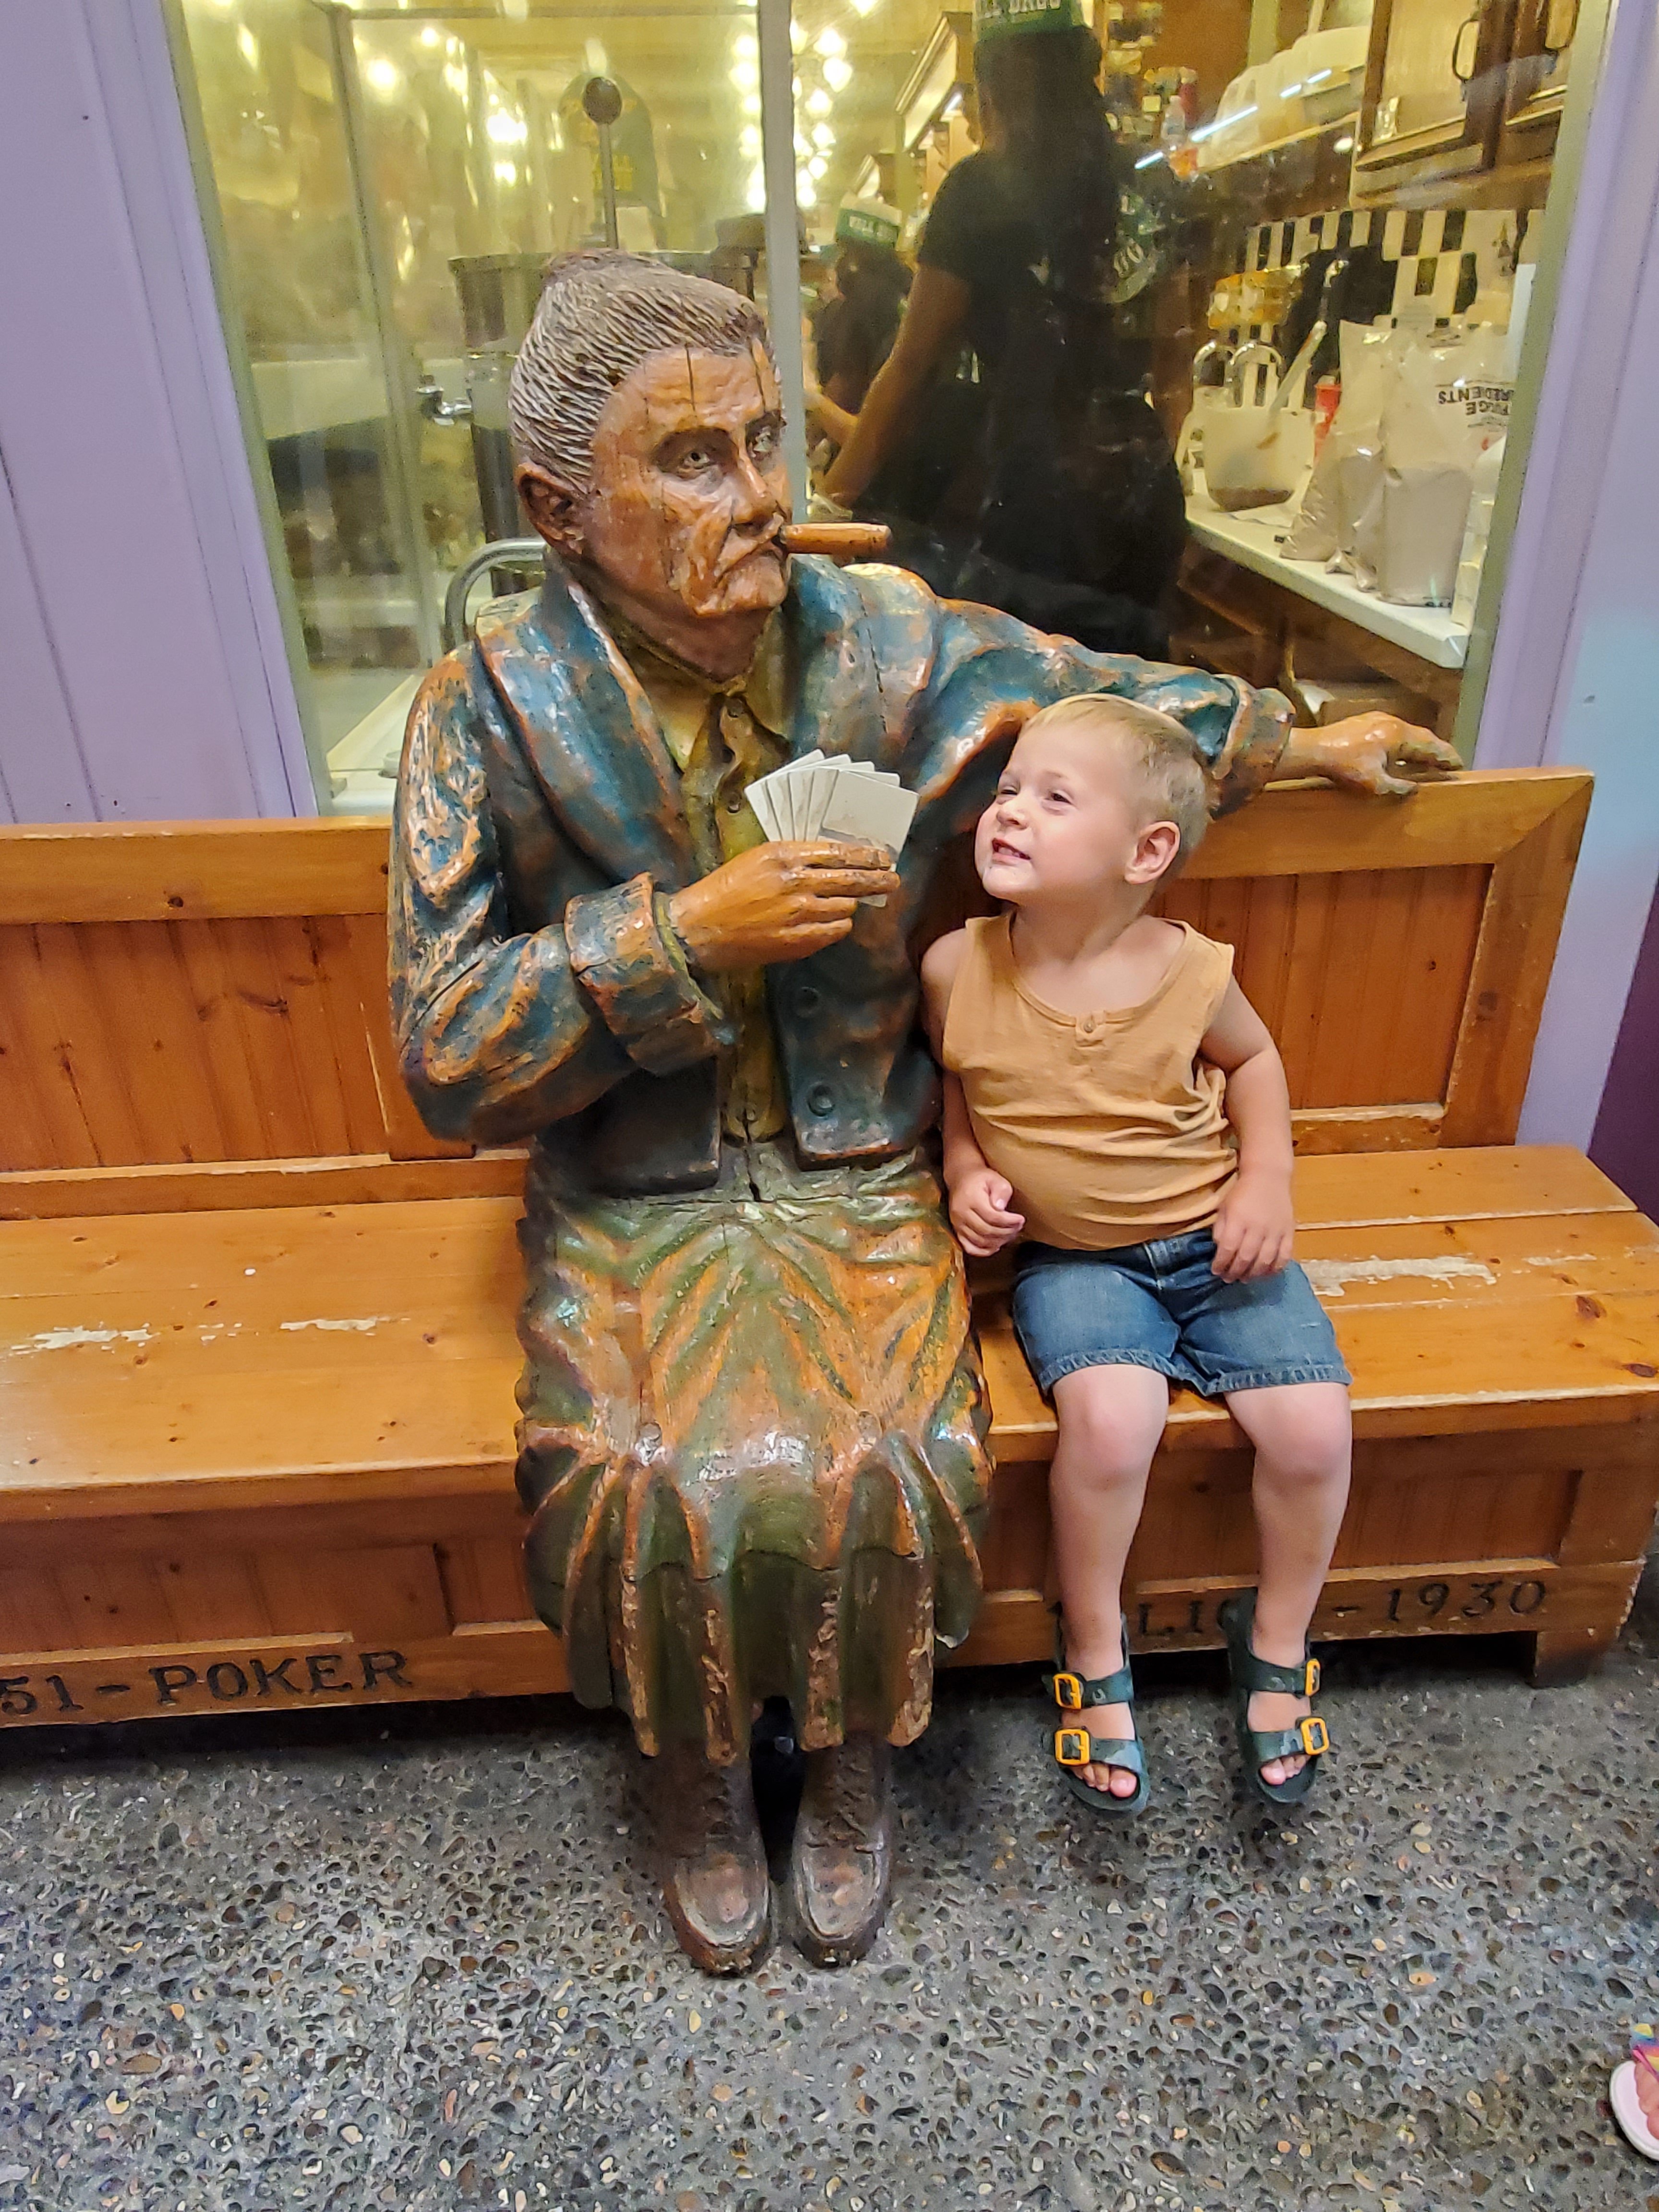
If you’ve made it out to the Badlands, stop at Wall Drug. Yes it’s a lot of hype. And busy. But a very cool see if you need a drink, a bathroom and a leg stretch. You could spend all day here. But you don’t have to. We did an hour or two and picked which bits to see here.


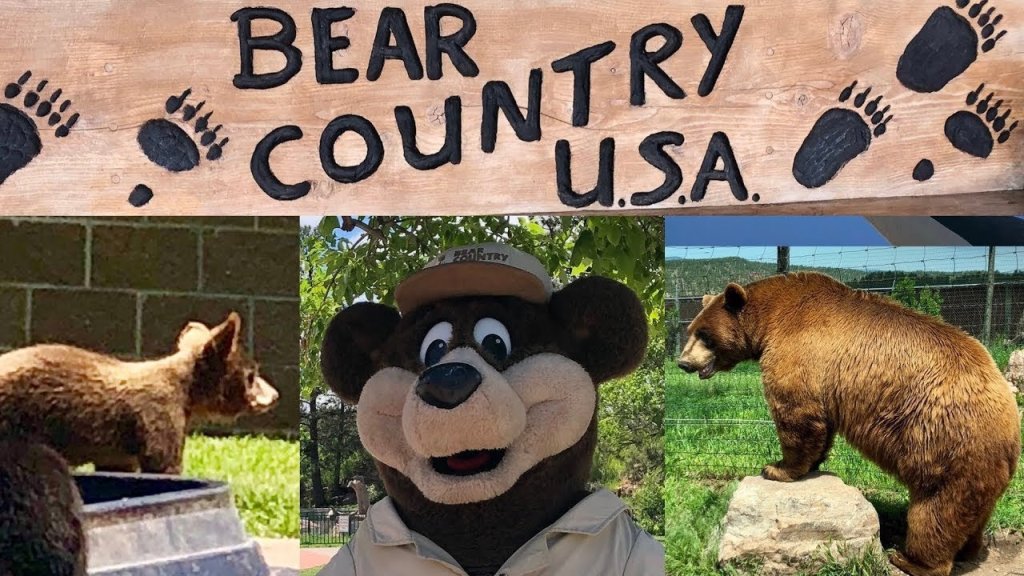
If you make it a little further out to Rapids City, SD, see Bear Country USA. We didn’t stop this time, but would have if time allowed (we did years ago). Totally worth it. Especially with kids in tow. It’s so amusing to see bears up close!
Sturgis is also a fun stop. More for the adults, but still things to see for all ages. Great to say you’ve been there even when the rally isn’t going on. Great food. Not a must do of you aren’t into this type of thing.


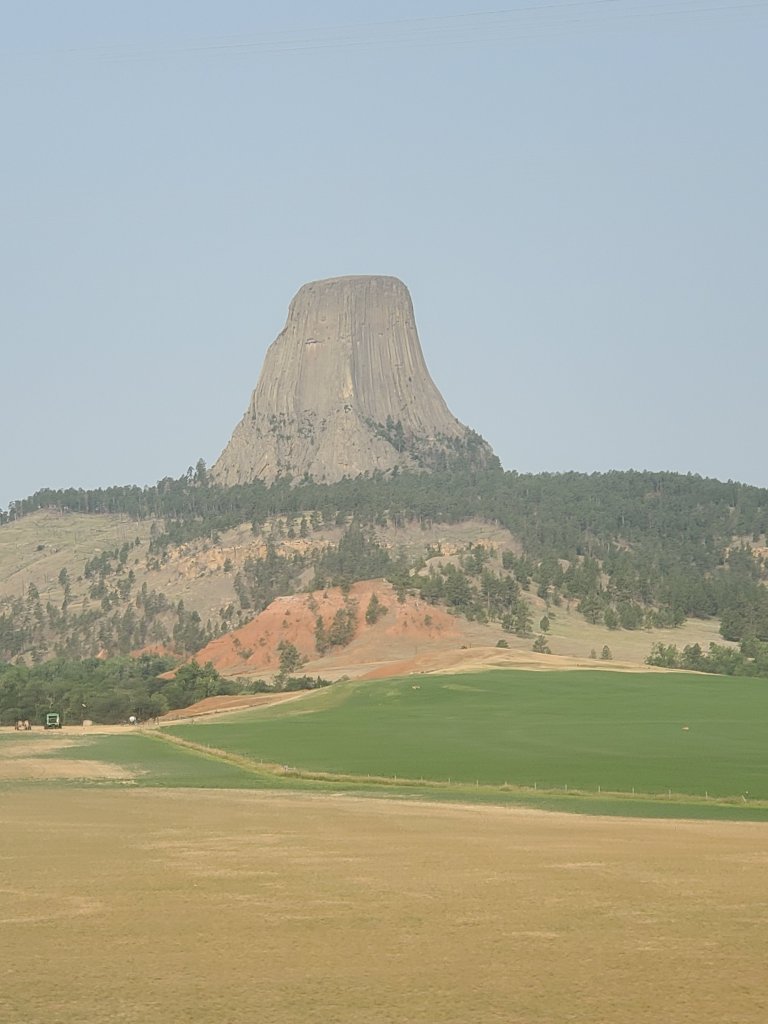
If you are at Mt. Rushmore and want to venture just a couple of hours west, a stop at Devil’s Tower, WY is a must do! It was STUNNING in this area! We walked the whole path around it and kids and adult alike were in awe.


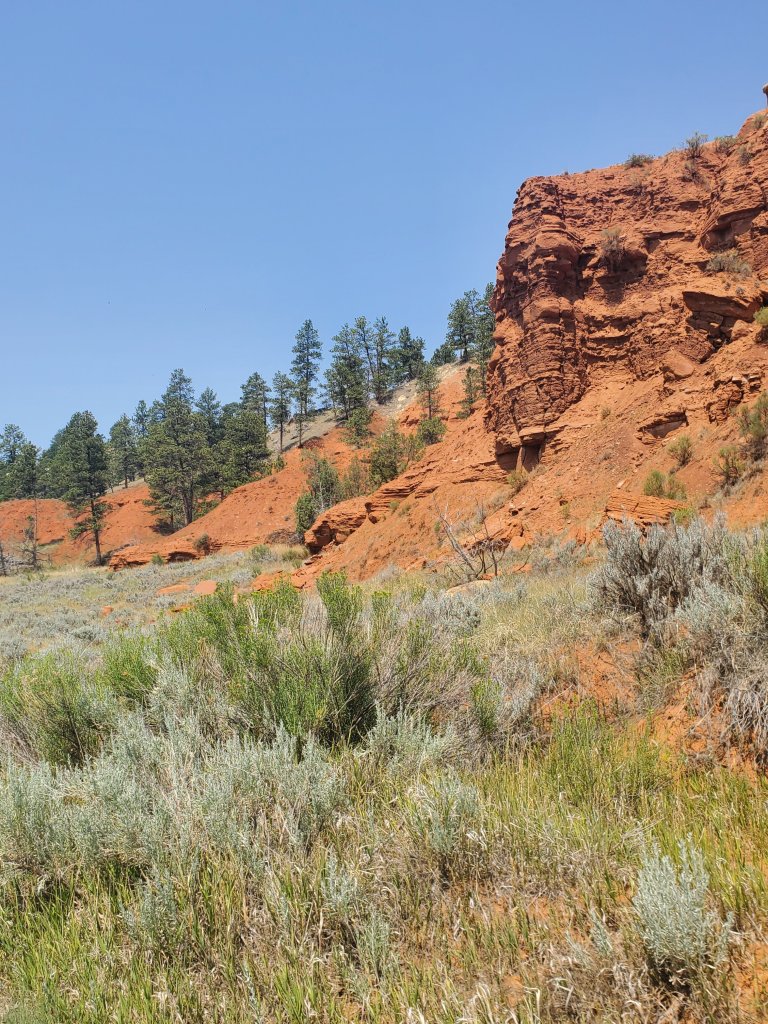
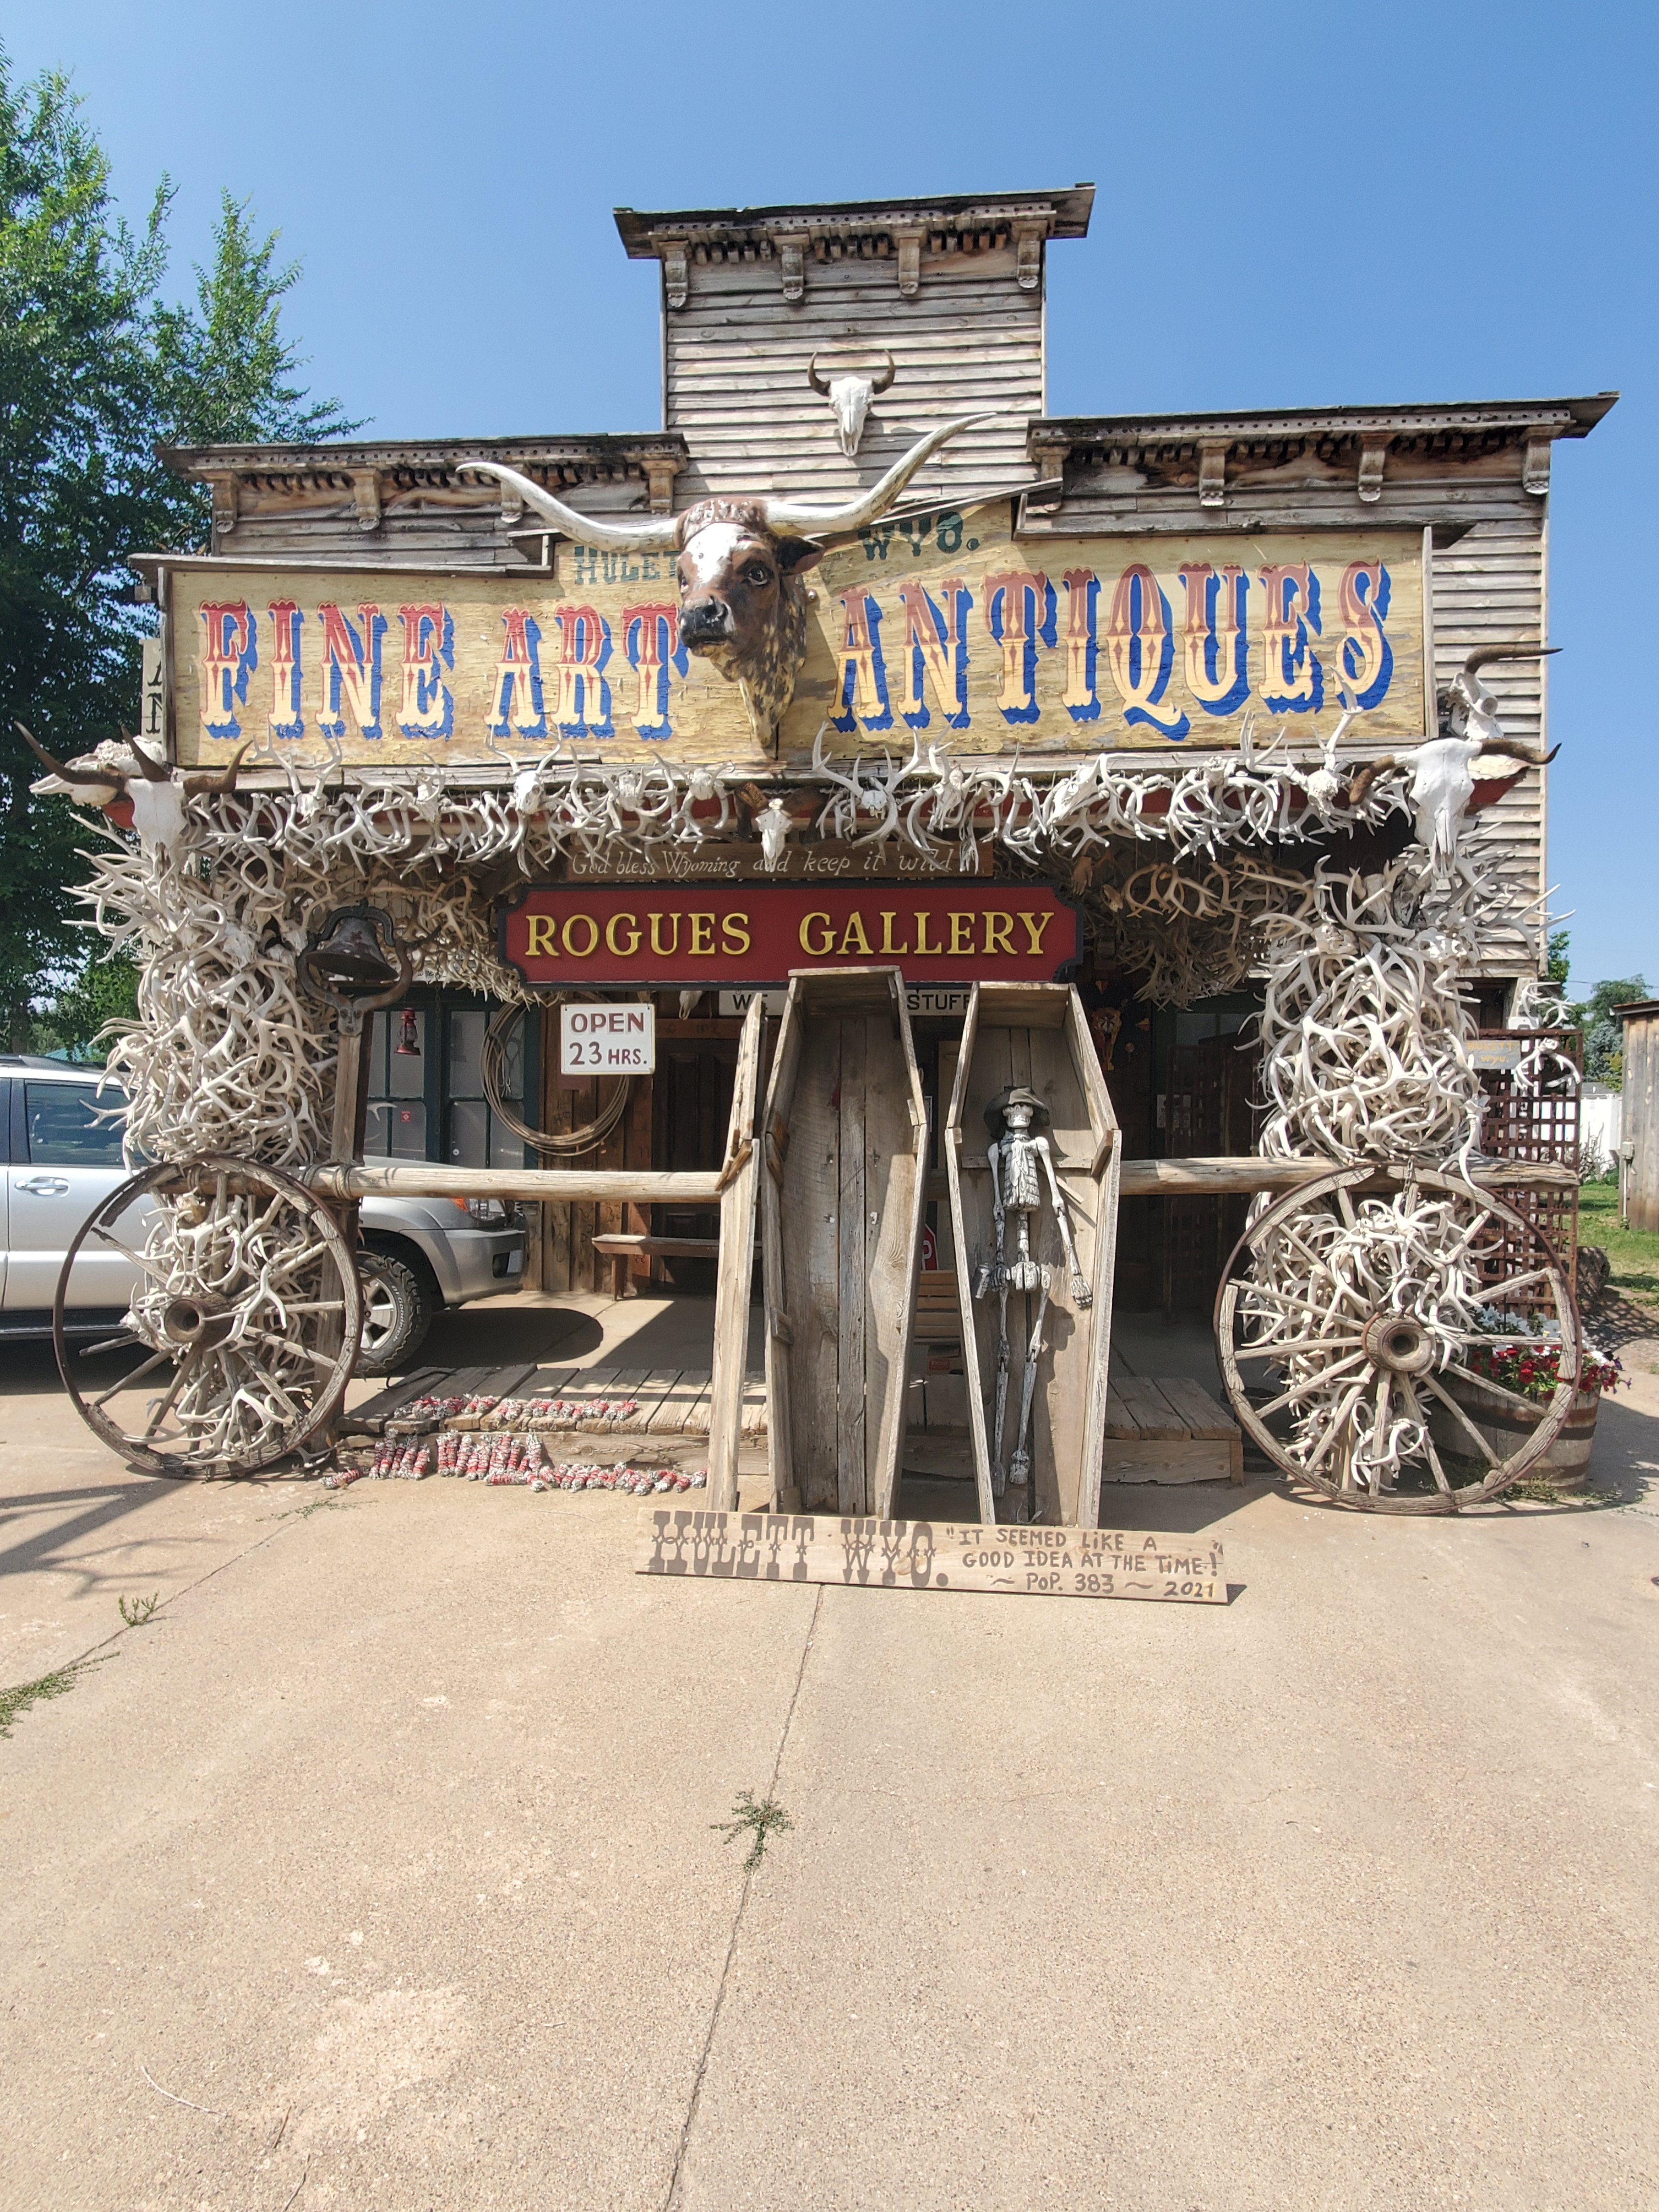
This whole area of WY is stunning really, especially to see if you are not local. The red dirt and mountainous terrain are very neat to see. We stayed in Hulett, right next door to the tower and this town was definitely unique if you’re looking for a place to stop. There is an antique store there with unique Native American artifacts. The Best Western in town is very rustic and nice, with a pool. And the local cafe was delicious.
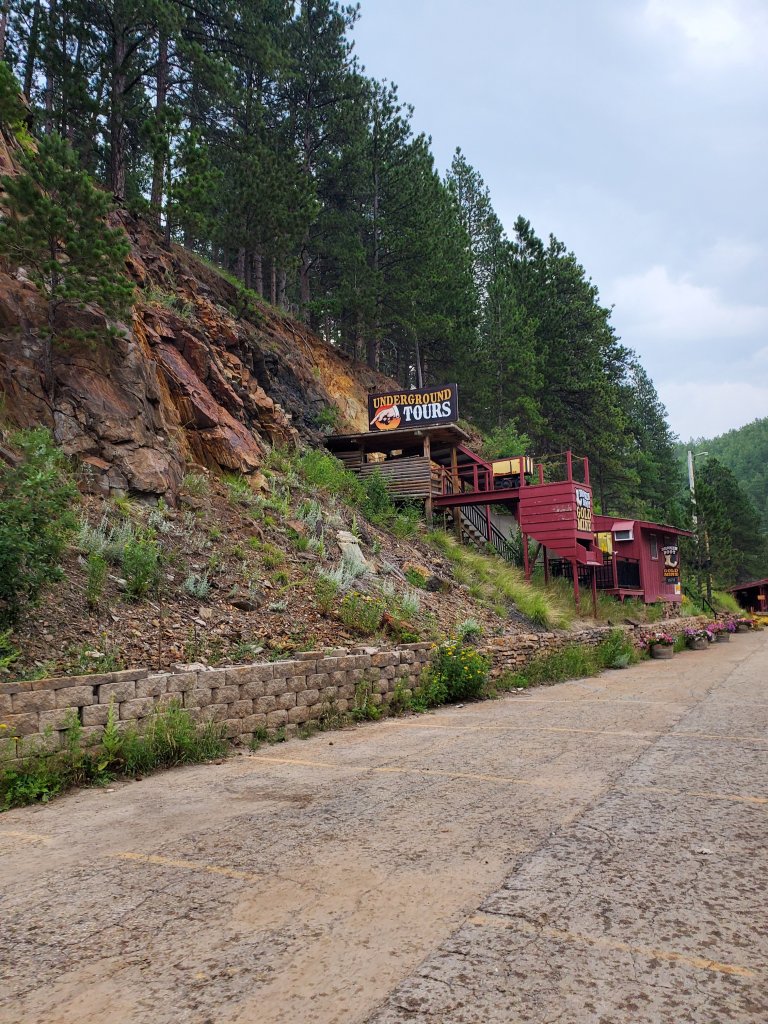
If you have headed out to WY from Mt. Rushmore, Deadwood is on the way. I recommend stopping here if you’re on adults trip. The gambling and drinks life there looked very fun. It’s not a horrible spot to stop with kids, but not a must do. The Broke Boot gold panning mine sounded super cool with kids. However, their website did not say we had to book in advance and since we did not, we were SOL. We also planned to see a shoot out there with the boys. They only do the shows on Saturdays and Sundays and we were there on a Friday. My fault, as this is on their website.
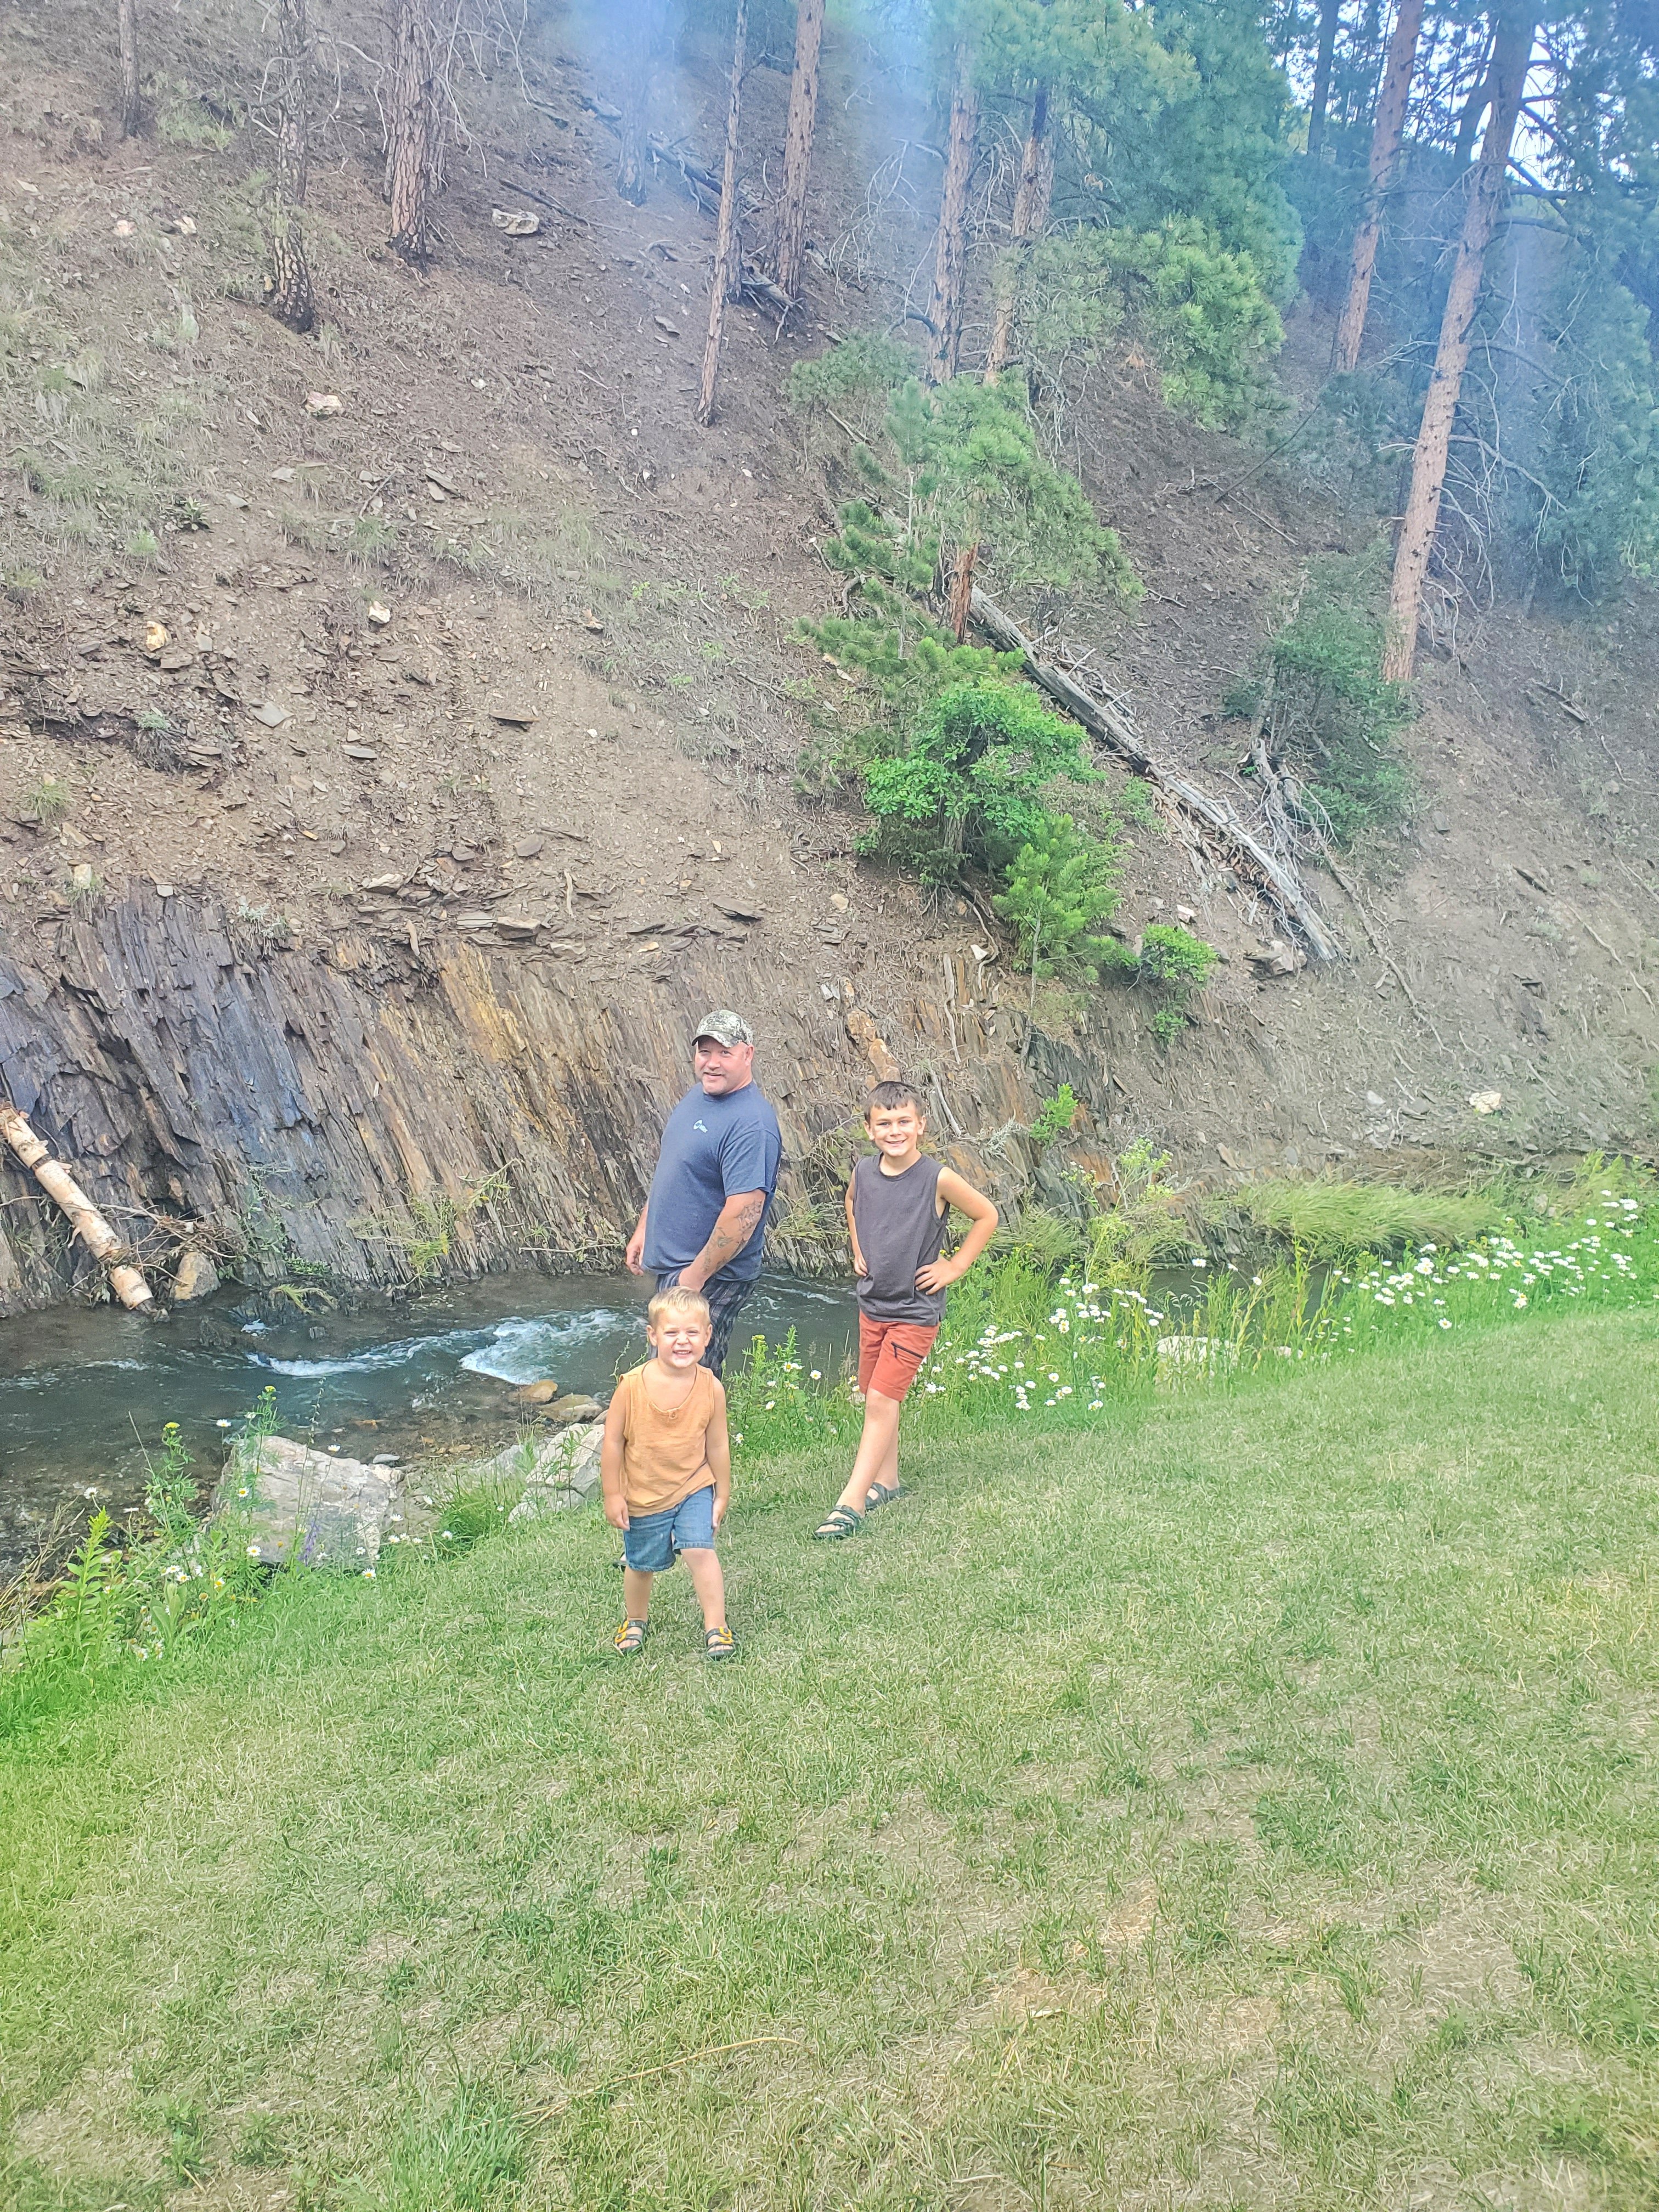
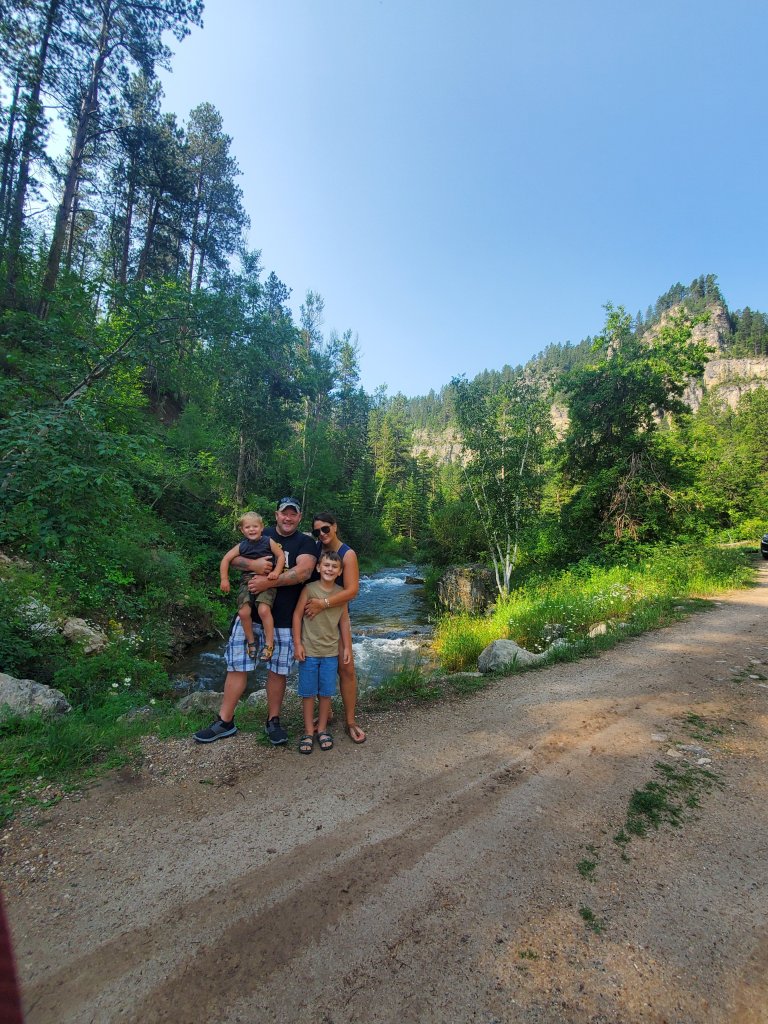
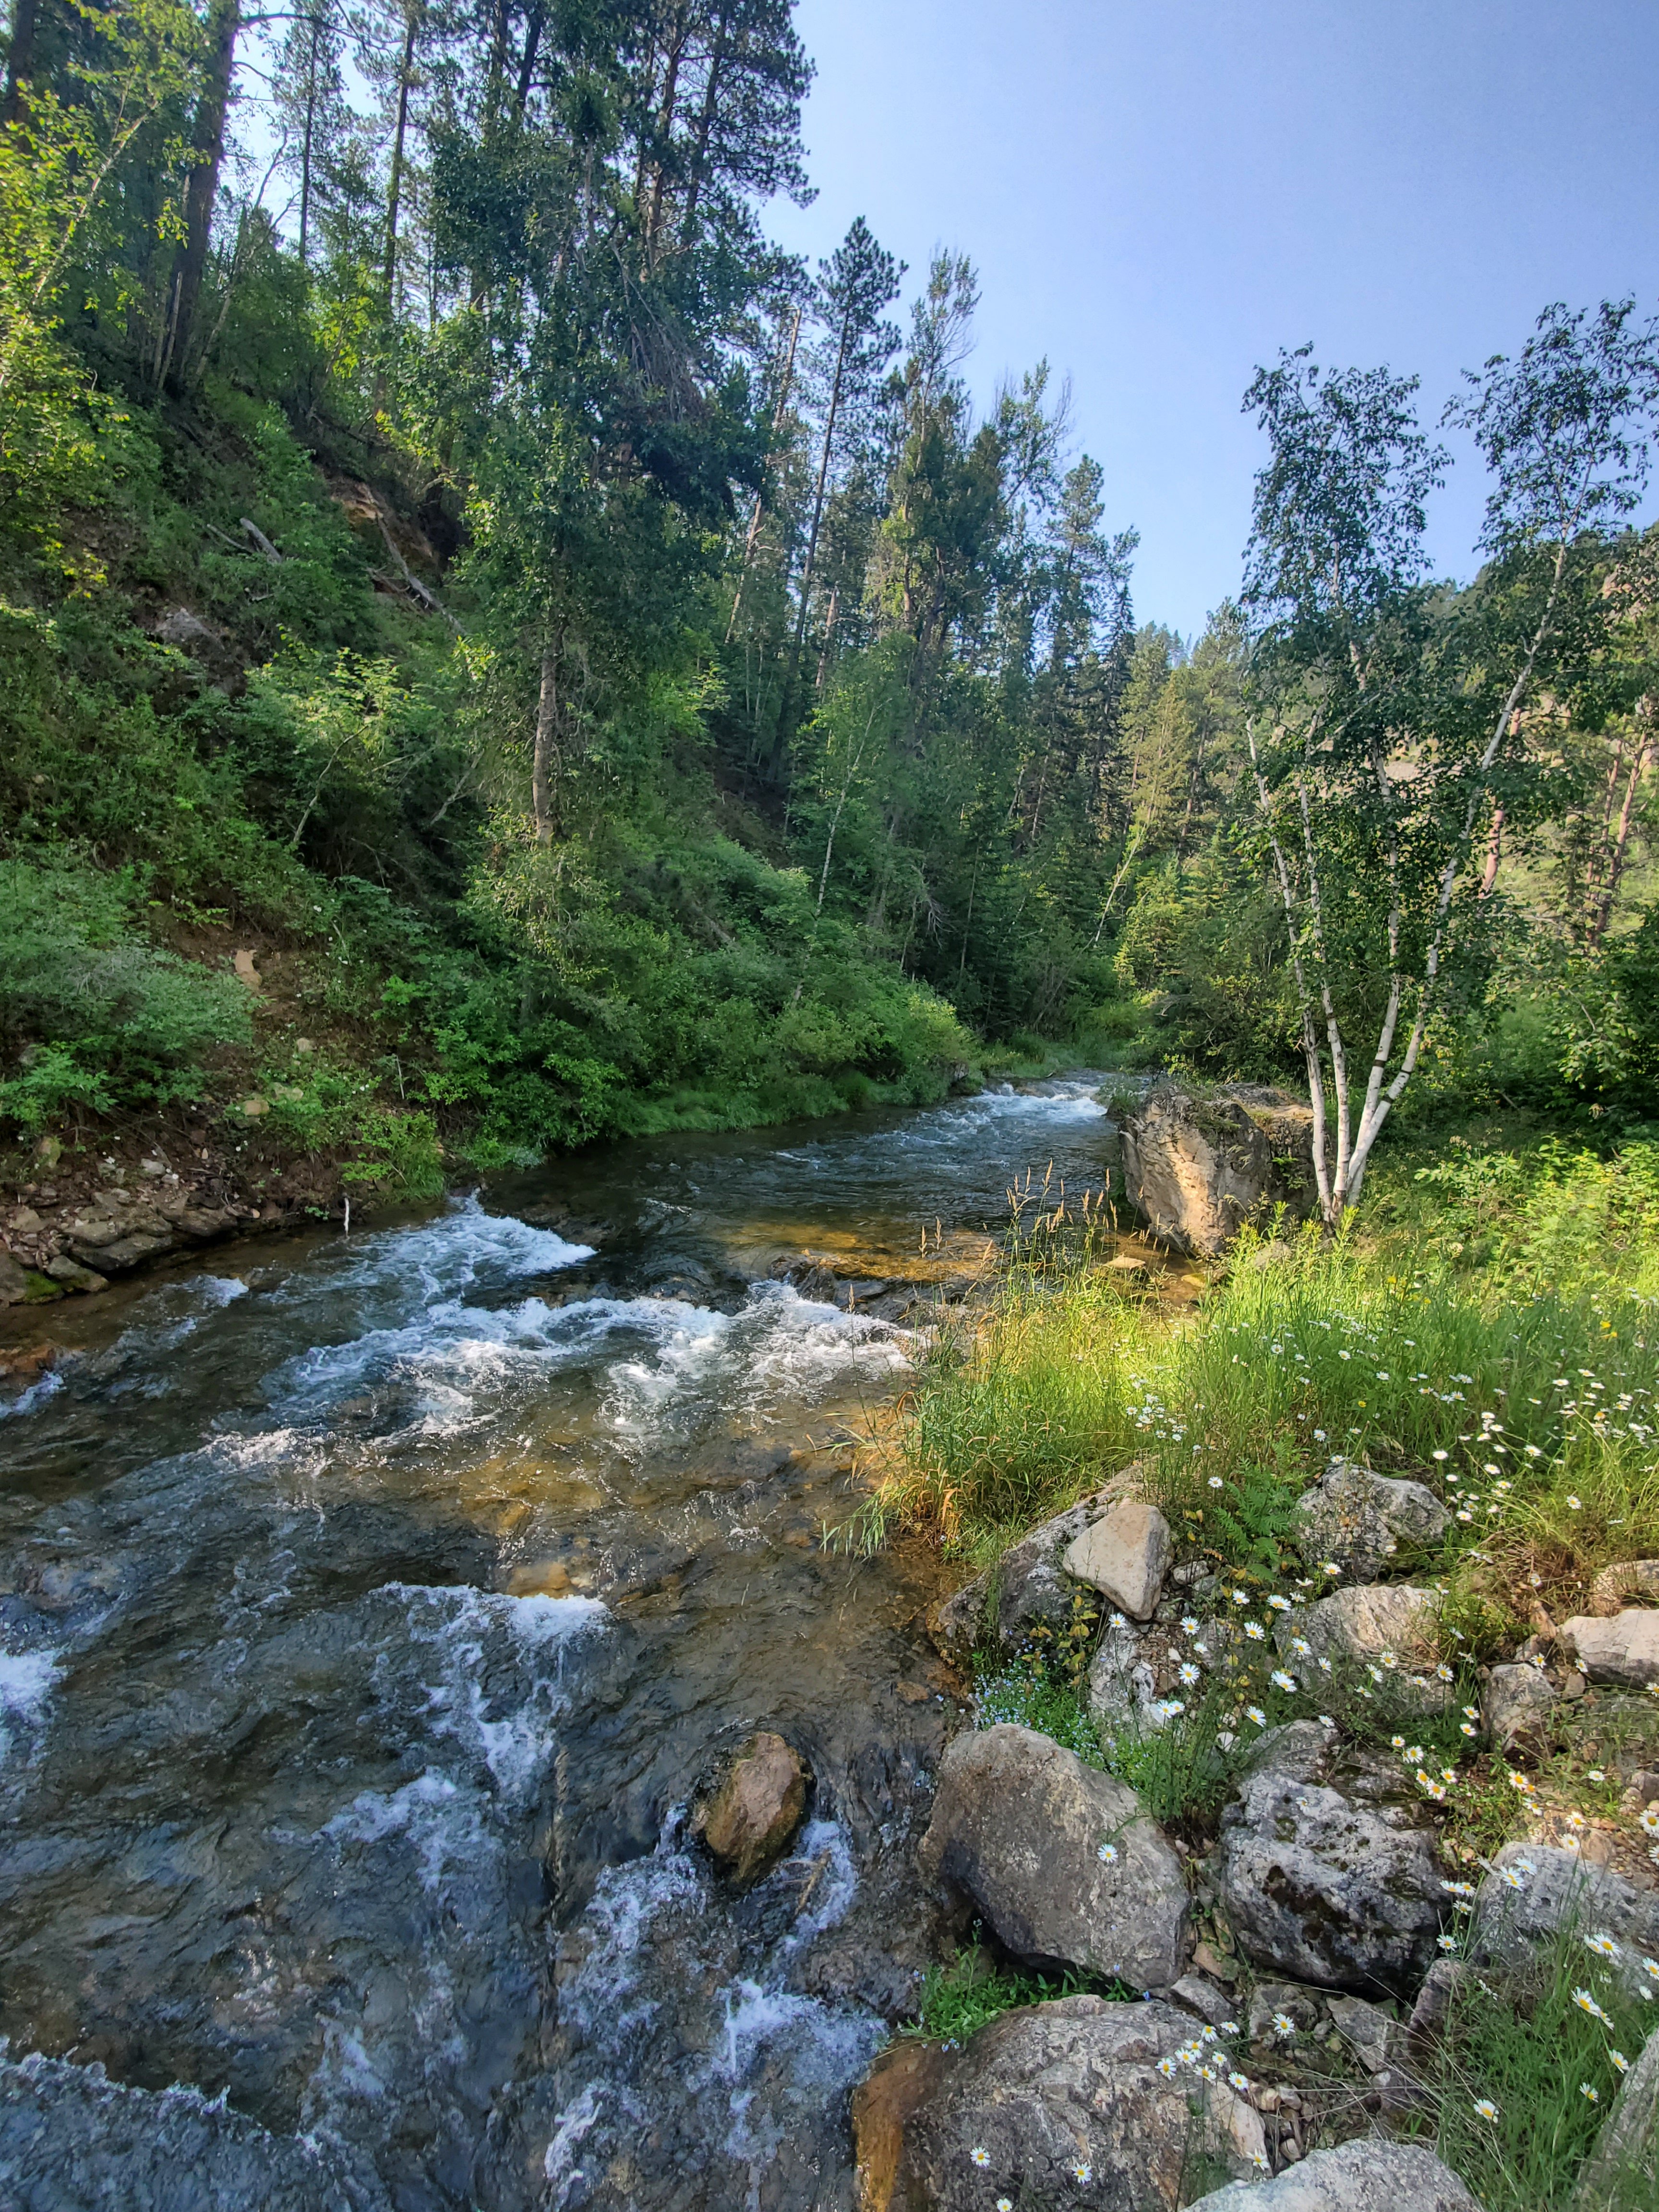
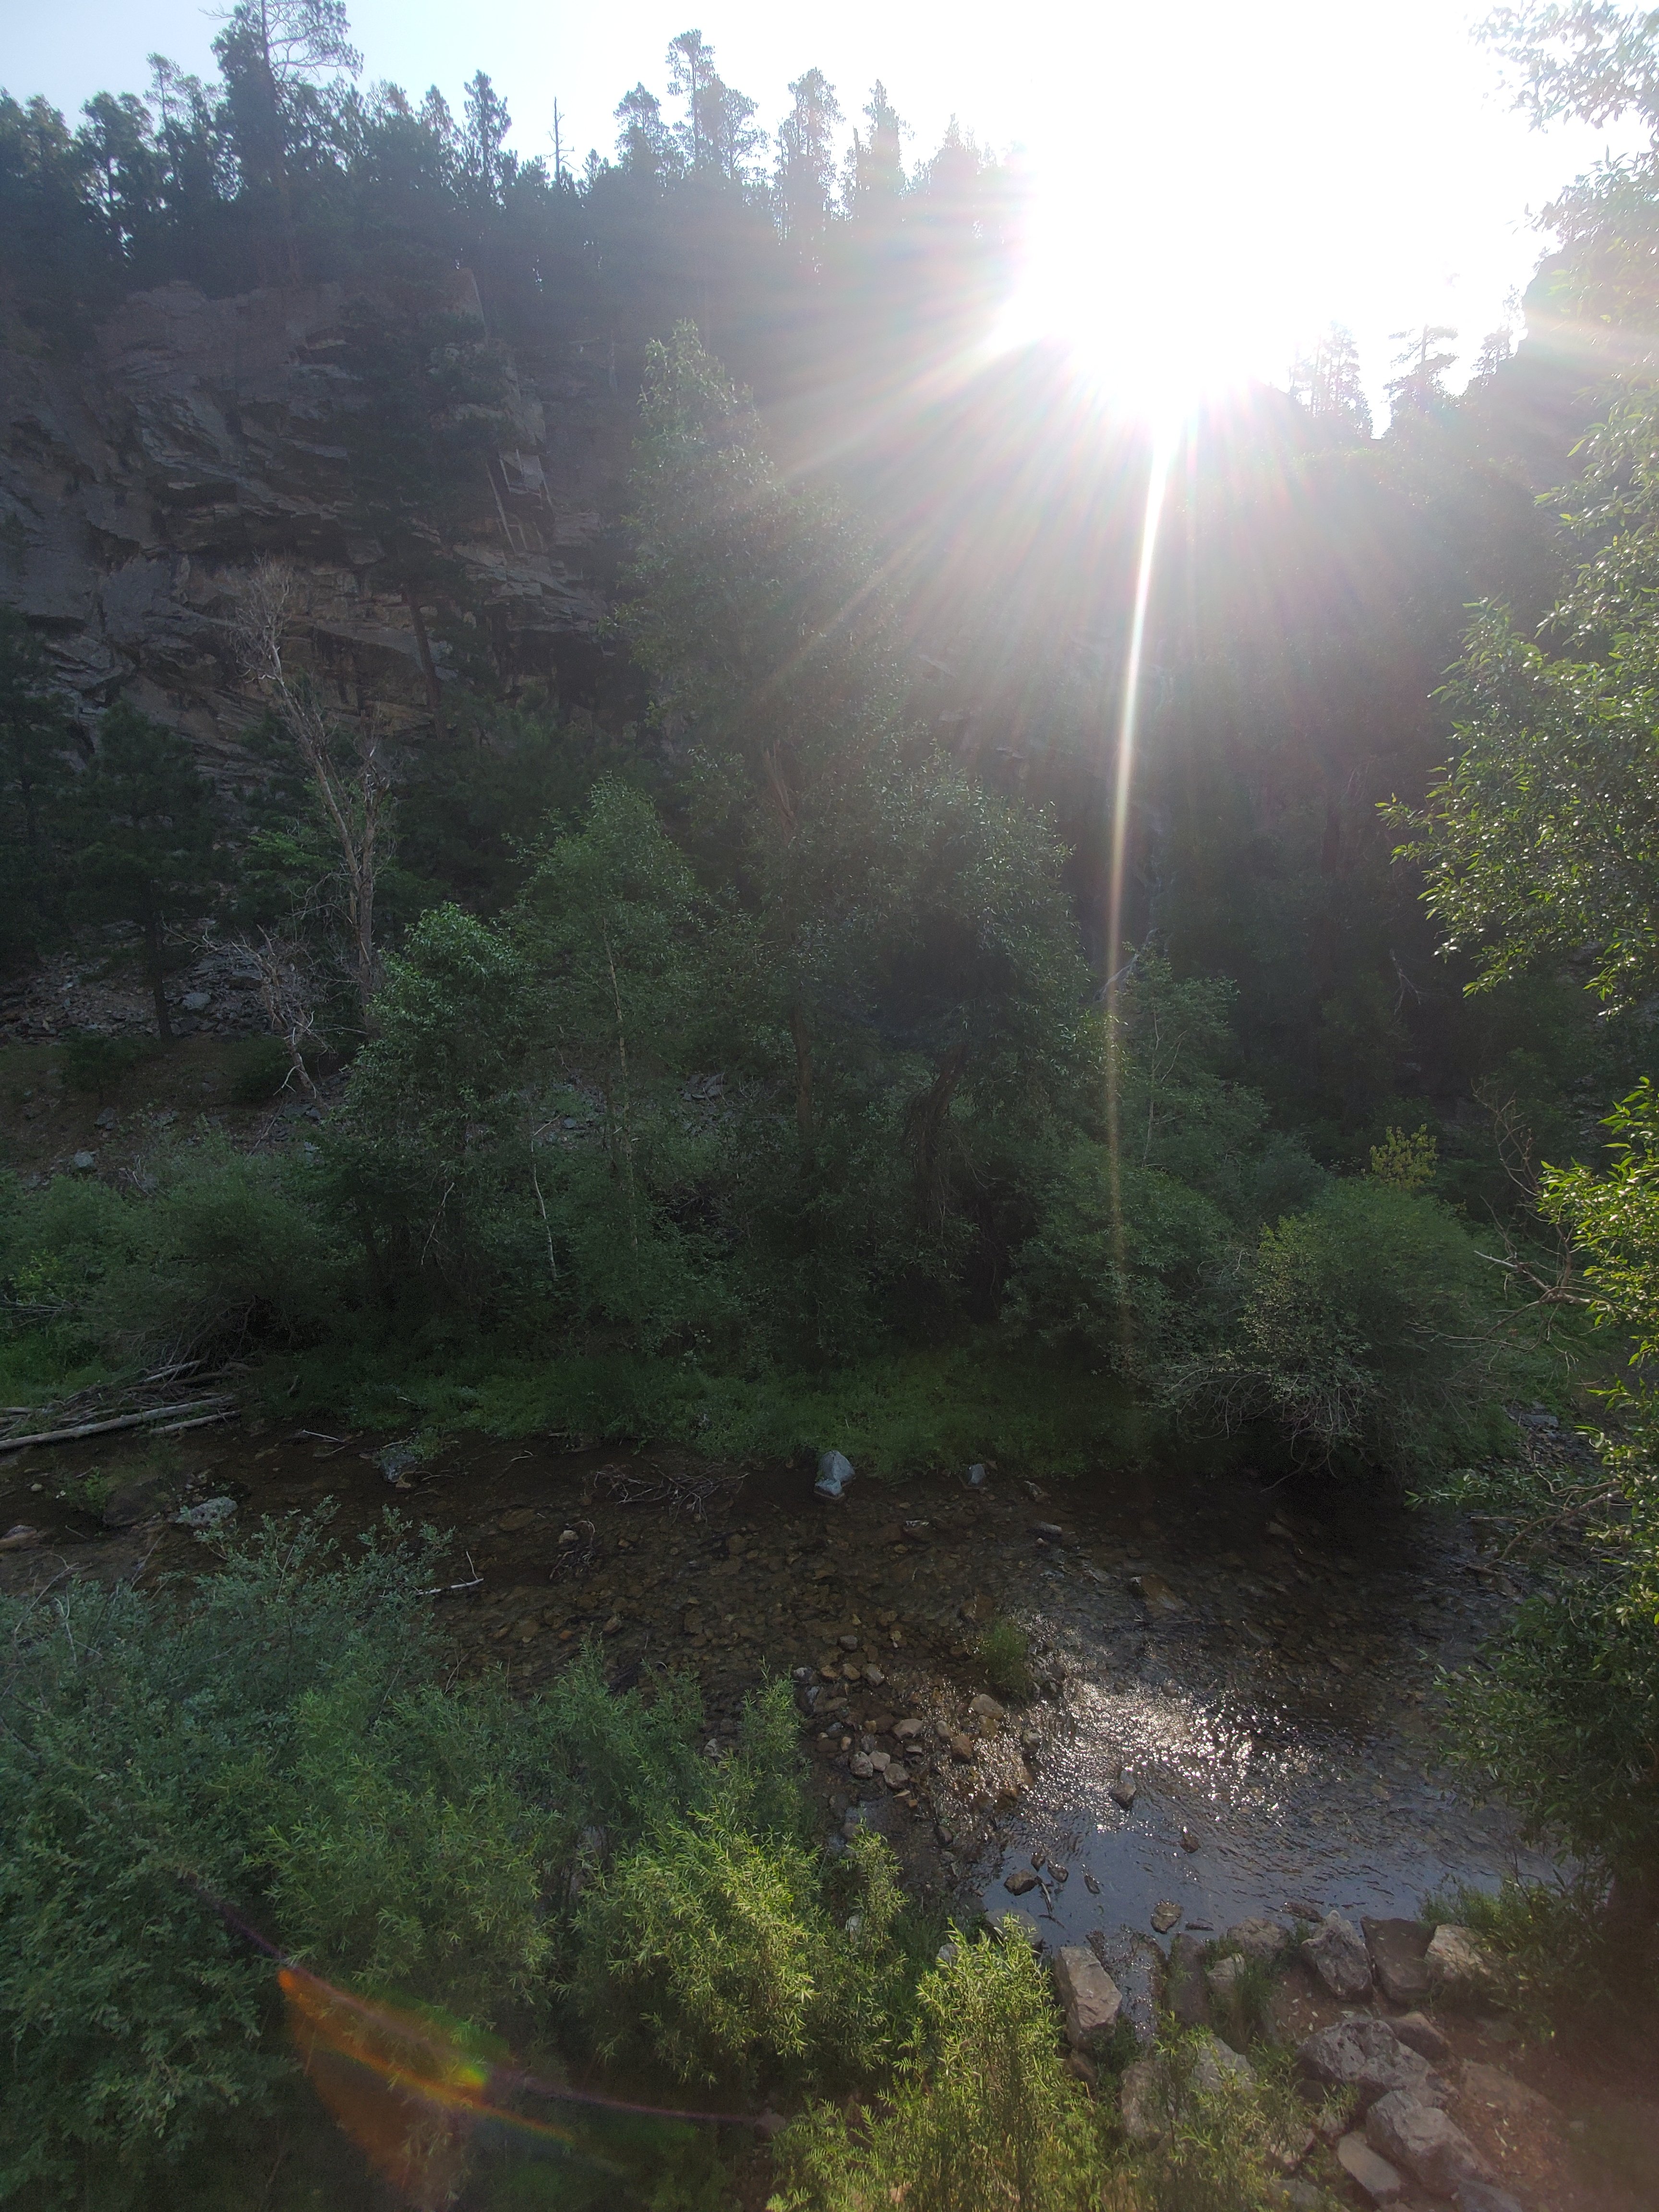
Also on the way out if heading west is Spearfish Canyon. Definitely drive the scenic byway here. Stop for some photos and explore. It’s just amazingly gorgeous out here. We did hear that there are mountain lions when off the paths, but we did not see any. This you don’t want to miss.

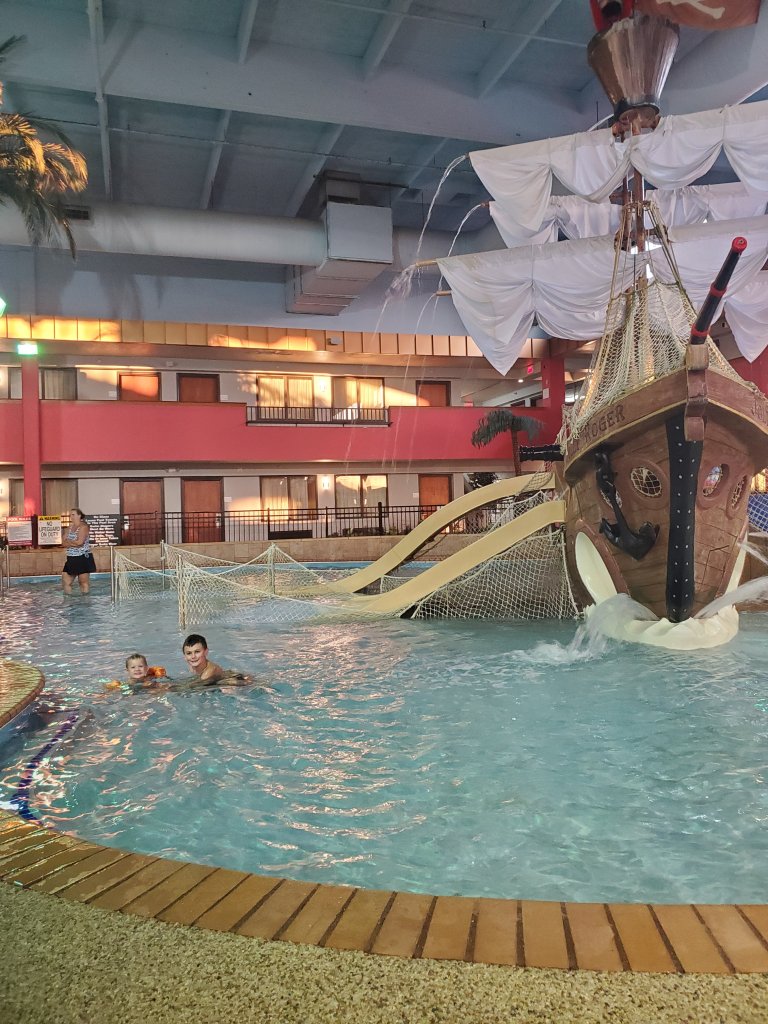
If your path take you East to Souix Falls, SD on the way in or out, we loved the Ramada there. They have a little water park. Kid win!
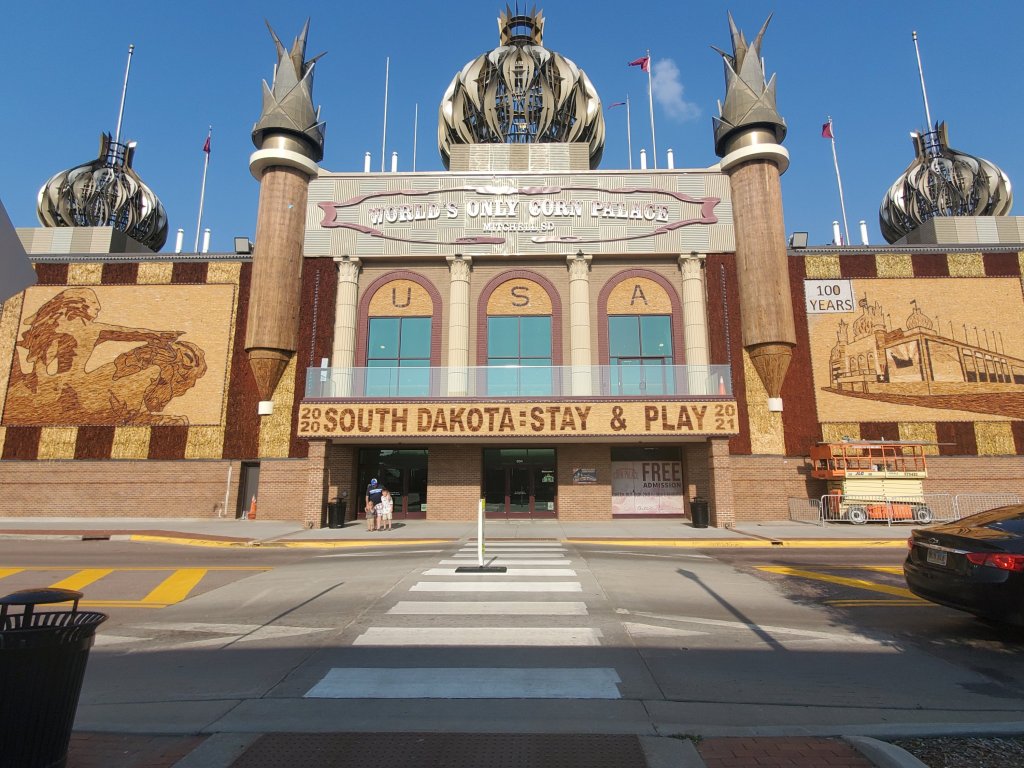
Another stop we had mid-South Dakota was Mitchell. We stayed here on our way out. This is home of the Corn Palace. It’s neat. The kids were impressed. Fun dining in town. It’s not a must see, but makes for a good place to stop if you need to!

Hitting Minnesota on the way? The town of Blue Earth is home of the real Jolly Green Giant. Great place to stretch! The even have a little sound park!

Hope this helps a little bit! If you are the get out and explore or hike type of fam, bring a fee baggies and a permanent marker for any treasures the kiddos find!
XX,
Jess
Guest/Play Room Transformation
When we moved in a few years ago the rooms were all boring and ugly…
Then we painted and added some fun flair to make this one a bright teen room…

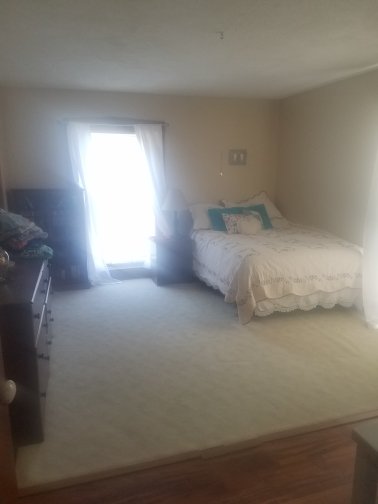
Then, the teen grew up and moved out, so we had an empty space. 💡 We had an idea! A play room. But also make it a guest room, so that we still have a space for company to sleep…
And so the room became a guest/play room.
Paint again. Tone down those walls. New floors. New furniture. Make it fun, but grown up enough for guests… viola!
We went gray on the walls, but a touch darker than normal since we have lots of sunshine in here. We did snap in wood floor, since they are durable and easy to clean. Then the fun part…
We added a wall mural from PhotoWall! What better way to keep it fun for play and interesting but adult for guests?!
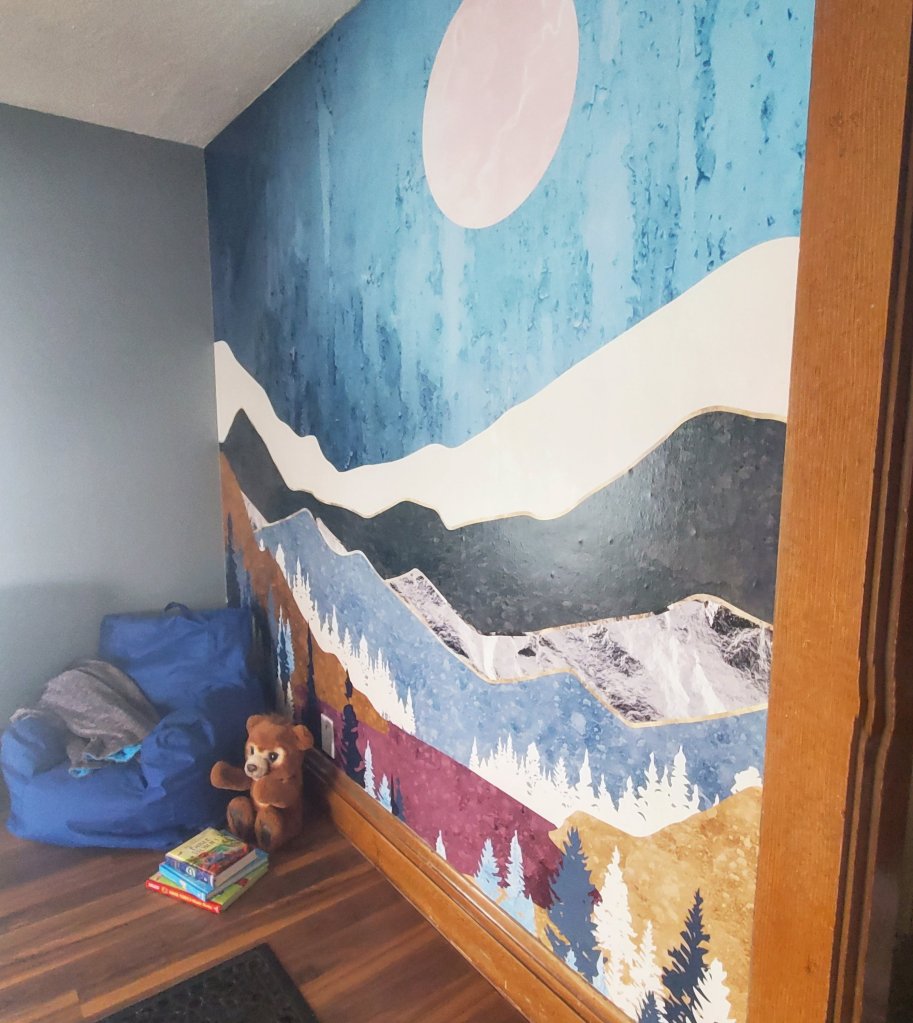

How cool is that?! It was actually super easy to install, just wallpaper in vertical strips, and it even comes with the paste. The boys are in LOVE with their new space!
You can head to PhotoWall too and use code ‘makemineeclectic25’ for 25% off any of their art, canvases, or wallpapers!

Next we will add furniture, so stay tuned…
XX,
Jess
Sensory Play
I have been working hard to make Barrett’s time while Brantley is in study time more educational and interactive (and Brantley’s breaks too) and include less cartoons.
So I’ve added some sensory play! And its going SO well over here that I thought I would share some of the things we are using and loving!
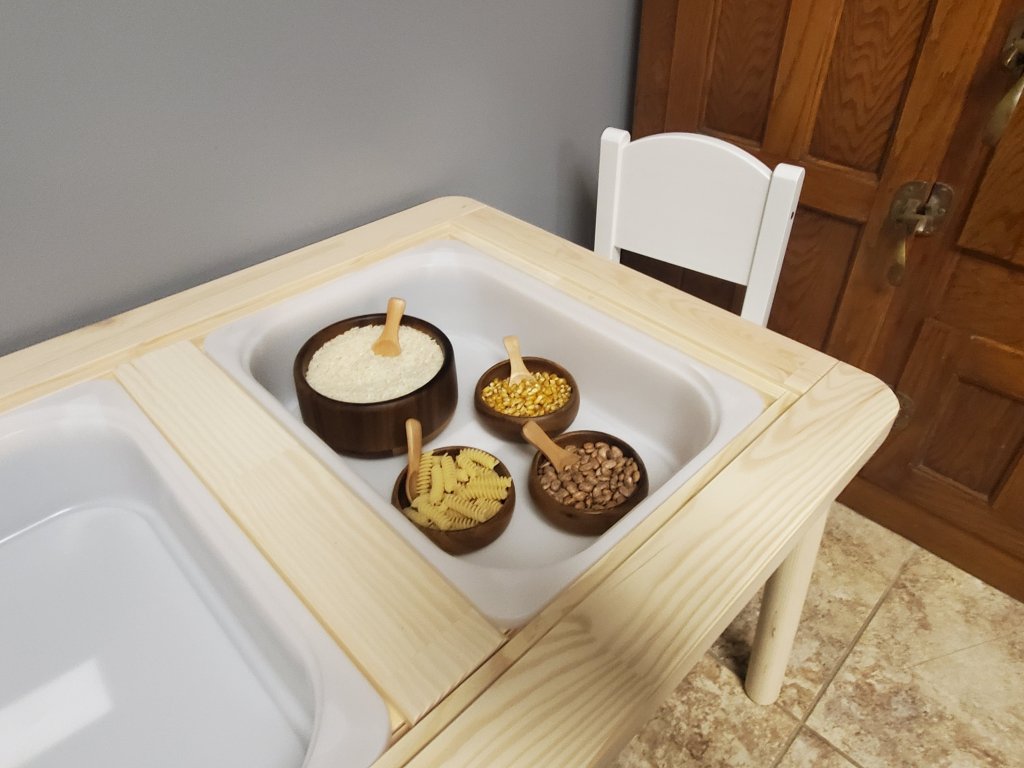
First, it’s totally not necessary, but the table we got it super handy! I got the boys the Ikea Flisat table. Its under $50 and is great quality. The two tops are removable and their Trofast bins hang from underneath. This concept is awesome! I can take the bins out to wash them, refill them, or even store things in them. The table tops are wipeable and not the type that get crud caught in the vinyl edge, these are solid! I also added the Sundvik chairs, as opposed to the stools they recommend with the table.
We now use this area for all kinds of crafts, coloring, sensory bins, and even snacks.
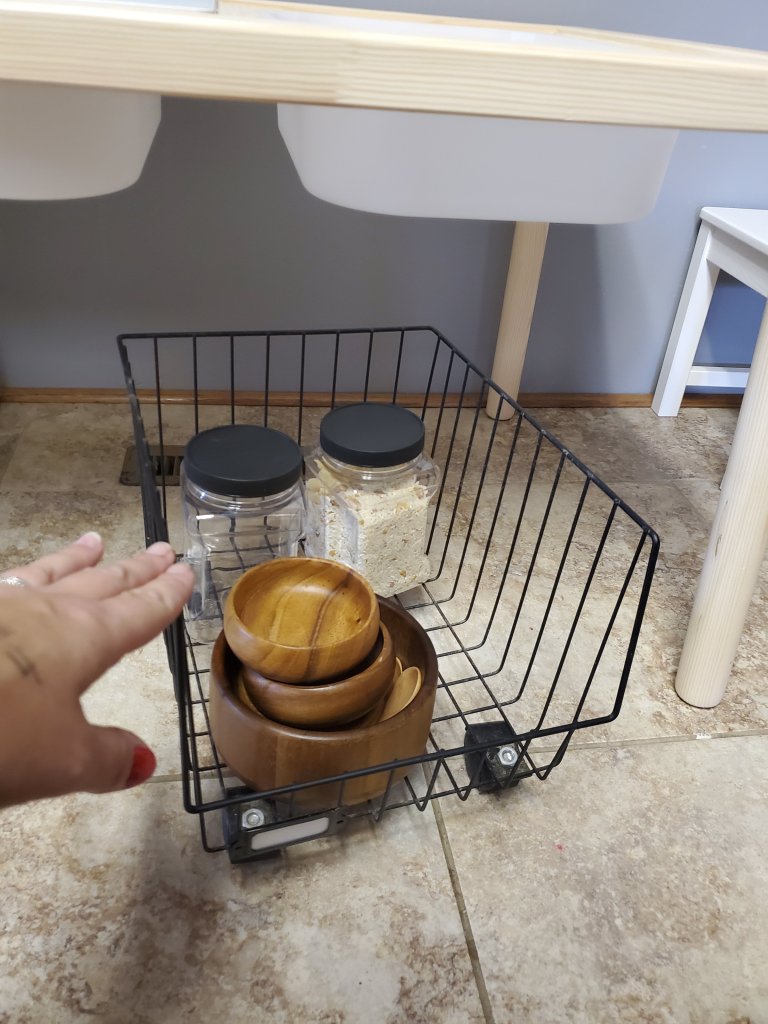
The large wooden bowl is from Walmart for about $7. The small set is 4 from Amazon. I also added the set of wooden spoons from Amazon. I even have my own set of wood bowls for charcuterie boards because they were so cute. 😂

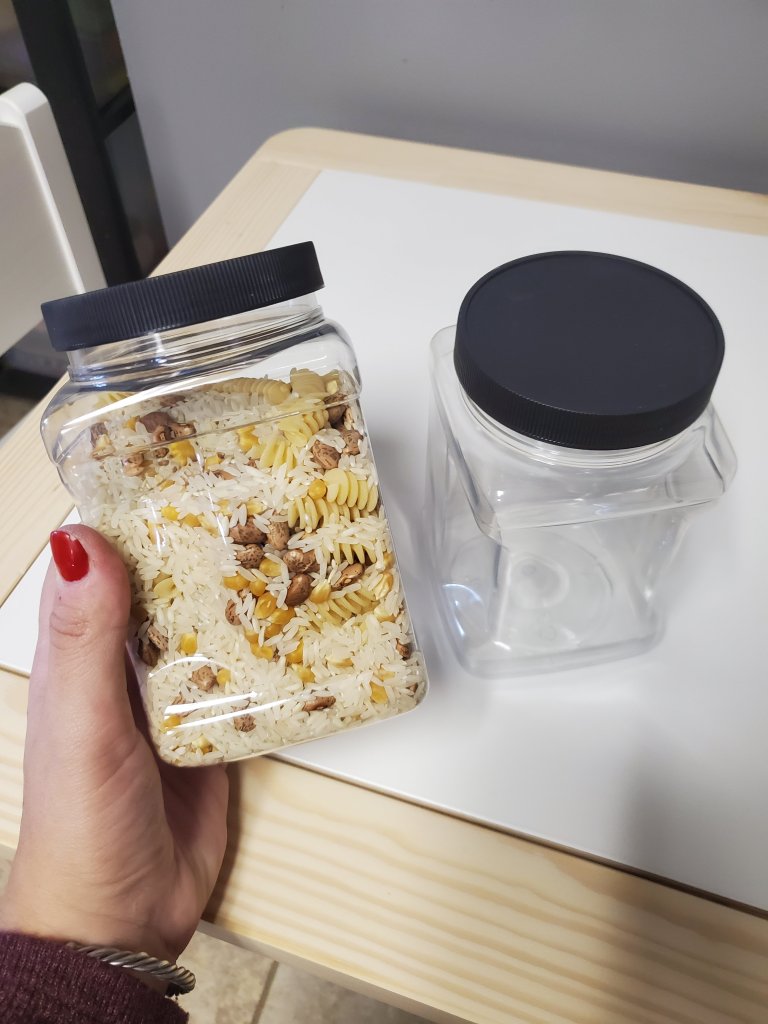
Sometimes we add things like rice, beans, popcorn kernels, and pastas to the dishes. This is a huge hit. Albeit a little messy. 😉
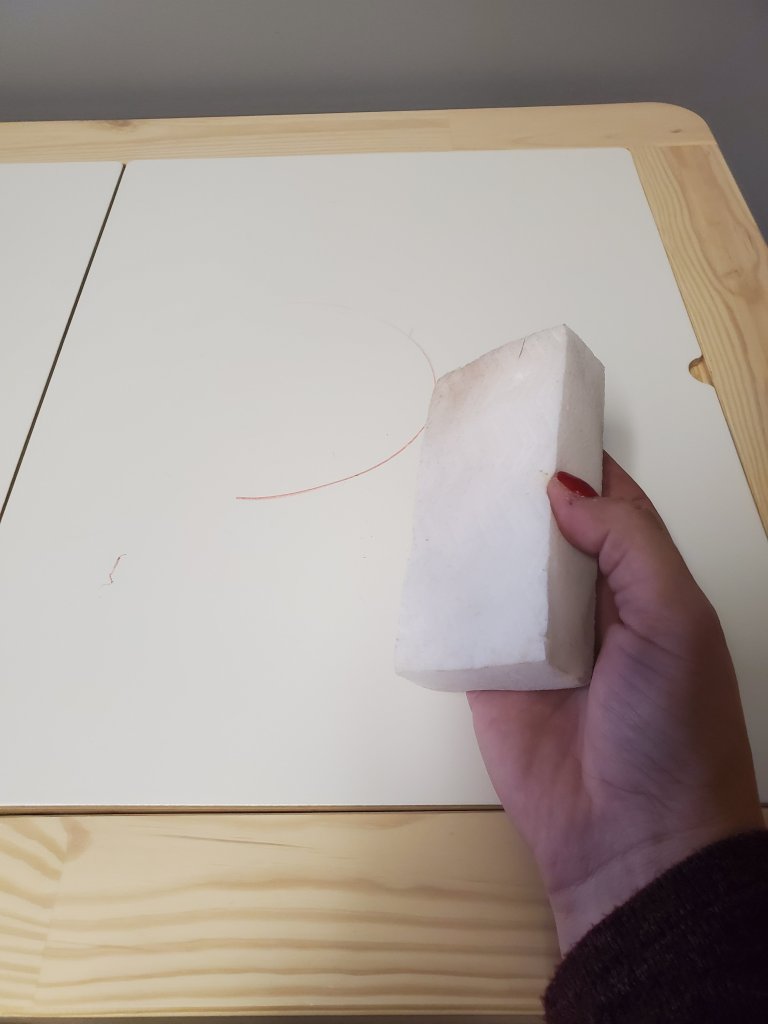
I highly recommend some Magic Erasers (these things are like mom gold!) and a little broom like this one for clean up.

These plastic jars are awesome for saving some of the fillers or kids’ creations for a while to use again.
And this wire bin (similar) actually has two more that stack on top, but the bottom one on wheels fits perfectly under the table to corral some things.
You don’t need a ton of stuff and can definitely wrangle some things from around the house. These are just the items we started with to keep organized in making sensory fun.
One thing I’m loving so that I don’t have to think up all the ideas on my own is the premade and themed kits from Little Creators Texas. Her play dough kits are so fun! Here the boys are playing with the fall themed kit. They LOVE it and keep coming back to play again!


I also have some kinetic sand, fake snow, and water beads that we can switch into the tubs. And you can add in any little bits like pinecones, blocks, wooden people,, letters,, shapes… the list is endless. This set up has already given these two hours of entertainment. I am impressed. And I can say that I see their wheels spinning and them learning from this kind of interactive play already. I highly recommend.
We already have lots of ideas for new things to try too, so if this kind of thing interests you, be sure to follow me on Instagram, where I will show more things we use for interactive and sensory play!
Have you made any sensory bins yourself? What did you use?
Xx,
Jess
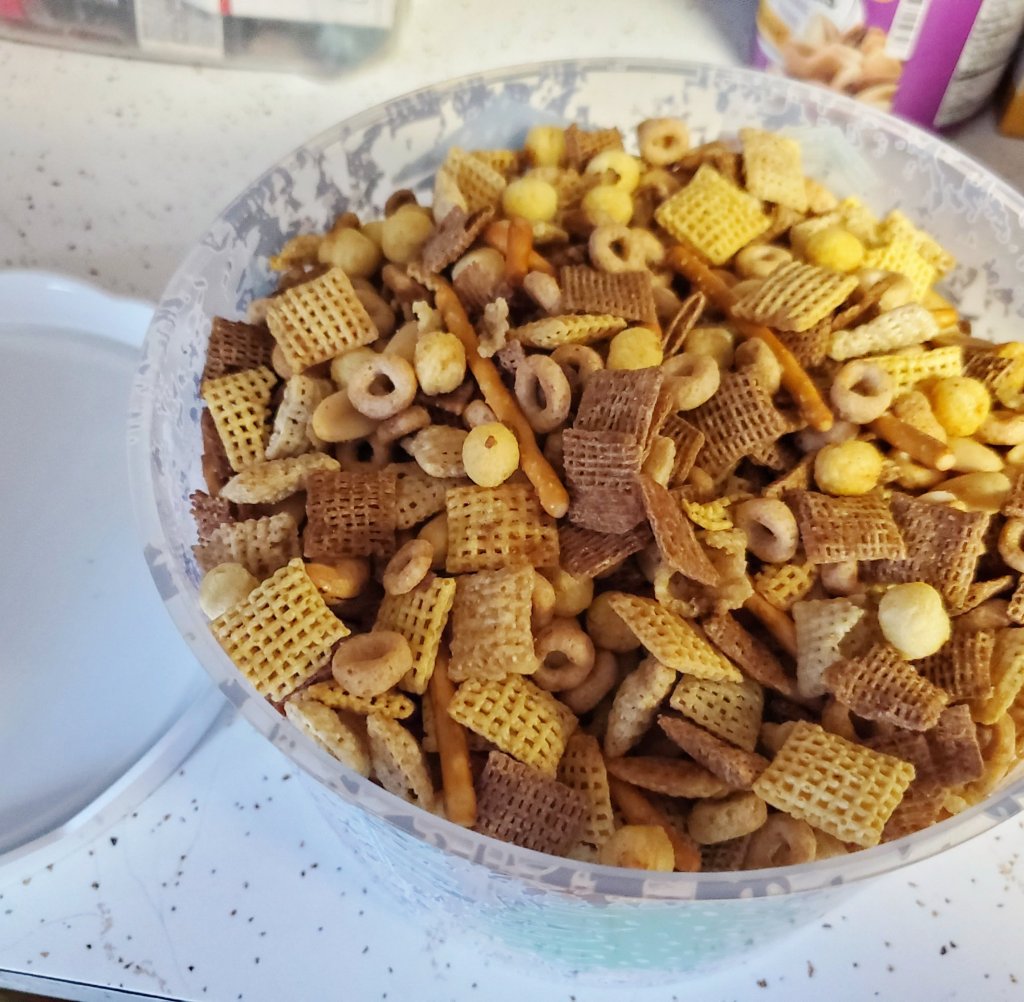
The Best Chex Mix
I have it. The Best. Chex. Mix. Recipe.
I promise.
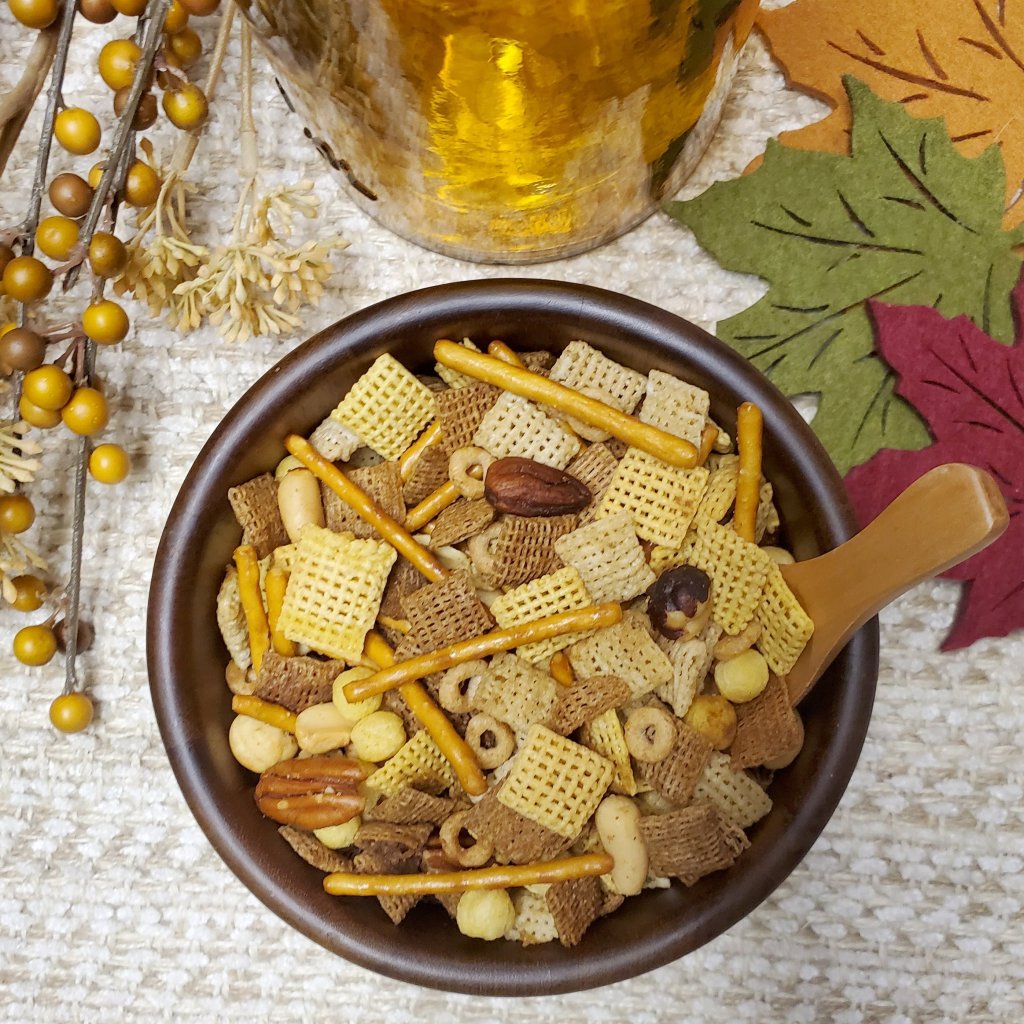
This recipe has been a family tradition since we were kids, and still is today for my kiddos. Its super easy and EVERYONE is a fan. We freeze a couple bags and it serves family, friends, guests, and gift recipients all season long. And is always welcomed.
I hope you all enjoy like we do!
1/2 c. Butter or Margarine
1 1/2 tsp. Seasoned Salt
4 1/2 tsp. Worchestershire Sauce
Sprinkle of Garlic Powder to taste
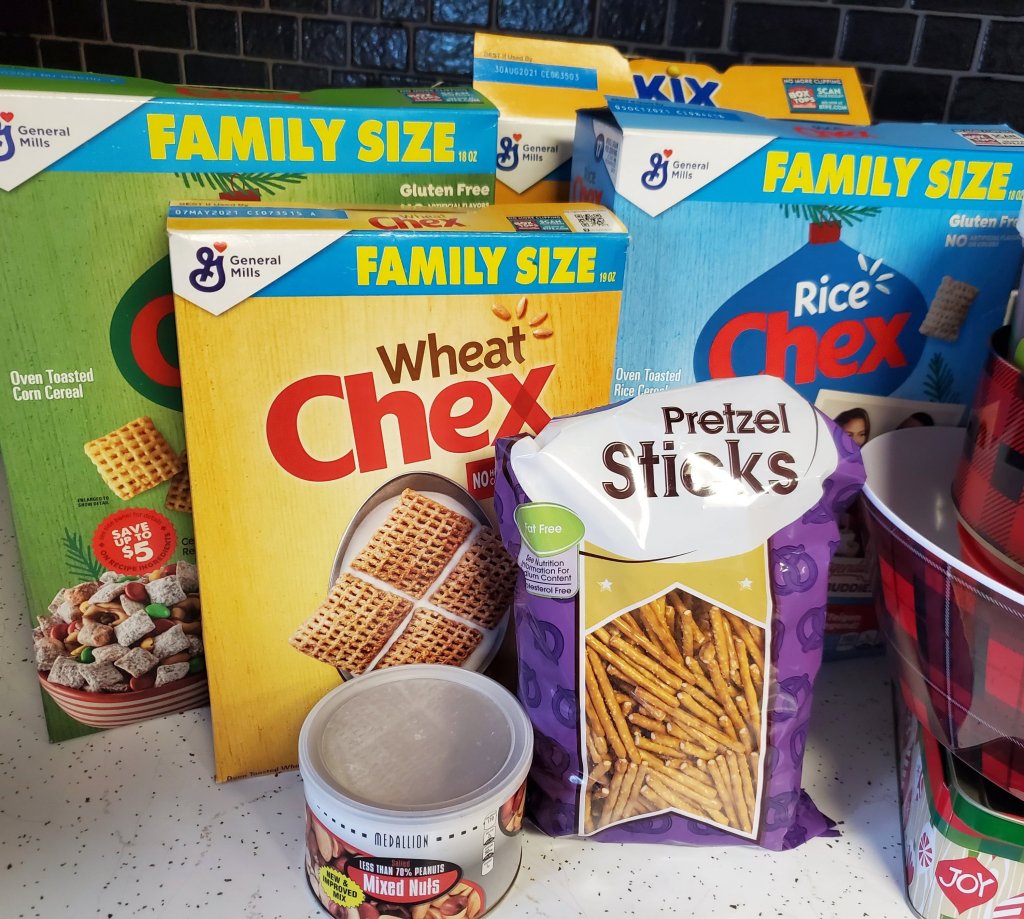
2 c. Corn Chex
2 c. Rice Chex
2 c. Wheat Chex
1 c. Cheerios
1 c. Pretzel Sticks
1 c. Mixed Nuts
1 c. Mix Cereal
Heat margarine at 250° in shallow roasting pan until melted. Remove and stir in seasoned salt and worchestershire sauce. Add cereal and nuts. Mix until all pieces are coated. Heat in oven 1 hour. Stir every 15 minutes. Spread to cool.
Best part is, it doubles well! Make a double batch and use a large pan. Easy!
Let me know what you think!
Jess,
XX
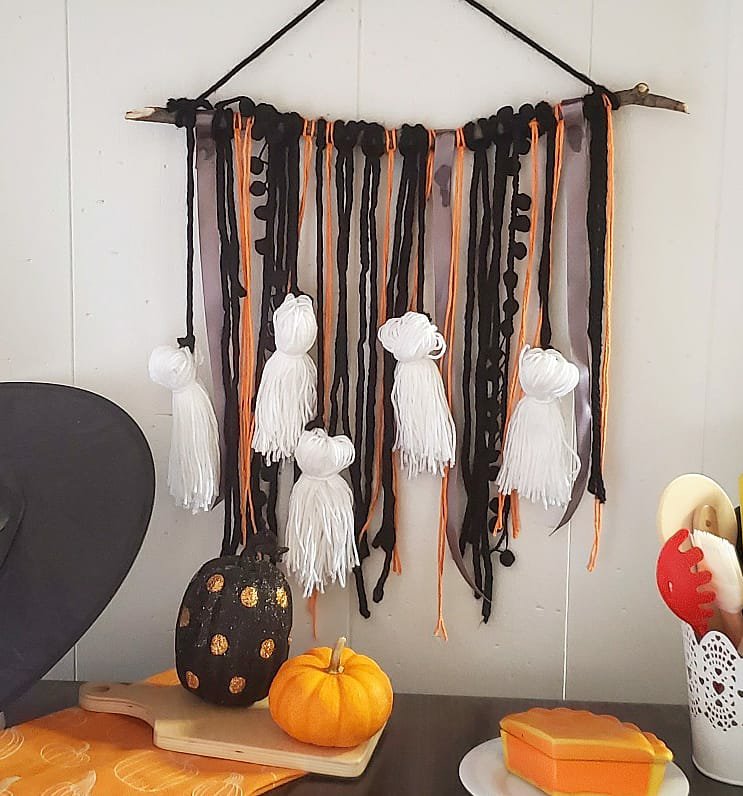
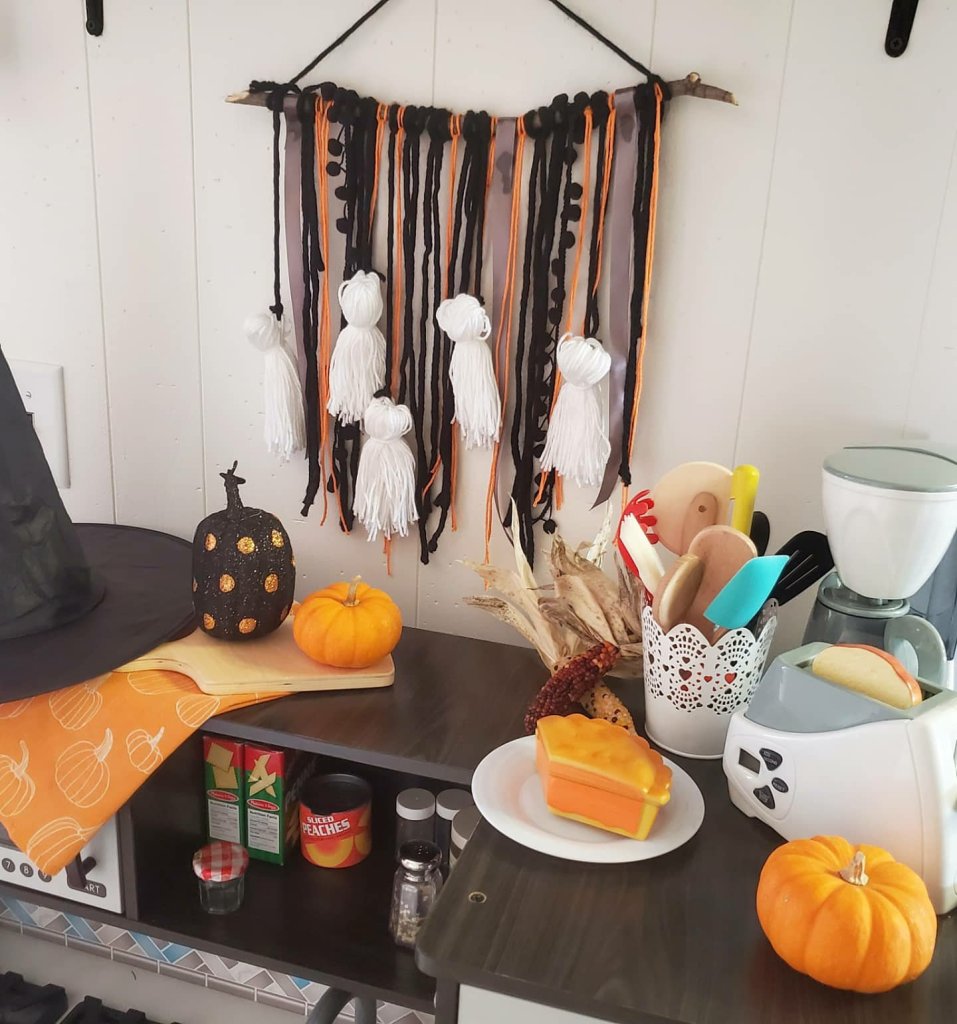
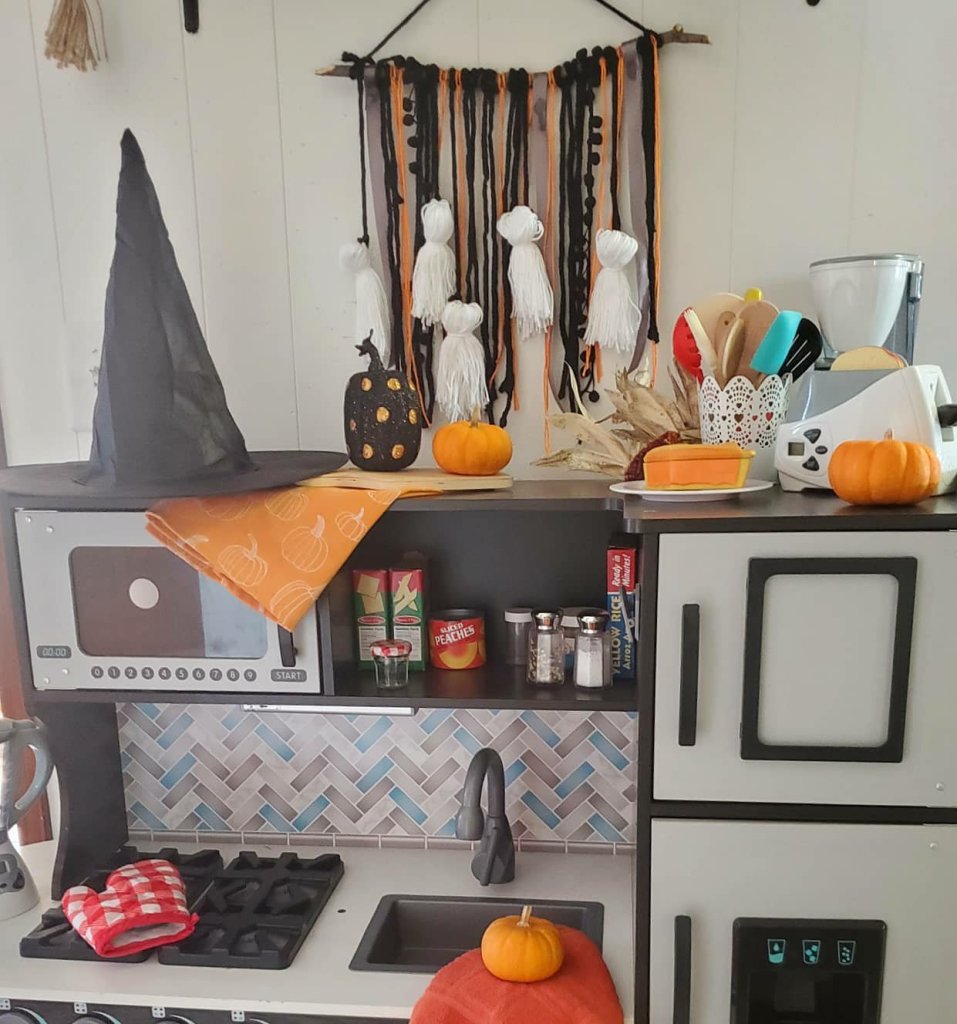
Quick and Easy Halloween DIY
Happy Spooky Season!
Maybe its that we’ve been cooped up way too long and missed too many “normal” things, I don’t know, but we are going all out extra for Halloween this year. Our house, or yard, our decor, even our snacks, have all gone completely spooky. I’m loving it!
If Halloween time is your thing, or even if it’s not so much, but you want to show the kiddos just a little festive fun, then I have a super easy and cute DIY project for you!
Faux Ghost Macrame Wall Hanging!
Supplies: -stick
-yarn and ribbons in various colors and textures
That’s it! Super easy, but such a cute payoff.
I cut the branch from a tree in the yard, even a dowel would work. Mine is a bit over a foot long. I started with it longer and then cut it off as I worked to make sure I knew I liked it. Decide how long you want things to hang. Mine is all random lengths, but around 14-16 inches. When you cut your pieces of yard, double this. You will fold them in half. I eyeball all of this and er on the long side. You can trim them down later.

With the piece of yarn folded in half, lay it over the stick. Bring your looped end under the stick, then stick the ends back through the loop and pull tight. Viola! I glued the ribbon together in the back around the stick instead of this method so as not to crease it. I love the ball tassel ribbon to give texture too and tied these in a knot around the stick.
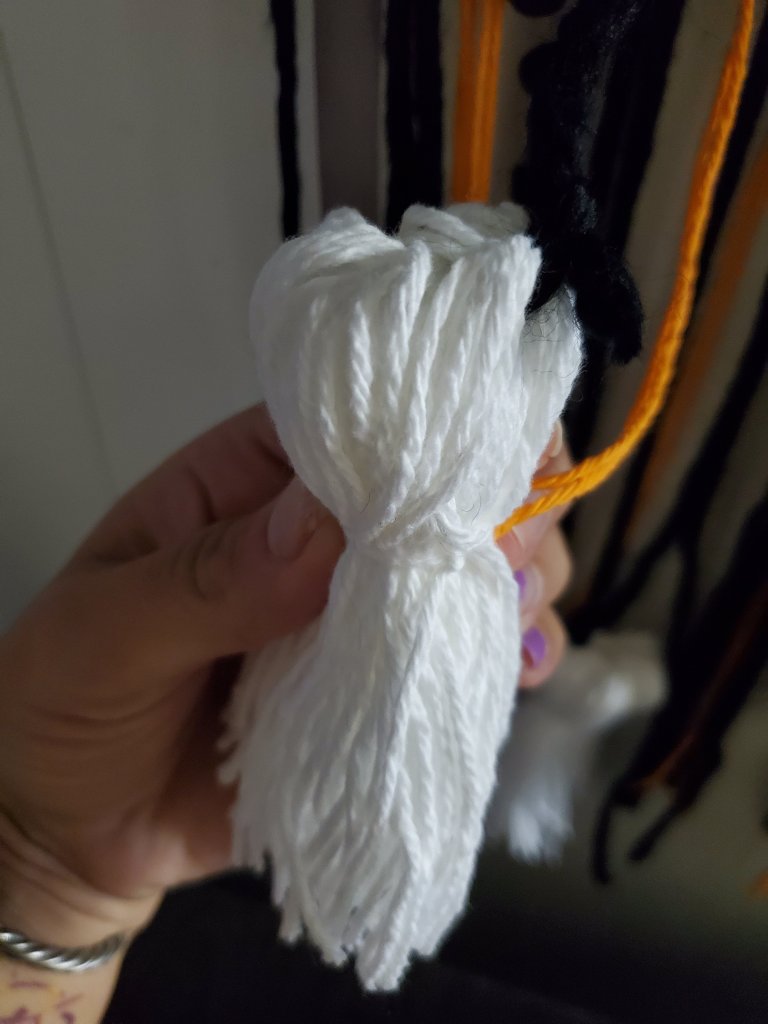
The ghosts. Also simple. Wrap white yarn around a book about 50 times. Cut the strings on each end of the book and keep them in a bunch. Fold the bunch over and tie a piece of yarn around it. I took black yarn through a small chunk of the white ghost head yarn on each side and tied this together in back and then tied the black to the stick.
There is no right or wrong with any of this! Keep it fun and super simple. You could glue eyes and mouth on the ghosts too if you want! You can add more or less pieces to the stick too.
Enjoy! 😉
Xx,
Jess
Muscatine Iowa Area Sightseeing
Summer is here! We’ve been quarantined long enough, so we are off to see all the sights, but distantly! So, we thought we would round up some of the things to do and see outside and at a distance, here in Muscatine area, Iowa. Enjoy!
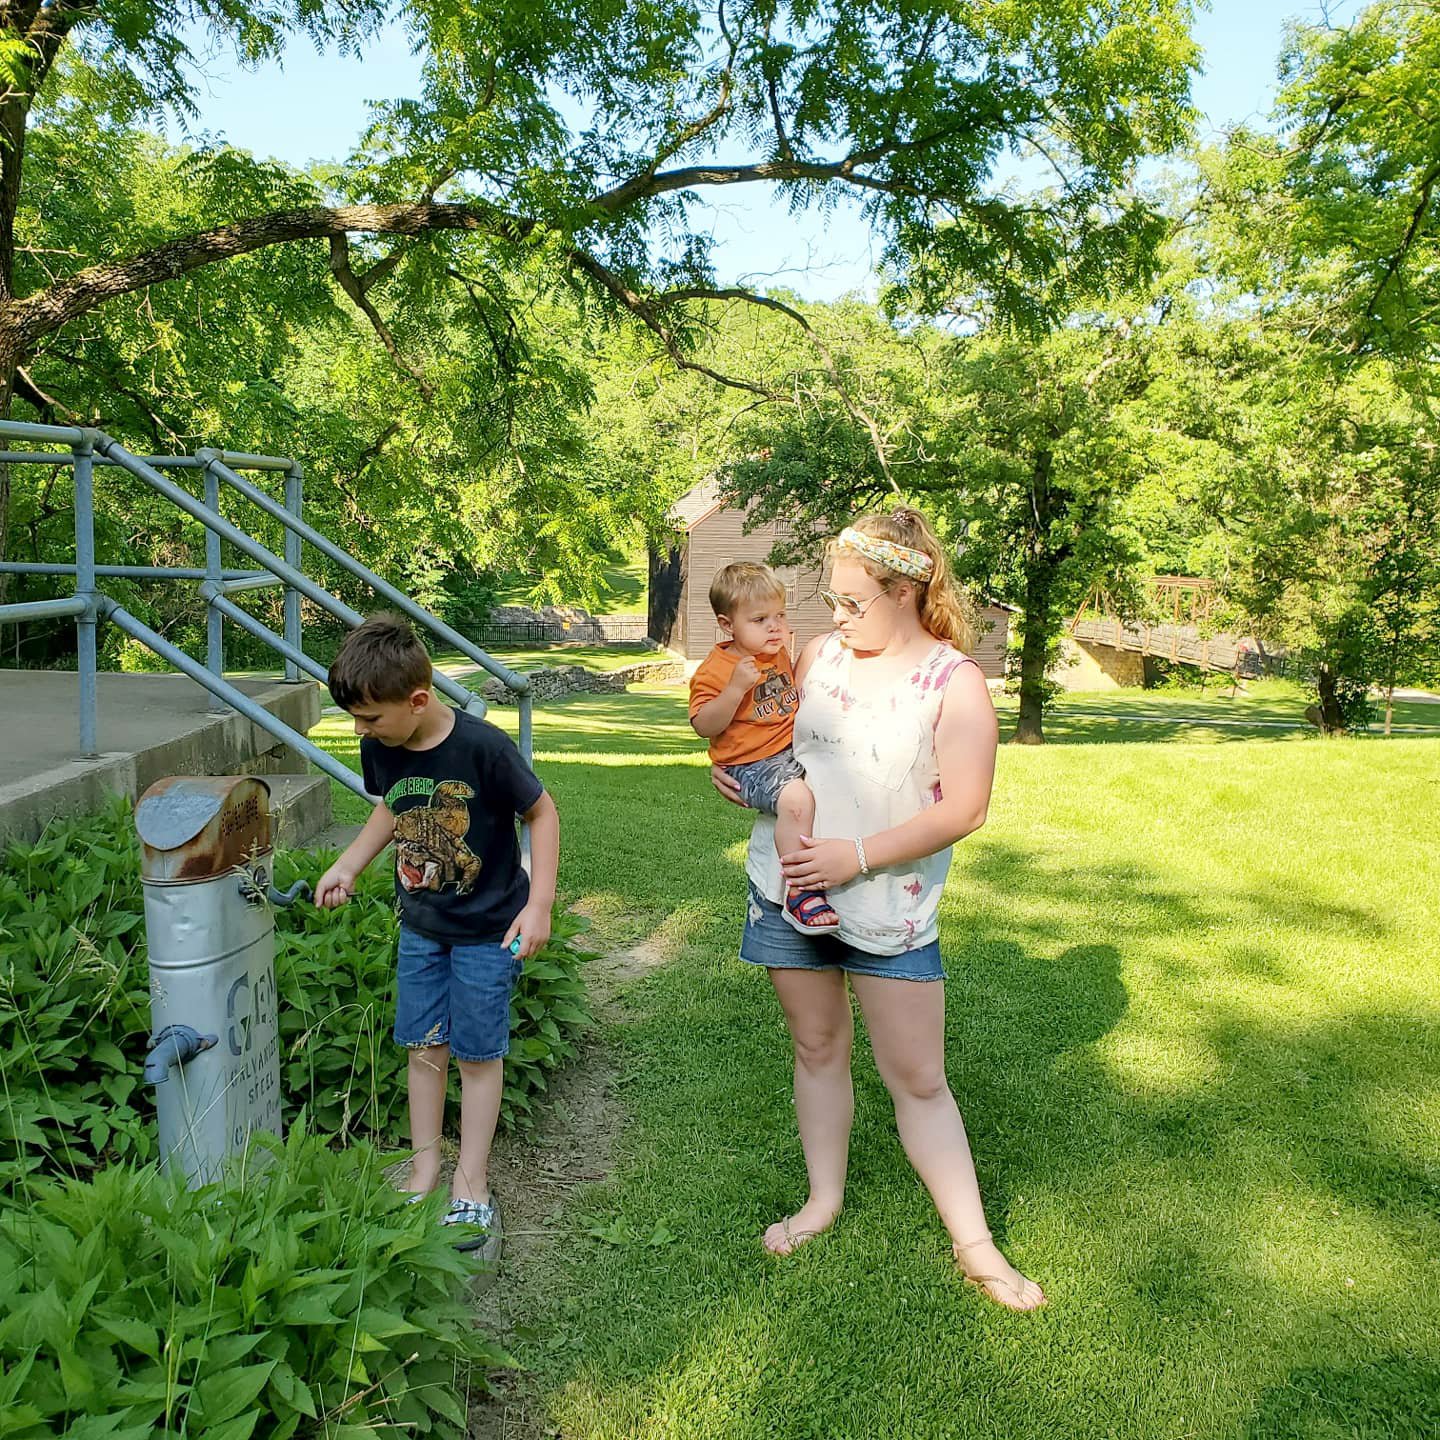
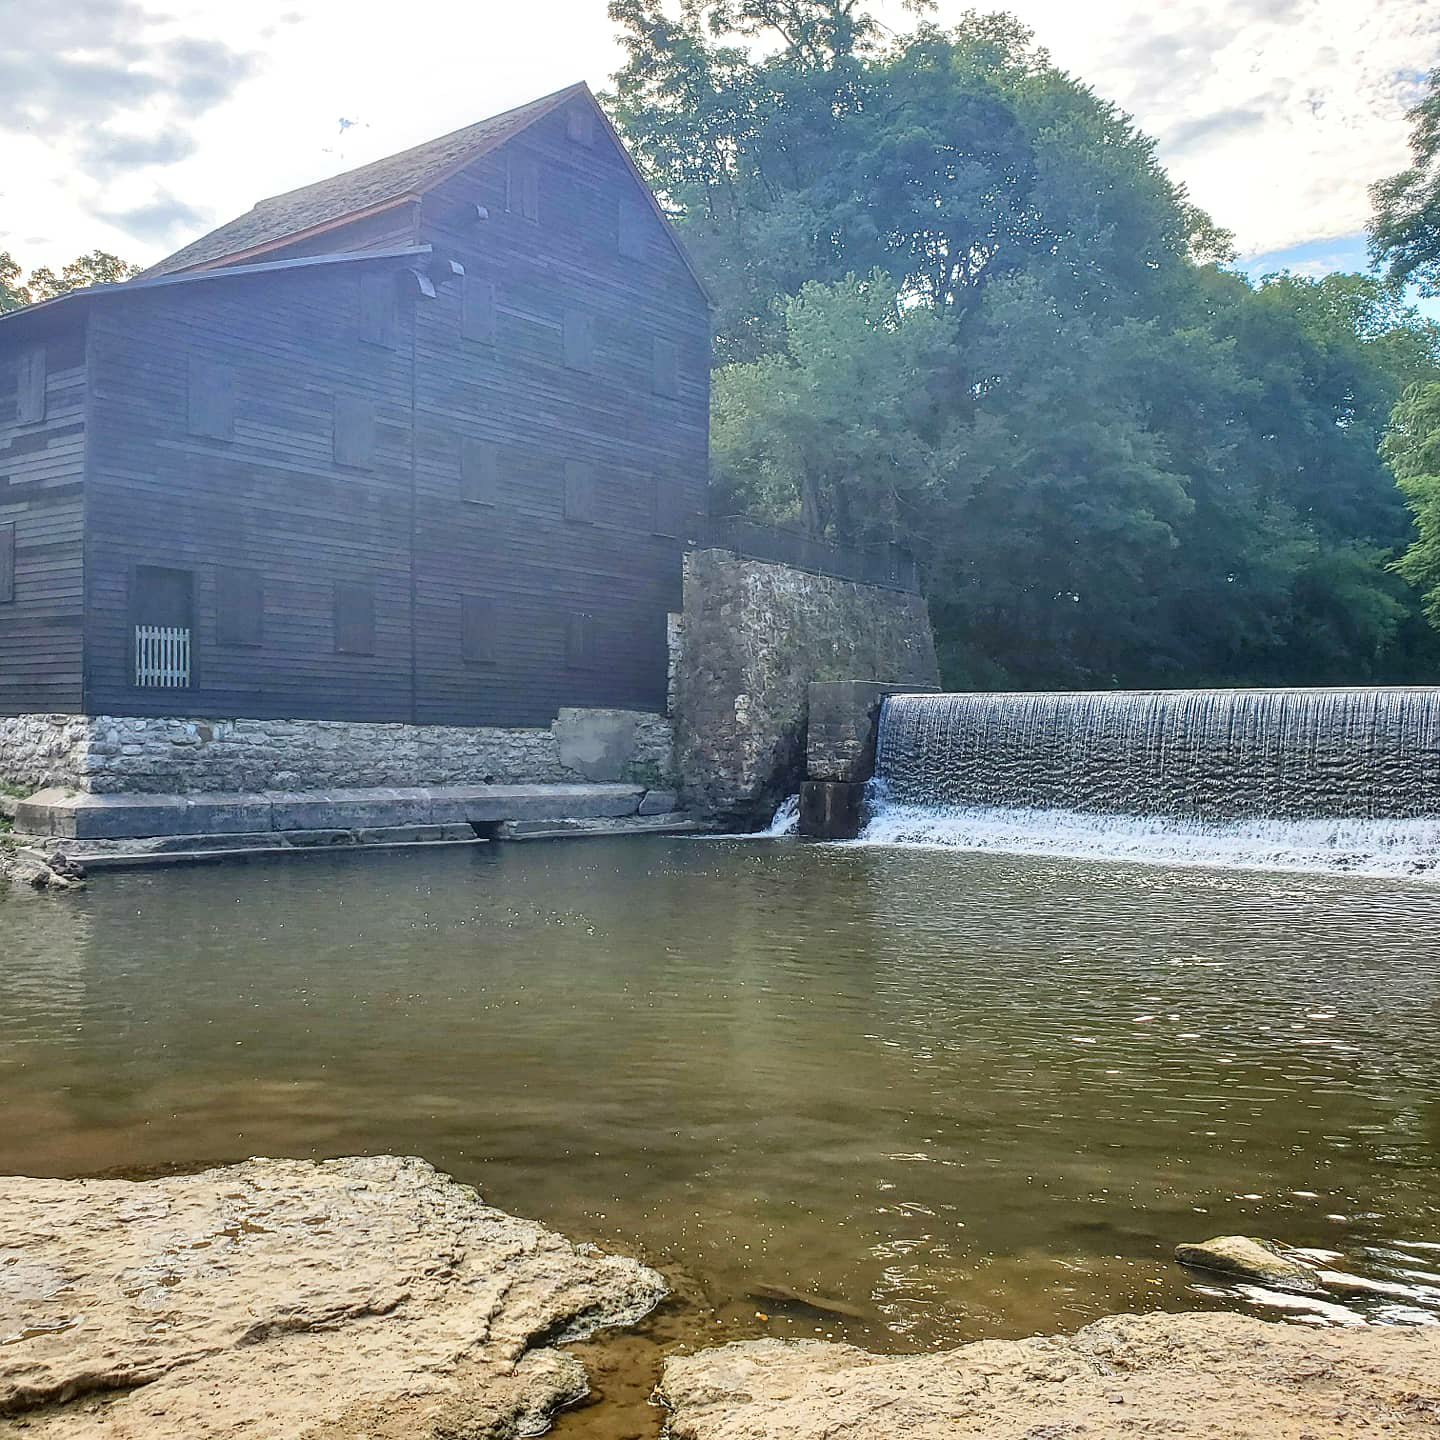
1. Wilcat Den and Saw Mill- this is one of my family’s favorites in the area. Its historic and beautiful and there is plenty to do here! You can camp or stop for the day, hike the many trails, and explore the historic buildings. There is a school and an old church and even a mill. The old bridge over the stream at the mill is a gorgeous sight to behold. PLUS… you can swim in the stream and go up to the waterfall! Its an amazing experience and the whole family loves doing it!


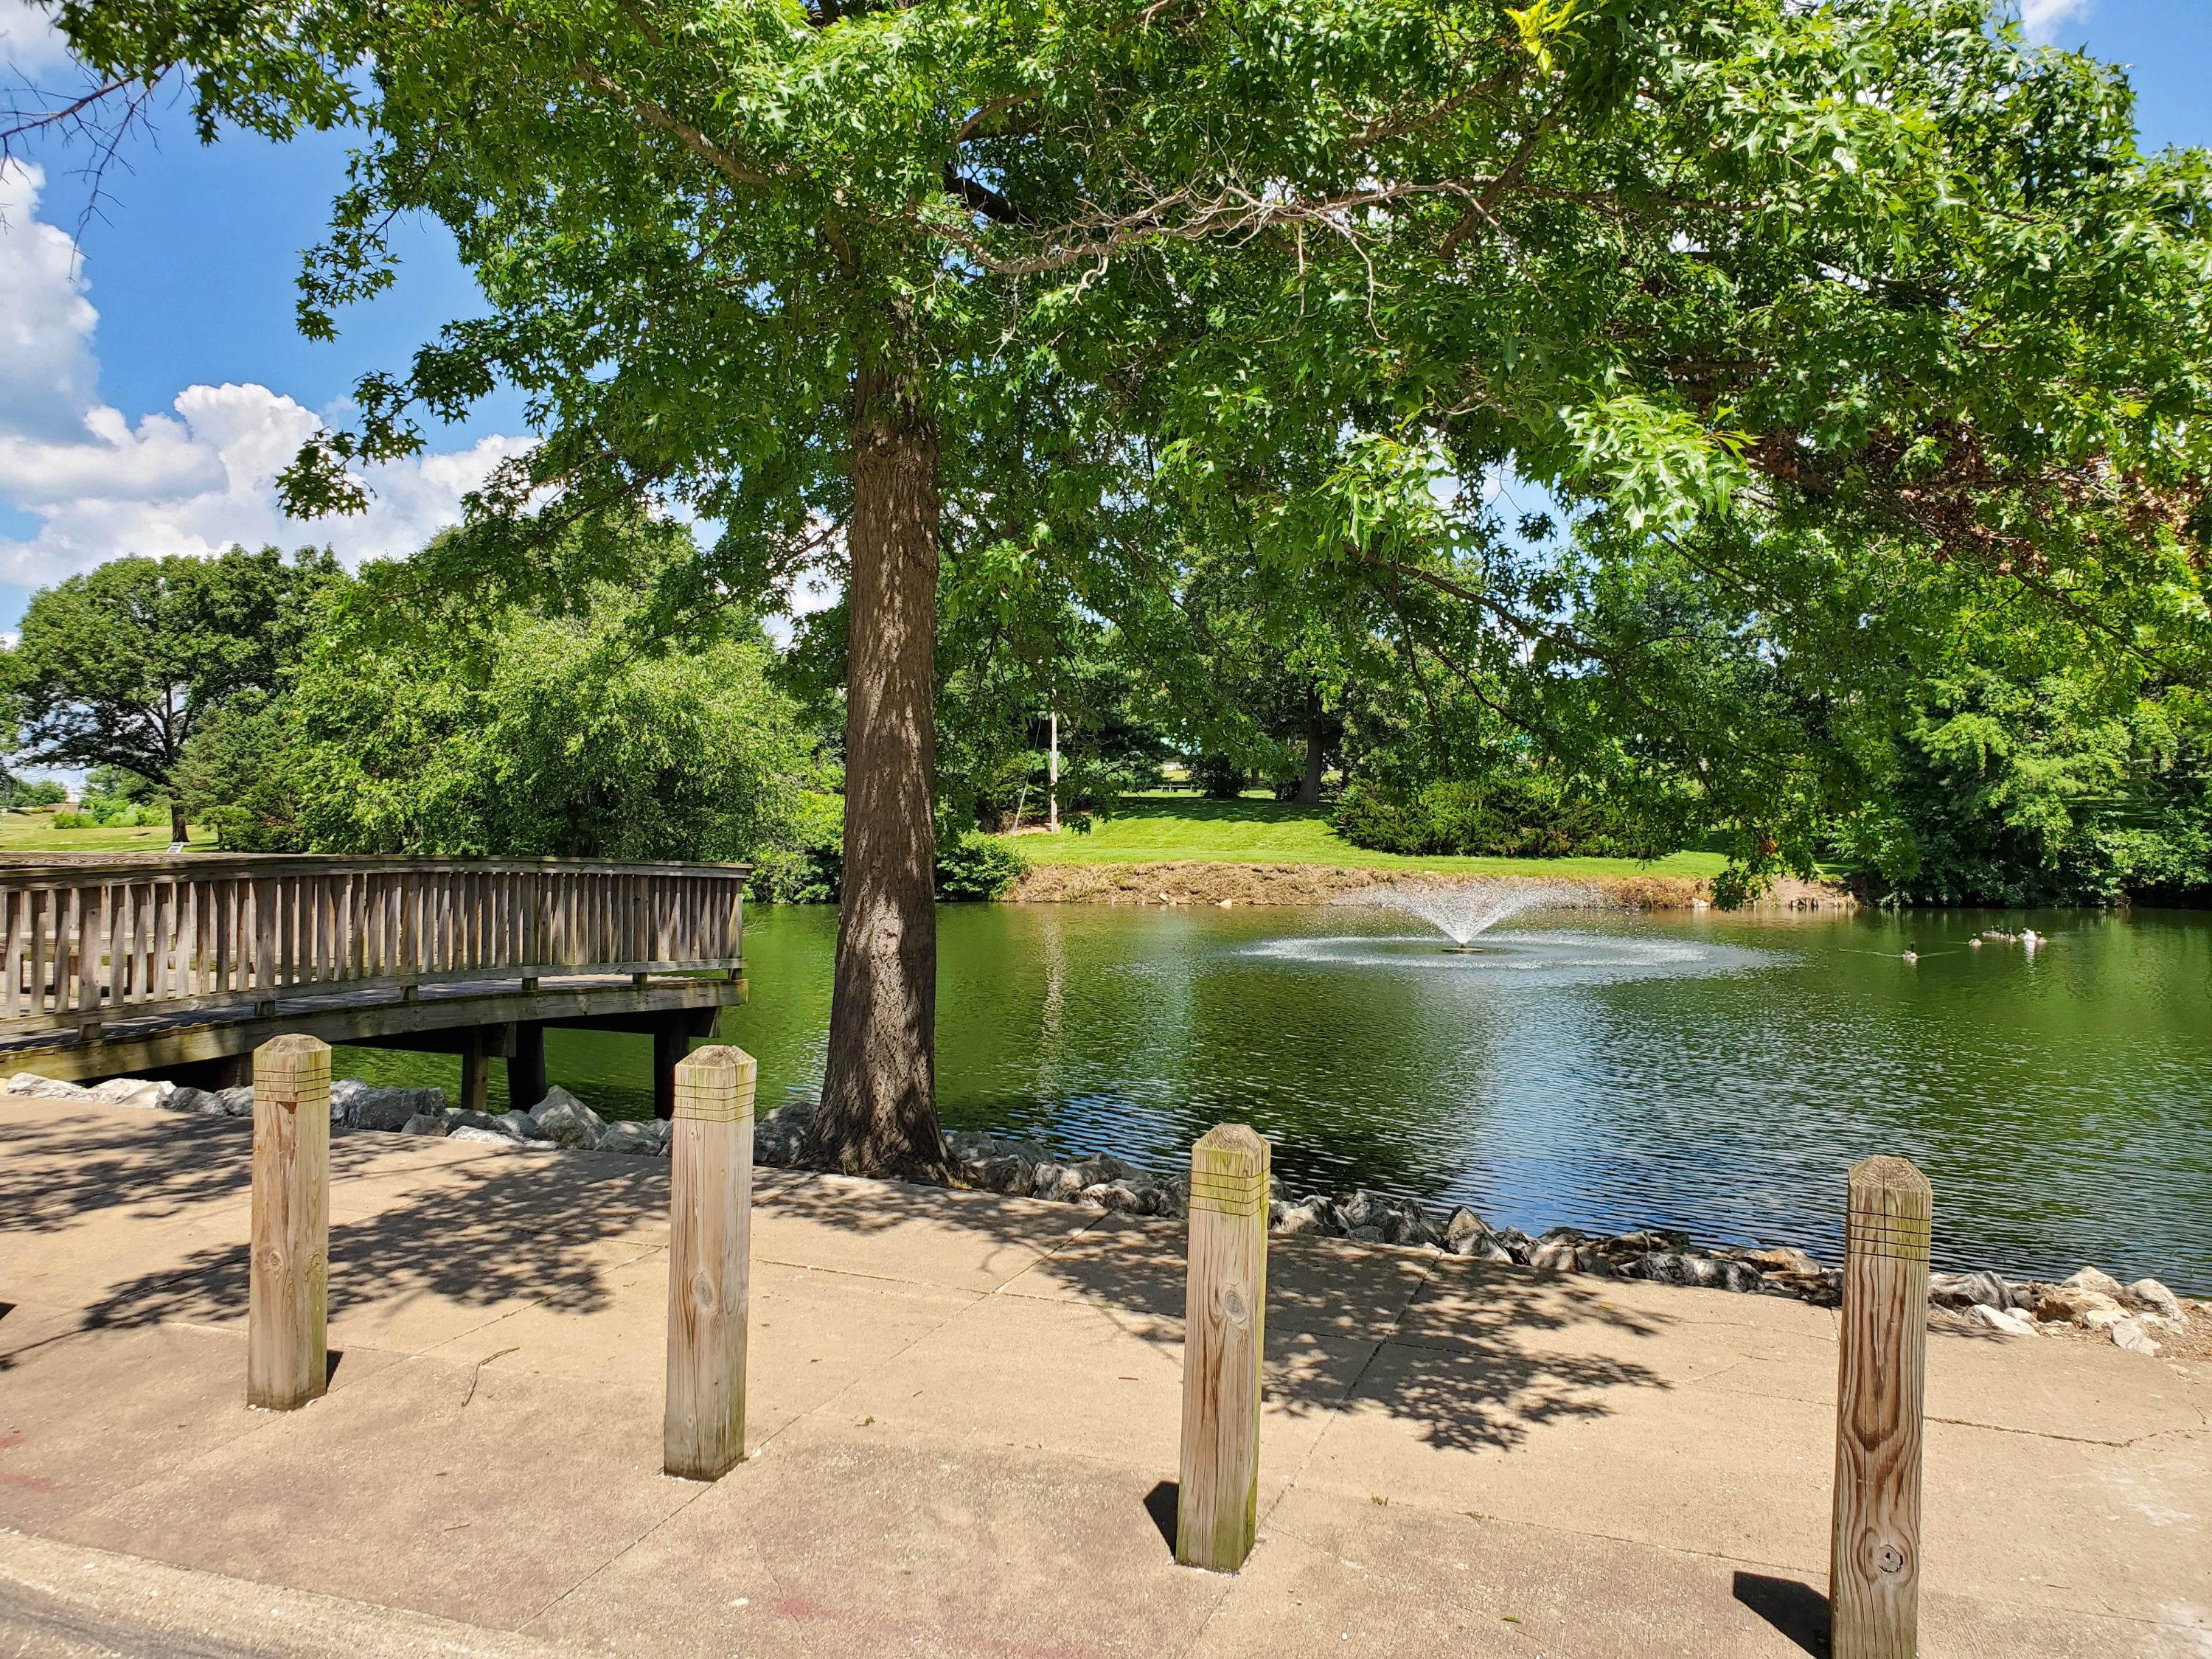
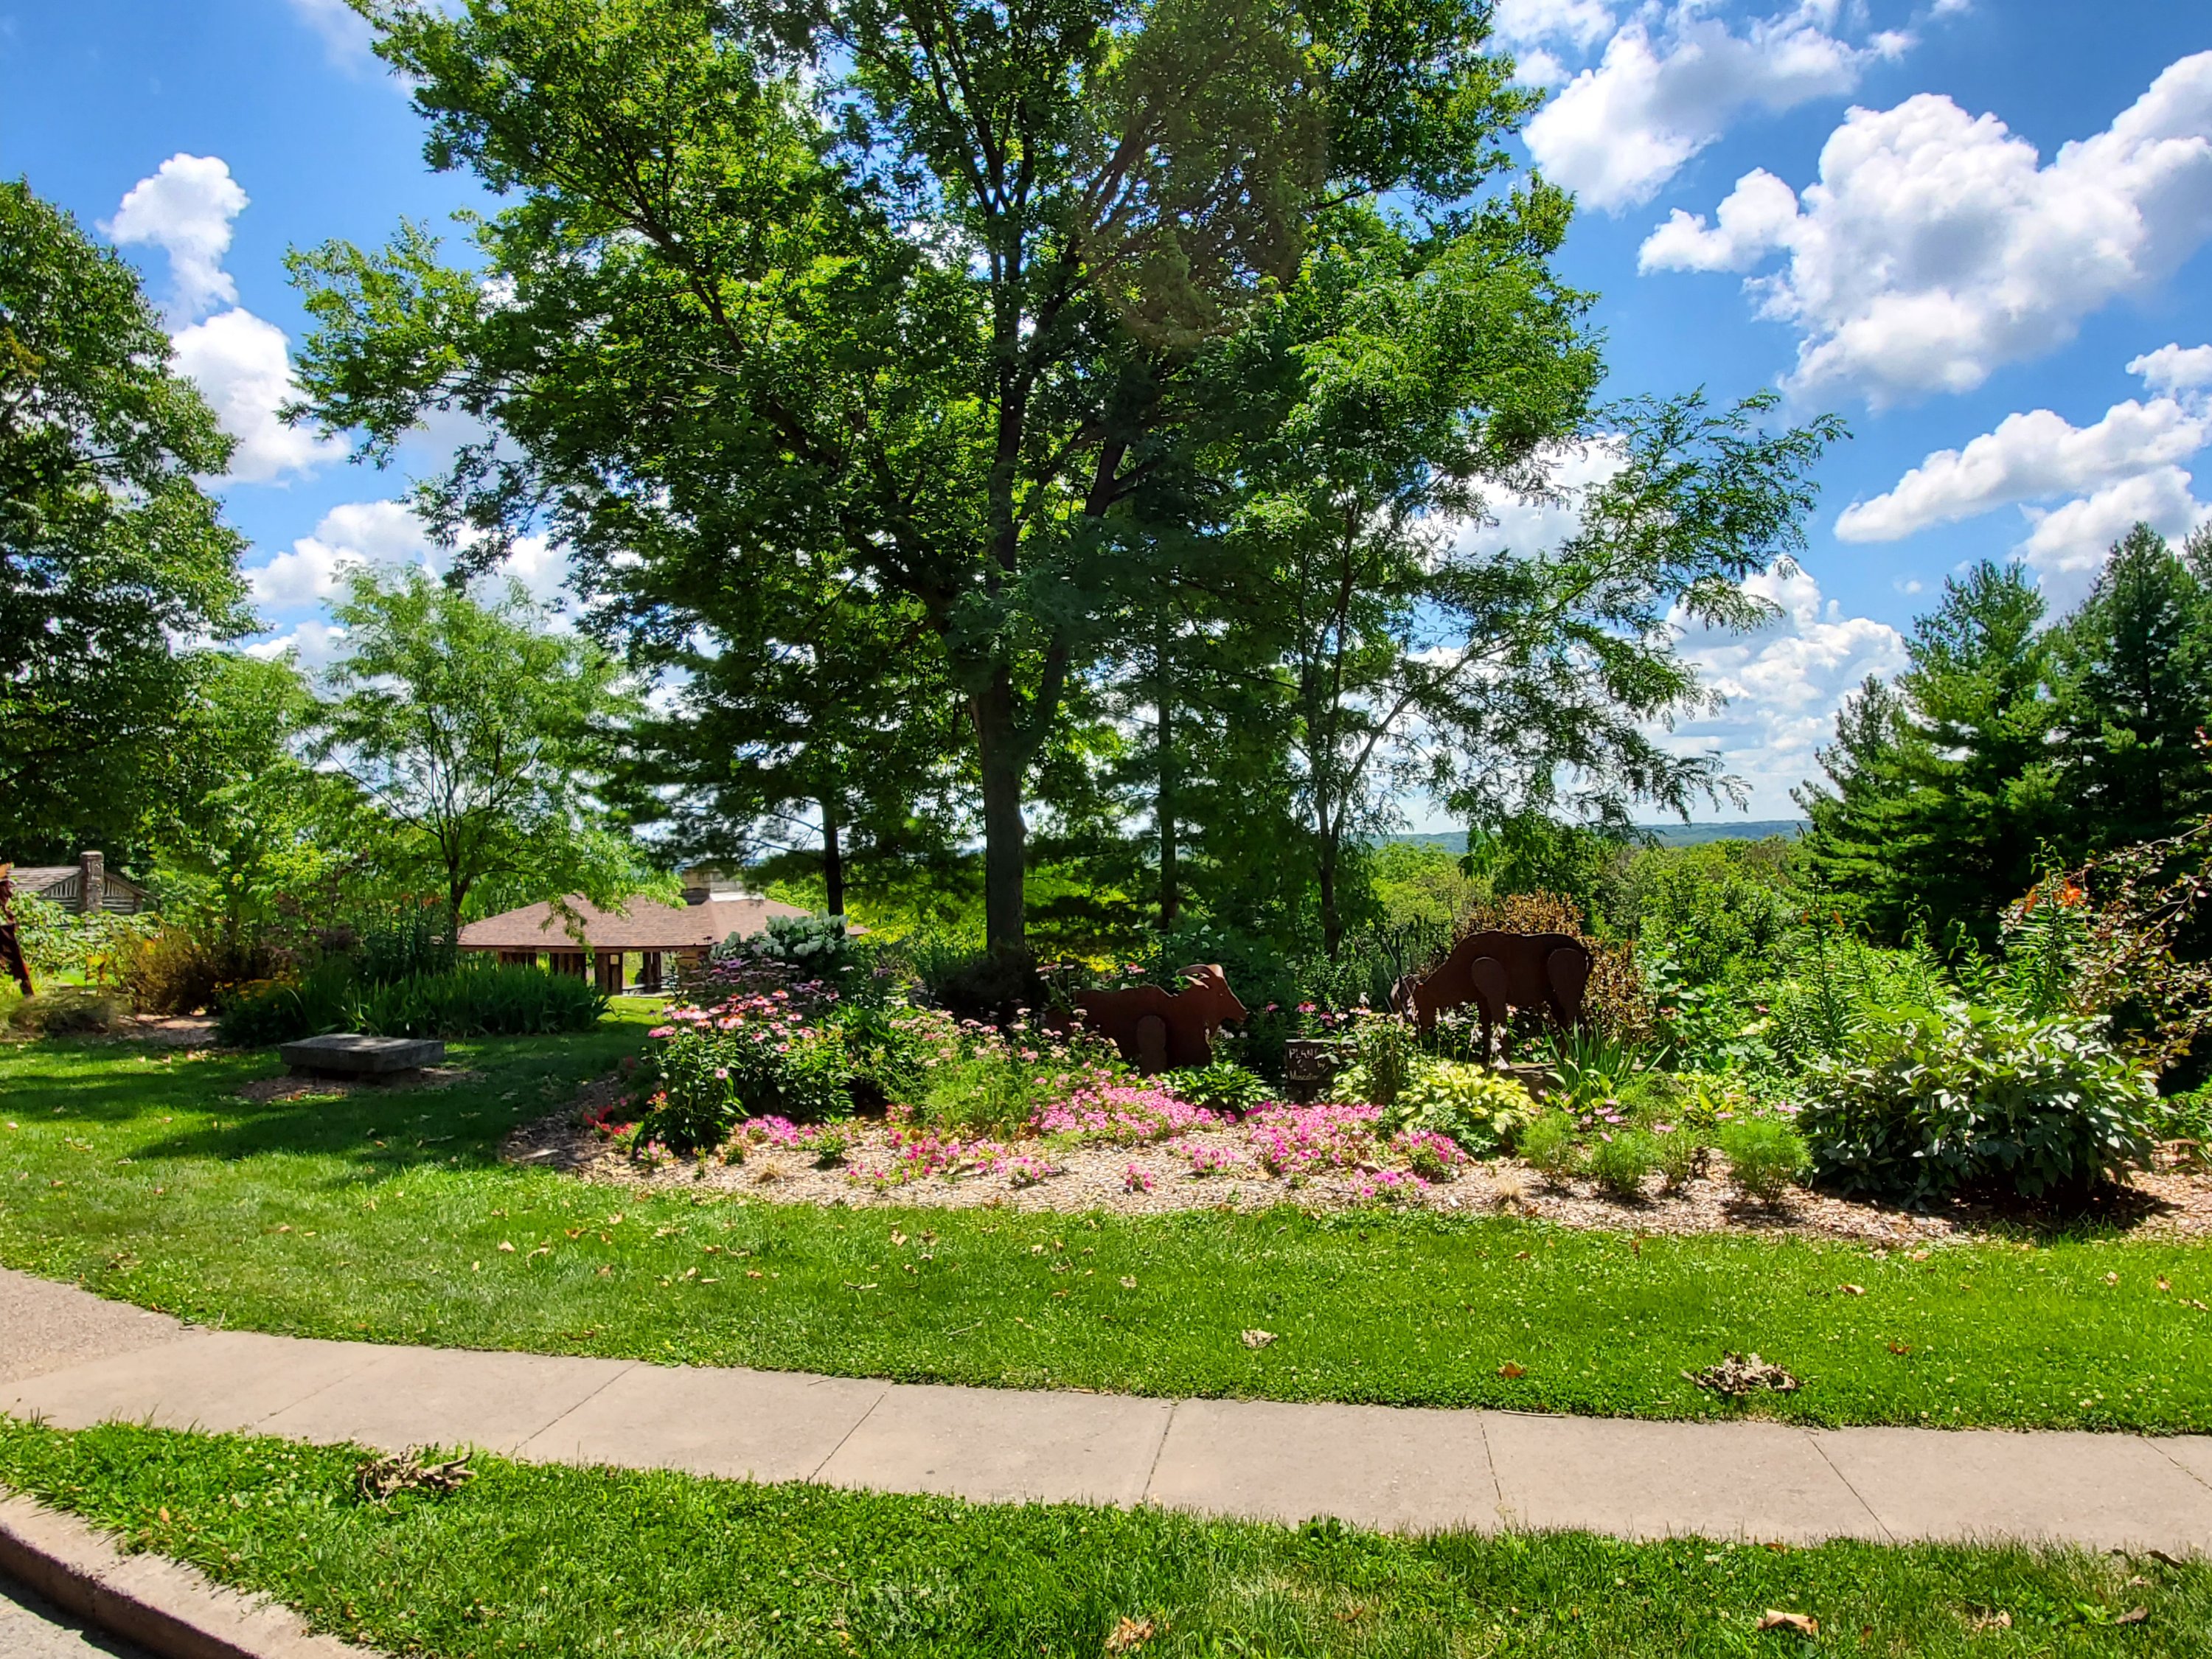
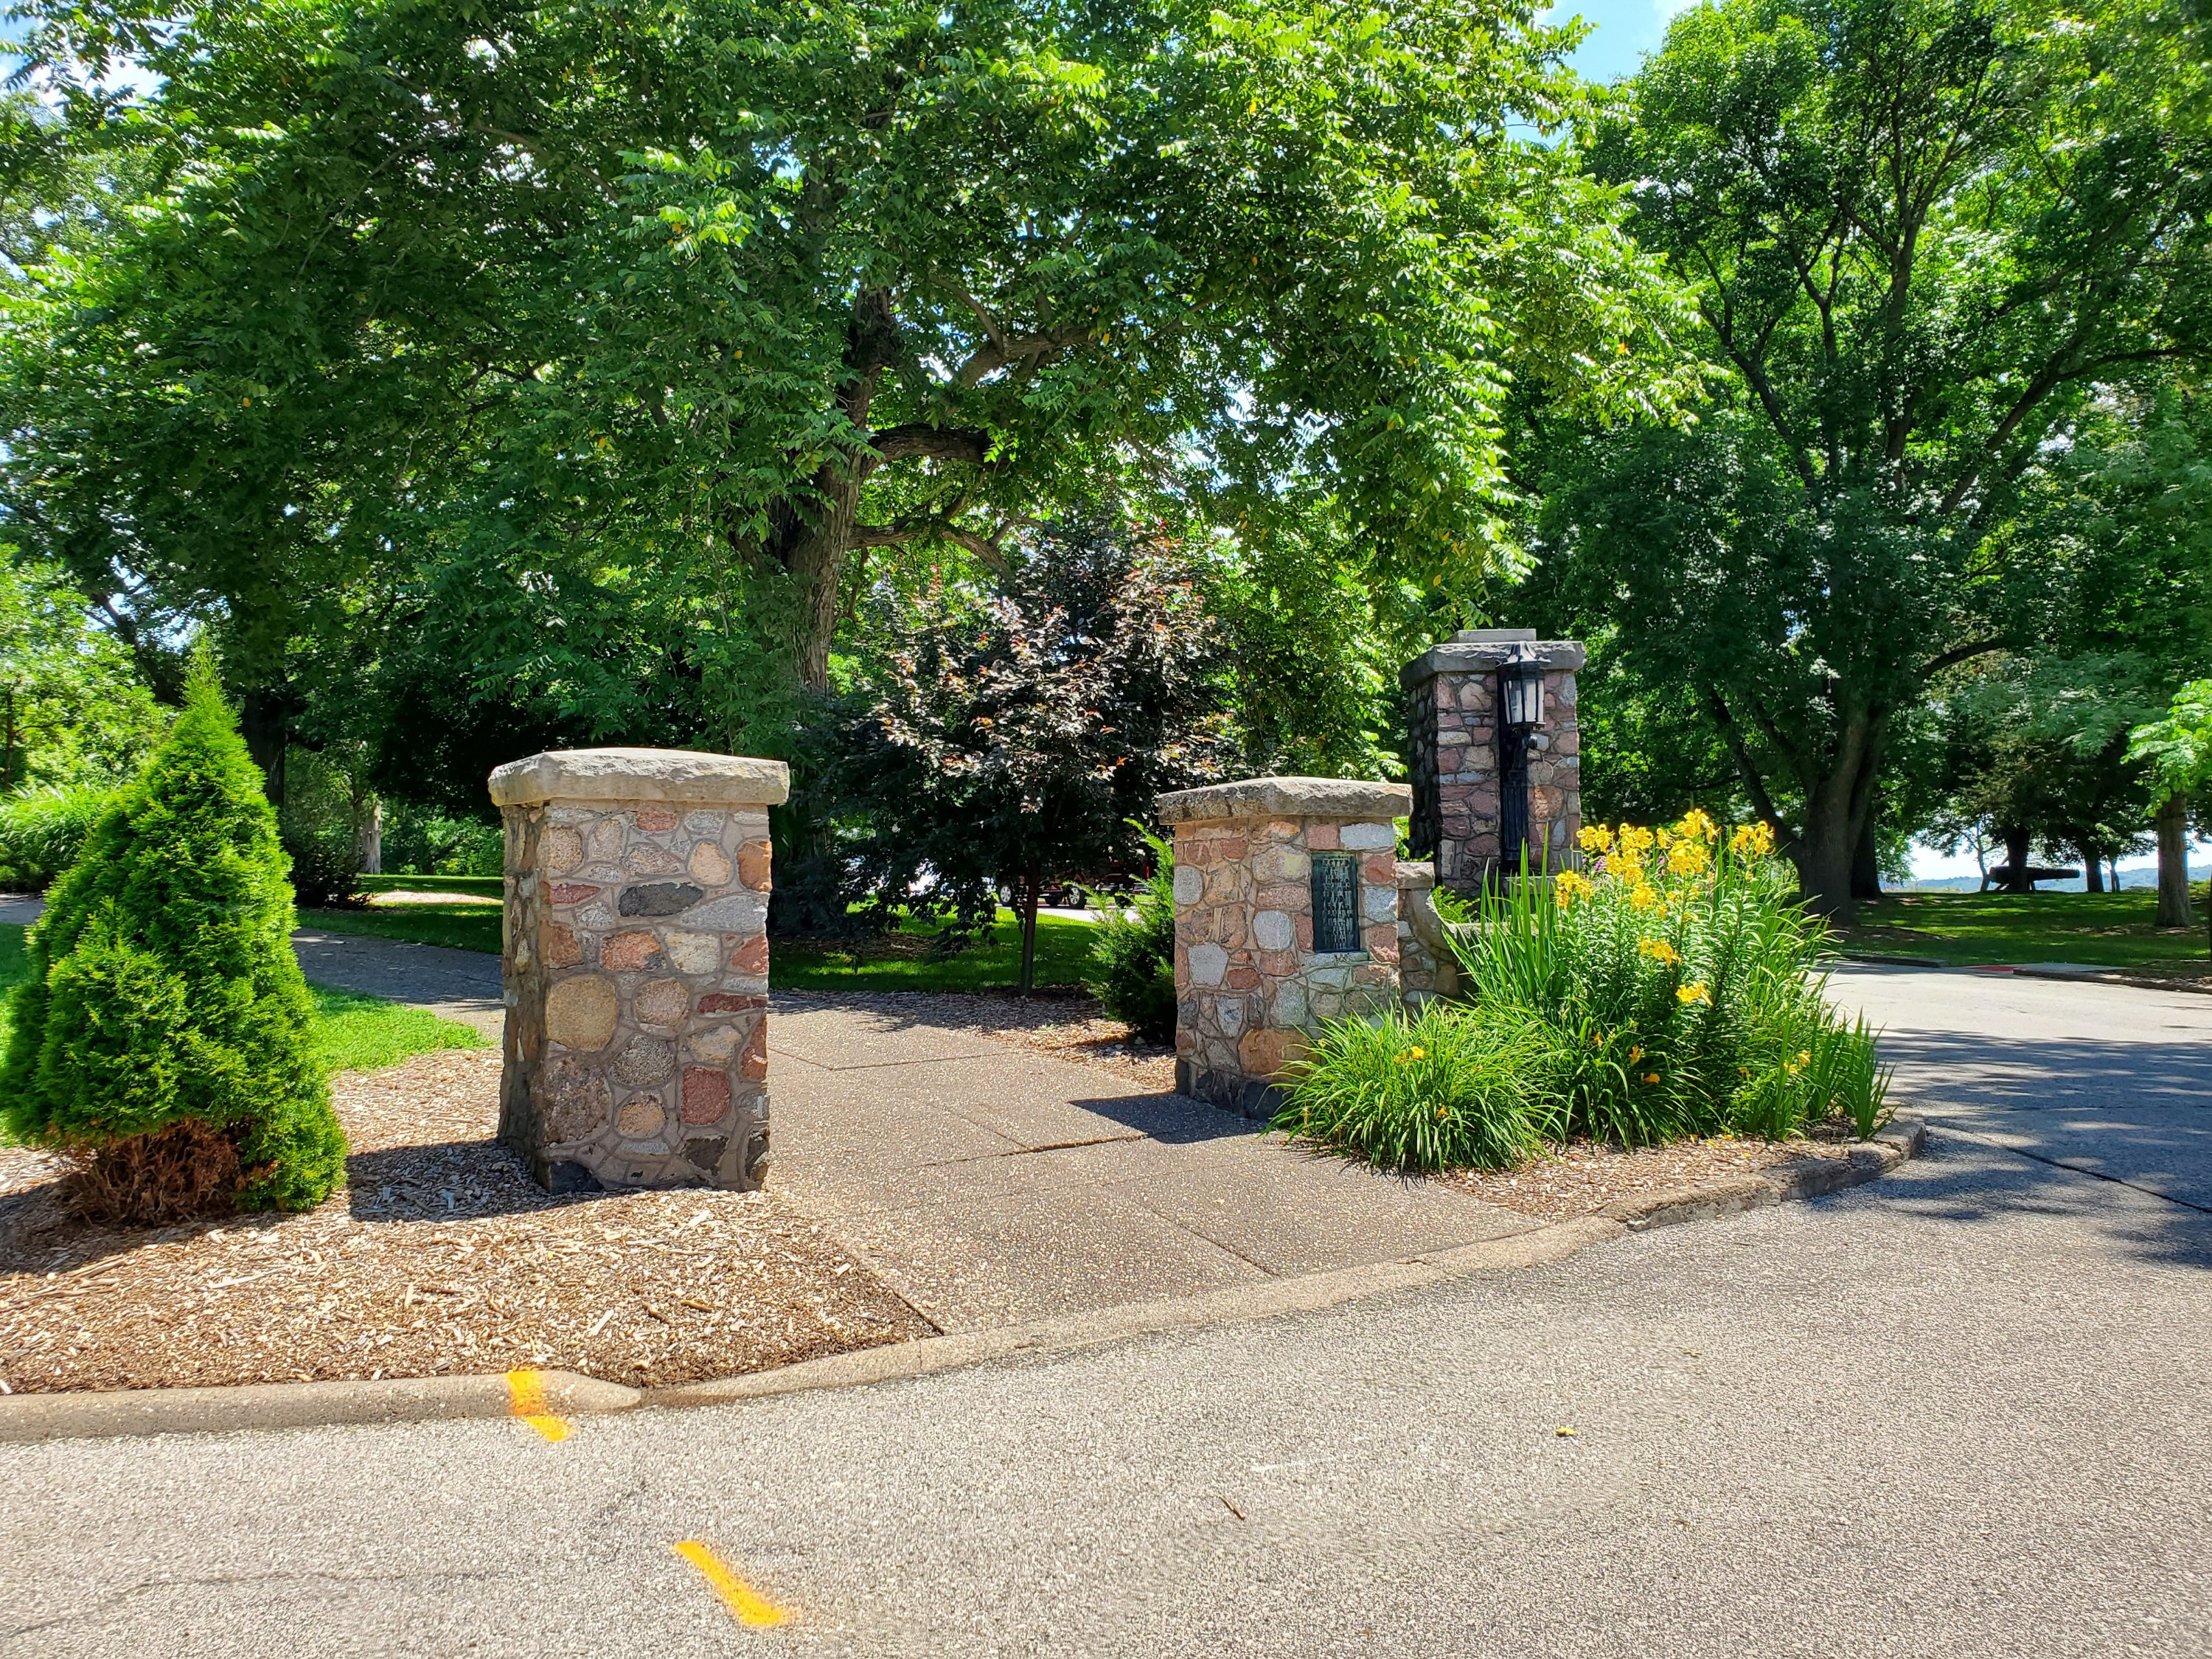
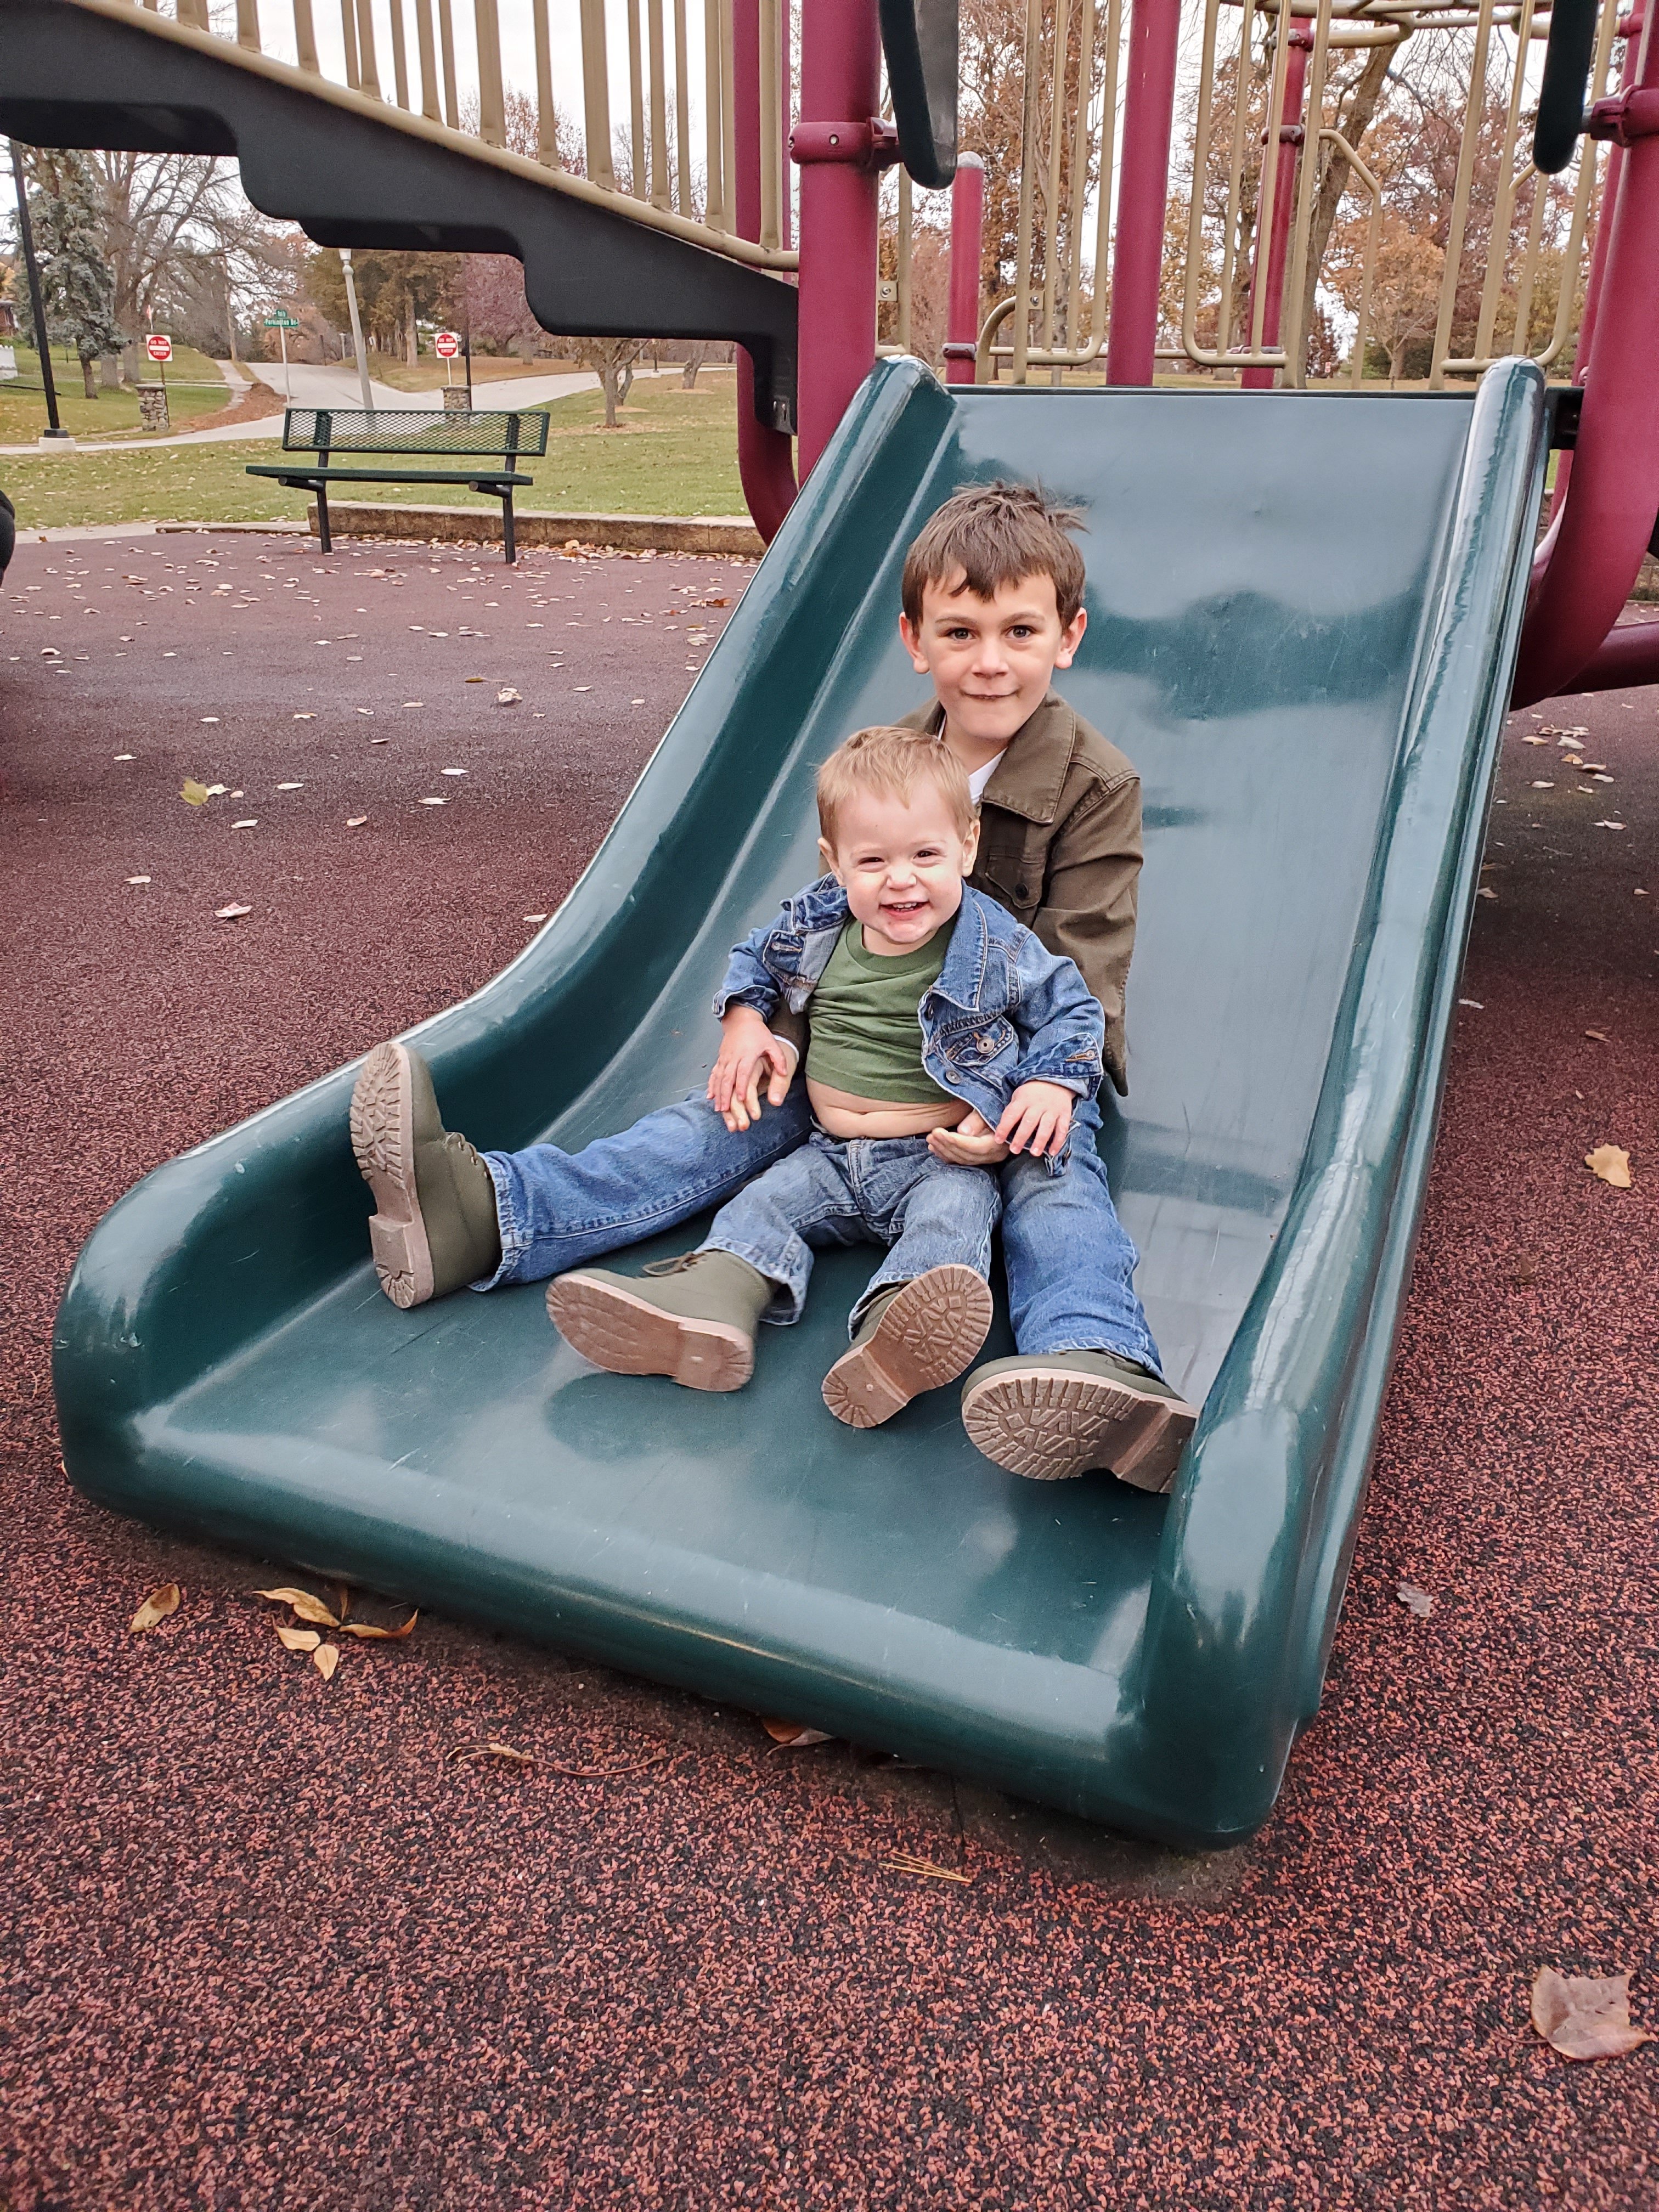
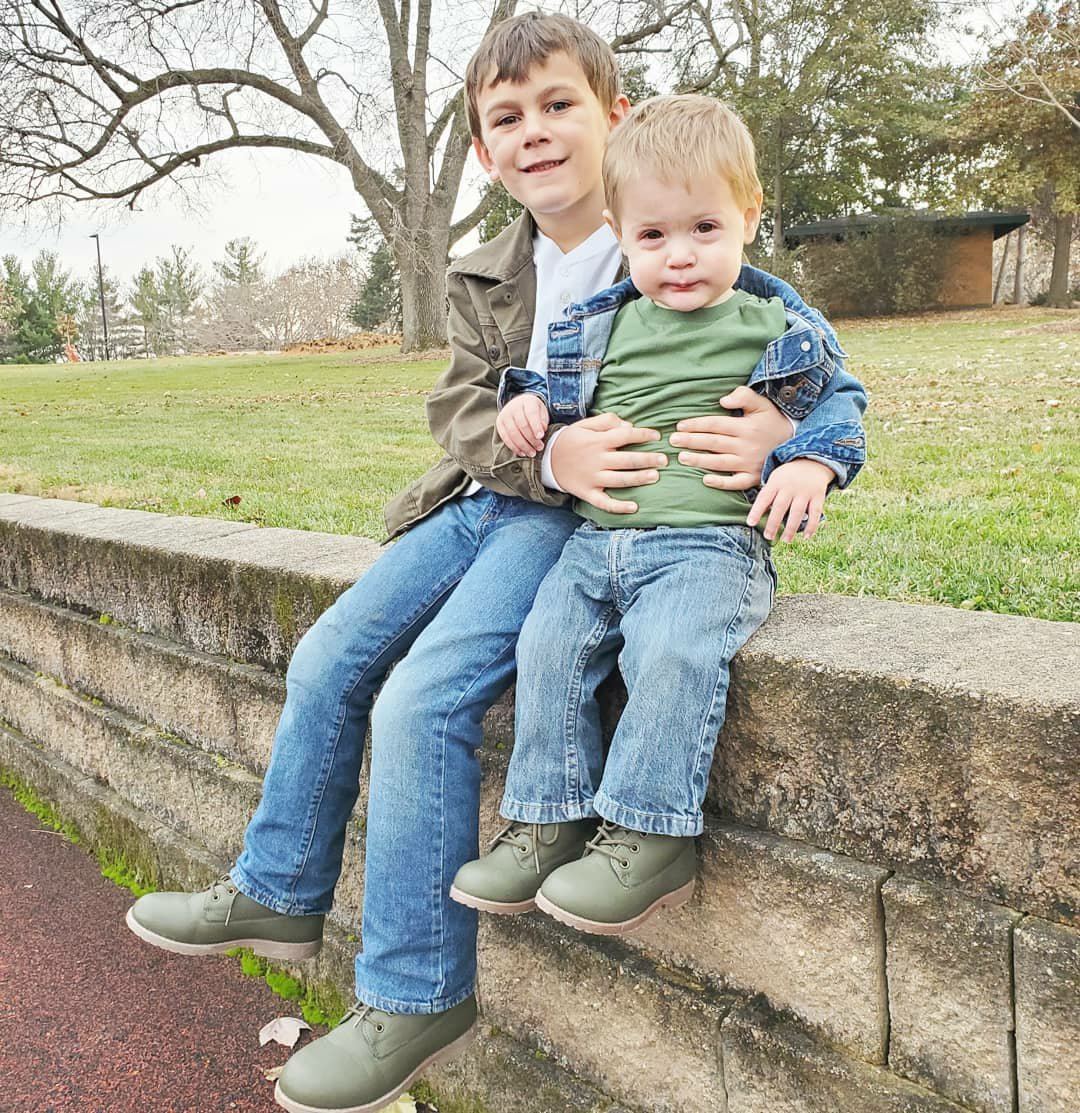
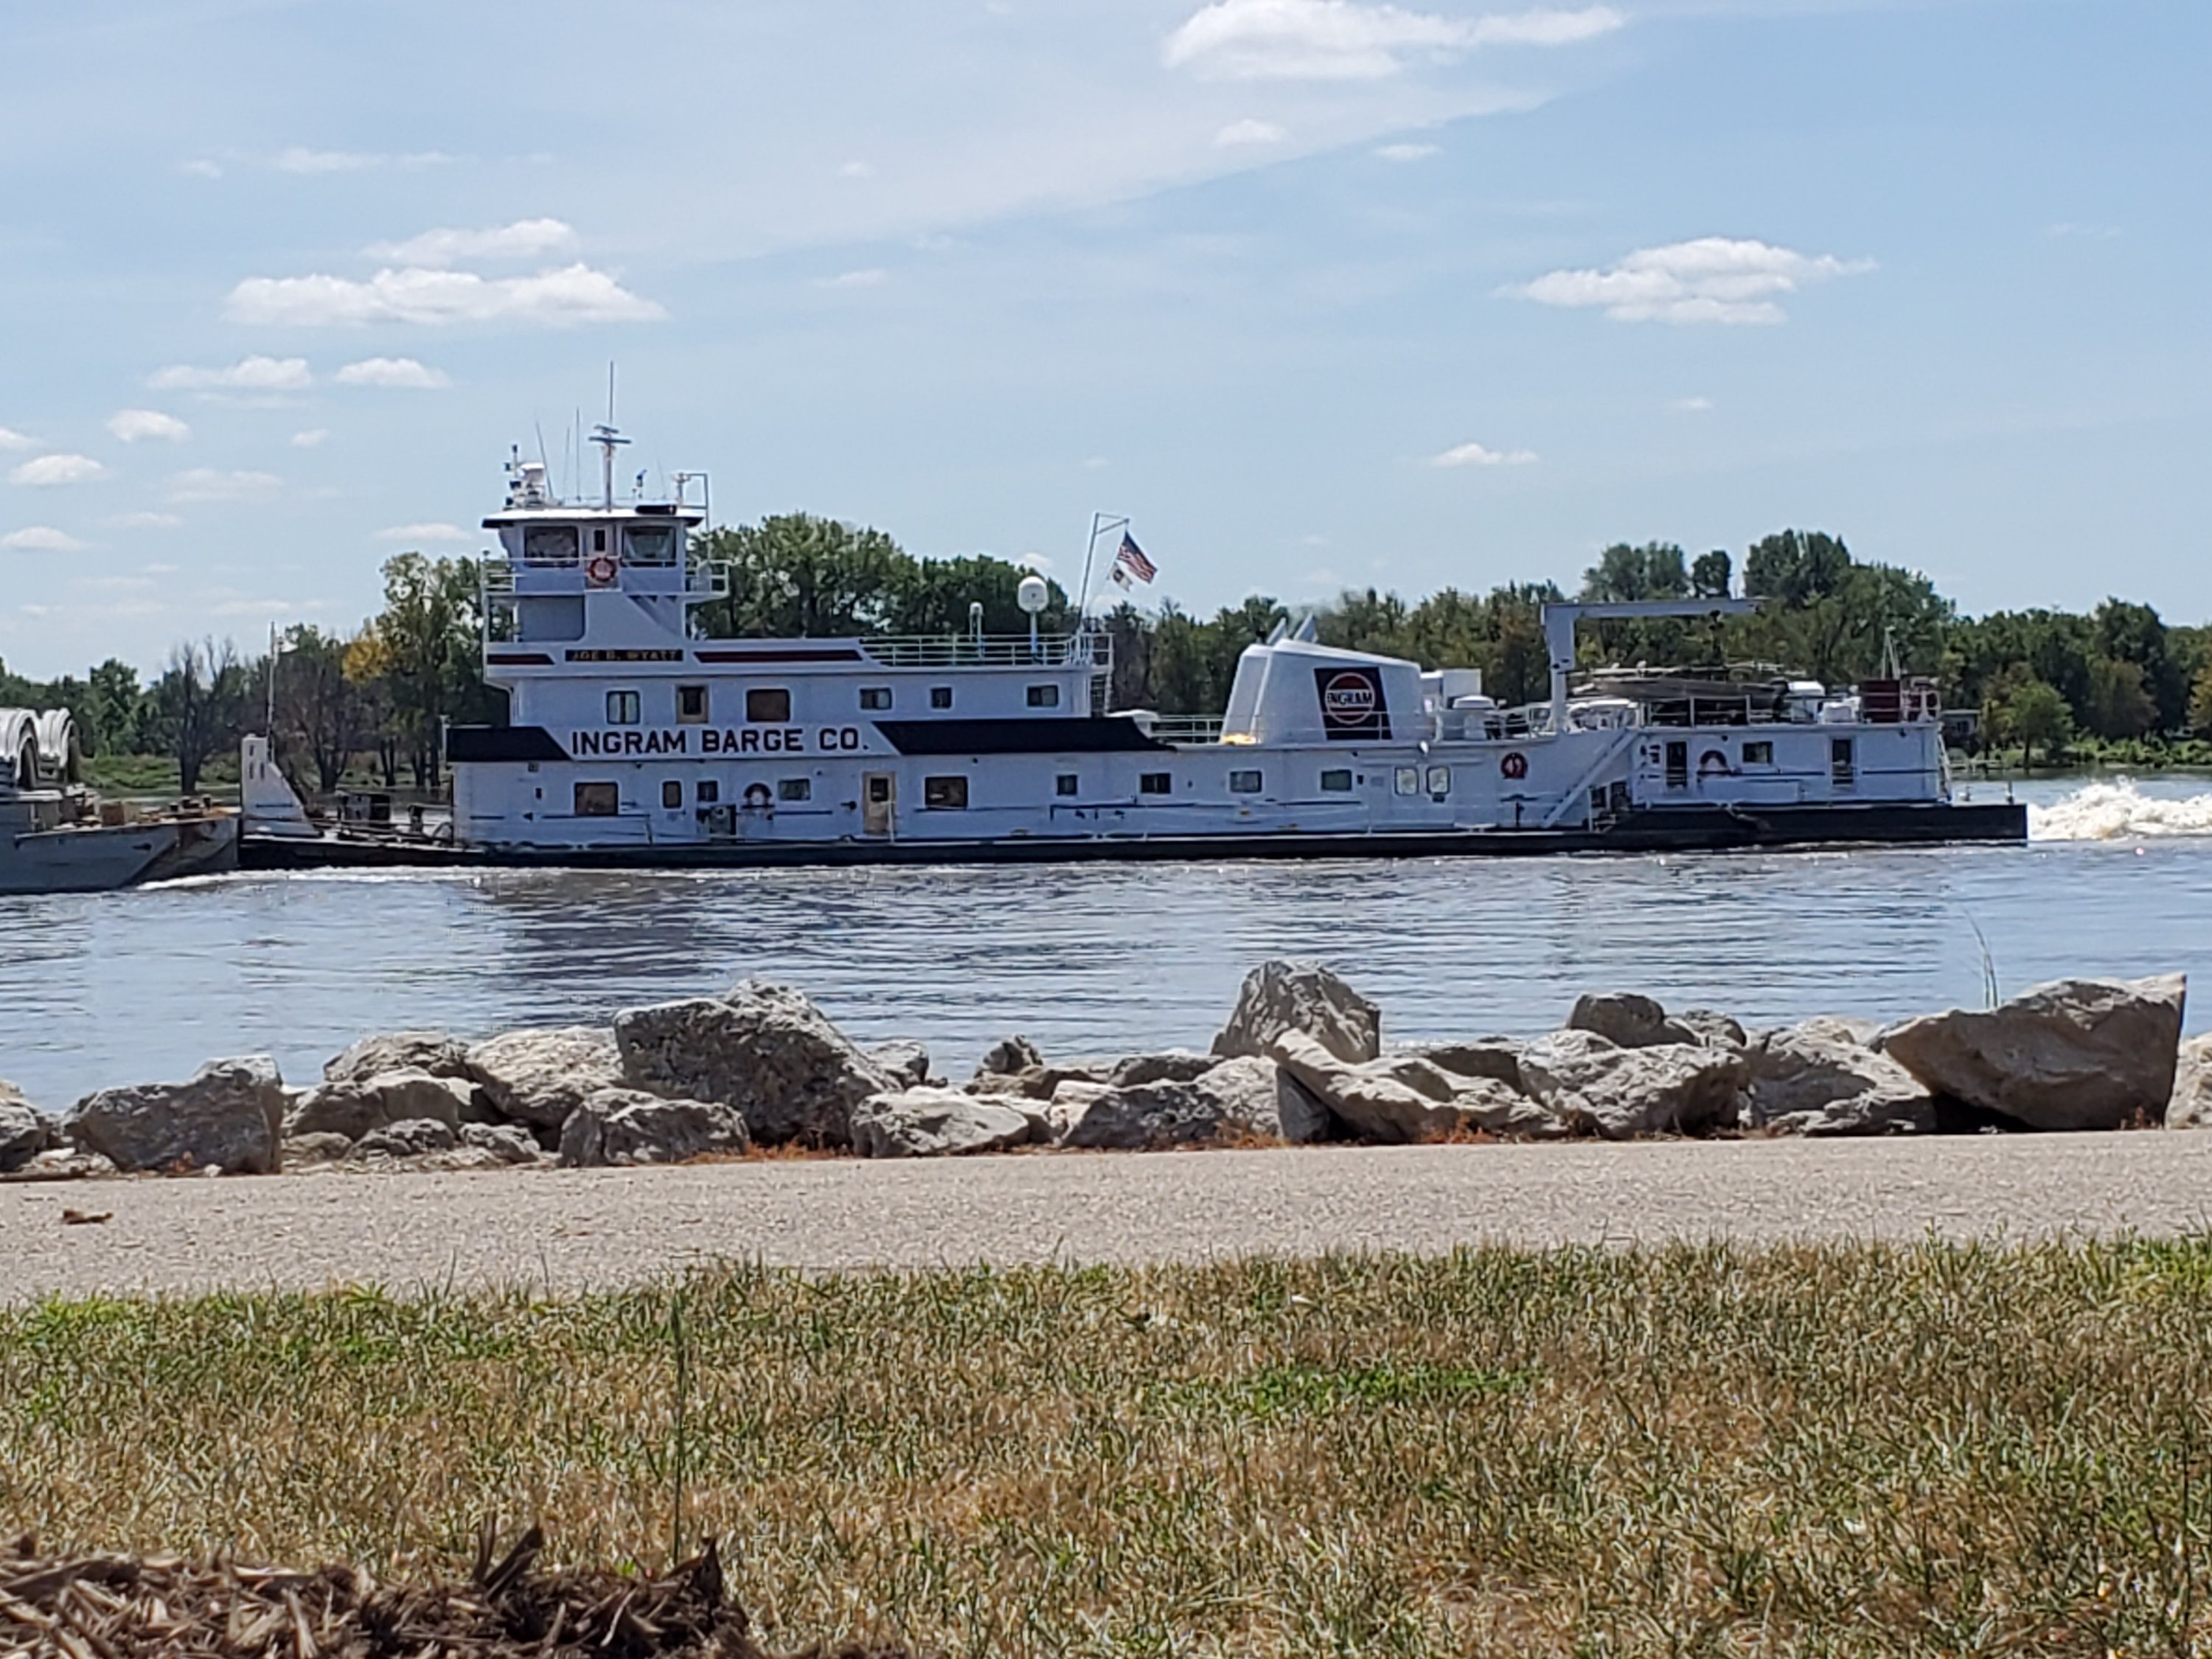
2. Weed Park- one of the best parks I’ve found, anywhere. Picnic areas, pavilions, historical plaques and sights, gorgeous views of the Mississippi, beautiful landscaping, and a pond with ducks, geese, and fishing for kids. Plus, they have two playgrounds that are awesome. And once back to normal they have a waterpark. Totally worth a visit for everyone in the family.

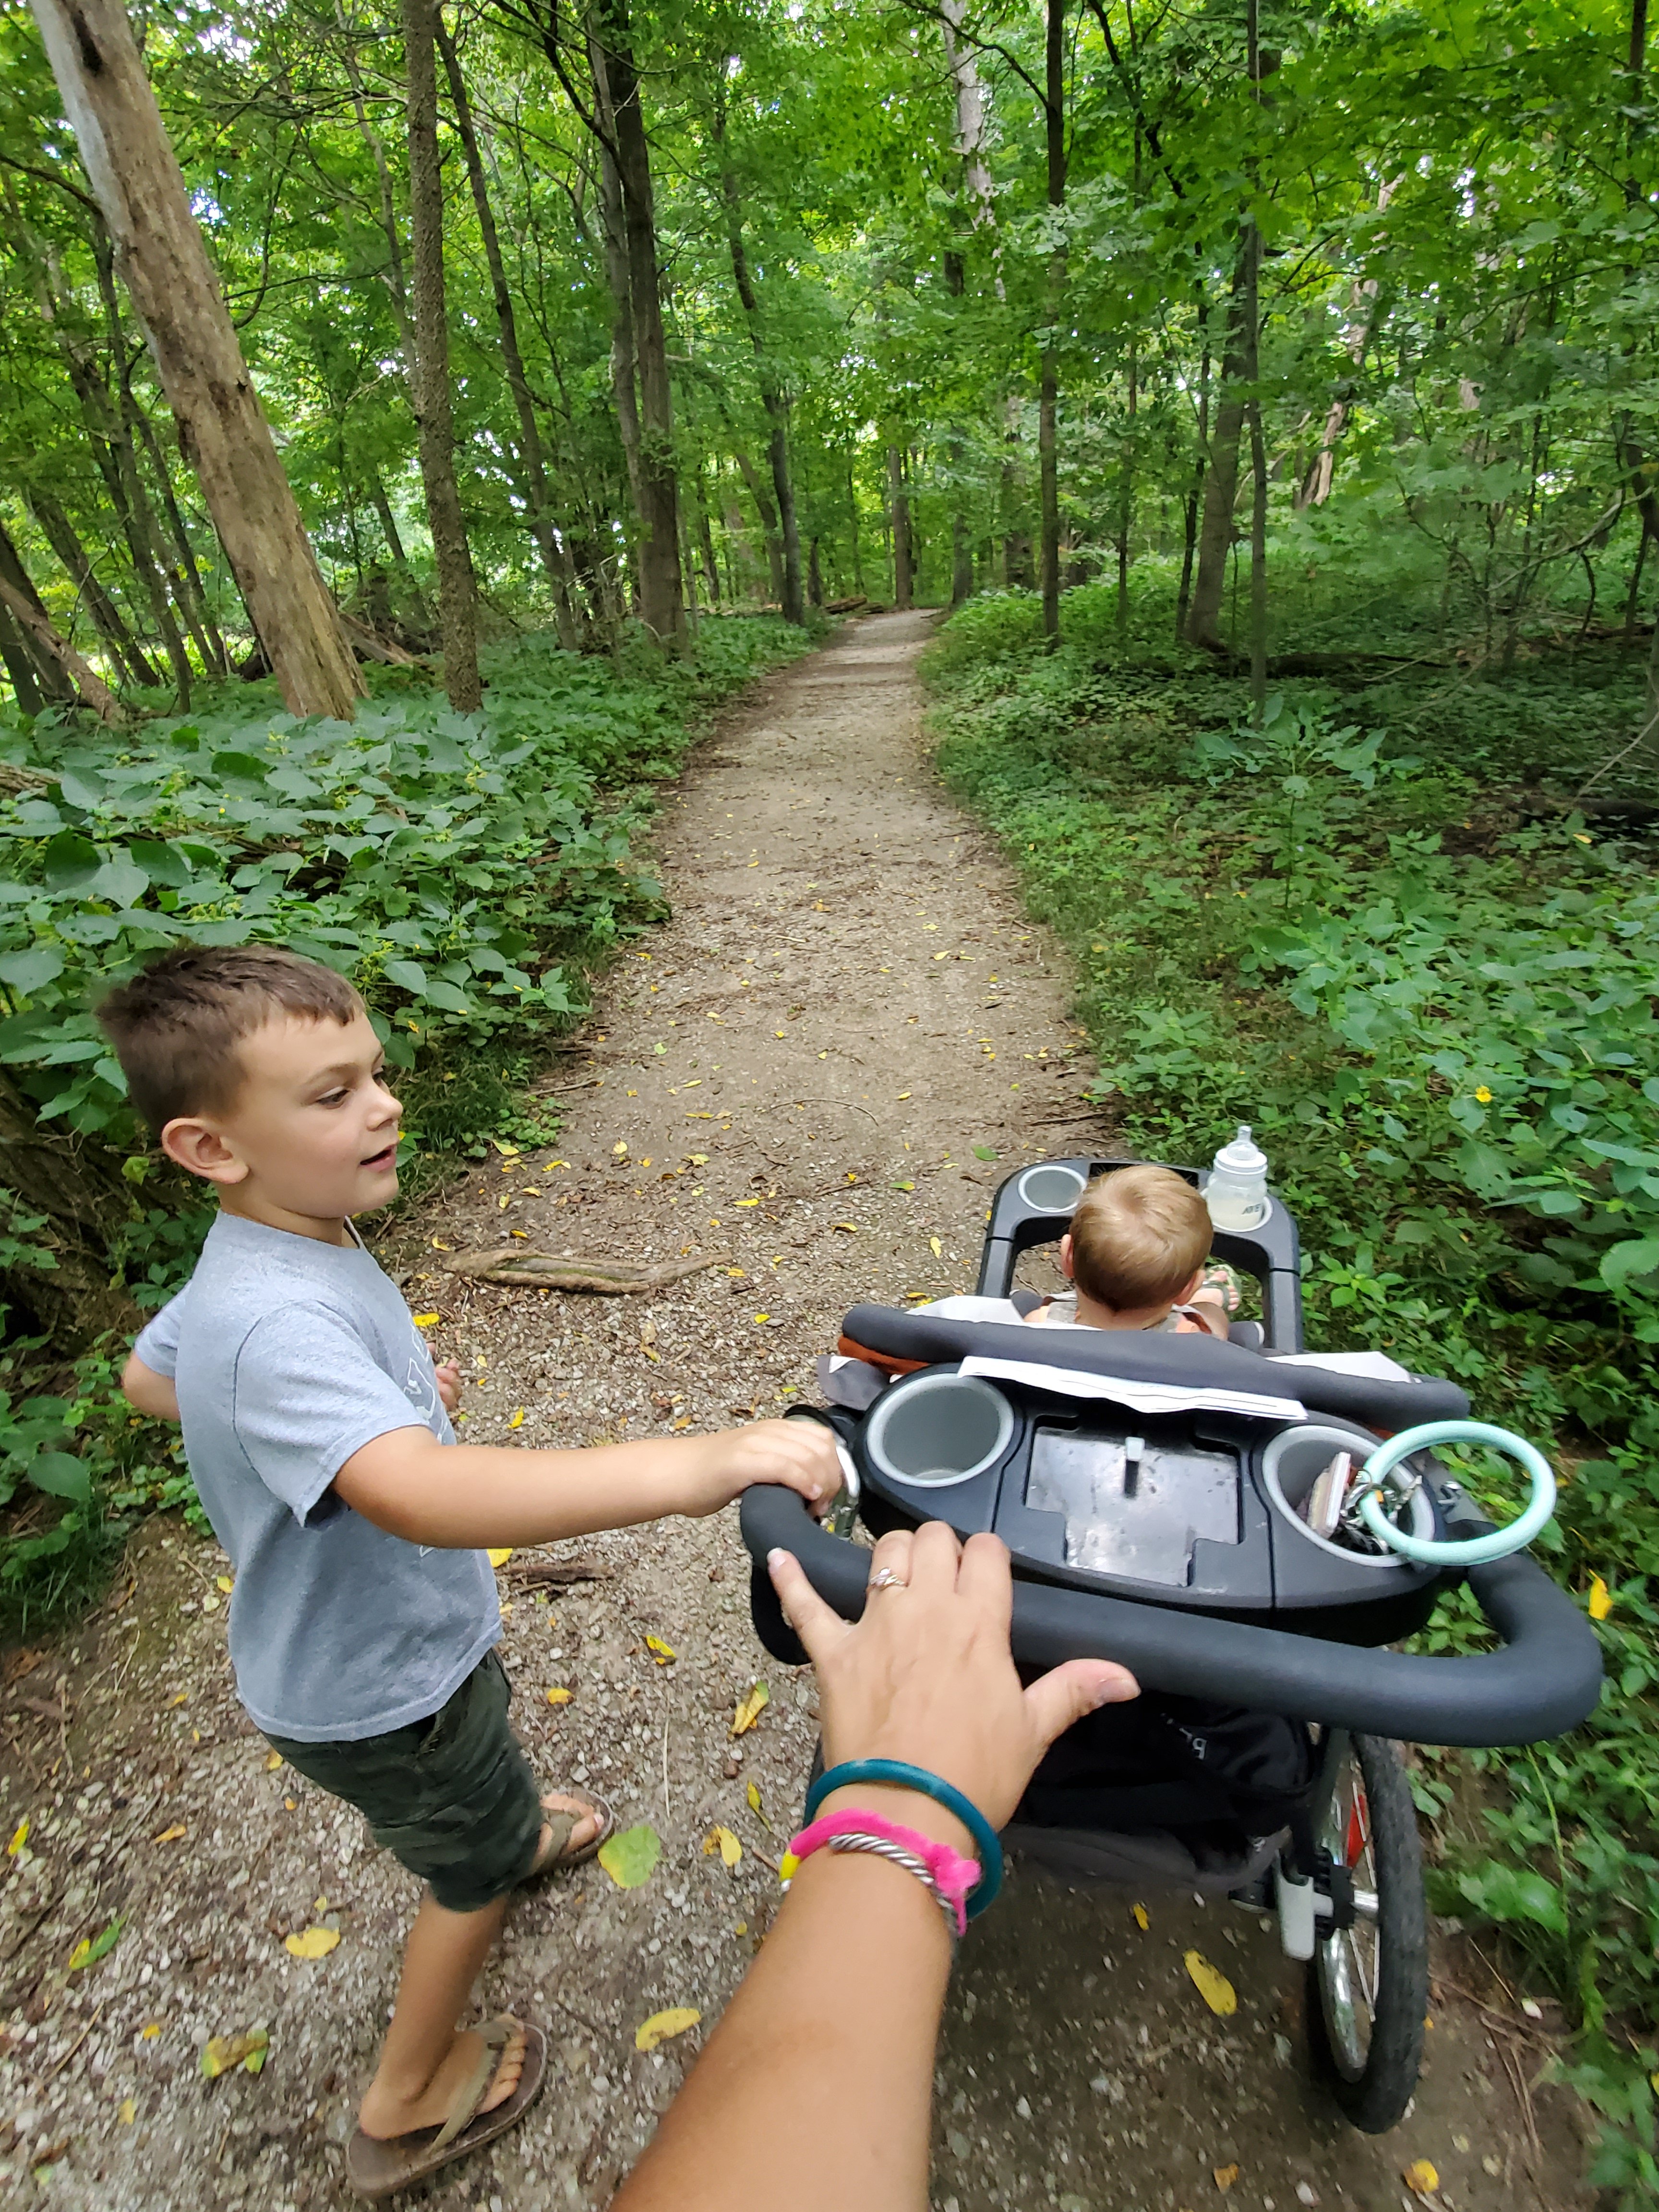
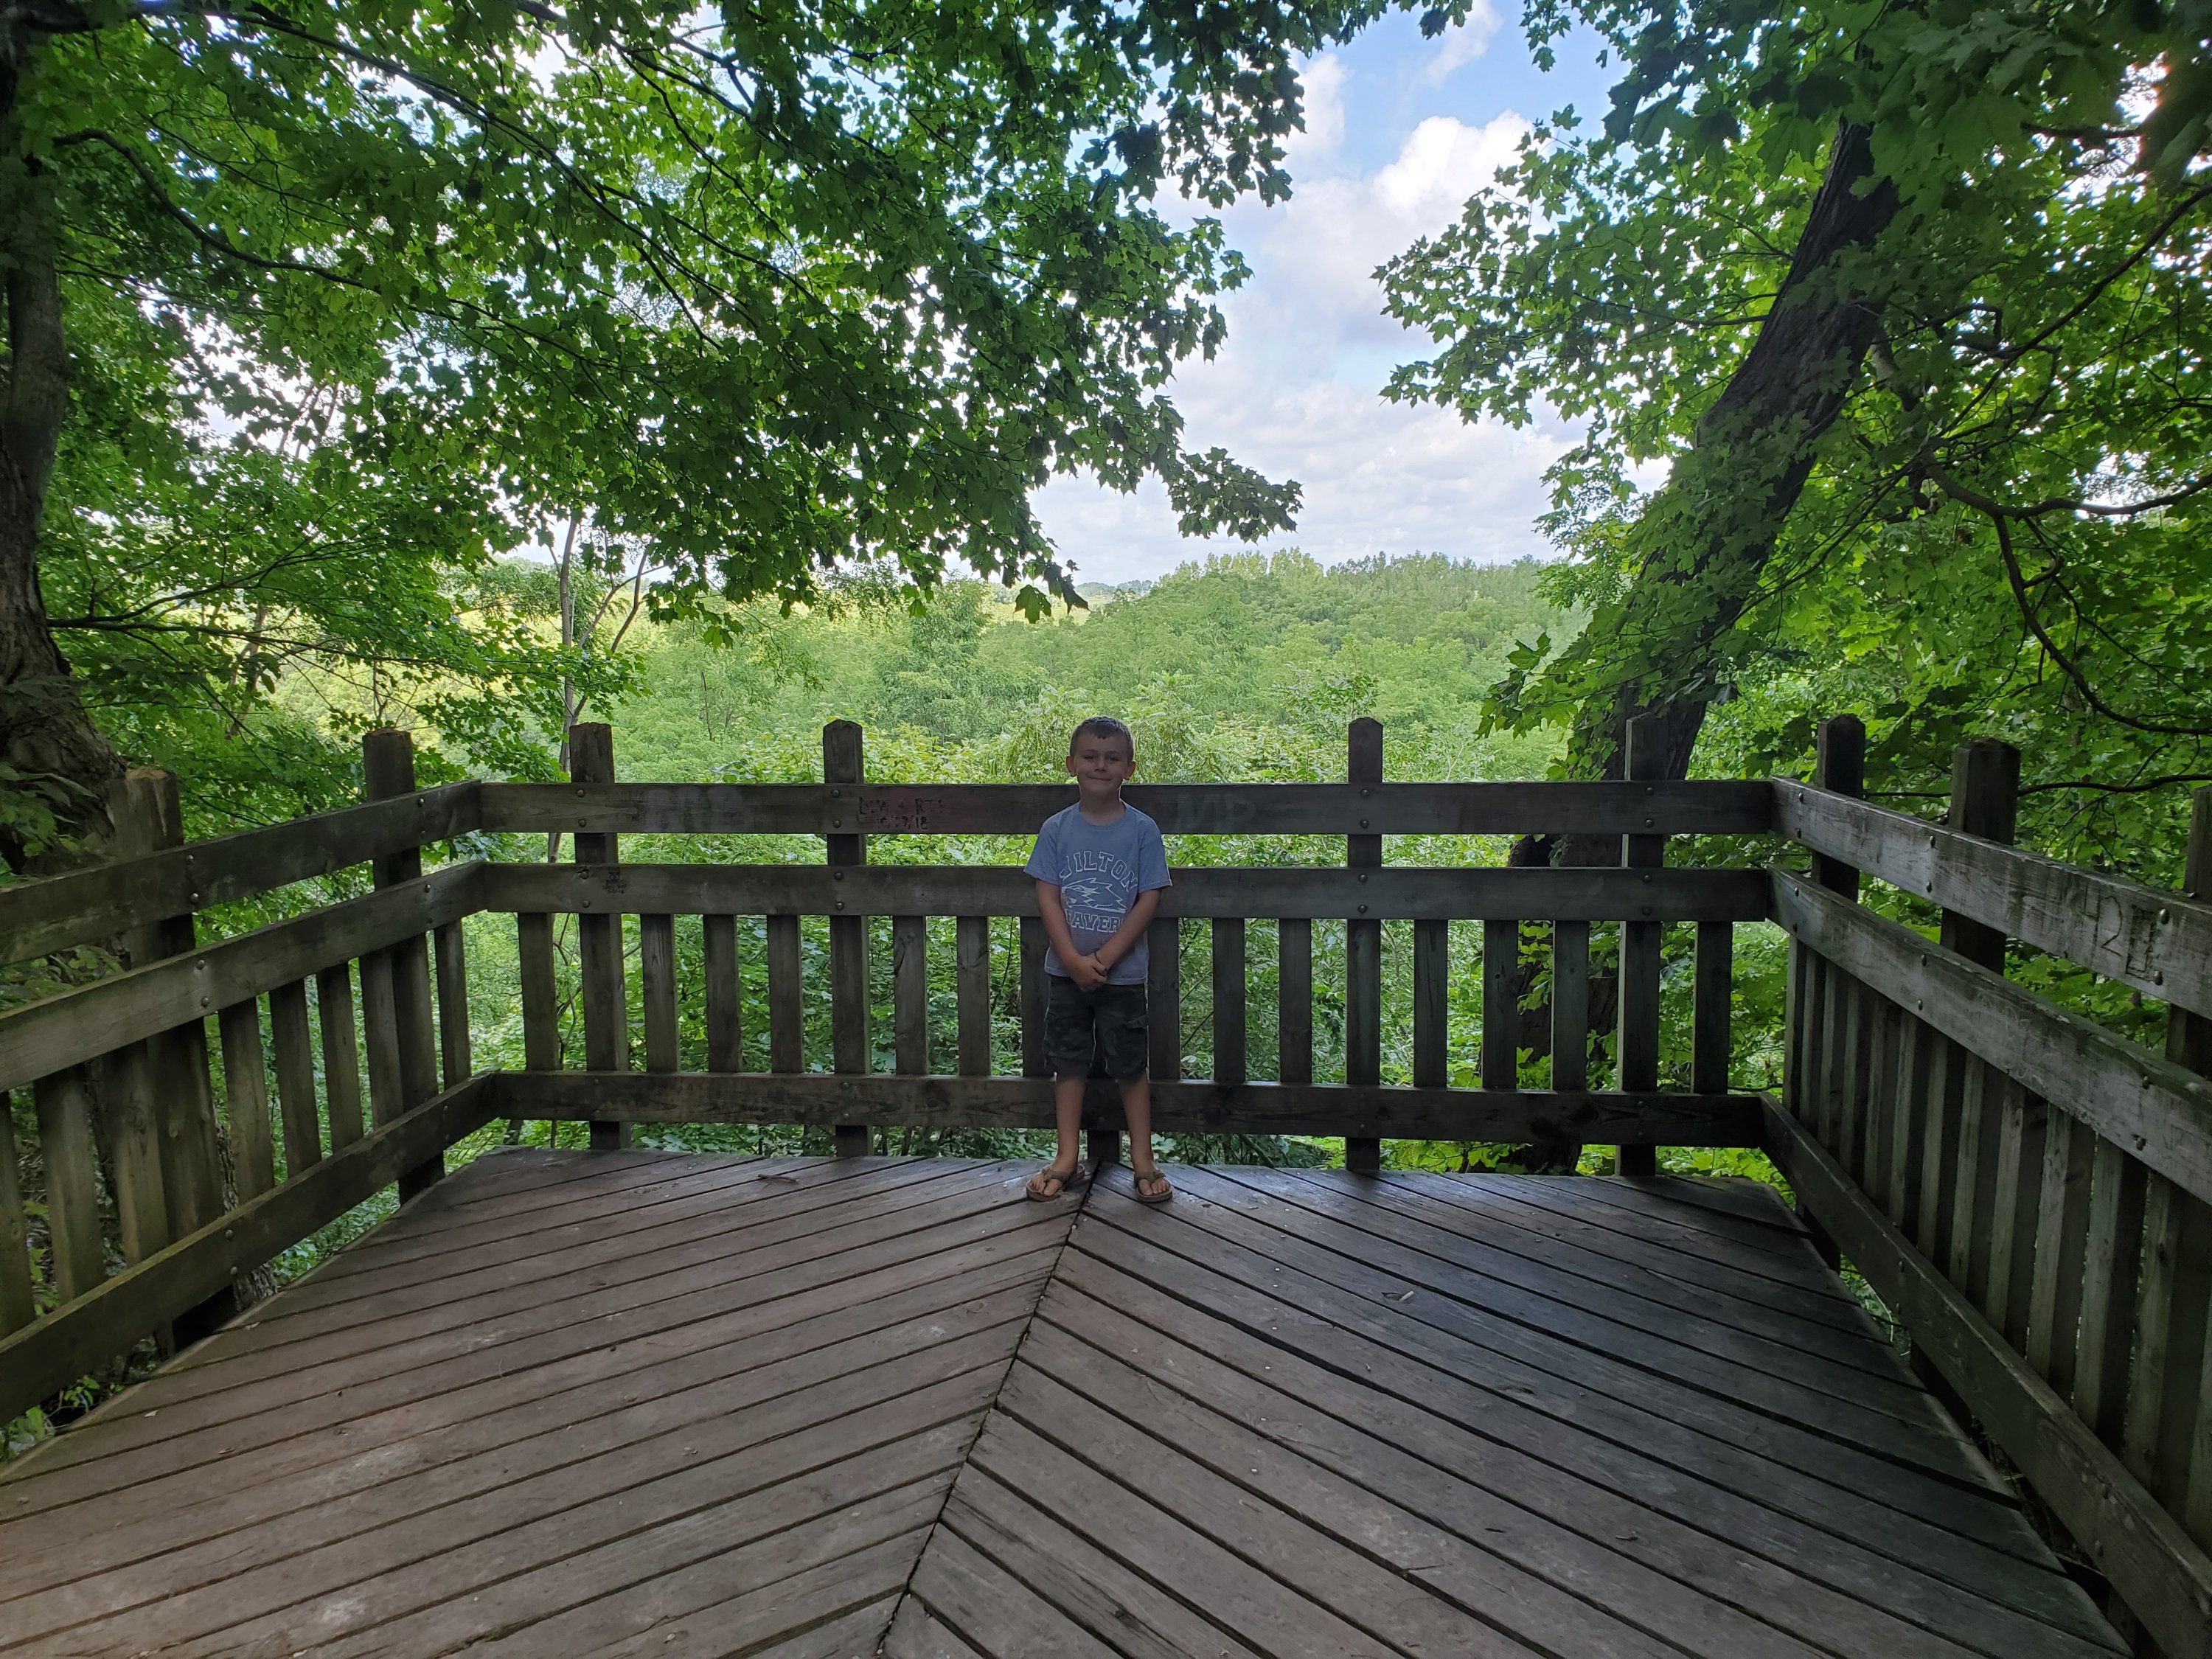
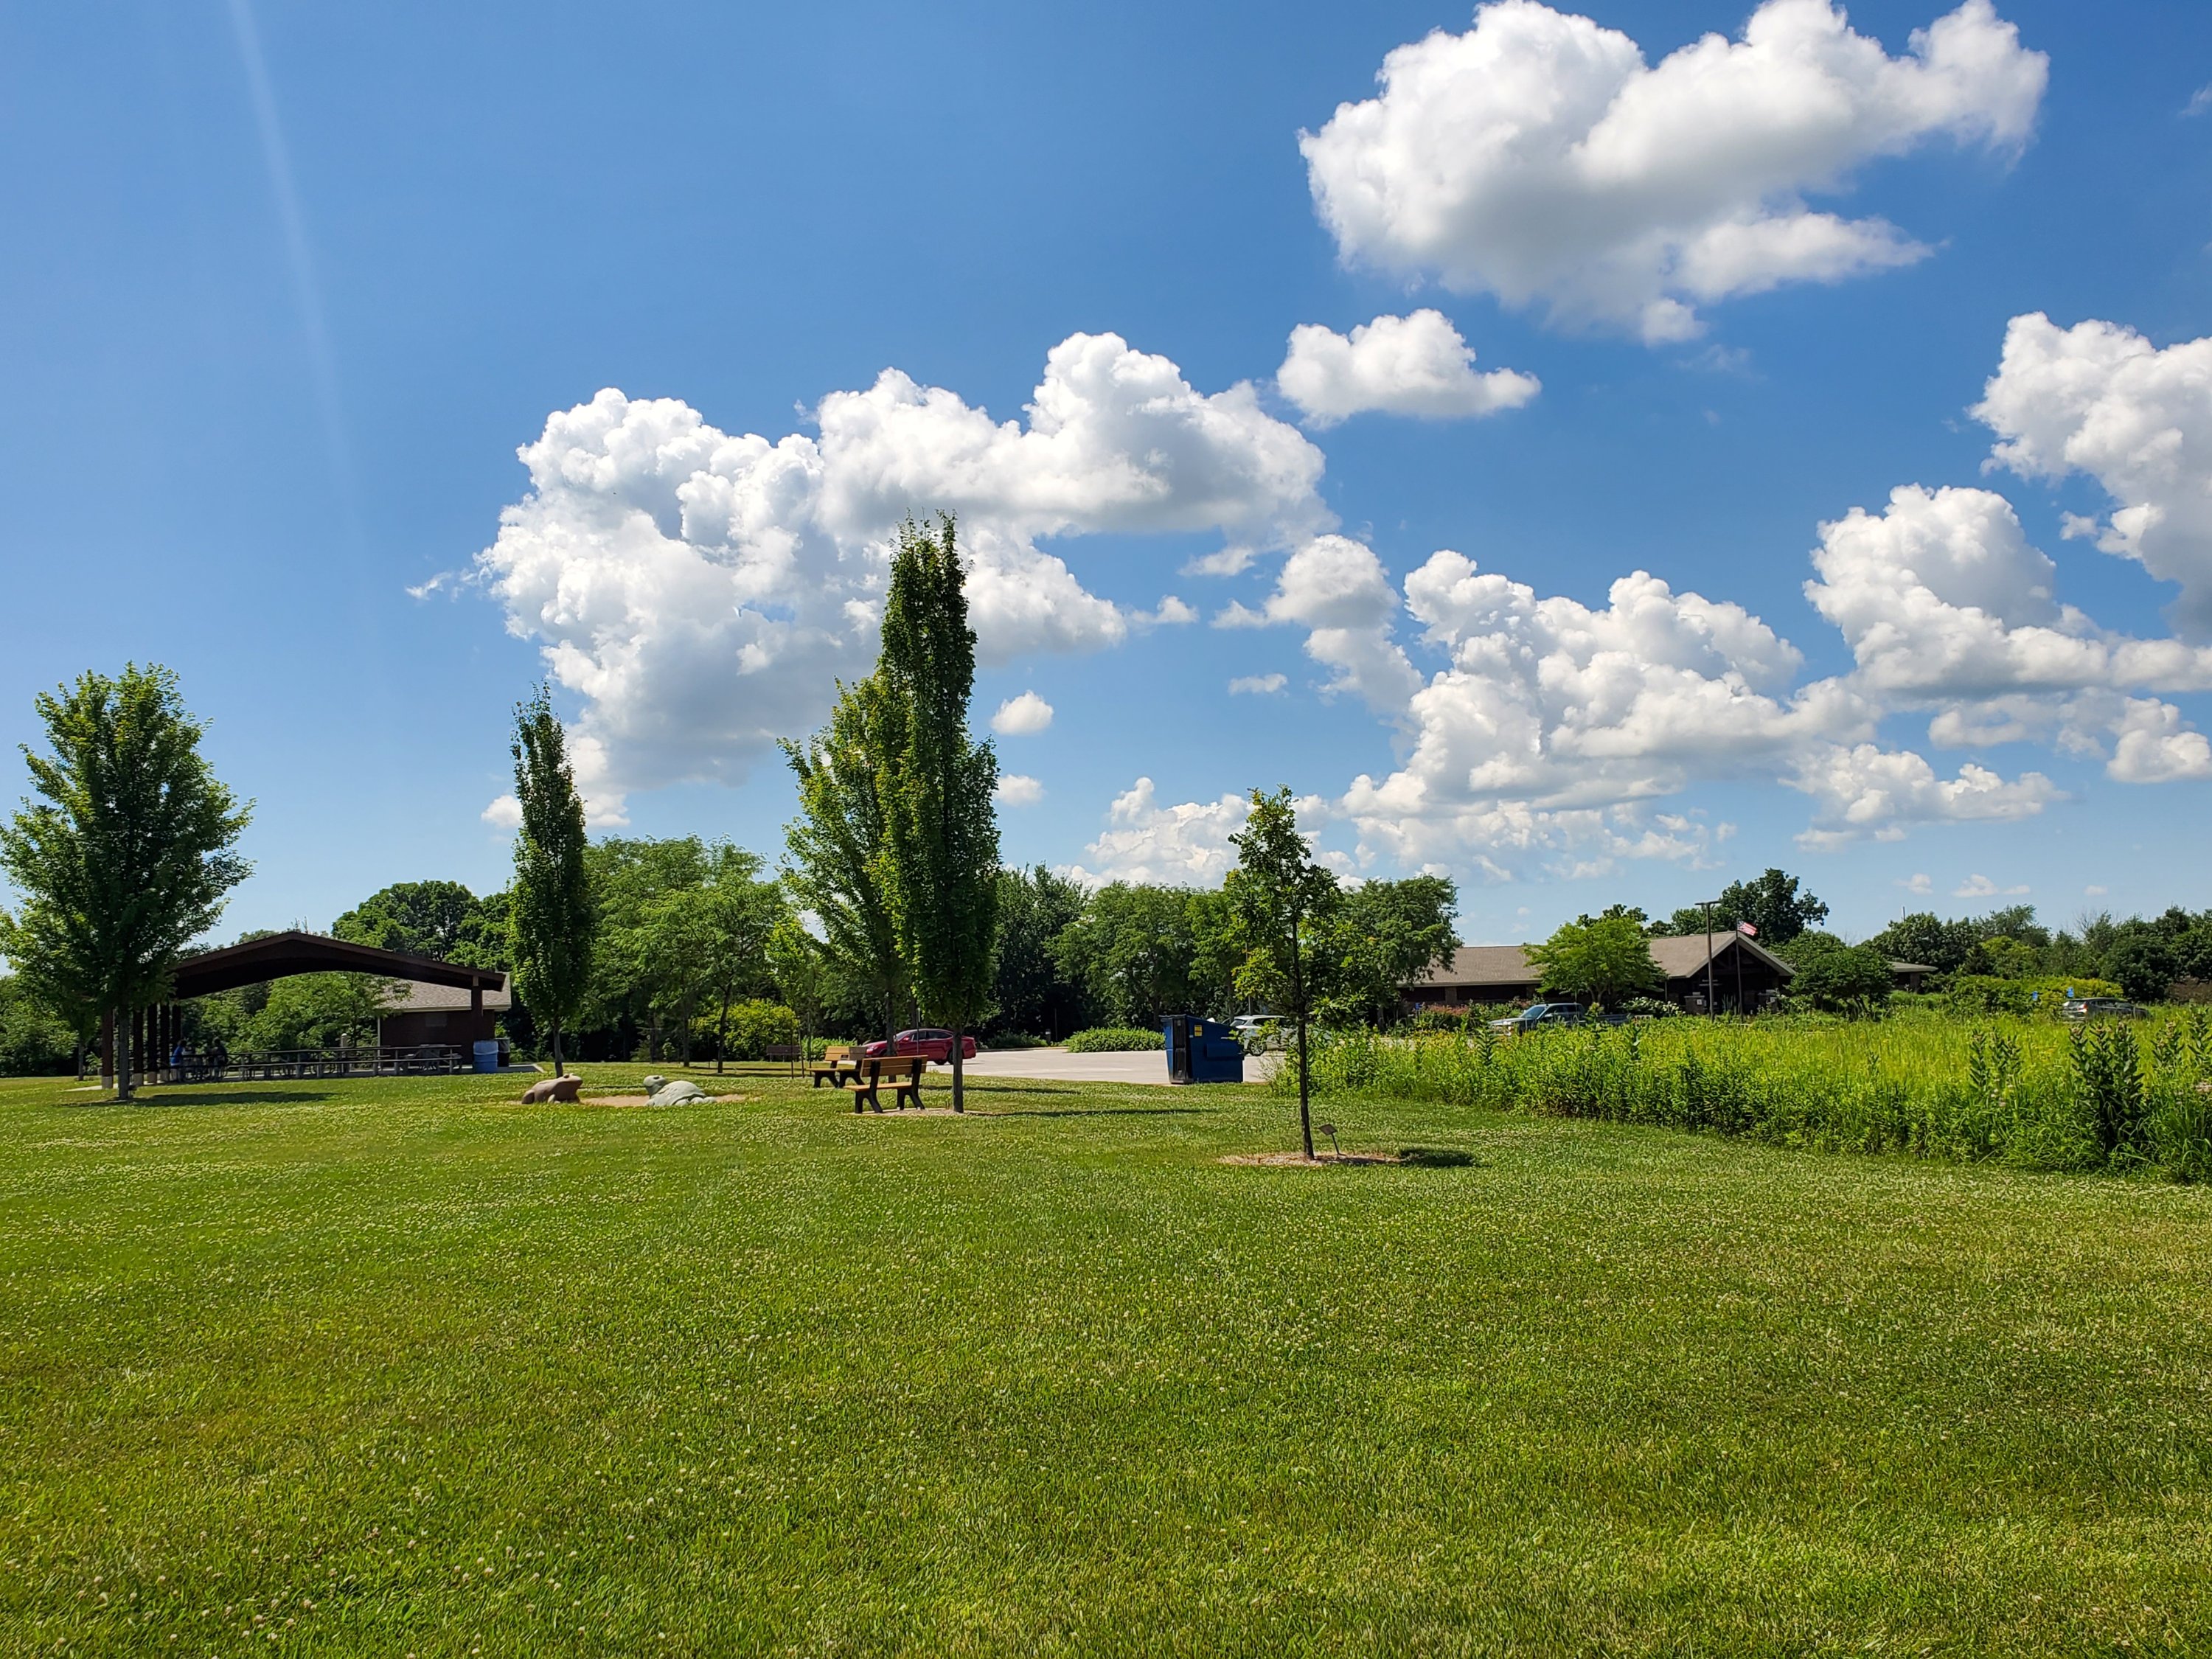
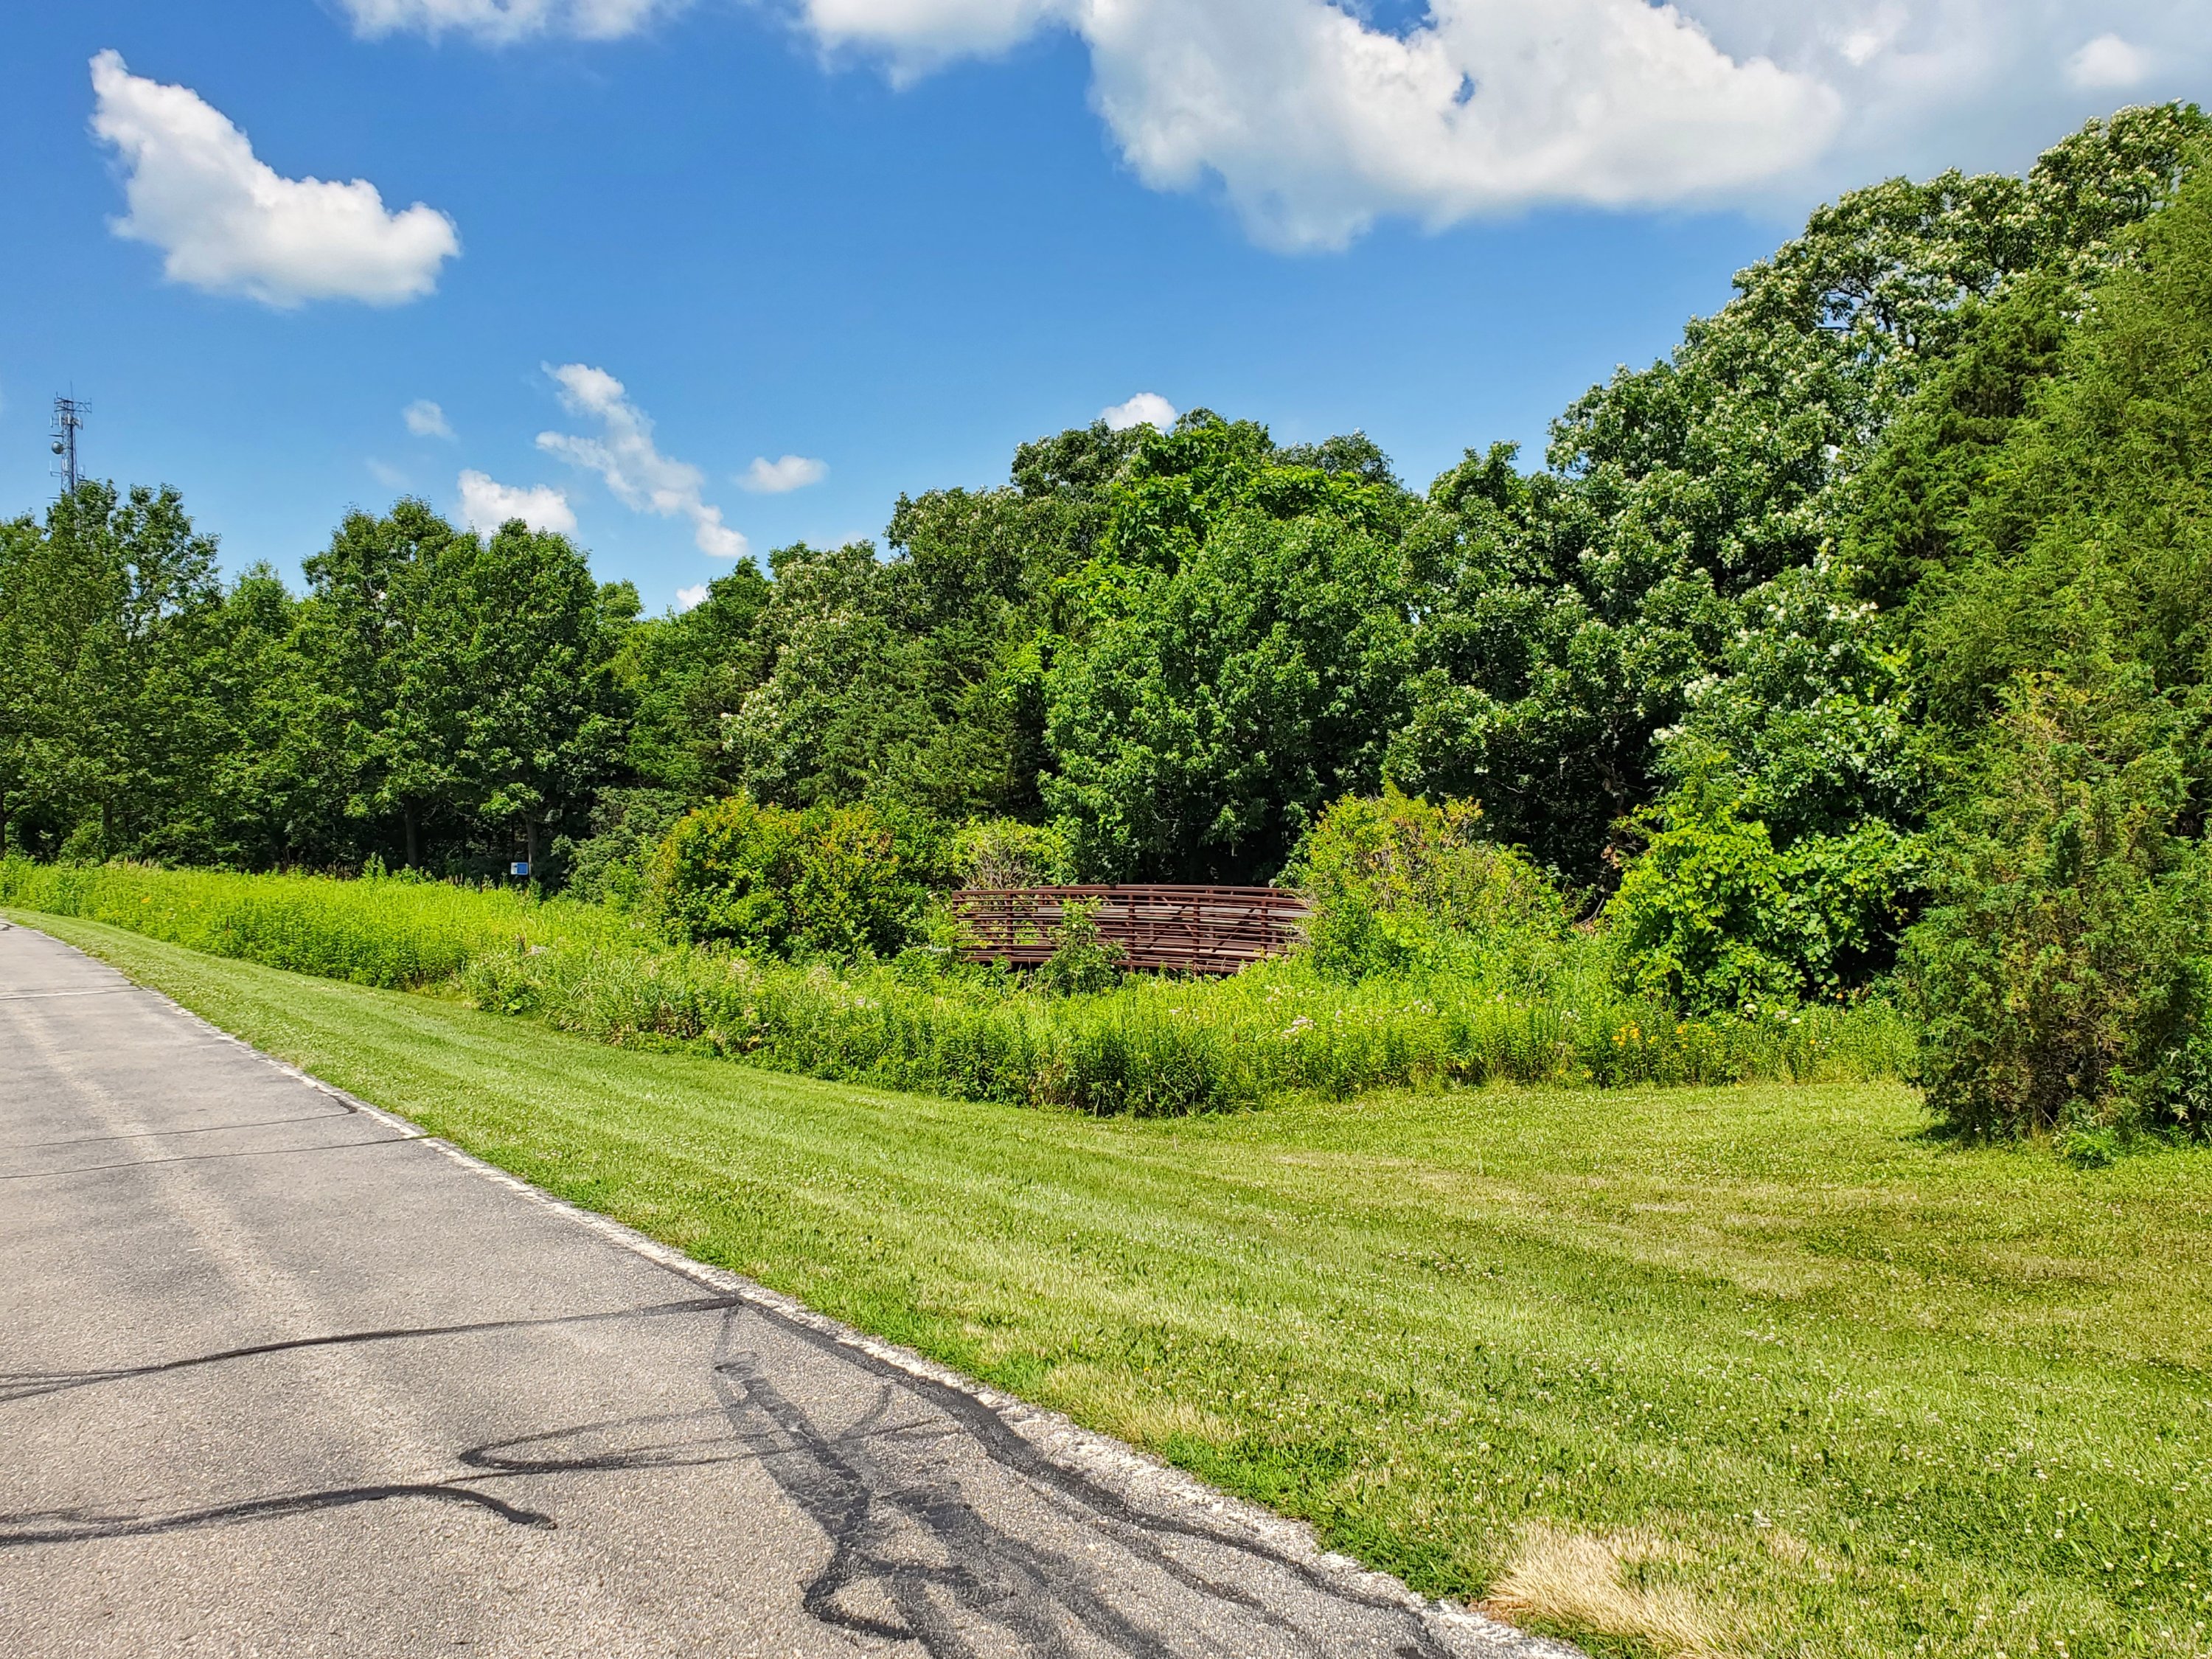
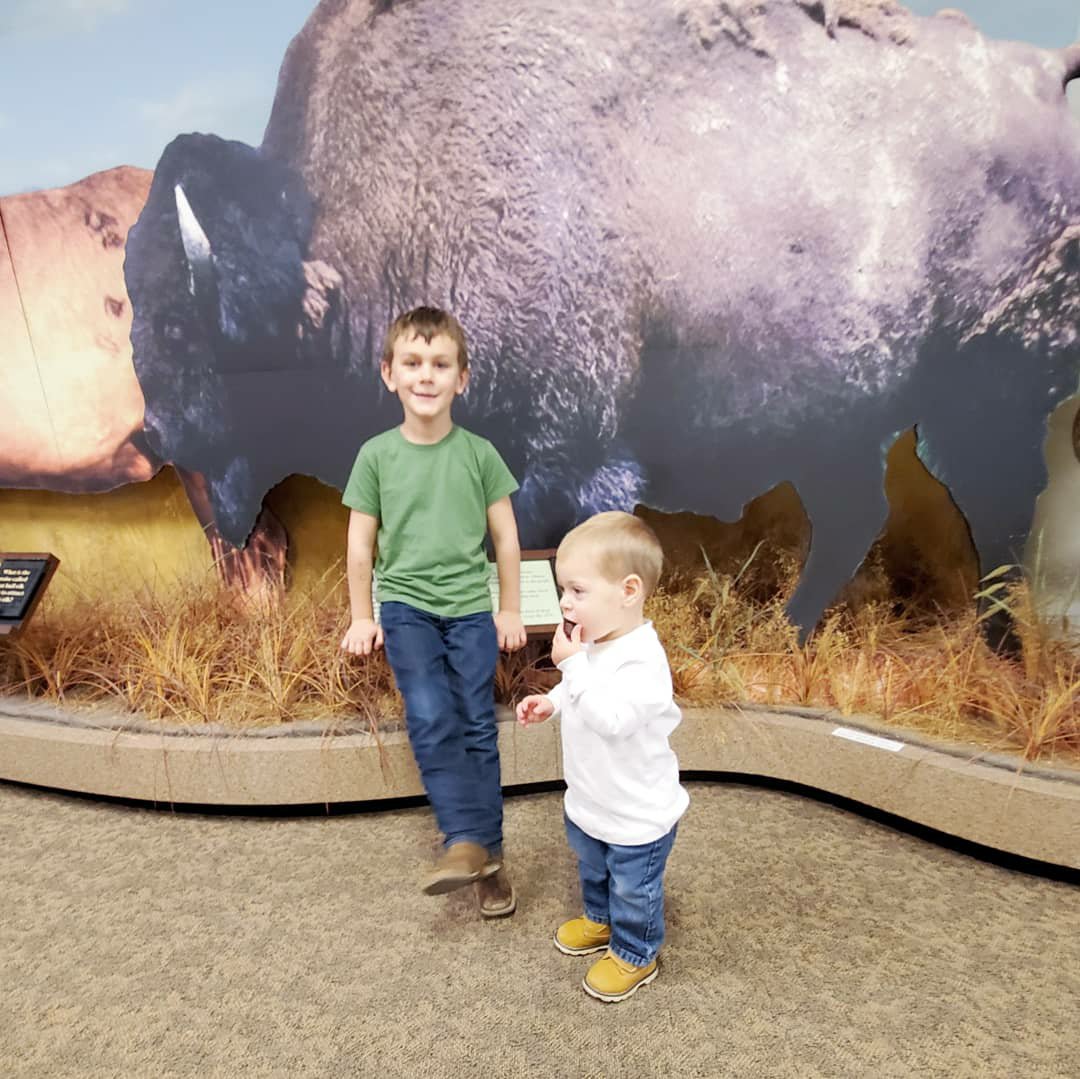
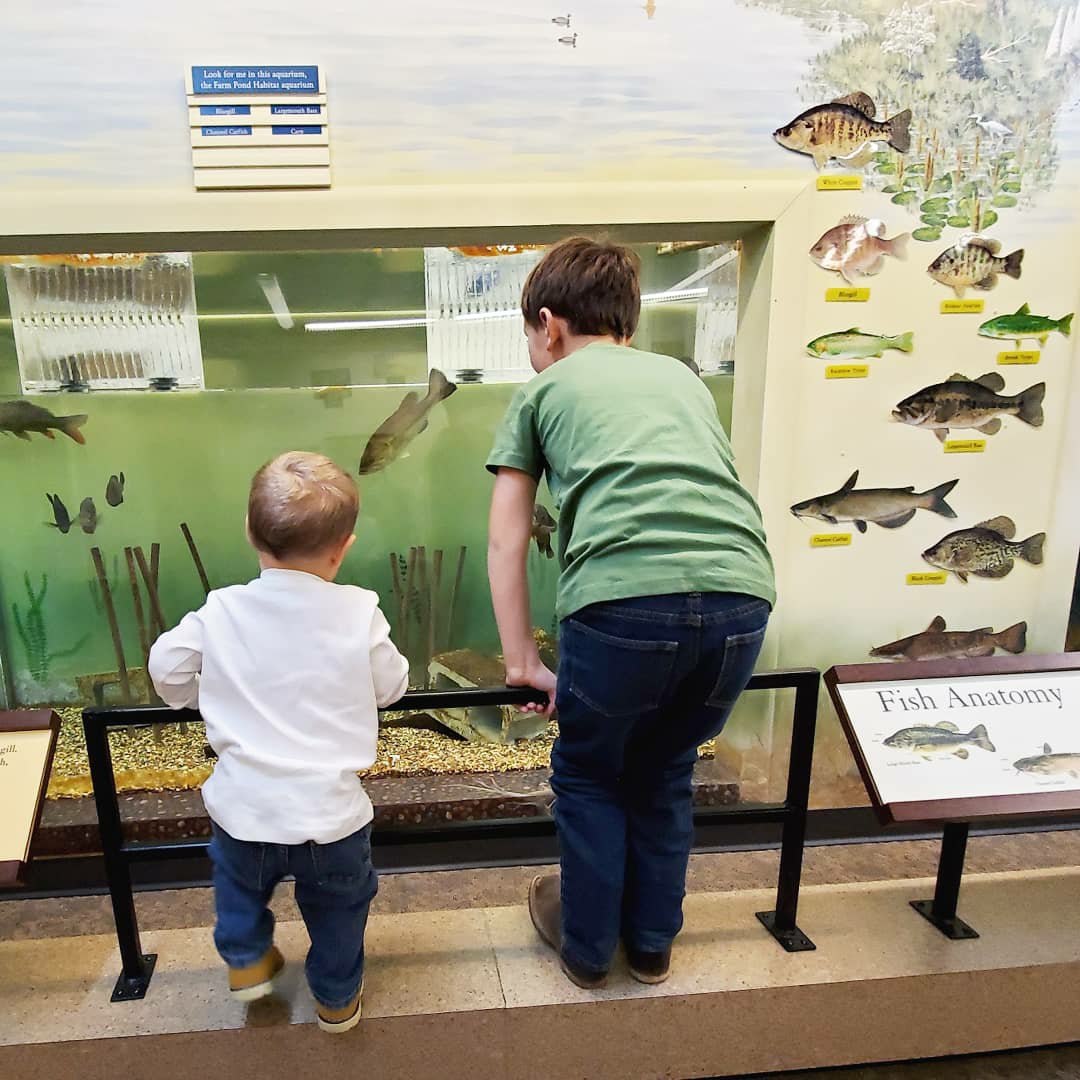
3. Discovery Park- during normal times, they have an indoor center to see interactive wildlife features and even take classes. Currently, you can still see all they have to offer outside. There are numerous trails to walk, most paved, through gorgeous views, wildflower patches and even see wild animals. They have a butterfly garden and owls outside to view too. They also have a pond where you can fish!


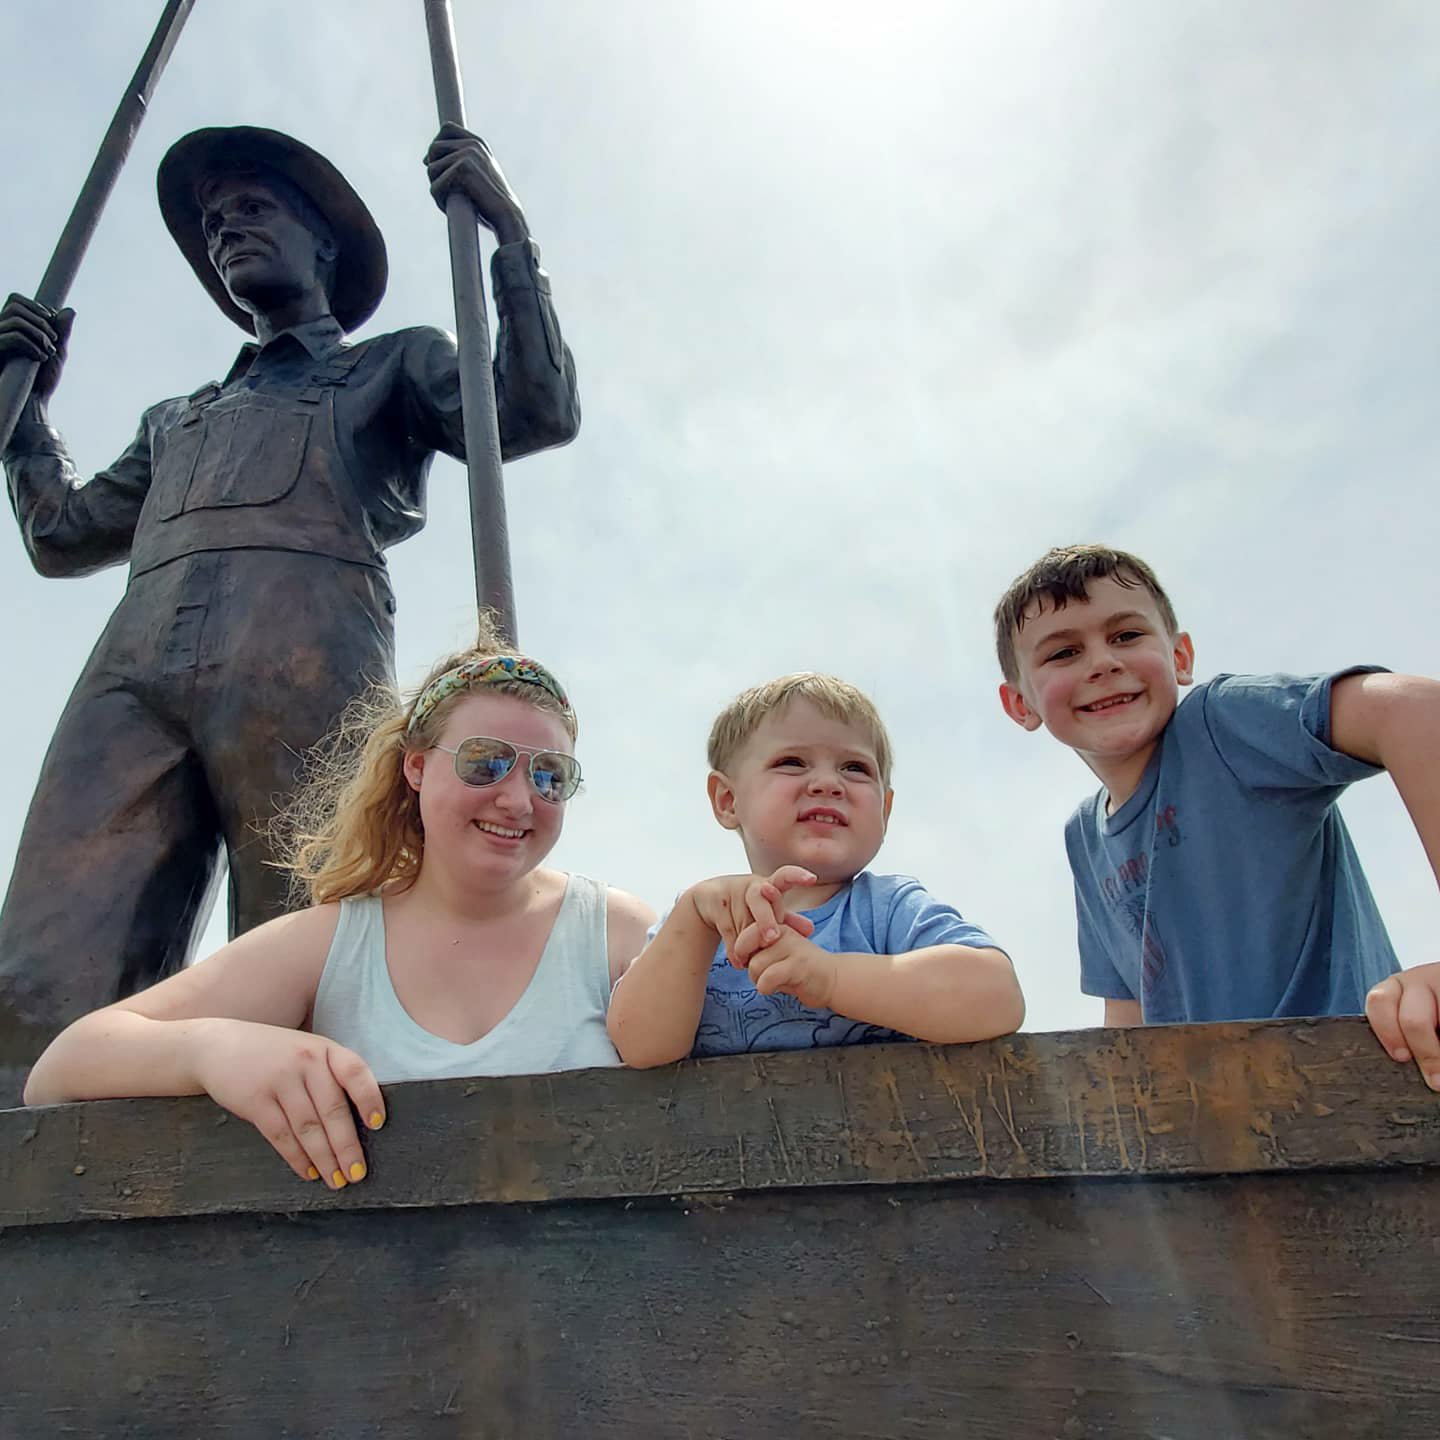
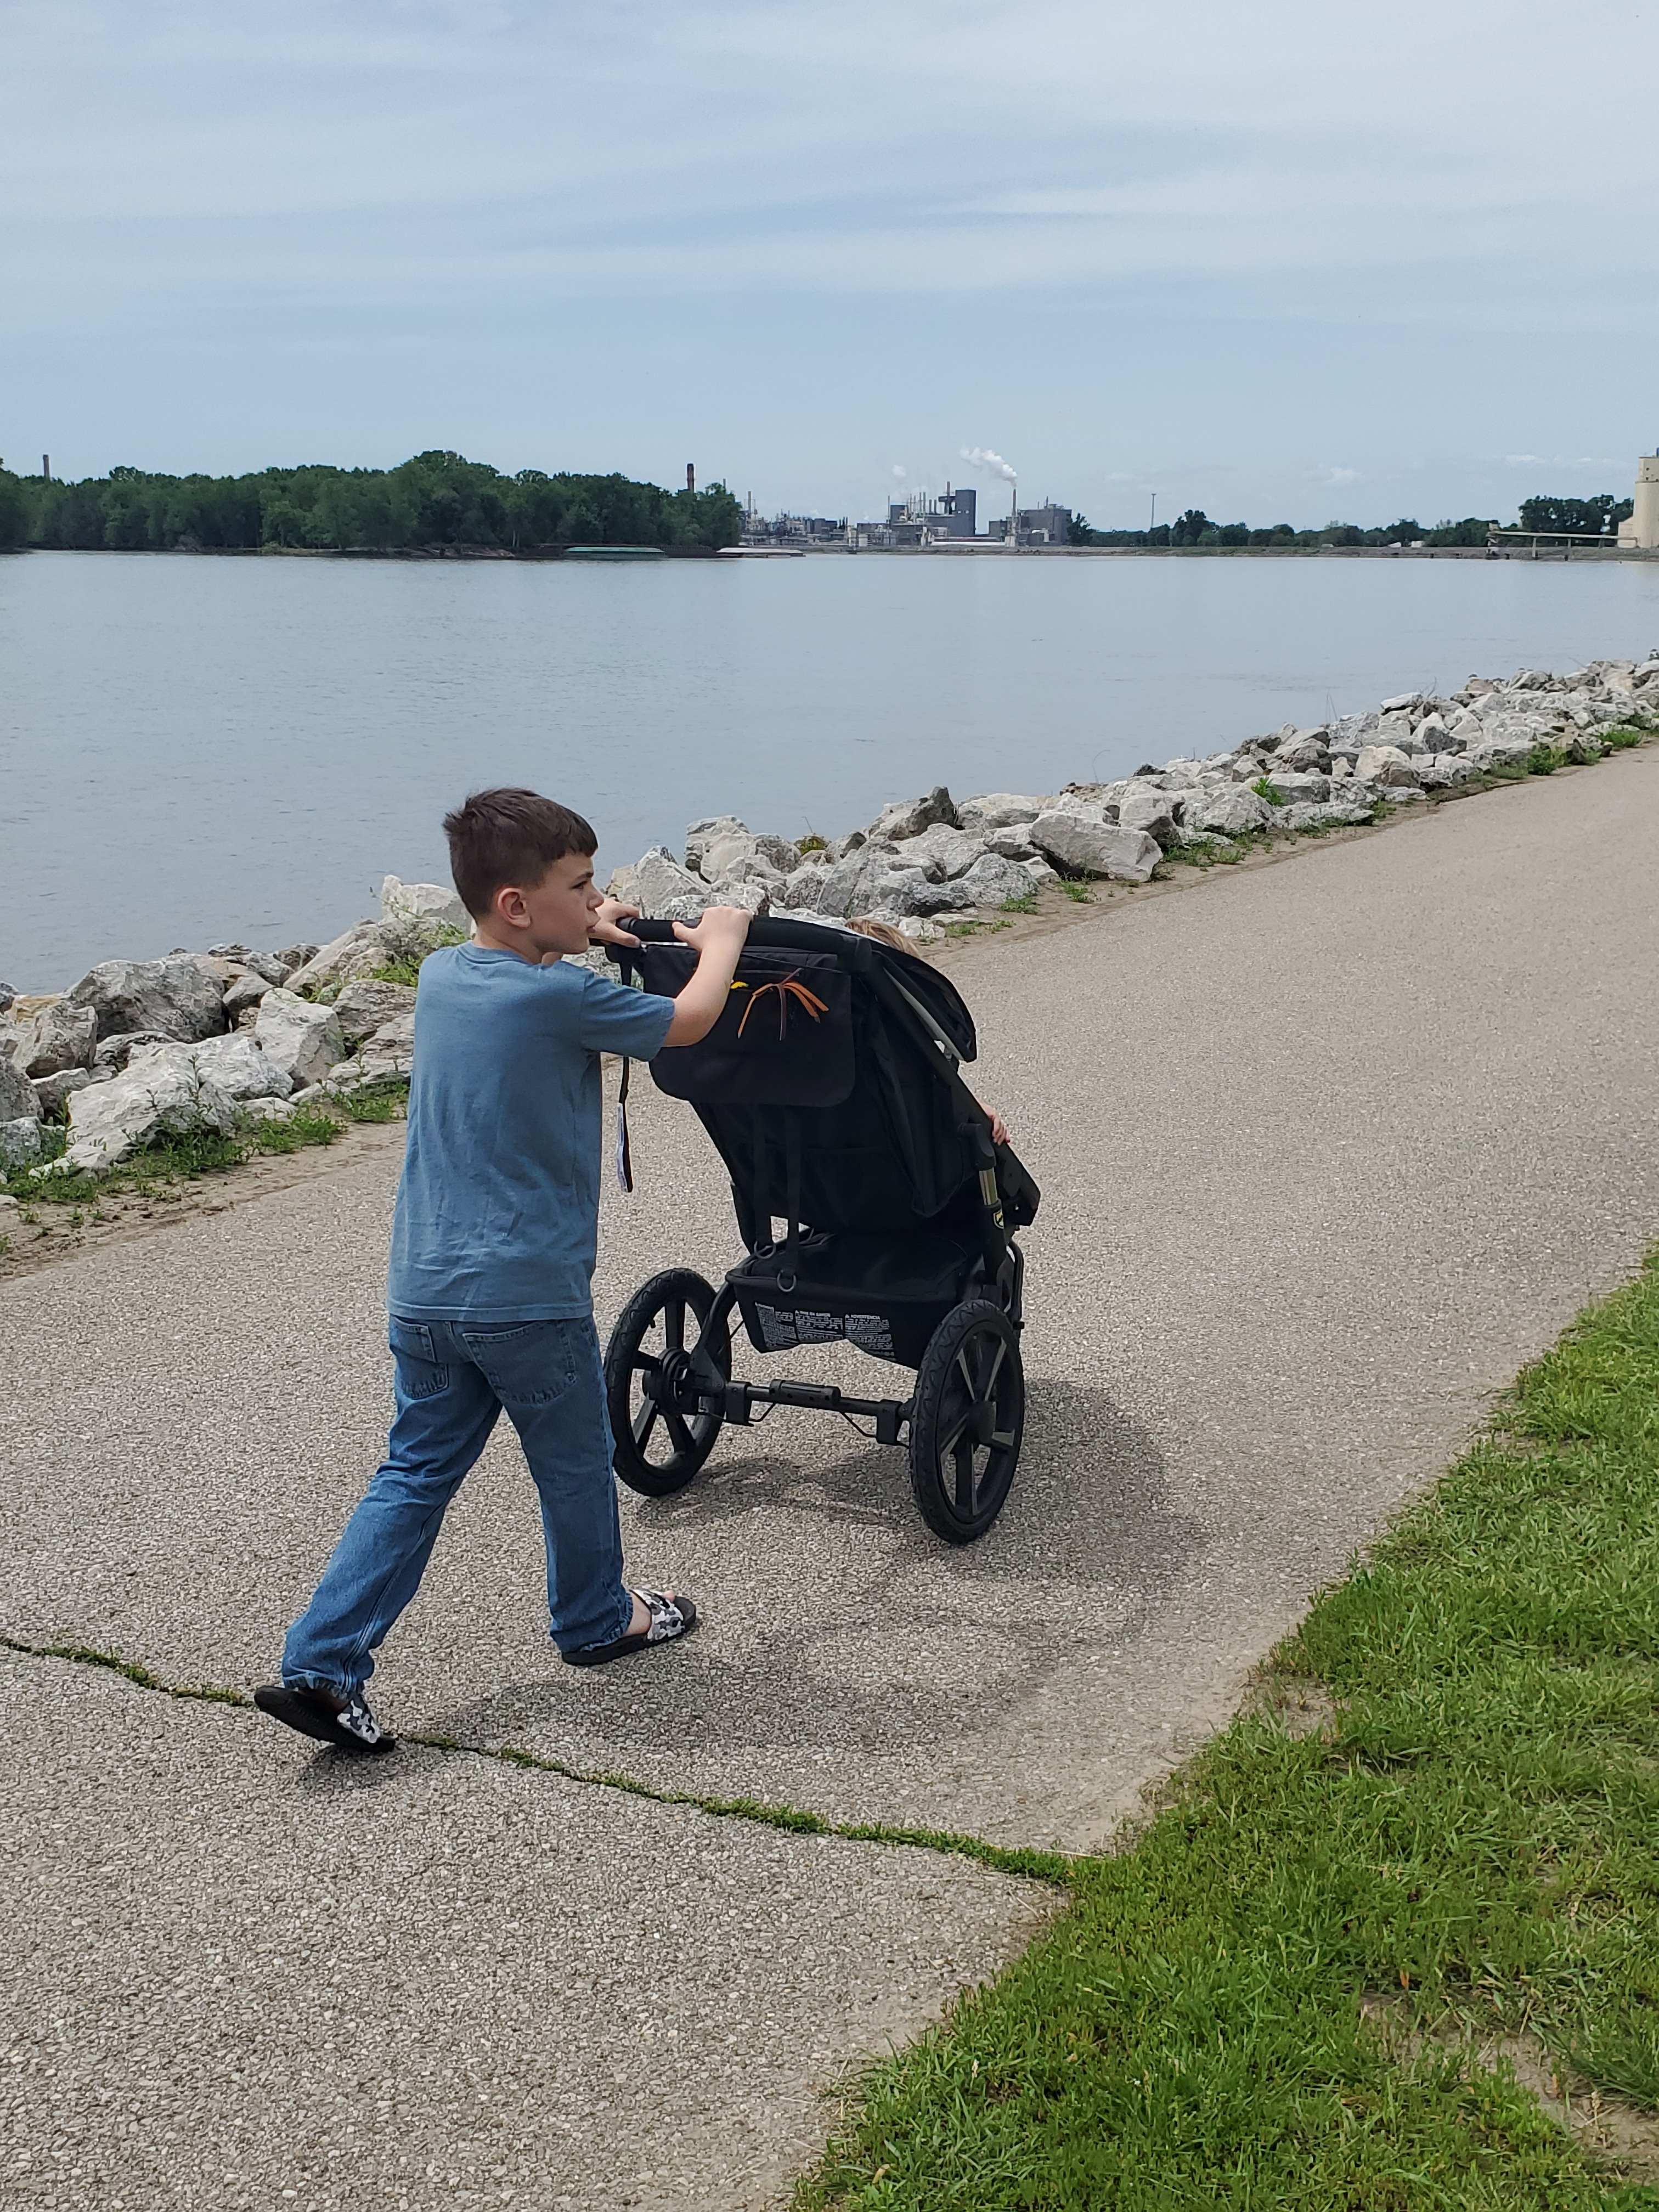
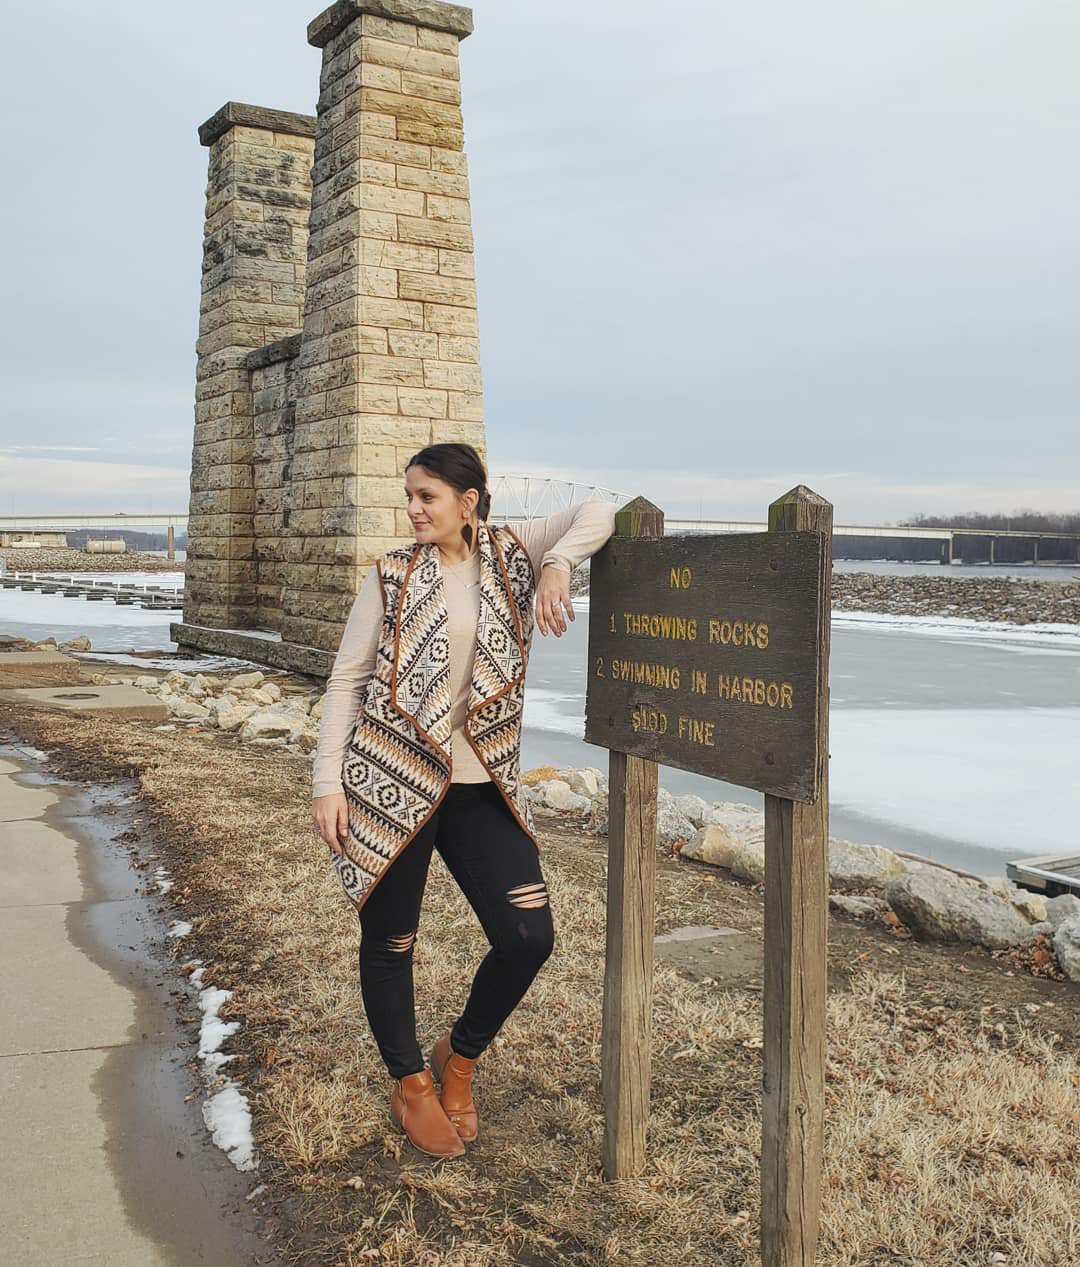
4. Muscatine River Front- plenty to do down here, even distantly! You may not be visiting the pearl button factory museum right now, and even the splash pad is not turned on yet, but it’s still a beautiful, relaxing, and even entertaining area of Muscatine. You can walk the gorgeous river front, even stopping to read the plaques about the city history. You can play at the play ground. You can even take photos with the clam digger statue. And there are a few downtown restaurants up the block that offer outside dining!


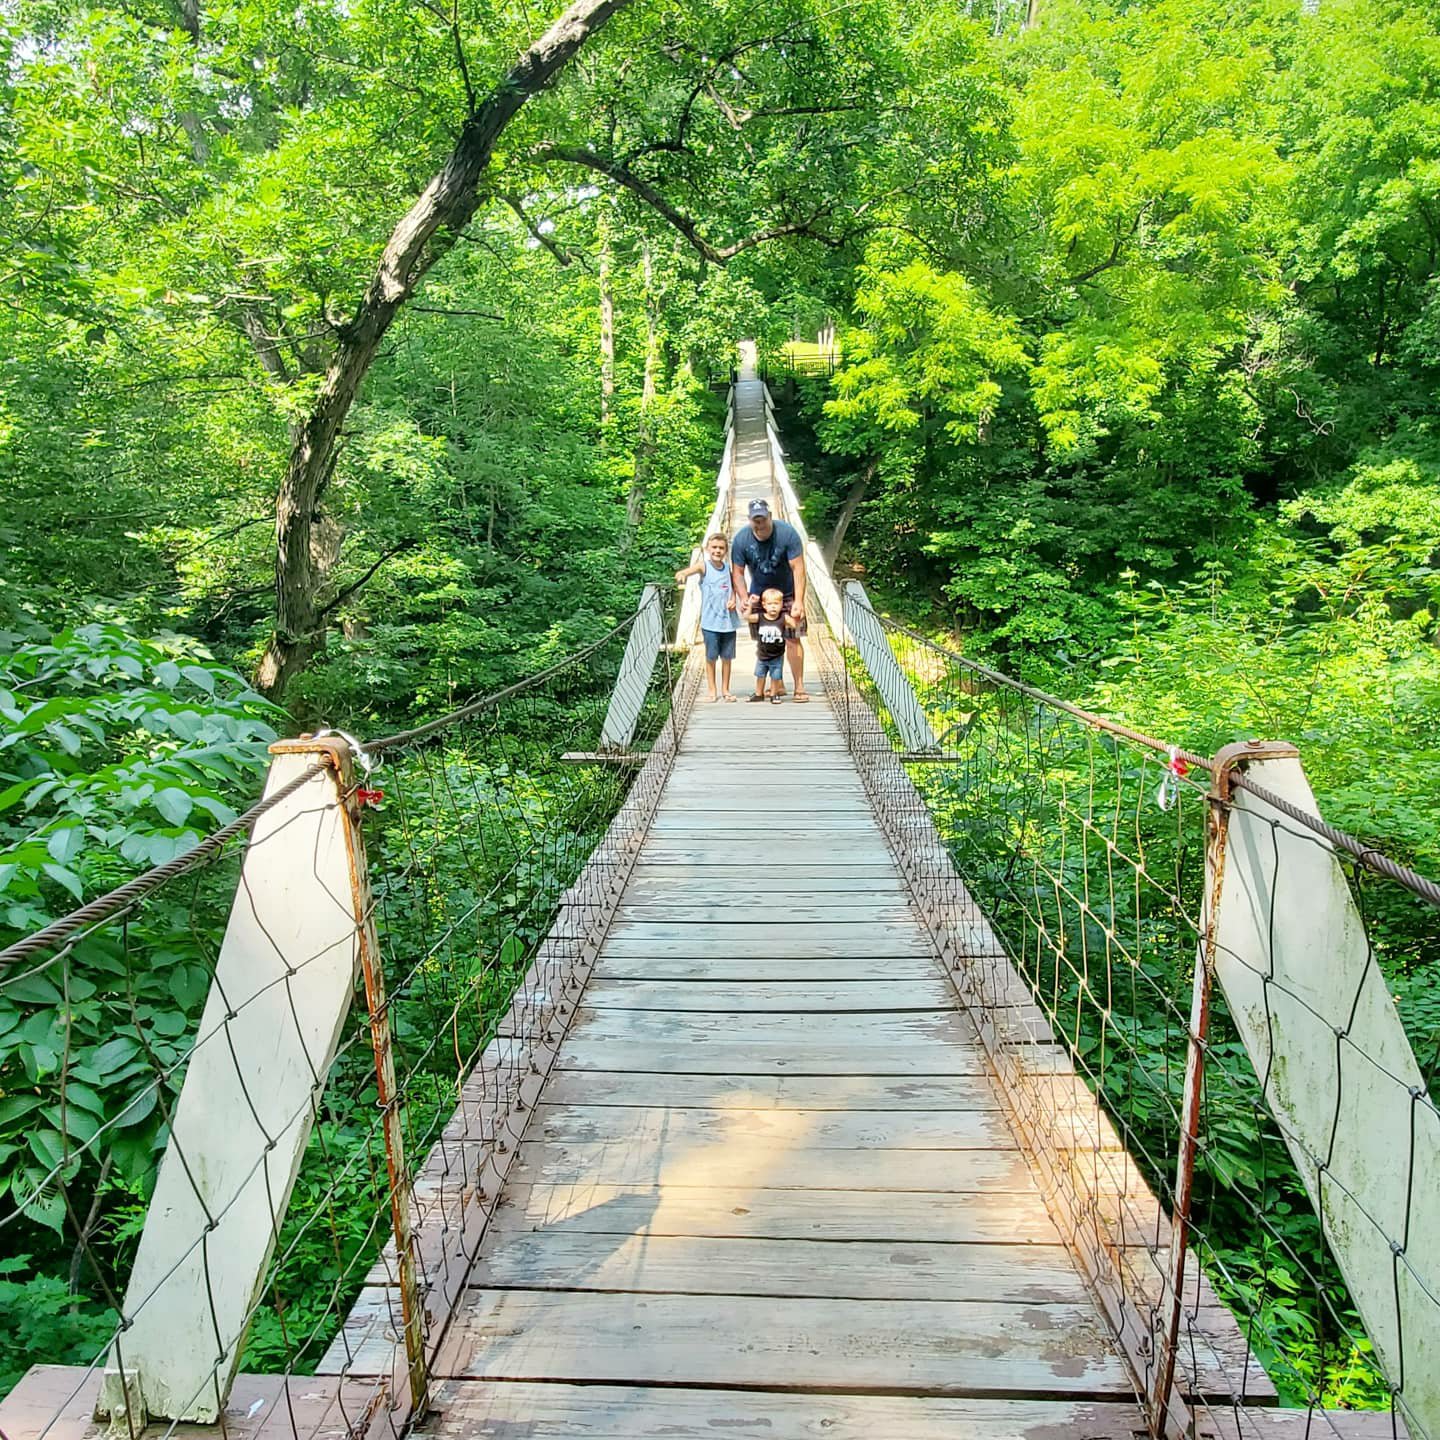
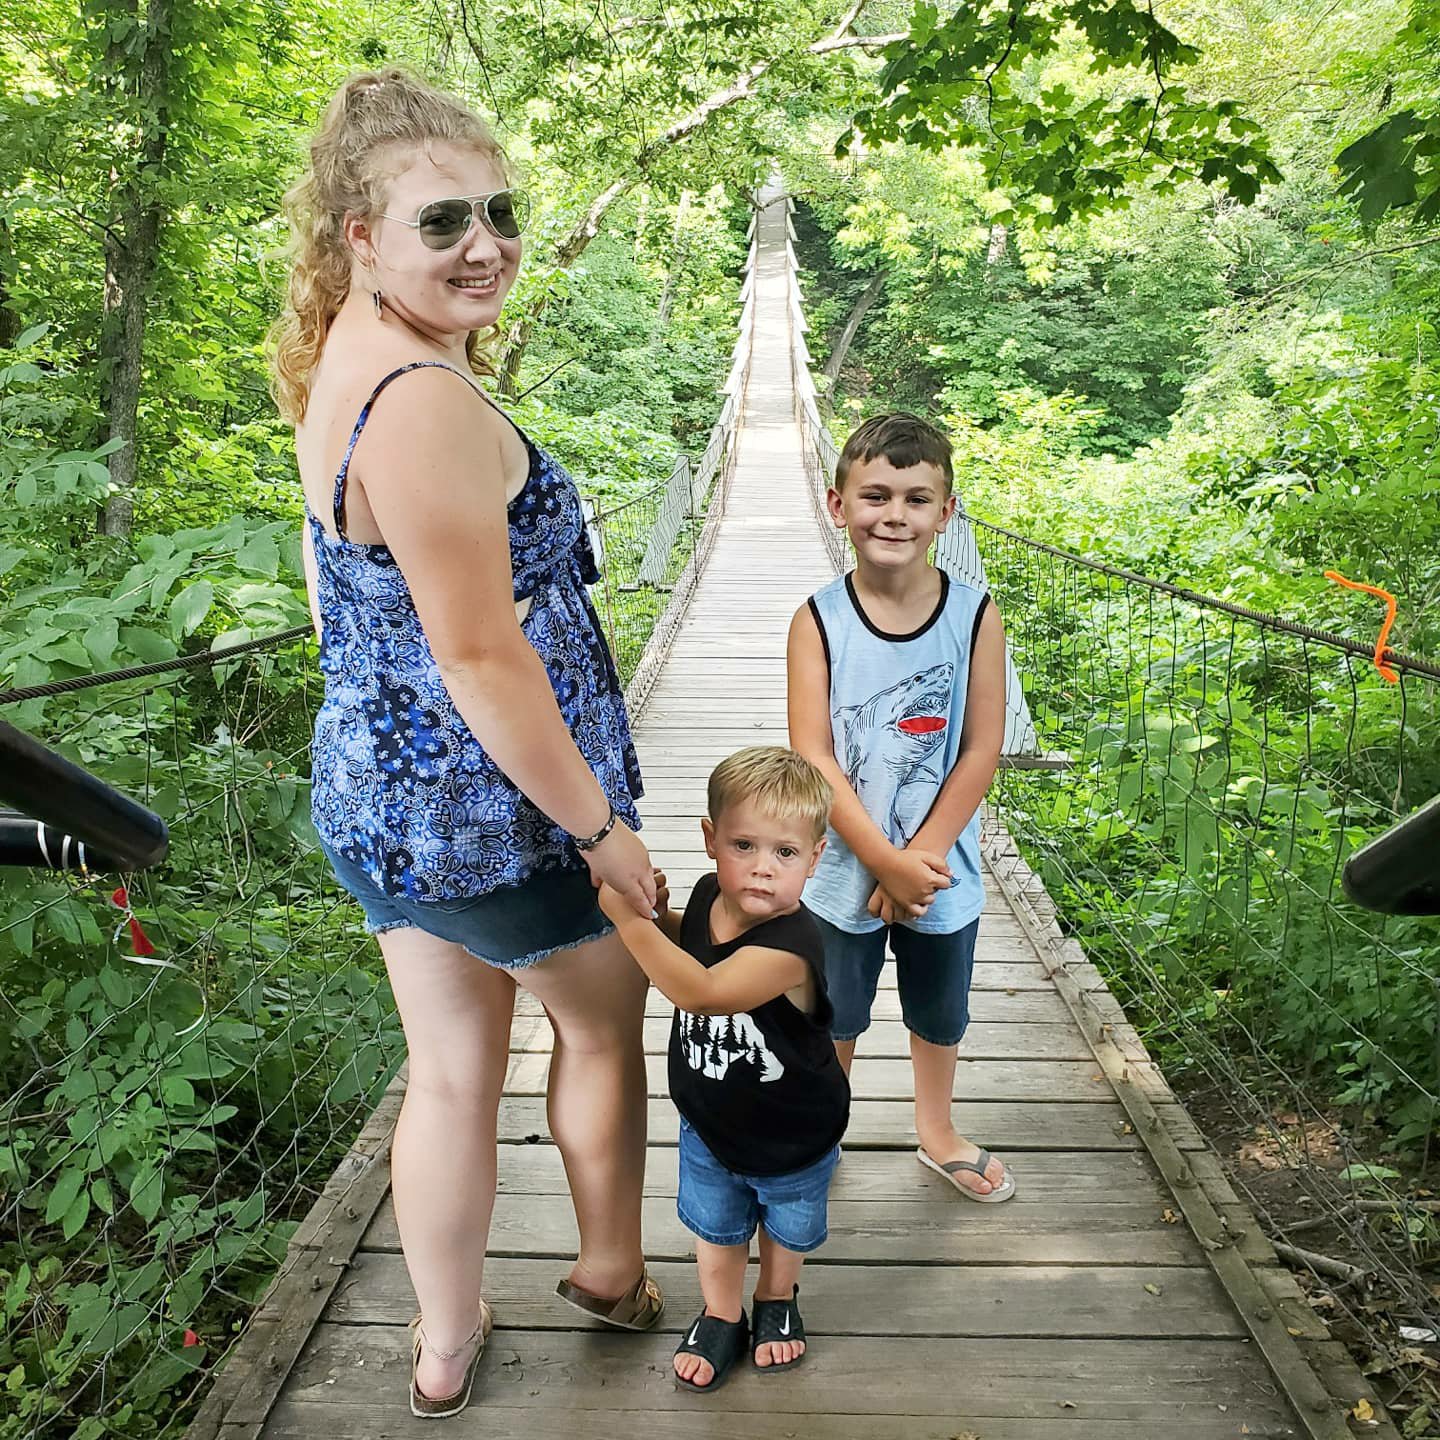
5. Swinging Bridge- you have to drive about 15 minutes out of town for this one, but worth the drive. The Swinging Bridge in Columbus Junction is a sight to not miss. We visit each year for the views and a photo. Read about the bridge’s history, walk across if you dare, snap some photos, and even hike the lower trails. You will love this one!!


While you are out in the Columbus Junction area, you can see the historical marker for Convict Highway! 😉 Just a super old road, but you can read about how the convicts of the time built it!
Muscatine also offers several parks with awesome playgrounds, a skate park, and a disk golf course. Plus plenty of sites indoors once that is safe again!
We also love to camp and boat. I can recommend places for that too! Enjoy! 😉
XX,
Jess
Permalink Comments Off on Muscatine Iowa Area Sightseeing
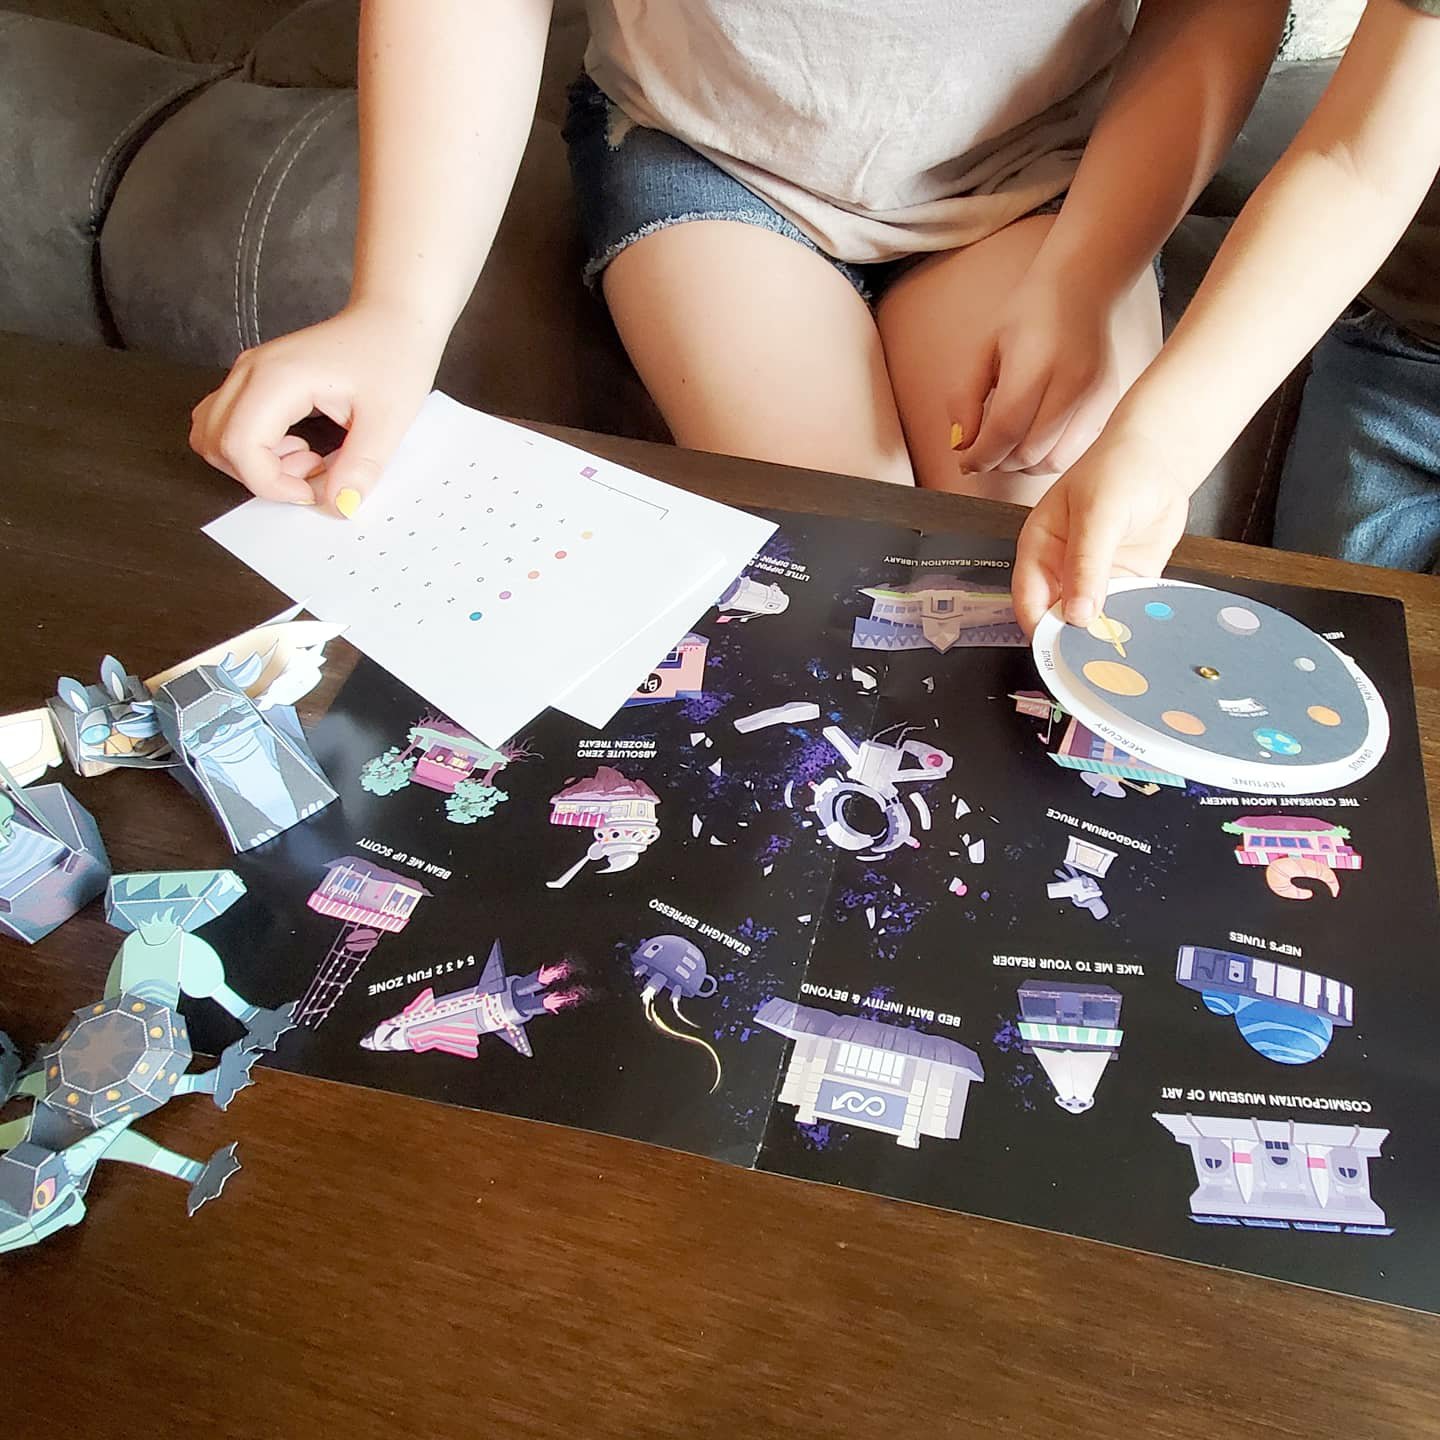
I’m in the House and I’m Saving Astronauts!
Me may be in the house, but we aren’t bored! We have been saving astronauts around here!
Yes, astronauts. We found a new family fun activity and had to share!

It’s interactive and had us all using our brains!

We recieved a packet with a map, puzzles, and clues. You get started by texting the abandoned astronaut lost in another dimension. She texts back and asks for you help. She gives you clues, helping your family work through the puzzles and brain teasers in order to find the information that will help to return her to Earth.
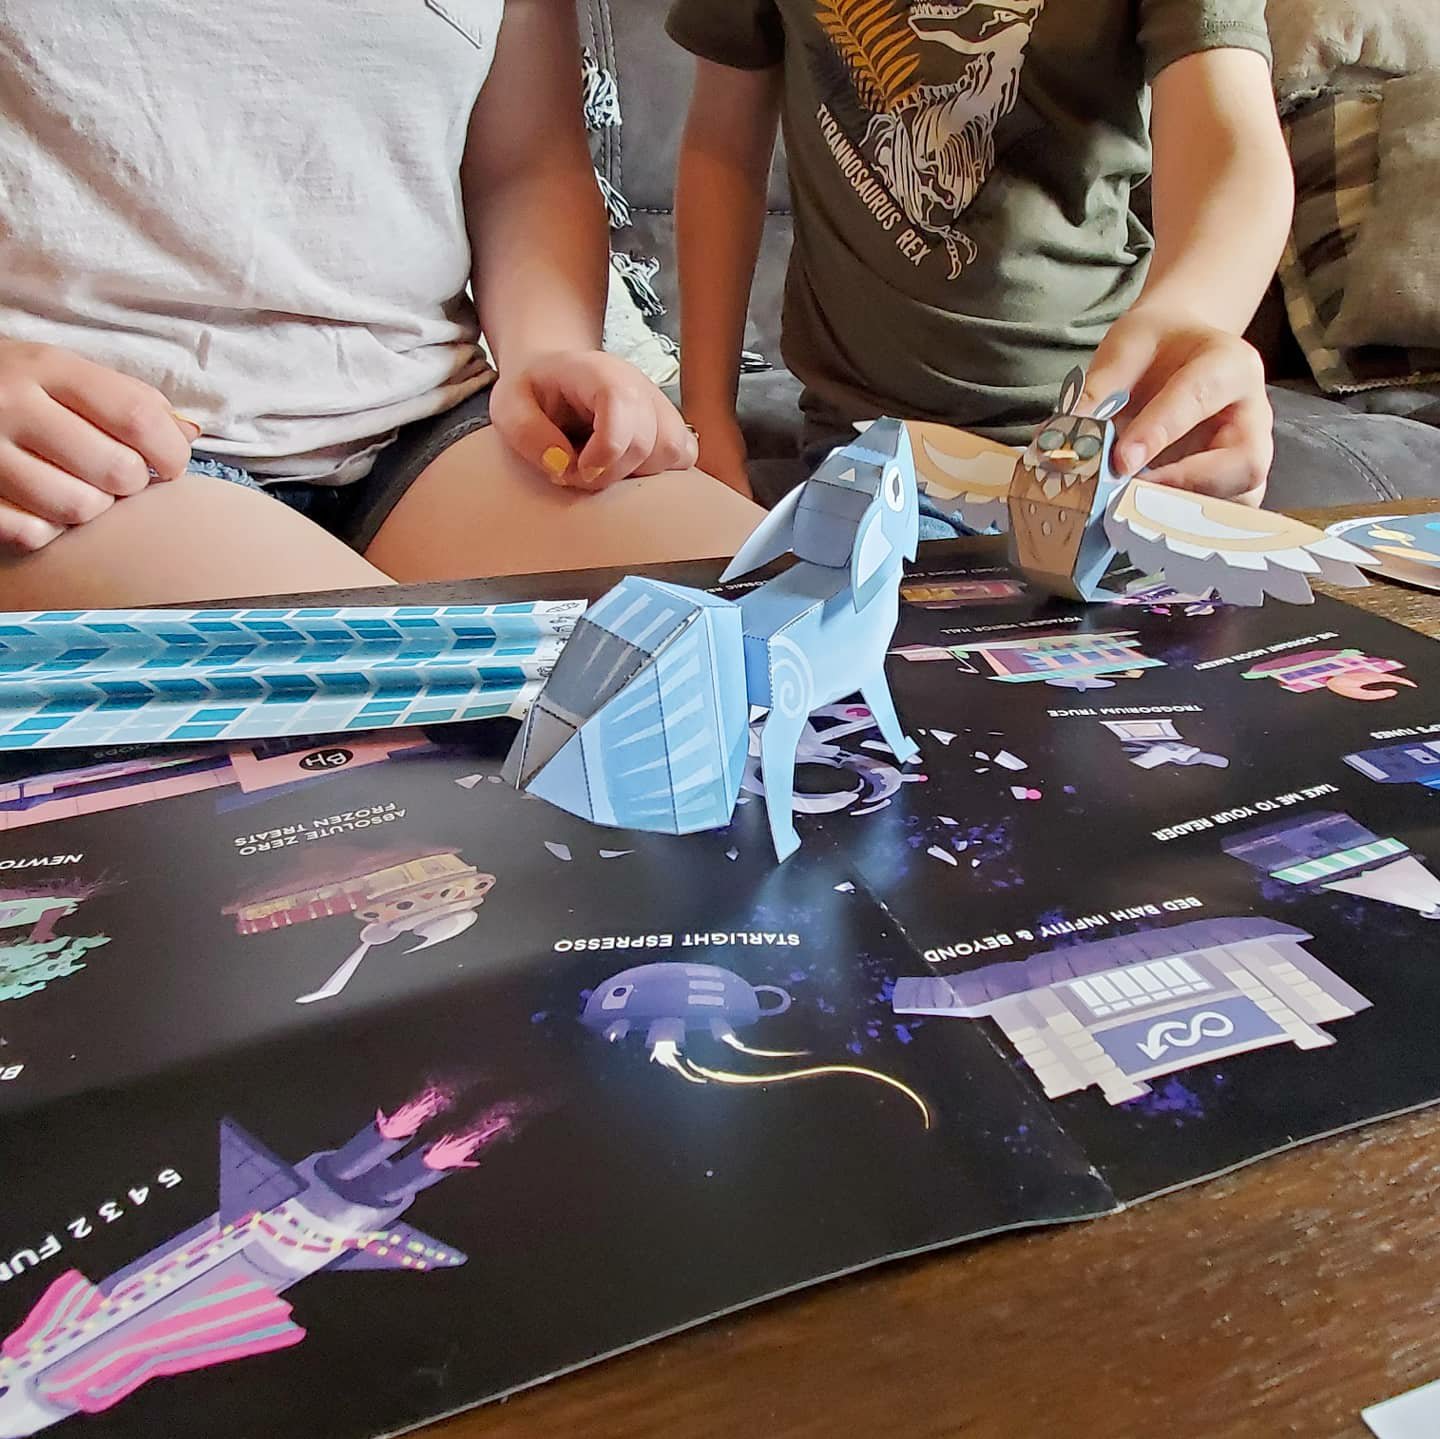
Through communicating with the astronaut via text, we were able to figure out the puzzles and find the clues to return her home safely! It was like we were really in this with her!
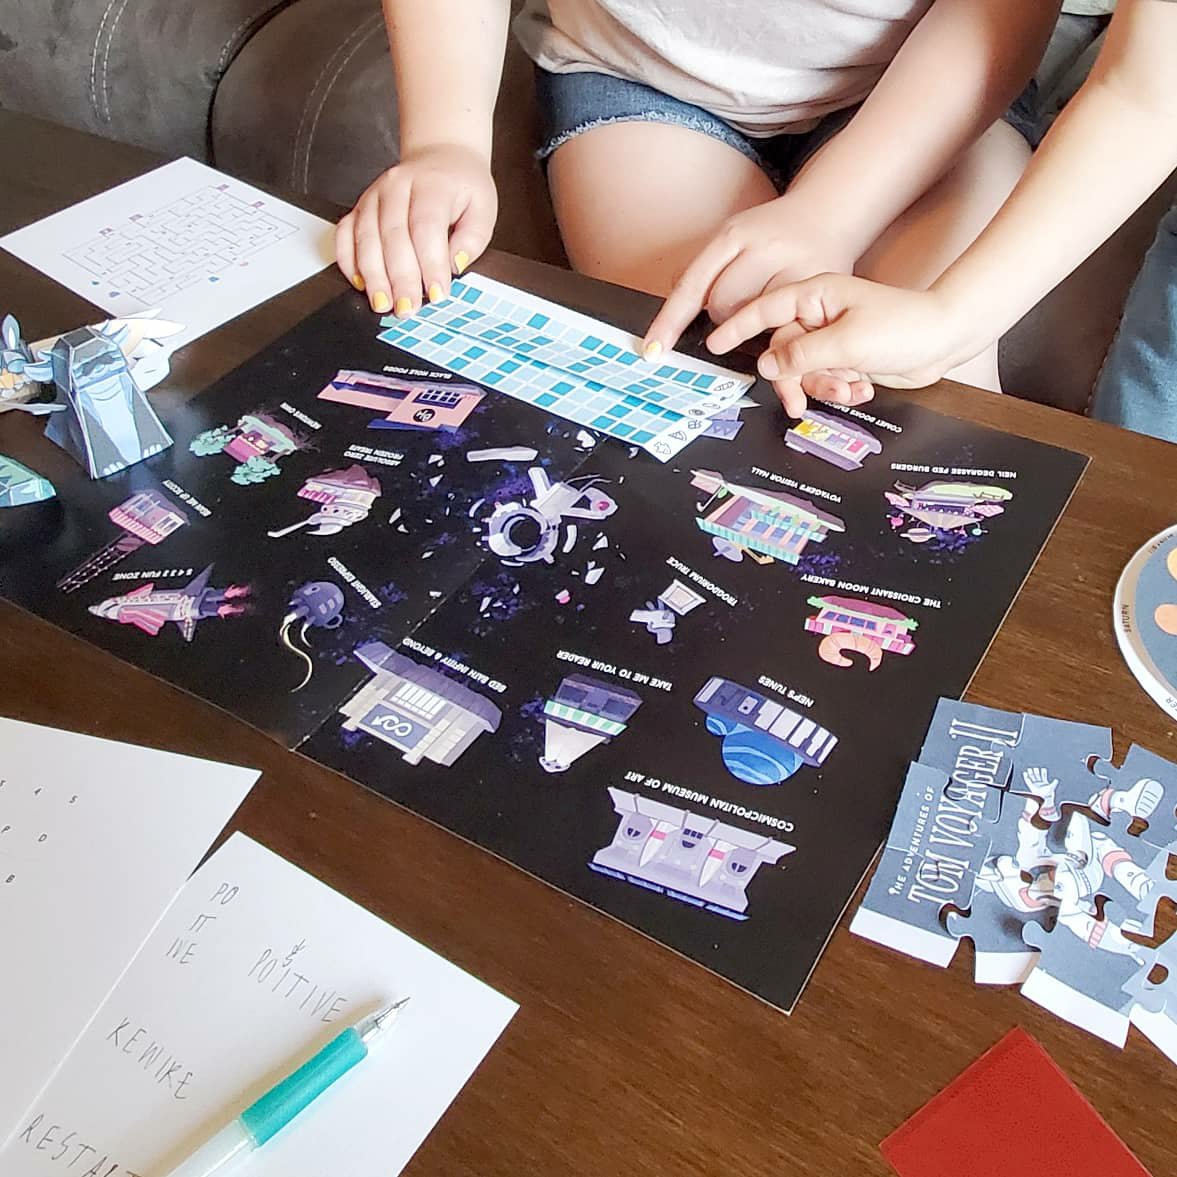
We all played together (while the 2 year old napped) and it definitely was fun for all ages! The puzzles even had the teen and adults wracking our brains. The 7 year old loved helping and setting up our clue station. He was super amused with how you figure out some of the clues!

Overall, we all had a blast! What a fun way to get in some family time and do something totally different during these times where we are cooped up a little too much! We highly recommend!
Right now you can use code jessimariel for 10% off at Adventurous.co. Also, go give them a follow on IG at @adventurousco
I hope you all enjoy! Let me know what you think! 😉
Xx,
Jess
*I have been gifted the game and compensated for the post, but all opinions are my own!*
Permalink Comments Off on I’m in the House and I’m Saving Astronauts!
The Landing Strip
A landing strip, a command center, the drop spot. No matter what you call it, every house should have one. It’s a place for all the family “stuff”.
I call it a landing strip. In this house we actually have it split up a little, but it’s whatever works for you! When you come in our backdoor, we have hooks for each family member. Bag and coat go there. There’s a little hook station for car keys. And we have a small rack holding bug spray, sunscreen, sunglasses, wireless speaker, etc. But there’s still other “stuff” that accumulates. What do you do with it?! Enter our landing strip.
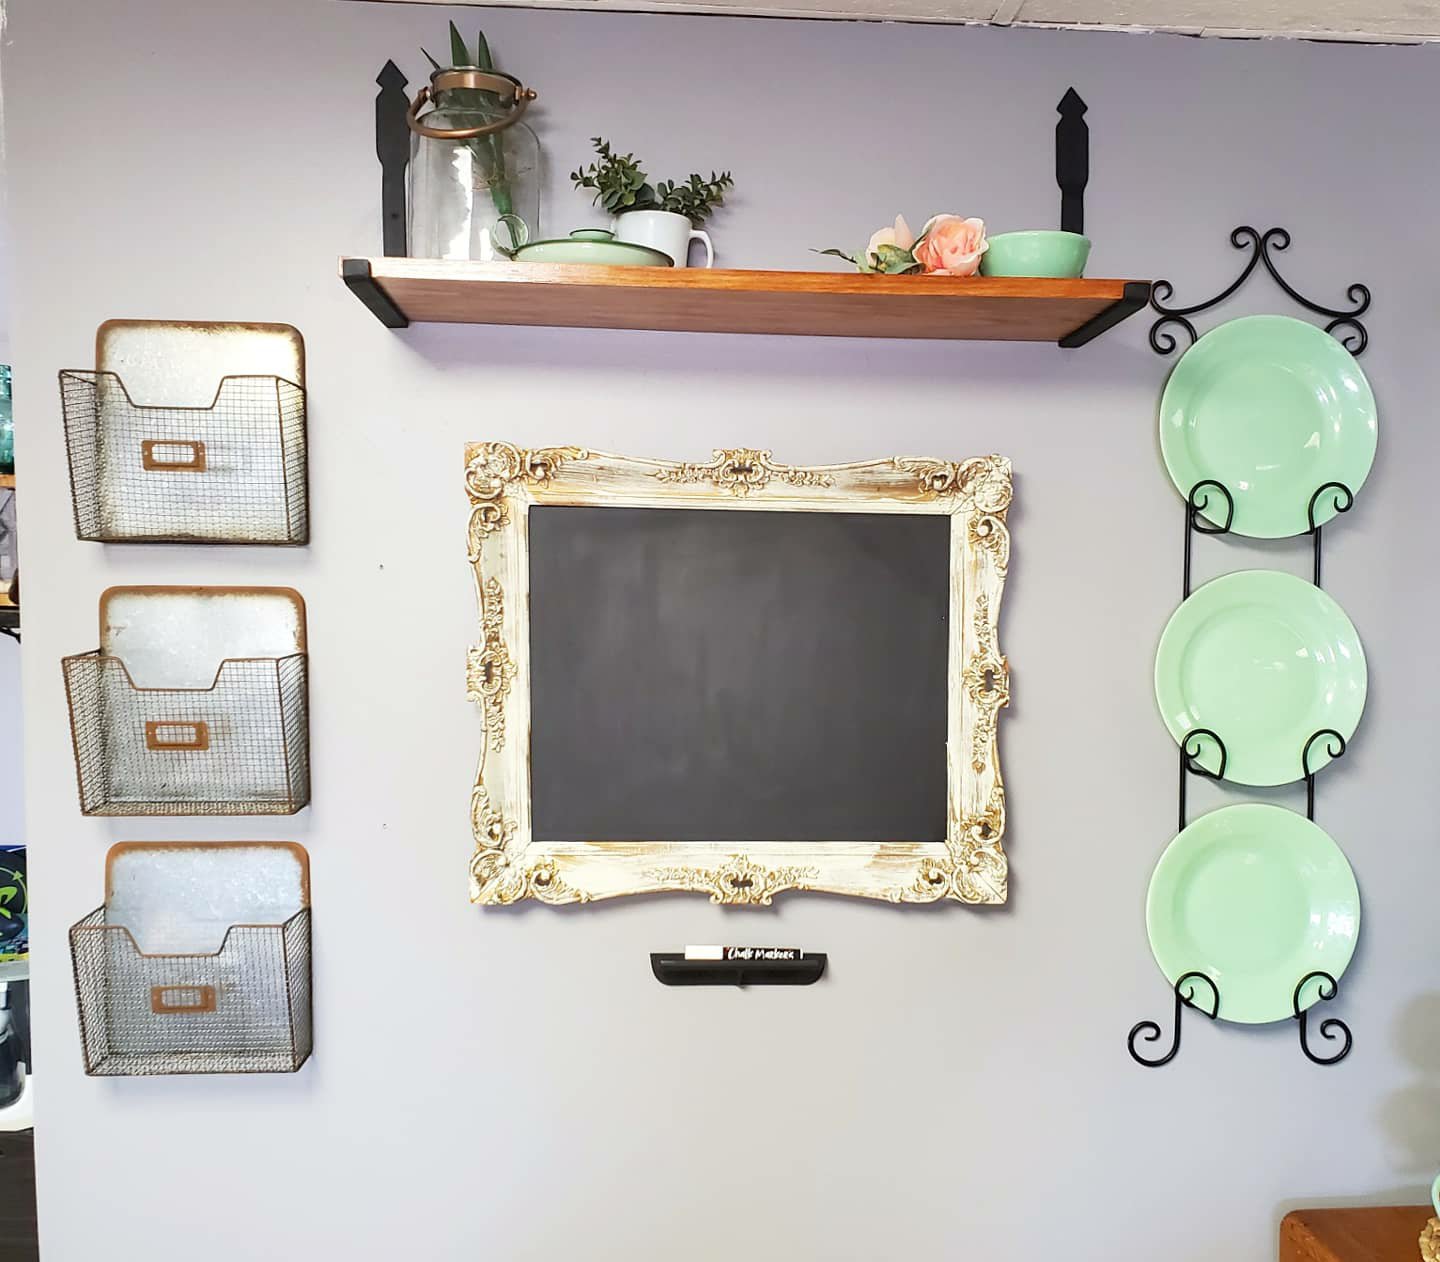
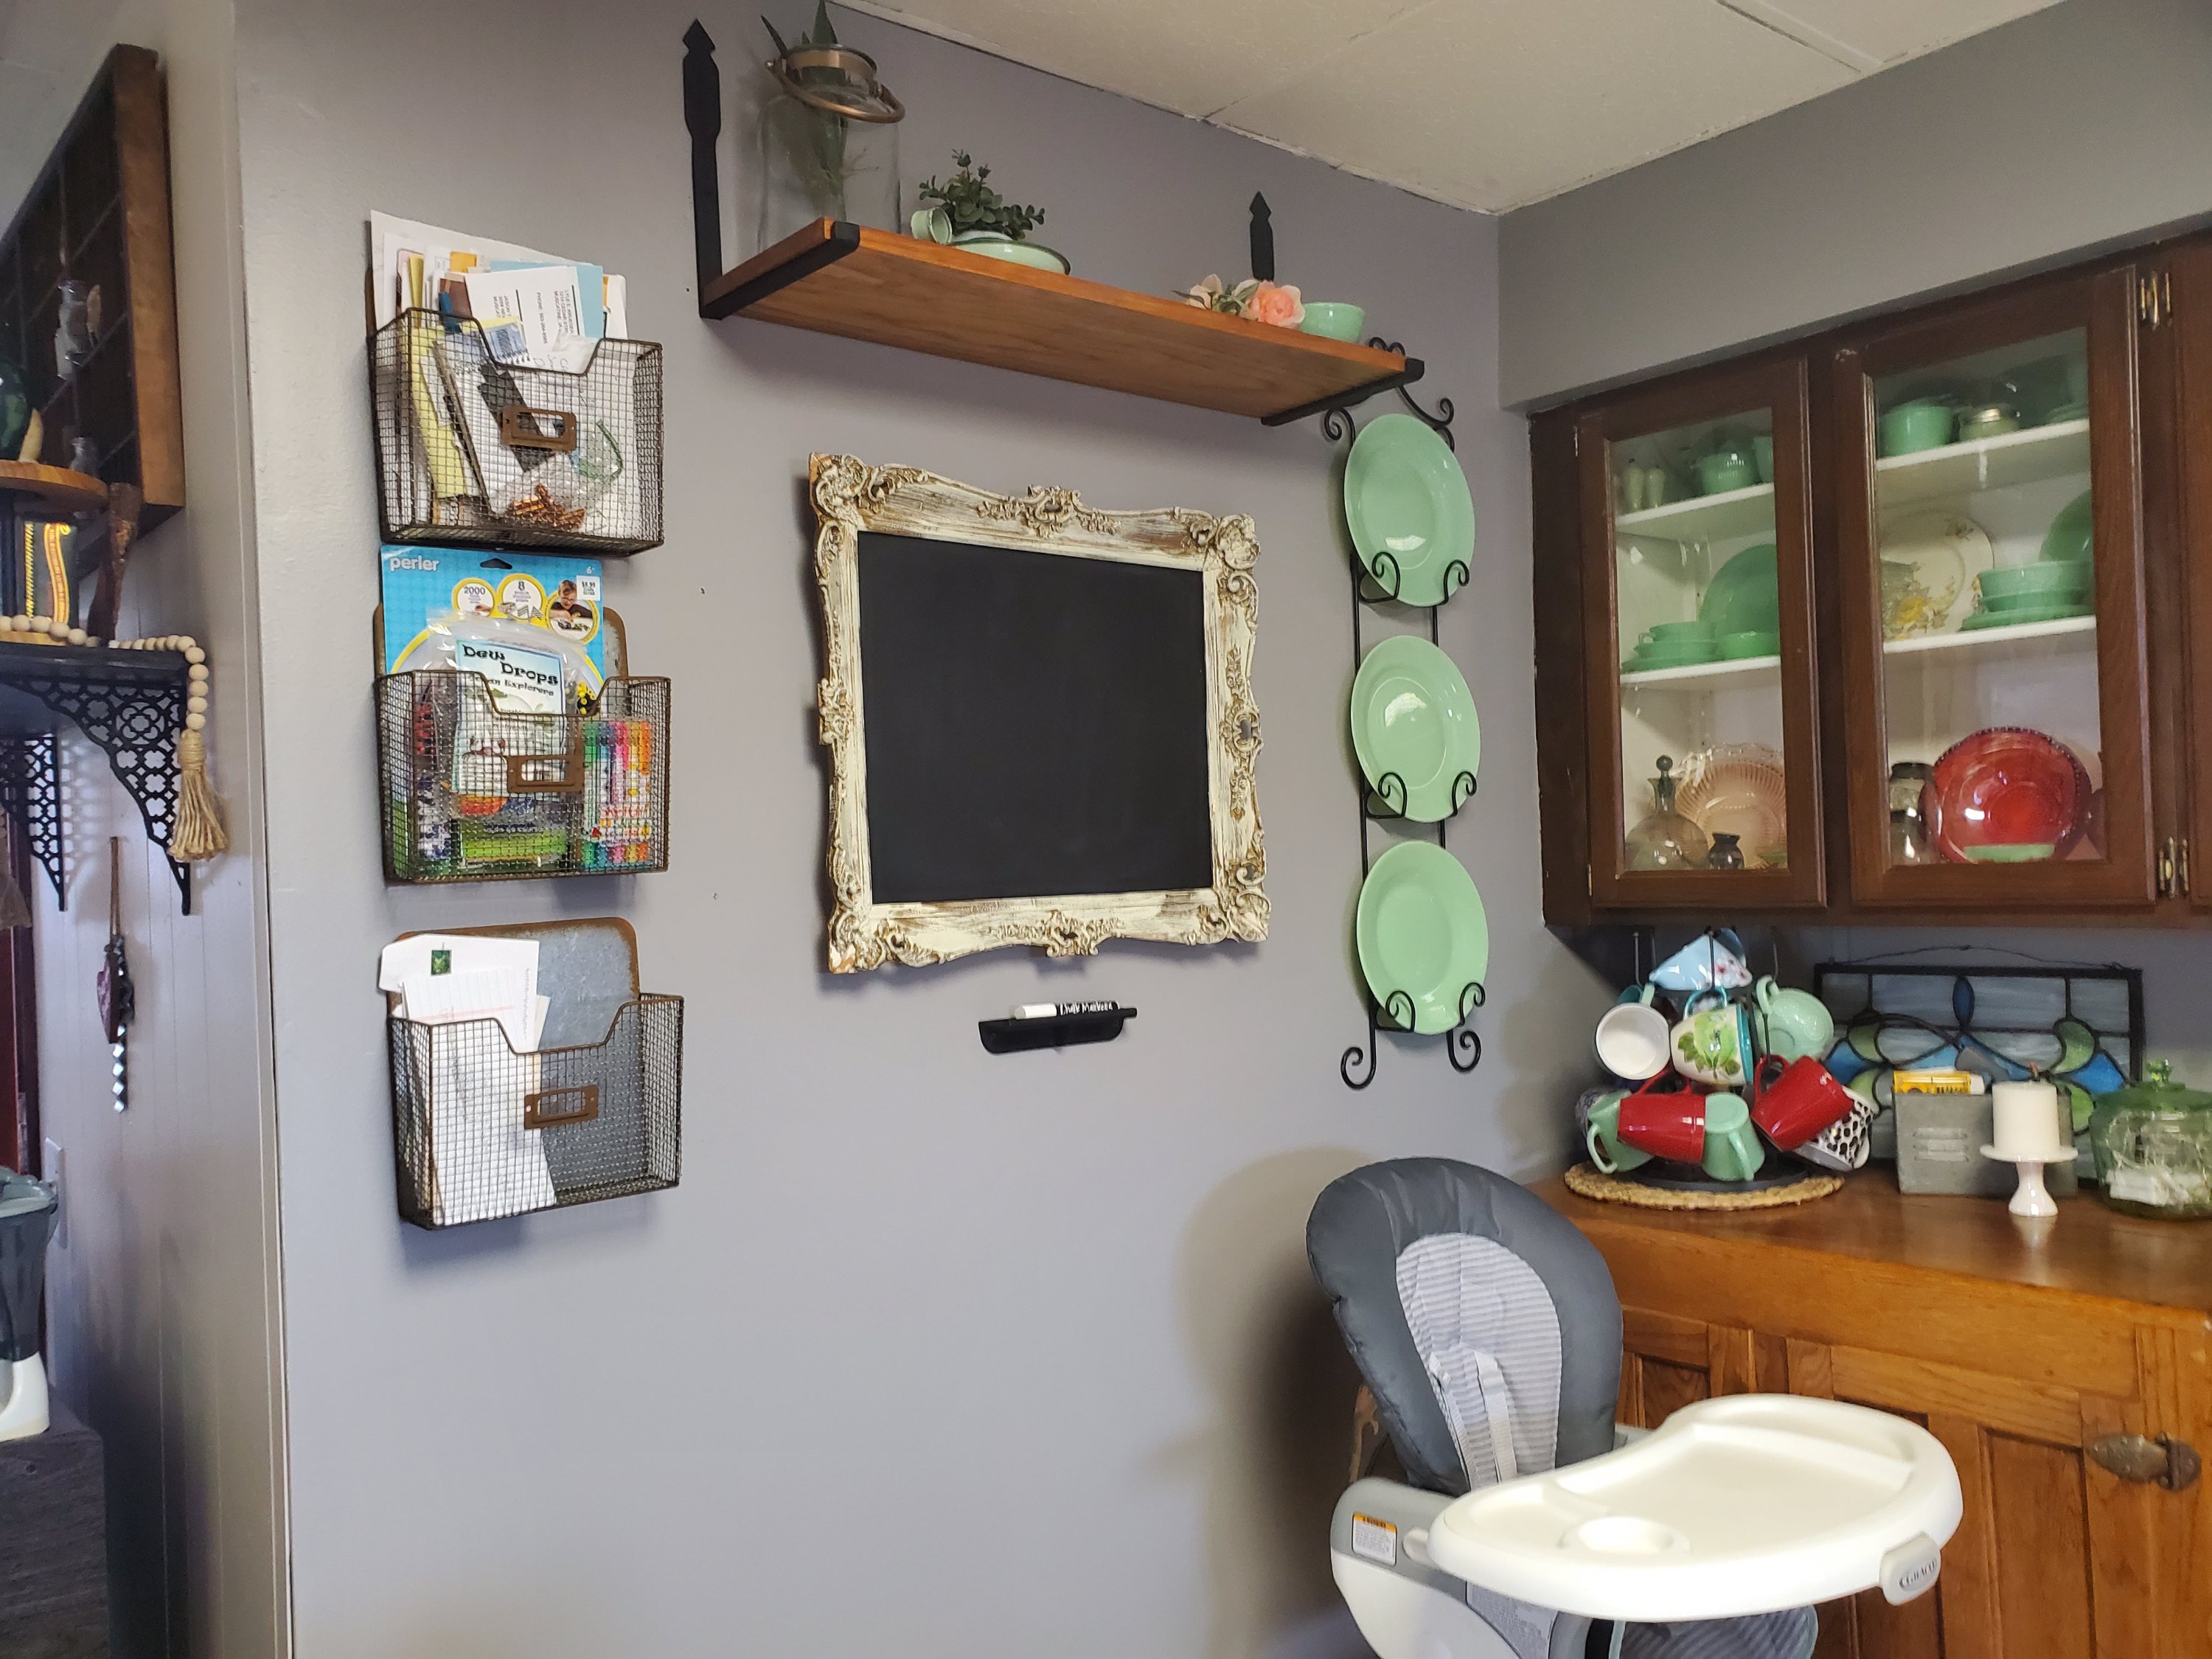
He we have a stash spot for everything else so that we stay organized and don’t lose important things! We use the chalk board for calendar notes and grocery lists. And each of the boys and mom and dad have a basket. We put bills in ours. The boys put homework and such in theirs. I keep a pen jar on the shelf. Here is stash stamps, a candle lighter, a marker, and pens. If you need more than that they you have to go upstairs to the office. 😆
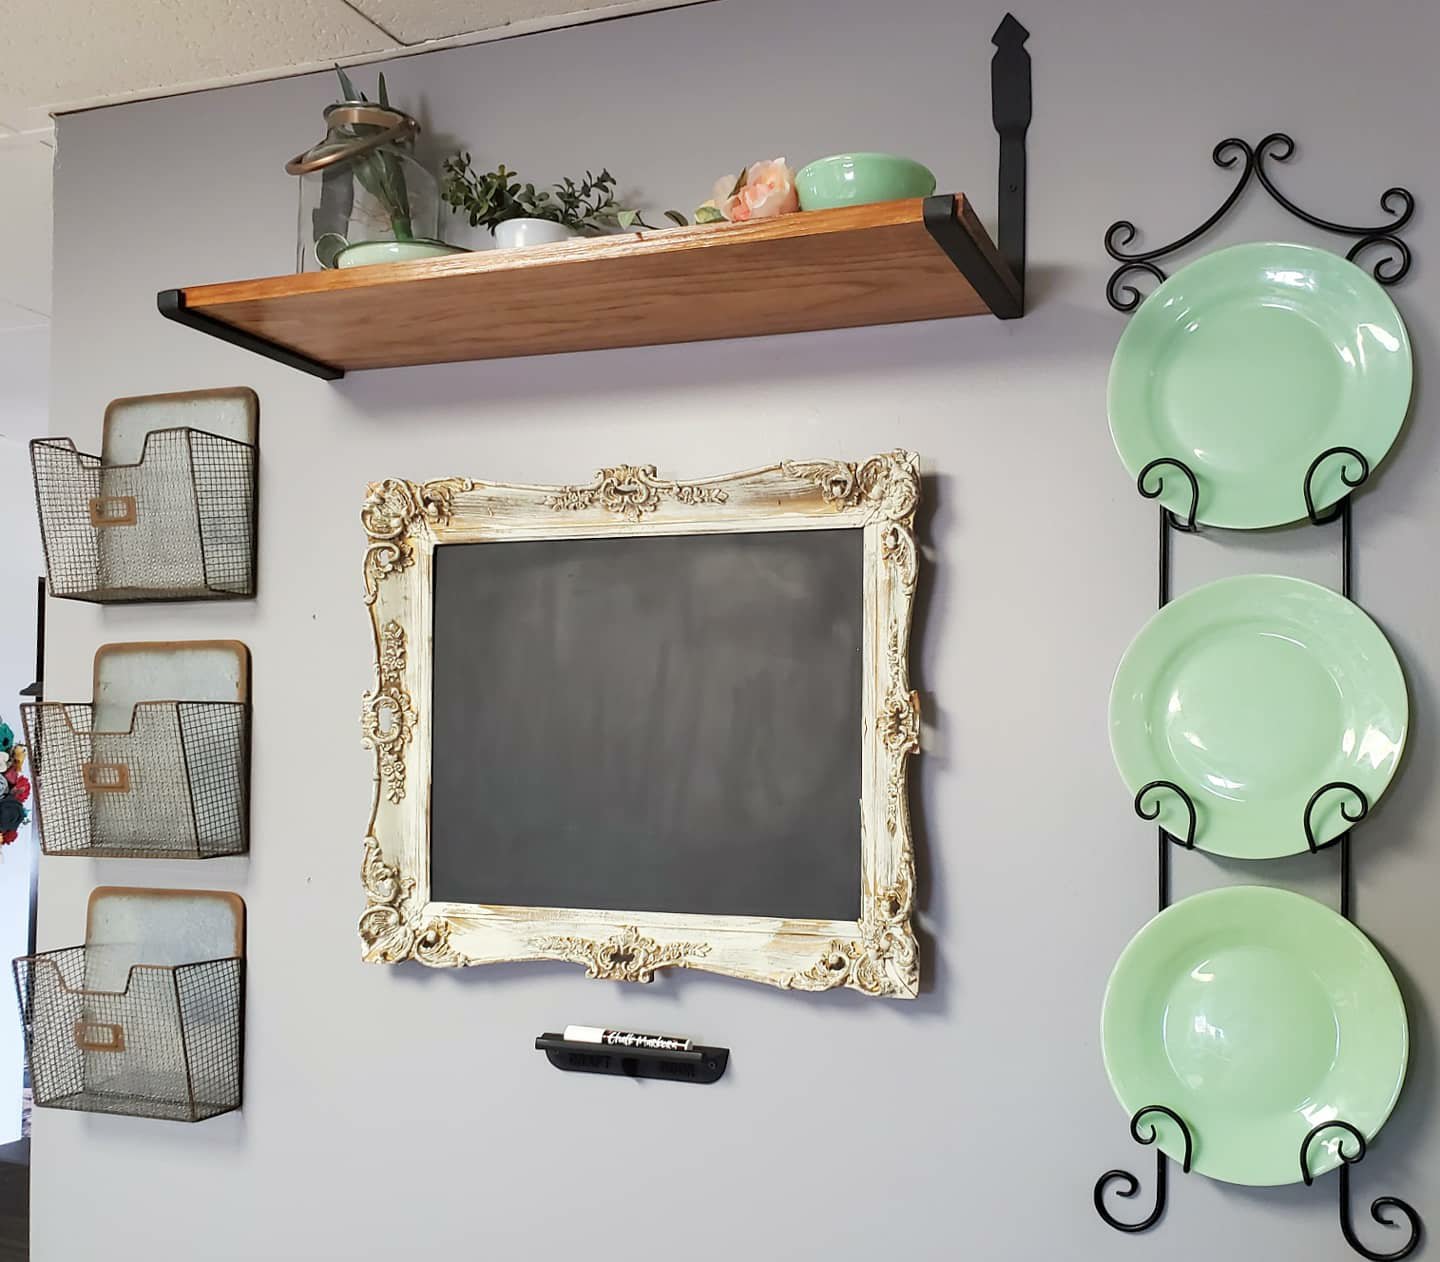

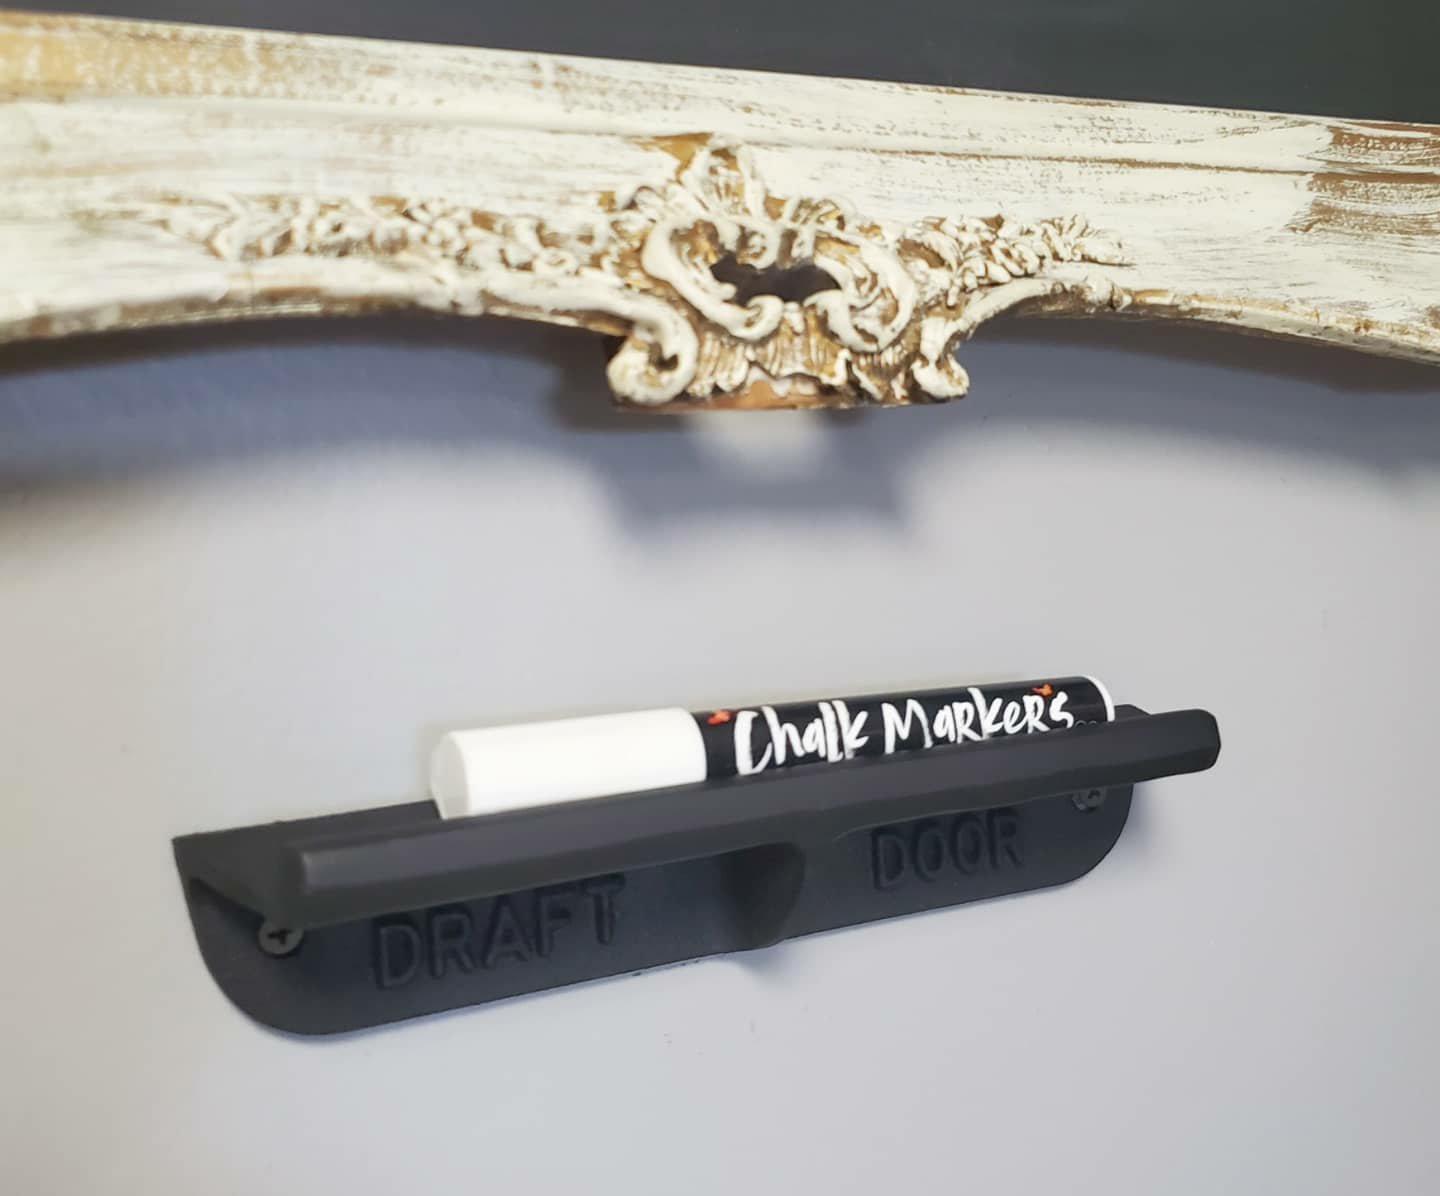
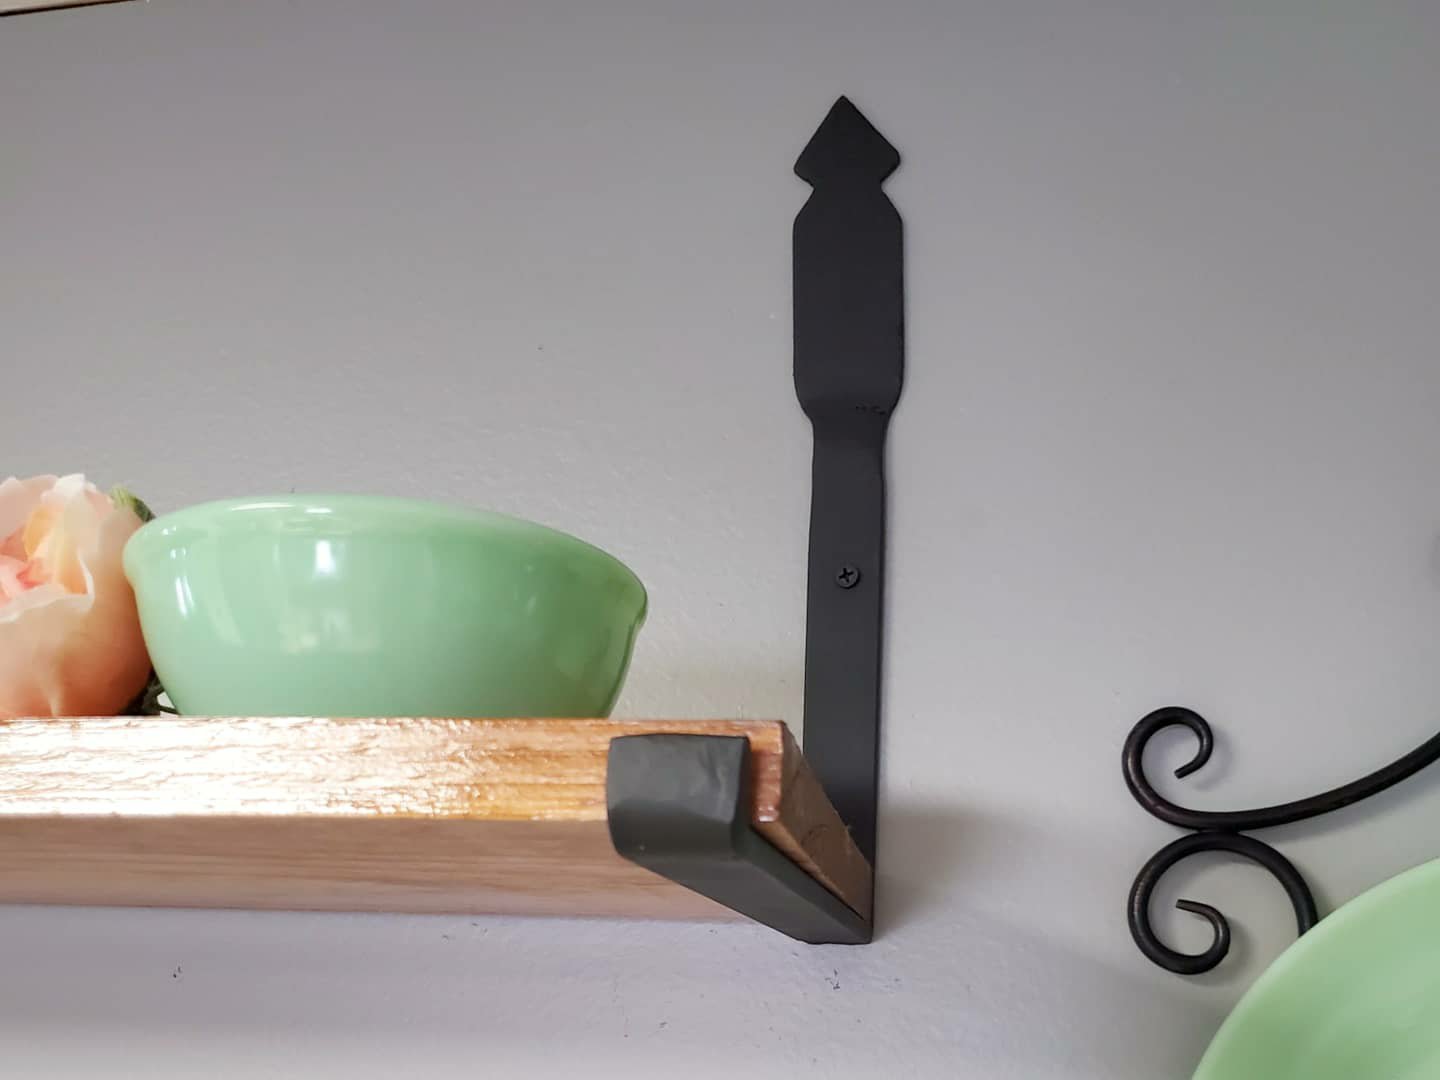
The antique mirror got a metal insert painted with chalk paint. The little chalk marker tray below it is an antique door stop out of an old barn. The baskets are from Hobby Lobby. The shelf is a custom design I requested from Jason. He added and welded the flourish at the top of the brackets.

Here’s my tid bit of advice. Have a place for the “stuff”, whatever you may call it. I truly believe in “a place for everything and everything in its place.” Even if you don’t organize that far, at least set up a zone with a calendar and pens and notepad. Have a spot where you put mail and homework. Always put your keys in the same location. I promise you that these tricks will prevent you from losing important things or searching frantically for the lost items!
And just for fun, here’s a shot of what it looks like more often than not. 😉
Anything else you would add?
XX,
Jess
Permalink Comments Off on The Landing Strip
